
Hello to all lovers homemade. In this article I will tell you how to make an equalizer on LEDs do it yourself using the kit kit, which can be purchased at the link at the end of the article. This kit kit will be useful to those who want to install color music, for example, in a portable speaker to decorate it, and it will also serve as a good start in the development of radio electronics for beginner hams.
Before proceeding to read the article, I suggest watching a video that shows in detail all the main points of the assembly of this kit kit and of course its verification.
In order to make an equalizer on the LEDs, you will need:
* Kit
* Soldering iron, solder, flux
* Side cutters
* Device for soldering "third hand"
* Phillips screwdriver
* Multimeter
* Power supply with USB port or power bank
* Phone or player to check
Step one.
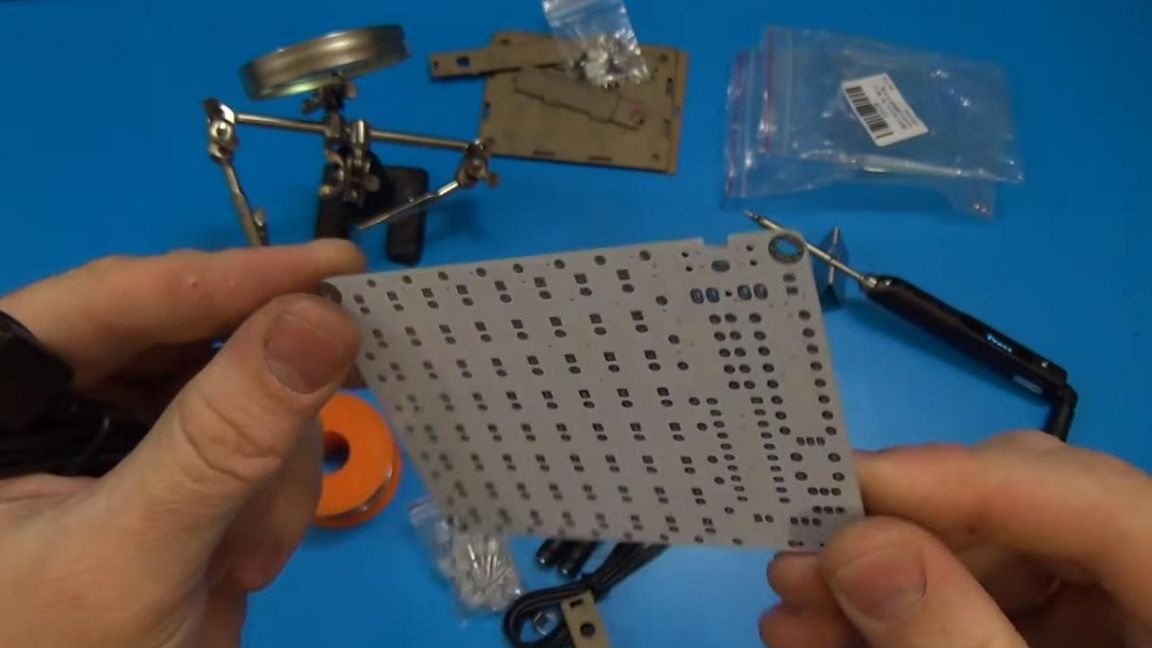
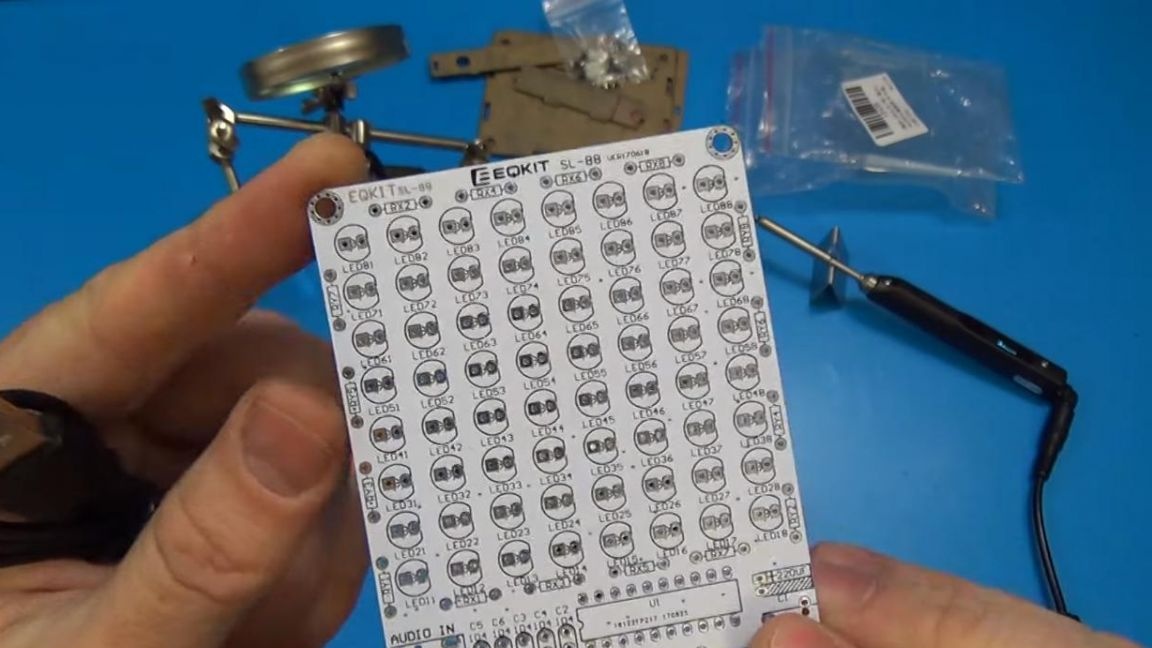
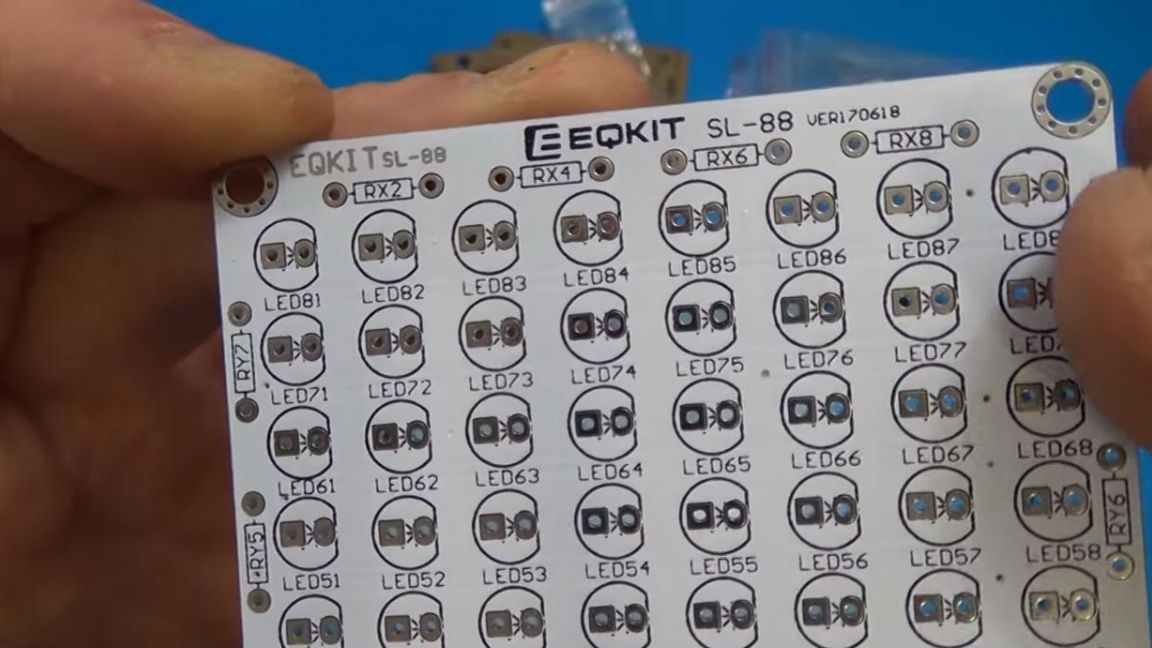
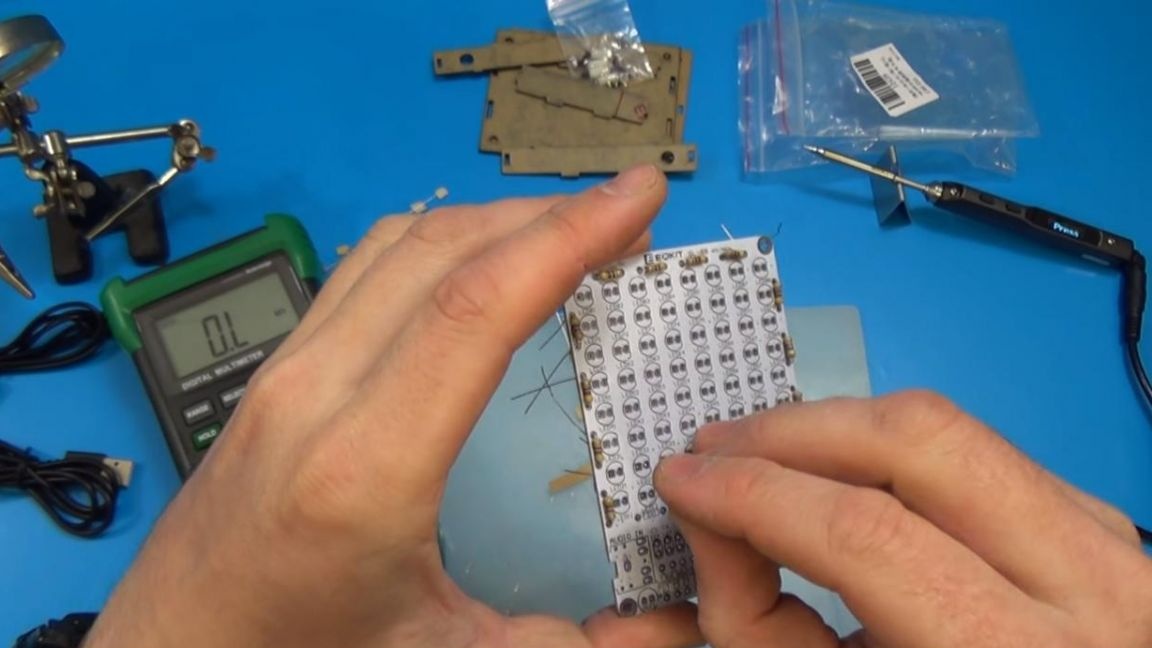
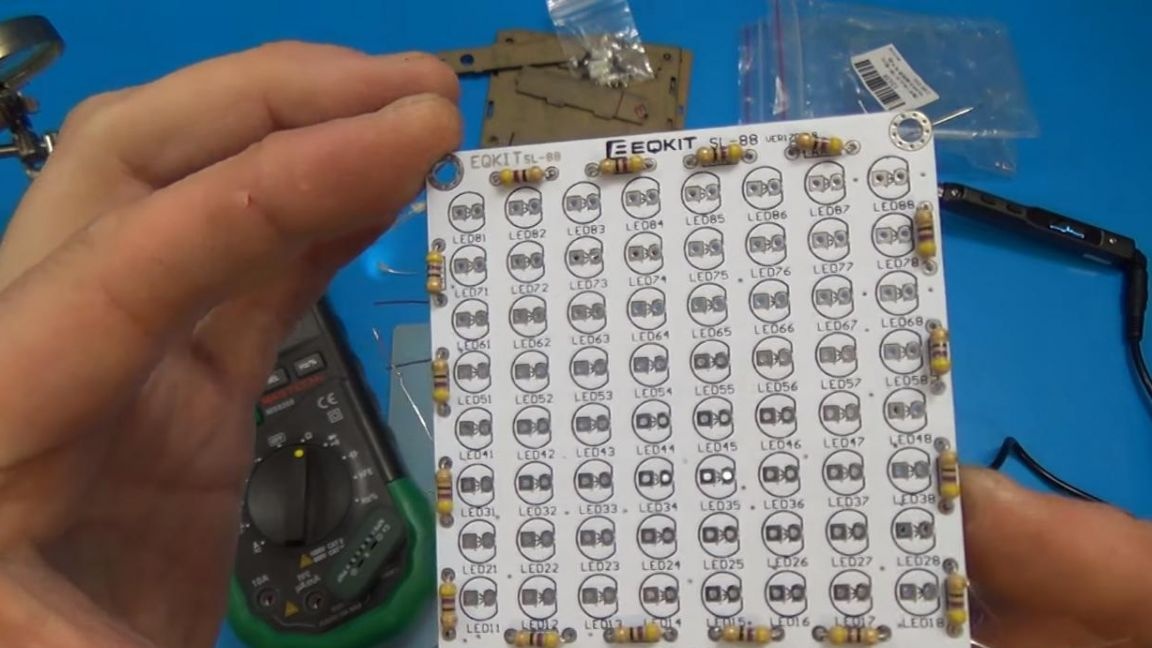
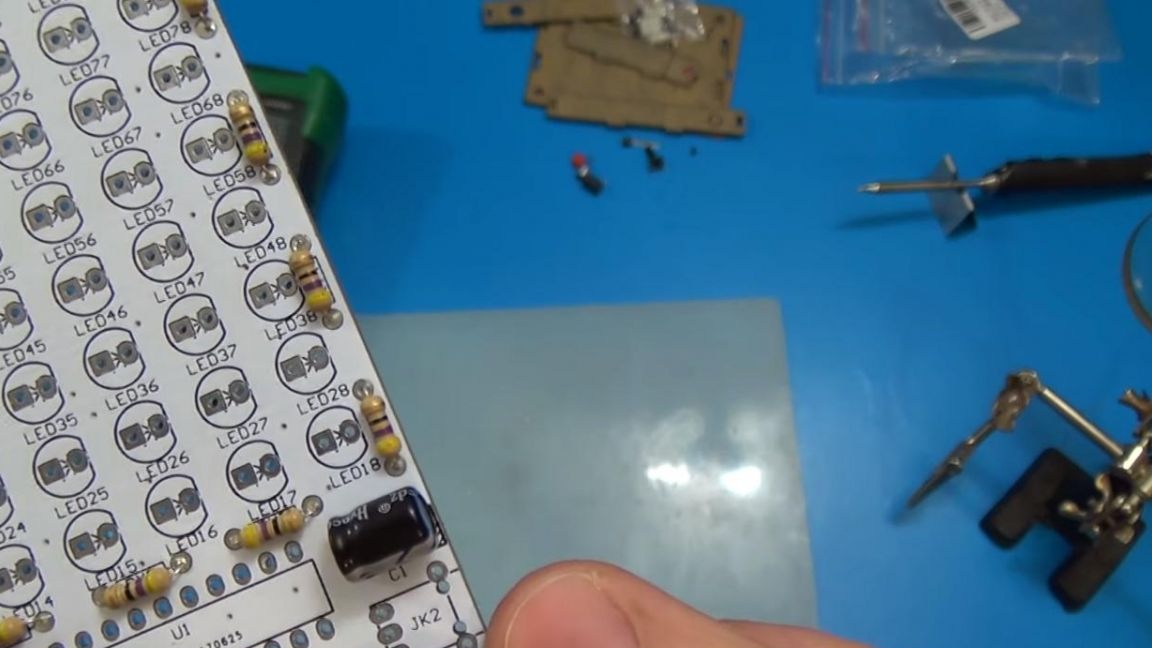
To start, let's start with a kit kit. Here we have a fairly high-quality printed circuit board, on which almost all the components are signed, it is made of durable PCB.

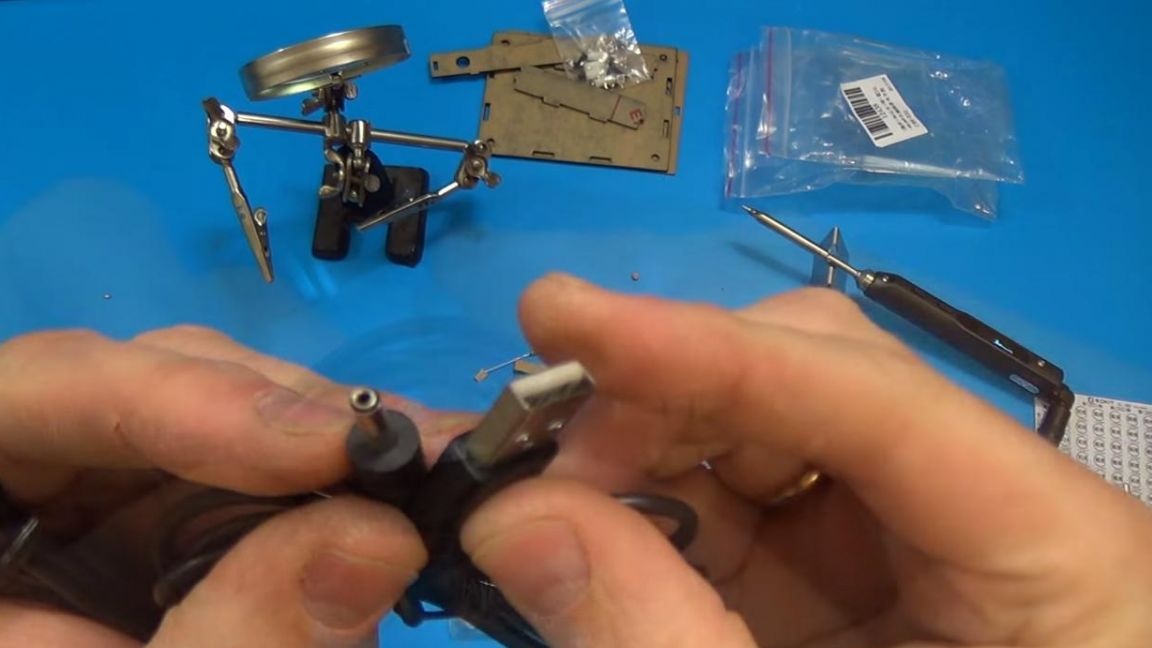
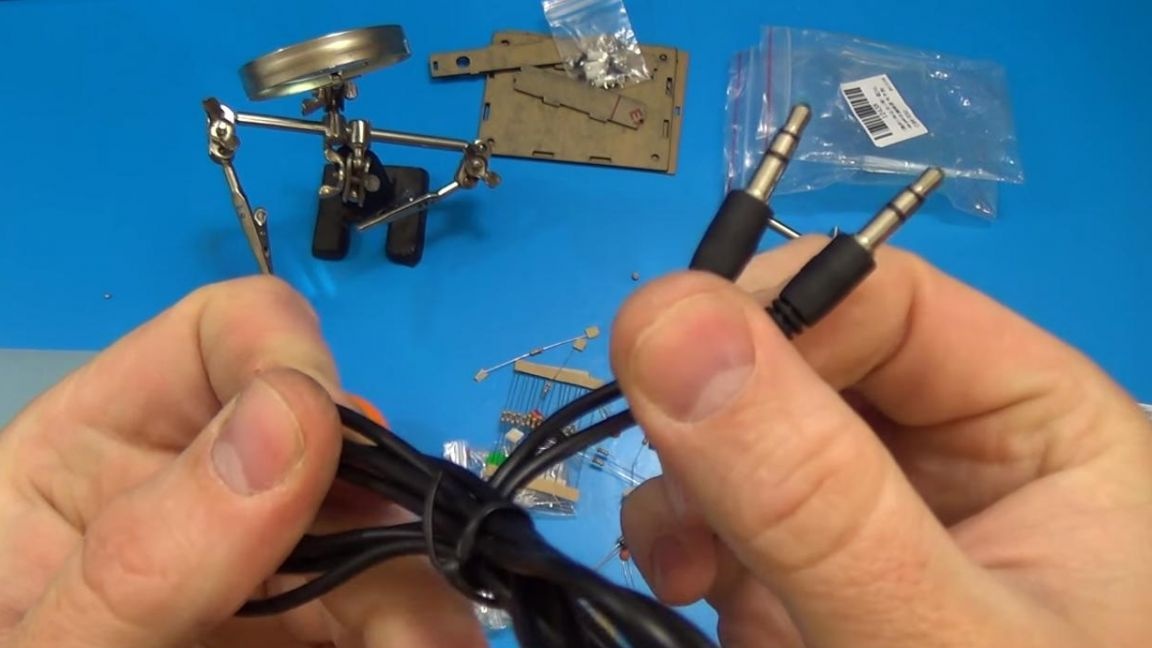
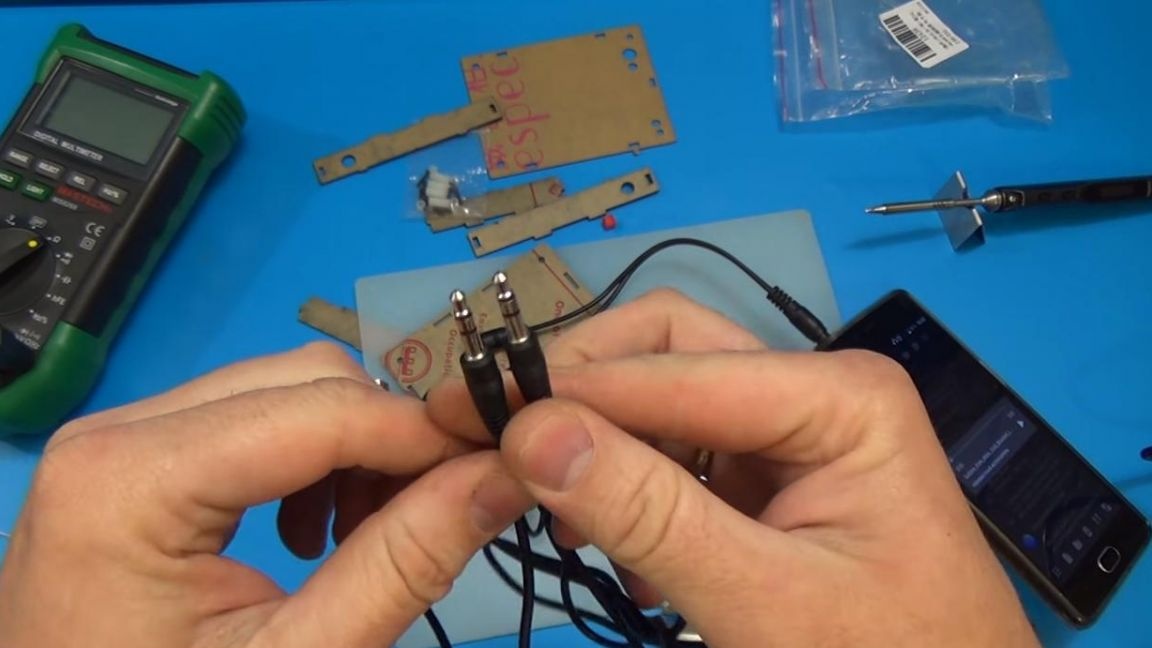
They also put wires, a bifurcator with two 3.5 mm jacks on the end, a power cable from the power supply unit, and an AUX cable, which has two 3.5 mm plugs on both sides.
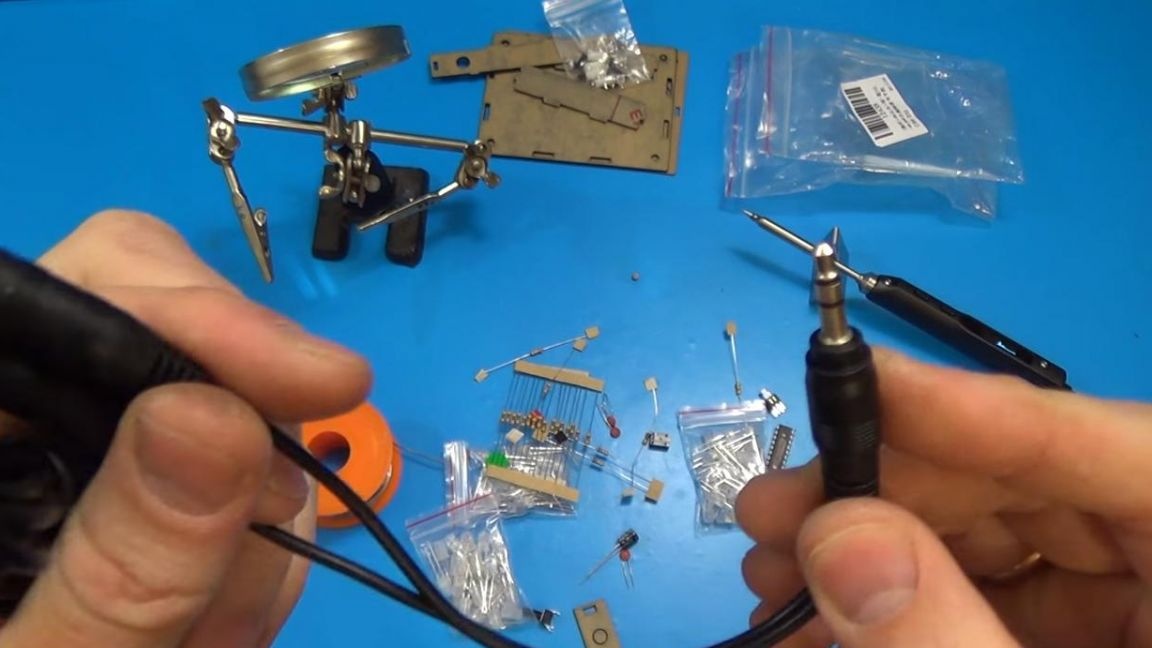
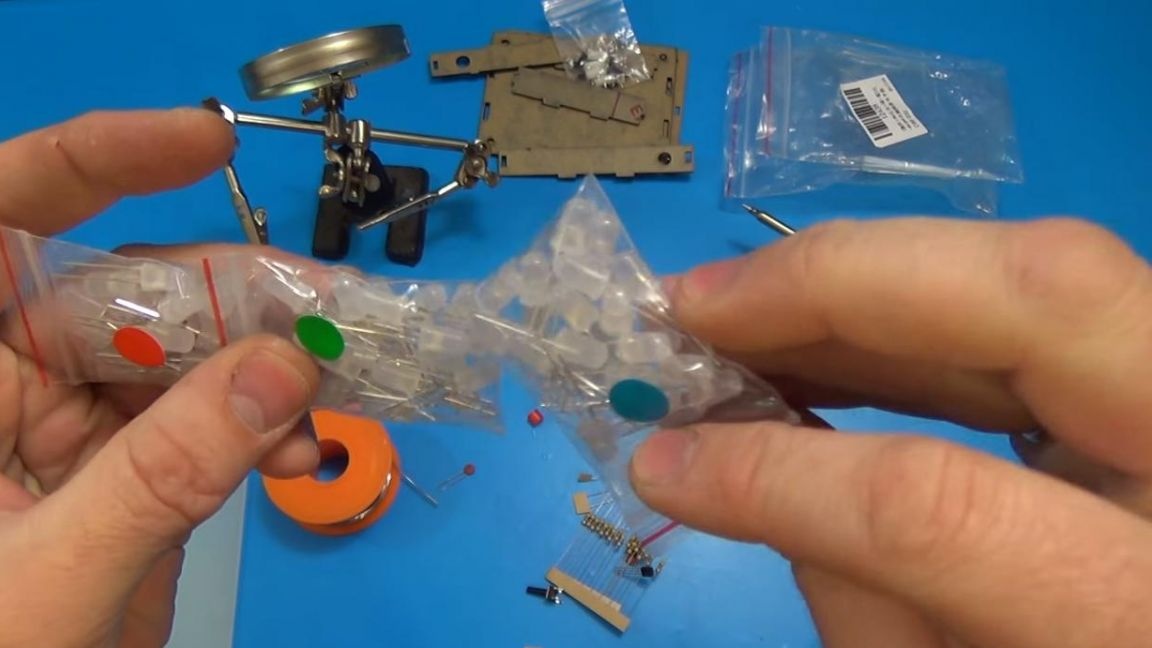
For light indication, LEDs of three colors will be used, blue, green and red, there are a little more than necessary for those cases if some LED turns out to be faulty.
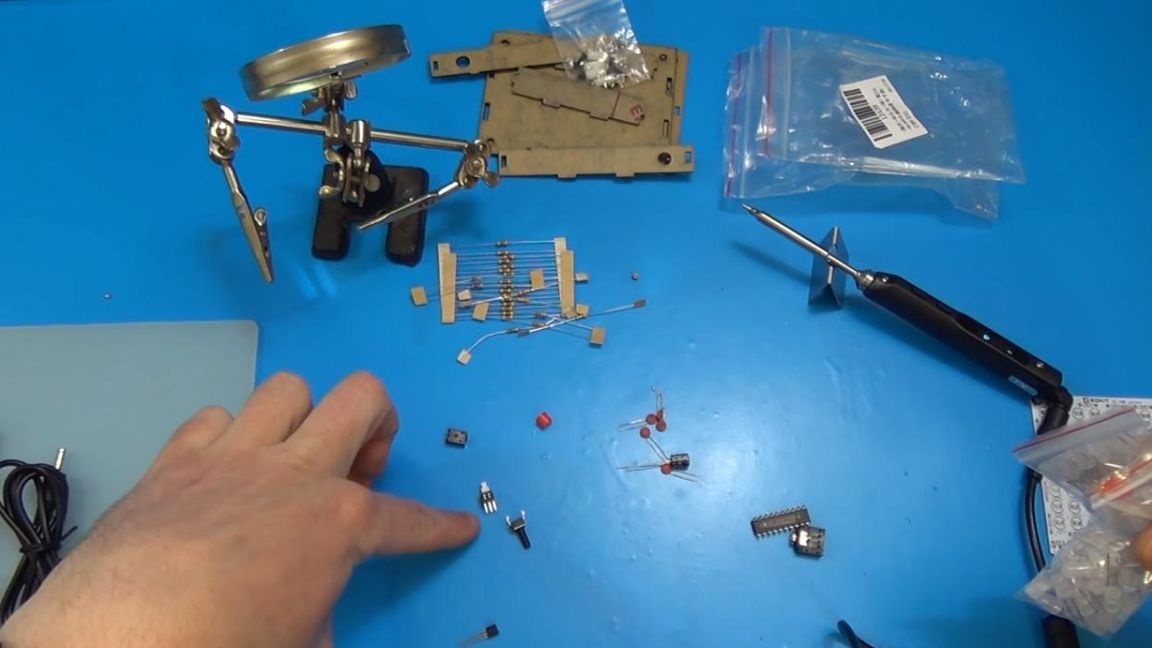
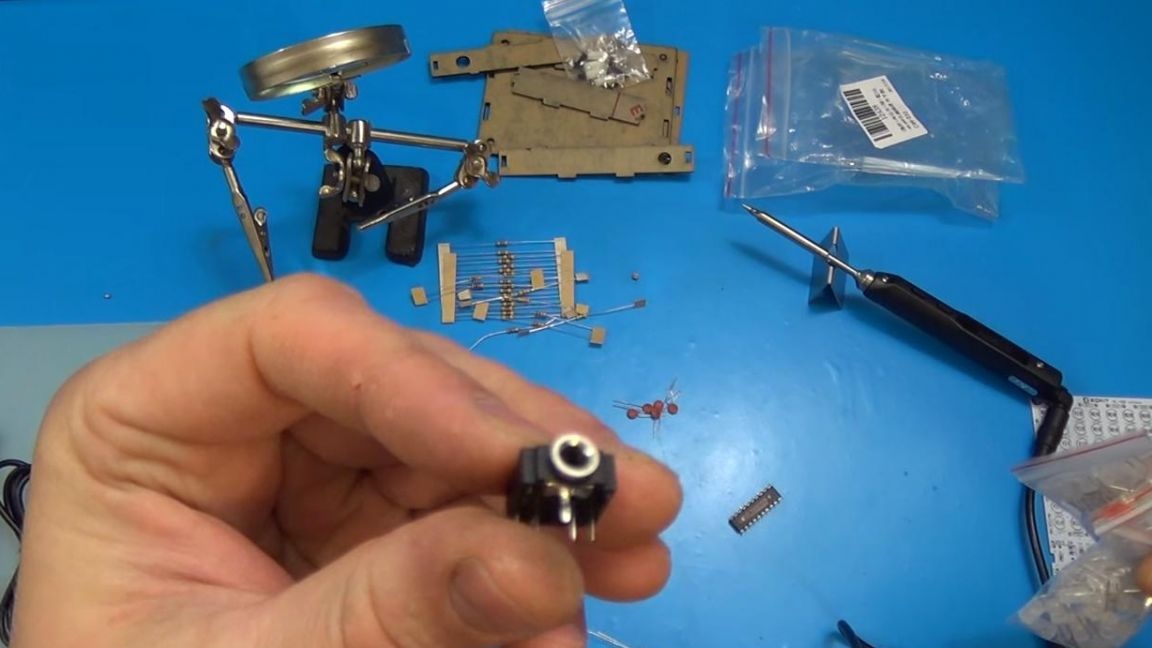
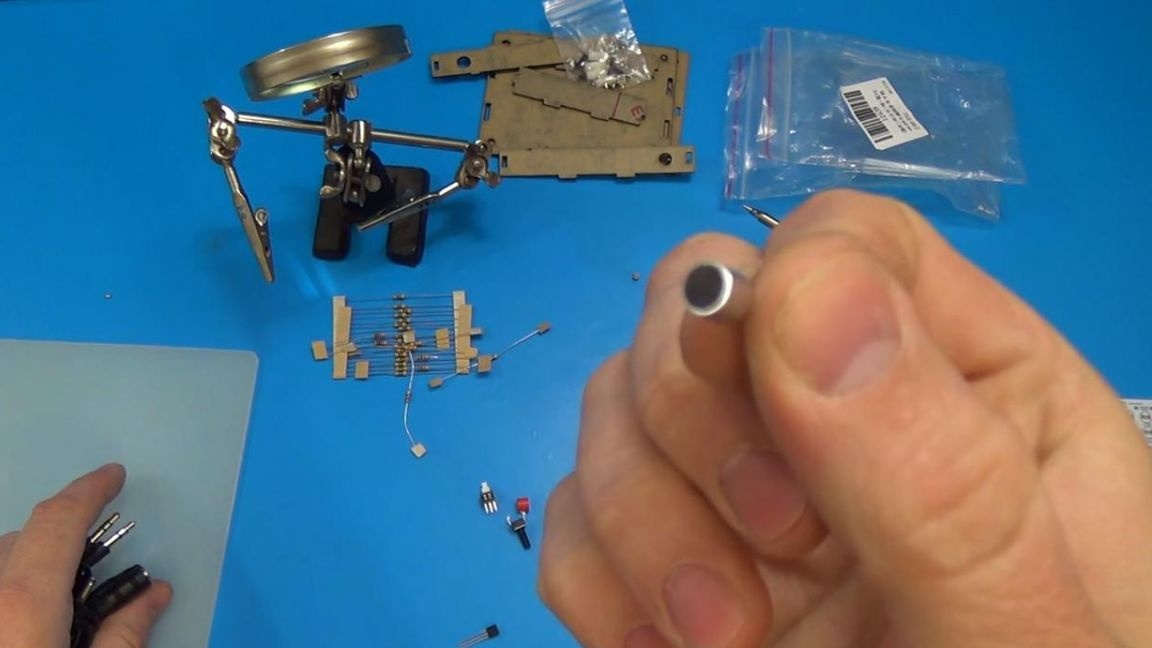
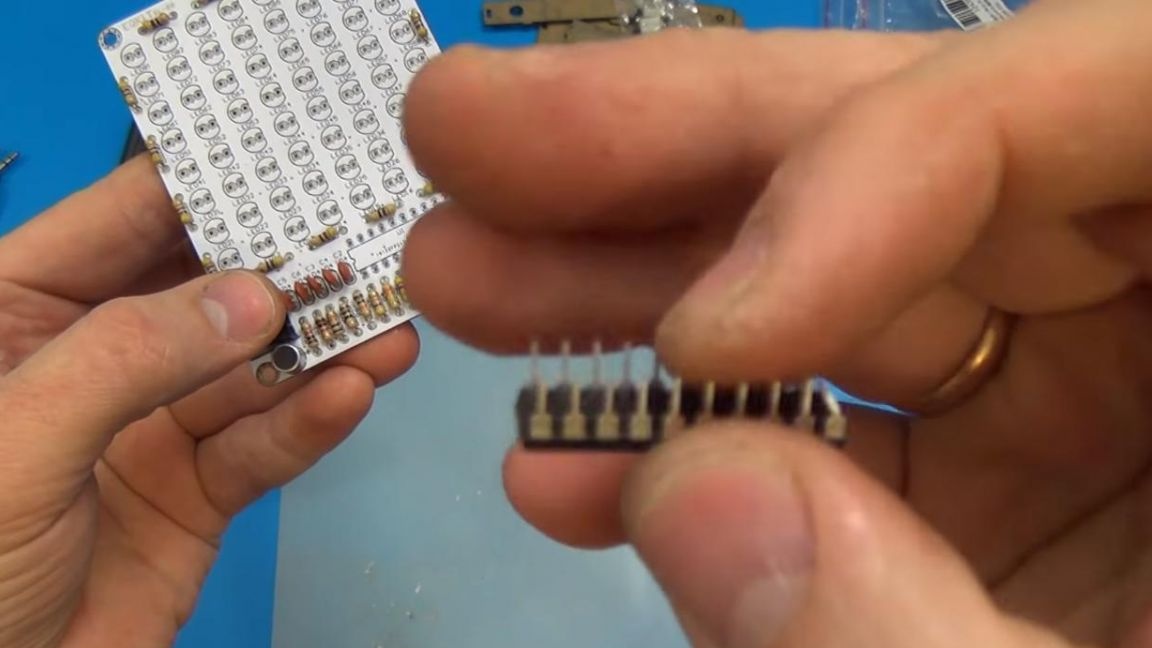
Also in the kit there is a power button, a 3.5 mm jack to connect a sound source, a microcircuit, a capsule microphone and of course radio components, of which there are many, especially resistors.

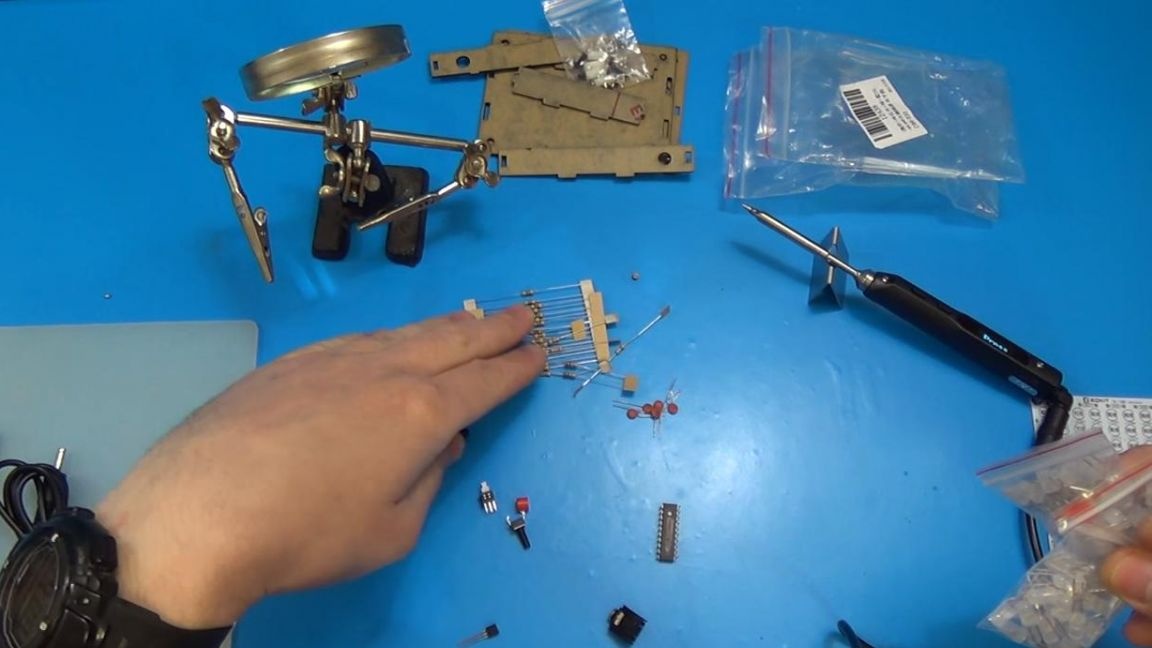
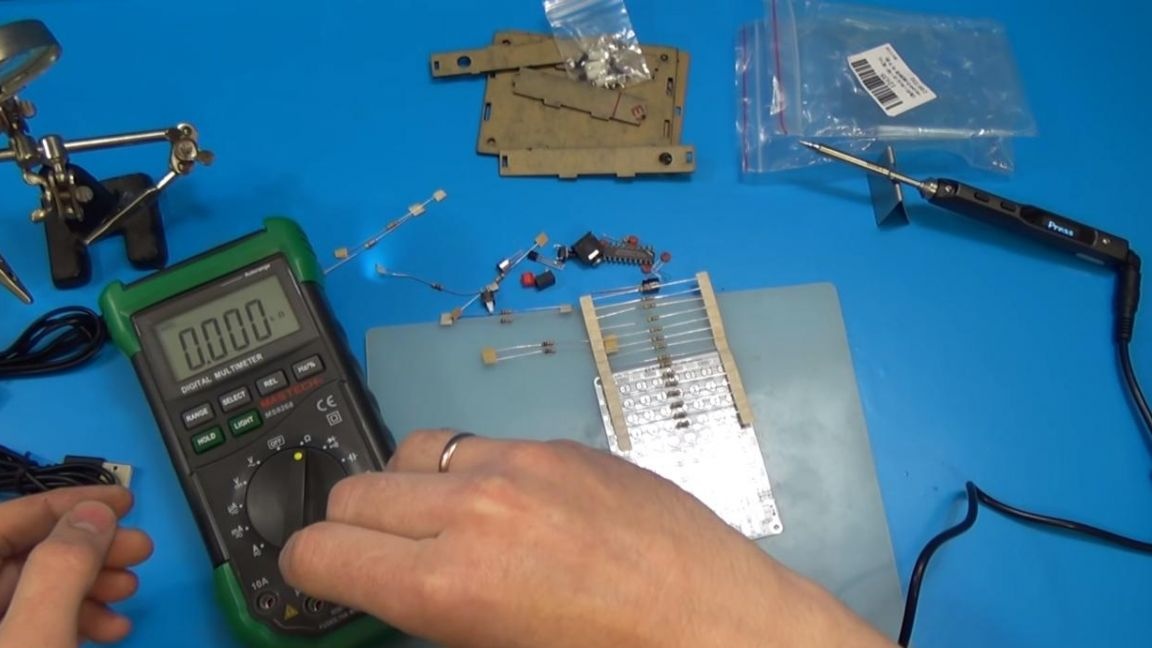
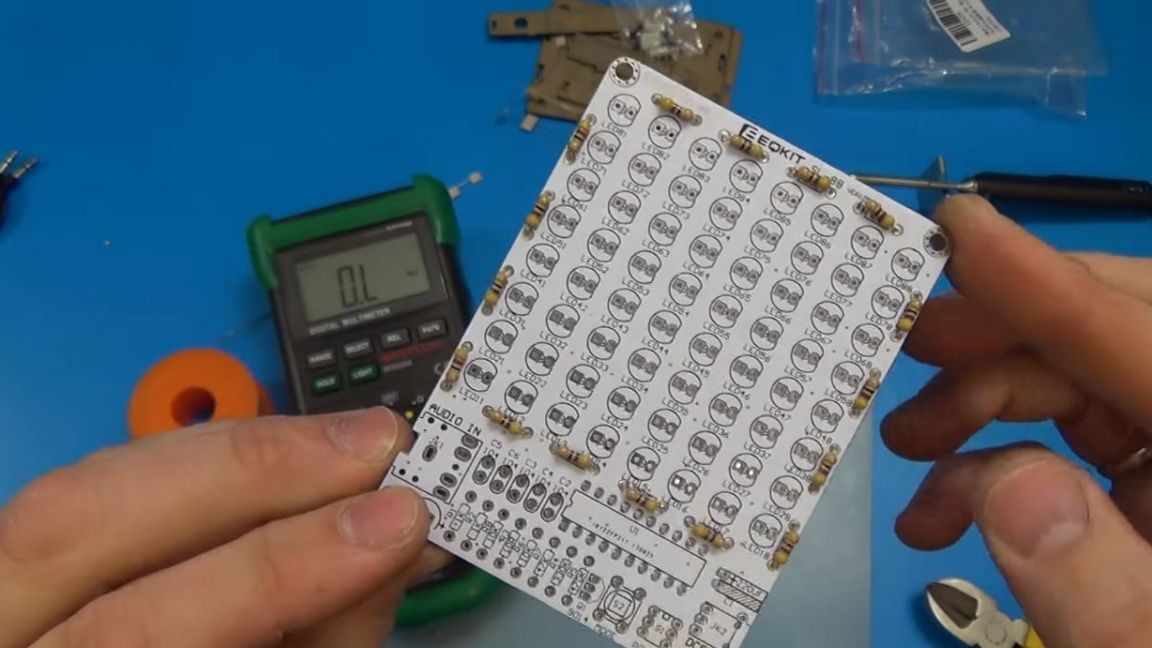
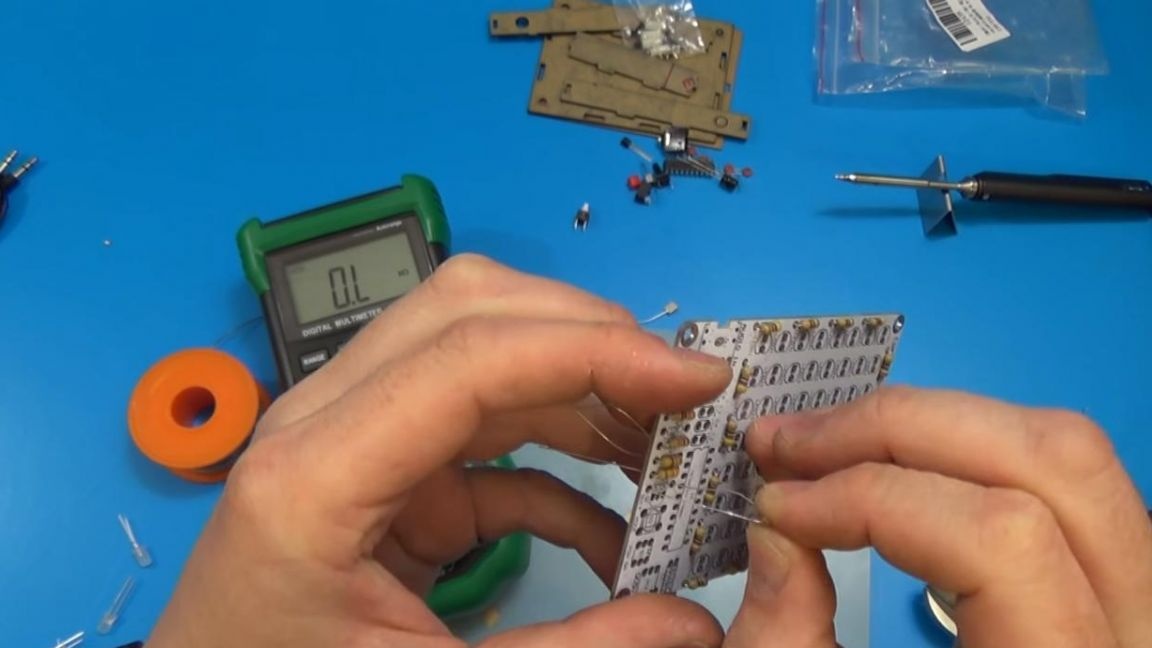
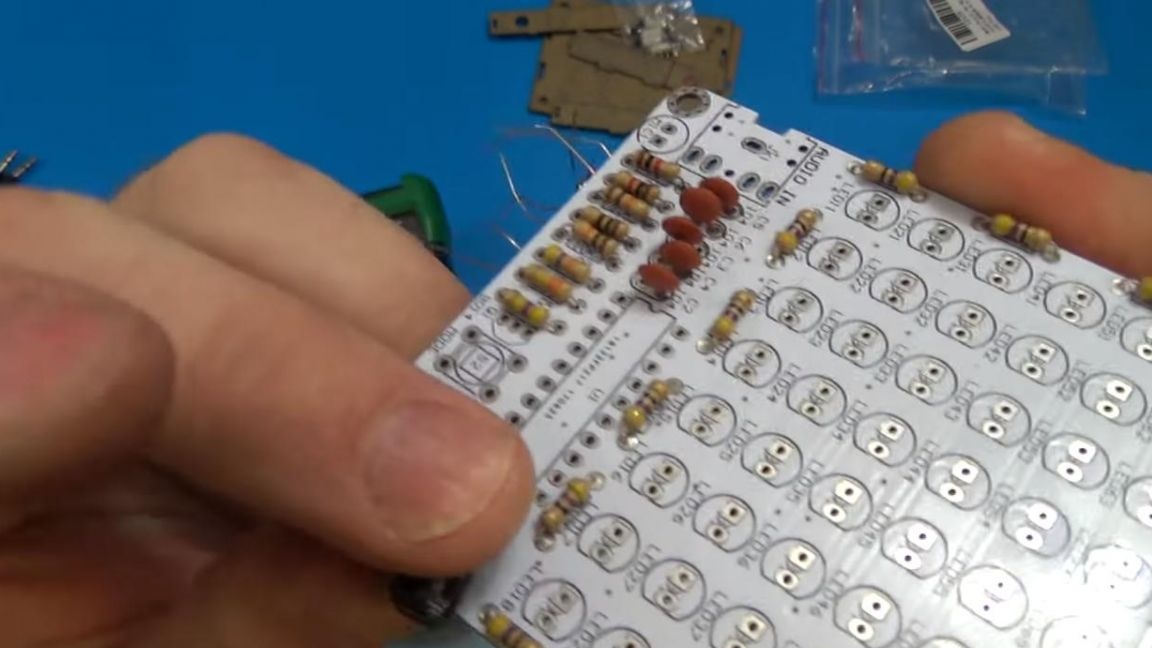
First, install the resistors on the board.
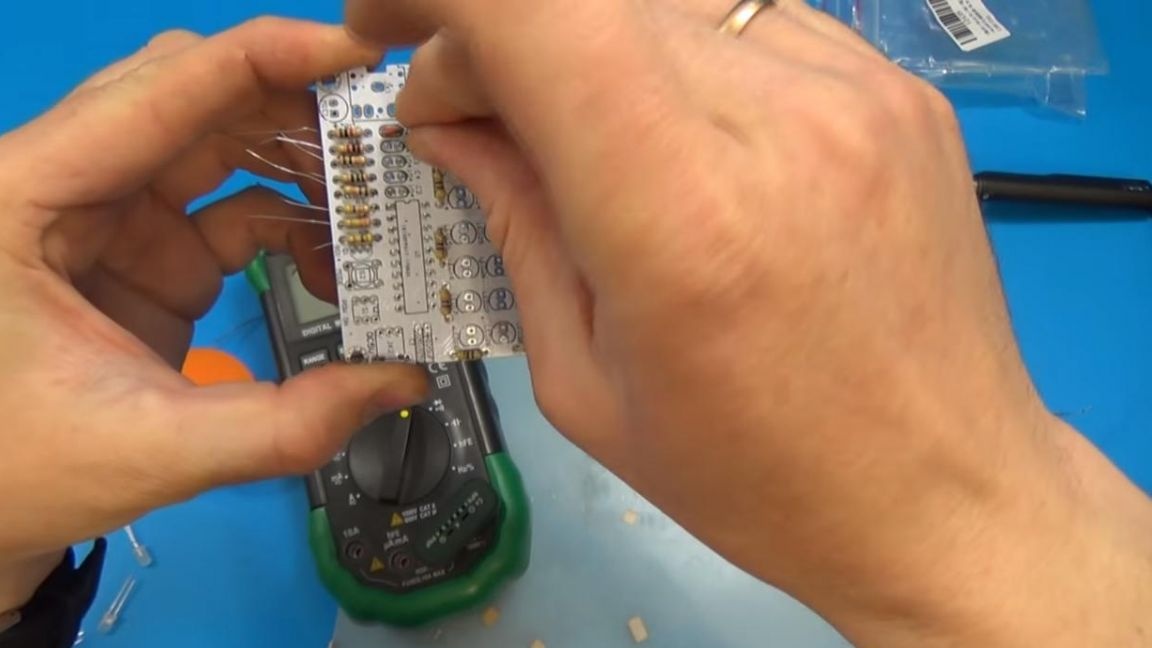
The resistor ratings are not signed on the board itself, so we will check against the notation table.
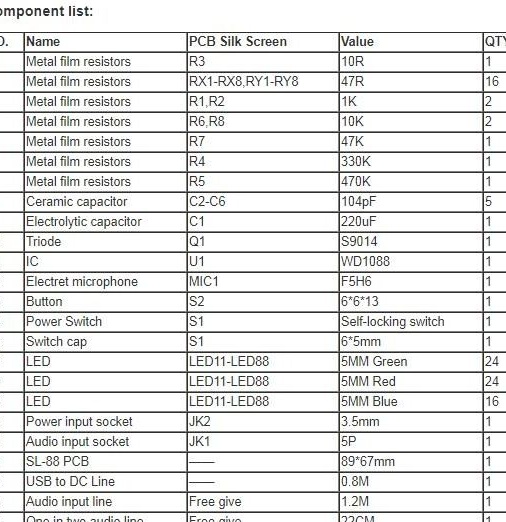
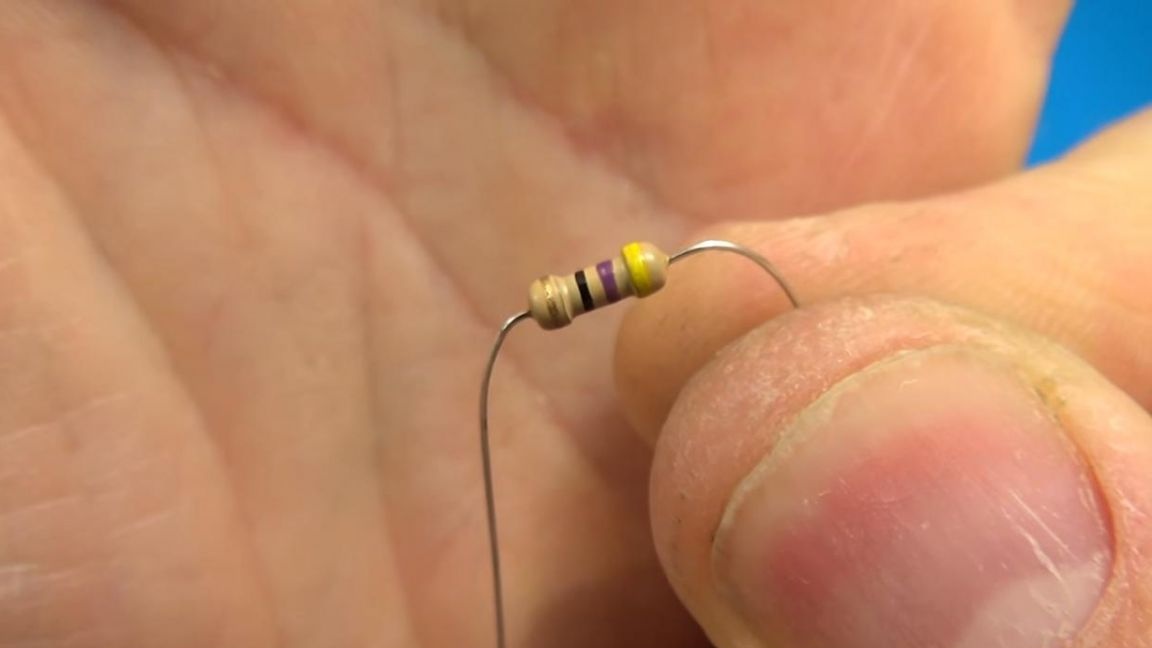
You can determine the value of resistors using a multimeter, and also, if you do not have one, you can use the table to determine the resistance by color coding or an online calculator where you need to set the color of the strips on the case, after which information about the resistor value will appear . The first way to determine the denominations is the fastest.
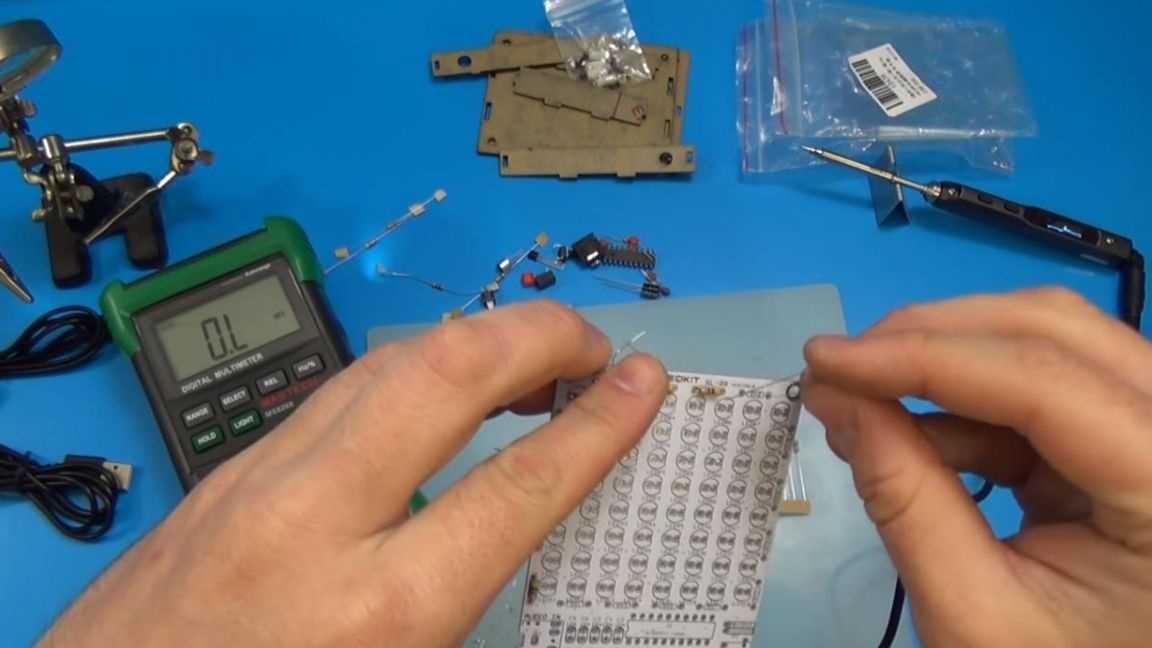
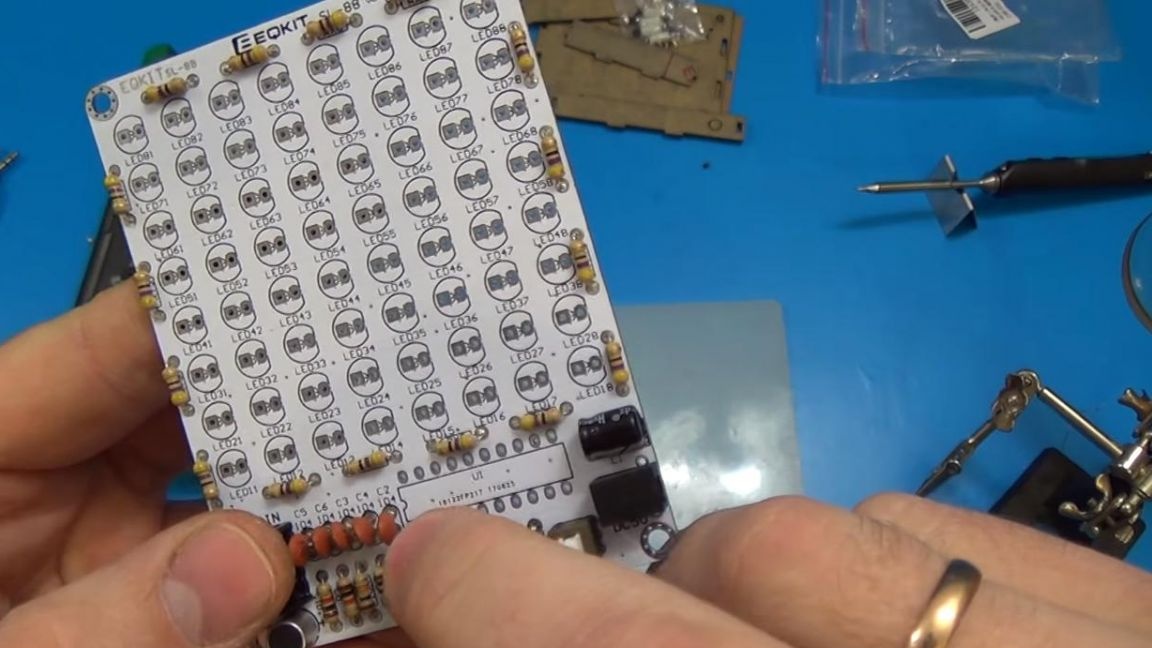
Having determined the nominal resistance of the resistors, we install them in the holes on the board with the designation RX and RY, on the back side we bend the legs so that the parts do not fall out when soldering.
Step Two
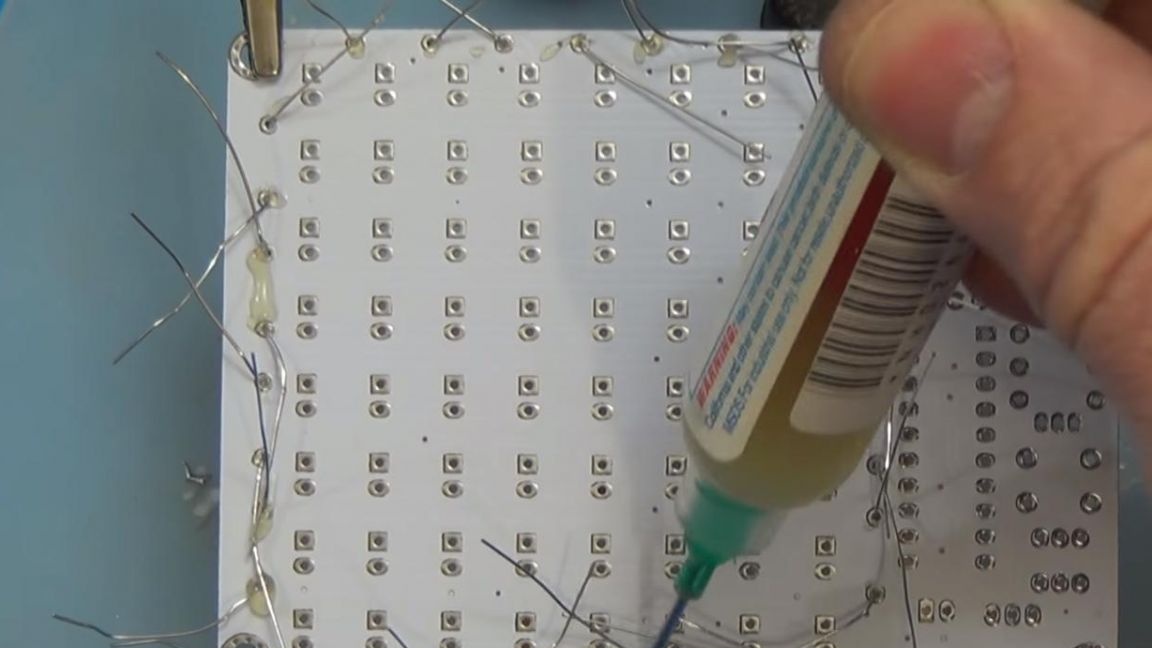
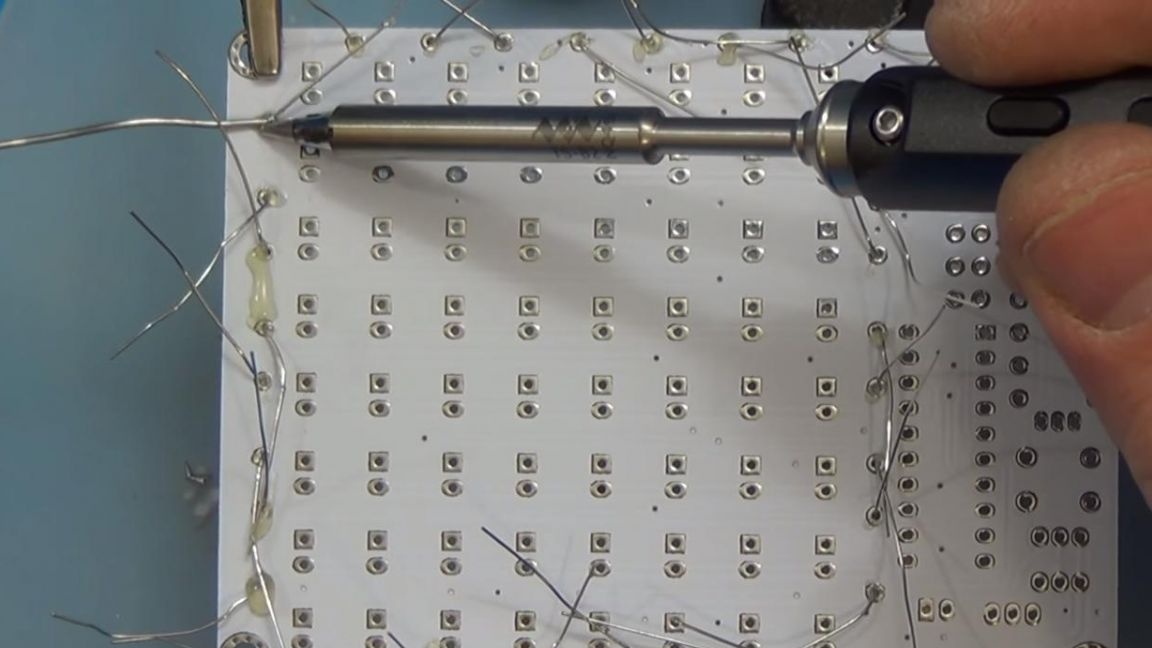
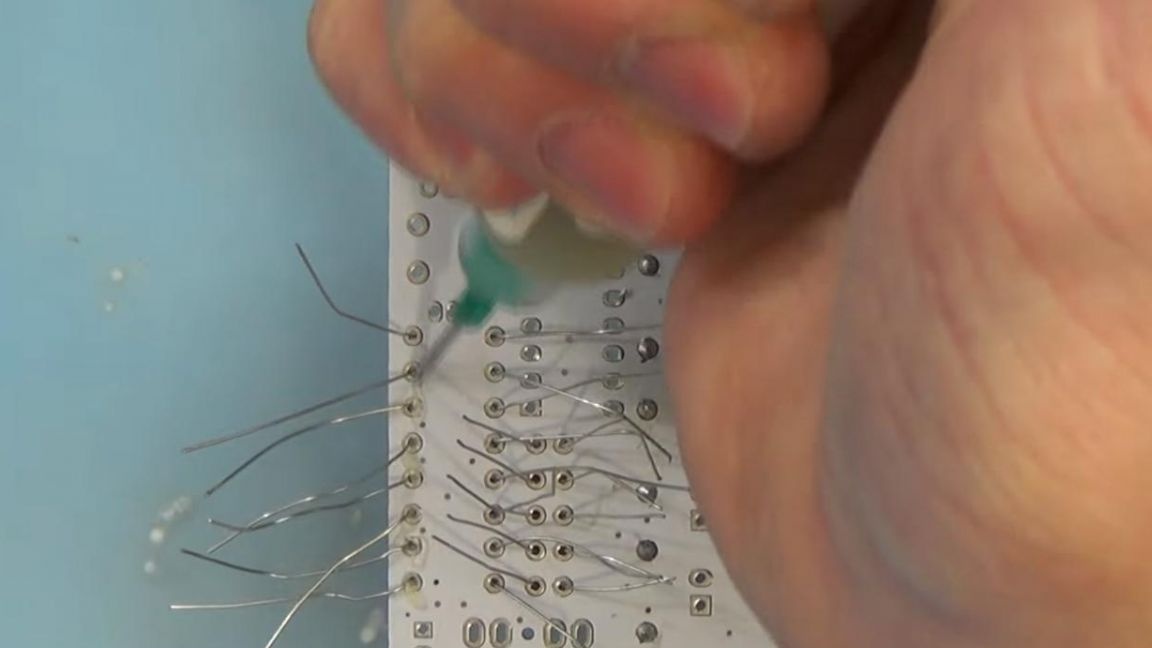
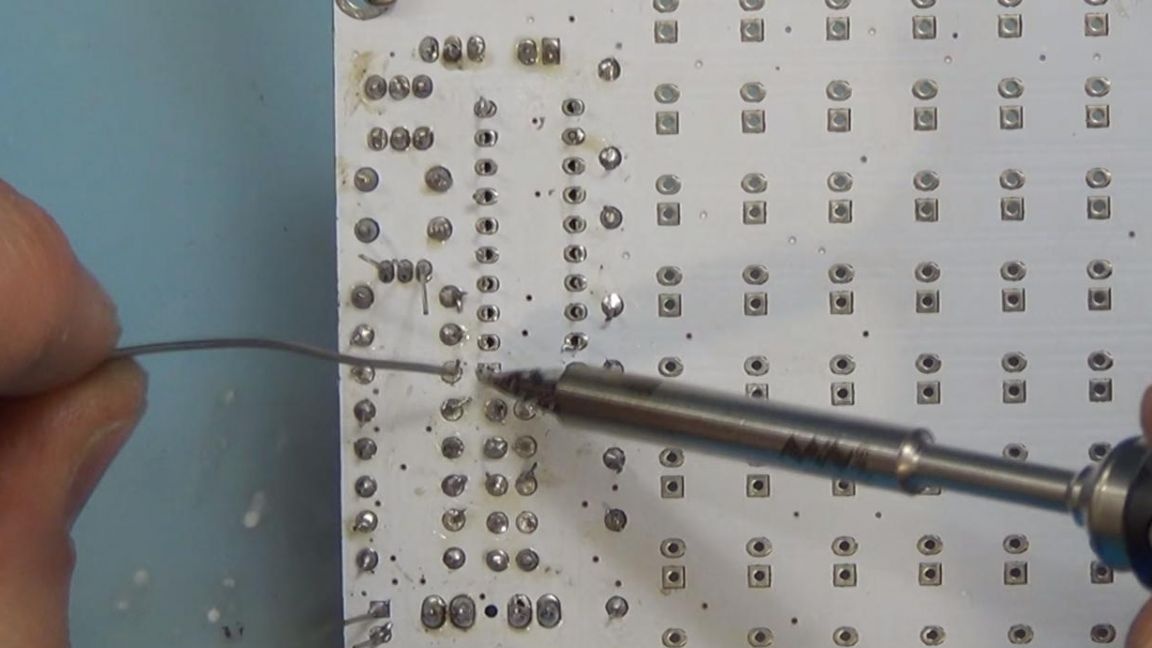
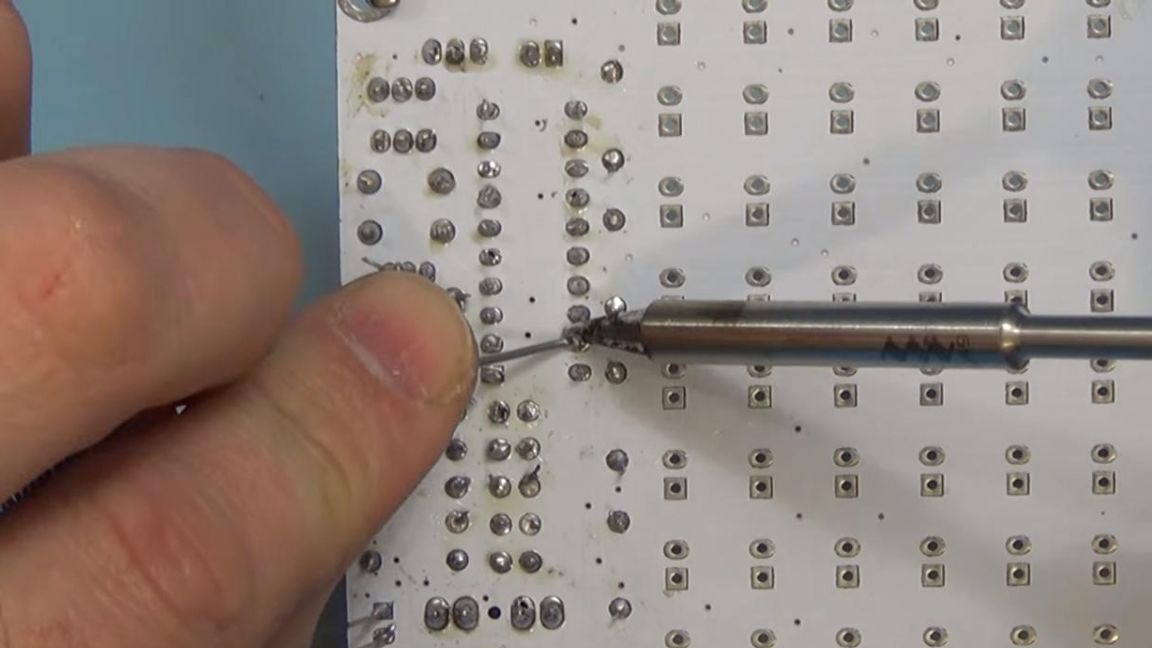
We install the printed circuit board in the device for soldering "third hand" and apply flux to the contacts for better soldering the solder with leads.
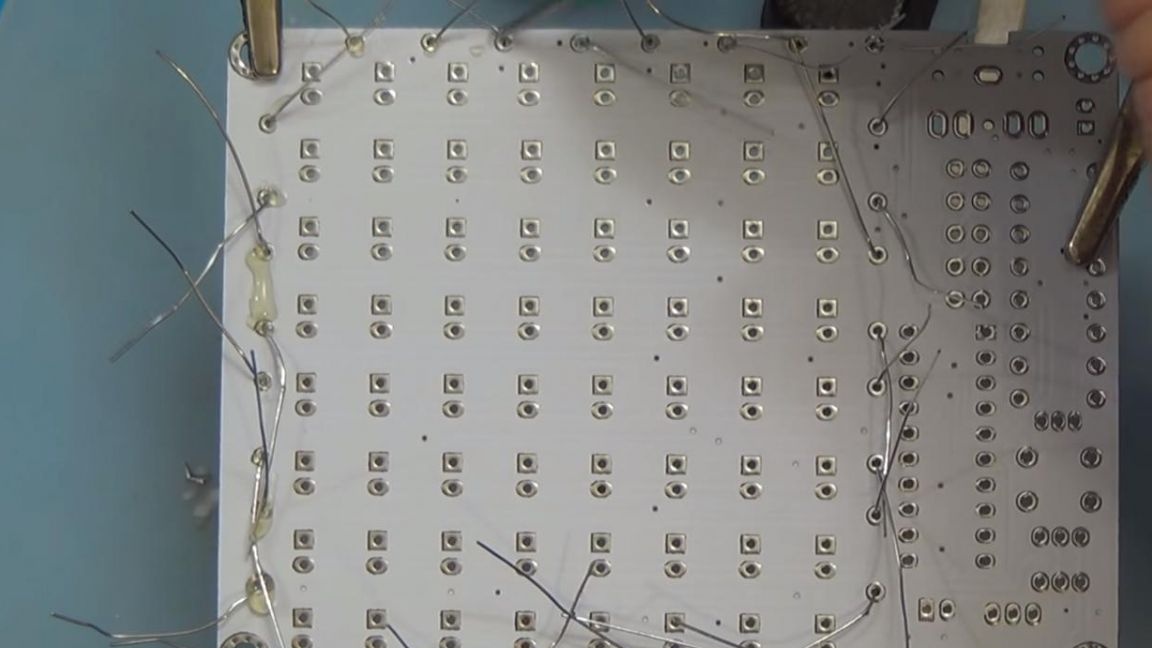
Next, solder the legs of the radio components to the board contacts, and then use the side cutters to remove the excess terminals. When biting off the excess of the findings with side cutters, be careful, as you can tear out the track with the leg.
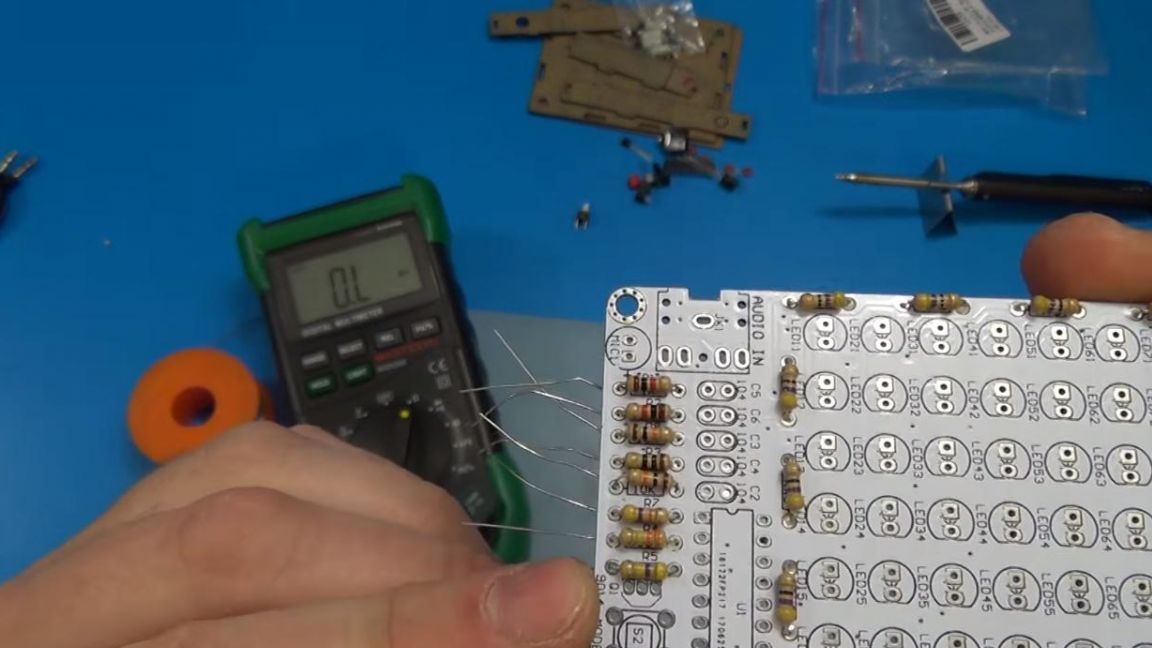
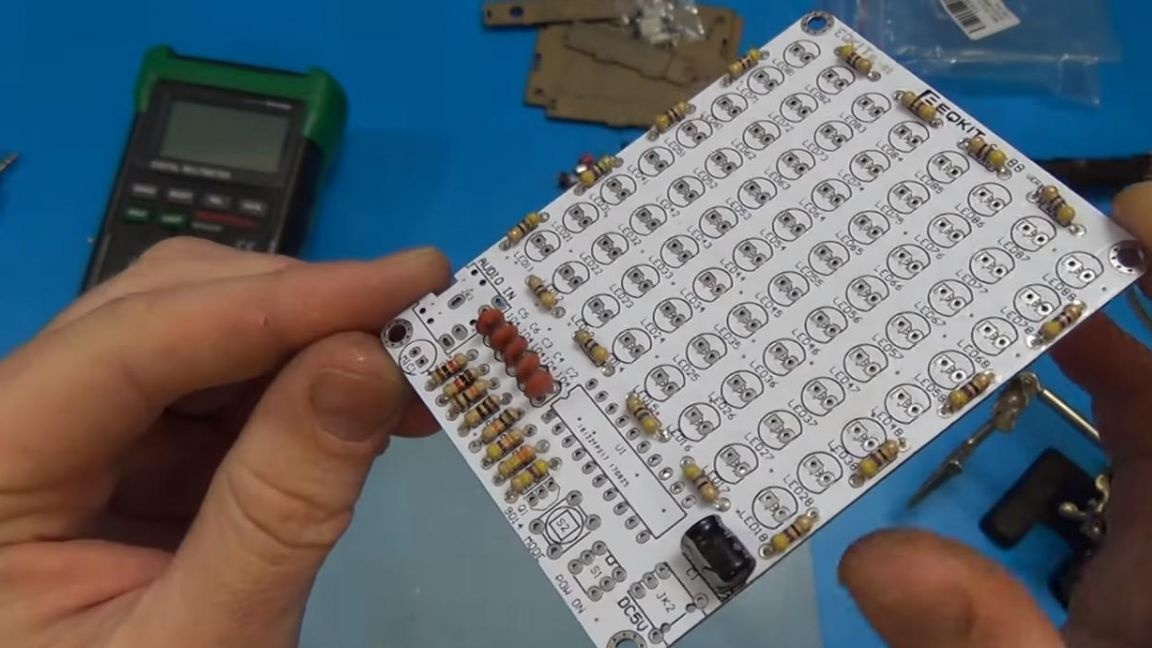
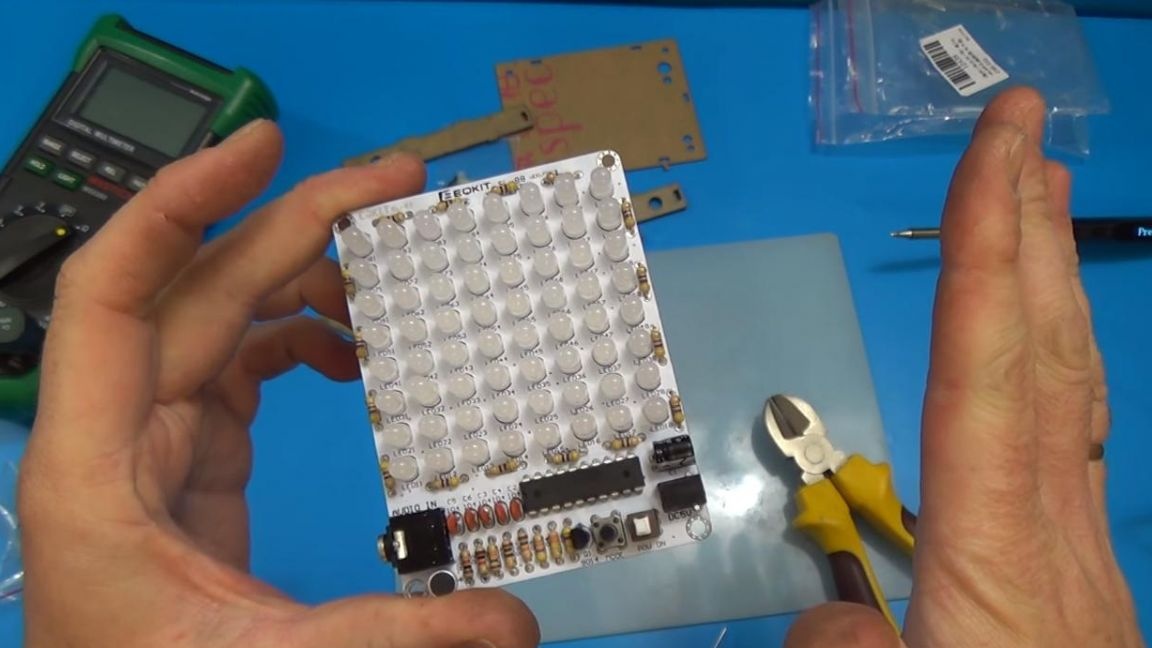
As a result, we got such a board with 16 resistors installed.
Step Three
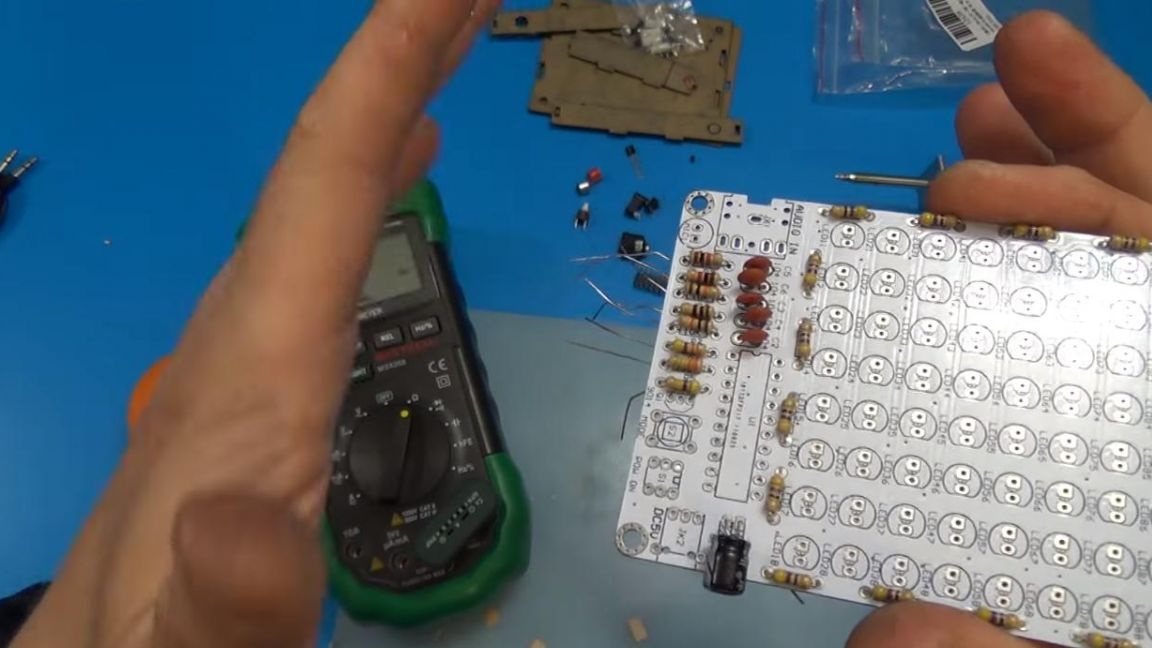
Next, we install a series of resistors, also determining their value, as in the previous step.
Now we install non-polar ceramic capacitors on the board, they are marked with the letter C with a numerical value, the capacitors themselves are marked on the case 104.
After installing the non-polar capacitors, we put a polar electrolytic capacitor with a capacity of 220 microfarads, the polarity on the board is indicated by a plus, and the minus track is marked with a hatch. The polarity of the capacitor is determined as follows: the long leg is a plus, the short one is a minus, and a gray strip is also applied to the minus on its body.
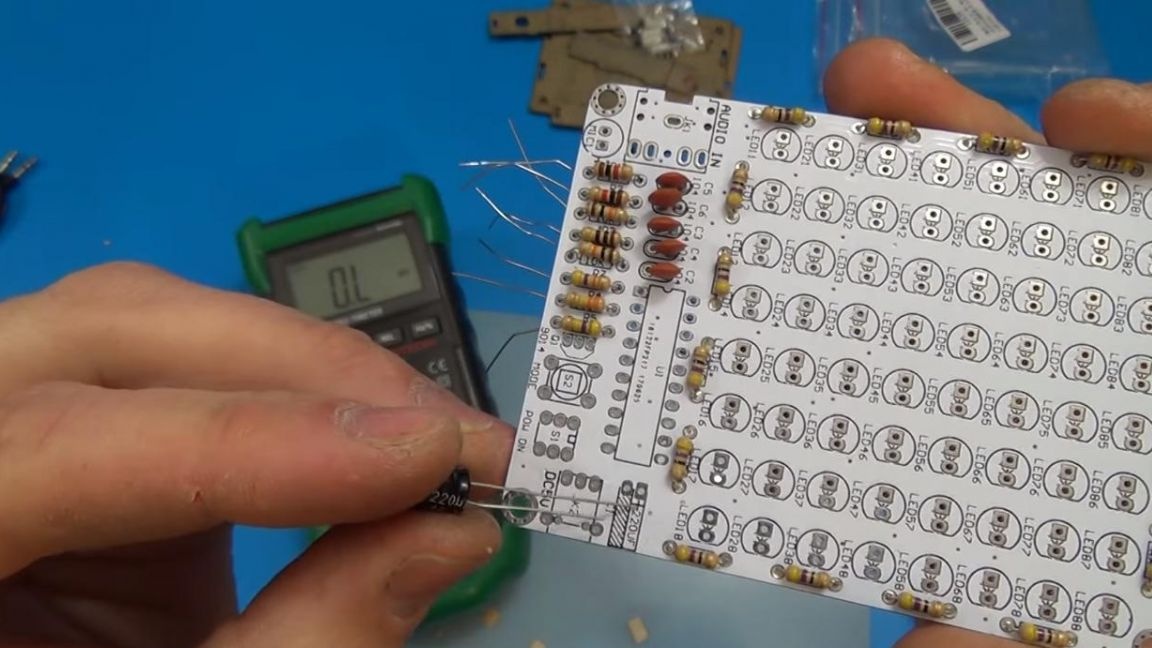
We press the capacitor with your finger, it should lie on the board, since in the initial state it will not fit into the case.
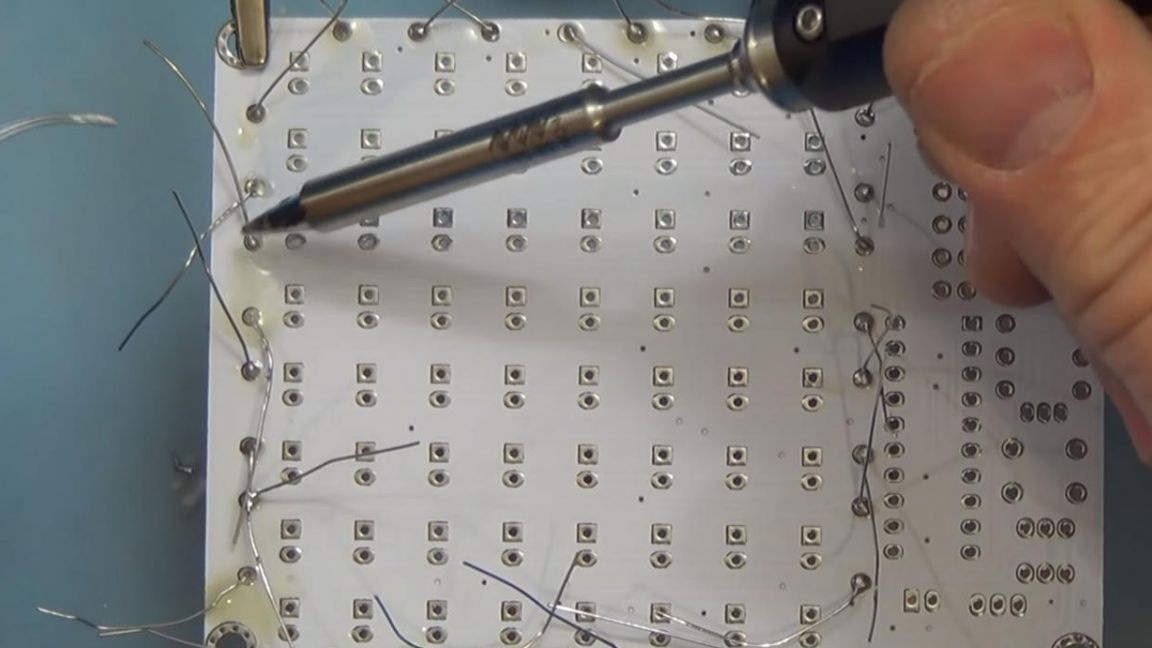
We solder the conclusions, applying a flux to the contacts before this.

After soldering, the board looks like this, but there are still free places for components on it.
Step Four
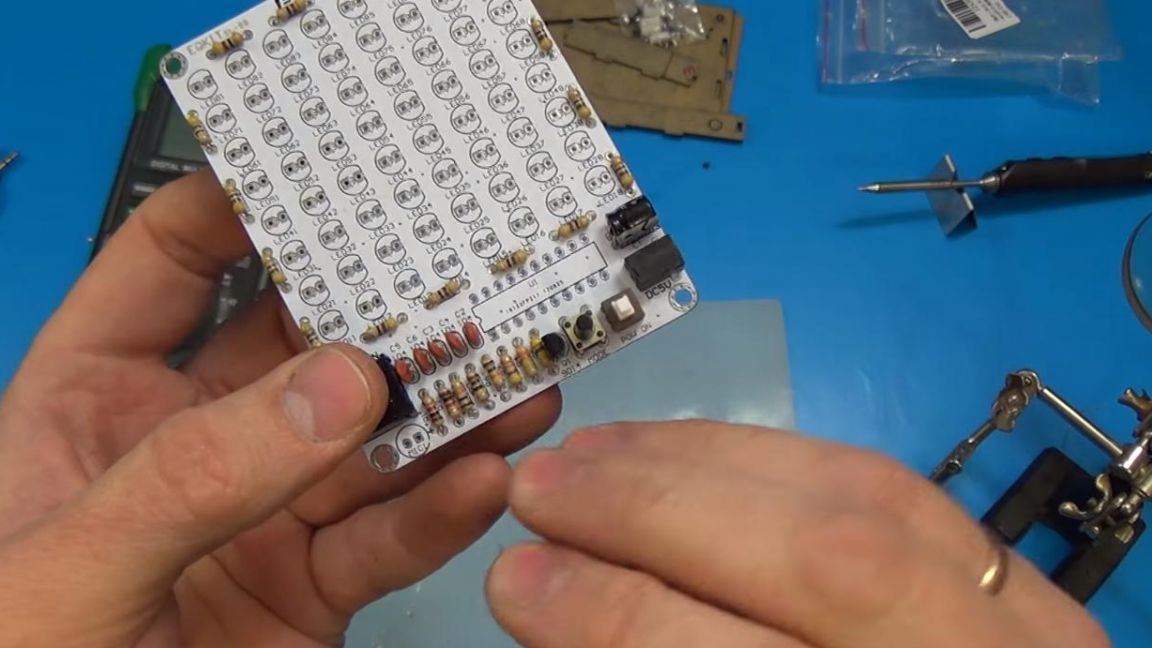
We install the power button, on its case there is a key in the form of a notch, it must be combined with the key on the board.

Next, insert the power socket, a 3.5 mm jack, a mode switch button, a capsule microphone, the polarity of which is signed both on the case and on the board, and a transistor that is inserted with a tapered part to the dash on the board.
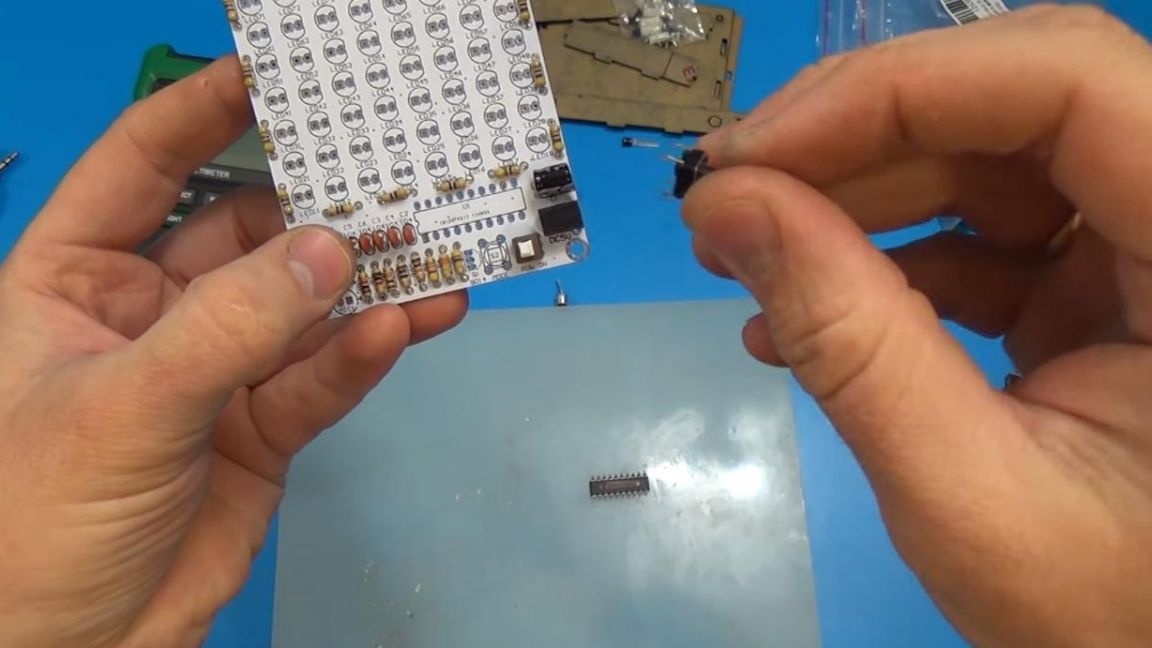
Having previously straightened the legs of the microcircuit, we put it in its place, on the board there is a key, which on the microcircuit is made in the form of a round recess or dot.
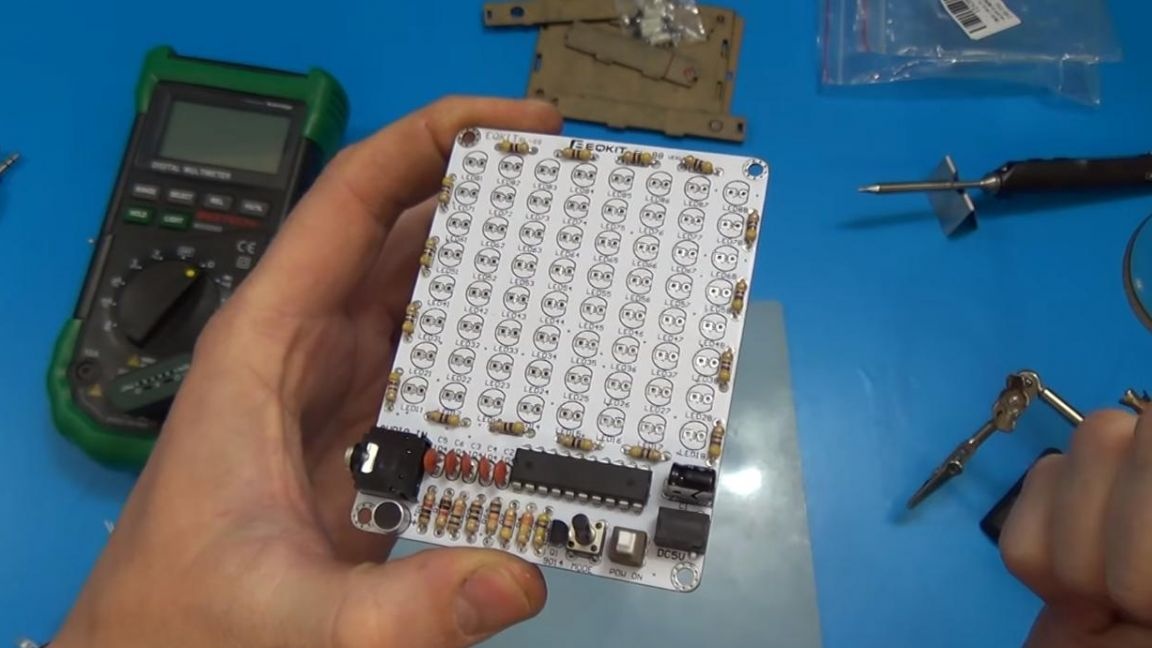
Now solder all the components. When soldering a microcircuit, try not to overheat it, as it may fail.
Step Five
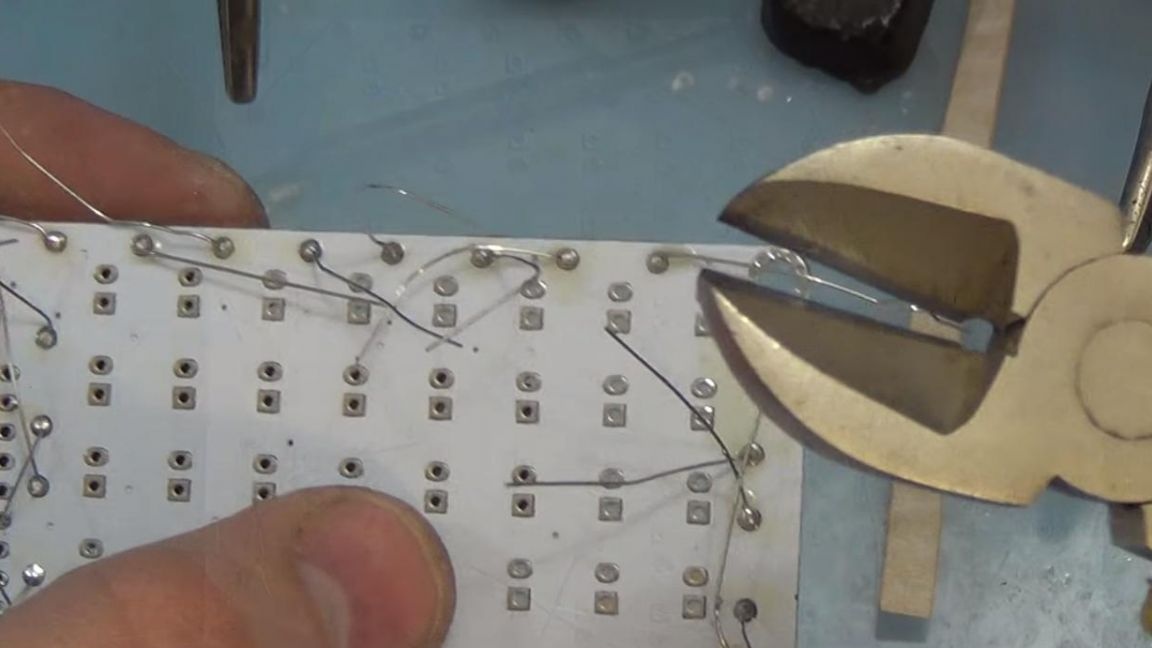
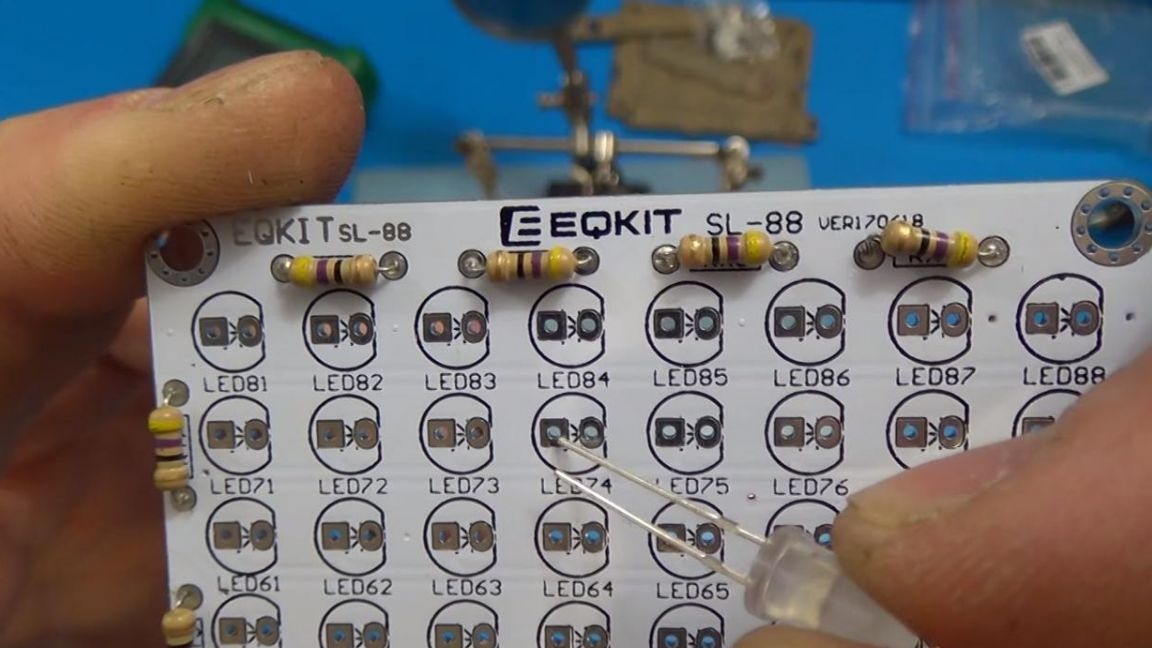
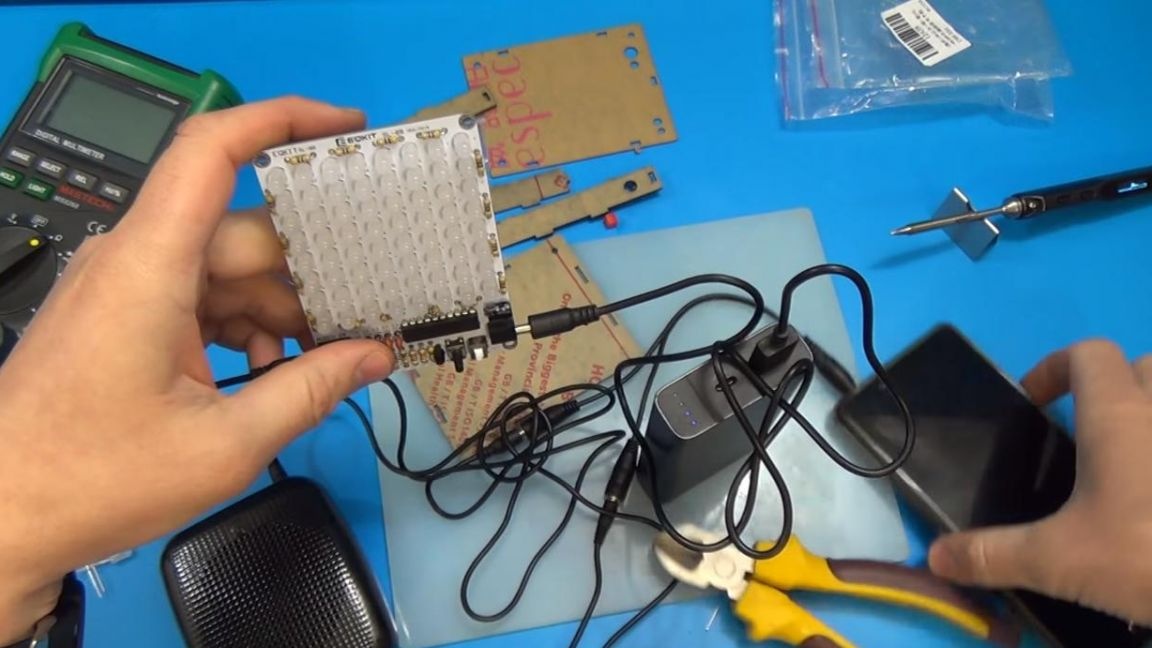
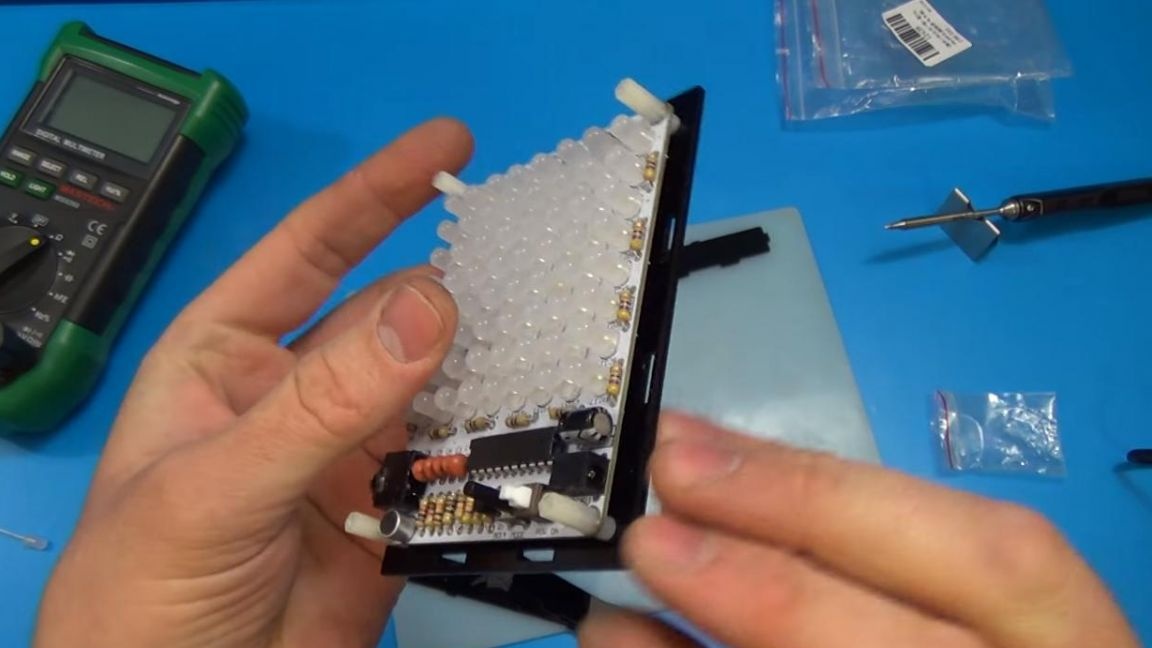
For a fully operational state, the board does not have enough LEDs, so now install them. We insert the LEDs according to the polarity, there is a special cut on the case, which is also indicated on the board, or put the LEDs with a long leg into the square contact on the board, which is a plus. The arrangement of LEDs in color can be any. We solder the LEDs and bite off the extra conclusions with side cutters.
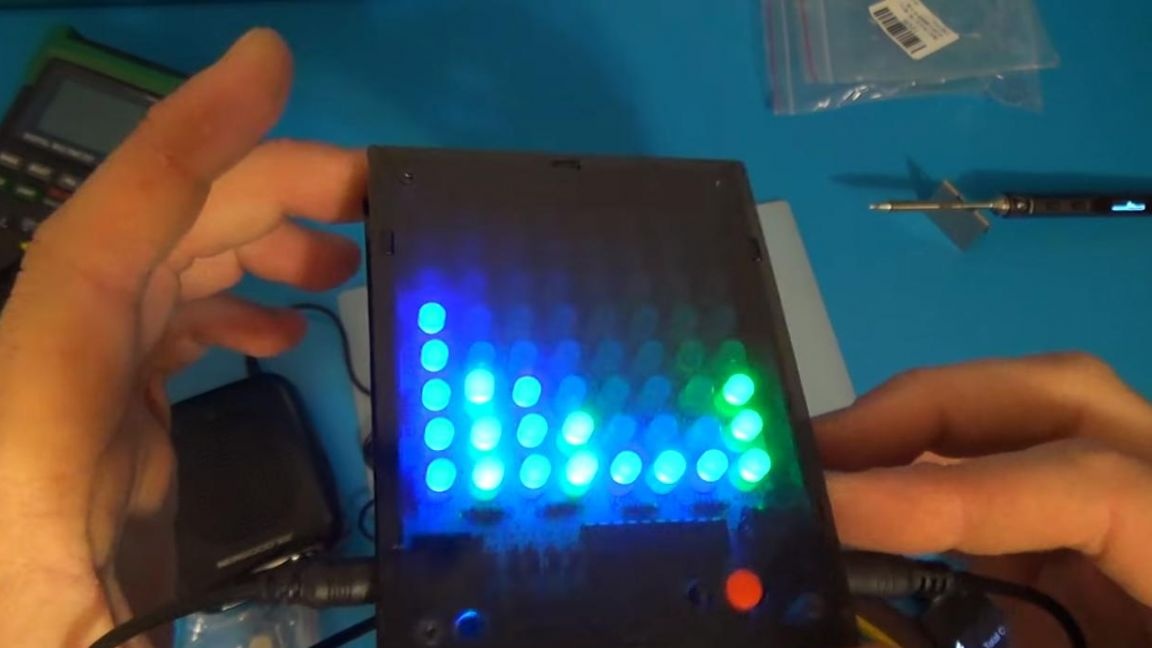
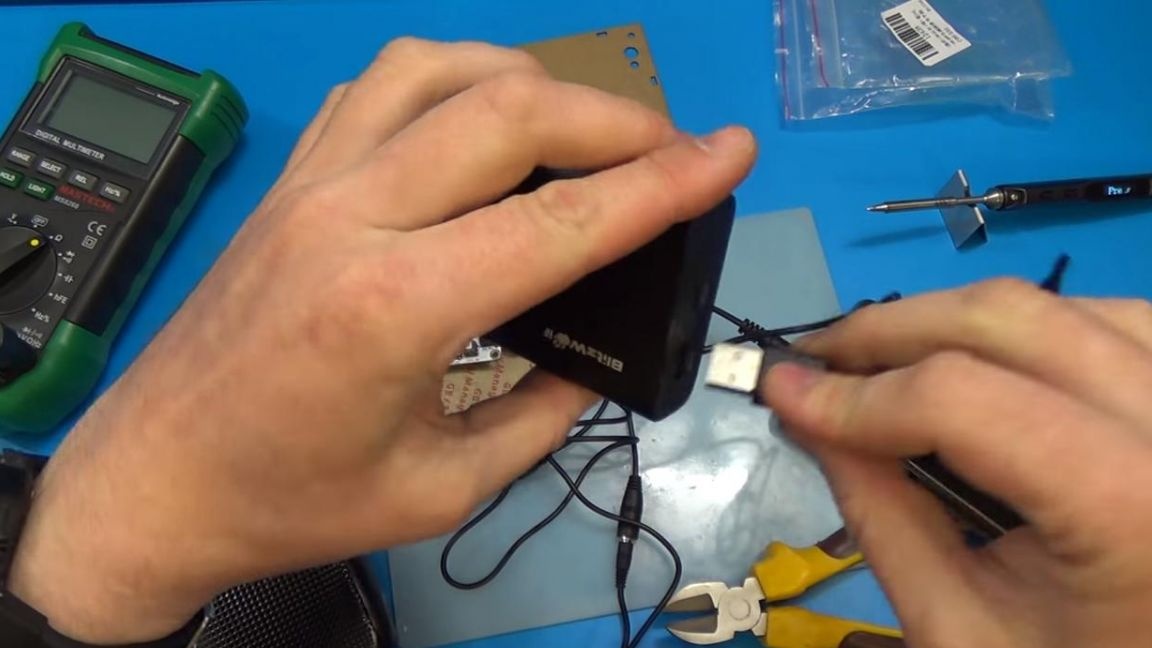
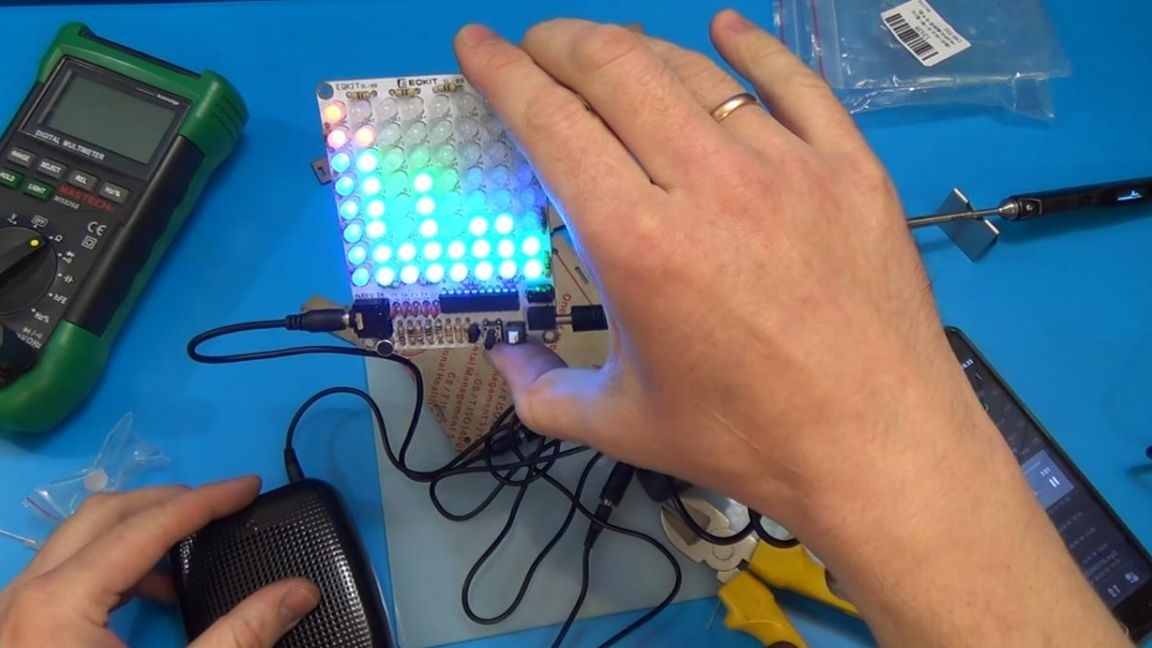
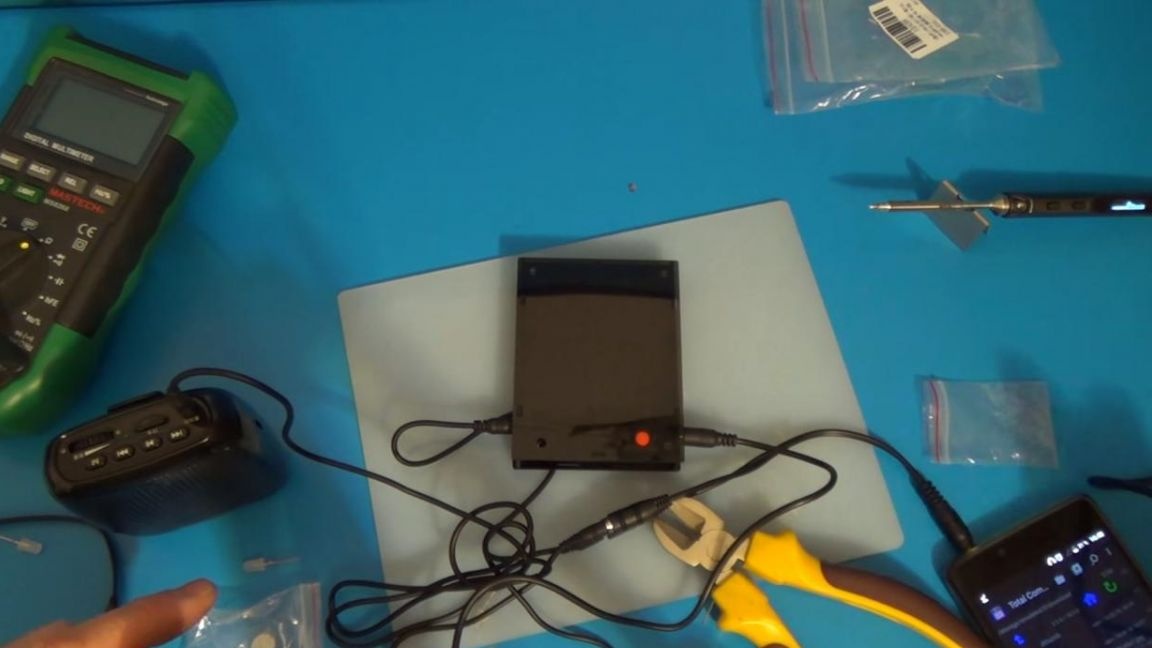
Now you can check the assembled board for operability. We plug the bifurcator into the audio output of the phone and connect the speaker via an AUX cable, connect the LED equalizer to the other output and supply power from the power bank or from the power supply with a USB port and turn on the music.

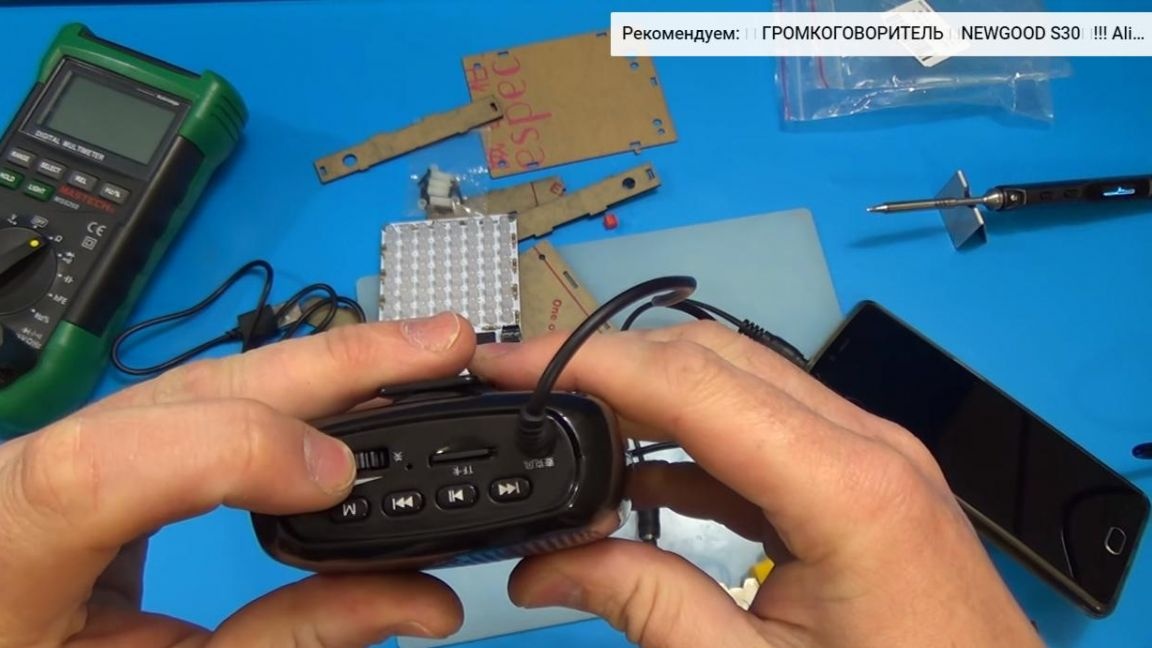
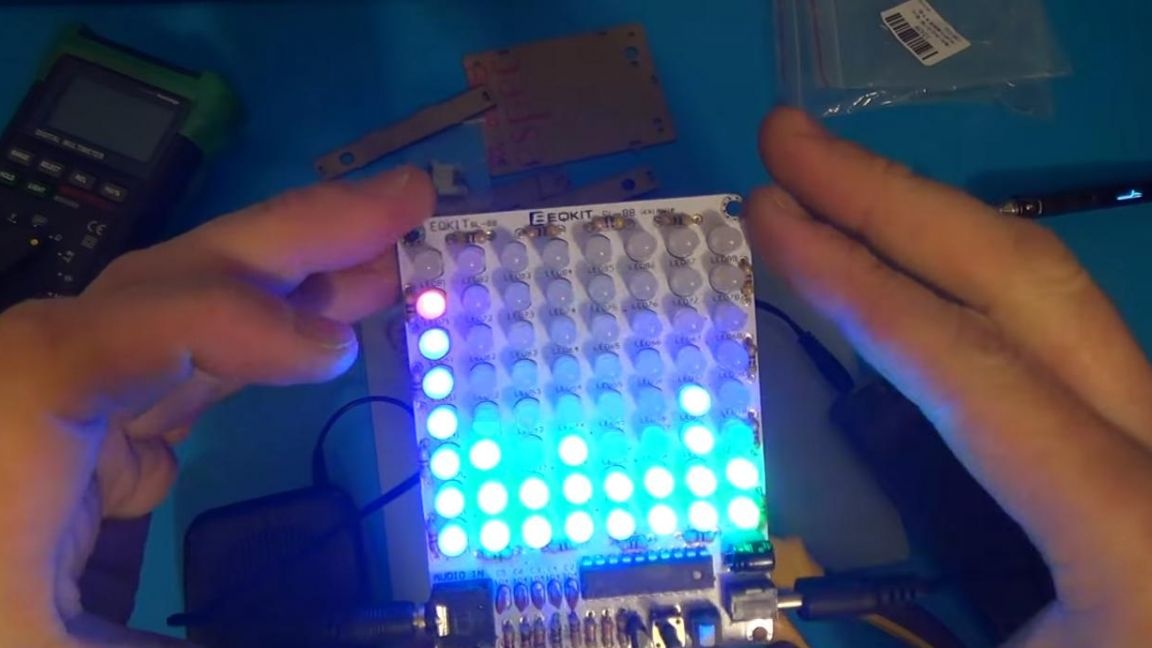
As you can see, the equalizer works, the LEDs glow to the beat of the music. After checking, we can proceed to the final stage.
Step Six
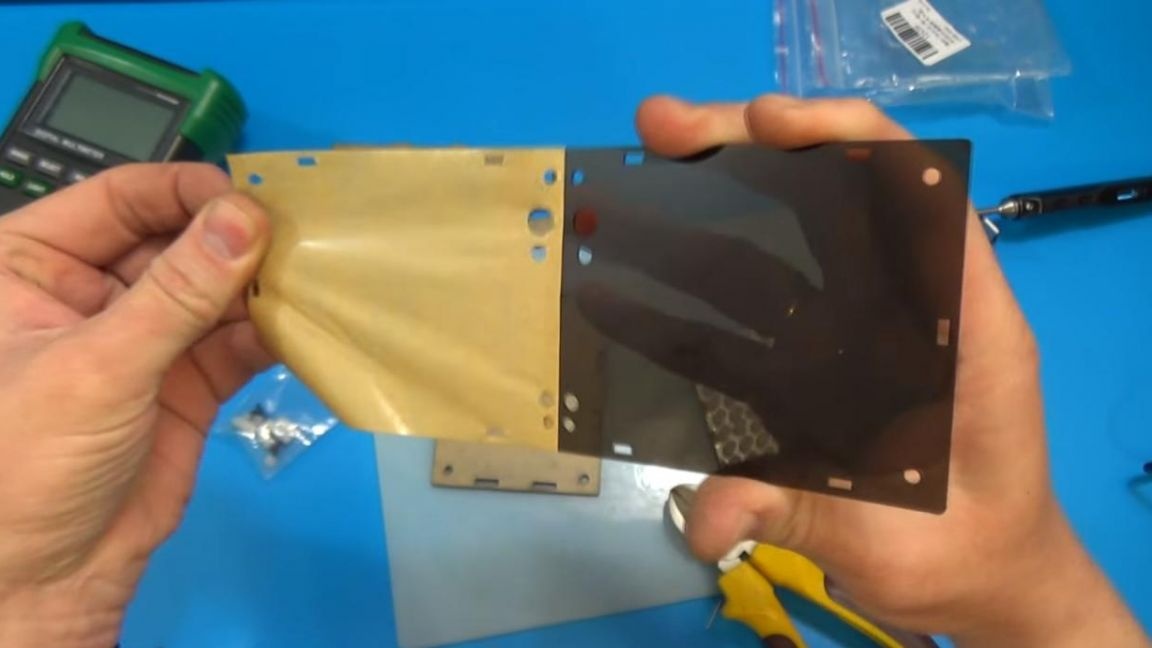
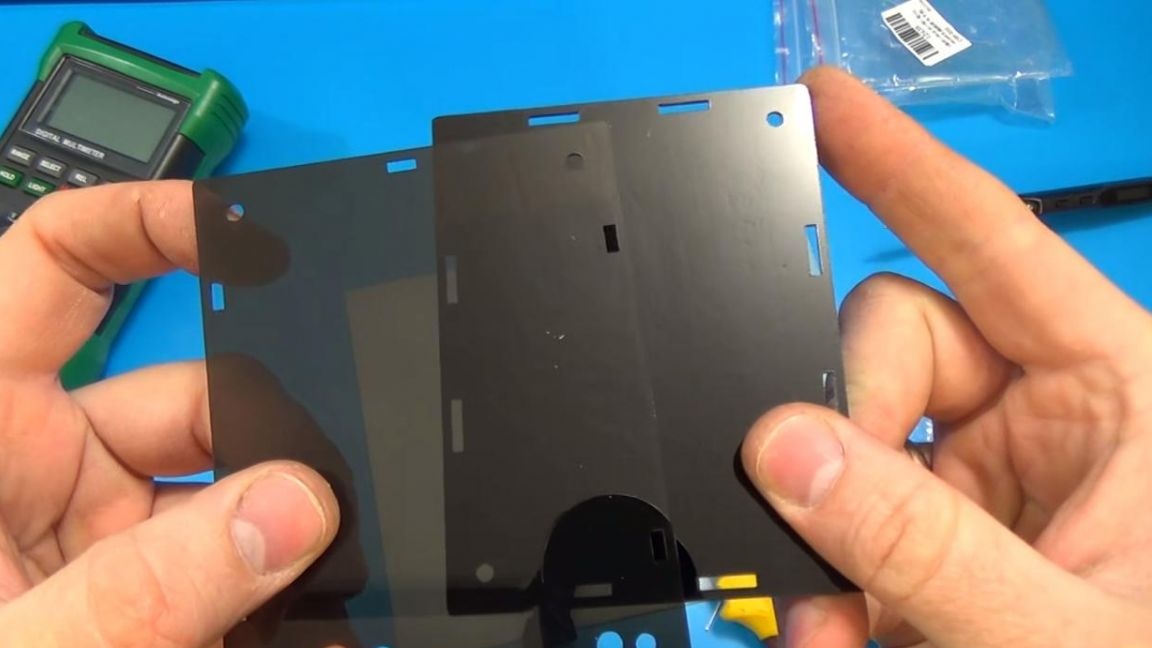
Since using an equalizer without a case is inconvenient, which can also lead to a short circuit or other consequences, you need to assemble it. Included were plastic plates protected by a film that needed to be removed.
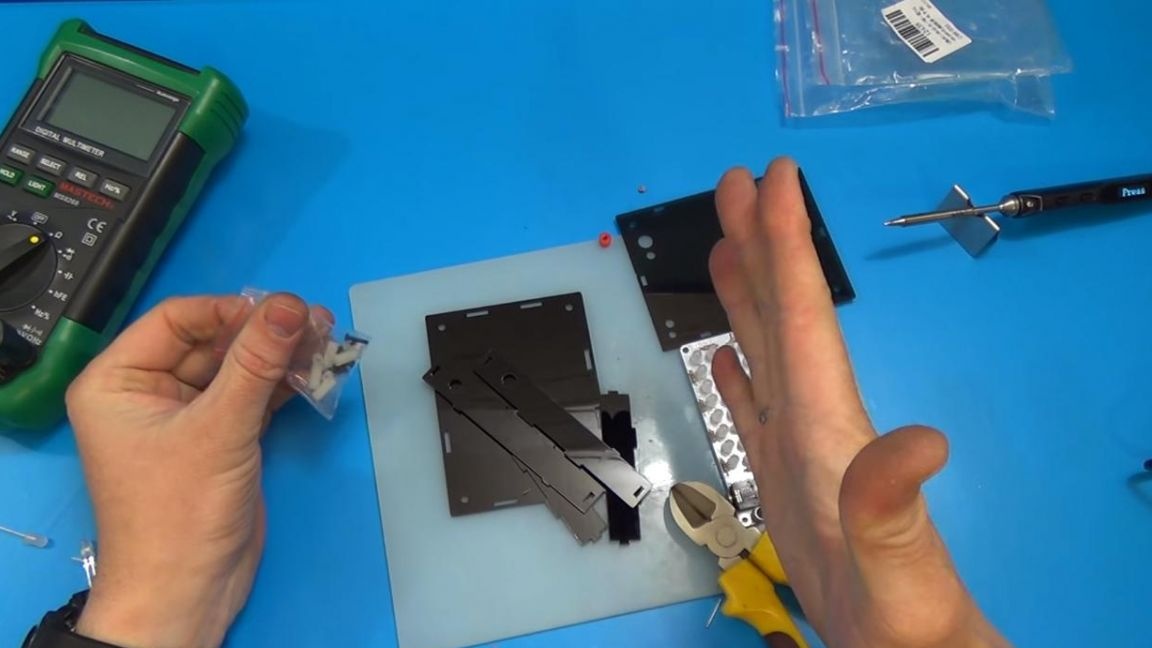
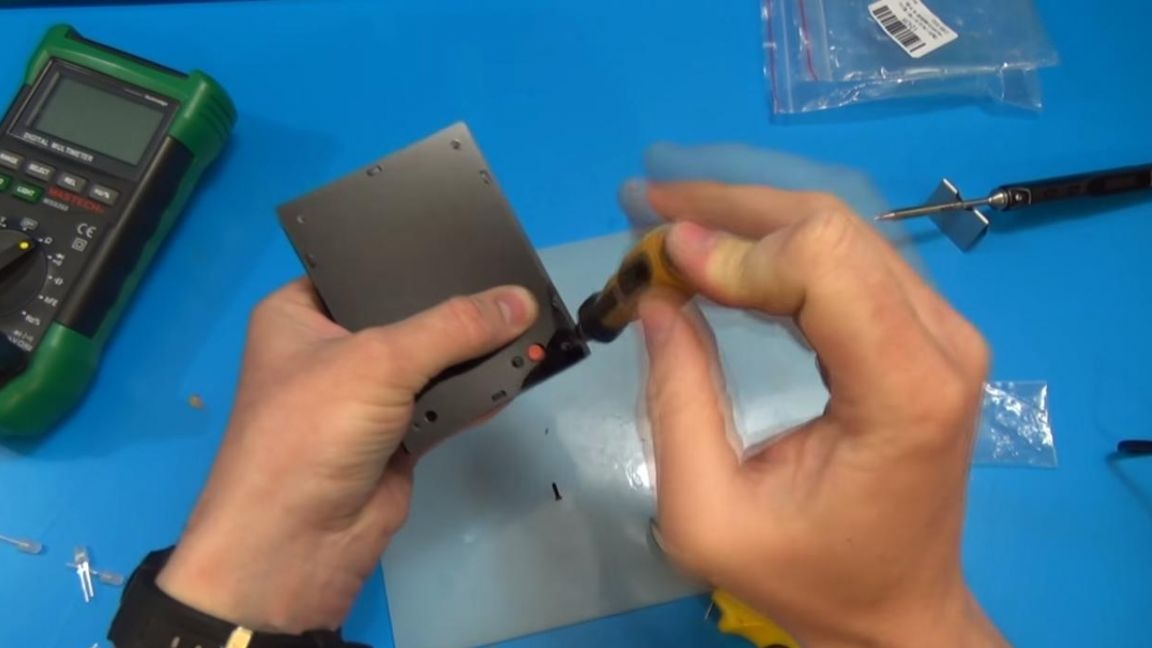
Using four spacers, we install the board on an opaque wall using screws and a Phillips screwdriver.

Next, install the side plates, inserting them into the groove.
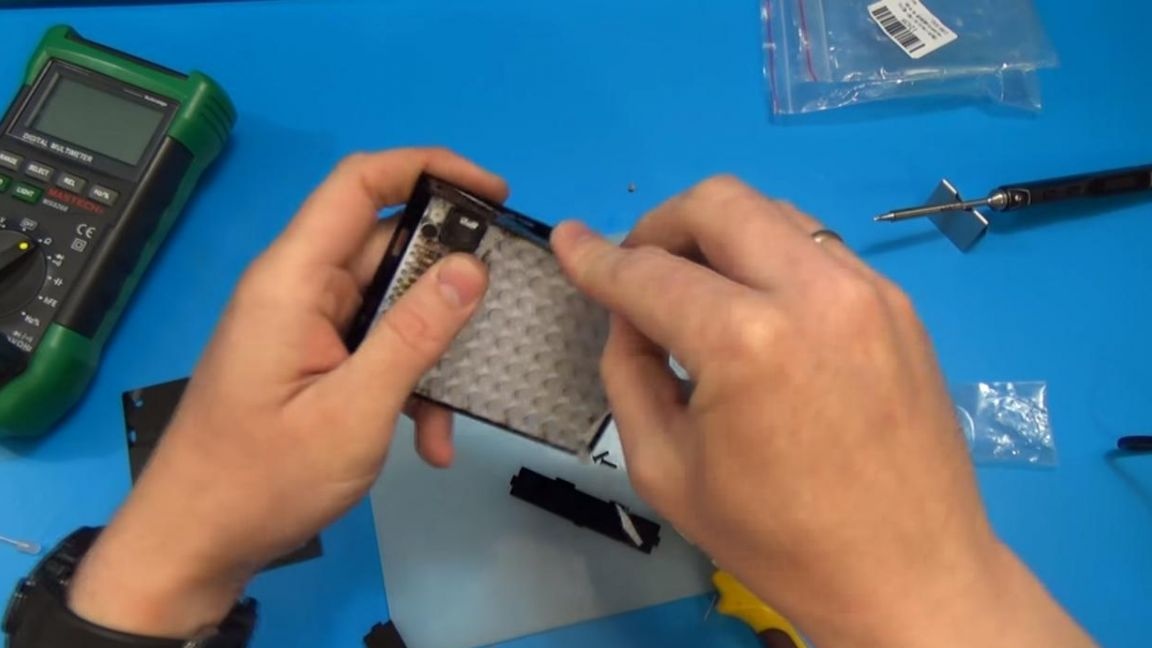
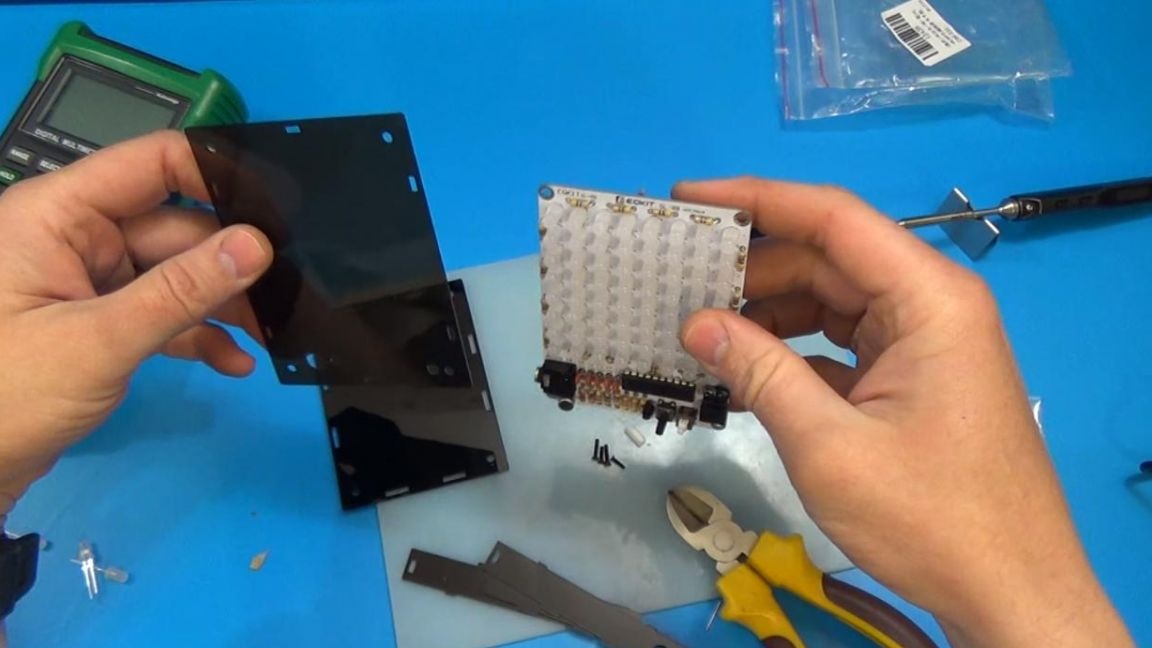
From the side of the LEDs, we put a translucent plate and a button, which will be the final part of the case.

As a result, the equalizer looks like this.
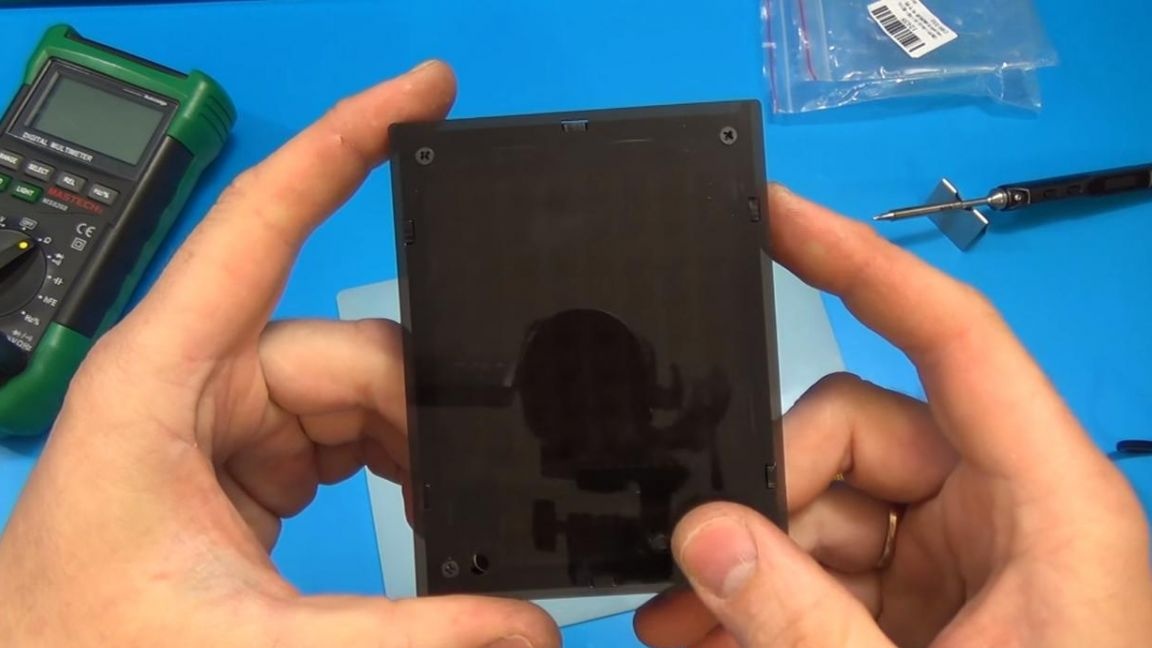
We connect to it all the necessary wires and check again. A translucent plate slightly dims the light from the LEDs, but in the dark everything is visible perfectly.
That's all for me, thank you all for your attention and creative success.