
Once, the author recently needed a powerful lithium-ion battery. In this article, we will examine in detail how a battery from lithium-ion cans of the 18650 standard is assembled correctly, in short, everything is according to the canons. I think it will be interesting. In this case, we will assemble a battery with a voltage of 14.8V.
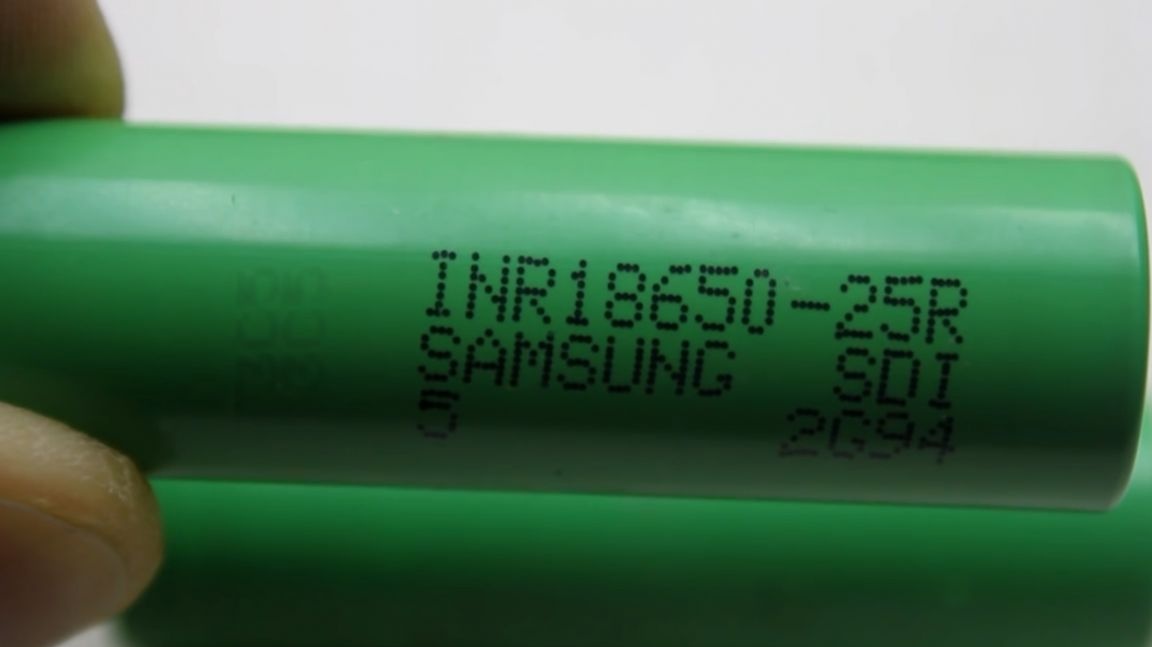
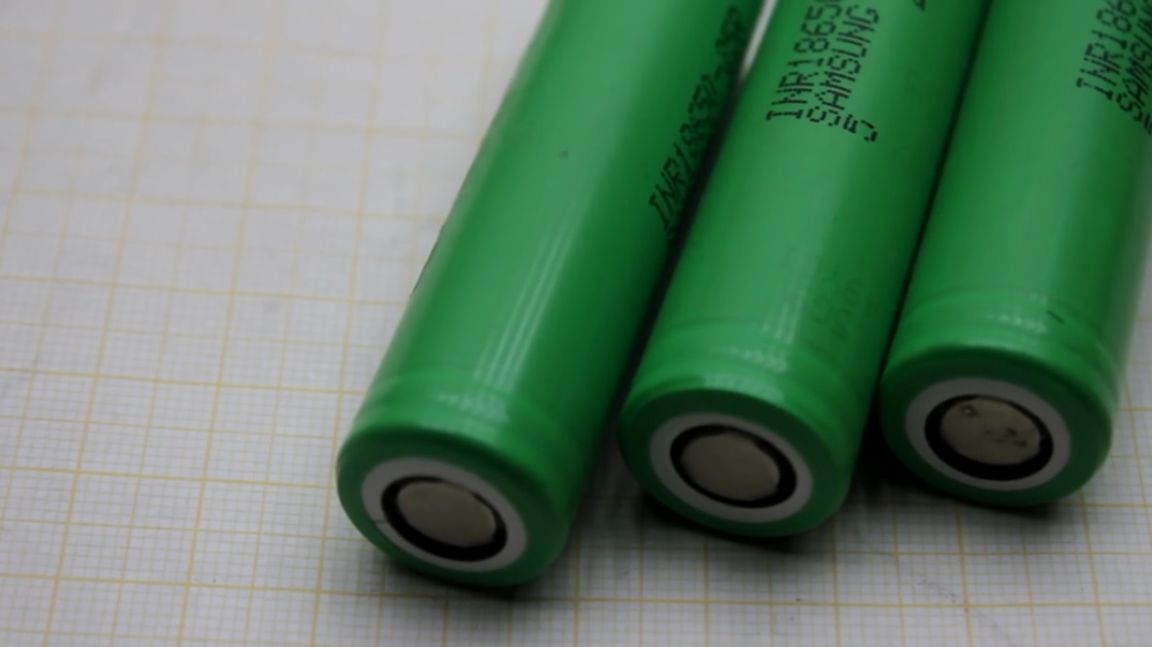
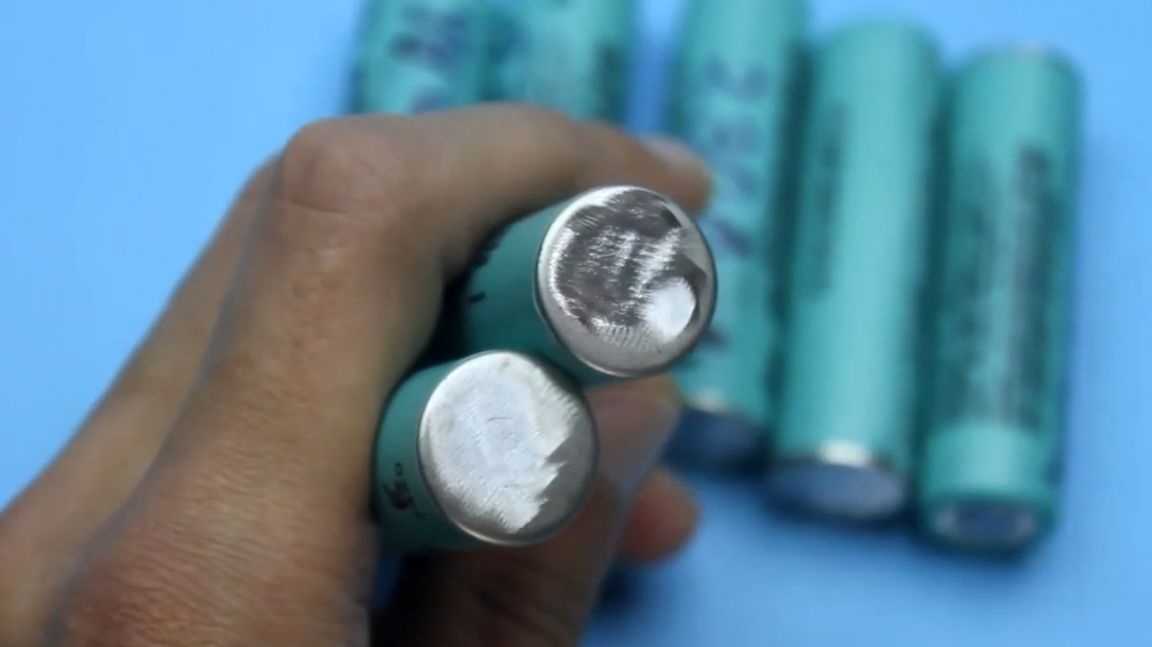
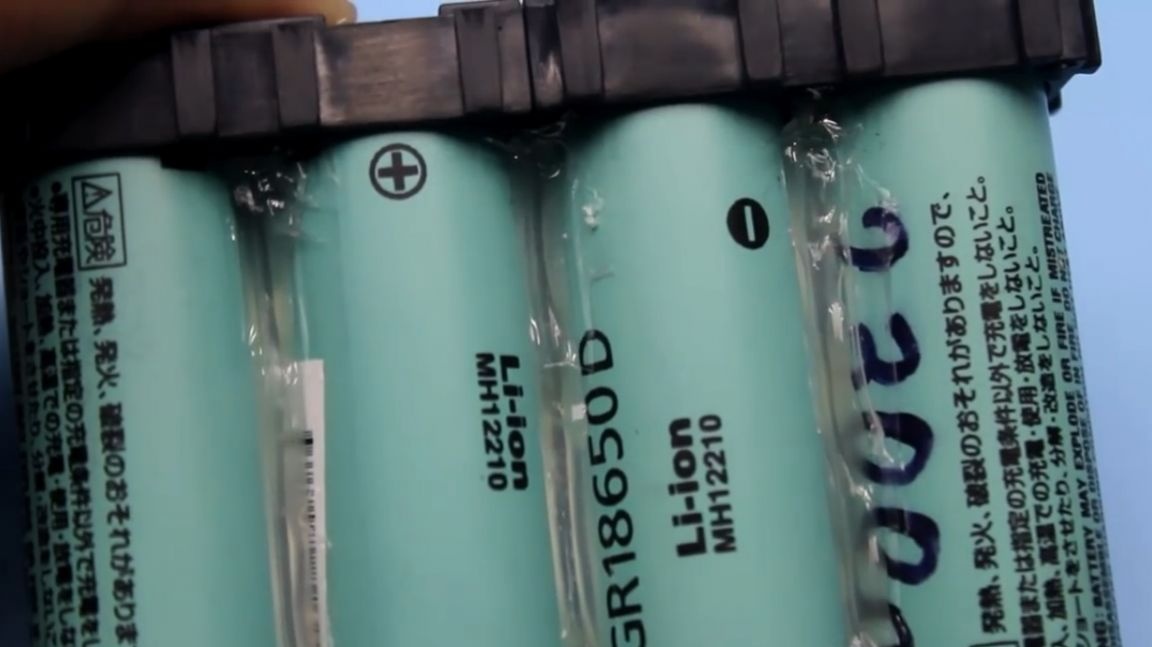
To obtain a lithium battery with such a voltage, it is necessary to connect 4 banks of lithium 18650 in series. To increase the total capacity, we will connect exactly the same one to each bank in parallel. All battery banks in this example were taken from an old laptop battery. The author was lucky, and on the cheap he bought a fully working battery, where there were as many as 8 cans.

Batteries, by the way, are some of the best of their kind, panasonic after all. The choice of used ear cans in this project is due only to the fact that they were simply available from the author. If you plan to assemble a battery for serious business, for example, for electric transport, naturally give preference to a new, and preferably high-current battery.
Of course, you can buy them in China, for example, order on the website of the Aliexpress store, but I advise you first of all to study the assortment in local stores, since sometimes the prices may not even differ from Chinese or the difference may be insignificant and you won’t have to wait for the parcel .
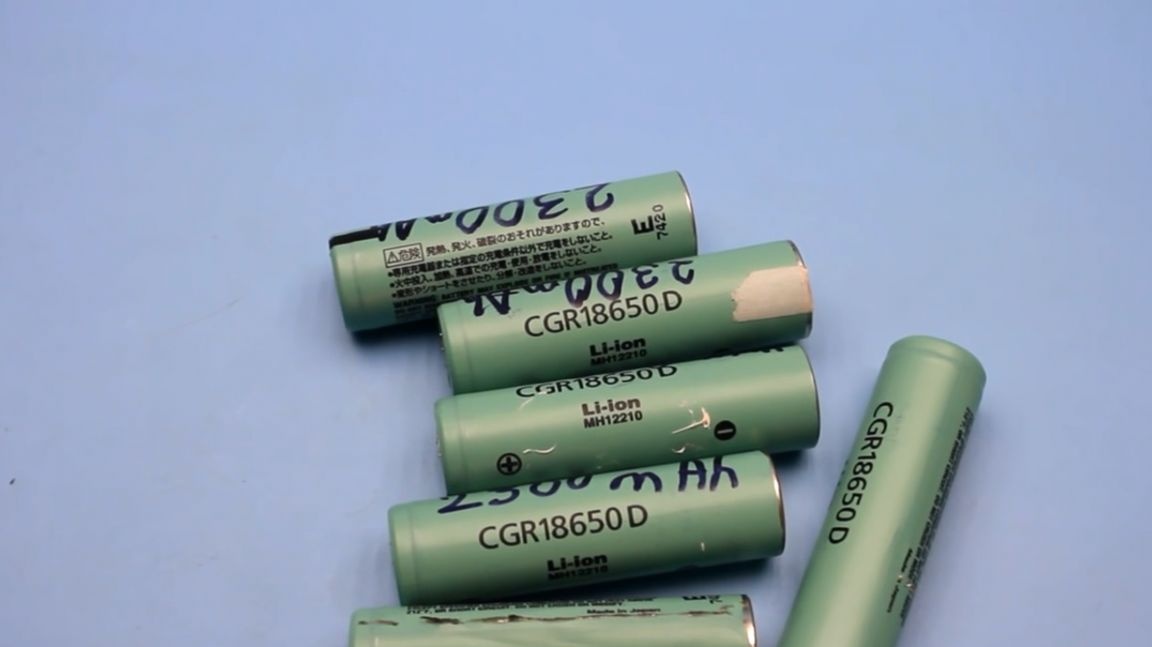
Since the author decided to use not new batteries, but used, therefore all the banks went through the stage of full charge with subsequent discharge.
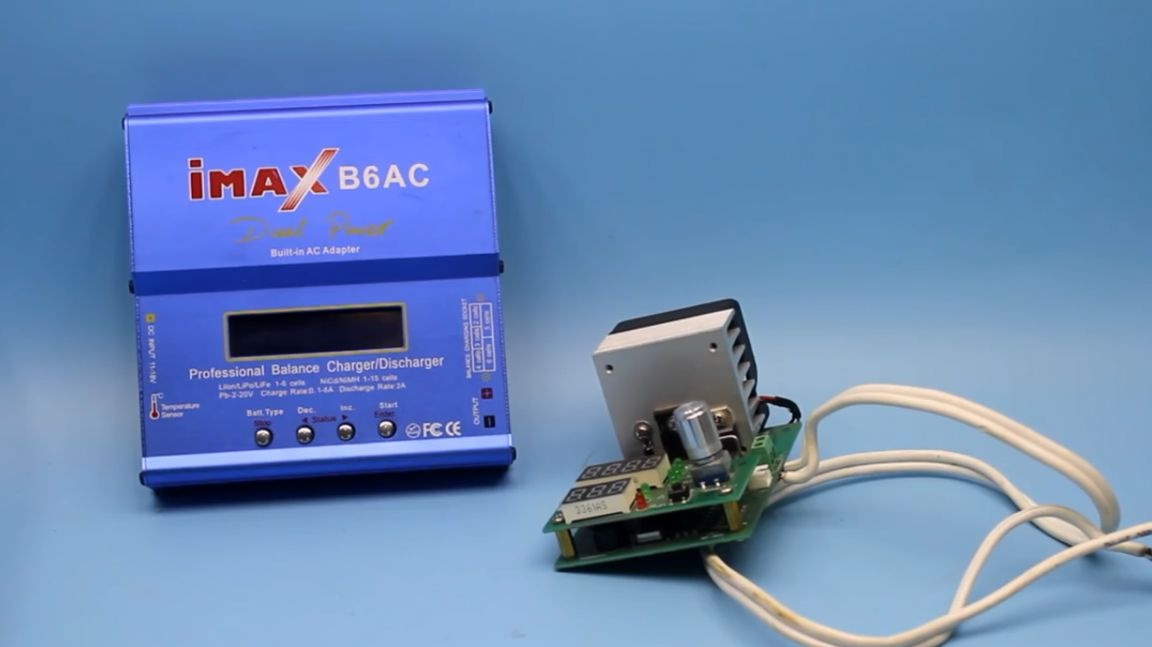
This procedure is necessary to identify the battery capacity. And here the author was lucky, since with a discharge current of 1A, the capacity of almost all batteries was about 2300 mAh. The internal resistance of the cans was also approximately the same. Thus, the total capacity of our battery will be about 4600 mAh at a voltage of 14.8V. And in a fully charged state, this voltage will reach 16.8V.
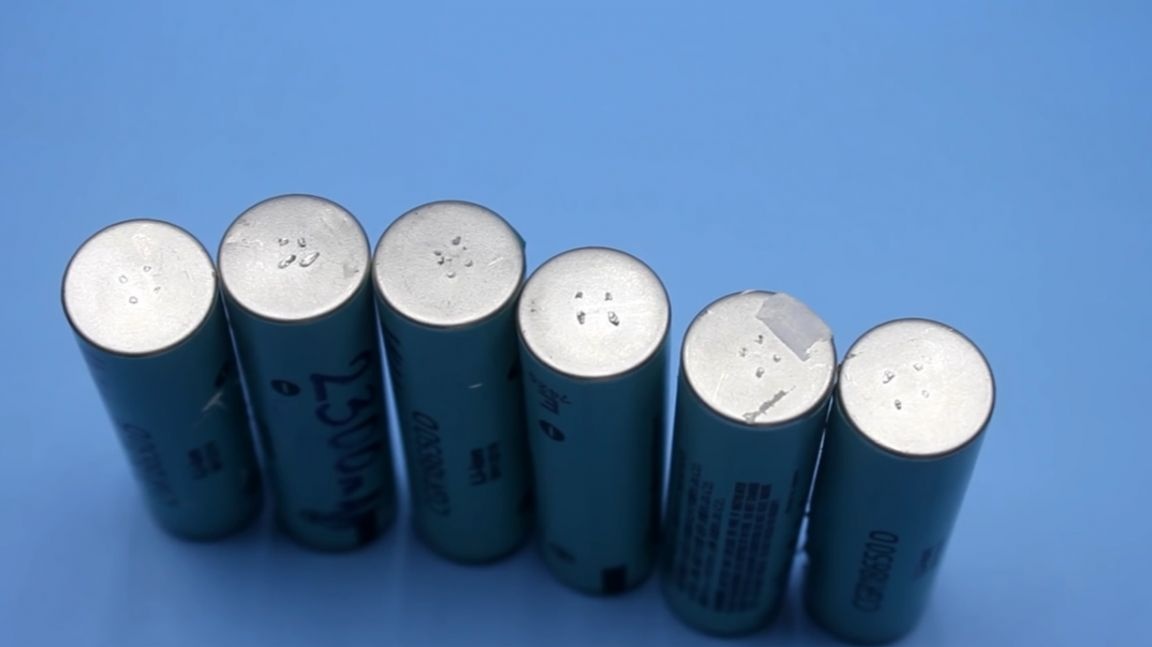
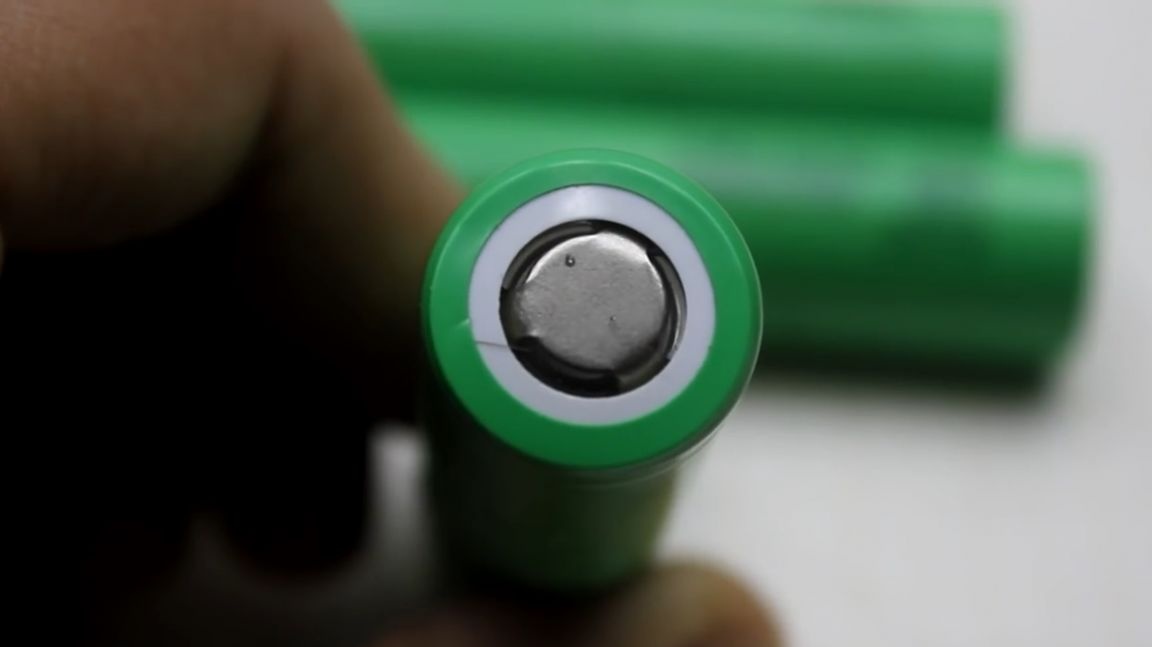
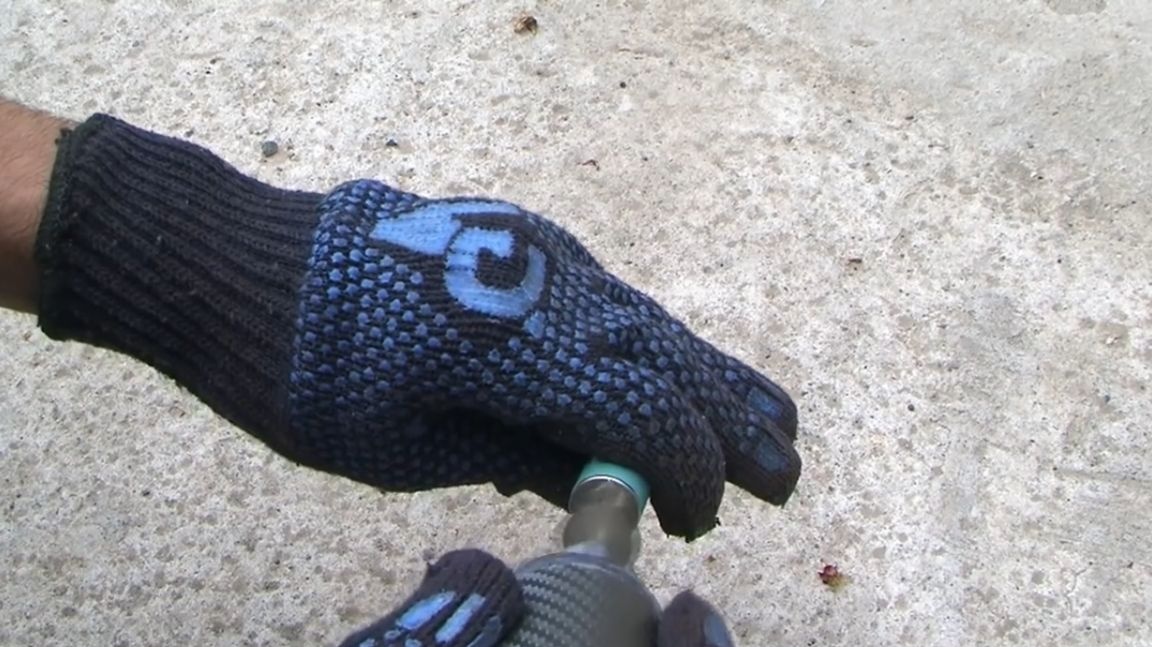
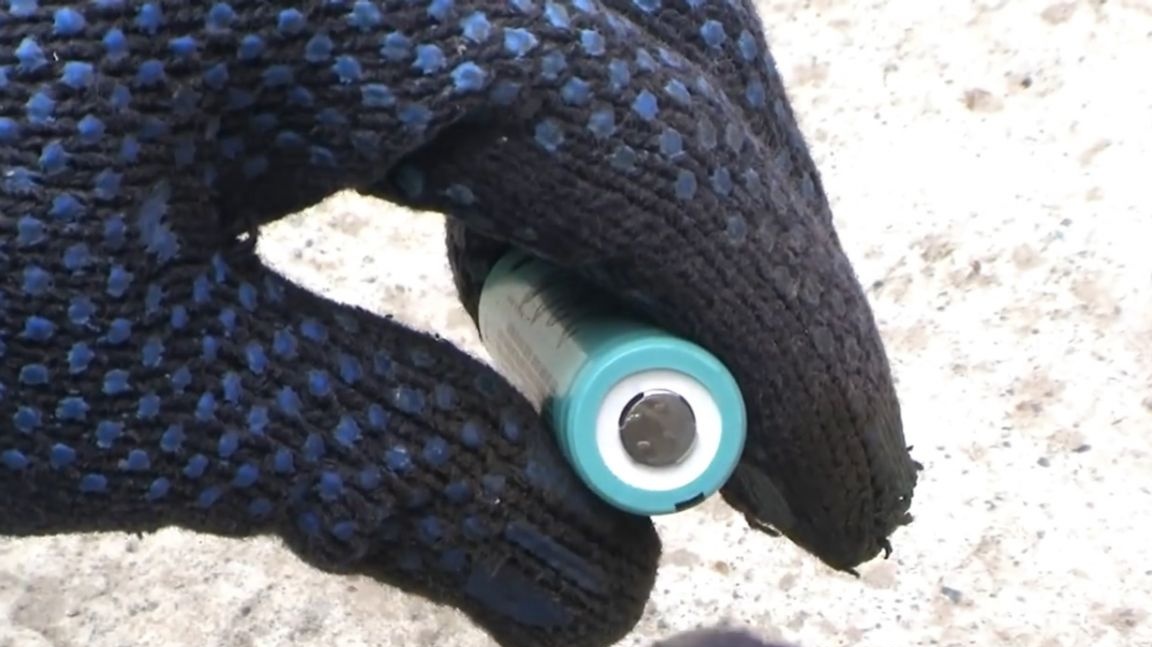
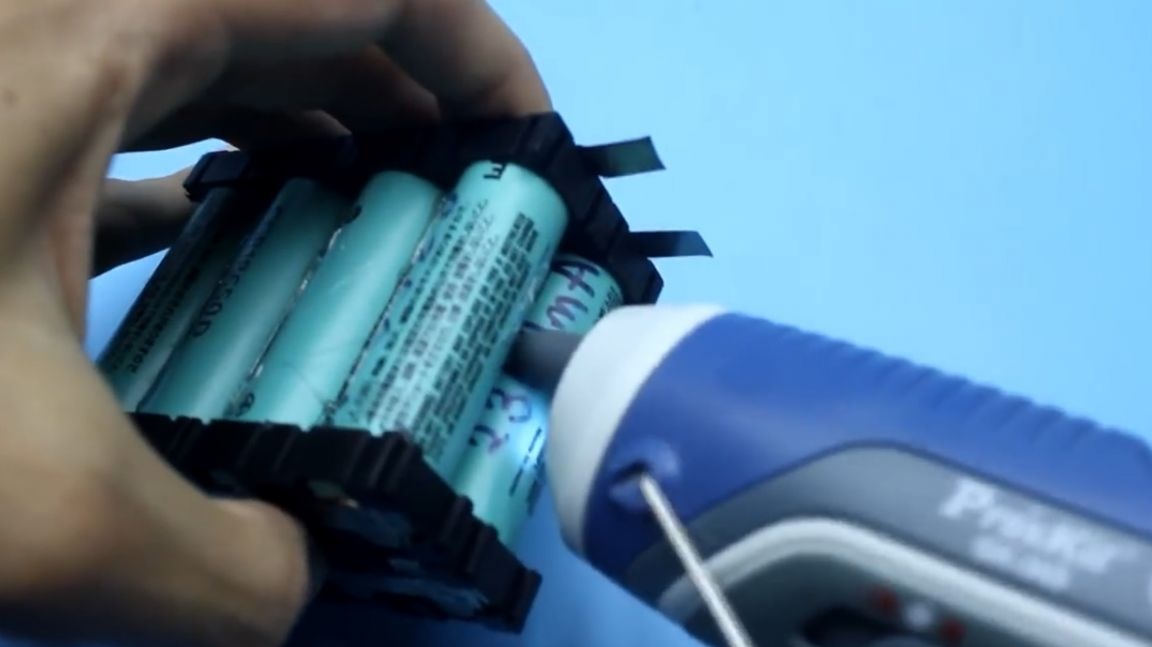
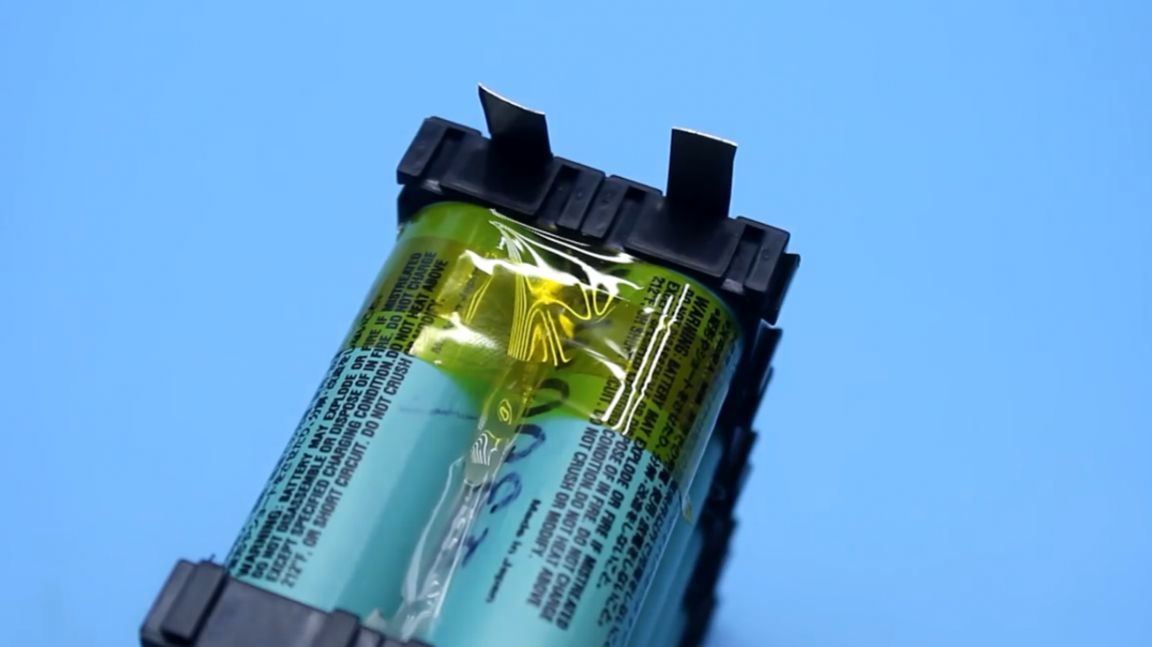
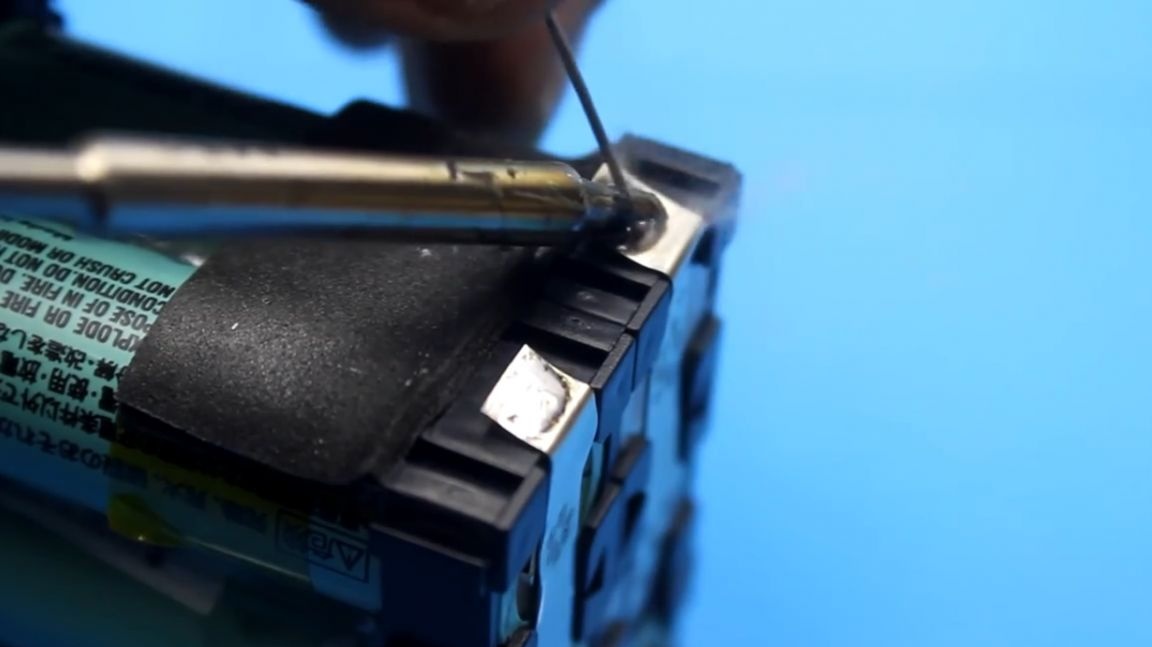
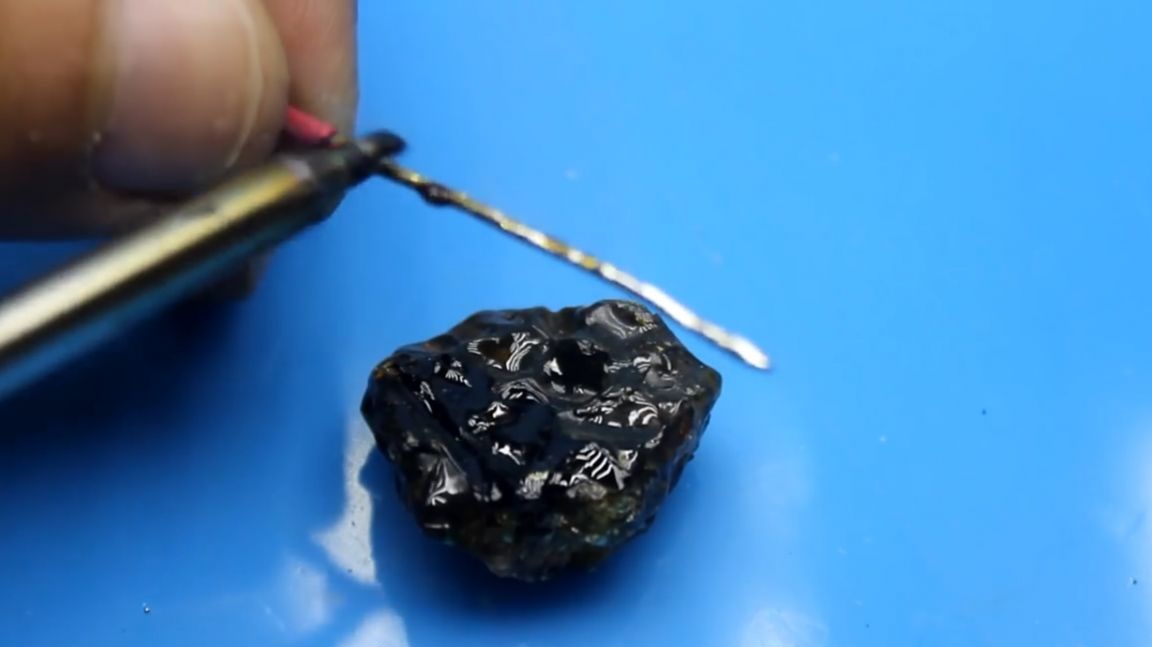
Then you need to clean the contacts of the cans from traces of old contact welding. For this, the author used his favorite improvised tool, which he had previously made with his own hands.
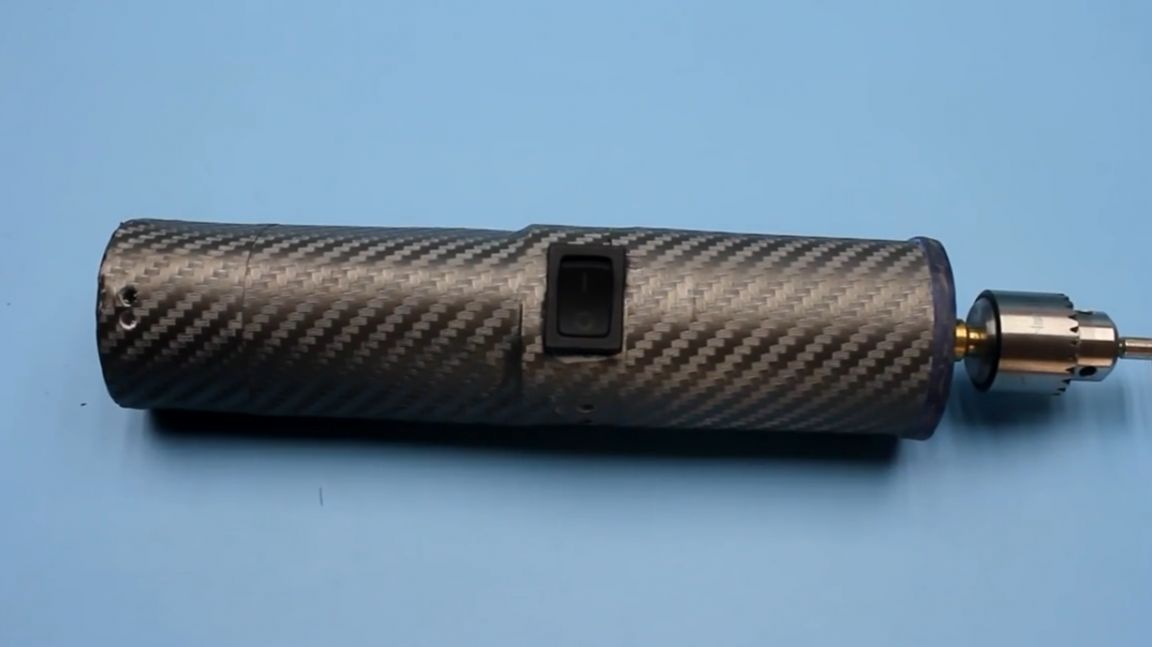
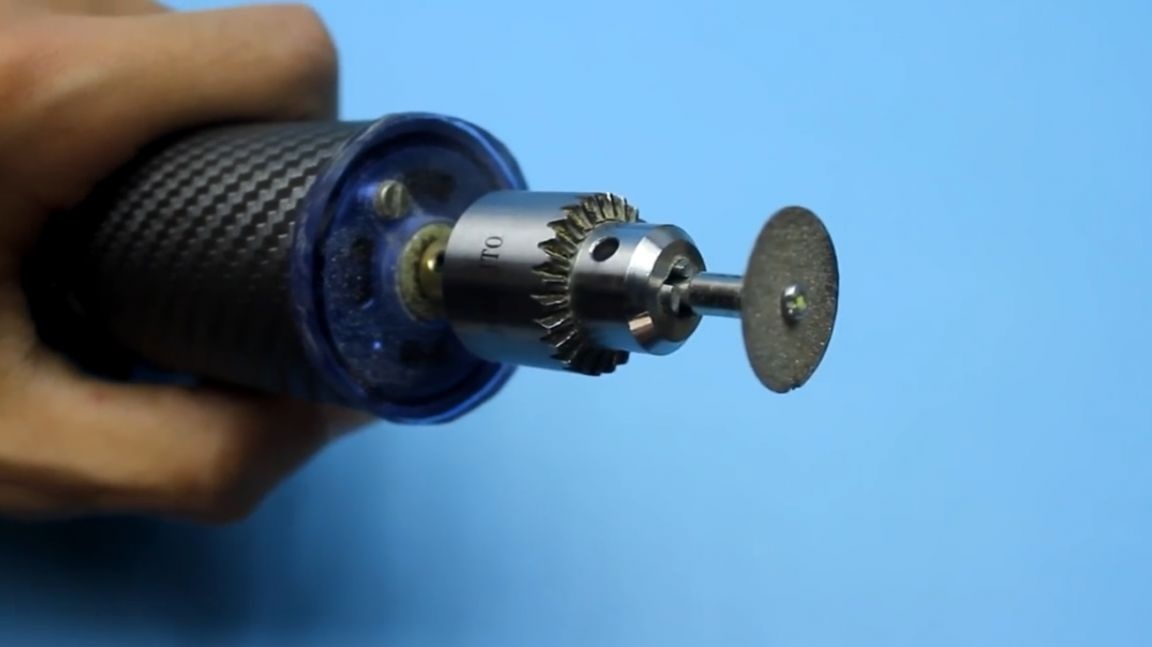
Actually, for this purpose the tool itself was needed, as well as a special nozzle for it.

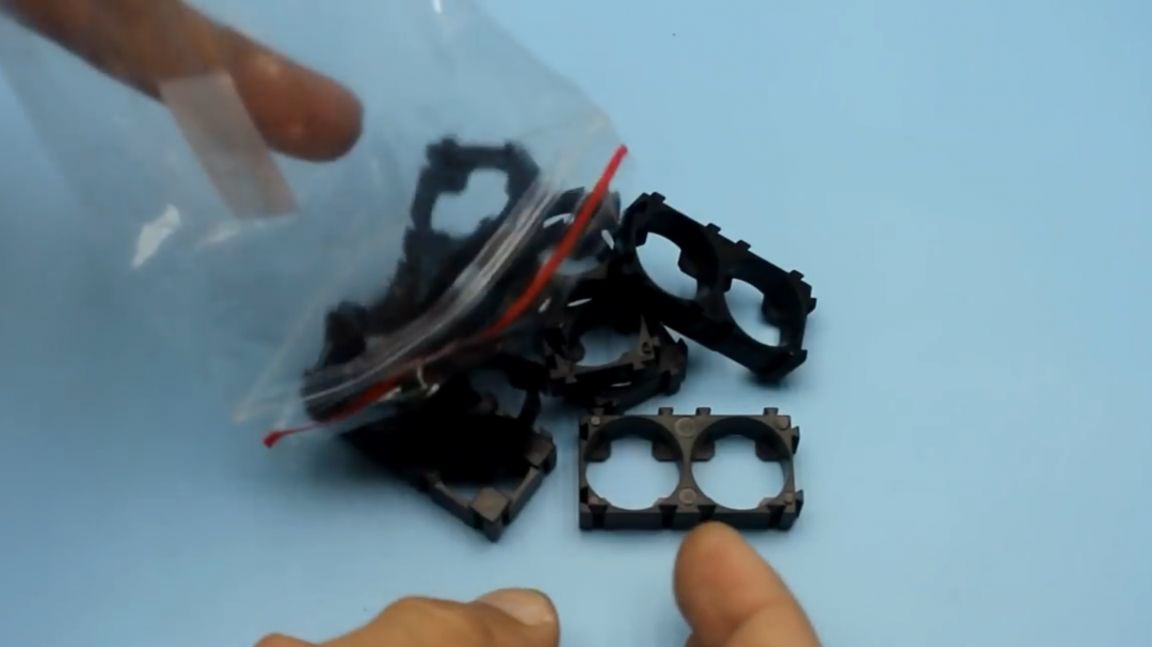
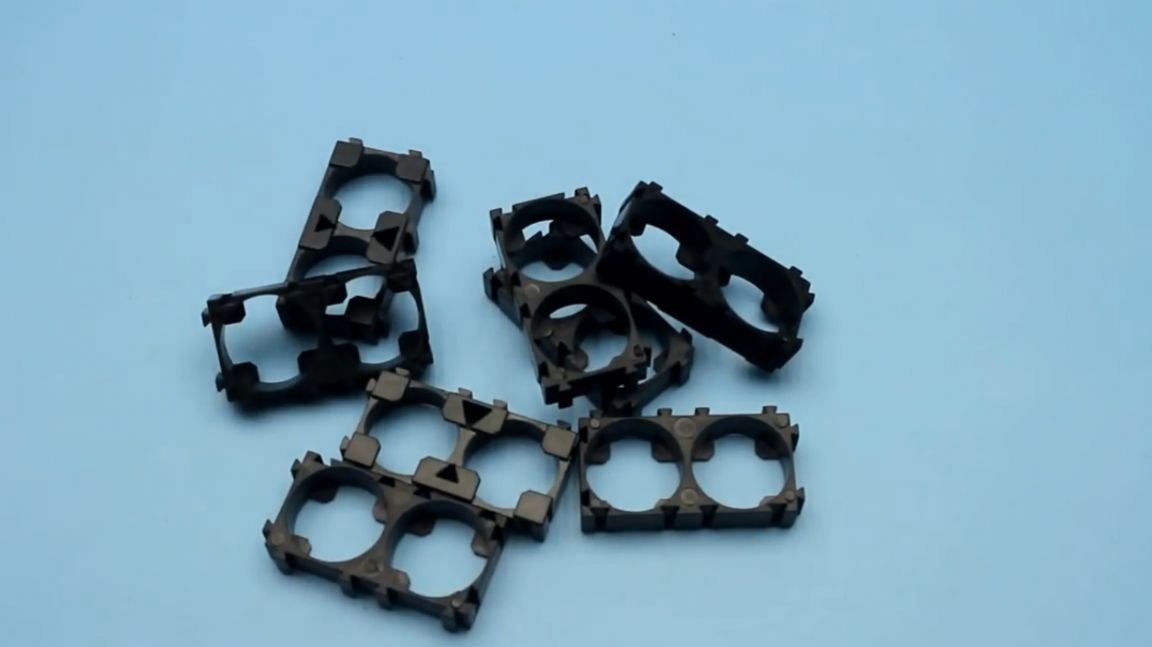
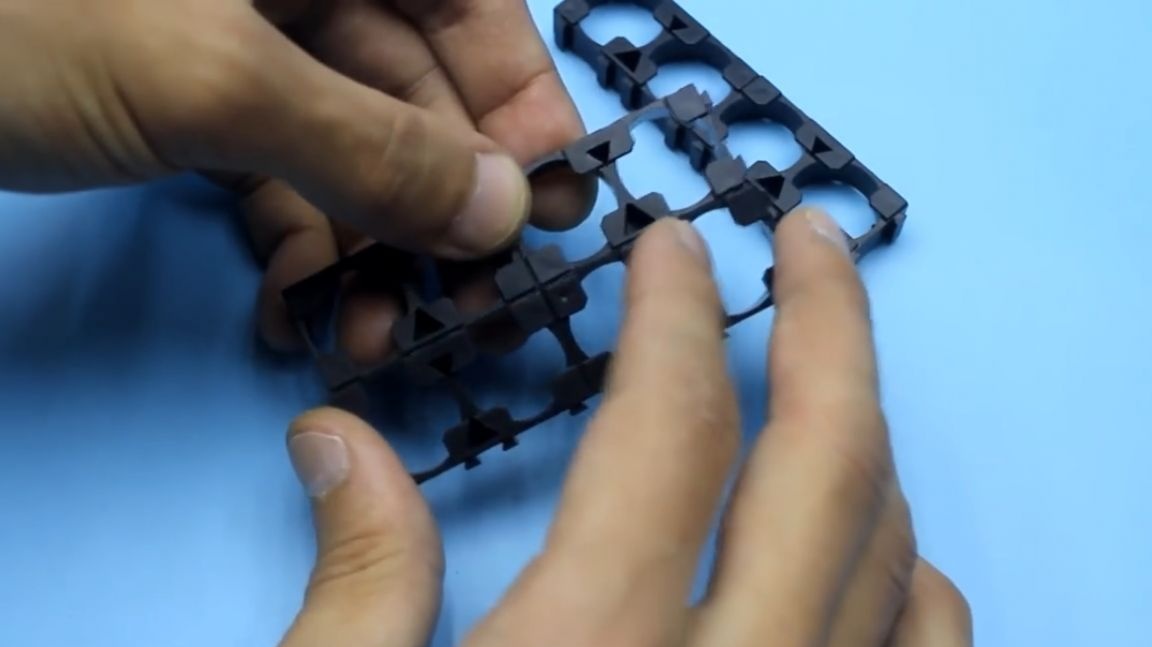
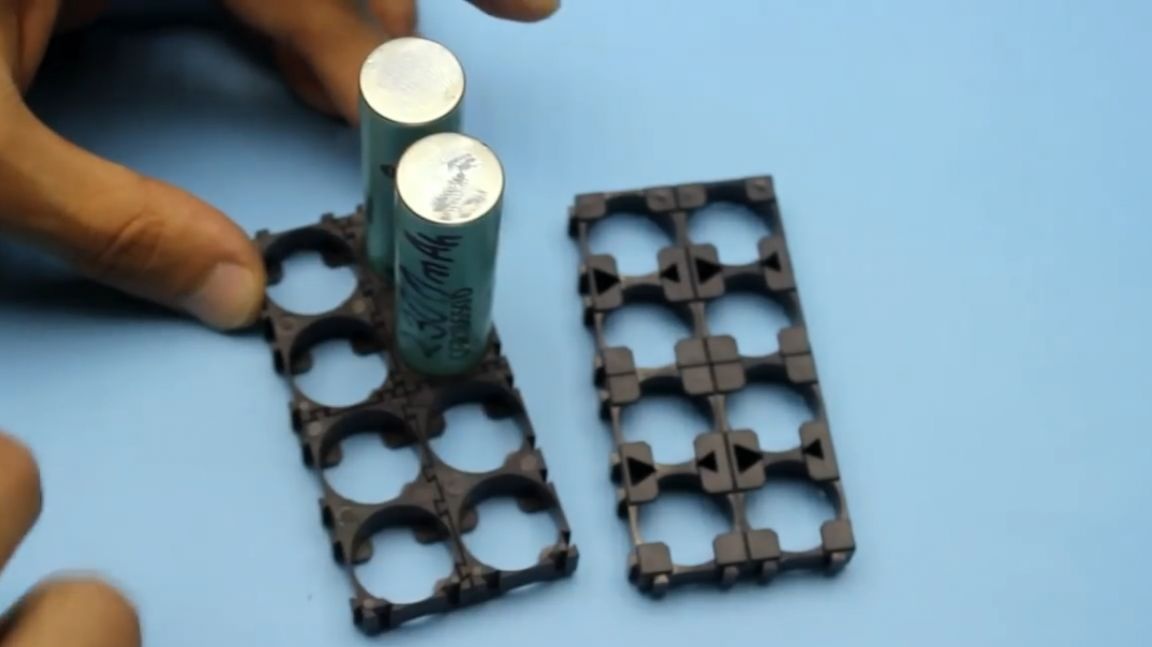
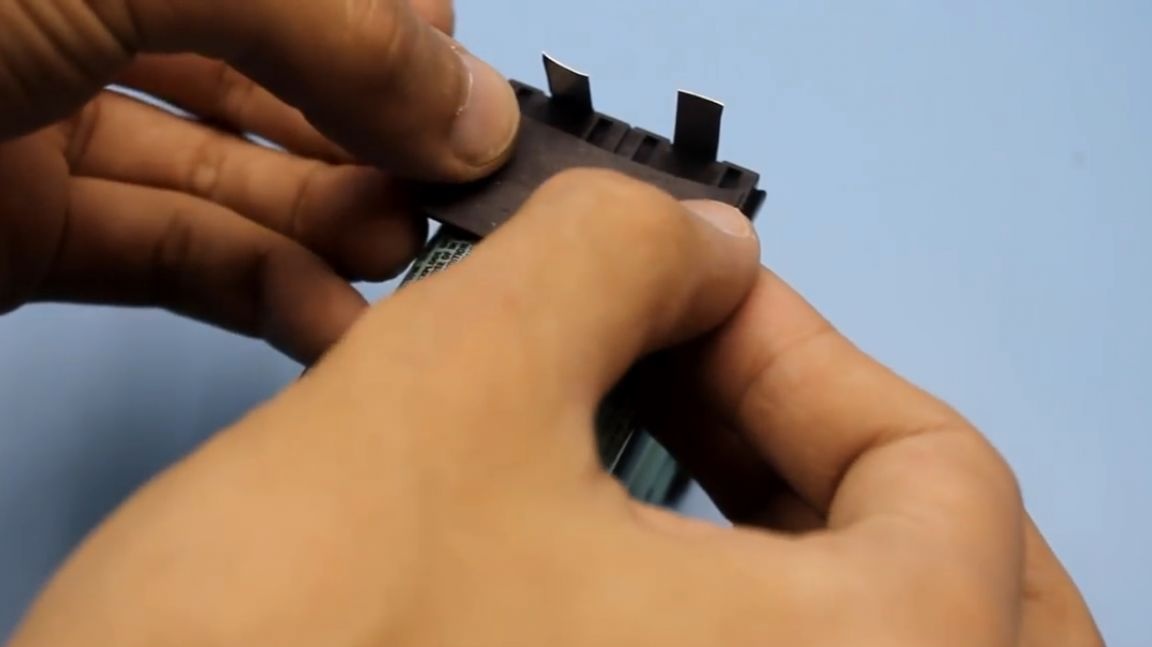
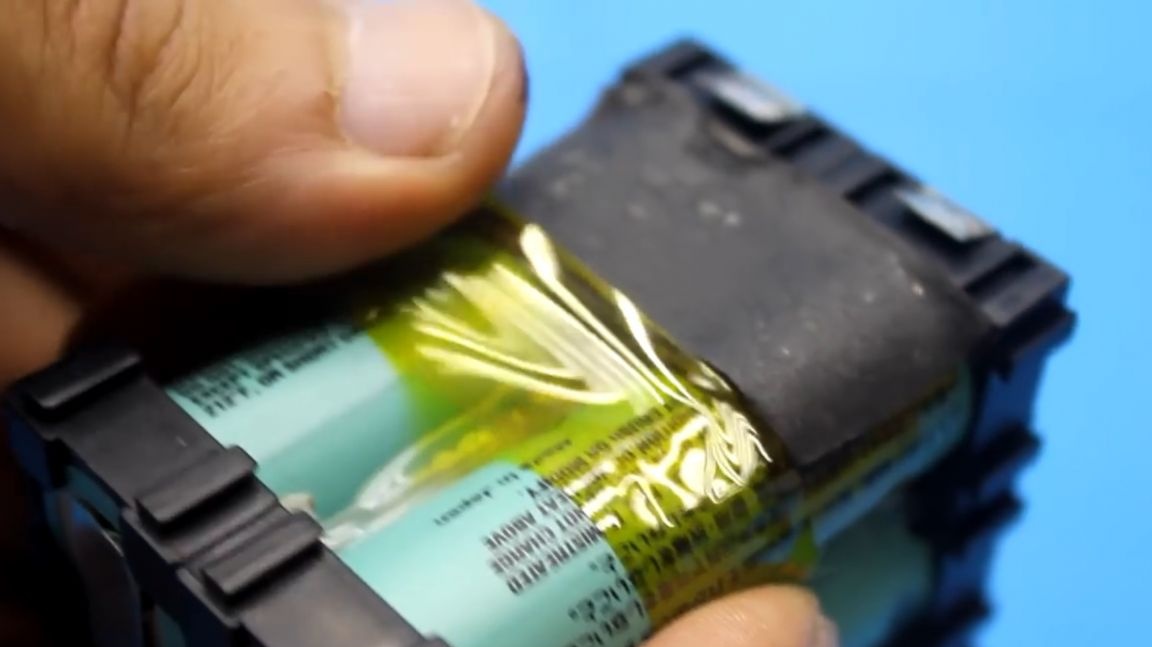
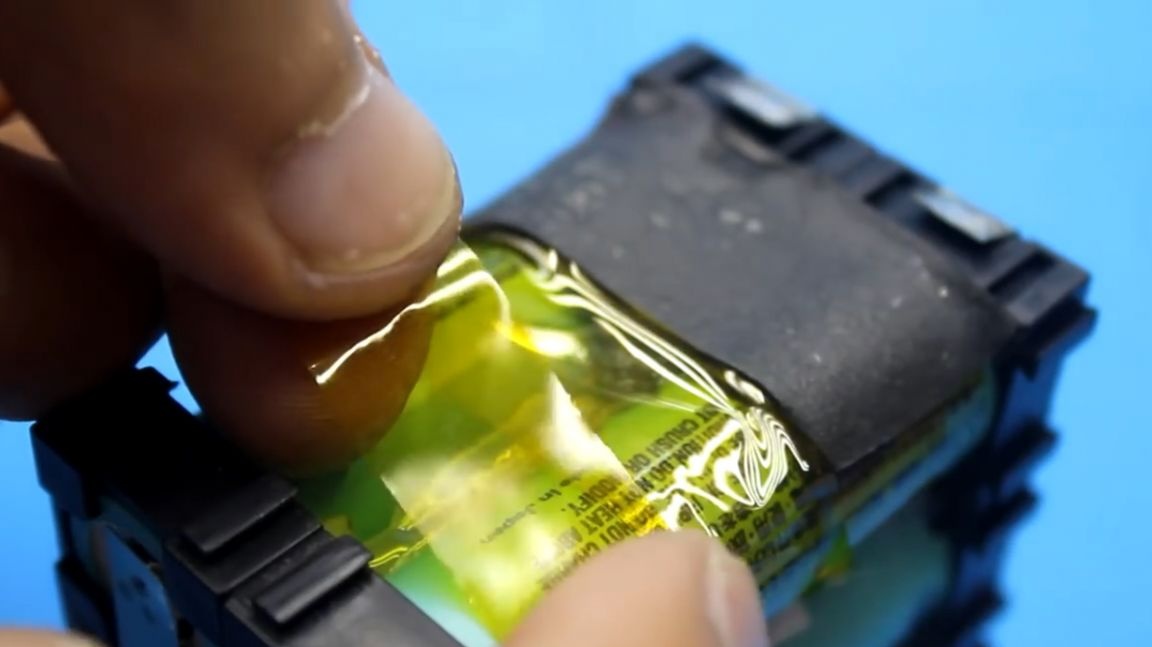
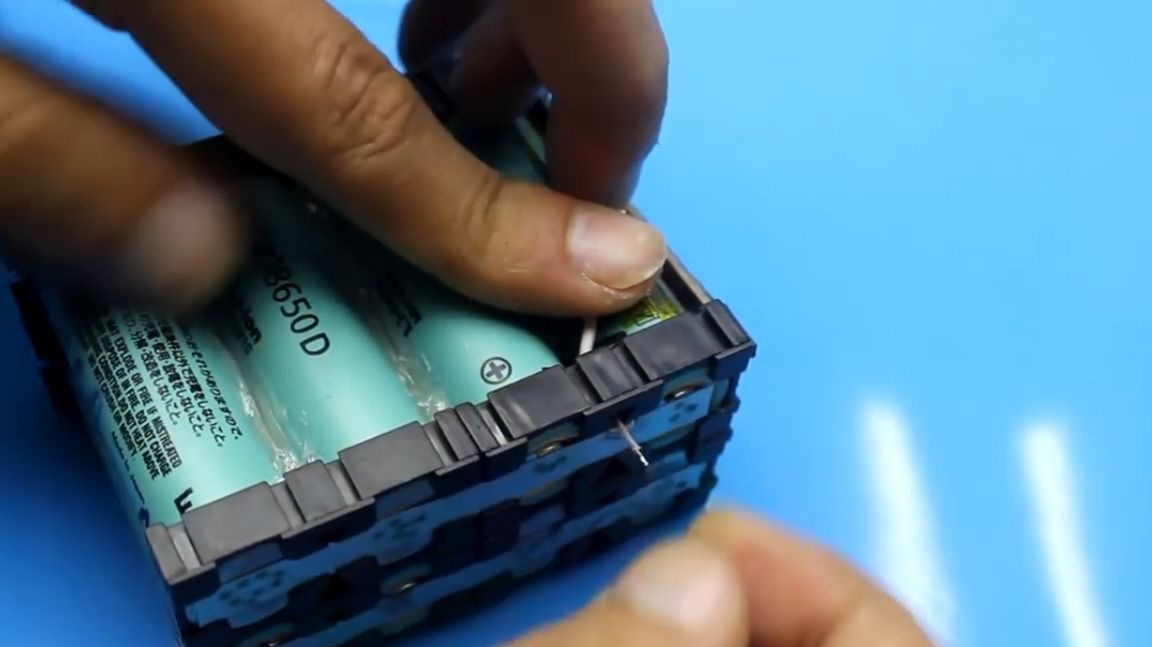
Earlier, especially for this project, plastic cells were ordered from China that are used to assemble batteries using 18650 standard battery packs. We remove the cells from the bag and connect them together as follows:

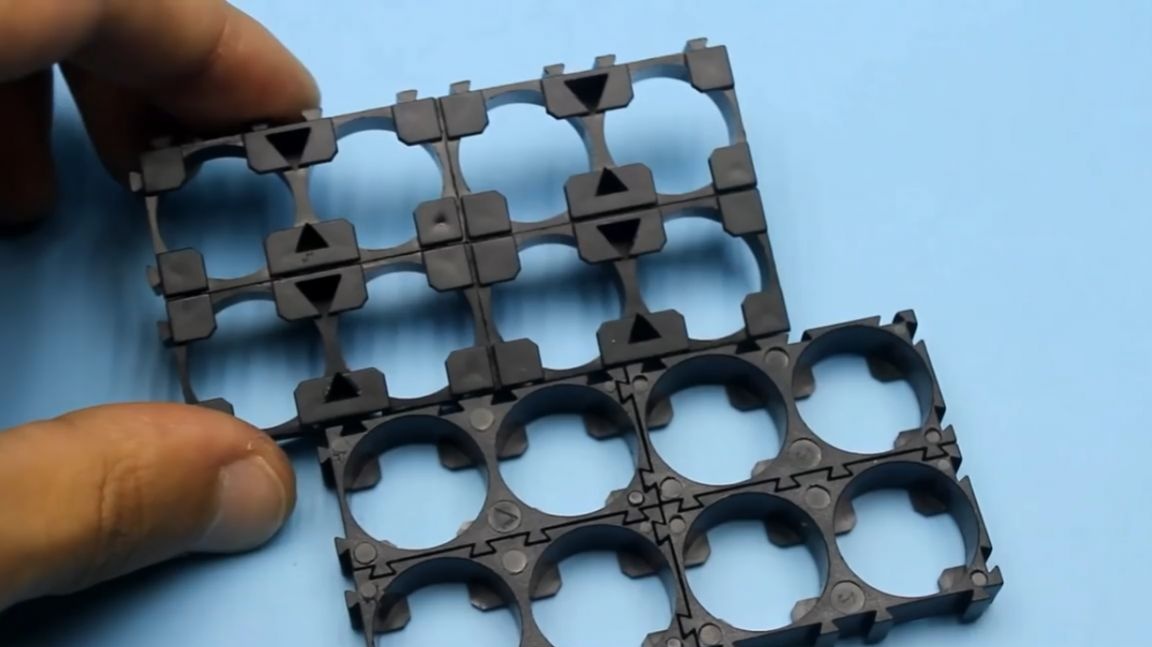
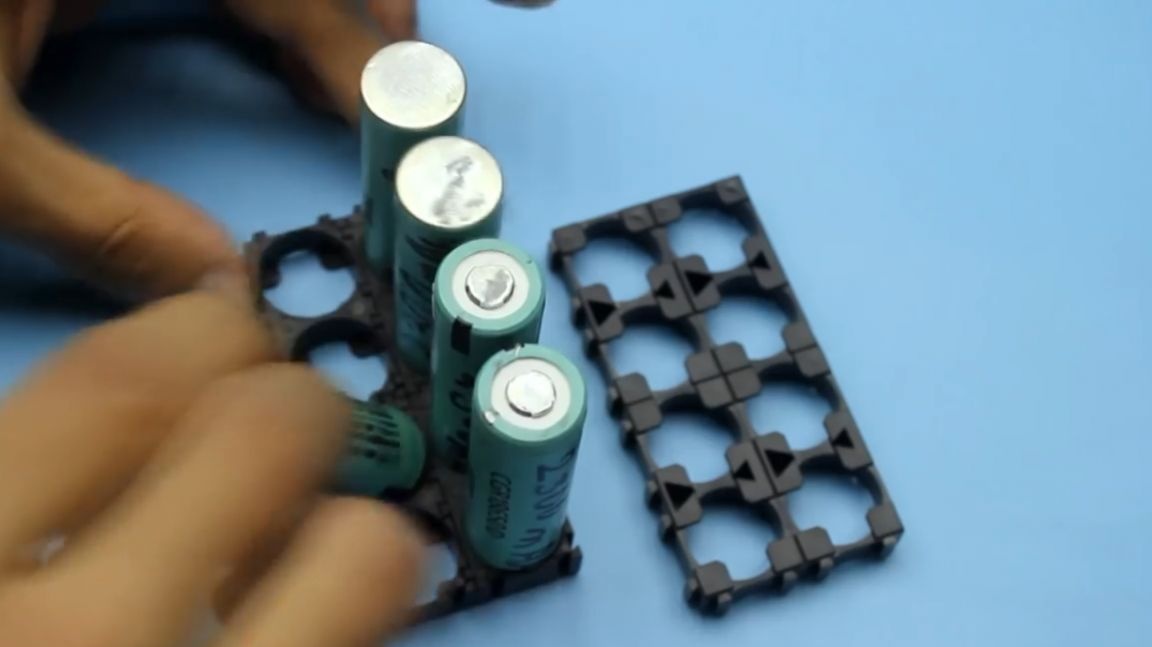
Next, we install one lithium-ion standard 18650 battery in the holes of each plastic cell.
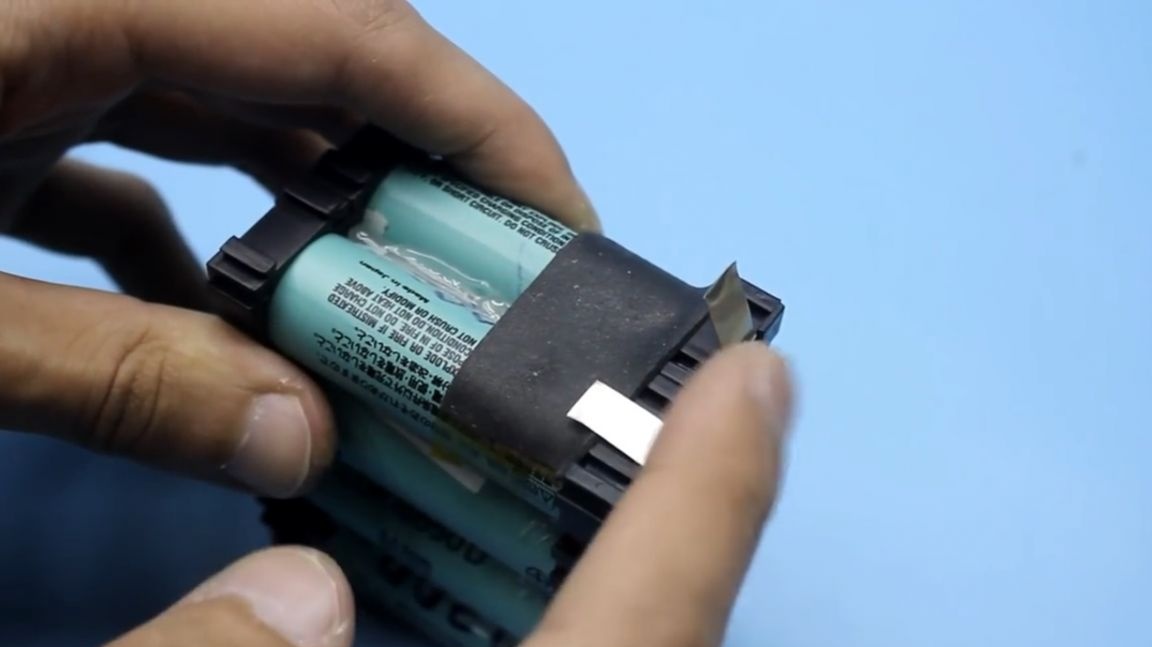
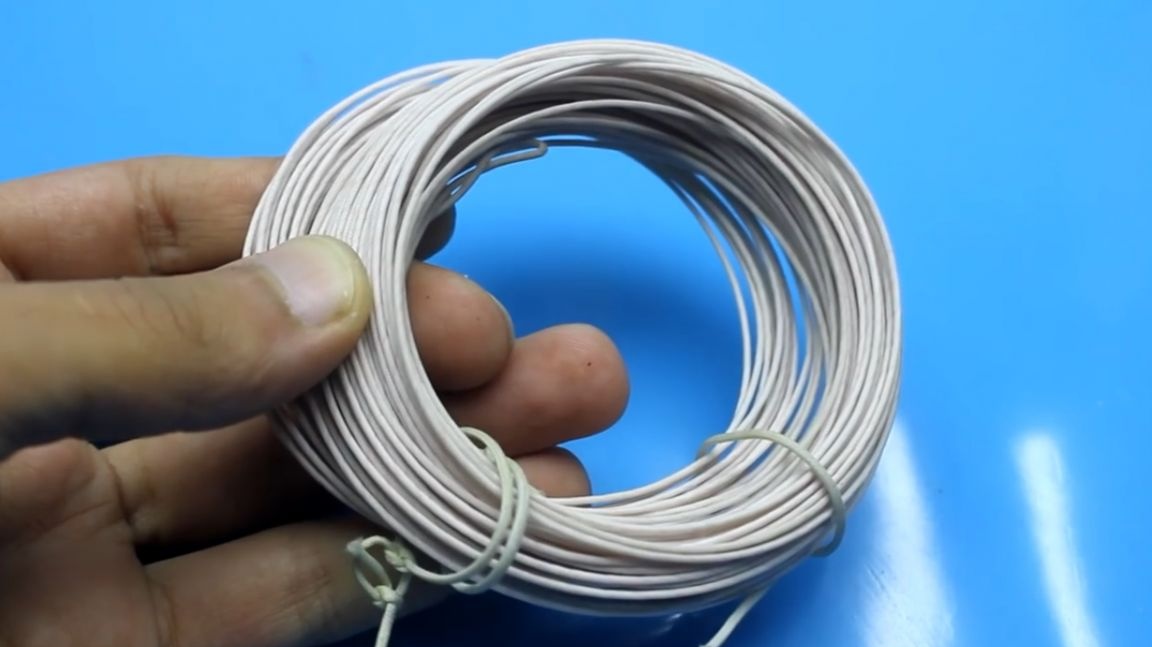
We will connect the battery banks with each other using nickel tires, which have the following parameters:

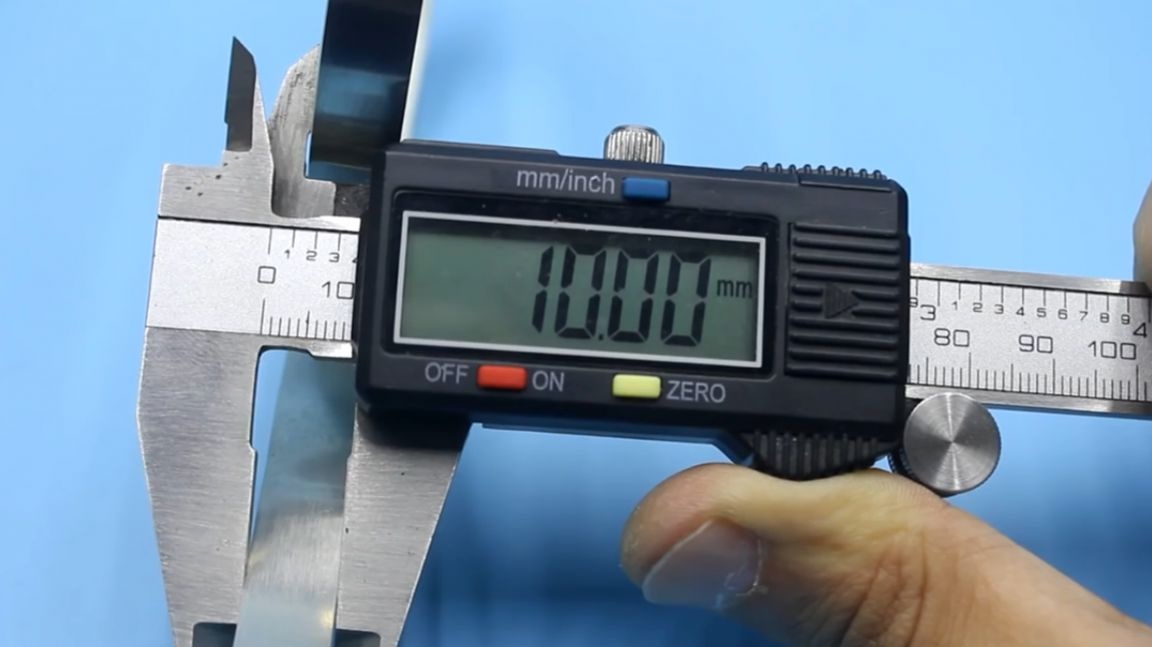
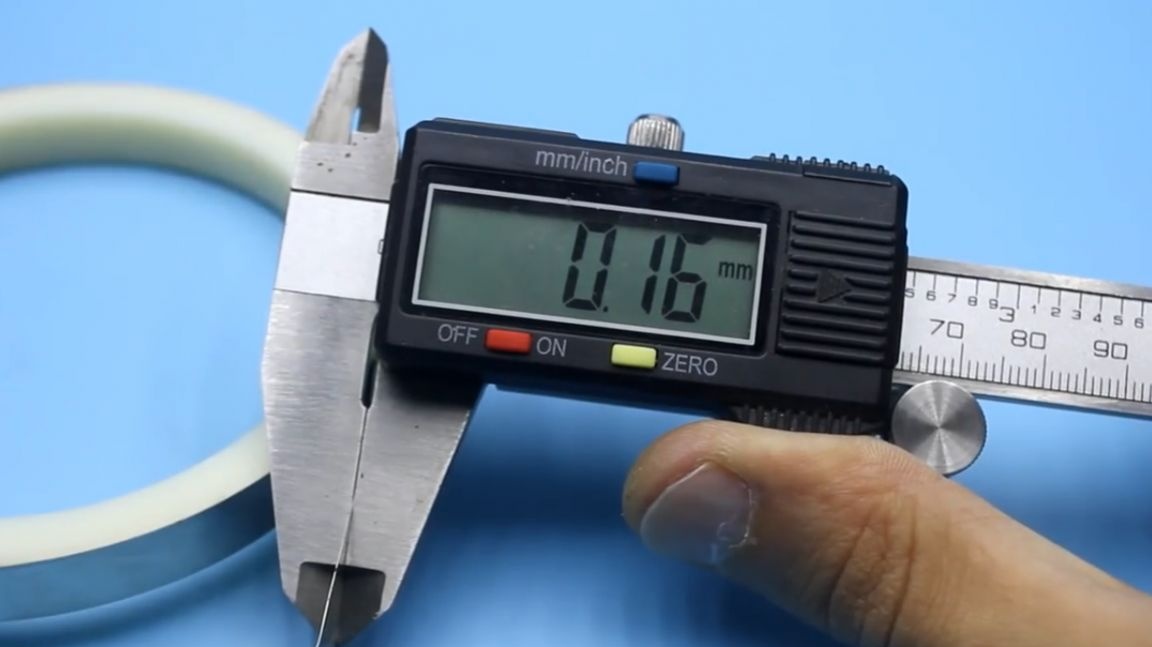
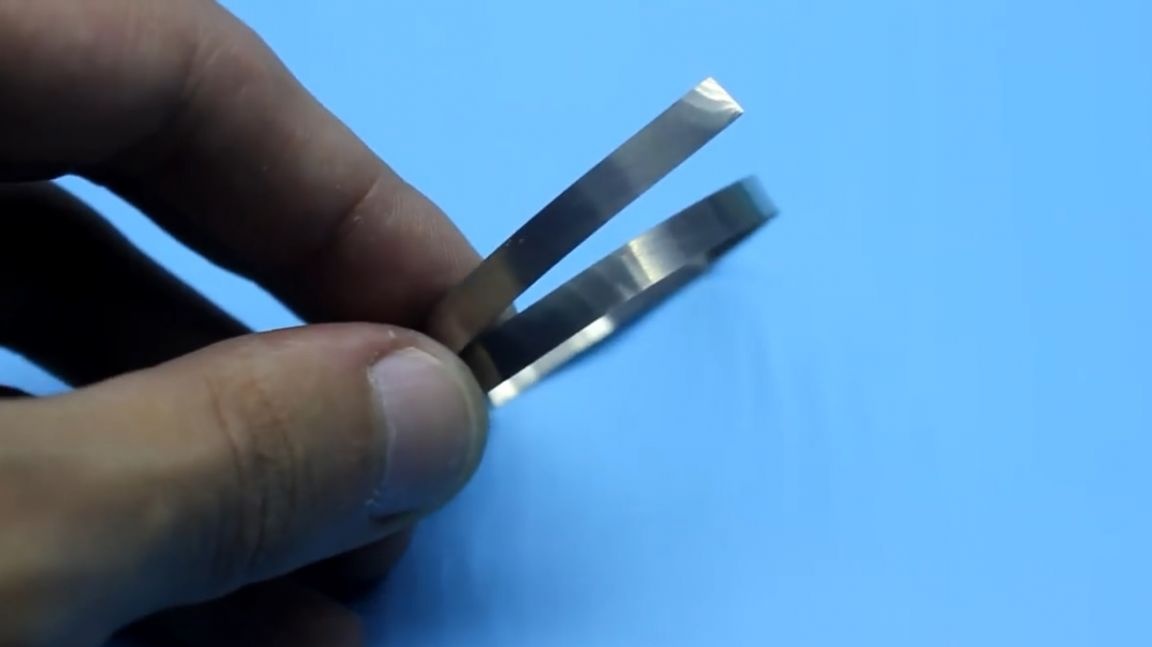
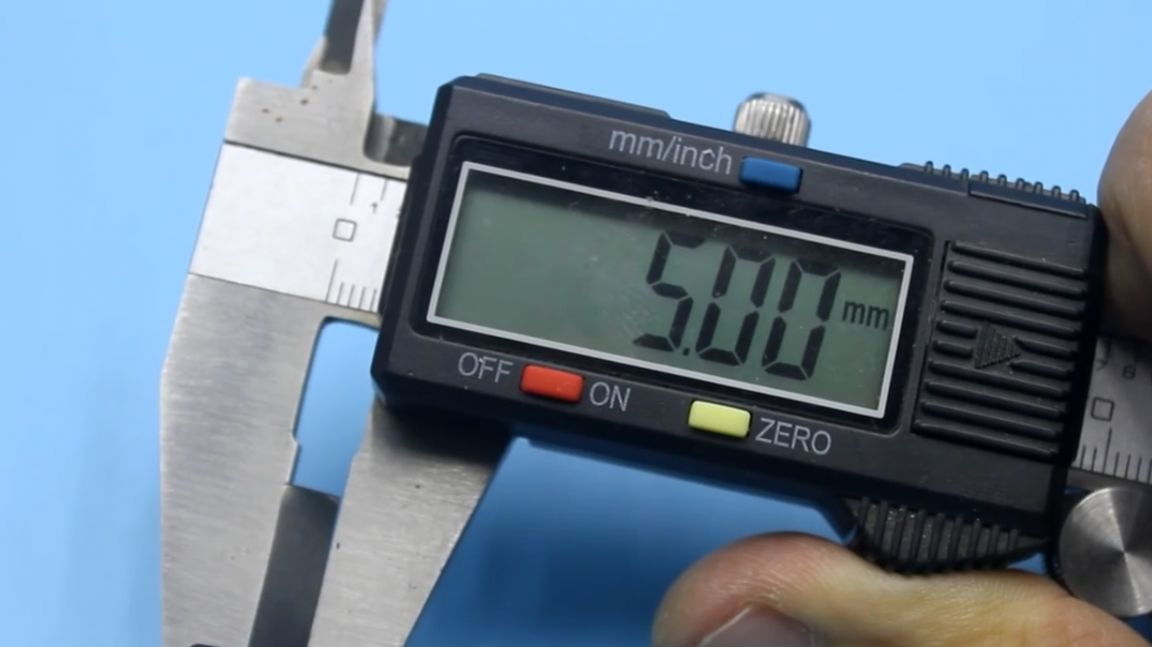
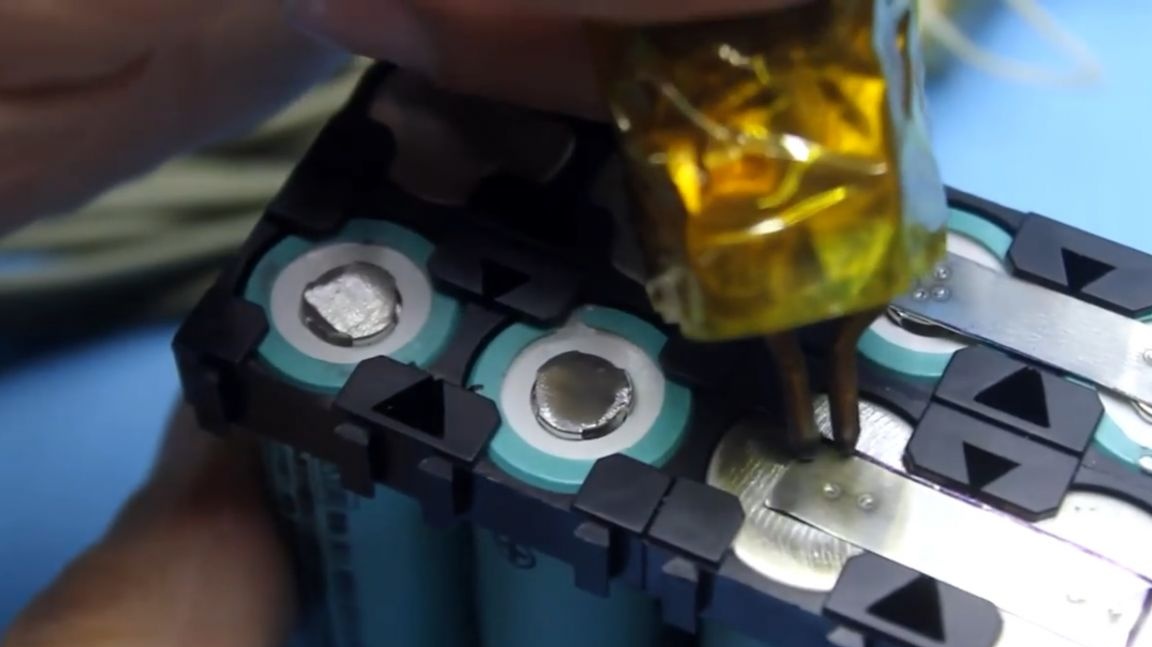
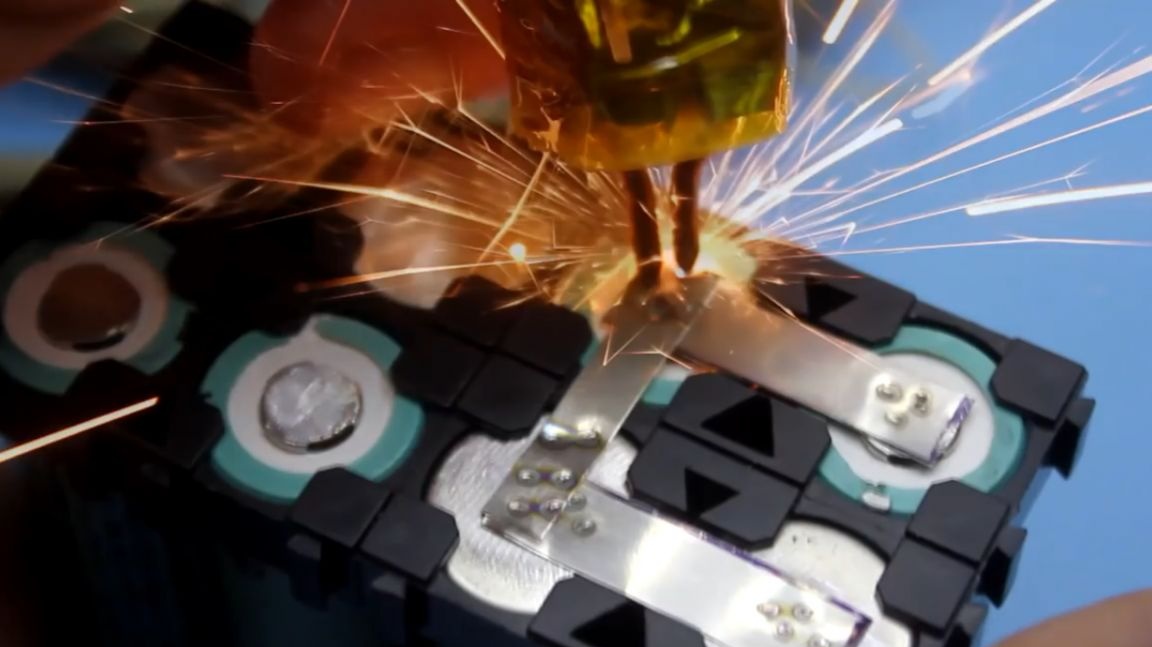
First you need to cut the nickel tire into small pieces of the desired length. Then proceed to welding.

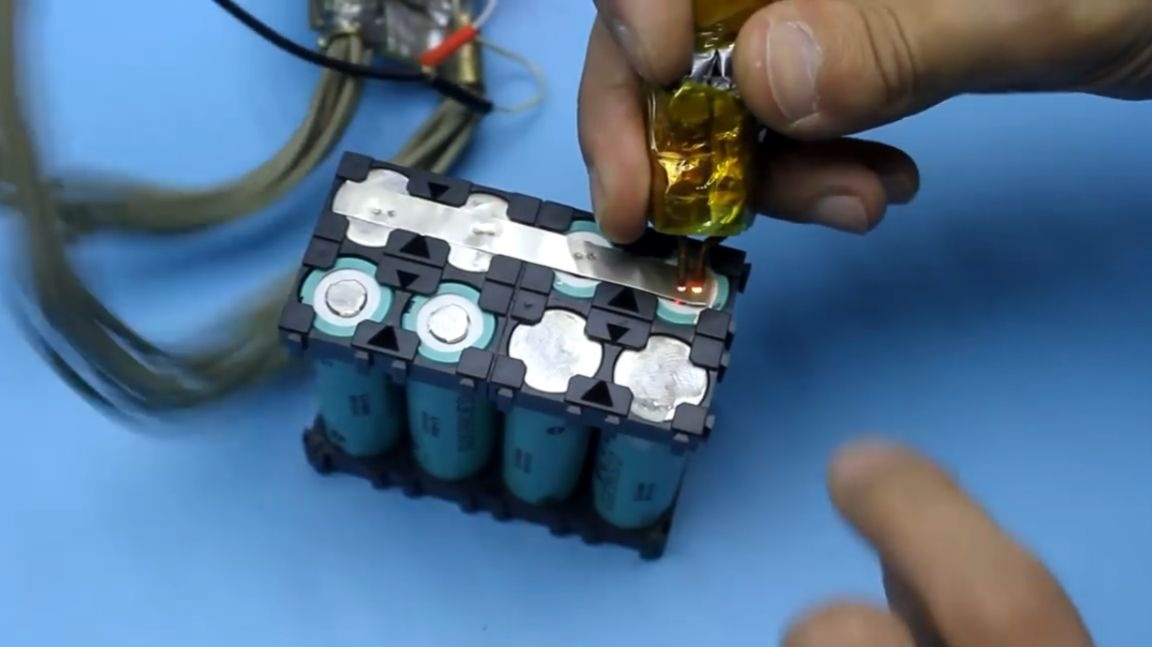
The author welded cans with his self-made resistance welding machine, which he had previously manufactured specifically for such purposes.

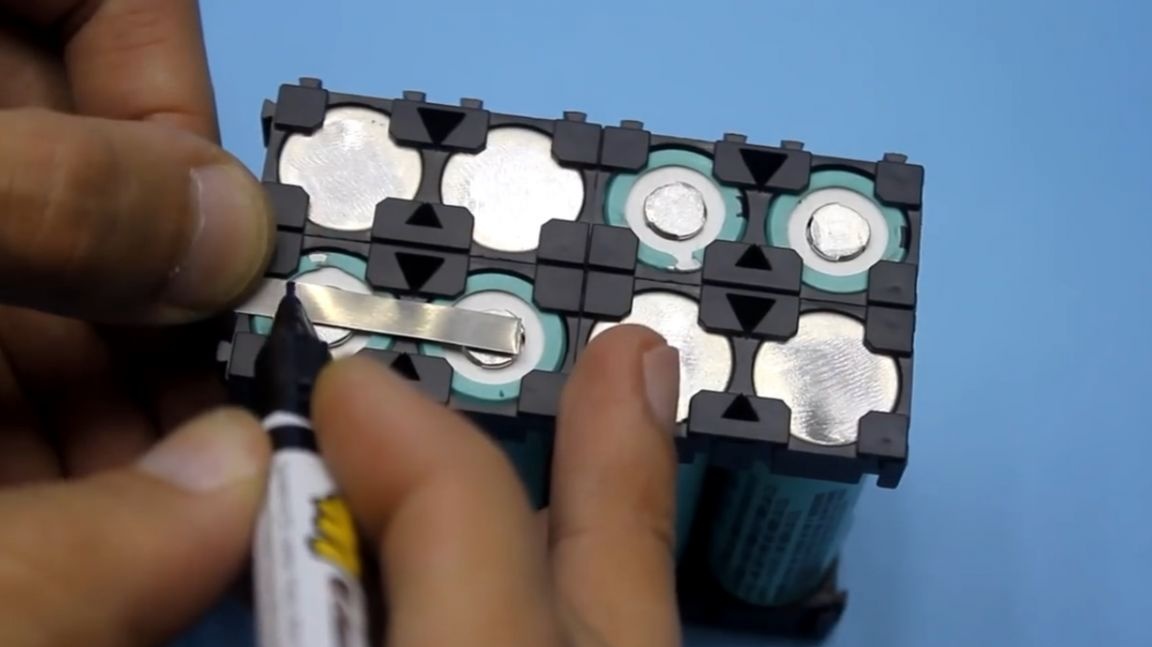
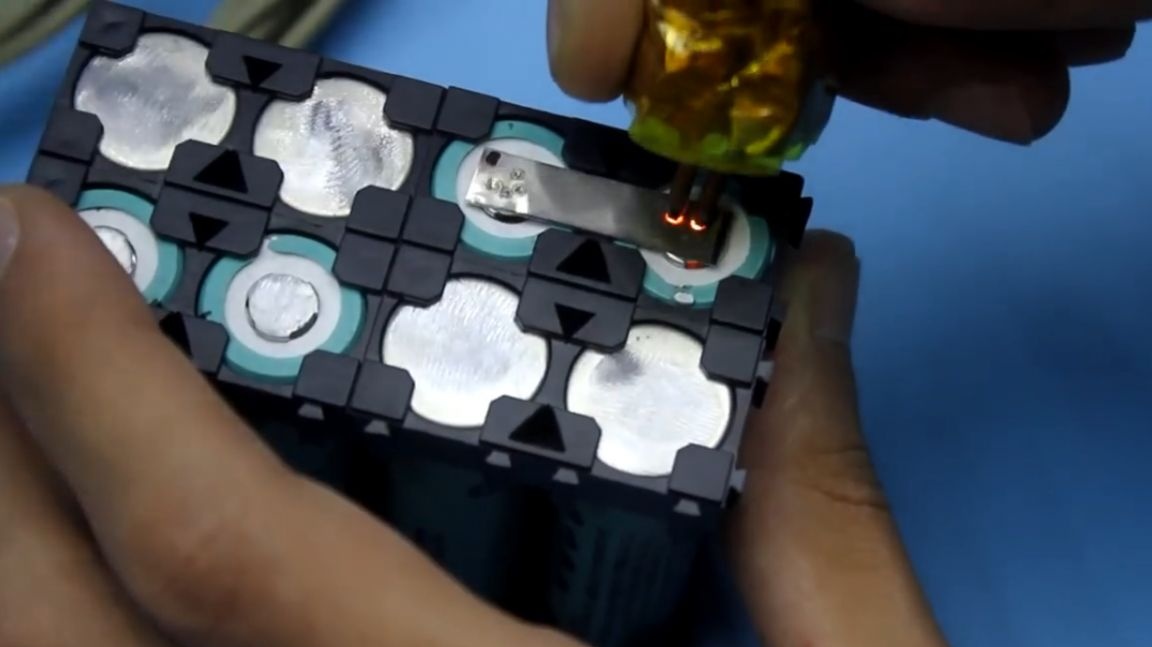
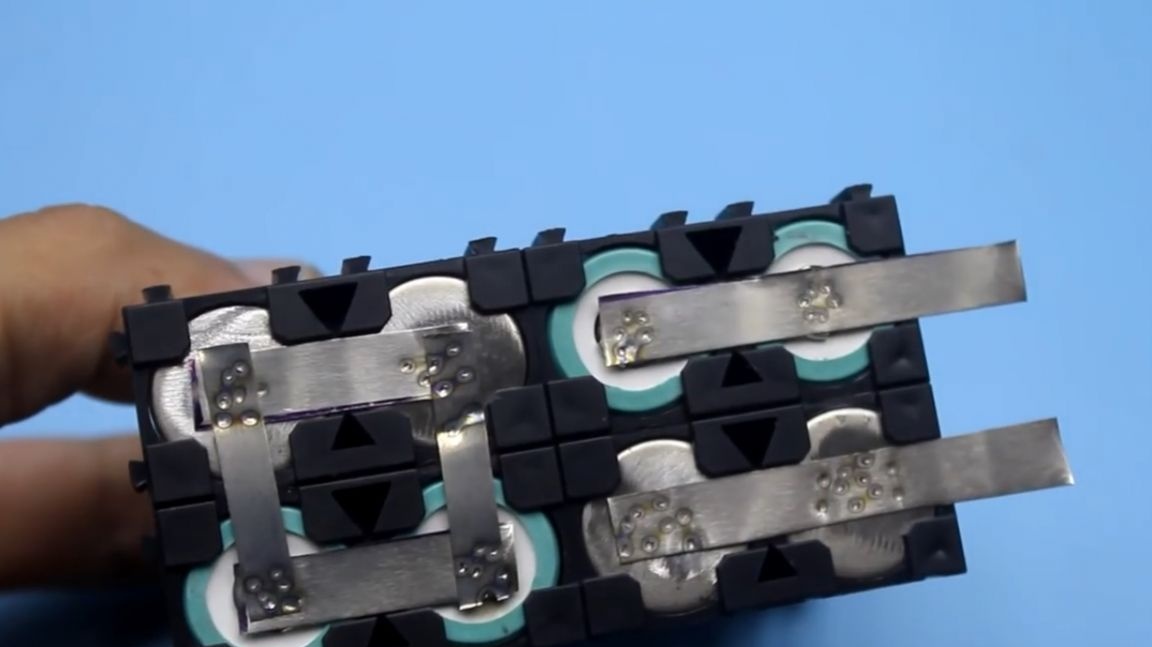
We connect the welding machine, we press the electrodes to the nickel bus in the place of the necessary contact. It's all pretty simple, nothing complicated.
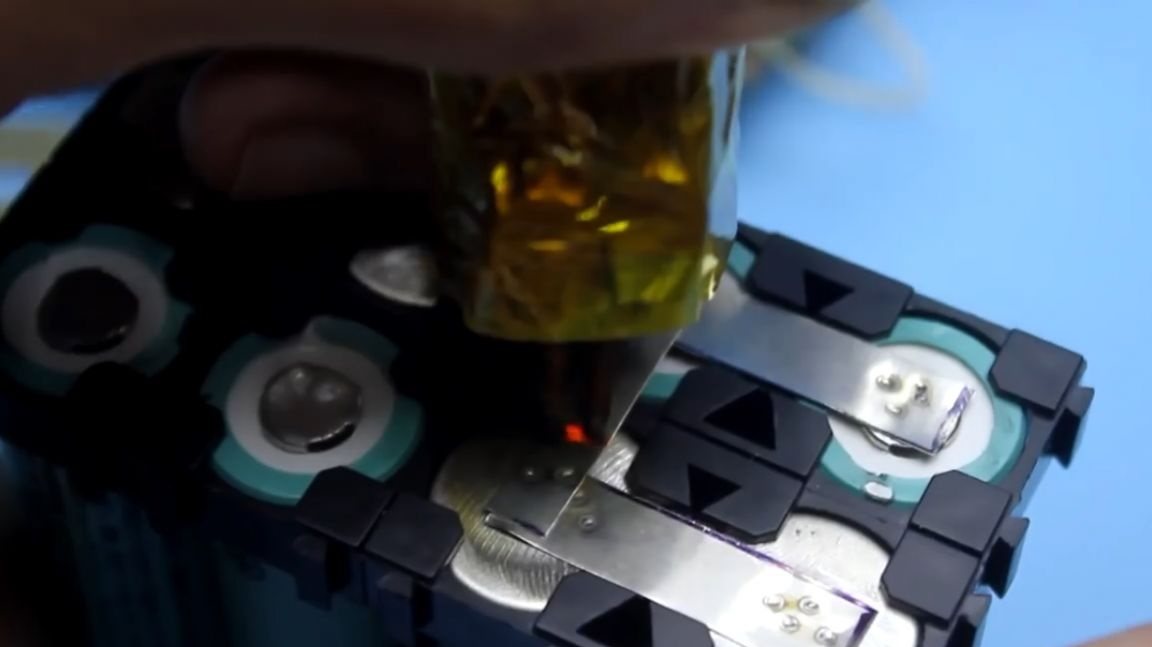
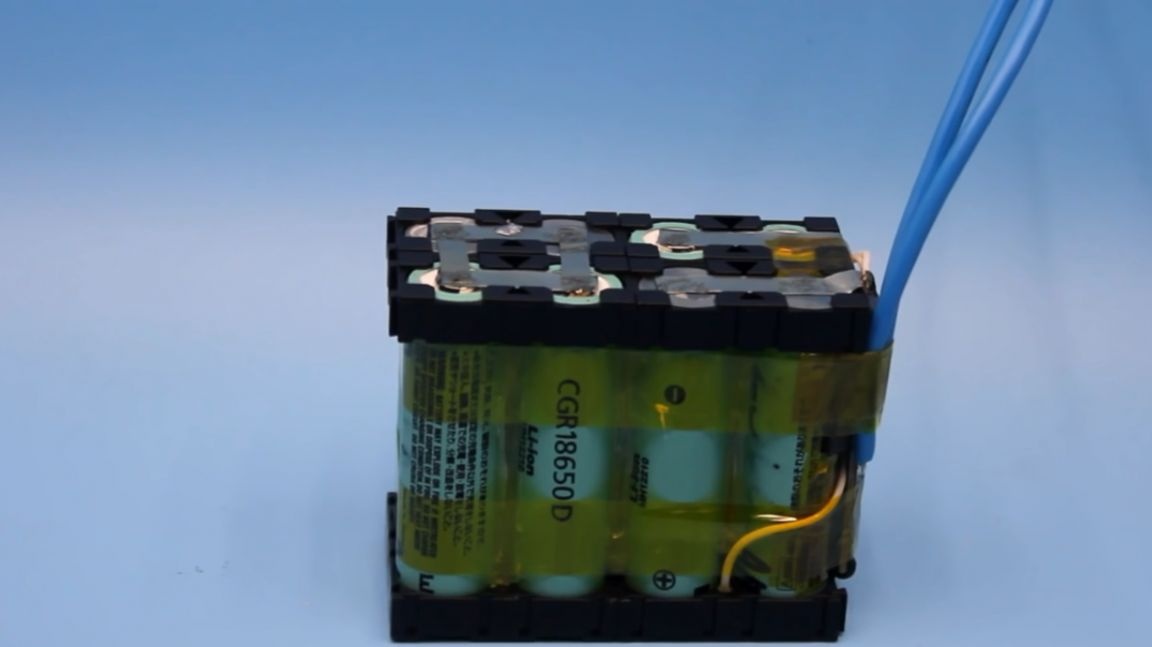
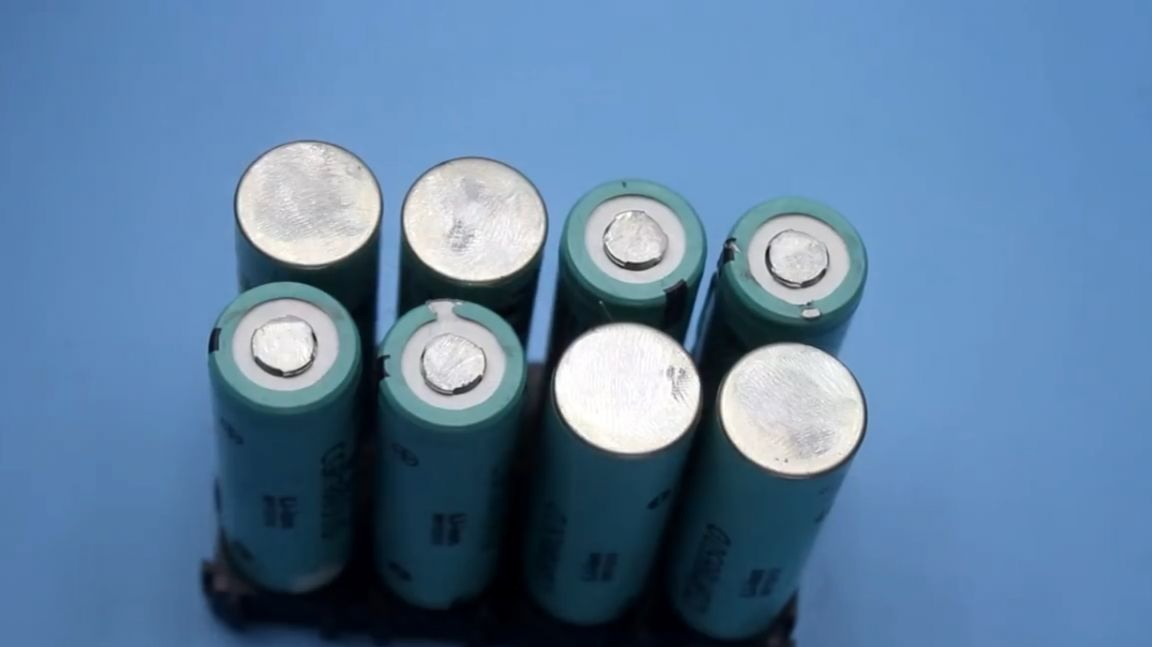
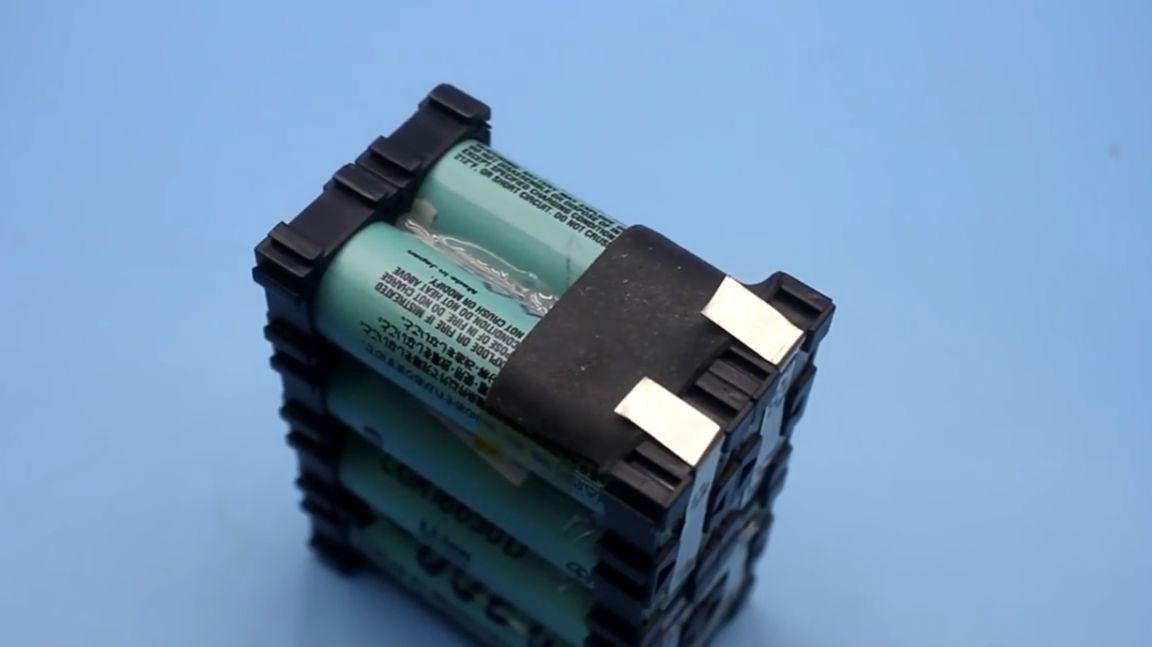
Banks are installed in such a way that the contacts for the removal current (or plus and minus batteries) come out on the one hand, which is very convenient.
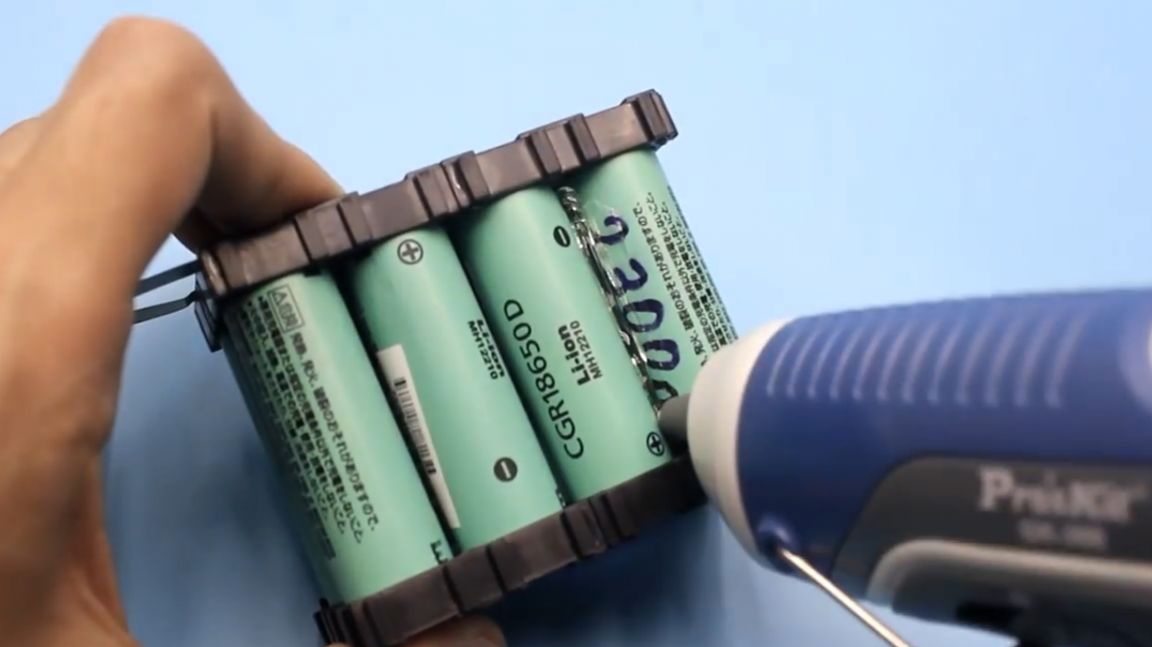
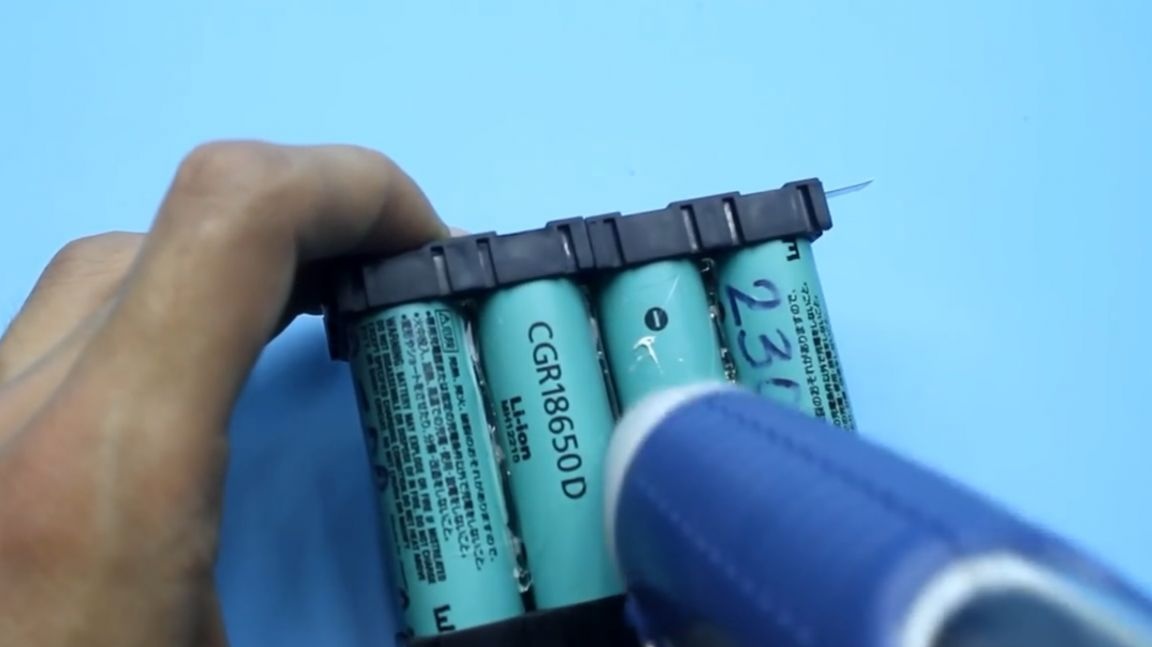
Battery banks must be additionally fixed, that is, glued together. This is necessary in order to eliminate the breakdown of the welding points in case of long-term battery vibrations, in general, so that the banks do not stagger. Ideally, a sealant is desirable for this. But the author decides to use hot glue. Hot glue, using a special glue gun, glue the space between the batteries.
Check if everything is done correctly. To do this, connect the measuring tool (in this case, a multimeter) and check the voltage at the terminals of the newly assembled battery.
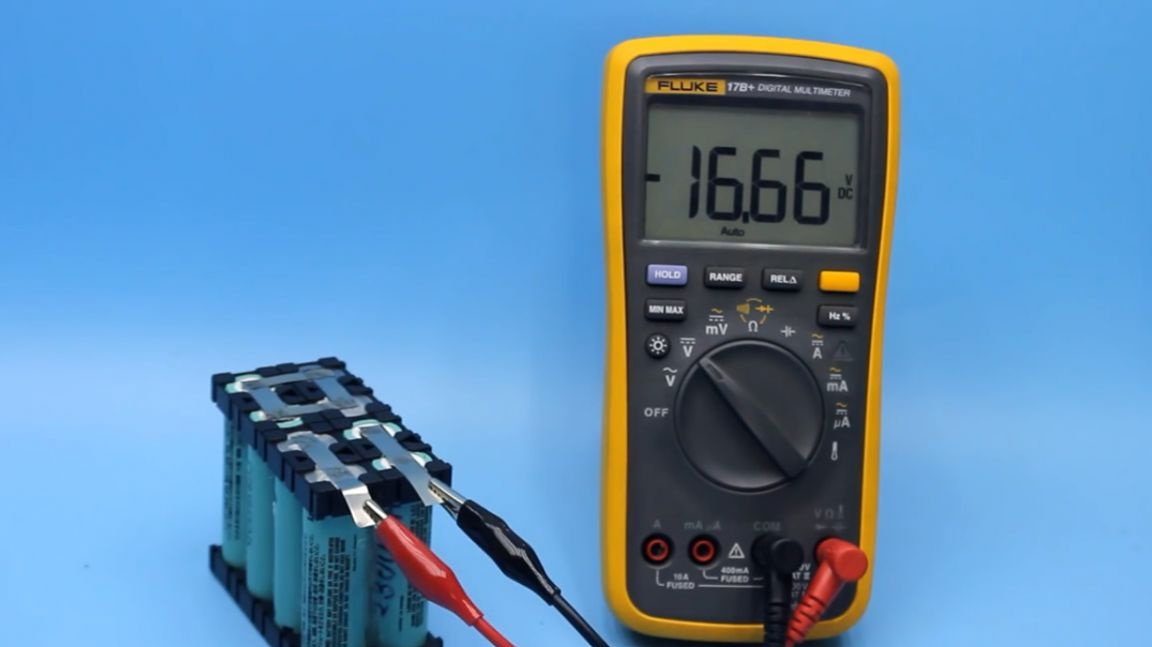
The device shows 16.66V. It should be so.
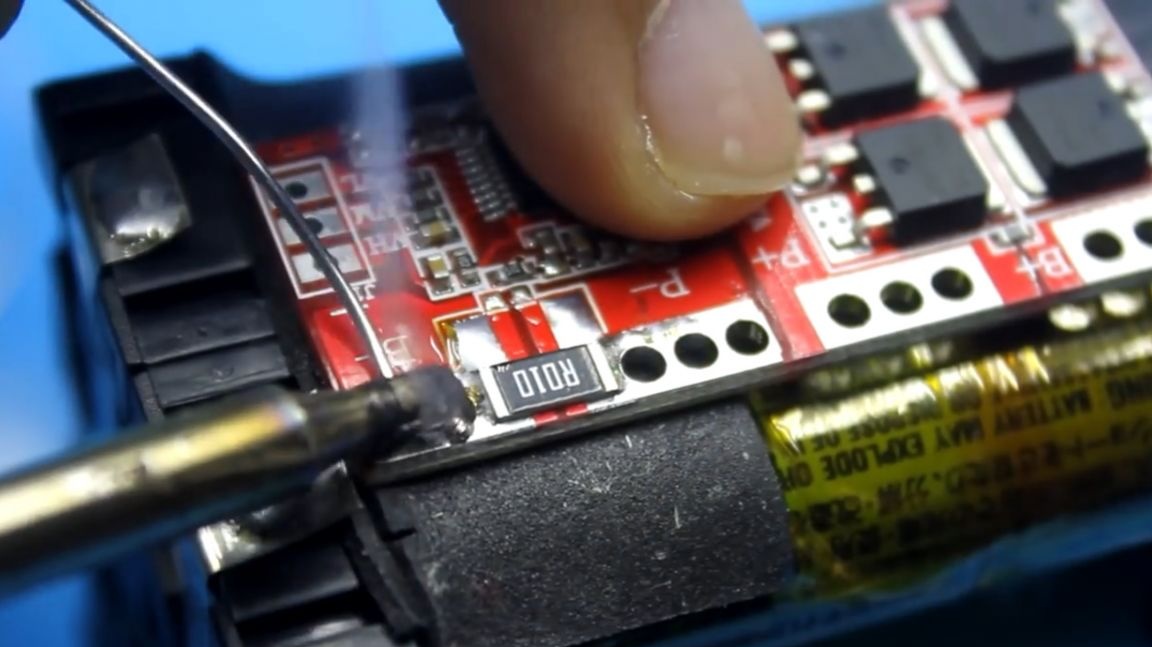
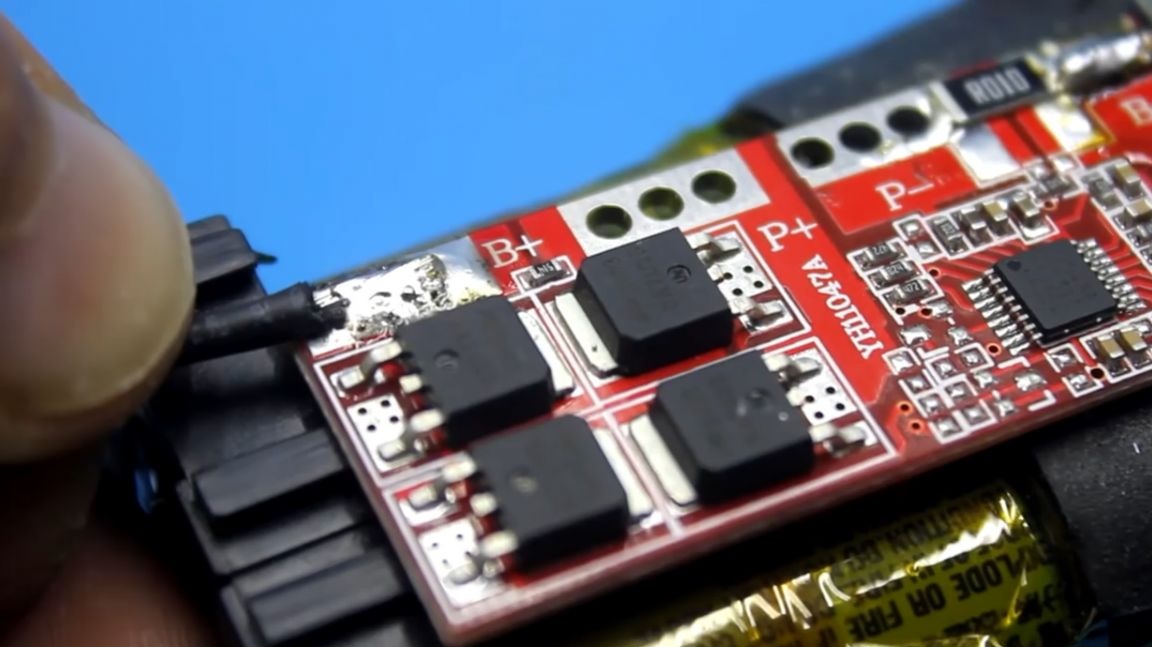
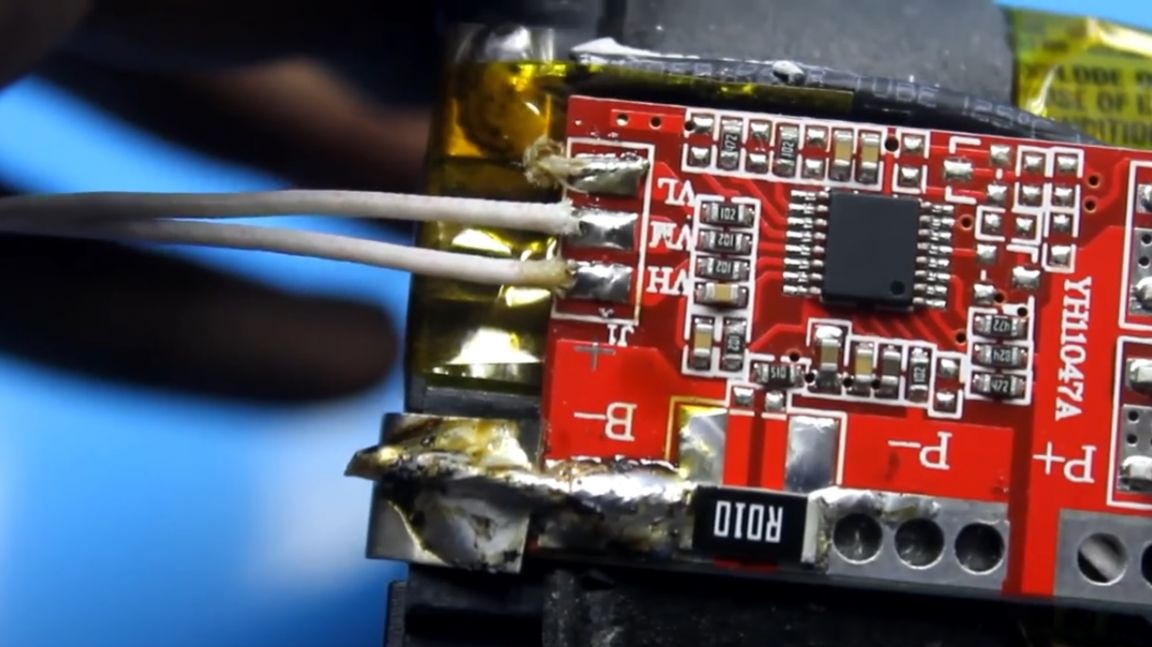
Now take a charge controller.
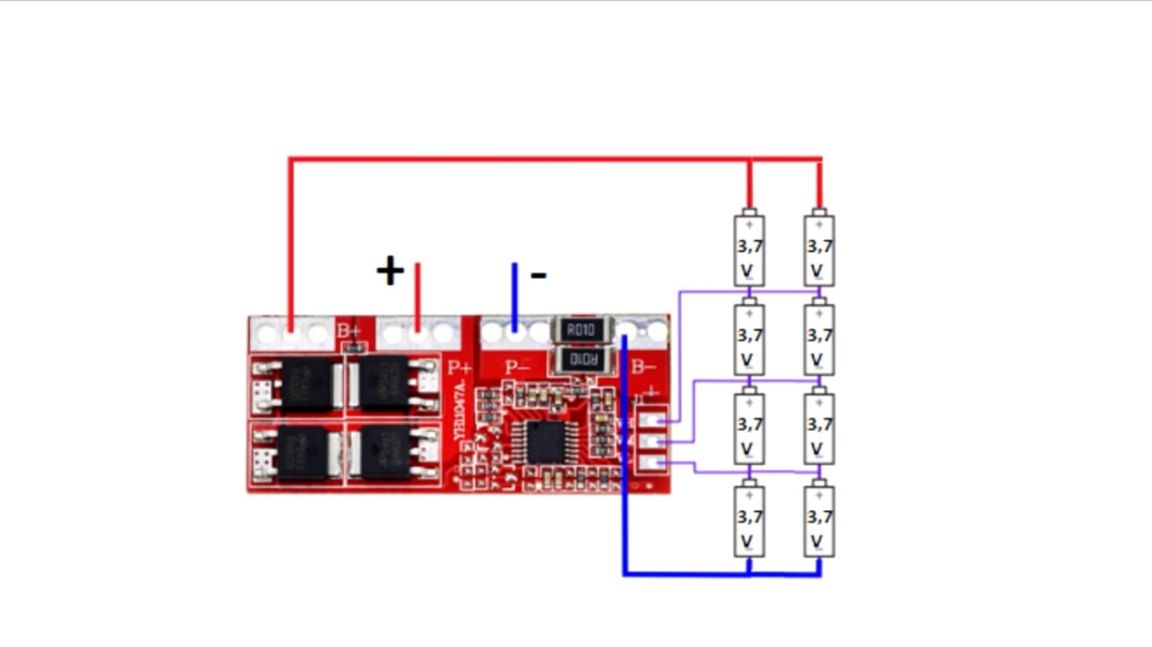
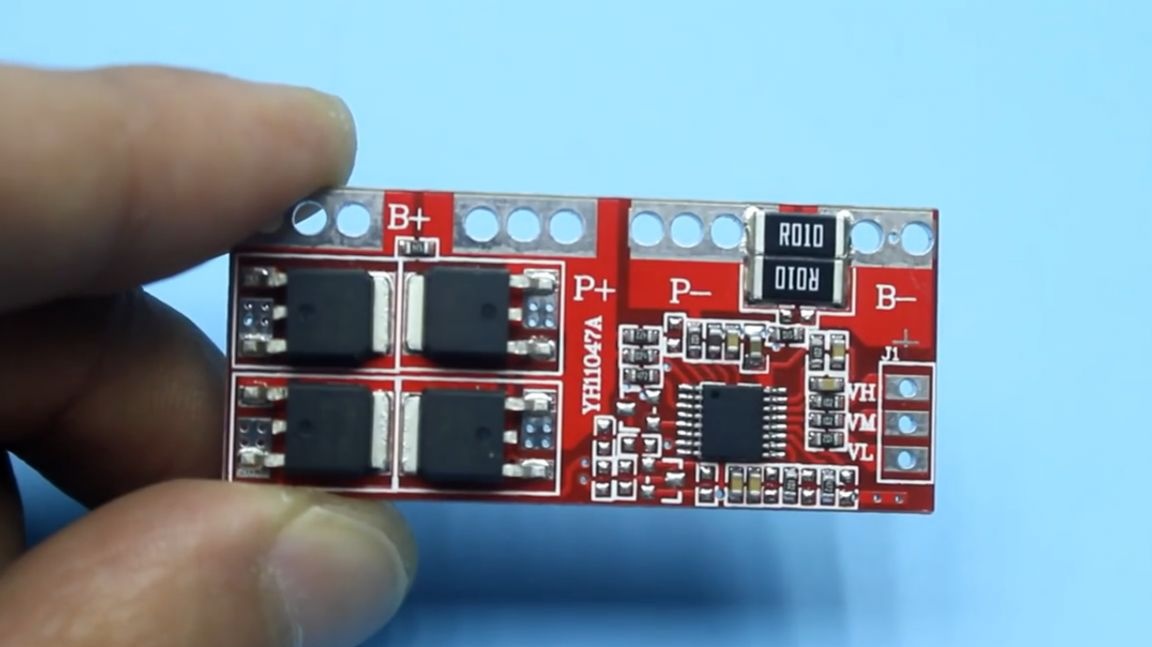
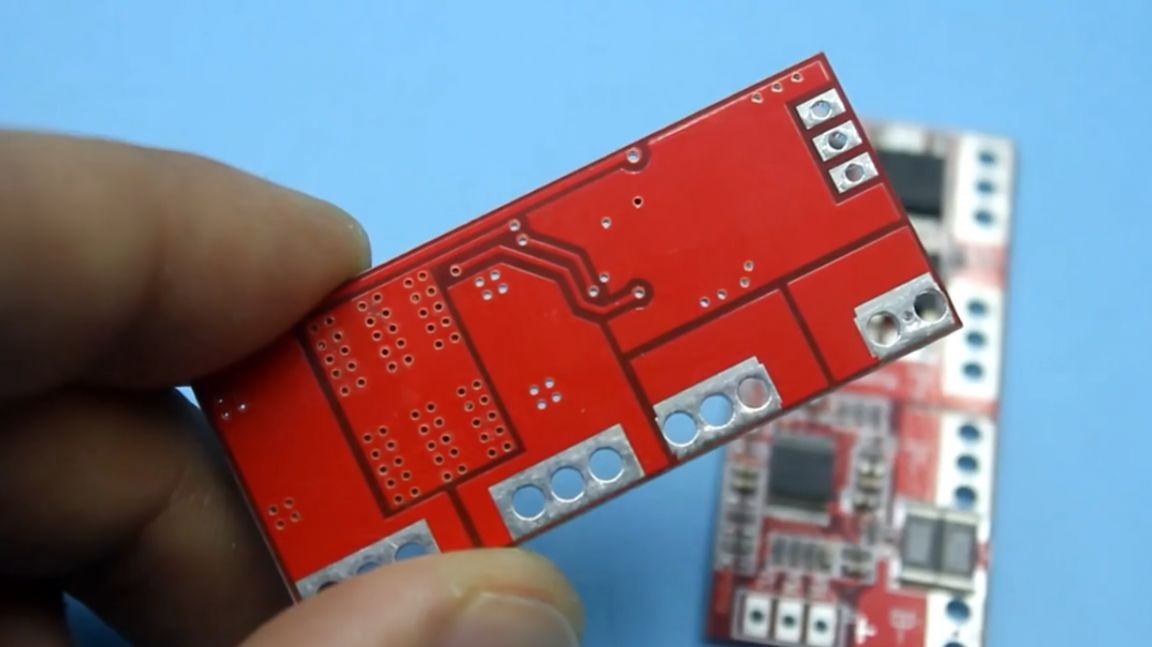
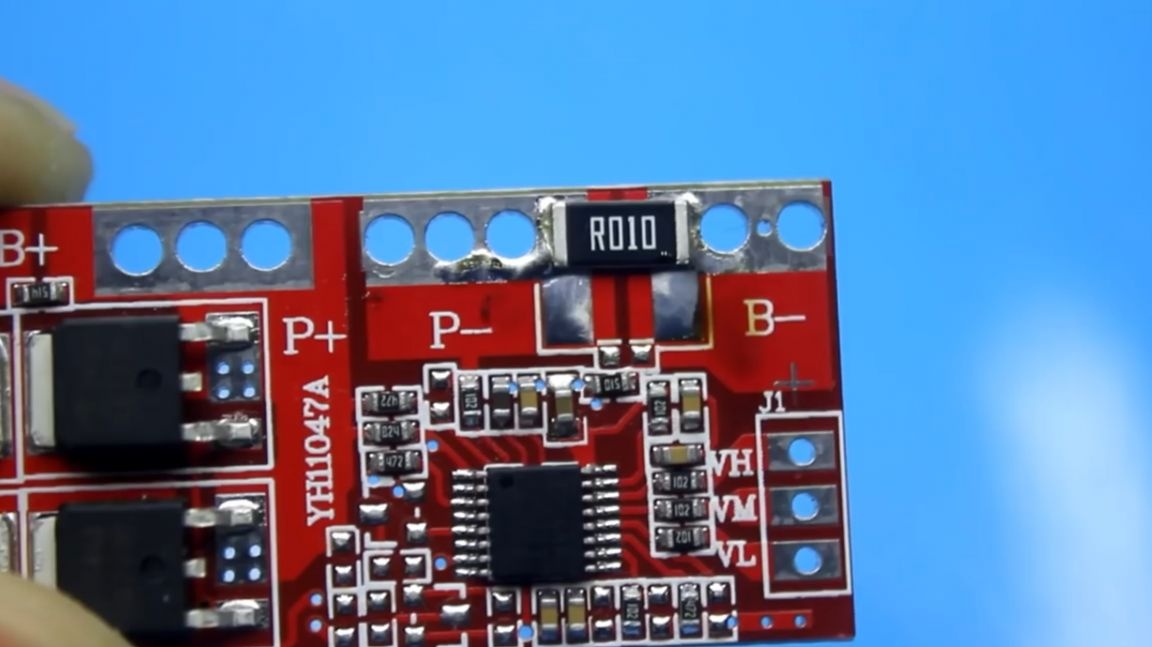
It performs several functions, including protecting the battery from short circuits, as well as overcharging and deep discharge. This board is just designed for 4 battery cans. The trip current of protection of this board is 30A. The author reduced it by 2 times (to 15A), removing one of the current sensors.
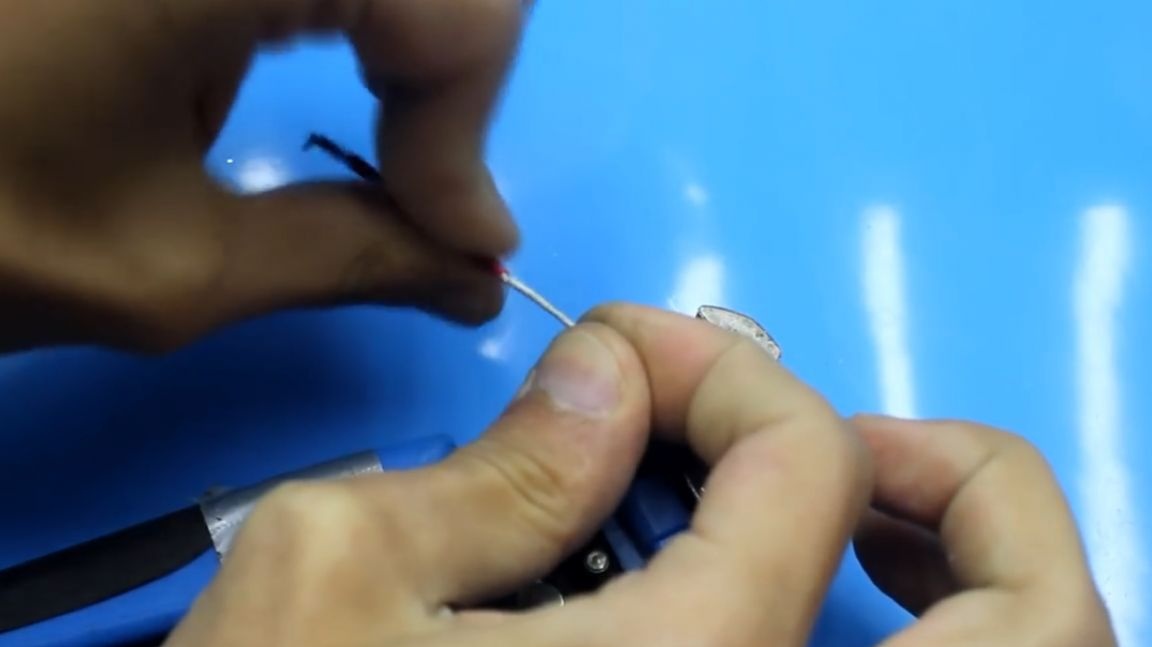
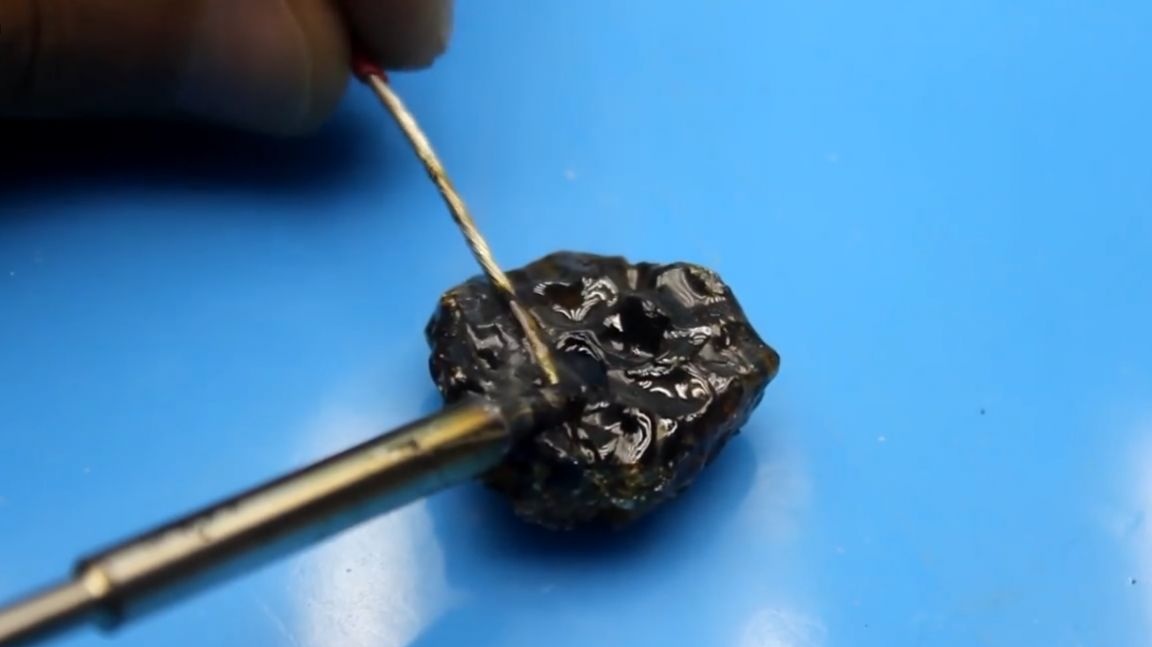
Now let's work with a soldering iron. First you need to irradiate the contacts of our battery.
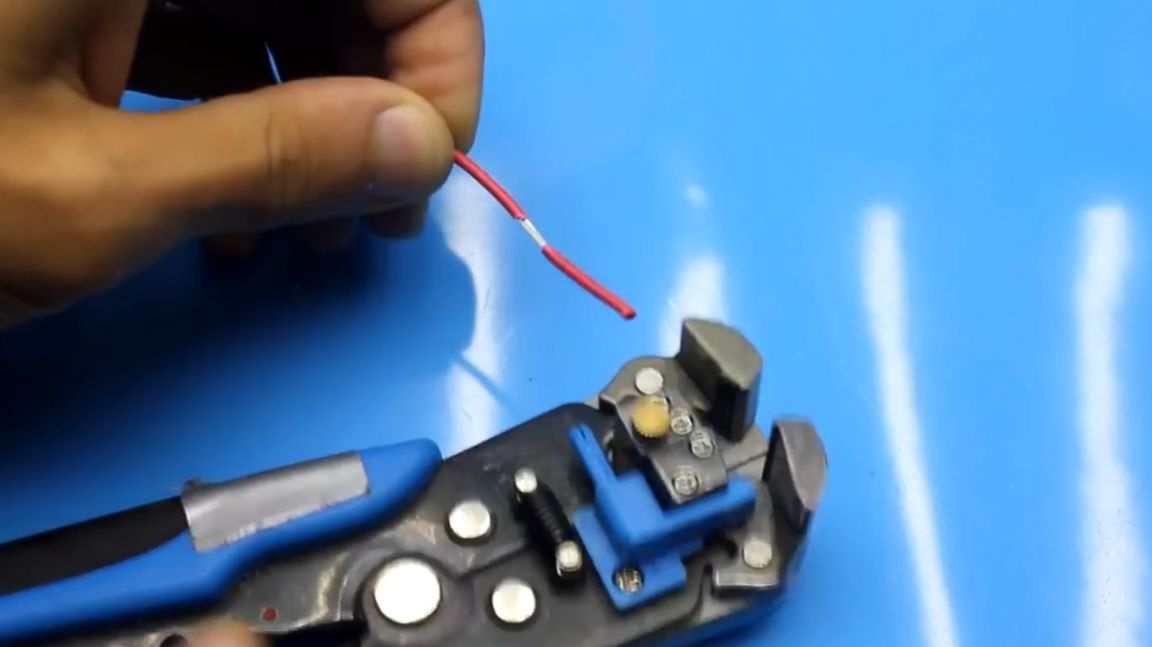
Then we clean the wires from insulation and they also need to be irradiated.
Next, we place the charge controller board in a place specially prepared for it and solder the battery contacts to the corresponding board contacts.


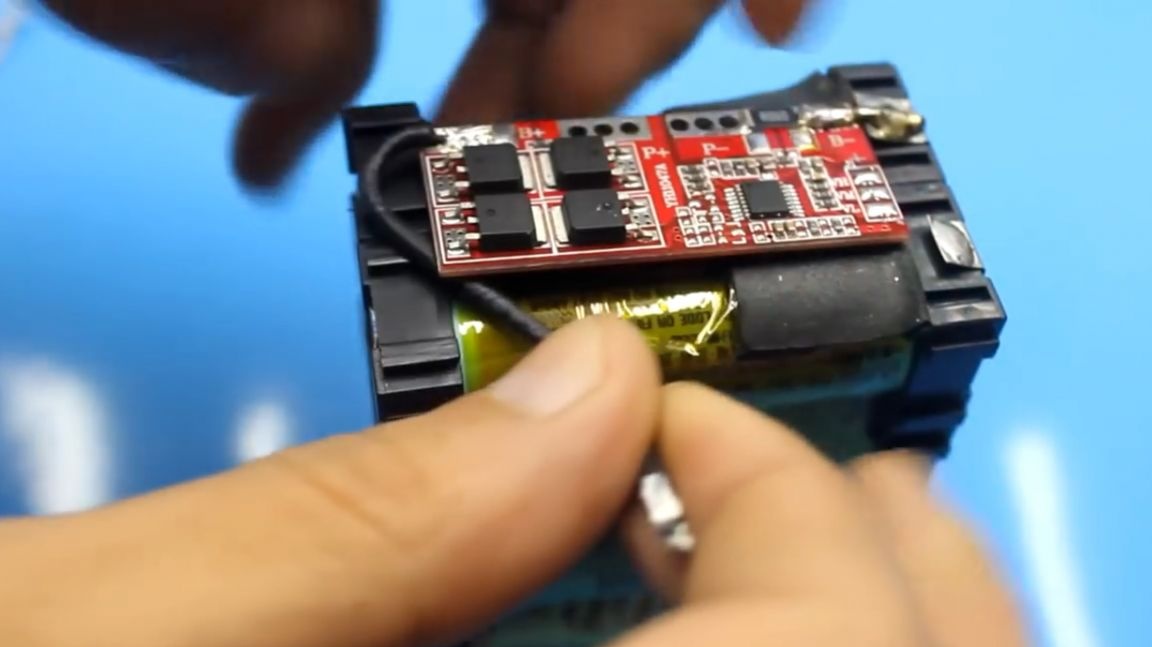
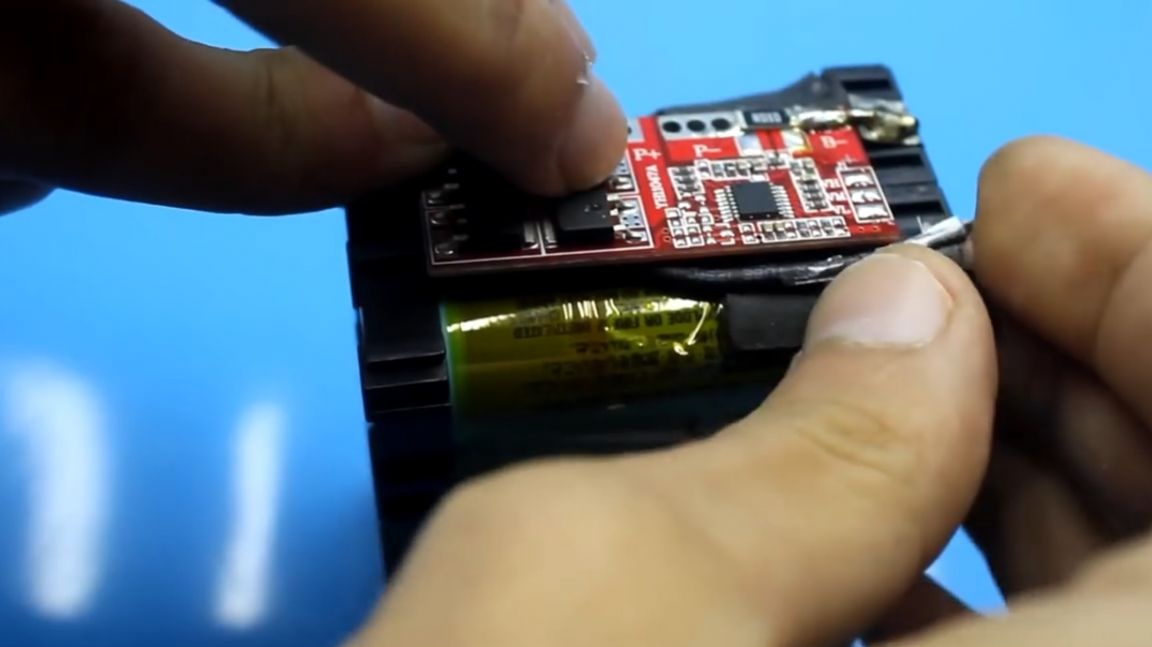

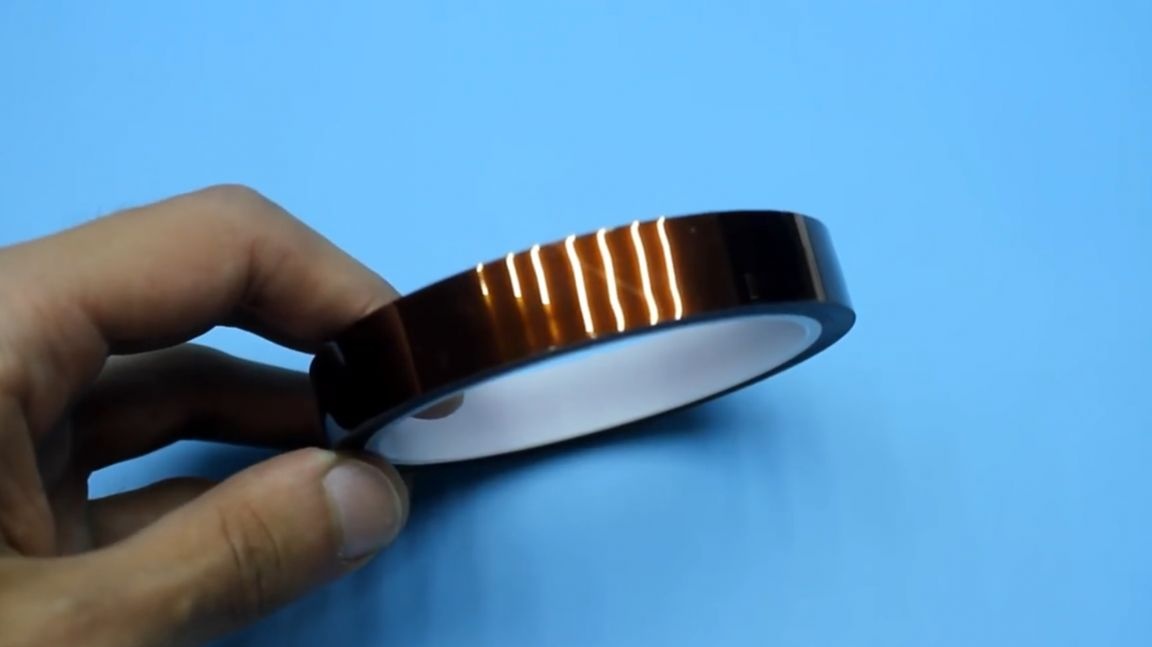
Then it winds the battery charge controller board directly to the battery banks using tape.
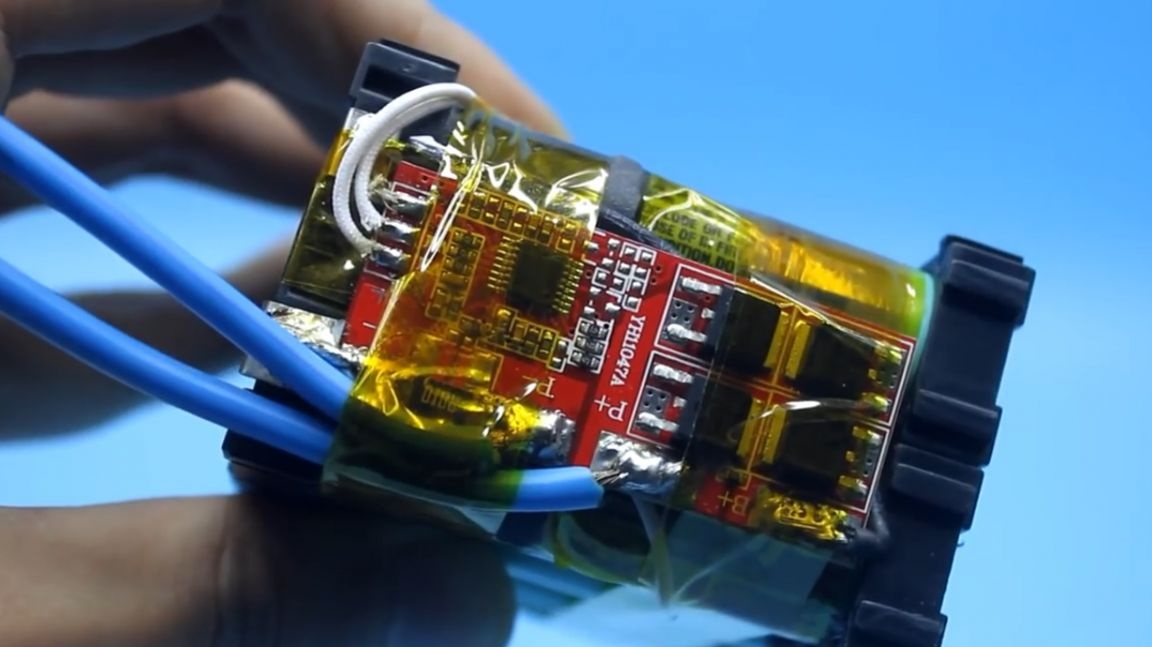
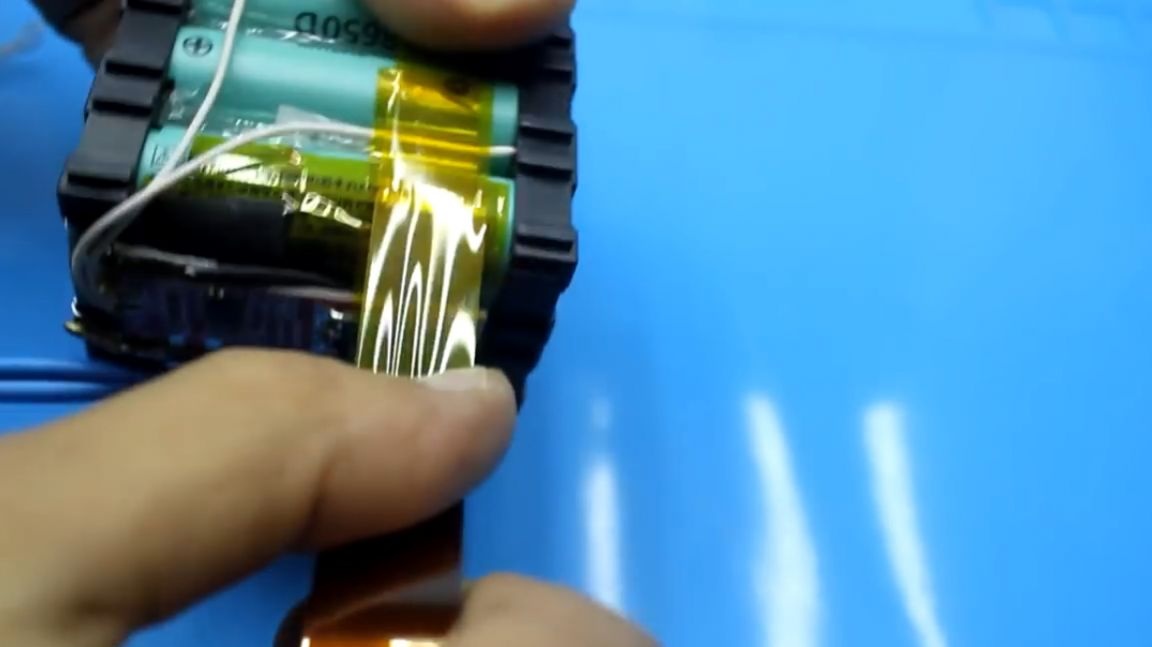
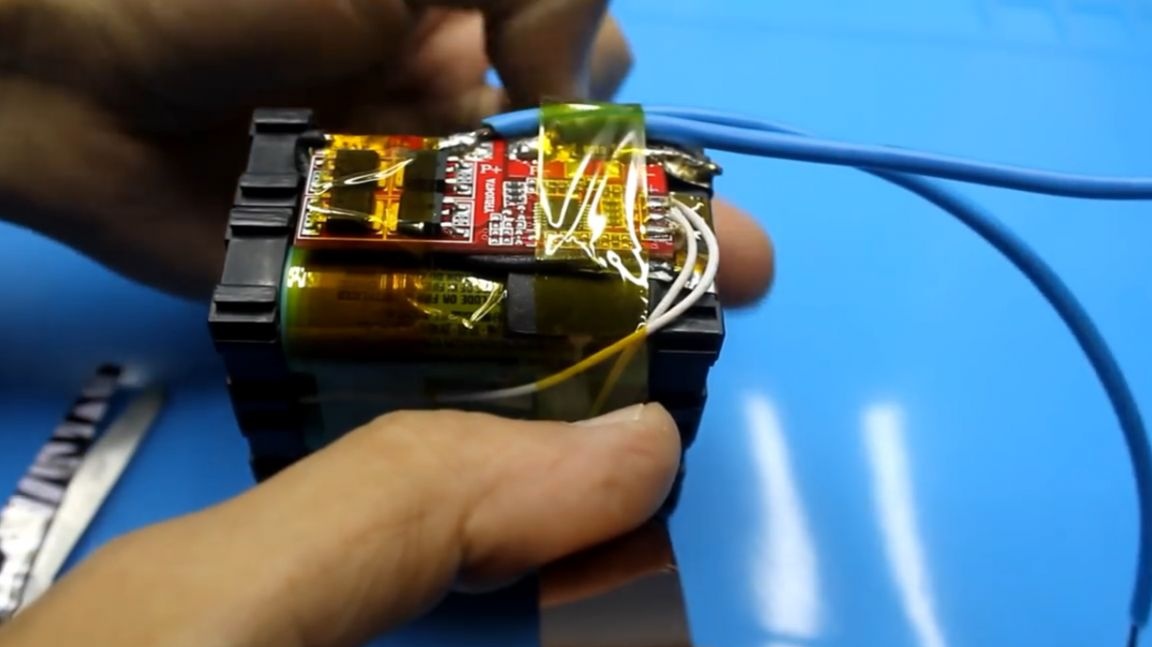
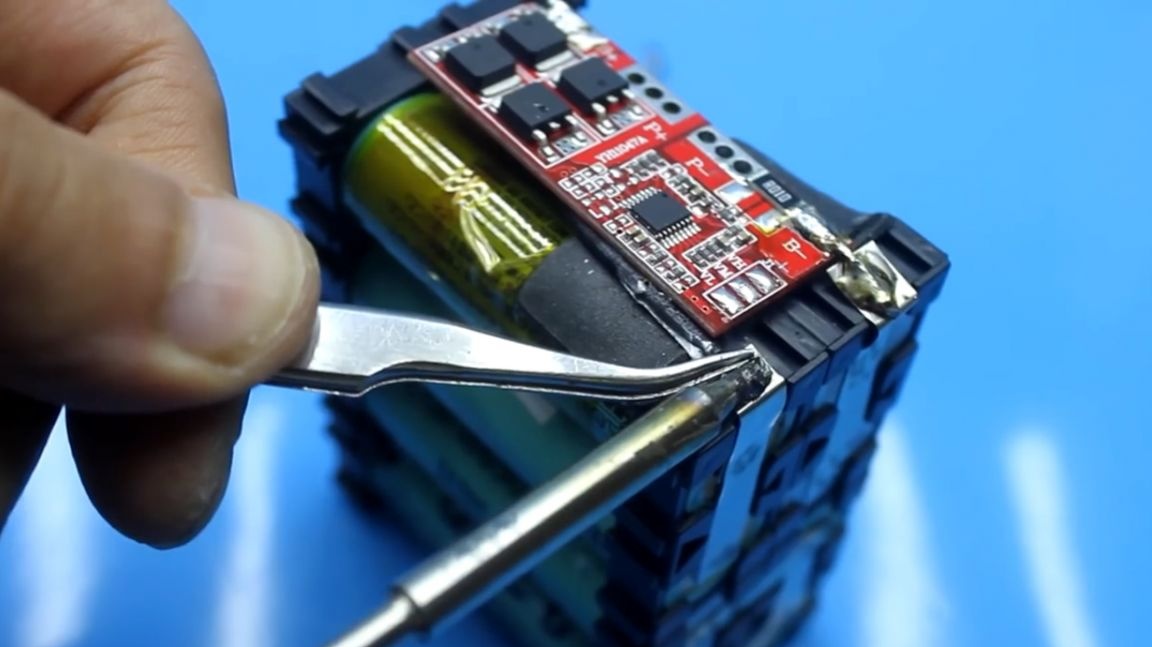
We get a single design.
We check.
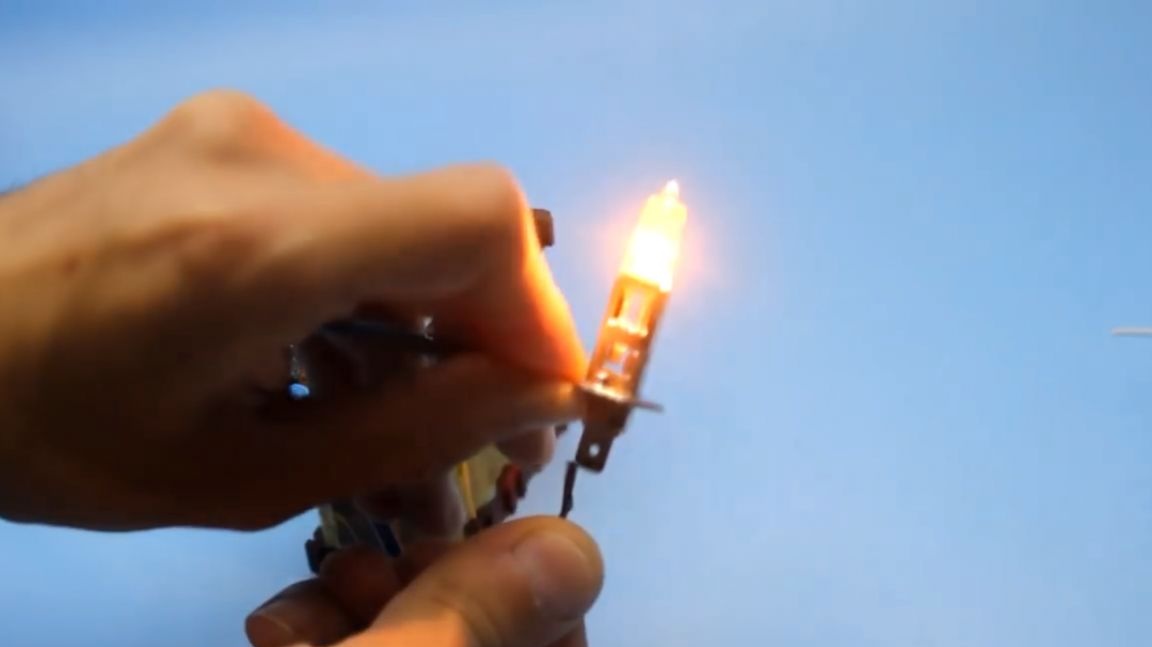

Everything works. So easily and simply you can collect batteries with the necessary output voltage. By the way, the batteries that were used by the author are not high current. Each jar can be discharged with currents of not more than 5A. Taking into account the fact that each unit consists of two cans connected in parallel, it turns out that such a battery can be discharged with a current of about 10A, and at 15 amperes the protection will already work.
Thank you for attention. See you again.
Author's video: