You are lucky if you have access to free wooden pallets. You can make excellent ones from them. furniture, because here you can get some pretty good boards. Often, pine boards are used to make pallets, but material from hardwood is also found.
In this article, we will look at how to make a simple, beautiful table from such boards. The author decided to make it antique. If you look at the assembled table, not every master will understand that it is made of pallets. However, in addition to pallets, you can use old boards from the floor and so on. So, we will consider in more detail how to make such a table!
Materials and tools used by the author:
Material List:
- wooden pallets;
- nails, screws;
- glue for wood;
- paint, epoxy, stain and more.
Tool List:
- hammer;
- a hacksaw or circular saw;
- ;
- drill;
- brushes, brushes, etc.
The process of making a table:
Step one. Preparation of materials
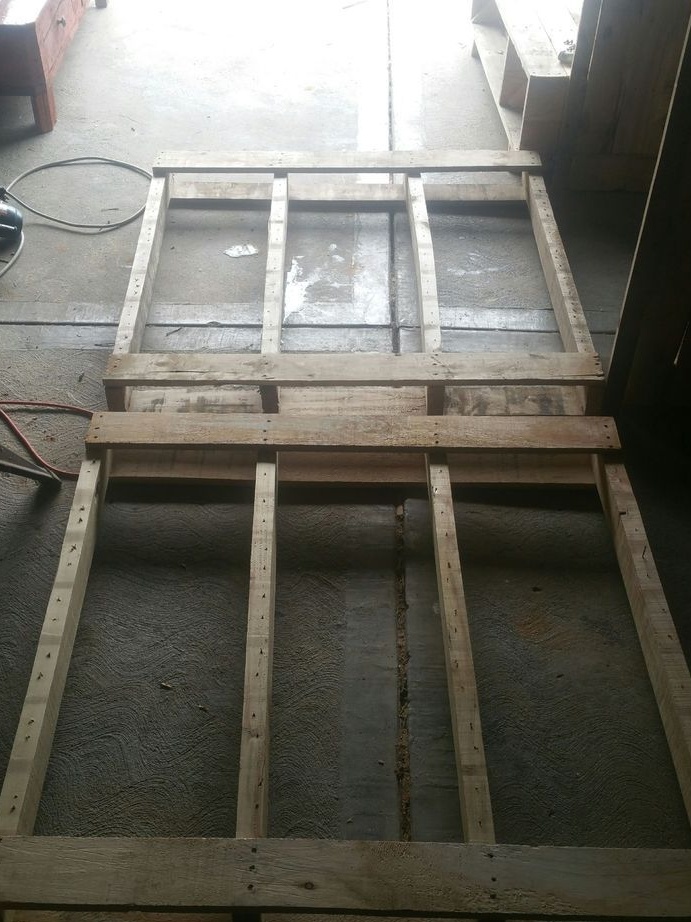
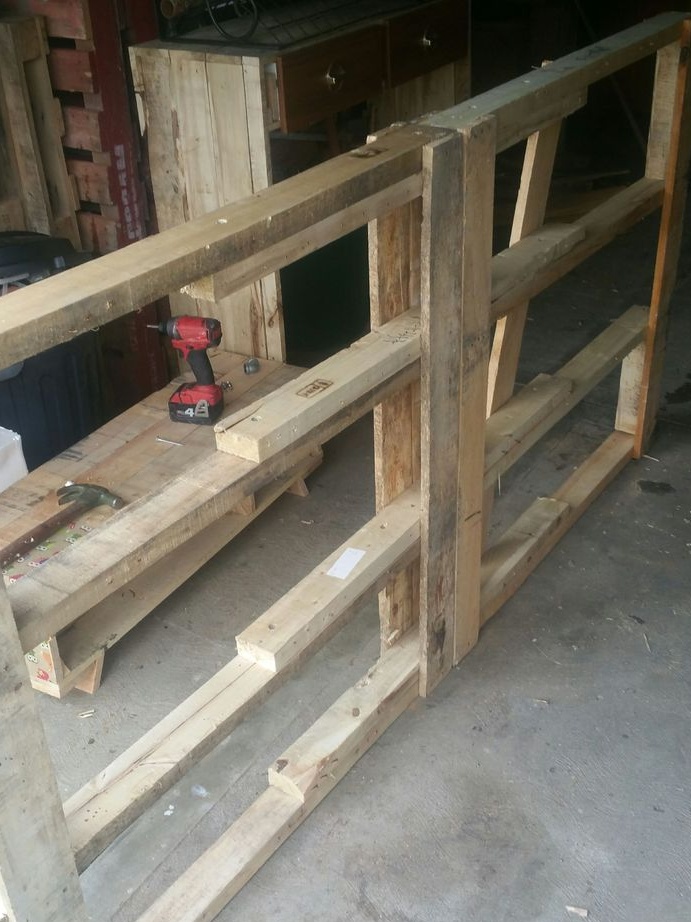
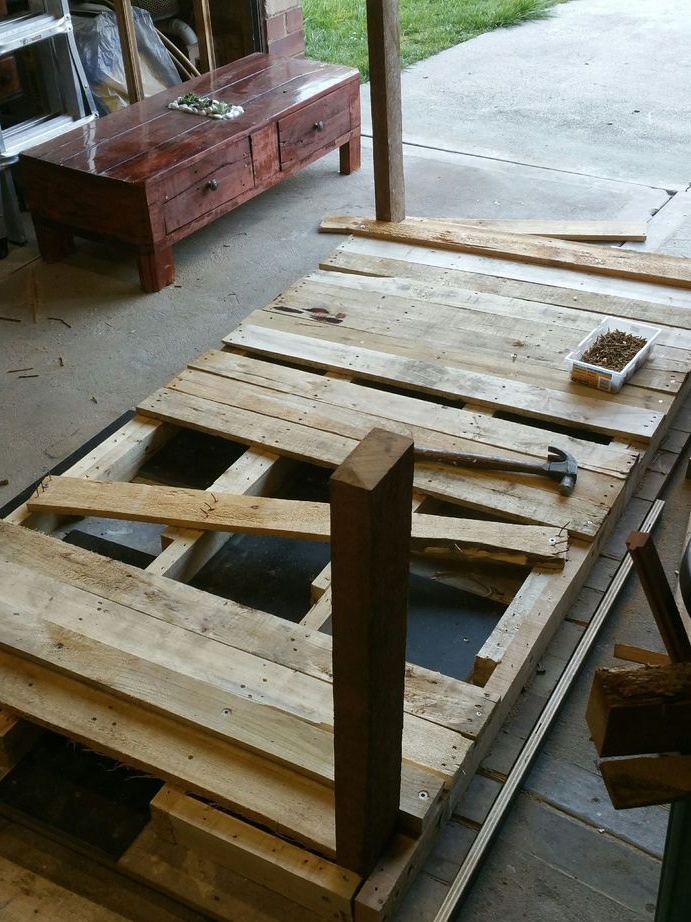
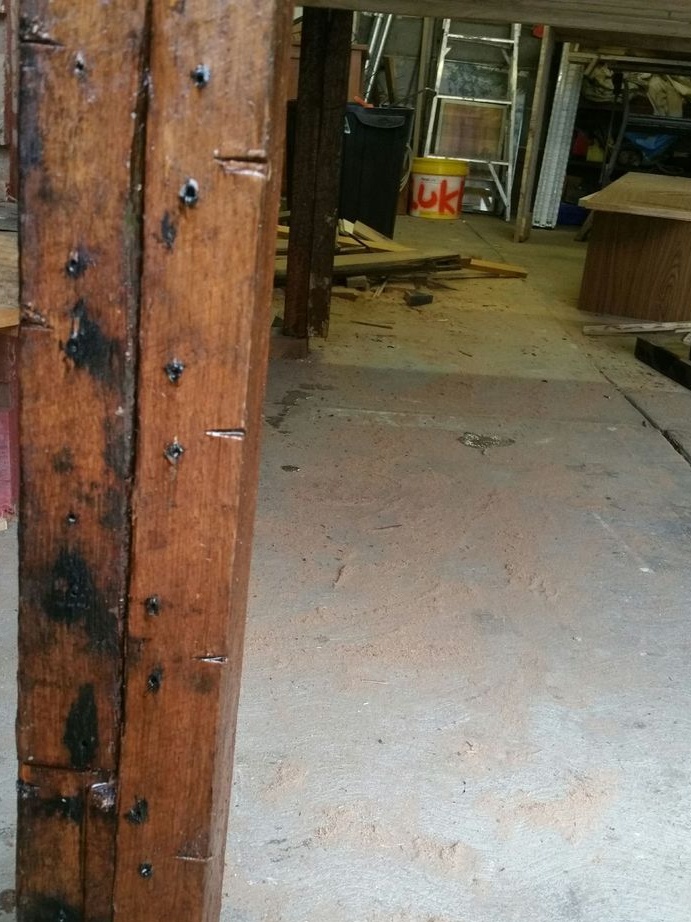
The whole table is assembled from two pallets, the only thing that will be needed as an addition is the bars from which the legs are made. But you can also find such bars in old pallets. The pallets must be in good condition, the material must not be rotten or have serious impurities that cannot be cleaned.
First of all, remove the boards from the pallets, you should have one frame, or rather two. Subsequently, we connect these two frames and get a frame for the countertop. Of course, the designs of pallets are different, how everything should look, look at the author in the photo. Frames need to be fastened as securely as possible, here you can use a combination of glue with self-tapping screws. It is also quite possible to tighten everything with bolts and nuts.
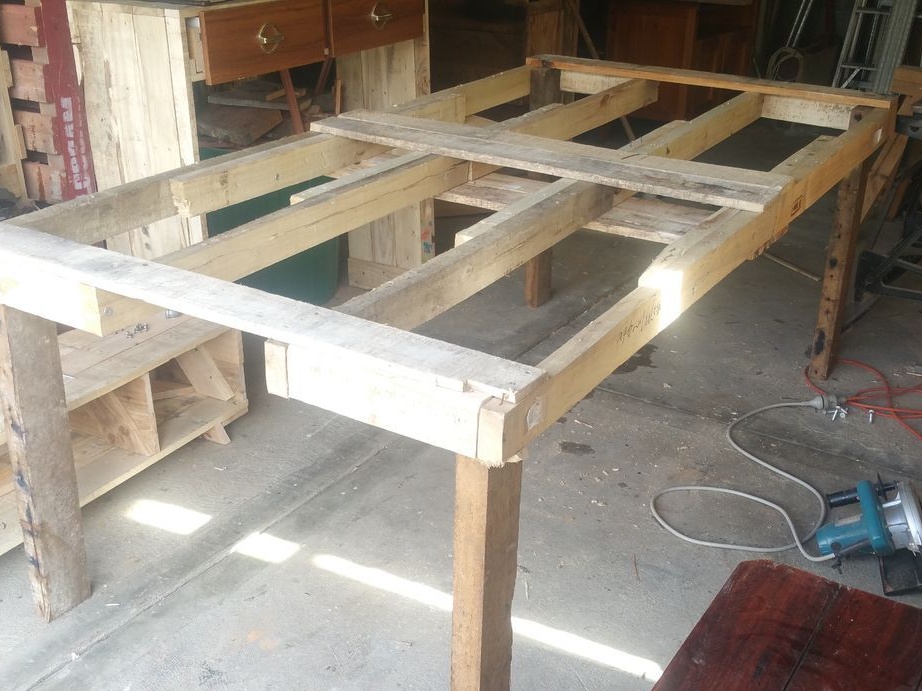
Step Two Table legs
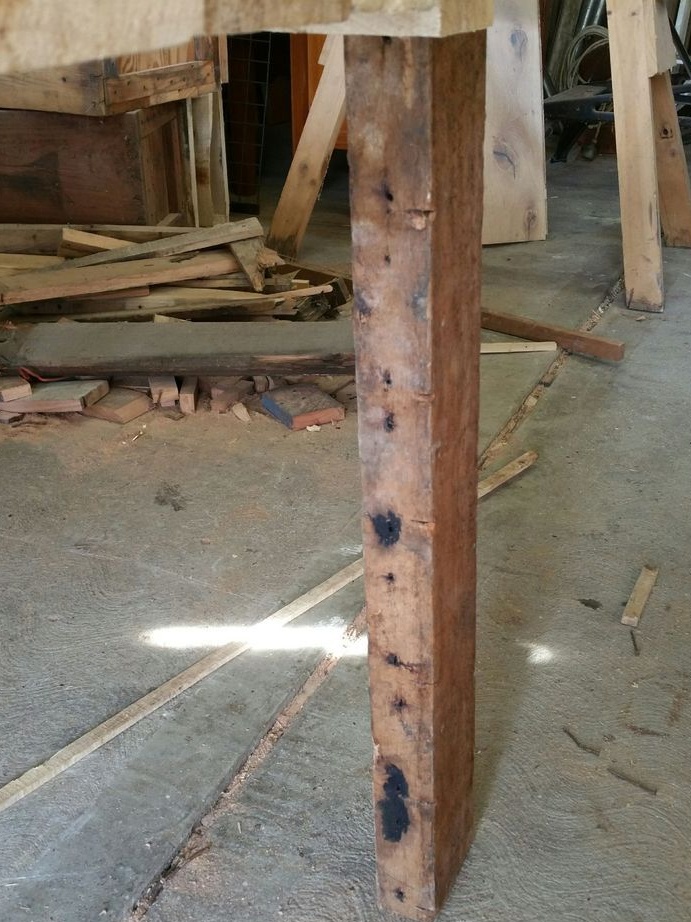
For the manufacture of legs, butu need bars, they can be found in old pallets and so on. We cut the bars into four legs equal in length and fasten them from the inside of the frame. It would be nice to use self-tapping screws or bolts with nuts. If desired, the legs can be made of two bars, so the table will be stronger and more massive.
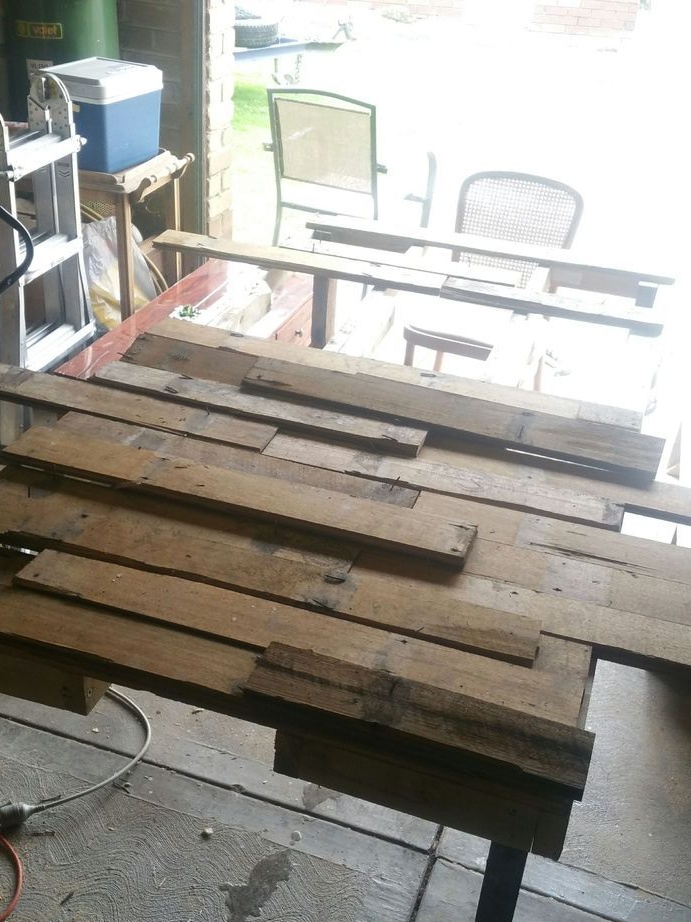
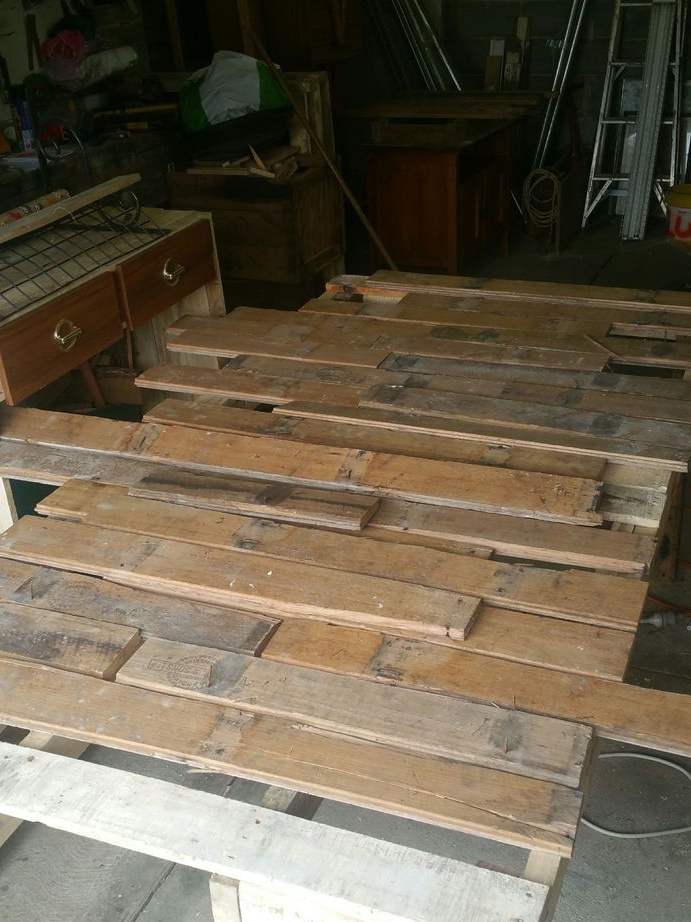
Step Three Board preparation
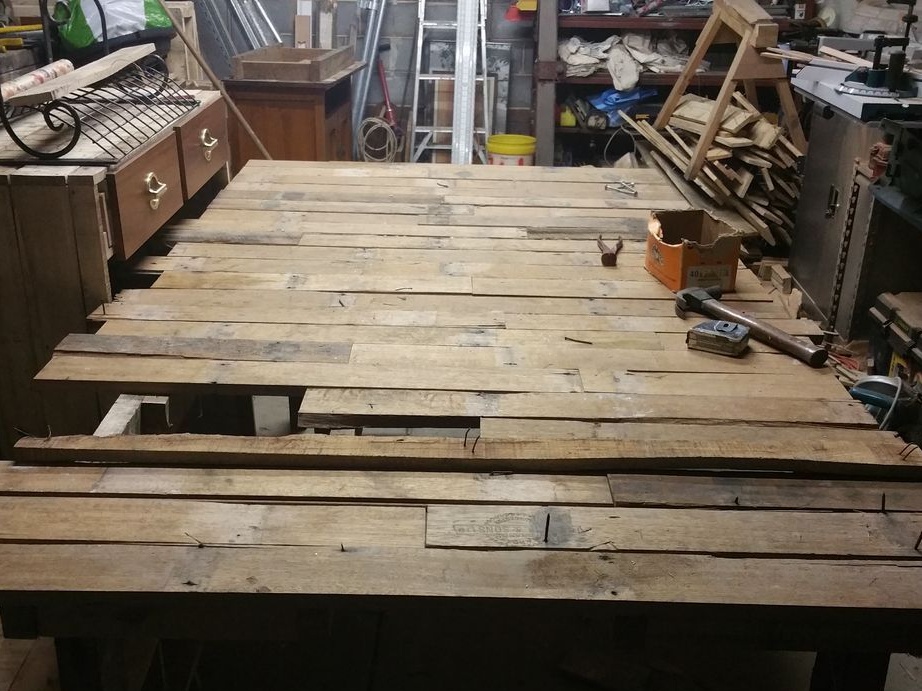
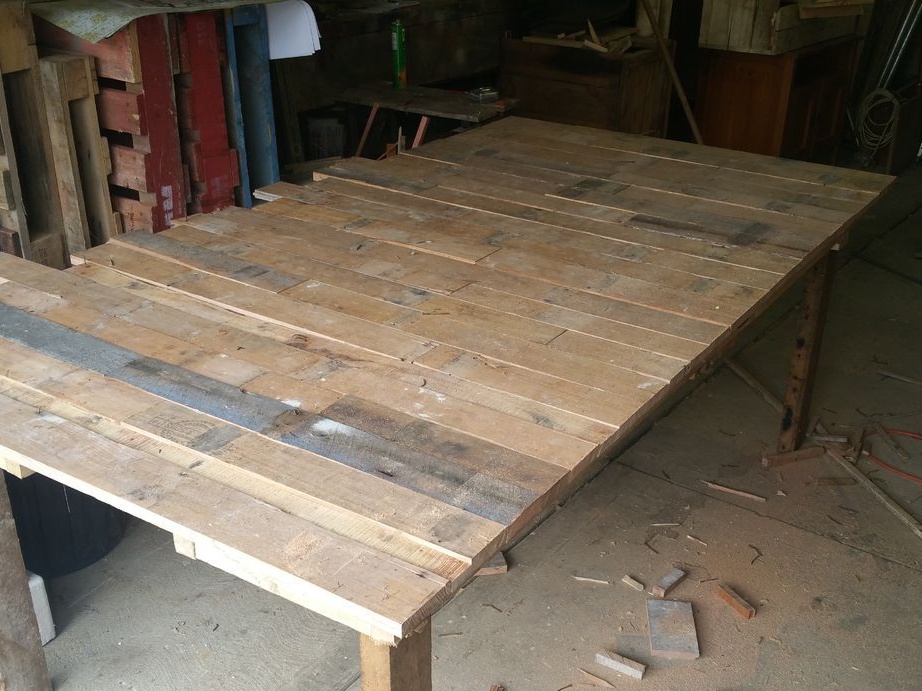
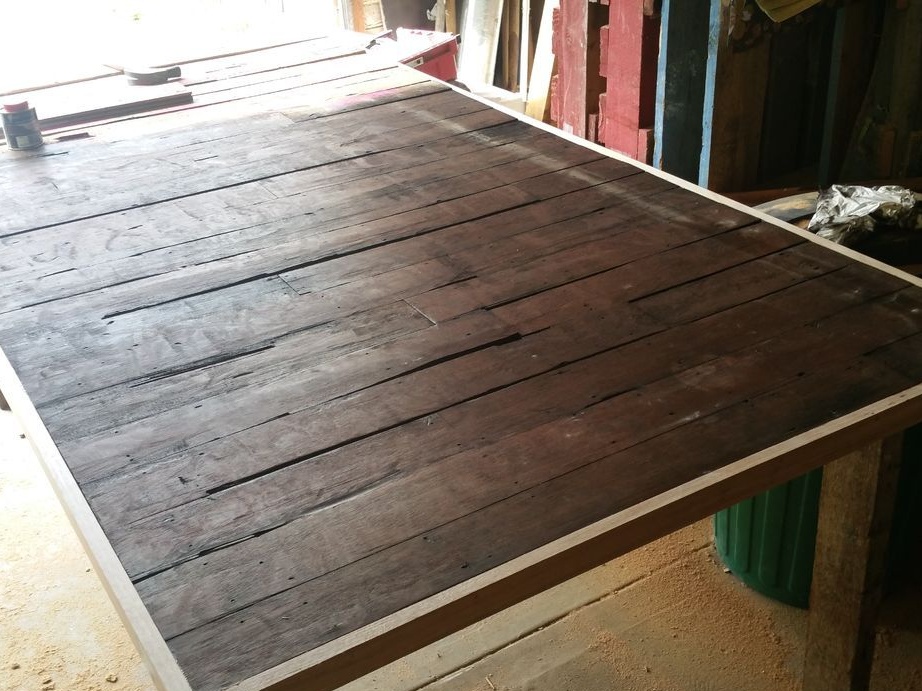
Now we select the right number of boards to assemble the countertop. Choose boards without cracks, chips, rot and other serious damage. Prior to installation, they need to be grinded on both sides and treated with an antiseptic, since it is unclear where they were before and how much dirt is on them. Next, just lay the boards on the countertop.We choose the order, quantity and so on. Then we cut off the excess from the boards. At the end, nail the boards with nails to the base.

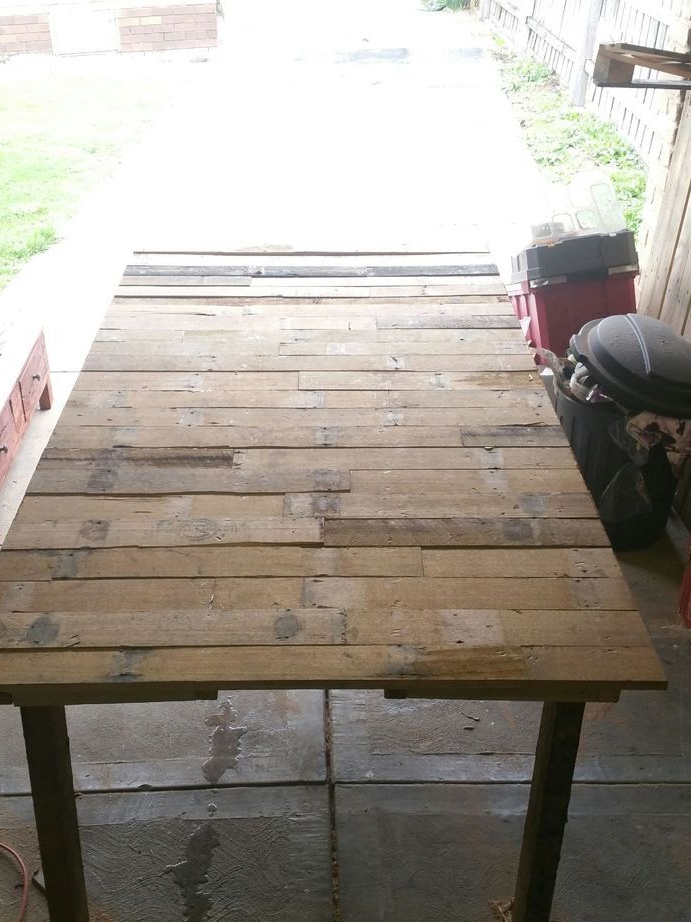
Step Four We sew the reverse side
To strengthen the structure and make the table more attractive, trim the back of the frame. For this you need boards, and for added strength you can use wood glue.

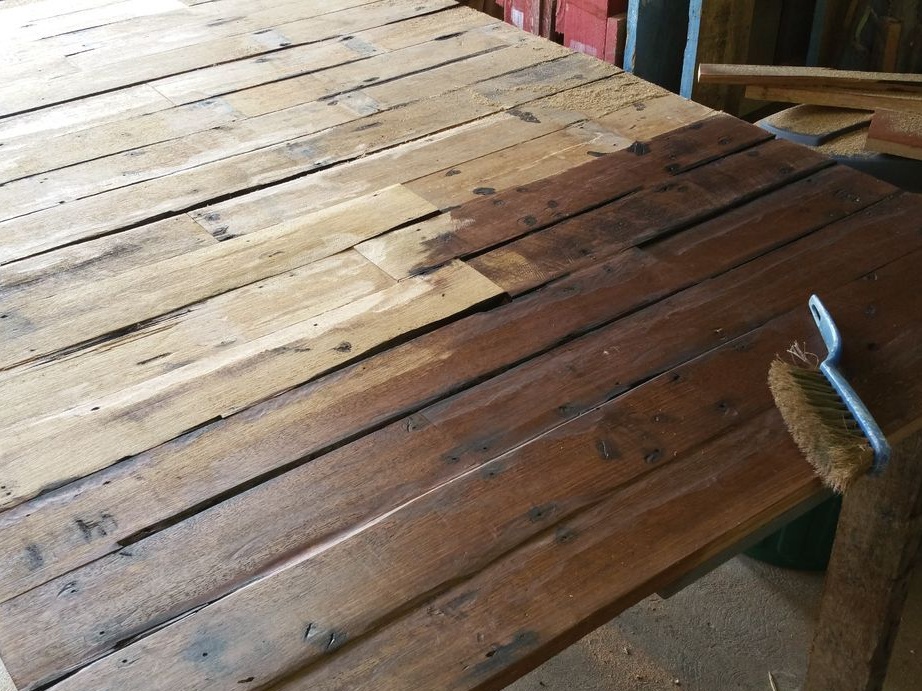
Step Five Countertop initial processing
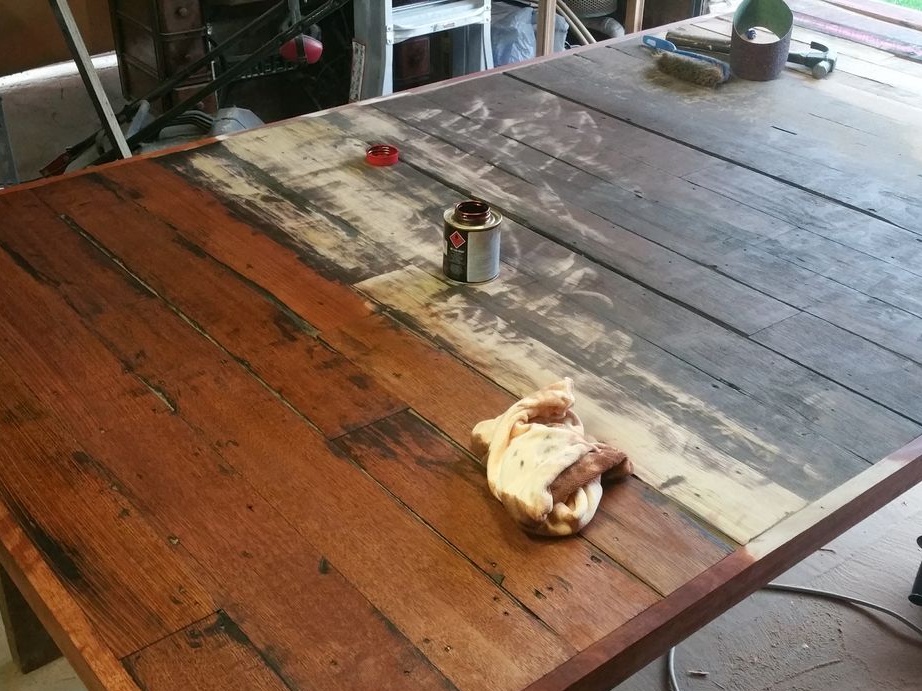
First, take the stain and saturate the board. Choose the color of your choice, the author decided to use dark colors. When the stain dries, we take a grinding machine and proceed to grinding. A hand-held belt grinder or orbital is suitable, however, vibration can also be dealt with. Grinding allows you to give the wood an aged look, and besides, thanks to this, we level the plane, because the boards are all of different thicknesses.
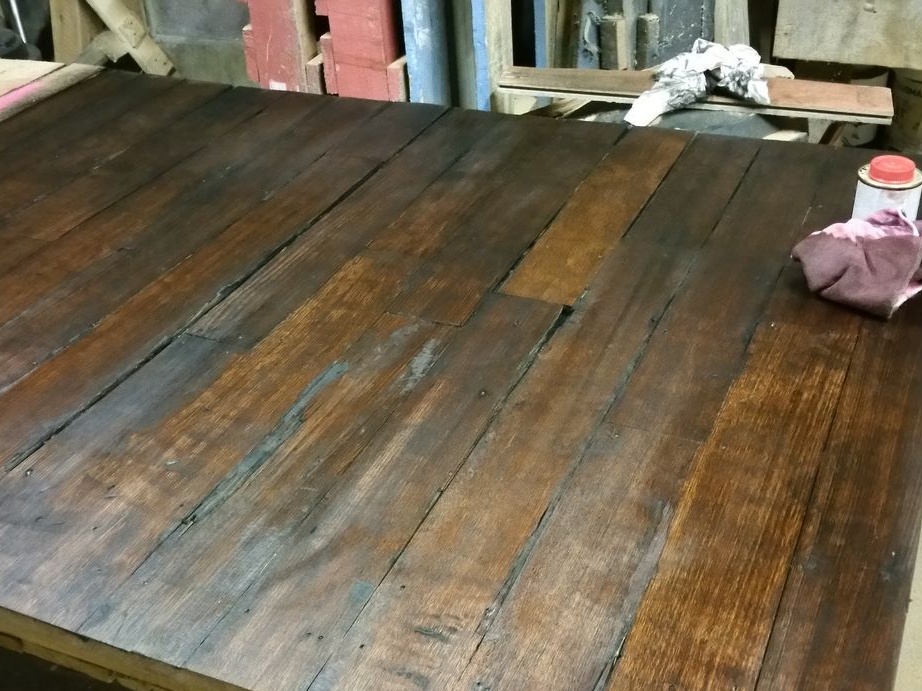
Step Six Subsequent table processing
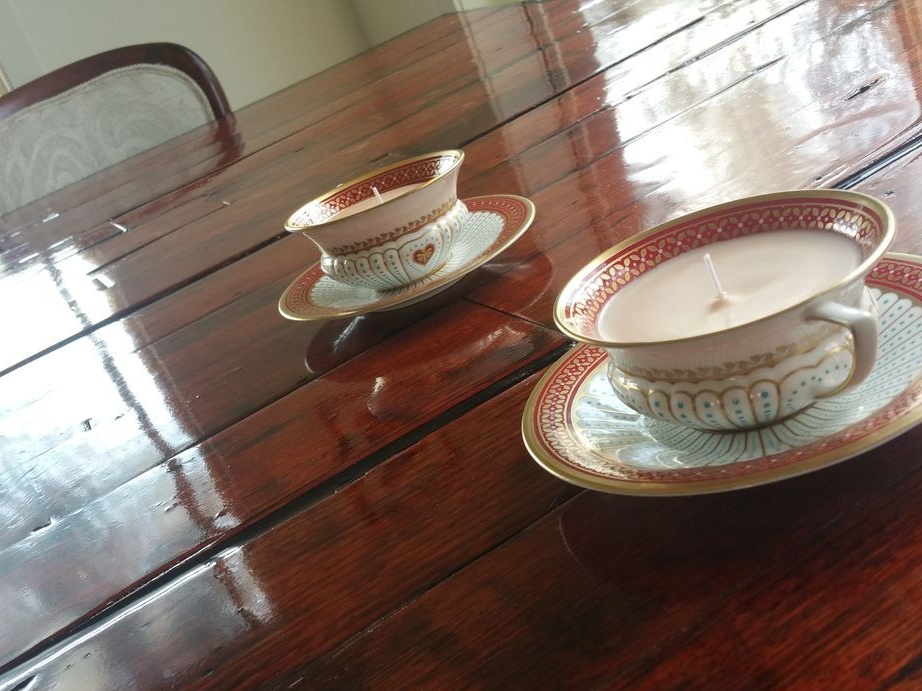
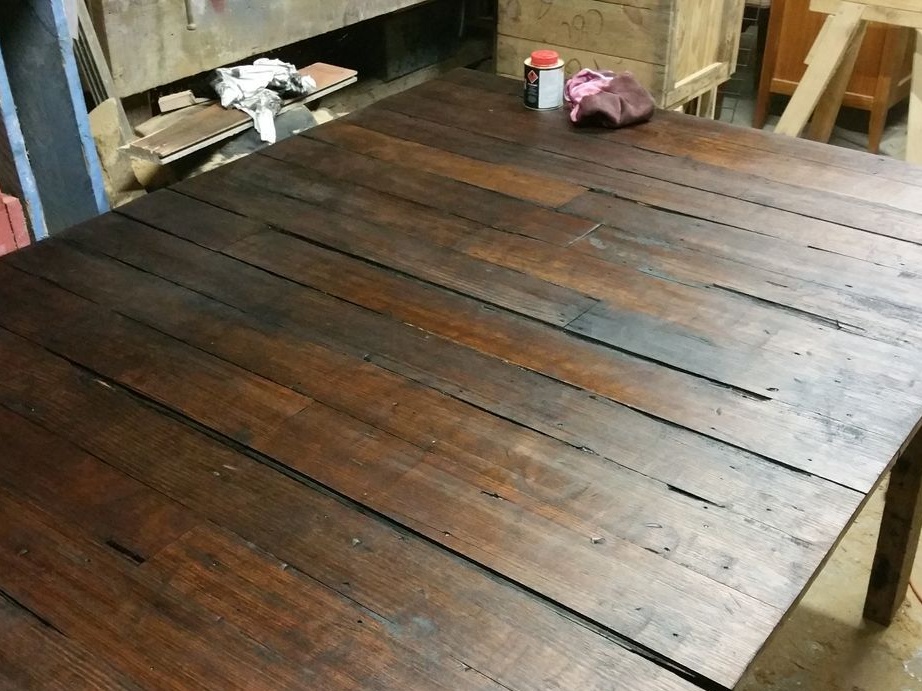
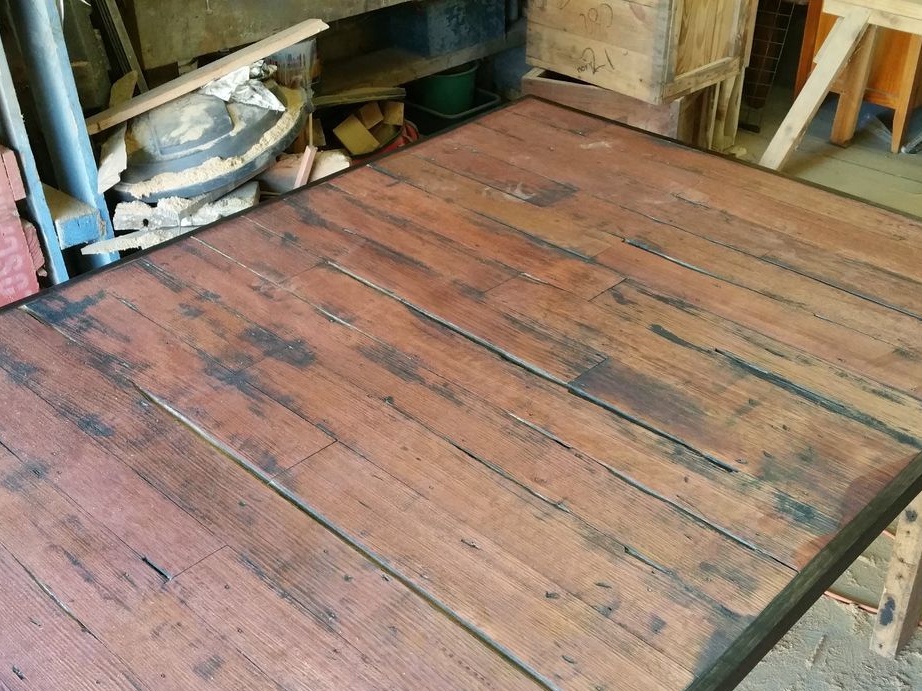
At this stage, the author nailed a border to the countertop. Now apply the second coat of stain and grind again. If you wish, you can get any color and pattern. When the whole thing is completely dry, it remains to apply the final coating, which will protect the wood, as well as make the table more beautiful. The author decided to use epoxy resin as such a coating. We dilute it with a hardener and apply it to the surface. When the glue dries, we get a strong, durable coating. The surface will resemble glass.

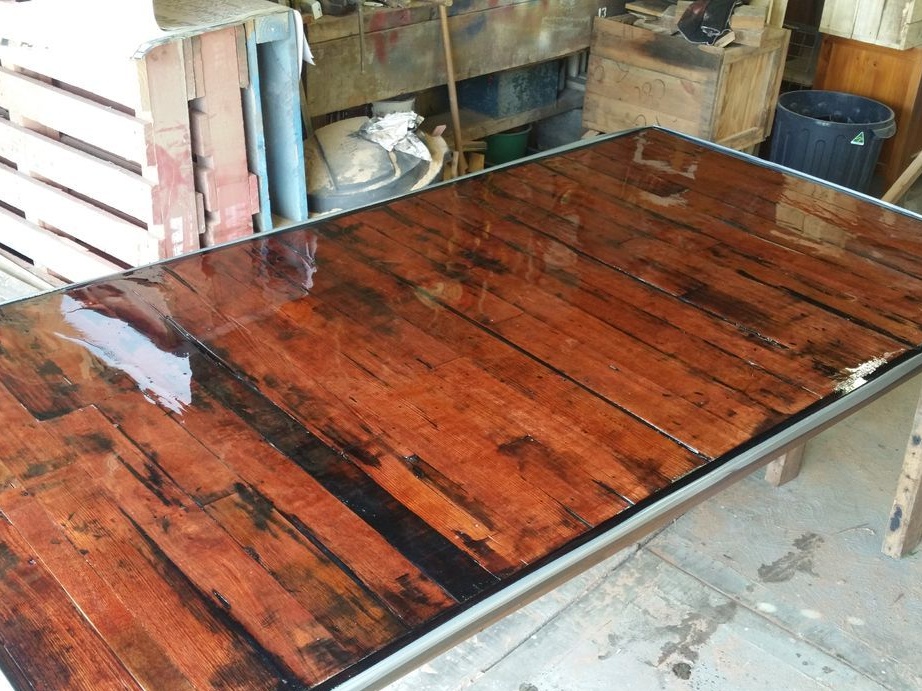
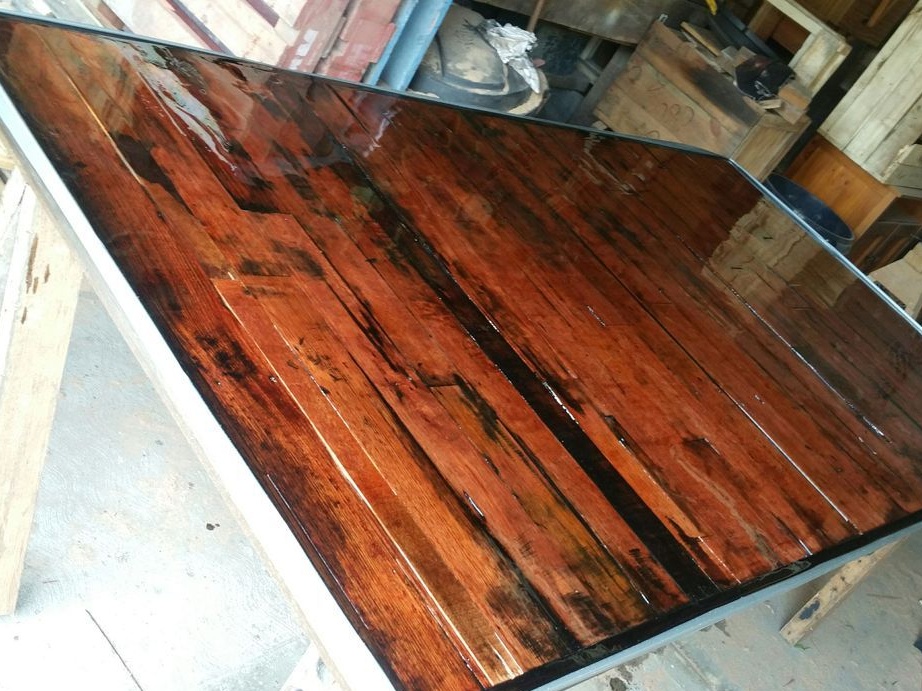
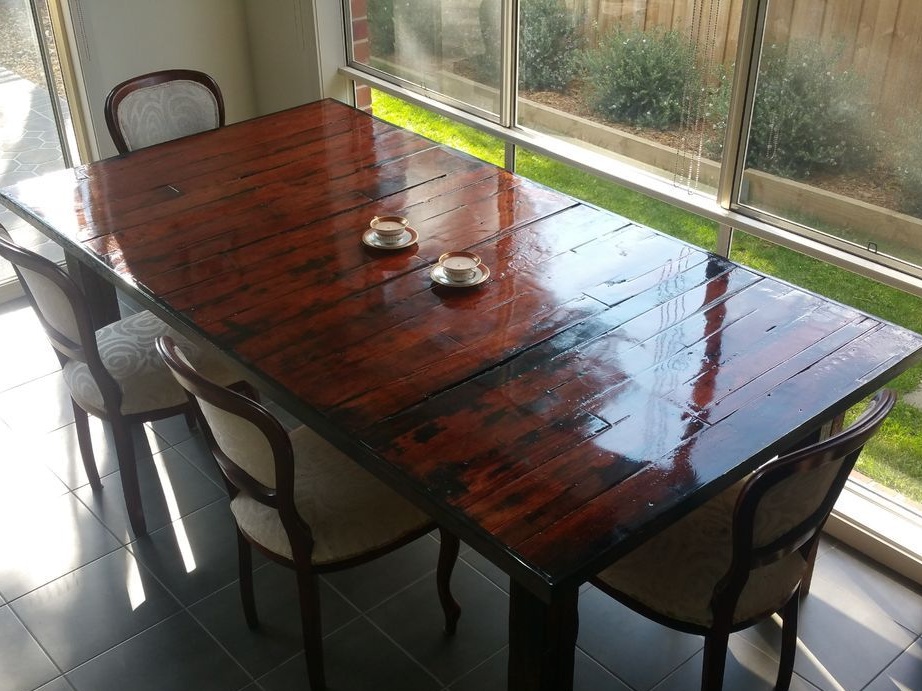
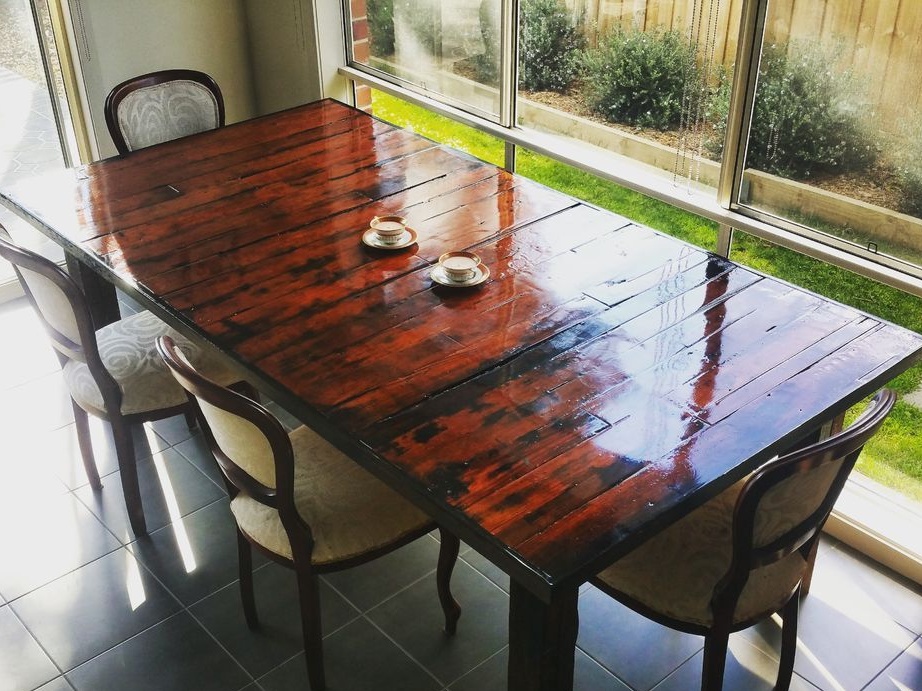
That's all, now the table is completely ready! At the end, you can polish it to a shine! Everything turned out pretty nicely, and most importantly, from the waste material. This is the end of the project, I hope you liked it, and you got some interesting information for yourself. Good luck with your creative inspiration. Do not forget to share your homemade with us!