
If bike is your faithful friend, you ride it to work, to the country and long distances in general, you probably wondered how to install an engine on it. Of course, sports are sports, but often sports are incompatible with household chores. The easiest way to motorize a bike is by installing an electric motor on it. So it will be silent, it will not stink of gasoline, and you can easily charge it right in the apartment, but for a private house it’s generally a find. On an electric motor, you can completely ride around the city without attracting the attention of the road patrol service. Yes, and the electric car is unlikely to be a complaint, when compared with a gasoline engine.
In this manual, we will look at how you can simply install the engine on a bicycle.
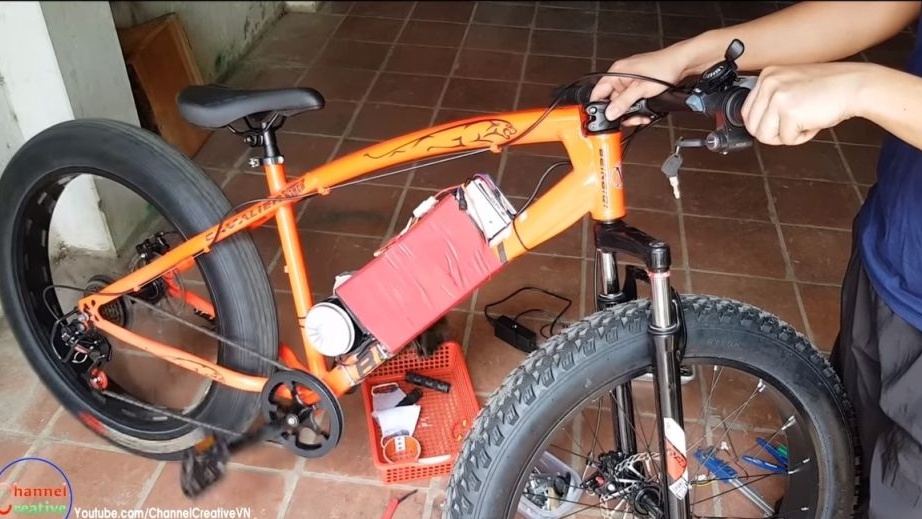
One author came up with how to install an engine on a bicycle without making significant changes to its design. The bottom line is that the torque from the engine here is transmitted not to the wheel, but directly to the axle with pedals. That is, by installing such an engine, you actually replace your legs with it. If the battery suddenly runs out, you can continue to ride the bike using your legs, and you can charge the batteries and still be able to drive some distance. If you wish, you can make only half the effort, and put half on the engine, thereby significantly saving battery power. So, we will consider in more detail how to make such a bicycle.
Materials and tools used by the author:
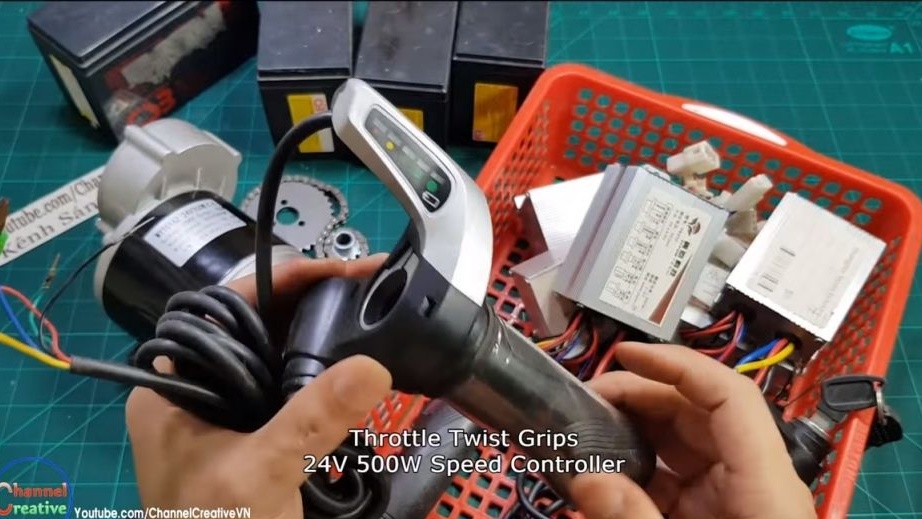

Material List:
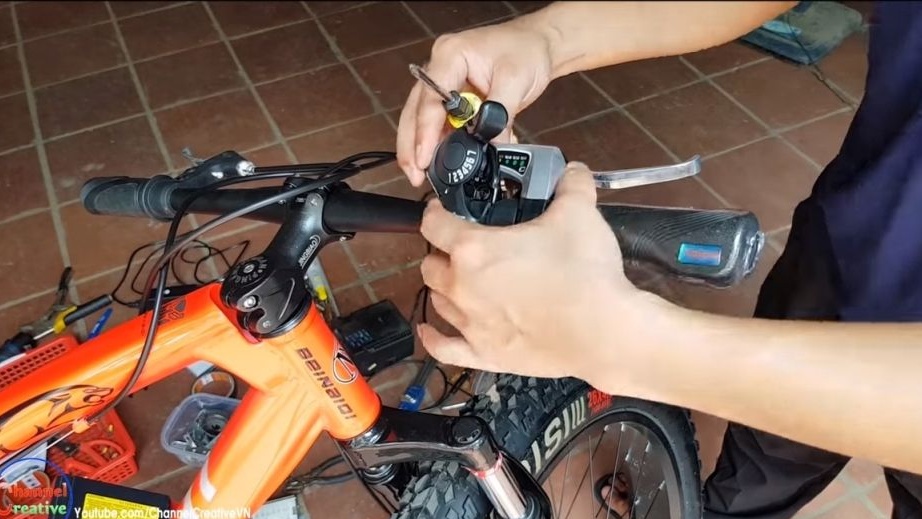
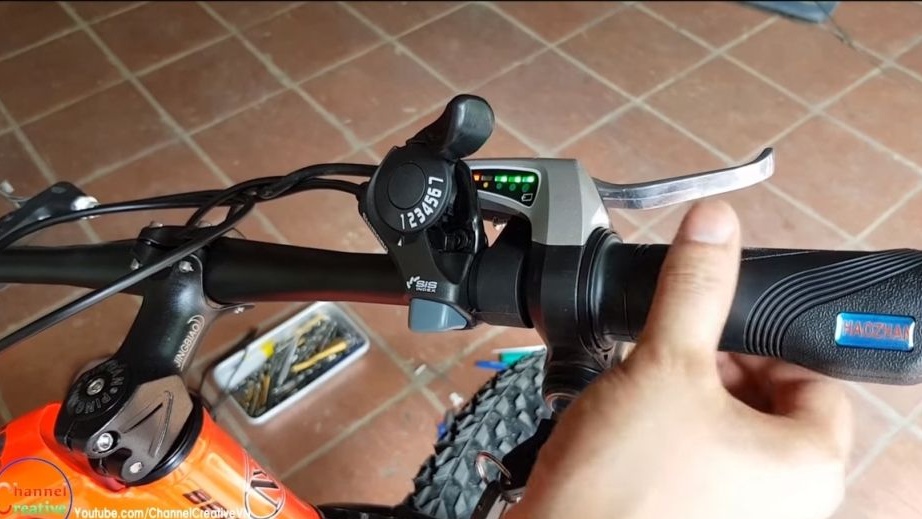
- handle and controller for controlling engine speed;
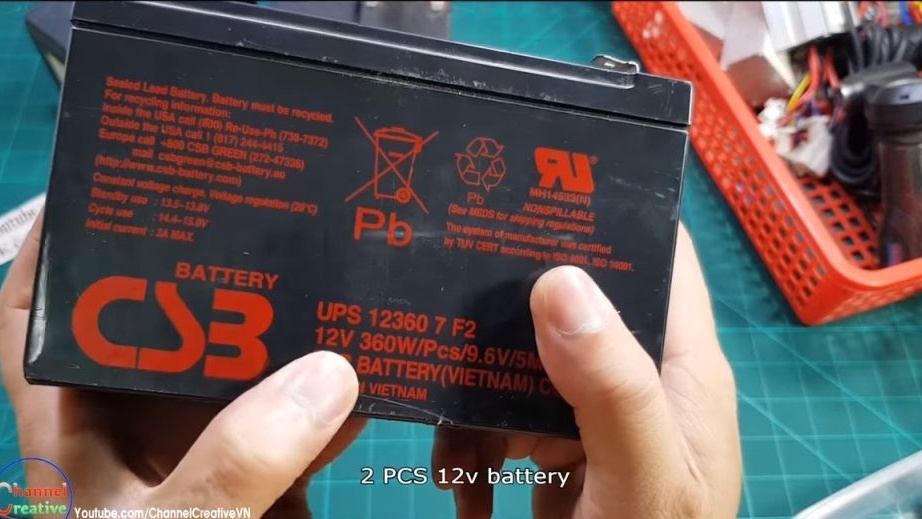
- two 12V batteries;
- wires;
- ;
- plastic ties;
- bolts and steel springs;
- rubber from a car camera;
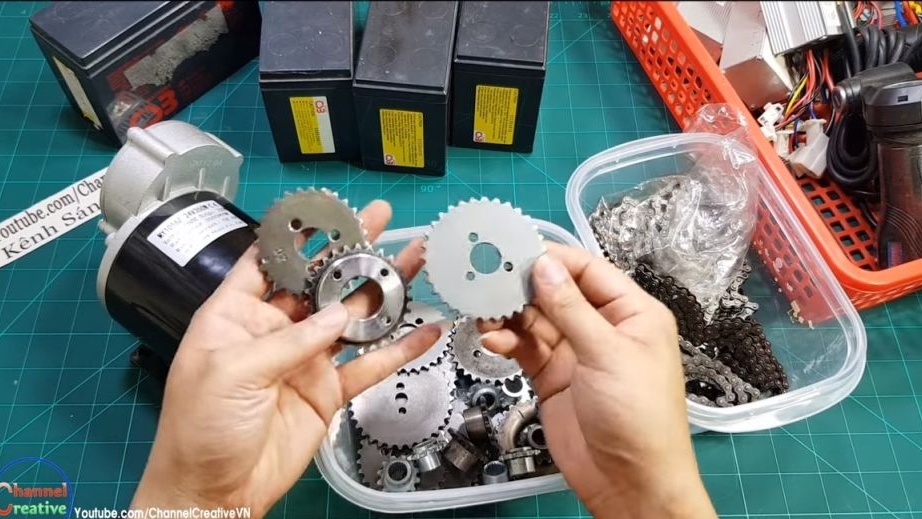
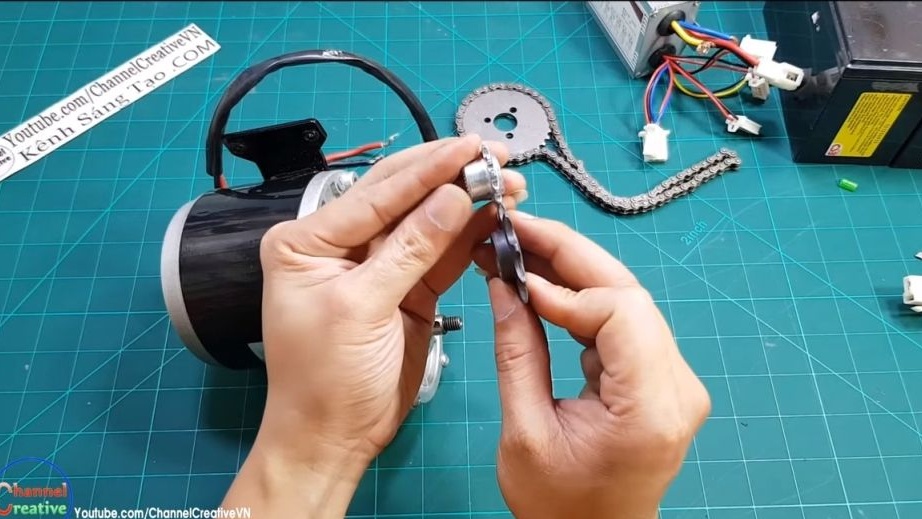
- chain transmission (sprockets and chain);
- double sided tape.
From China it is possible to convert a bike to an electric bike.
Tool List:
- vise;
- files, screwdrivers, wrenches;
- hammer;
- welding machine;
- Bulgarian.
Manufacturing process homemade:
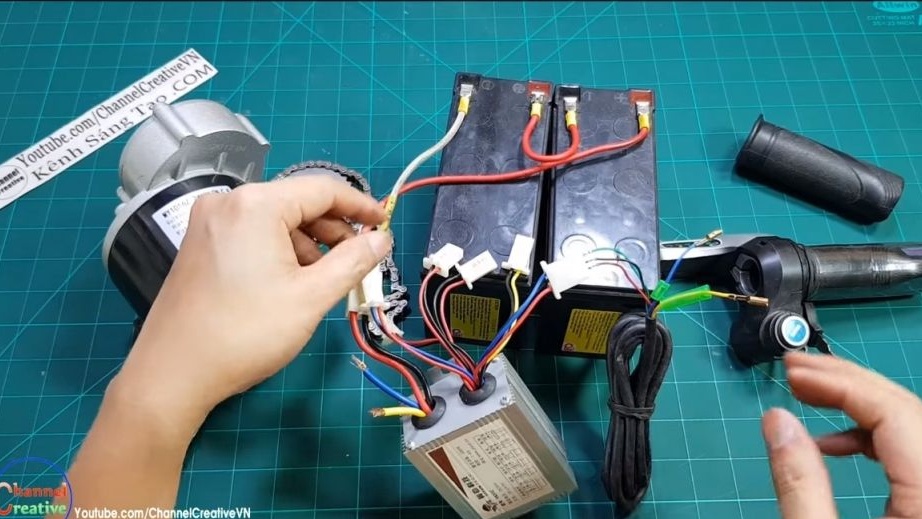
Step one. Electric circuit
The electrical circuit consists of a speed control knob, a controller, batteries, a charging socket, and also an engine. Thanks to this scheme, you can safely ride a bicycle, smoothly controlling the speed of the motor.In addition, this mode will significantly save power than if the motor would turn on directly.
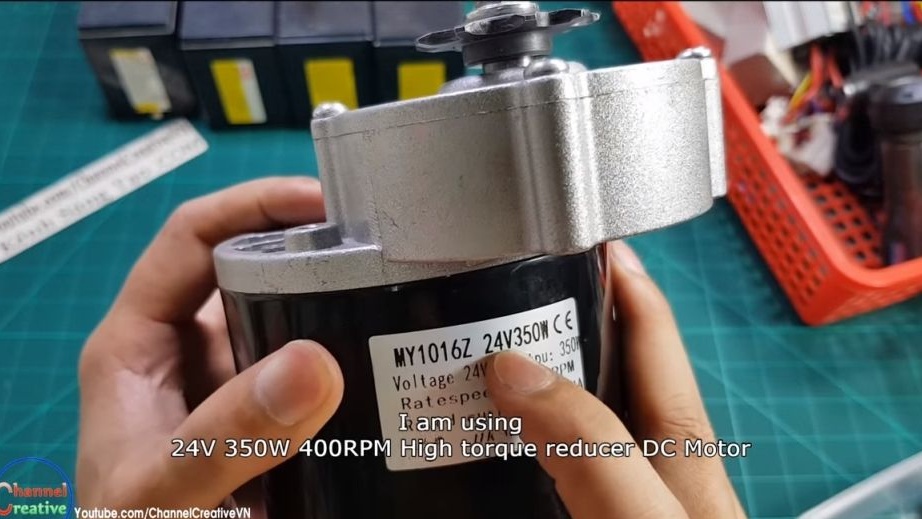
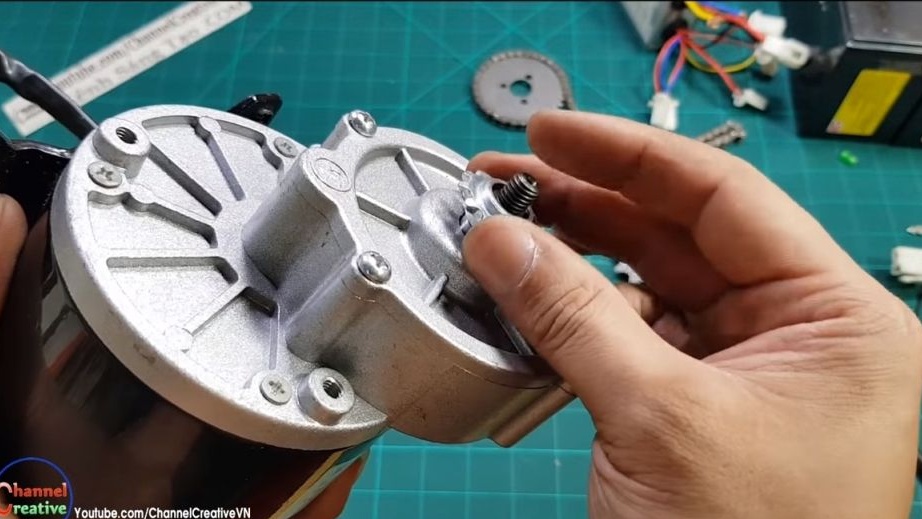
Torque from the engine is transmitted directly to the drive axle with pedals, all thanks to the gearbox that is mounted on the engine. If you wish, you can remove or trim the connecting rods from the bike and turn it into a purely electric bike.

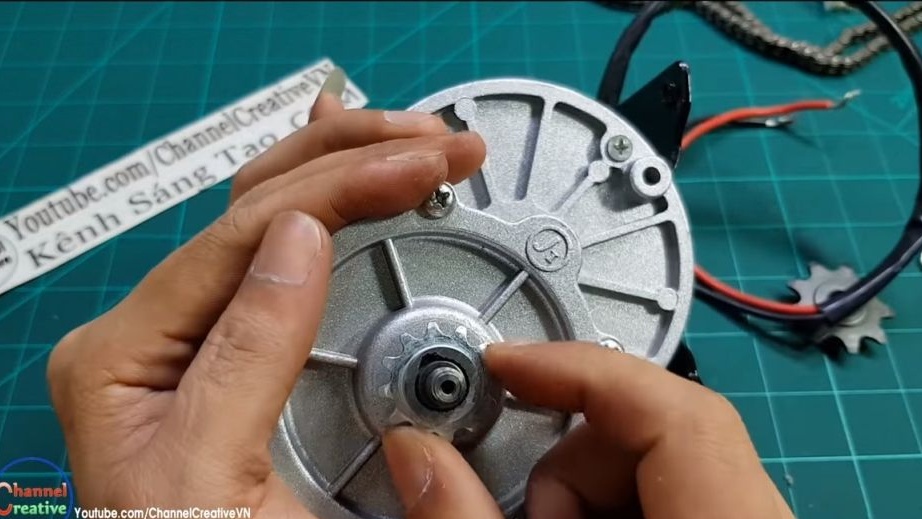
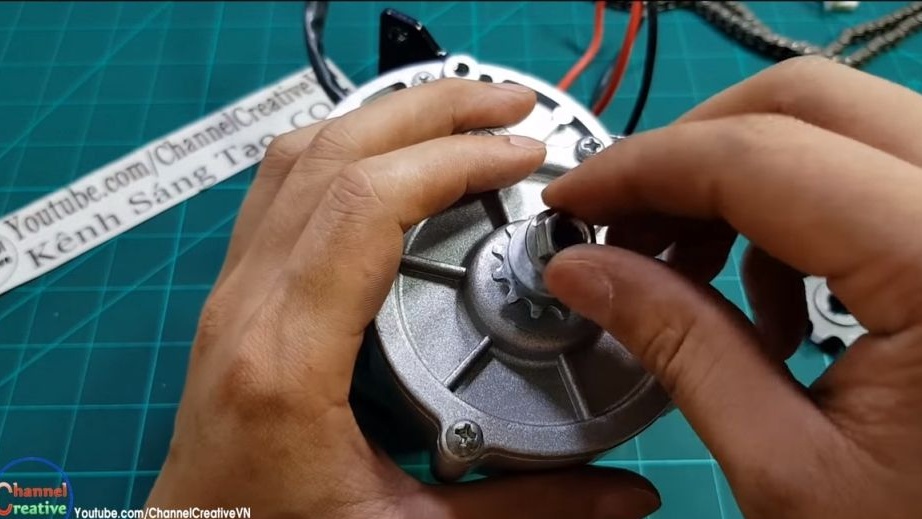
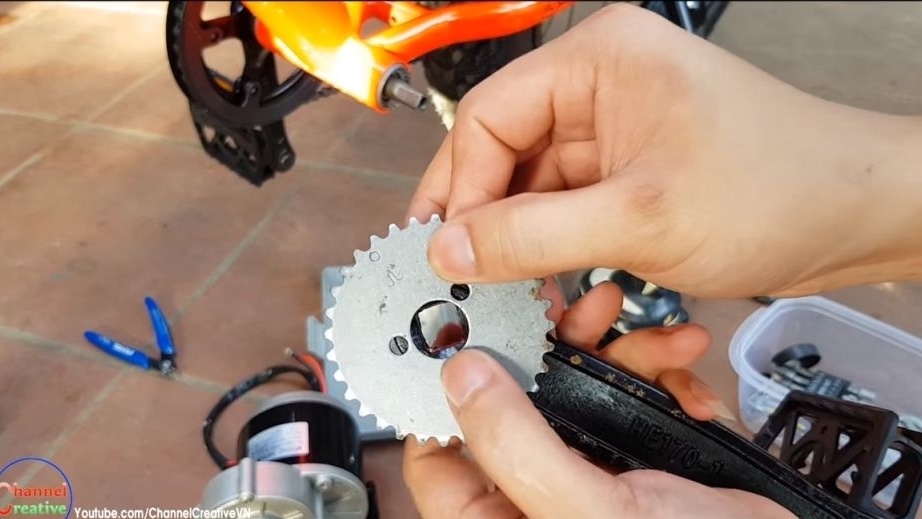
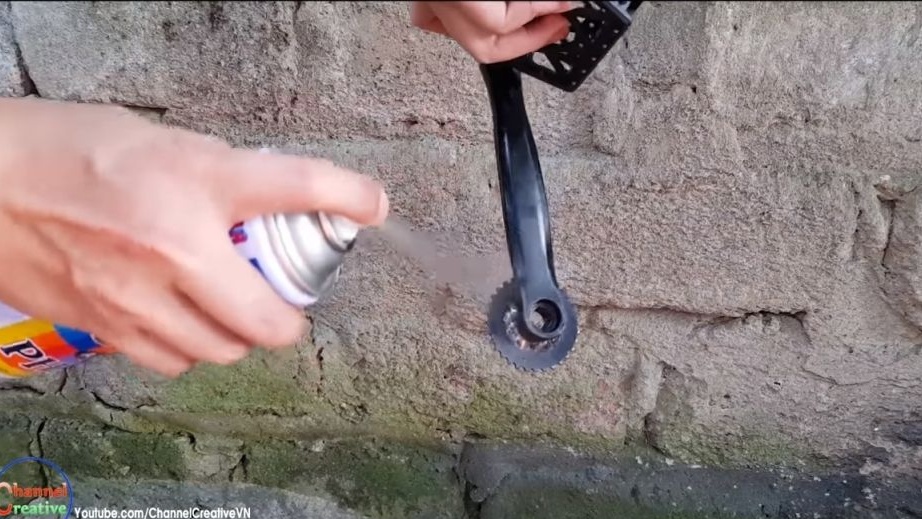
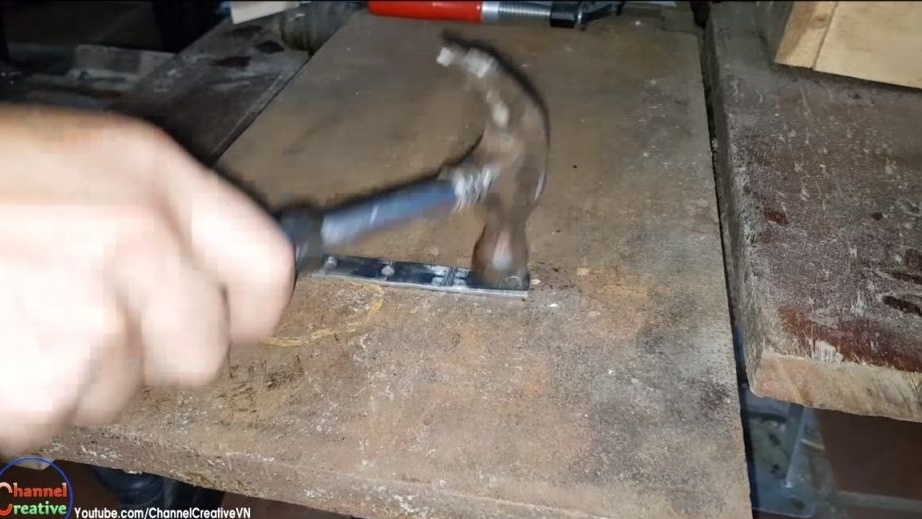
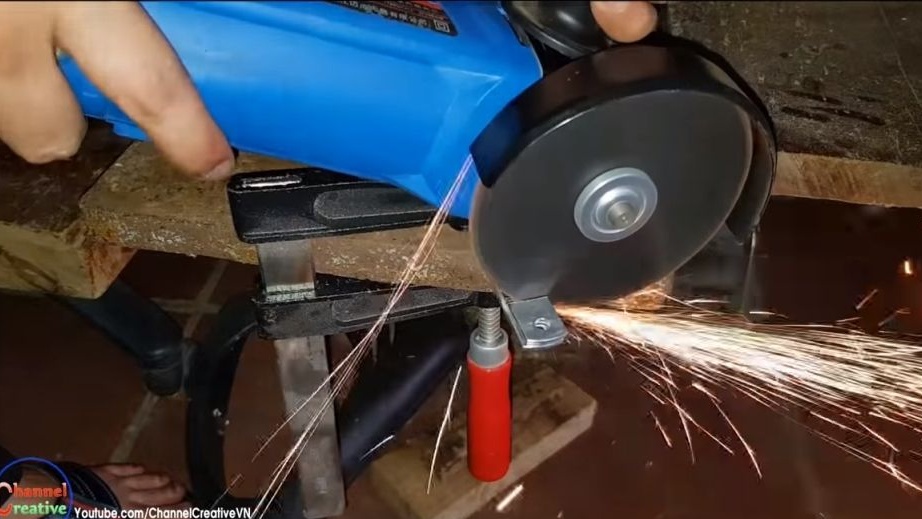
Step Two Alteration of the leading sprocket
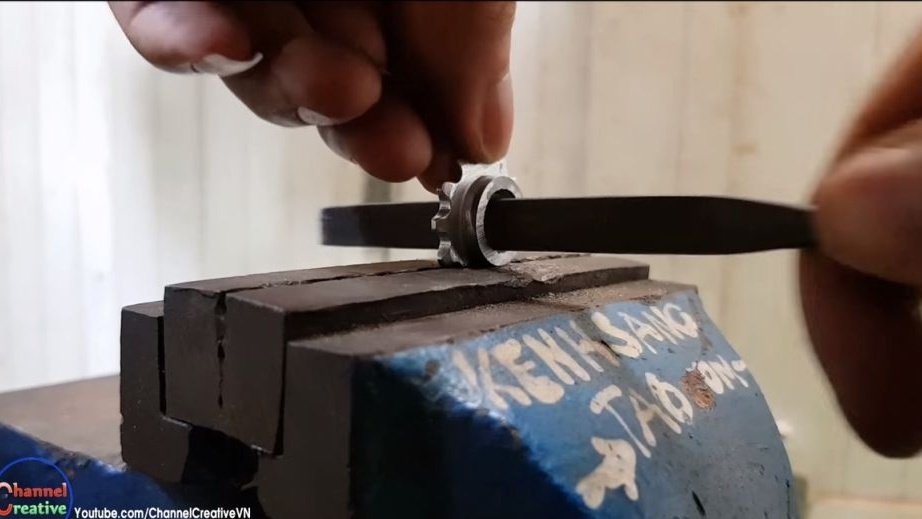
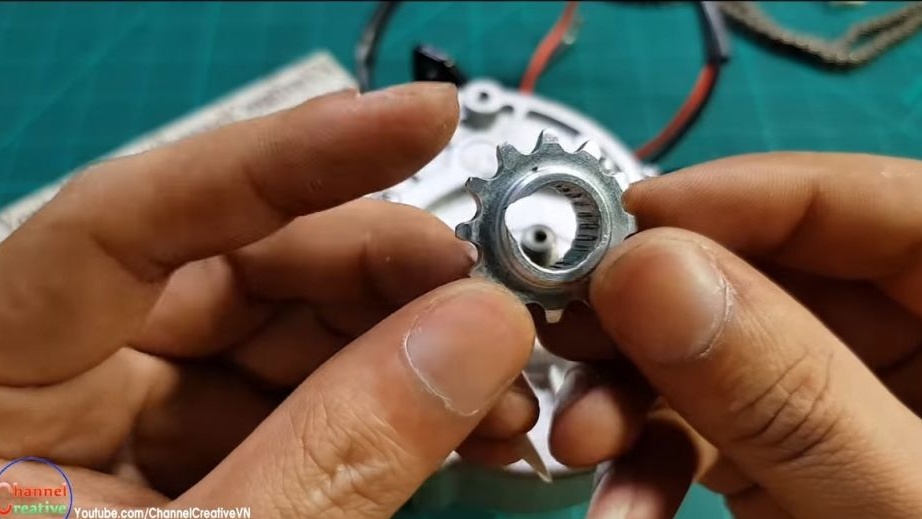
The author had a leading sprocket with slots, it did not fit the gear shaft. To solve this problem, he clamped an asterisk in a vice and squandered a hole in it with files. The sprocket is fixed with a key, so under it in the sprocket you will also need to groove the groove with a file. Well, then install the sprocket, tighten it with a nut on the shaft, placing the washer.
Instead of a chain drive, it would be nice to use a belt drive. It is safer and more hardy. It would also be very good to install a protective shield for transmission, otherwise, if the leg is clamped with a chain, everything can end with injuries.

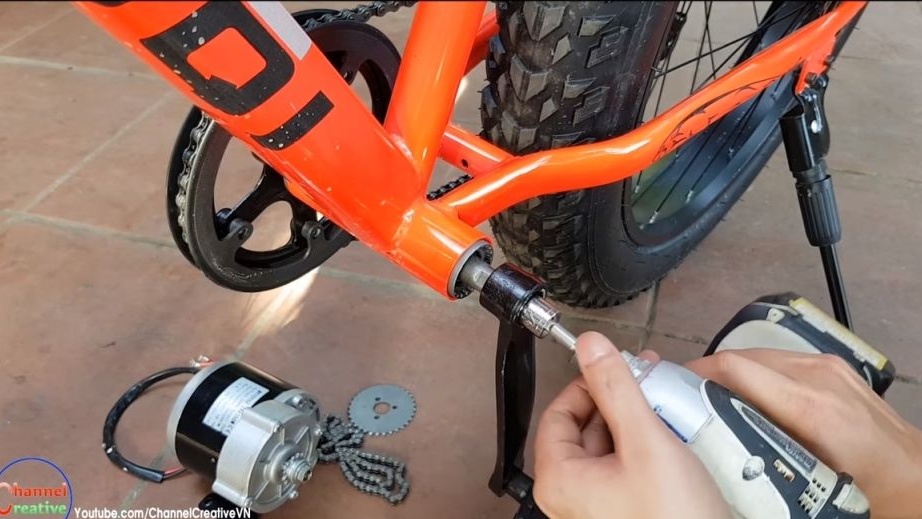
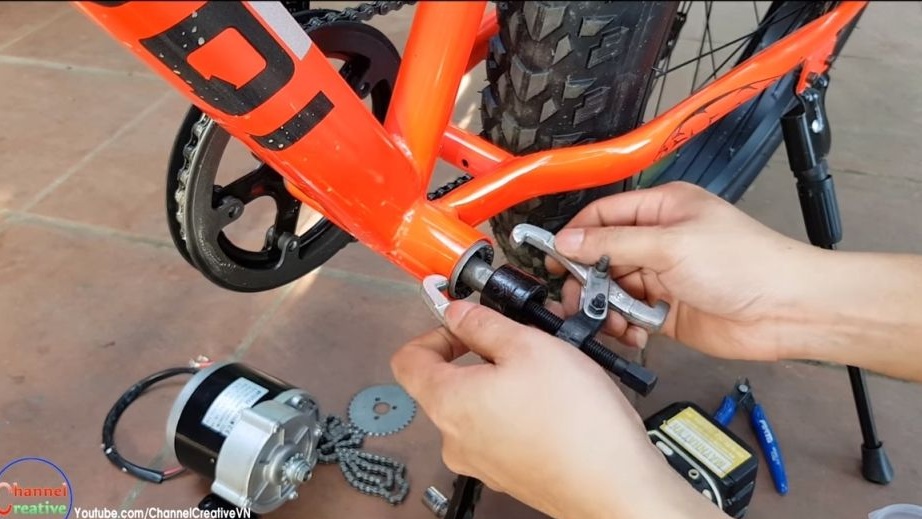
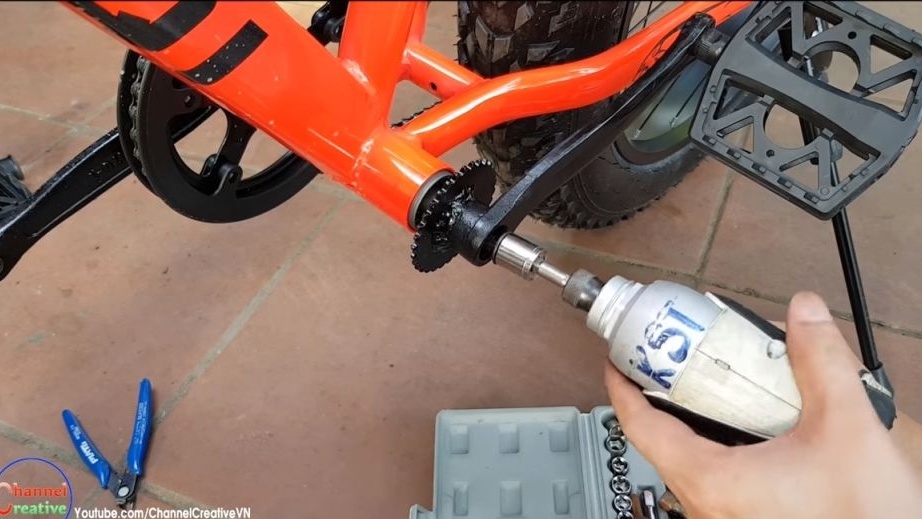
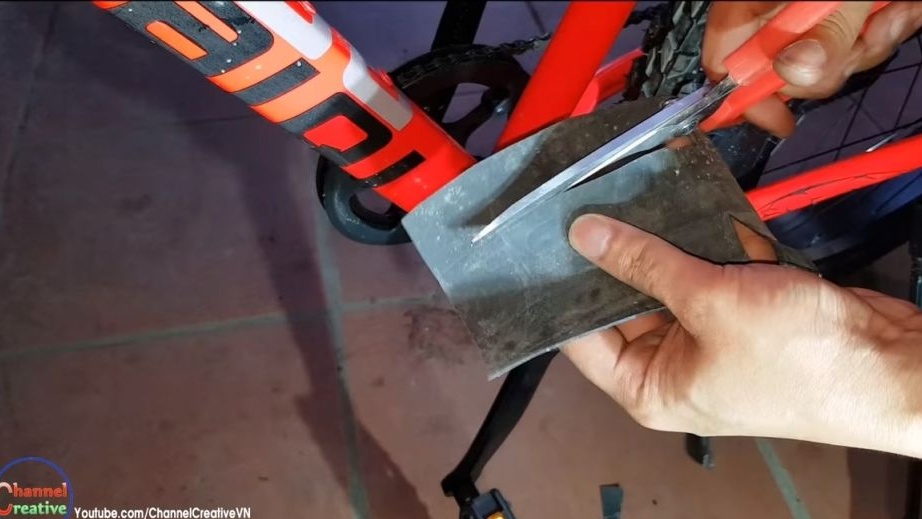
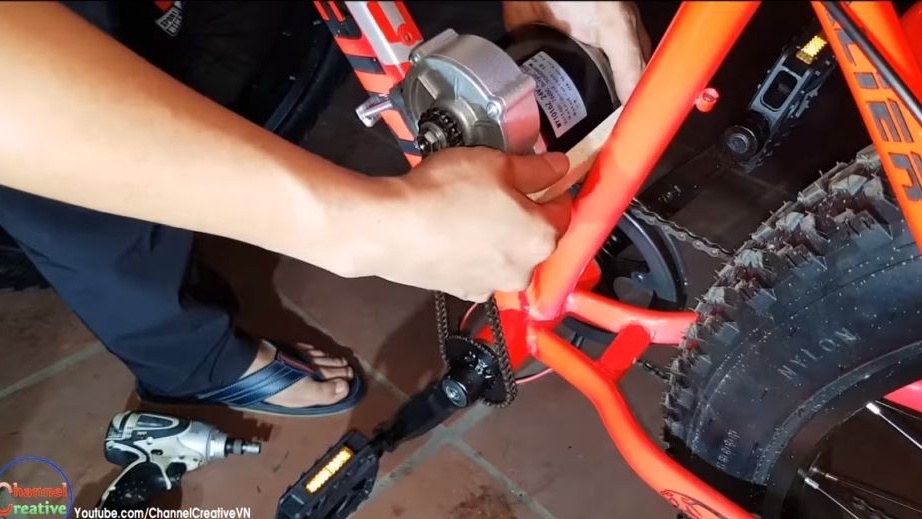
Step Three Installing a driven sprocket
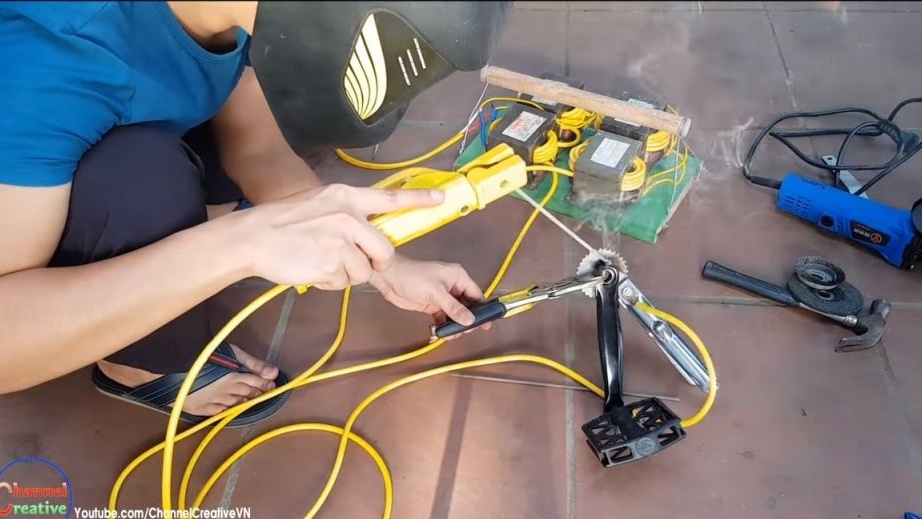
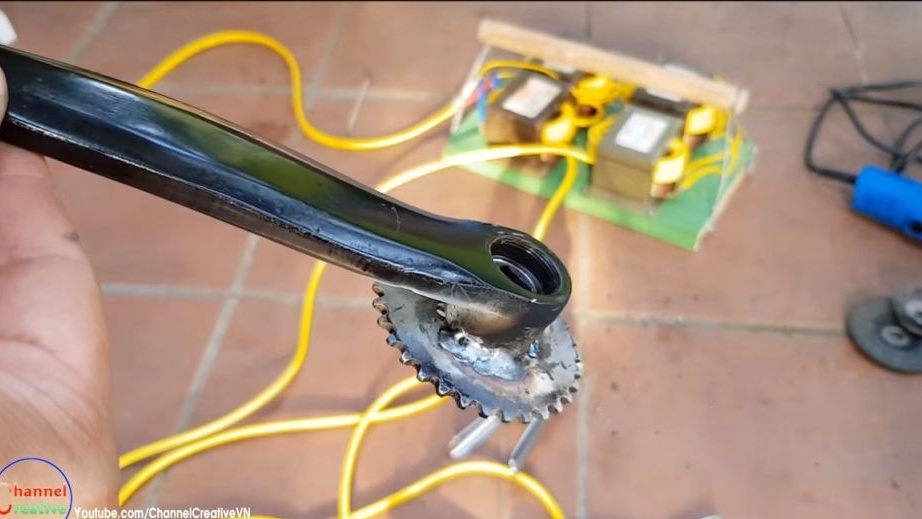
The driven sprocket is mounted on an axis with pedals. To do this, remove the right connecting rod, it is quite possible that you will need a puller. Next, take the driven sprocket and center it on the connecting rod, grab it by welding. After making sure that the sprocket is installed evenly, we weld it well. Then clean the weld and paint the connecting rod from the spray can, so that everything looks like factory. Install the connecting rod in its place, try on the motor, install the chain.

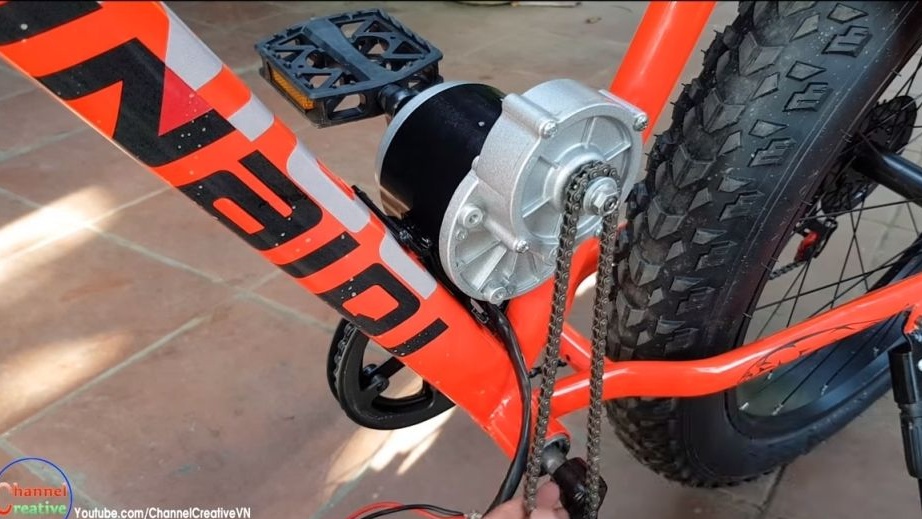
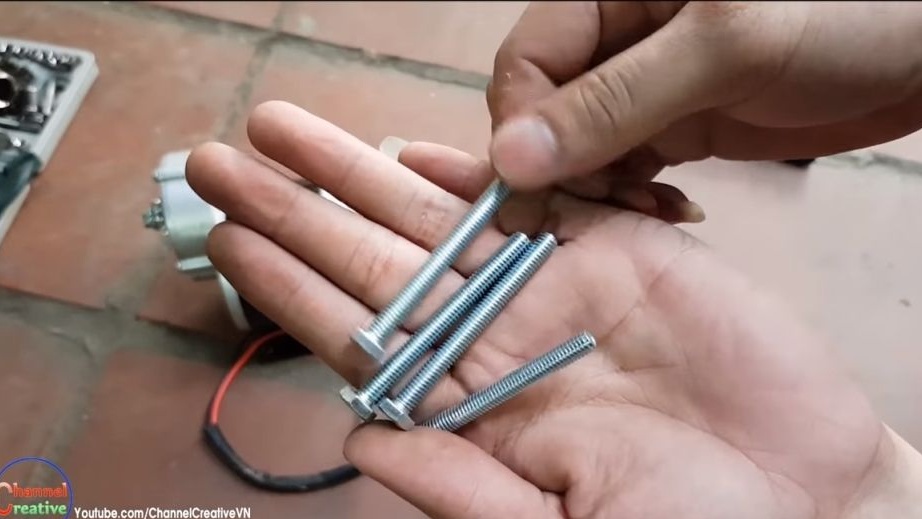
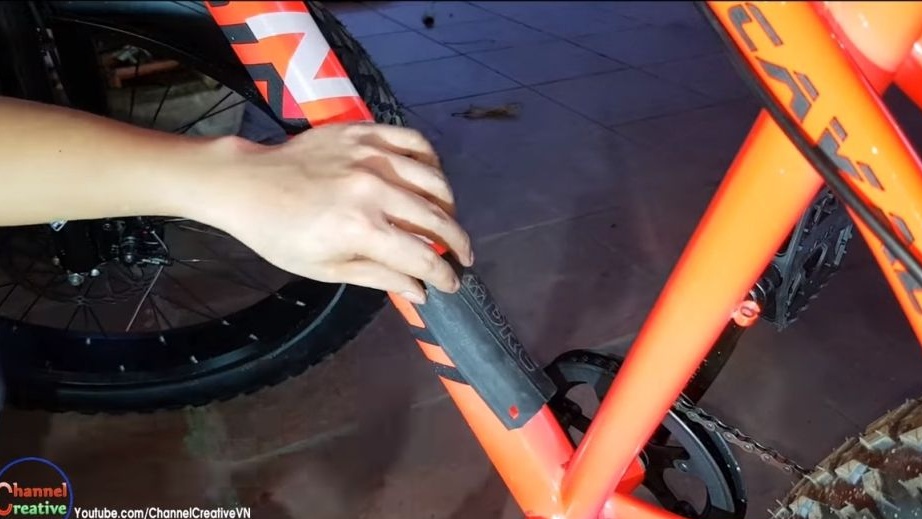
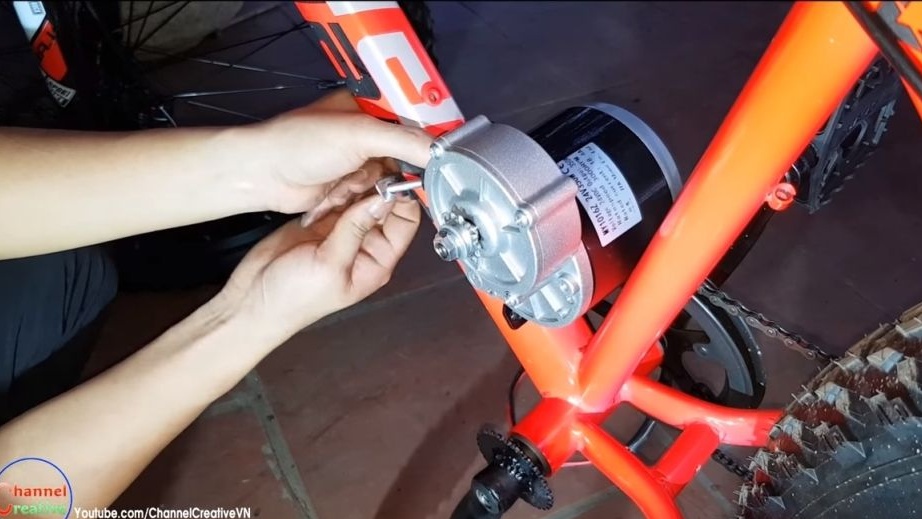
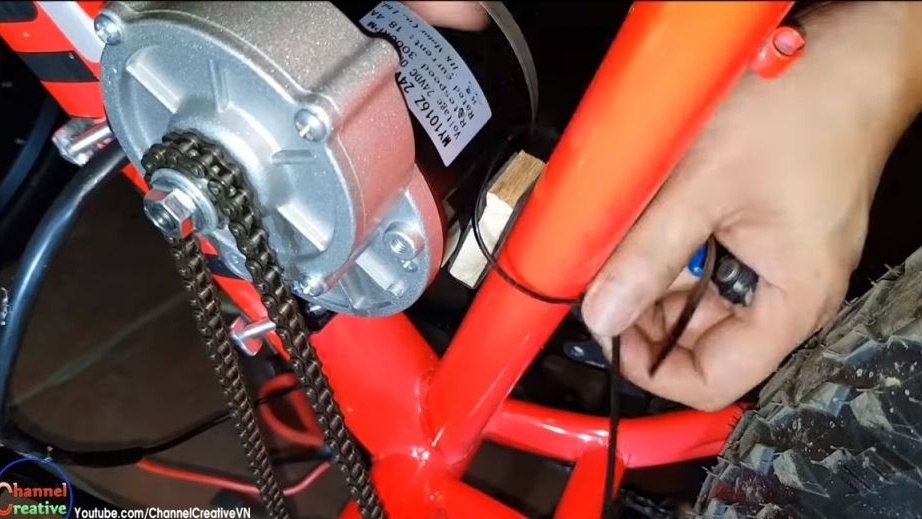
Step Four Install the engine
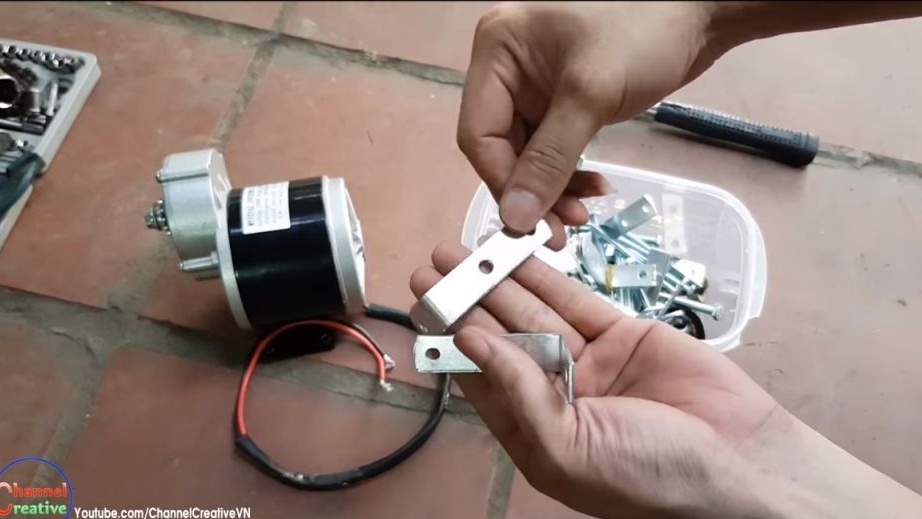
The engine is installed very simply by two clamps. Find four bolts for the engine bracket that are suitable in length. Next, you need two steel plates, in them at the ends we drill holes along the diameter of the bolts.
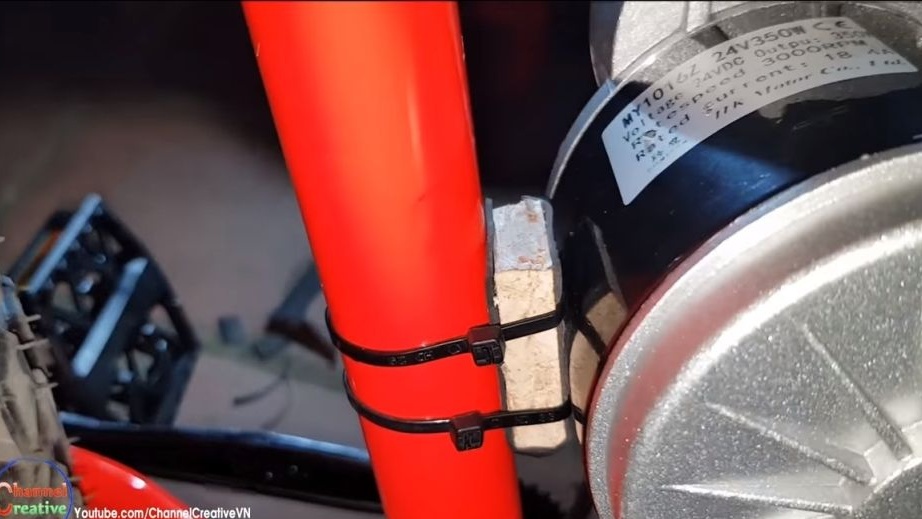
To prevent the engine from scratching the frame and sliding, be sure to place rubber gaskets under the support and plates. They can be made do it yourself, the author cut them out of a car camera.
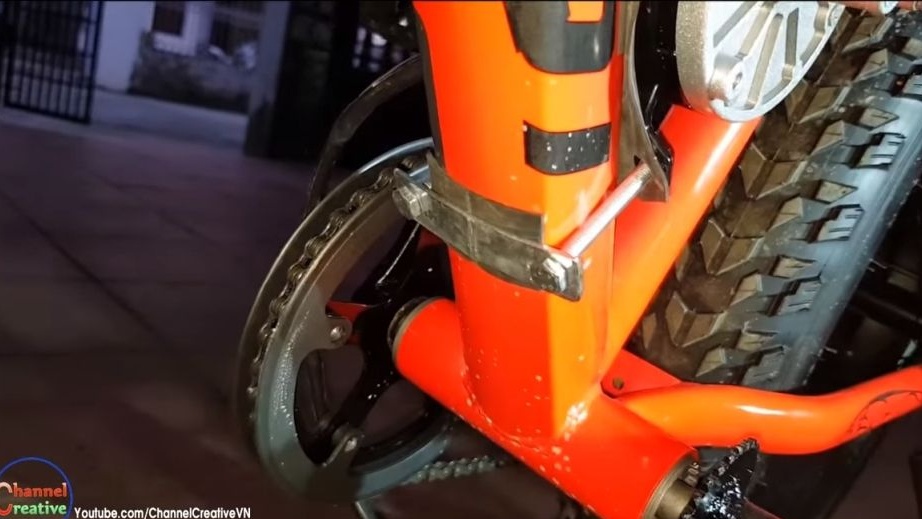
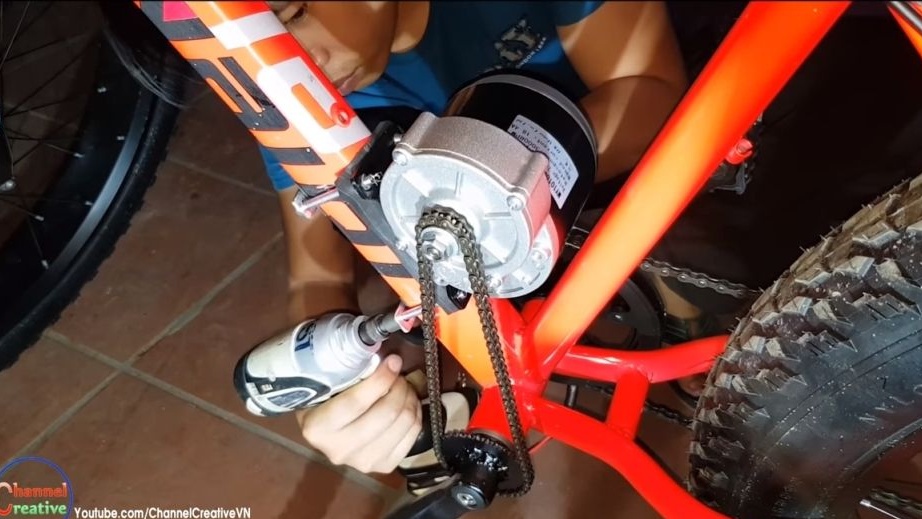
Well, then we install the engine on the frame, when tightening the bolts of the plate, bend along the profile of the frame, and they will hold it securely. The author also adapted an additional emphasis for the engine so that it would not move backward and loosen the chain. We make such an emphasis from a board of suitable thickness by gluing rubber to its two sides. We fix the emphasis using plastic clamps. Finally, tighten the chain and tighten the fixing bolts well.


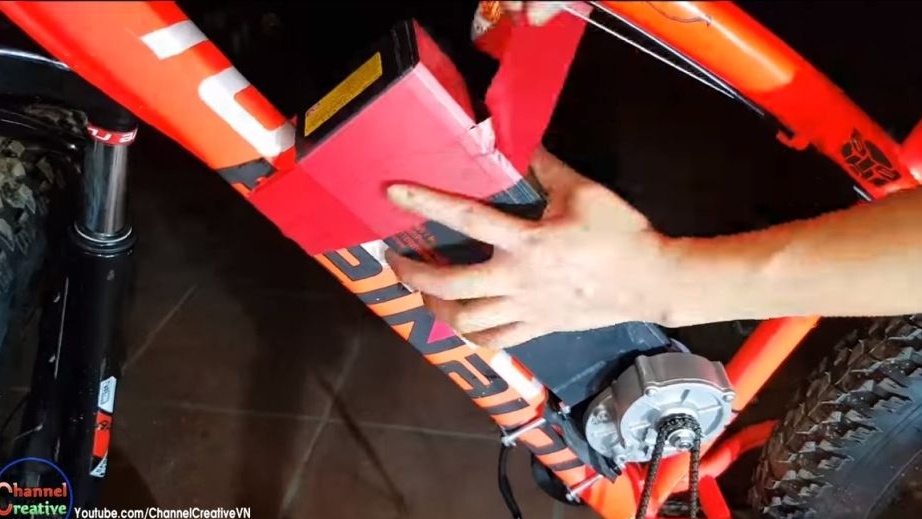
Step Five Installing batteries and electronics
To power the bike, you need a voltage of 24 V. To get it, you need to connect two 12V batteries in series. The author has batteries on the frame. We fasten them with the old-fashioned method - carefully wrapped with electrical tape. Between themselves, the author fastened the battery with double-sided adhesive tape.
It is important to understand that the author did not protect the bicycle elements from dust and rain, which is the most important thing. Probably, rains are rare in his place of residence, for our conditions all electronics, including the engine, you need to hide under a protective cover.

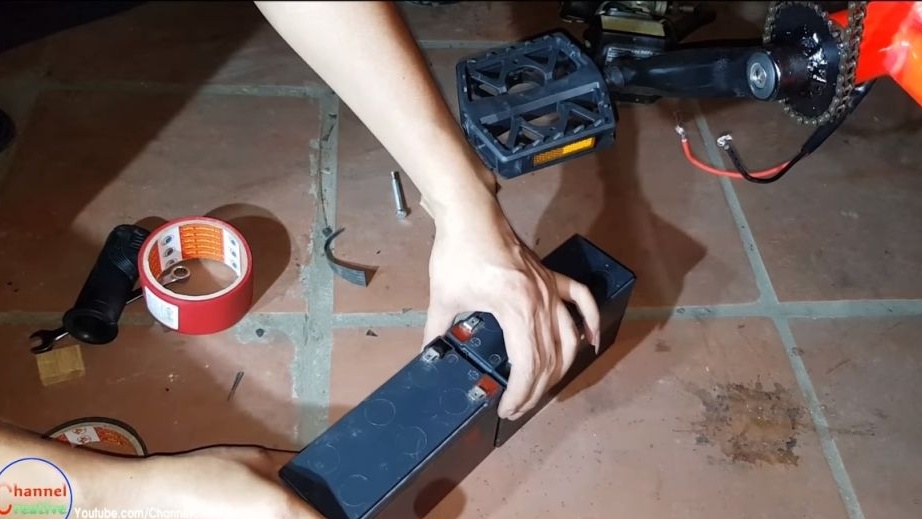
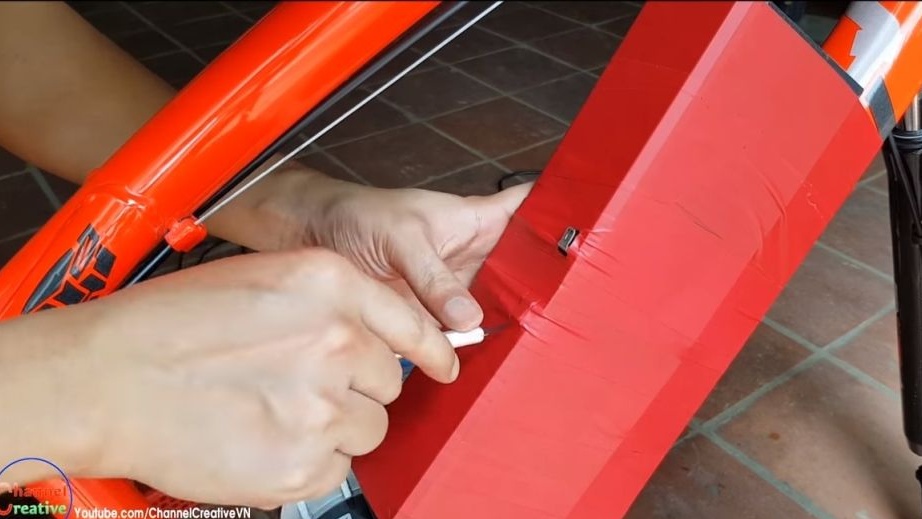
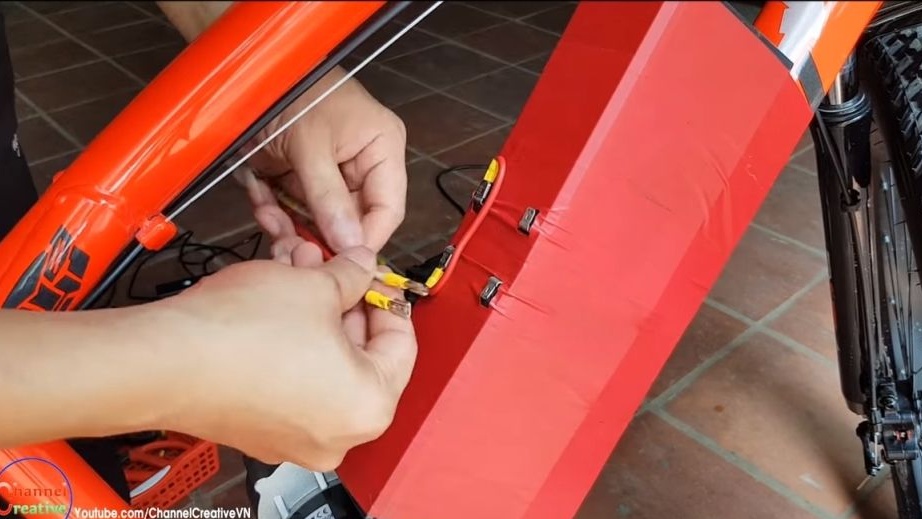

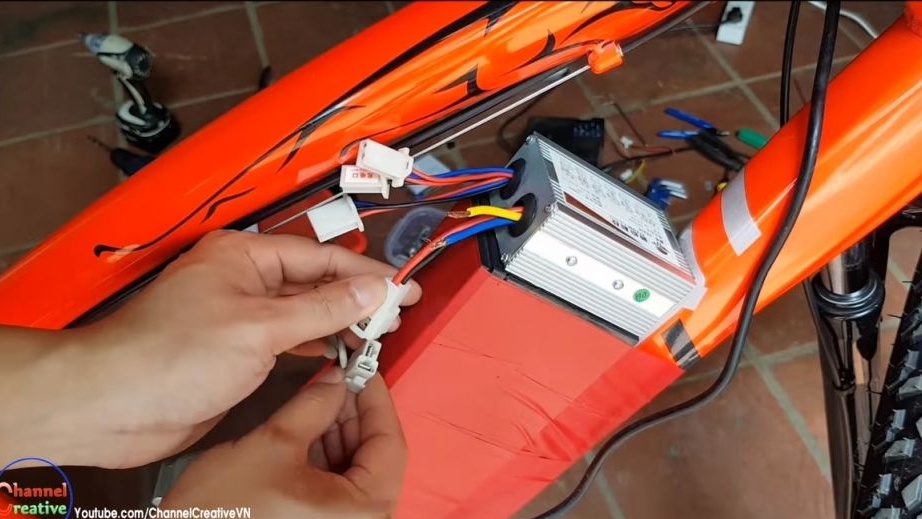
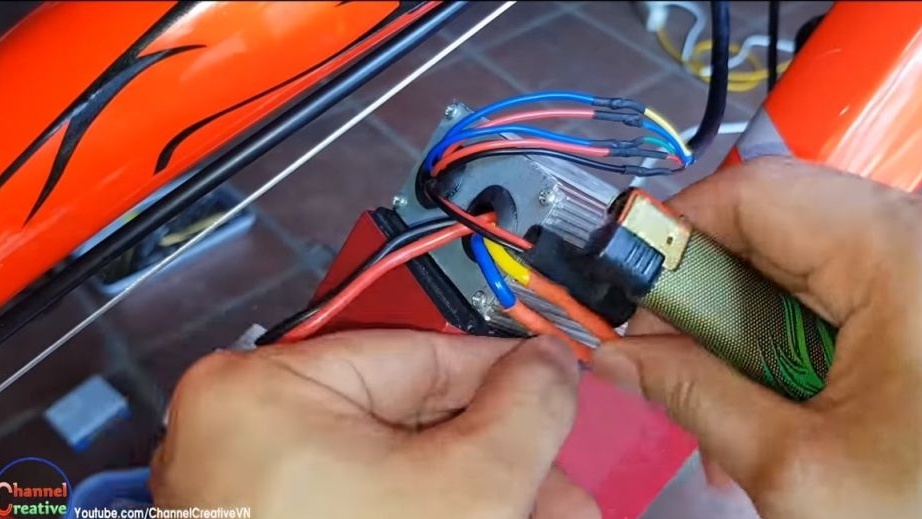

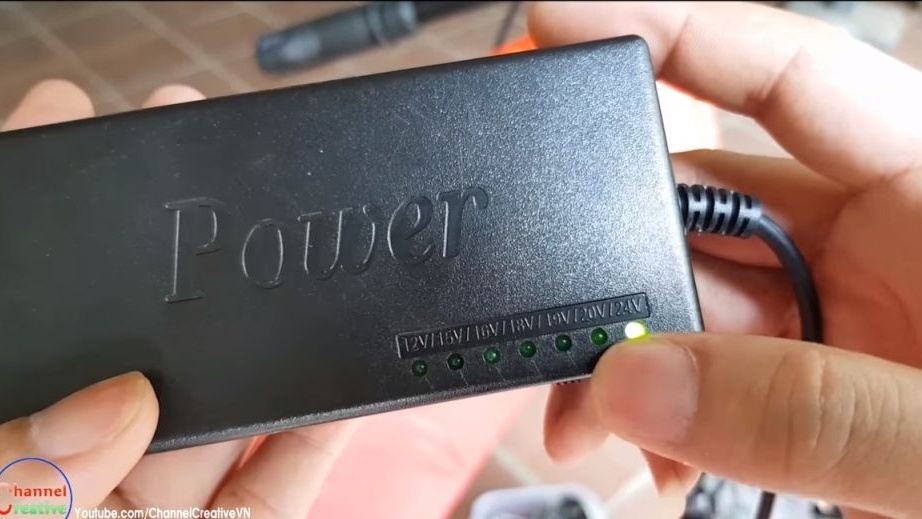
Now you need to install the speed controller. The author mounts it on batteries using double-sided adhesive tape. Cut off the electrical tape at the battery terminals and install a jumper between the two batteries to get 24V. Well, then we connect the wiring according to the scheme. We isolate all soldering places with heat shrink, we fix the wires on the frame using plastic clamps. Do not forget to also install a socket for charging batteries. For charging, you will need a power source of at least 24V DC.
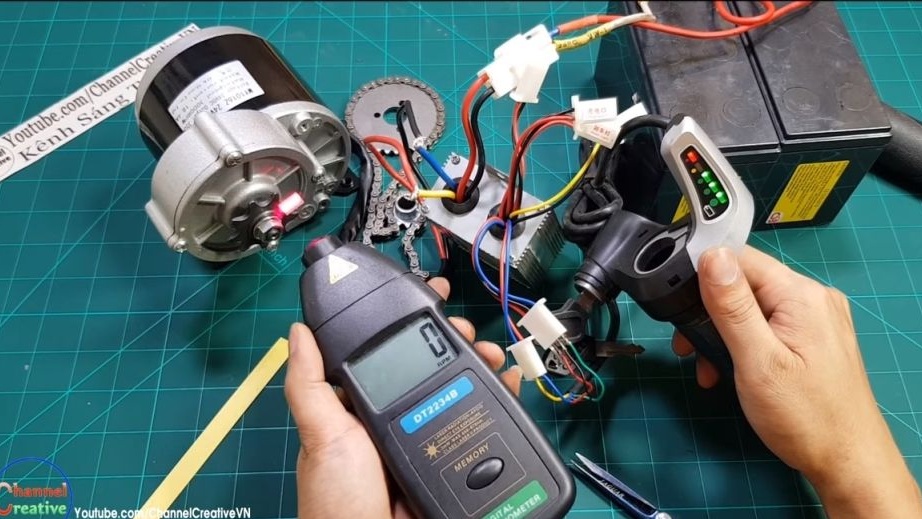
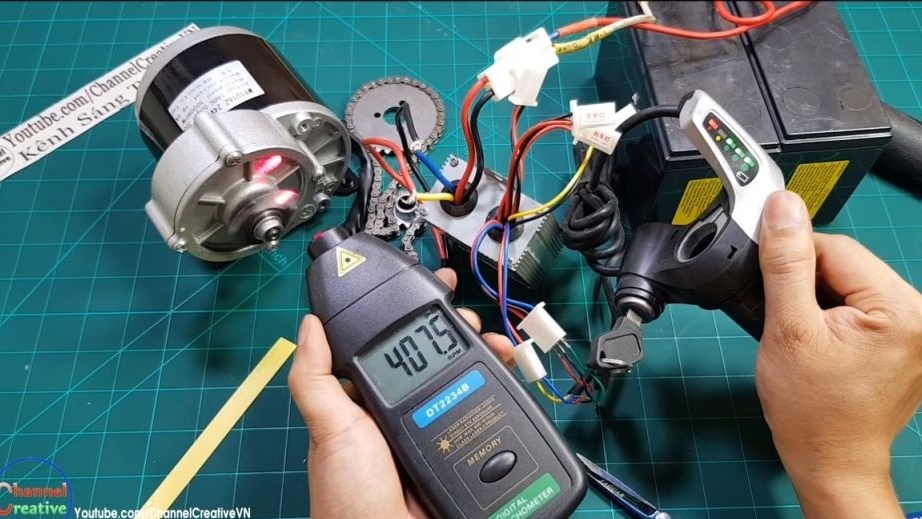
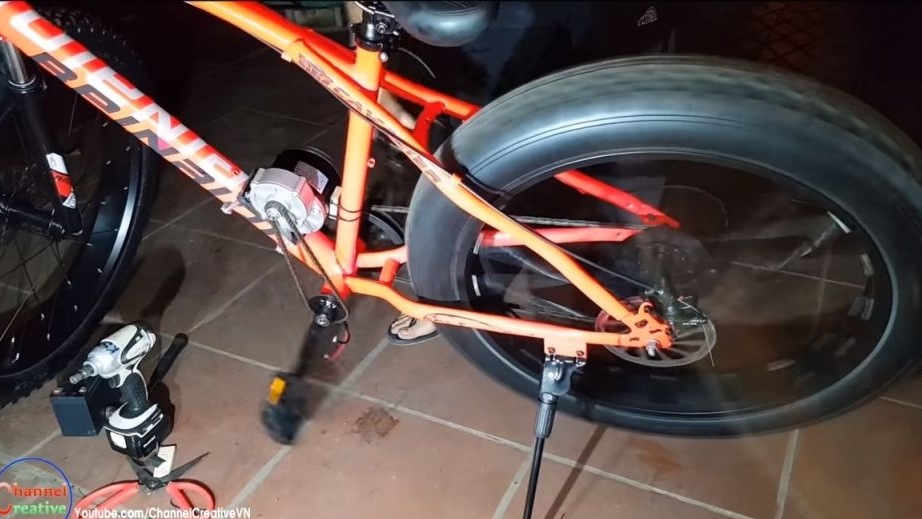
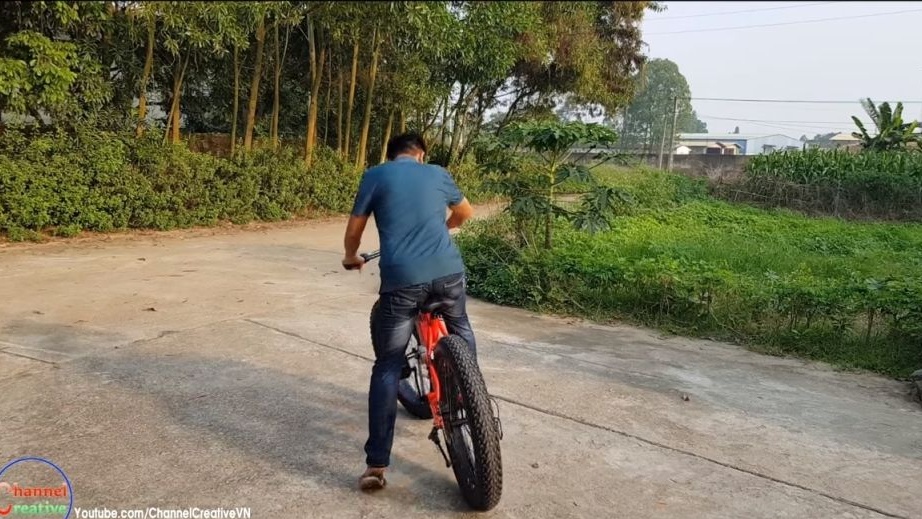
Step Six Testing!
Homemade, finally, you can test! The author himself is trying to ride on his brainchild. He demonstrates potential by throwing his legs on the frame. The bike goes pretty fast, however, it is not known how much battery power is available.The batteries used here were rather weak and bulky, and it was unlikely that they could go far for them. You can use old cells from laptop batteries, they are compact, have a large capacity. True, they will definitely need a charge and discharge controller, since they lose capacity when the voltage goes beyond threshold values. But all this electronics is worth a penny.
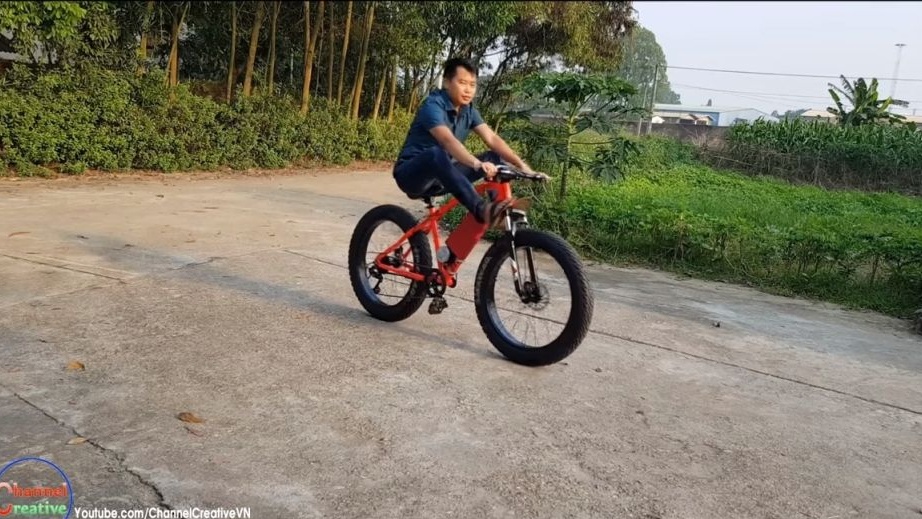

The great advantage of the design is that all gears work here, and on a mountain bike there are usually 21, or even all 34. This will allow you to drop into almost any hill and accelerate to significant speeds, moving in a straight line. The only drawback of the design is that there is nowhere to put legs. But you can install the steps on the frame of the bicycle for the sake of such a thing or completely remove the connecting rods. However, if the batteries run out or something breaks, you will have to walk without pedals.
On this, the project can be considered completed and very successful. I hope you liked the homemade product, and you found something new for yourself. Good luck and creative inspiration, if you suddenly want to repeat it. Do not forget to share your homemade products and thoughts with us!