
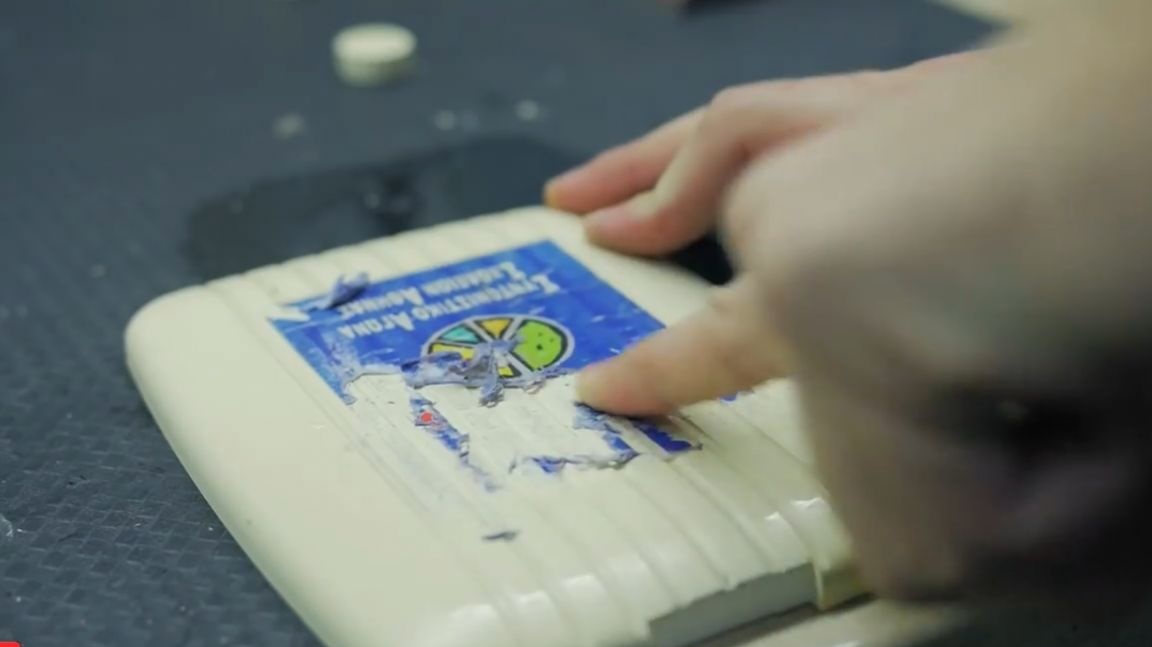
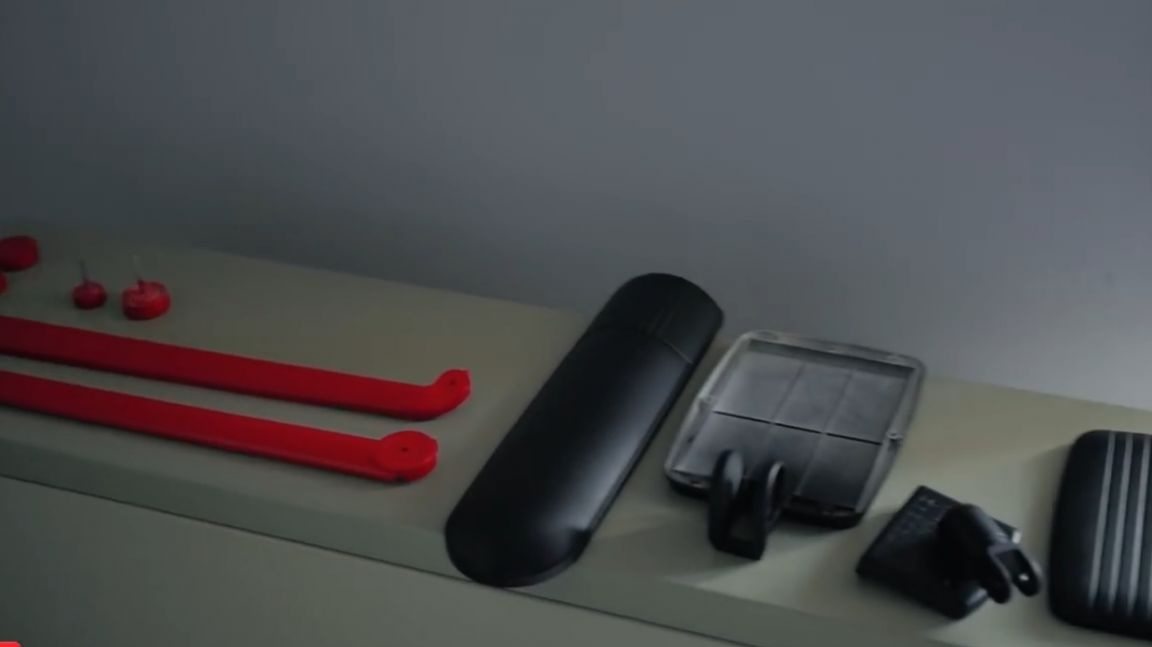
In this article, you will learn how one master modified a table lamp. Immediately we miss the moment where he brought this lamp home, cleaned it from the sticker, dismantled and blah blah blah.

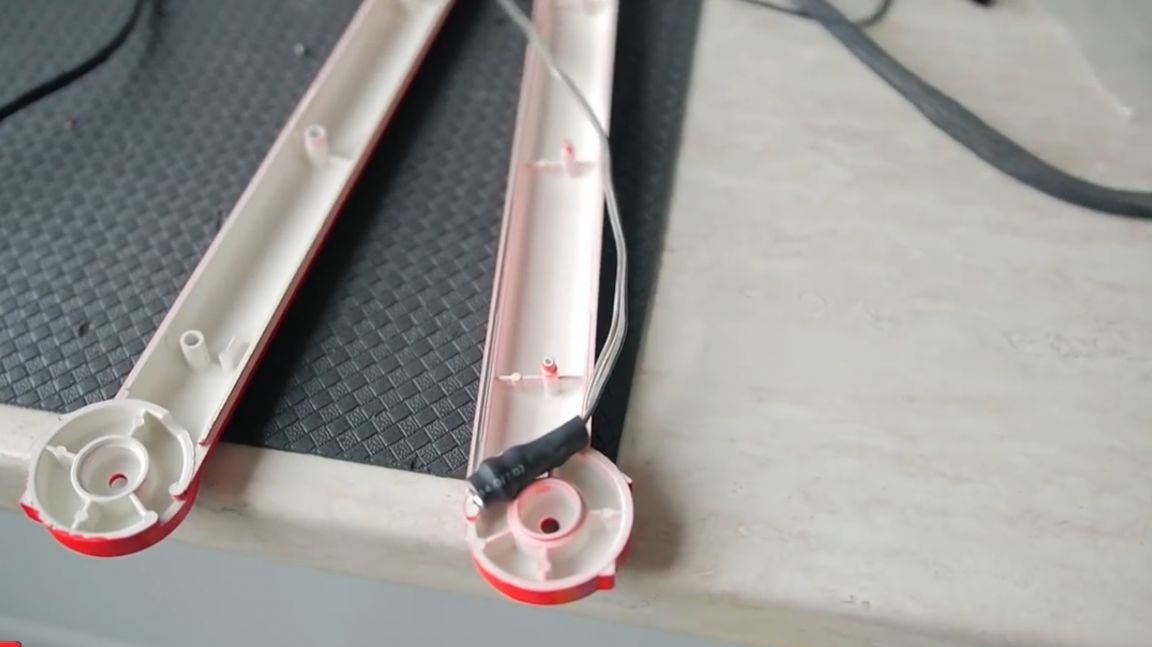
We will divide all lamps of this type into two categories: in which the inductor is integrated in the housing, like this model:
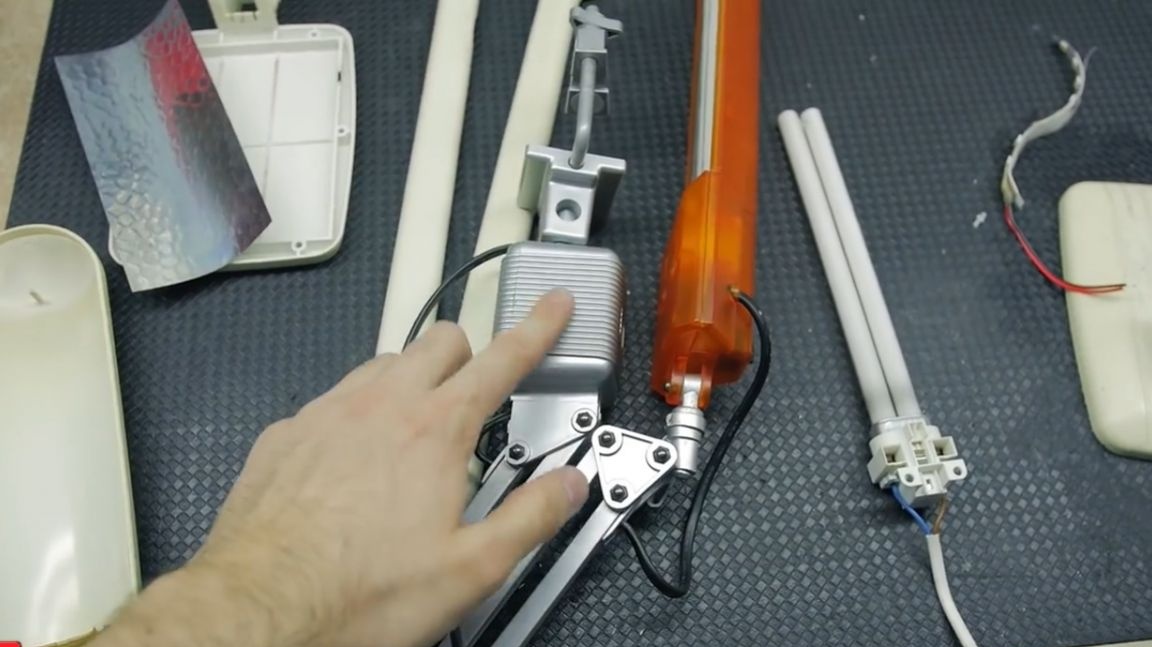
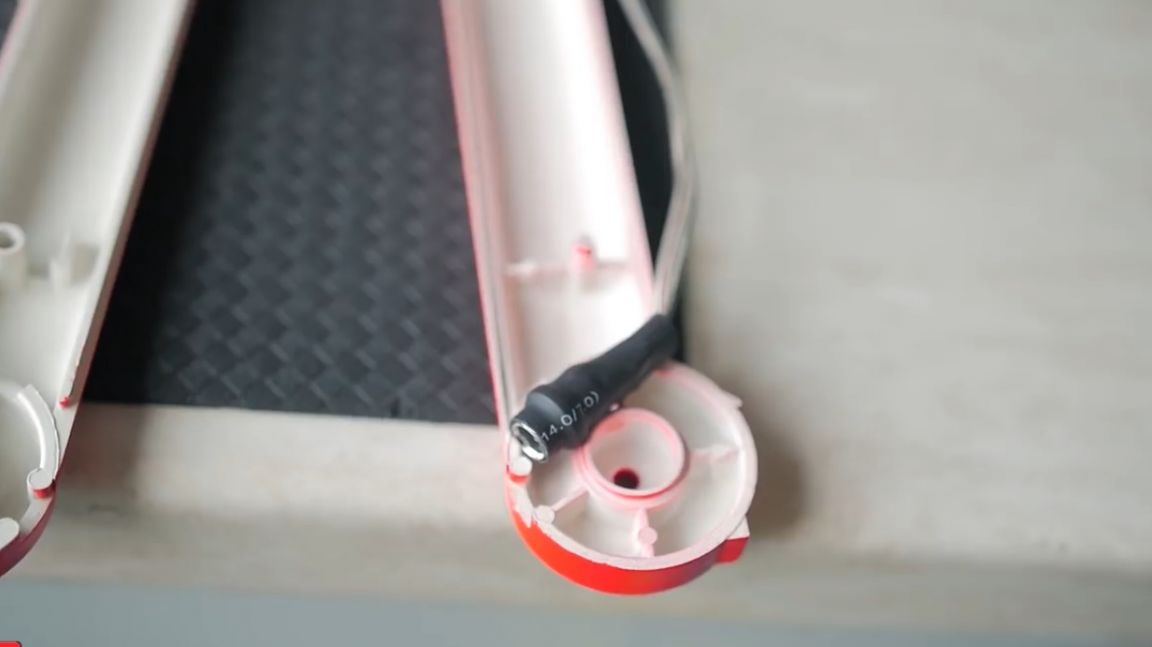
And those who have it separately.
It’s much easier to work with the second category, because it (the inductor) can be easily removed from the structure. But all such lamps work in exactly the same way. A choke or ballast limits the current in the lamp, and there is also a built-in starter in the circuit.
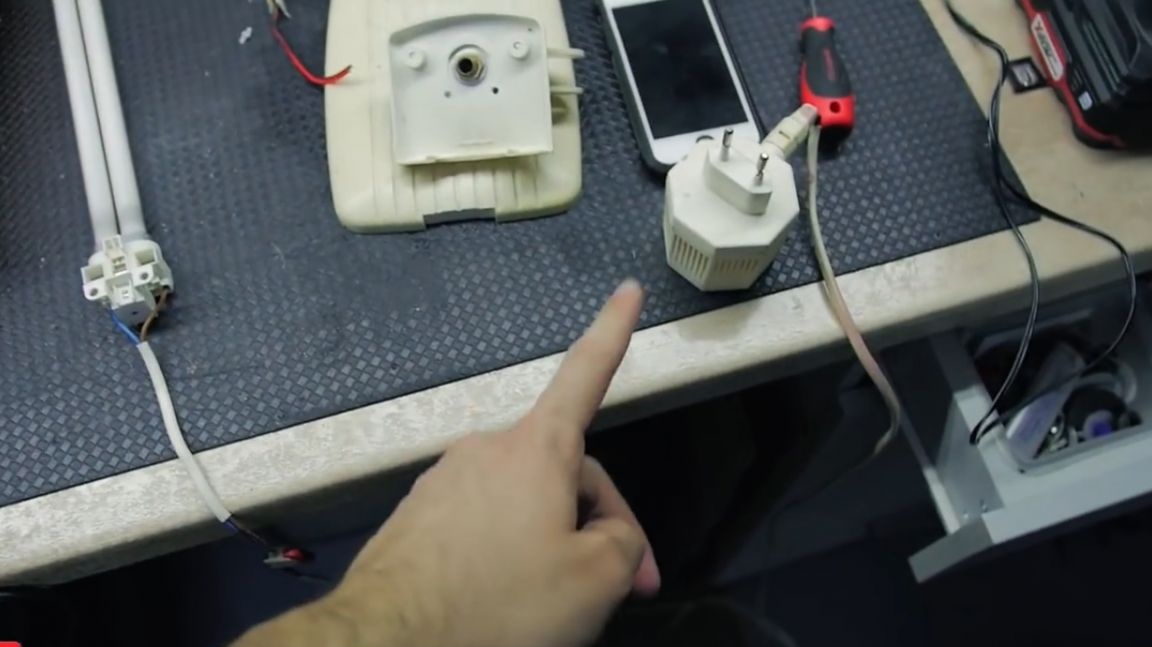
Everything is as simple as possible. To replace this ballast, a DC power supply will come to the operating voltage of our diodes, usually 12V.
The power of the power supply again depends on the diodes, in this case we will use half an ampere.
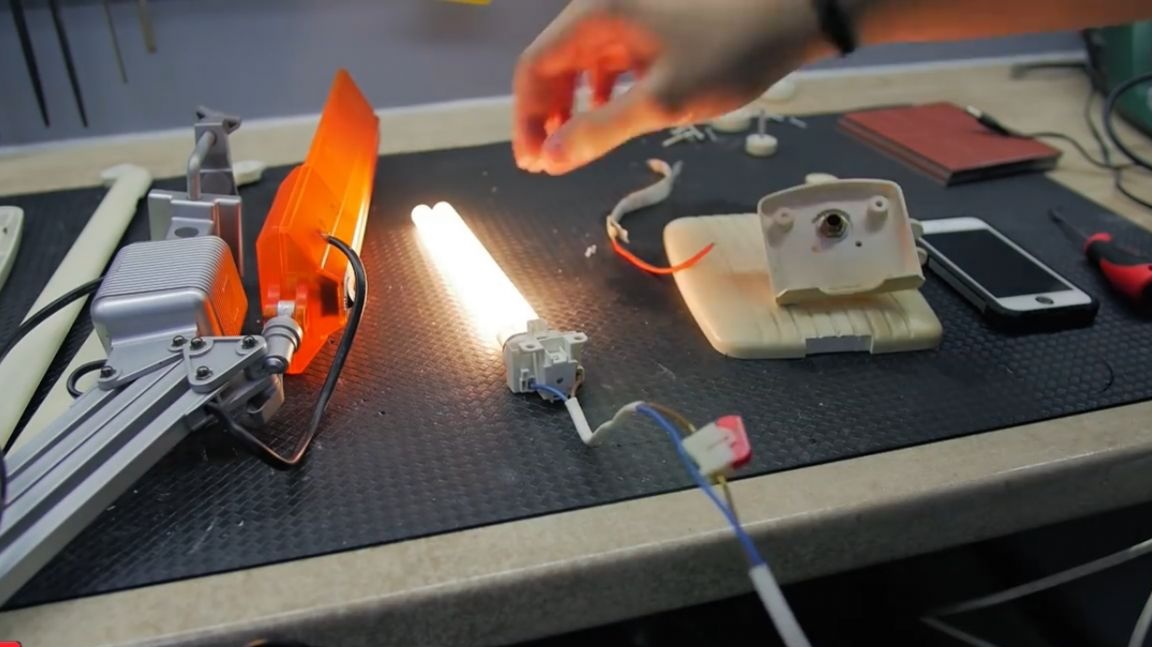
LEDs will come to replace such a gas bulb. There are many different types of them.
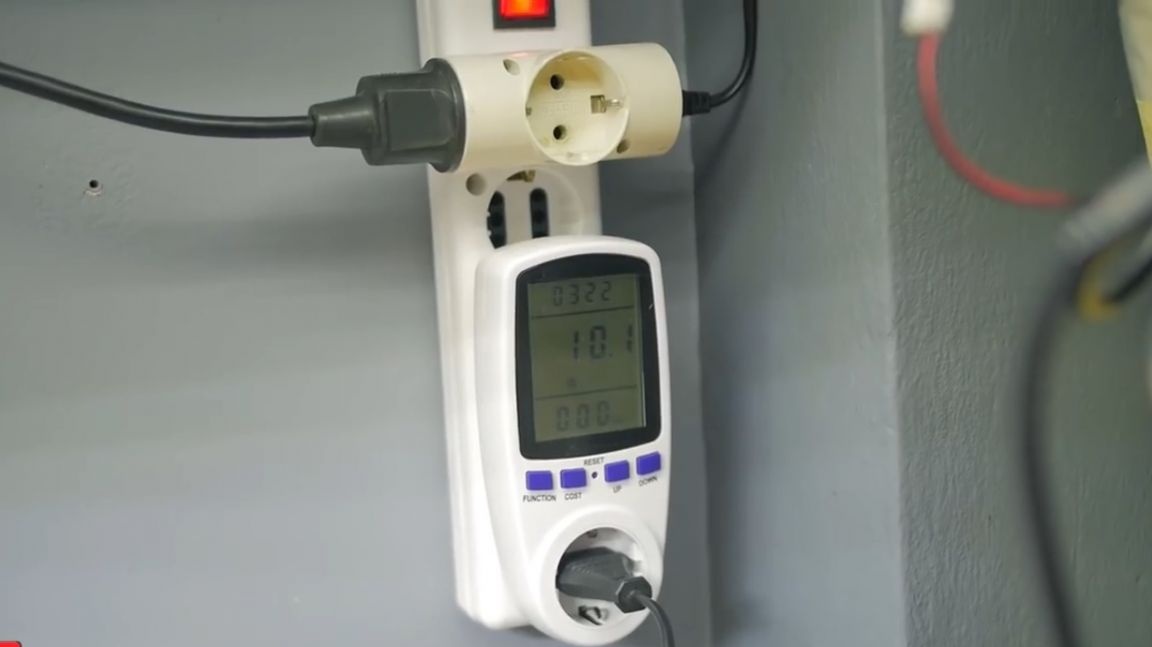
Immediately I want to note several advantages of such a transition. Firstly, there is no flicker, the eyes will not get tired. There is a gas bulb, and the LEDs work without blinking (if the power supply is correct, more on that later). Secondly, color quality itself (CRI) is better, with a lamp it is usually somewhere around 85 or less, and high-quality diode ribbons produce about 90-95 and higher. Third, the color temperature. Most often, the bulb is a warm glow, and diodes exist white, medium, warm, and whatever. And fourthly, it’s energy saving. This is of course an energy-saving lamp, but it haws about 11 watts of clean, plus some, while it is not known, the adapter itself consumes. Now let’s check it by the way. For such cases, the author purchased such a network tester:
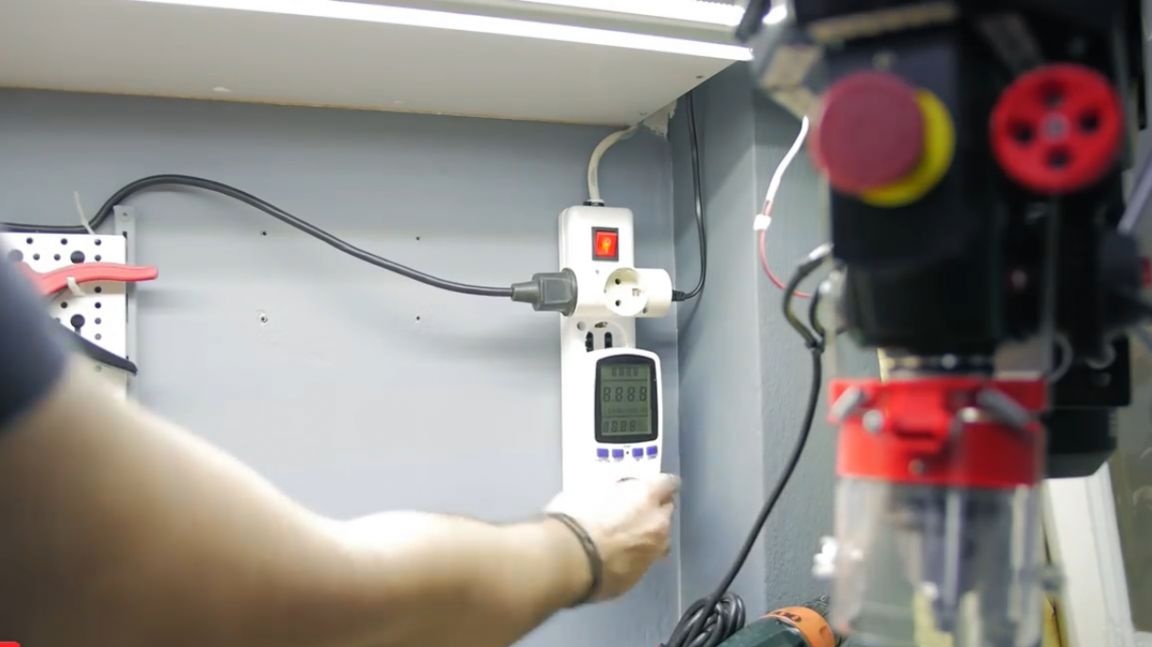
We connect the ballast of this lamp to the network, the current consumption, oddly enough, is zero.
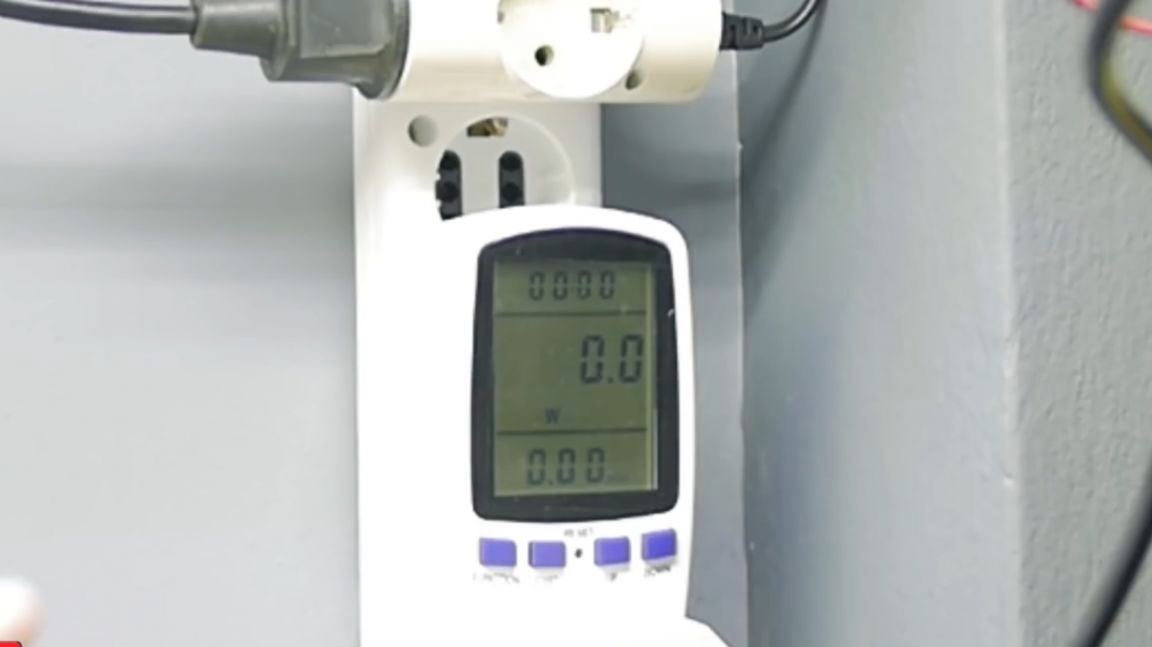
Then turn on the light bulb. The light comes on and the consumption as you see is not 11 watts, as it is written on the lamp. The lamp itself consumes 11 watts, but with this unit more than 16 is obtained.

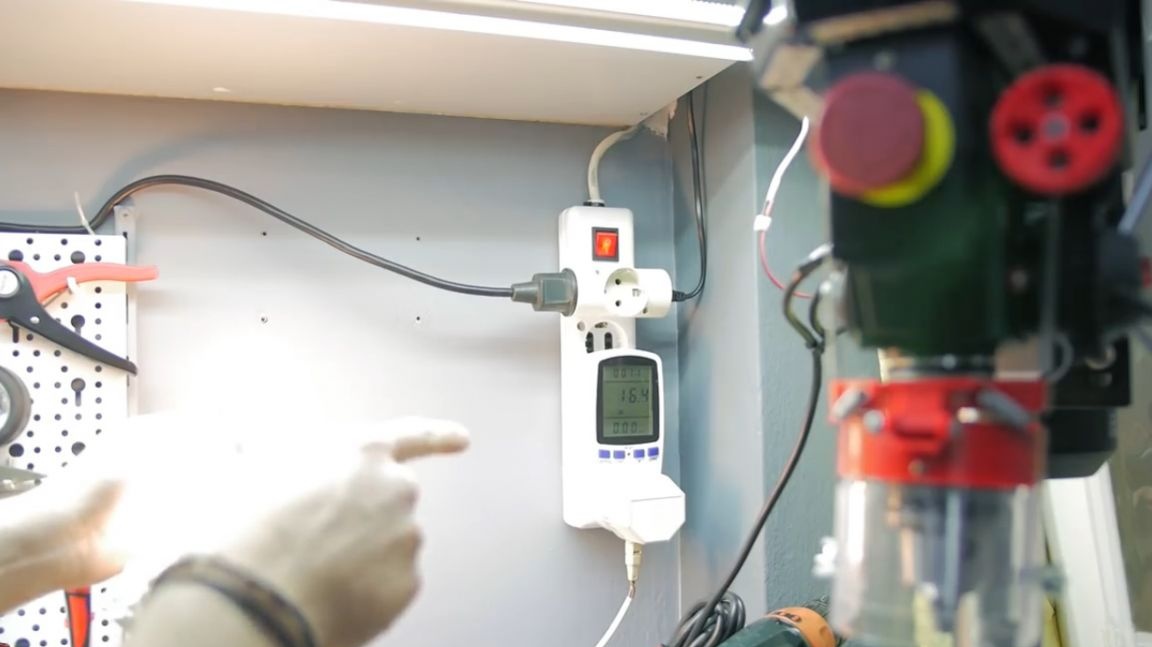
Remember, let's see at the end how many LEDs will eat.
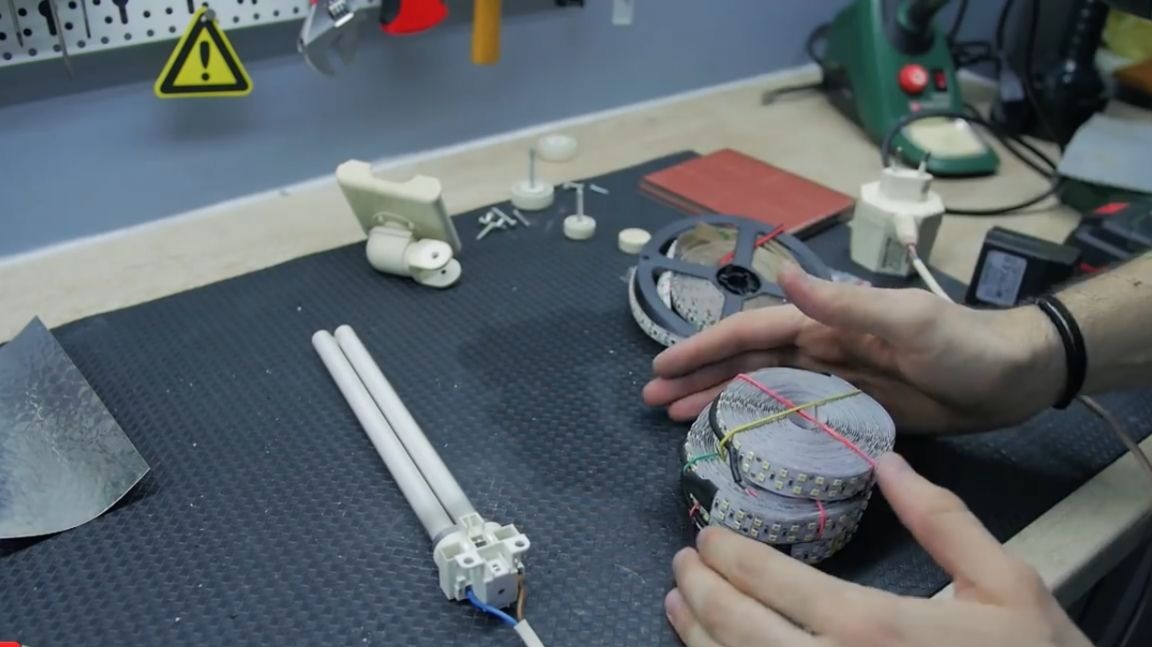
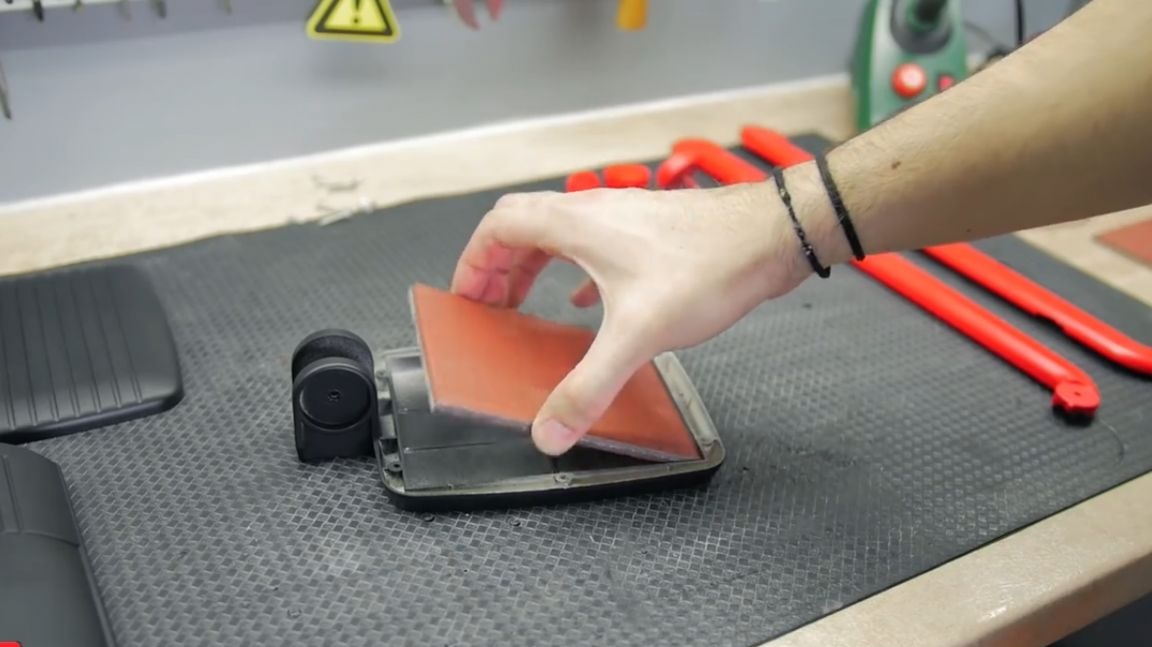
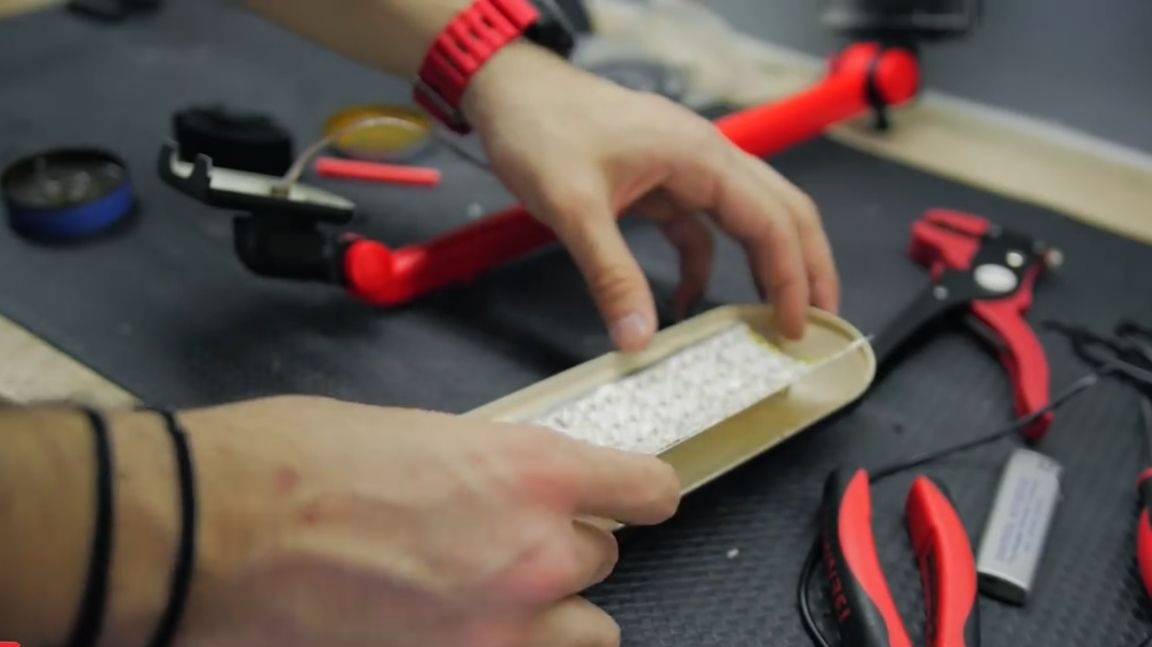
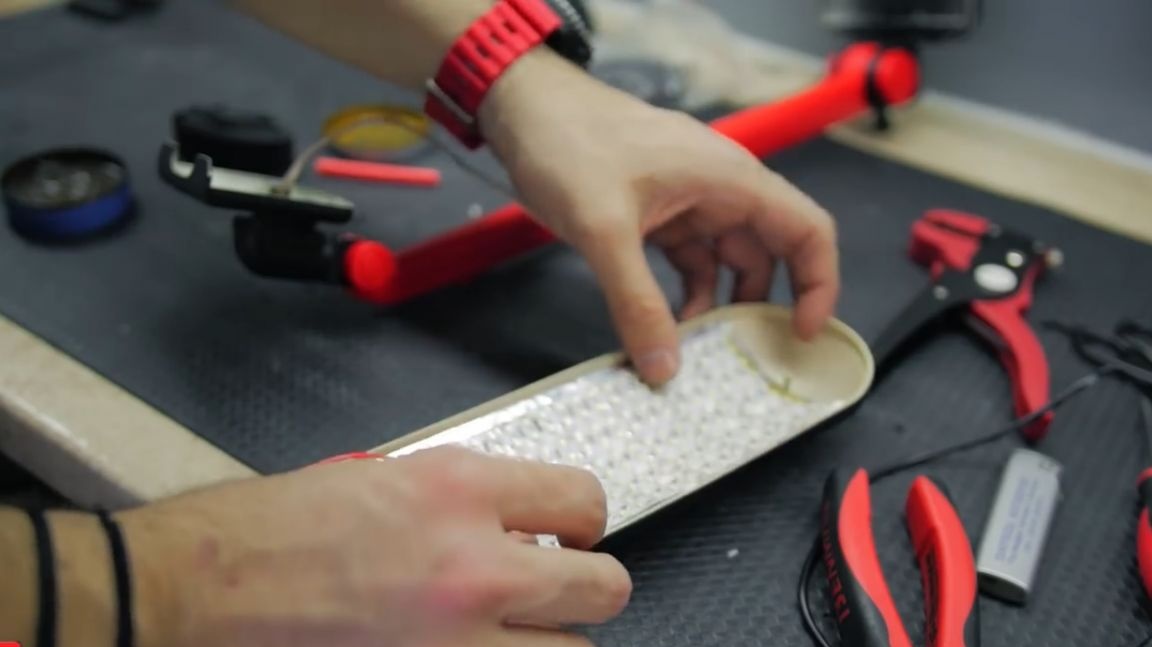
So, now the important point. We take the reflector, which was inside the lamp, here he just understands. If not, work directly with the enclosure.
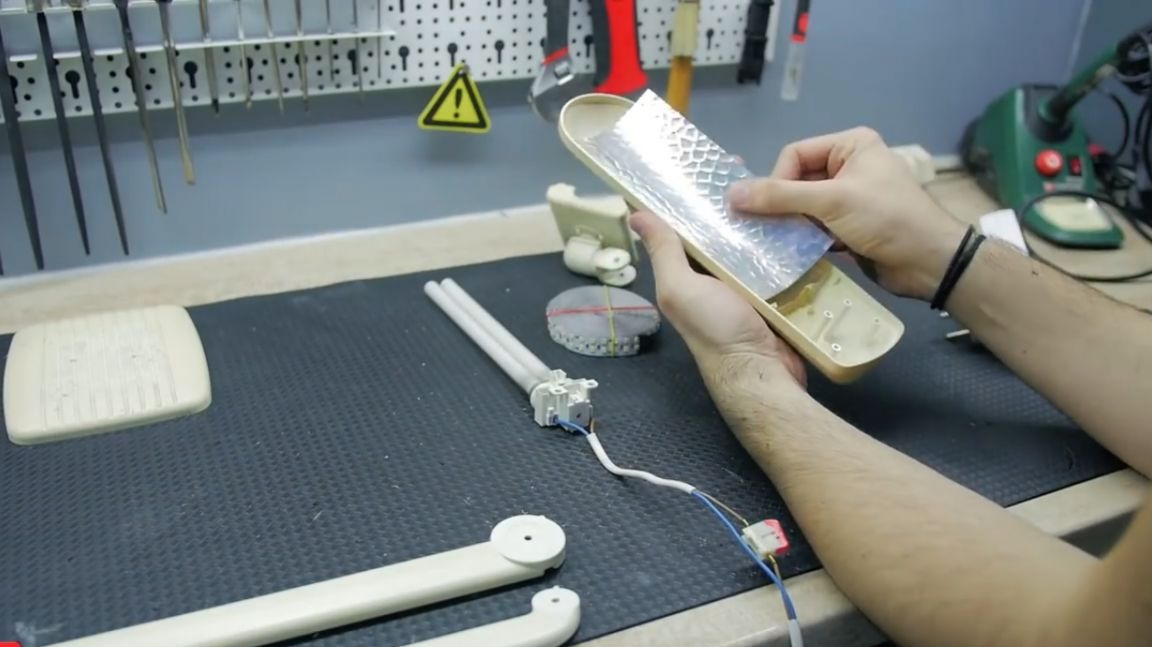
We take this reflector and pretend to see how much the LED strip fits.
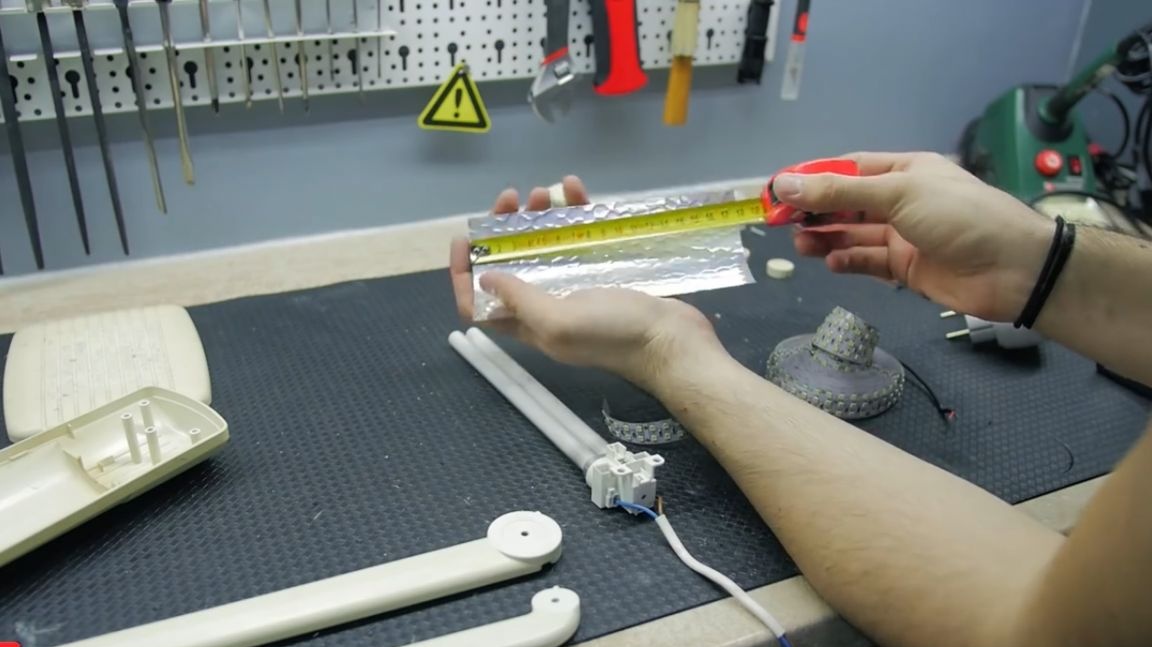
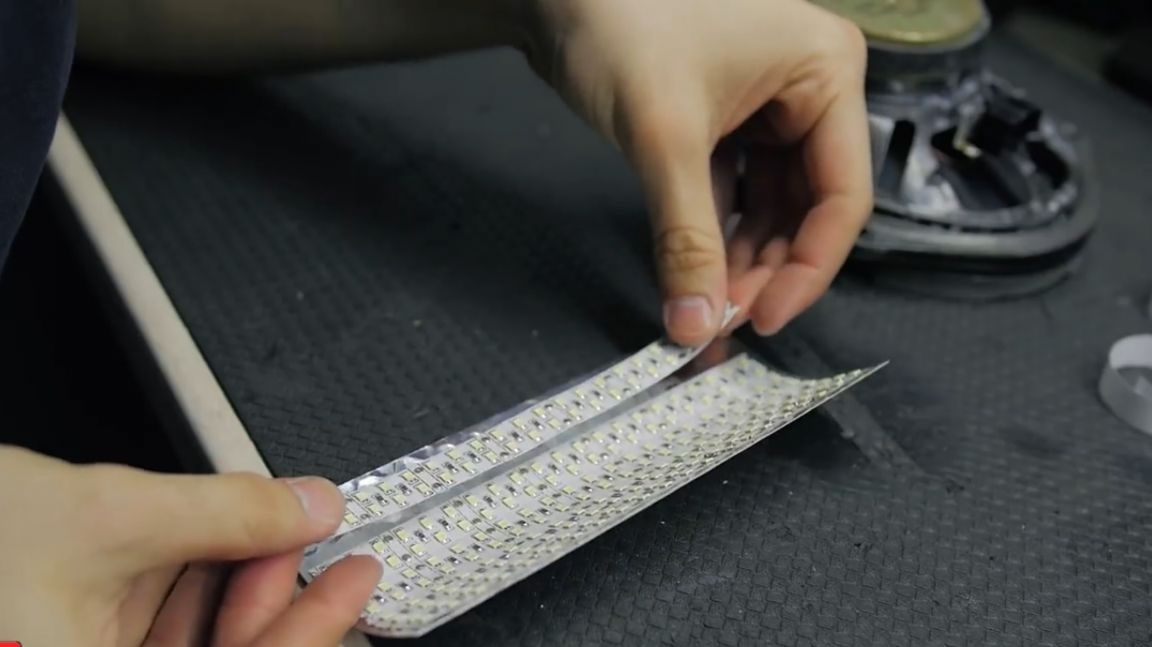
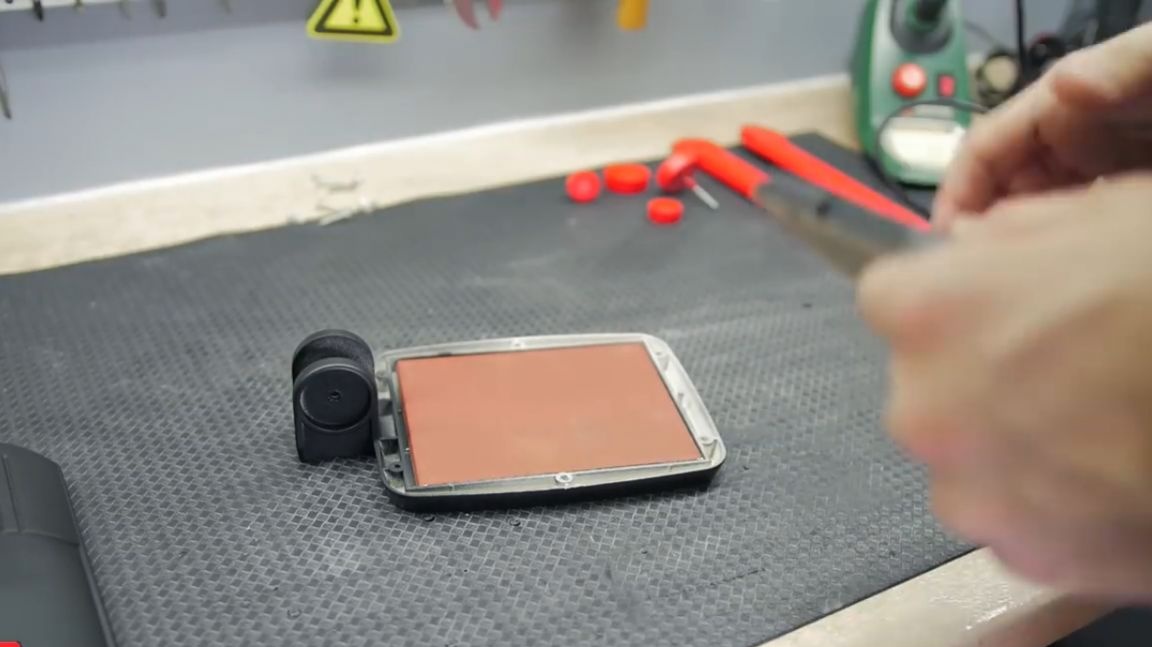
Now we stretch the tape along the reflector and look where it has contacts.The author decided to use such a Chinese one, because it is cut almost every two centimeters, much more often than a simple tape.
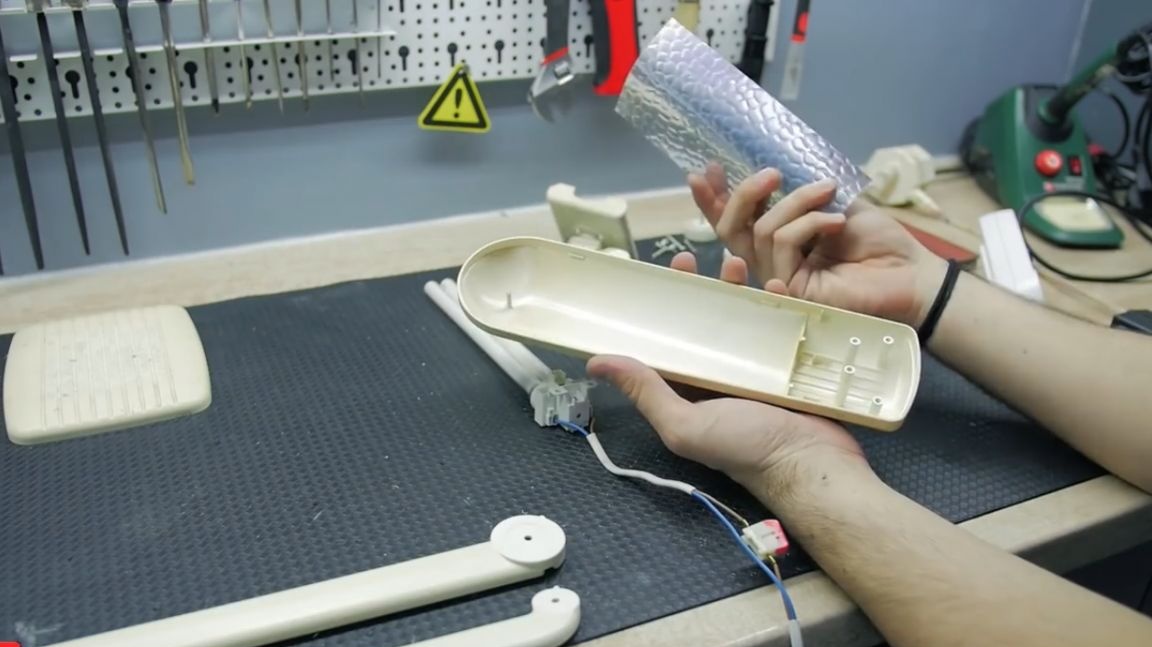
Further, I think, as you have already guessed, we take this tape and cut off the necessary amount.
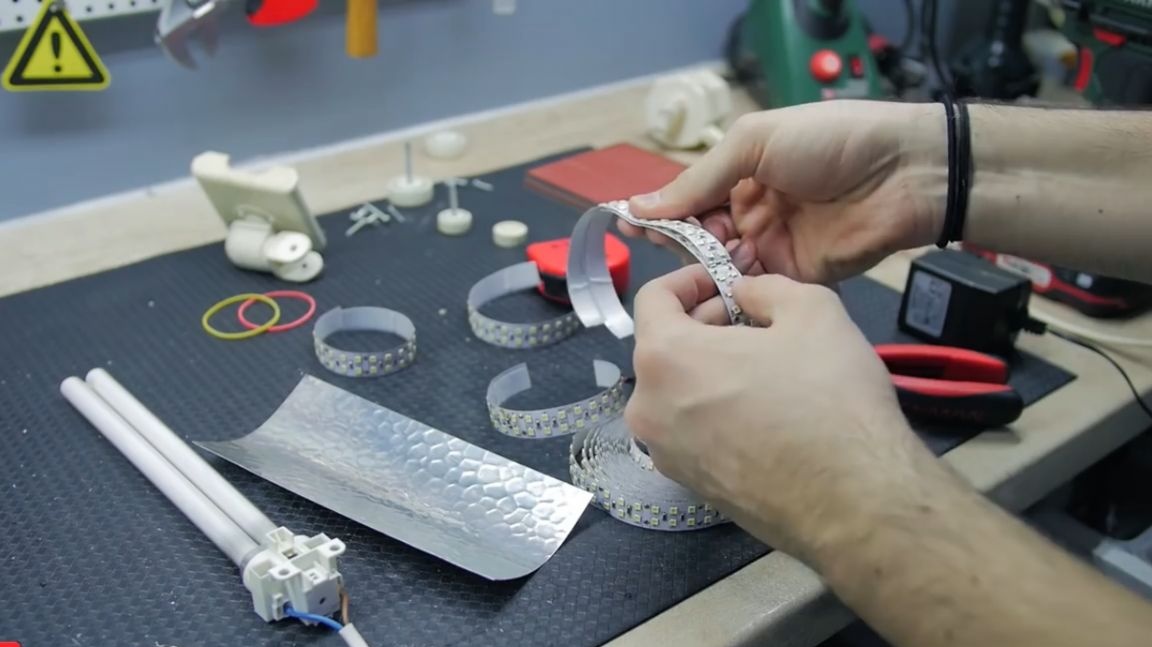
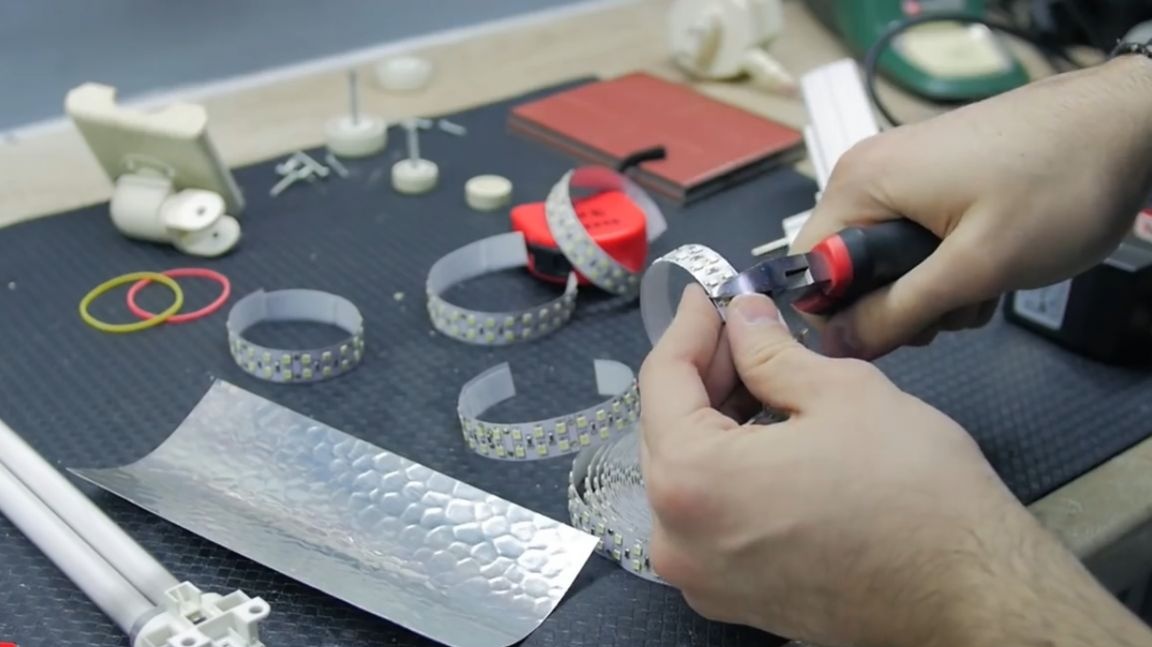
In our case, these are 5 pieces of the same length. By the way, the reflector will also serve as a heat sink.
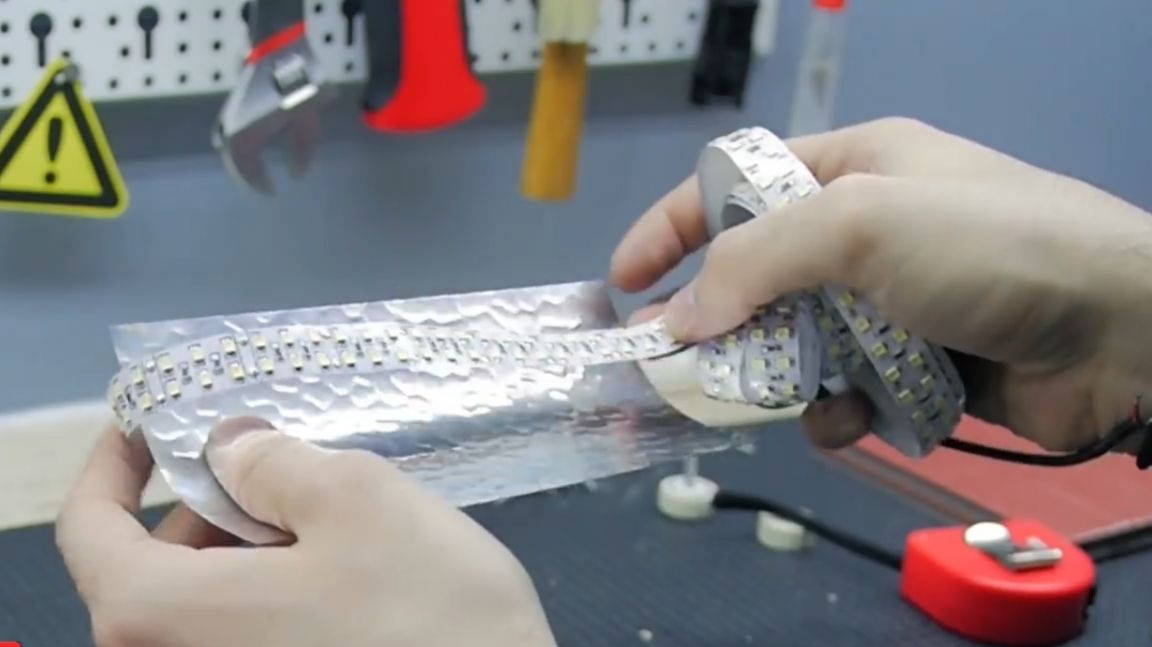
Further, also a very important point, it is necessary to degrease the reflector, for example, with pure alcohol.
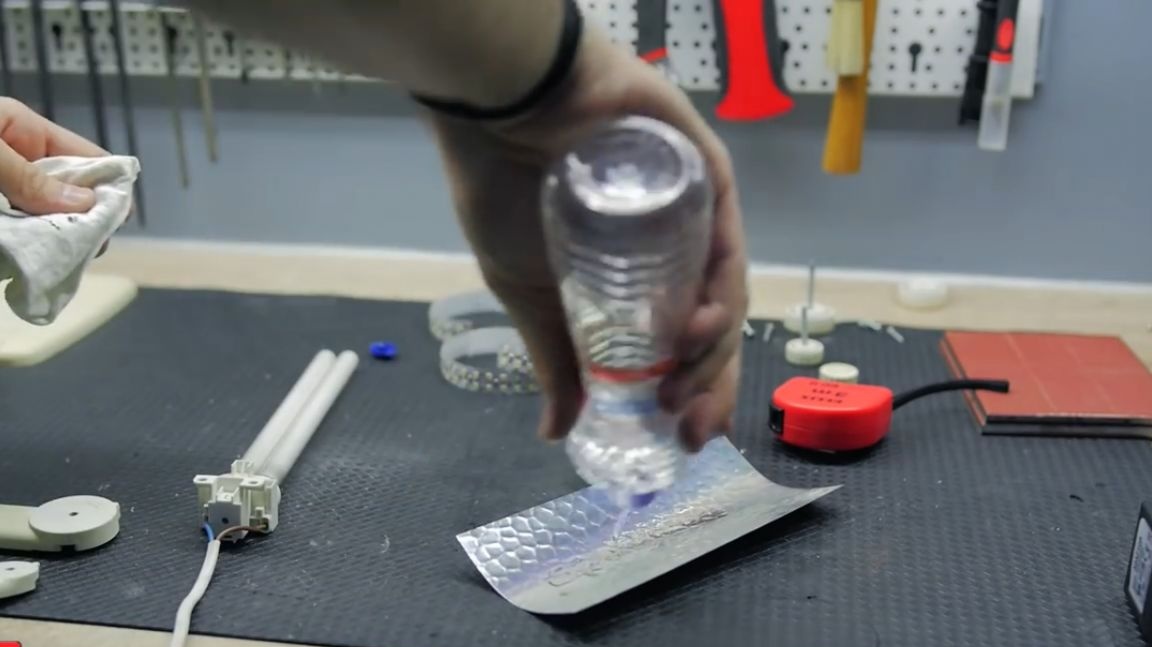

This is due to the fact that most likely your lamp is not new and there is a high probability that the reflector is covered with a layer of dust or vapors of something, it already depends on where the lamp was and under what conditions it was used.
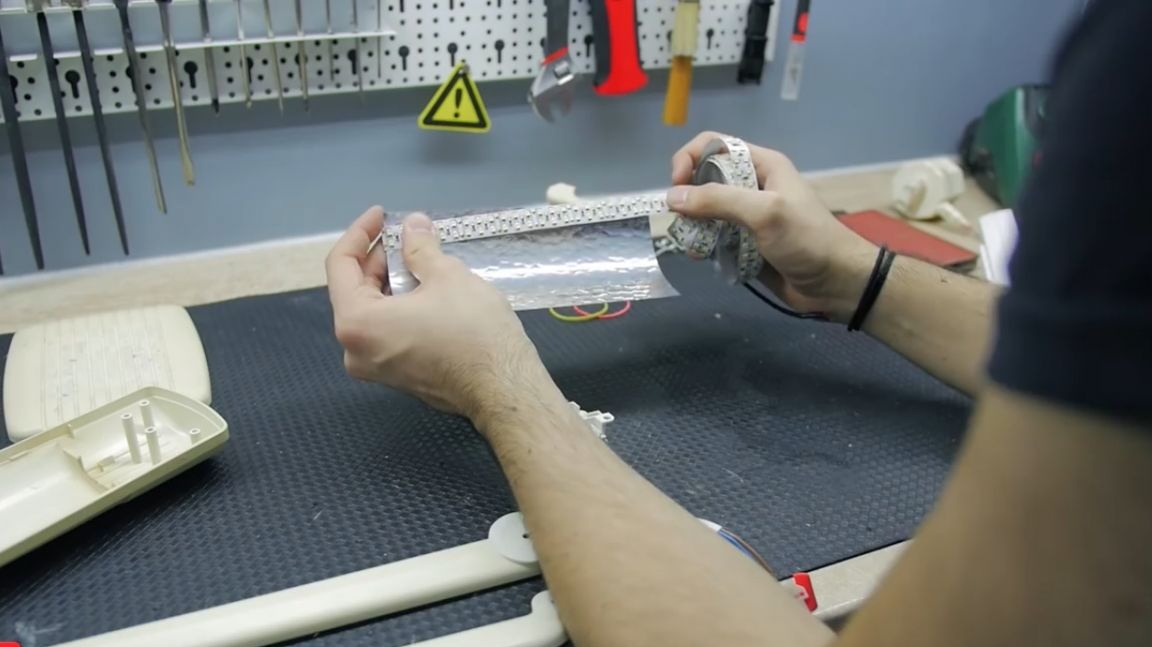
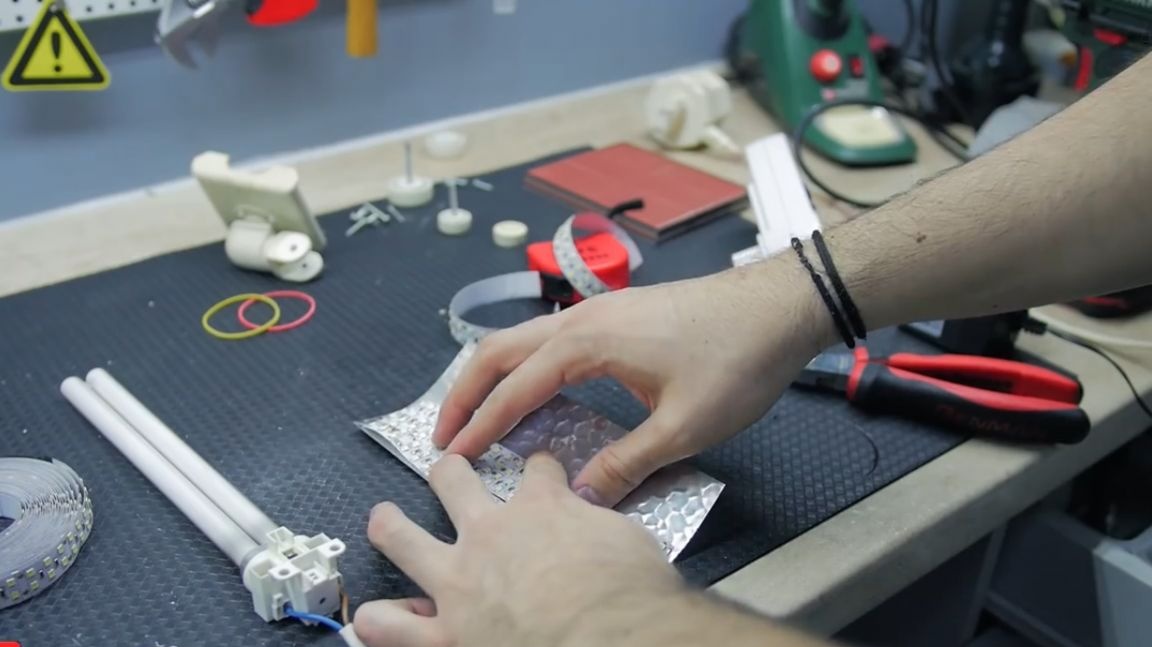
Then we connect all the pieces of the LED strip in parallel, that is, all the pros with all the pros and cons with the minuses.
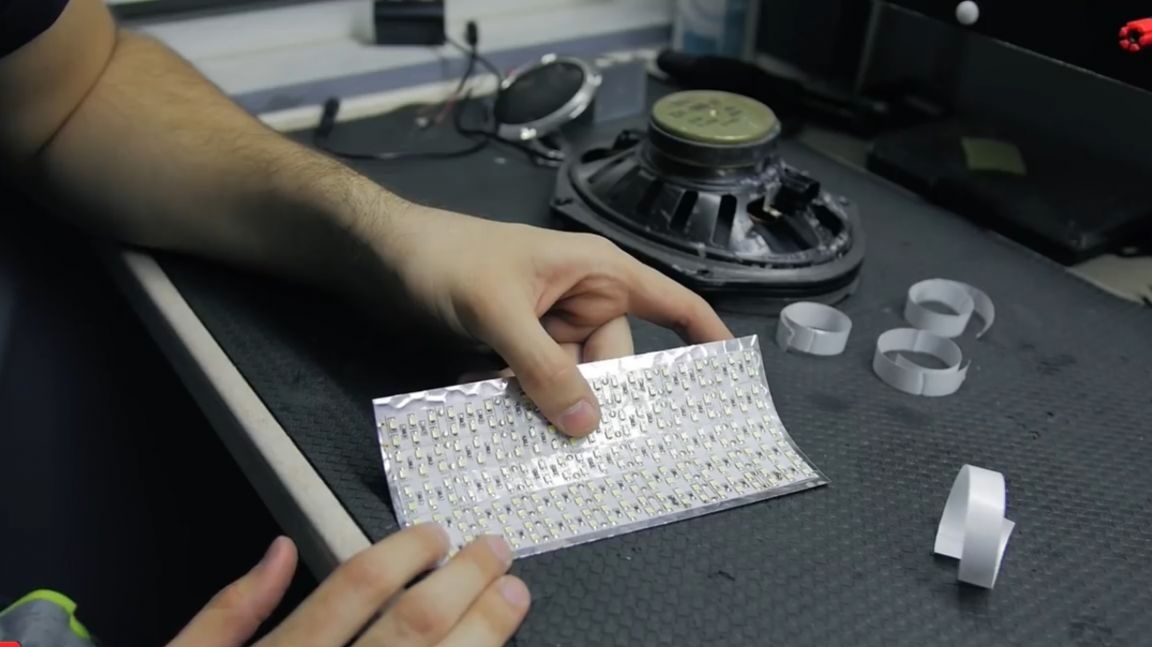
The most important plus is that we do not have a voltage drawdown because the plus and minus are supplied from different sides, or even from one side, because the load is not so big that there is a drawdown.
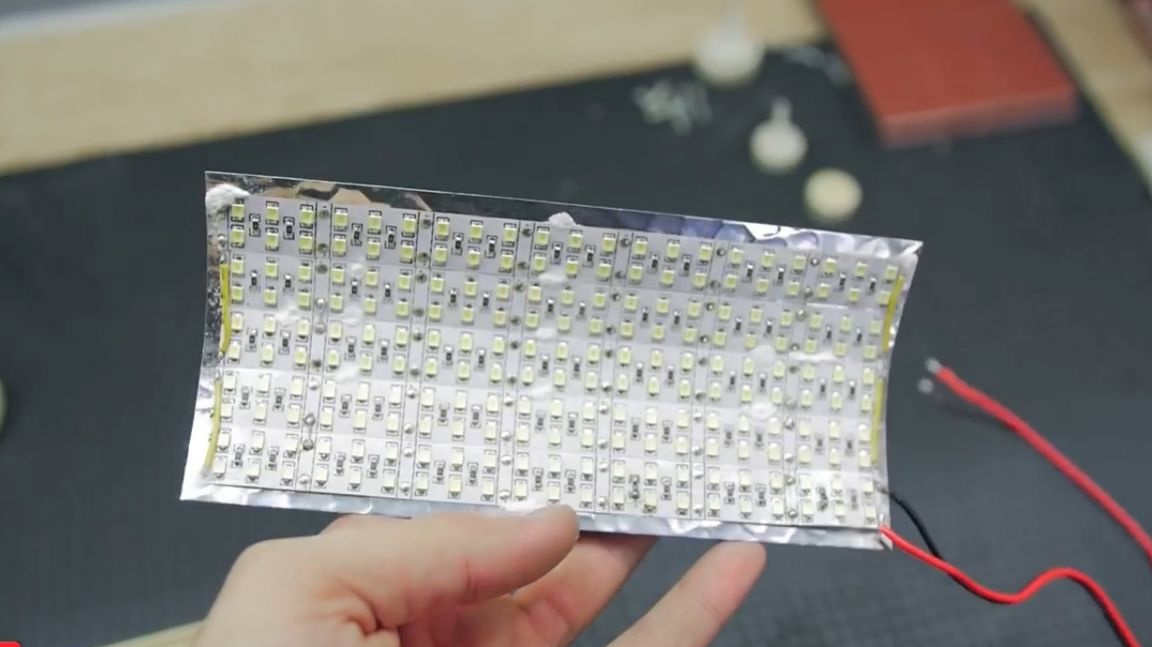
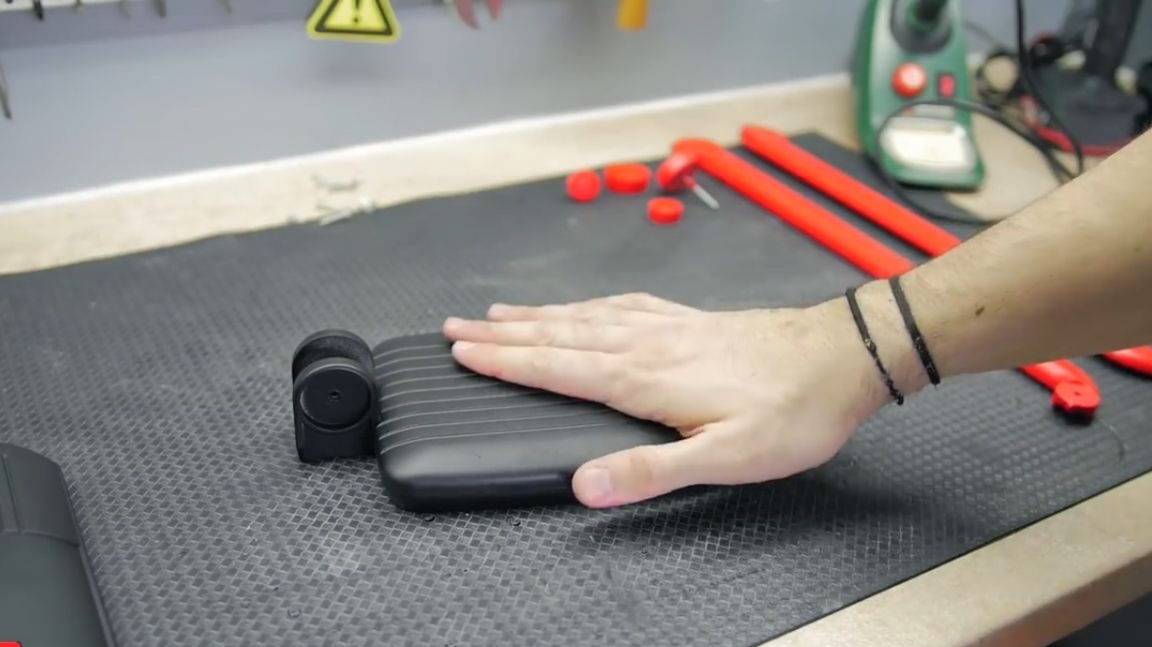
In general, we finished the panel, leave it aside and take, for example, sandpaper with a grain size of 600.
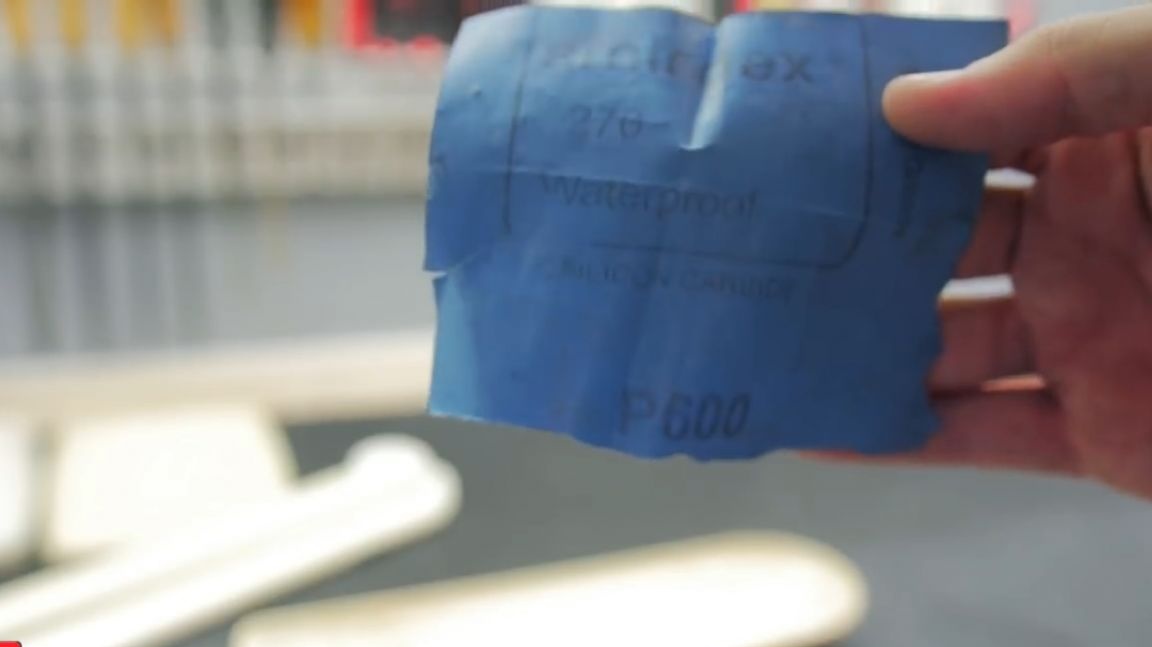
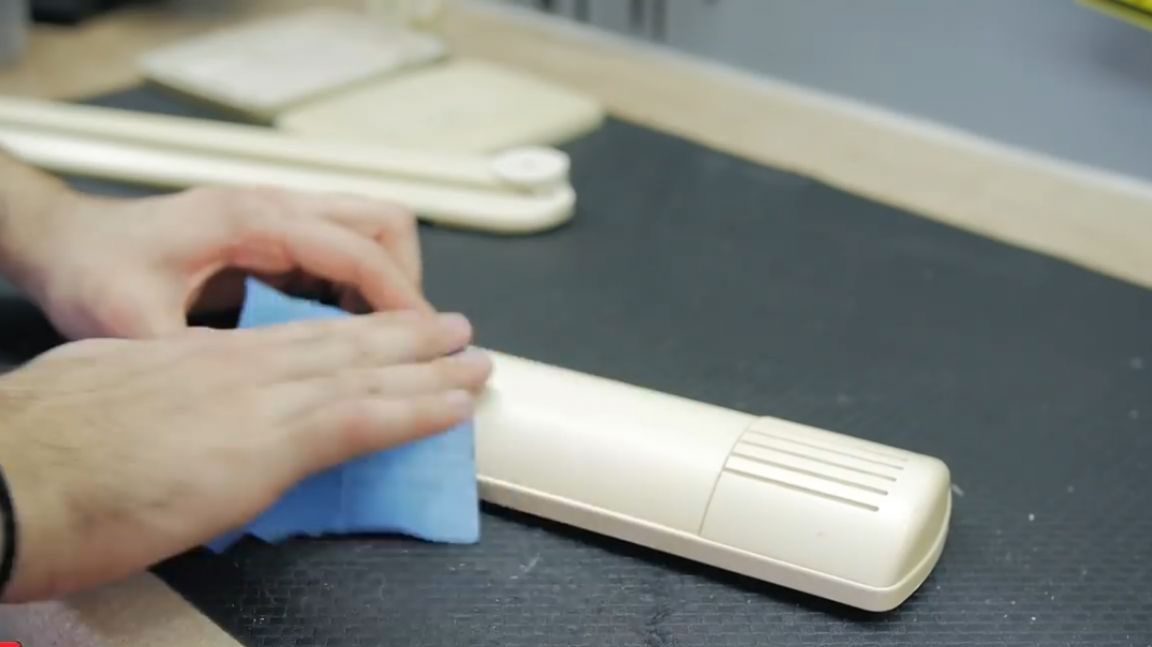
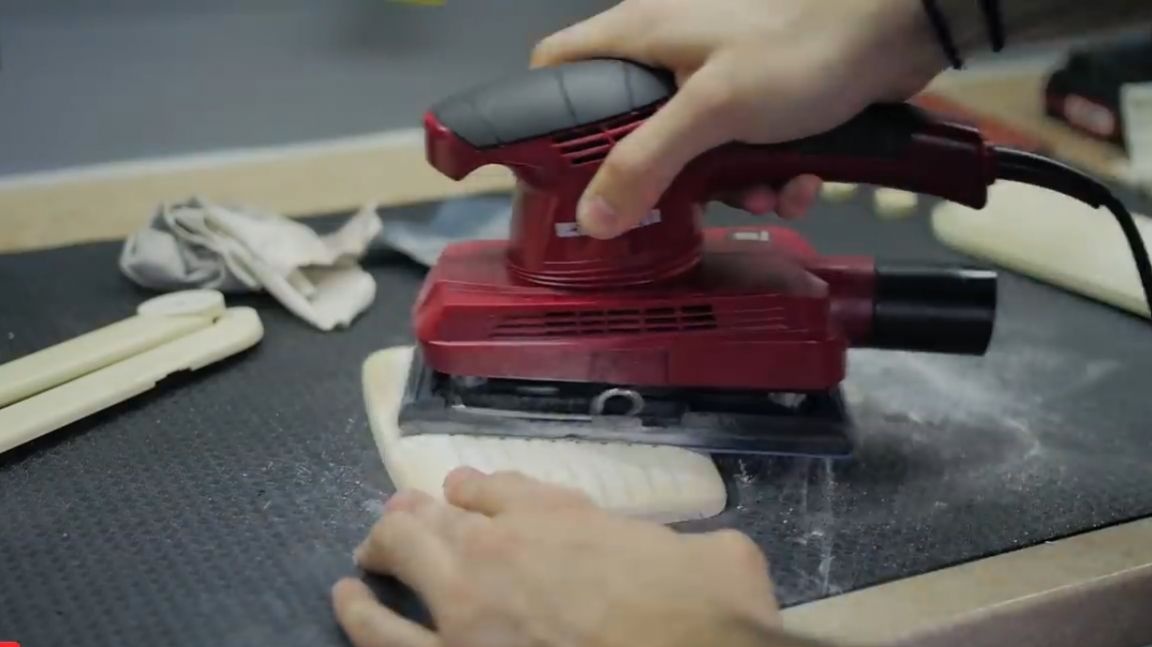

We wipe the lamp housing with such paper, after which I wash all the parts with soap and dry thoroughly.
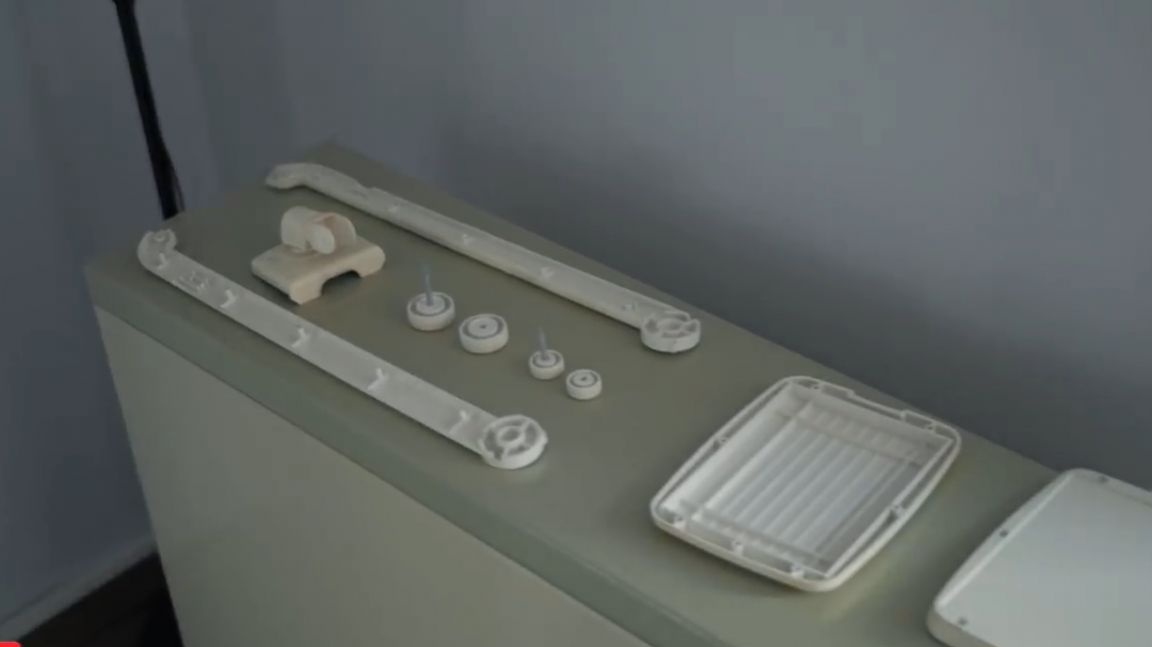

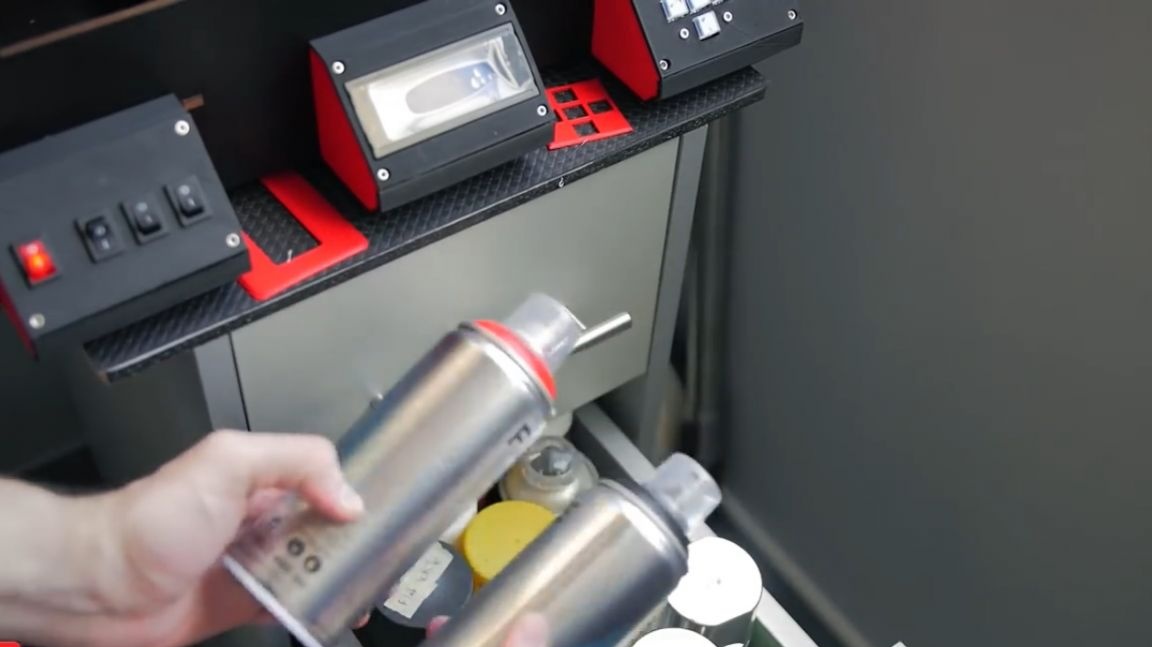
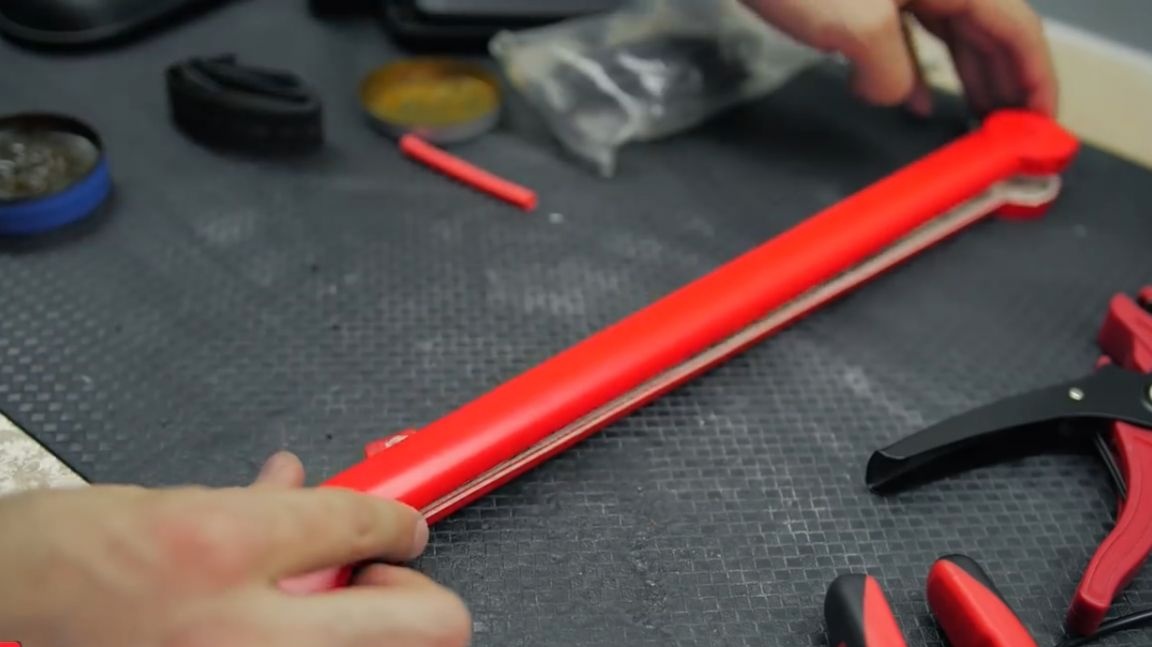
Thus, we prepared the parts for painting. We will paint in two colors: black and red, so that the lamp fits into the interior.
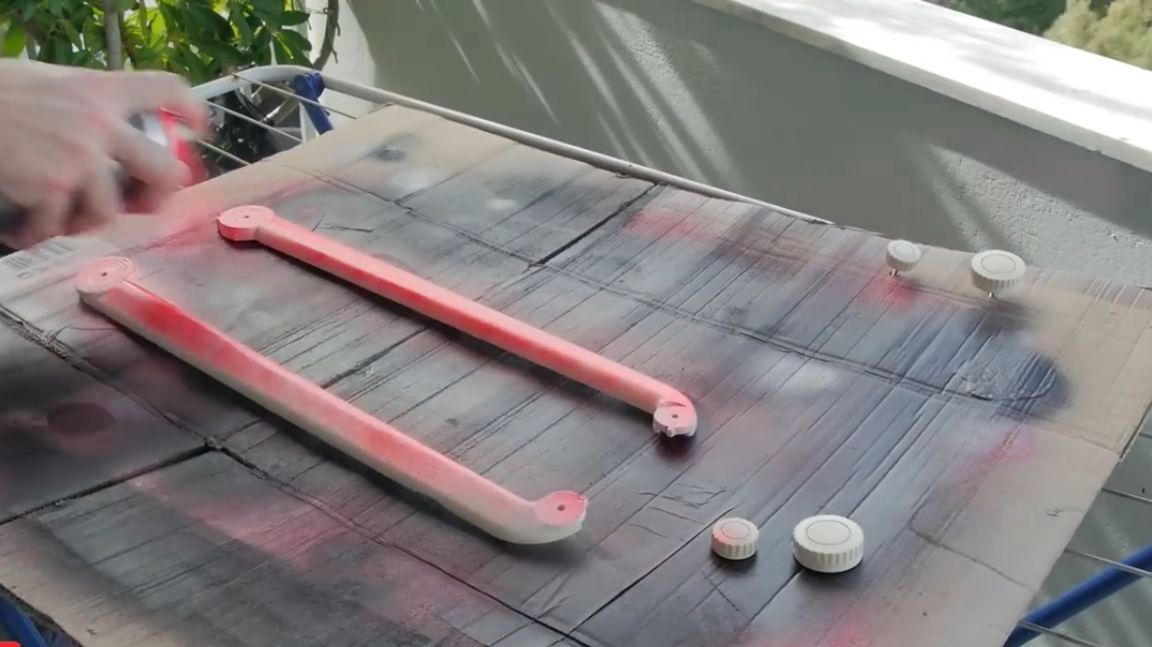
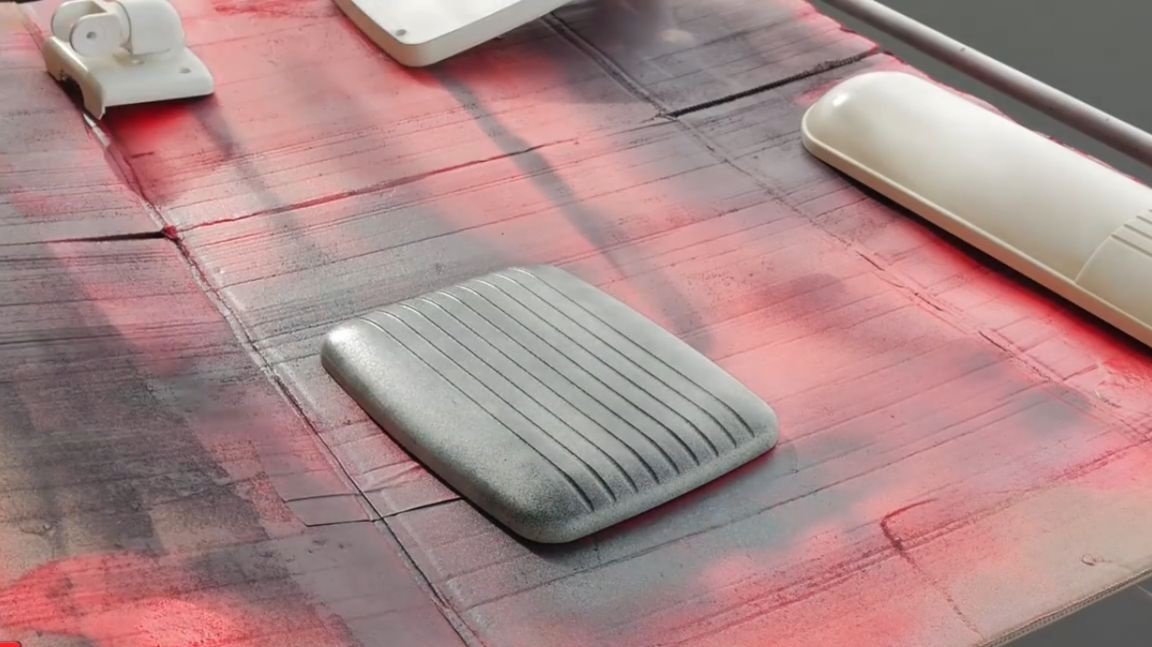
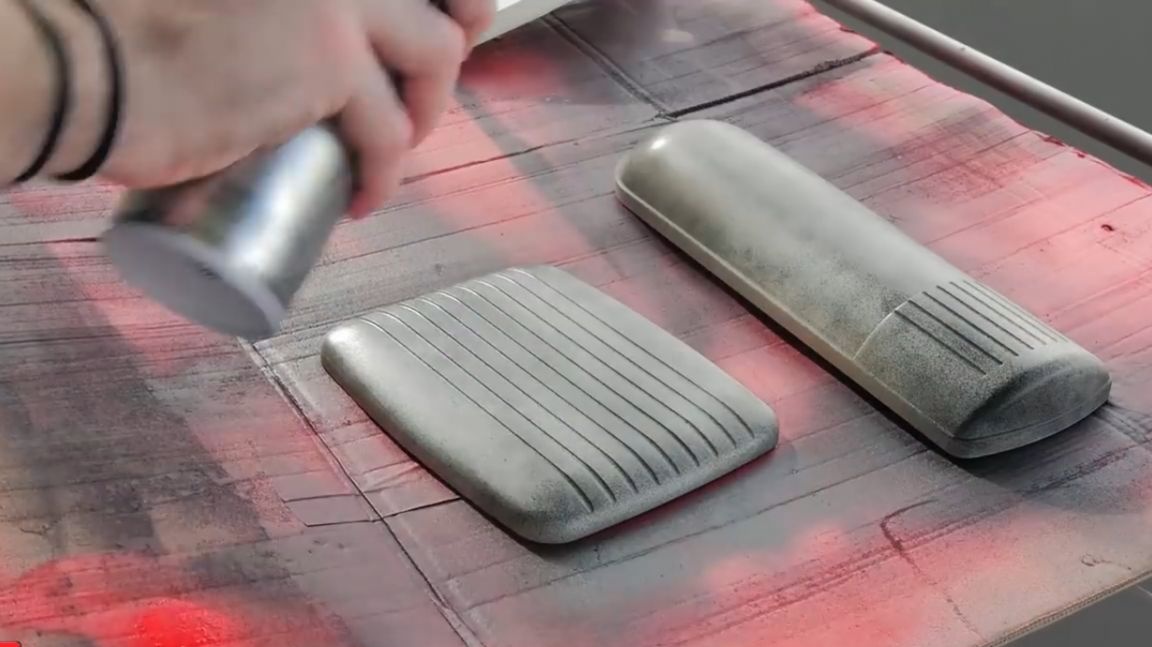
After painting, the author usually leaves the details on the stove for an hour or two. Thus, the paint dries completely. Then we will be engaged in assembly.
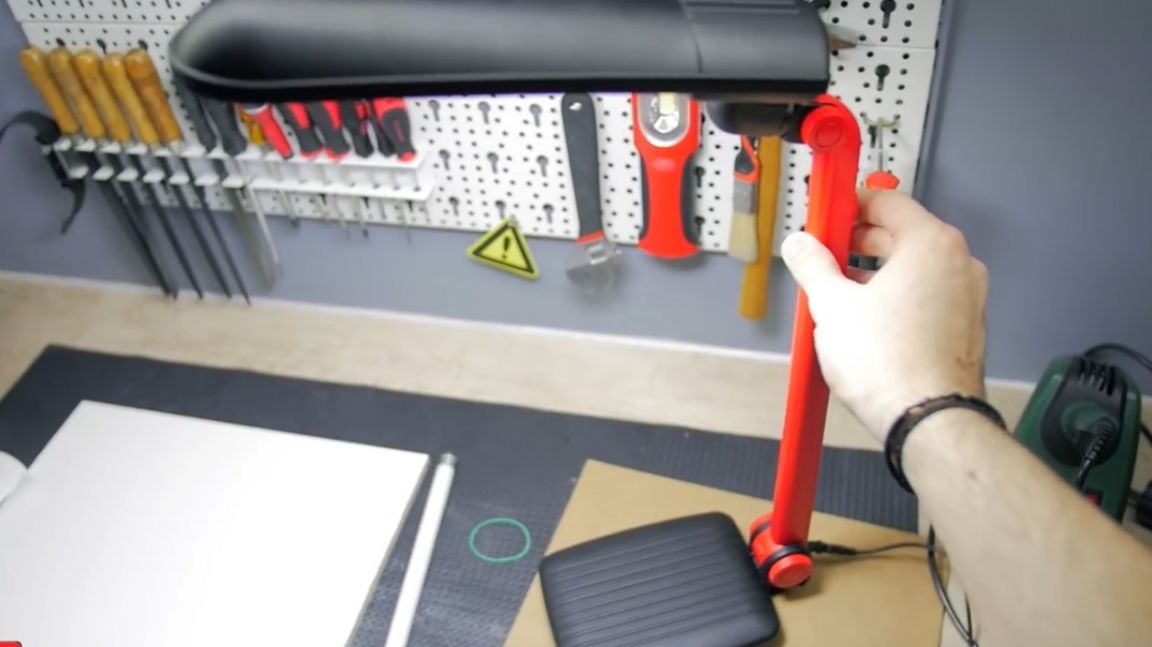
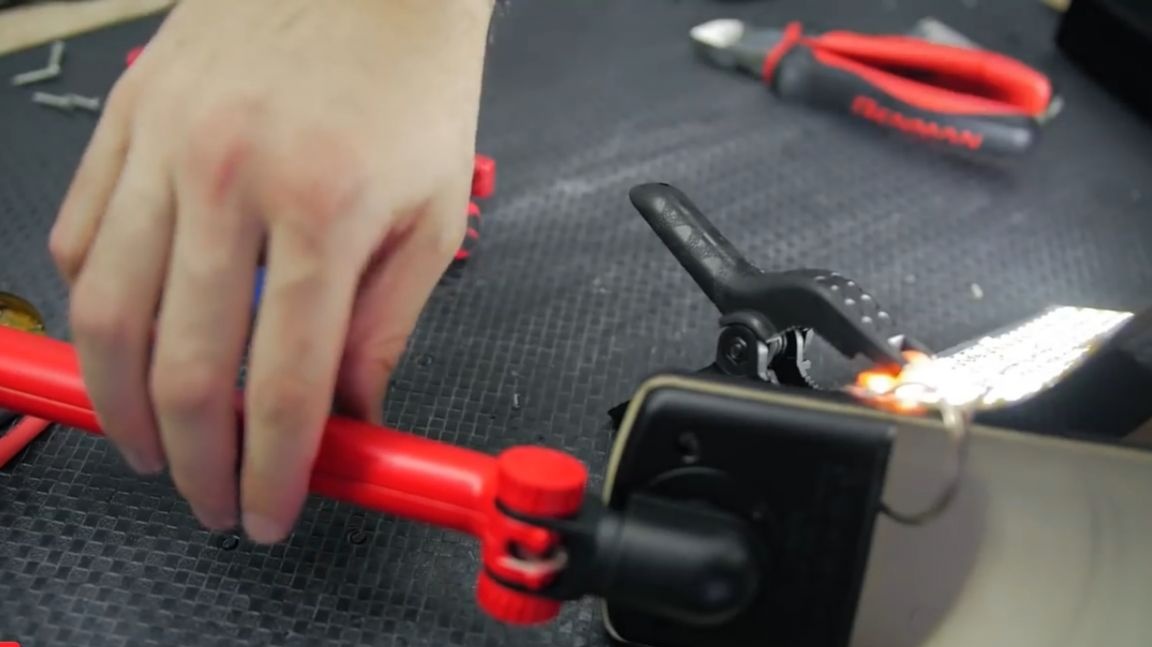
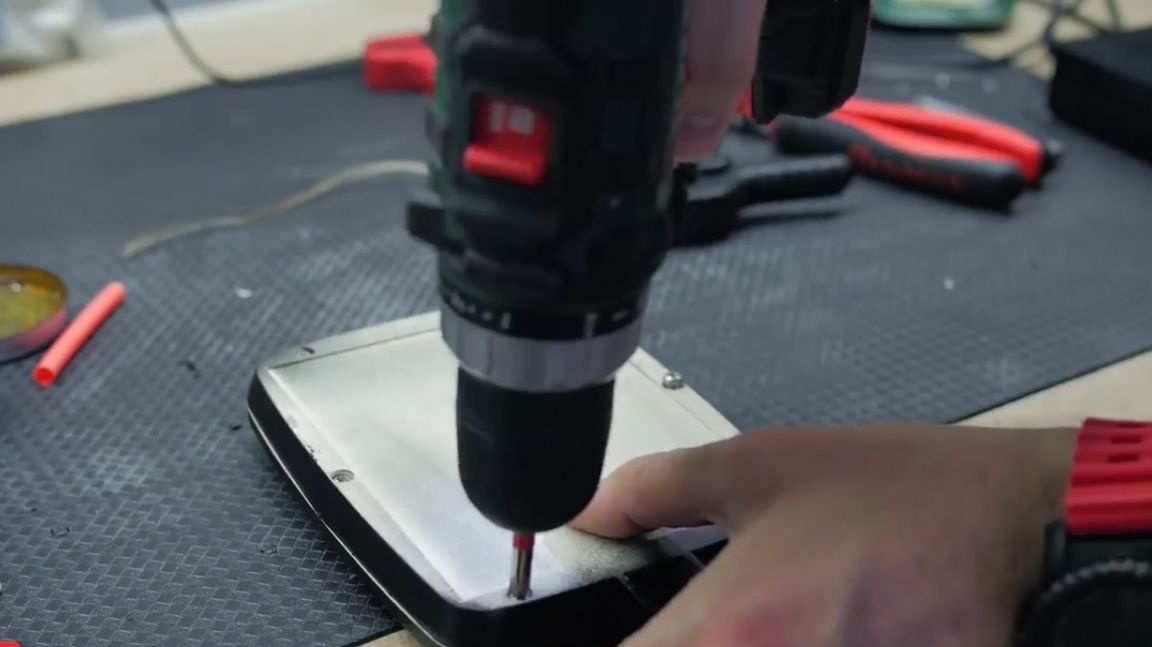
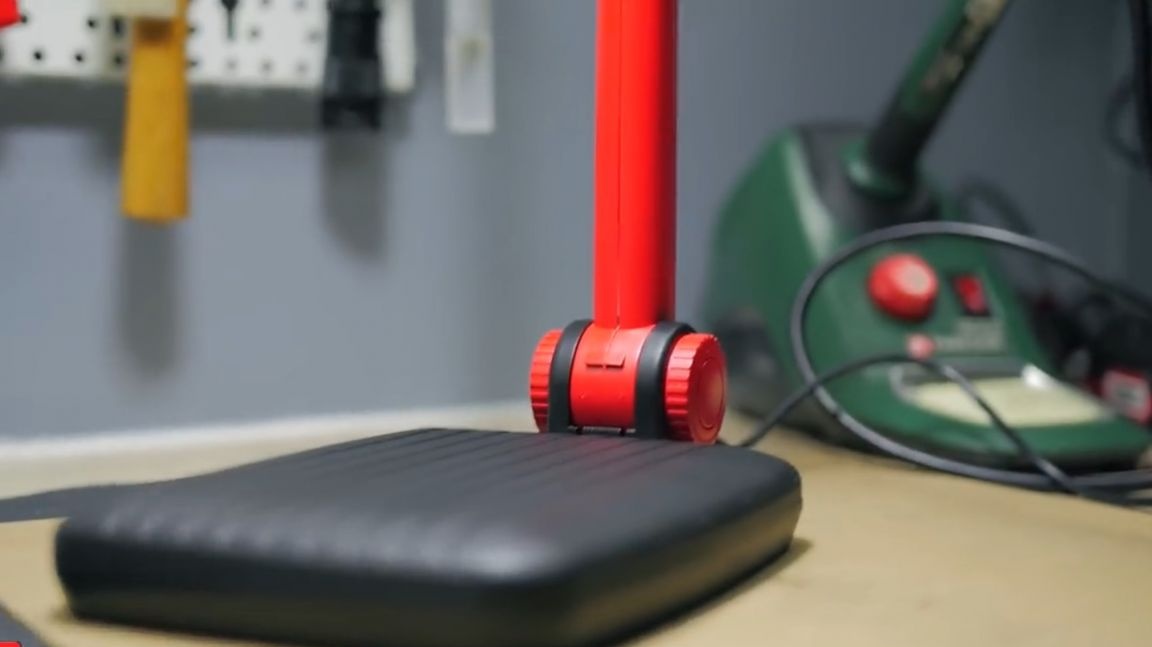
The paint has dried, proceed directly to the assembly. A thick metal sheet is placed on the base of the lamp, this is necessary in order to weight the structure and add stability to the lamp.
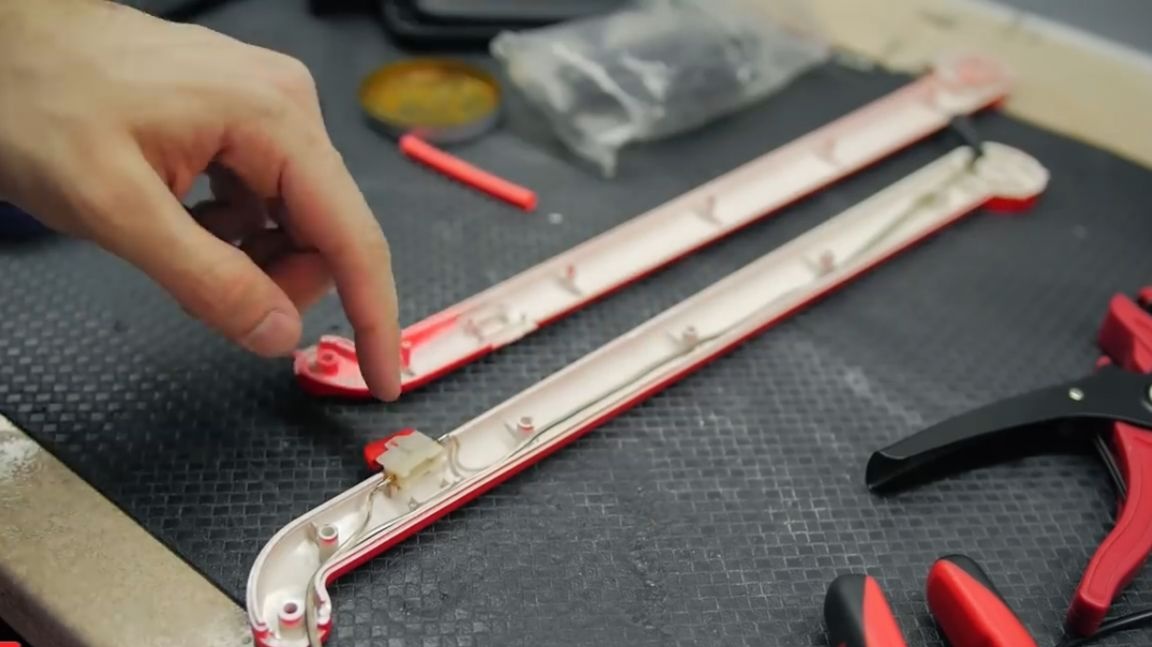
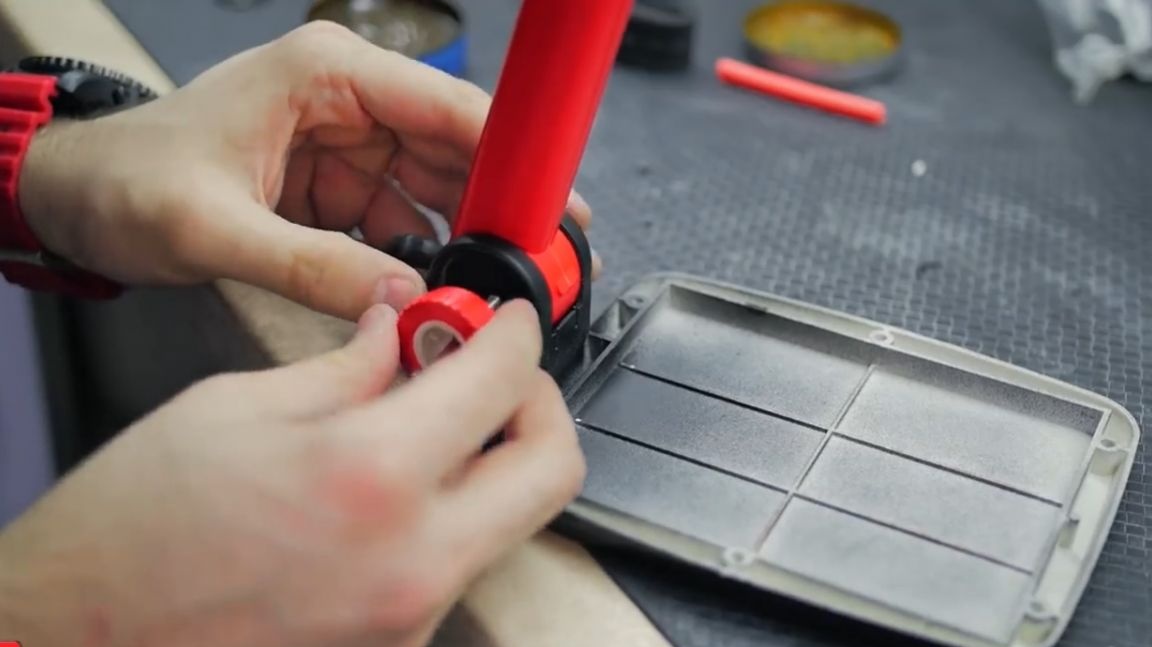
Then we collect everything in the reverse order, with the exception of the power cable. The author did not take a thick music cable, but at the end soldered the power connector, insulated all the connections with a heat shrink tube.
Also, in order not to disturb the appearance of the structure, the author decided to use a standard switch.


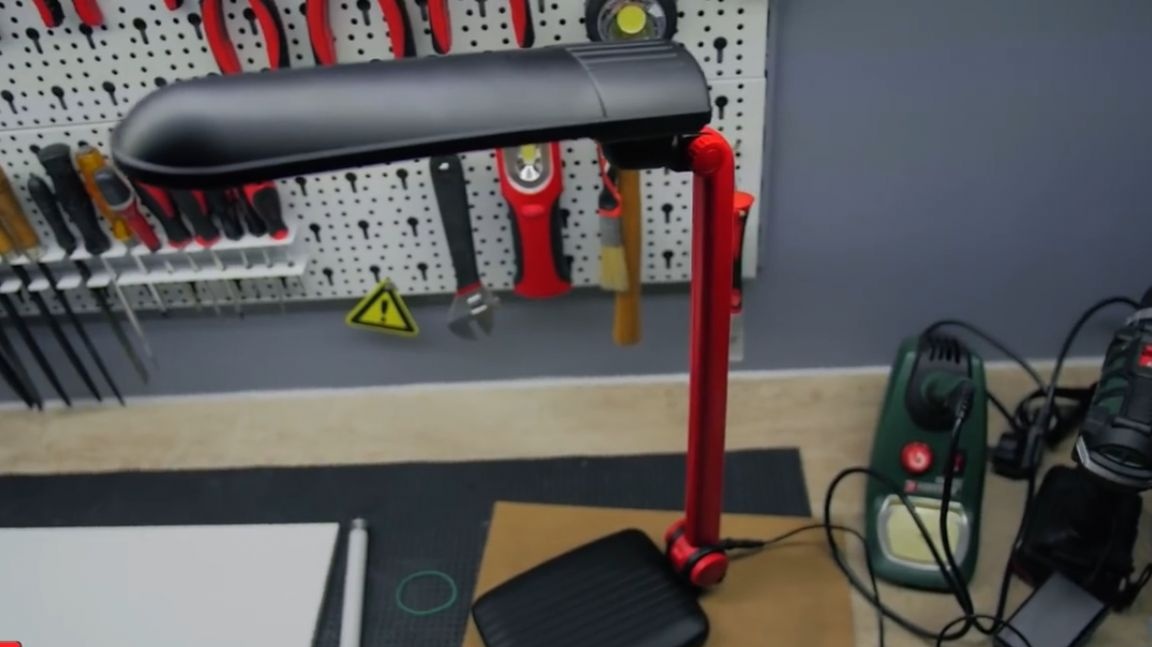
That's all, the lamp is assembled in this way and the project comes to an end. At the very end we insert the diode panel and the lamp is ready.

Turn on.
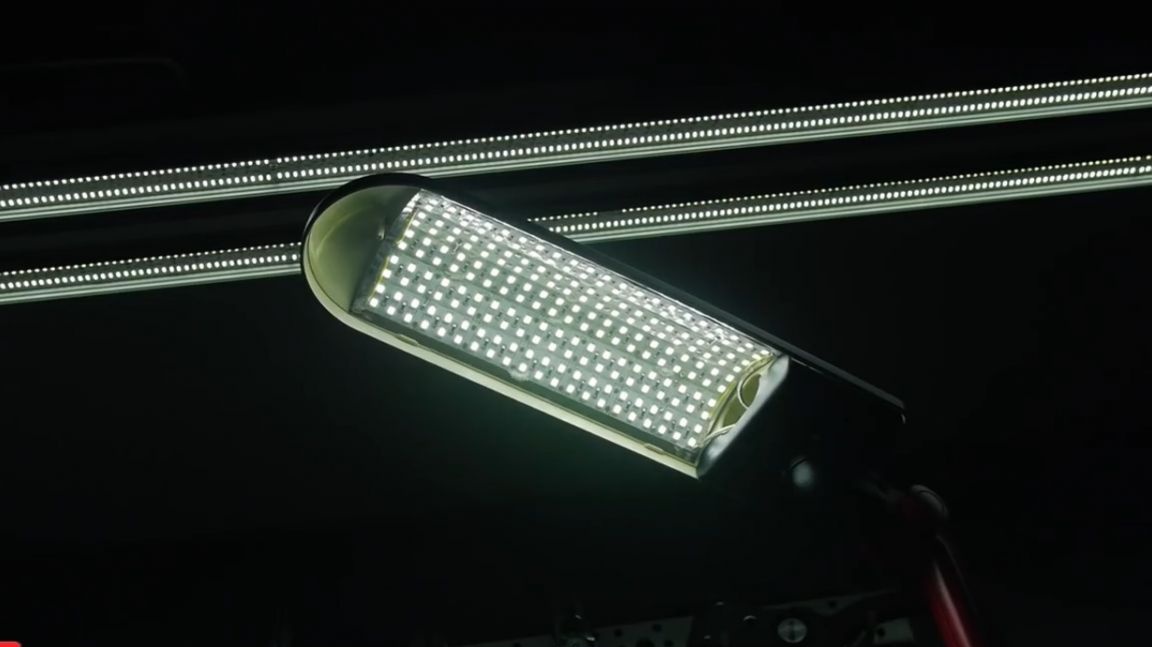
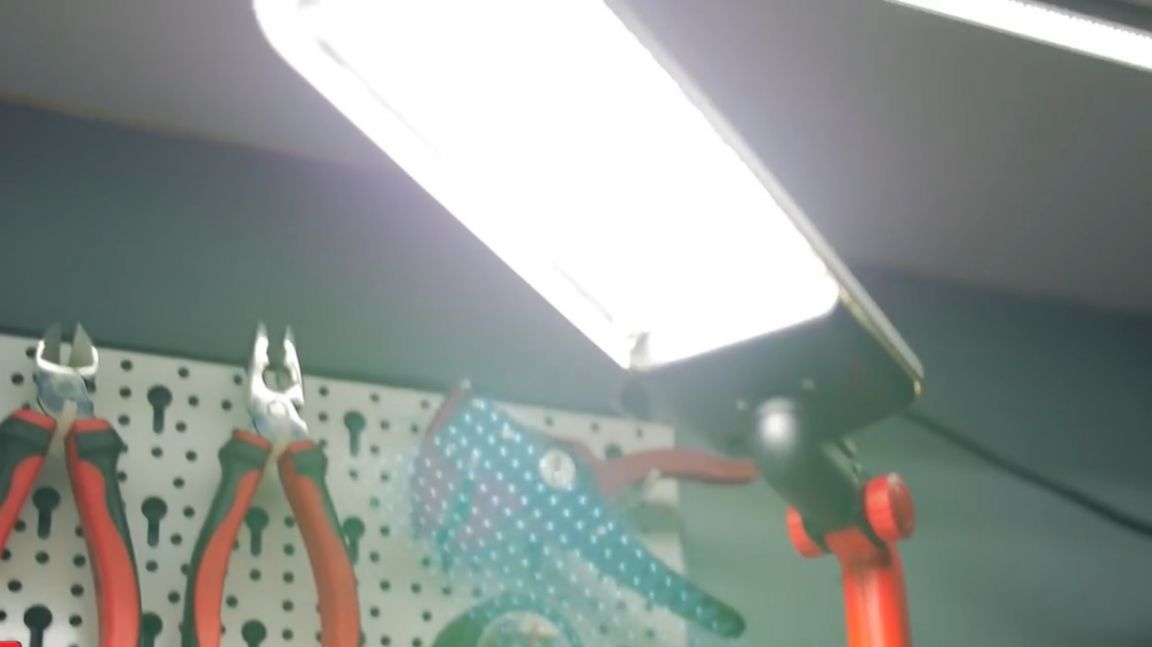
It looks cool. Finally, white and bright light, without flickering, the lamp position is adjustable. Well, on the lamp itself, 210 LEDs are now installed, which consume 40% less electricity.
But most importantly, according to the author, the lamp now fits into the interior.
Thank you for attention. See you soon!
Author's video: