
Each has its own way of climbing to the peaks and its own tools and fixturesby which it (the path) becomes safer, and possibly easier.
When working at home, a staircase is very useful. The author from the country of unfinished windows and the main museum of Van Gogh makes a seven-step staircase.
"The thought behind this was" ("Before this (design) was a thought"), - so the author begins to explain the reason why he decided to make a staircase.
In Rotterdam, the central station has a huge staircase with a height of 29 meters. This design will be twelve times smaller.
Tools and materials used by the author:
Instruments:
1) manual metal planer;
2) miter saw;
3) trimming machine;
4) measuring tape;
5) building pencil;
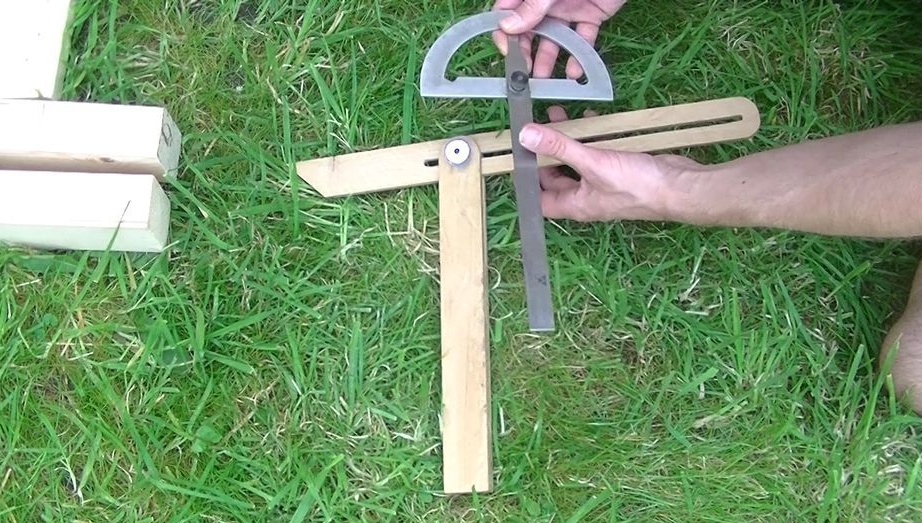
6) wooden malka;
7) protractor;
8) a screwdriver;
9) sandpaper;
10) carpentry stationary workbench;
11) square;
12) electric drill;
13) portable workbench.
Materials:
1) three beams with a size of 44 x 69 mm;
2) 28 screws;
3) carpentry glue.
Manufacturing process:
Step 1. Preparation of the material.
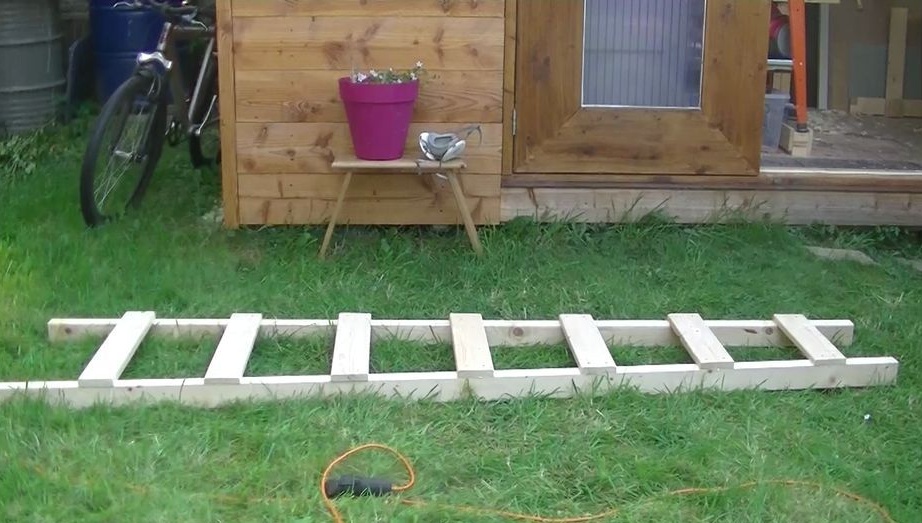
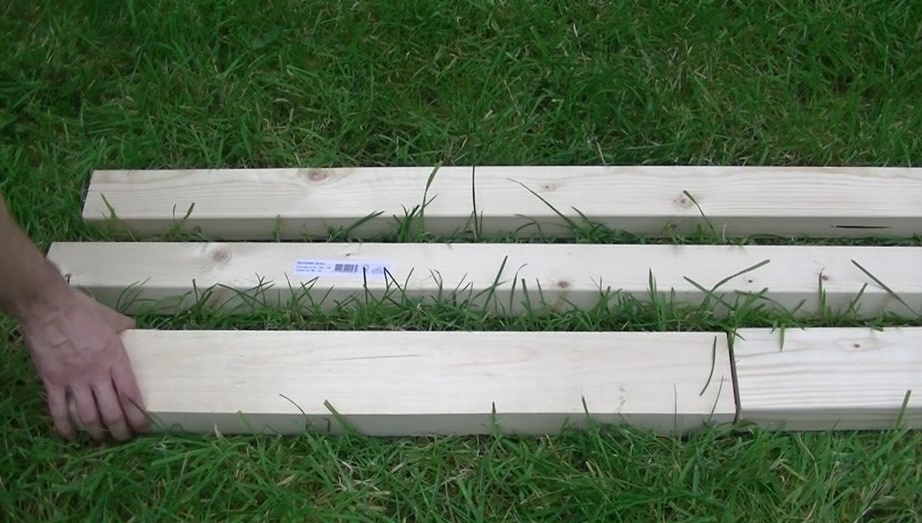
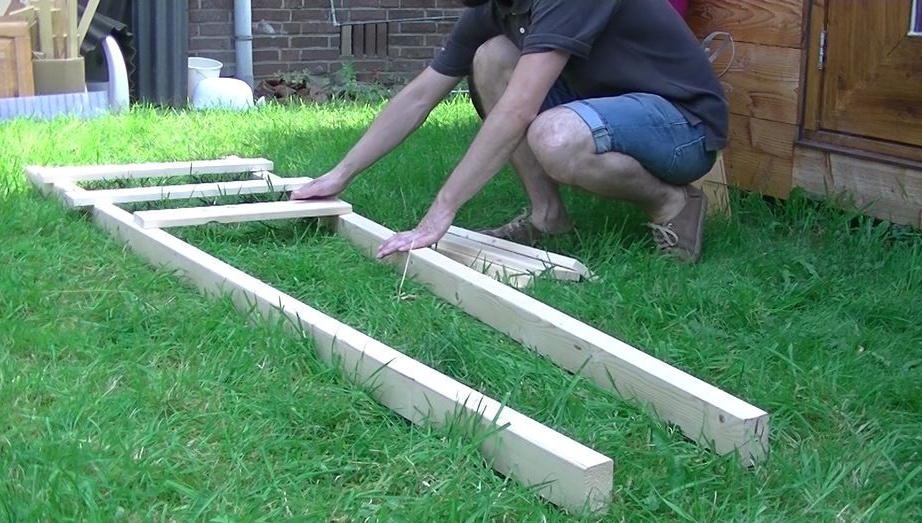
According to the project, the staircase should be 2.4 m long. The author used three beams 44 x 69 mm in size: two of them remained intact as supports; the third was sawn into four unequal parts, from which the crossbars will be obtained.

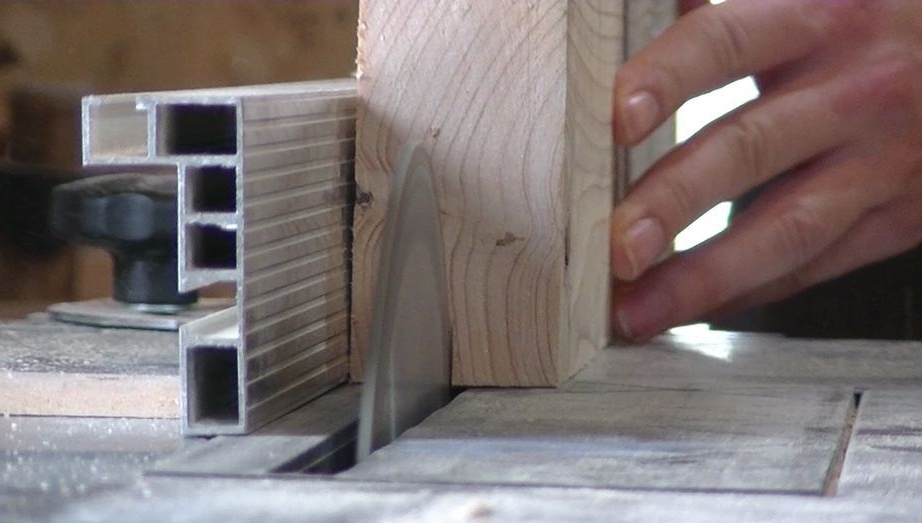
Step 2. Sawing the beam into the crossbars.
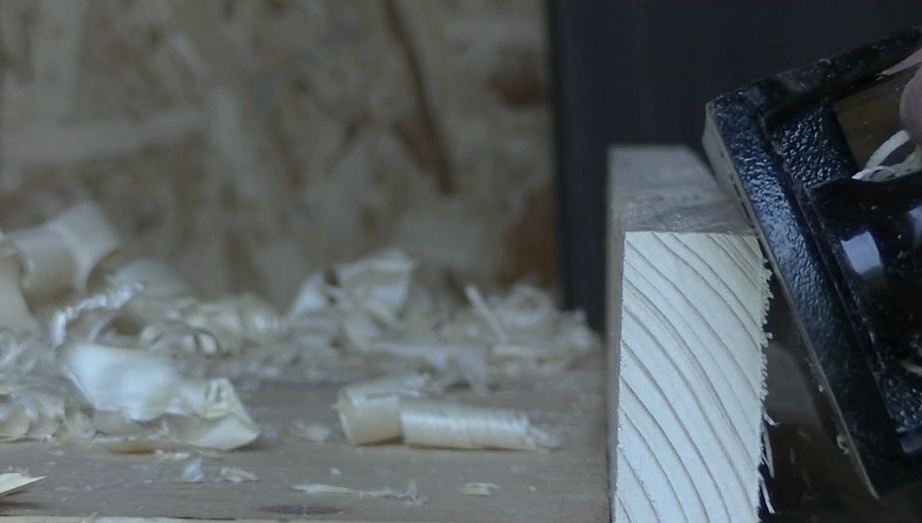
Next, four parts of the beam are sawn on a trimming machine in half (in height). The result is eight rails: seven of them will become steps. Having fixed them on a workbench, we remove the top layer and a bevel with a plane. The whole process took about half an hour.


Step 3. Marking the bars.
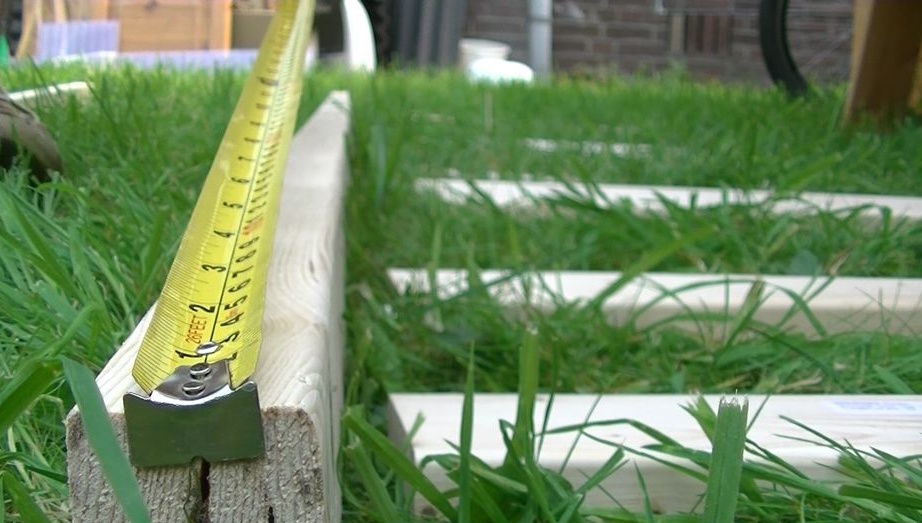
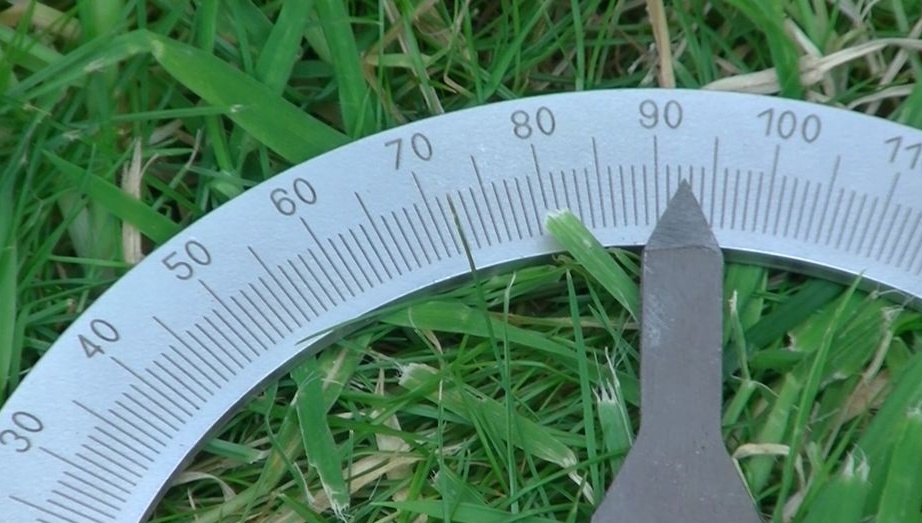
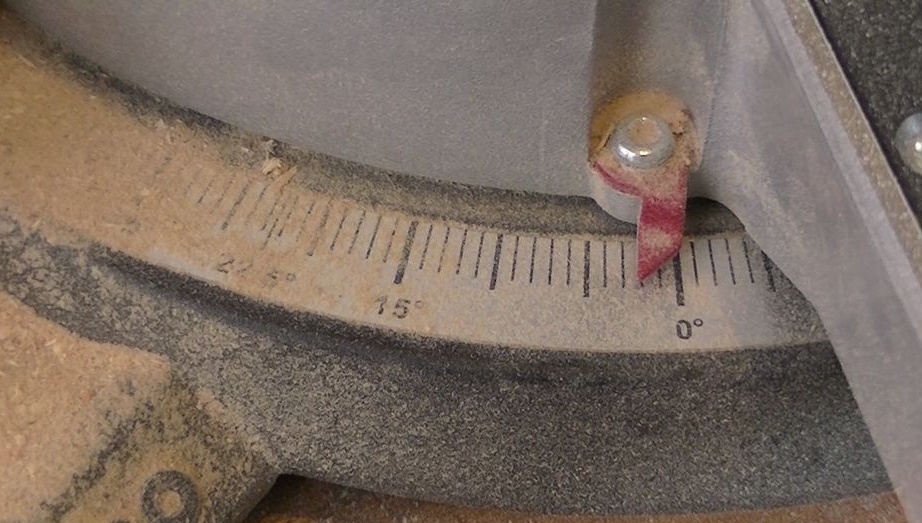
Now we put the two remaining whole beams on the ground and push their ends apart on one side. Then we put the crossbeams on the supports and with the help of the malki (for which the angle of 2 degrees has already been set — we used the protractor) we find the correct arrangement of the supports relative to each other. Having removed the crossbars, we mark out one beam in tape with the tape in the places where the steps of the stairs will be located.Then, having set another beam to the first one, we draw along them through the previously marked lines using a square. So we designated the places where the crossbars will be attached.
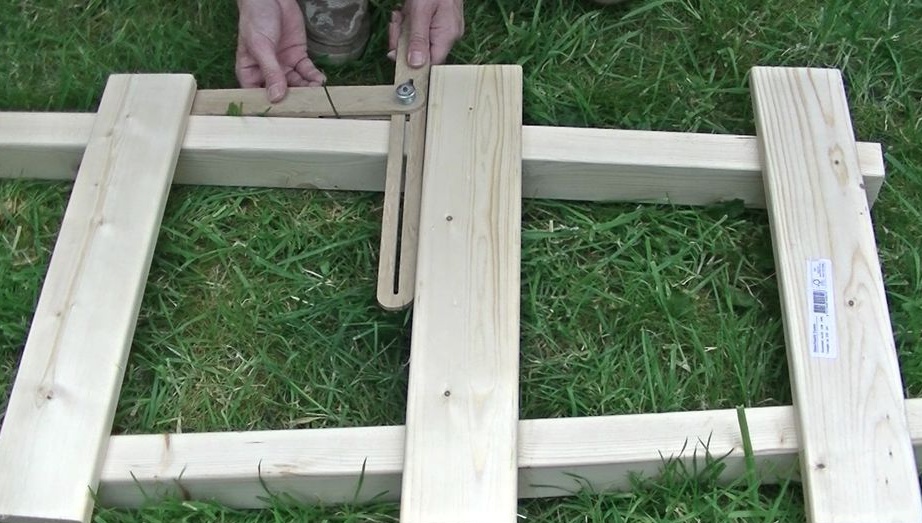

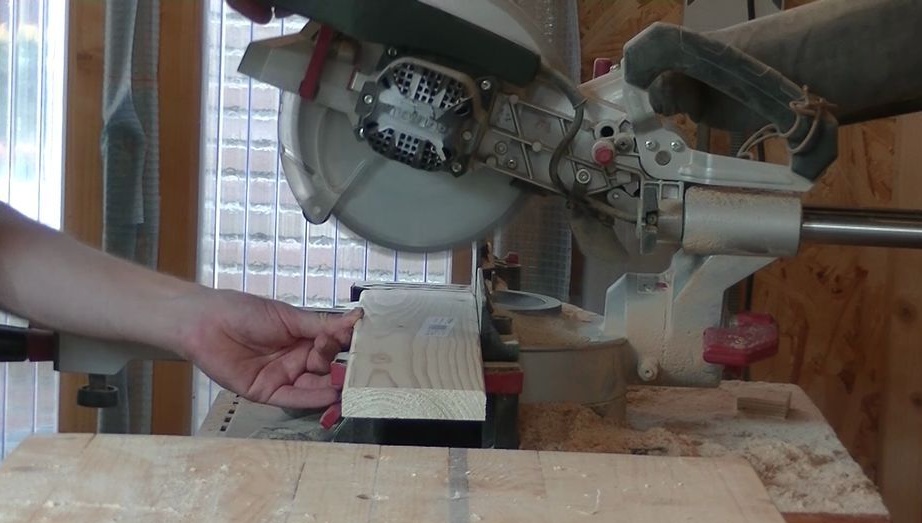
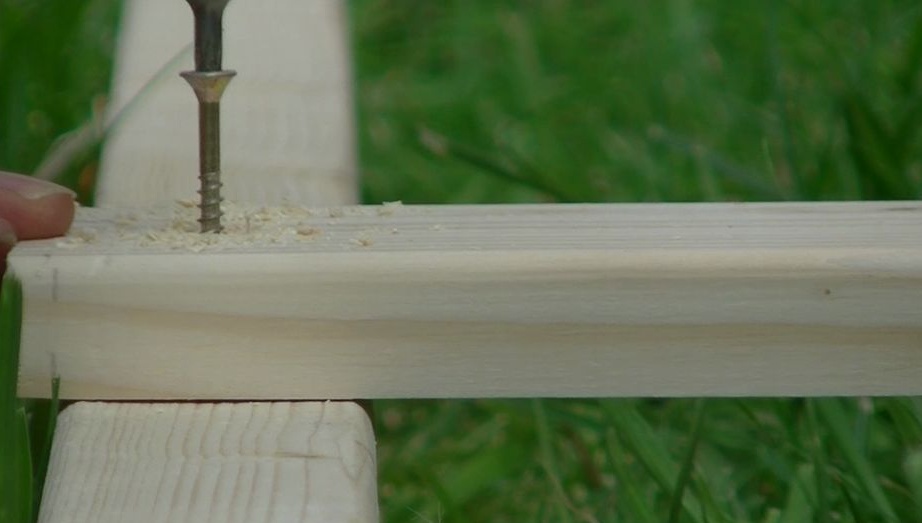
Step 4. Bringing the crossbars to the desired length.
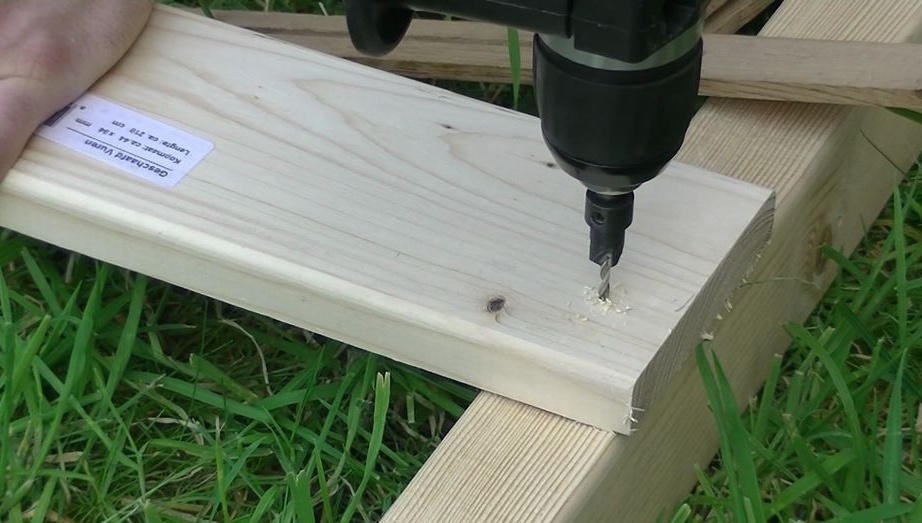
We drill holes and fasten the steps with the screws along the marked lines to the supports so that on one of the supports the ends of the crossbars do not extend beyond its edge. We draw with a pencil the crossbars along the support, beyond which their ends extend. On the miter saw, we saw off the excess parts of the crossbars. We remove the chamfer from them with a plane, and we process the ends with sandpaper.
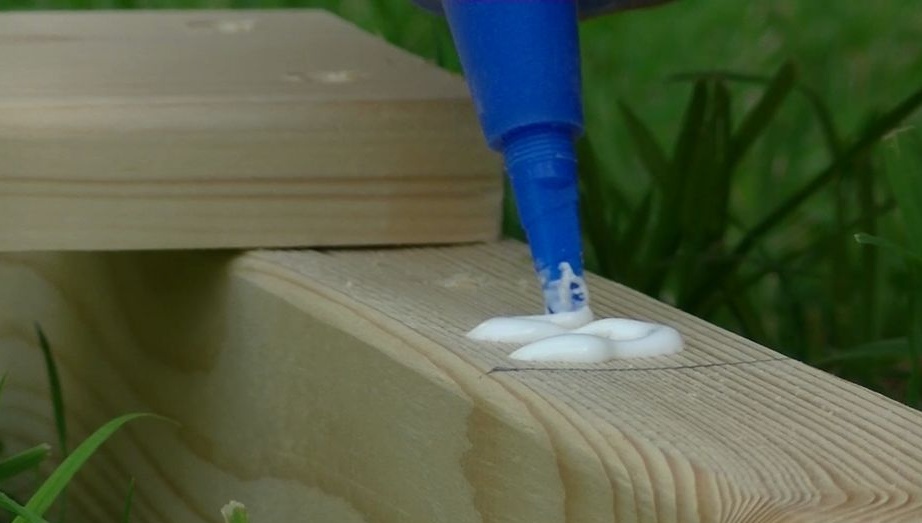
Step 5. Bonding and screwing the steps.
We apply wood glue to the supports and fasten the crossbars to them again.
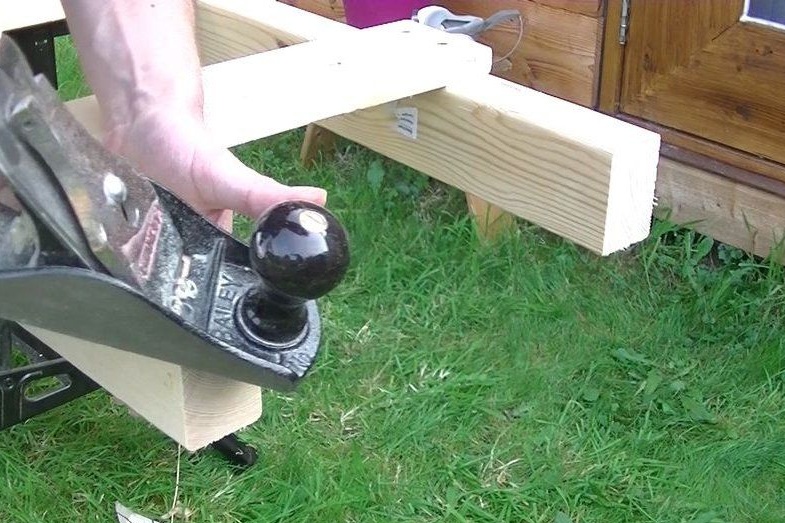
Step 6. Chamfering the ends of the supports.
The ladder, in principle, is ready for use, but it will not hurt to process its ends. For this, the author once again uses a planer. The staircase with seven steps is made.
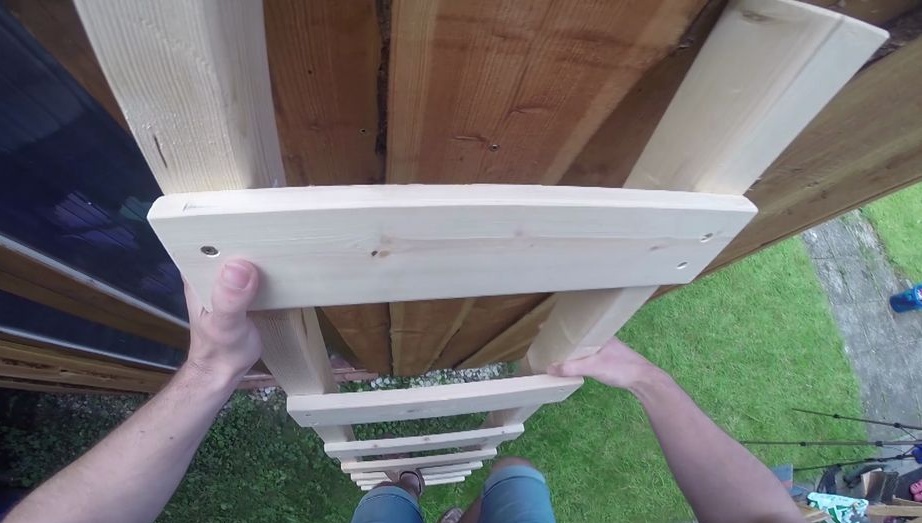
Step 7. Climb up.
Finally, the author checks the ladder for reliability and durability.
Conclusions.
Creating a staircase did not require much effort and thought from the author. It is not complicated by anything special, except perhaps by the parallelism of the supports. It is noteworthy that the steps in the manufacture and steps took seven.