If you have old ones that are already rusty or not working at all, do not rush to throw them away. Often, for the manufacture of knives in such scissors, fairly high-quality steel is used. It is especially good if the scissors are already old, before there was little low grade steel. The profile of knives in scissors has a rather interesting shape, which makes it possible to make a good knife from them.
In this instruction, we will look at how to make an excellent strong knife from the old. The author in the manufacture of his knife, and he turned out to be quite beautiful and high-quality, did not use any special tools. The maximum that is needed is a whetstone and a jigsaw.
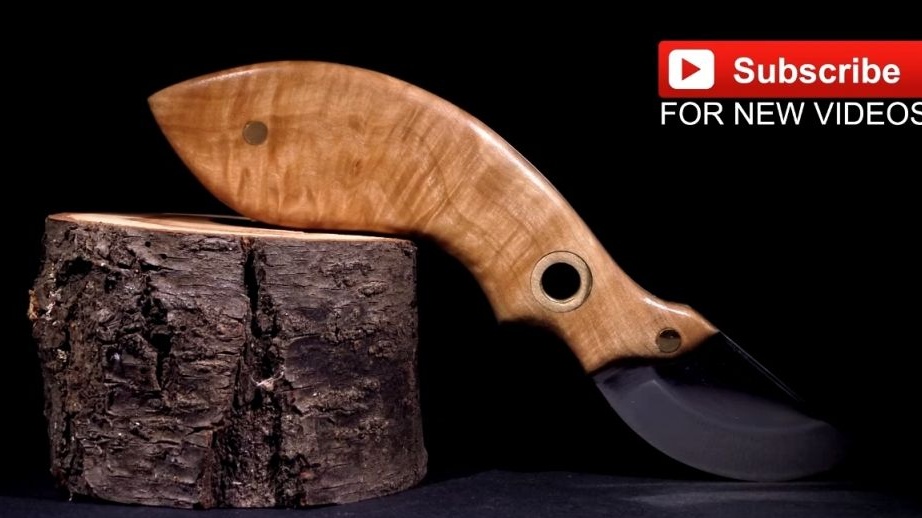
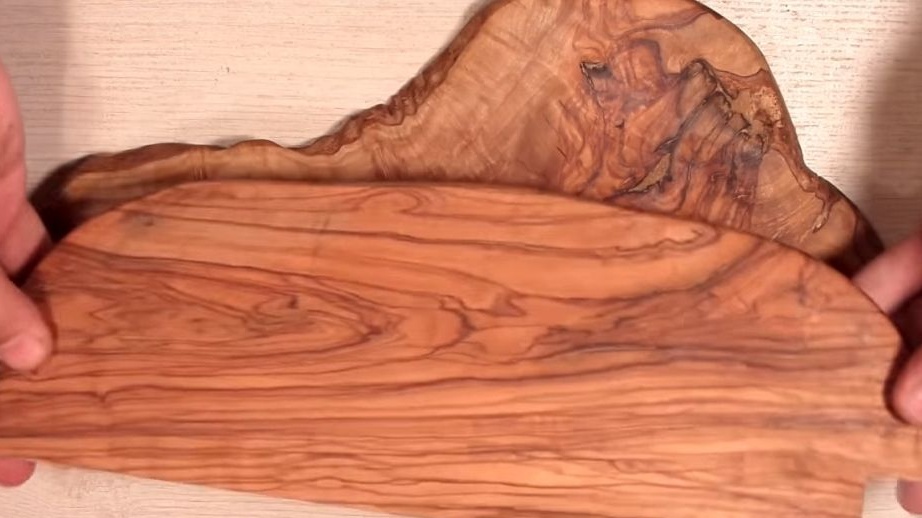
The author’s handle is combined; its strength is ensured by sheet aluminum. The handle is finished on the top of the wood; for these purposes, a wood plate with a beautiful pattern was used. So, we will consider in more detail how to make such a knife!
Materials and tools that were used by the author:
Material List:
- ;
- wood stove;
- plywood, cardboard, fiberboard or something similar (for making templates);
- water brass tube;
- epoxy adhesive;
- rods made of brass;
- oil for wood impregnation.
Tool List:
- hammer;
- vise;
- sandpaper;
- drill;
- files;
- jigsaw;
- clamps;
- drill;
- marker.
Knife making process do it yourself:
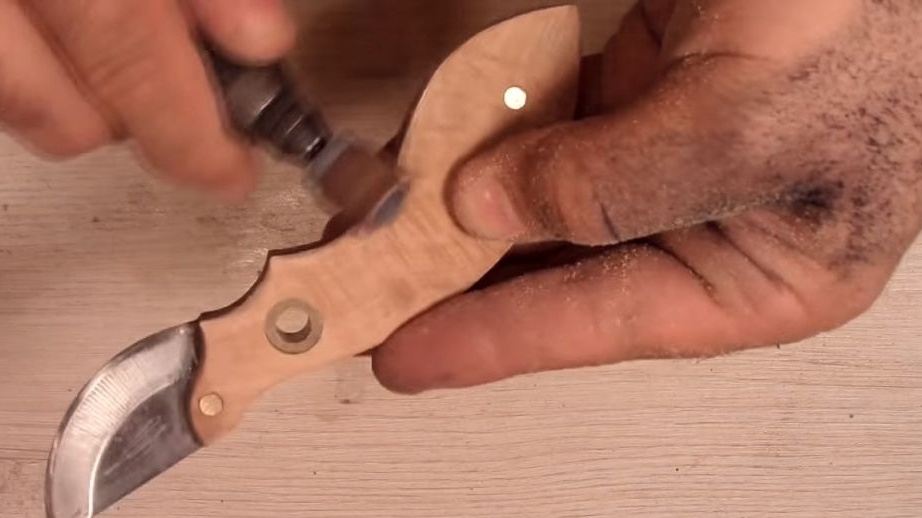
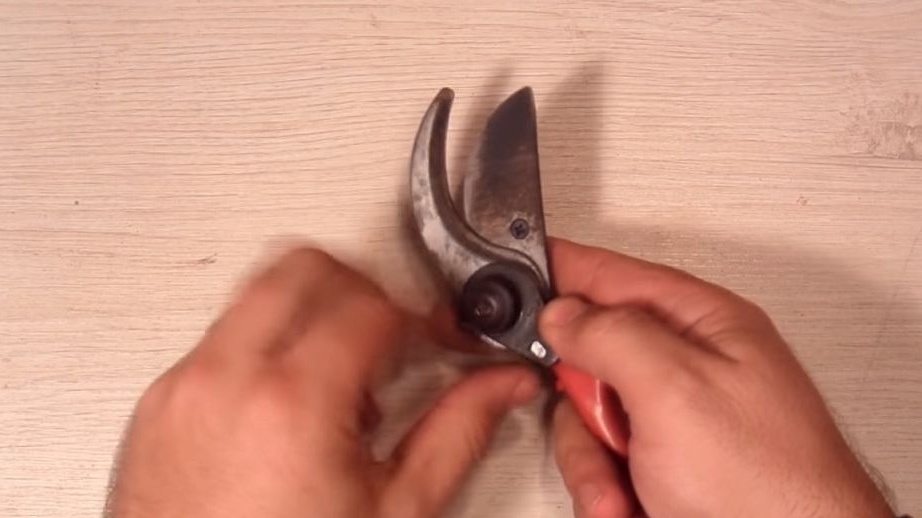
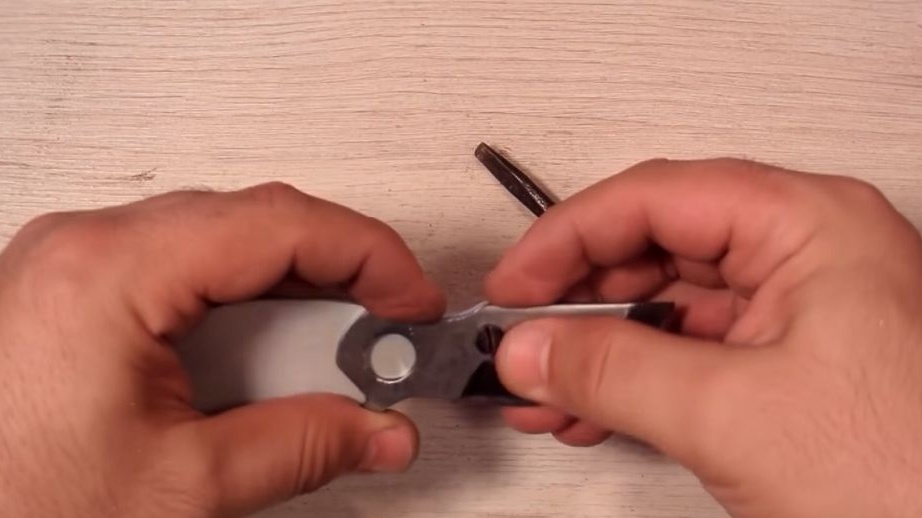
Step one. We disassemble the scissors
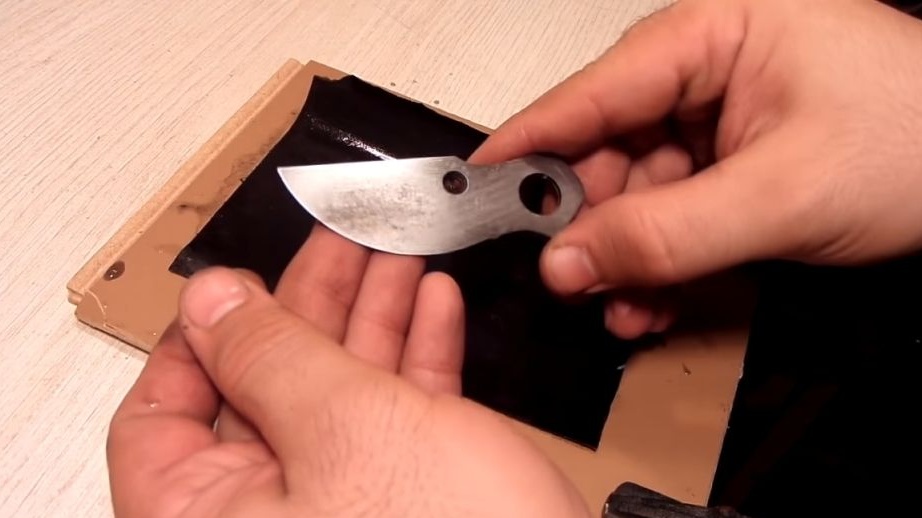
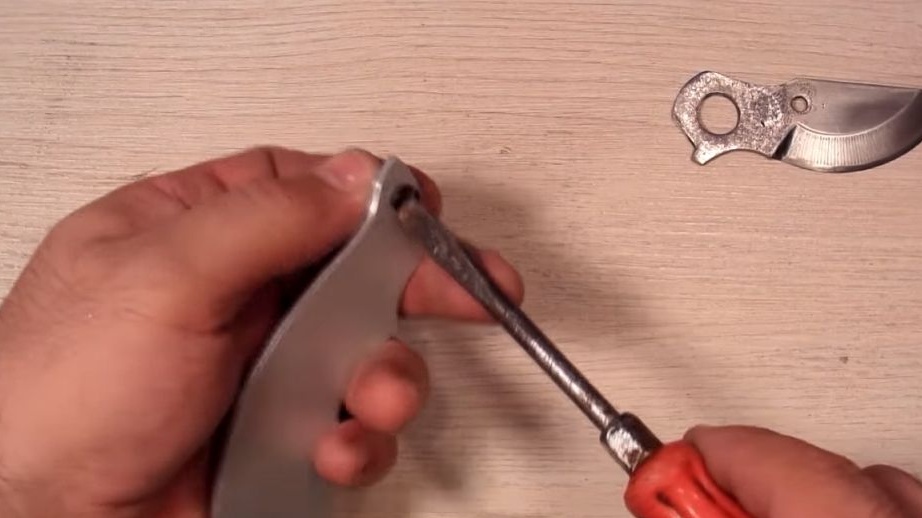
First of all, take the scissors and take it apart. We remove everything superfluous, we need only the lower movable part, that is, the knife. We walk along it with sandpaper to clean it from dirt and rust.

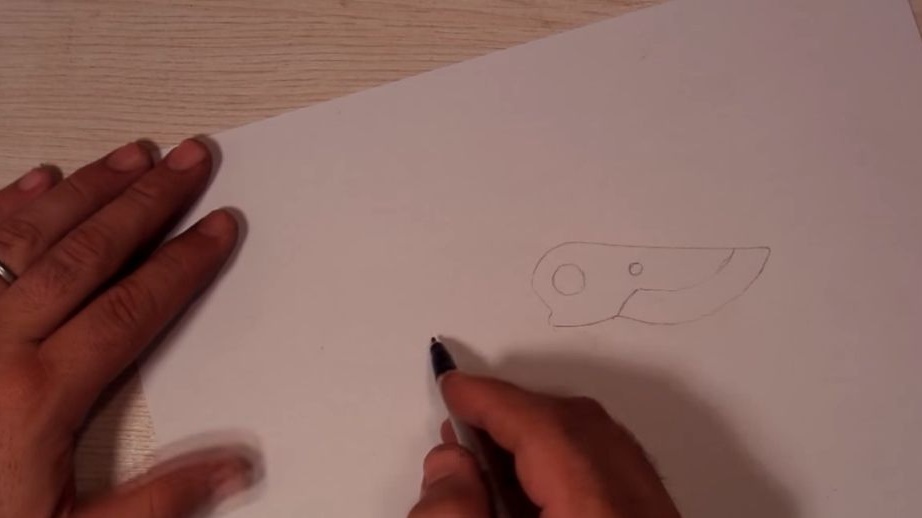
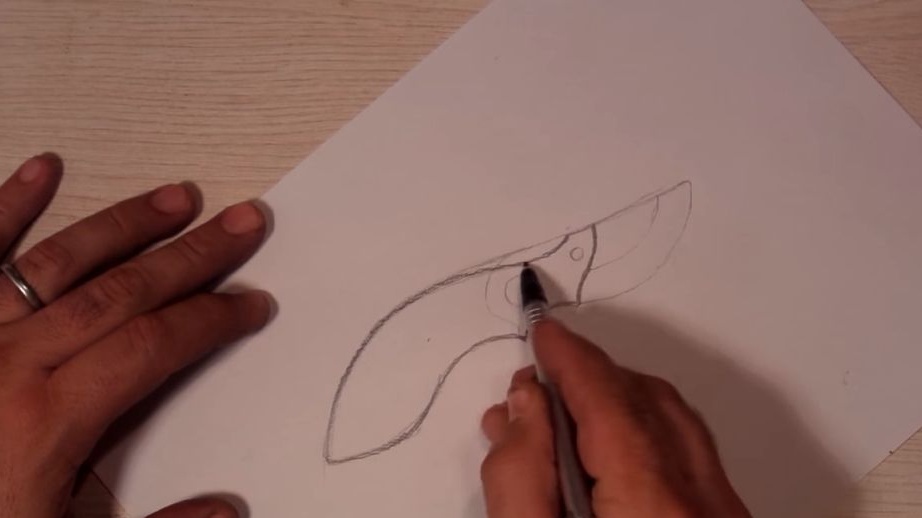
Step Two We make a project
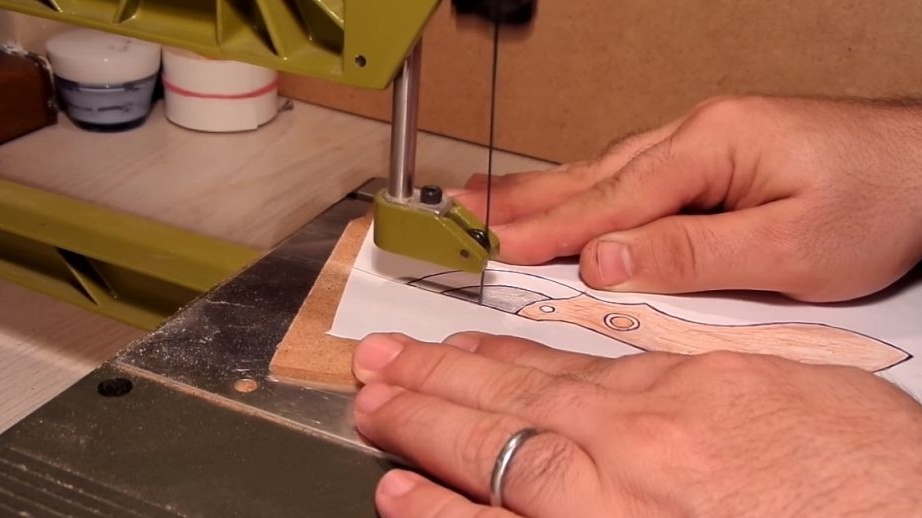
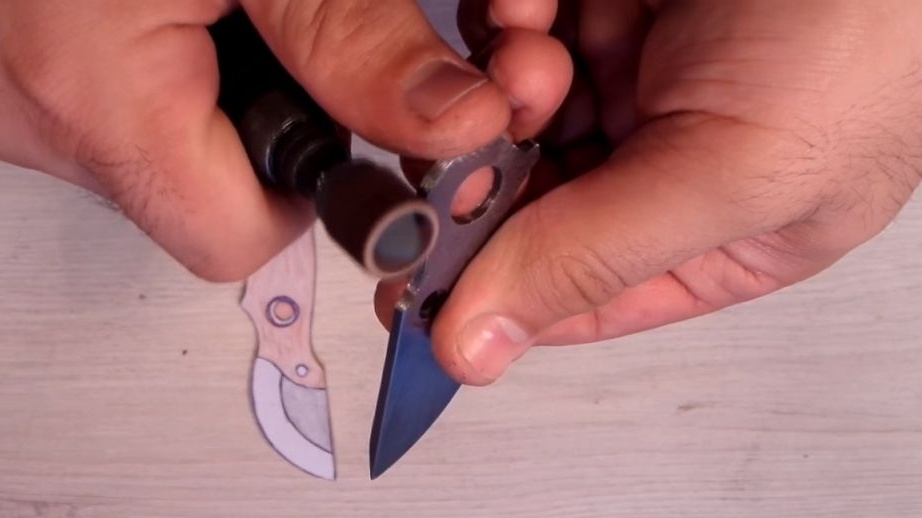
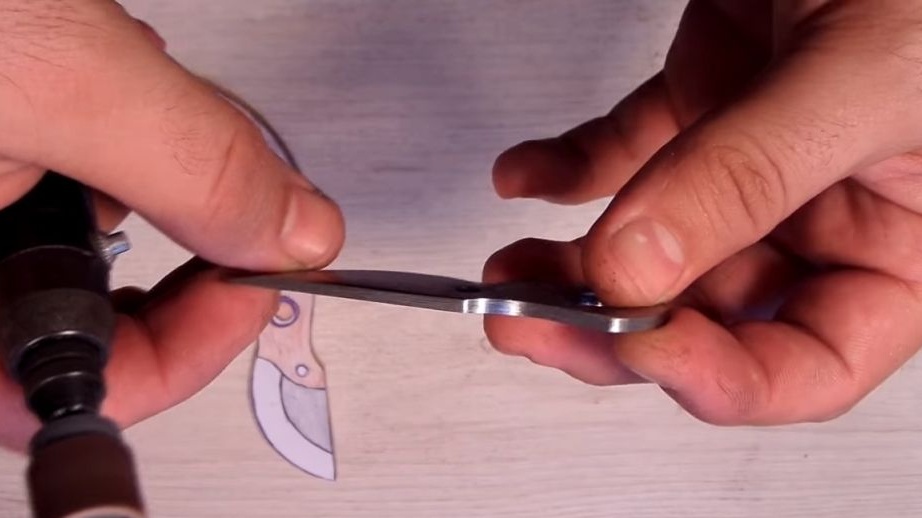
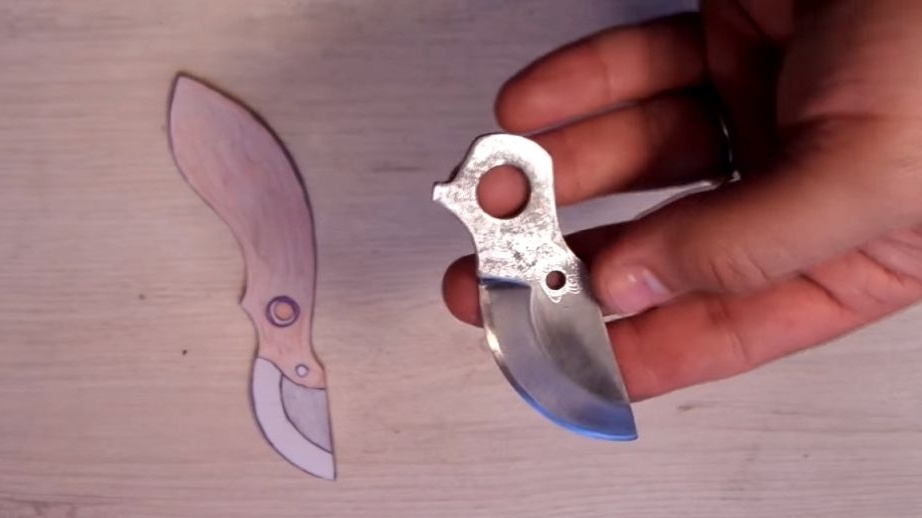
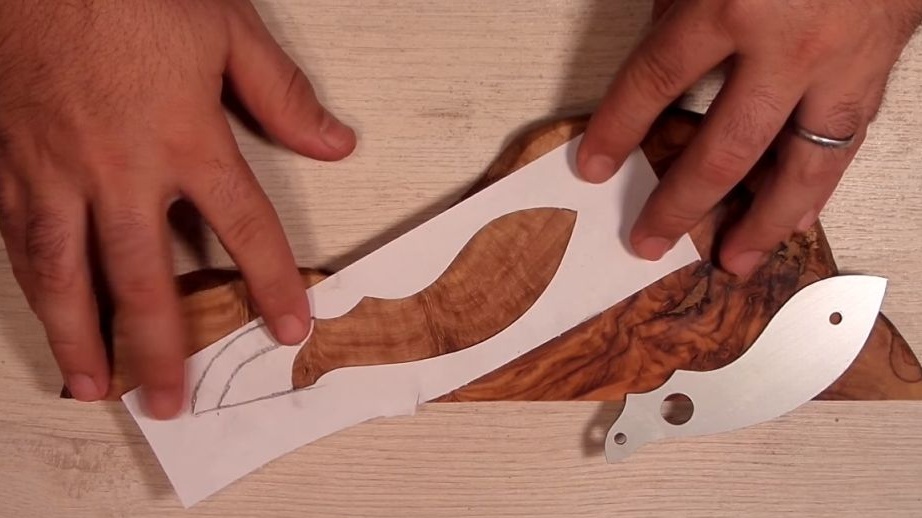
Next, we need paper, on it we will create a project for the future knife. First, we apply a blade to a sheet of paper and circle it with a pencil. Further, we already adjust the handle for this figure. We draw the desired shape of the pen, dimensions. Then show your imagination and make the knife interesting. Also color the knife to make it look more realistic.
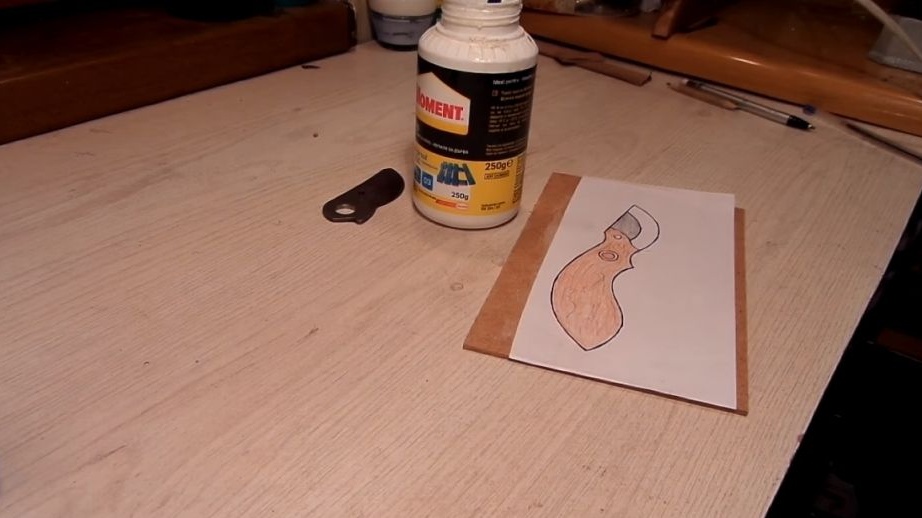
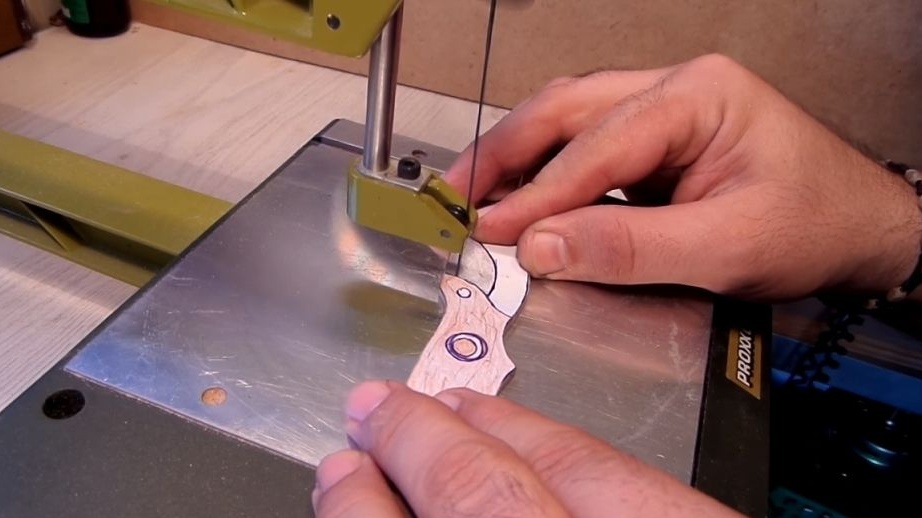
Next, you will need a denser material to cut a pattern out of it. For these purposes, thick cardboard, fiberboard sheet or the like can be used. The author glues paper to the material, and then cuts out the template using a jigsaw.

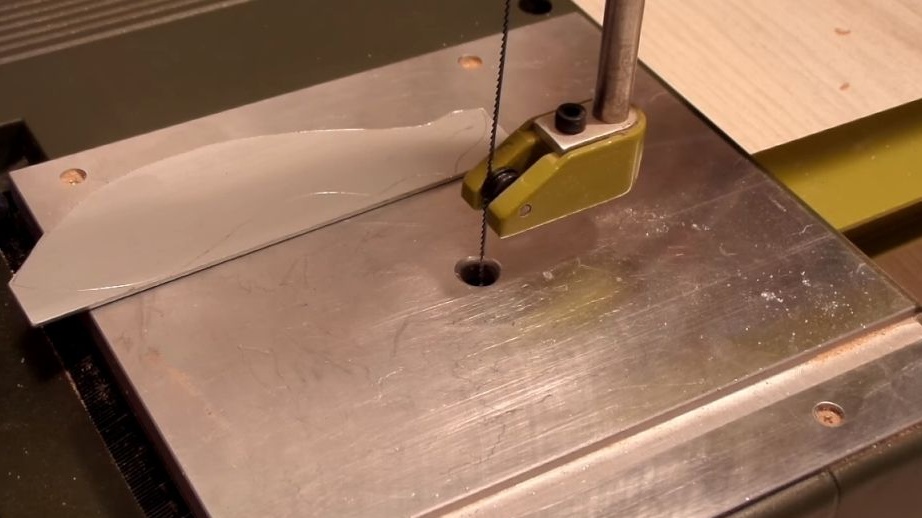
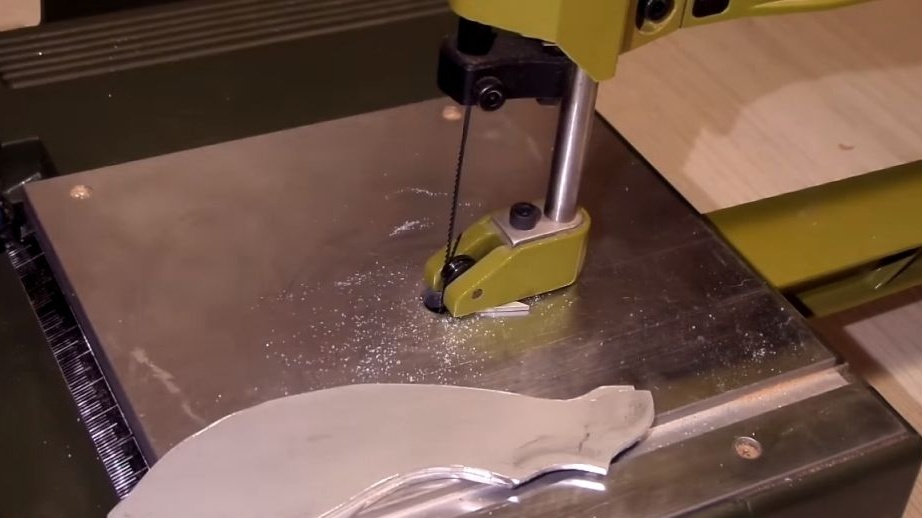
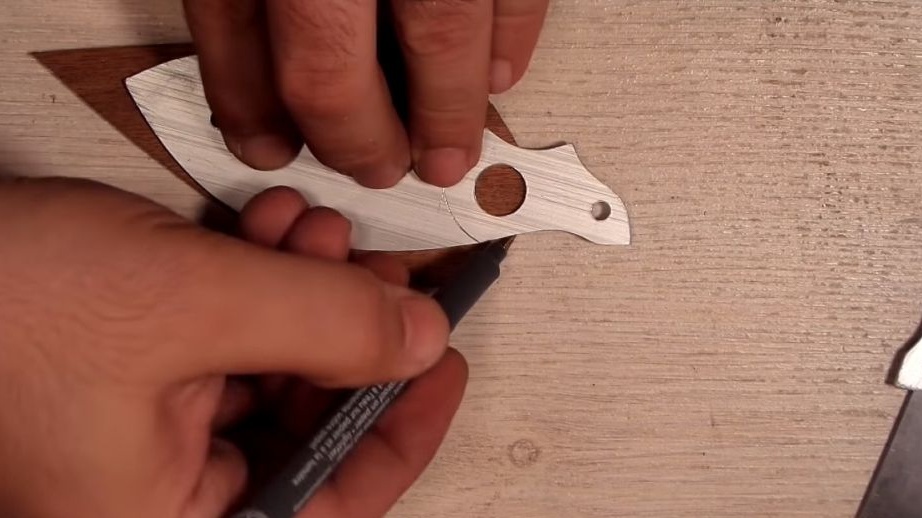
Step Three Blade making
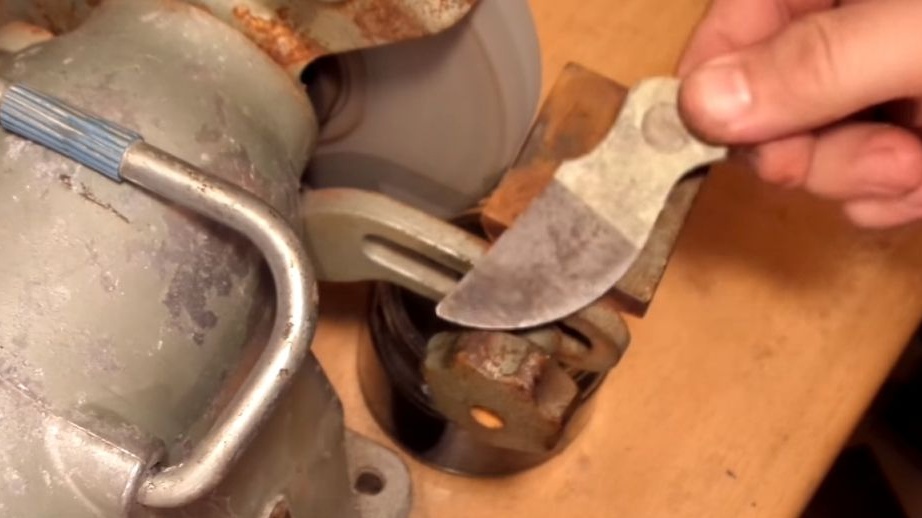
Next, we proceed to the manufacture of the blade. In principle, it is almost ready for us, but we need to finalize its shape so that the blade can be conveniently fixed in a pen.For these purposes, make markings, and then go to the grinder, this is the easiest and safest option. Also, the workpiece can be clamped in a vice and processed using grinding wheels with a grinder. Sharpen the blade at your discretion, the author makes a bevel on only one side.
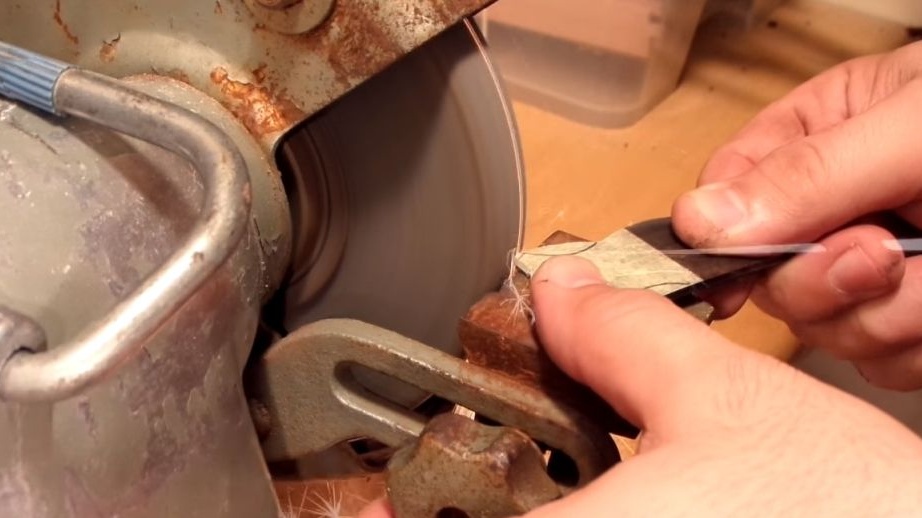
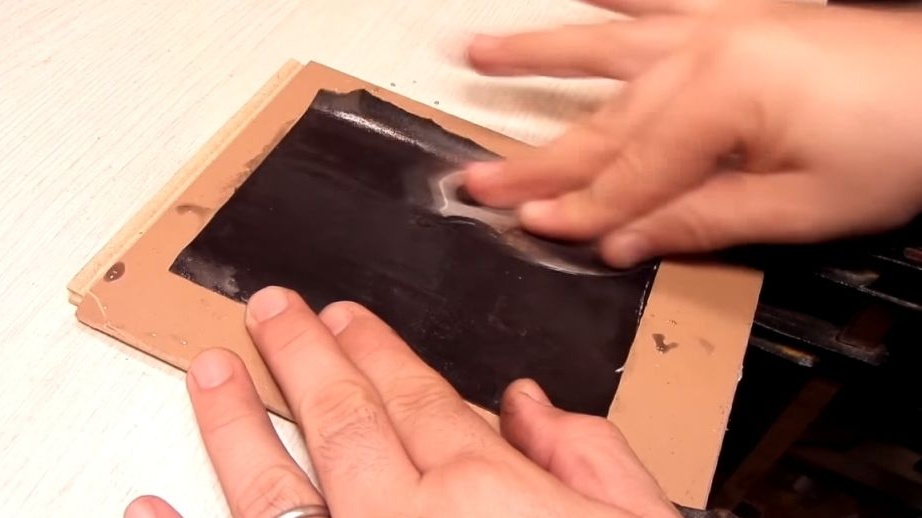
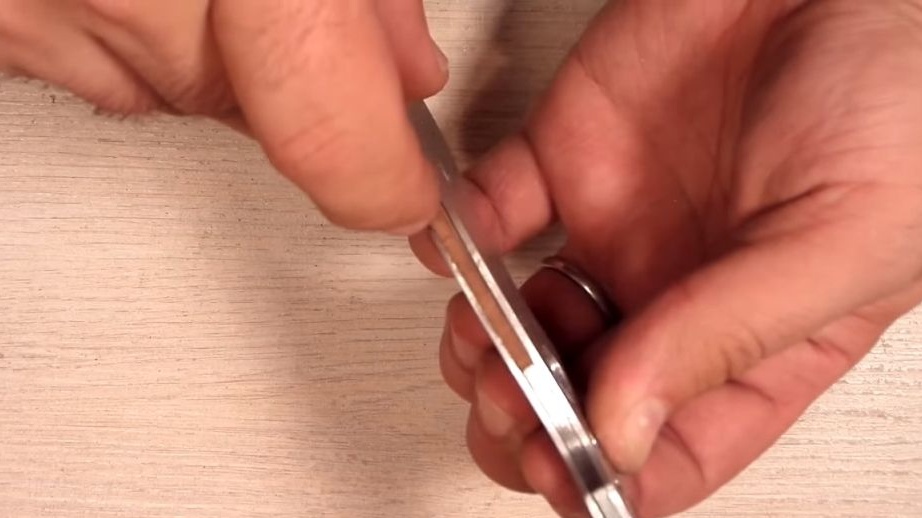
After rough processing, we proceed to a finer one. Here you will need fine sandpaper, and if the scratches are deep, you can go over with large sandpaper first. For finer processing, we select small fabric-based sandpaper. With the help of such an emery cloth, you can grind “wet”. We wet the sandpaper with water and perform grinding, so the process goes much faster than with dry processing. Thanks to water, the sandpaper is well cleaned.
For the final processing, you will need a drill with a grinding nozzle. With it, you can conveniently walk along the contour of the profile and remove burrs and more. If desired, you can bring the metal to a mirror shine. Only the area of the blade where it will be glued to the handle needs to be treated with a large emery cloth or even a grinder, this will allow the glue to stick well.
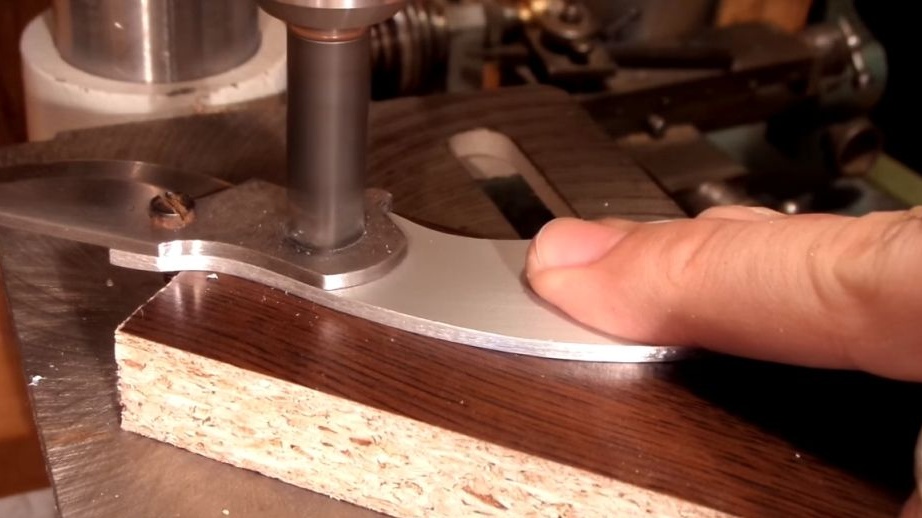
Step Four Pen making
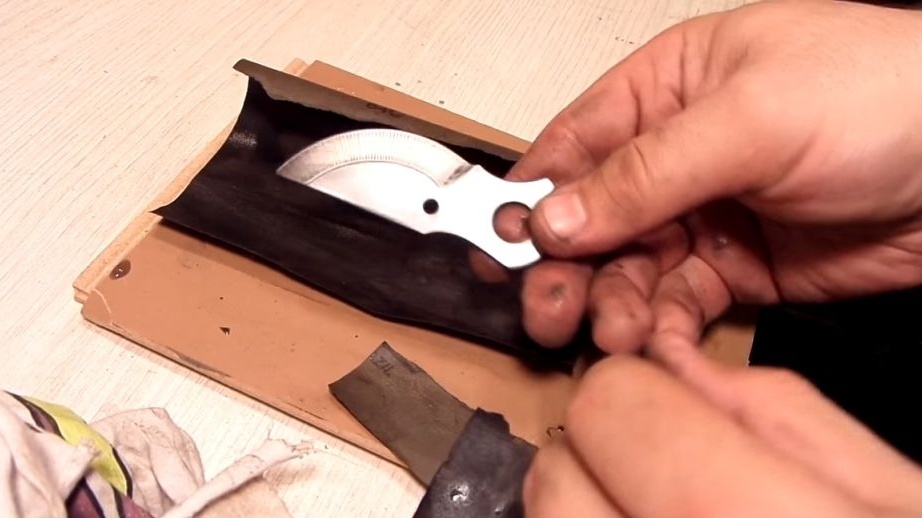
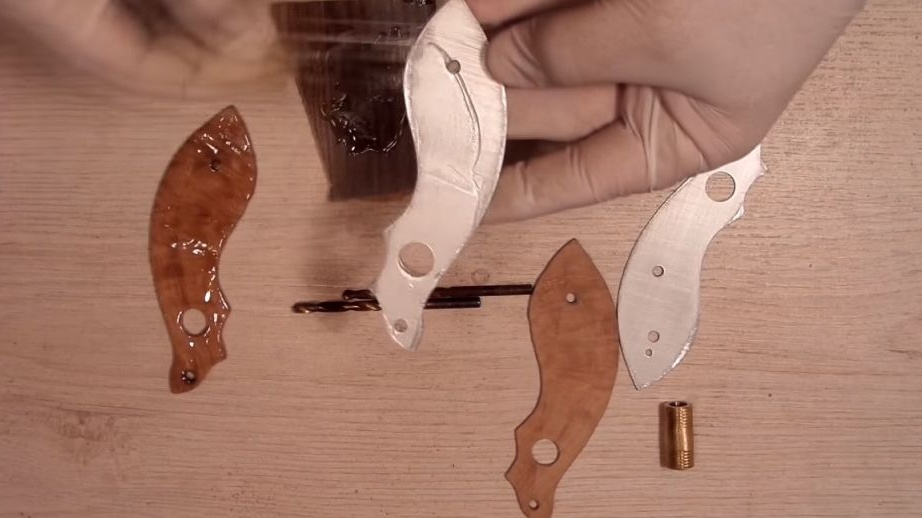
The handle, i.e. its power part, is made of sheet aluminum. This material does not rust, it is well processed, it is light and quite strong. We cut off the “blade” from our template and apply it to sheet aluminum. We circle the template with an awl or a nail so that a trace remains on the metal. Well, then proceed to cutting. Aluminum is a fairly soft metal and can be cut with a jigsaw. You should get two identical halves.

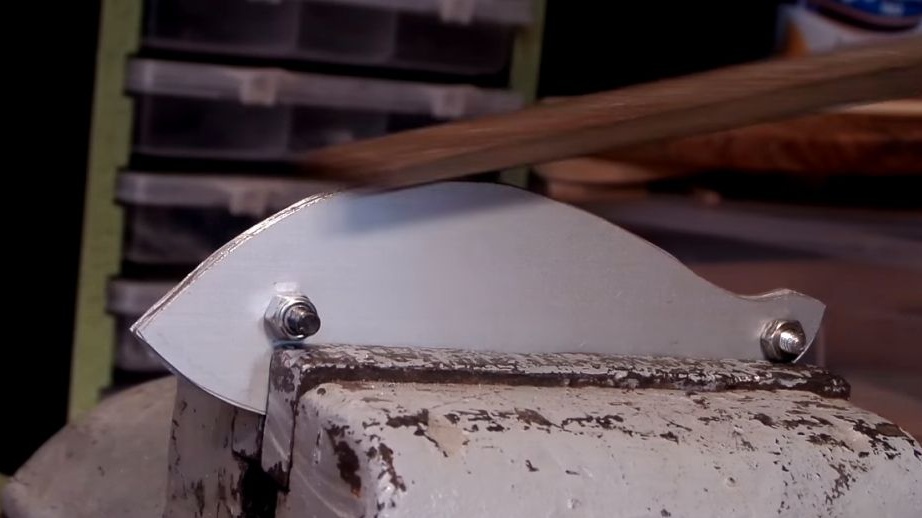
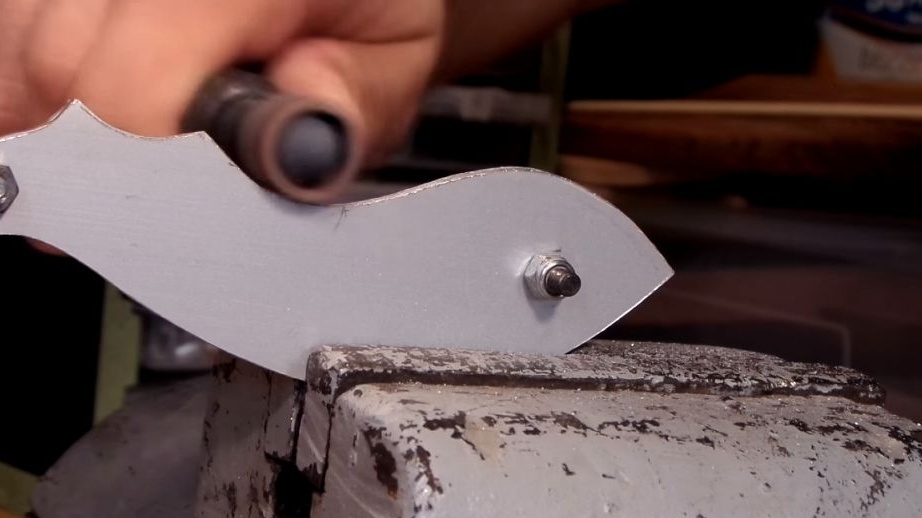
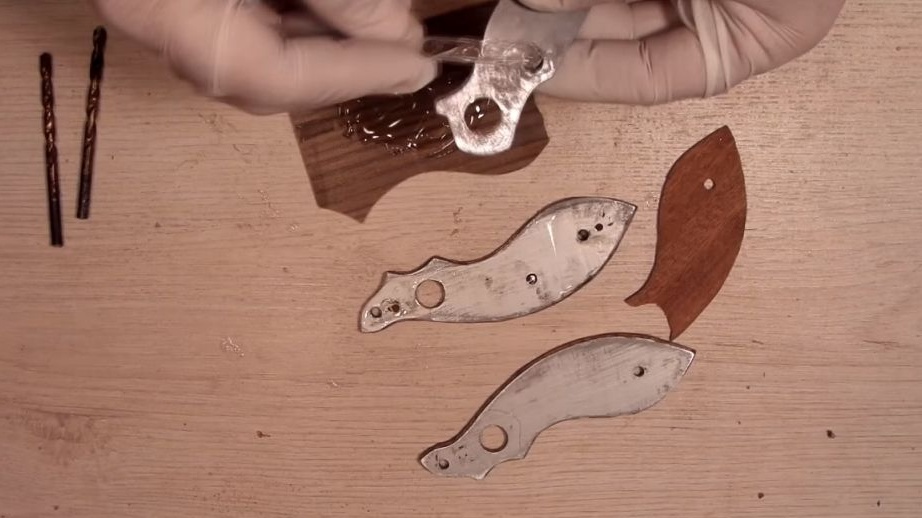
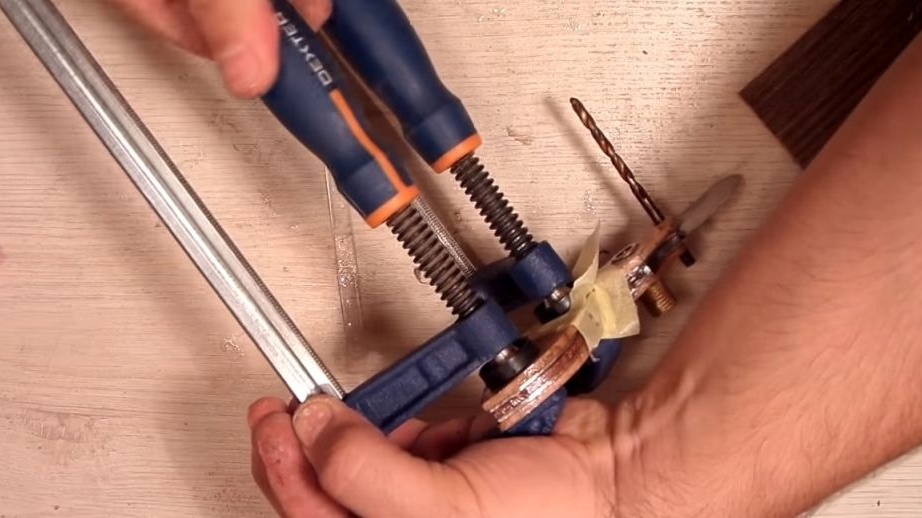
Now the halves need to be finalized, they should become exactly the same. To do this, we drill two holes in both halves, in the future pins will be installed here. Now twist the two halves with the help of screws with nuts and clamp in a vice. We arm ourselves with a file and walk along the contour of the workpiece. As a result, with this approach you can make the details exactly the same. To process bends where it is difficult to crawl files, you can use a drill.
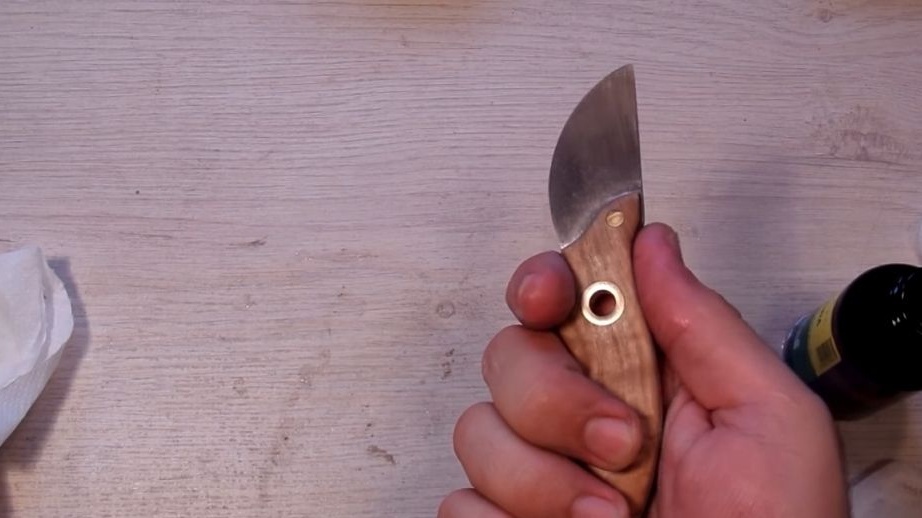
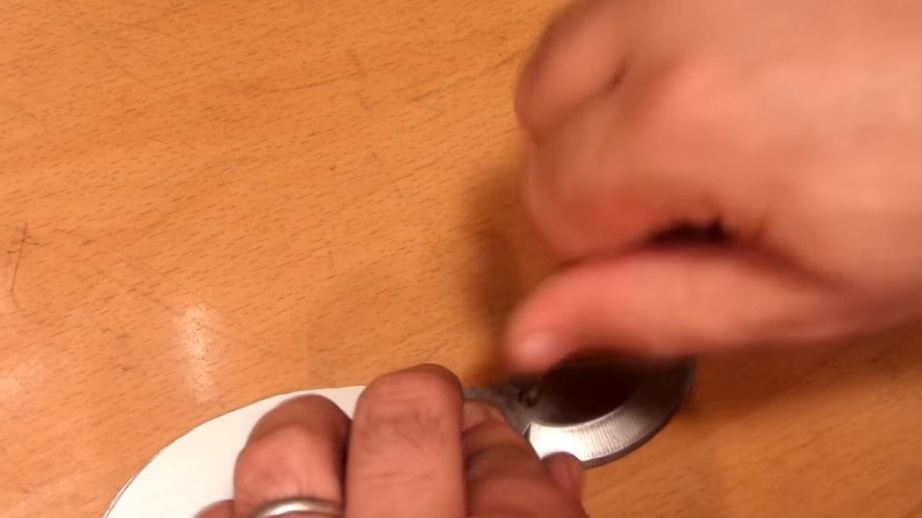
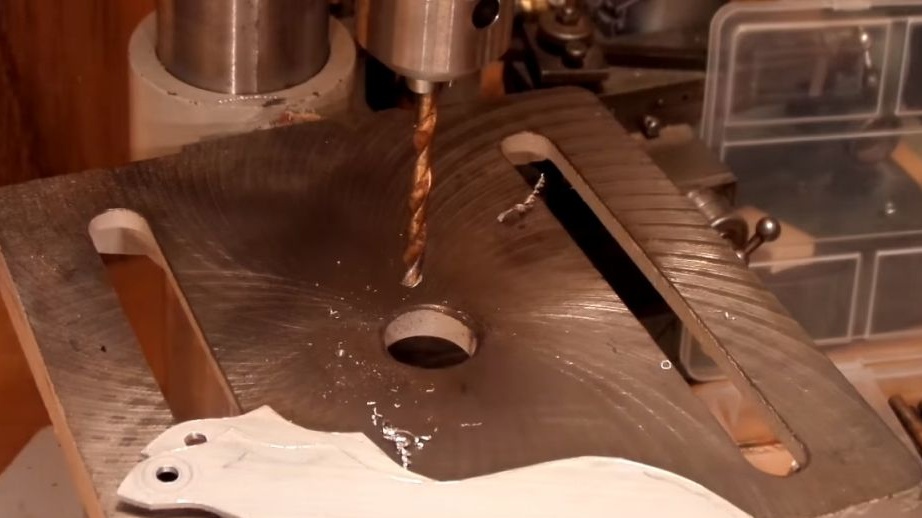
Step Five We drill holes and make a sleeve
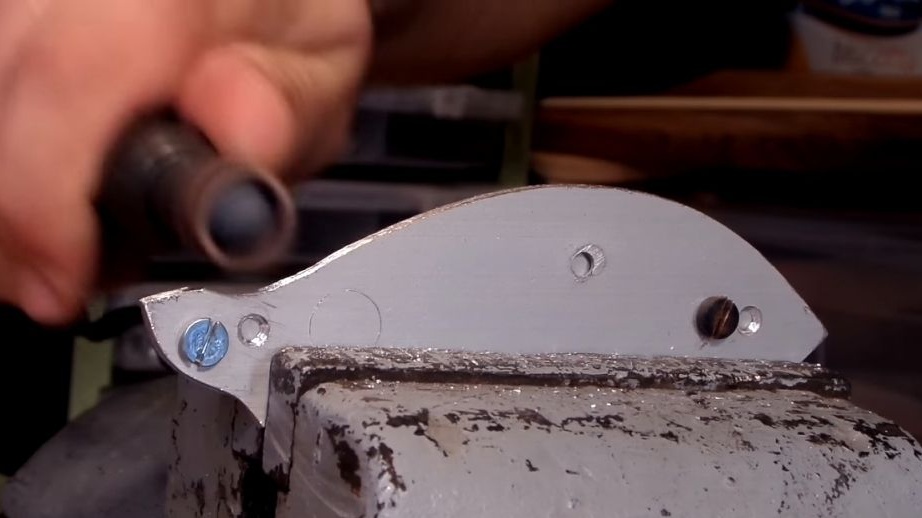
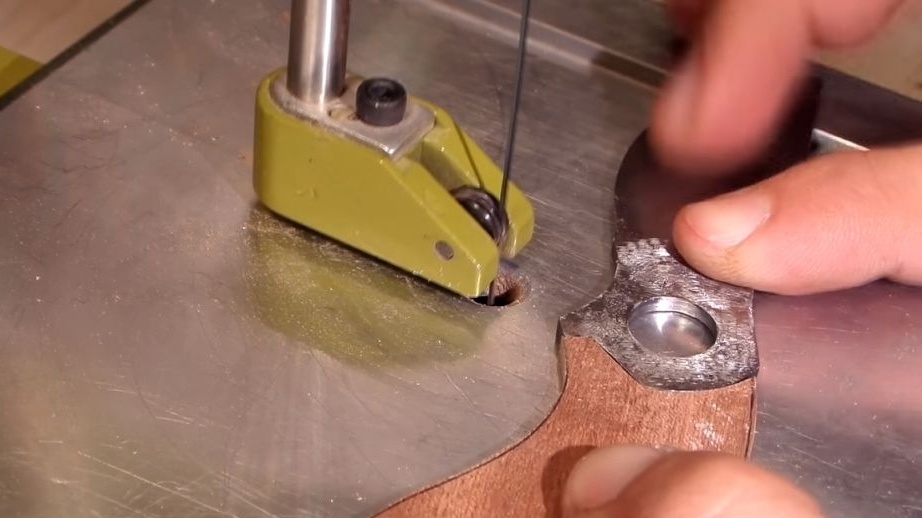
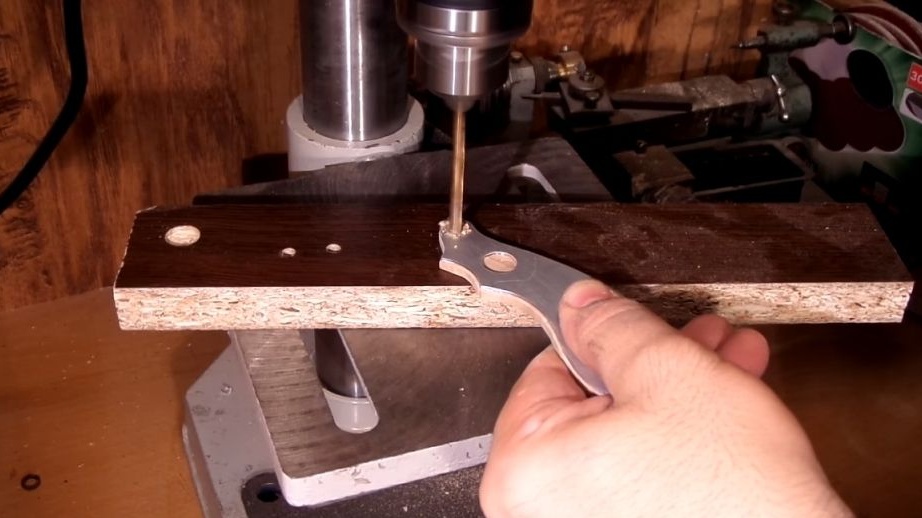
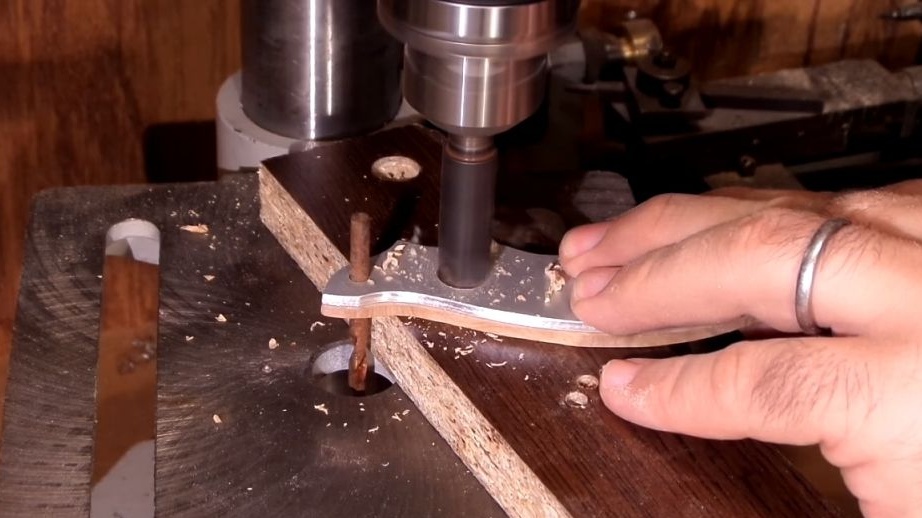
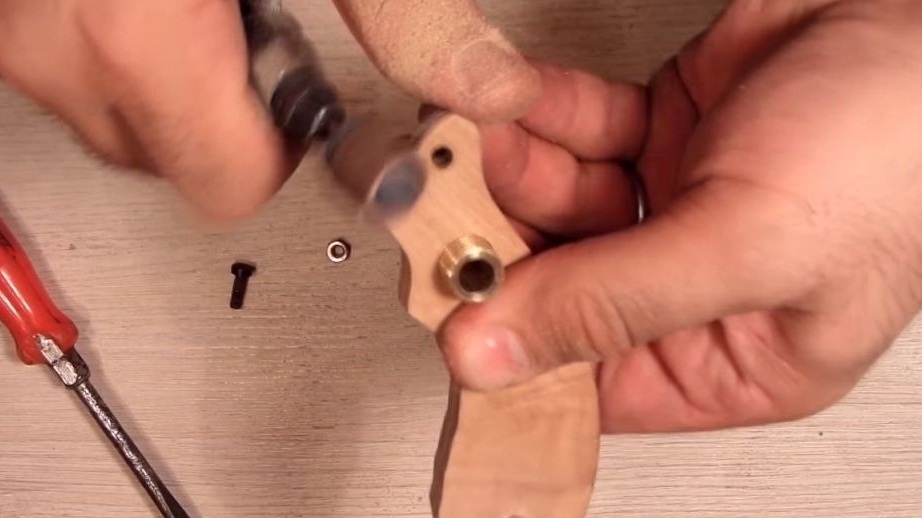
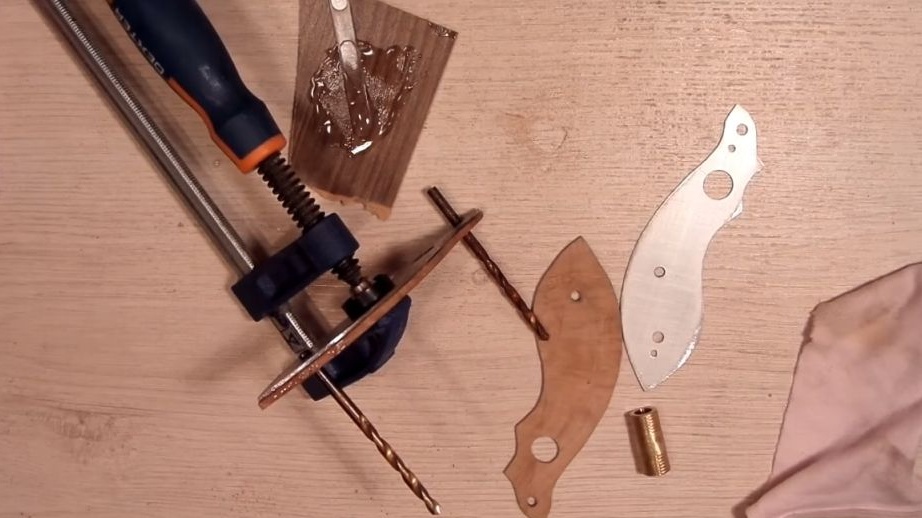
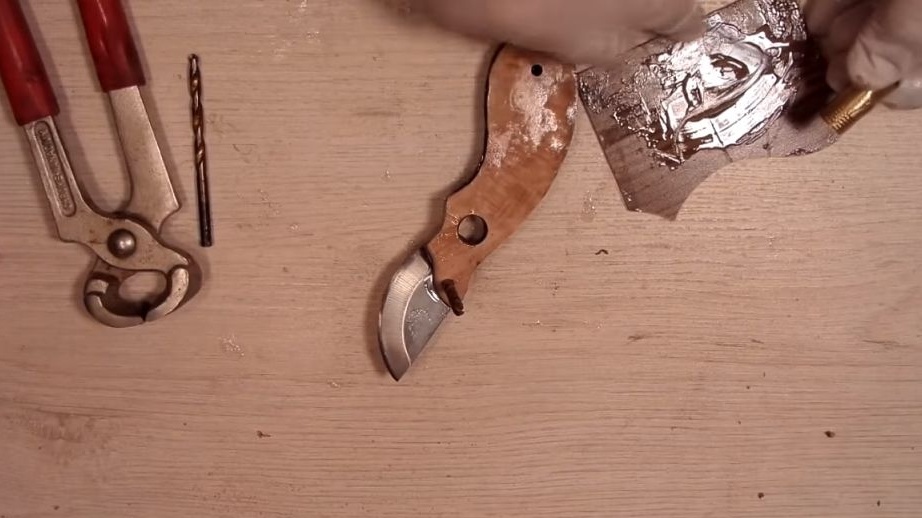
The design of the knife has a large hole in which a brass sleeve is installed. With this hole, the knife can be suspended, and even a brass sleeve decorates it. First of all, take a blade and fasten it with a screw to the half of the handle. Using a drilling machine, drill a hole of the desired diameter. Then we repeat this procedure with the second half.
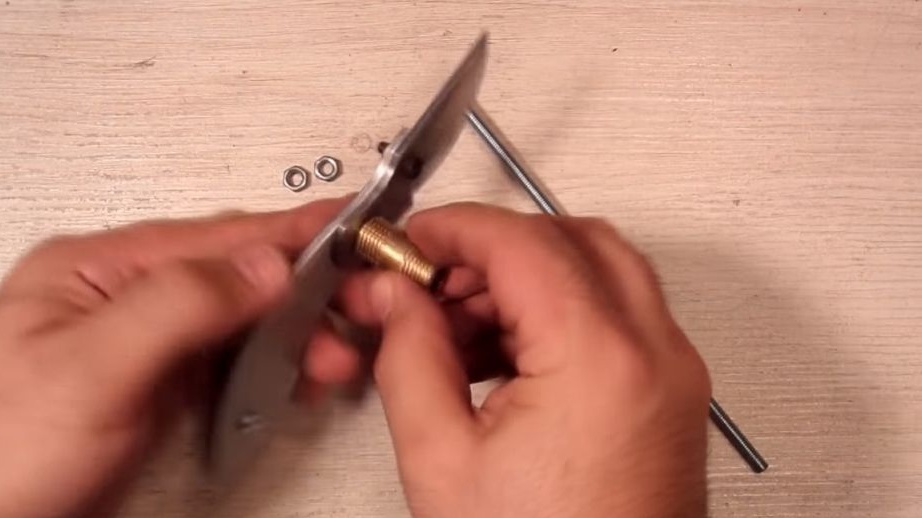
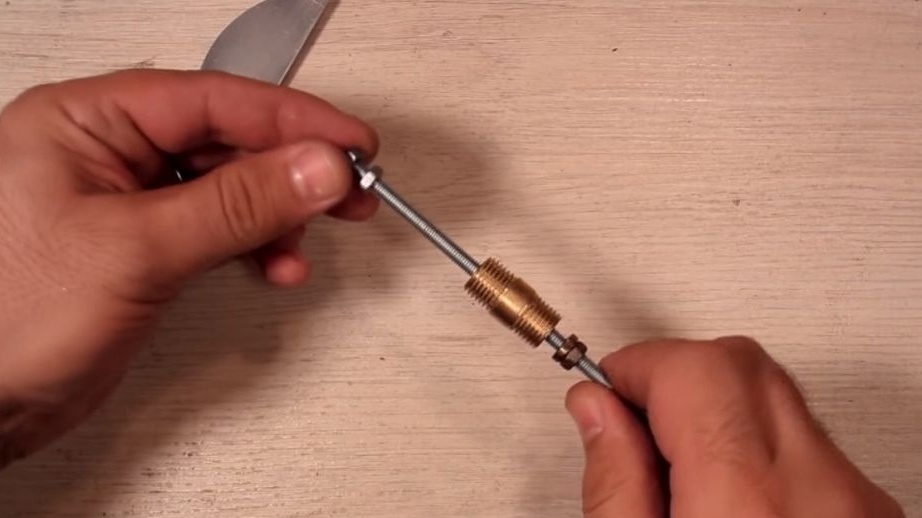
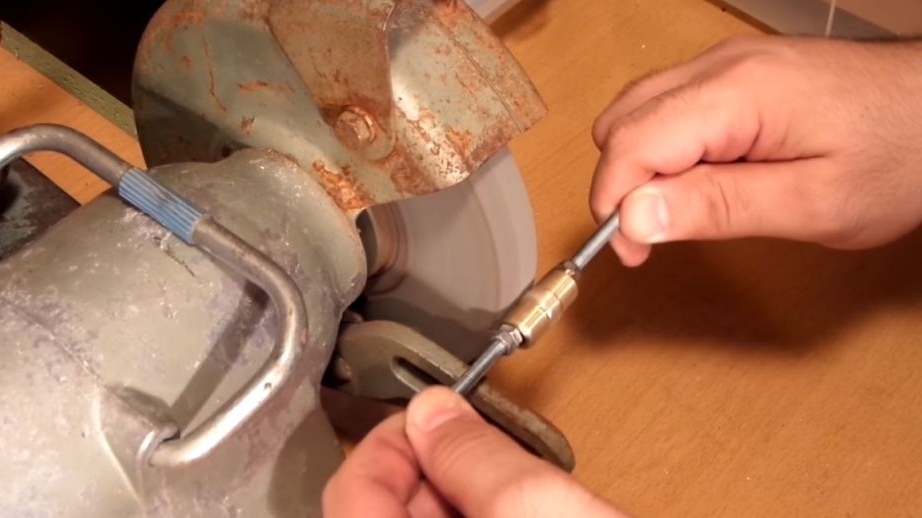

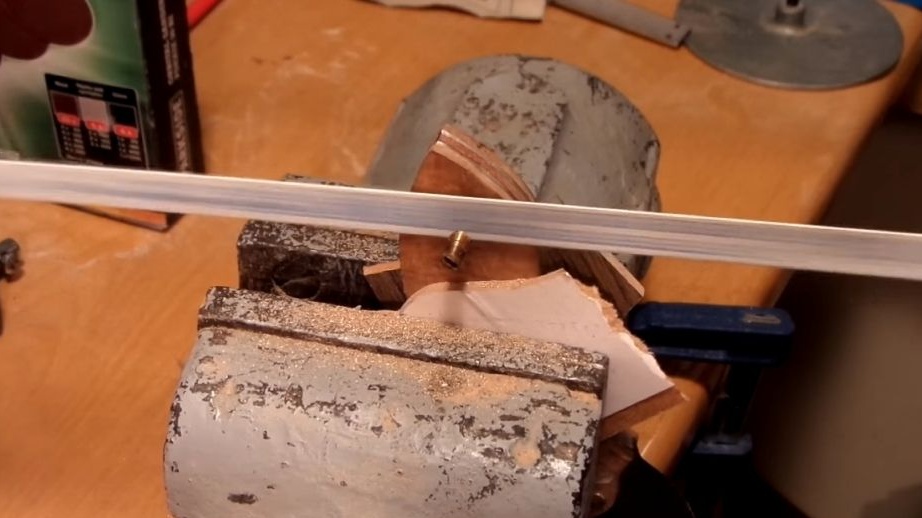
When the holes are ready, it remains to grind the desired tube. The author used the connecting part of the brass water supply. Outside the tube has a thread, and it is also slightly larger in size than the drilled hole. To adjust the diameter of the tube to the desired size, we put it on the rod and go to the grinder. Due to the fact that the tube rotates, it can be evenly turned to the desired diameter.
Step Six Handle inside
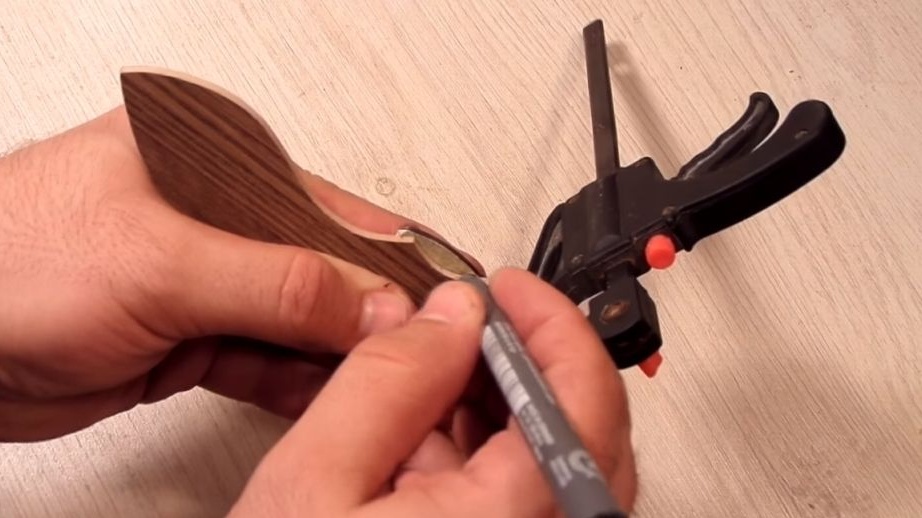
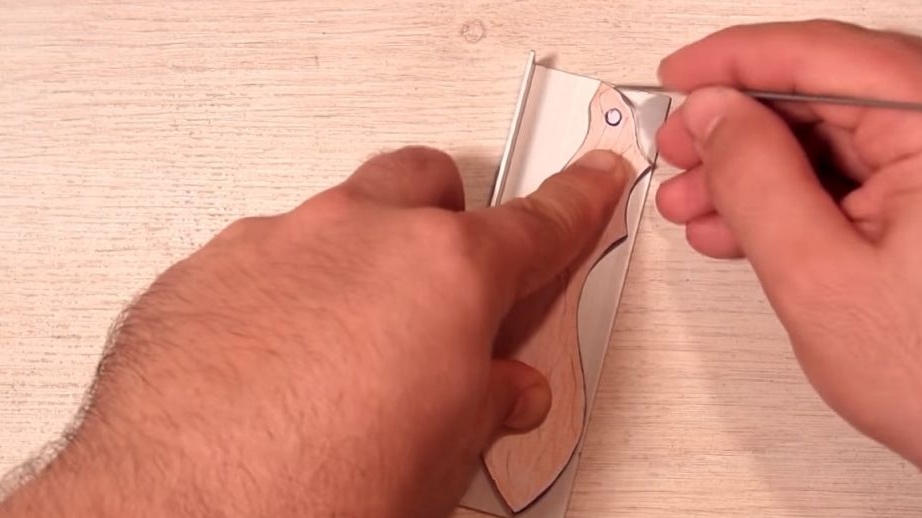
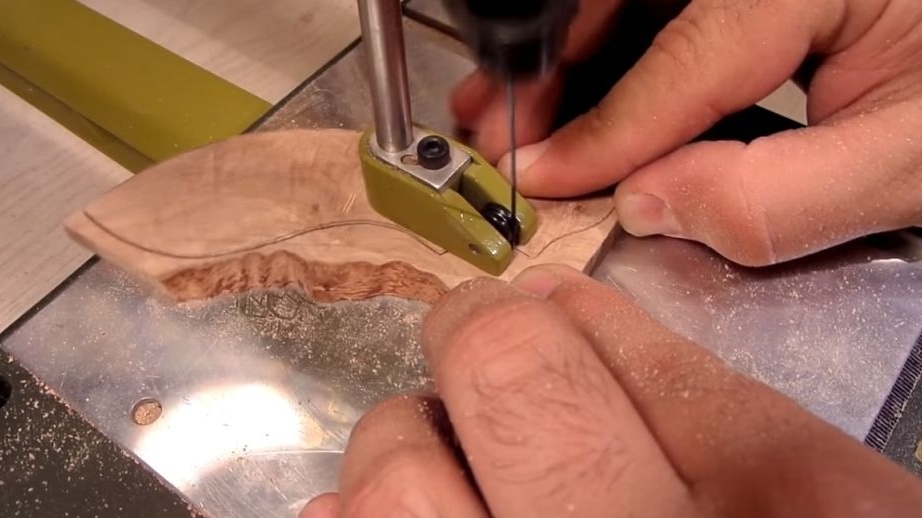
A piece of wood is installed between the two halves of the handle. It is needed in order to reliably glue the two halves together and get a clearance for the blade. We attach one of the halves to the material and circle with a marker. Then we cut out the part using a jigsaw. As the material, you can use plywood of suitable thickness or other material at your discretion. It is important to remember that this part will additionally fix the blade so that it does not crank.
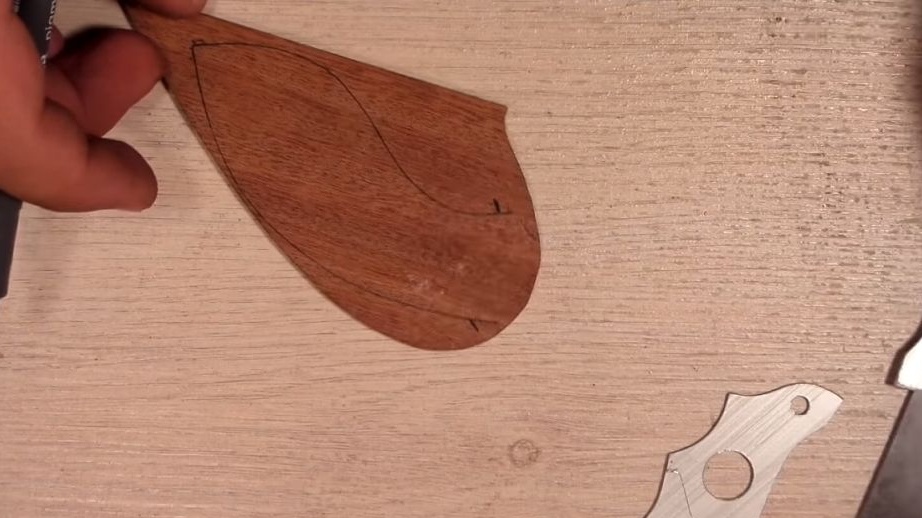


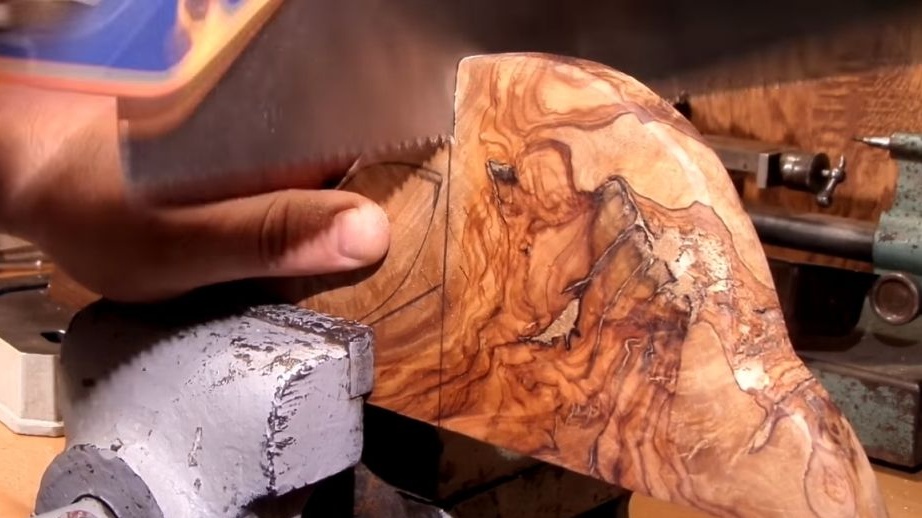
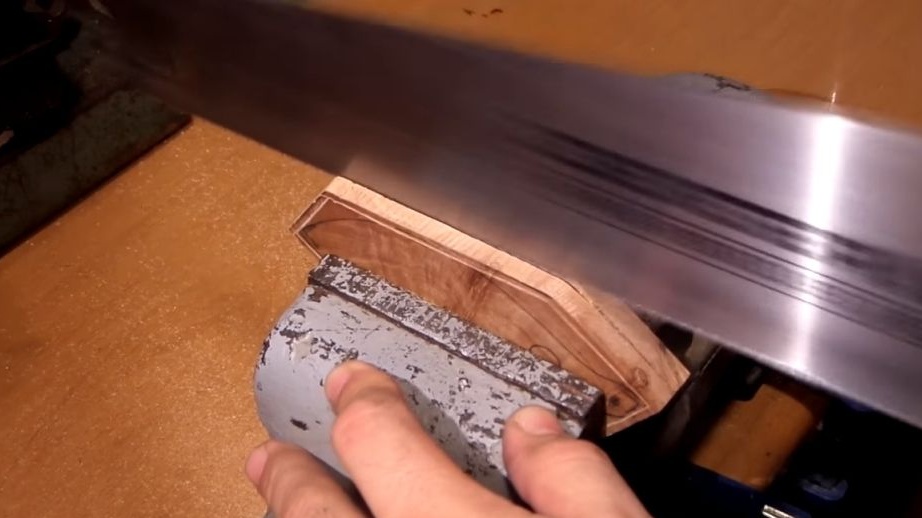
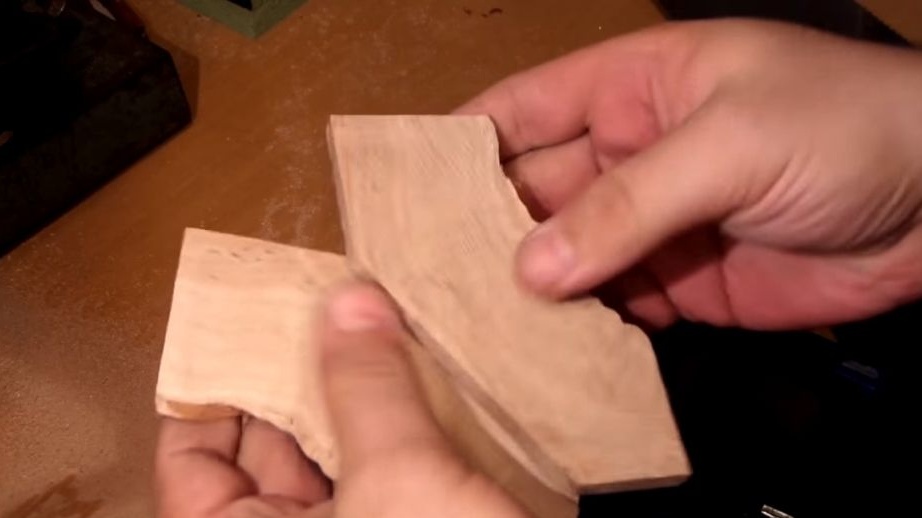
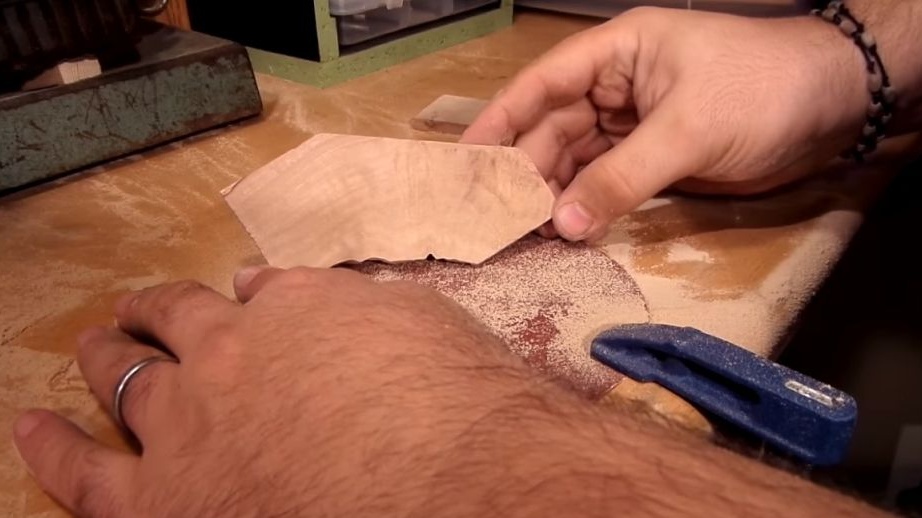
Seventh step. We make pads
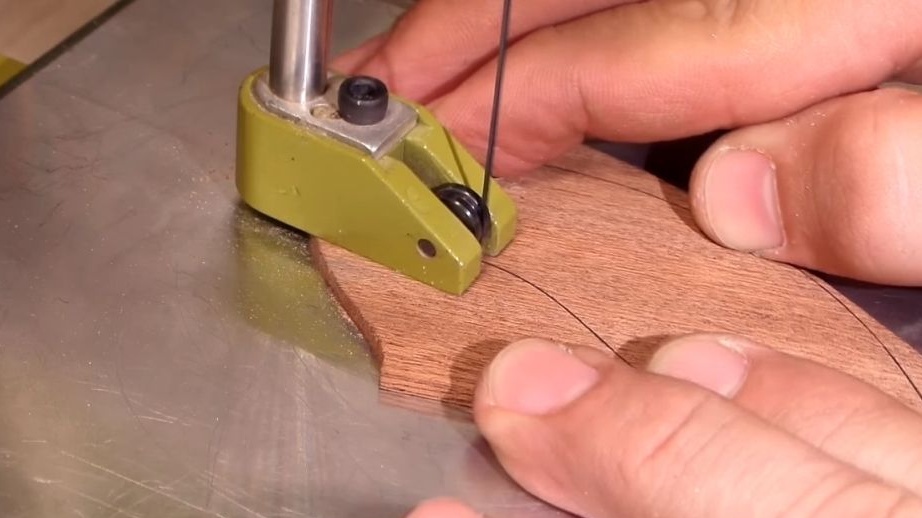
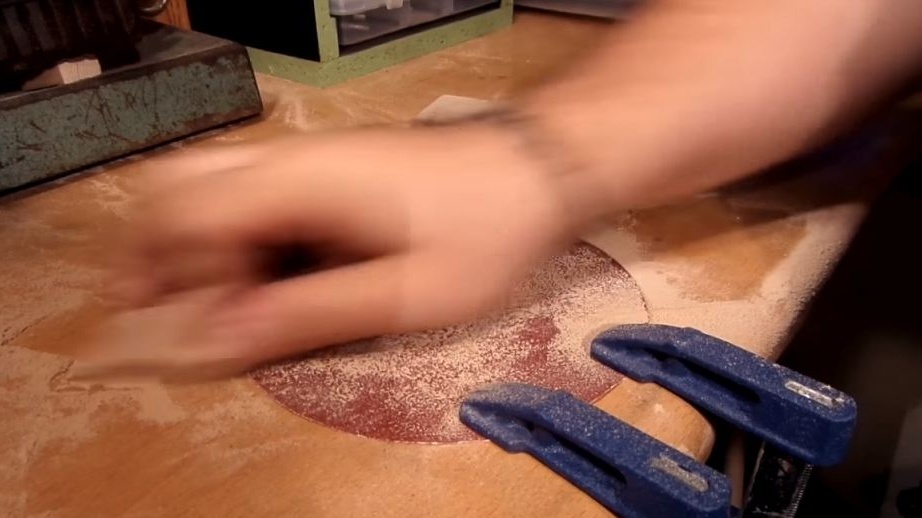
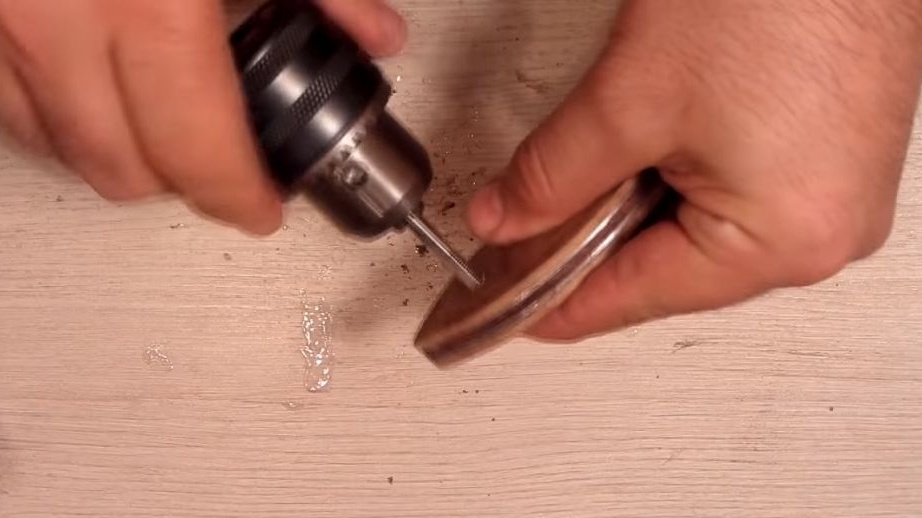
Outside, the handle is finished with wood, this makes the knife beautiful, strong and pleasant to the touch. For these purposes, the author decided to use a wood slab. Cut the desired workpiece, and then cut it along the hacksaw. Grind the lining planes manually on a piece of sandpaper.In the end, you will need to drill three holes in the same places as in the parts made earlier.
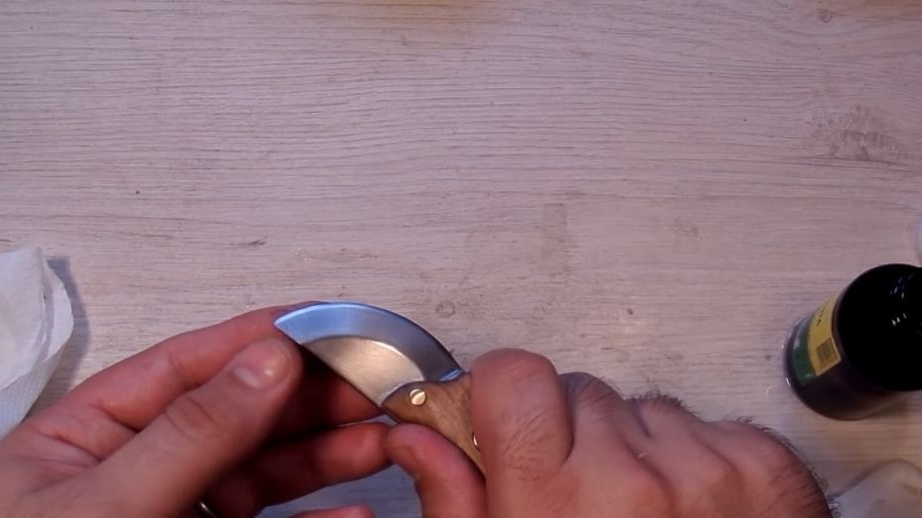
Step Eight. Knife assembly
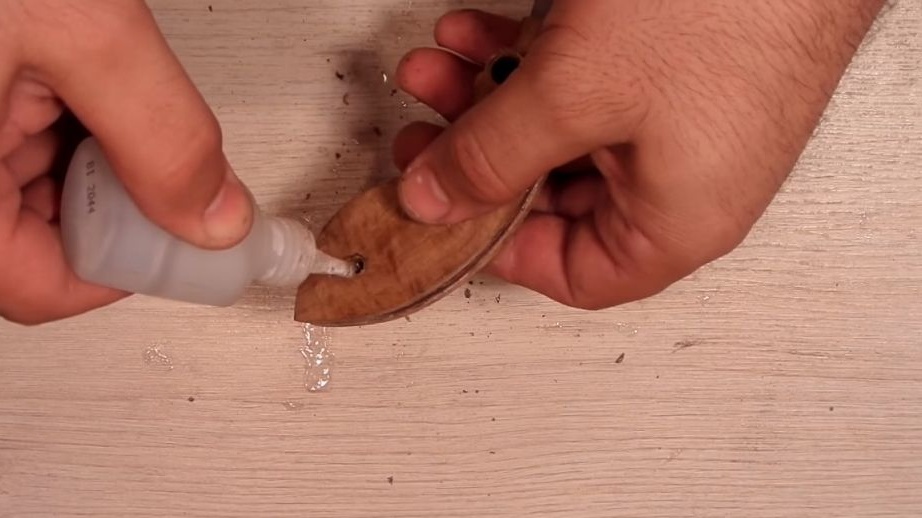
The knife can be assembled, but it is going to glue. First glue together the linings with aluminum parts. Well, then the whole knife can be assembled whole. We center all the parts together with the help of drills or other similar axes. We tighten the handle tightly with clamps and remove the displaced glue. The pen needs to be allowed to dry, it can take about a day.

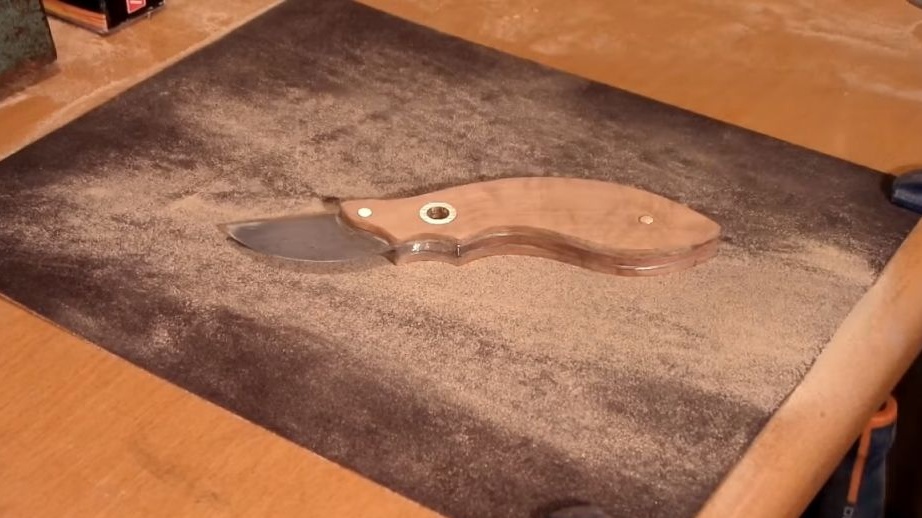
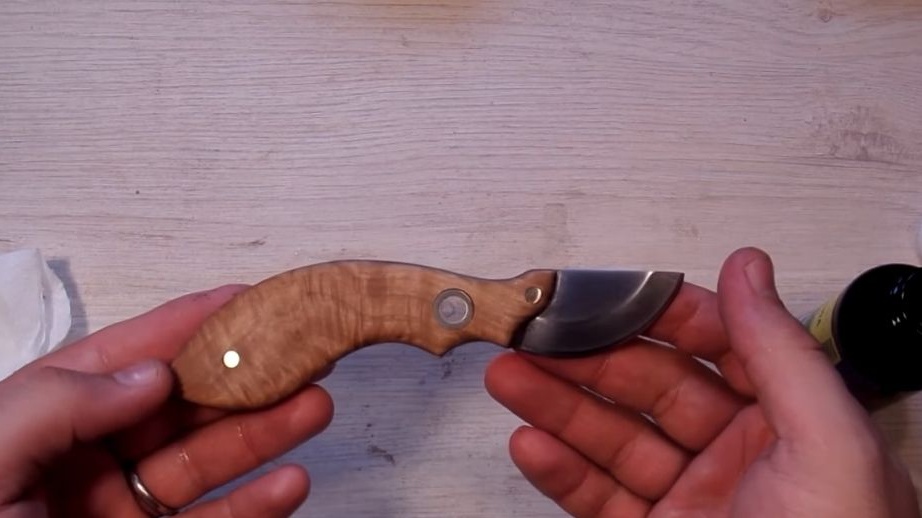
Step Nine. Final work
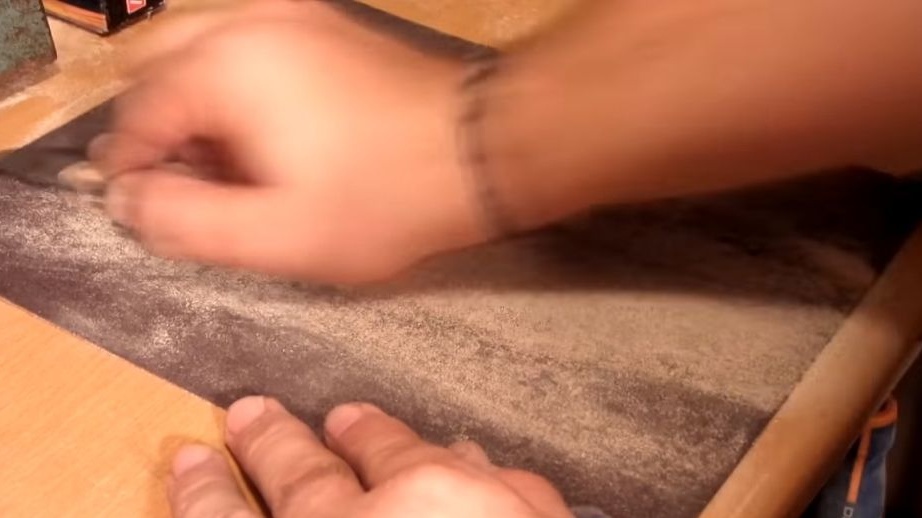
When the glue dries, cut the pins with a hacksaw. Grind the surface of the handle with sandpaper. In the end, it should turn out smooth. To emphasize the appearance of wood and protect it from moisture, we take oil and impregnate the handle. When the oil dries, the handle can be polished with wax. That's all, the knife is ready, sharpen the blade and try it out!