
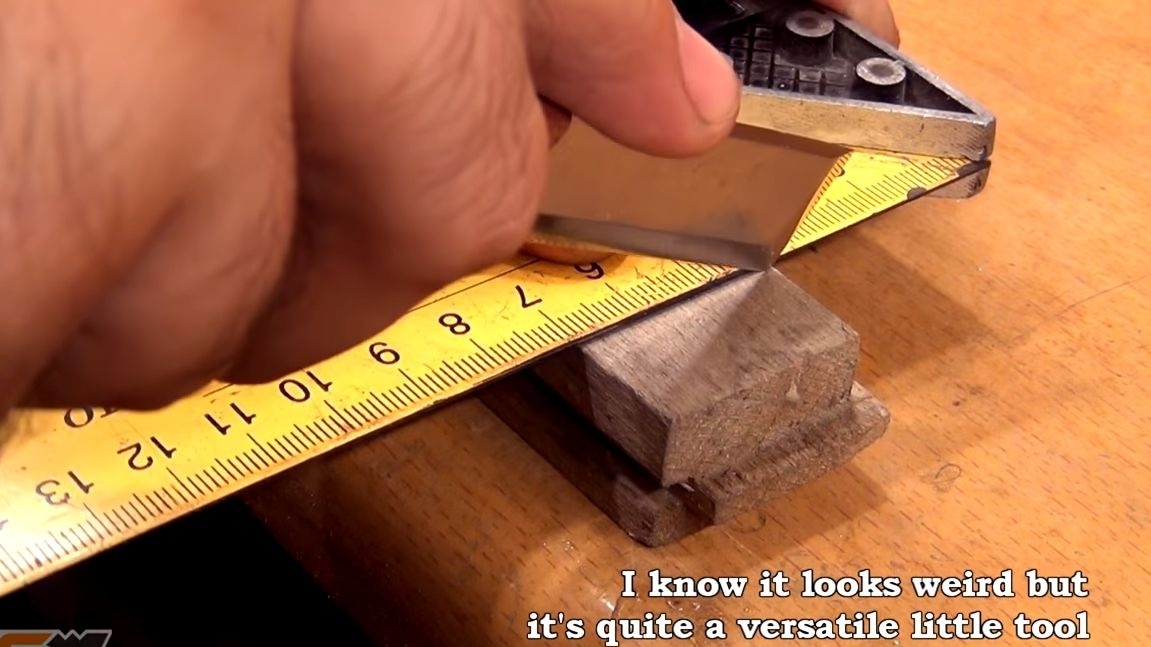
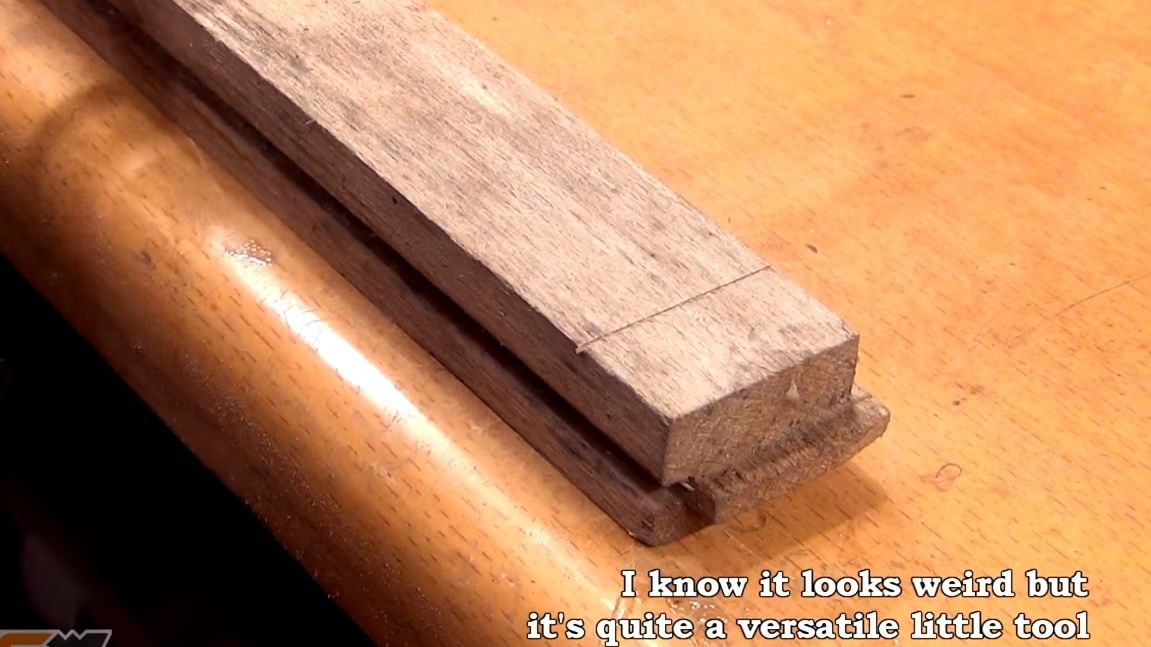
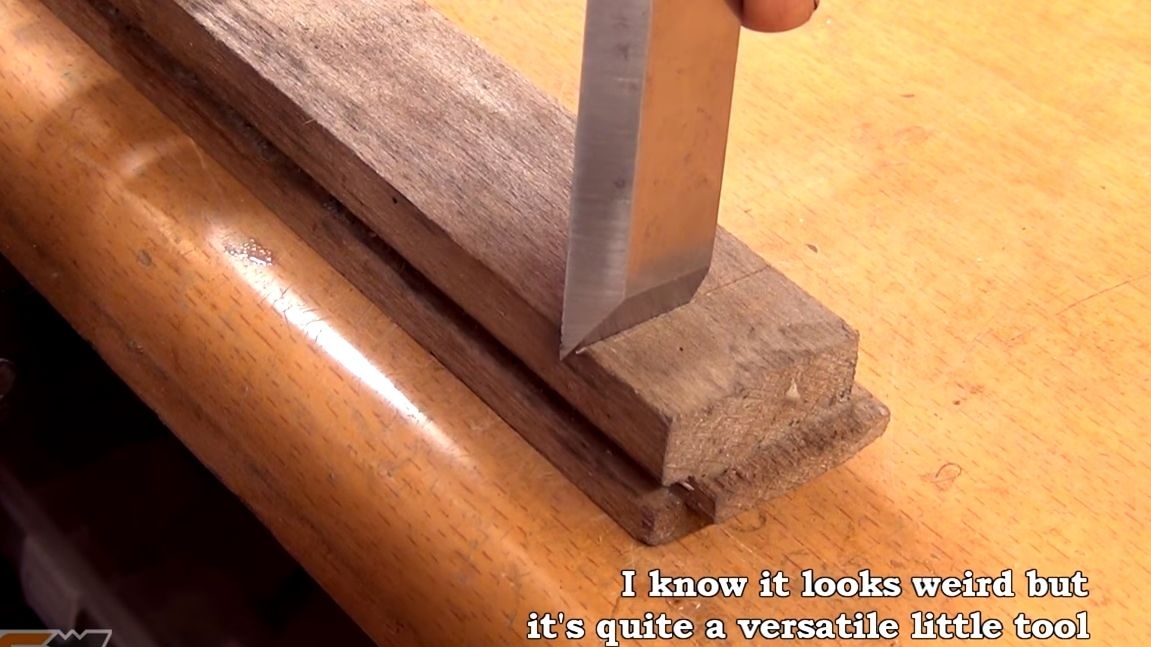
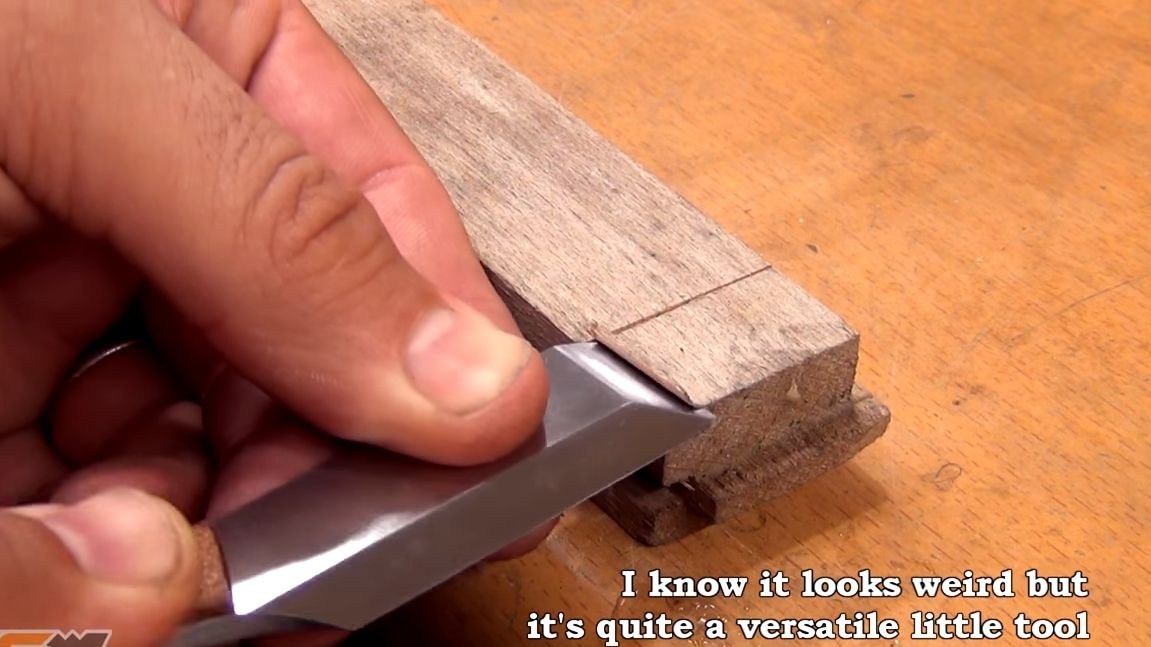
I welcome everyone, in this instruction we will figure out how to make a good one and more. The knife has the name "Kiridashi", and its roots go to Japan. The peculiarity of the knife is that it has several beveled sides, thanks to which this tool has quite a few functions. For example, the author uses it as a chisel, as a knife for cutting sheet material, as a knife for processing wood and more. It is not difficult to make such a knife, the bulk of the work here is connected with metal, that is, all the complexity in the manufacture of the blade. But you do not need a furnace, the author makes his knife without it already from hardened metal.
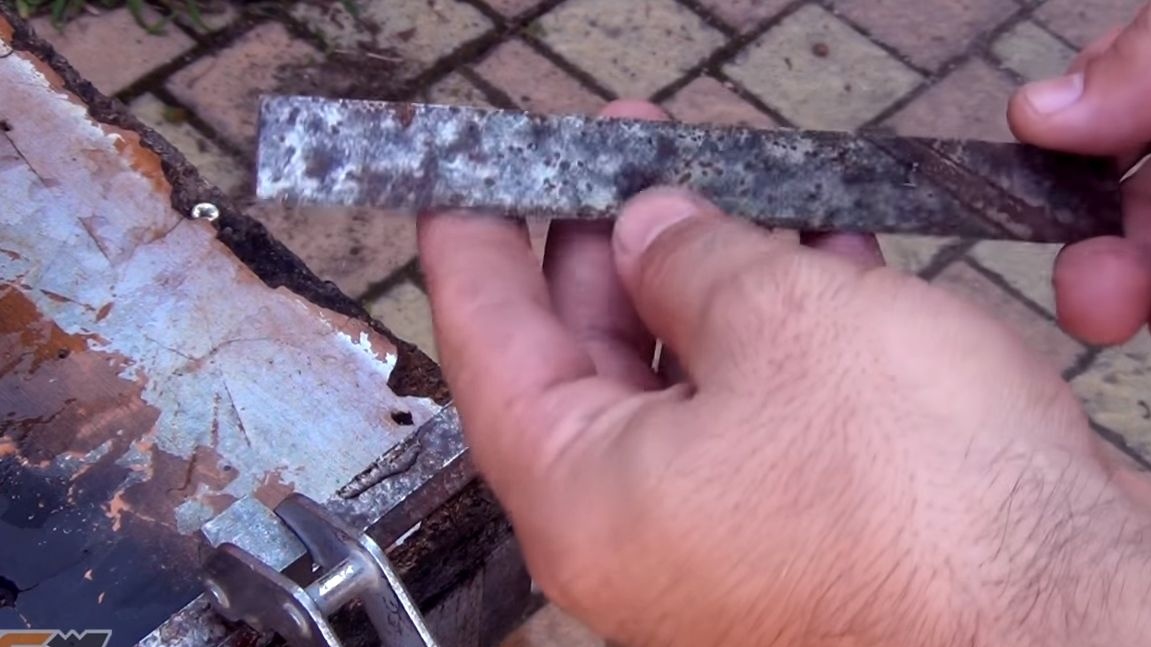
To make such a knife, you will need a piece of strong steel. Tool steel is perfect for this. You can use a chisel of suitable length, an old file, an unnecessary staple and so on. You can also buy a ready-made billet of strong steel and make a knife. So, we will consider in more detail how to make such do it yourself!
Materials and tools that we need:
Material List:
- file or other source of strong steel;
- Dostochka (for the manufacture of linings);
- epoxy adhesive.
Tool List:
- belt grinding machine;
- whetted;
- vise;
- grinder;
- drill;
- sandpaper;
- marker;
- adhesive tape;
- paper;
- jigsaw;
- clamps;
- acetone or alcohol;
- electrical tape.
Manufacturing process:
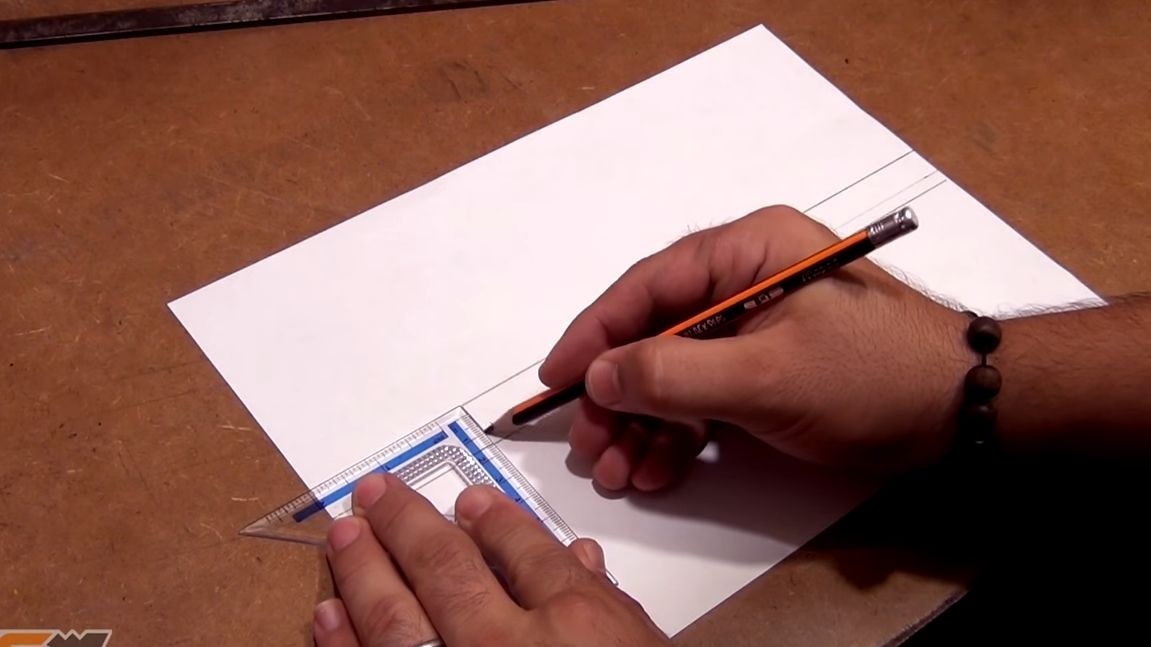
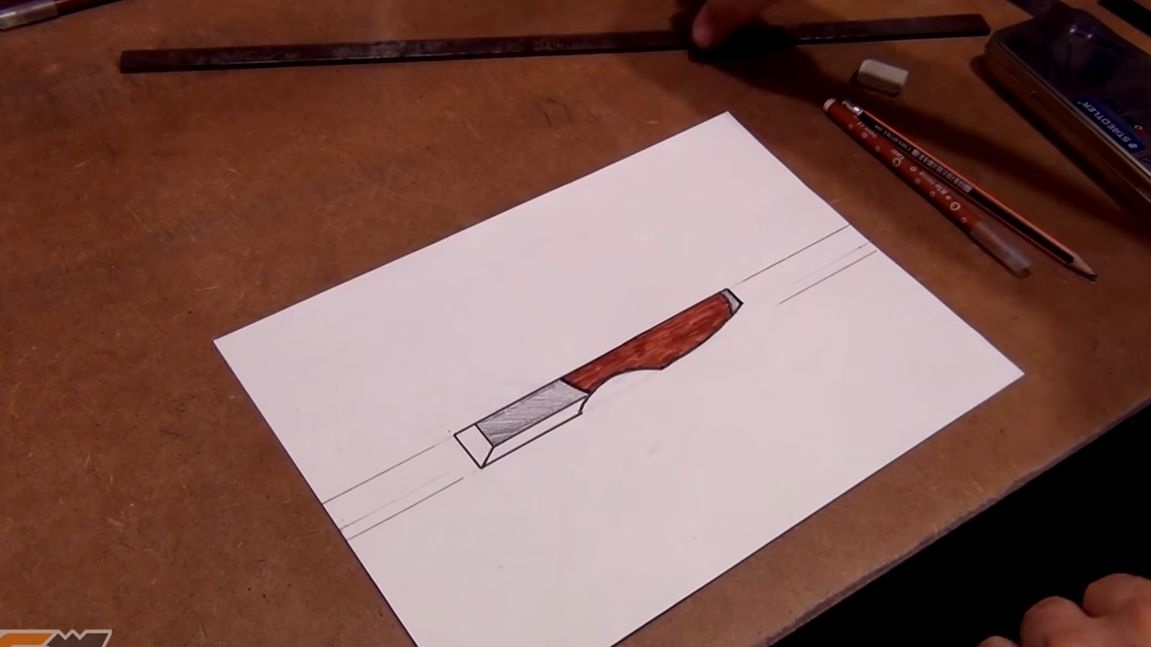
Step one. Project
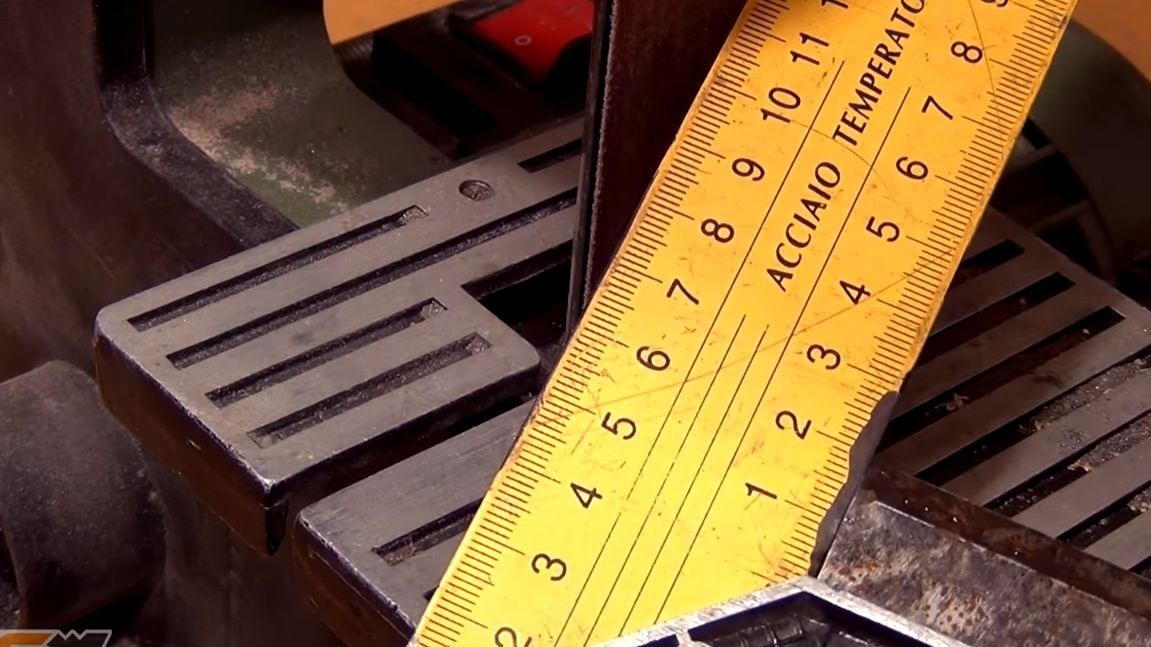
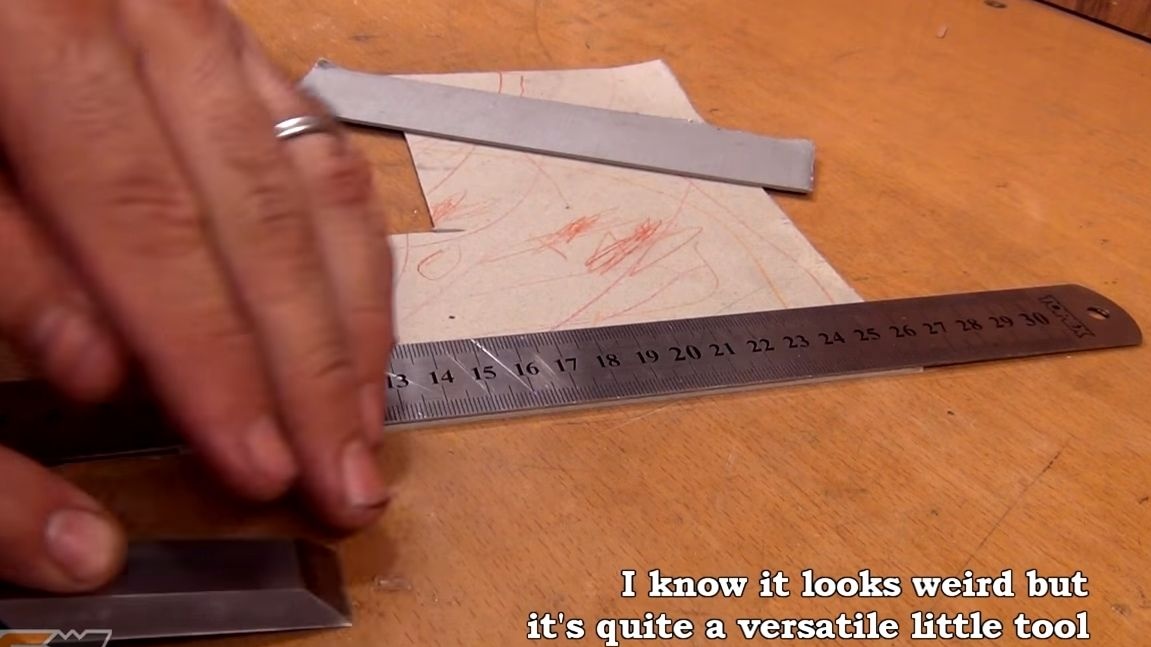
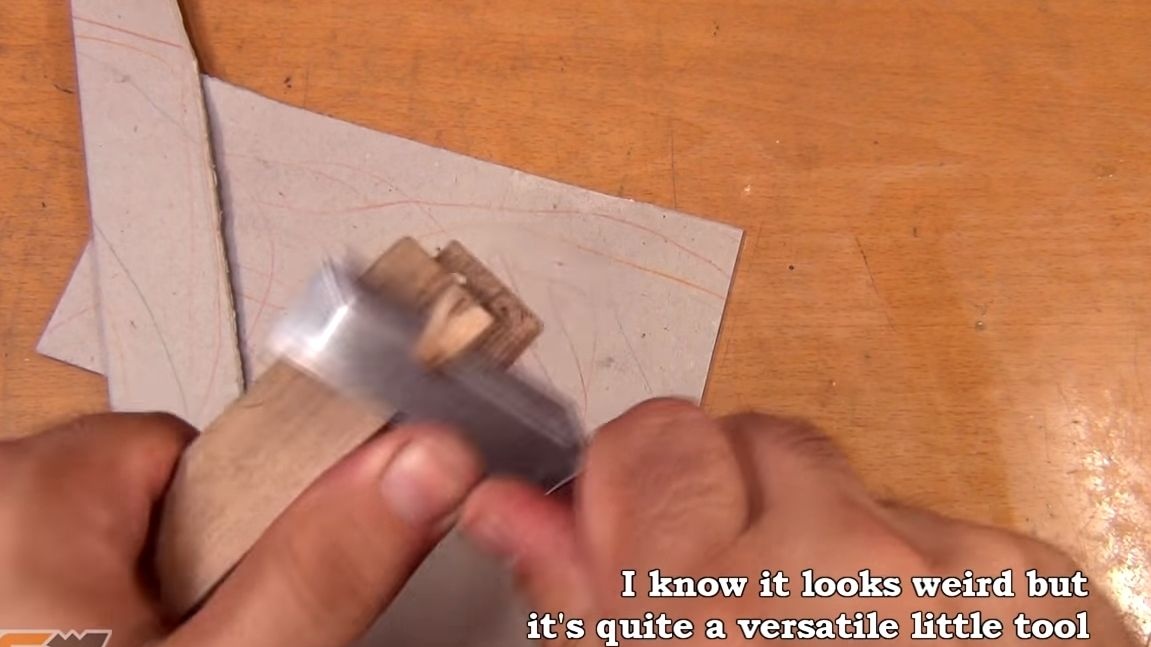
Making any homemade should start with a project. So you will work out all the details in advance, and then only make your project material. We take paper and drawing accessories, draw a draft. Decide on the size of the knife so that it is convenient for you. It is highly advisable to paint the knife on paper in order to better imagine how it will look. Remember to consider the width and length of your workpiece when designing.

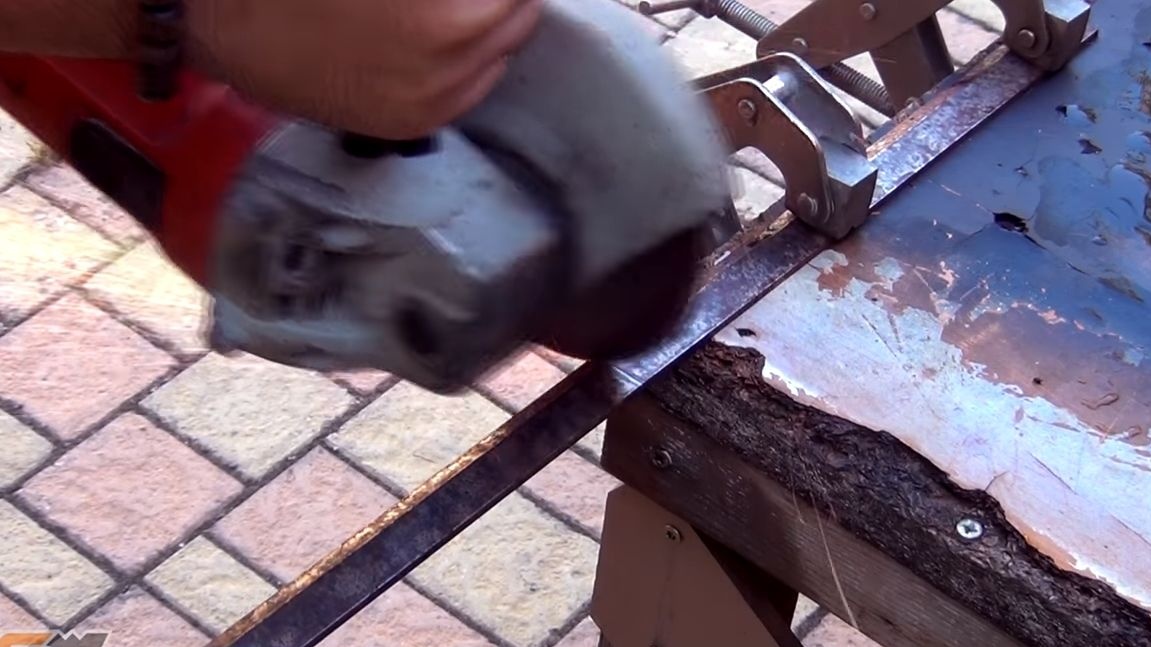
Step Two Cut off the desired piece
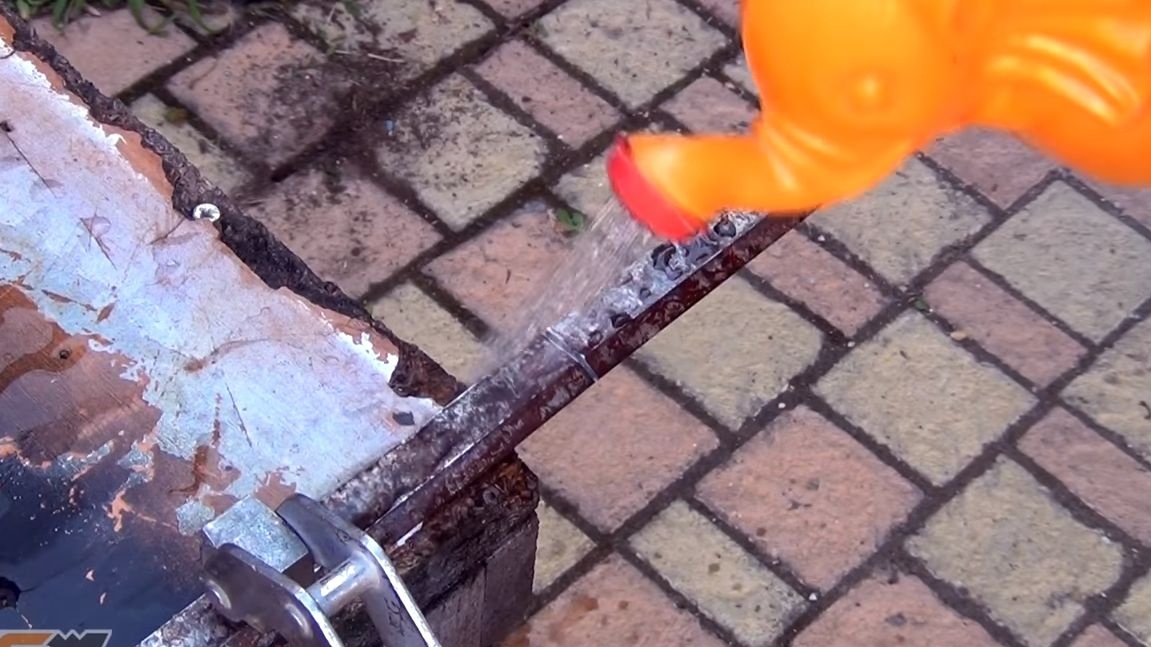
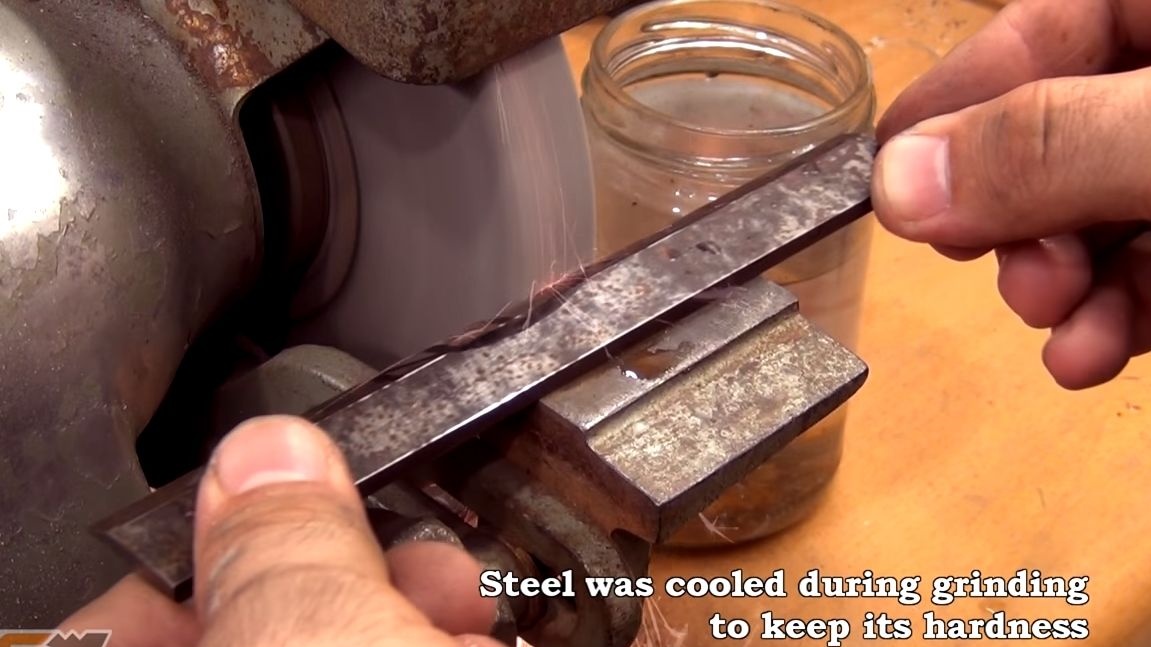
Now we take the material, clamp it in a vice and cut off the desired piece. When working with metal, always remember that we will not temper it anymore, therefore it cannot be overheated! If you heat the workpiece even slightly above 100 ° C, even at this temperature steel tempering can occur and it will become softer. In this regard, when cutting, constantly water the place of cut with water. The author has a watering can for this case. You can just take a bottle of water and make holes in the lid.
Step Three We form the necessary angles
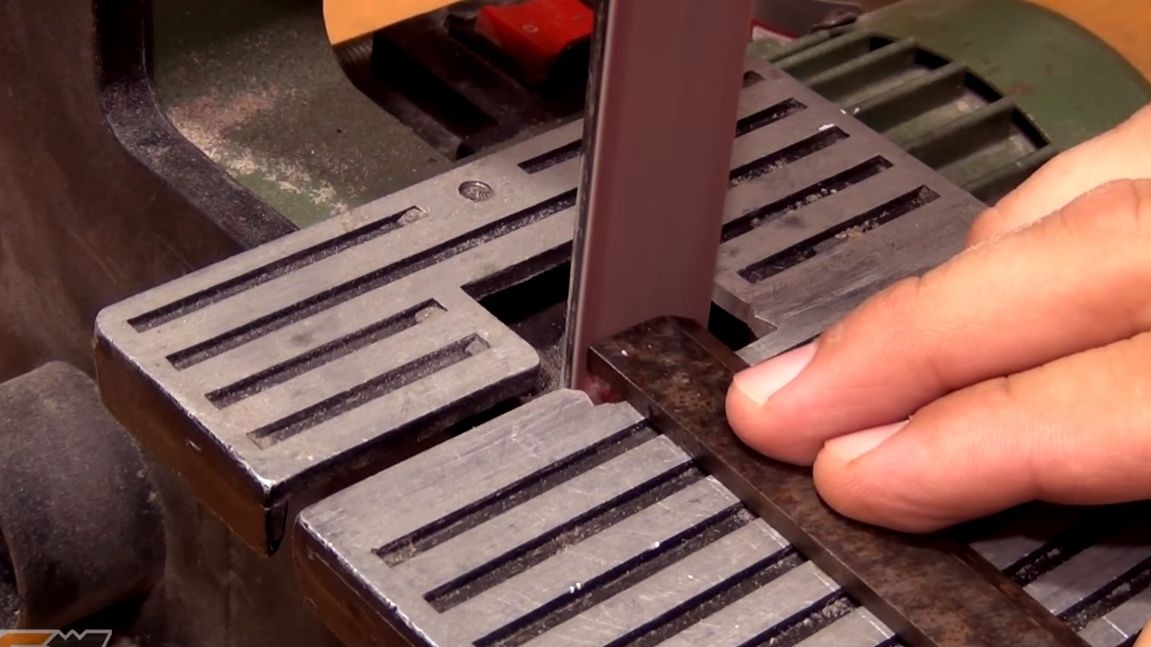
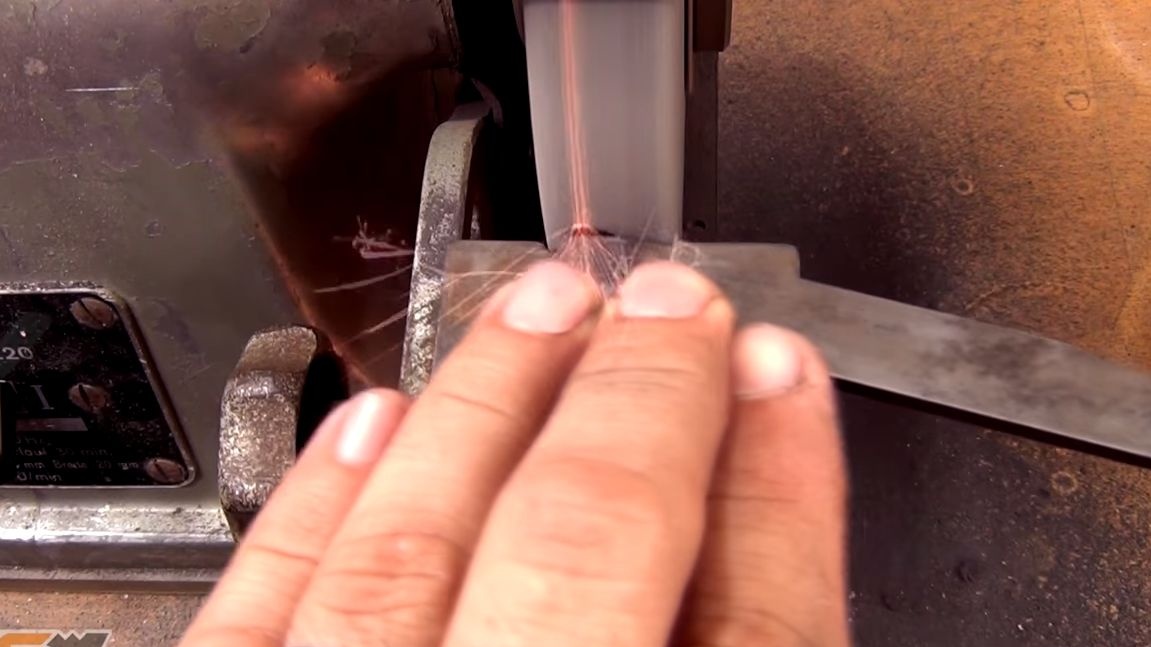
Since we have a knife for craft work, all the necessary angles must be sustained. First form a rectangle from the workpiece, use a square. The easiest way to get right angles is by using a belt sander or other device that can grind flat. When grinding, constantly water the workpiece with water. If the metal overheats, it will quickly evaporate or boil.
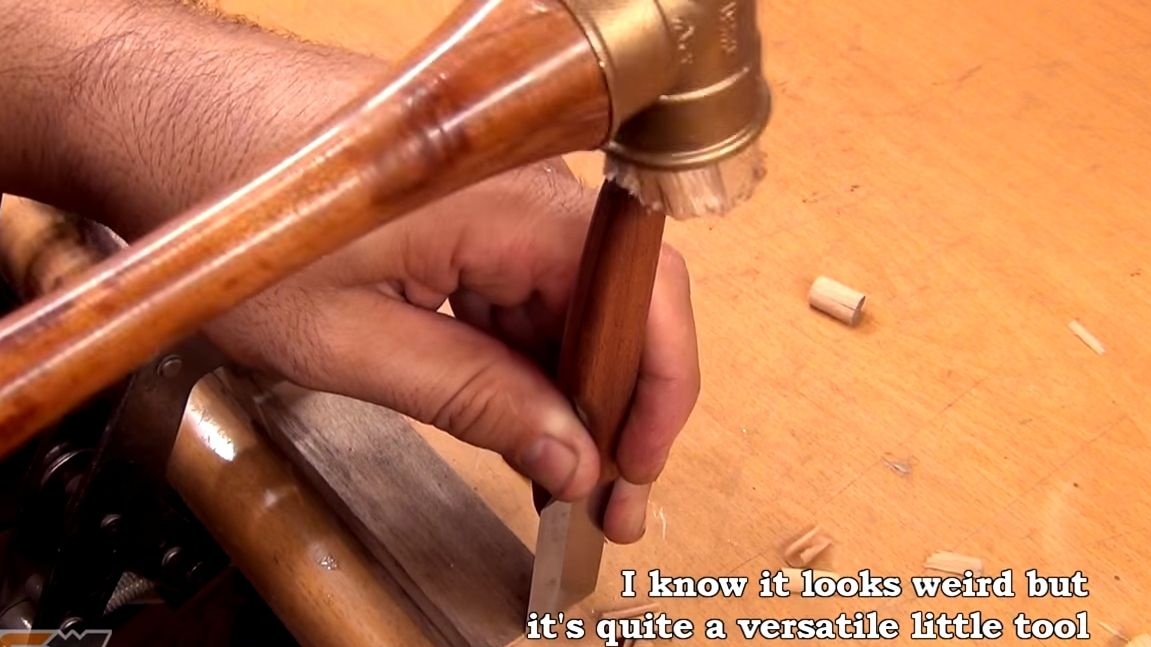
Step Four We form a bend
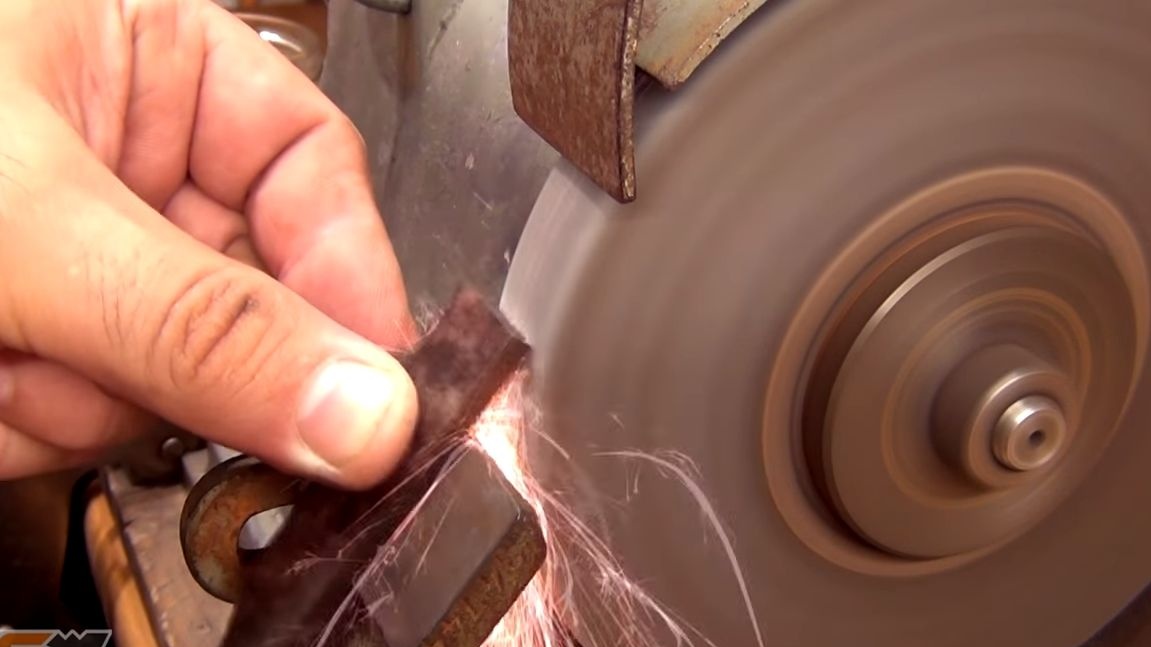
The knife has a bend on the handle. It is done so that the knife lies comfortably in the hand. Thanks to this form, the hands will not get tired for a long time. To form this very bend, you need a sharpener. Due to the fact that the grindstone has large grains, the metal will not overheat as quickly as when working on a tape machine or using a grinder. But here we are not in a hurry either, we constantly pour the workpiece with water for cooling.
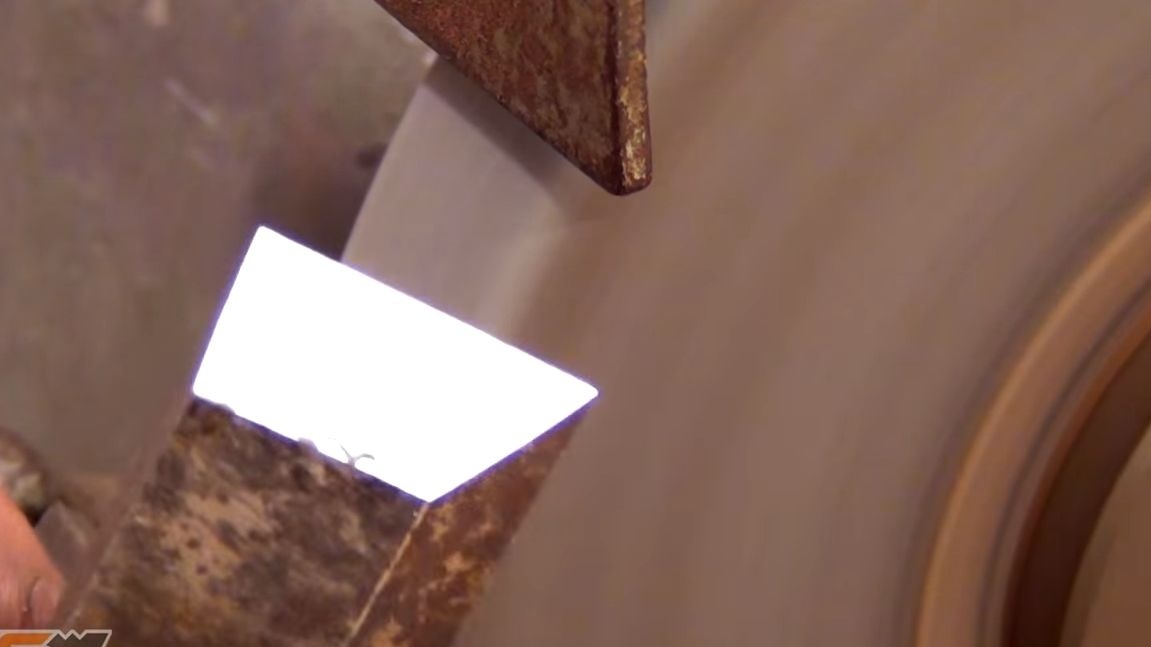
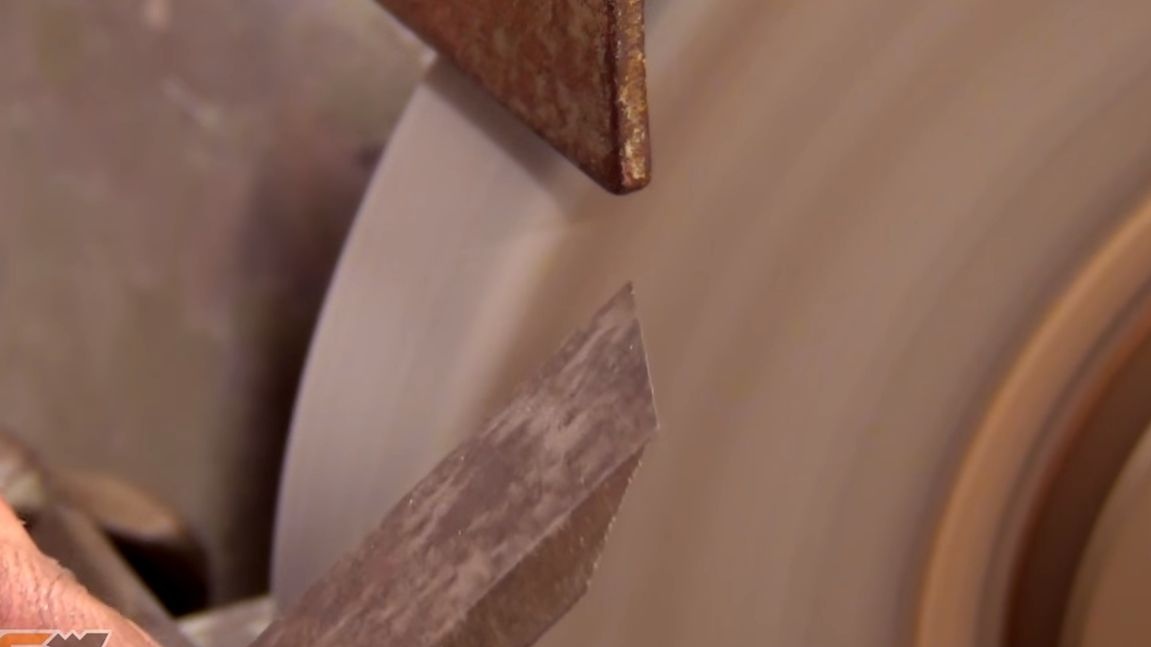
Step Five We form bevels
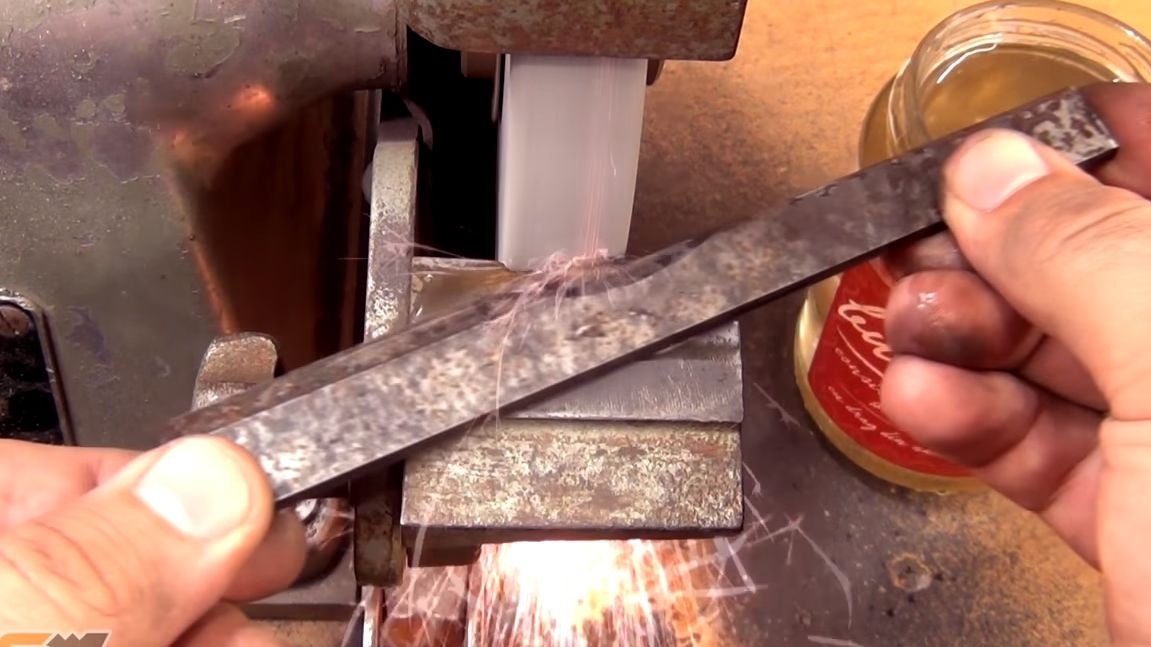
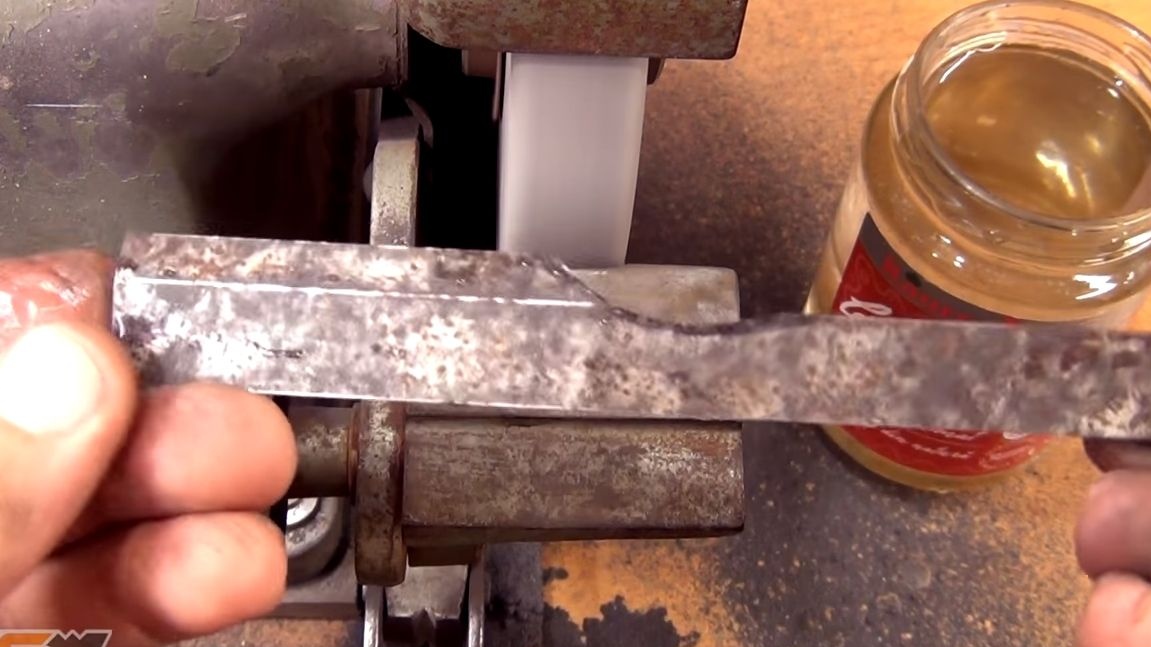
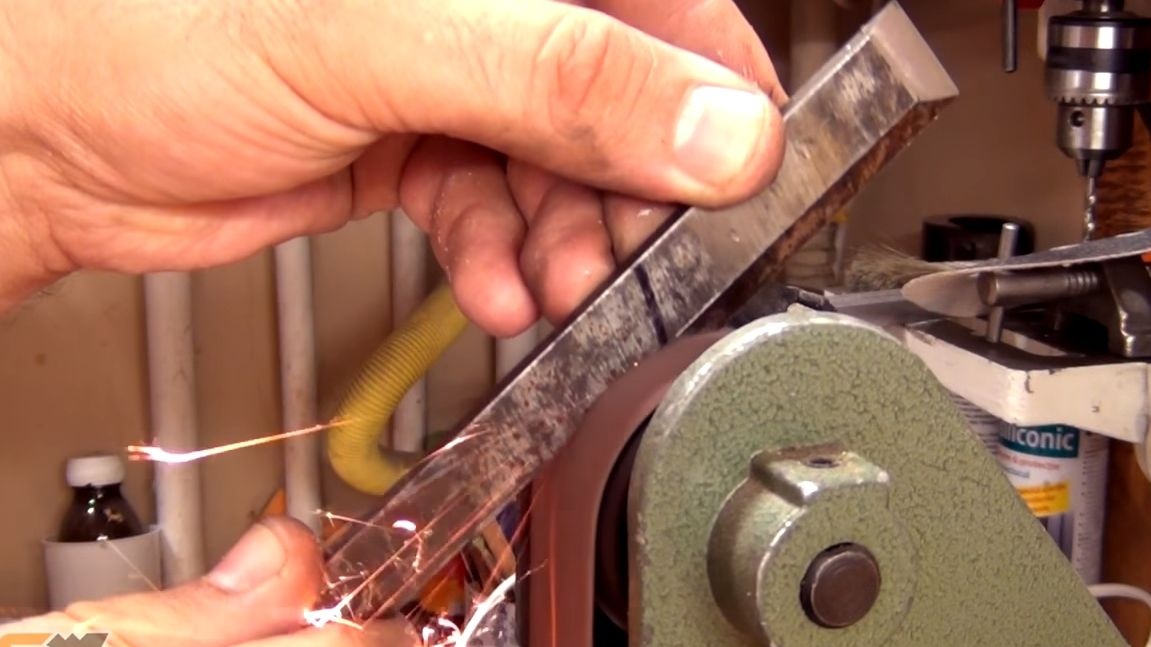
Now we proceed to the formation of bevels. The narrowest blade, which is located at the end of the knife, is easiest to form on the sharpener. When forming bevels, in no case be in a hurry, it is extremely important for us not to overheat the blade, since after overheating it will no longer be strong, and the blade will need to be tempered.
As for the lateral, long blade, it must be formed using a belt sander. However, many masters manage to use a grinder with a grinding wheel for this, but with this approach you can easily and quickly overheat the metal, and it will be difficult to get an even plane.
At the end, we try on a template for a knife and grind off everything superfluous. If on the surface of the knife there is significant damage in the form of shells and scratches, it is advisable to grind it on a belt grinder, setting a small stone.

Step Six Grinding and sharpening
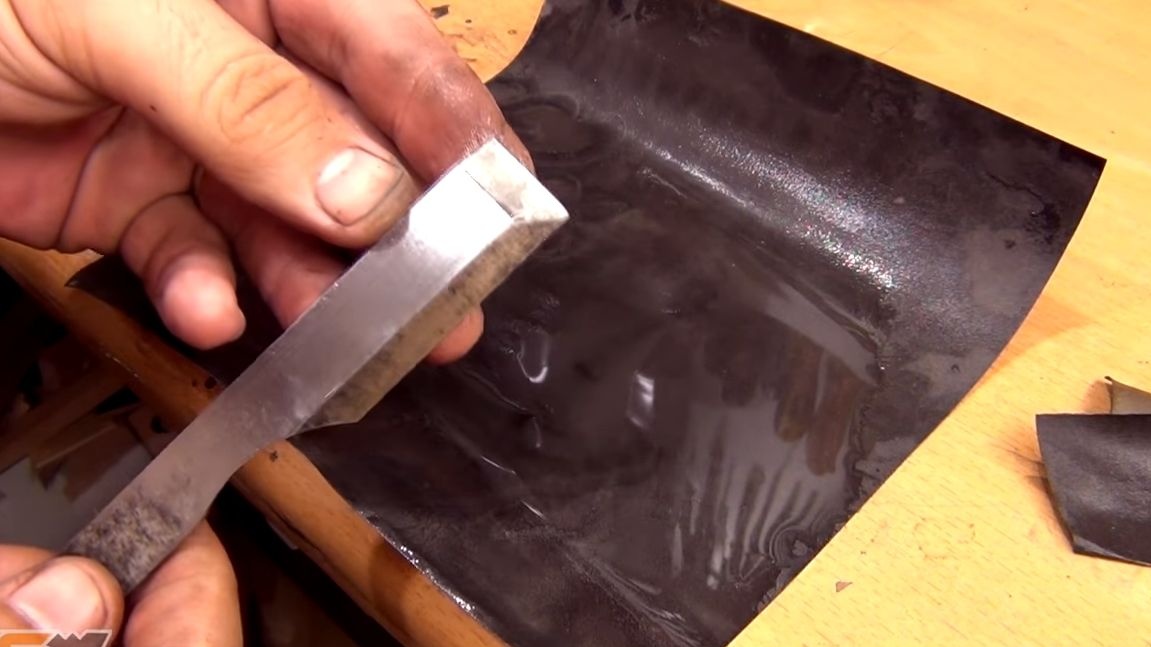
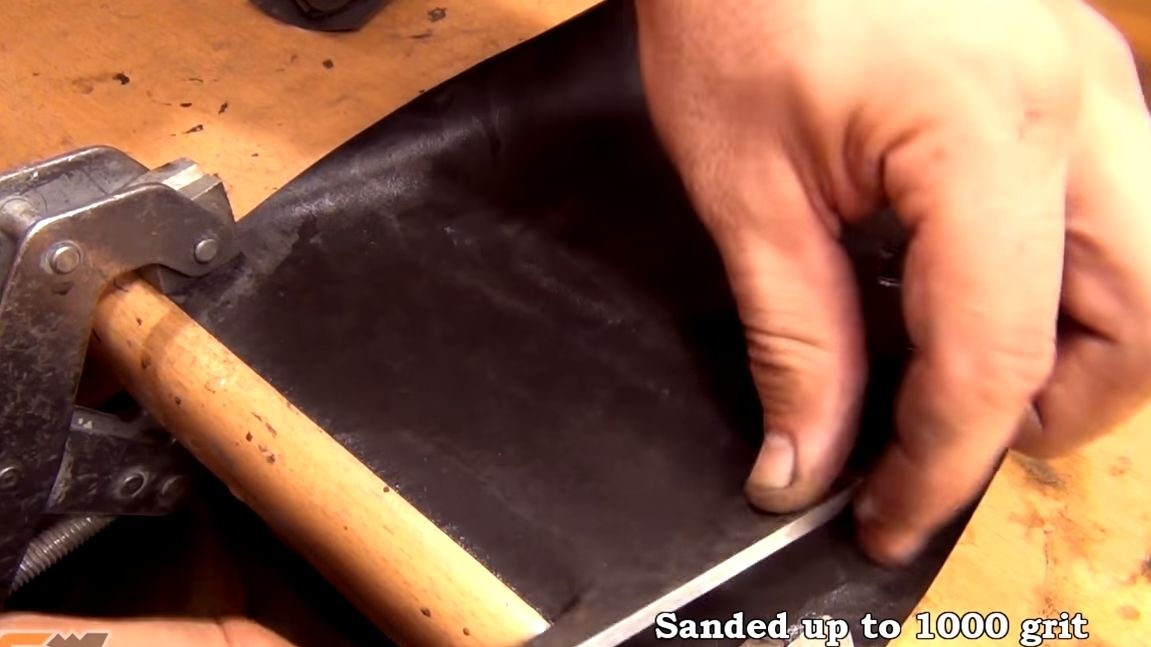
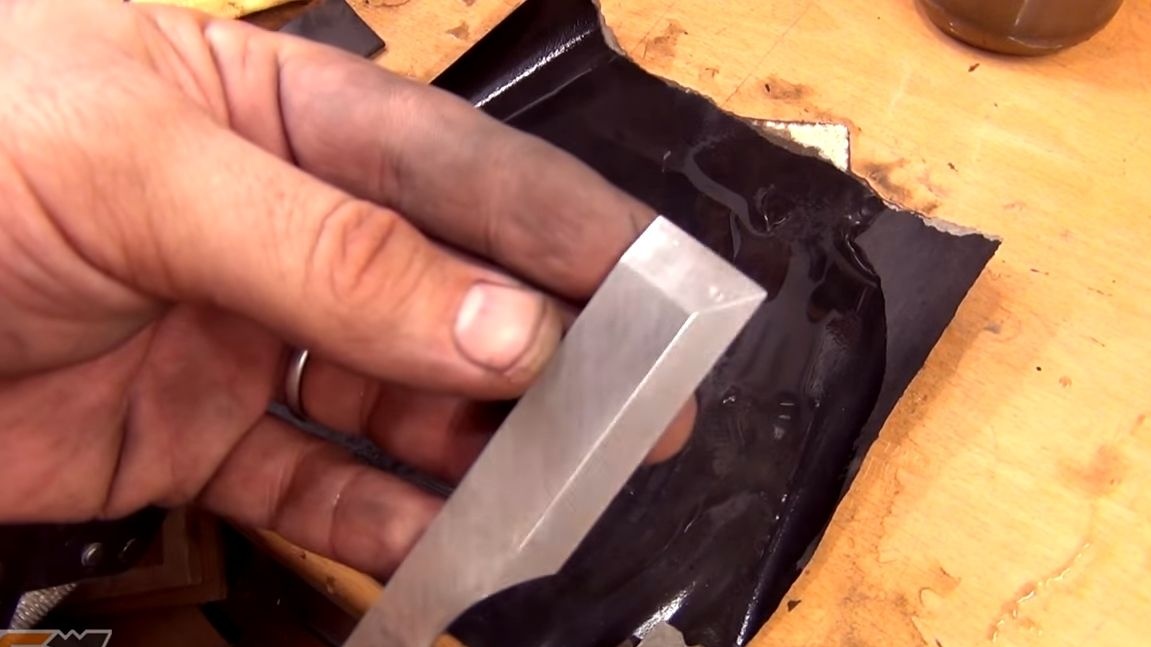
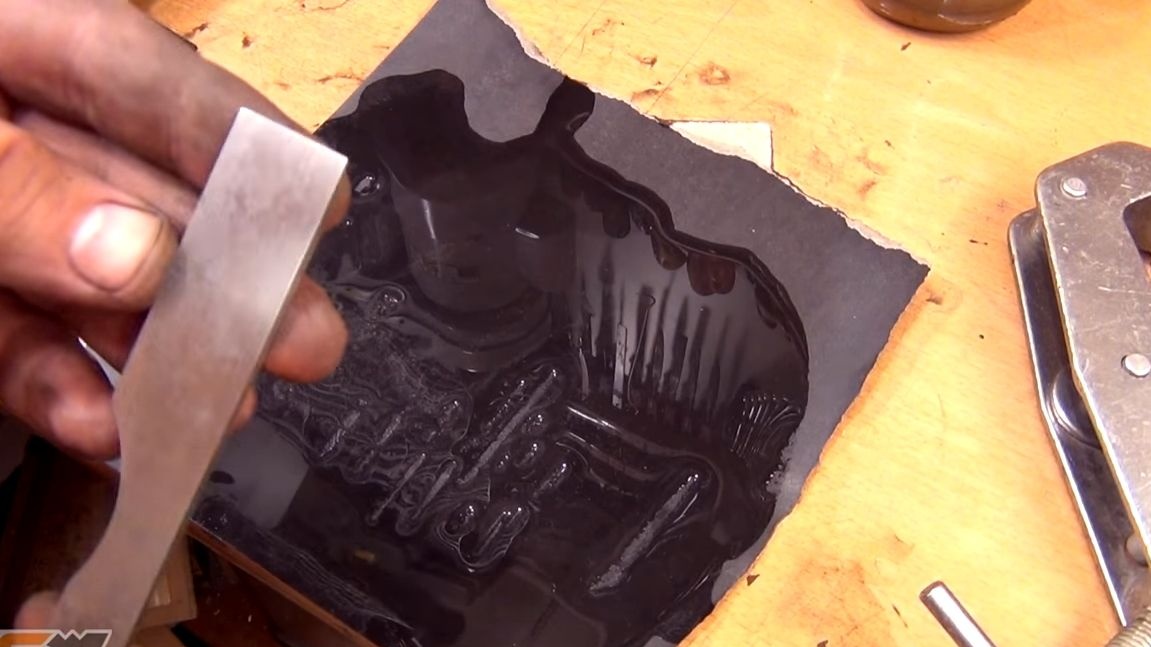
When the profile of the blade is fully formed, grind it to a mirror shine. So the knife will look beautiful, and they will be pleased to work. If the knife has significant scratches, first go over it with large emery paper. Then we use fine sandpaper, we achieve the desired quality. Use fine sandpaper on a fabric basis for final processing, it can be moistened with water. Thanks to water, sandpaper is cleaned and the grinding process is much faster.
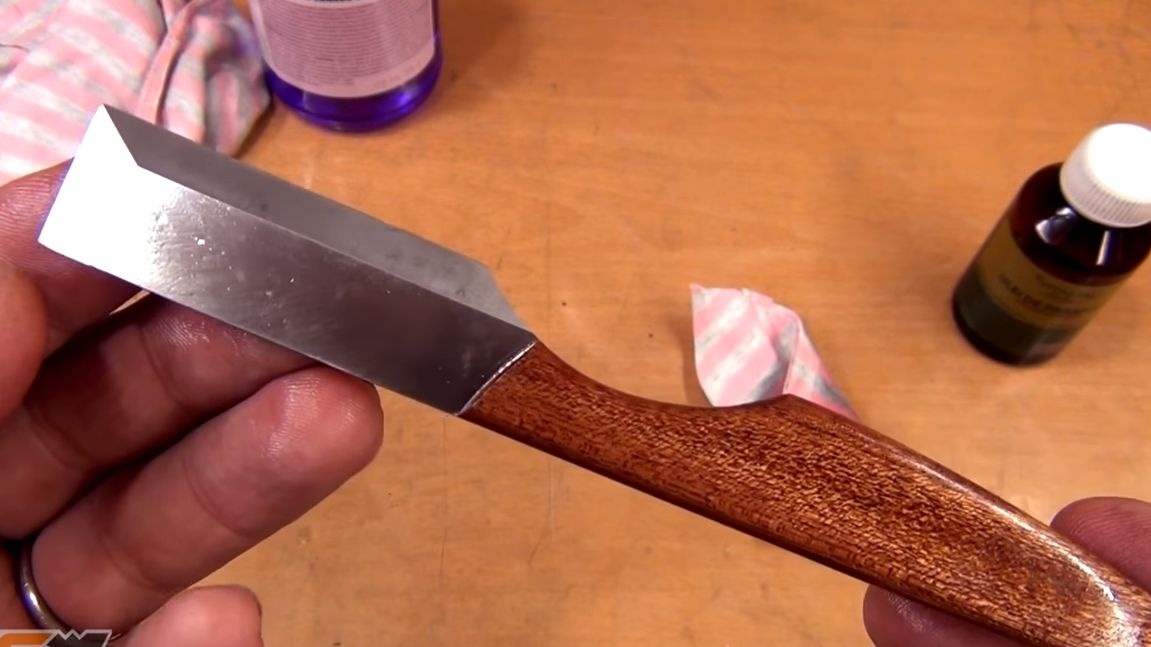
At the end, sharpen the blades, for this you will also need sandpaper, the author used a grain size of 1000 units.
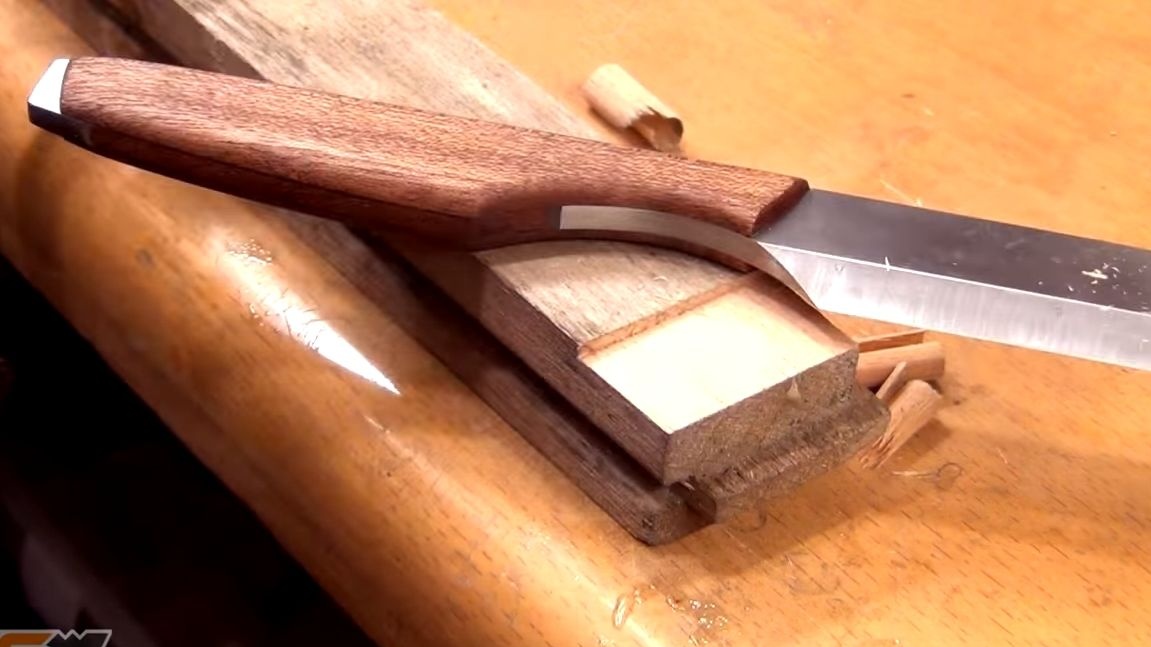
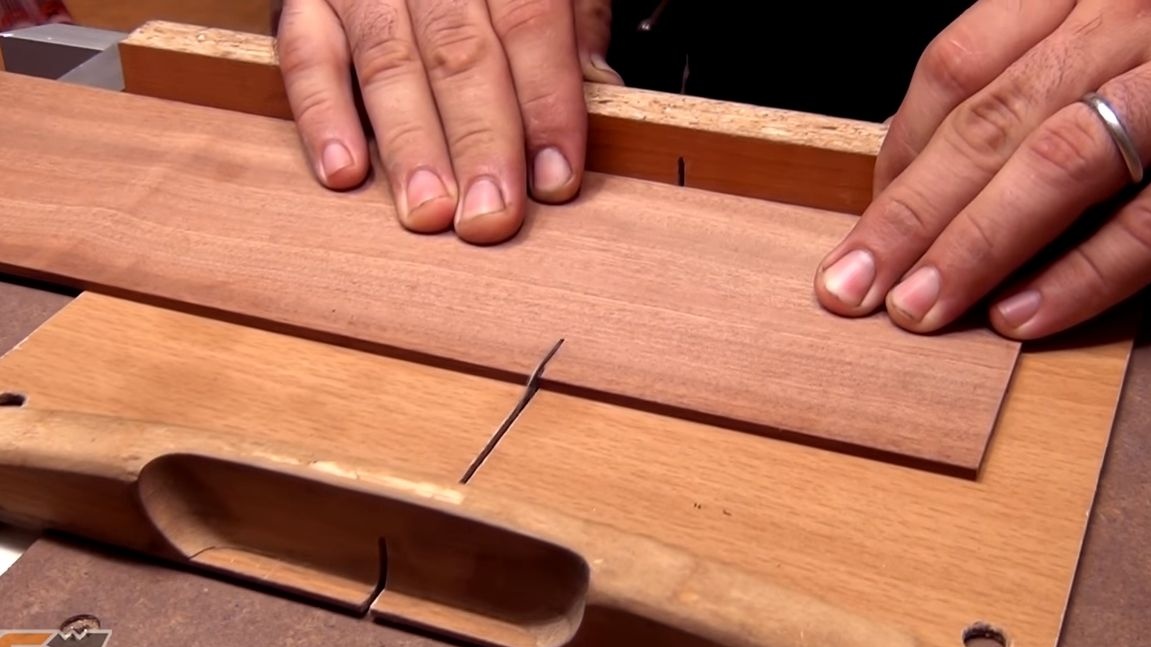
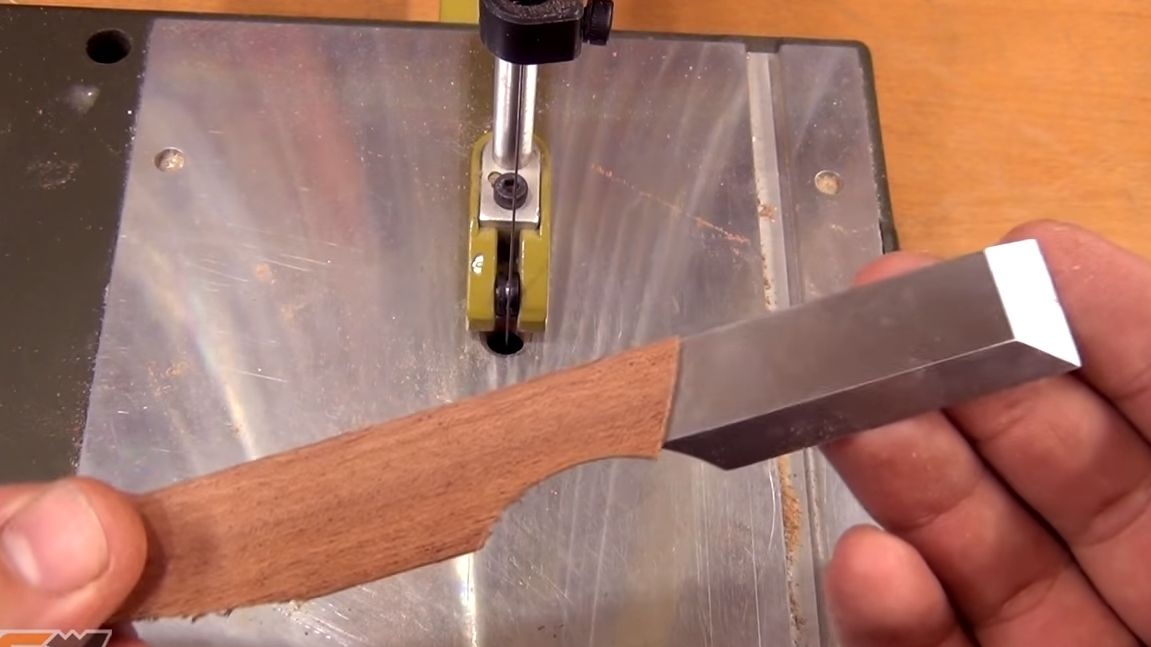
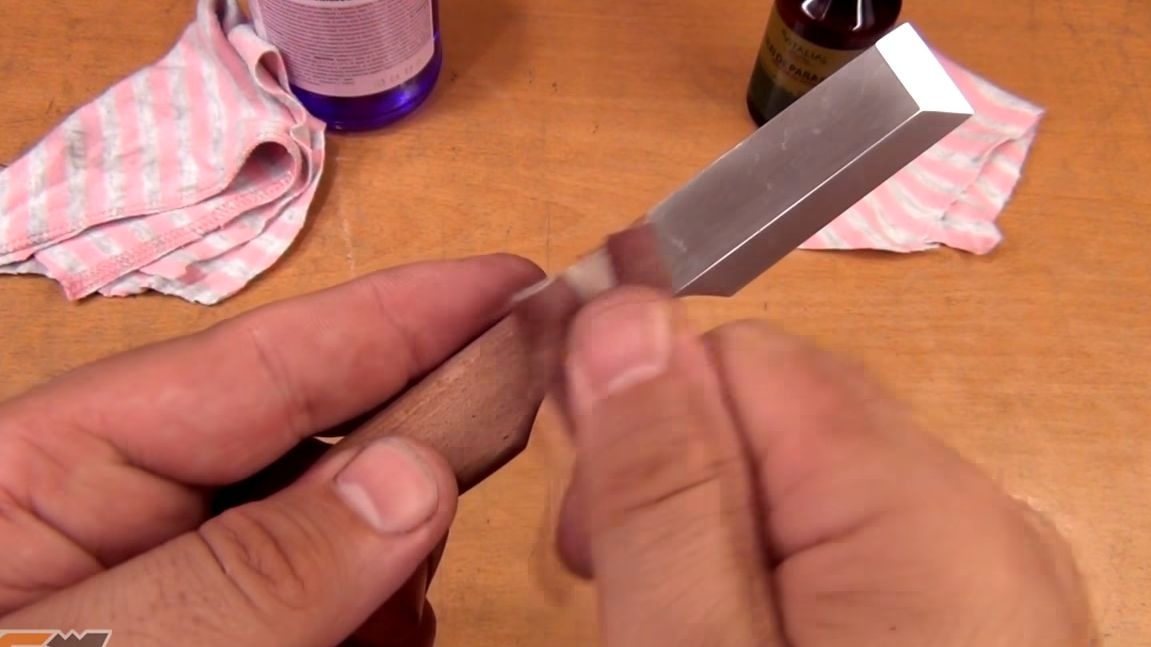
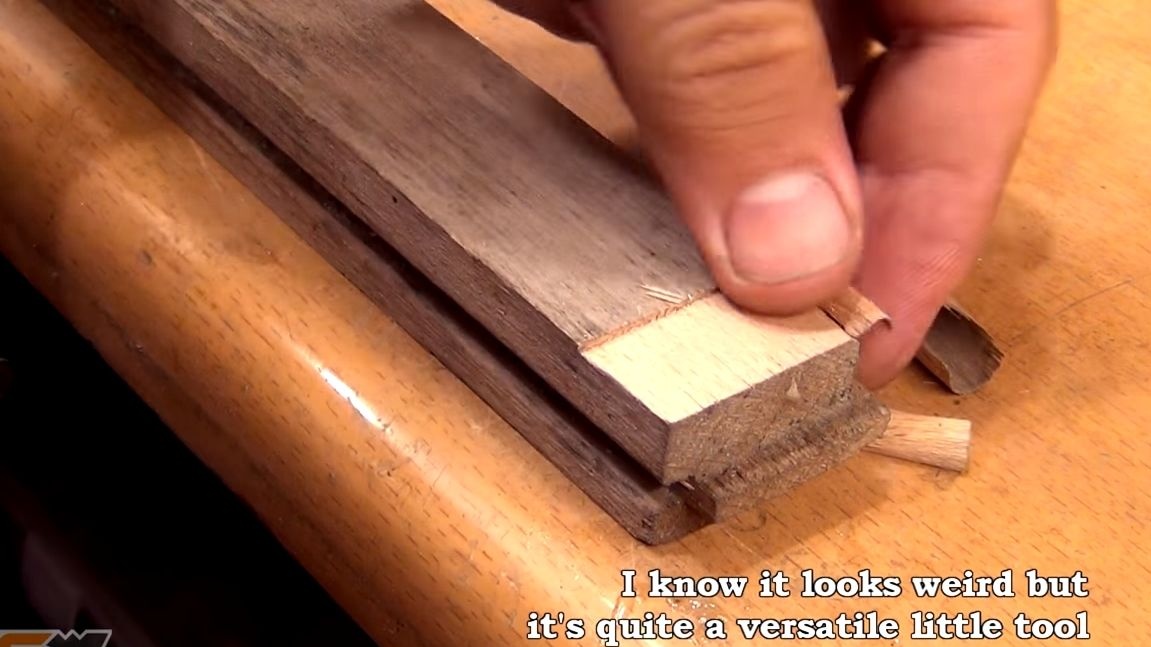
Seventh step. Lining
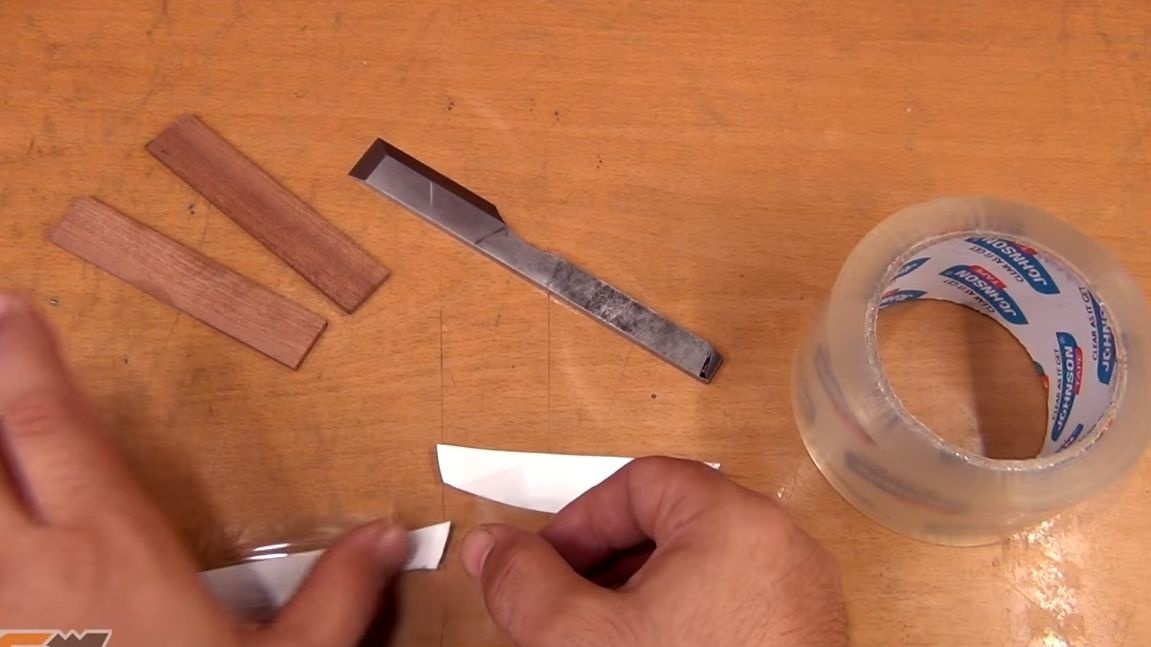
Now you can make the lining for the knife, for these purposes, choose a beautiful durable wood. Suits will need quite thin, so that the knife fits comfortably in your hand. You can cut the board in half using a regular hacksaw.
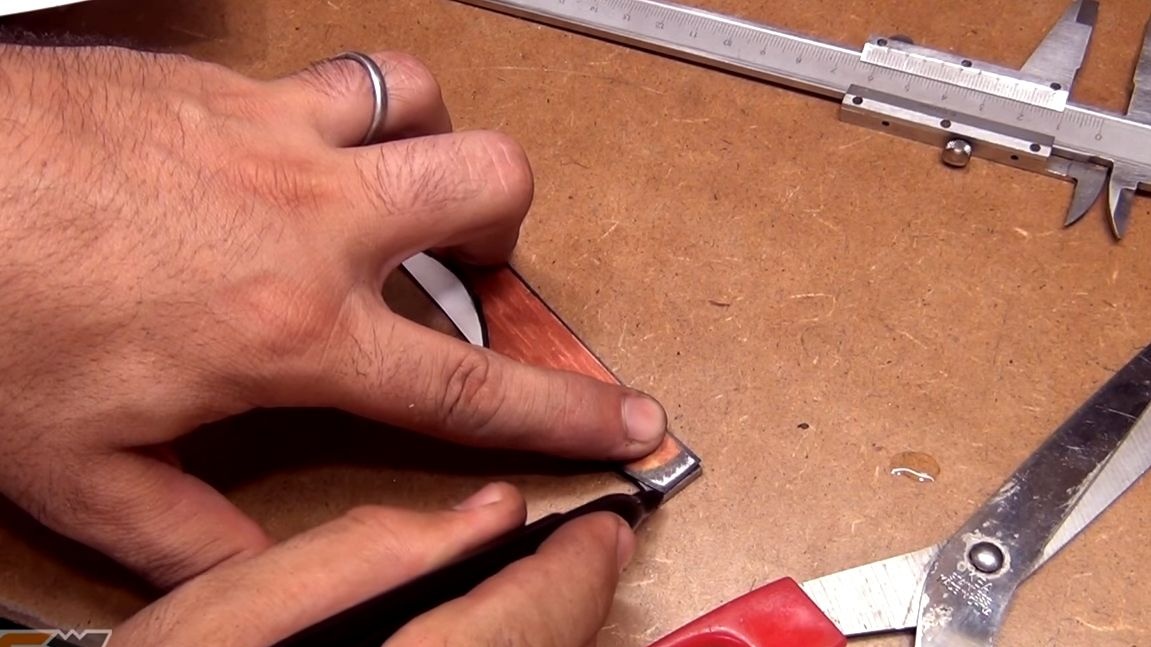
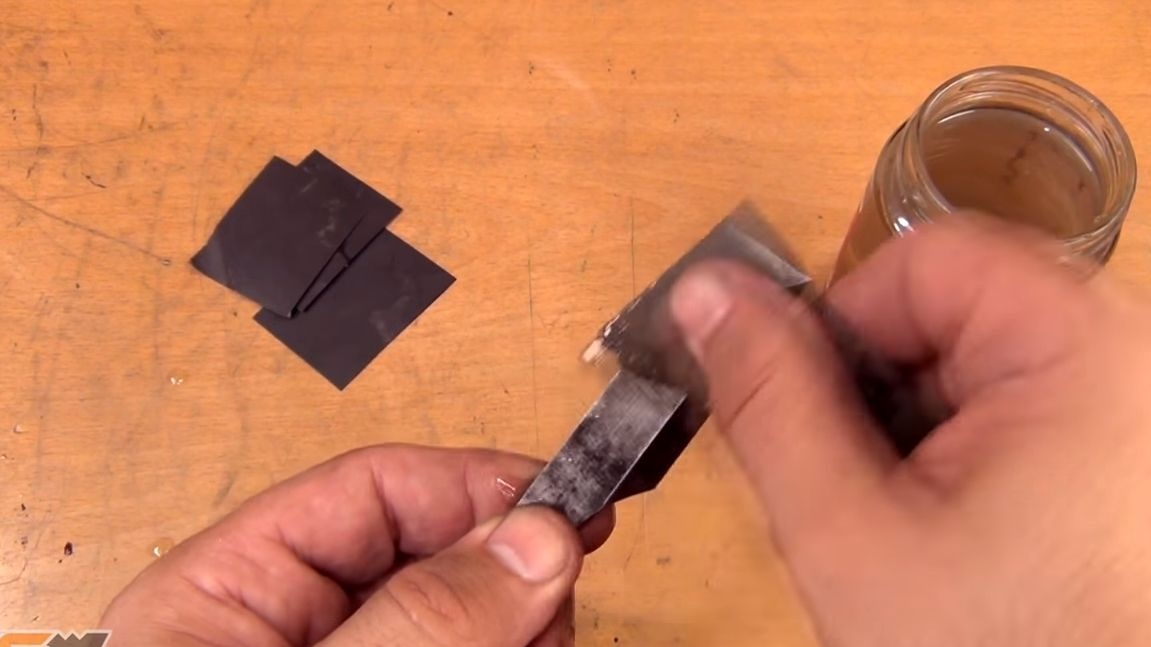
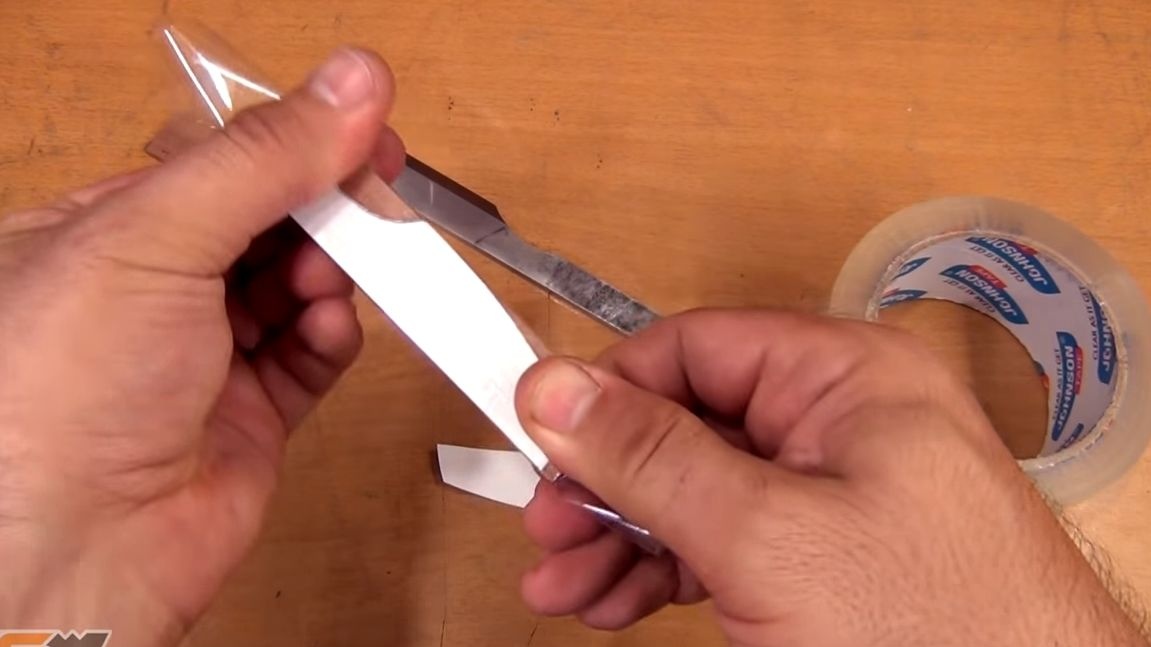
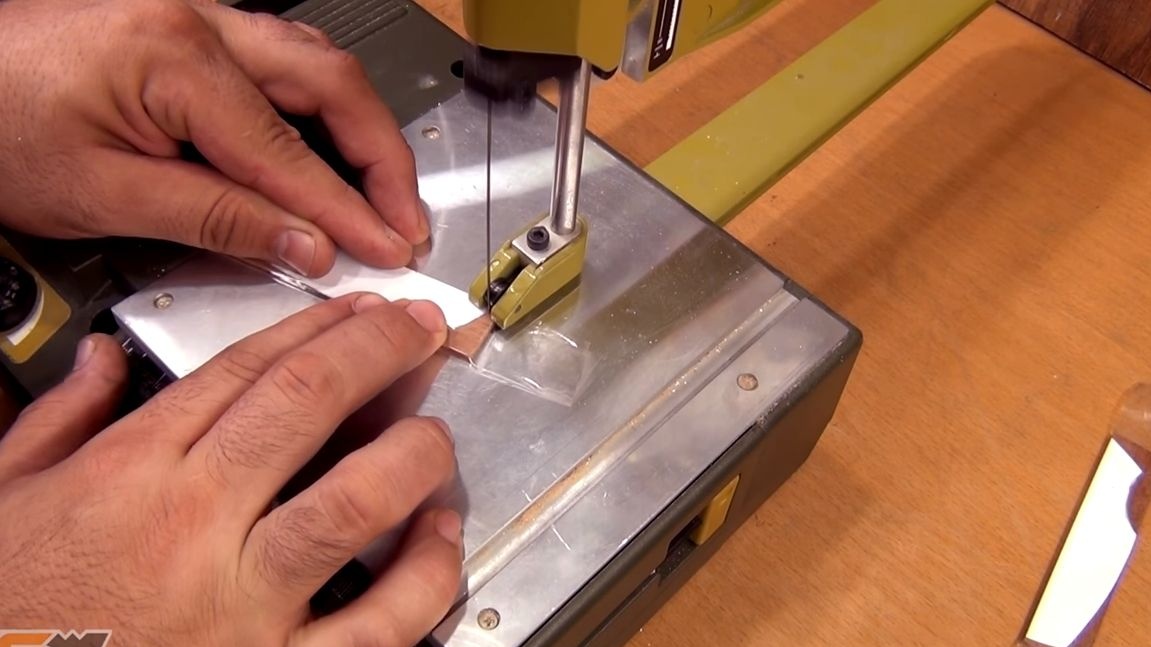
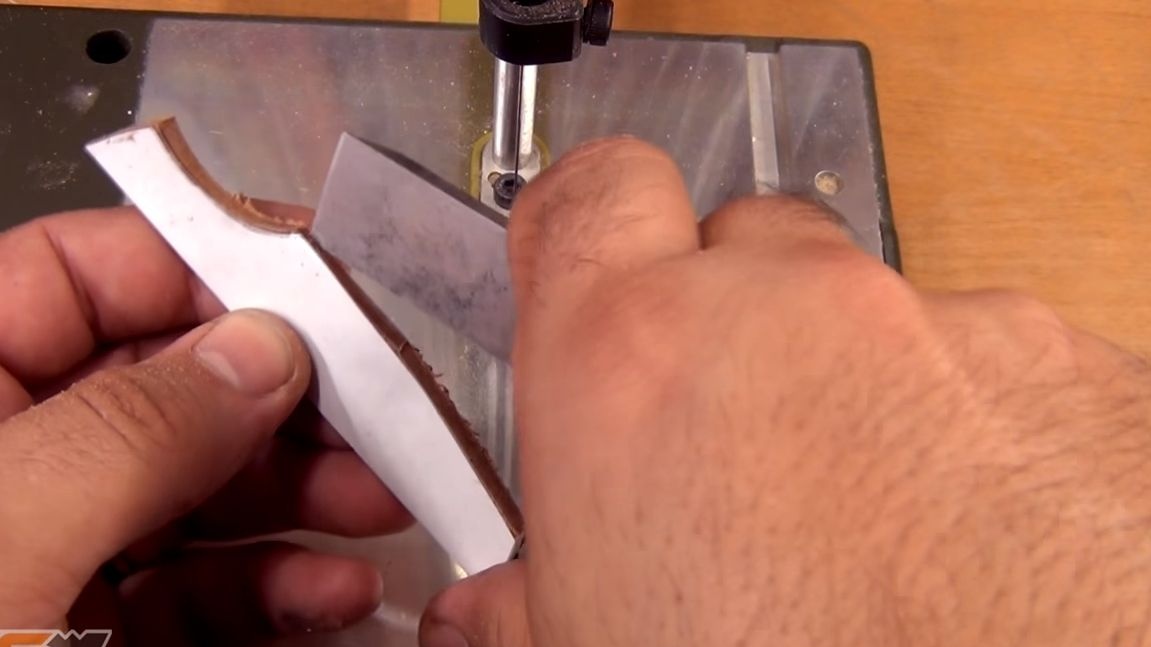
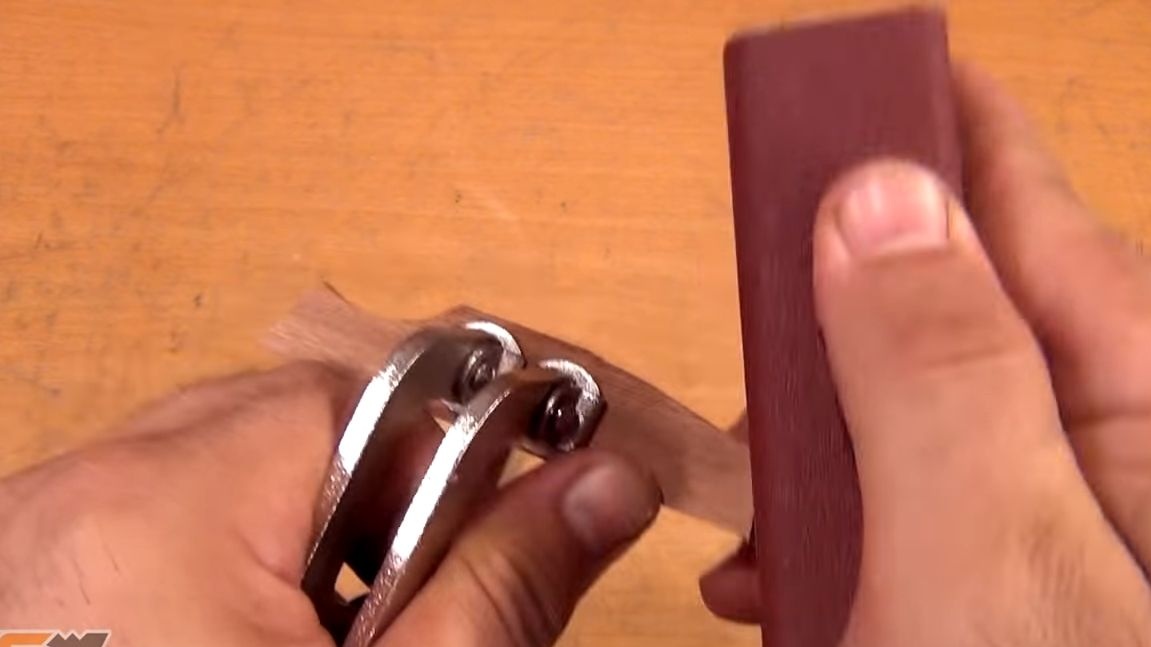
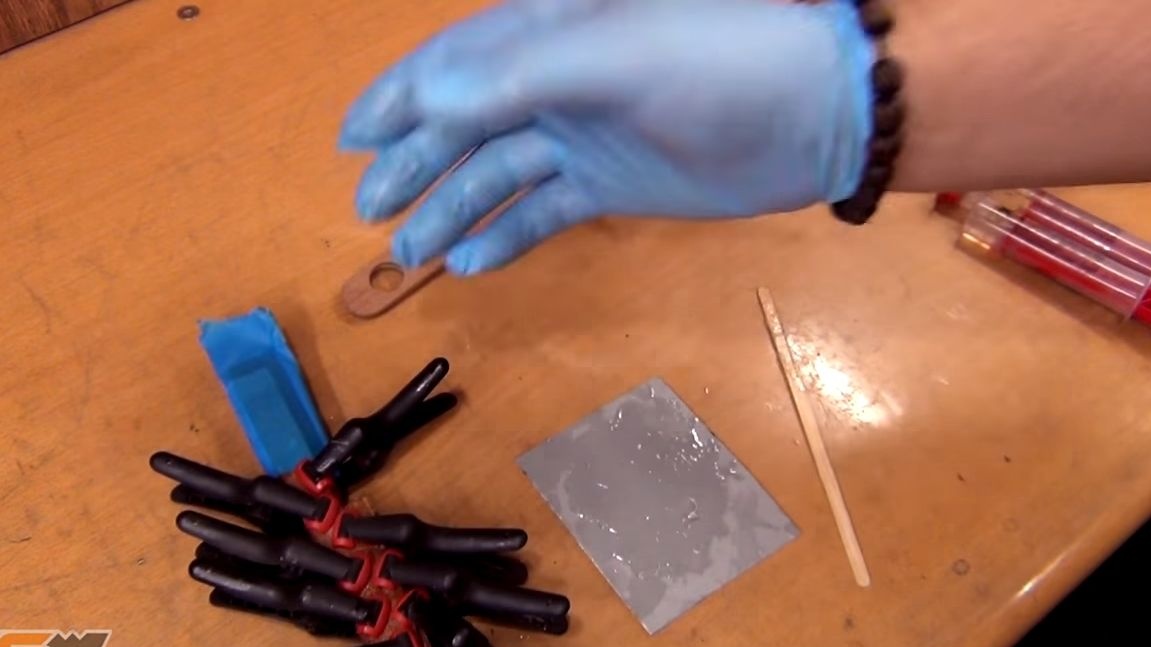
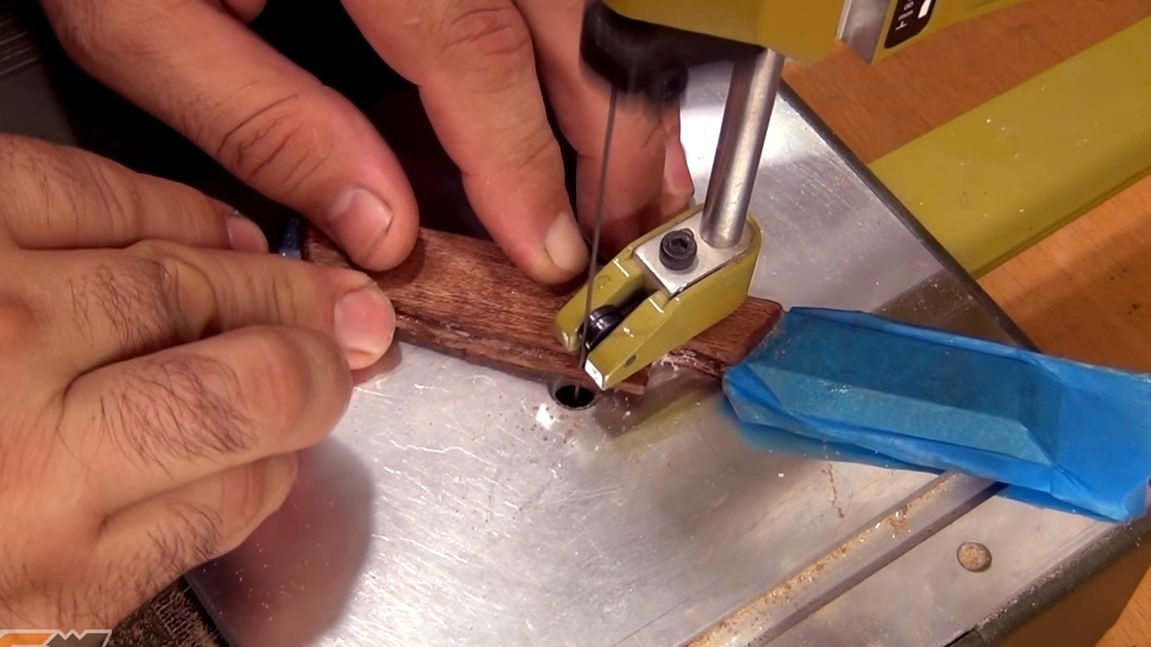
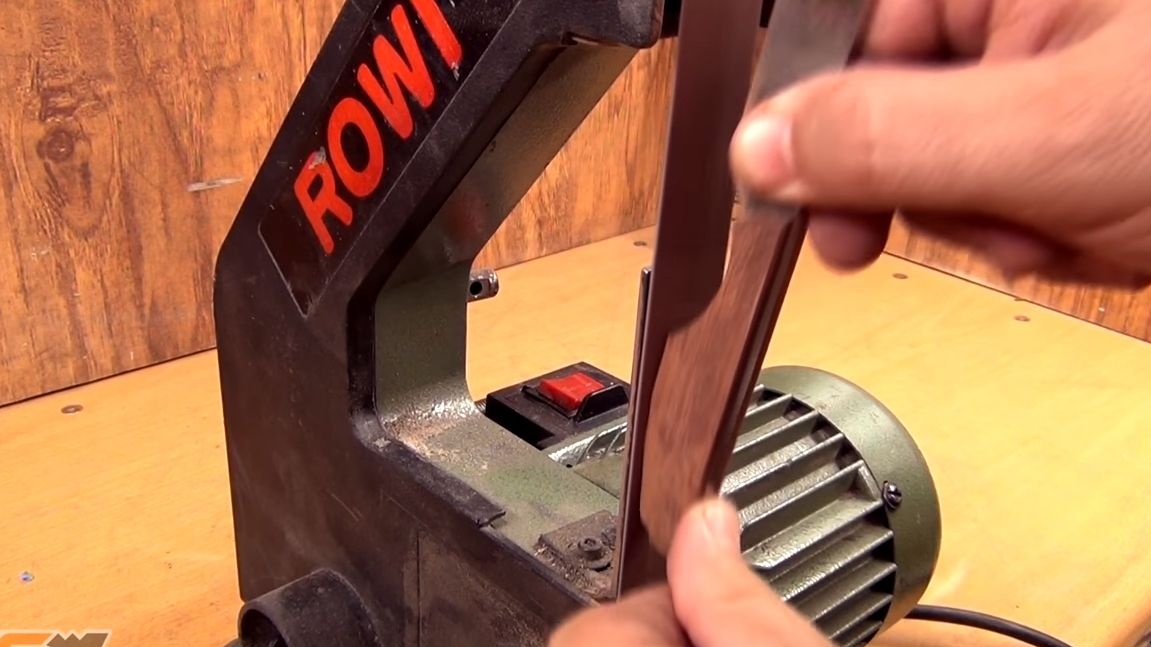
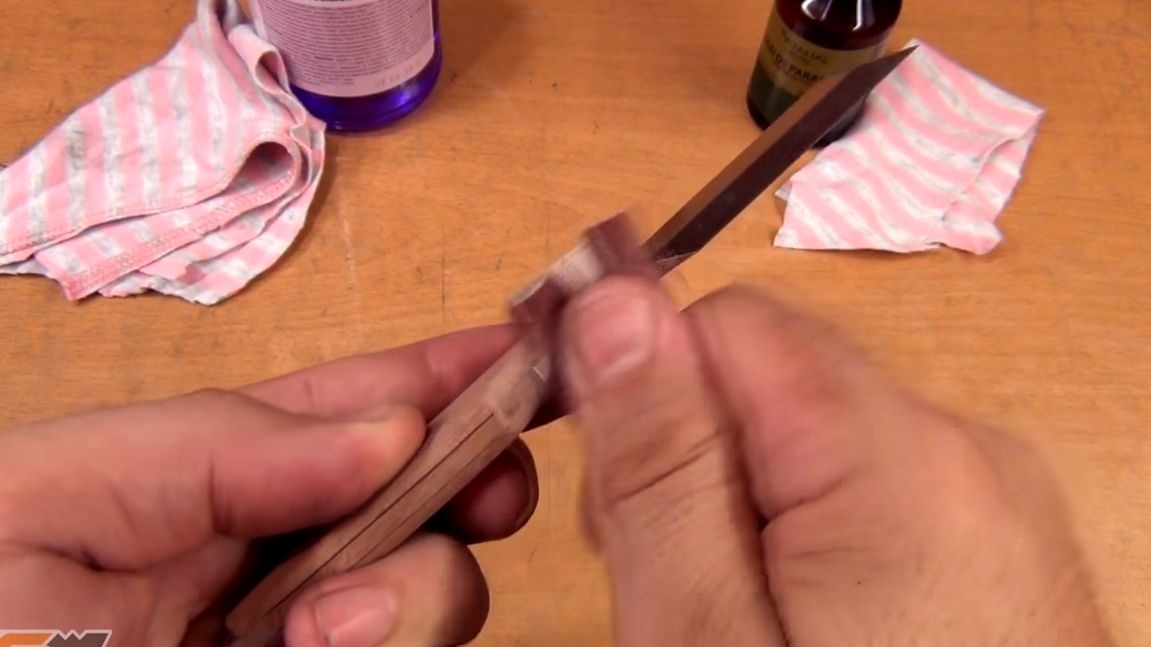
First, cut out two rectangles of the required size, and then glue paper patterns to them. For gluing, the author uses ordinary tape. Cut the pads using a jigsaw, remove the tape with a blade already made.
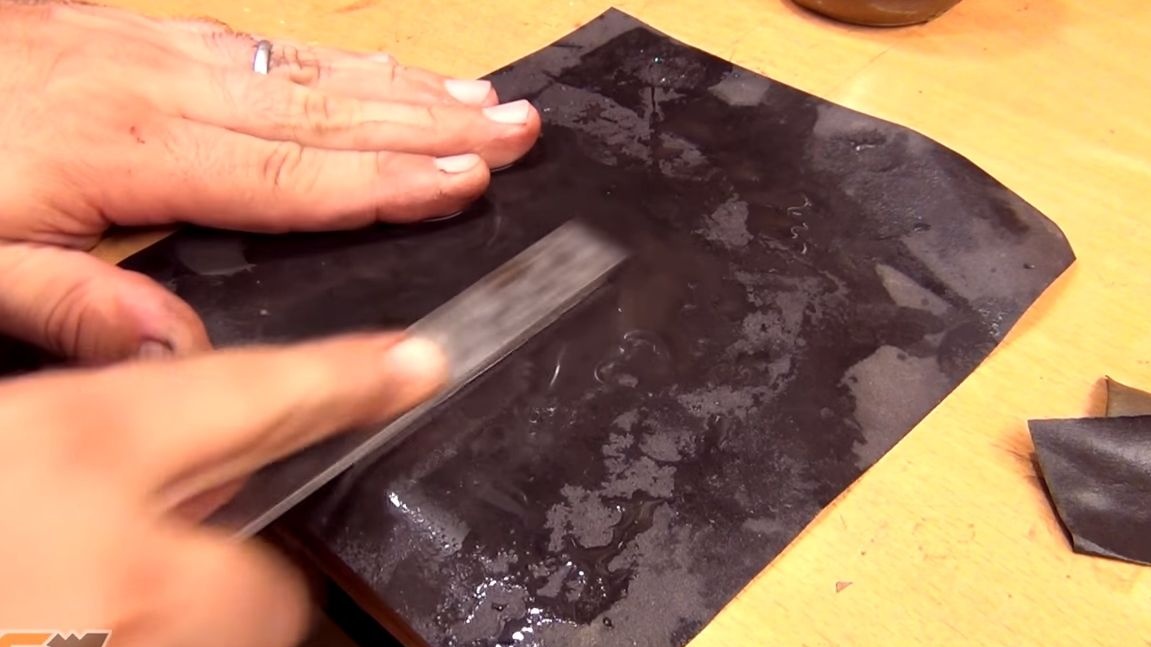
After that it is advisable to squeeze both parts with a clamp and walk along the contour with a file or emery cloth to make the parts the same.

Step Eight. Bonding and bonding
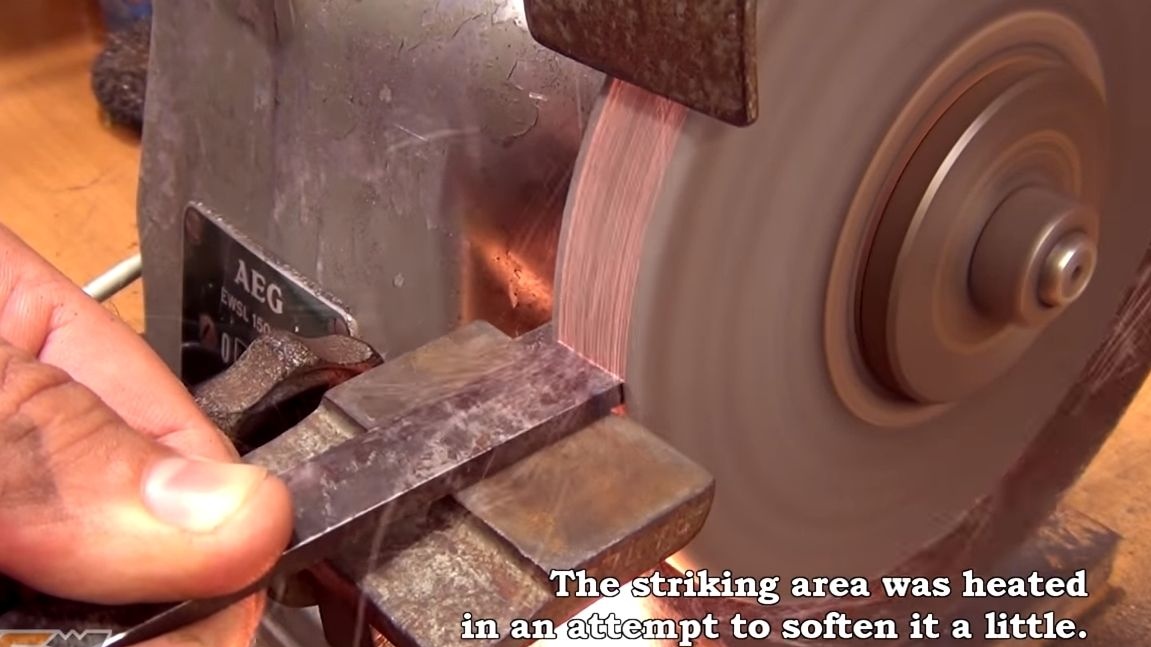
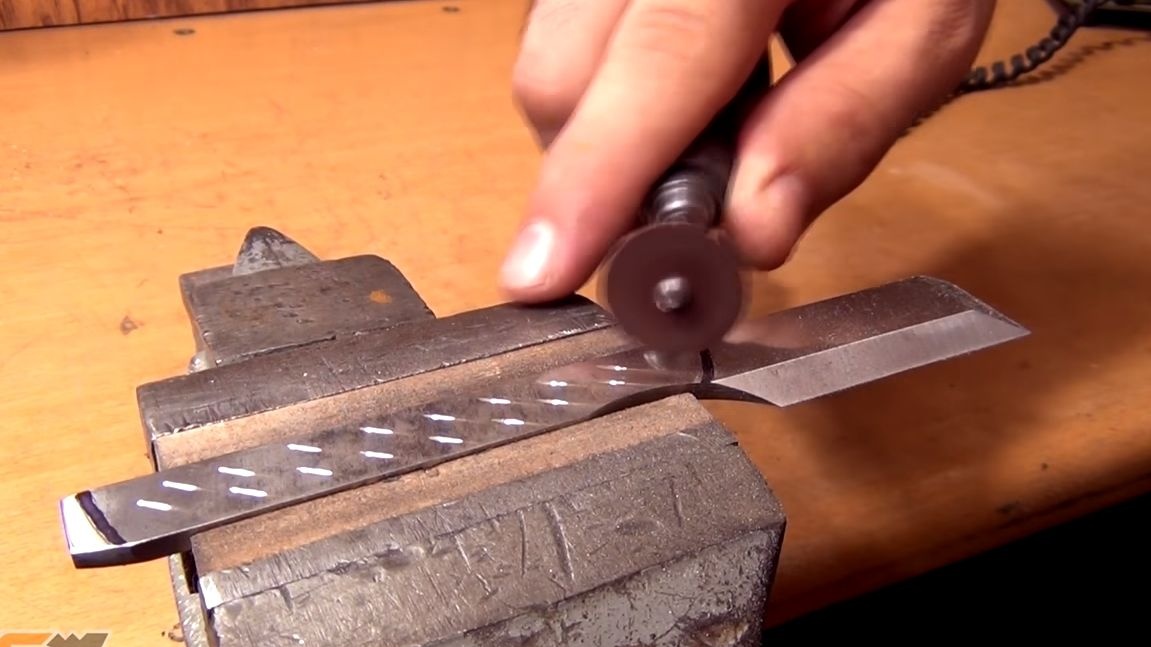
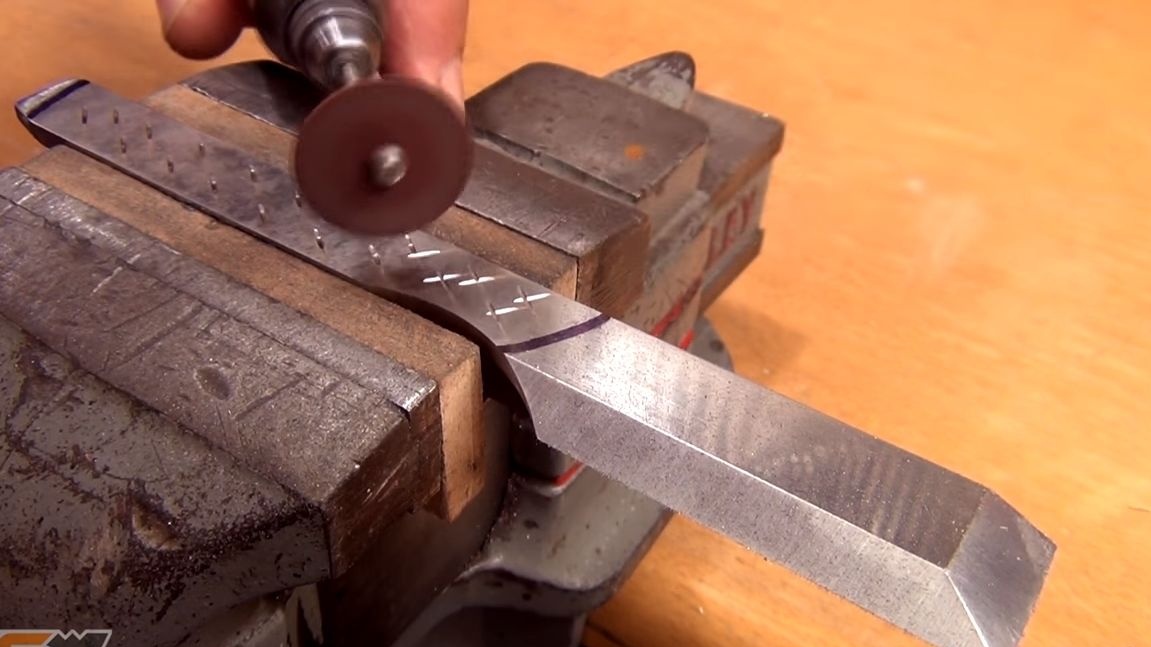
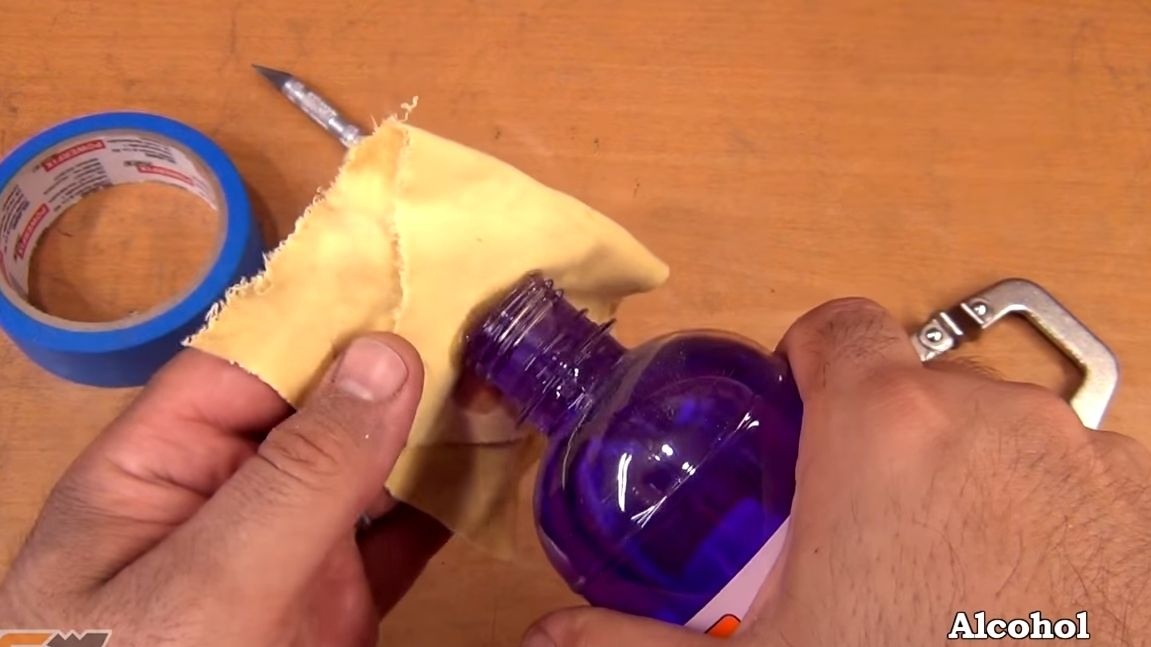
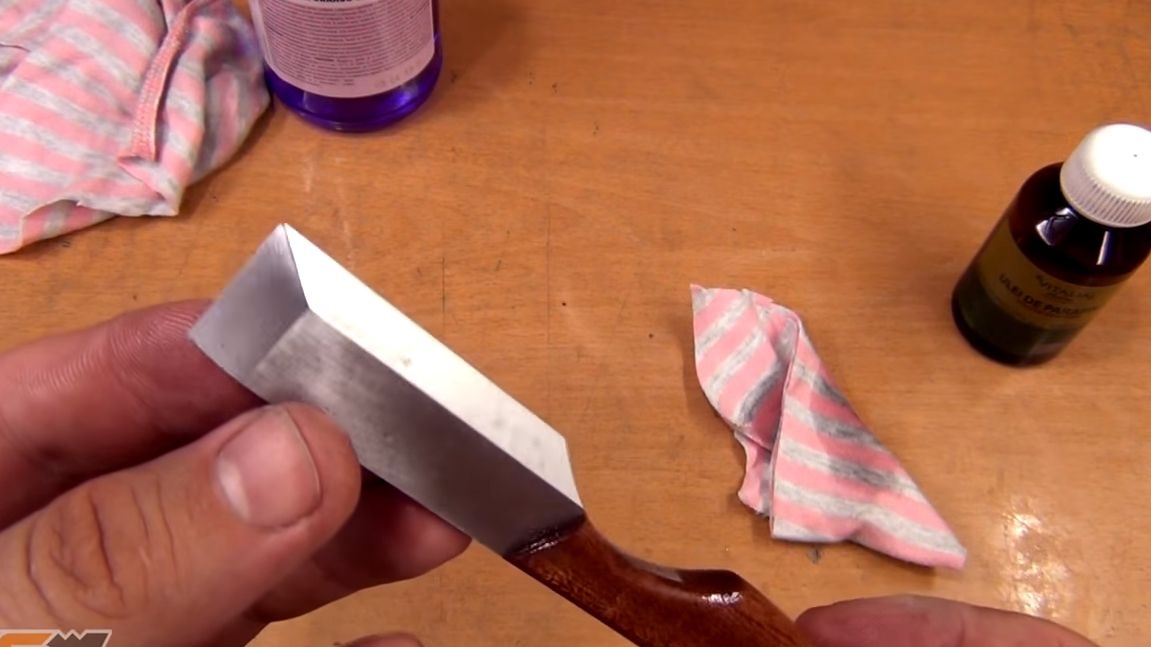
Before gluing, you need to prepare the metal so that the adhesive adheres well to it. For this, the author decided to put “crosses” on that part of the blade where the overlays will be. You can make such grooves with a grinder, a drill and so on. You can also drill holes if you have the right drill for drilling red-hot steel. After that, the author treated the surface with large emery paper, as well as rubbed it with alcohol.

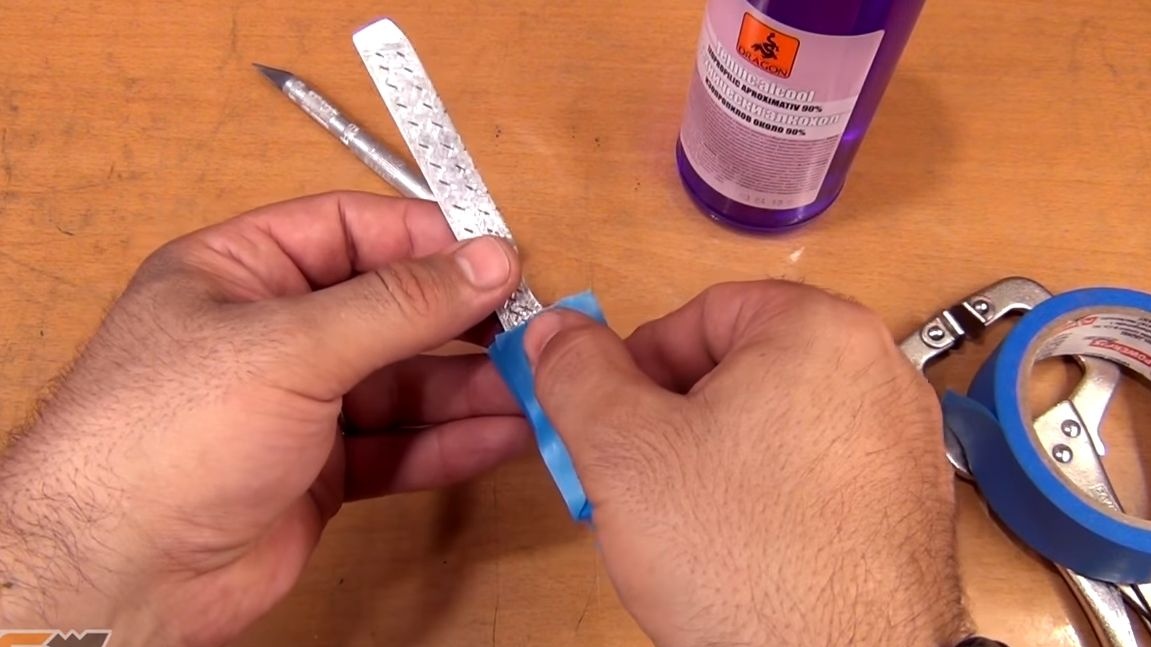
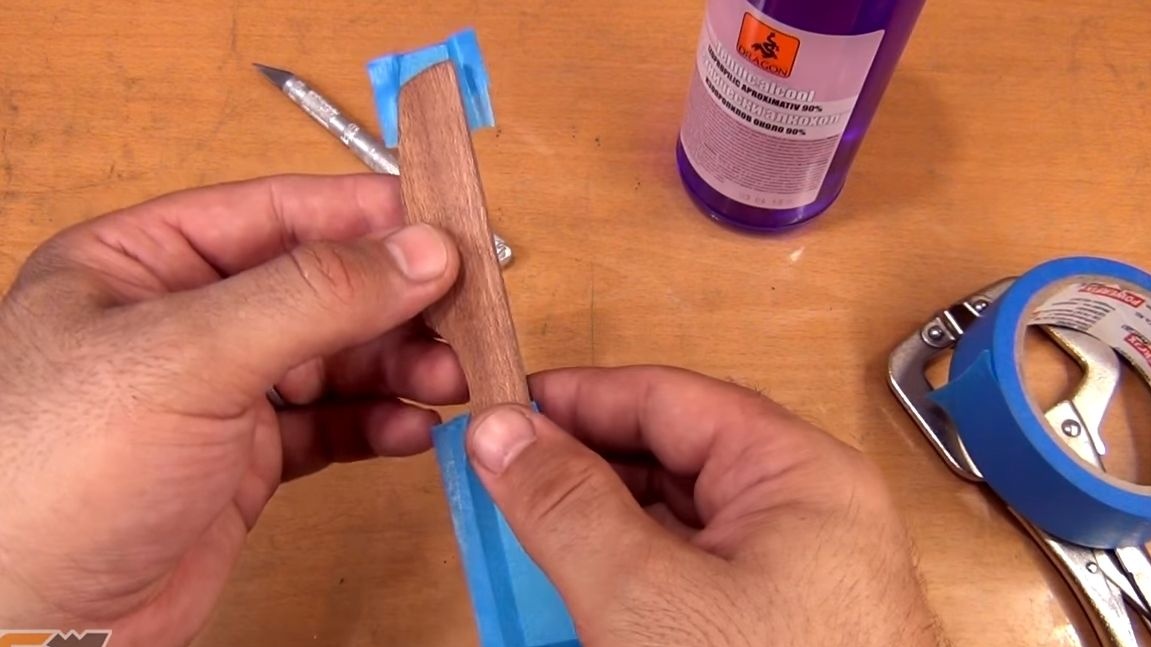
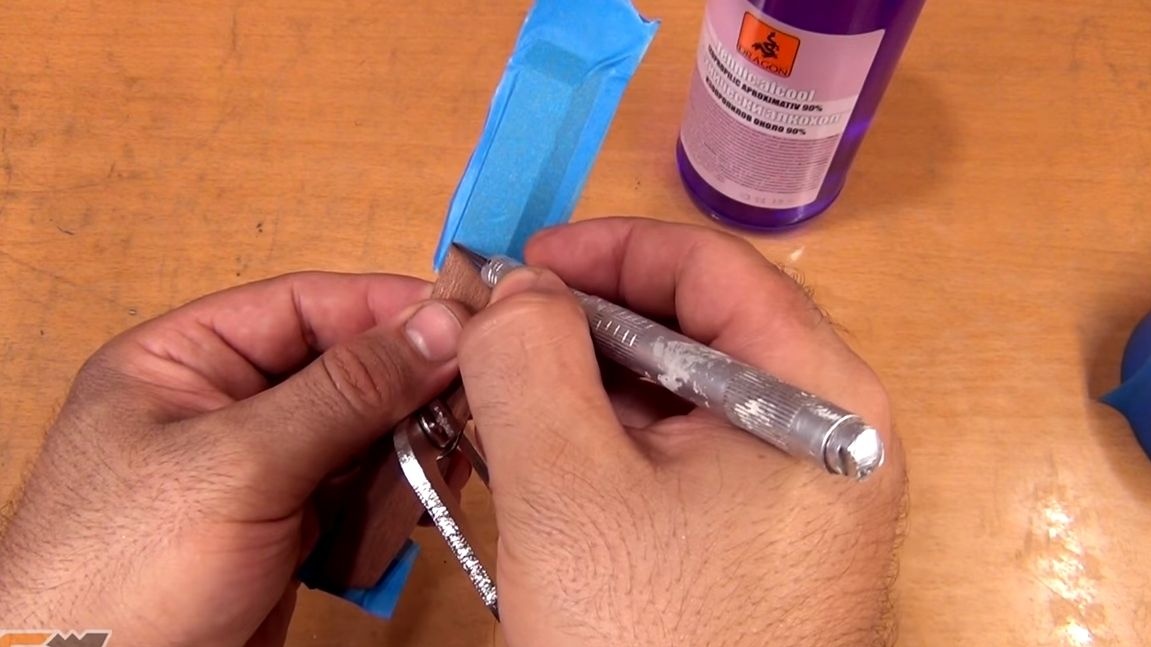
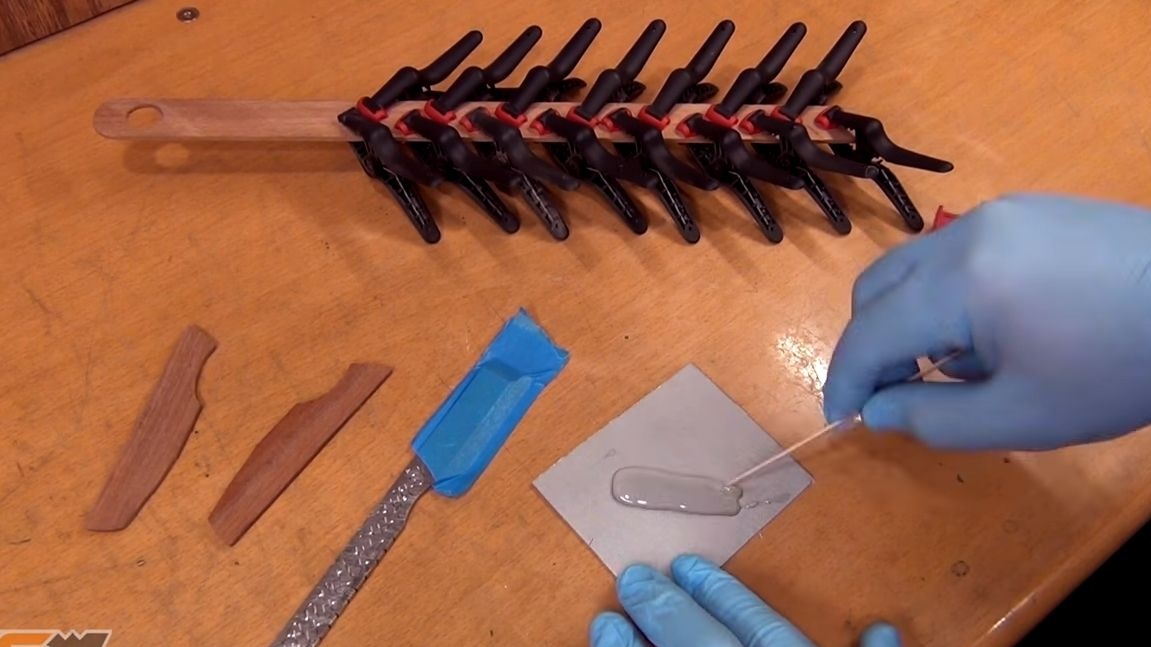
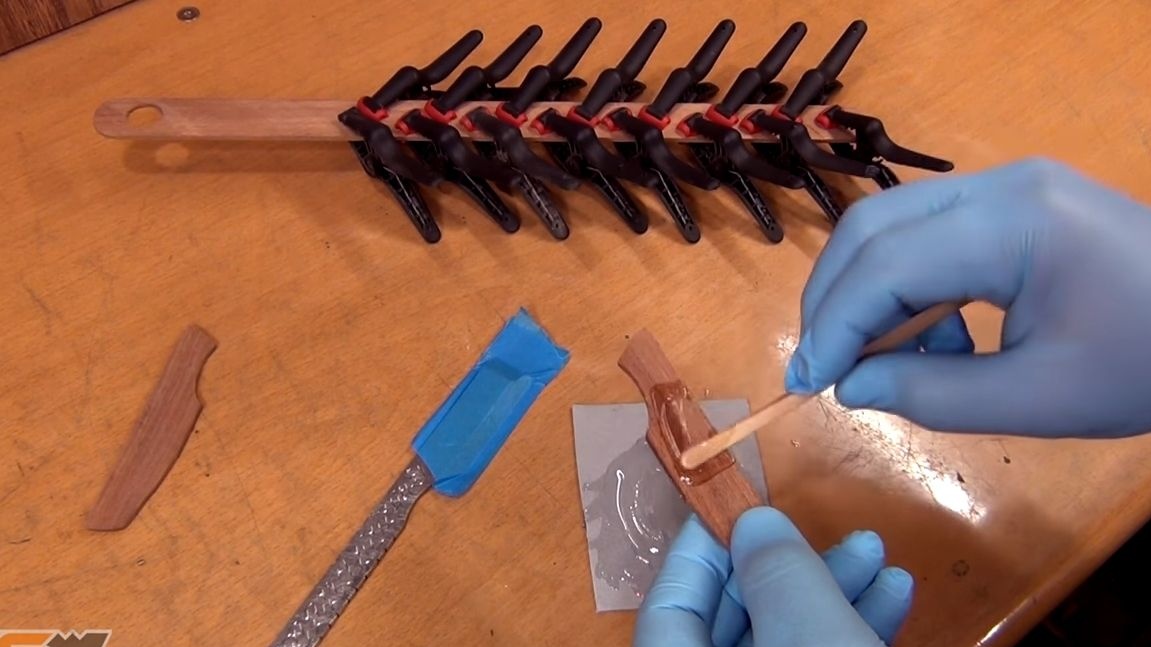
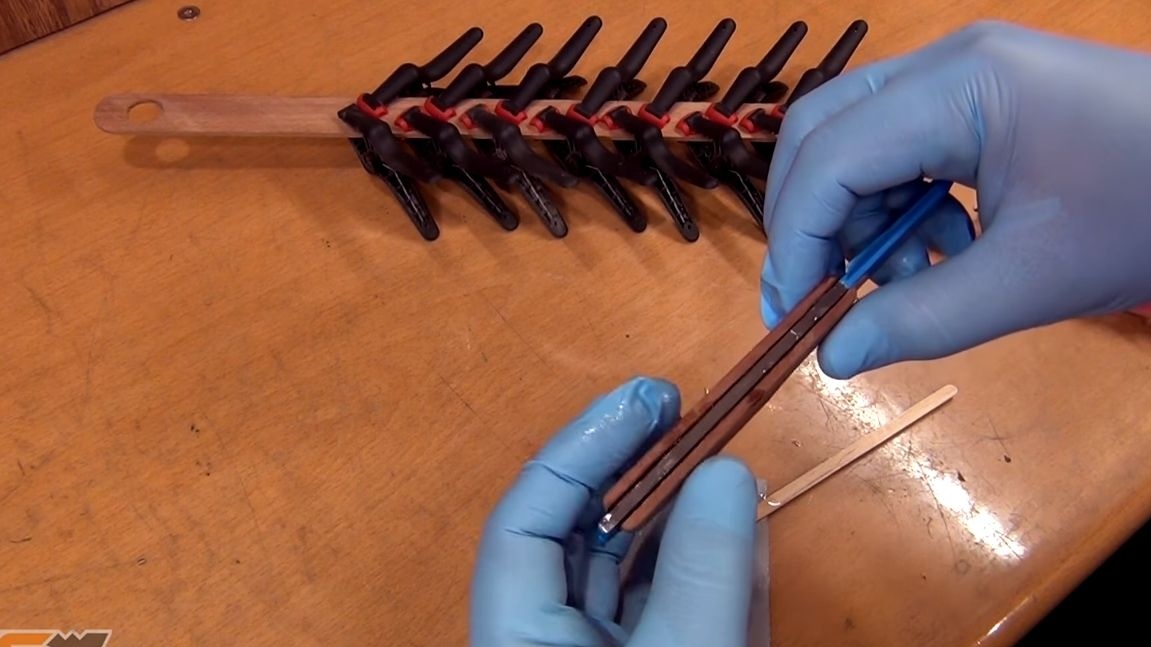
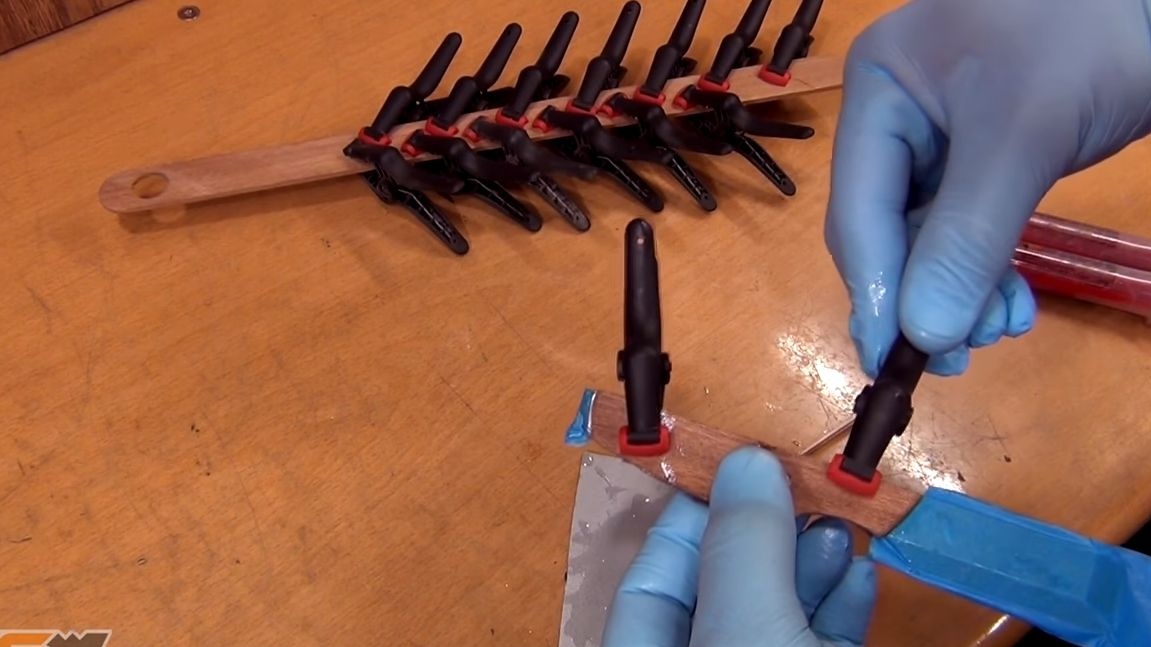
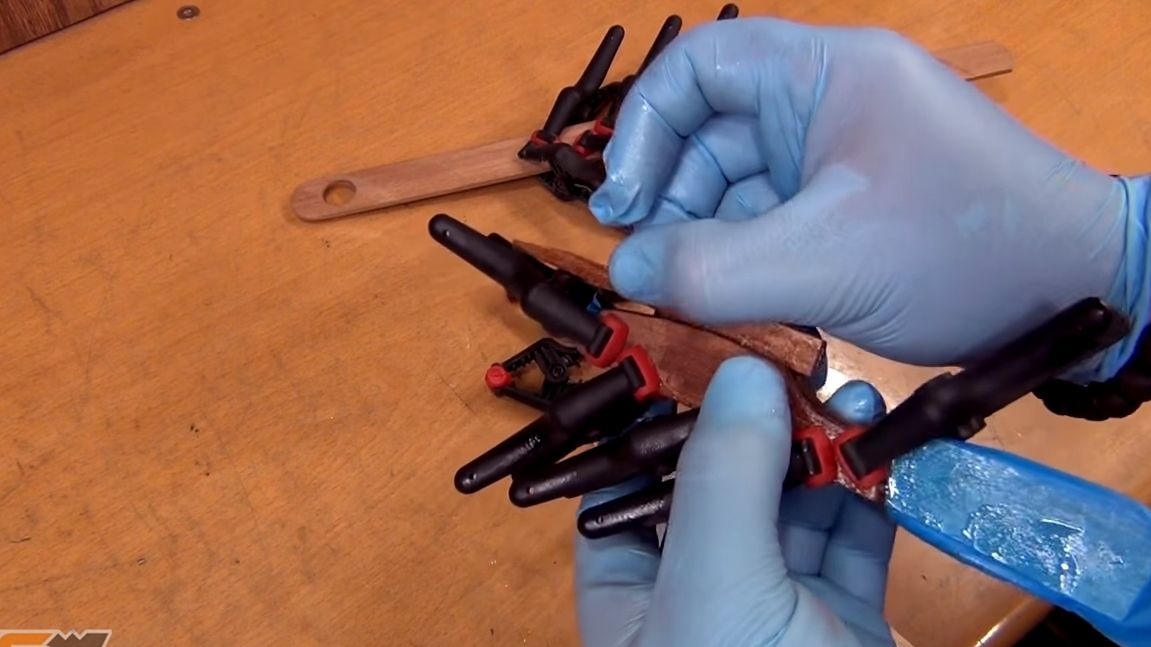
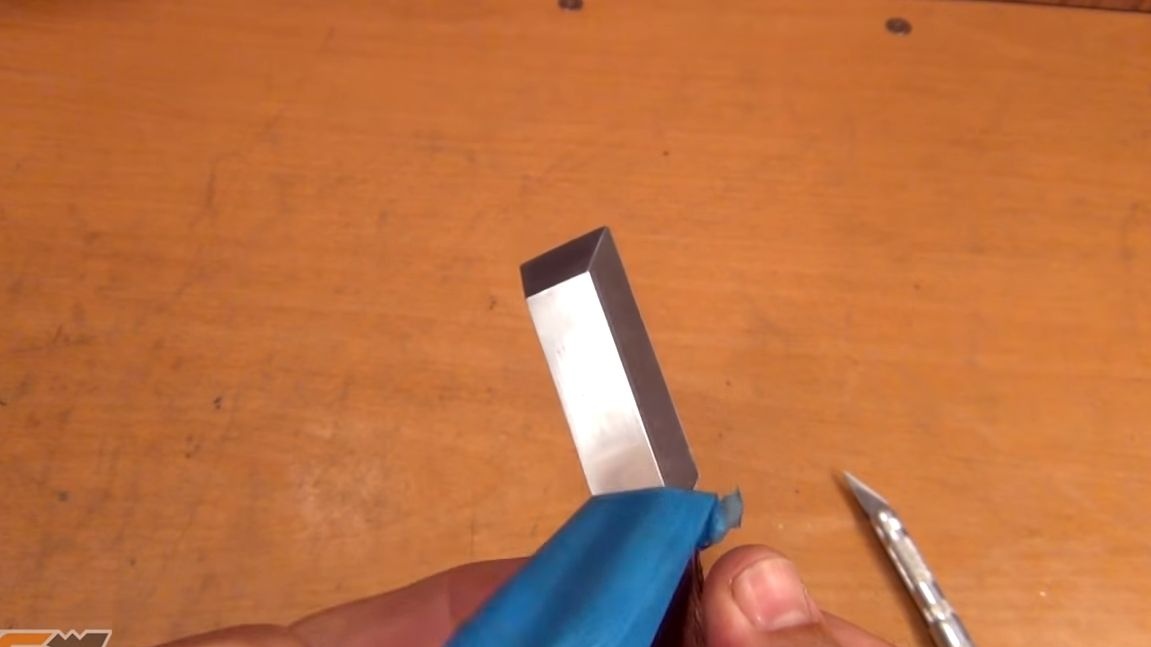
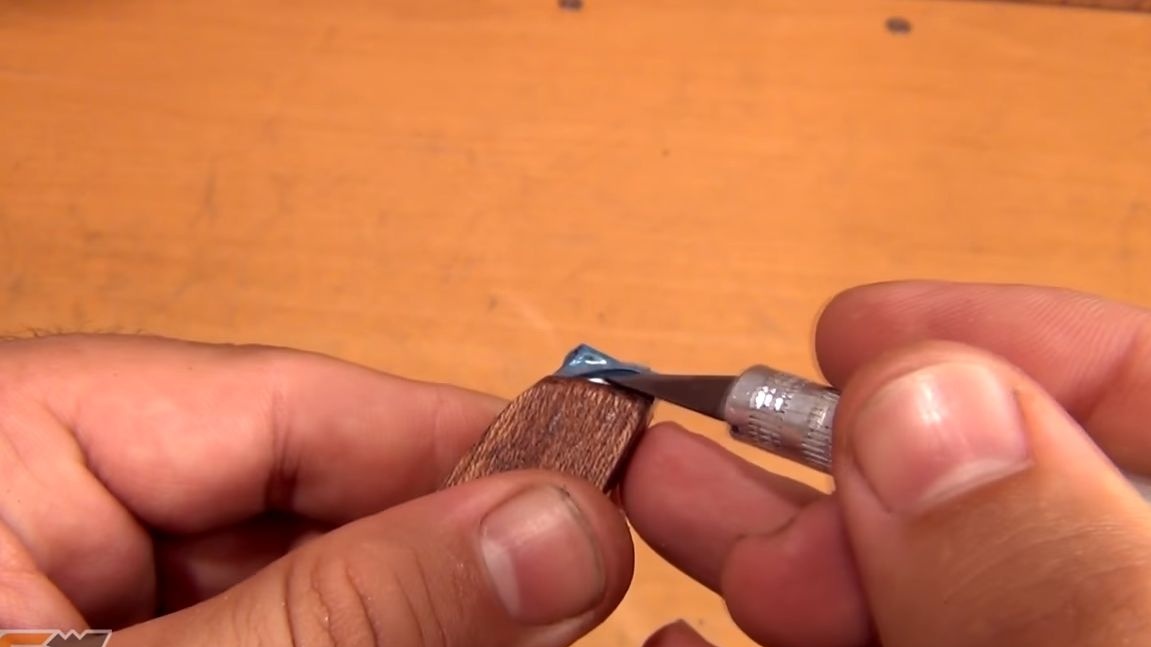
You can start gluing, but before that, take the blue electrical tape and seal the areas of the knife where there should not be glue. This will save you from the need to then clean the dried glue from the blade. Press the handle and cut off excess sections of electrical tape with a sharp knife.Now we dilute the epoxy with the hardener and apply to the lining. It is advisable to grease the metal with epoxy so that it spreads well along it. Then hold the handle with a clamp and let the glue dry. Most of these adhesives dry for about a day.
Step Nine. Final work
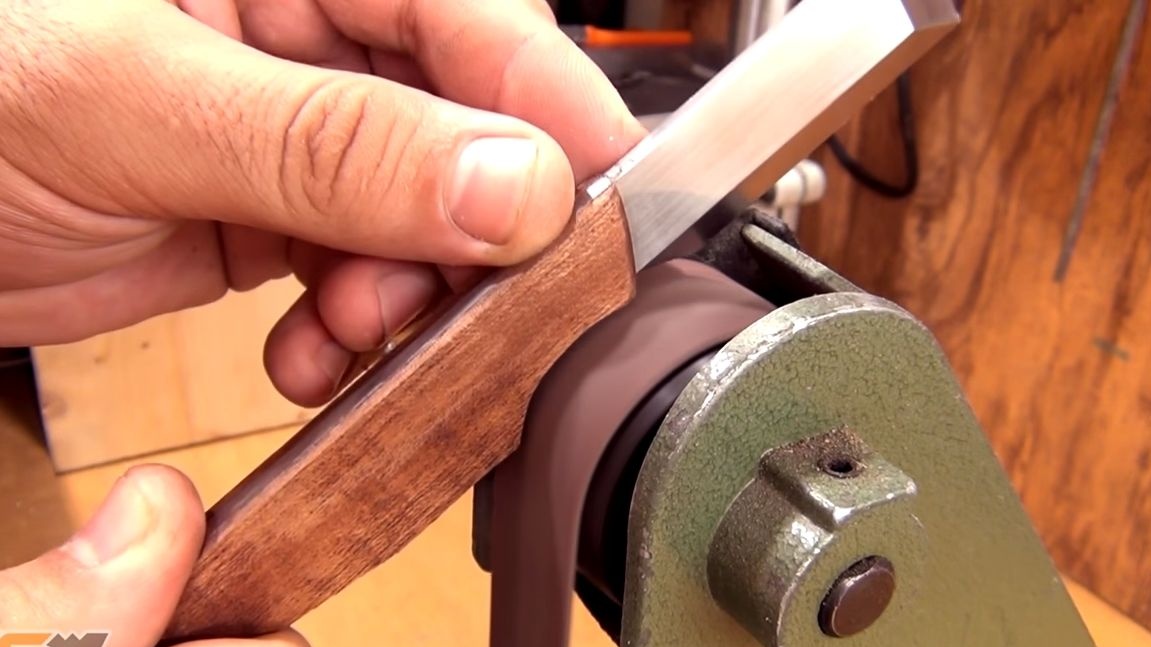
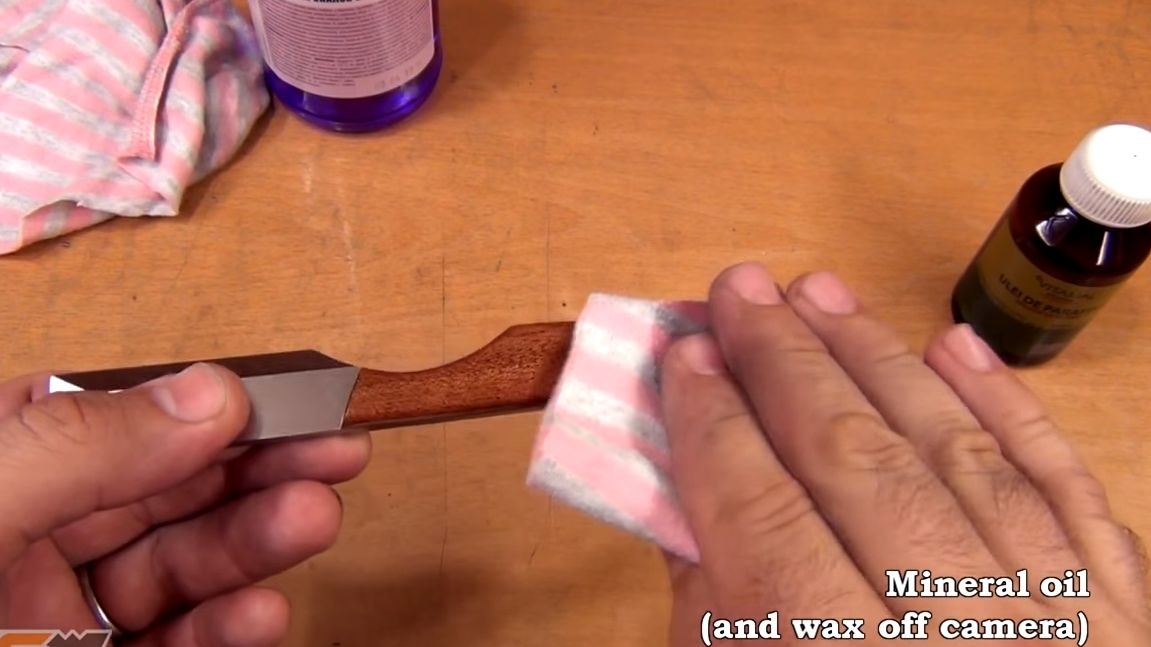
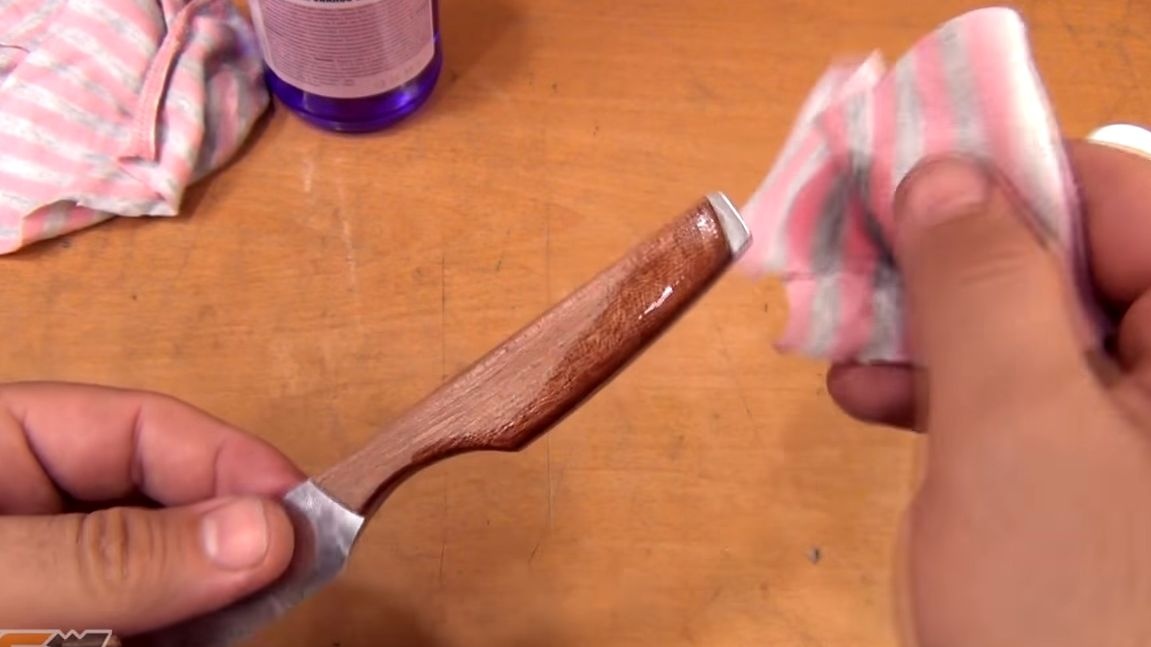

When the glue dries, remove the clamps and form the desired profile of the handle. It’s good to use a tape machine, but you can also do everything manually using files. At the end, we process everything with sandpaper, we get a perfectly smooth surface. Finally, it is important not to forget to protect the tree from moisture. Saturate it with oil, varnish or paint at your discretion. That's all, now the knife is ready, you can try it! What the author does with such a knife, look at the photo and video. That's all, good luck and see you soon! Do not forget to share your best practices with us.