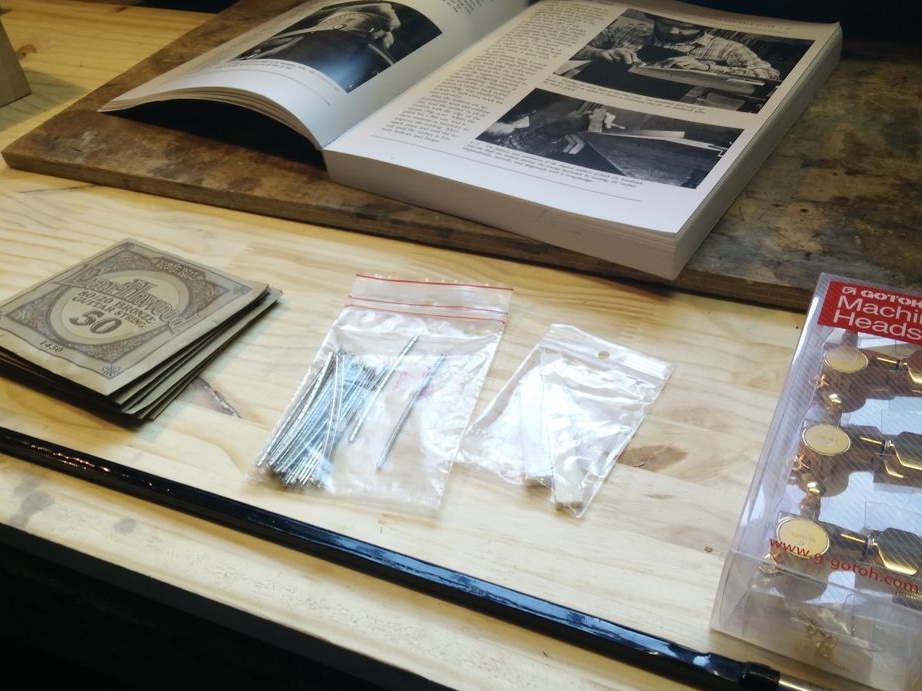
In this article we will look at making an acoustic guitar. This guitar was made by a man who not only did not know how to play the instrument, but also had minimal experience in woodworking. The master decided to make a tool after viewing
All work on the manufacture of the tool took about 300 hours. The cost of a guitar, depending on the material, is from 200 to 1000 euros. This is of course more expensive than an entry-level purchased guitar, but the satisfaction of playing an instrument made by do it yourselfworth it. Moreover, according to musicians, the guitar sounds better than industrial designs.
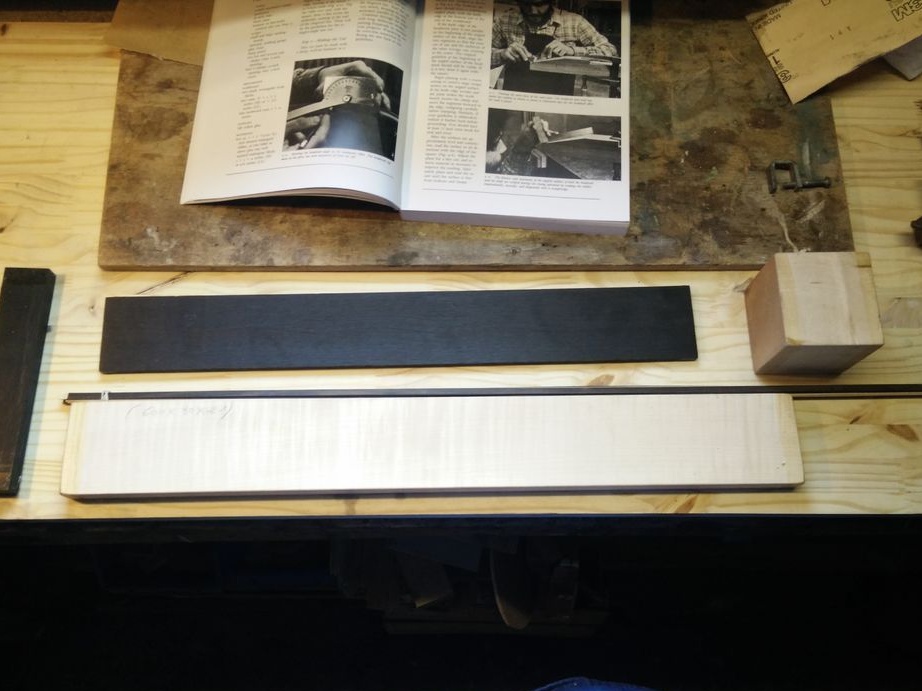
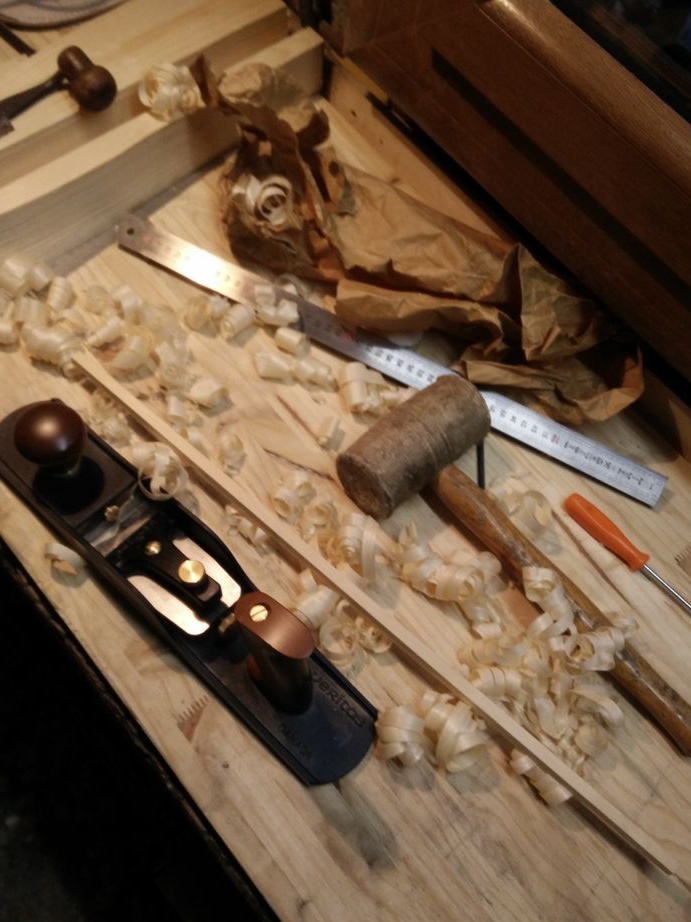
To make a guitar, the master used the following
Tools and materials:
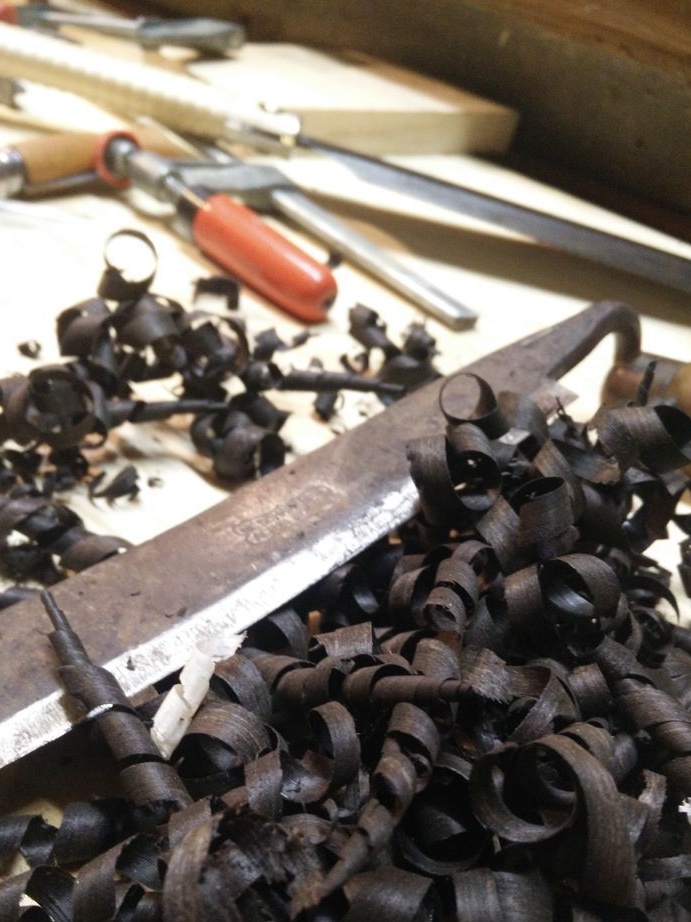
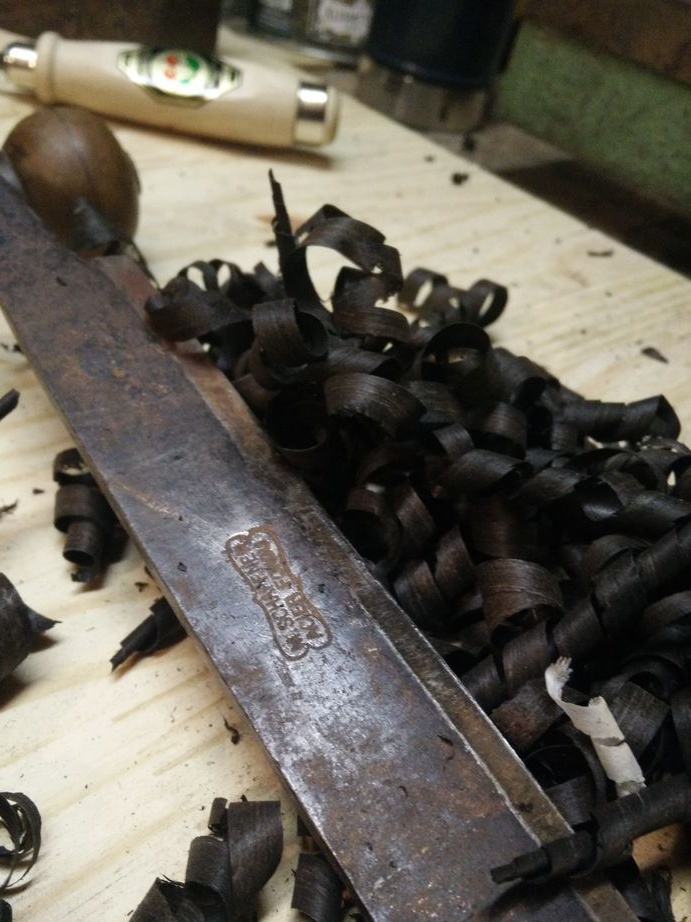
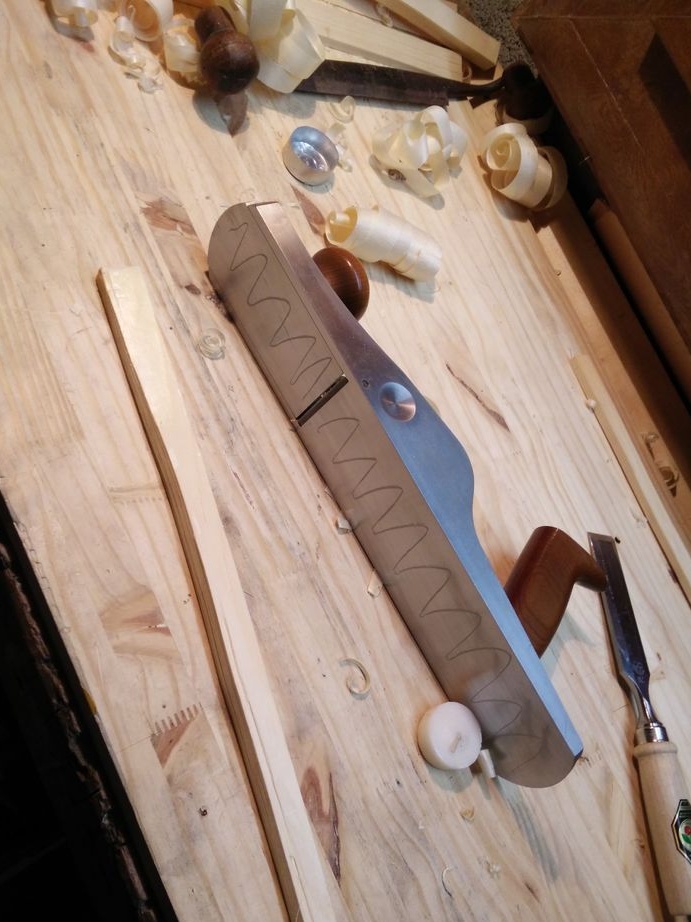
-Cycle (scraper);
- Chisels;
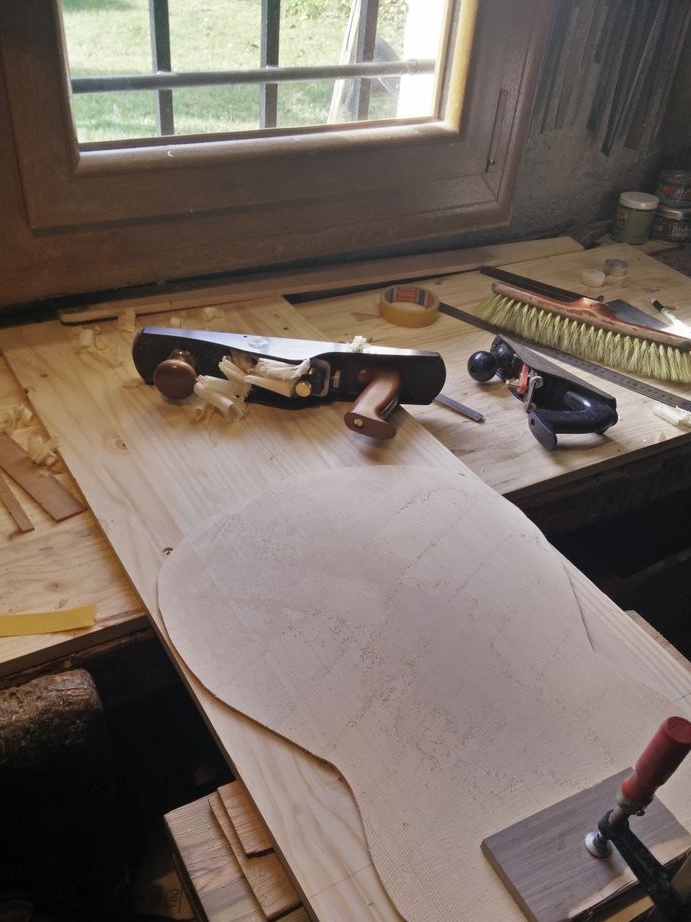
-Plane;
-Manual drill;
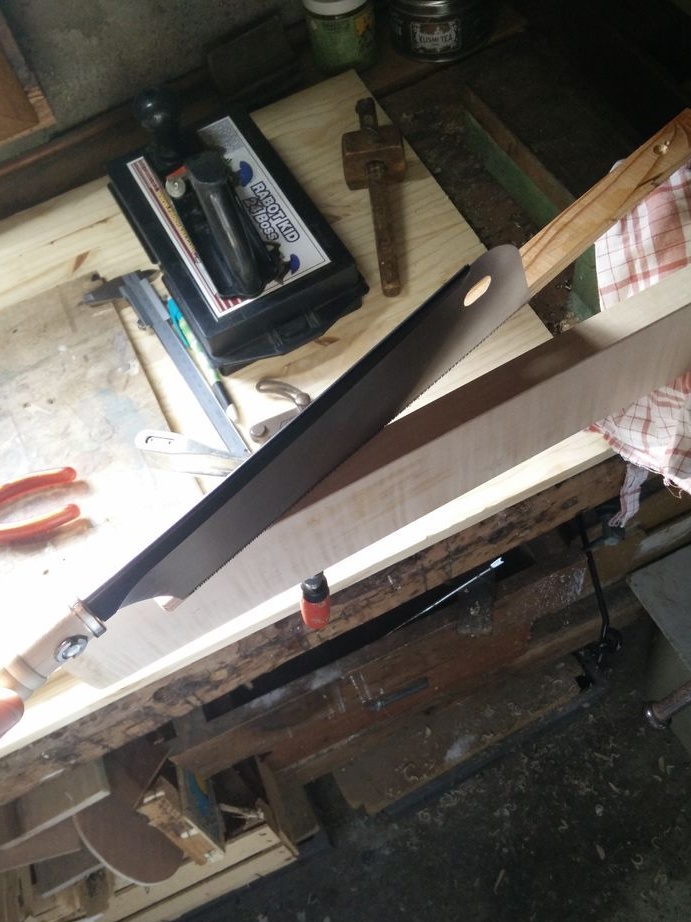
-Hacksaw;
-Bandsaw machine;
- Files;
- Clamps;
-A printer;
-A computer;
-Rule;
-Pencil;
- mallet;
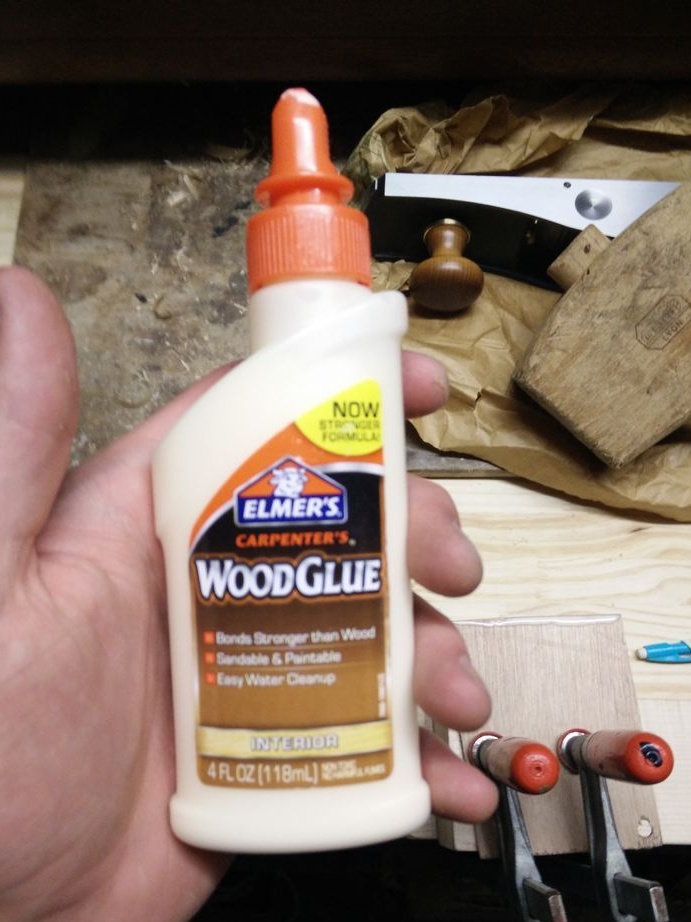
-Glue;
-Scissors;
-Vise;
- Paint tape;
-Gas-burner;
-Hammer;
-Screwdriver;
-Dremel;
-Sandpaper;
-Polishing;
- Water-based coating;
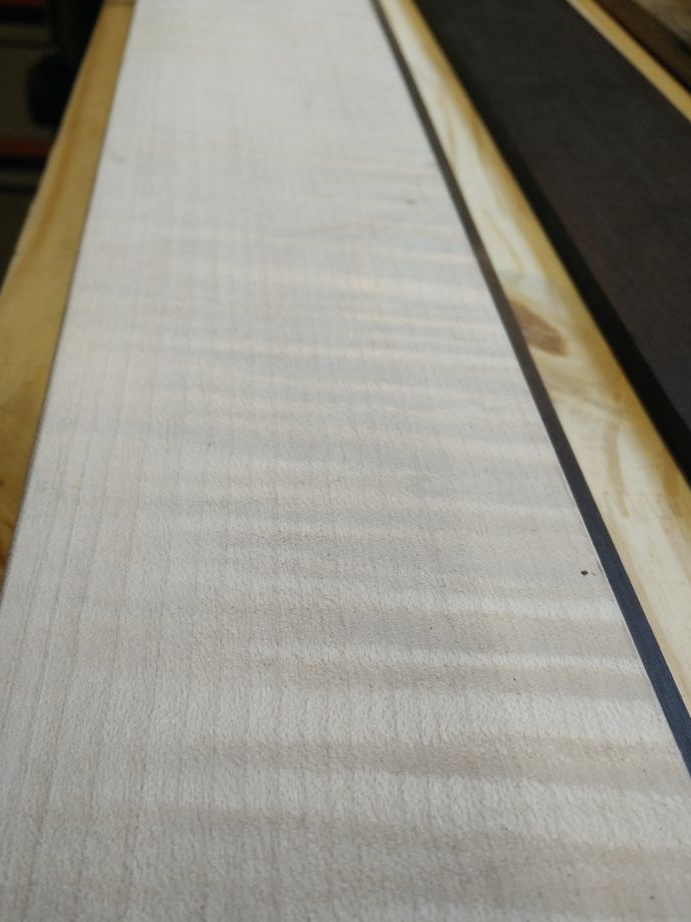
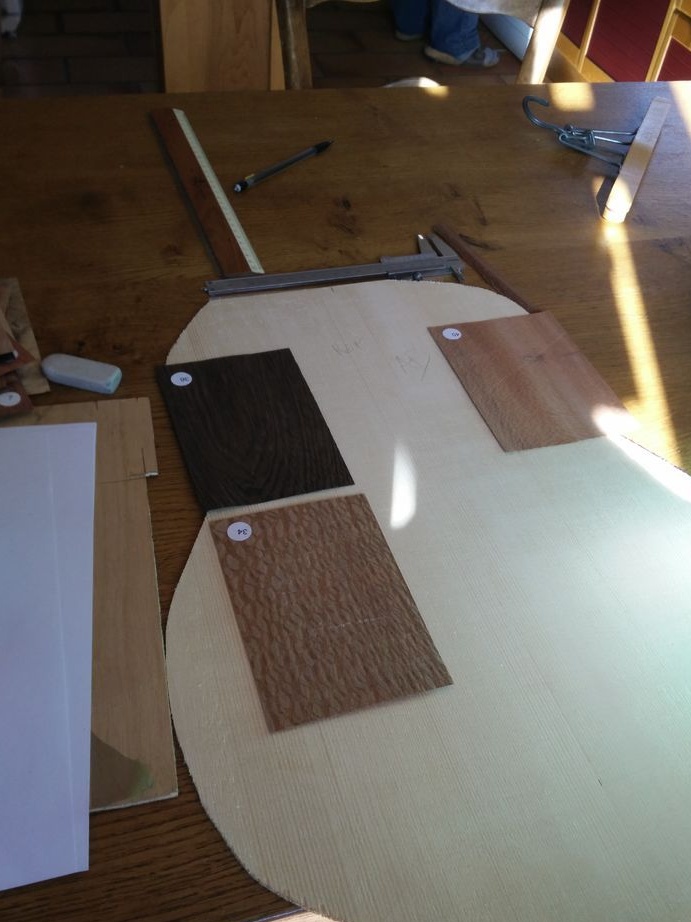
Spruce (upper deck);
-Cherry (lower deck and shell);
-Ebony (pad, stand);
Maple (vulture);
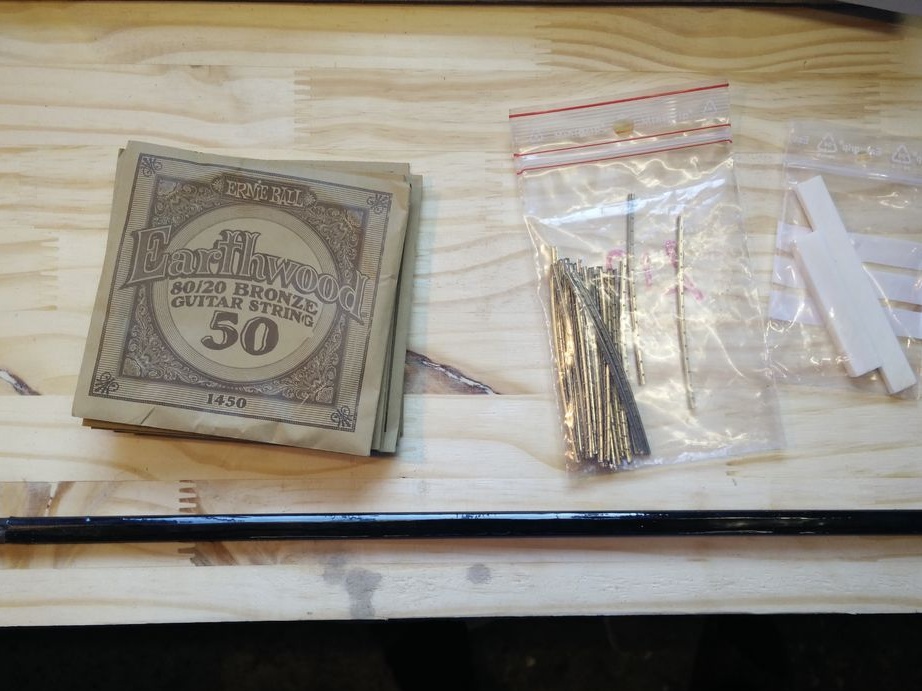
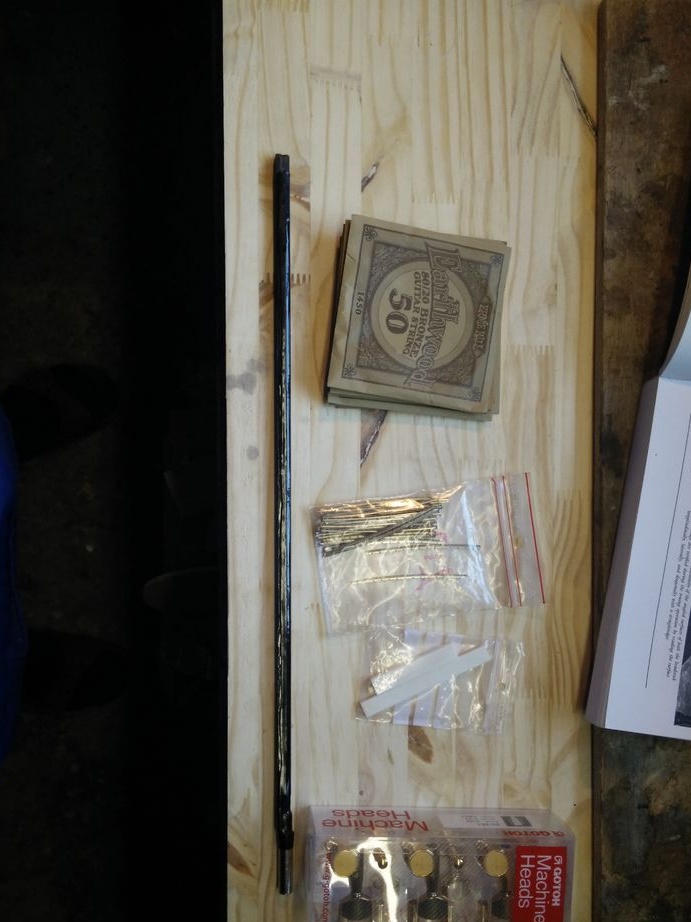
-Kolki;
-Strings;
-Lifts;
-Lada;
Anchor rod;
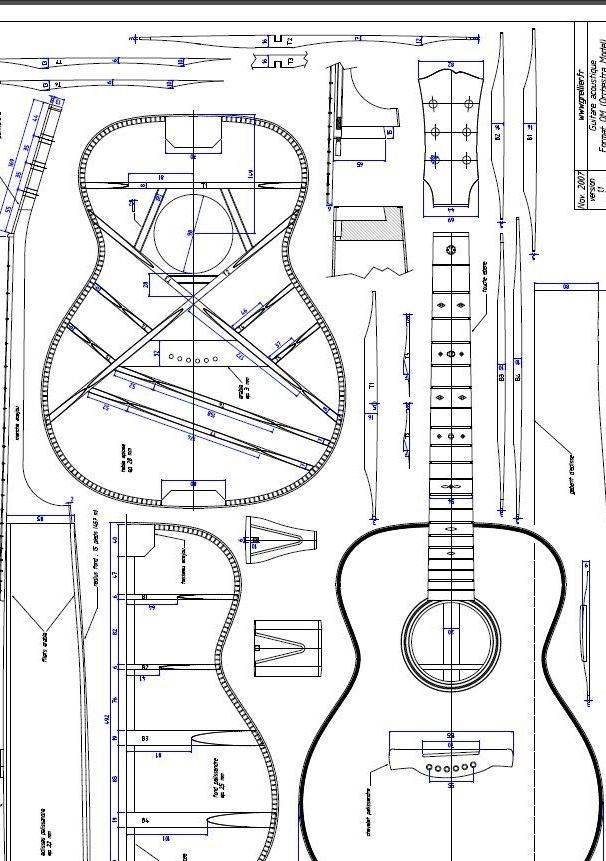
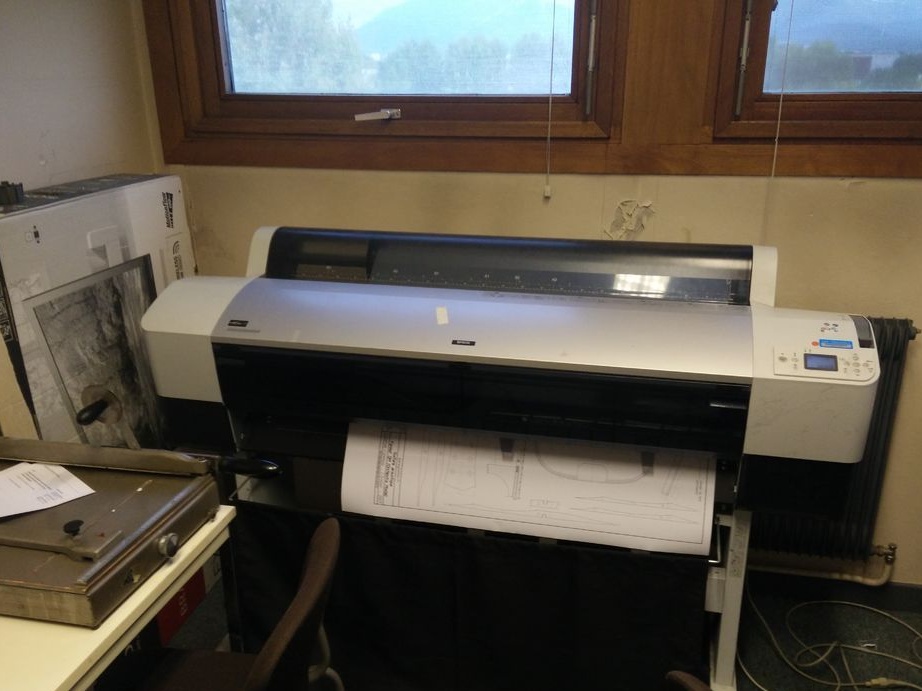
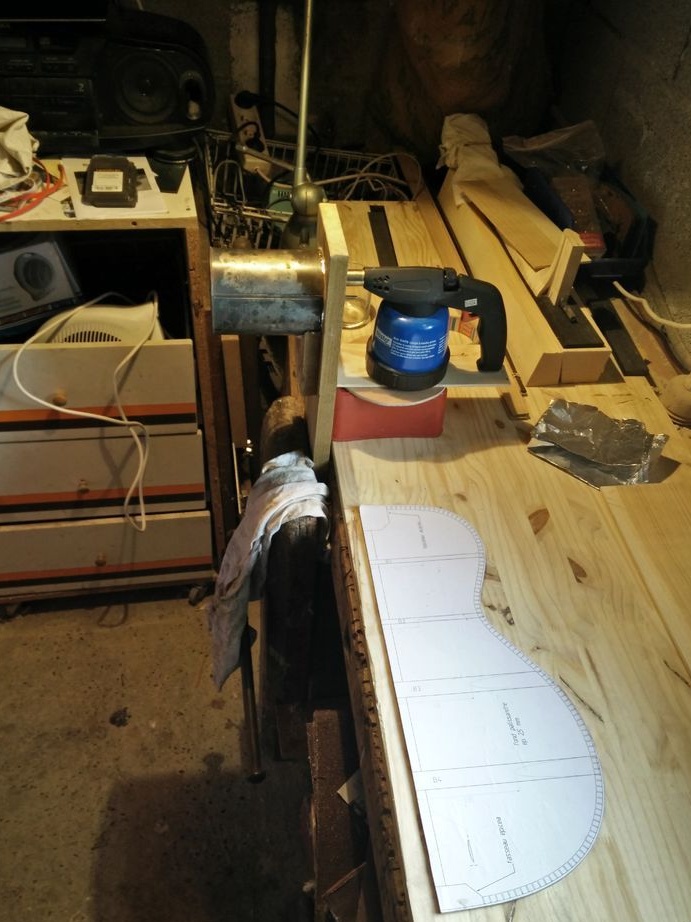
Step One: Drawing
To make the instrument, the master printed a 1: 1 drawing of a guitar on paper. You can download the drawing.
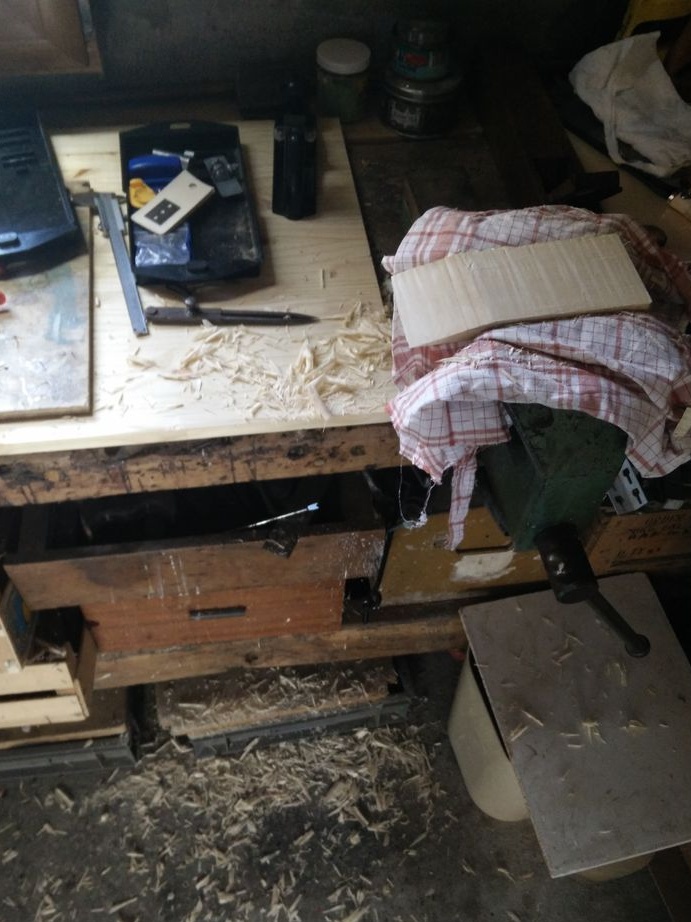
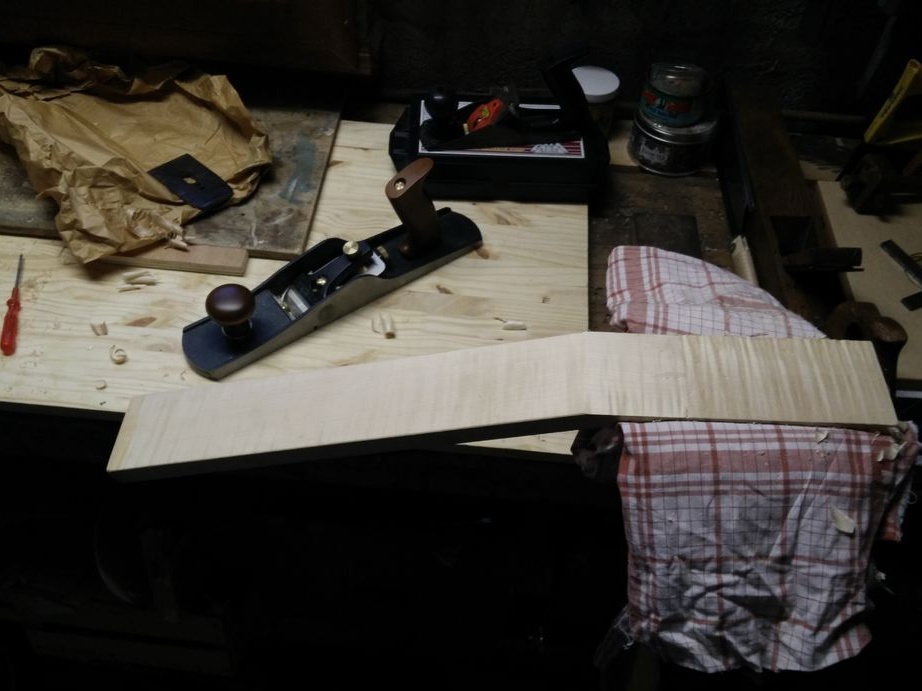
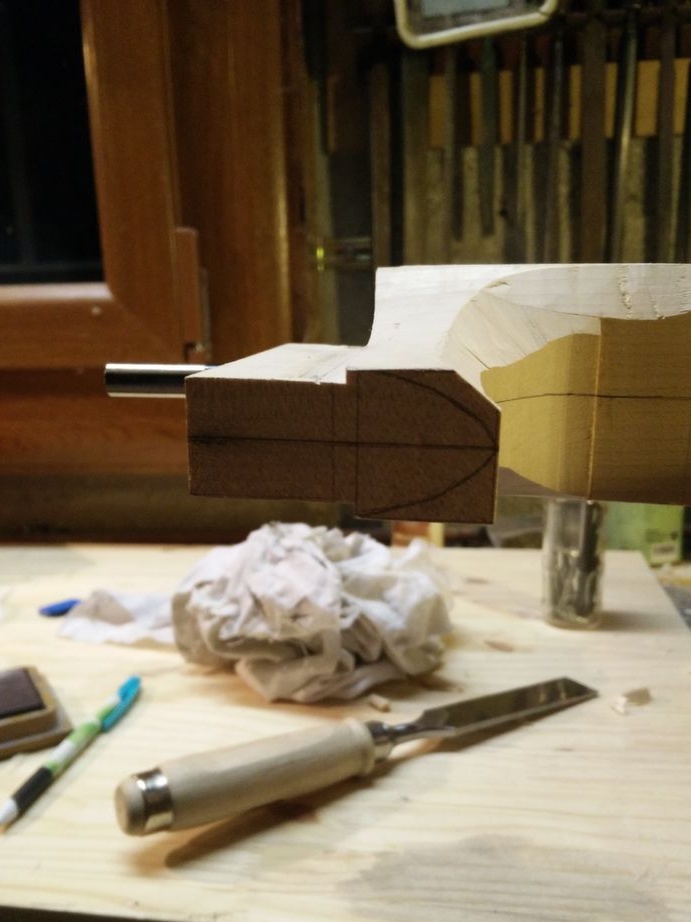
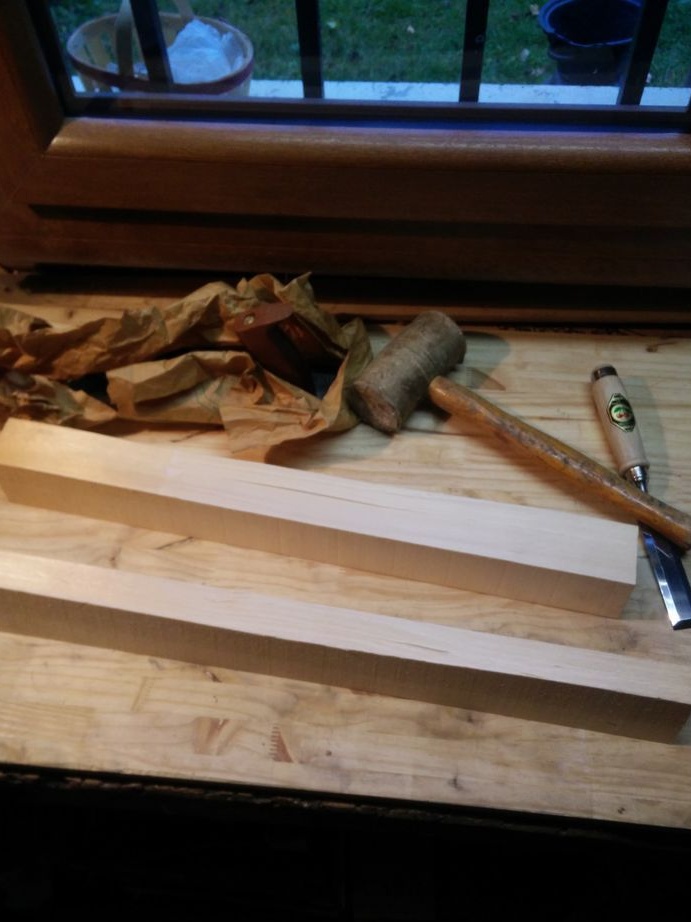
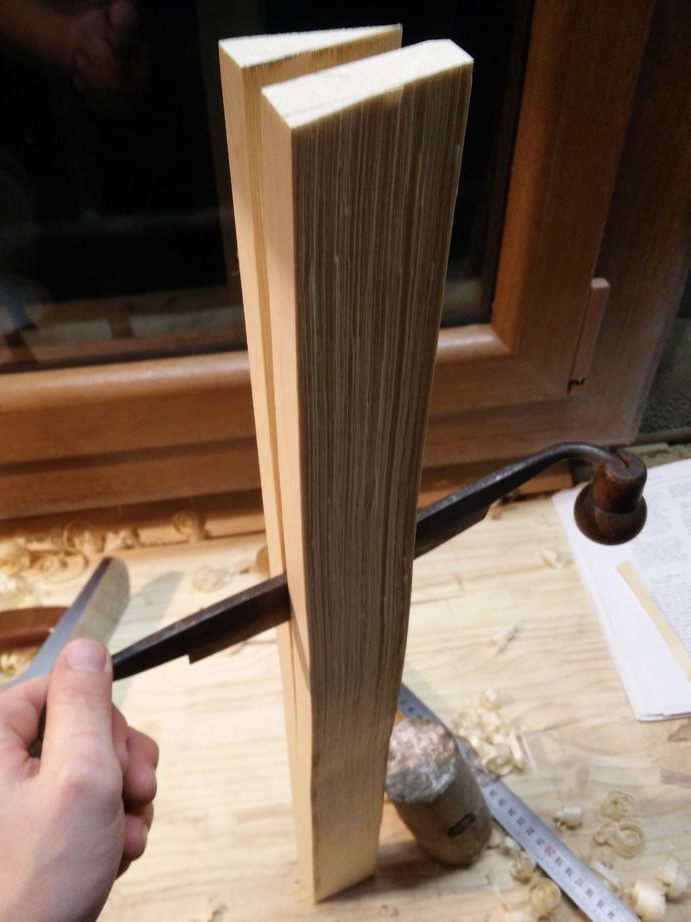
Step Two: Neck Angle
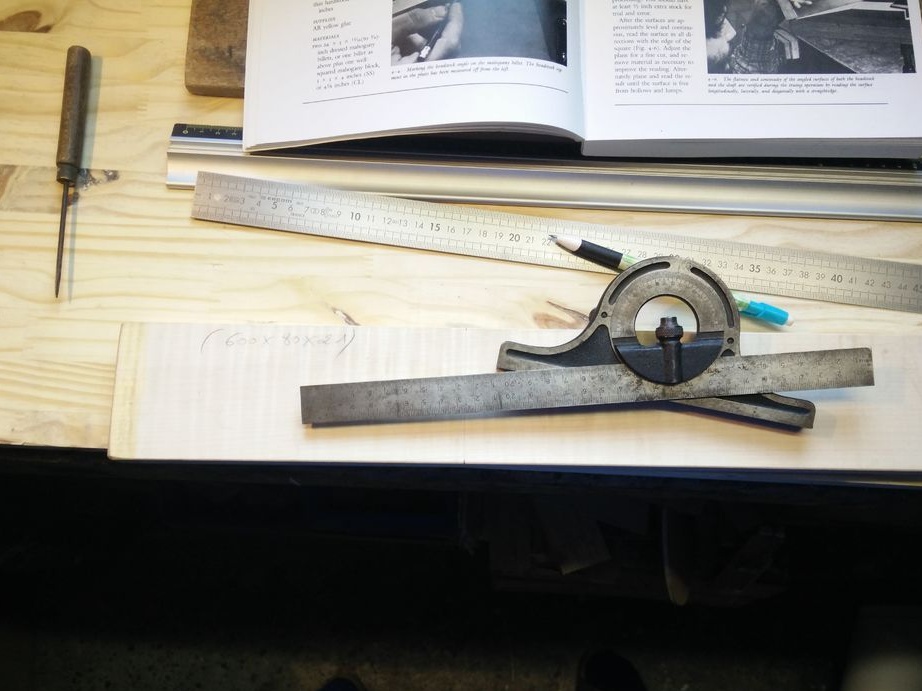
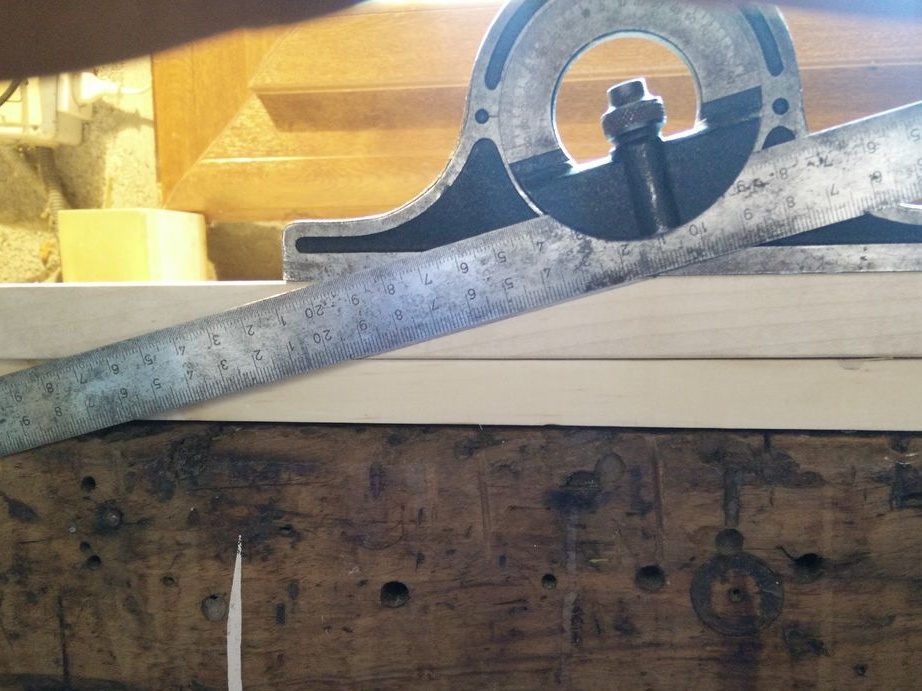
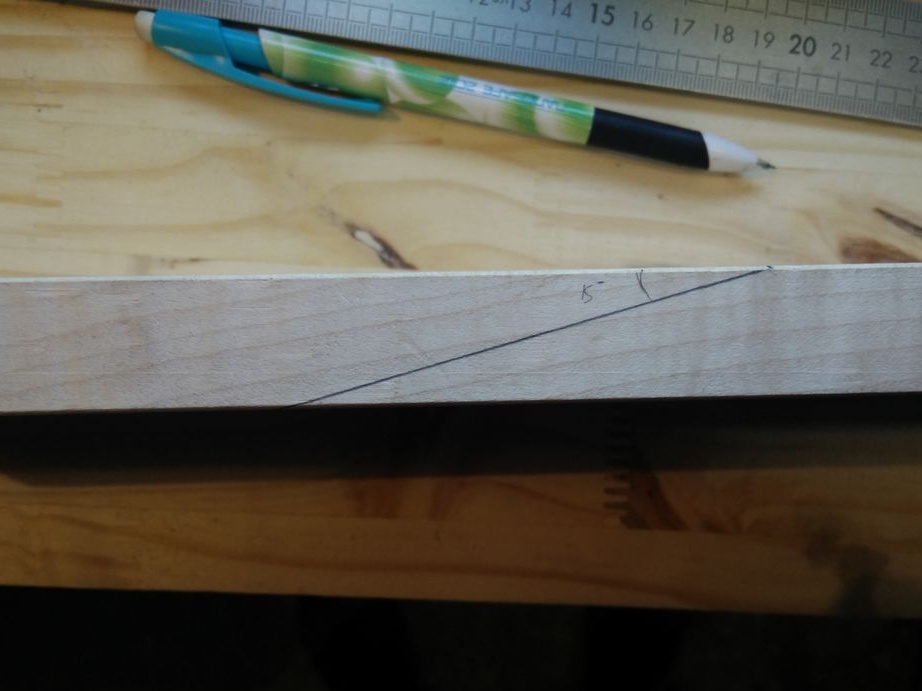
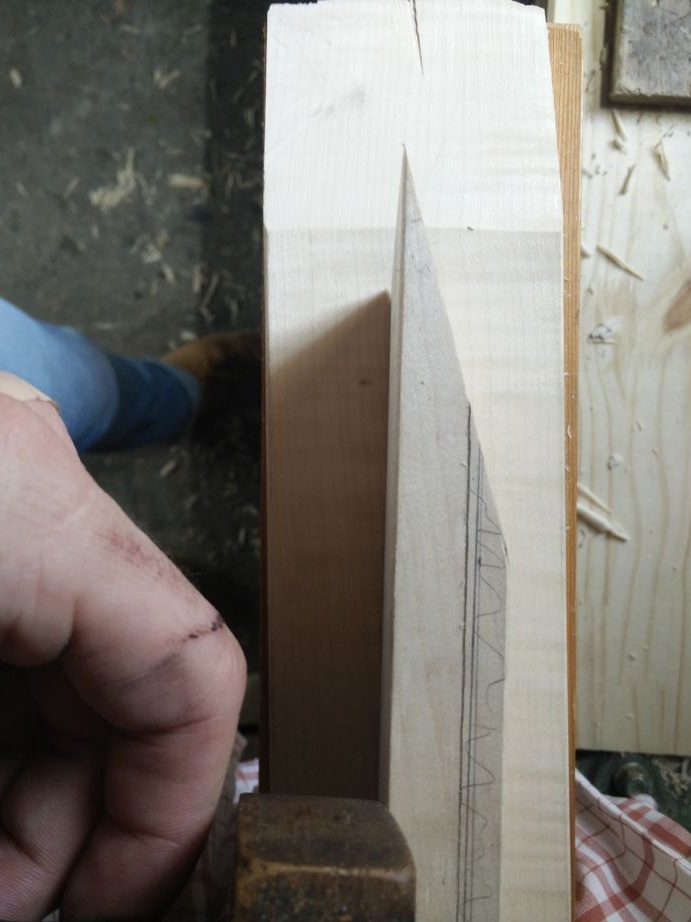
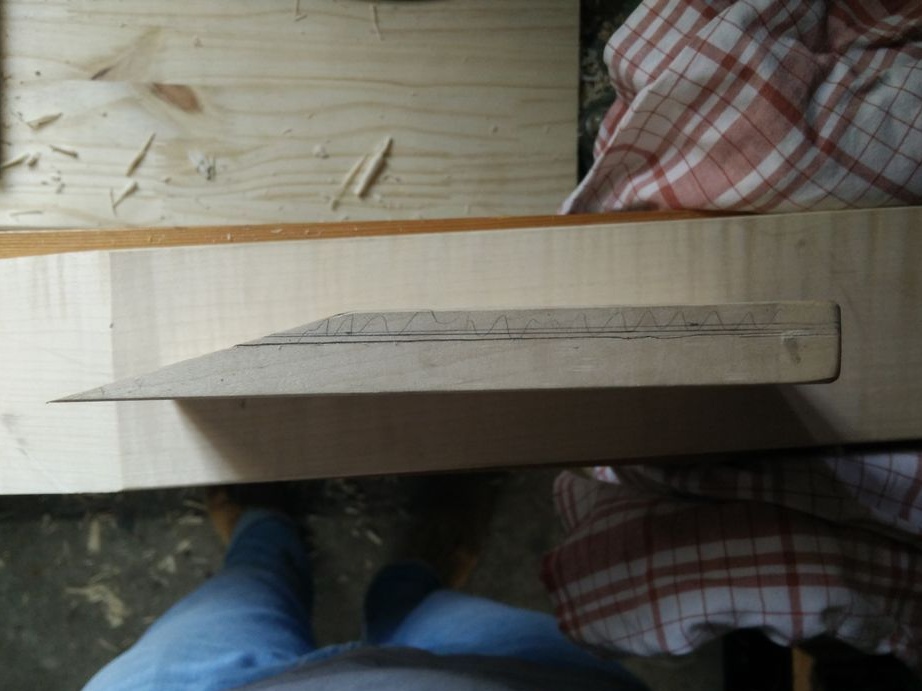
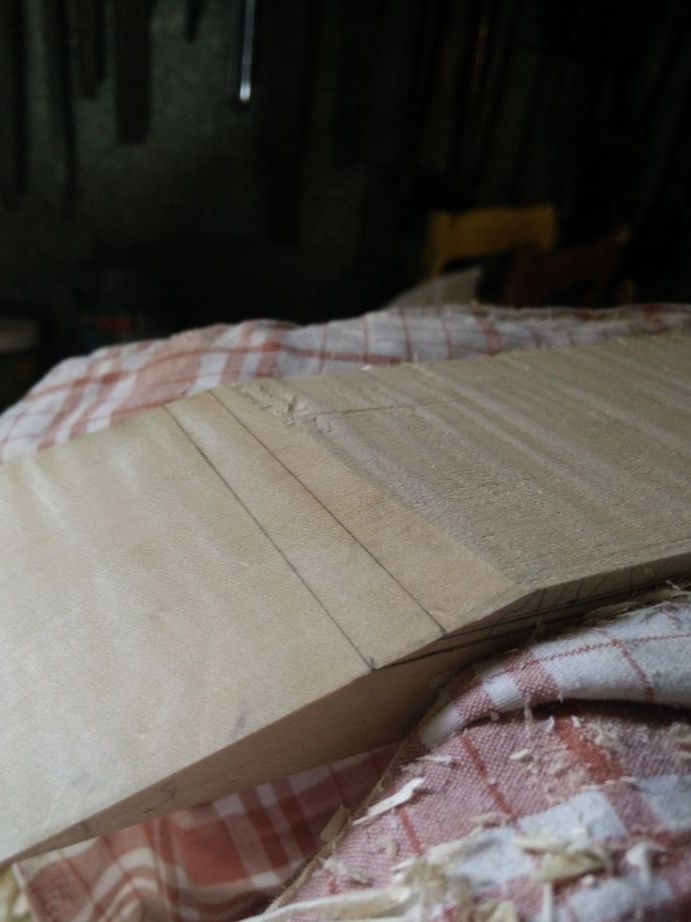
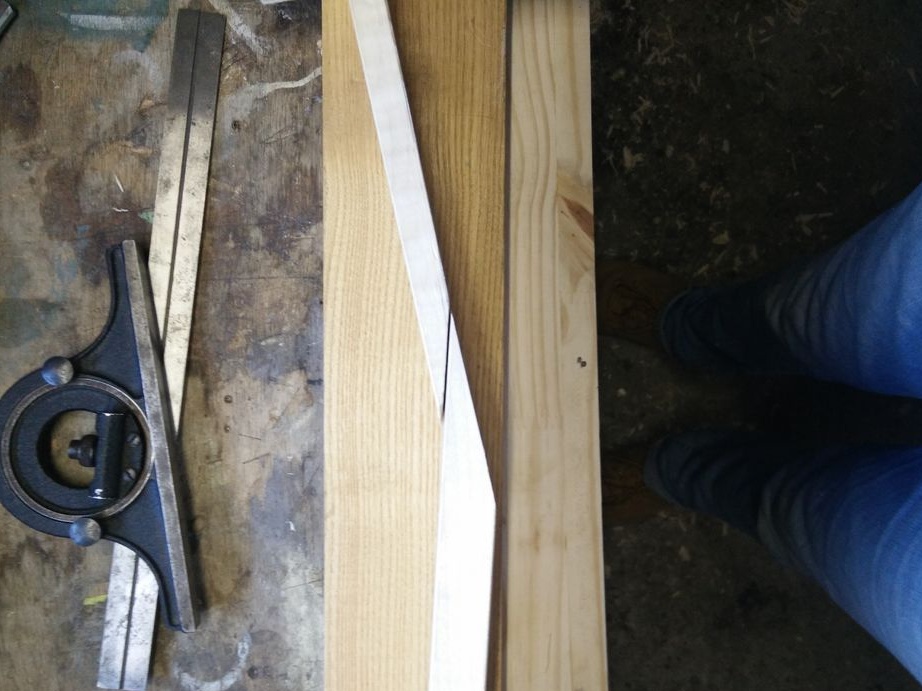
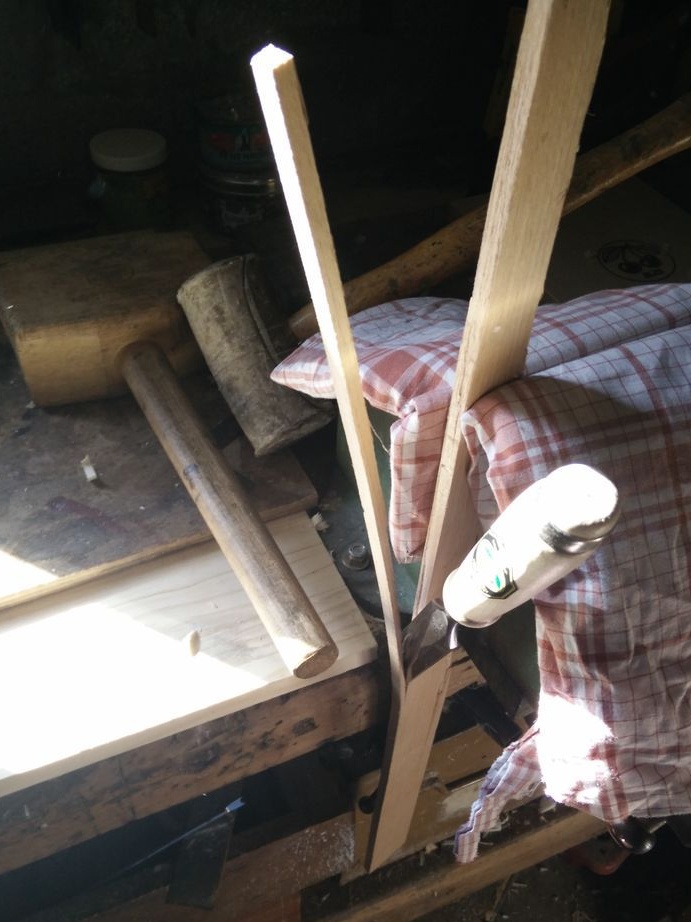
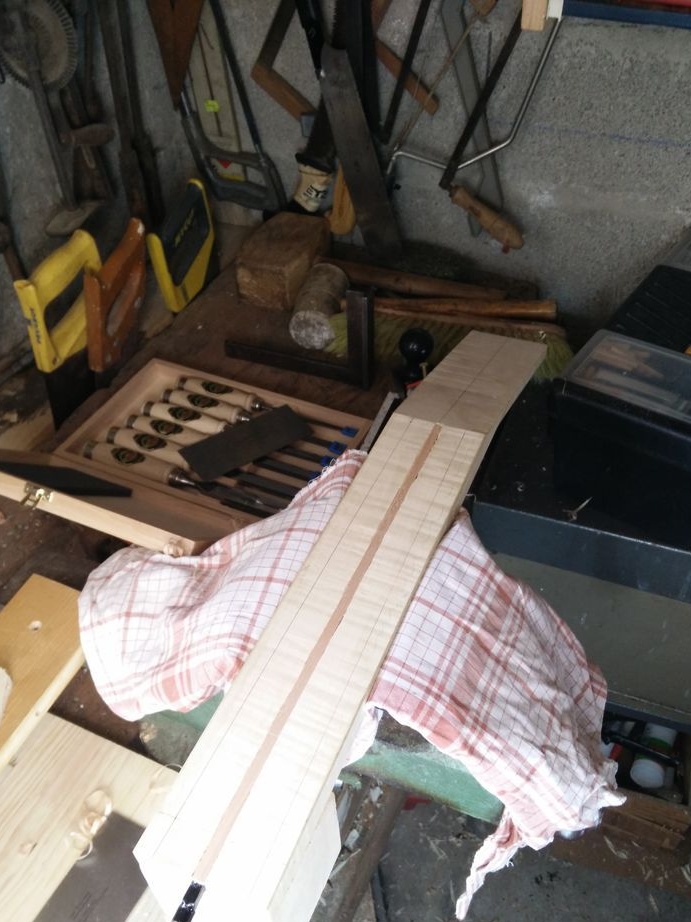
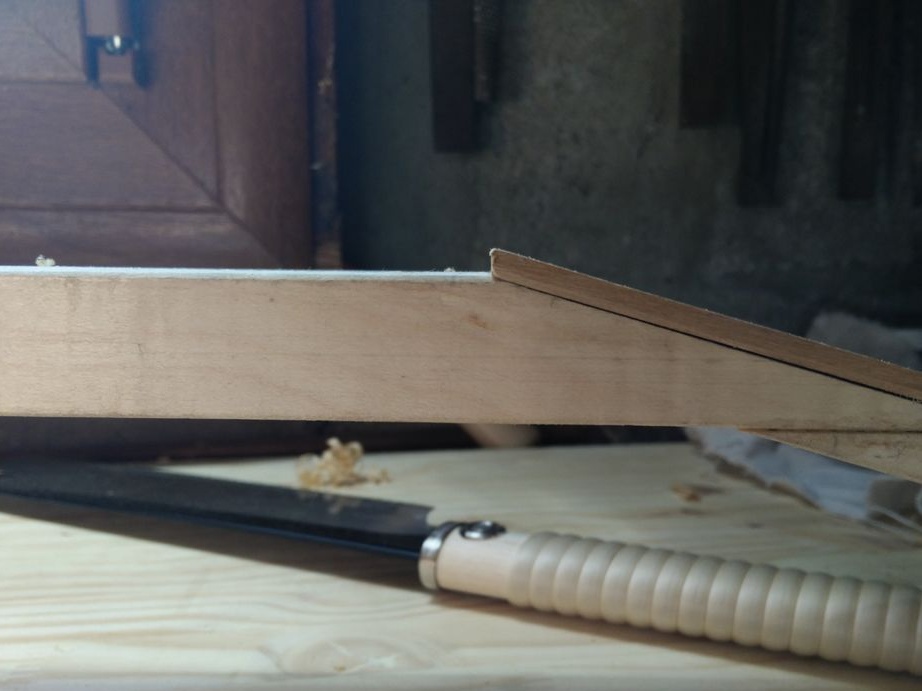
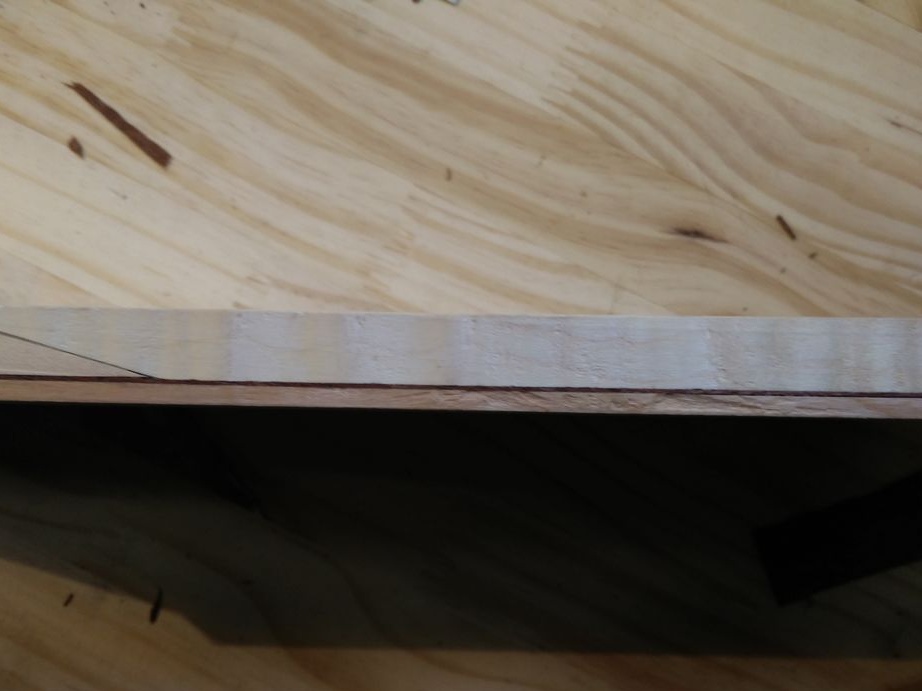
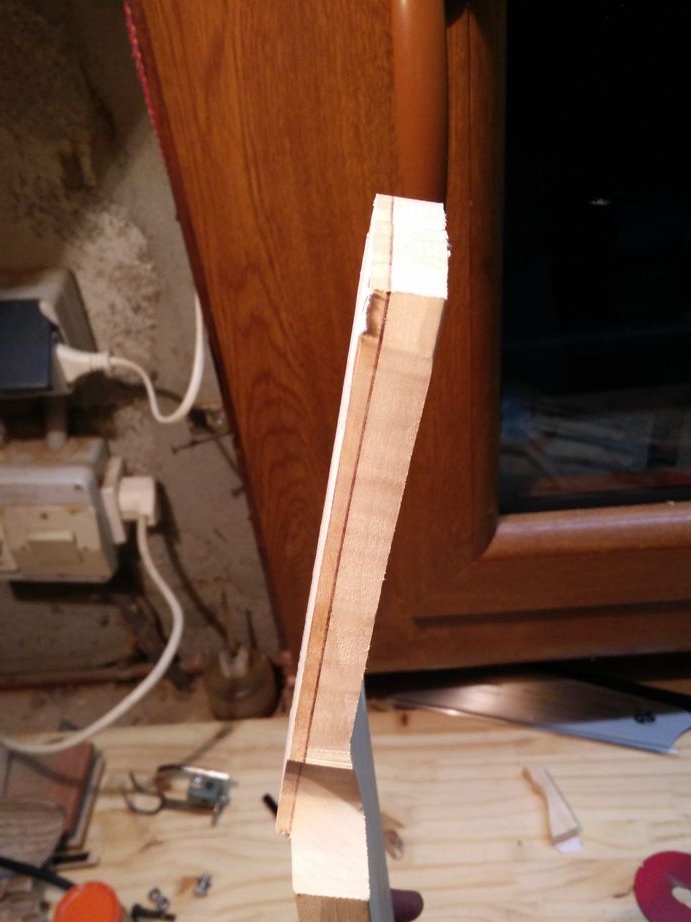
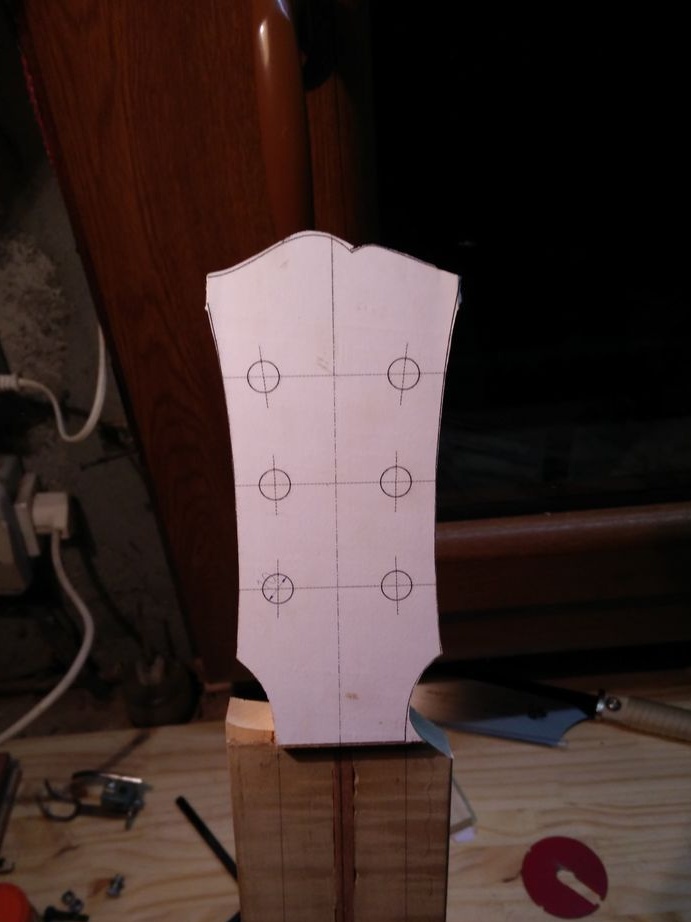
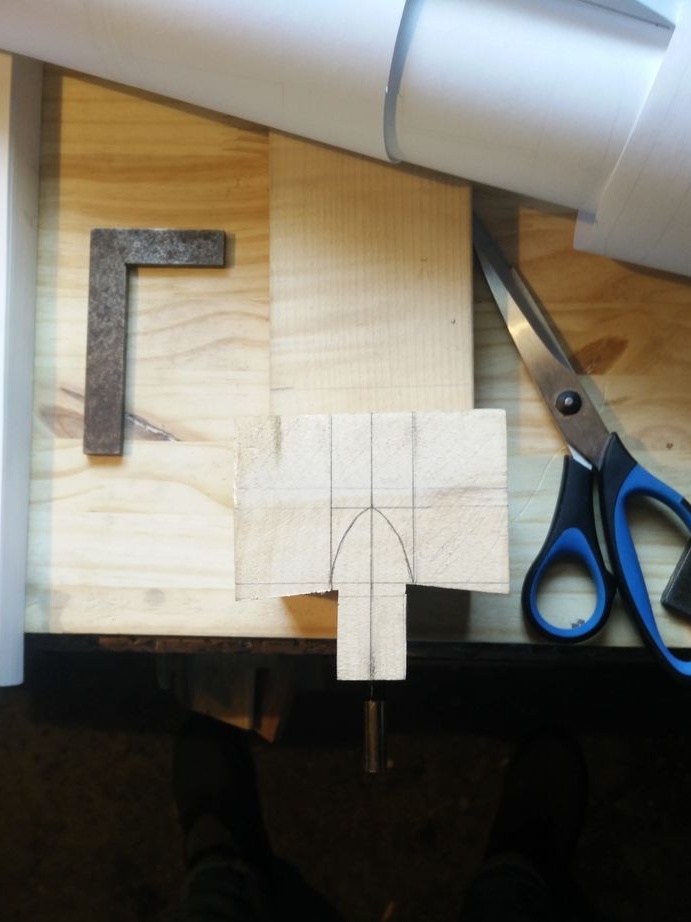
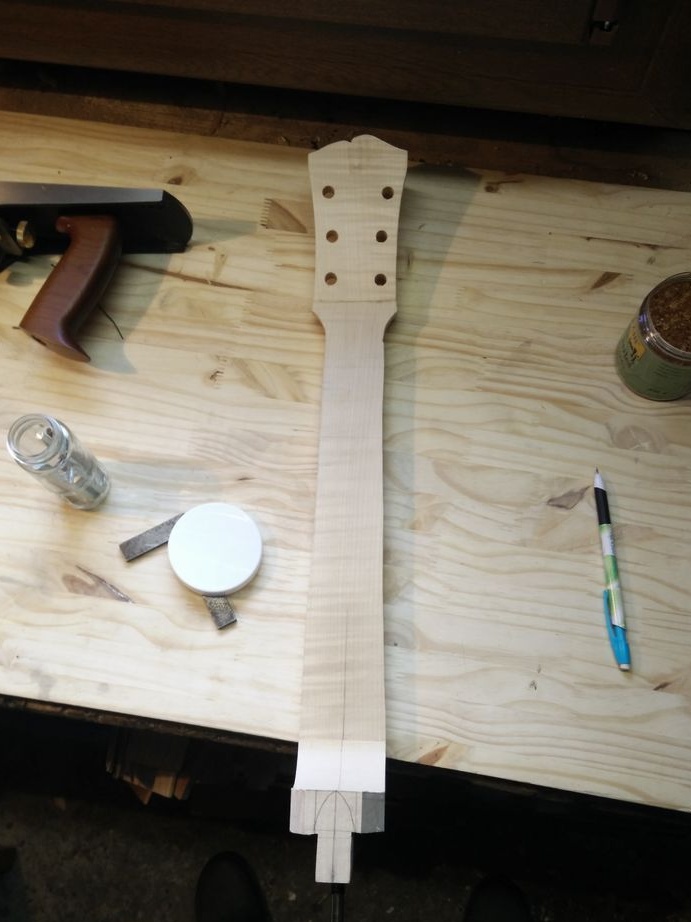
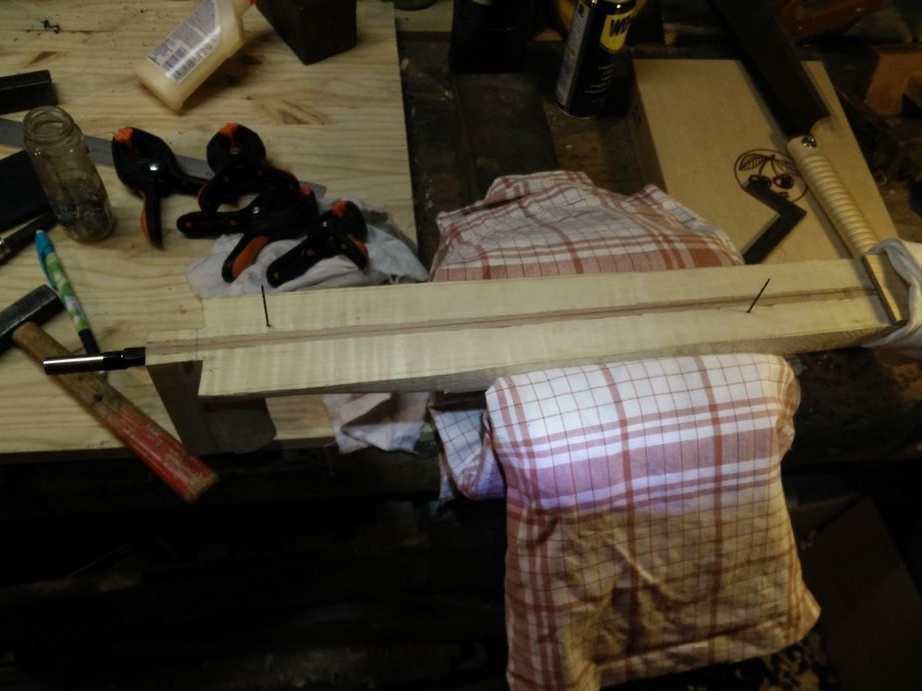
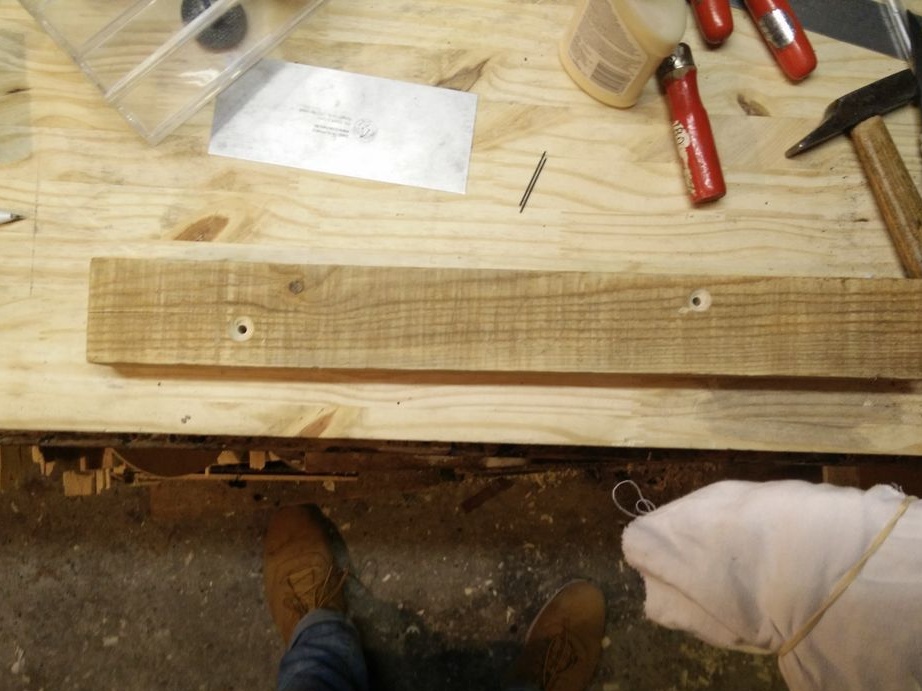
First, the master makes a blank for the neck. When making it, it is important to pay attention to the angle between the head and neck of the neck. For most modern guitars, the angle is 15 - 17 °.
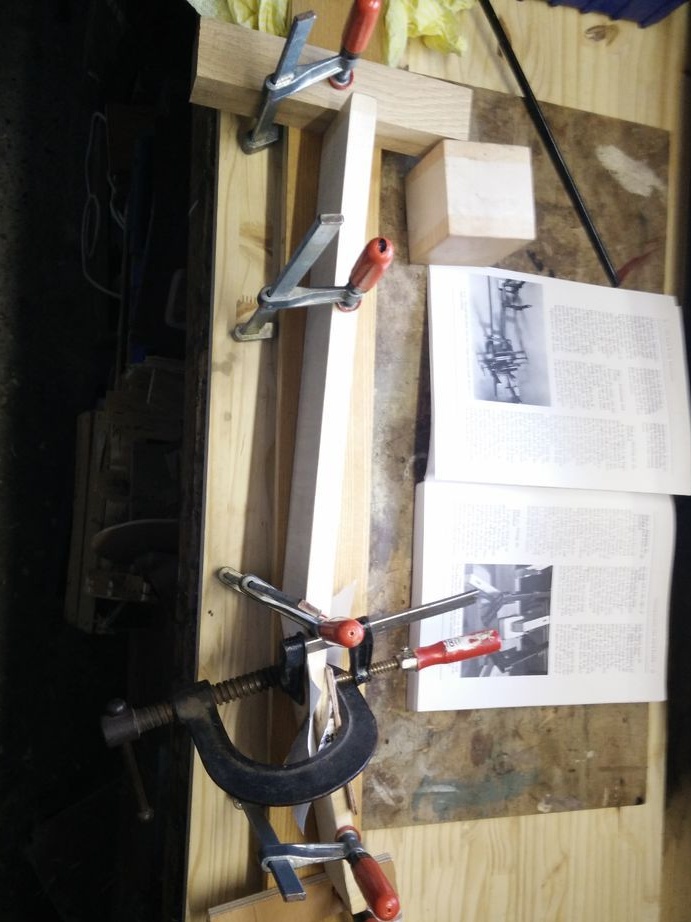
Cuts off the head and neck at the desired angle, and then glues them together. Glues a block to the neck, which will later be the heel of the neck.
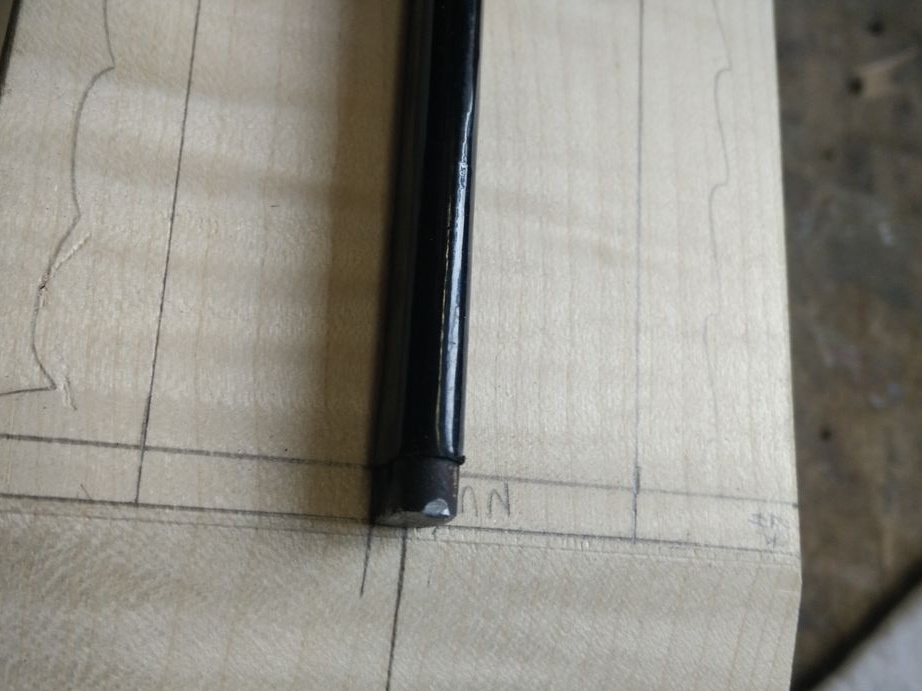
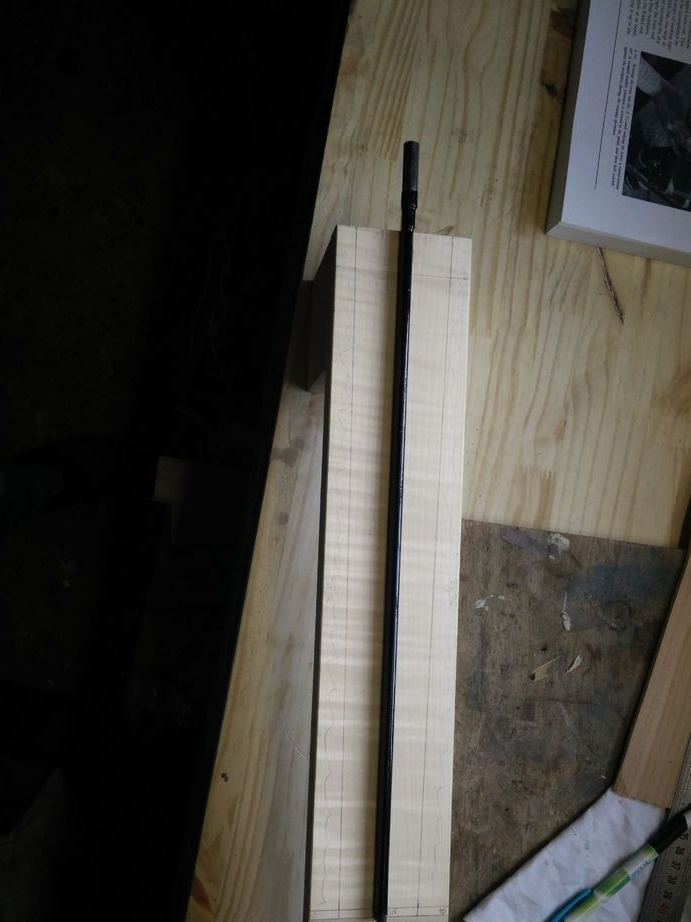
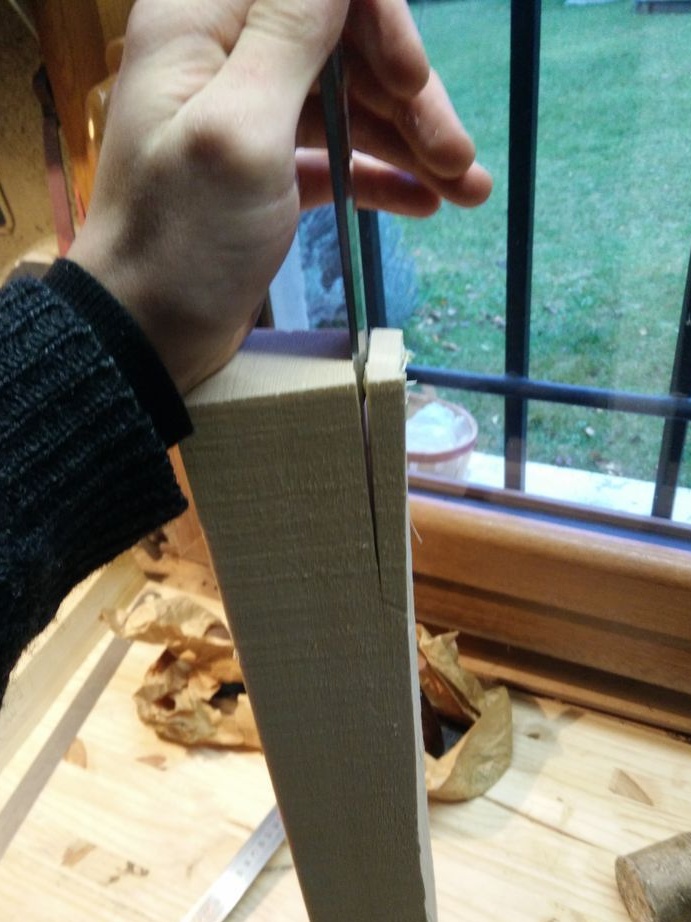
Step Three: The Rod
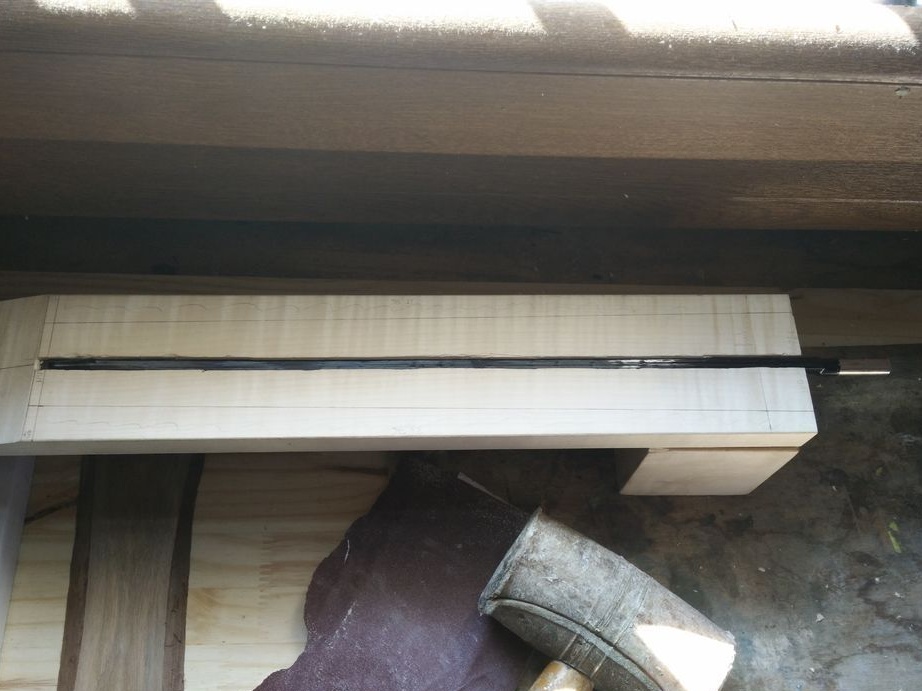
An anchor rod is a metal rod or its structure, which is installed in the body of the neck to compensate for the tension of the strings. Anchor rod can be made by yourself, or you can buy it as a Master.
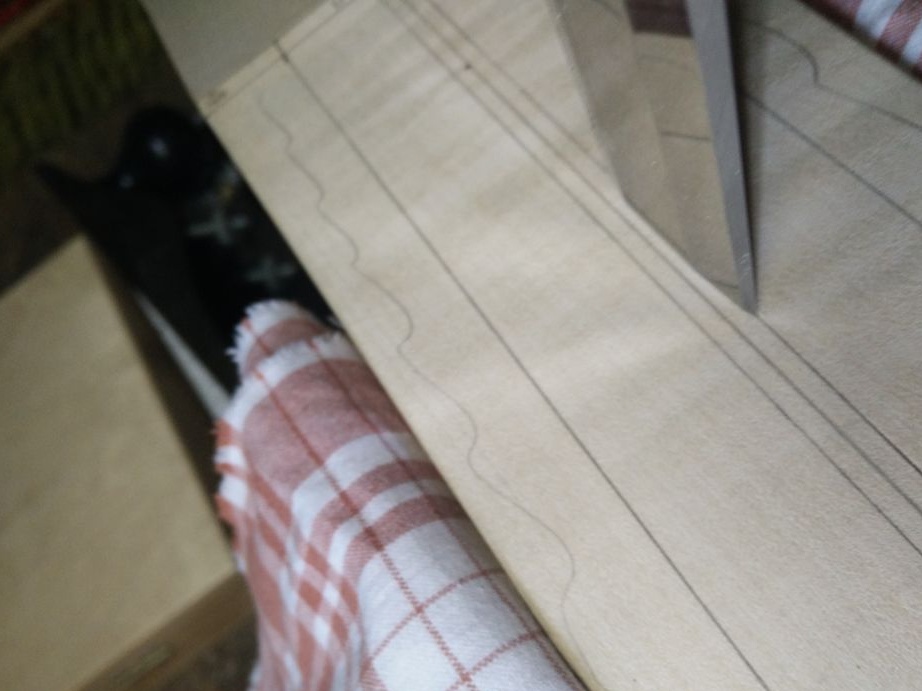
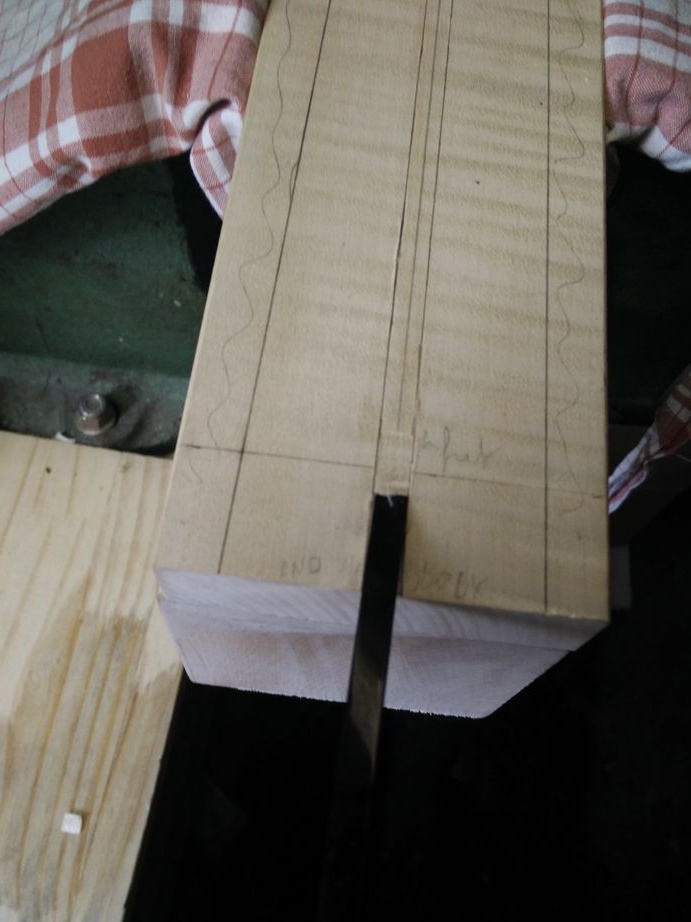
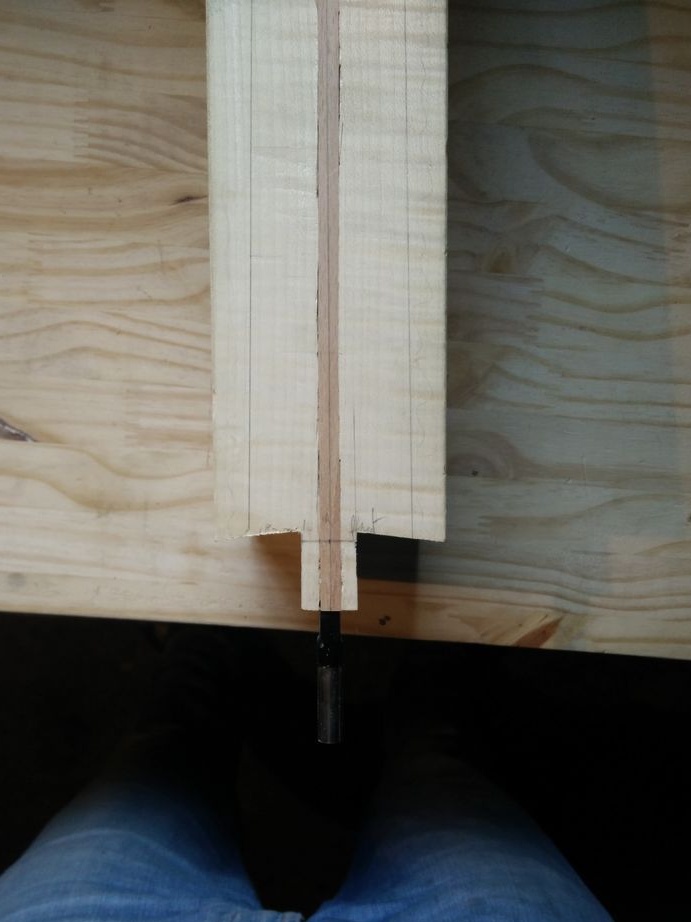
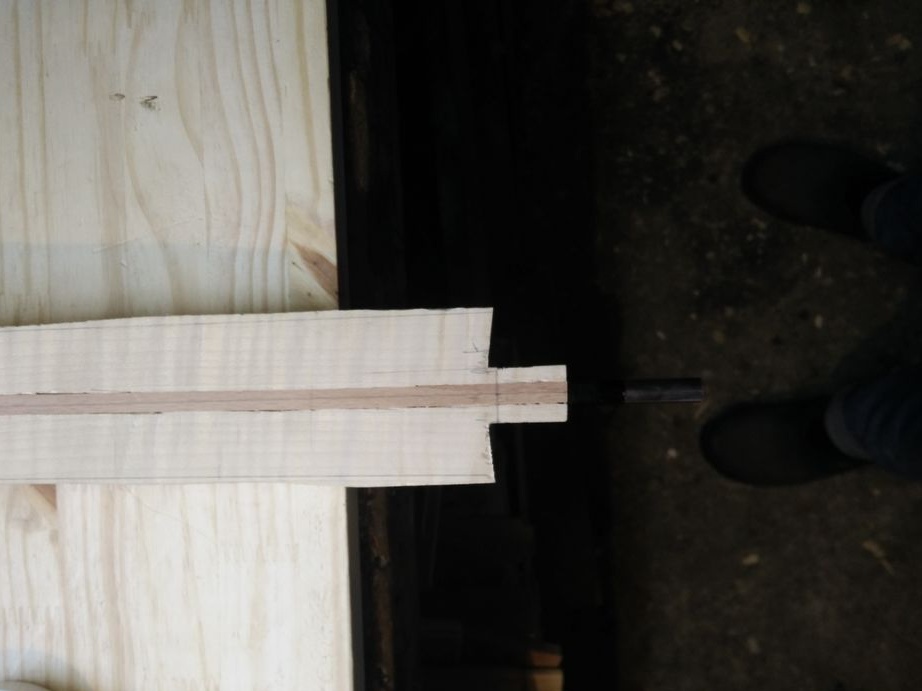
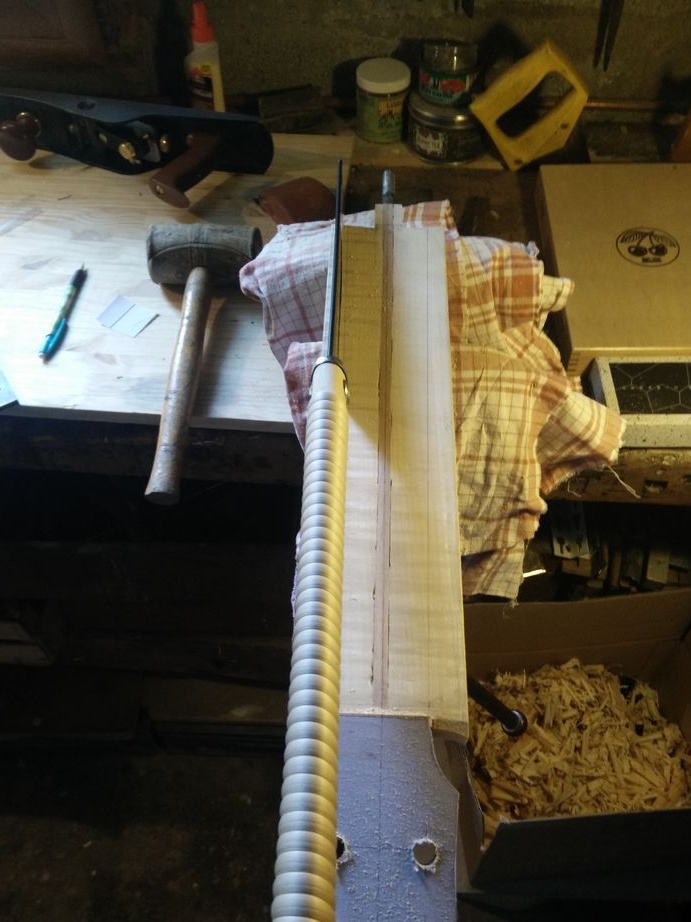
A master draws a line along the neck of the neck in the middle. Then, along the line, a hole is hollowed out with a depth of a rod diameter of + 5 mm. Installs the rod. Closes the groove with wood.


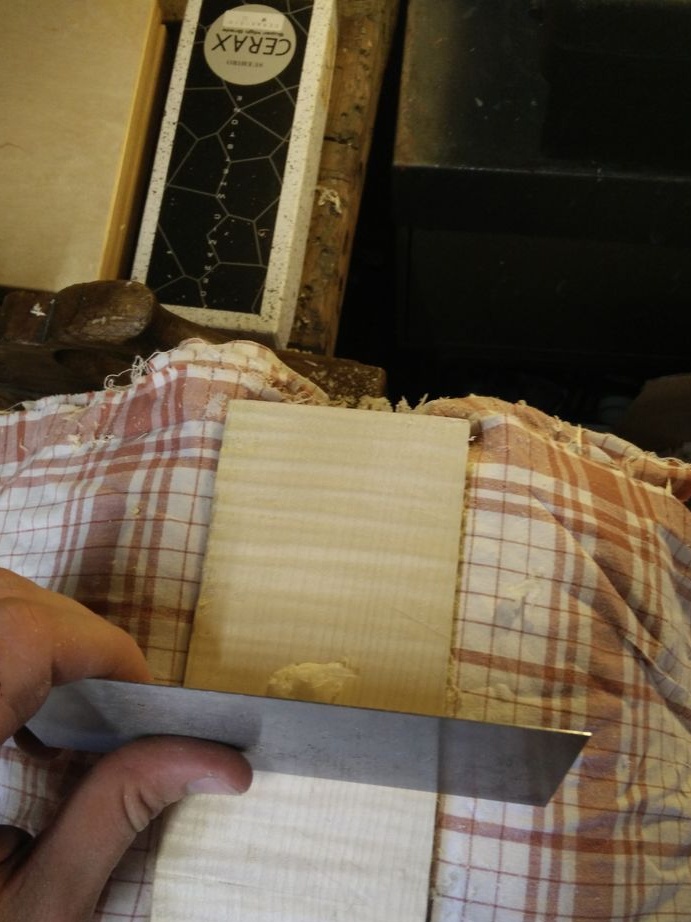
Fourth step: fingerboard overlay
Cuts and sets the head plate.

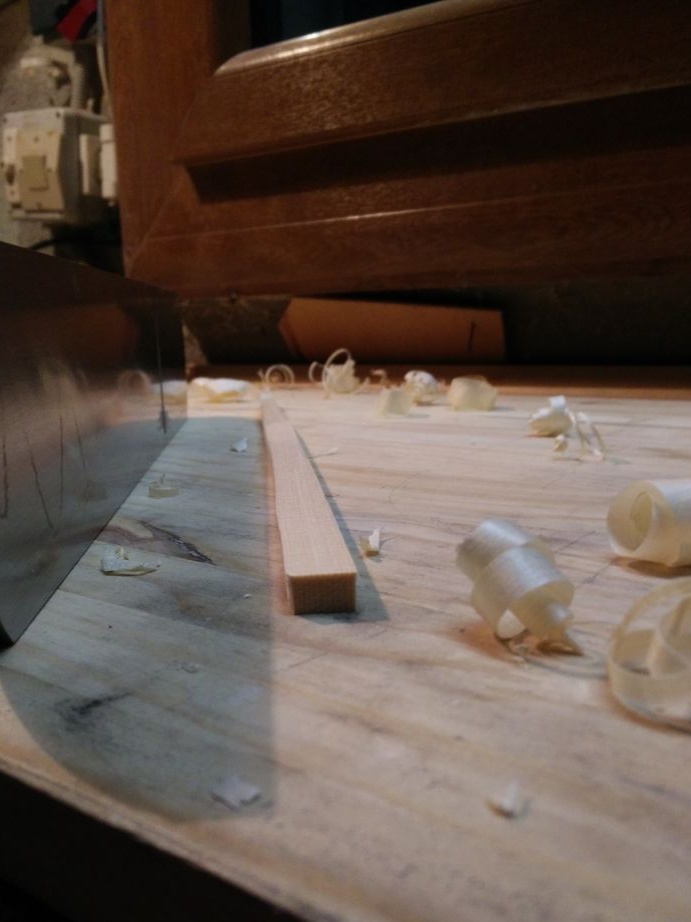
Step Five: Crop Cutting
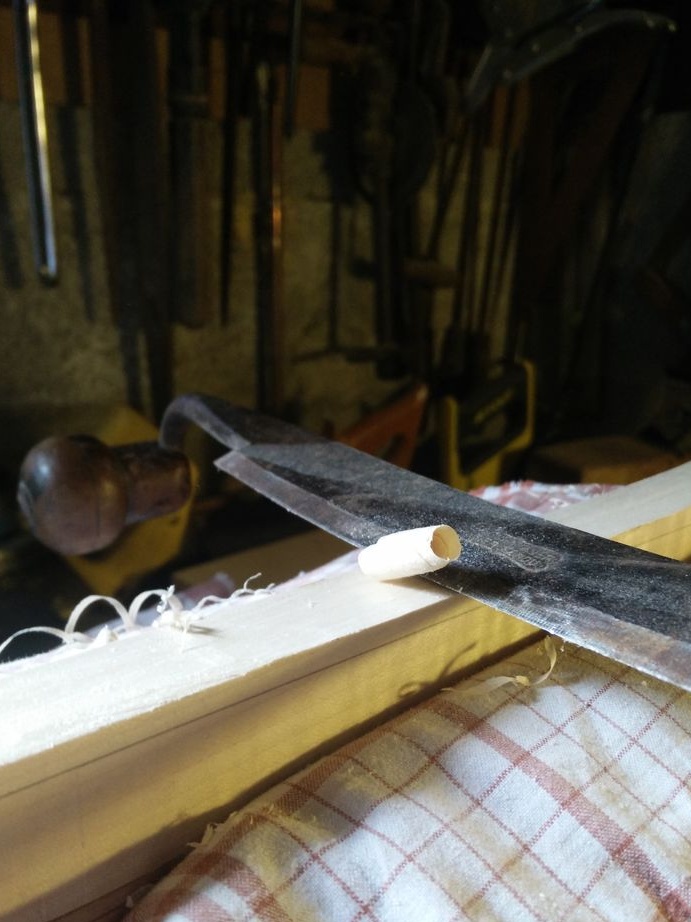
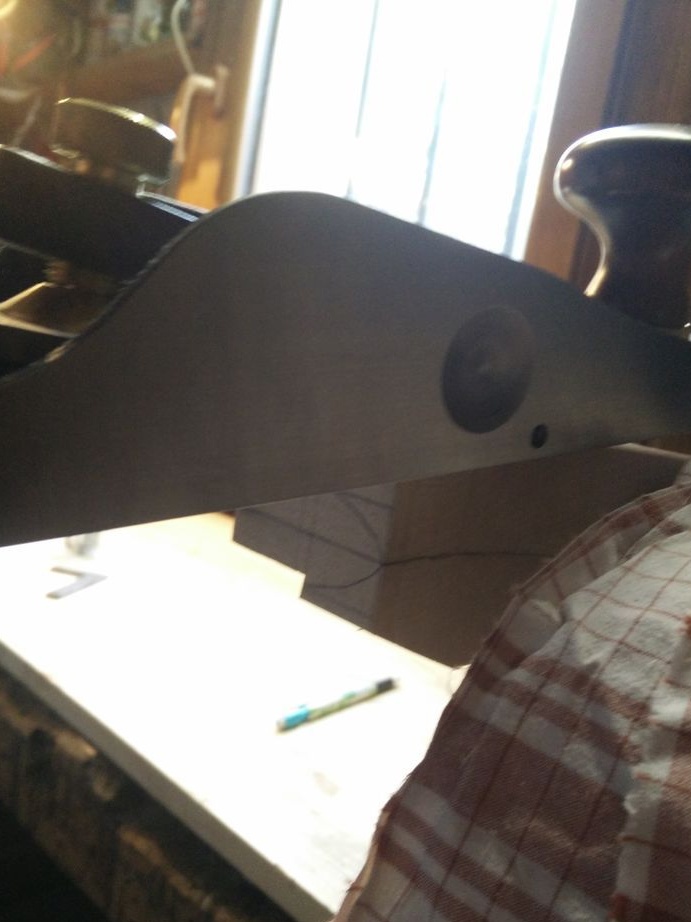
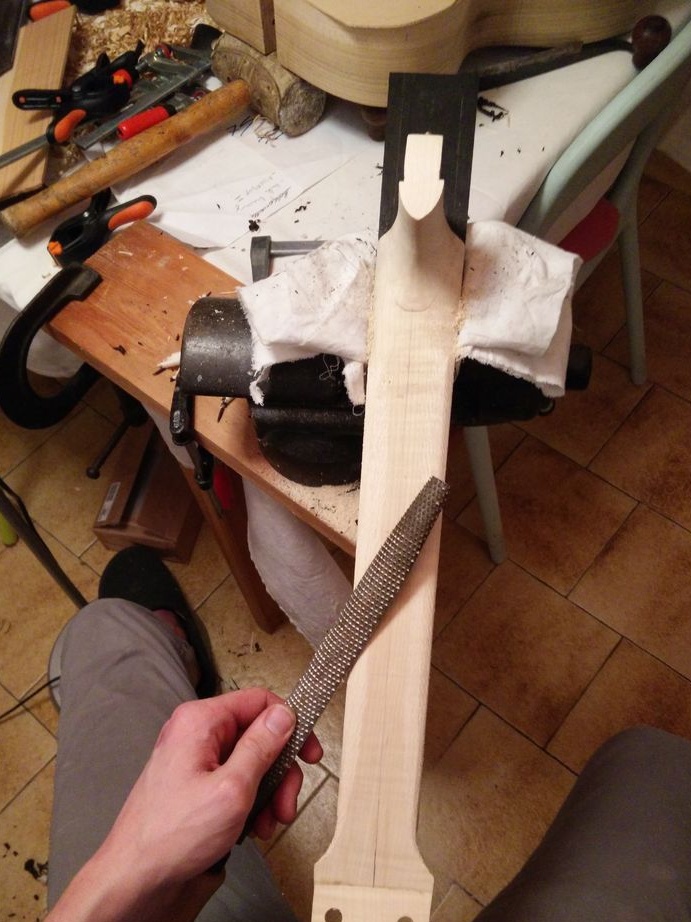
Cuts off the excess part of the neck and processes it with a scraper.

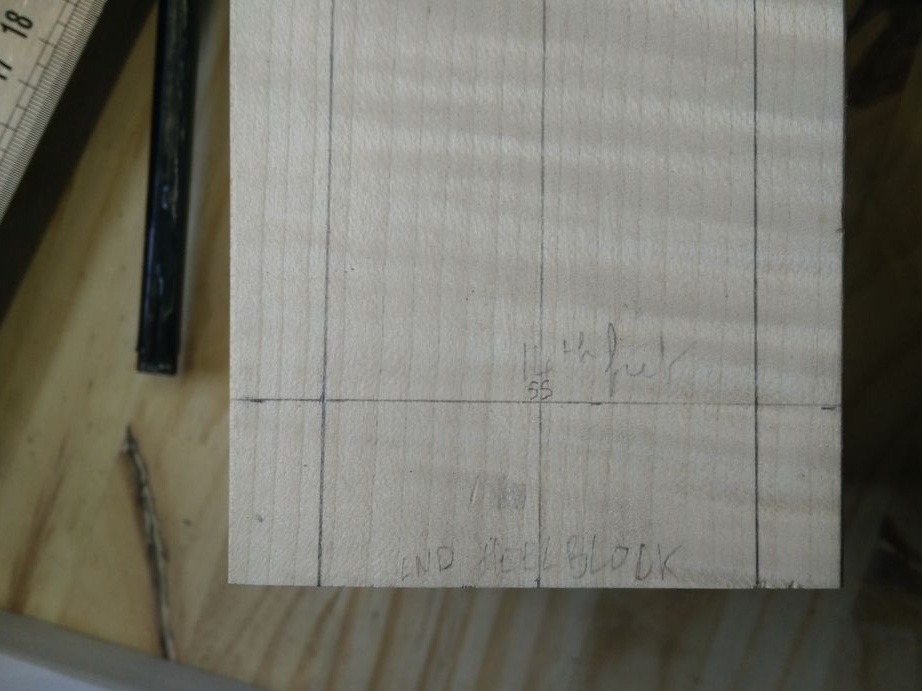
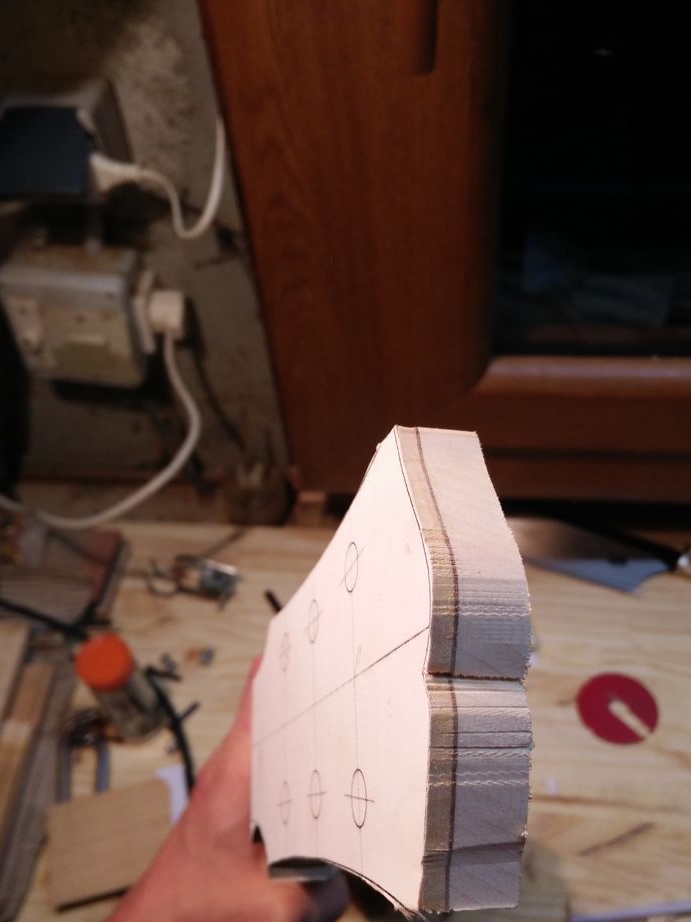
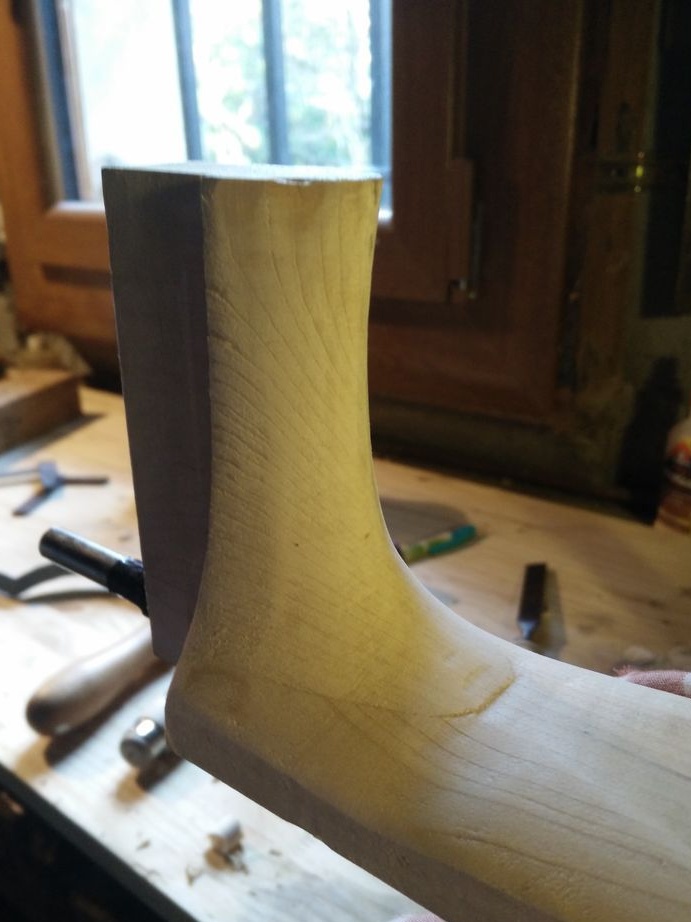
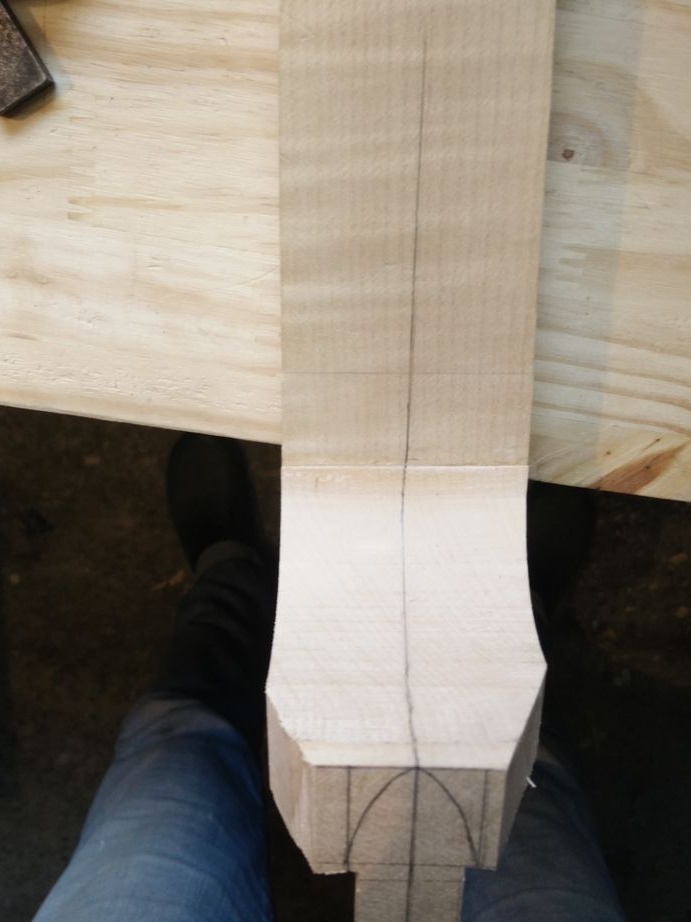
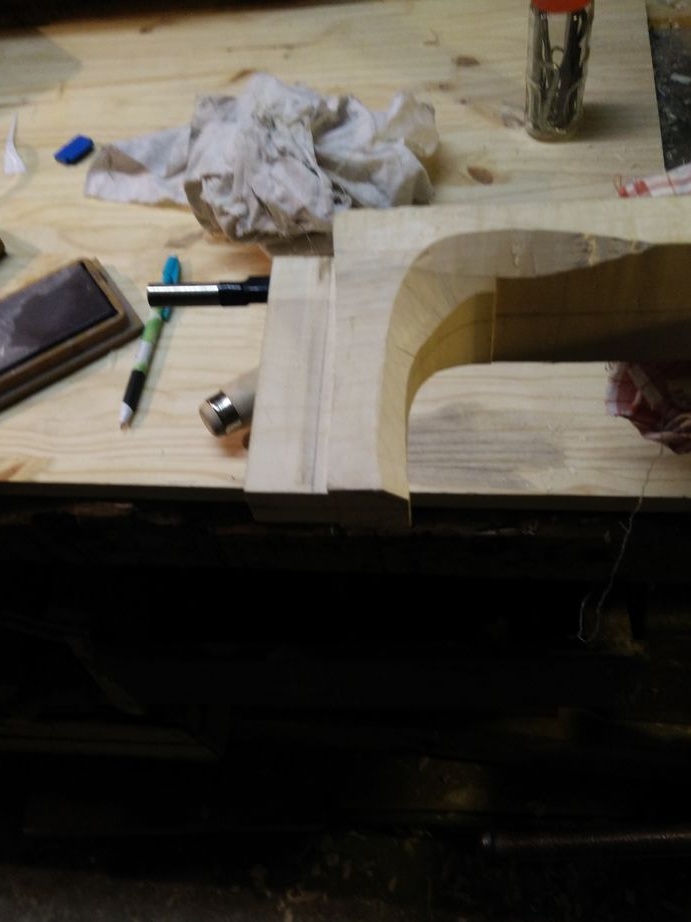
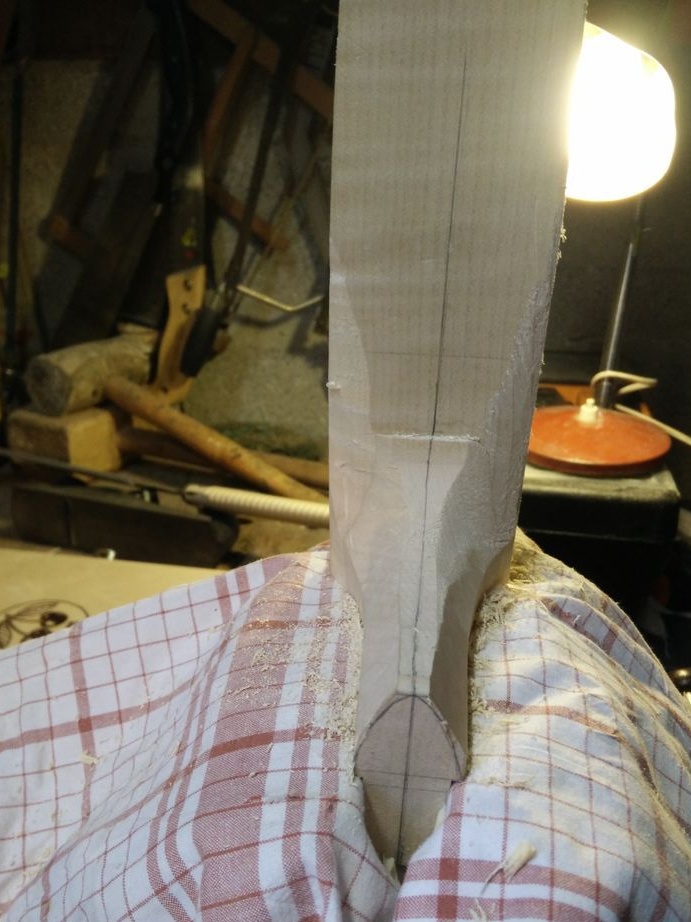
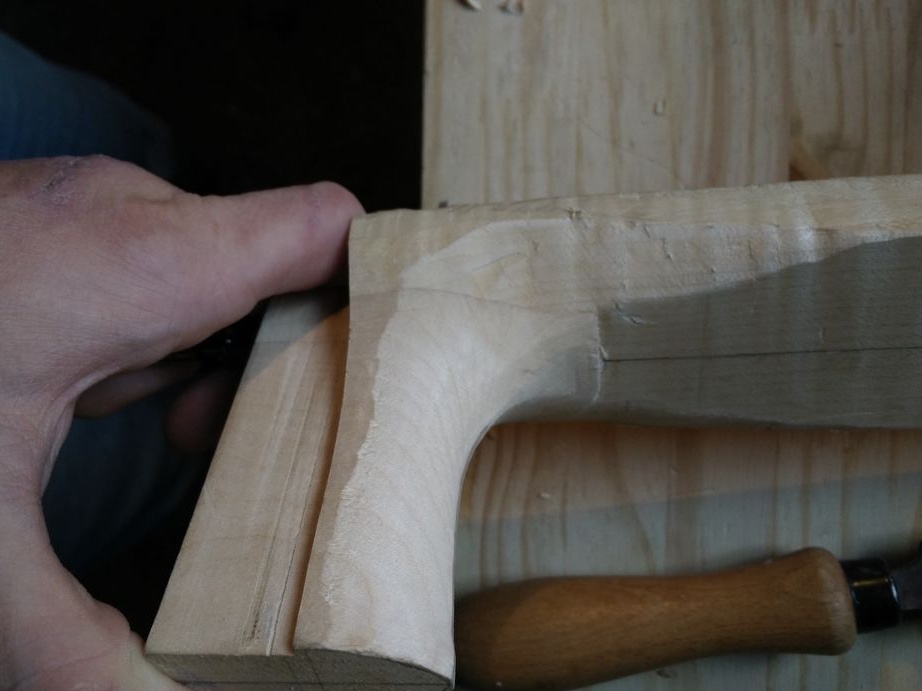
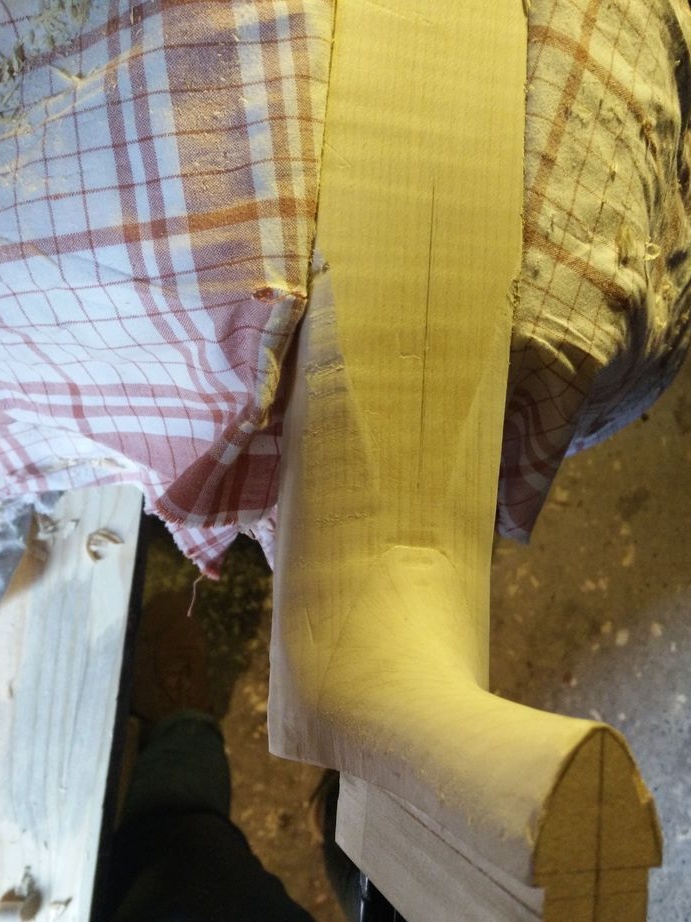
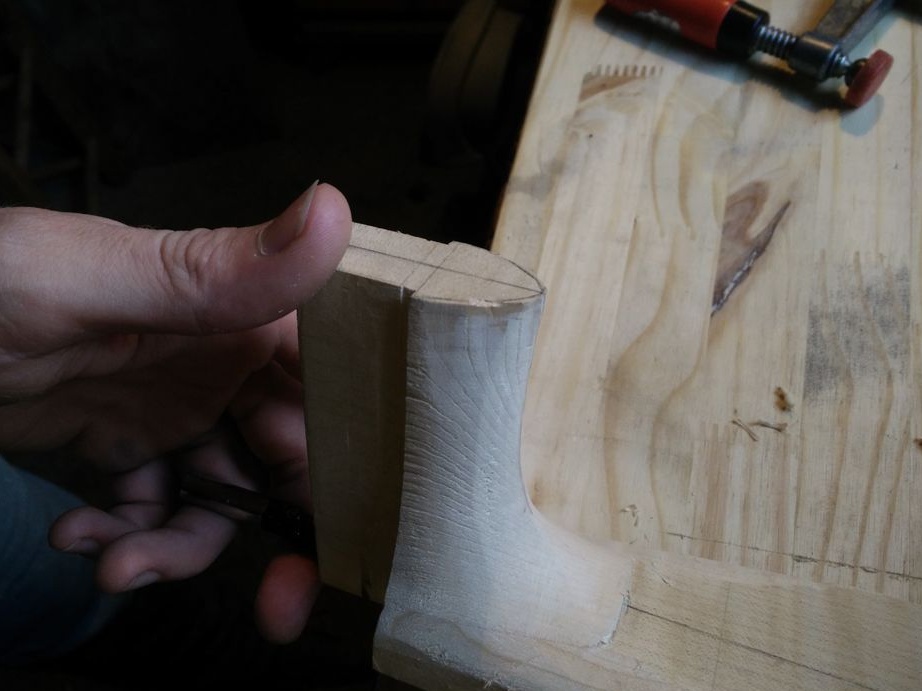
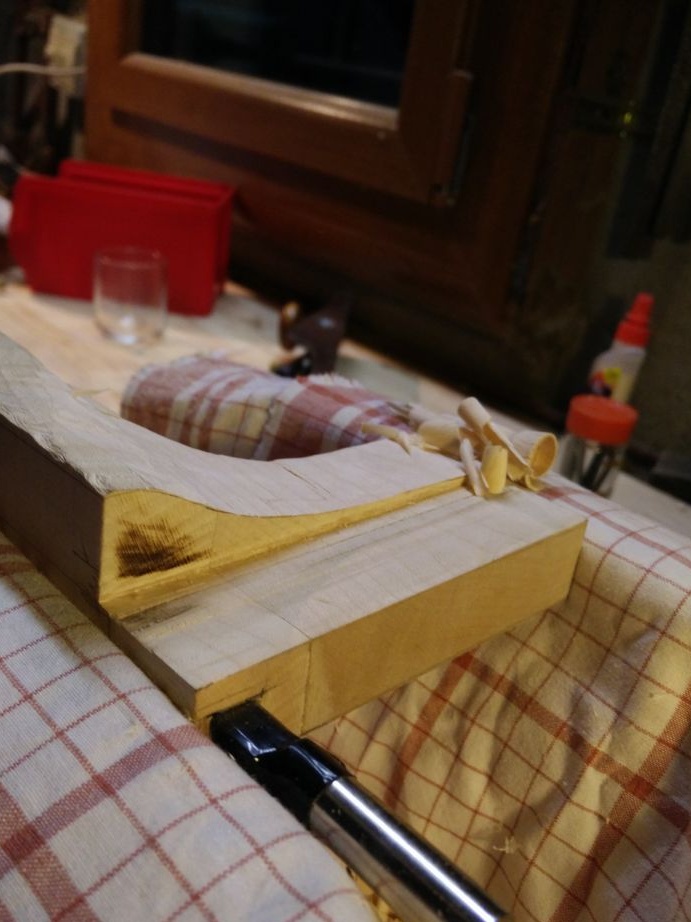
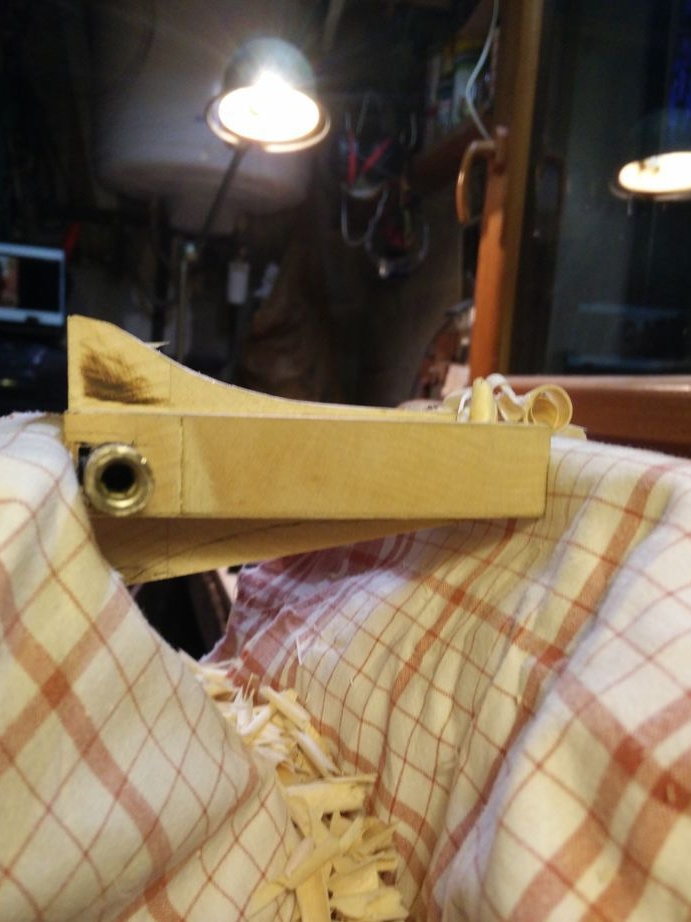
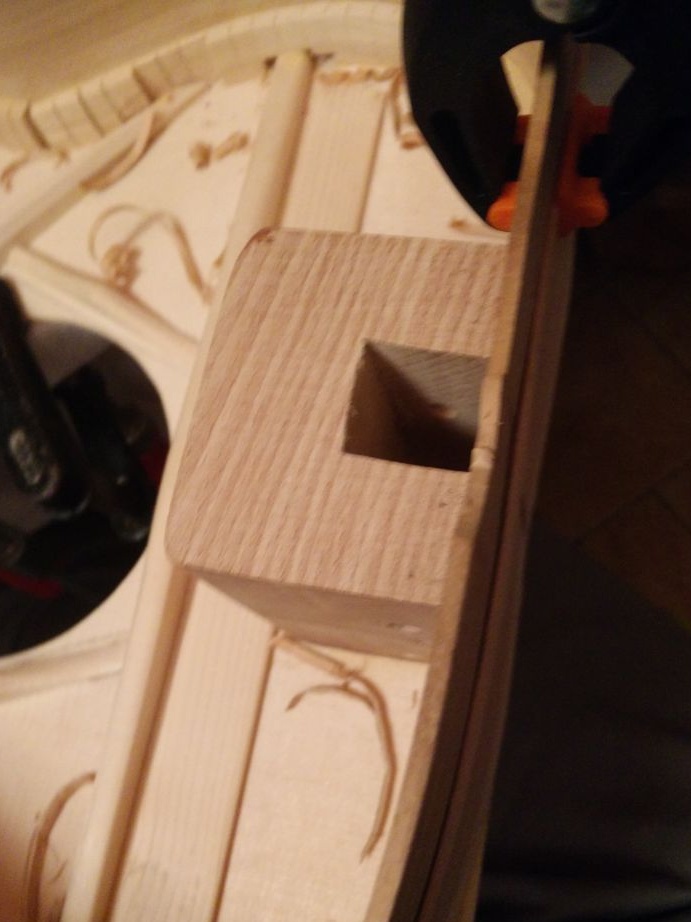
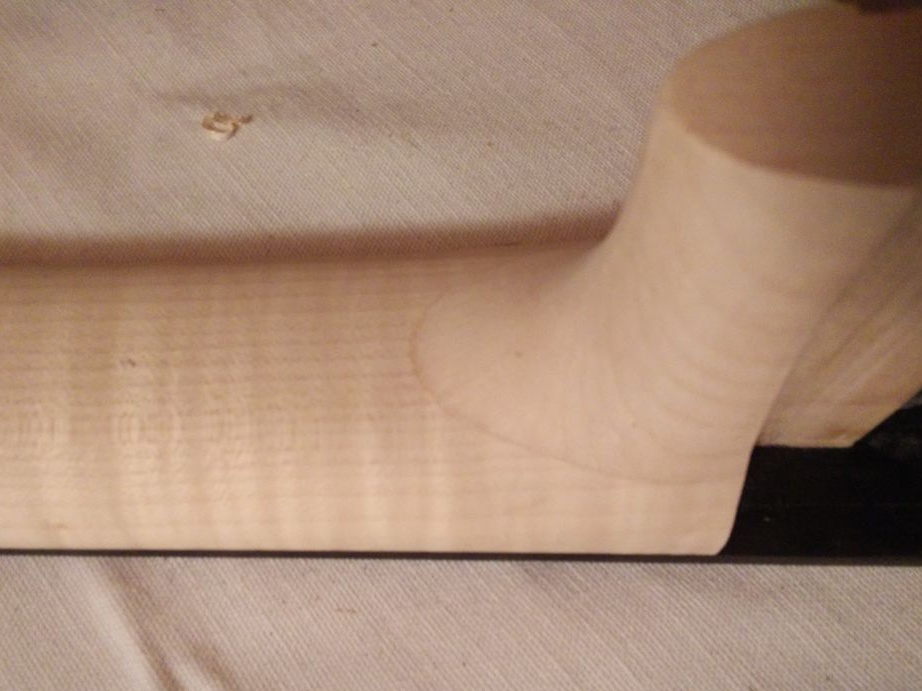
Step Six: Heel
Handles the heel of the neck. Trims excess wood, cycles the surface.

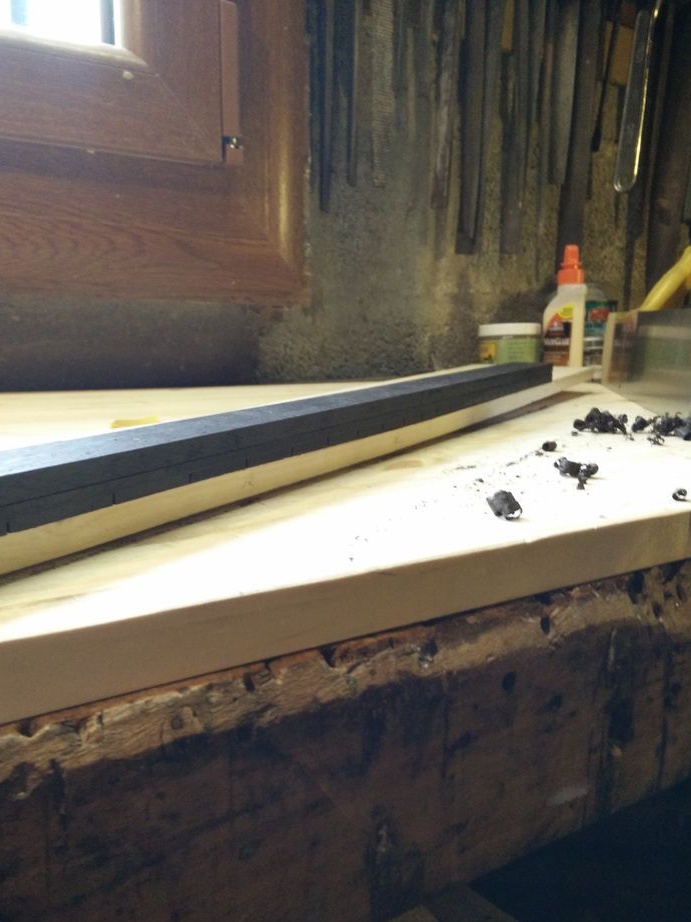
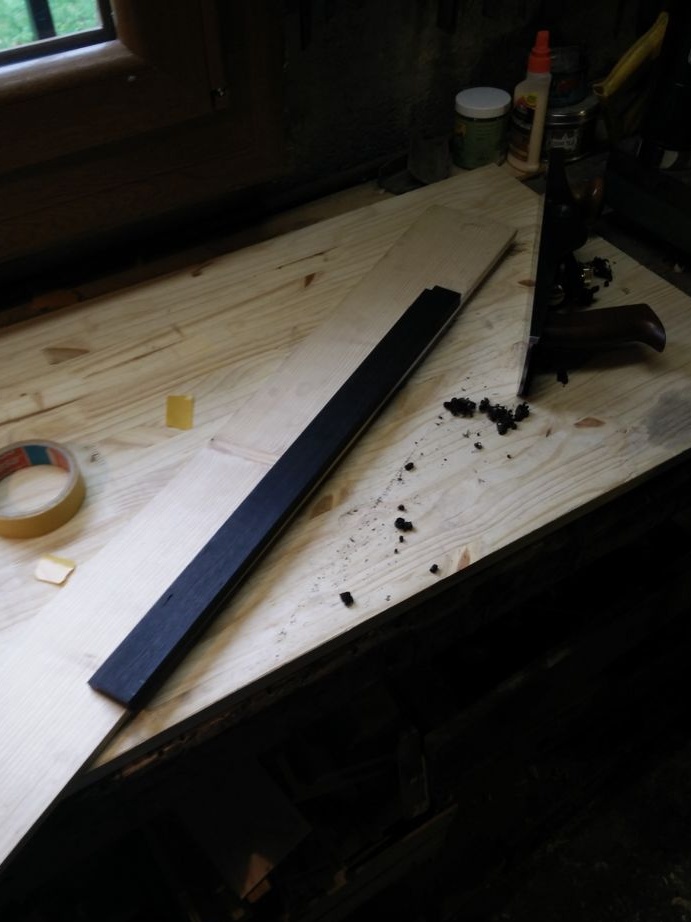
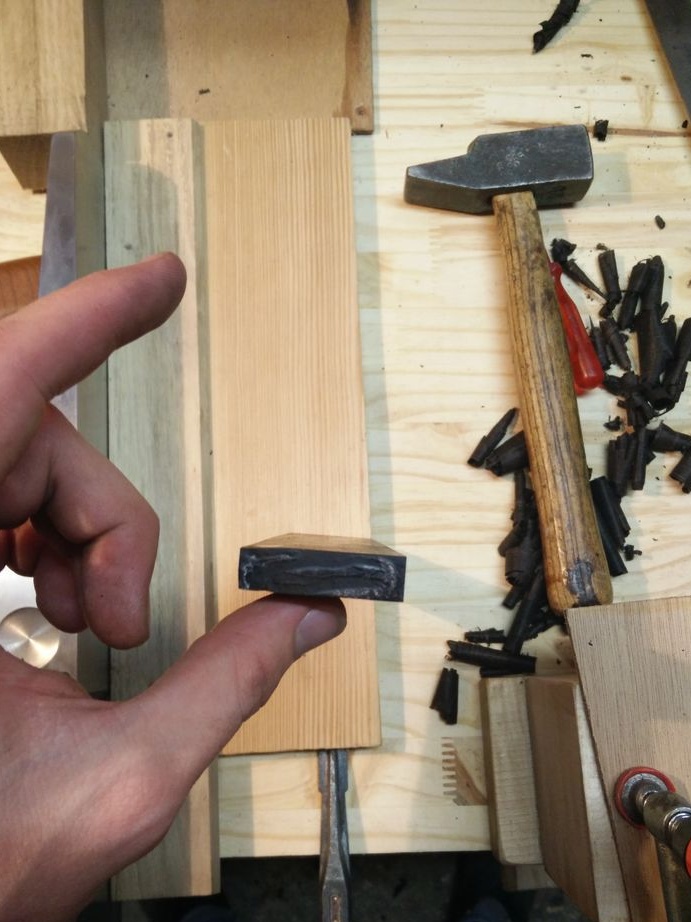
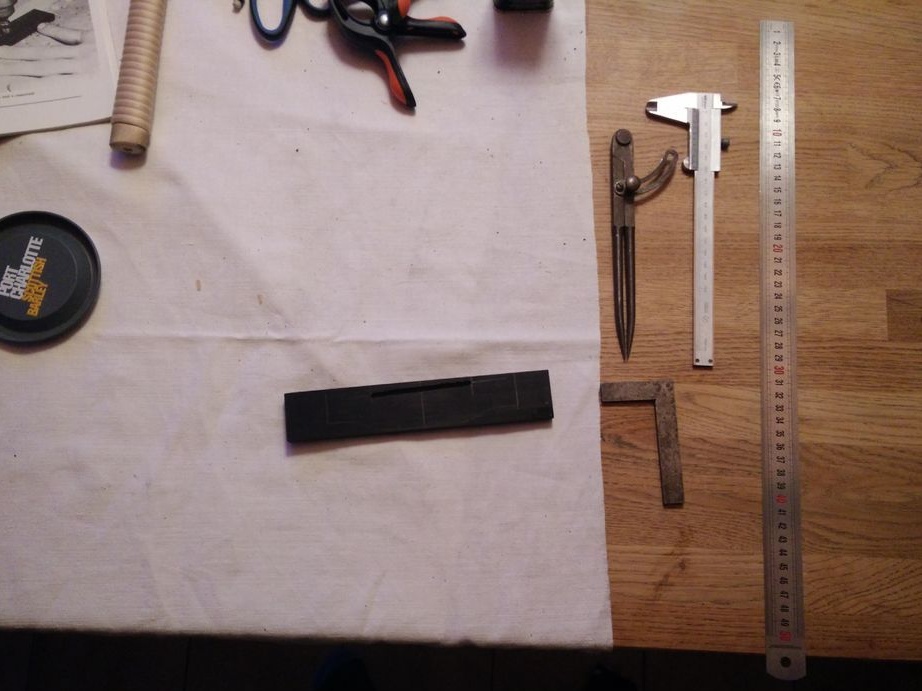
Seventh step: pad
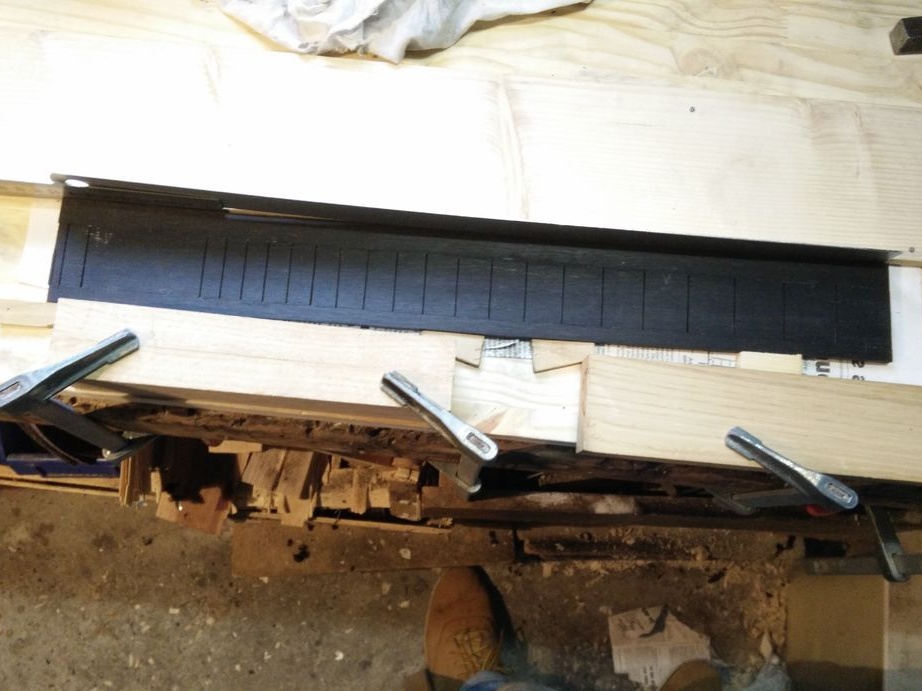
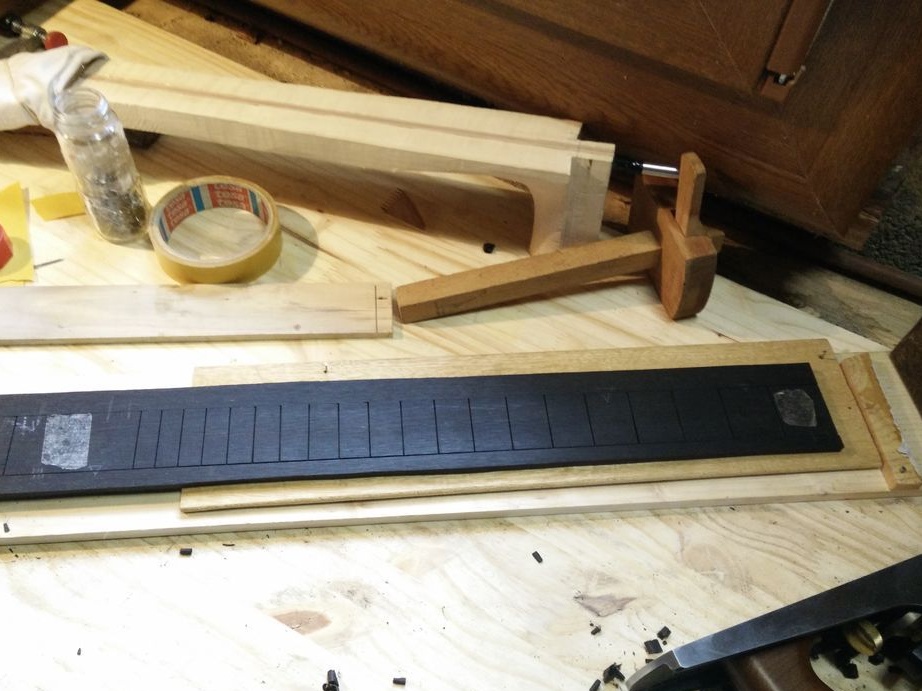
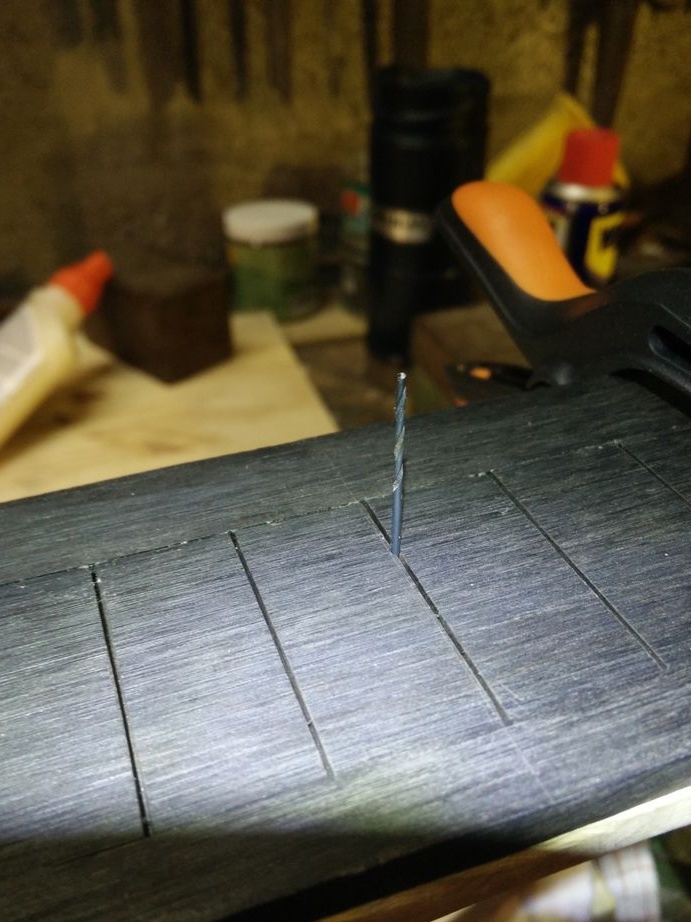
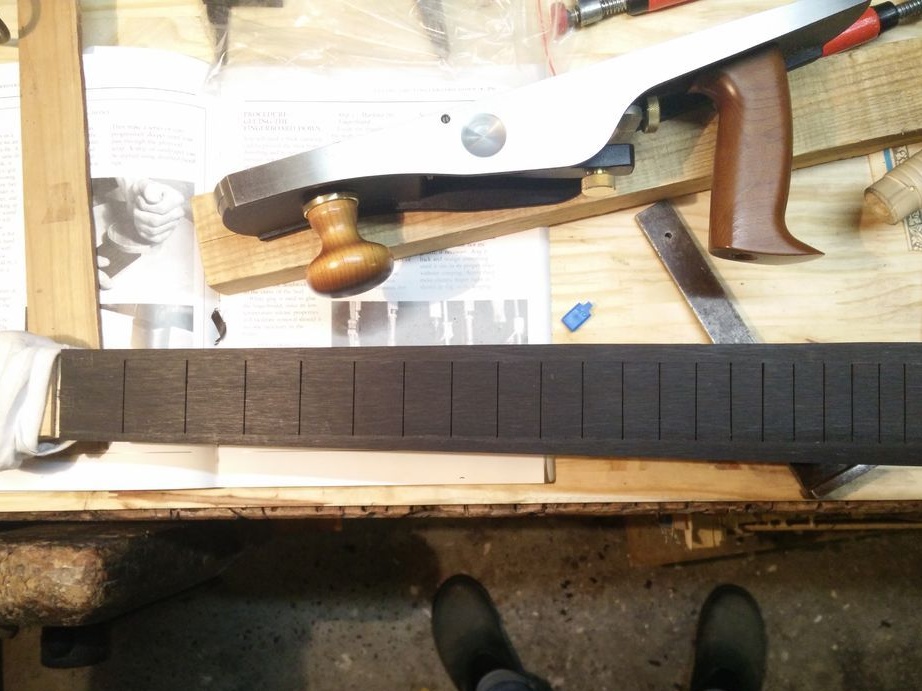
The master makes a fingerboard overlay from ebony.Ebony is solid wood and ideal for lining. Cuts the pad to fit. Then he marks the places for setting the frets. Makes grooves for frets.

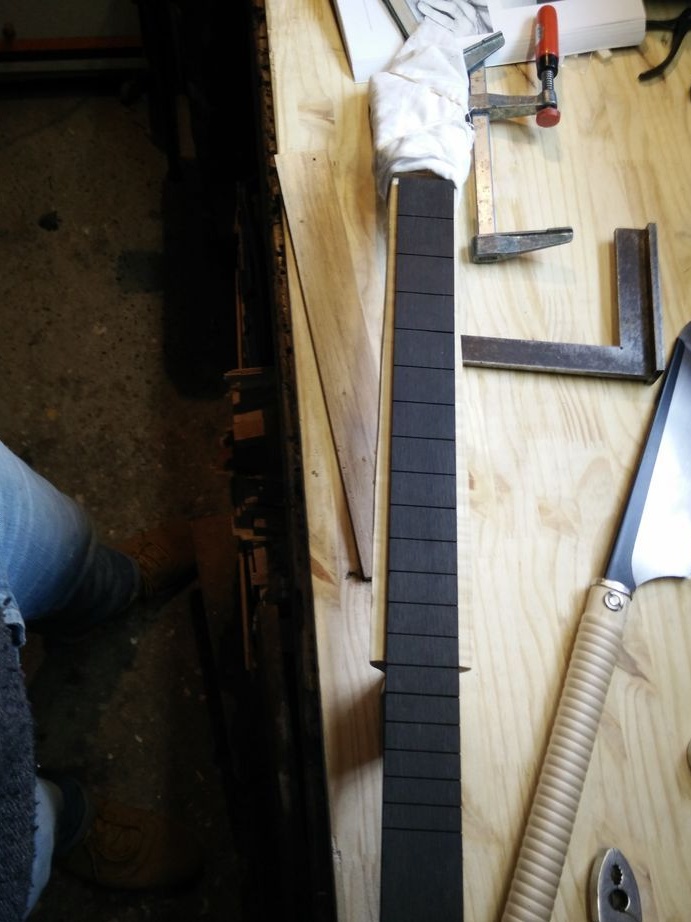
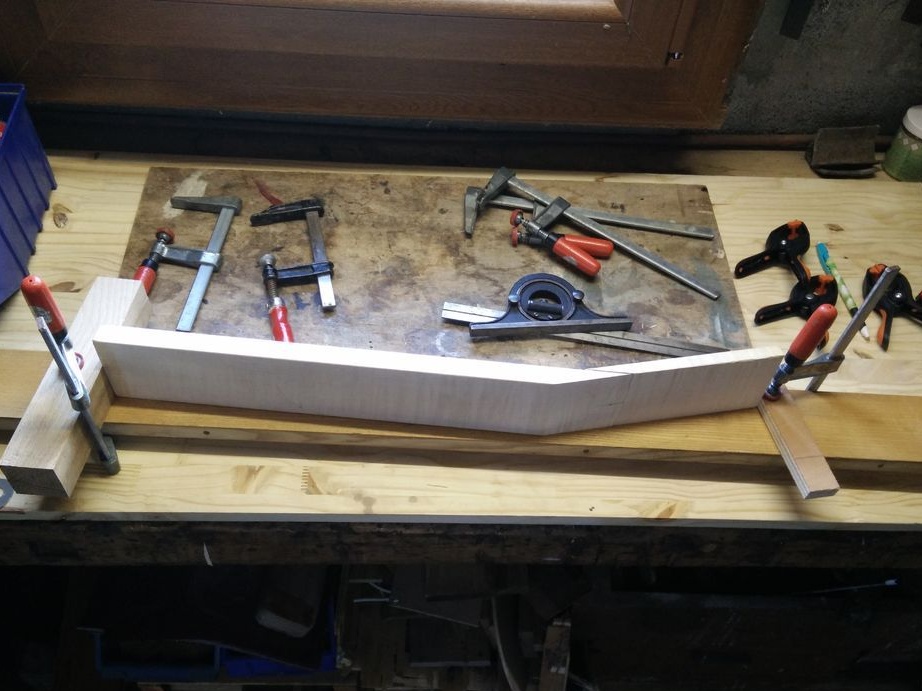
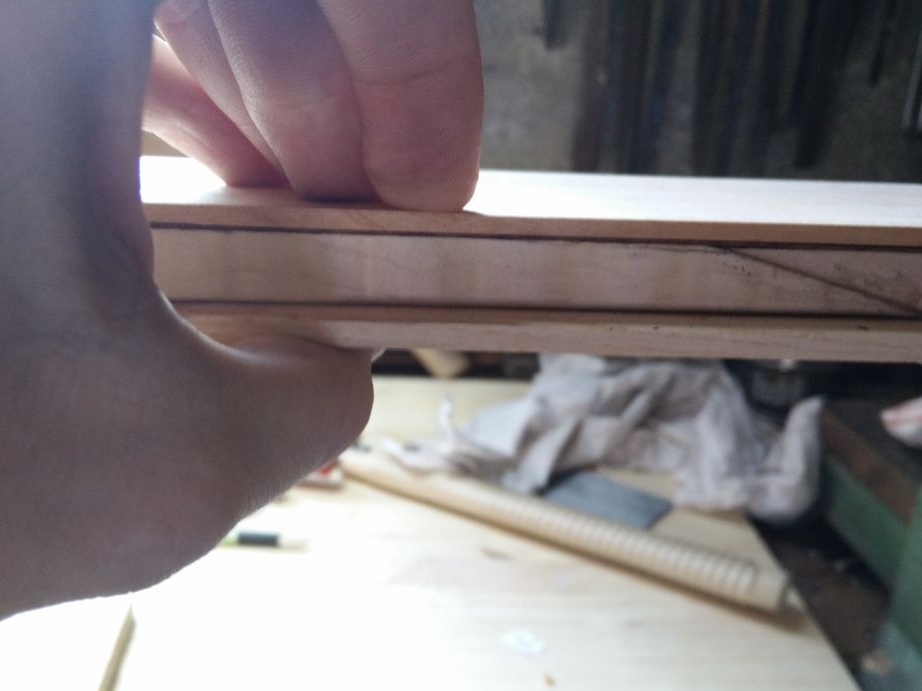
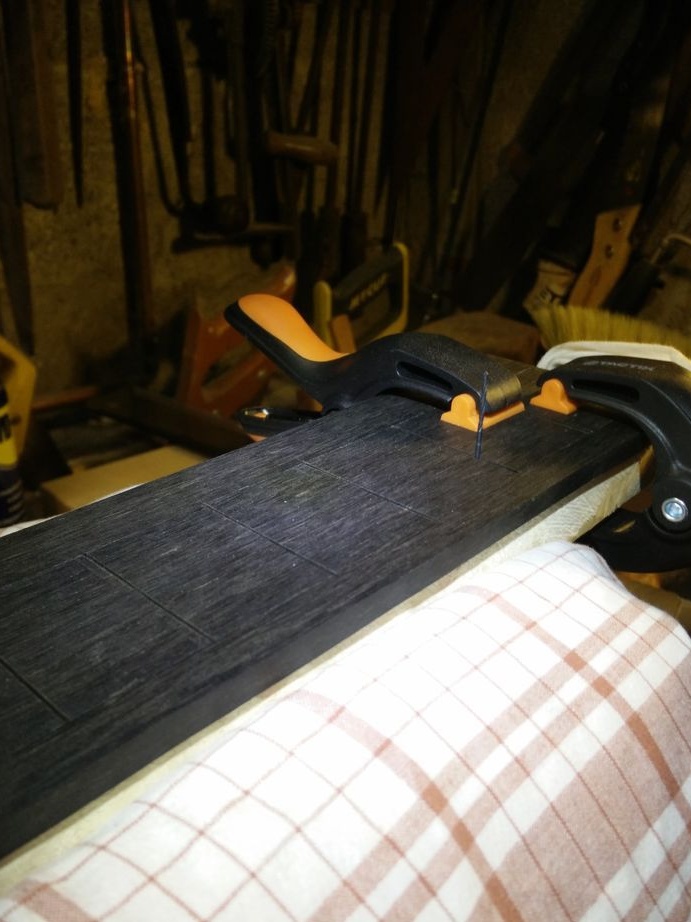
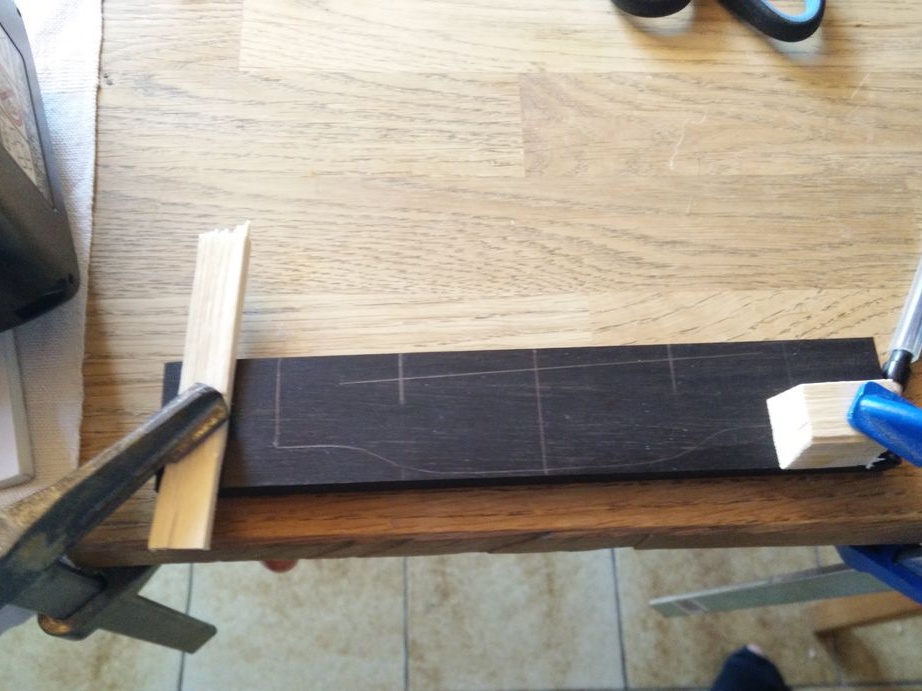
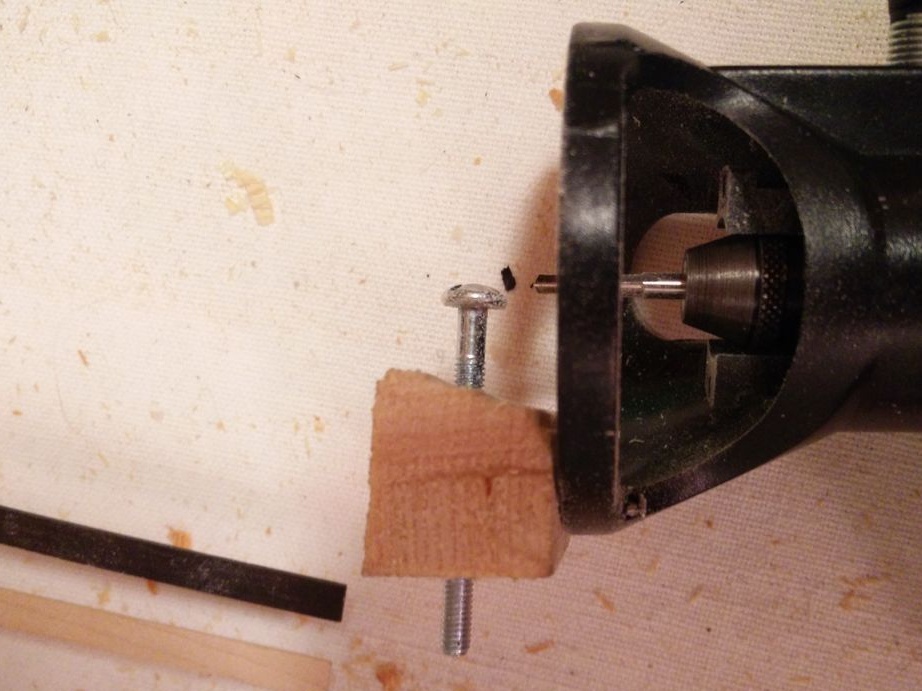
Step Eight: Adhesive Fingerboard
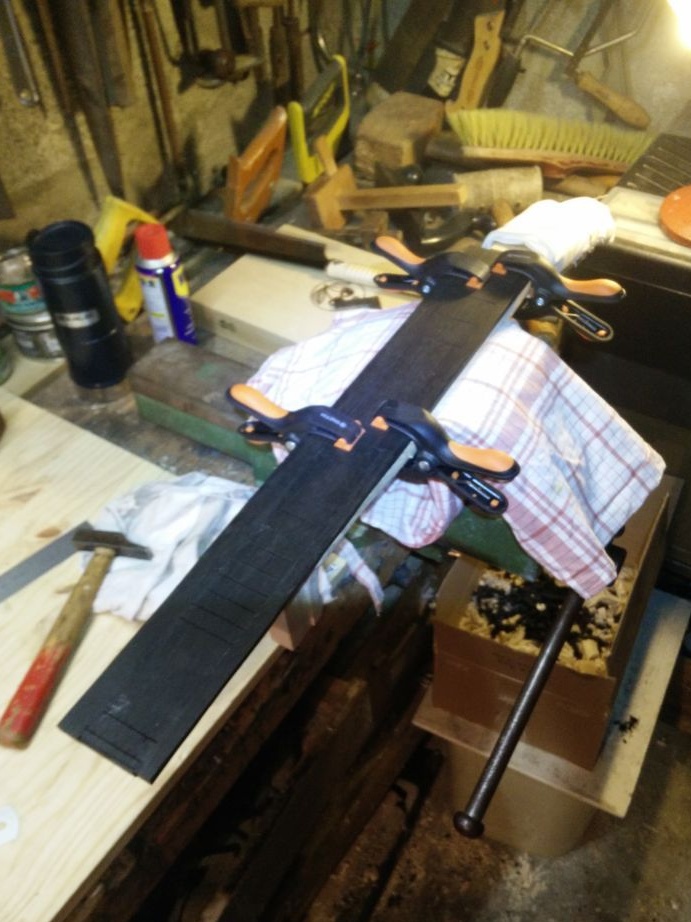
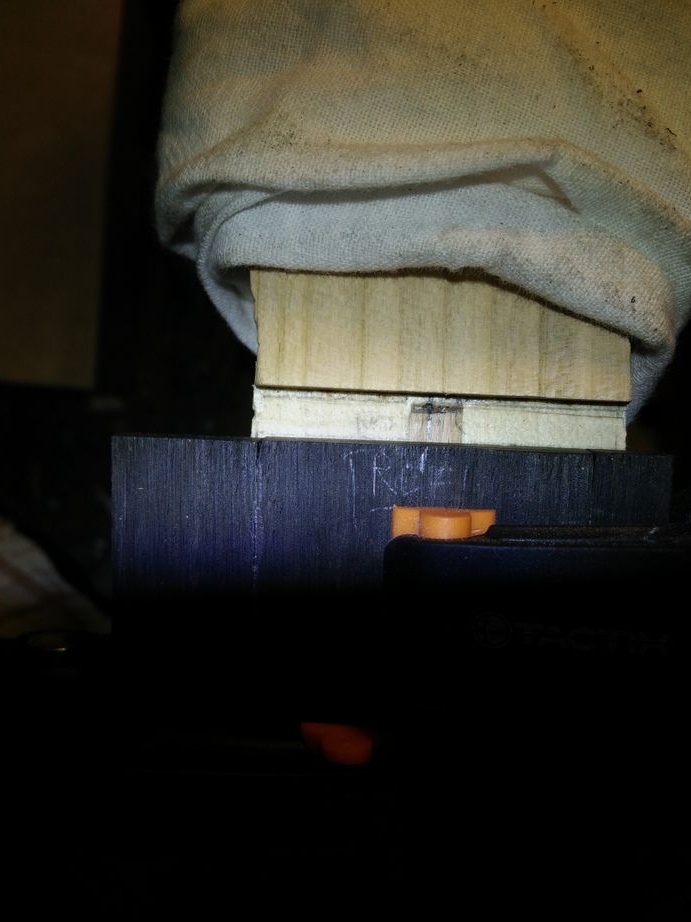
Then the master glues the pad to the bar. To do this, he first places the overlay on the neck (the edge of the overlay should be level with the edge of the anchor rod) and clamps with clamps. Then it drills two through holes. The wizard installs the pins into the holes. Removes the overlay, applies glue and sets the overlay in place. The pins will not let her move. Presses the pad with clamps. After gluing the parts, the pins are removed, and the holes are closed with a dowel.

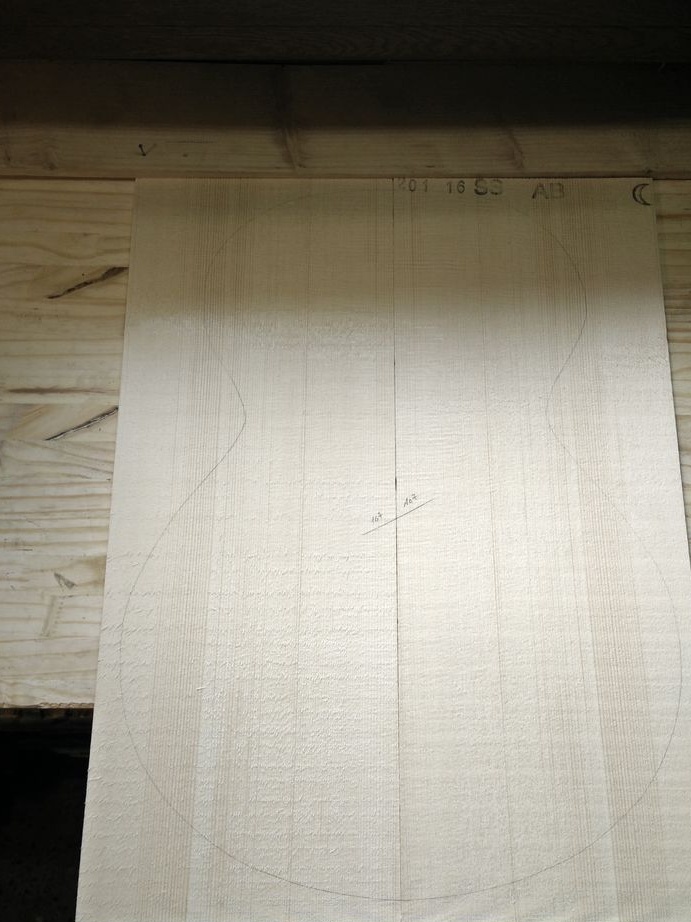
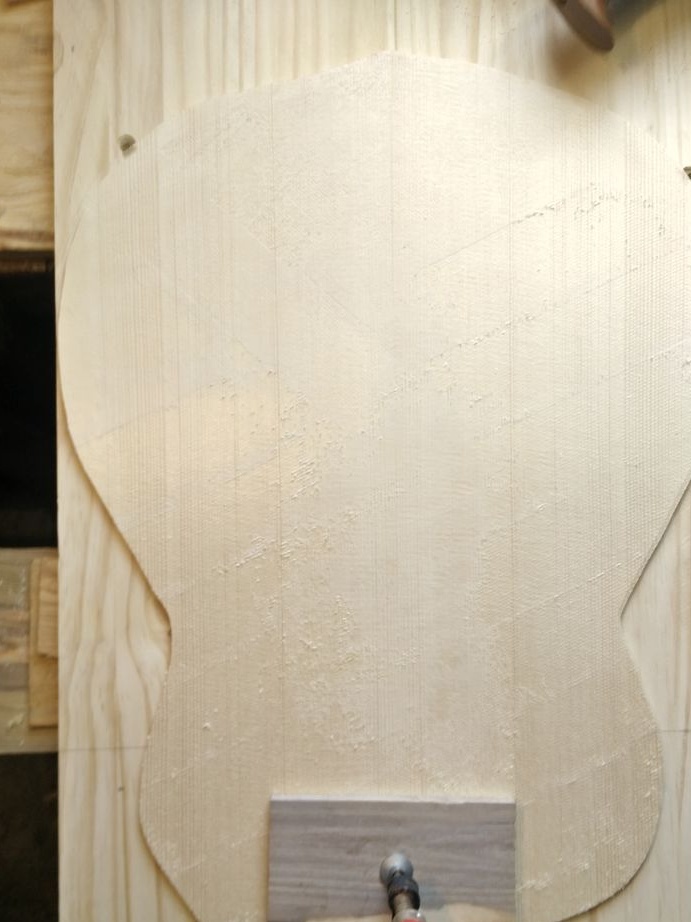
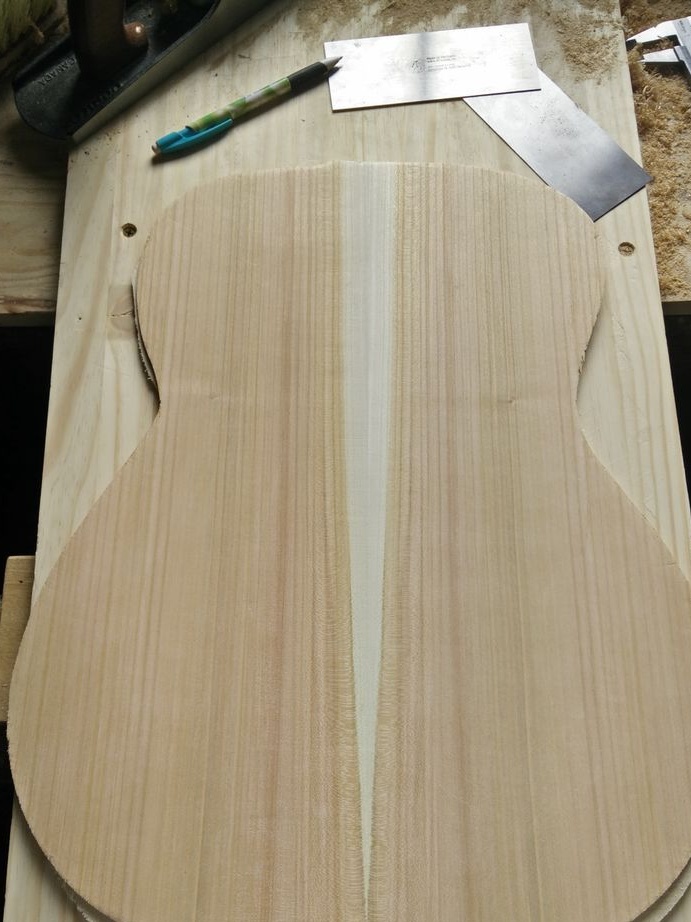
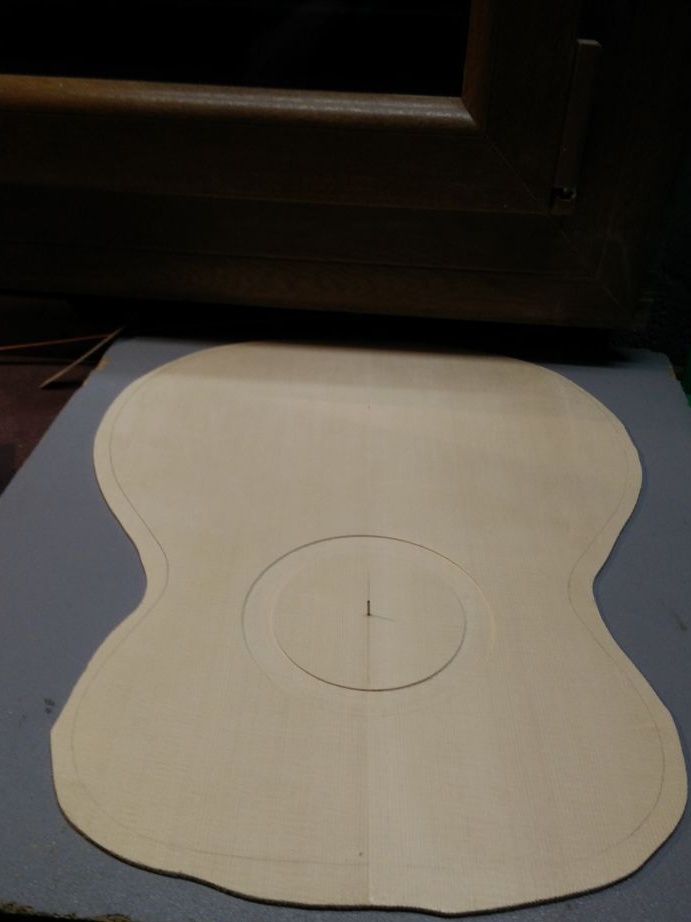
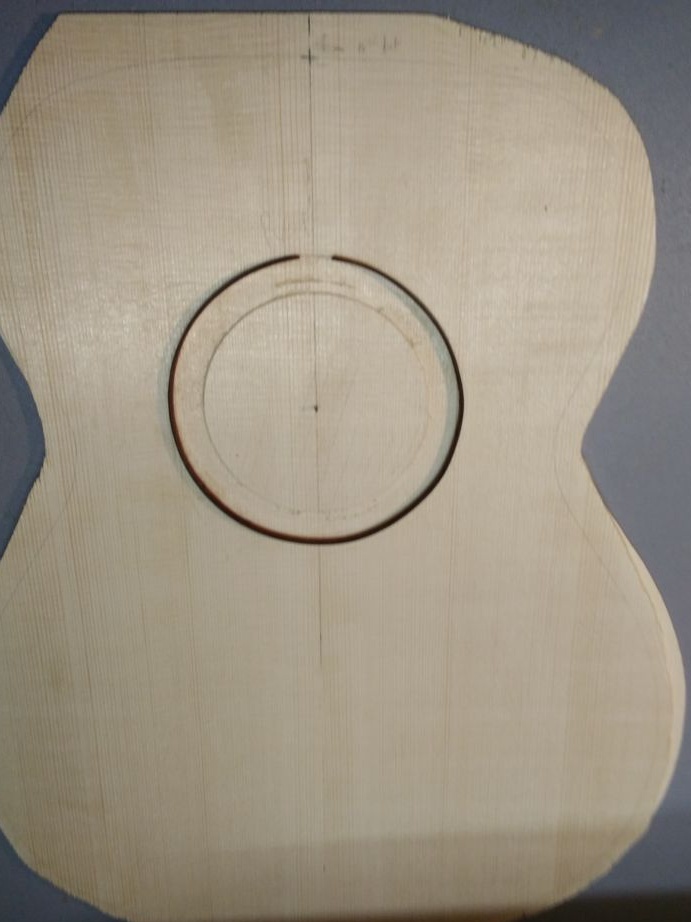
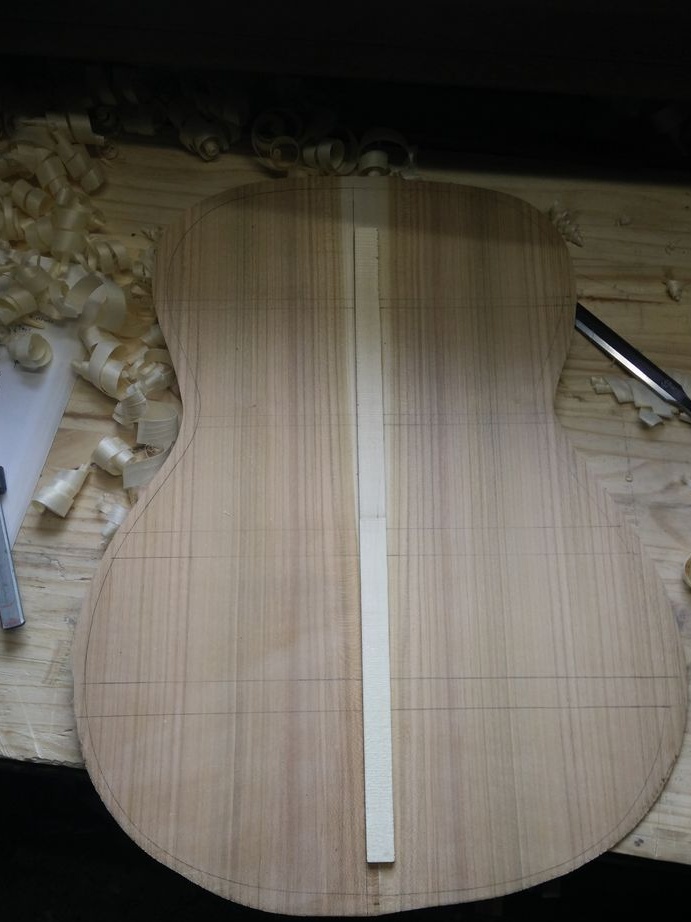
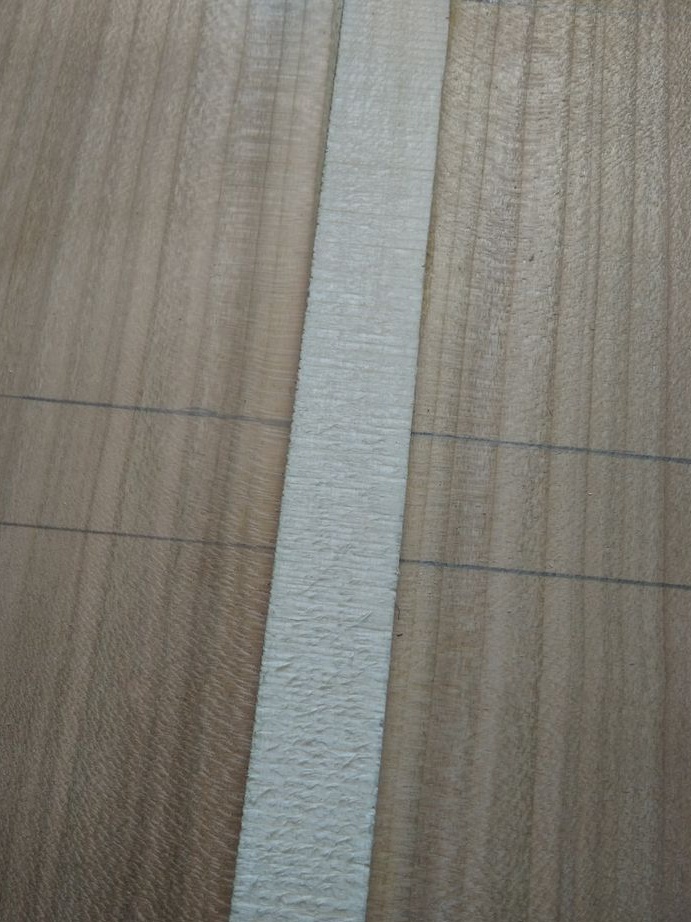
Step Nine: Deck
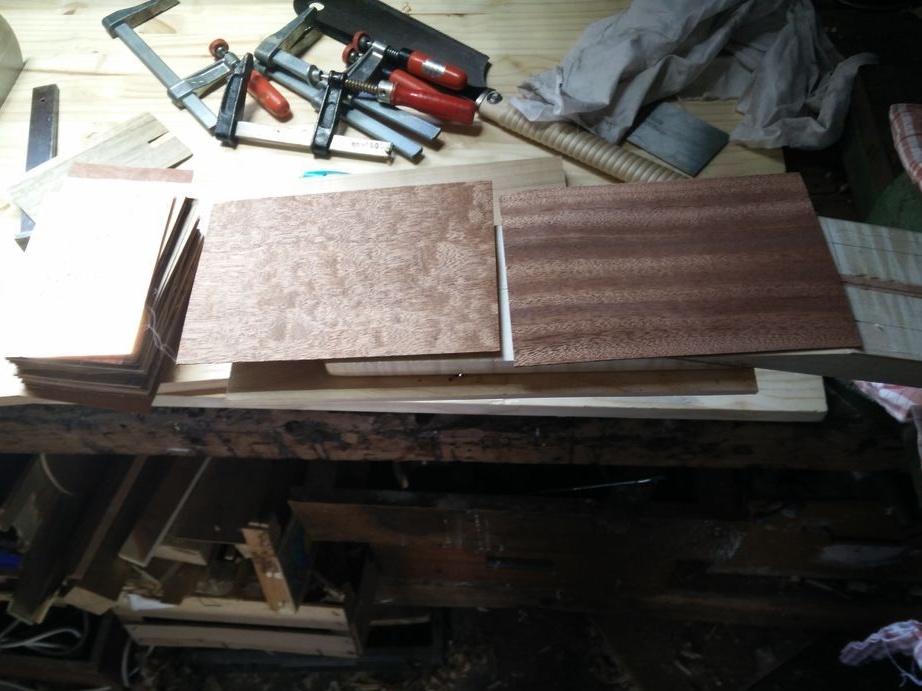
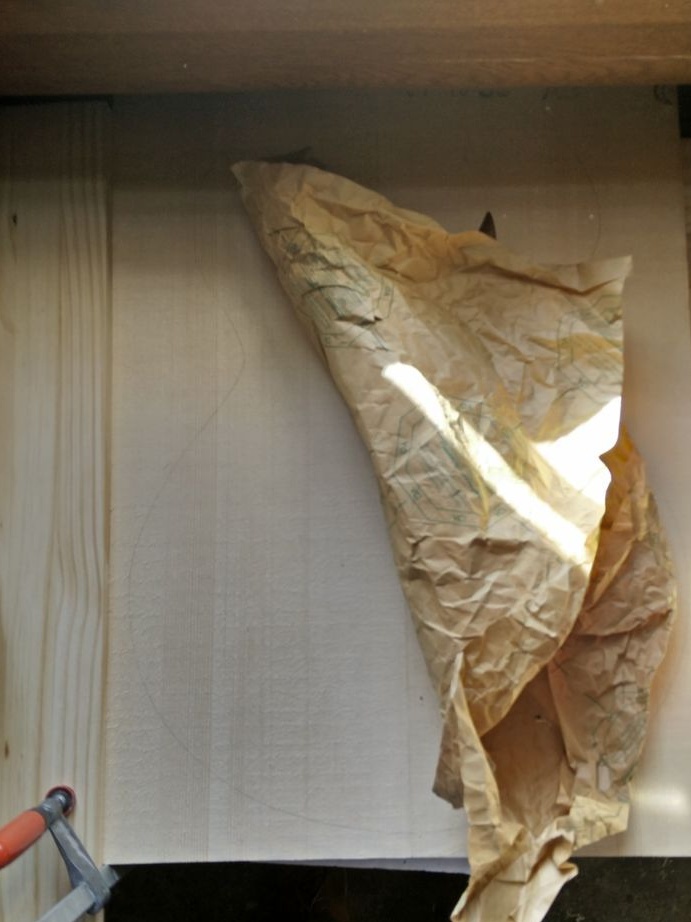
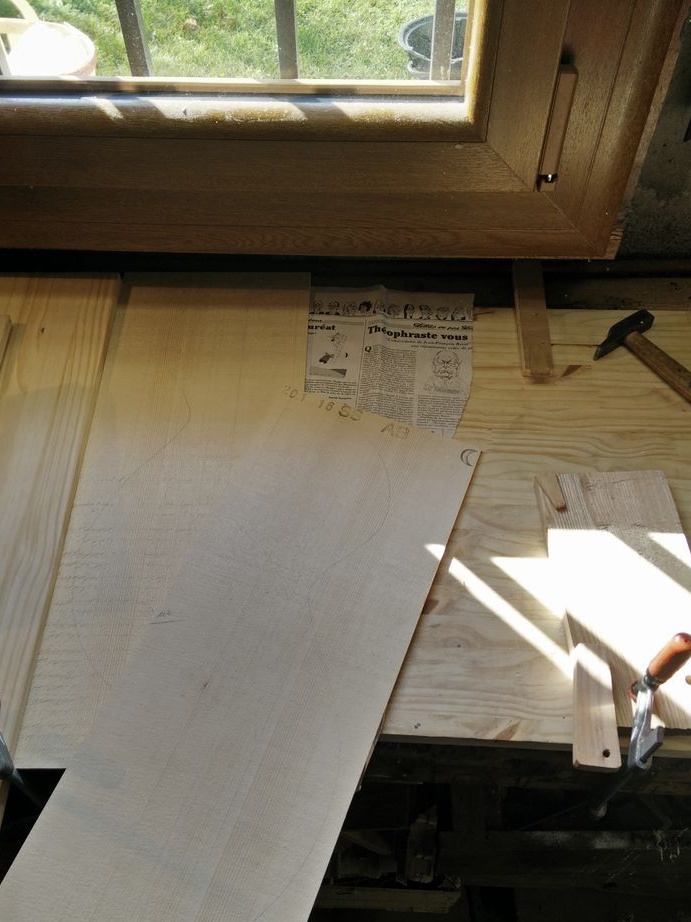
Next, you need to make the upper and lower deck.
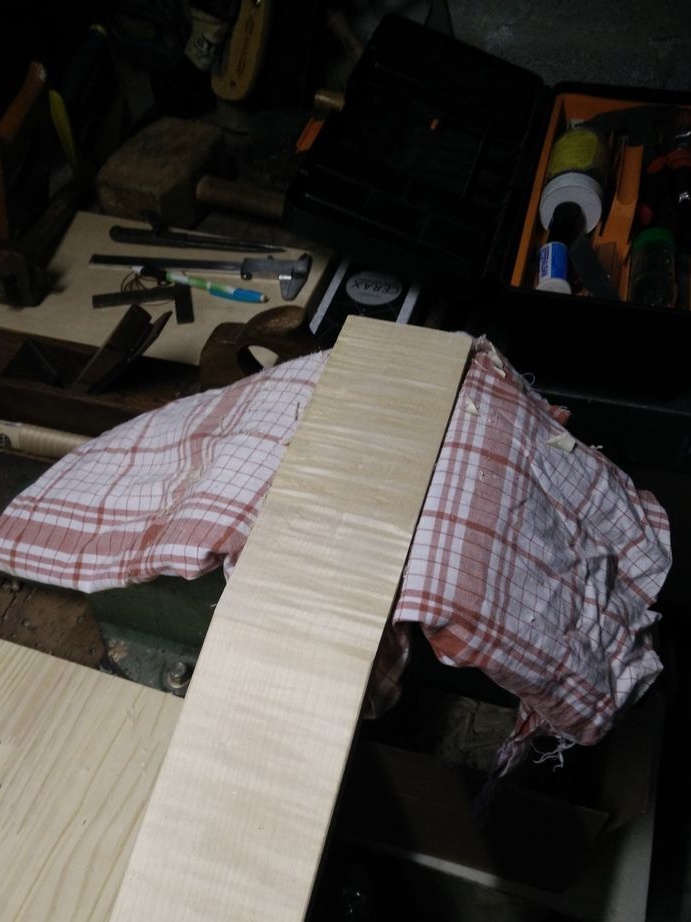
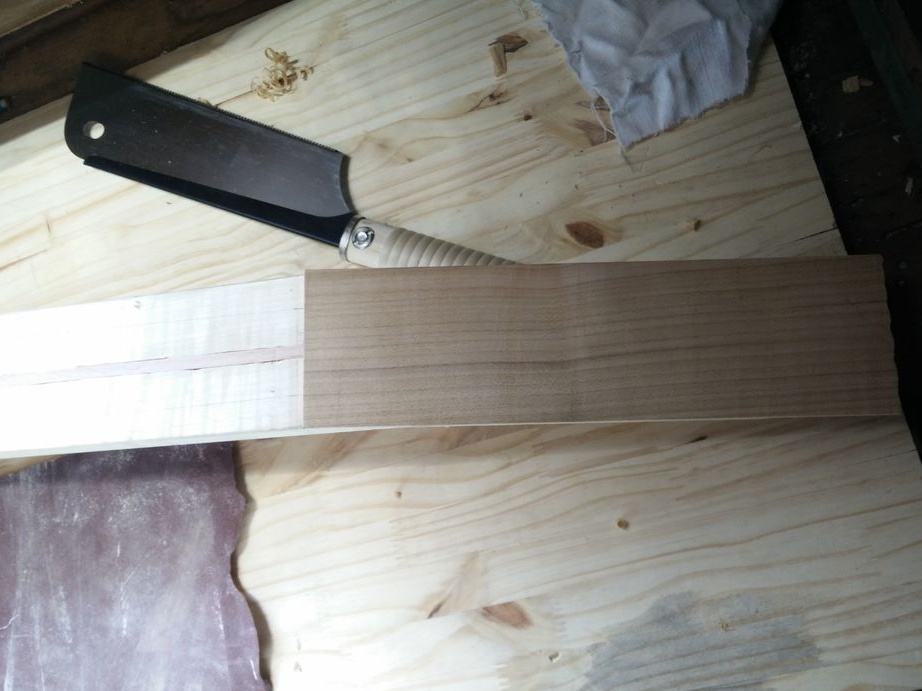
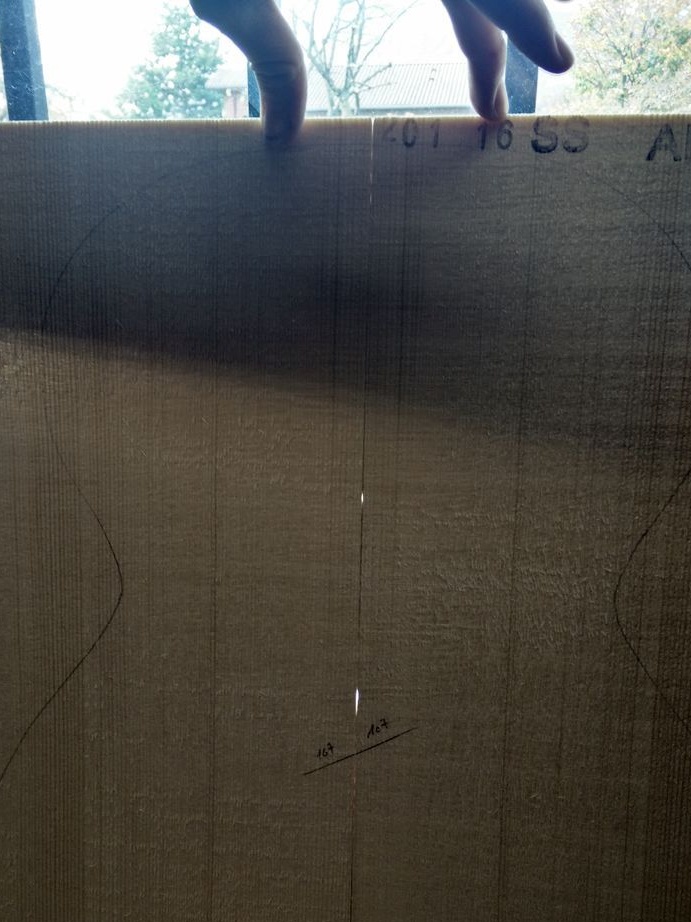
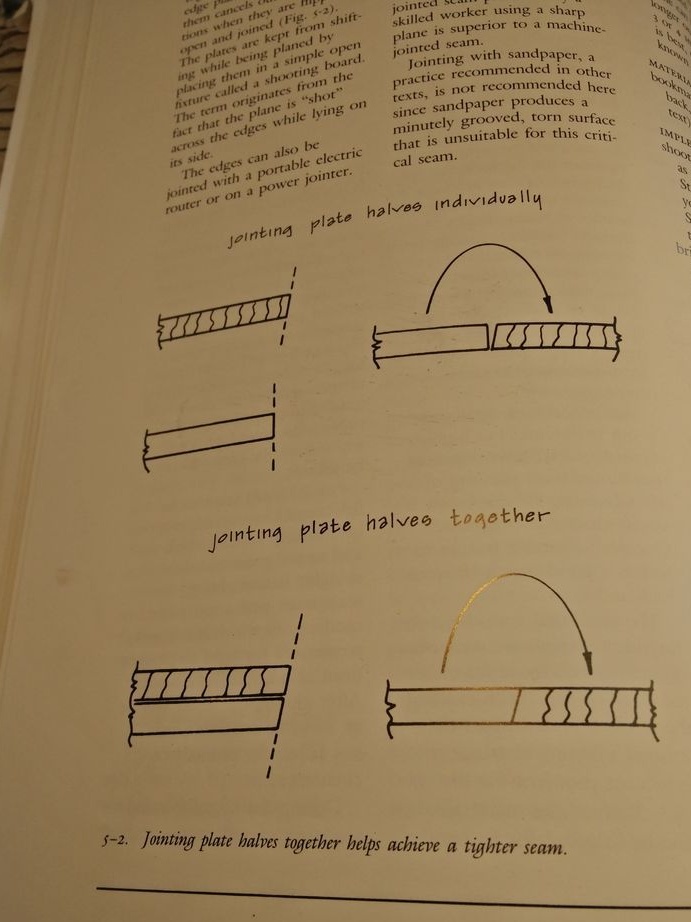
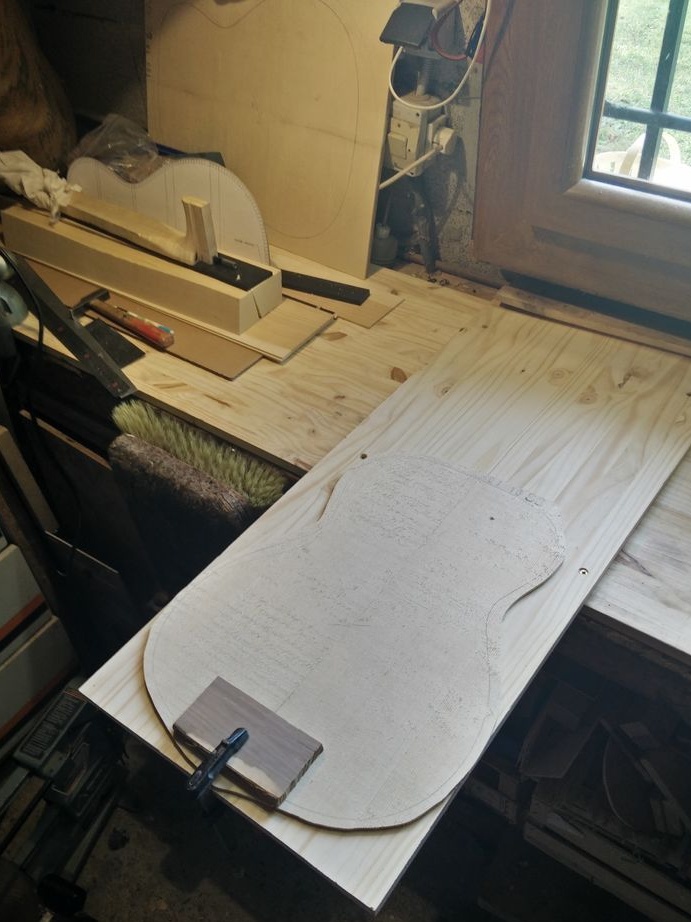
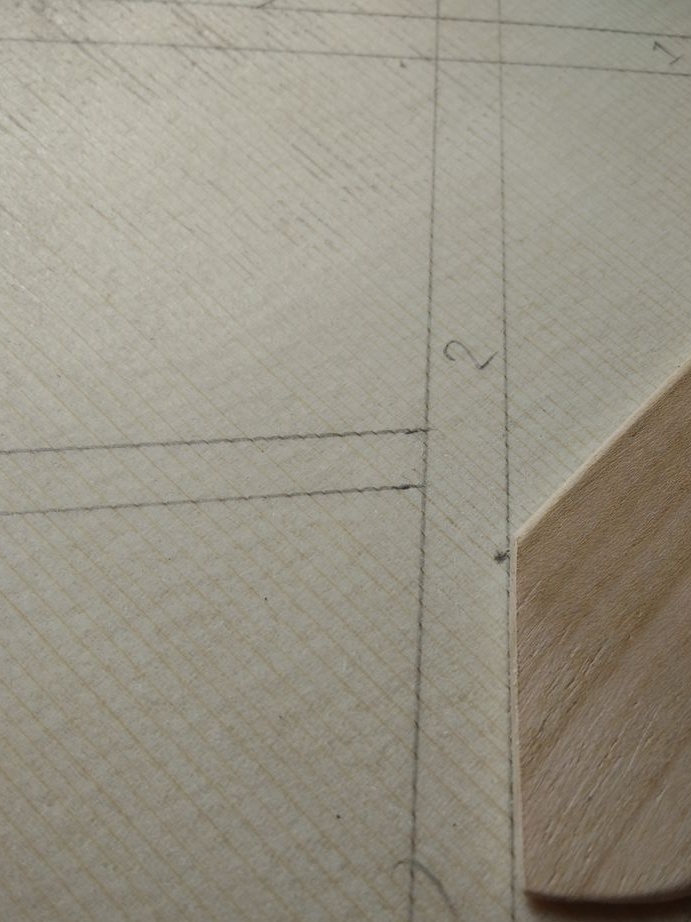
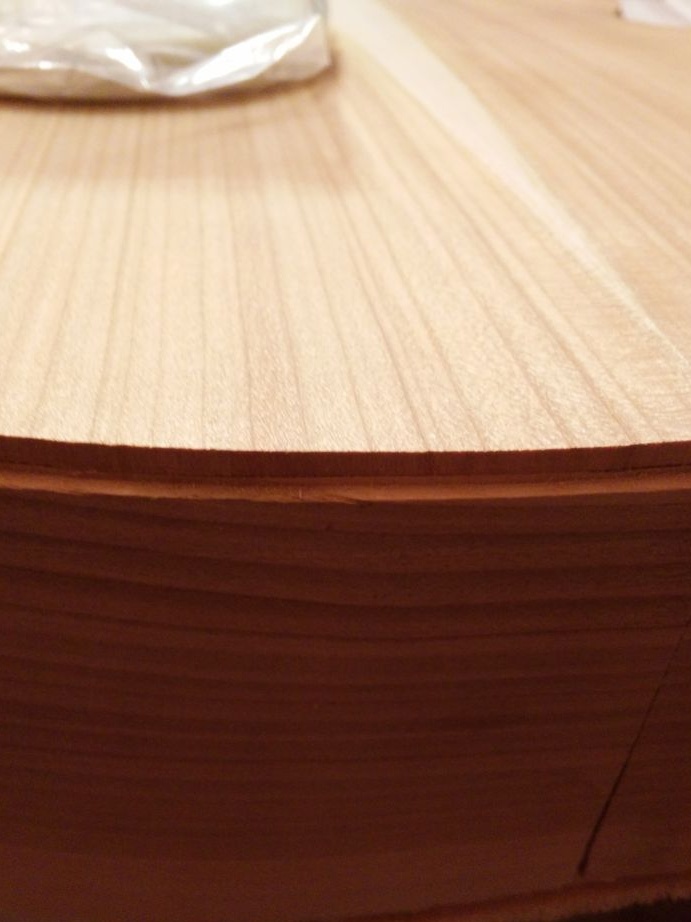
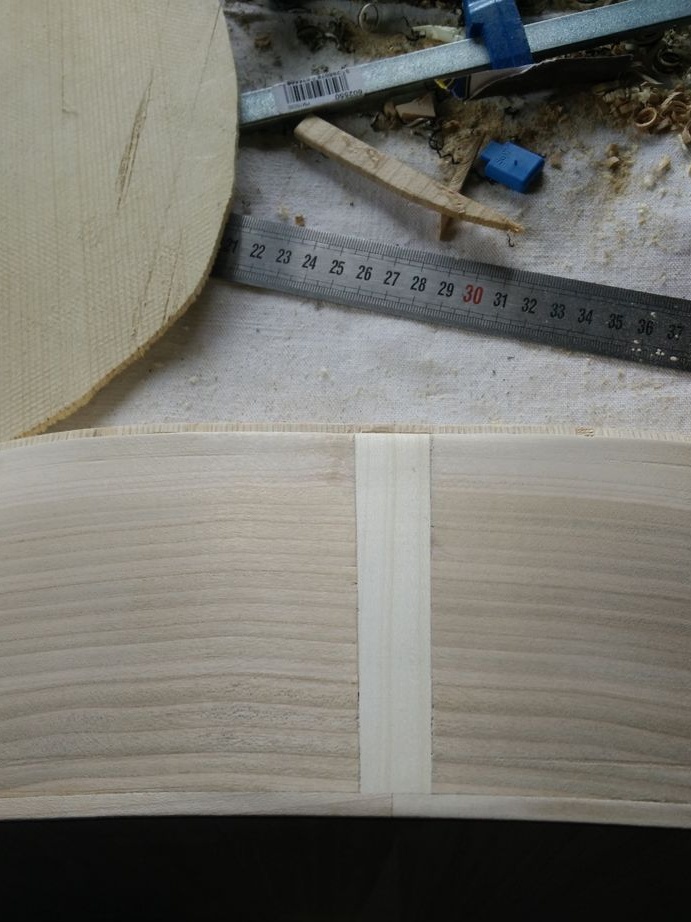
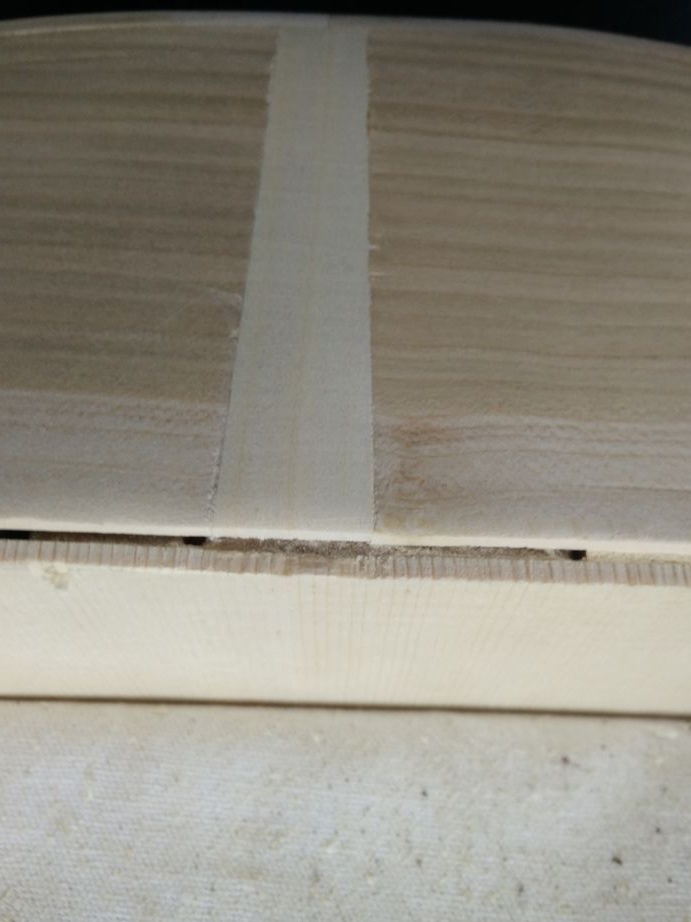
The deck is made of two panels. Draws a deck shape on the panels. It processes the place of gluing two halves so that they fit snugly together. Glues them. After gluing, cuts out the shape of the deck.
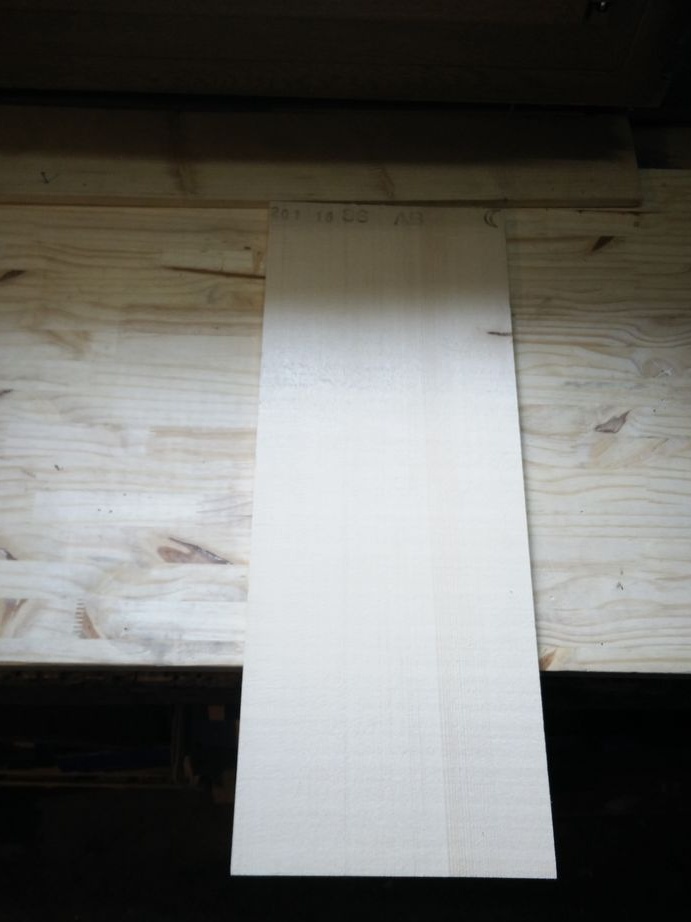
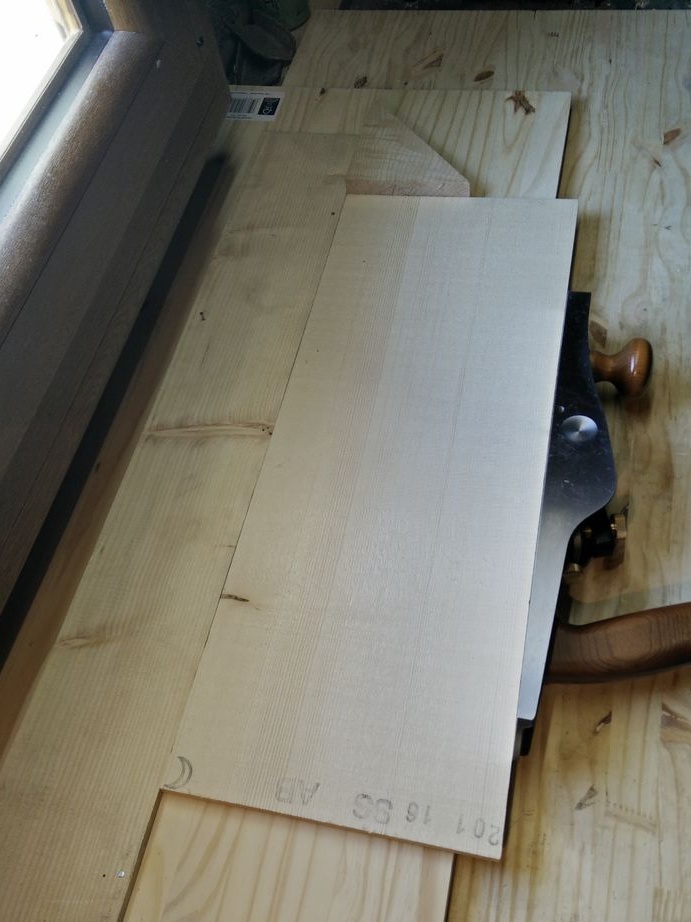
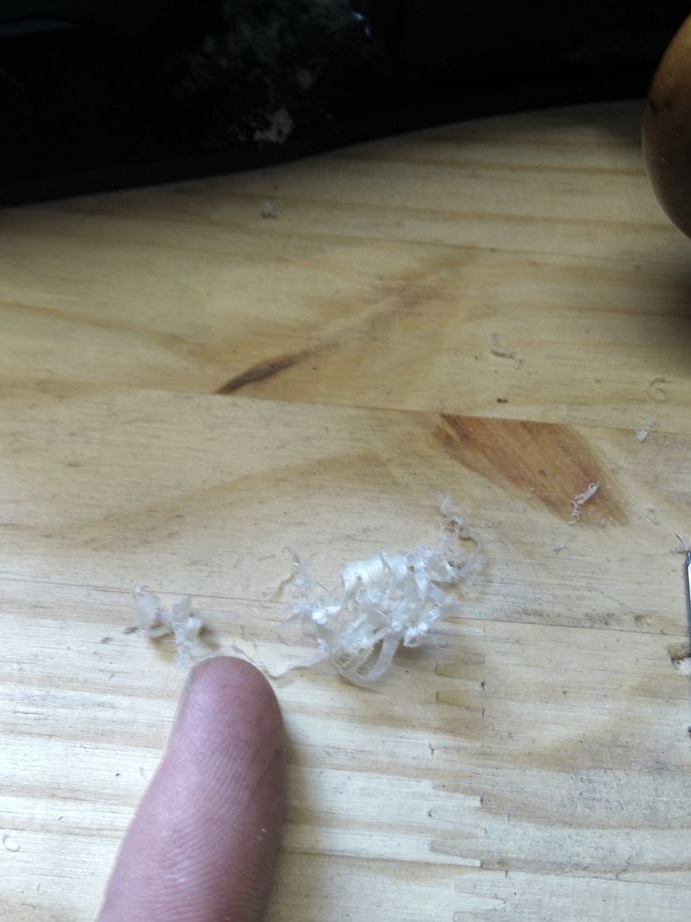
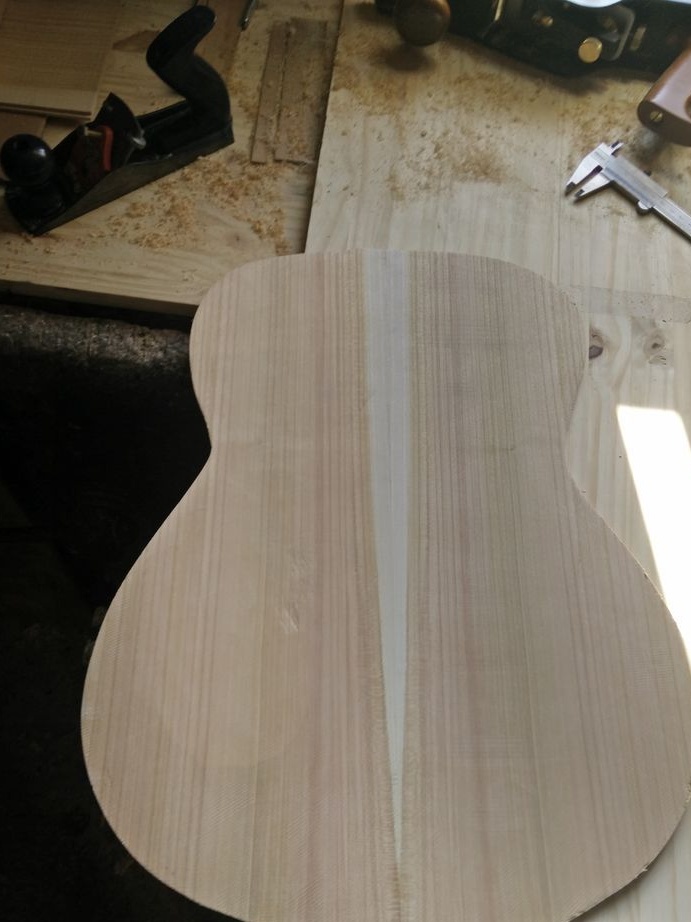
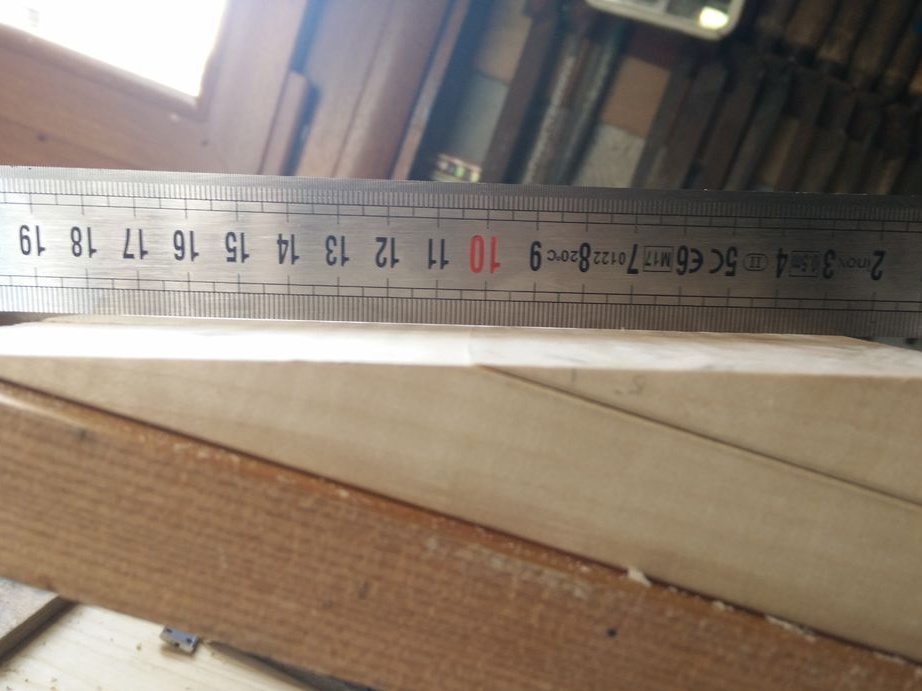
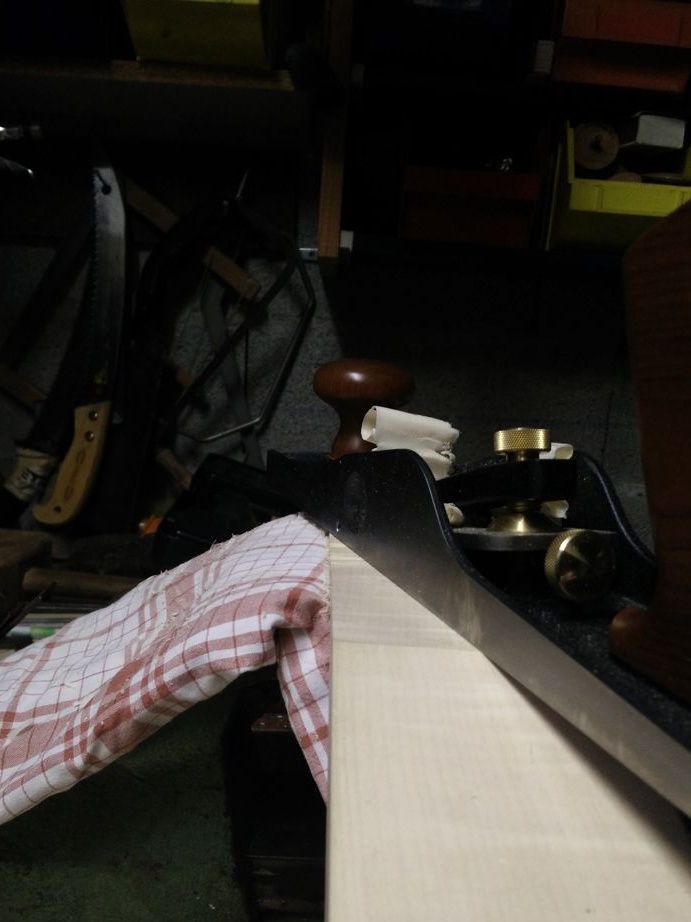
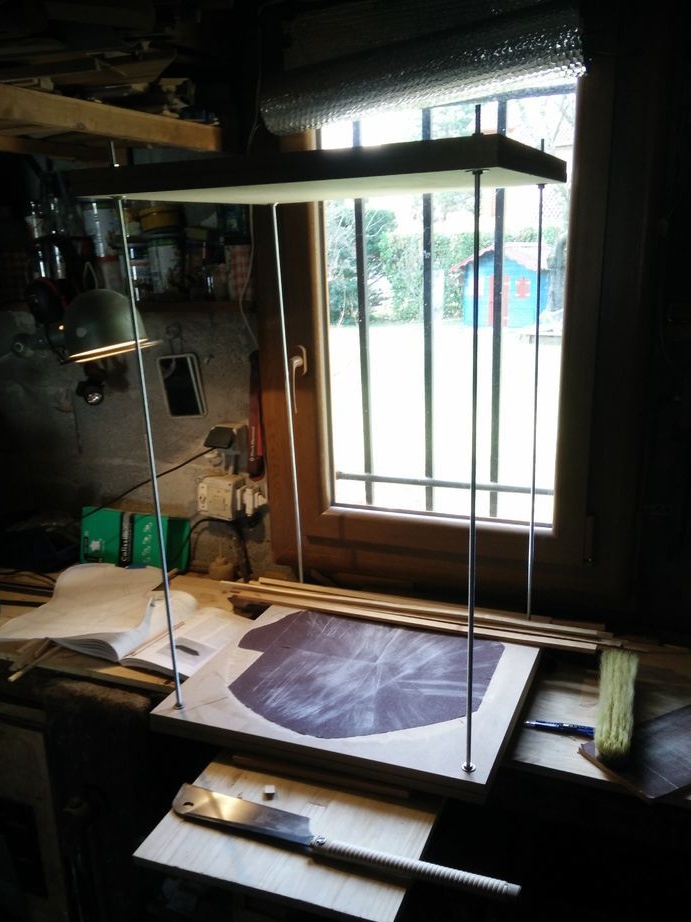
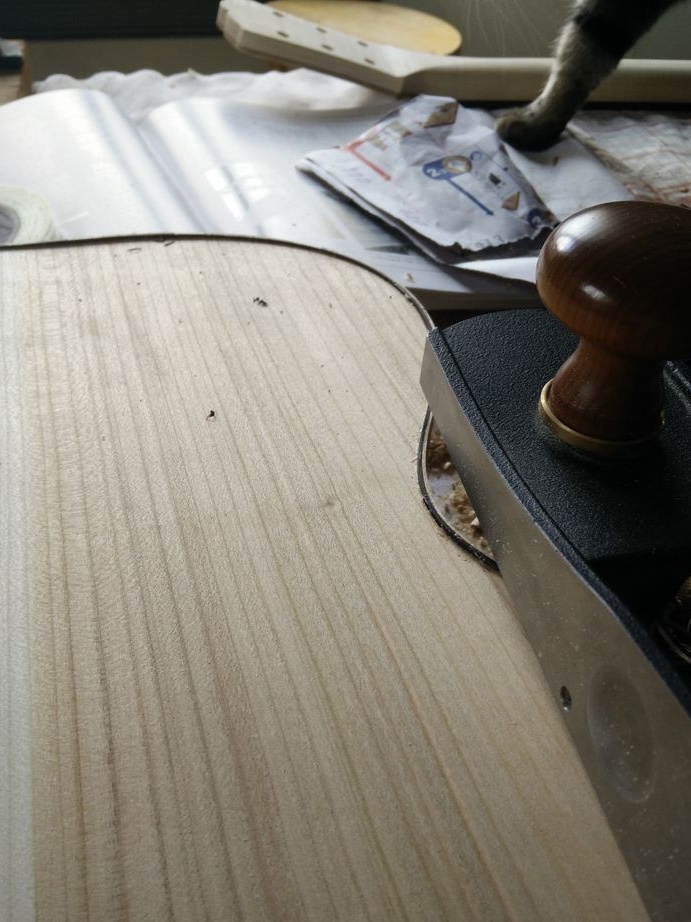
Now you need to process the surface of the deck and bring its thickness to 2.7 mm (for the top deck) and 2.4 mm (for the bottom deck). The master carried out the processing manually using emery paper fixed on a bar.
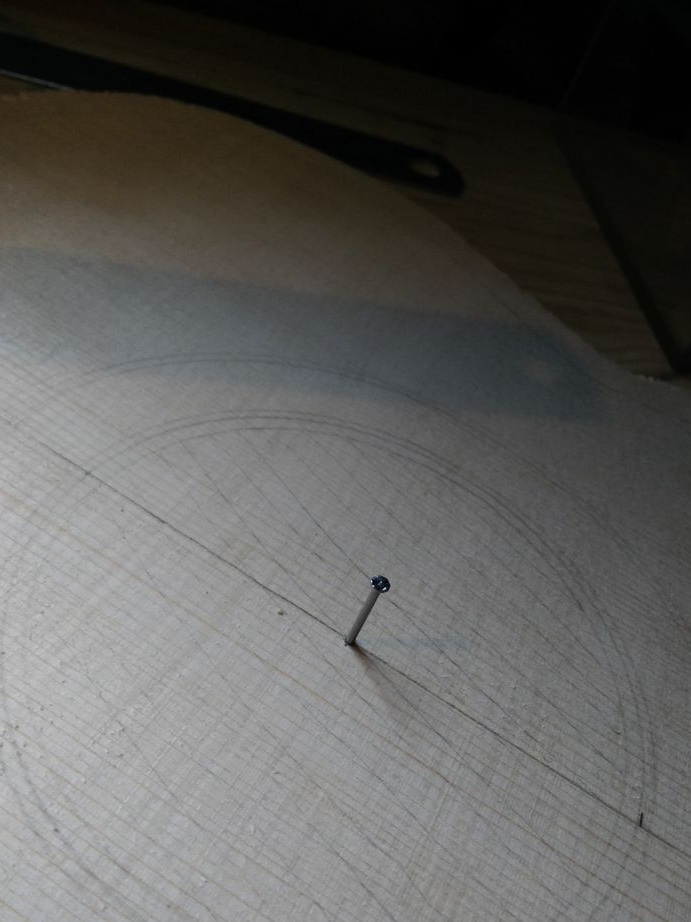
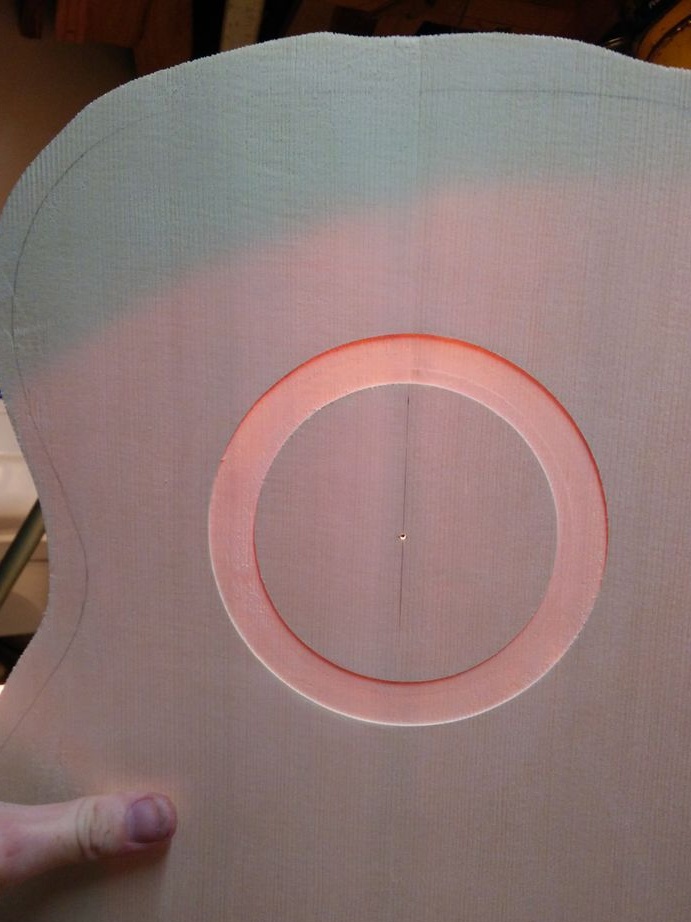
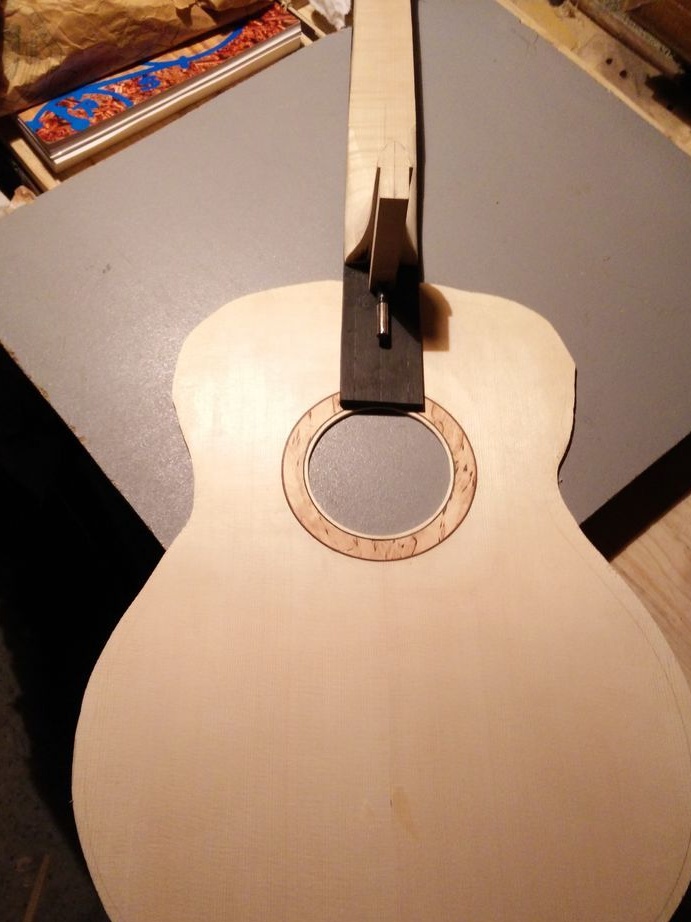
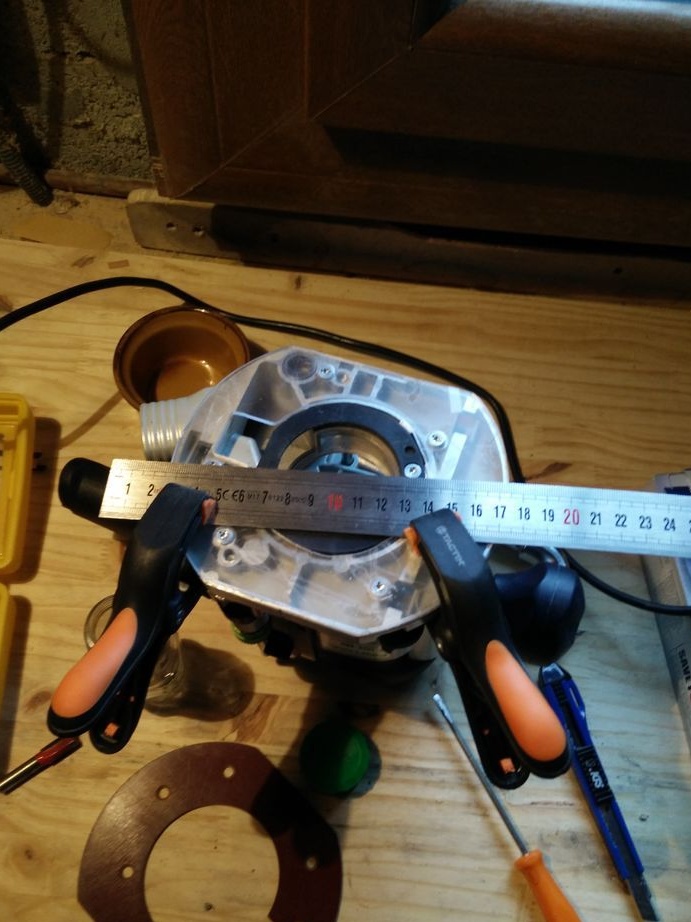
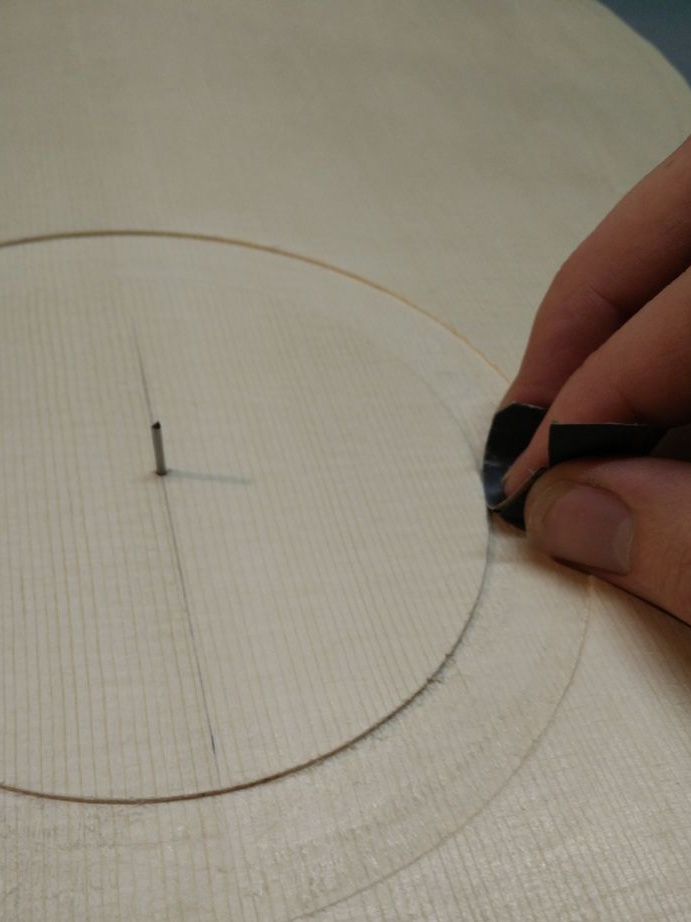
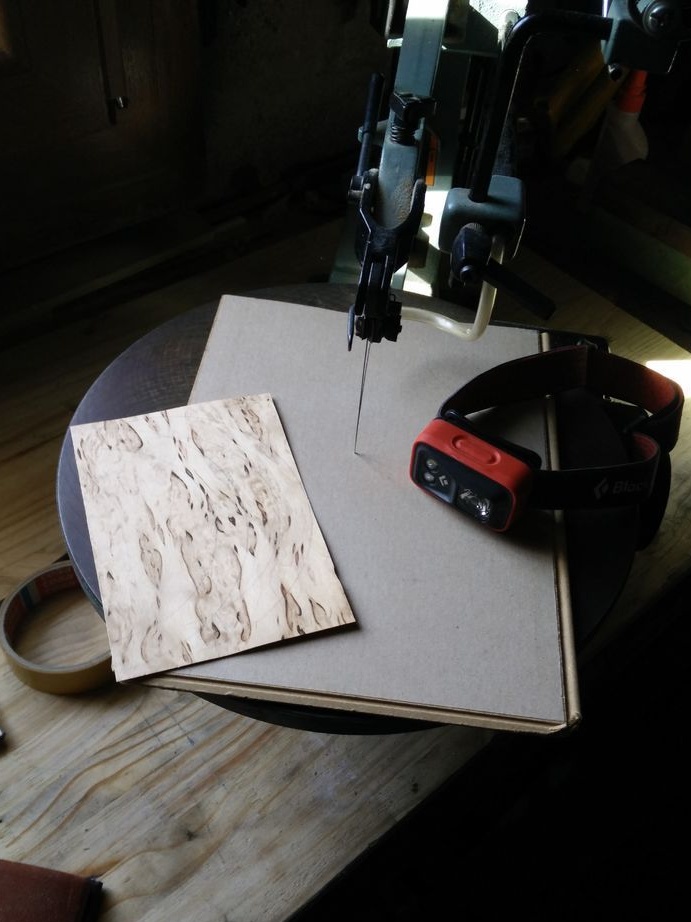
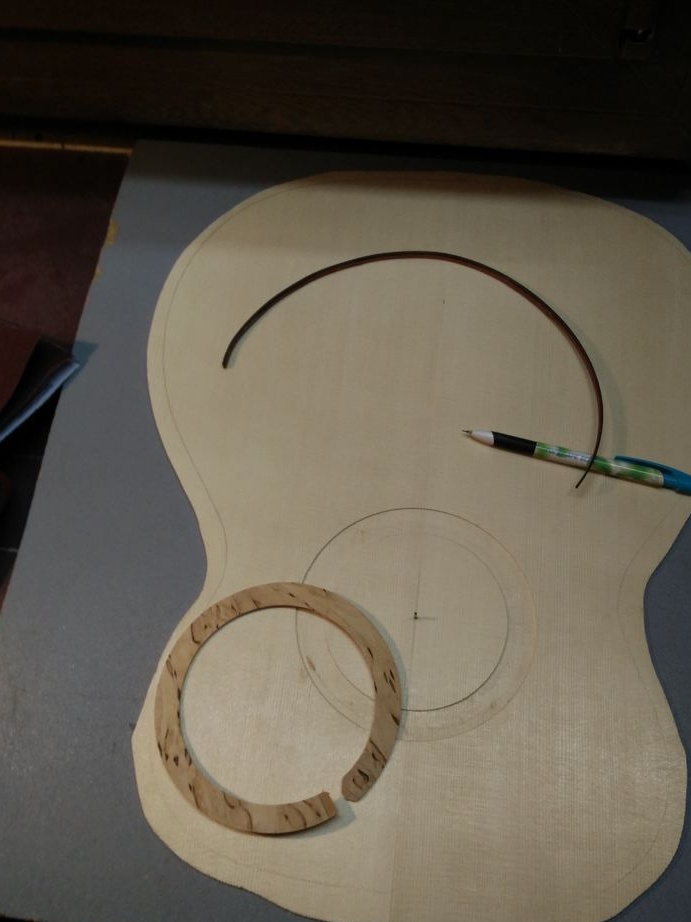
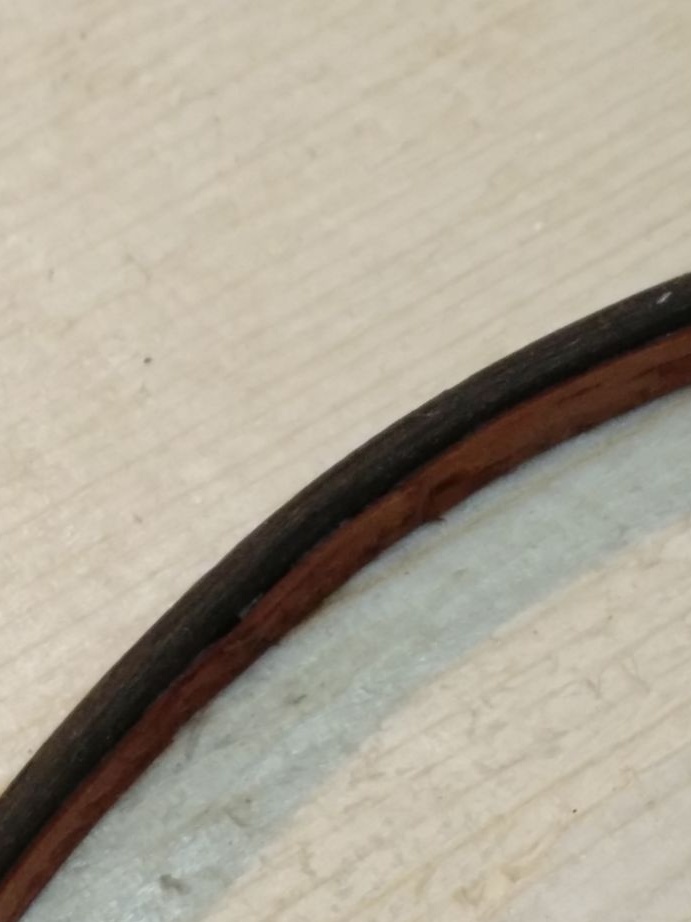
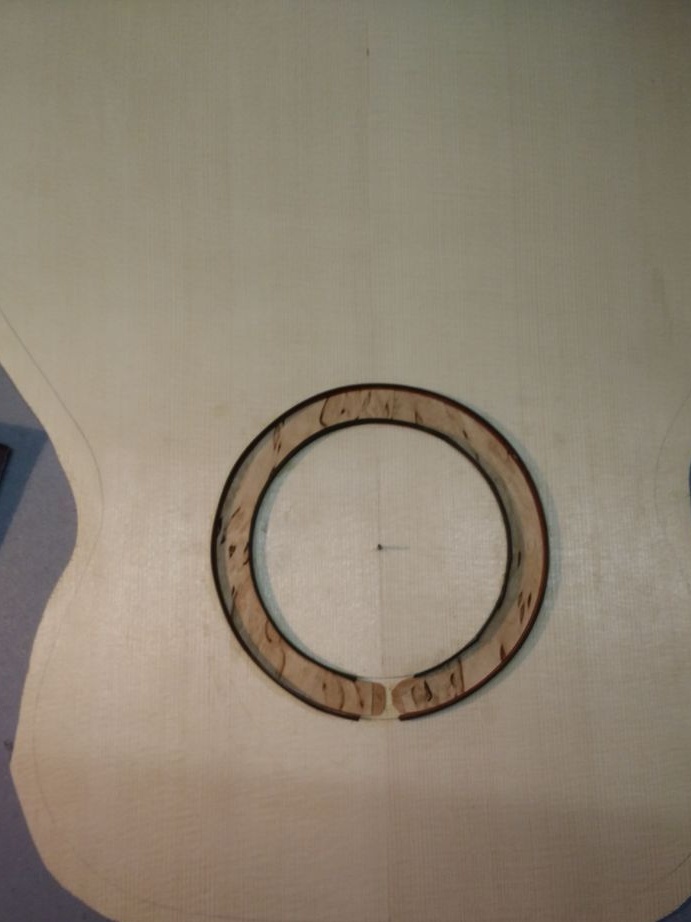
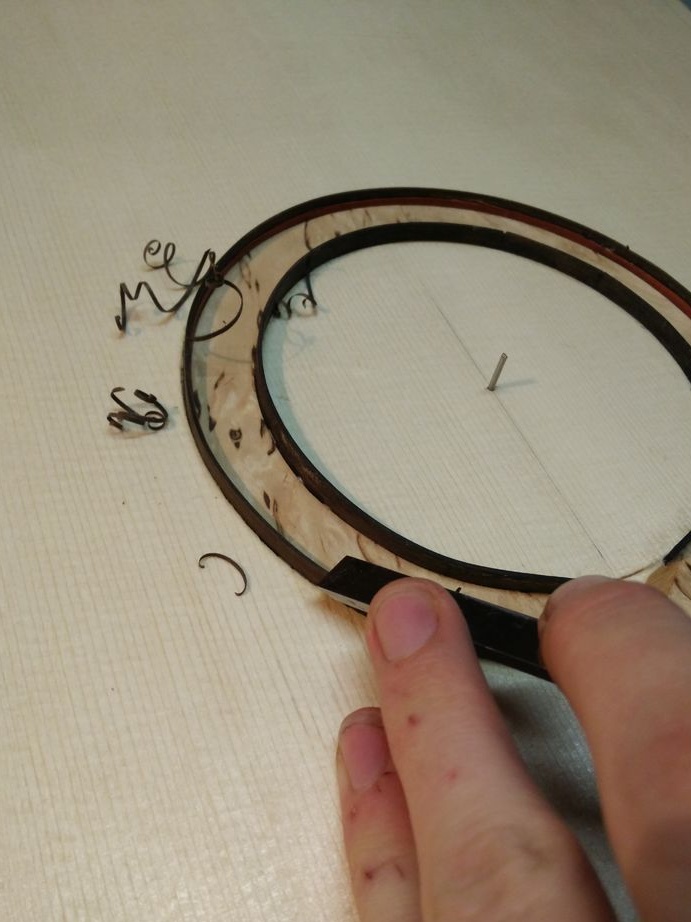
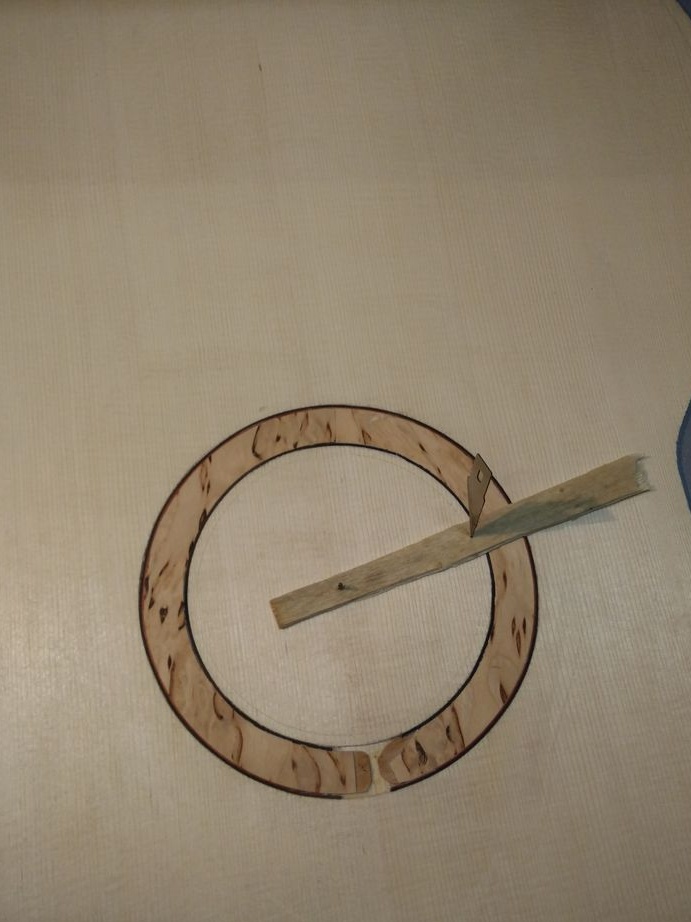
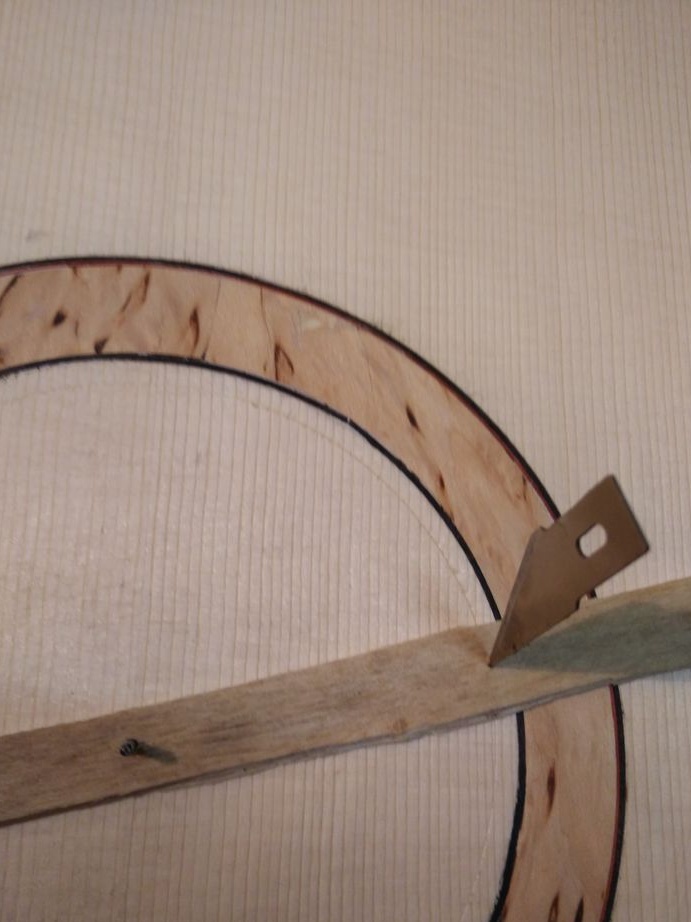
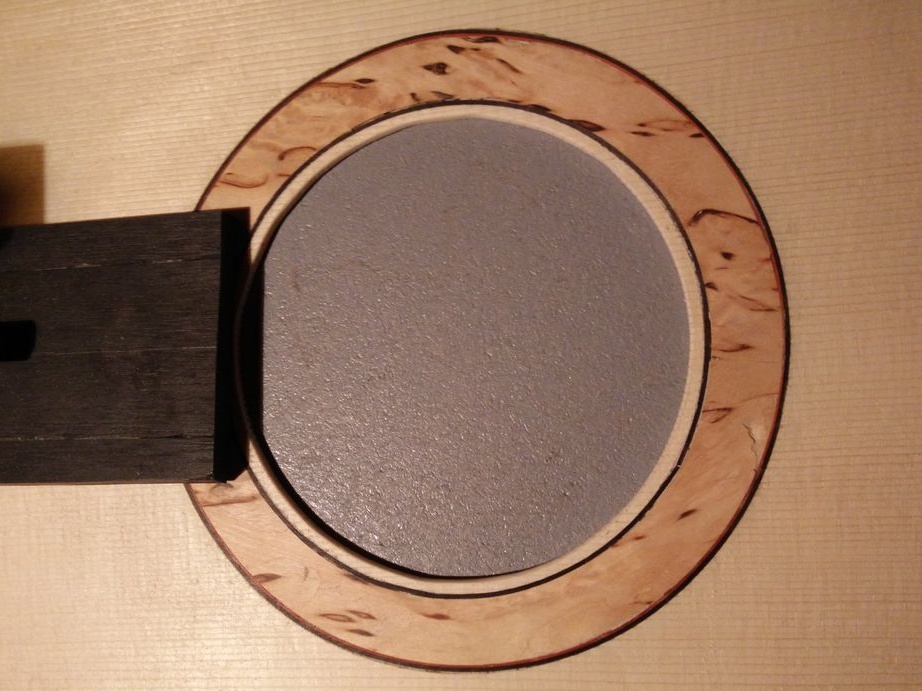
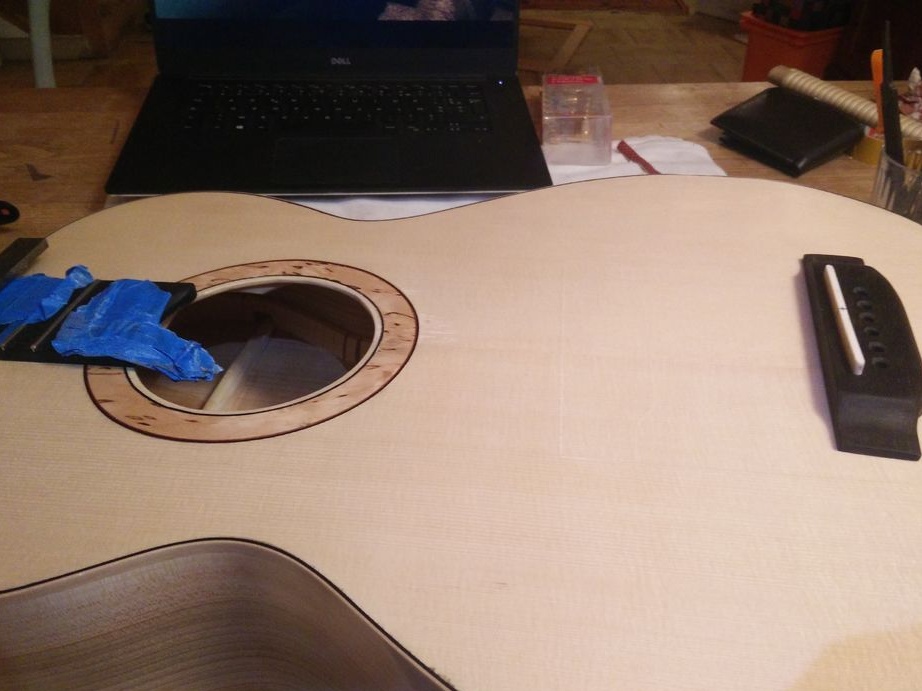
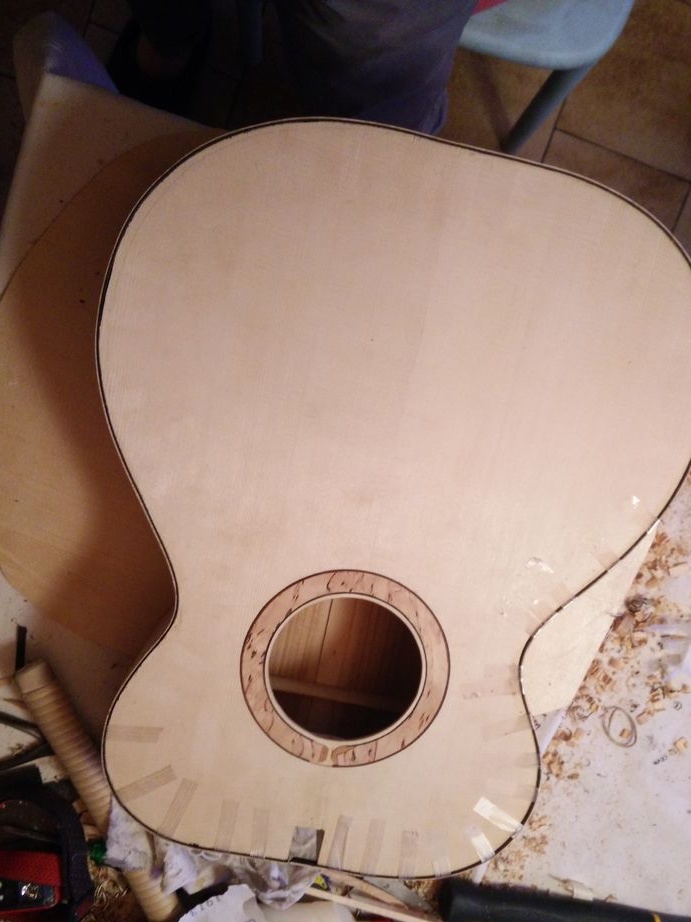
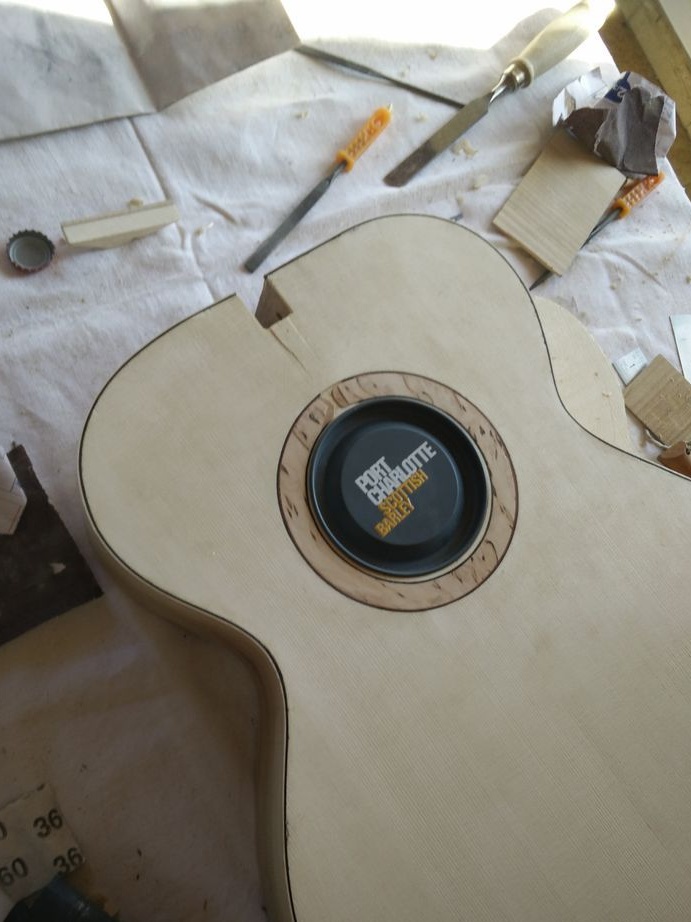
Step Ten: Outlet
Further in the upper deck you need to make a resonant hole (outlet). First, the master makes a decorative overlay for the outlet. Then he selects a layer of wood according to the diameter of the lining. Glues the trim and cuts a hole in the deck.
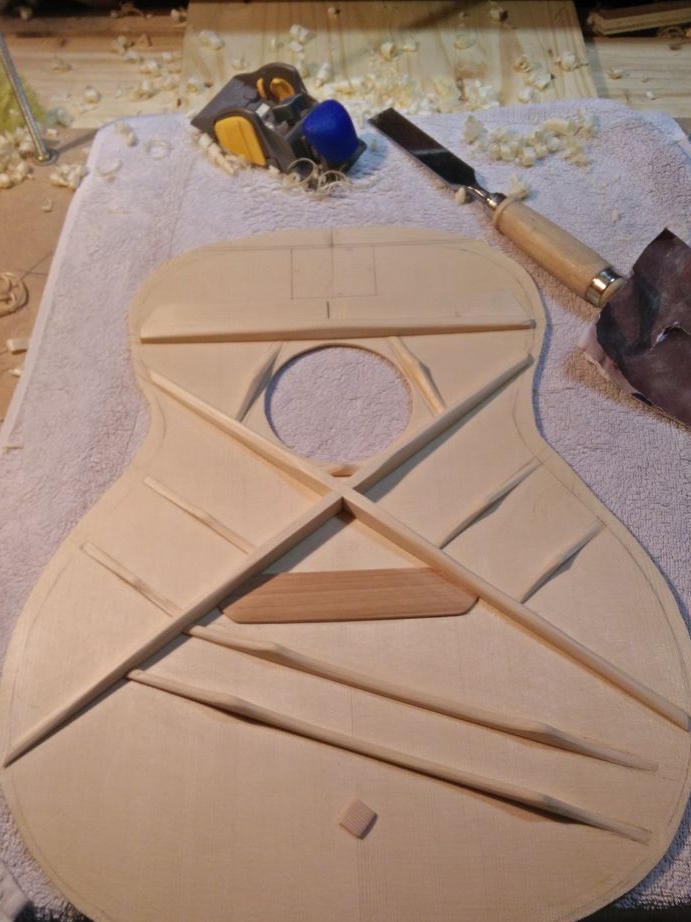
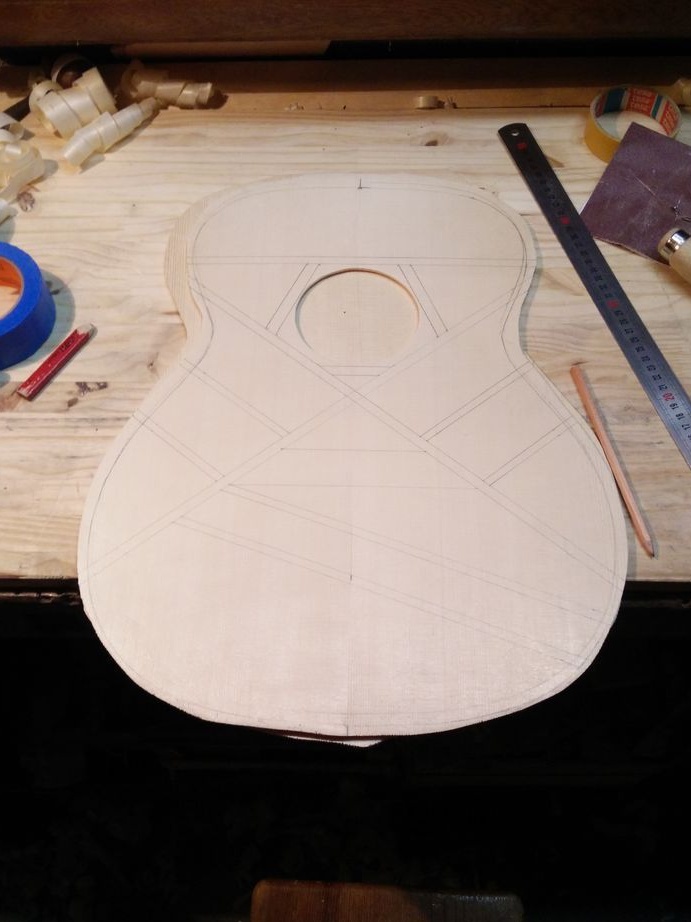
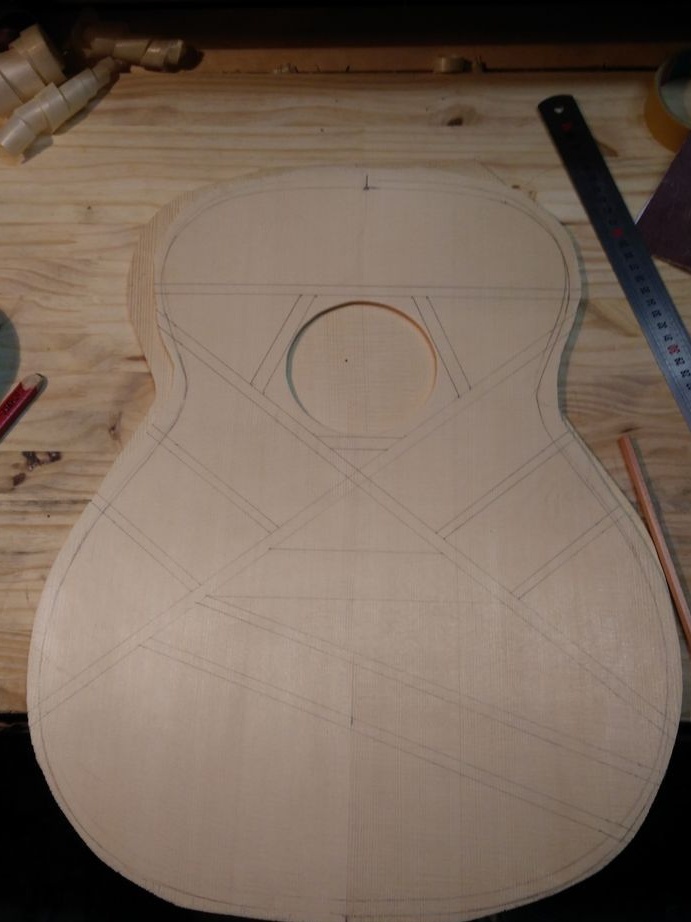
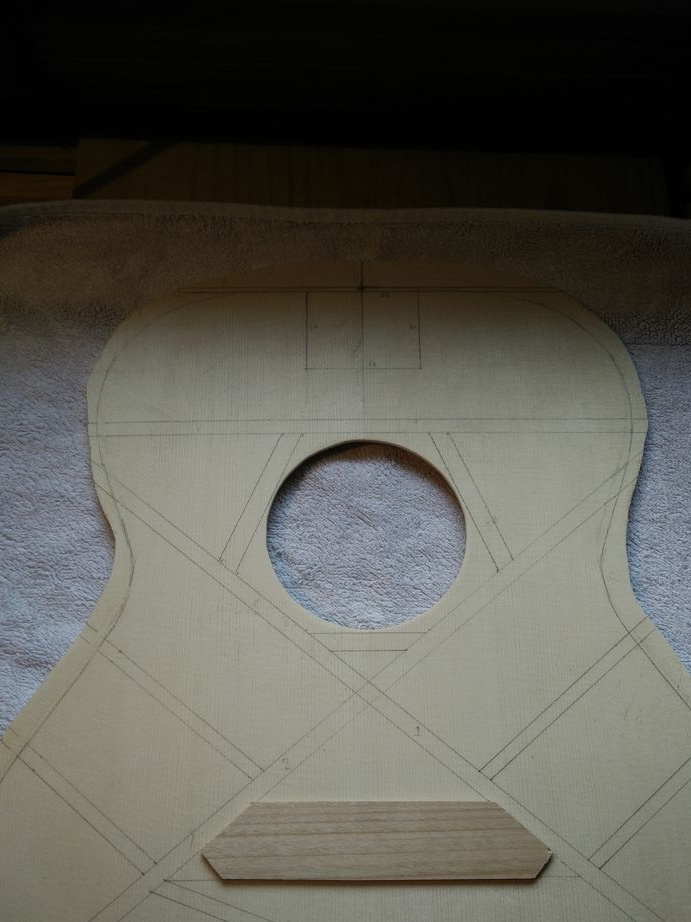
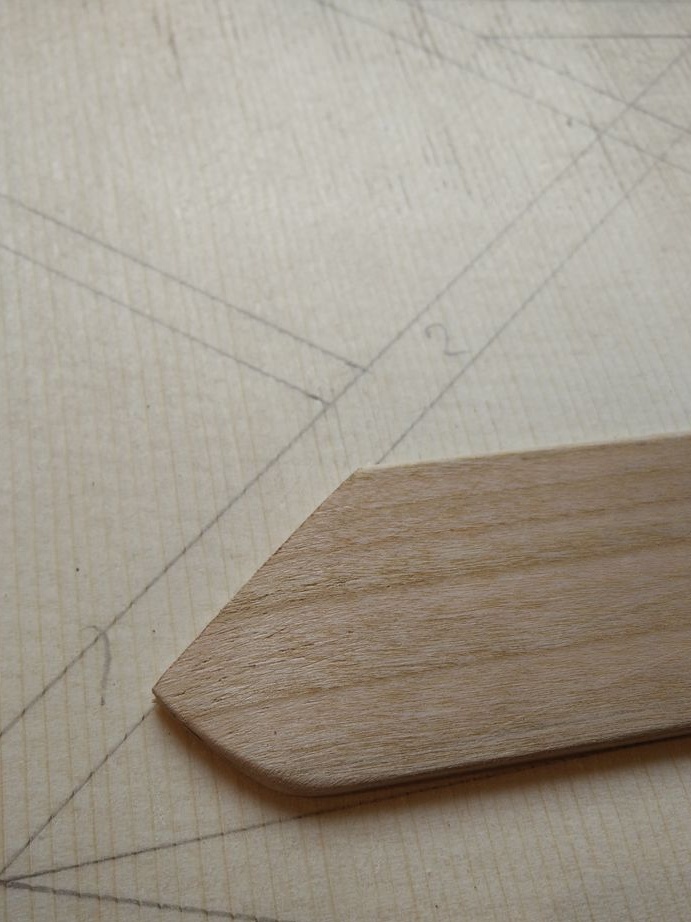
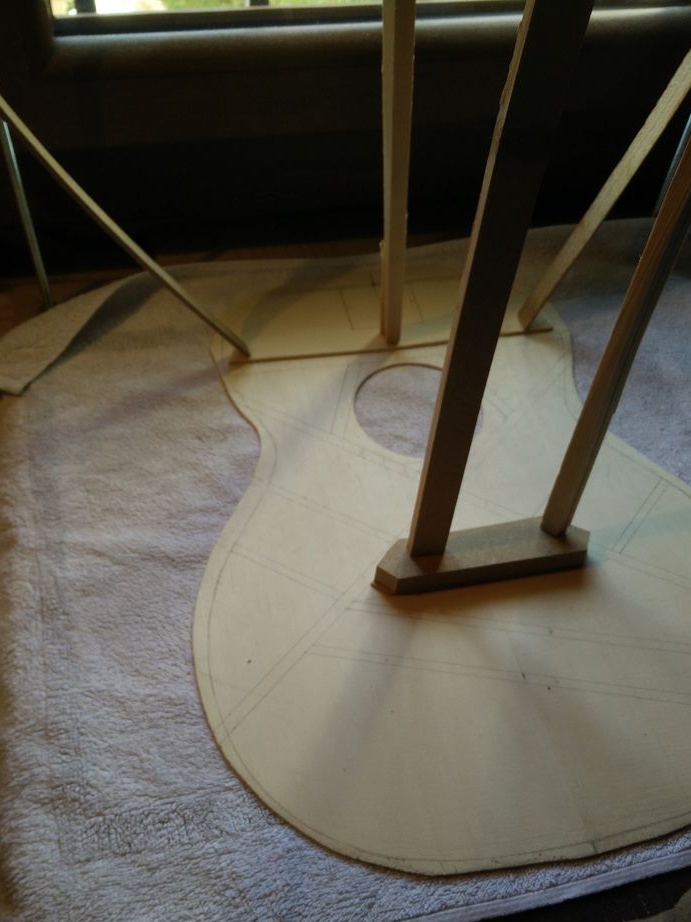
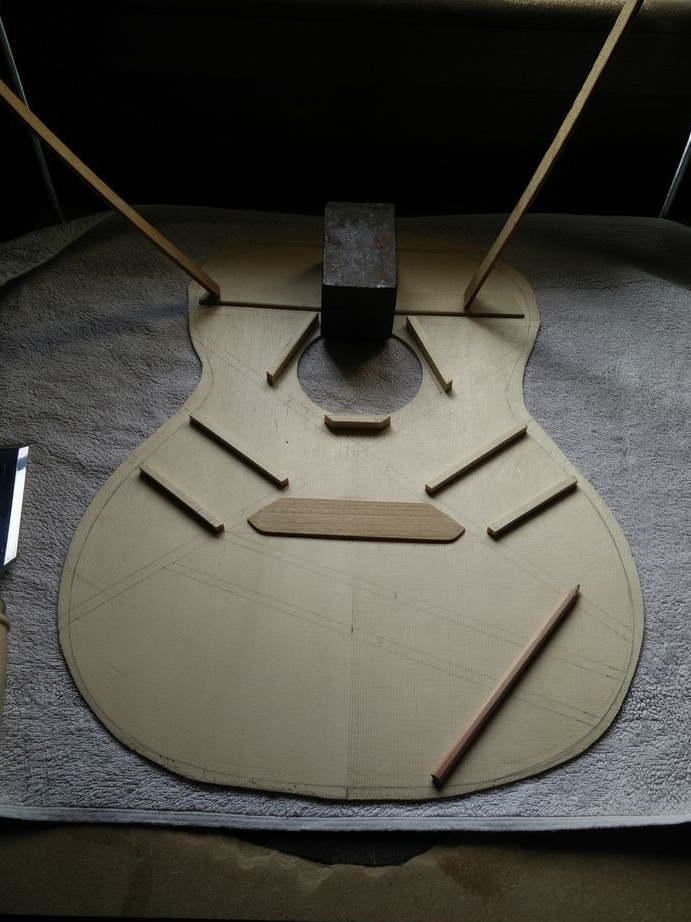
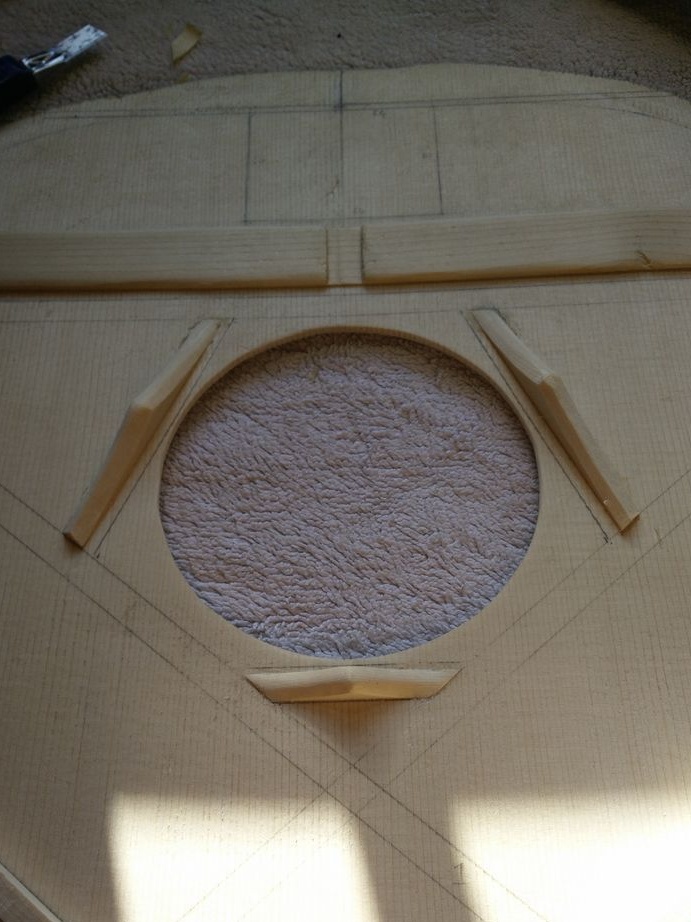
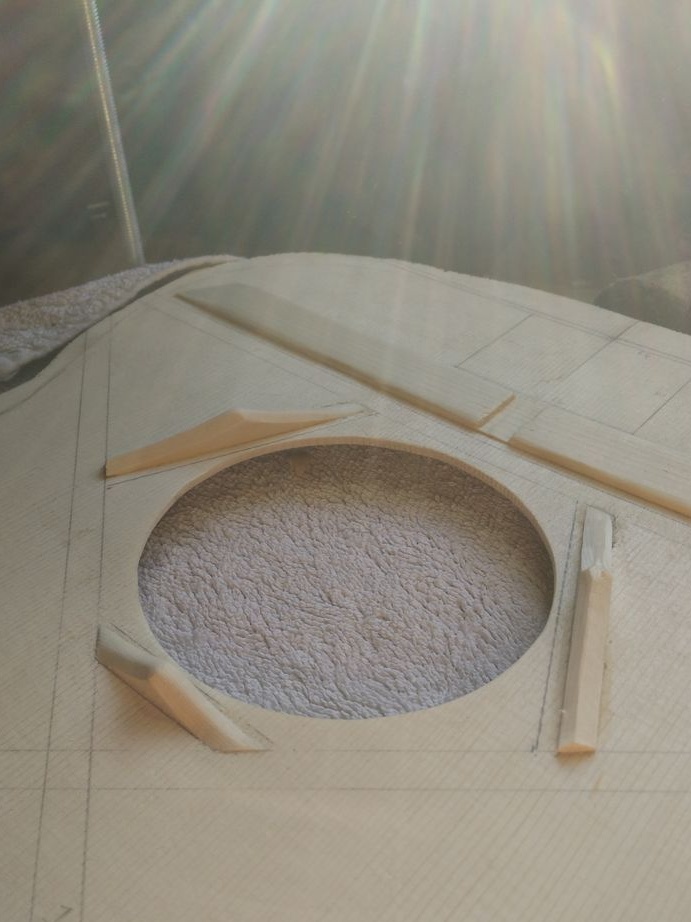
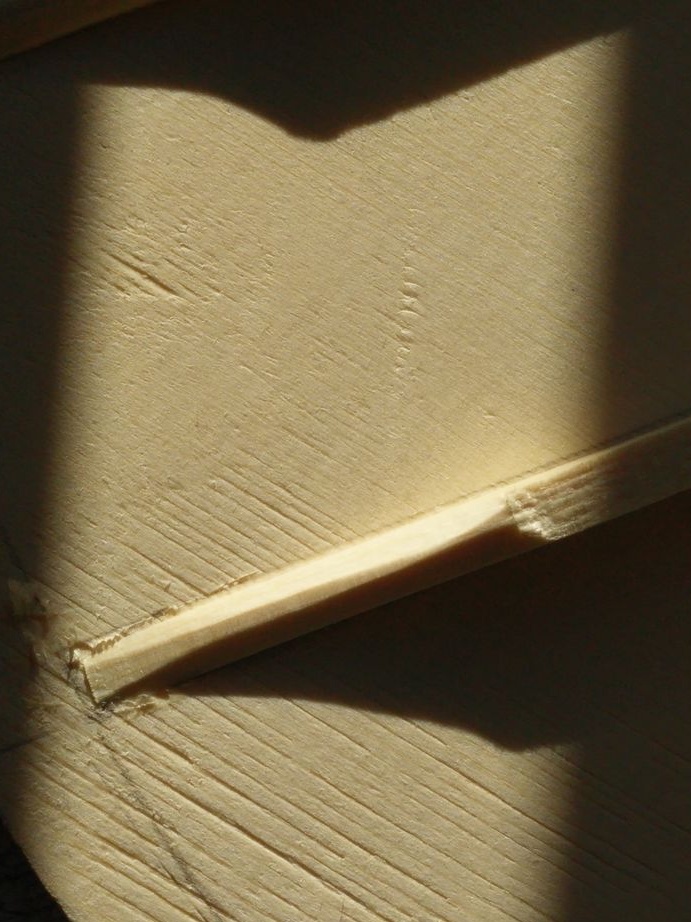
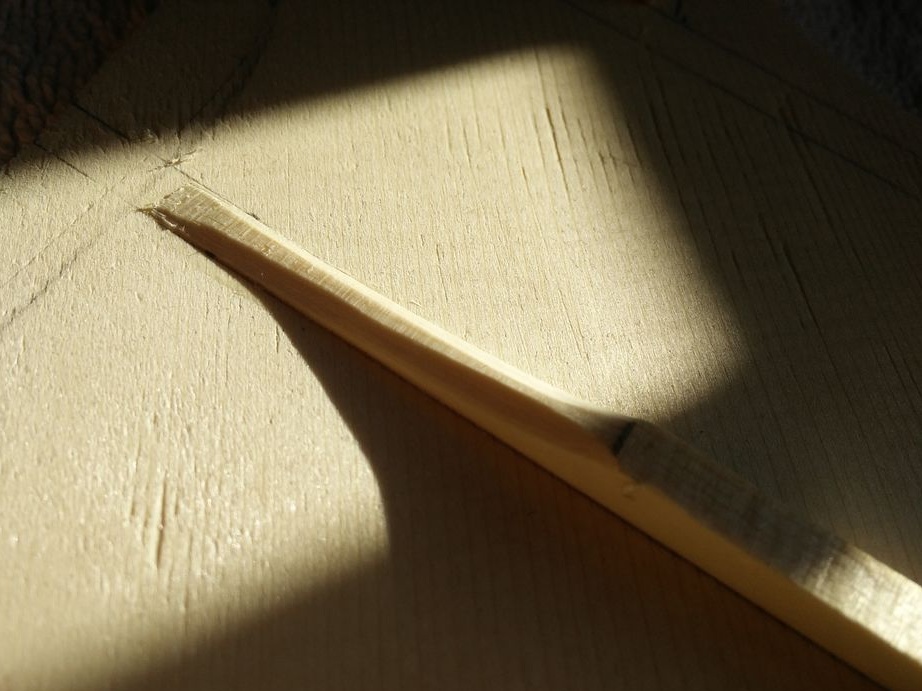
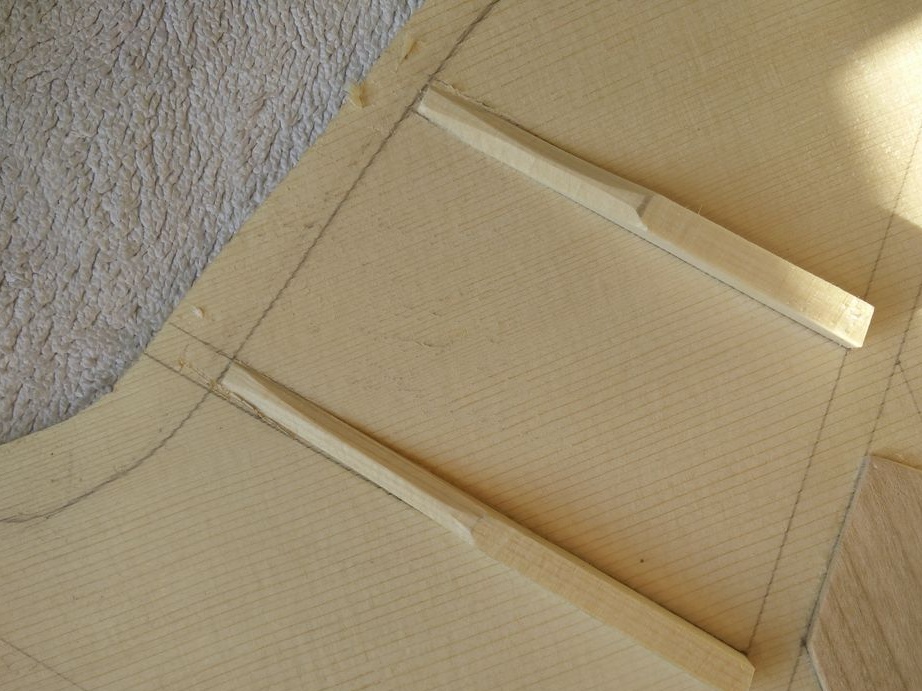
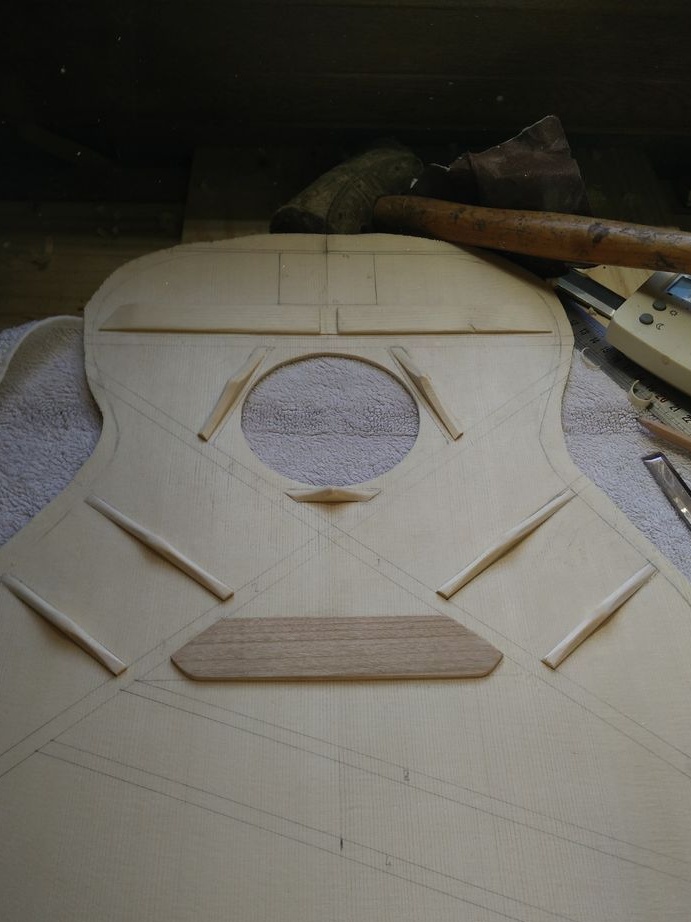
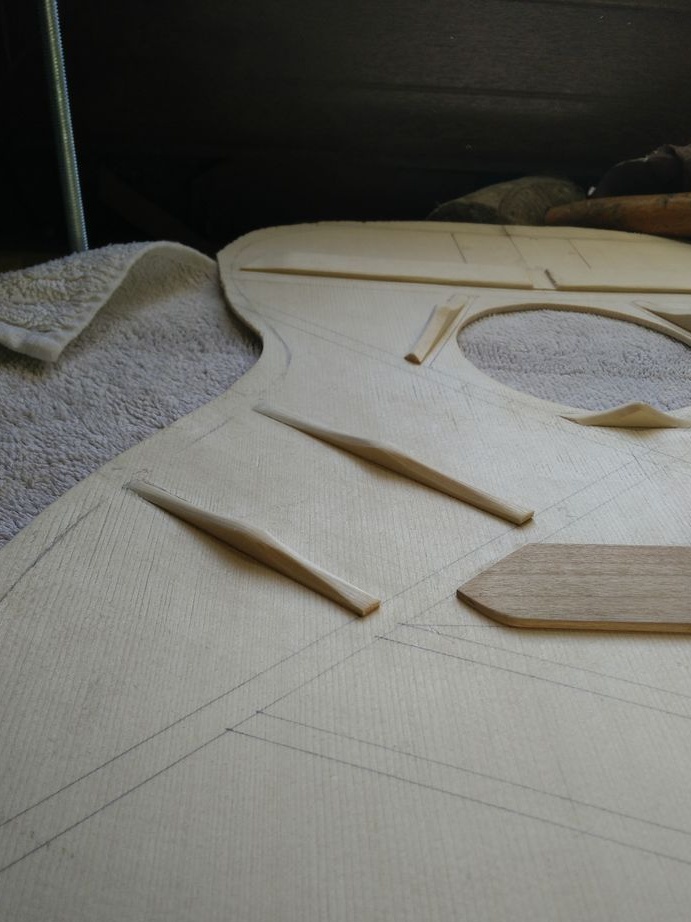
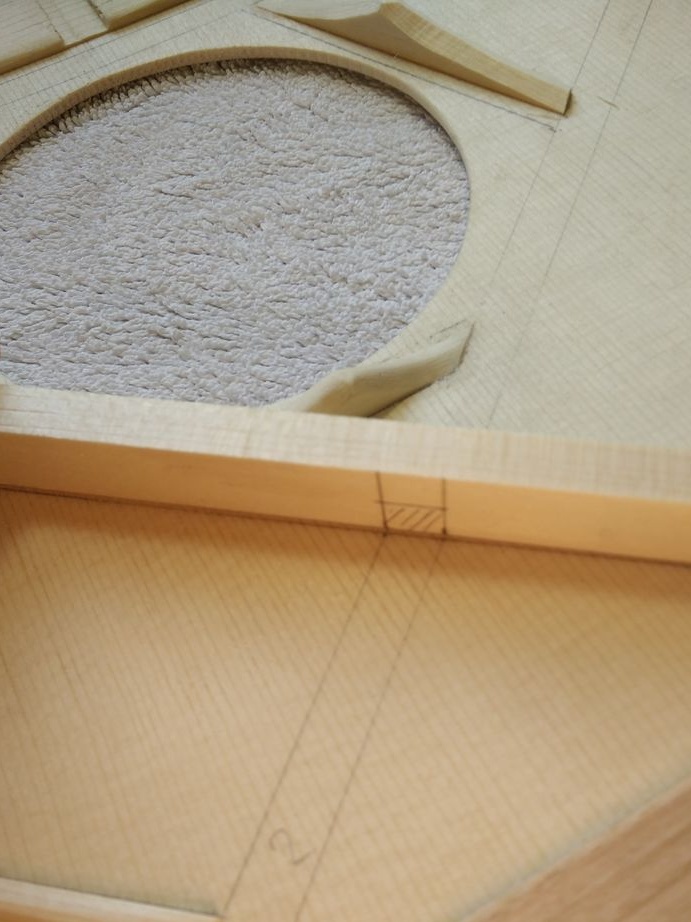
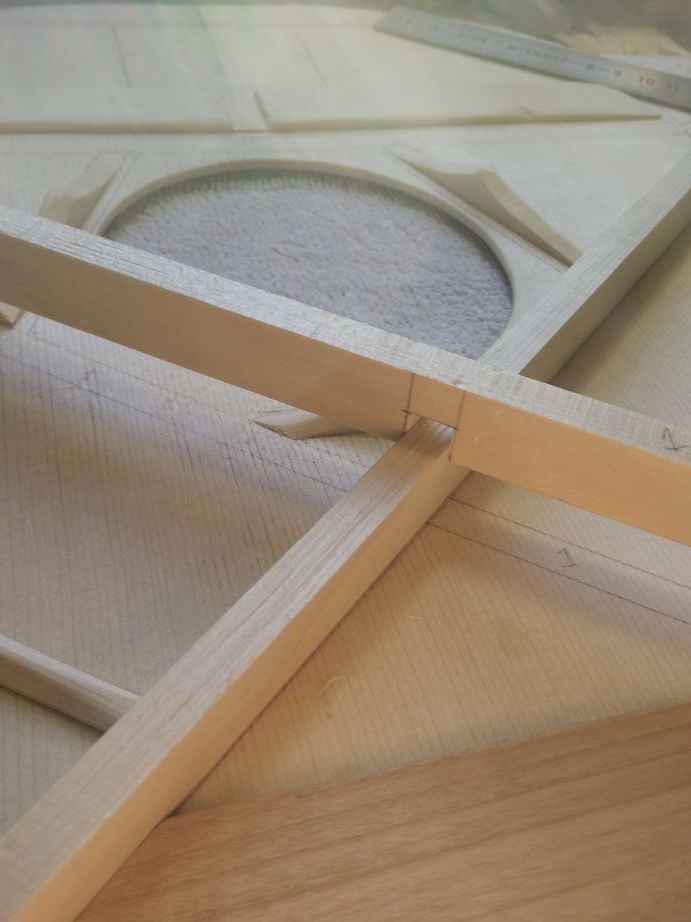
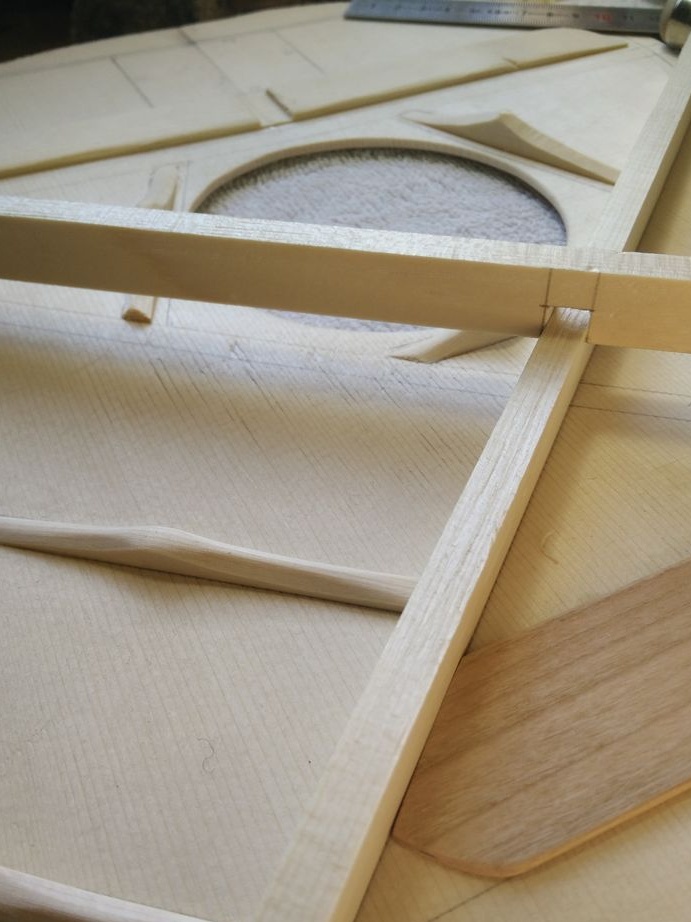
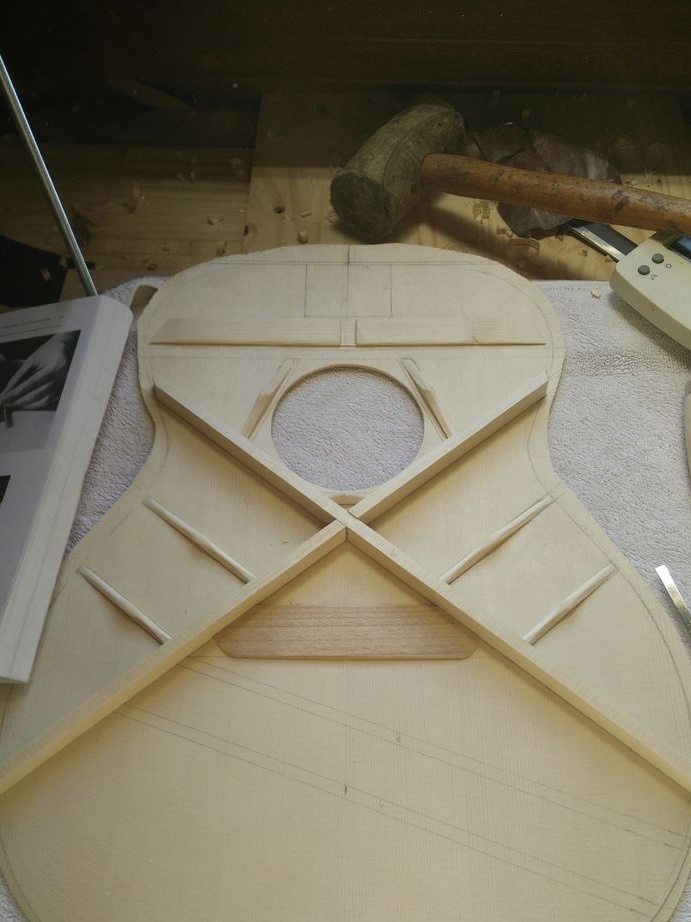
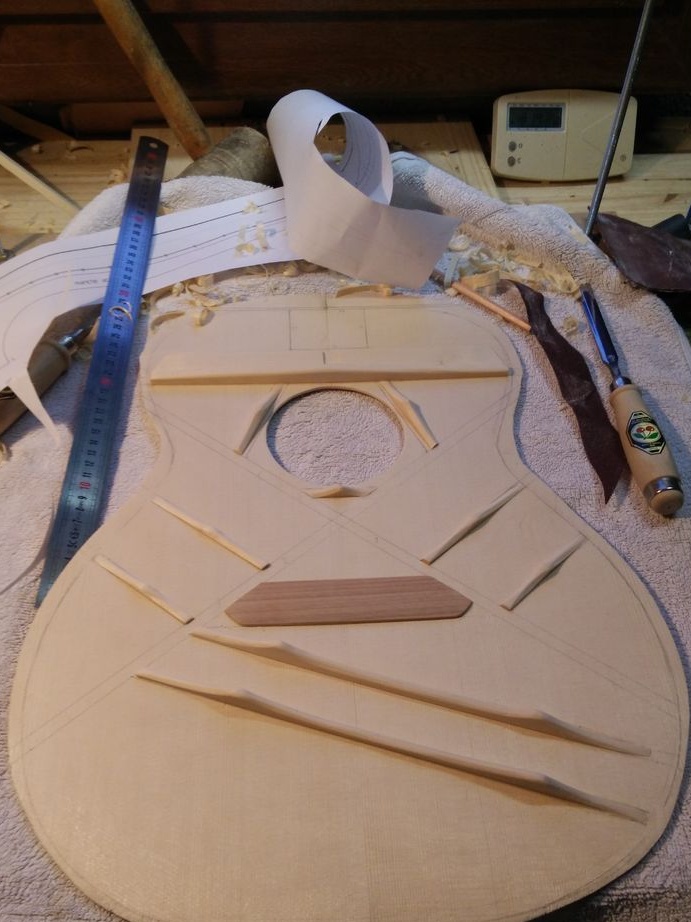
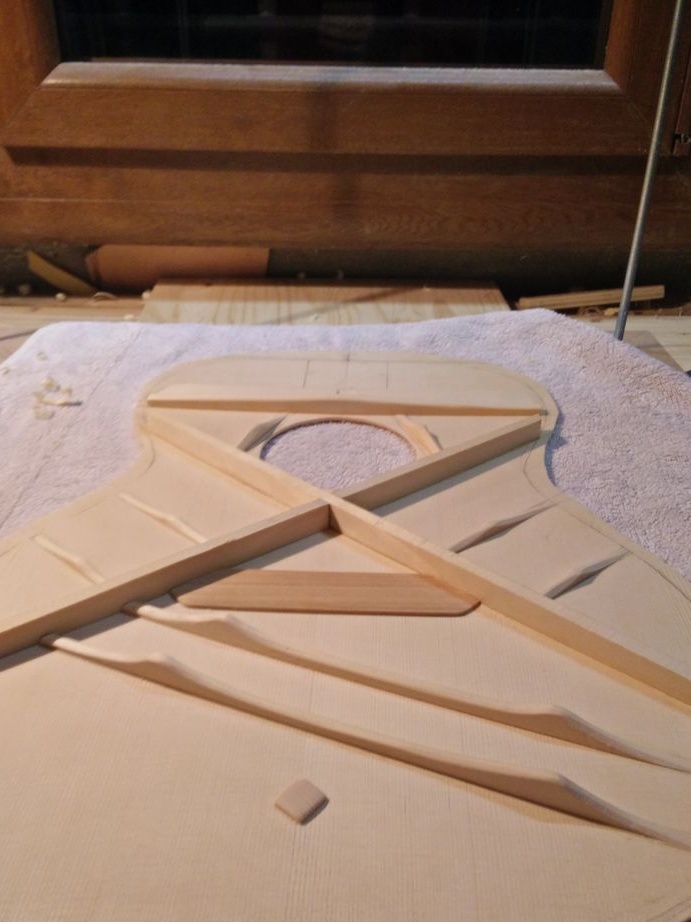
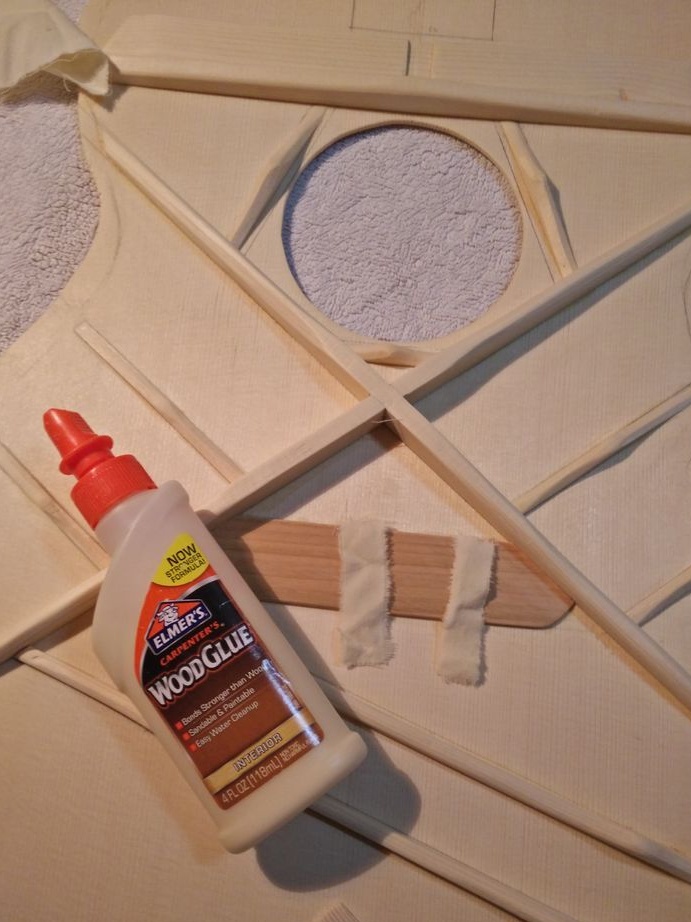
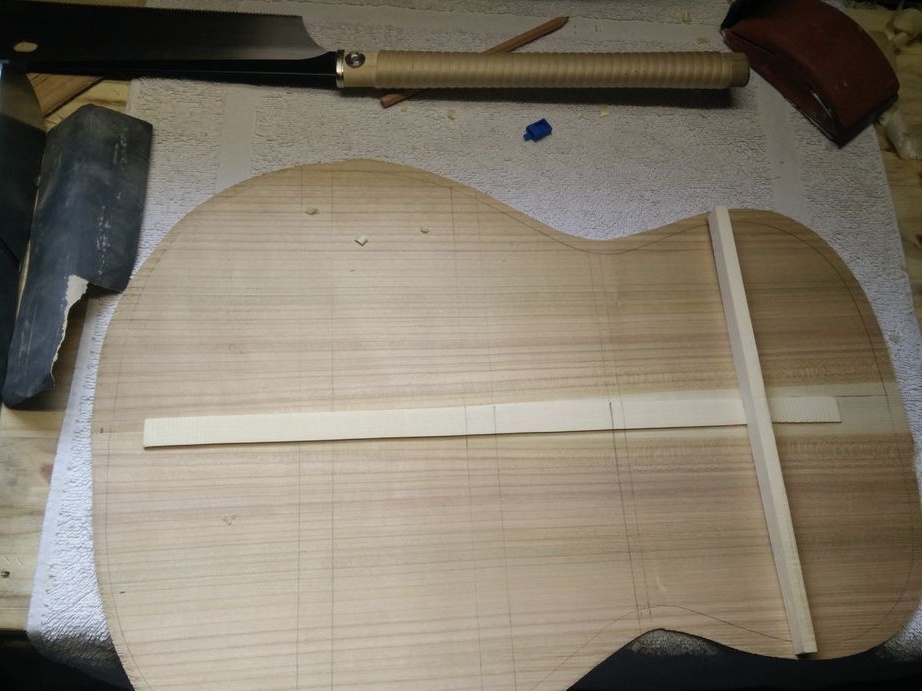
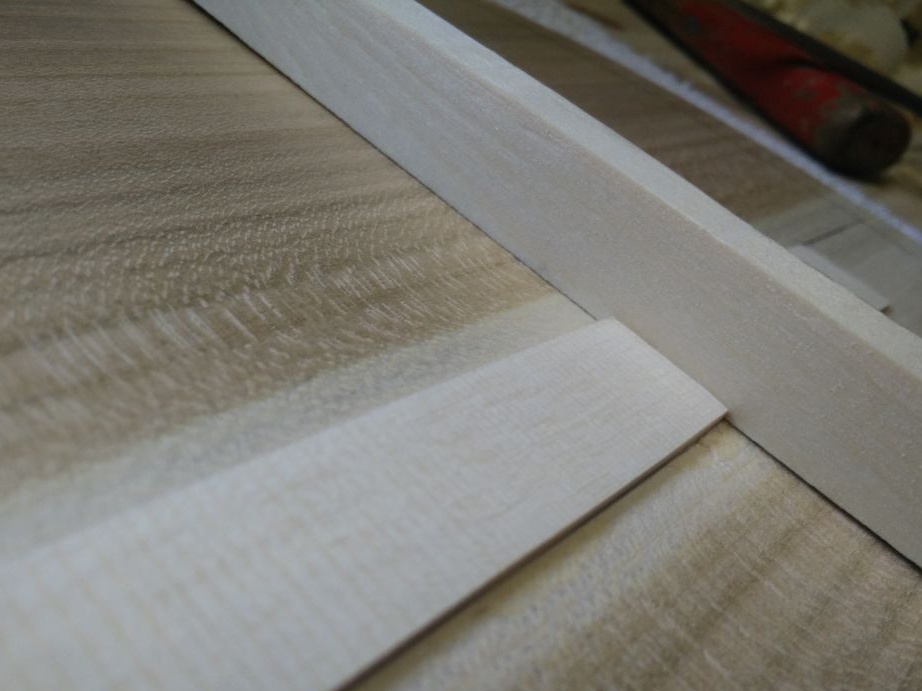
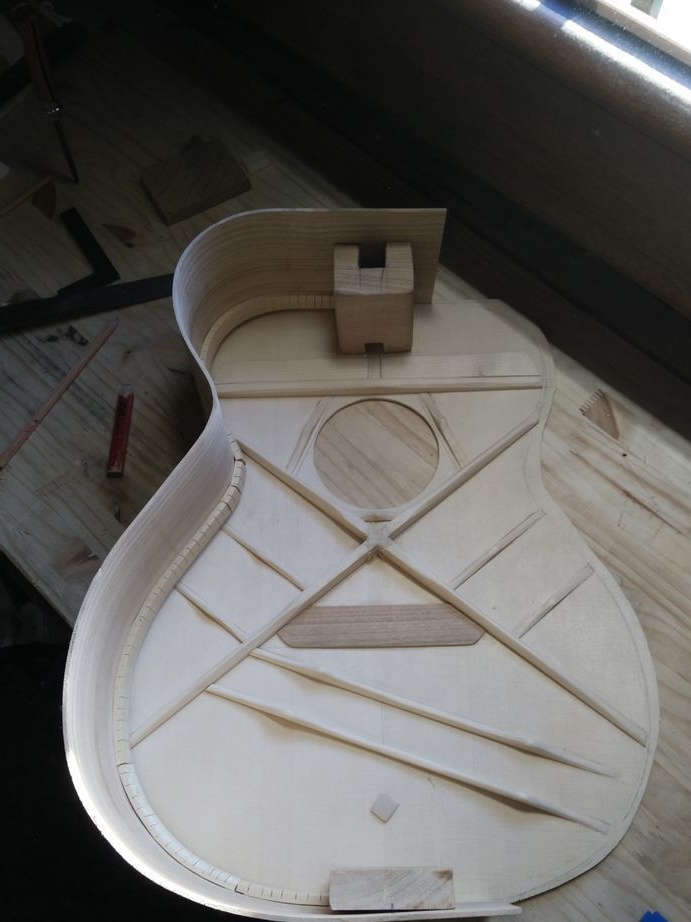
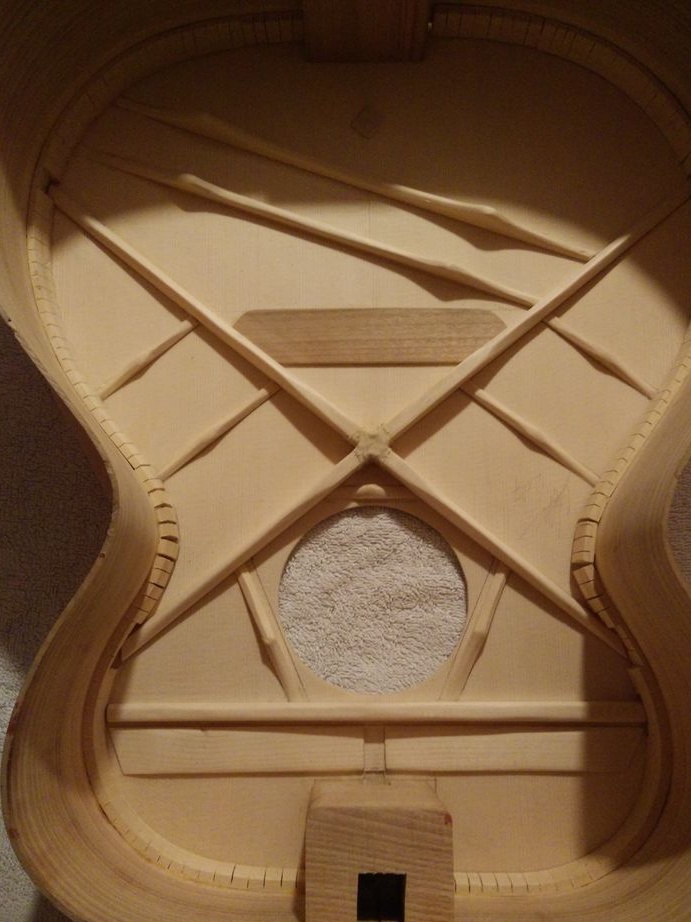
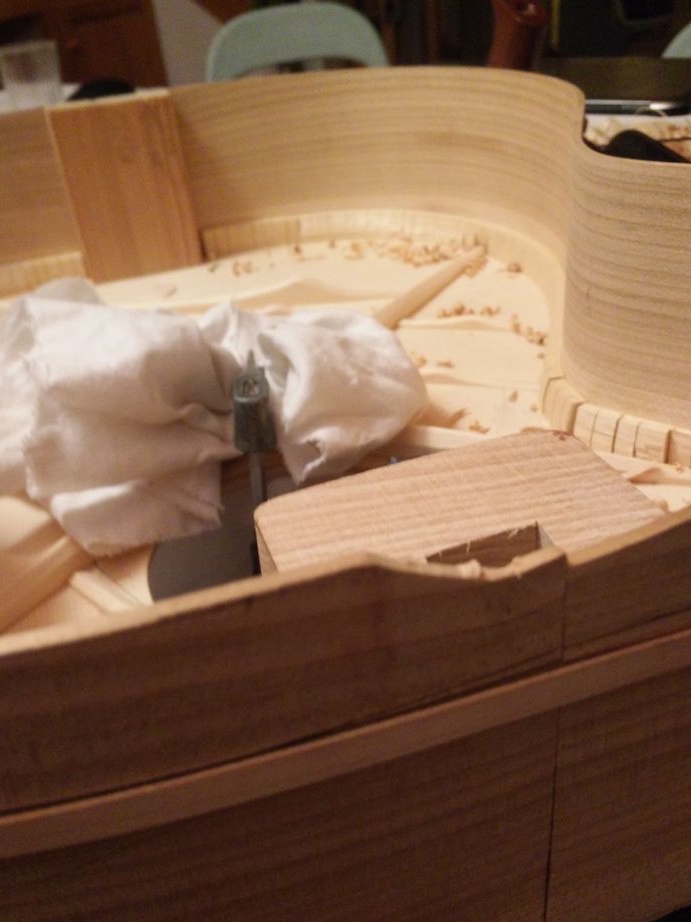
Step eleven: reinforcing the top deck
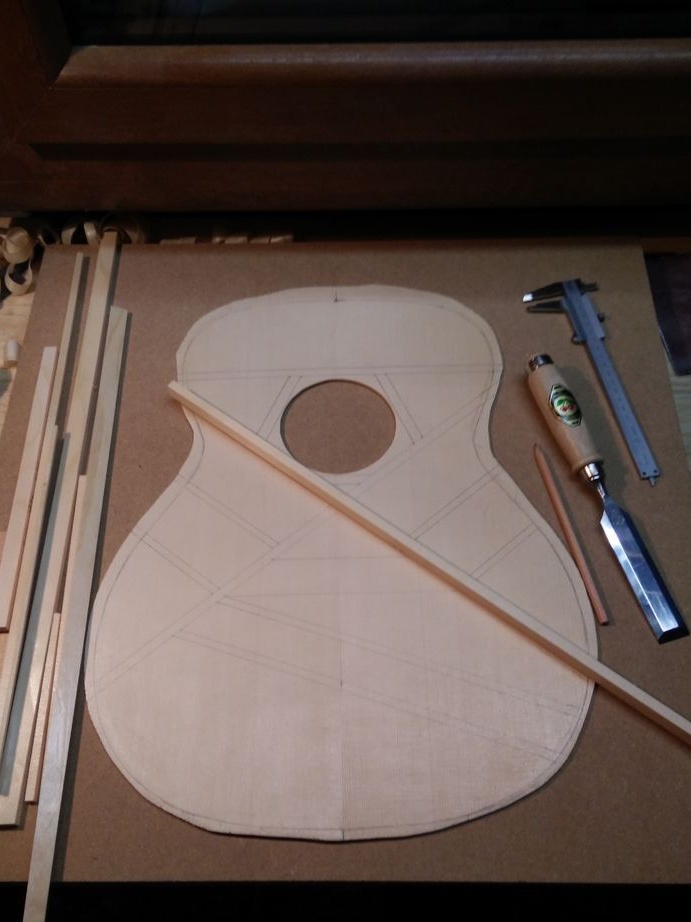
To reinforce the top deck, the master glues spruce ribs to its inner stiffeners.


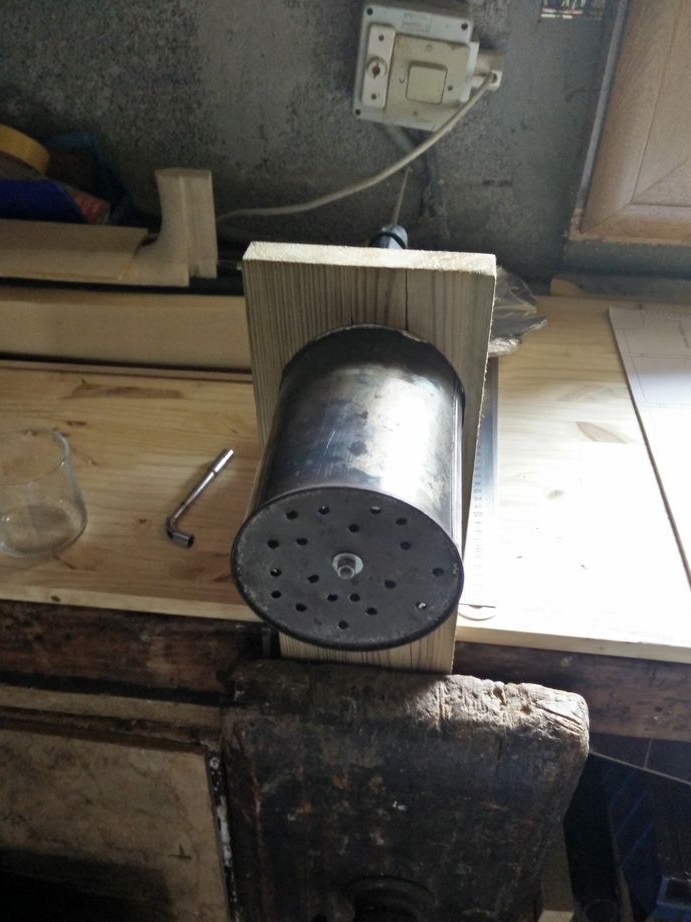
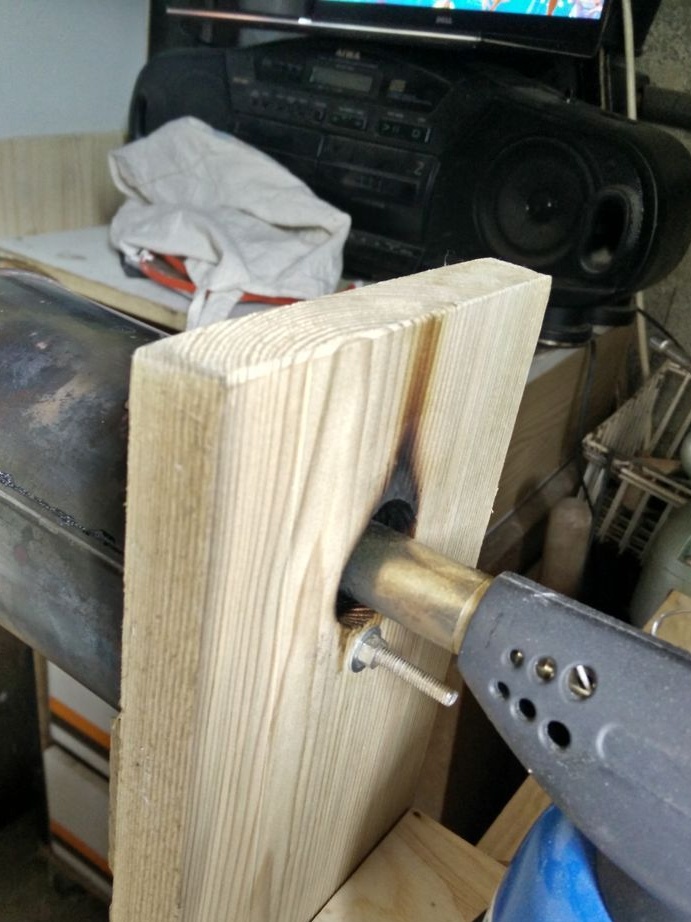
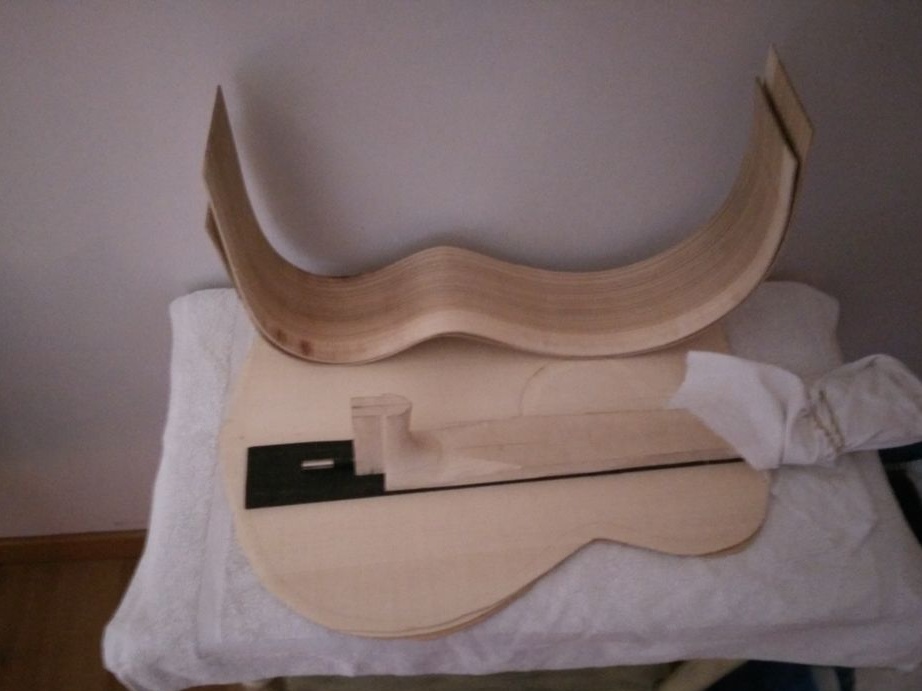
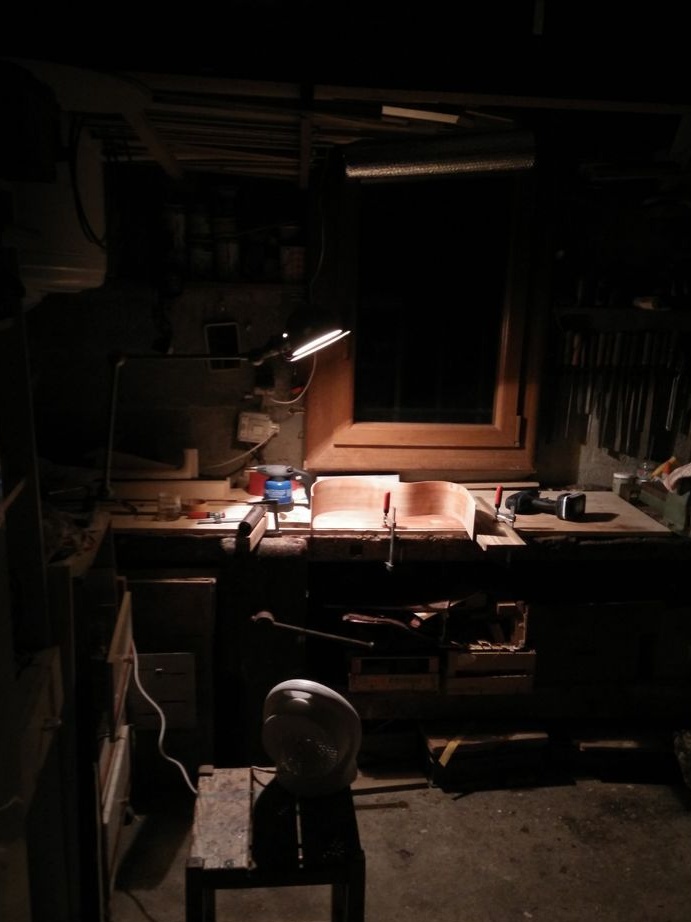
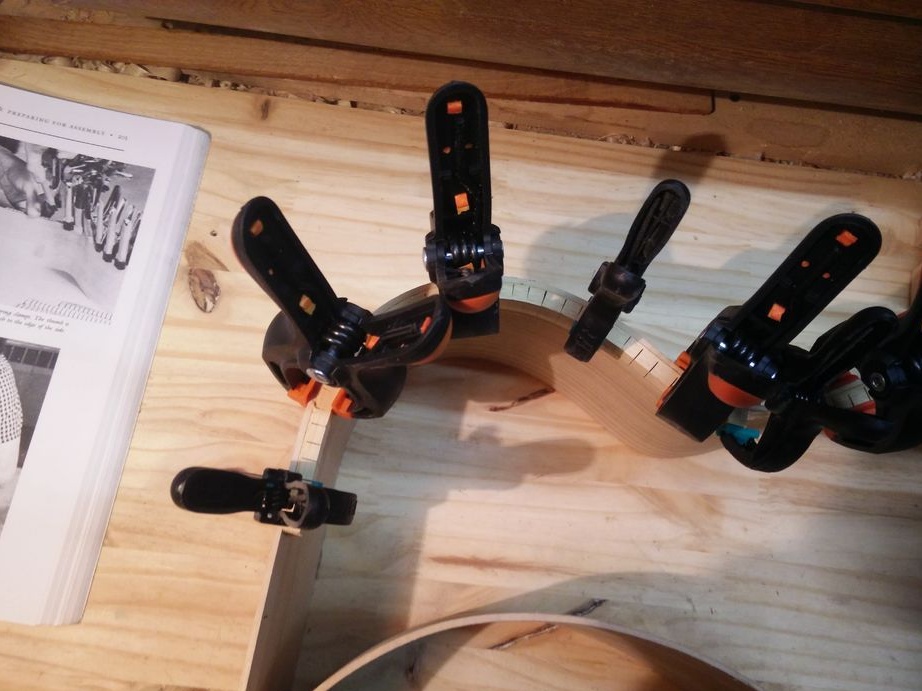
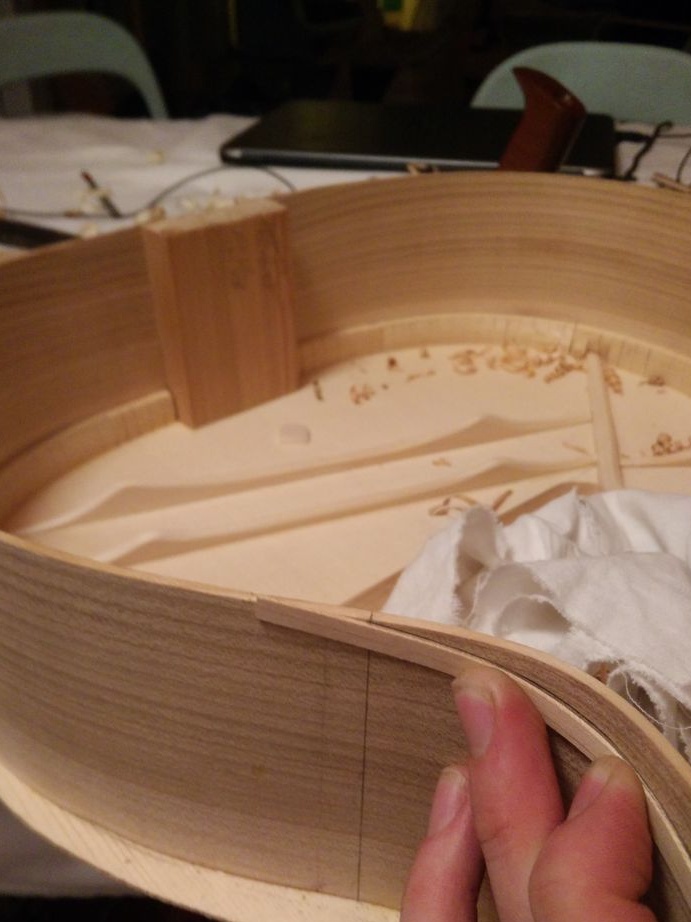
Step Twelve: The Shell
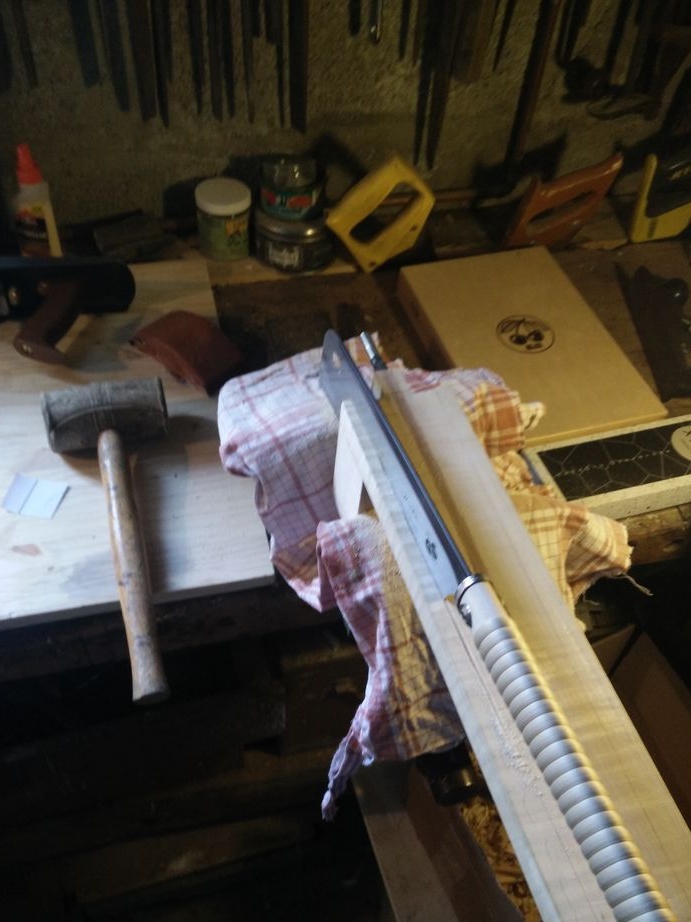
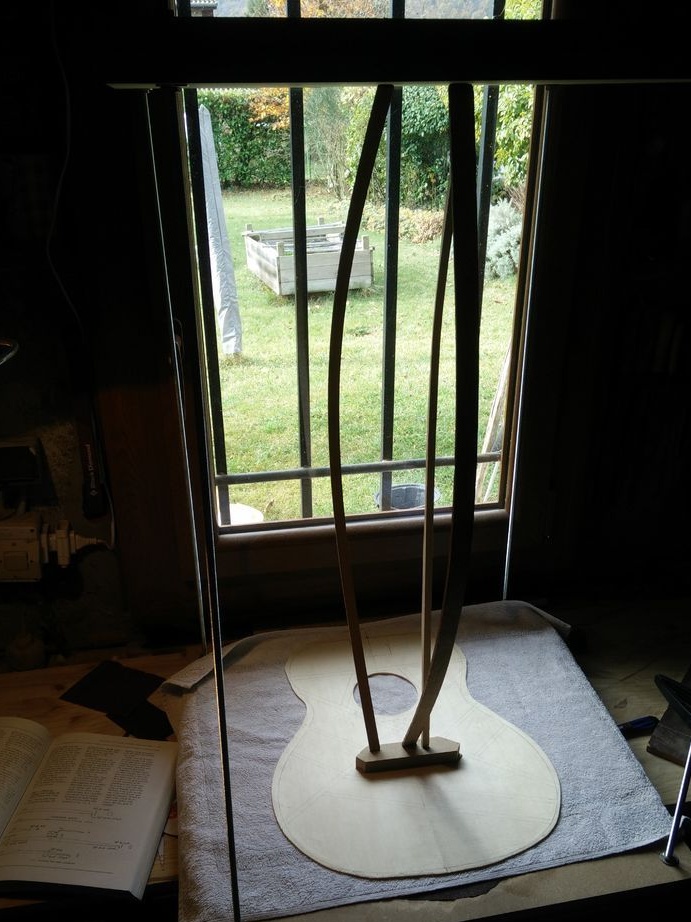
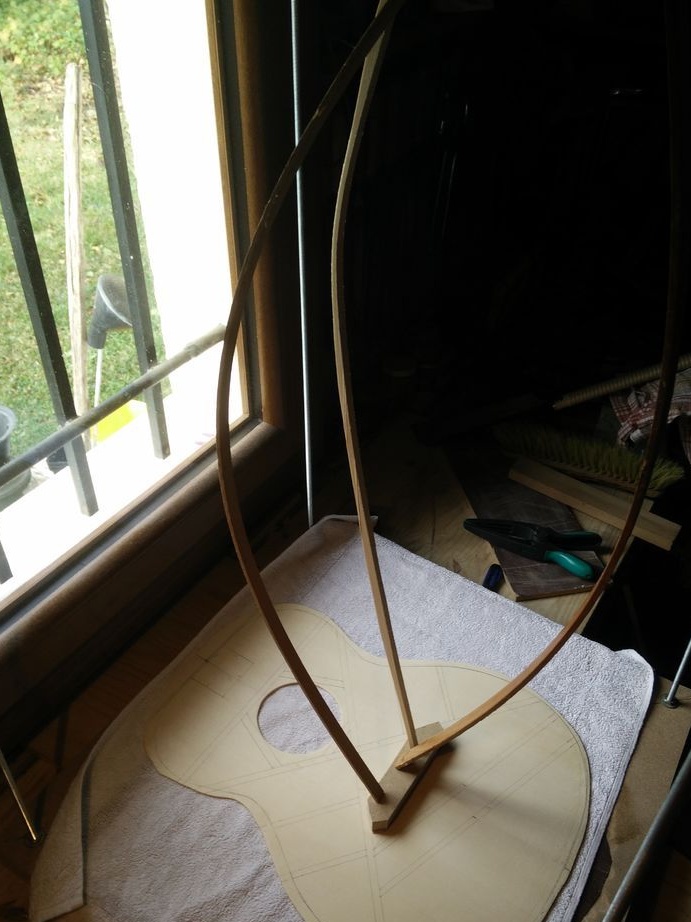
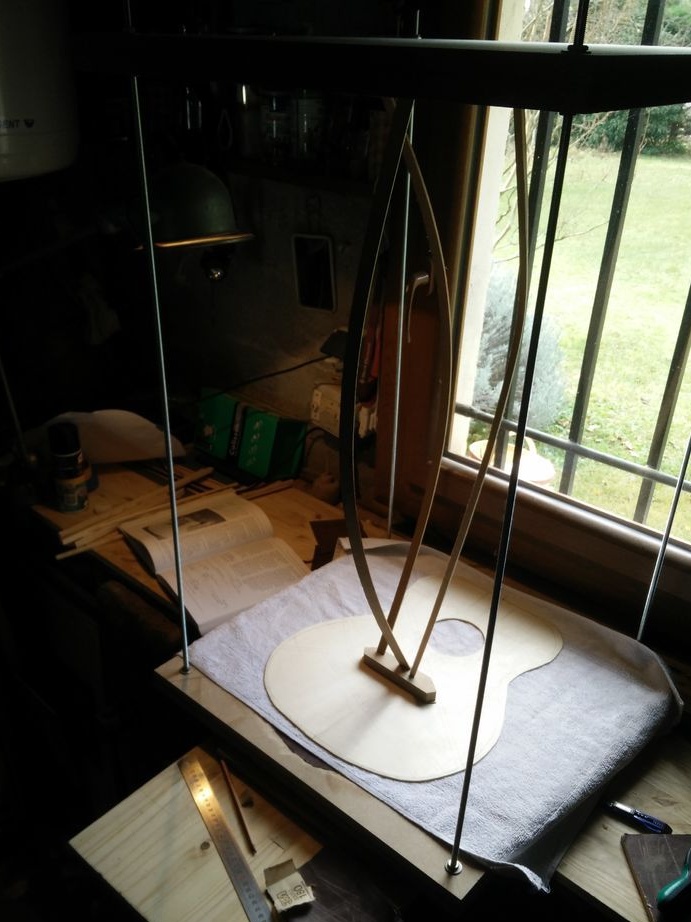
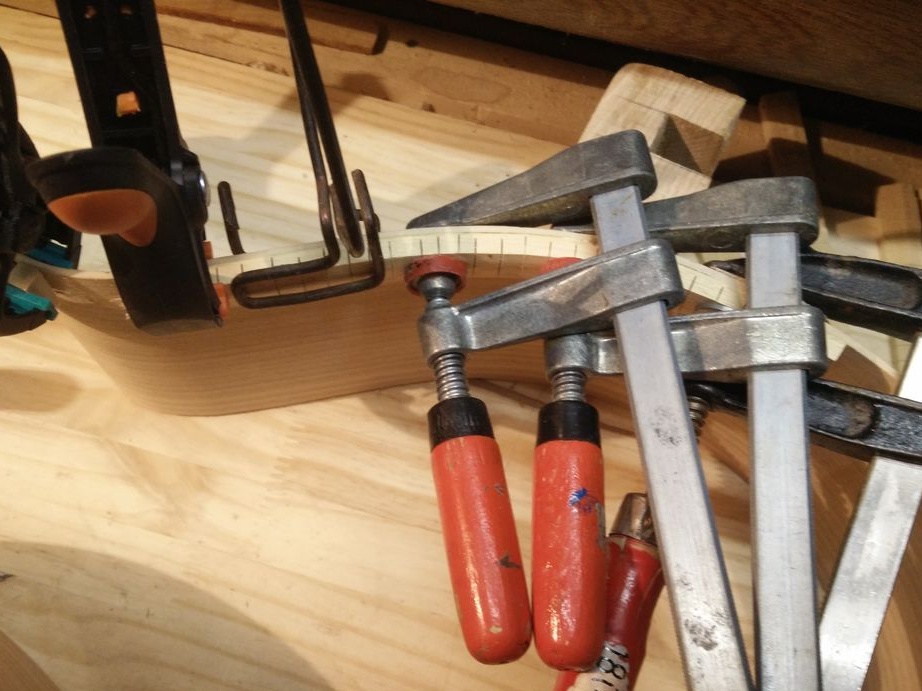
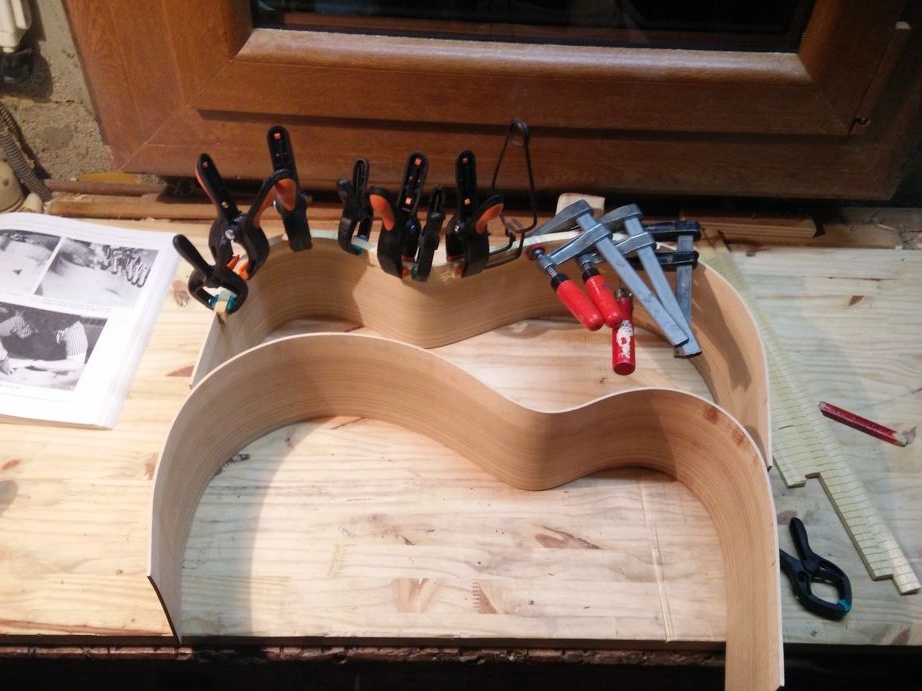
First, the master processed the panels for the shell. Cropped to the desired length and width. He removed the extra layer of wood to the desired thickness. He then soaked the panel in 60 ° C water for 30 minutes. The master bent the shell on the pipe with a heated gas burner. To check the radii, he made a template from plywood. After giving the desired shape, the shell is clamped with clamps and dries naturally.
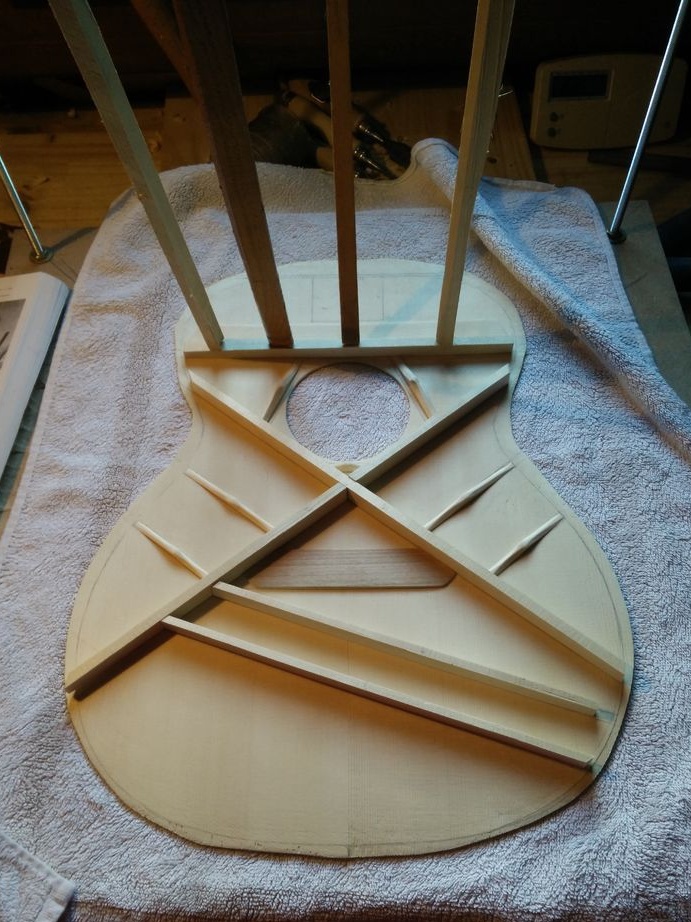
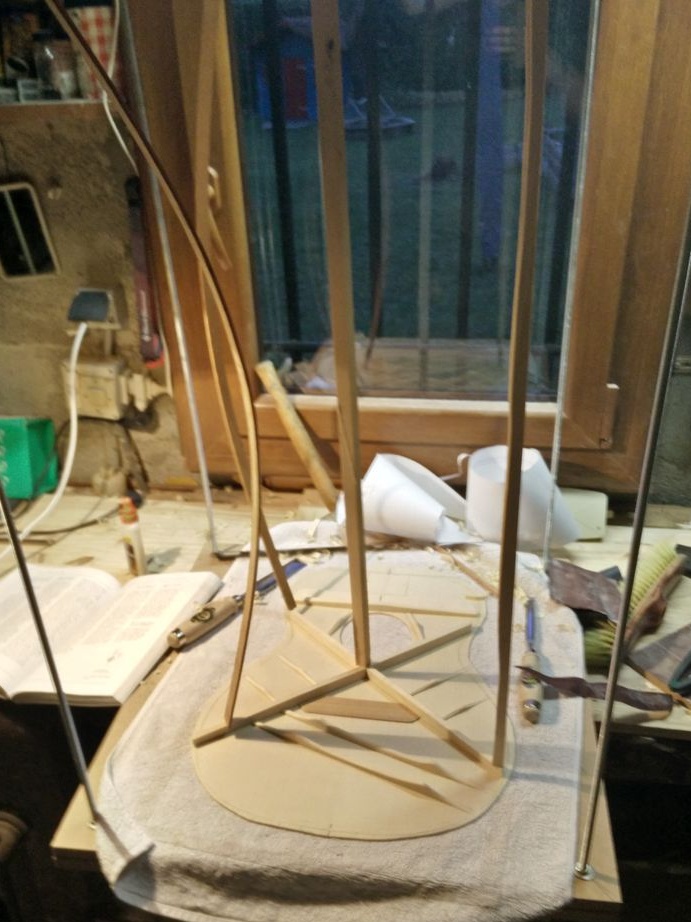
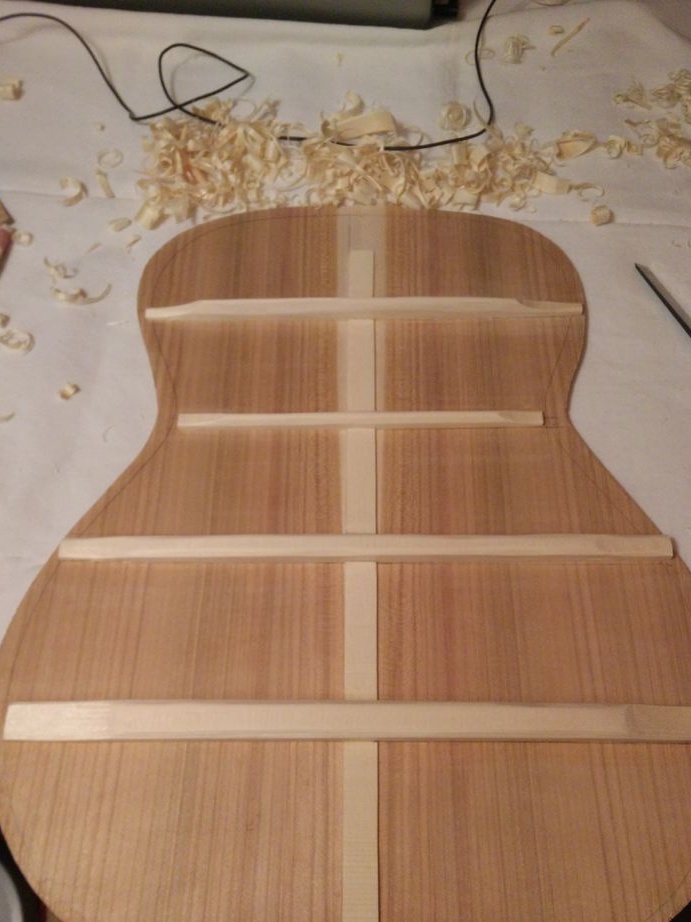
Step 13: reinforcing the bottom deck
While the shell dries out, the master, similarly to the upper one, strengthened the lower deck.

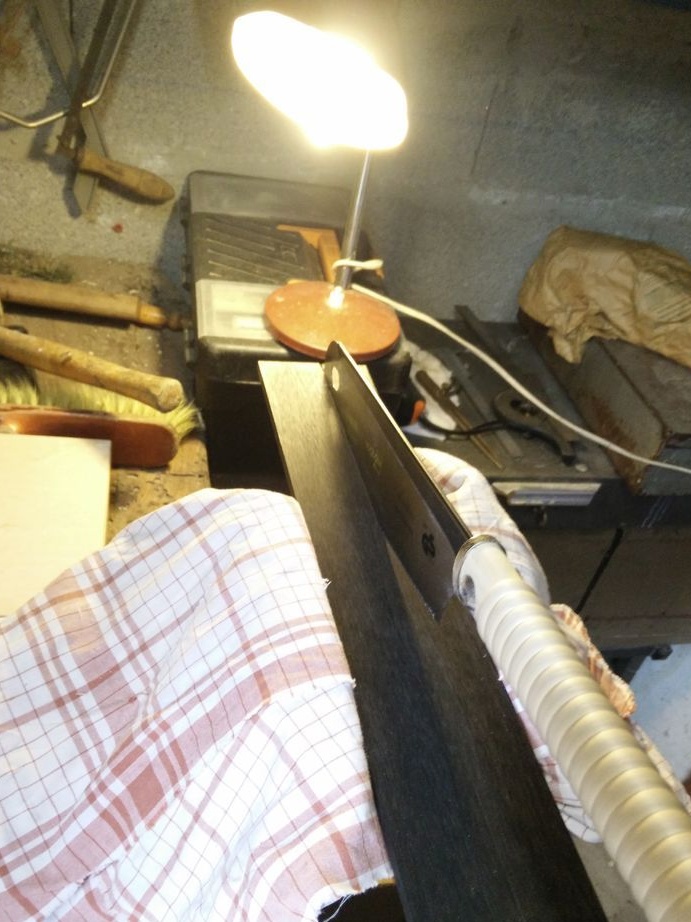
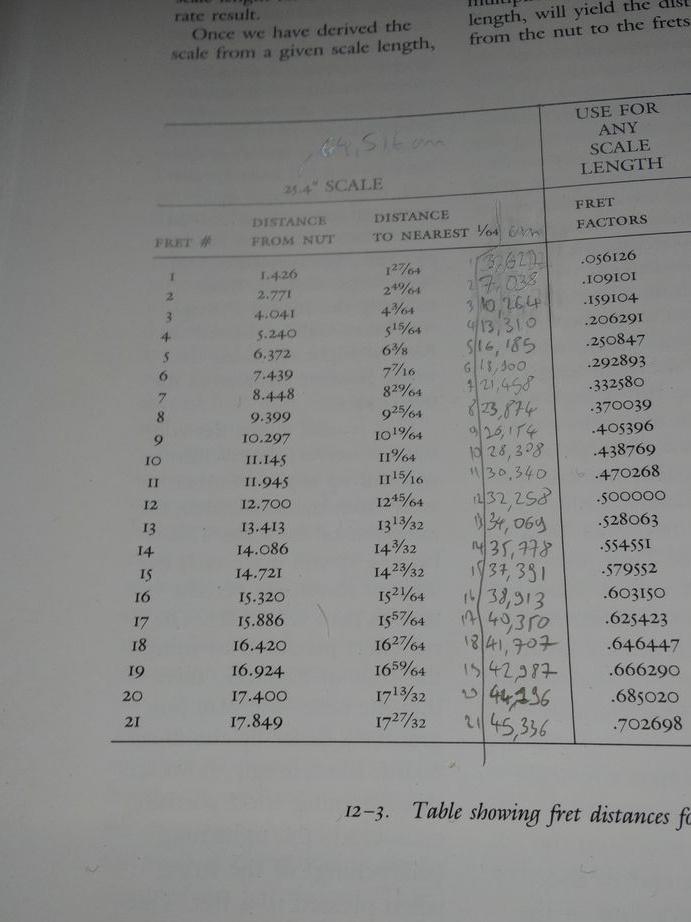
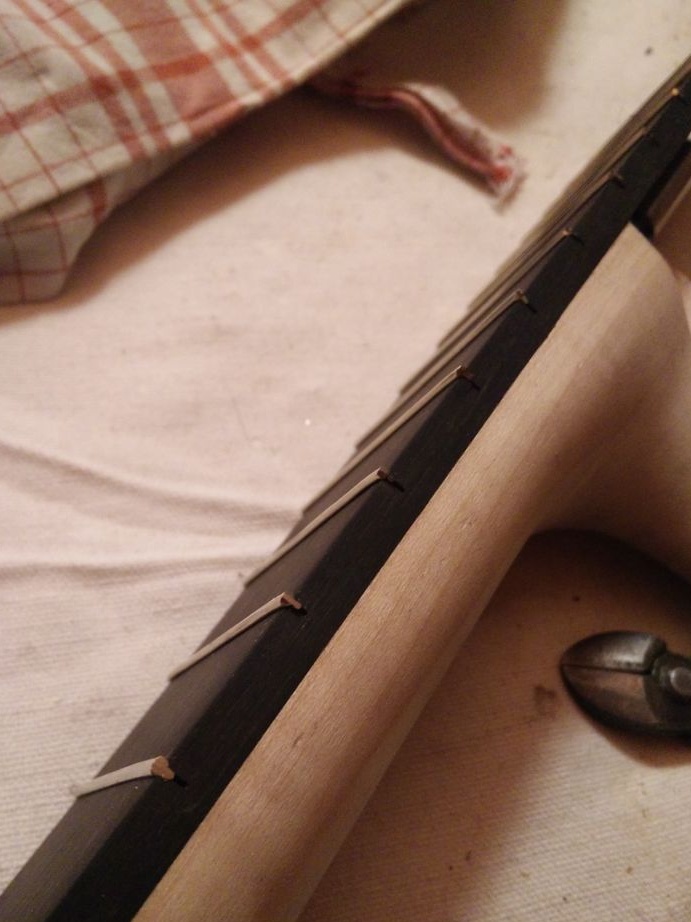
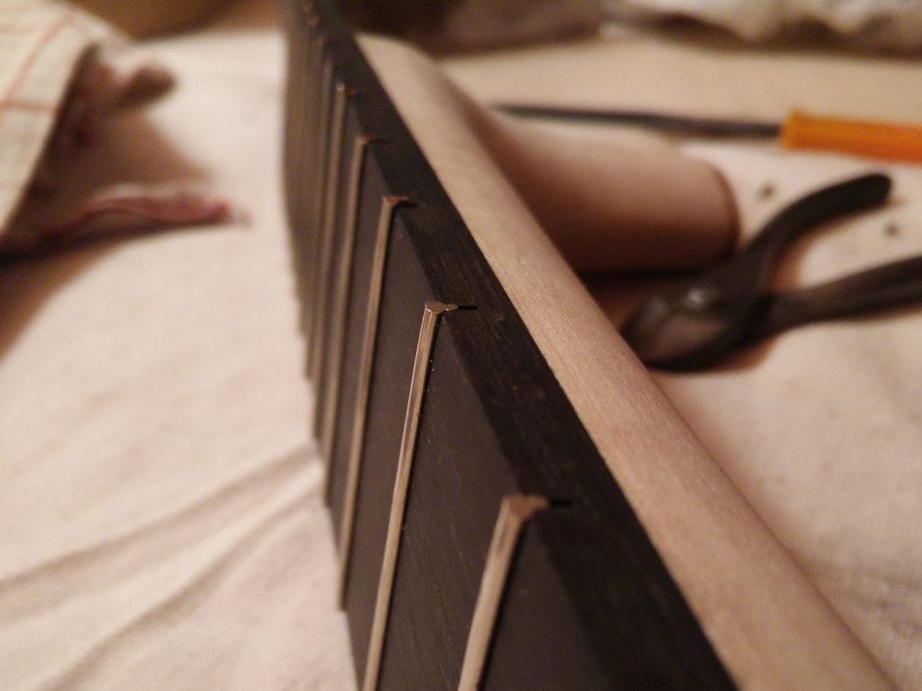
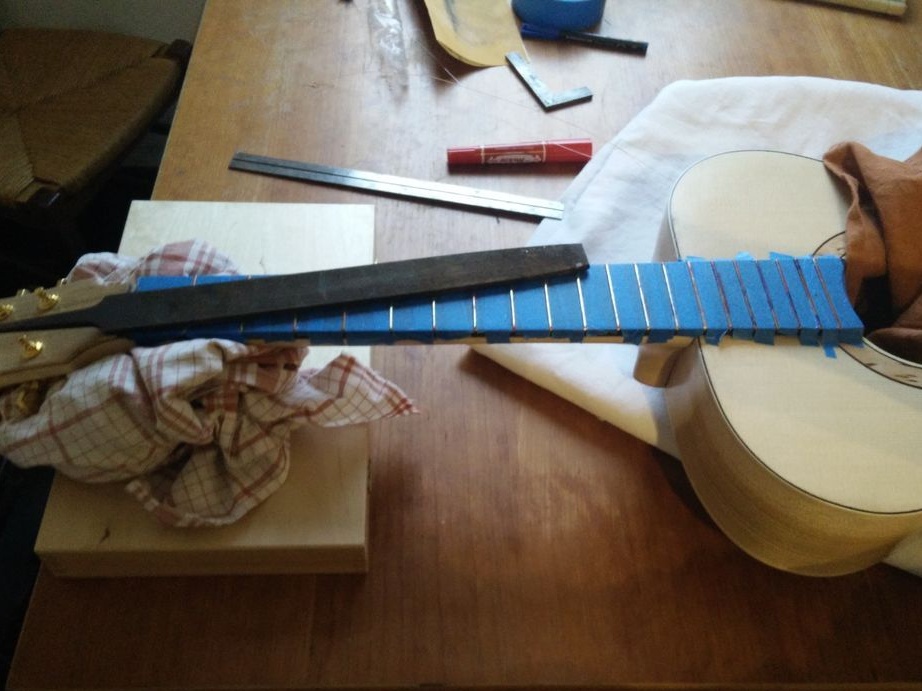
Step fourteen: setting frets
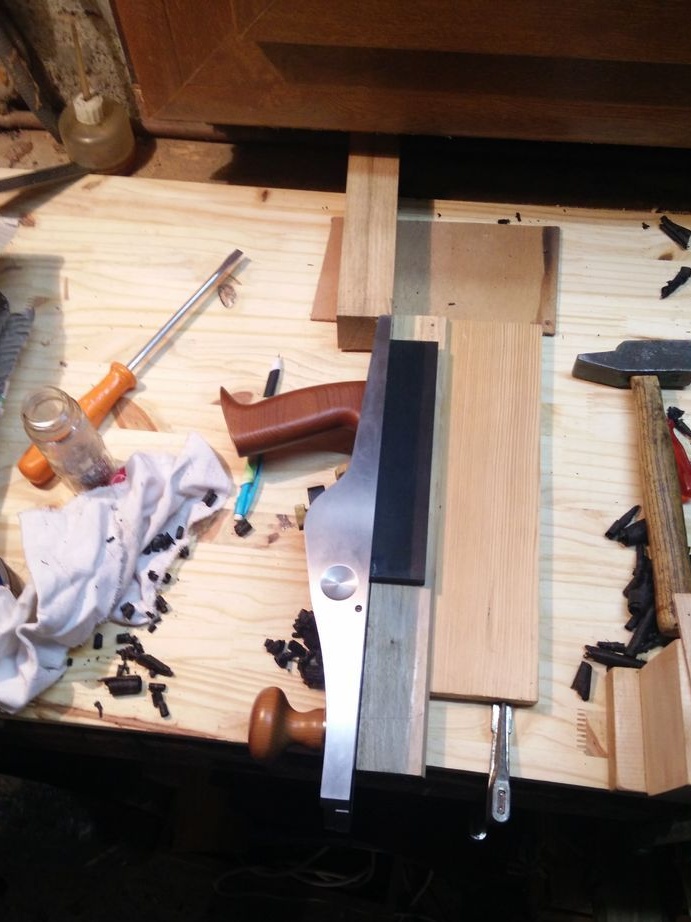
Then the master sets the frets. Frets are glued to epoxy glue mixed with ebony dust. After the glue hardens, the space between frets is sealed with tape and the frets are processed using a file. The purpose of processing is to align the frets in height and upper plane. For processing, it is better to use a wide long file.
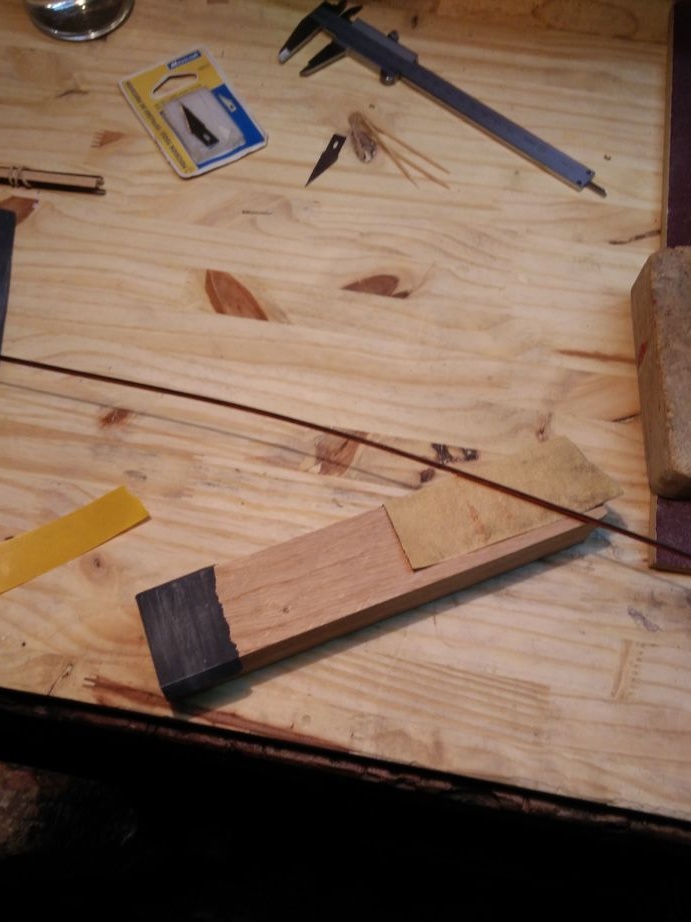
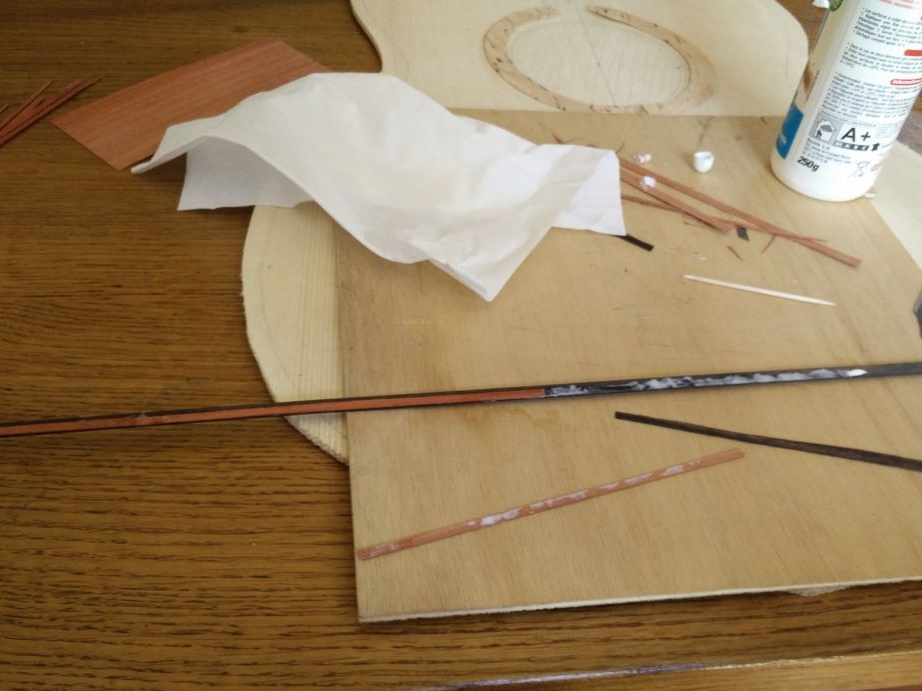
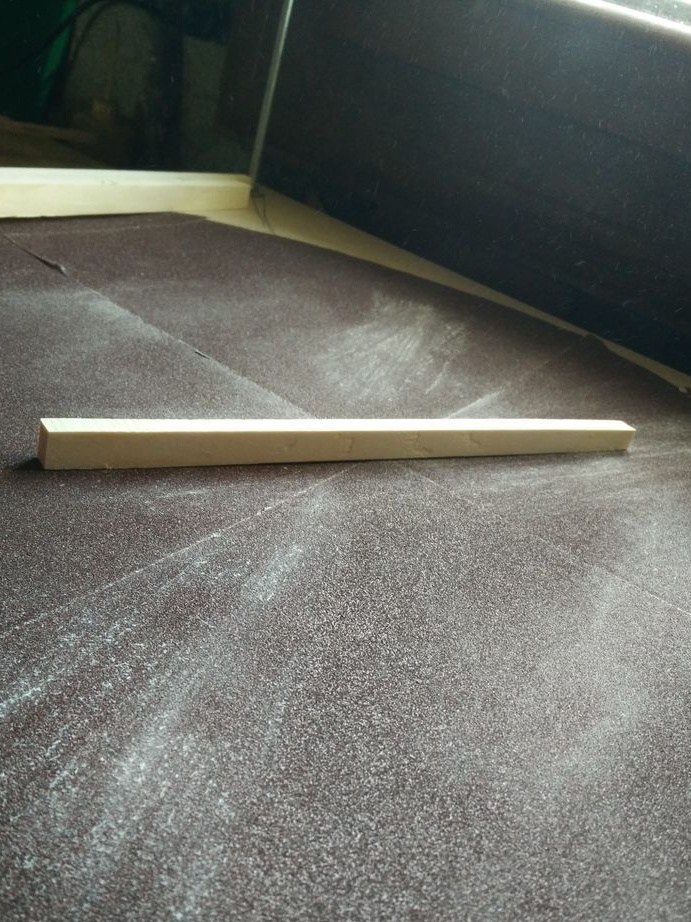
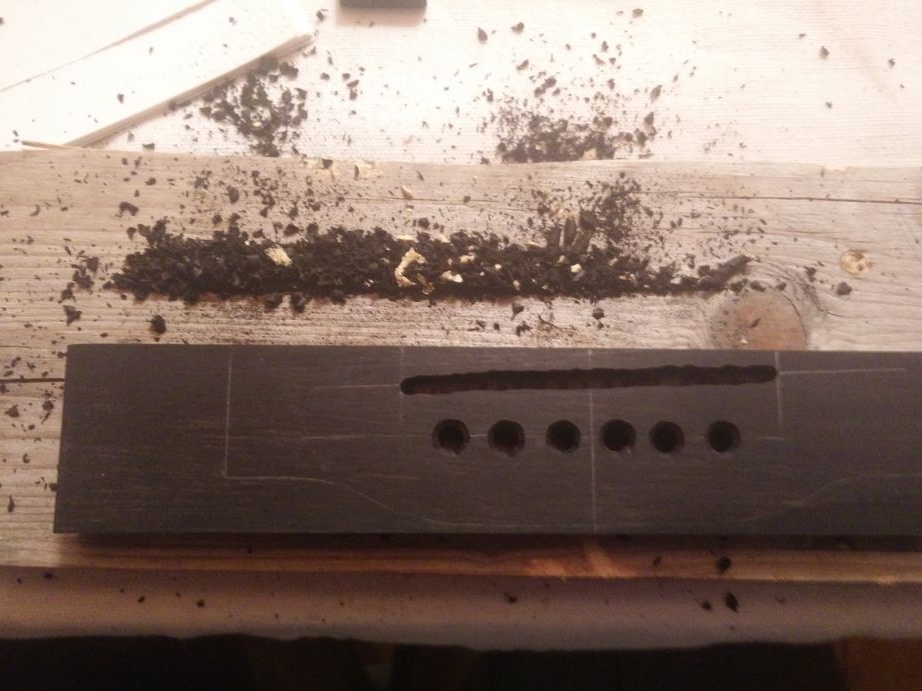
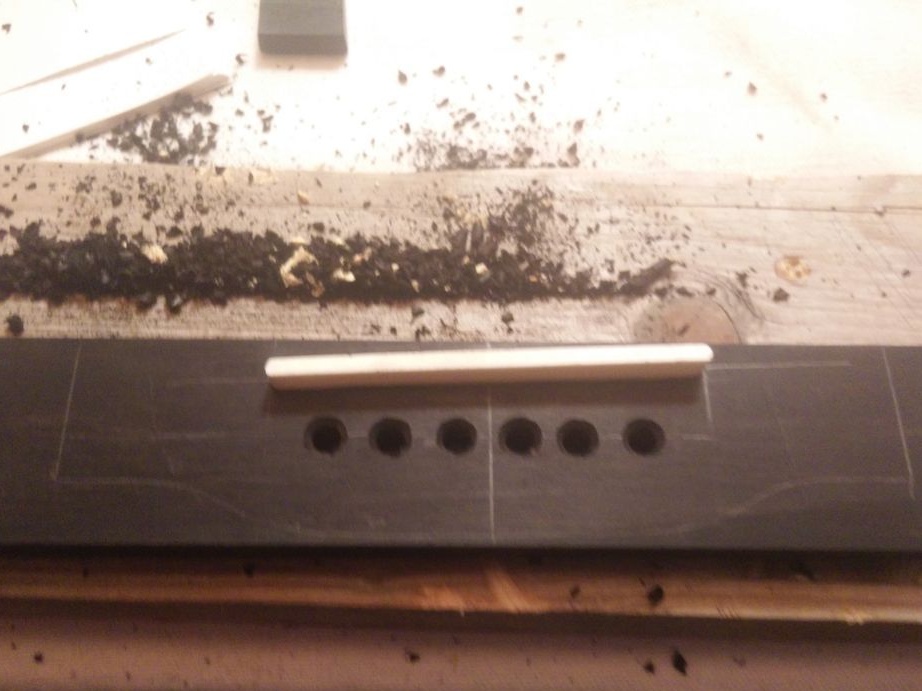
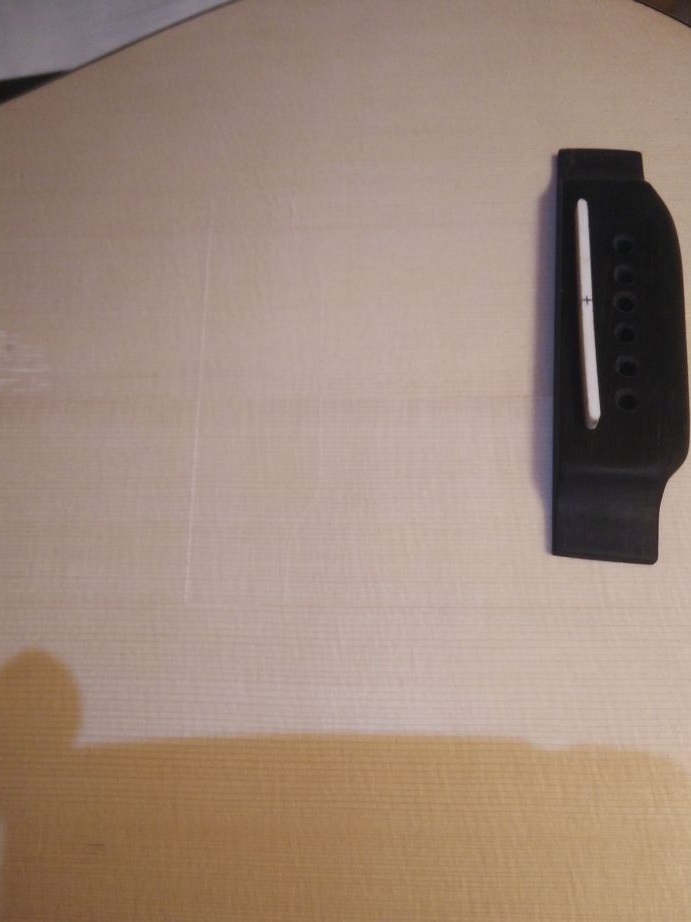
Step Fifteen: Stand
Makes a stand. Makes a groove under the nut and holes for the strings.
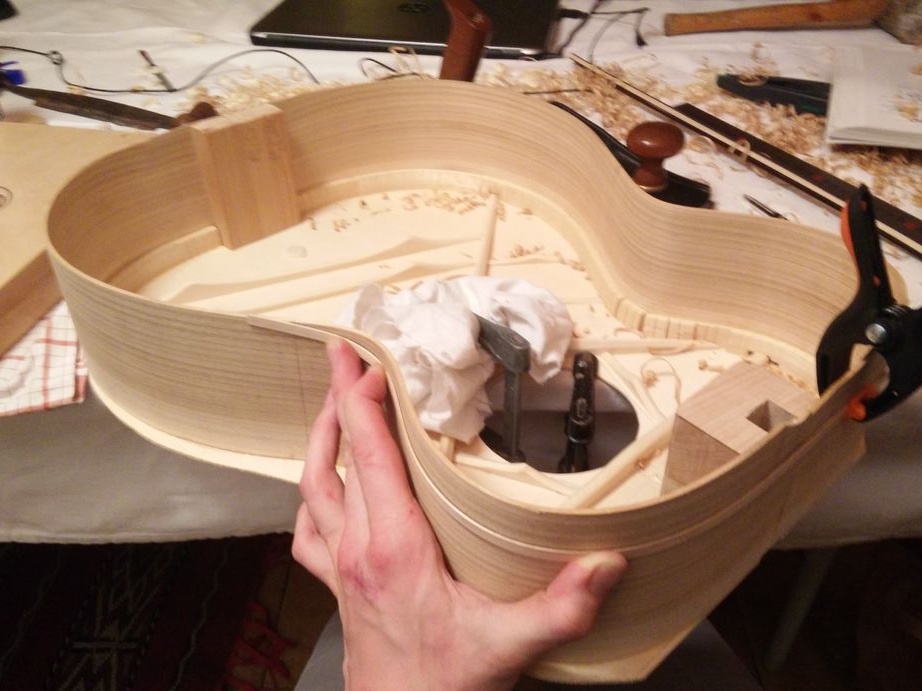
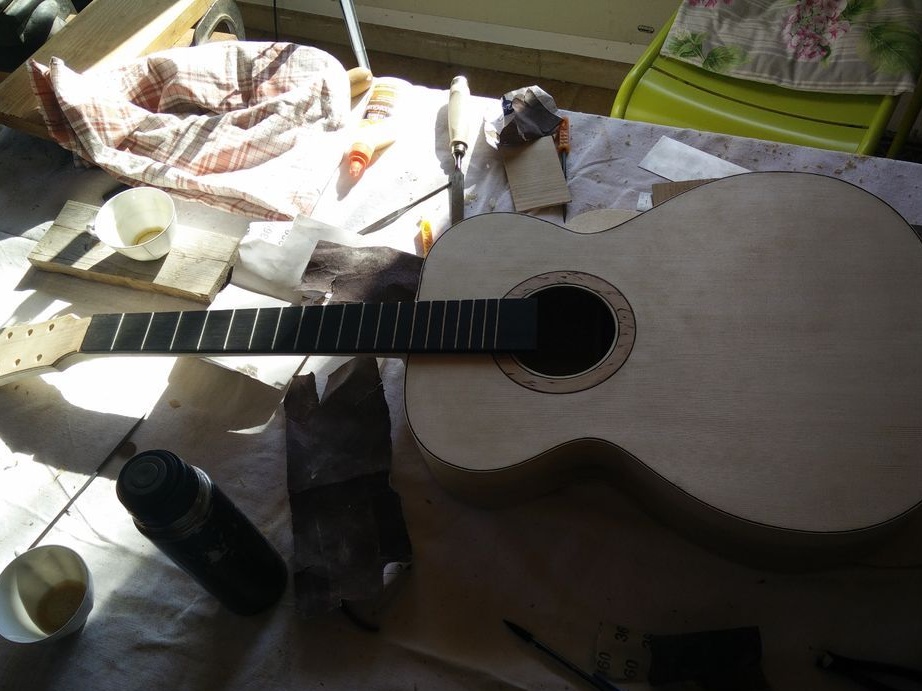
Step sixteen: assembly
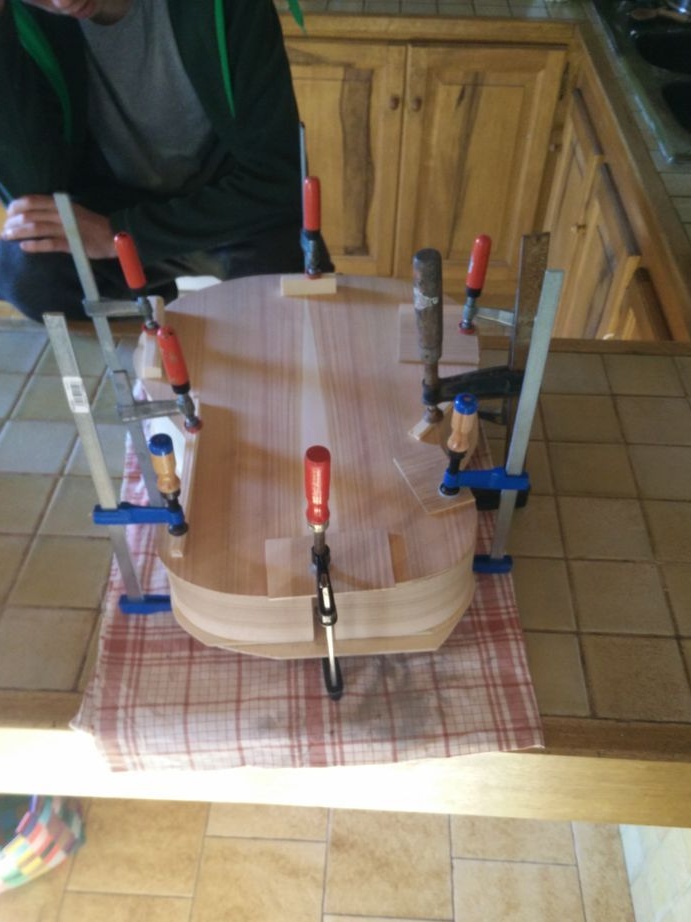
Glues the trim to the upper deck.
The lower part of the guitar is not even, but has a slight bevel. The master cuts the skin to the desired shape.
Then glues the lower deck.
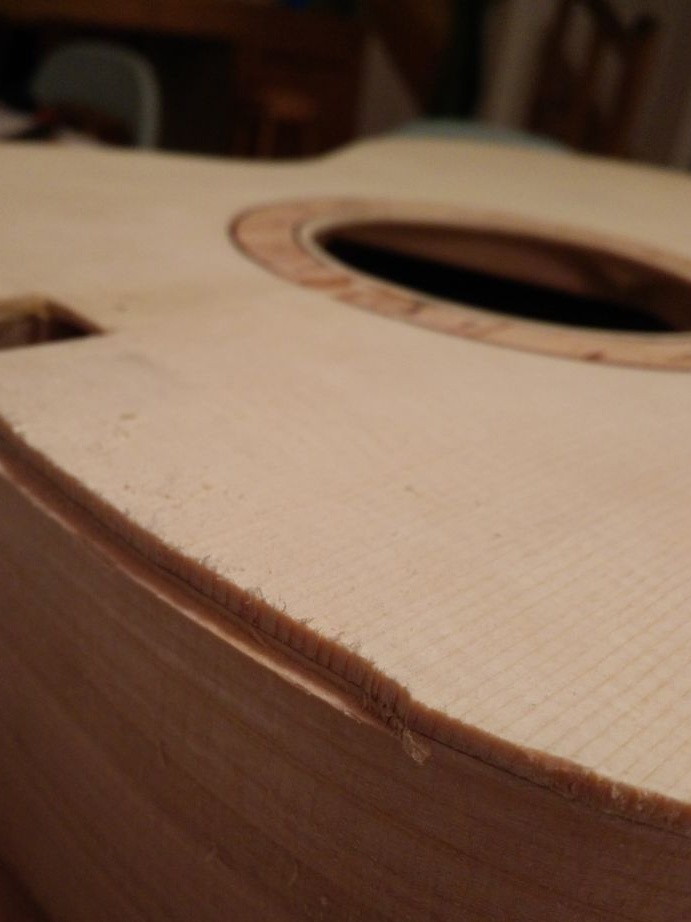
After gluing the case, the master, with a cutter, selects a recess along the edge and the middle part of the lower deck and the shell, and glues a decorative insert there.
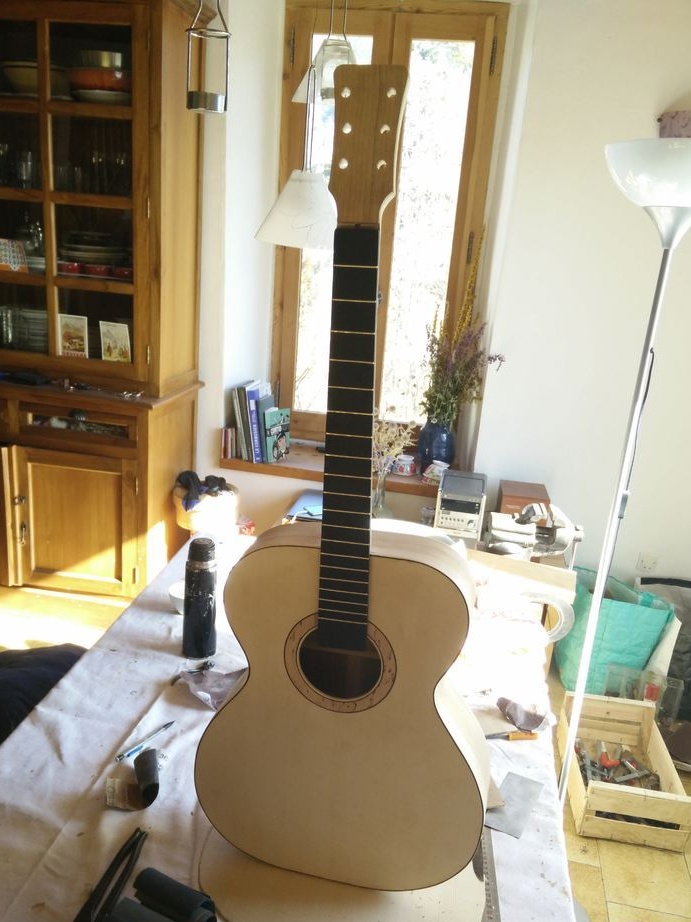
Finally processes the guitar neck. Connects it to the body.
Step Seventeen: Finishing the Guitar
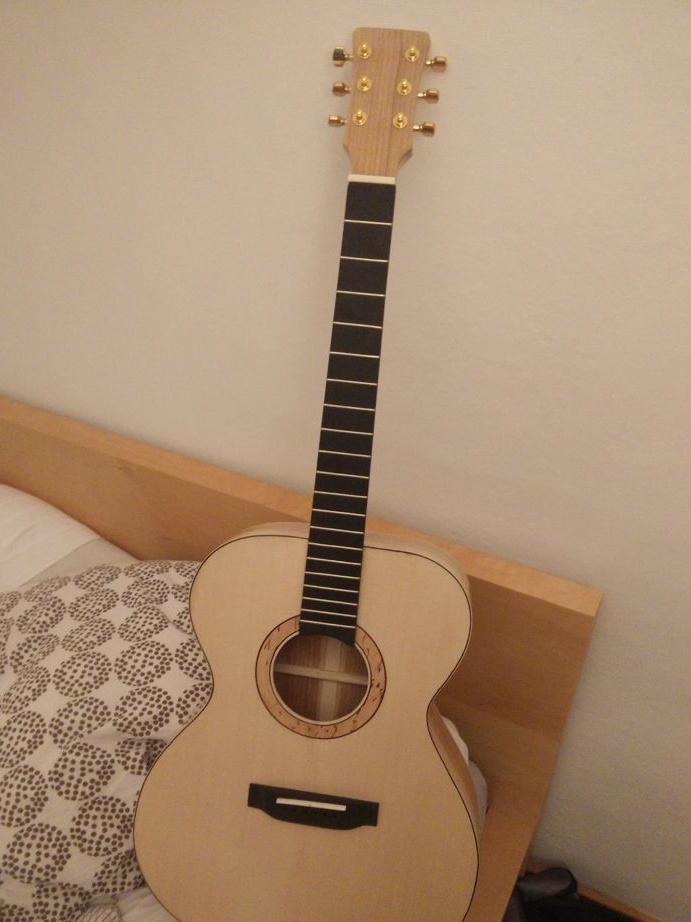
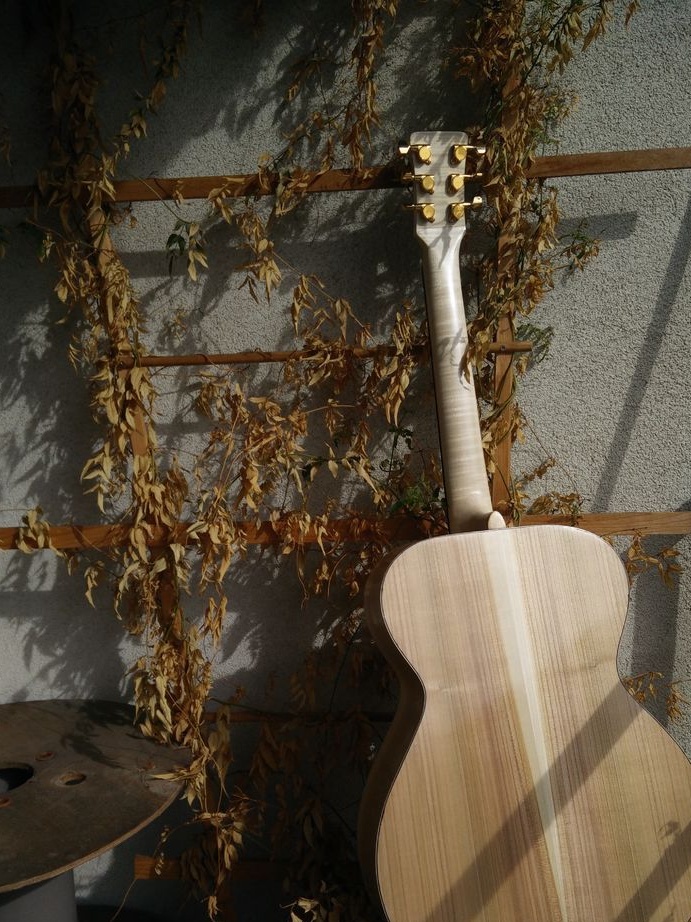
Then the master applied a water-based coating to the guitar and polished it.
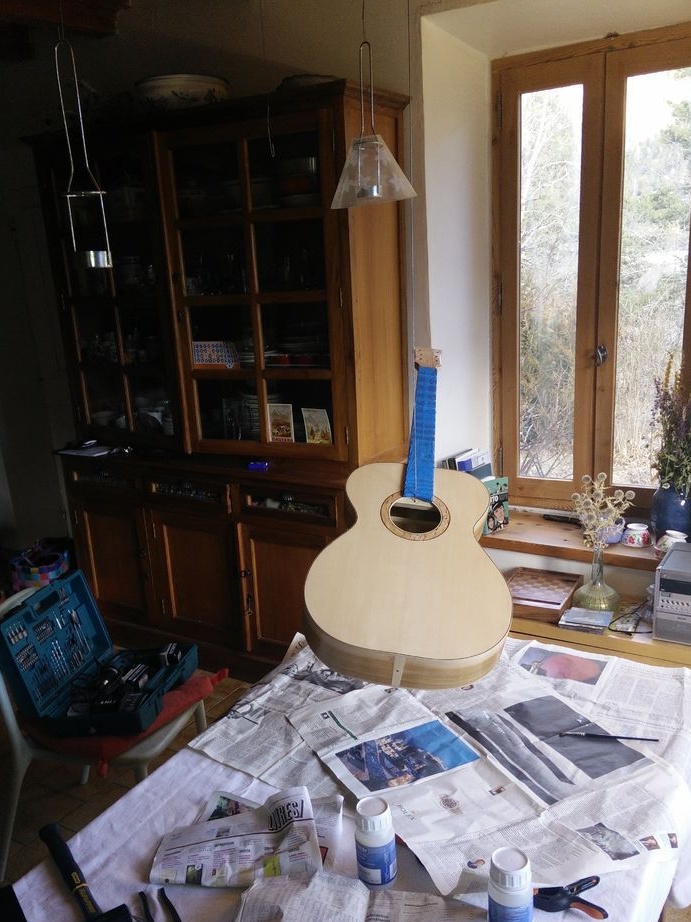
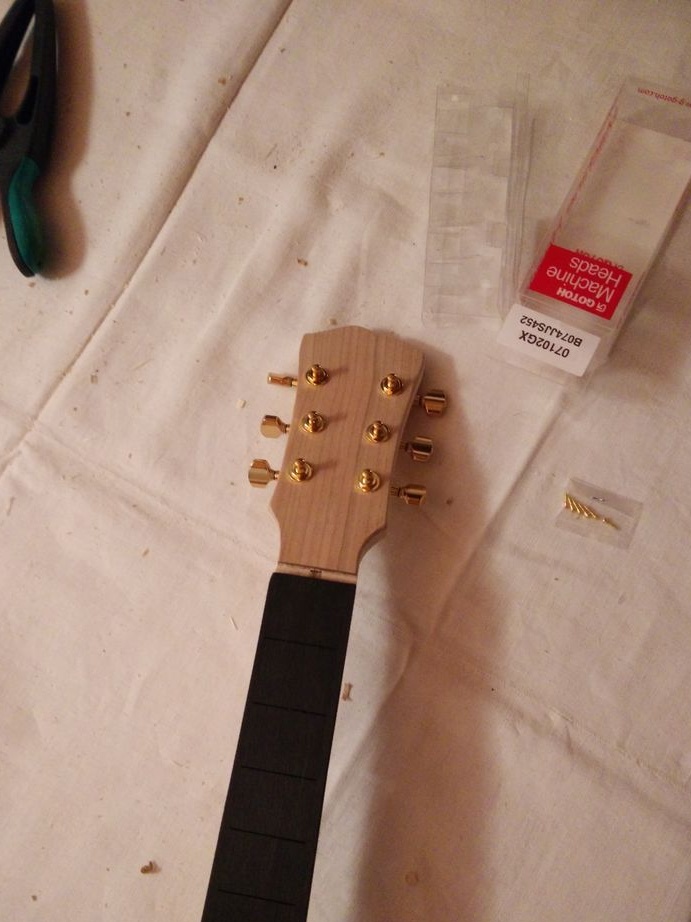
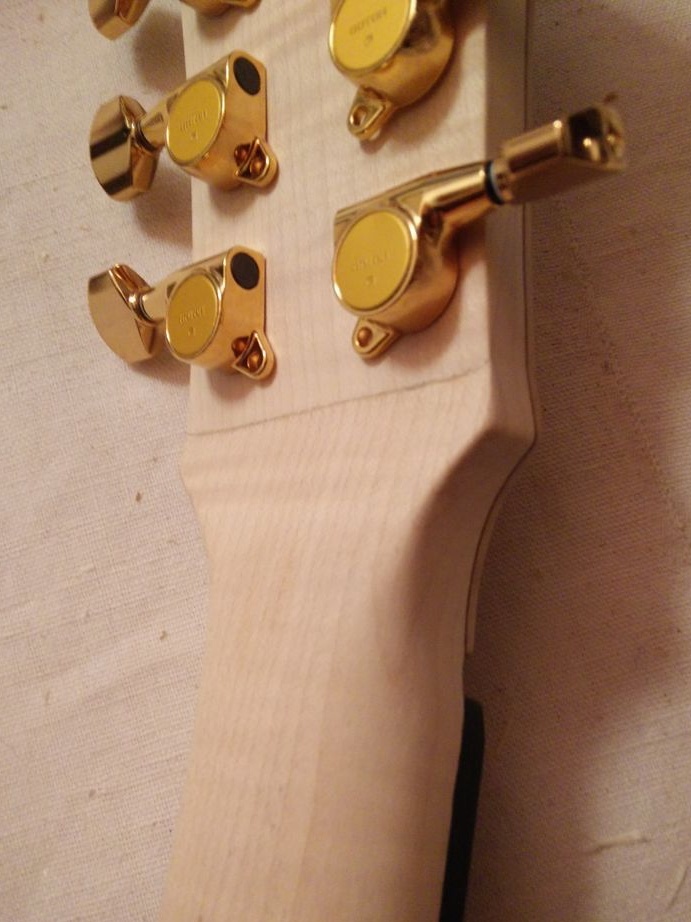
It remains to install splits on the head of the neck, tie the strings, tune the guitar and you can play.