
Good day to all! In today's article, I would like to show you a very relevant homemade, which will interest many owners of private homes and personal dachas. Surely all gardeners were faced with such a problem as rapidly growing grass, which in turn spoils the entire appearance of the site. To solve this problem, the author decided to make a homemade trimmer from a grinder. The idea is that the grinder is removable, and if necessary it could be used for its intended purpose. I must say right away that it is better to proceed with the manufacture of this homemade product with the presence of certain materials, otherwise such a homemade product will be more expensive than a factory product.
And so, for a garden trimmer we need:
- Bulgarian.
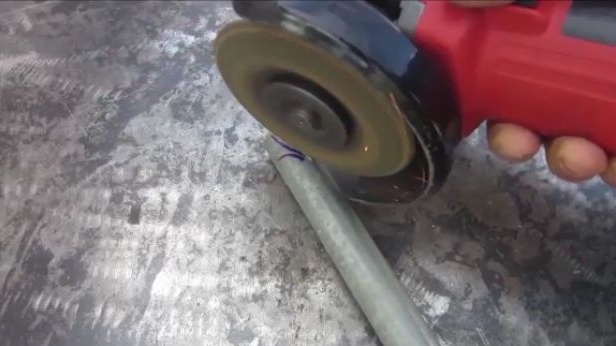
- a metal pipe of not large diameter.
- a metal plate 3-5 mm thick.
- a pair of wheels from a children's bike.
- extension cord.
- plastic fishing line for trimmer.
Of the tools we will also need:
- a screwdriver.
- a welding machine and everything that is attached to it.
- a cutting disk for the grinder.
- marker.
- hammer.
- drill and drill to her.
- brush for metal.
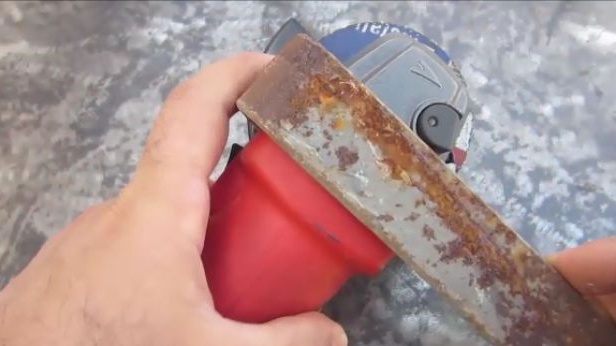
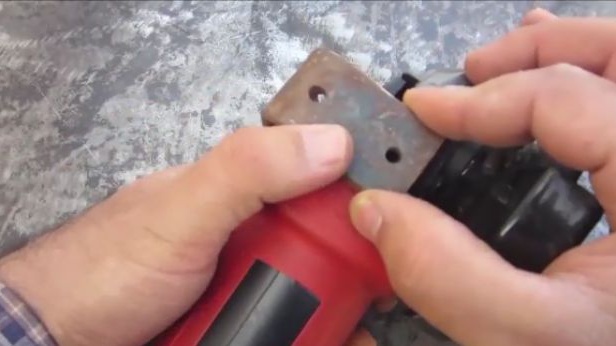
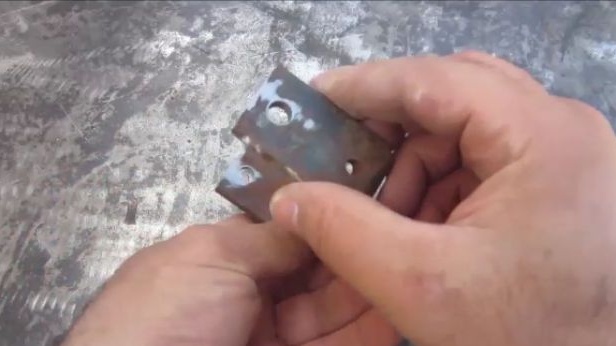
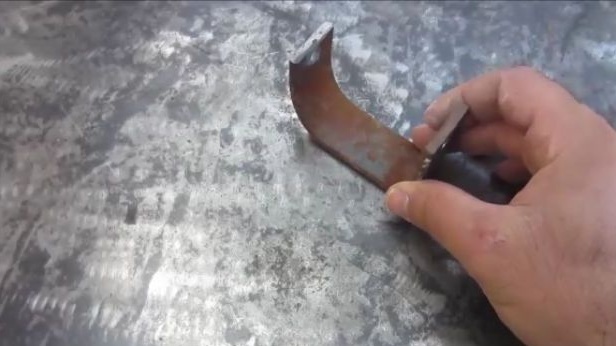
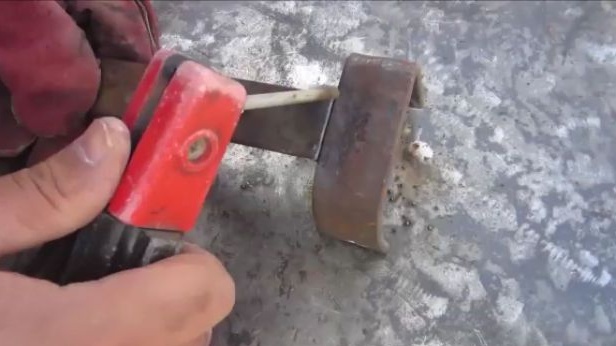
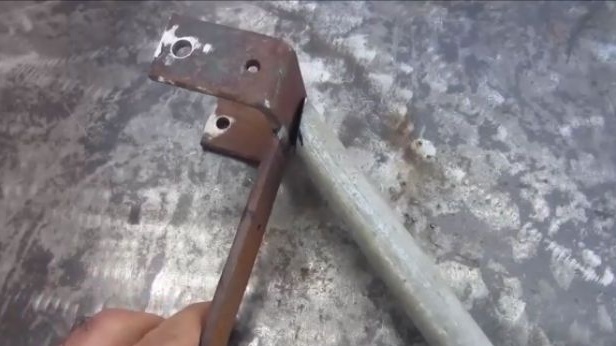
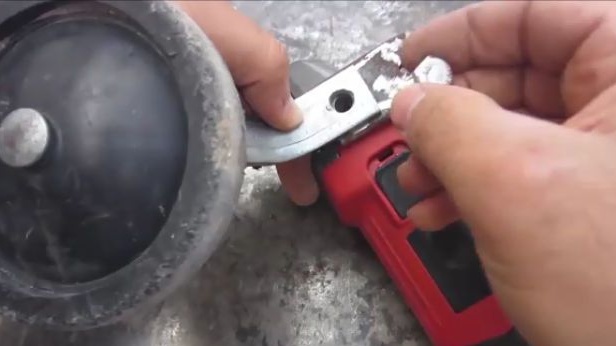
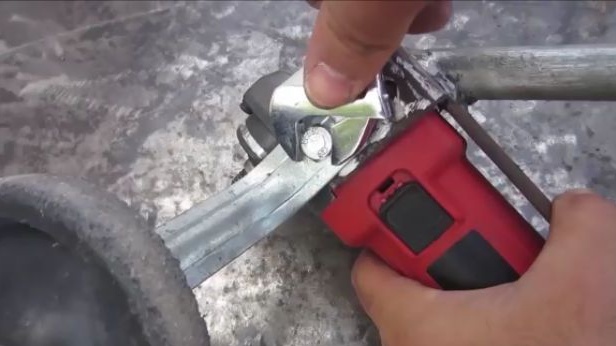
The first step is to make a bracket on which the grinder will be mounted. To make it, we should take a metal plate of a suitable size and bend it so that it tightly wraps around the grinder.
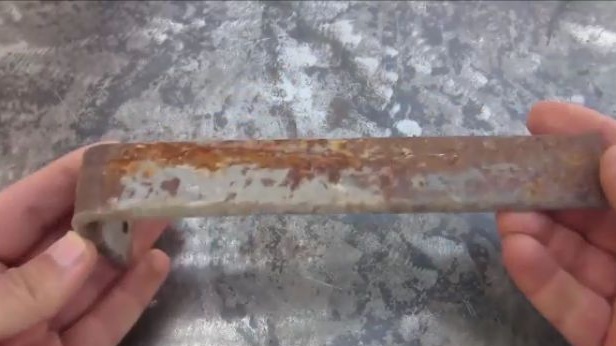
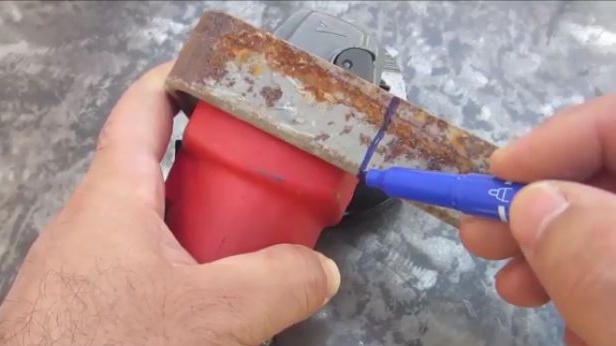
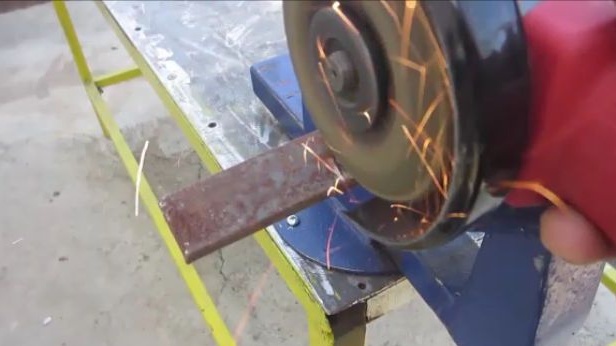
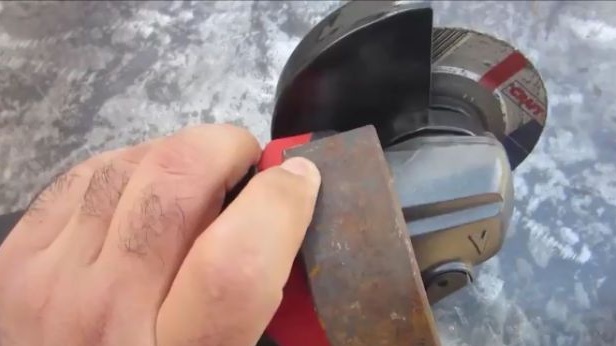
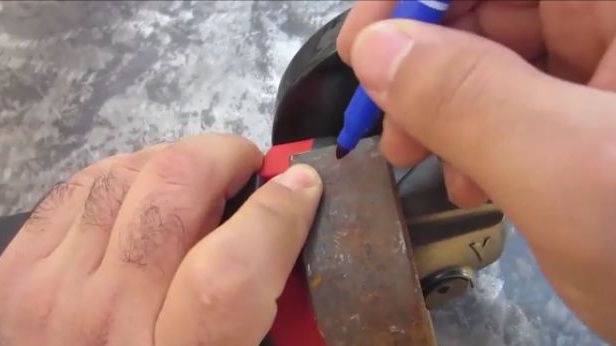
To do this, first bend one end, as in the photo. We attach the plate to the grinder and use a marker to mark the place where the second bend should be done. Then we clamp the plate in tees so that the mark is at the very base and with the help of a hammer we bend the workpiece. And with the help of the grinder we cut off the excess from the bracket.
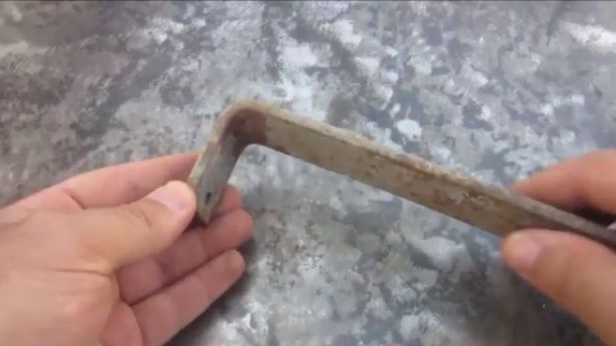

Next, we need to make sure that the bracket sits tight, and if not, then we just need to bend it a little more.
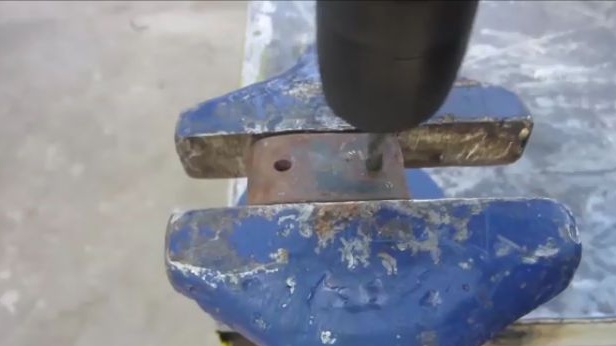
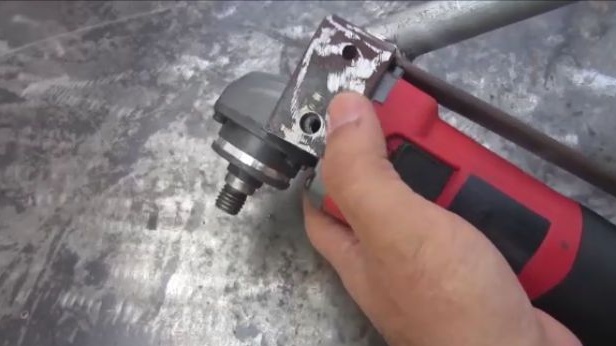
After we are convinced that the bracket is suitable for us, we proceed to the next step. We need to drill holes parallel to each other to mount the grinder on the structure. The holes should coincide with the holes on the grinder, usually a handle is screwed into these holes. Using a marker, mark the places where holes should be made. And make through holes.
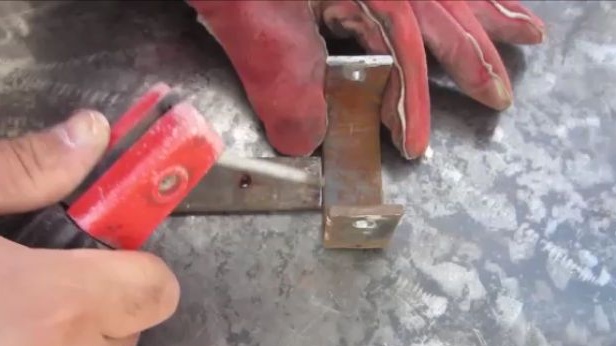
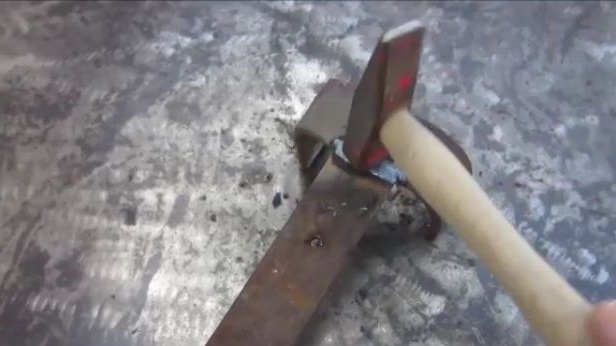
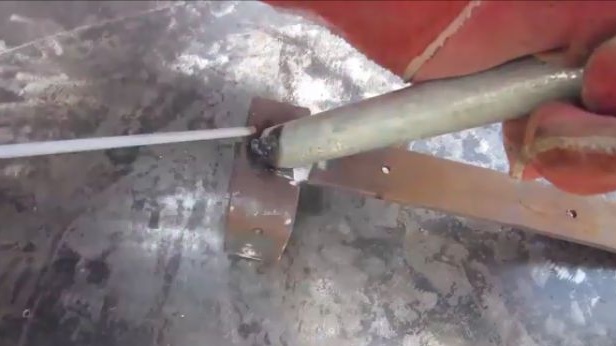
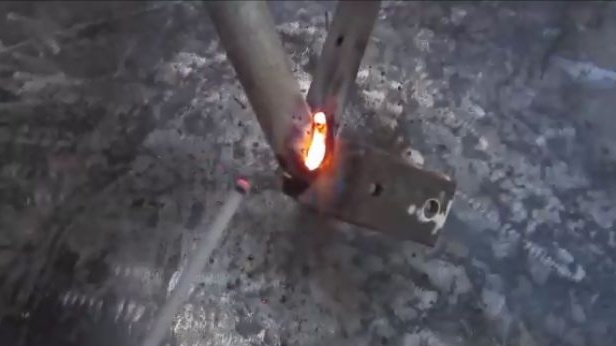
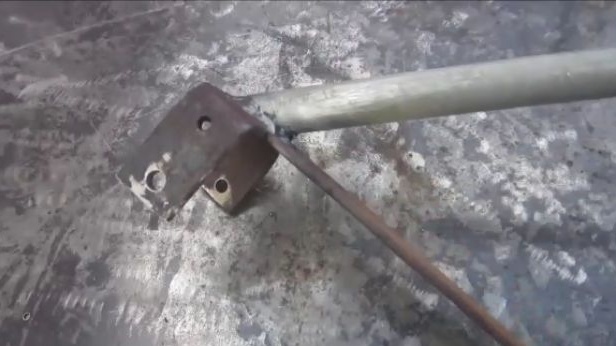
A certain “crossbar” should be welded to the bracket, for which the grinder will fasten and not hang out on contraction. We weld the connection of the plate with the bracket on both sides and do not forget to beat off the slag with a hammer.It is also worth recalling once again that protective equipment should be used when working with the welding machine.
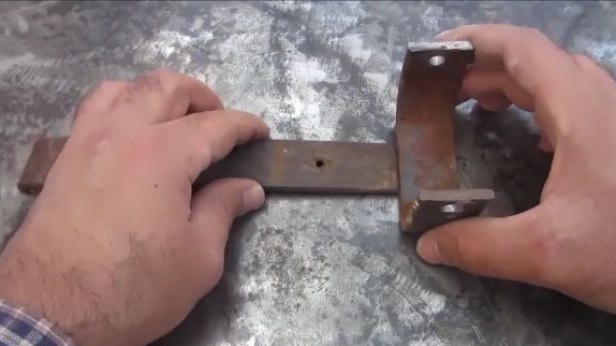


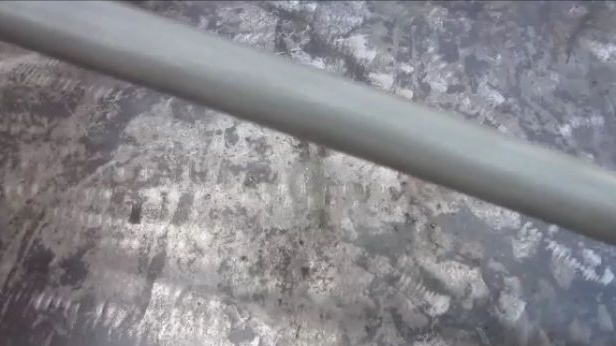
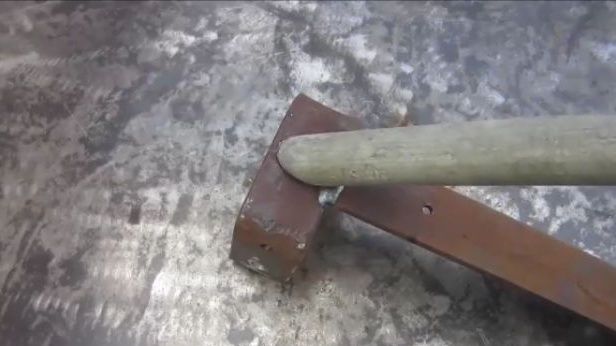
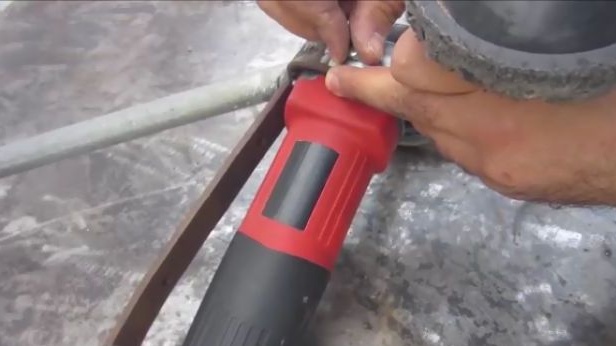
As a pen, the author took a metal pipe that he did not need, but you can use, for example, a shovel handle. Since the author decided to use a metal pipe, the simplest and most reliable way to connect it to the mount for the grinder is to be welding.
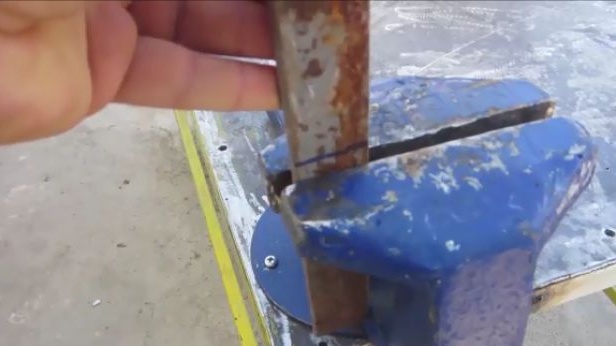
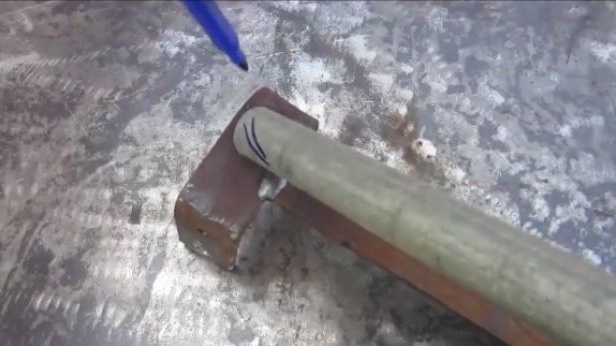
We attach the pipe to the mount at an angle convenient to you and mark with a marker. Cut off the unnecessary piece from the pipe in the place where the mark was made. Once again, we attach the pipe to the mount, and we weld the joint, not forgetting to beat off the slag.

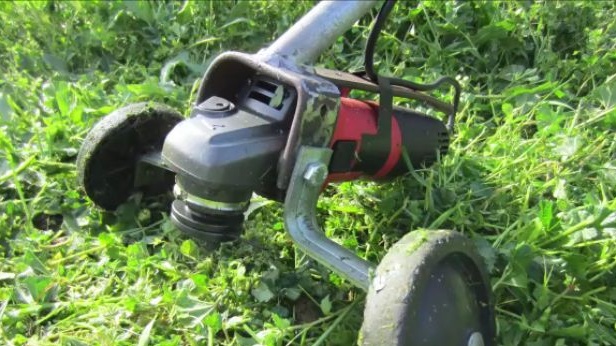
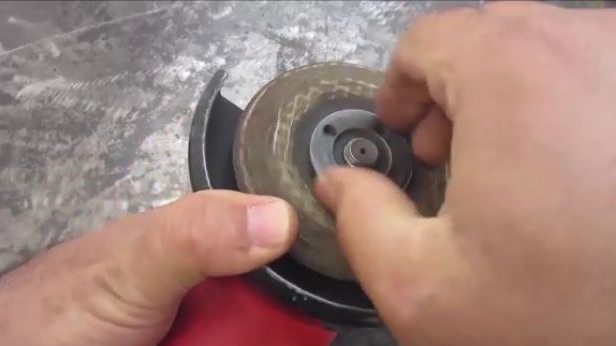
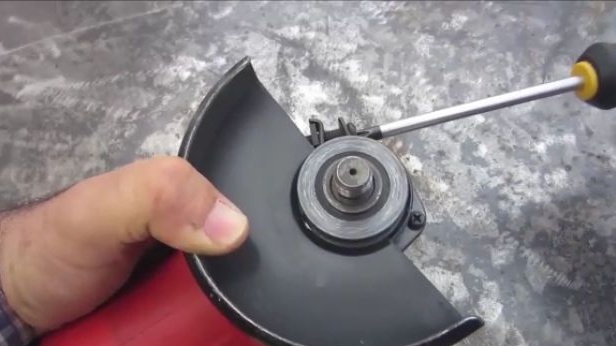
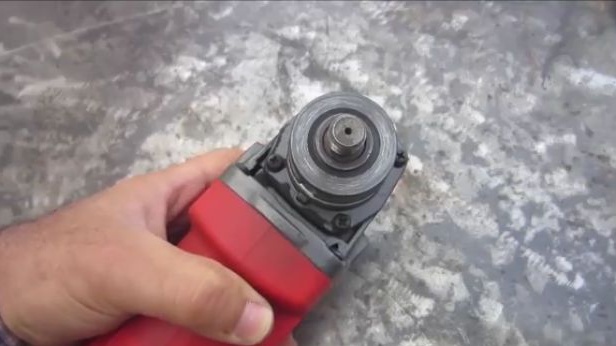
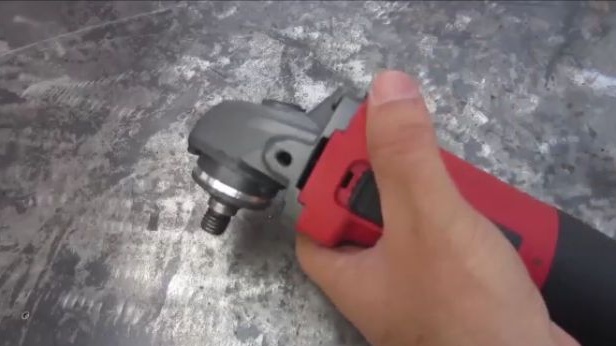
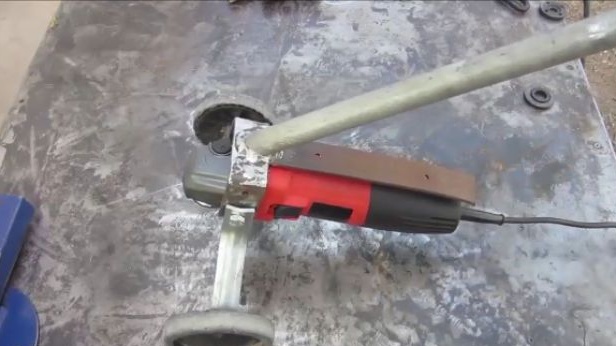
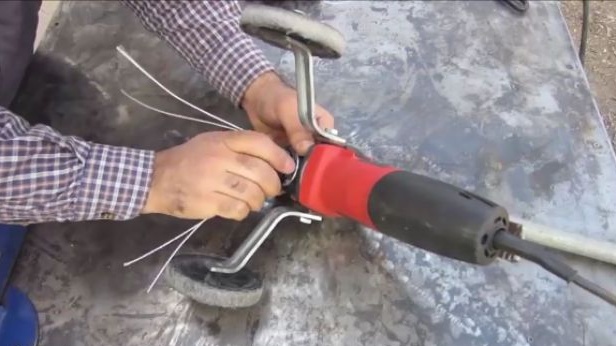
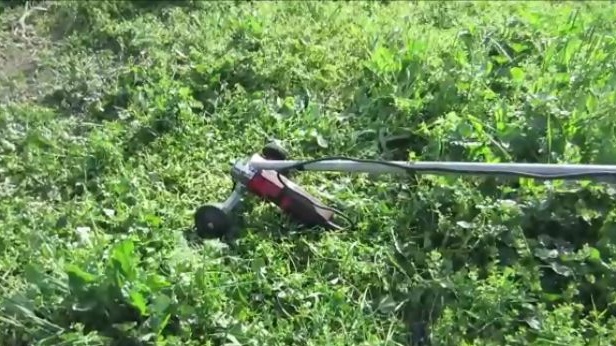
It remains to fix the grinder on the housing in the seats. To do this, unscrew the cutting disc and the protection cover from the grinder. But to make the use of this trimmer easier, it is possible to fasten the removable wheels from a children's bicycle to it, which are used as insurance for a child. I inform you about this at this stage not just like that, but in order to make it easier for you to do this, for attaching the wheels to the trimmer, we will use the holes already made earlier.


We take the grinder, we attach to it the fabricated metal structure, so that the holes coincide. Then we apply one of the wheels and fix it with a screw of suitable diameter. On the other hand, we repeat the same actions.

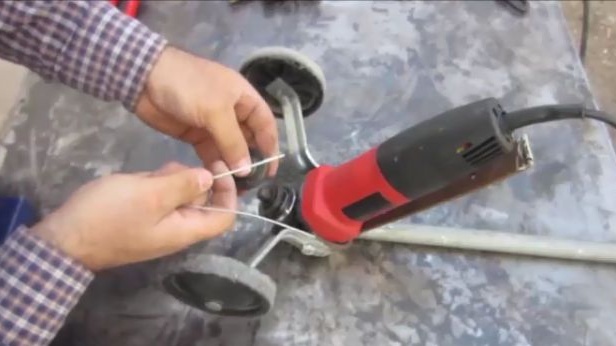
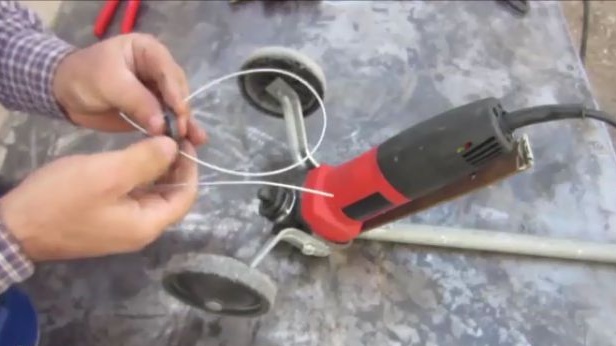
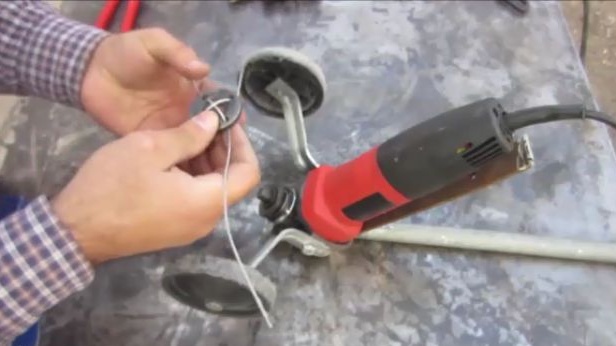
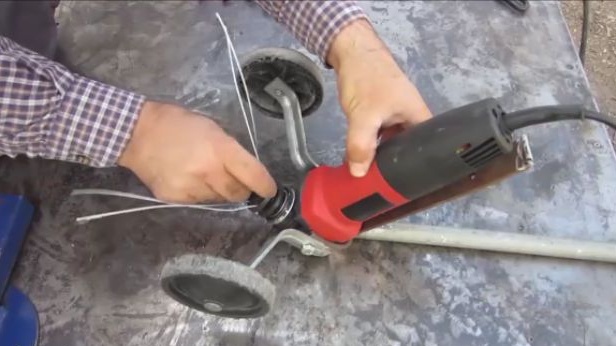
We will make the cutting part, it is not necessary to produce it, but you just need to “fill it up”. To do this, we should take a special fishing line for garden trimmers and thread it crosswise through a nut to secure the cutting disc. And tighten the nut in place.

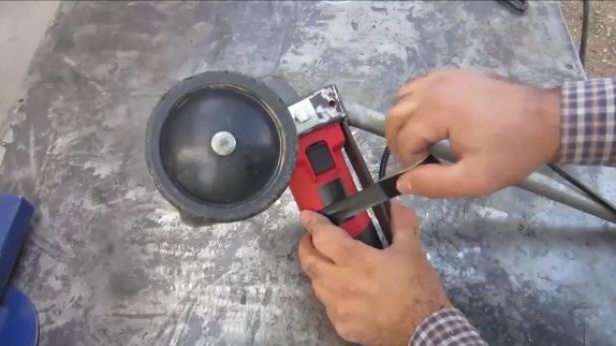
To keep the grinder tight, and the wire from the grinder does not come off from it, using electrical tape, we wind the wire with the grinder to the metal body of the trimmer.
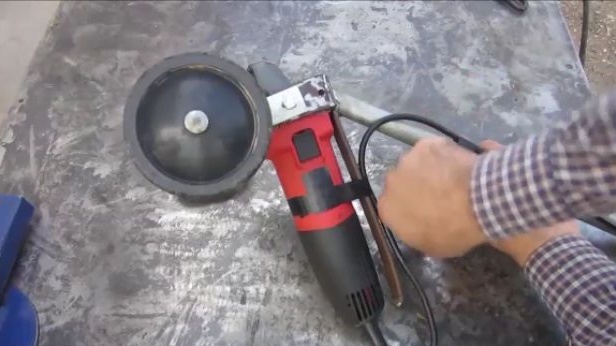
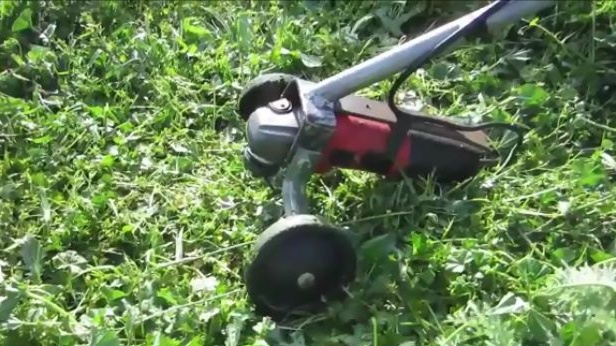
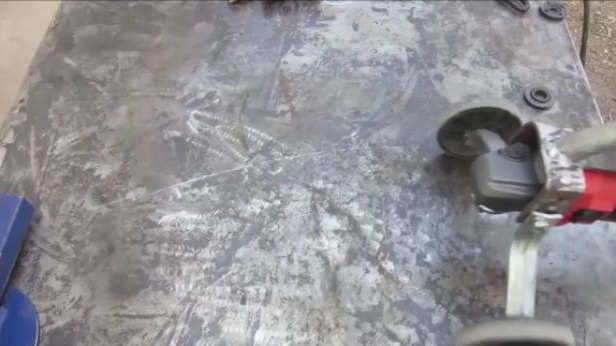
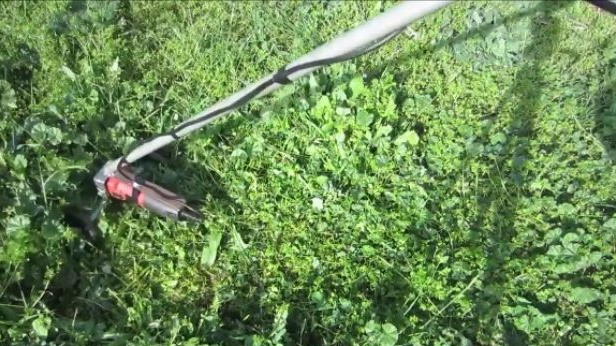
Our garden trimmer is absolutely ready for use, ideally, of course, you could make a protective cover for it, but the author of the homemade product decided to do without it. This homemade product is definitely useful in the garden of any gardener, it can be mowed not only rough grass, but if you get used to and set the desired wheel height, you can mow a neat lawn.

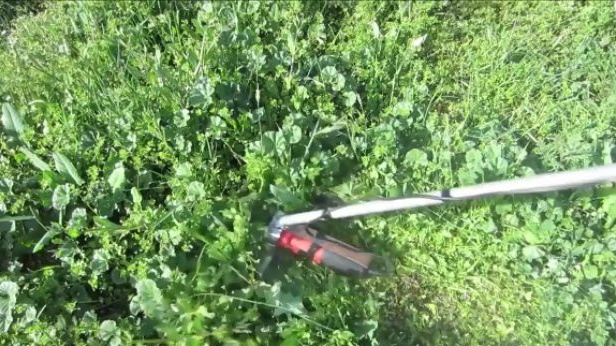
Here is a detailed video from the author with the assembly and testing of this homemade product:
Well, thank you all for your attention and good luck in future projects, friends!