In this article, we will consider the manufacture of an LED flashlight, the body of which is made of nuts and bolts.
Tools and materials:
-Three white 5mm LEDs;
-Three 680 ohm resistor;
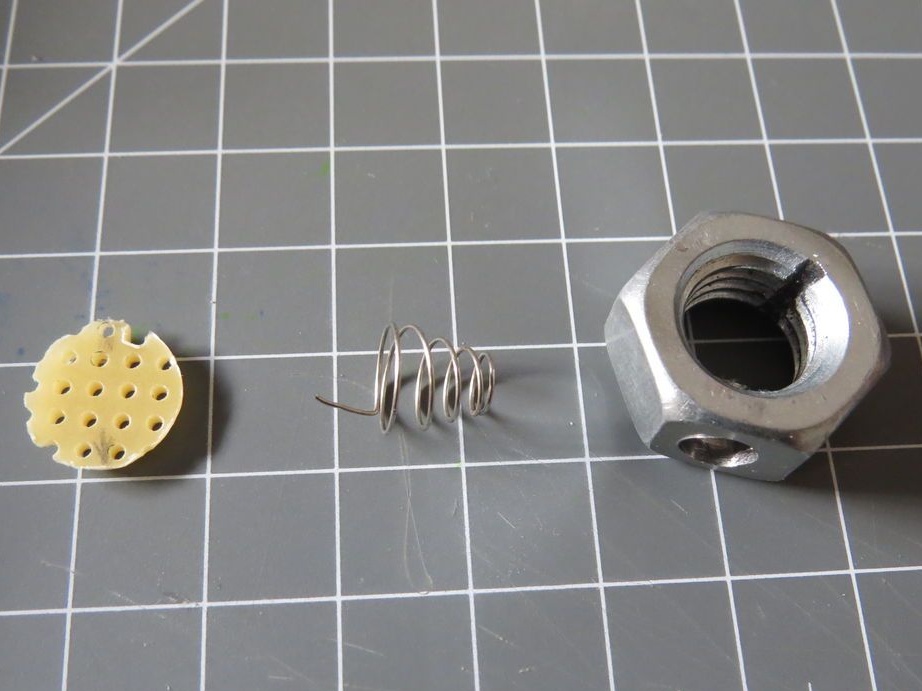
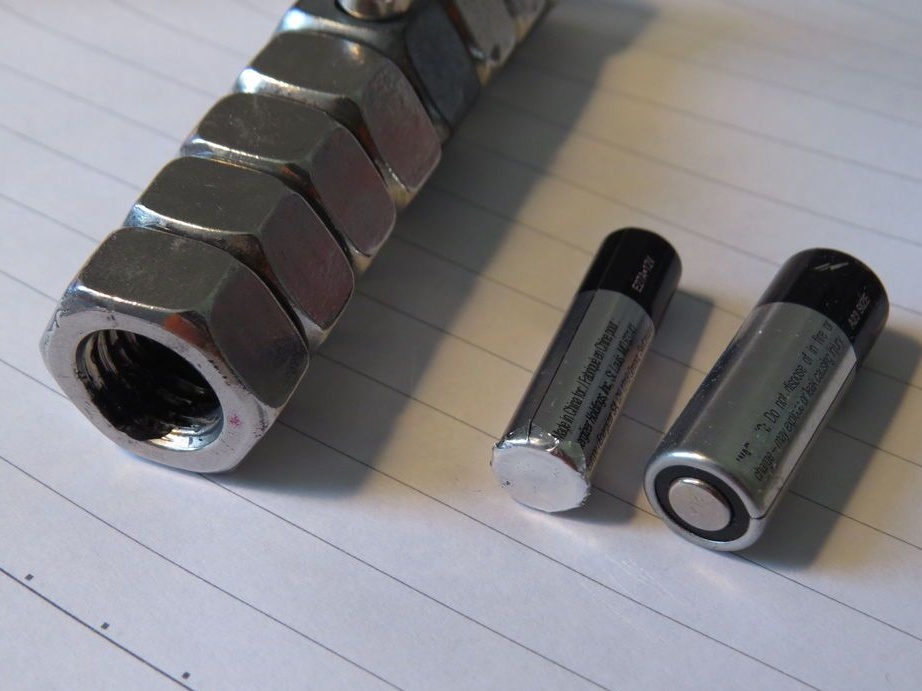
-5-7 stainless steel nuts;
-Bolt made of stainless steel;
- Battery 12V A23 or A27;
-Spring;
- 2 mounting plates 5 * 5 cm;
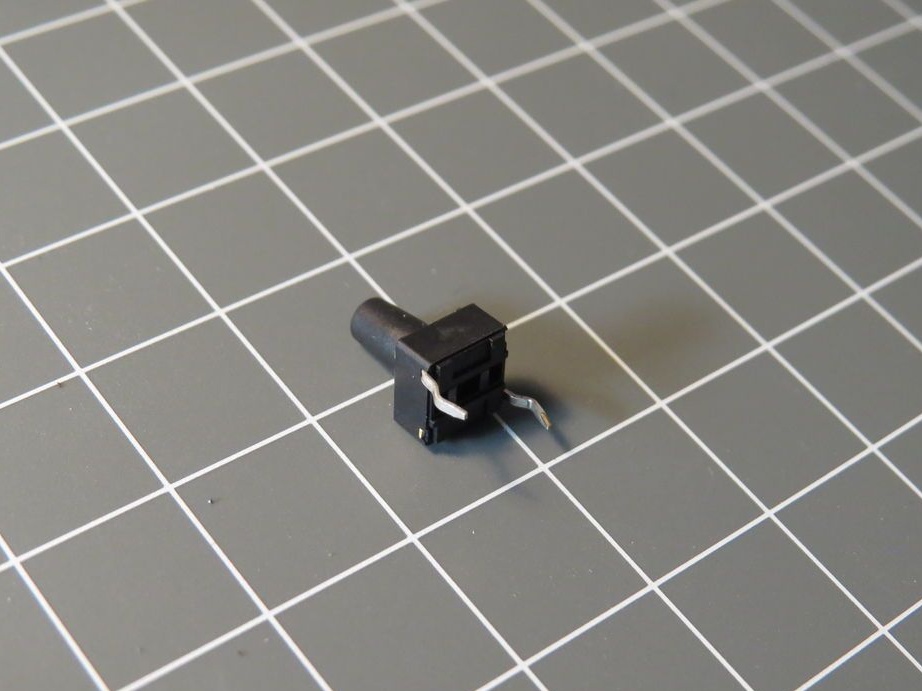
-Mini switch;
-Screw;
-The wire;
-Cold welding;
-Soldering iron and solder;
-Third arm;
-Drill;
- Dremel;
-Glue;
-Pliers;
-Scissors;
-Heat-shrink tubing;
- Canvas for metal;
-File;
-Vise;
- Clamps;

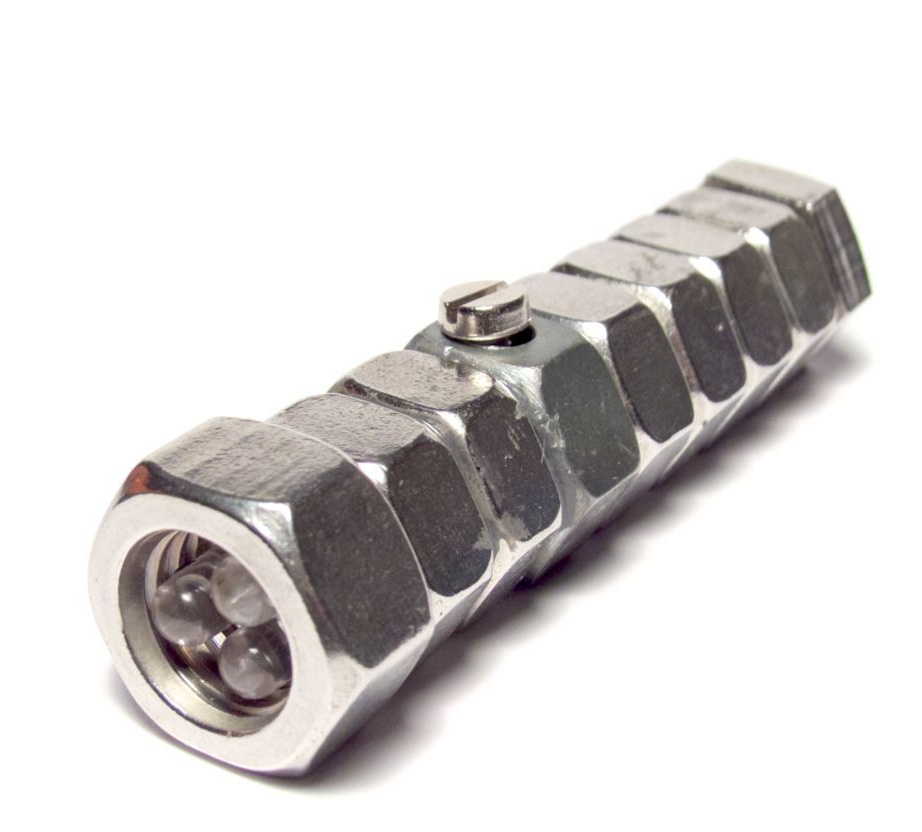
Step One: The Case
The master decided to make a flashlight case out of nuts. A bolt will be screwed into the back of the case. Inside the case one wire will pass.
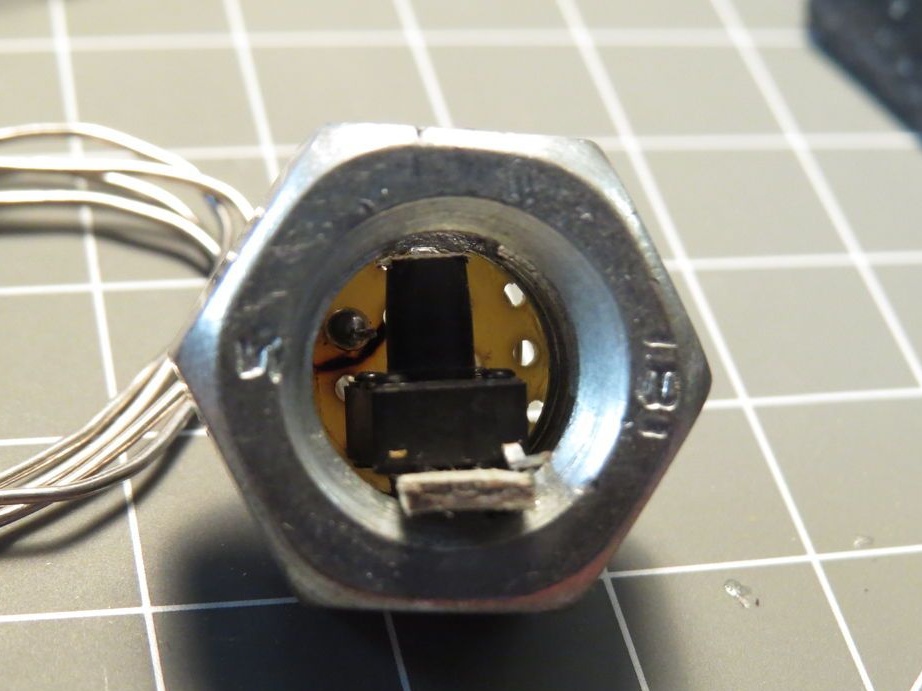
Cuts off part of a bolt. There should be 2-3 threads. A hole for a switch is drilled in one of the nuts. Hacksaw blade in the inside of the nuts makes a cut for the wire.
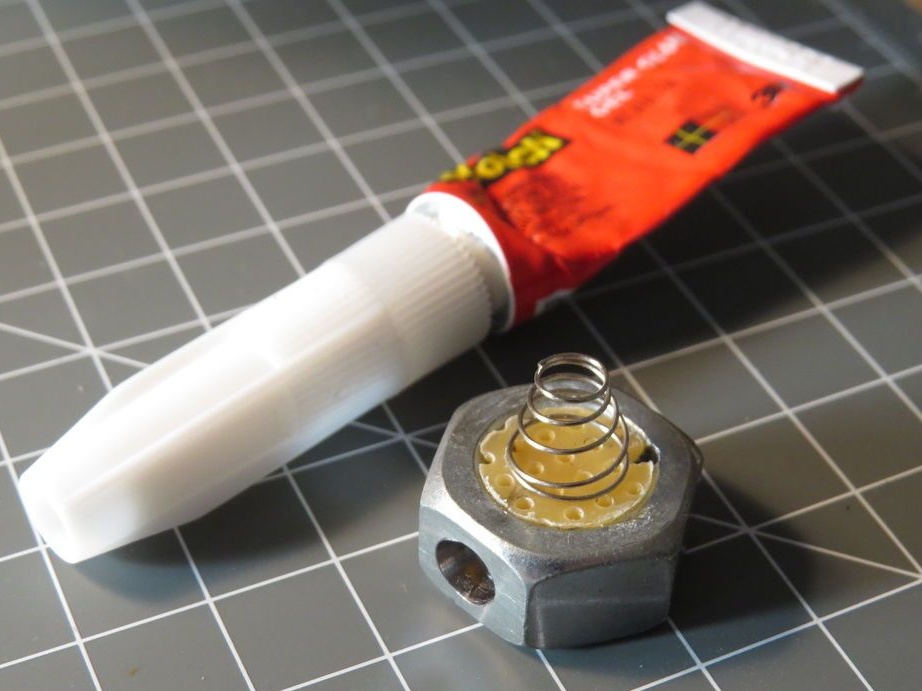
Step two: switch and spring
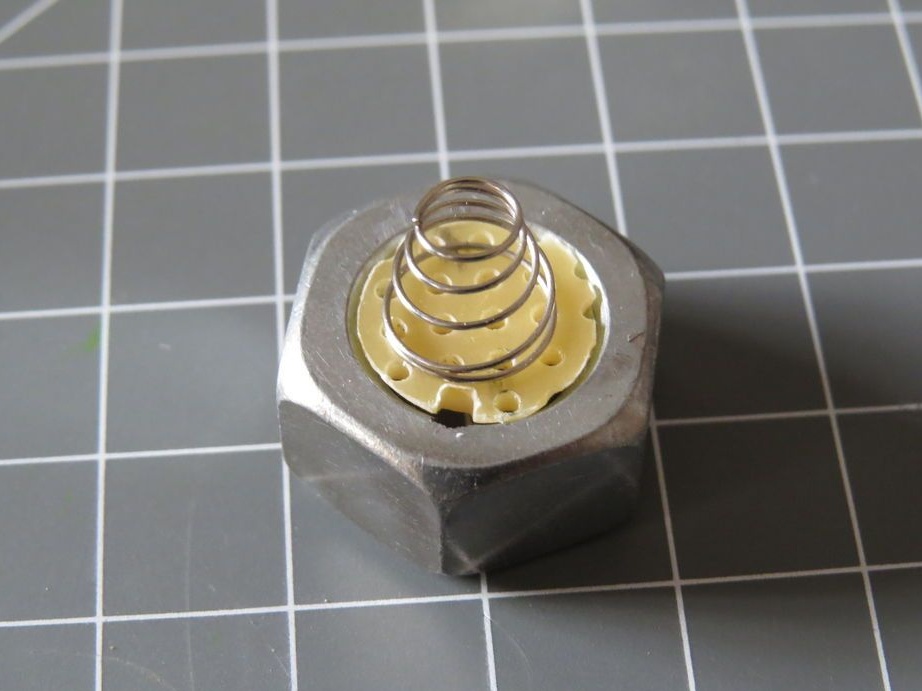
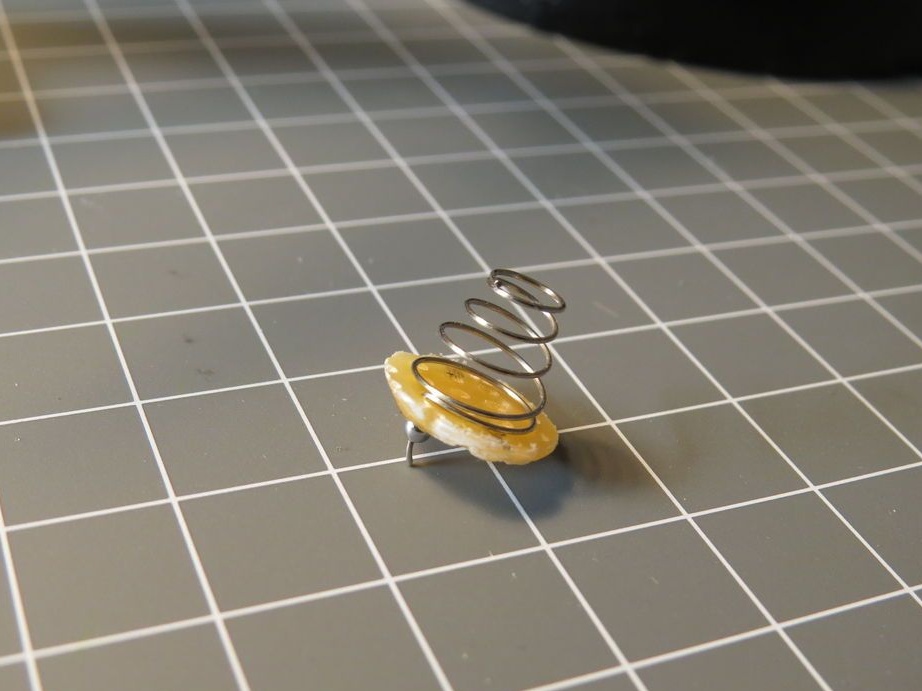
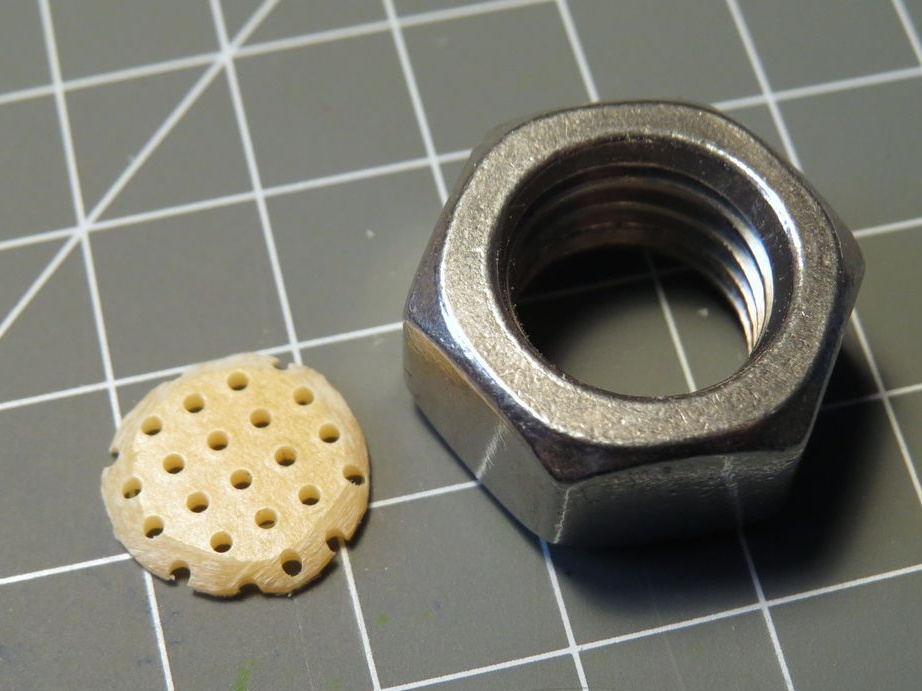
Next, the master sets the switch and spring contact. Adjusts the mounting plate to the diameter of the nut. Makes a cut on the board for the wire. Bends the end of the spring and inserts it into the hole in the board. Apply solder to the end of the spring. Sticks the board to the nut. Sets the microswitch.
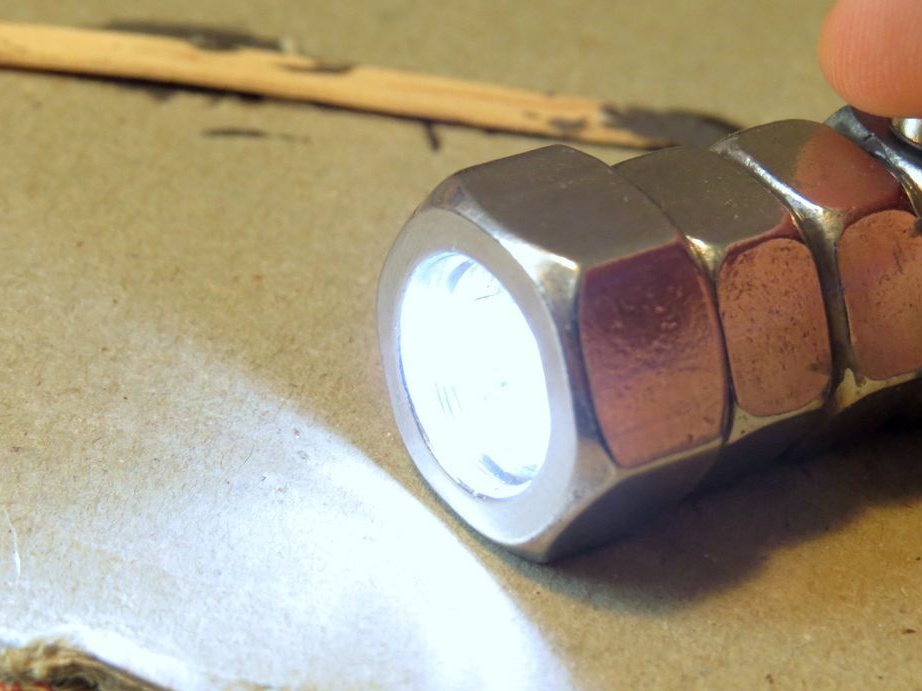
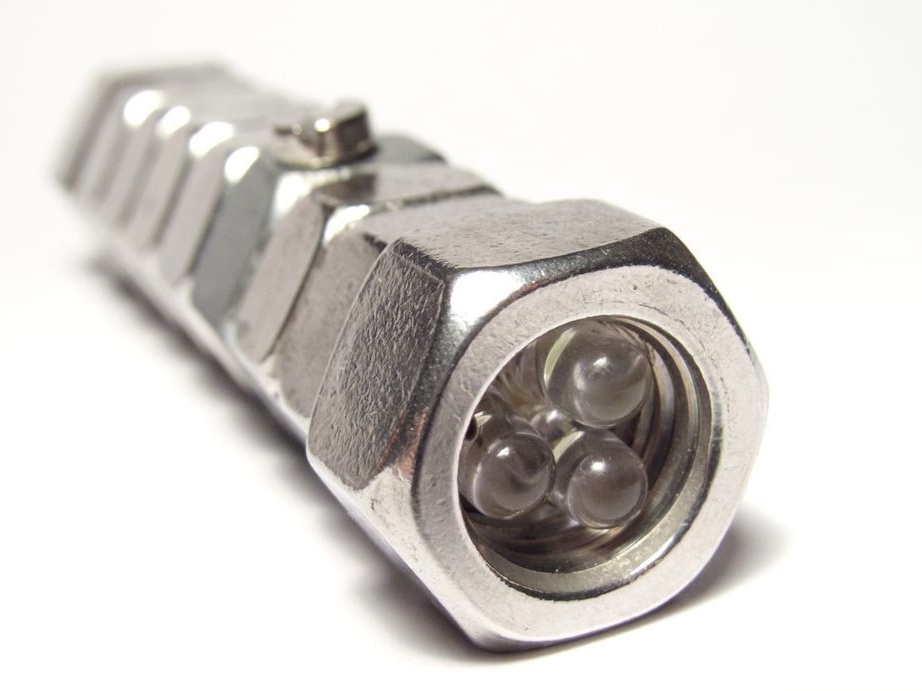
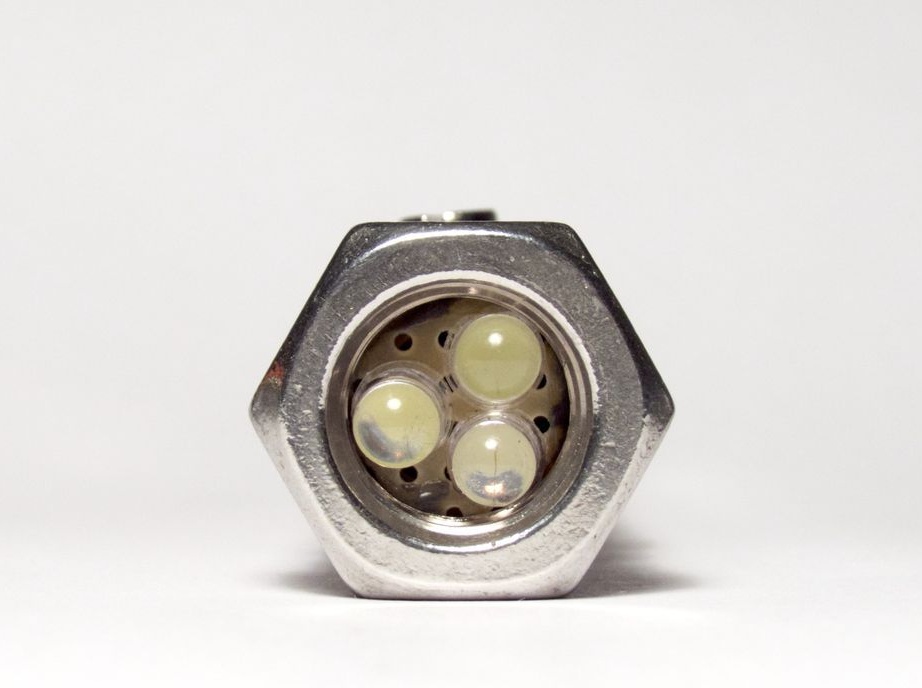
Step Three: LEDs
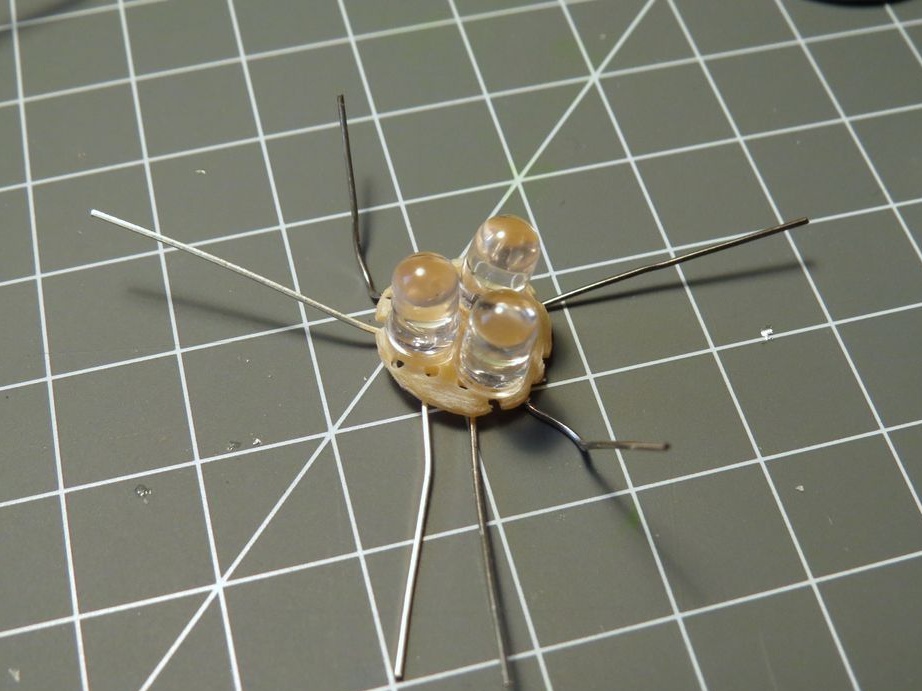
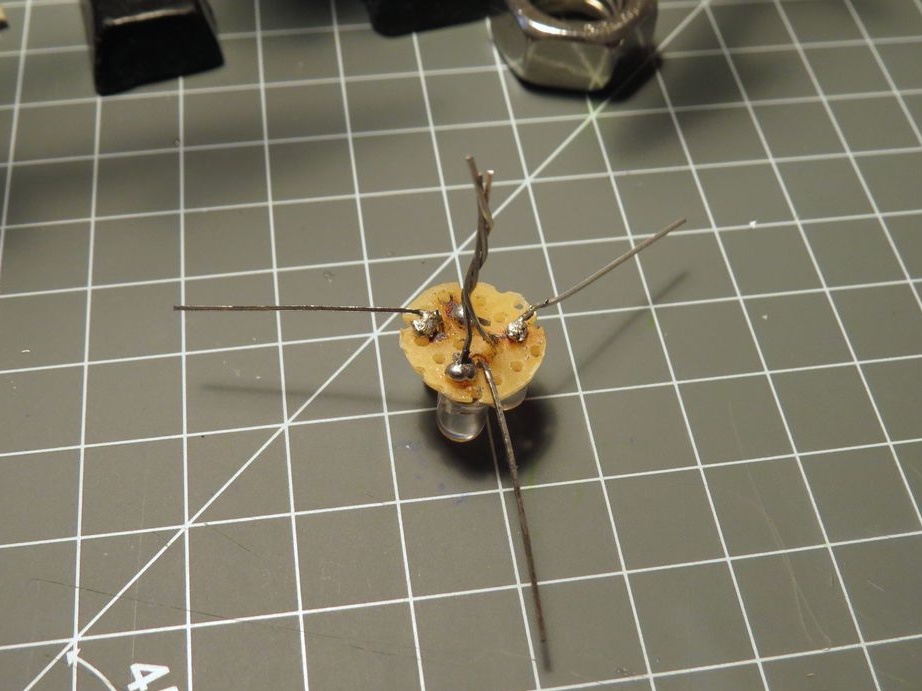
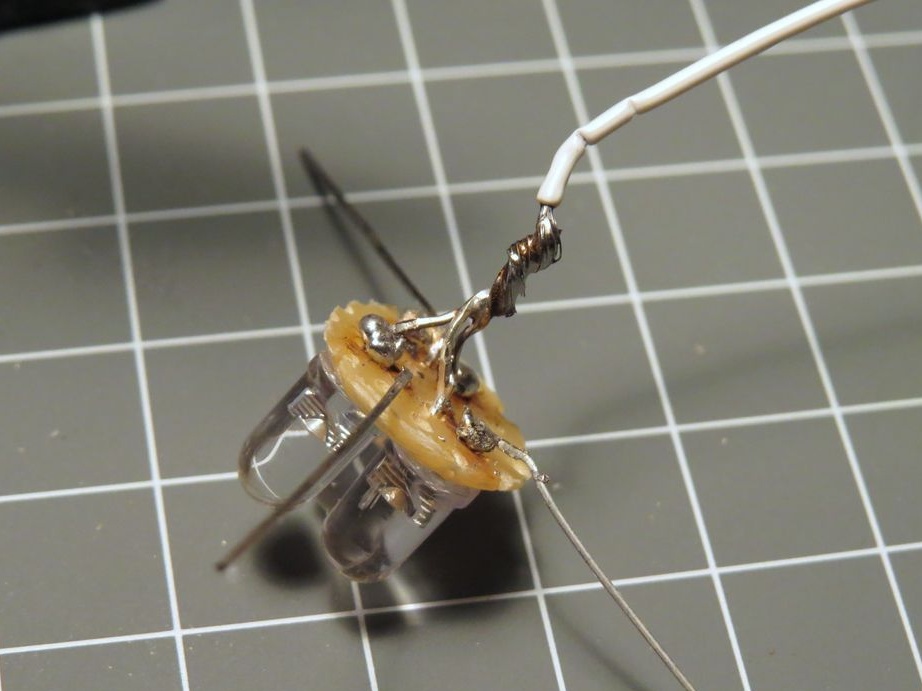
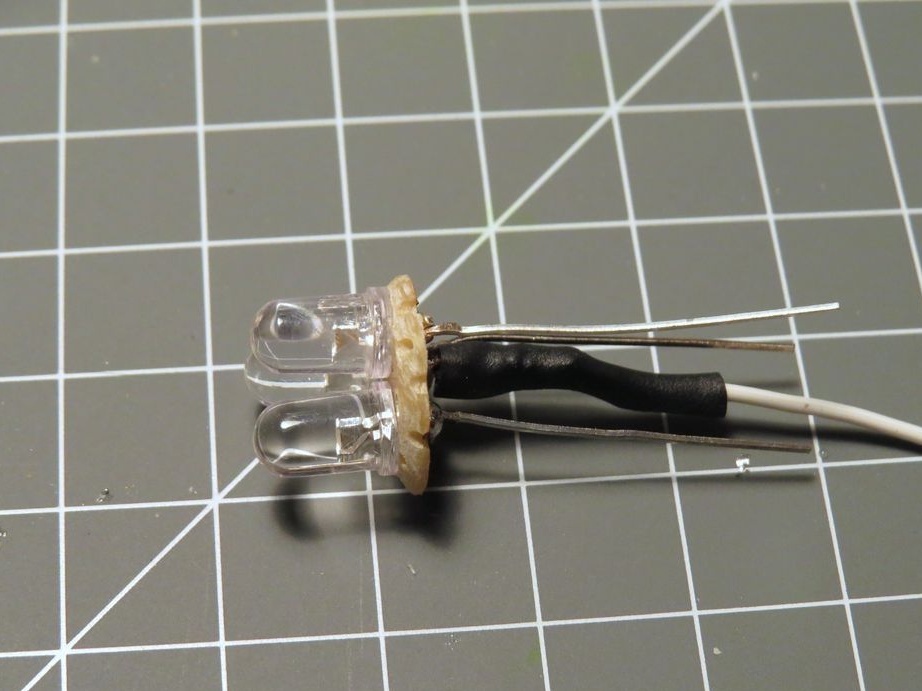
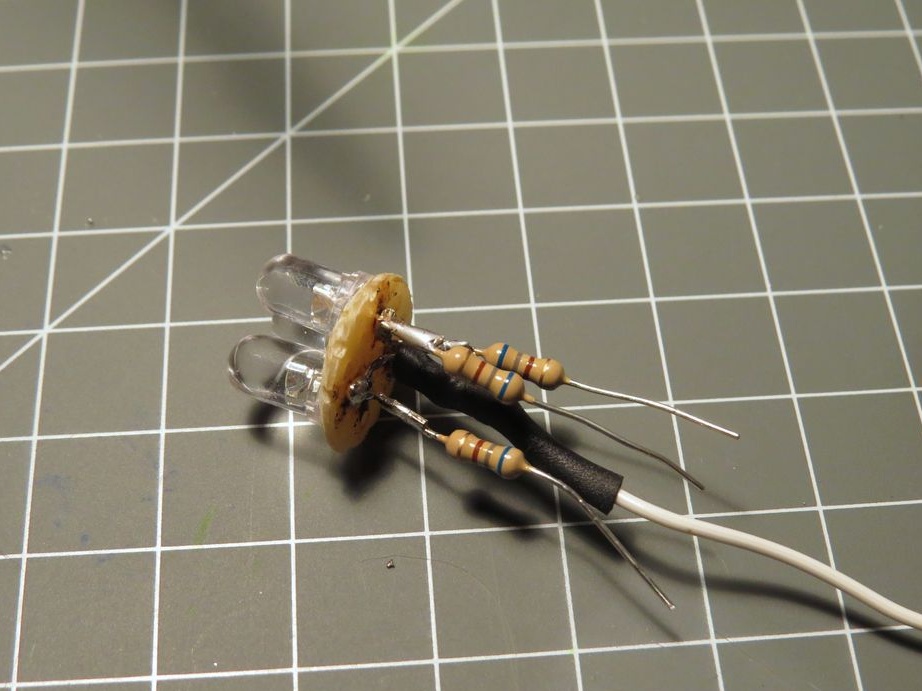
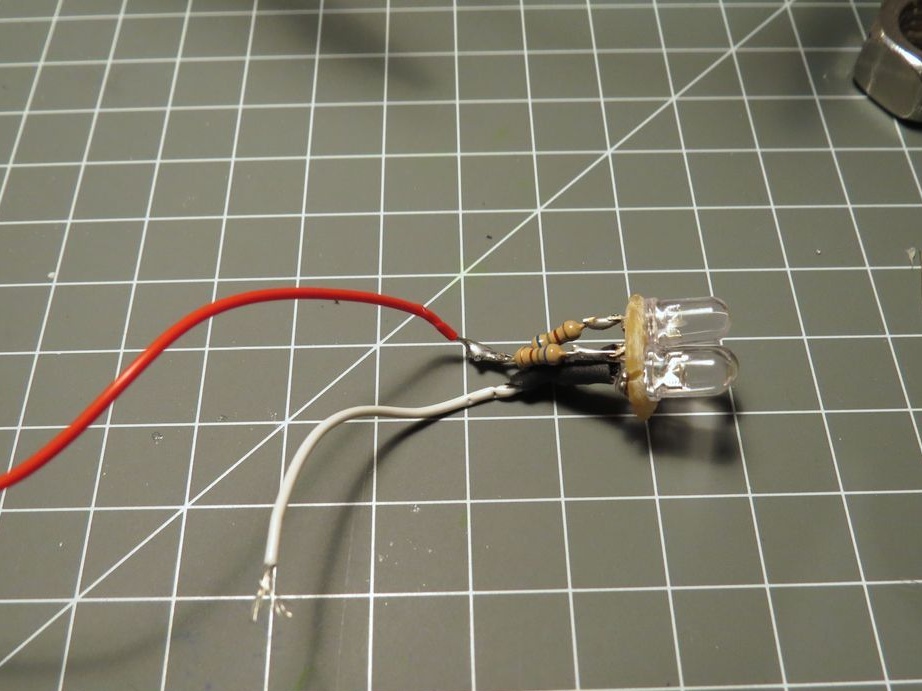
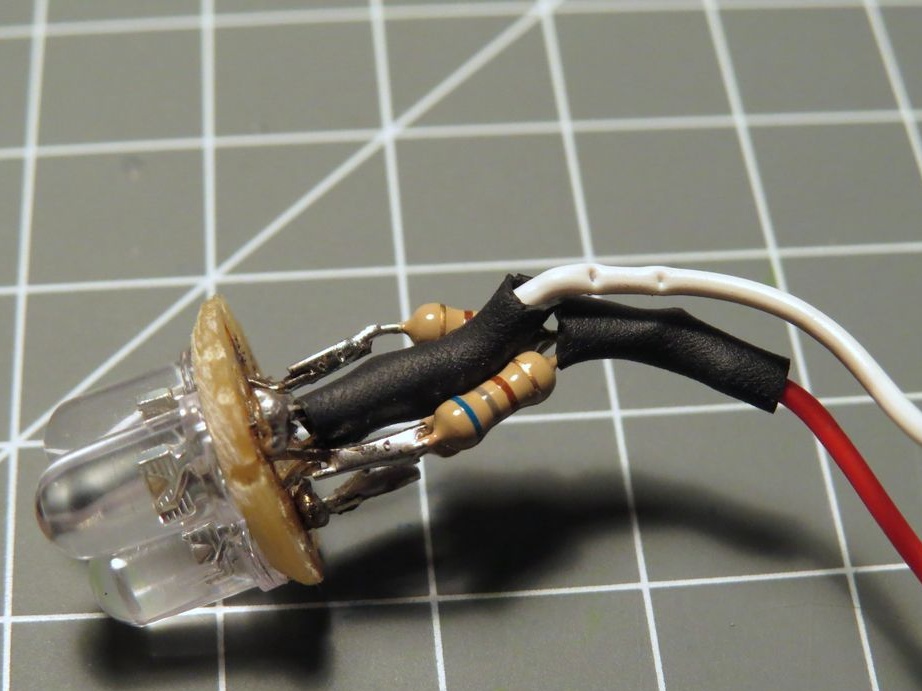
From the breadboard cuts out a disk slightly smaller than the diameter of the nut. Installs three LEDs on the board. Twists together the cathodes of the LEDs and solders the wire to them. A 680 ohm resistor is soldered to each anode. The second ends of the resistors are twisted and soldered to them by a red wire. Insulates the connection with a heat pipe.
Step Four: Build
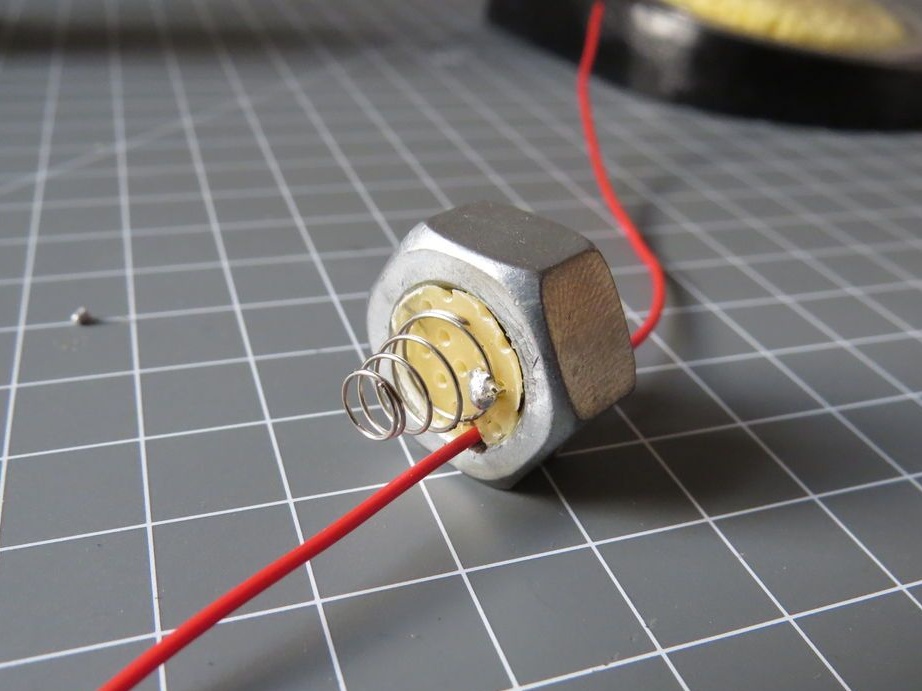
Passes wires through nuts and solders the positive wire to the switch. Another piece of wire is soldered to the second contact of the switch. The negative wire is soldered to the spring.

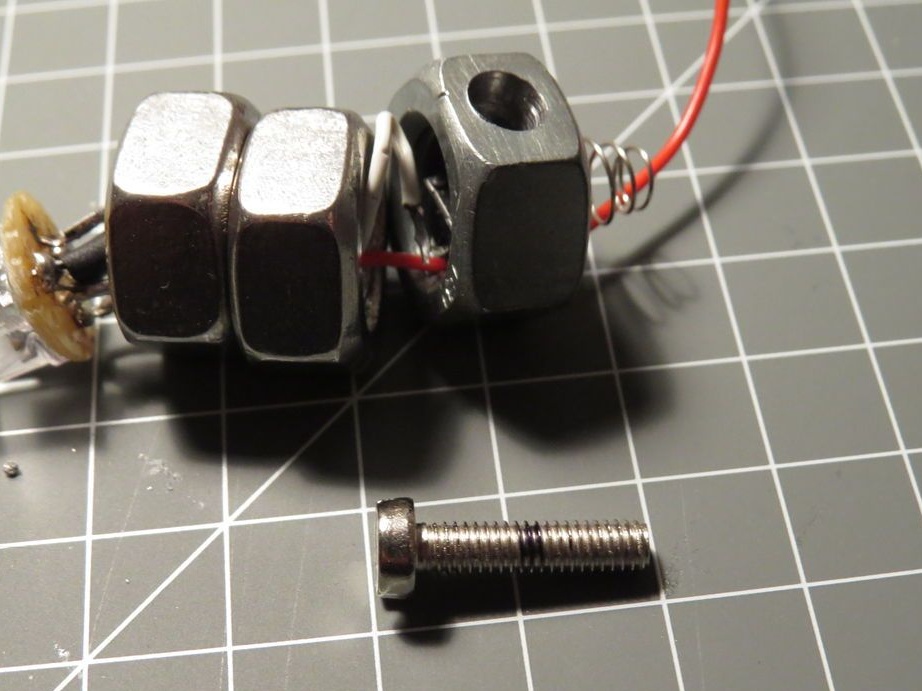
Glues nuts with each other. When gluing, you need to pay attention to the position of the cut in the nuts.

After gluing the nuts, the wire is laid in the slot and the end is glued to the last nut using a special conductive glue.
Now you need to glue the screw to the switch button, install the battery, tighten the bolt at the end of the housing and the lamp is ready.