
Hello to all lovers homemade. In this article I will tell you how to make a photo relay do it yourselfwhich will turn on or off any device from light or darkness. In assembling the photo relay, a kit kit will help, which can be ordered from the link at the end of the article. With this kit, you can make an automatic lamp that will turn on after dark, which is very convenient.
Before you start reading the article, I suggest watching a video with a detailed process of assembling this kit kit, as well as checking it.
In order to make a photo relay with your own hands, you will need:
* Kit
* Soldering iron, solder, flux
* Side cutters
* Device for soldering "third hand"
* Flat-head screwdriver
* Powerbank or 5 volt power supply
Step one.
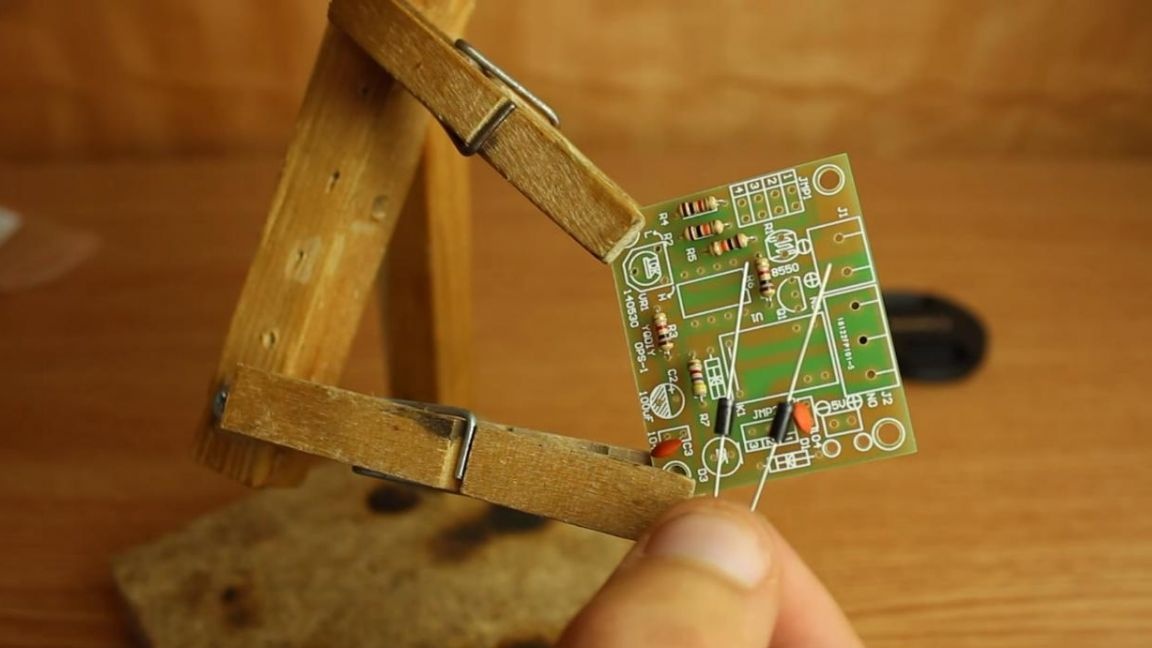
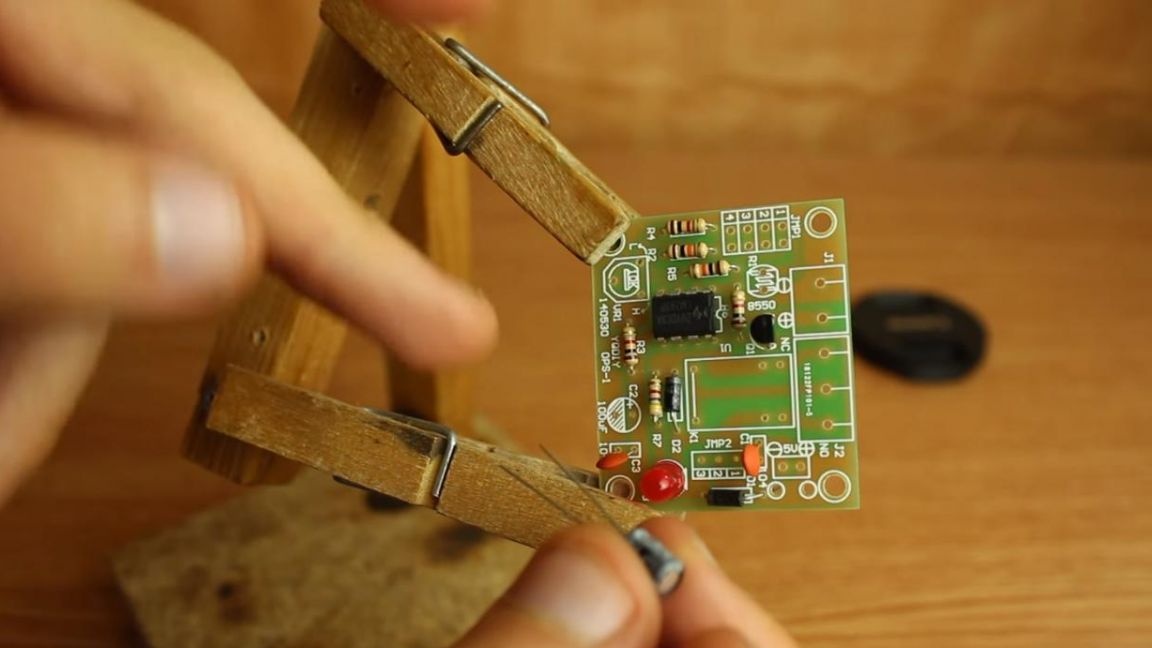
First of all, we install the board in the “third hand” soldering fixture and begin to arrange the radio components with respect to their nominal values. First, we insert resistors on the board.
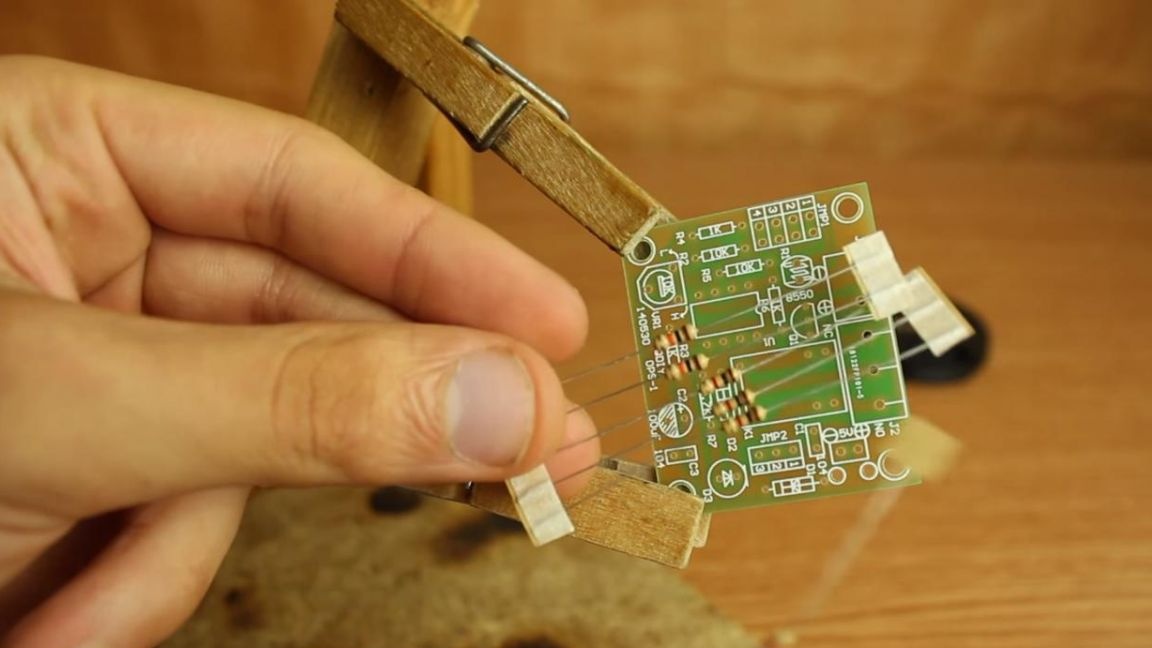
In this case, it is not necessary to determine the values of the resistors, since the set of resistors with the same resistance are fastened with a piece of paper. We put three resistors on the board, where the same resistance is marked in three places, similarly we do with the rest. On the back of the board, we bend the terminals of the resistors so that they do not fall out when soldering.

Step Two
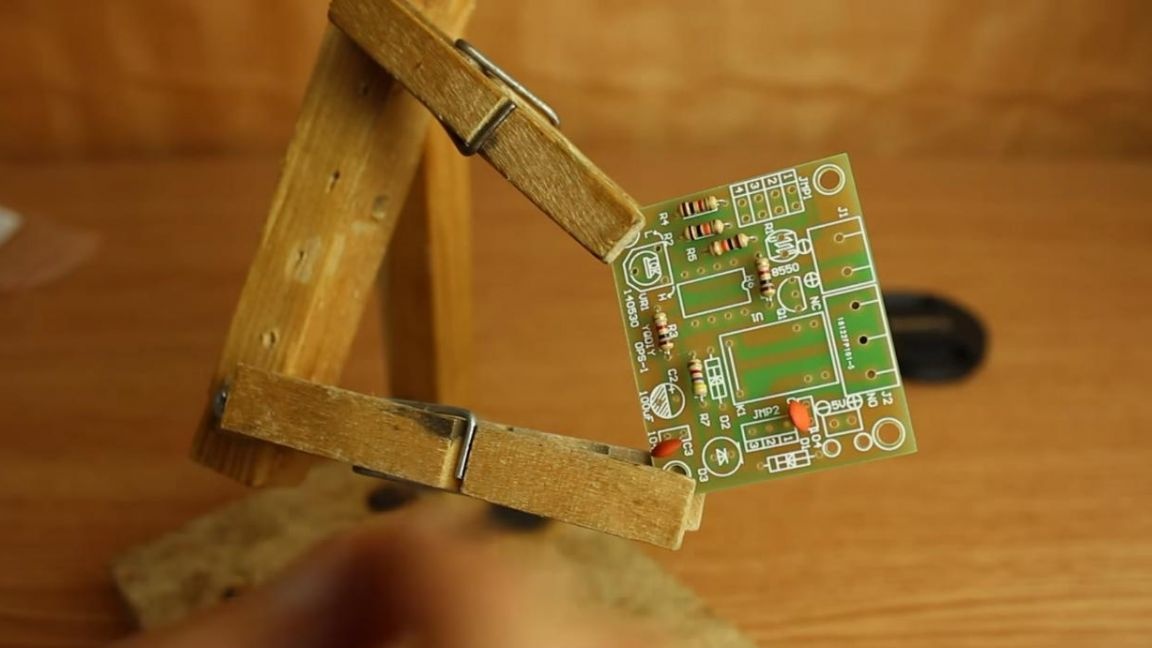
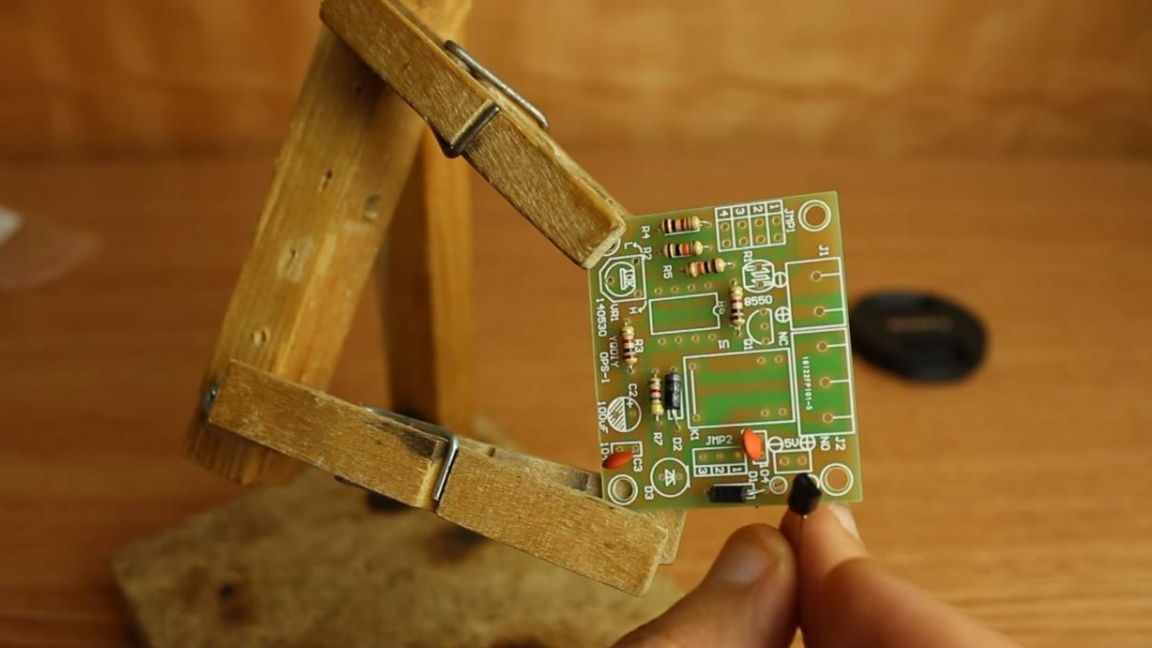
After installing the resistors, we insert ceramic non-polar capacitors, they are marked 104 on their case, as on the board.
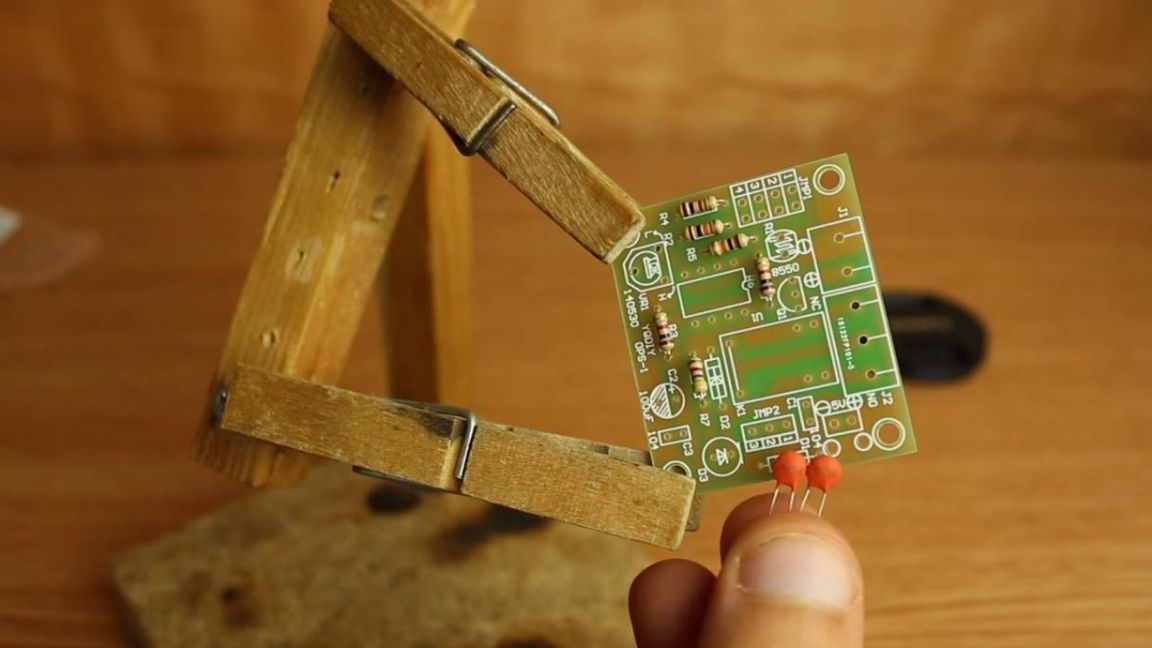
Next, we place the diodes, we combine their gray strip with a white dash on the board.
Then we put the transistor, guided by the body, it is made in the form of a semicircle, which is also shown on the board.
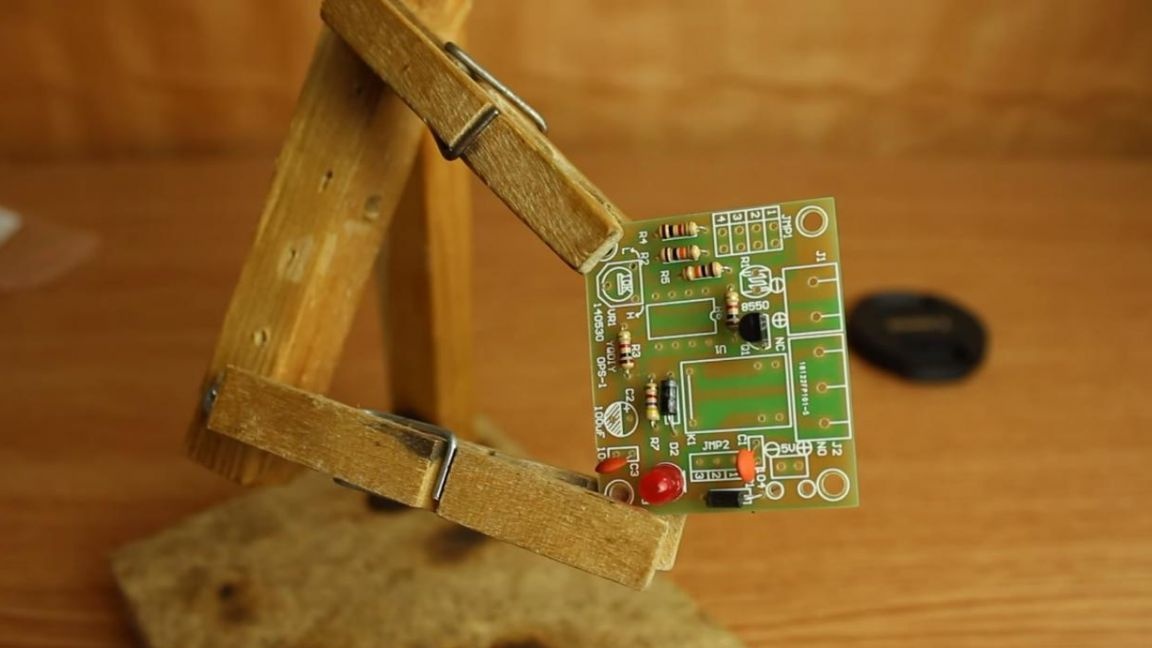
To indicate the operation of the device, a red LED is provided, put it as a minus, that is, a short leg to a dash on the board, also on the case there is a bevel, which is indicated by a wide line.
Step Three
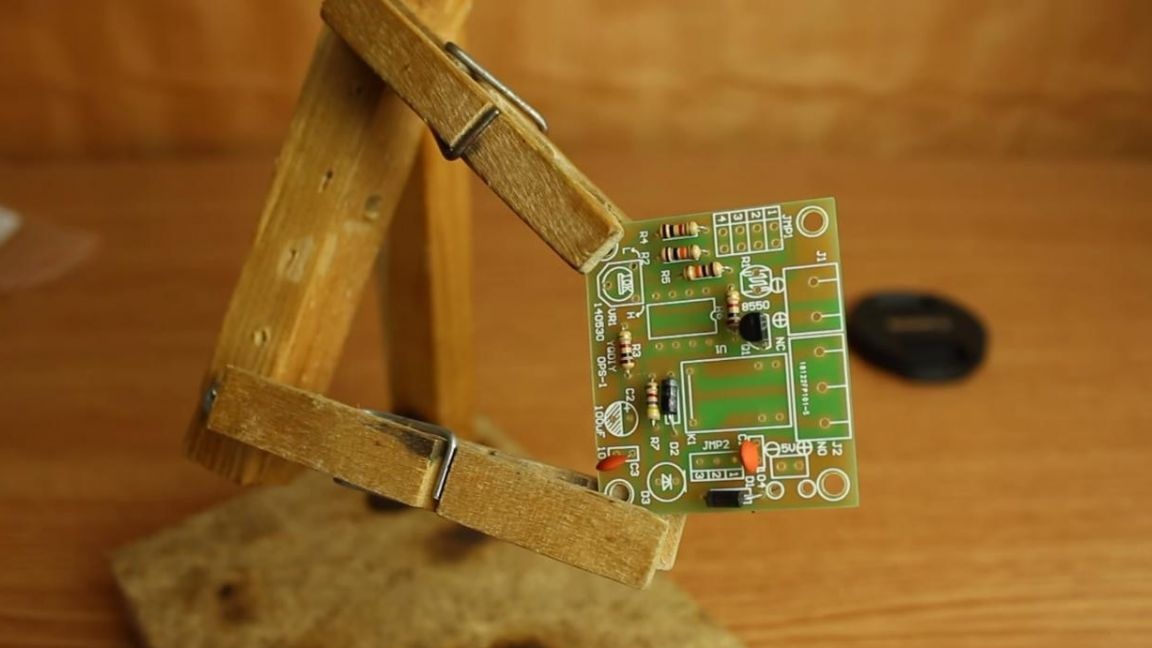
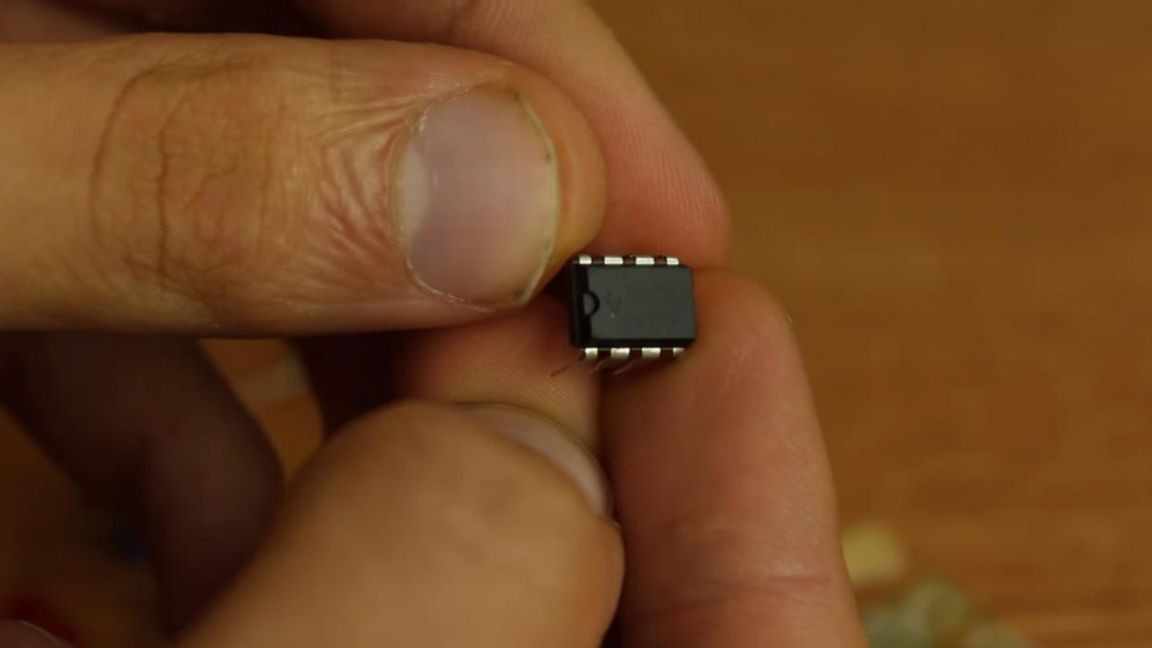
Now we install the chip in place, focusing on the key on its case and marking the board in the form of a semicircular recess.
We insert the electrolytic polar capacitor, from the side of the white strip on its case there is a negative contact, on the board it is indicated by a shaded semicircle.
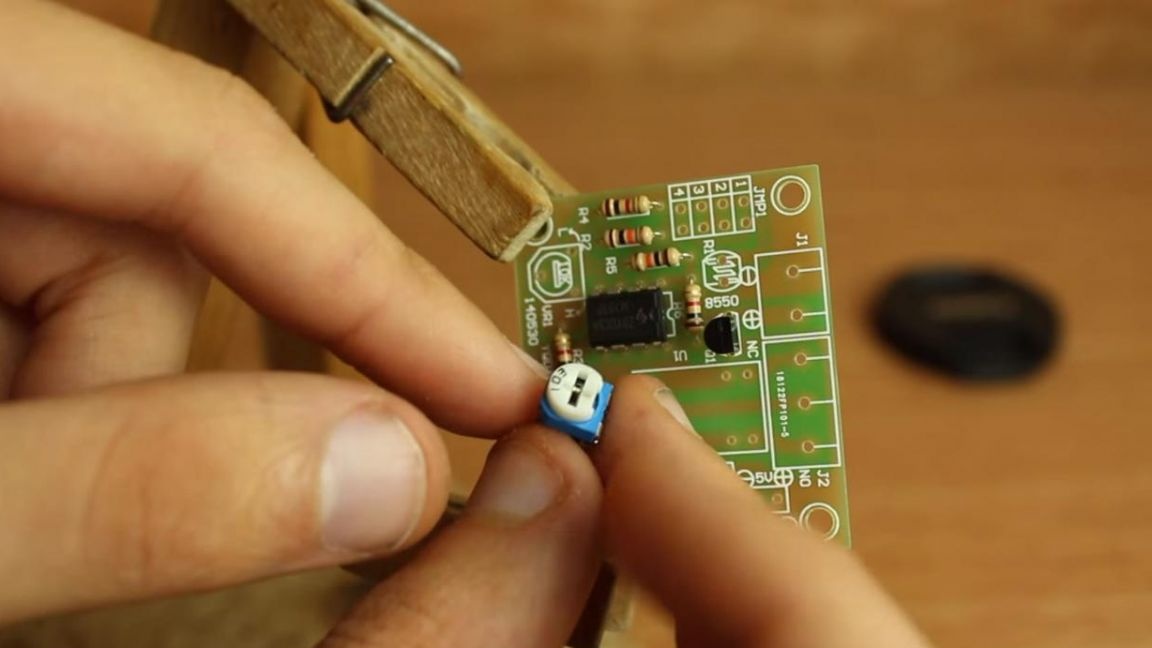
To adjust the sensitivity of the photo relay, a variable resistor of 10 kOhm is provided, there are three holes for installing it on the board, so it will not work correctly.
Step Four
We insert connectors for connecting jumpers on the board.
Next, apply flux to the board contacts for better soldering.
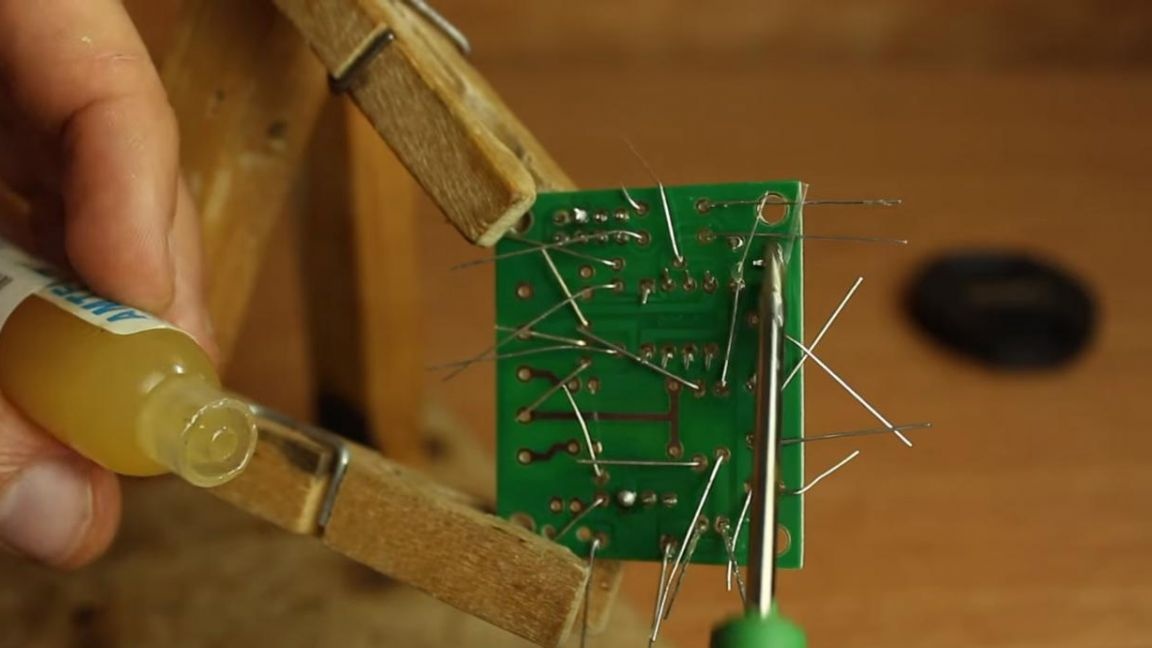
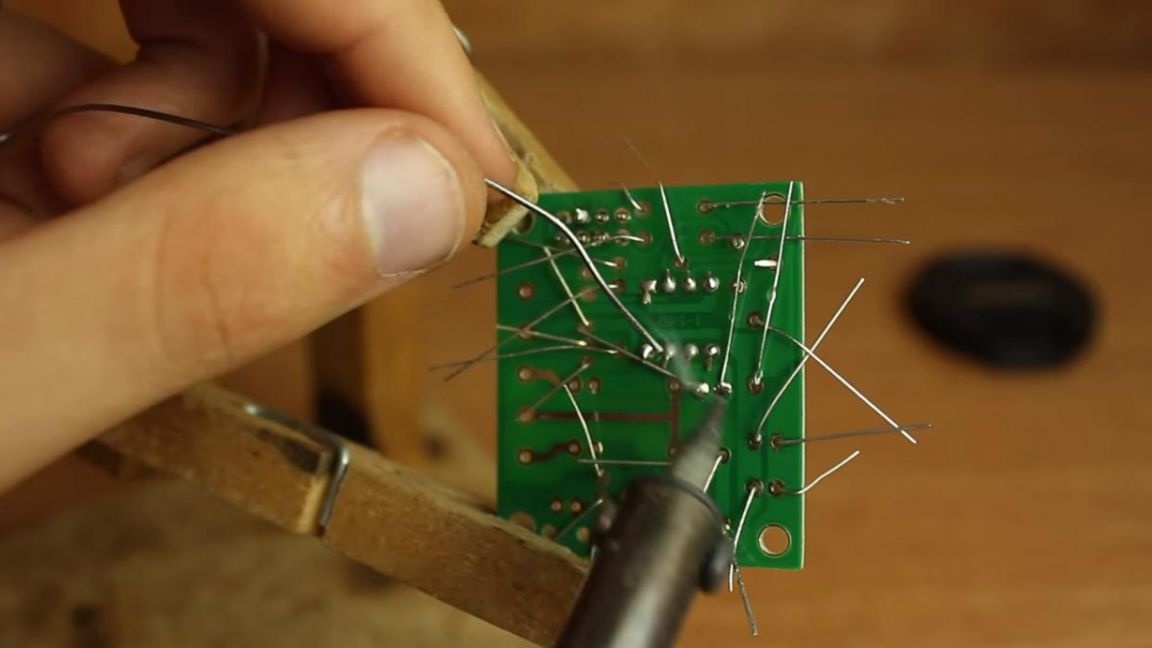
Then we solder the conclusions with a soldering iron, after which we remove the remains of the legs with the help of side cutters. When removing the extra part of the terminals with side cutters, be careful, as the track on the board may come off.
Now we insert the relay into place, due to the specific location of the 6 legs, the installation will fail. We put the photoresistor in its place, but we do not shorten the conclusions, since it may have to be taken out of the case for the photo relay to work properly.

The last part is installing the terminal blocks.

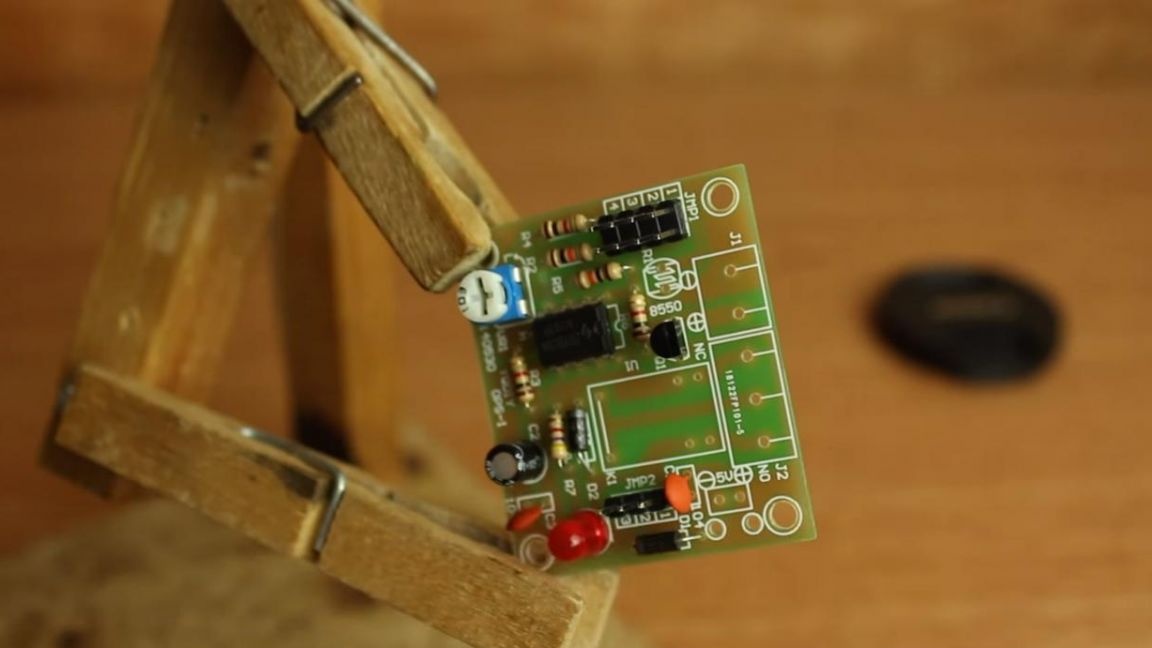
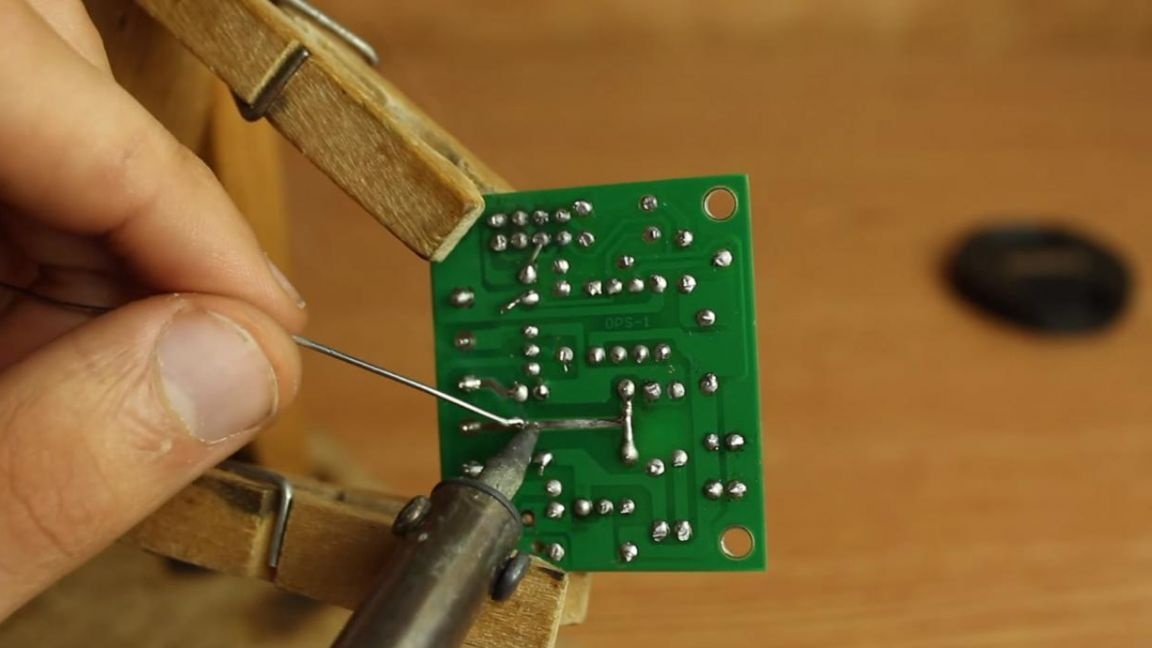
So all the radio components on the board are installed, now we solder them, and we tin open specially opened tracks.
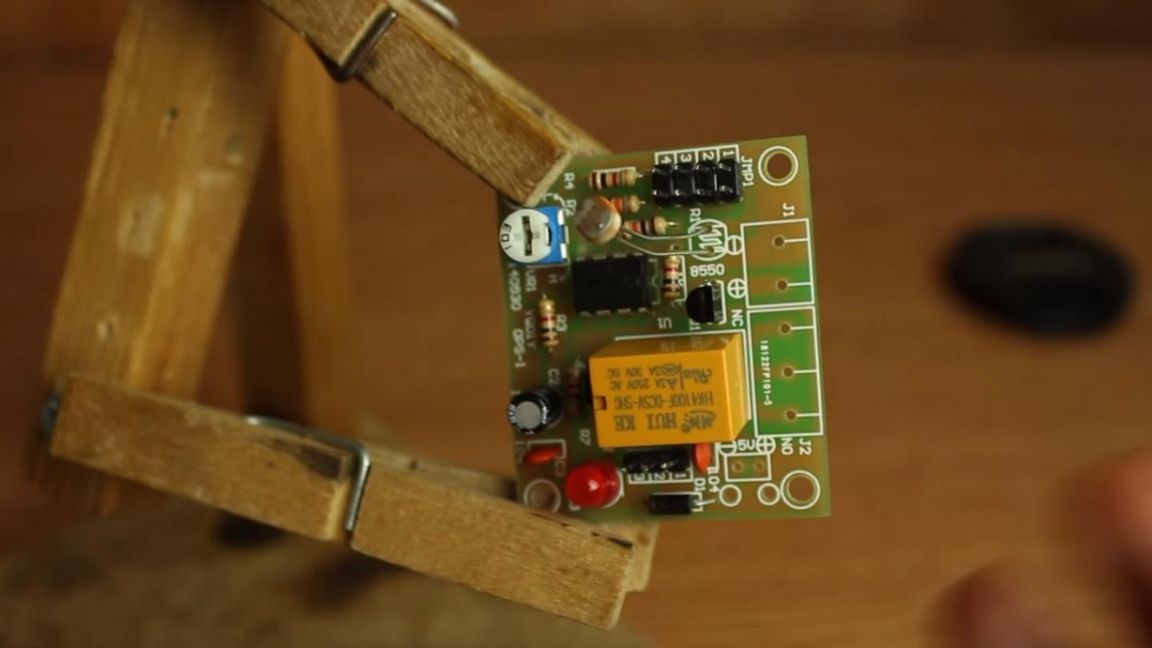
Step Five
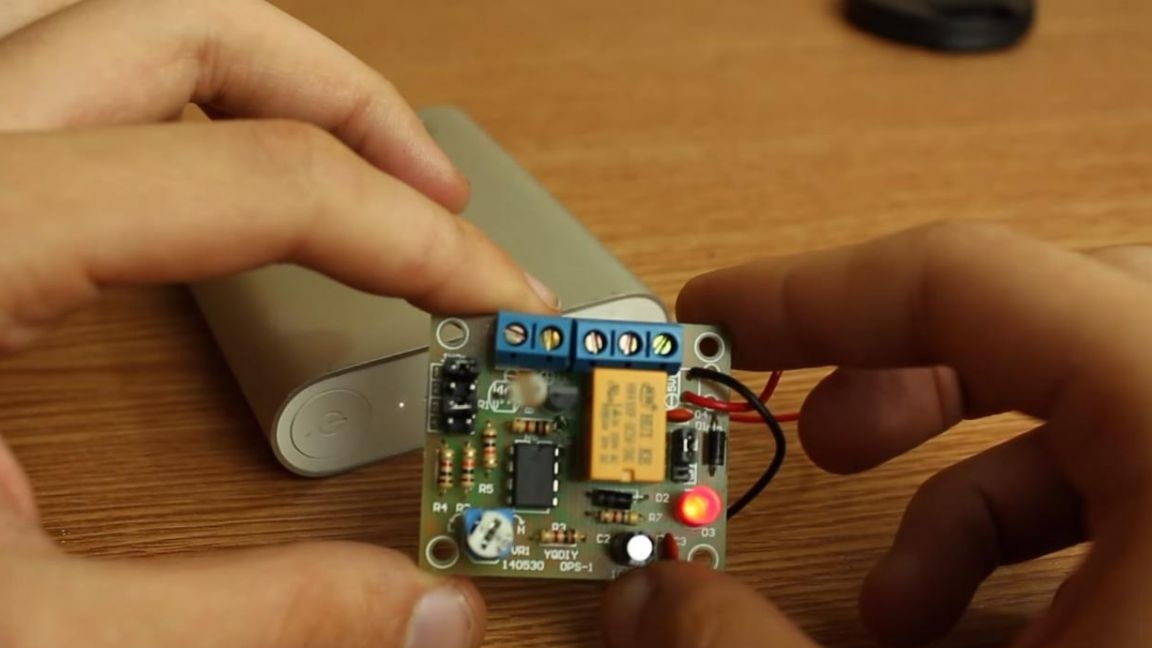
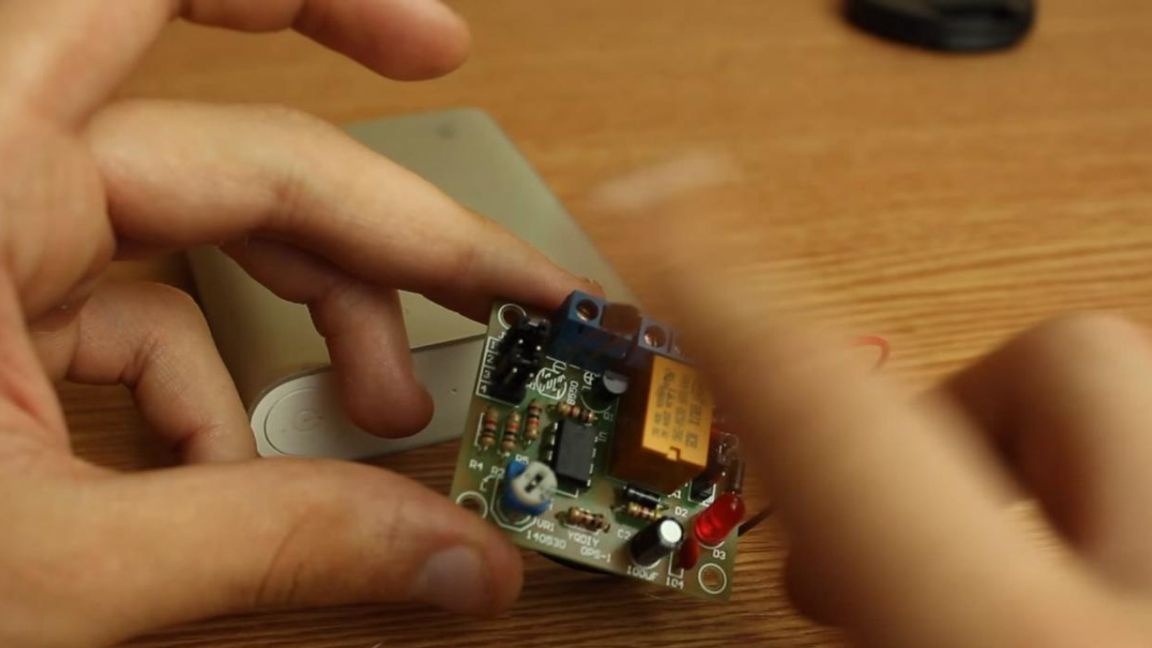
The photorelay at this stage is completely ready, you can check the performance.
We connect the power from a power bank or a 5 V power supply and adjust the position of the variable resistor with a flat-head screwdriver to such an extent that the LED turns off when the light is blocked by hand.
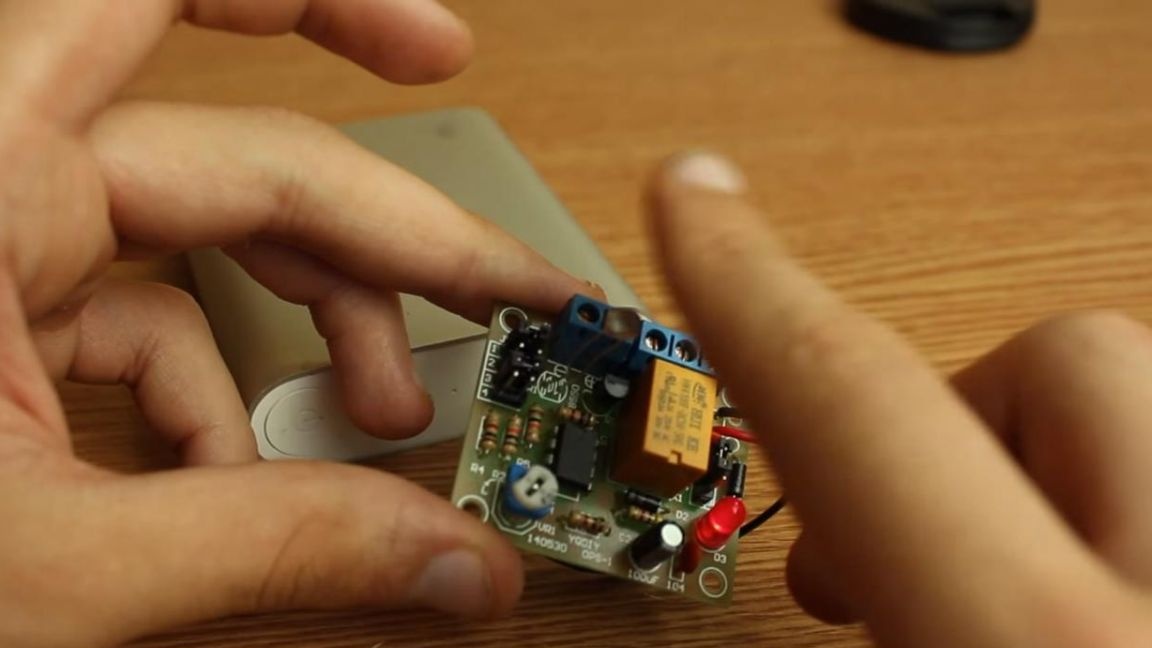
Also, a simple rearrangement of jumpers can be done not only turning off the light bulb upon the onset of light, but also vice versa. This photo relay is useful in creating a home-made automatic lamp, smart lighting and so on.
That's all for me, thank you all for your attention and creative success.