
Good day to all, dear friends! In today's article, I would like to tell you about a rather interesting idea about homemade. I think many people know the now popular topic on YouTube about how to make various things from the most ordinary corrugated cardboard, some craftsmen can do things from an ordinary sharpener to an exact copy of some famous machine, in general, that they just don’t make from cardboard. The author of this video also made a very interesting and simple homemade product, which will be discussed in our today's article. I think almost everyone can make this type of homemade product. In general, today we will consider how you can make an ice cream machine from ordinary corrugated cardboard, by the way, ice cream will also consider how to do it.
Well, let's not pull with a preface, let's go!
And so, for a simple ice cream machine, we need:
-corrugated cardboard
-mini electric pump (you can buy in China, on the Aliexpress website, or search in the bazaars and in the radio parts stores of your city)
connector for a 9 volt crown type battery
- 9 volt crown battery
wire
connector with lock
- not very thick polystyrene
bottle with a wide cap
- a tube from a dropper
- rubber flexible tube, approximately 1 cm in diameter
For ice cream, we will also need:
-milk
-natural cream
vanilla extract
-sugar
-powdered milk
- capacity in which we will prepare ice cream
waffle cones
Of the tools we need:
soldering iron
thermal glue
- screwdriver or mini drill
-Two drills for the diameter of the tubes that we will use
blender
-stationery knife
foam cutting tool
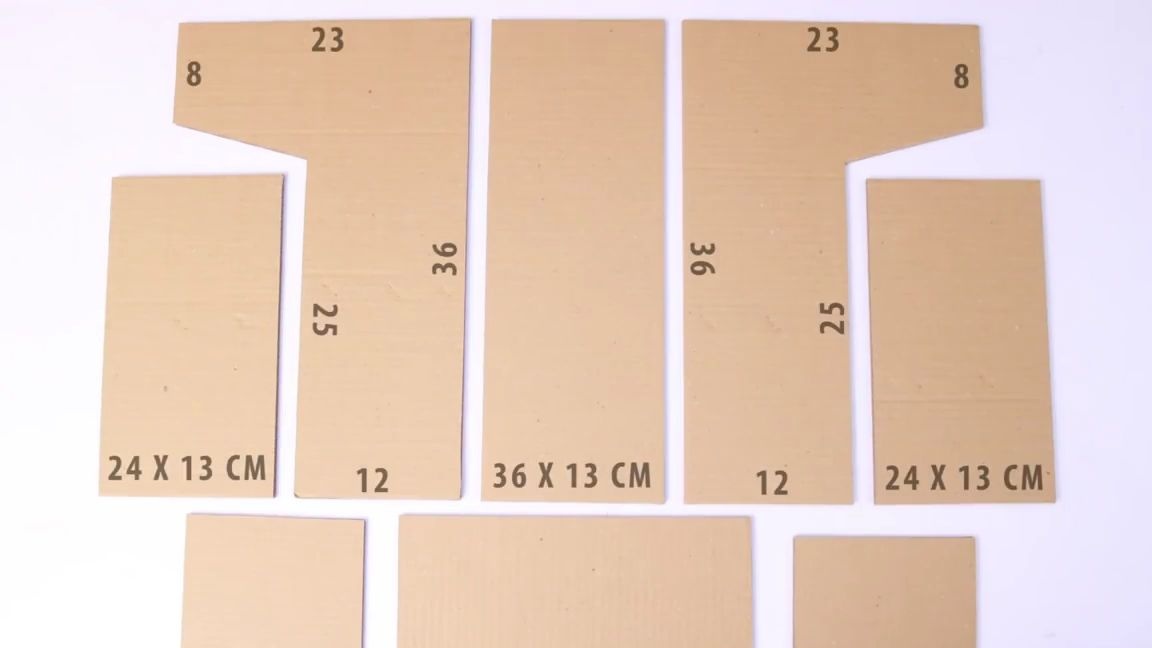
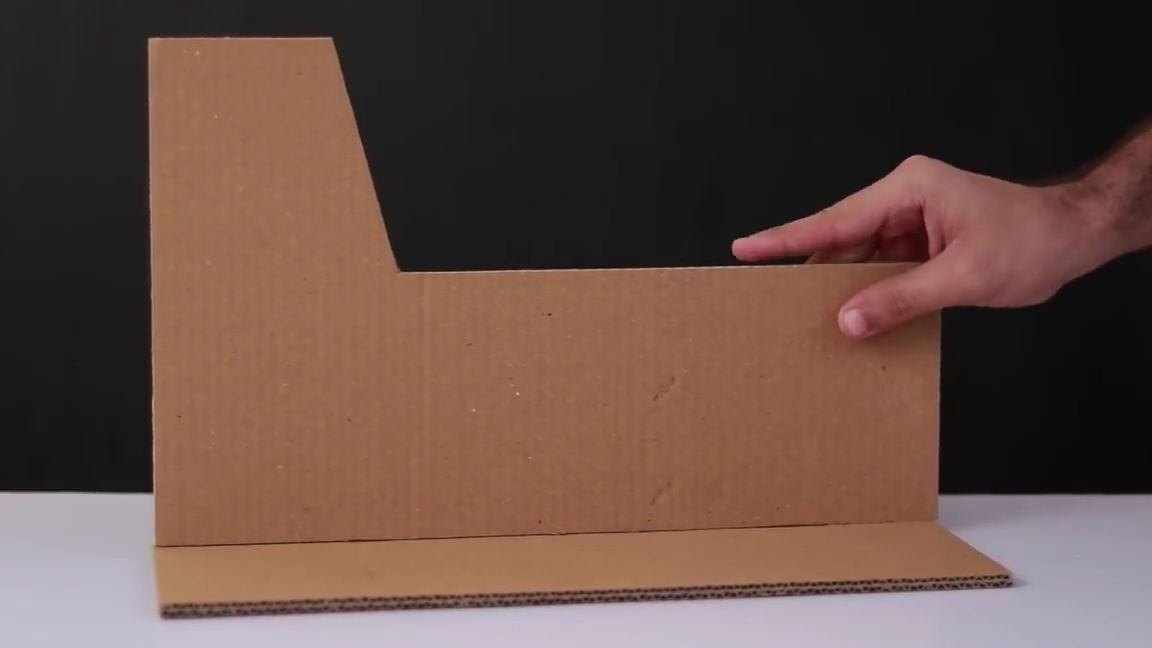
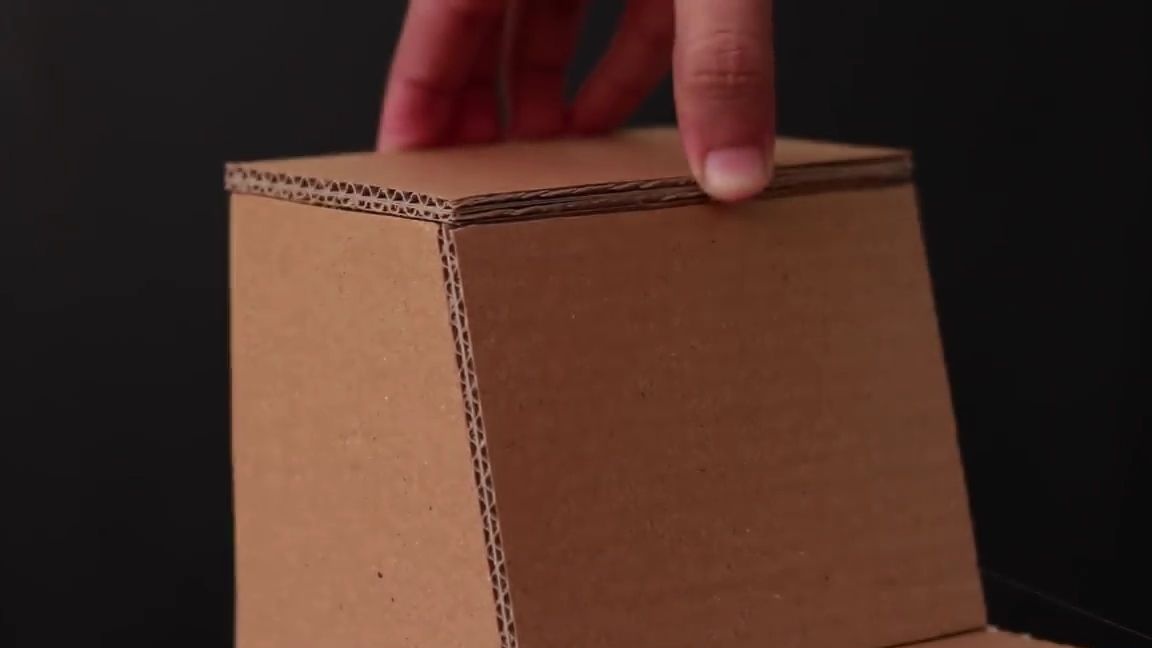
The first step is to mark and cut out the following parts from cardboard (dimensions are shown in the photo below):
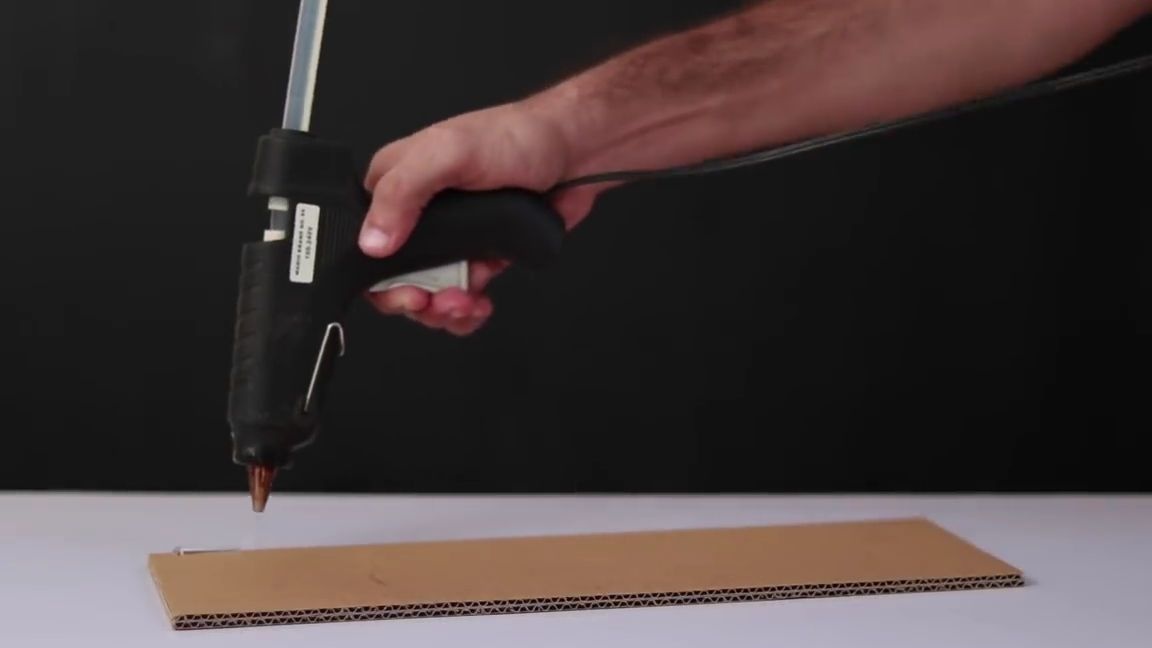
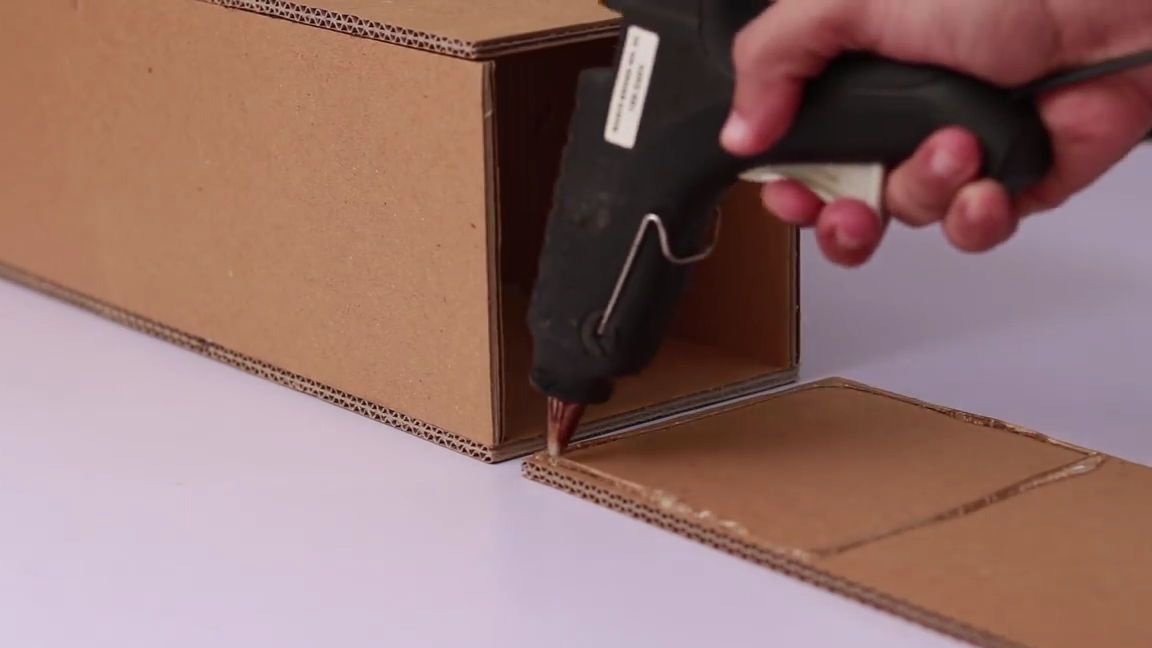
Now we glue together most of the cut parts as shown in the photo below. For bonding, it is best to use ordinary thermo glue, it is great for these purposes, thermo glue is actually a very convenient and useful thing, so if you still don’t have one, I highly recommend purchasing it, it’s very difficult for me personally to do something without him.
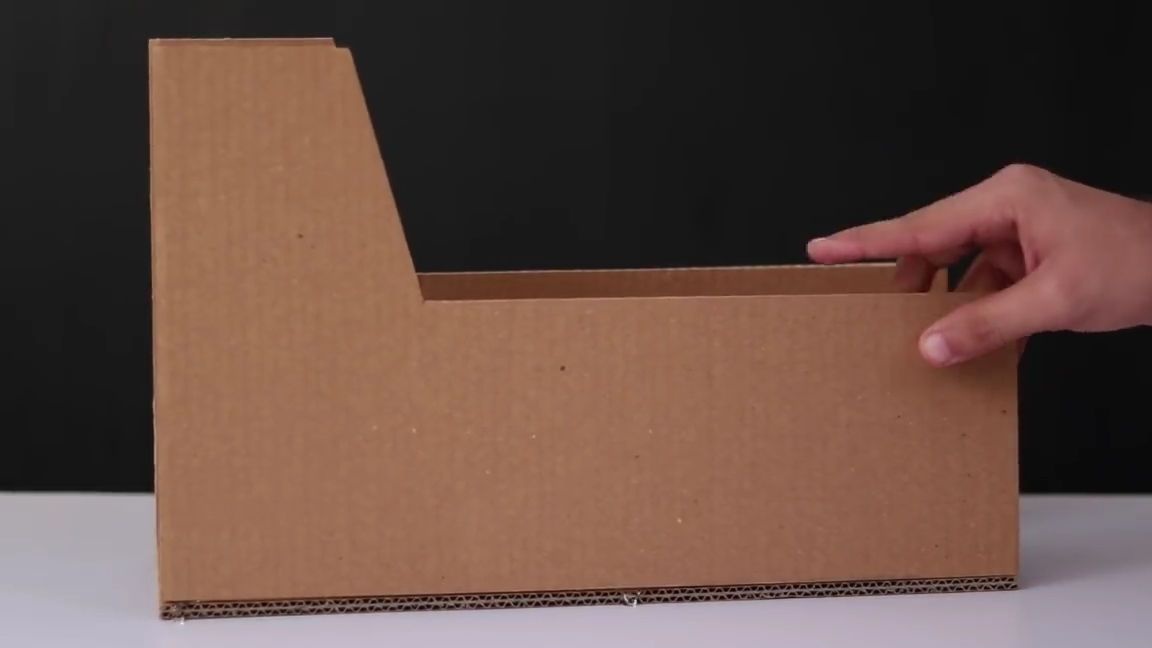
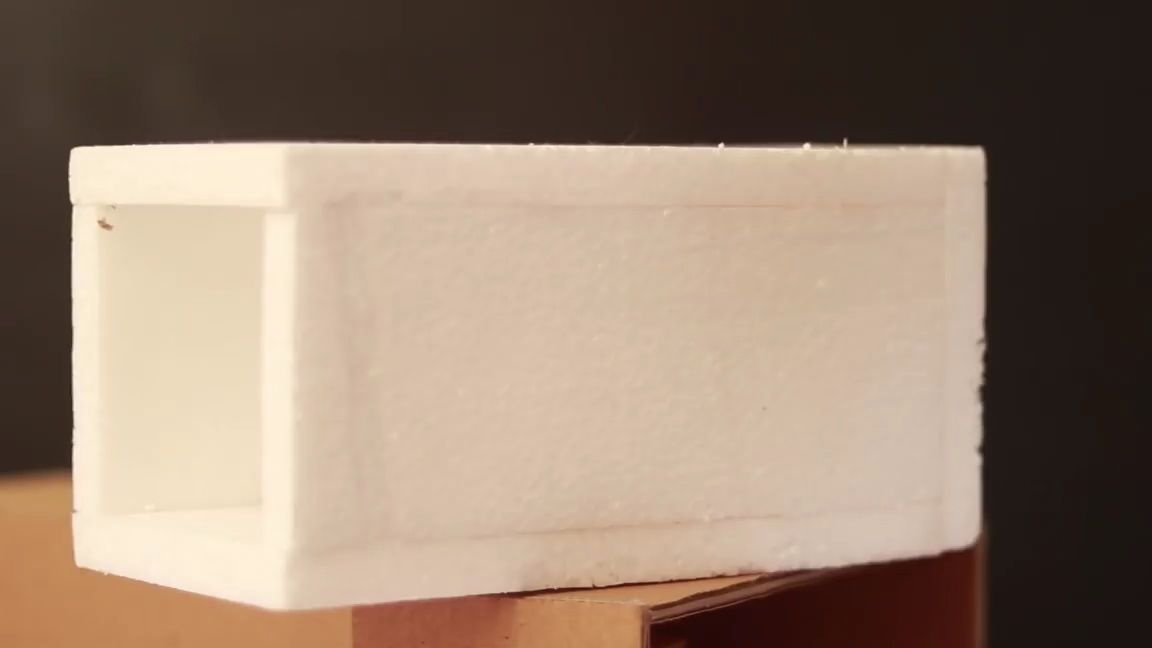
Now it is necessary to make a foam box, just such a box, you need to put the short one into the cardboard structure that was made earlier (gluing the foam is also better with thermal glue, since super glue usually reacts with it and corrodes it):
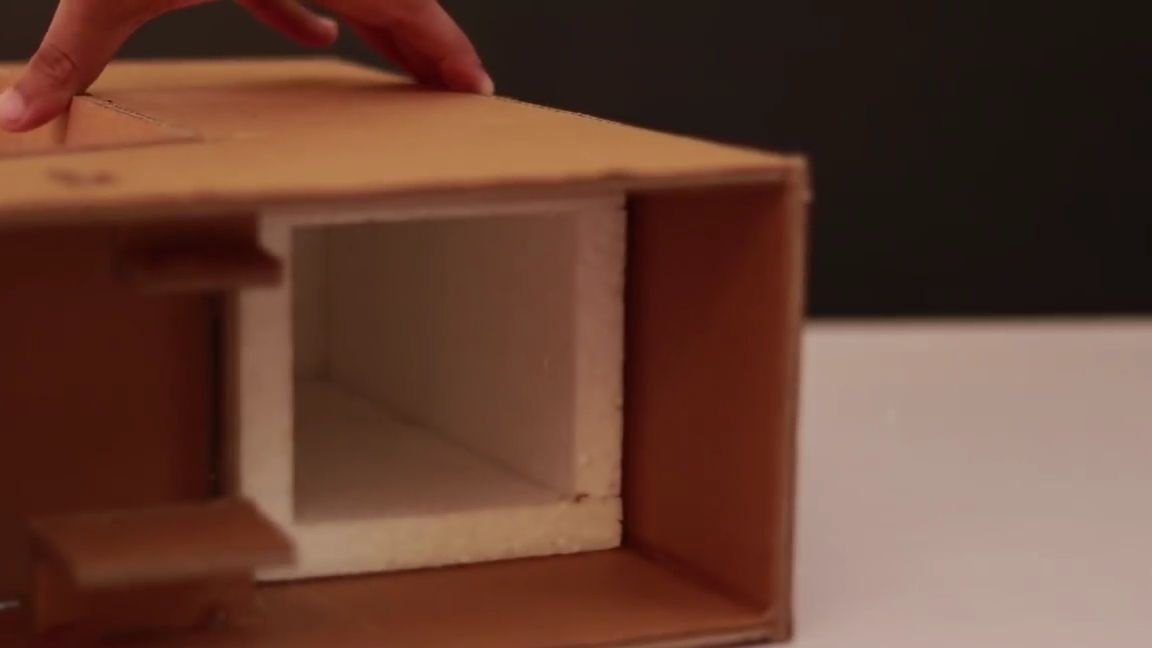
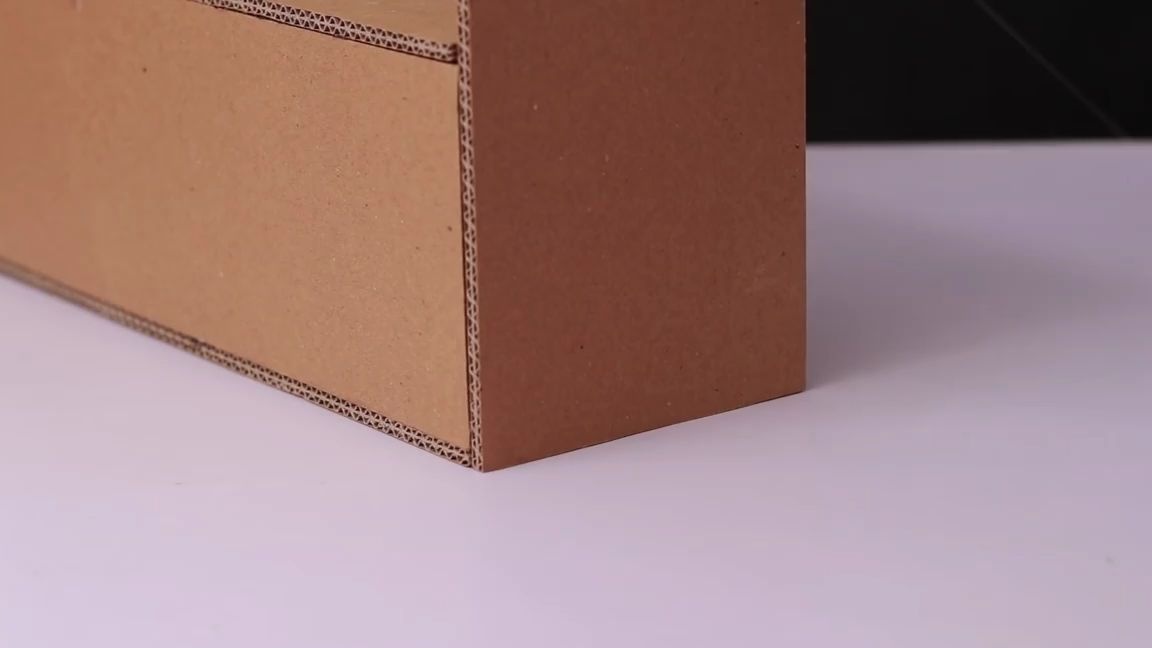
After we have glued the necessary cardboard parts, we can proceed to the next step.
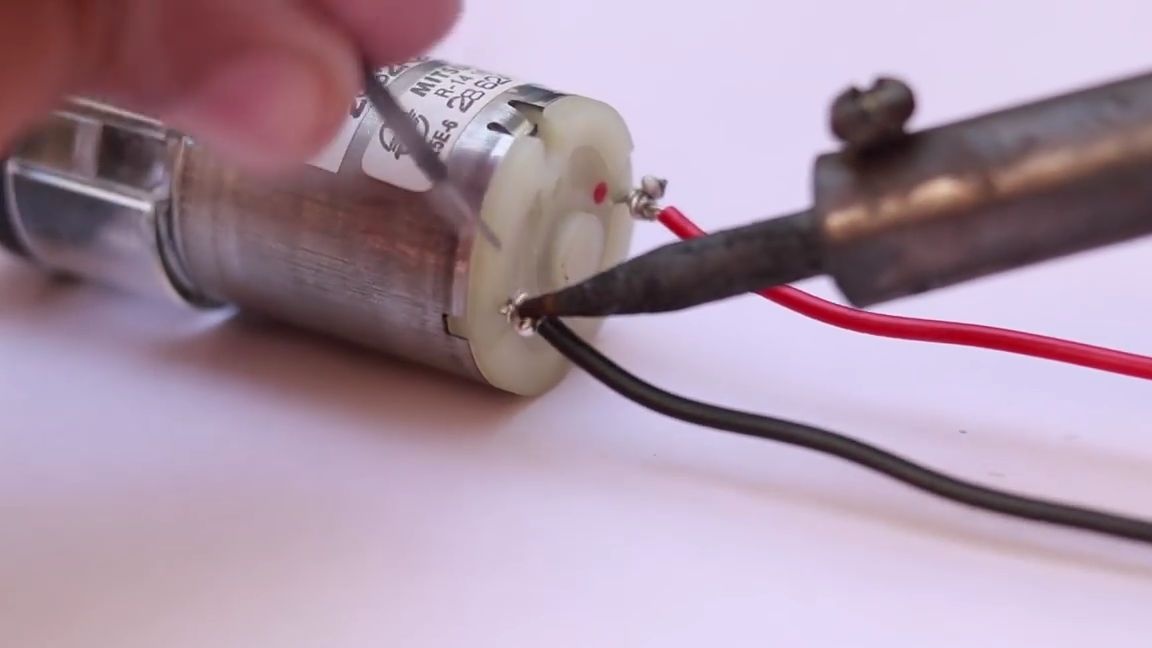
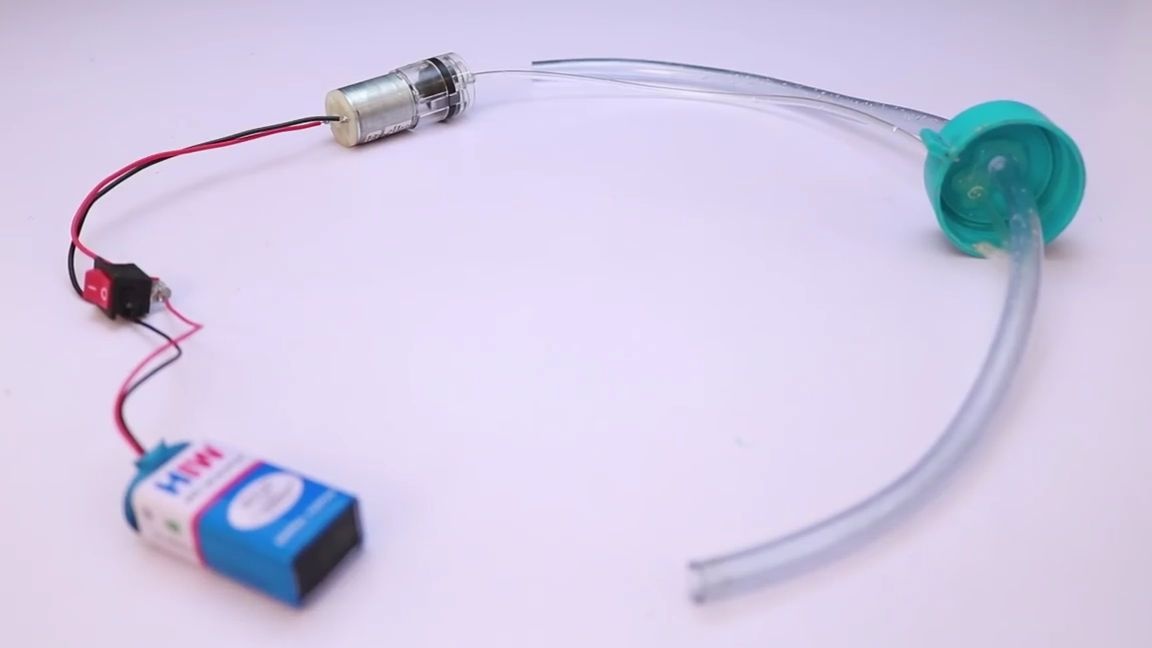
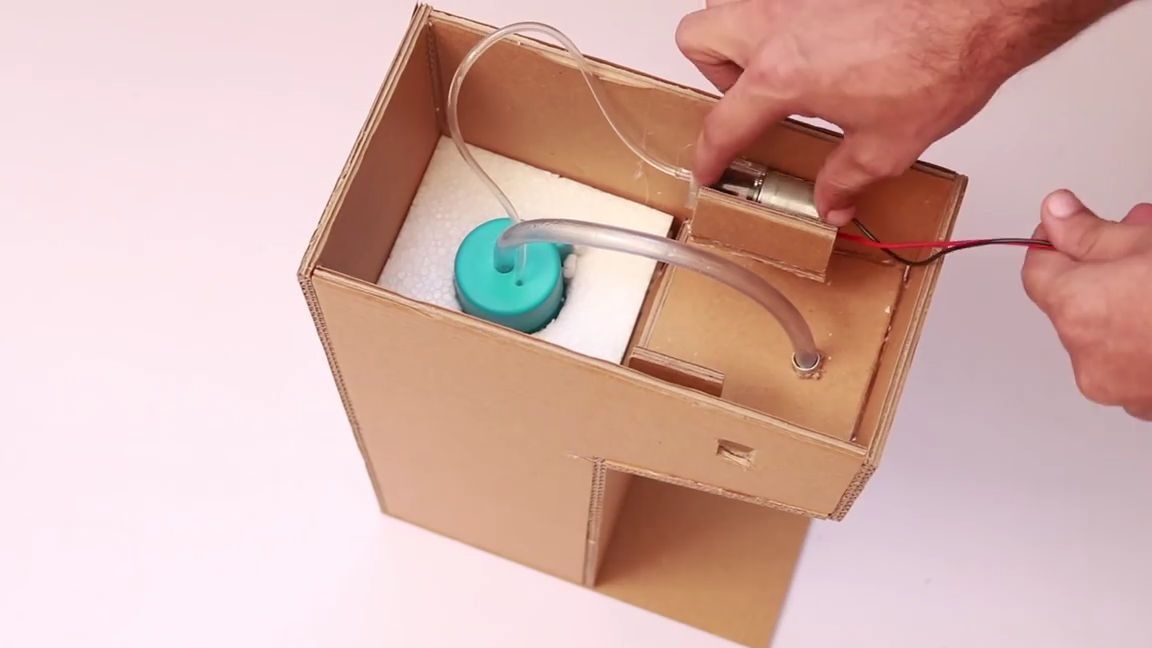
We take an electric pump, a switch, wires, a 9 V crown and a connector under it.
To begin with, we check the pump for operability by connecting it directly to the power source, if it works normally, then you can continue.

We fasten the red and black wires to the motor contacts, then solder them for reliability, then solder one of the soldered wires to the switch, and the second to the connector, solder the remaining wire from the connector to the necessary contact on the switch. After all these actions, the recipient has a simple electric circuit, when the circuit breaker is turned on, the electric pump should start working, and after tripping it should naturally turn off.
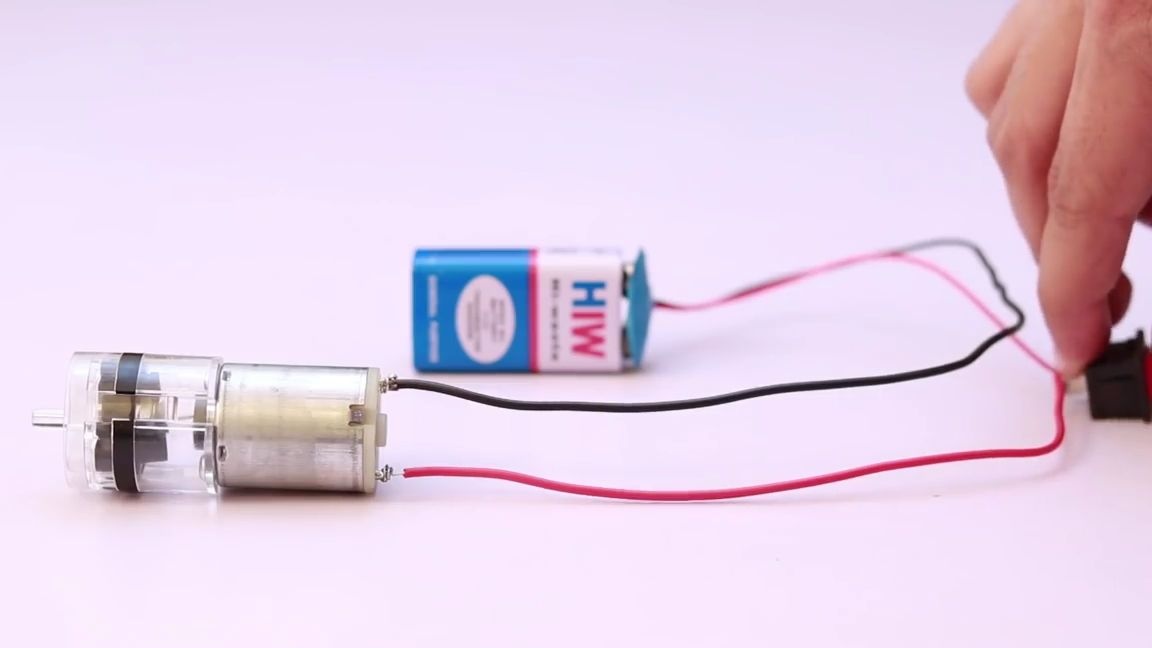
Testing the circuit:
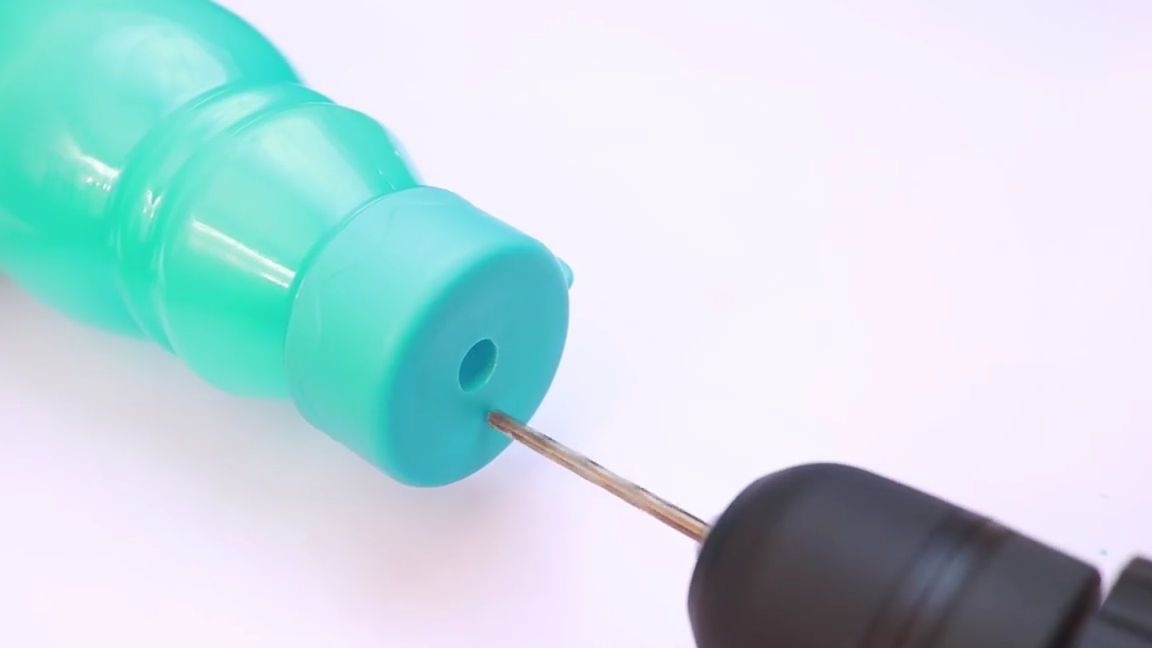
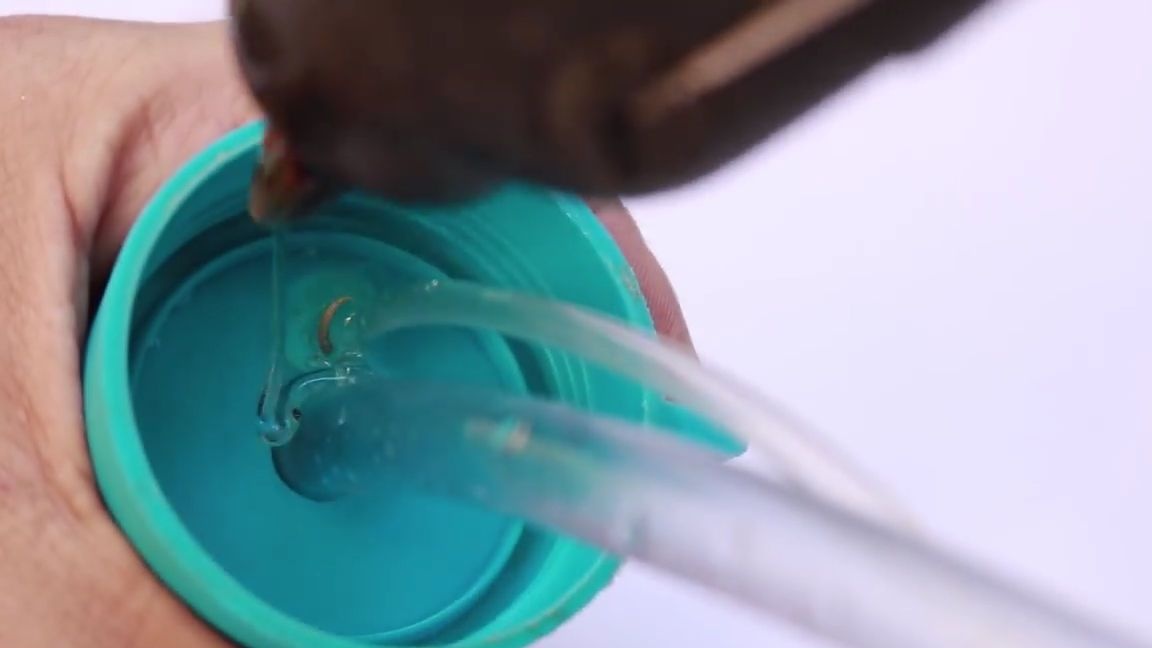
We take a bottle with a wide neck and a screwdriver with a wide drill. Drill a through hole in the center of the cover:
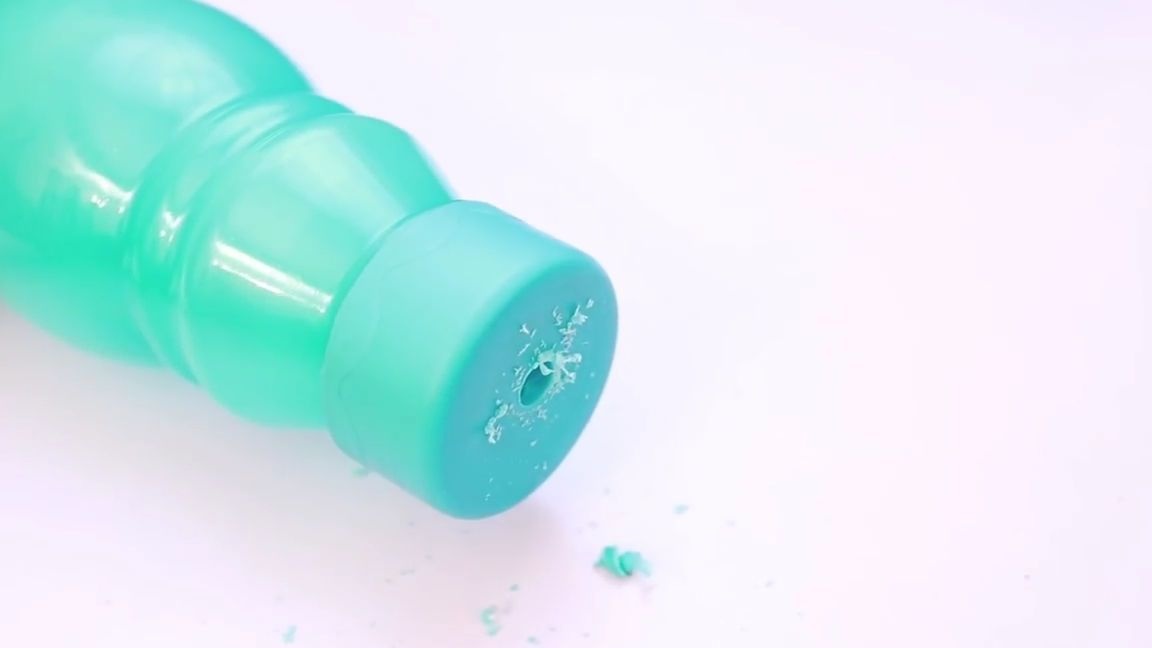
Change the drill in the chuck of the screwdriver to a smaller one and drill a smaller hole next to the big one:
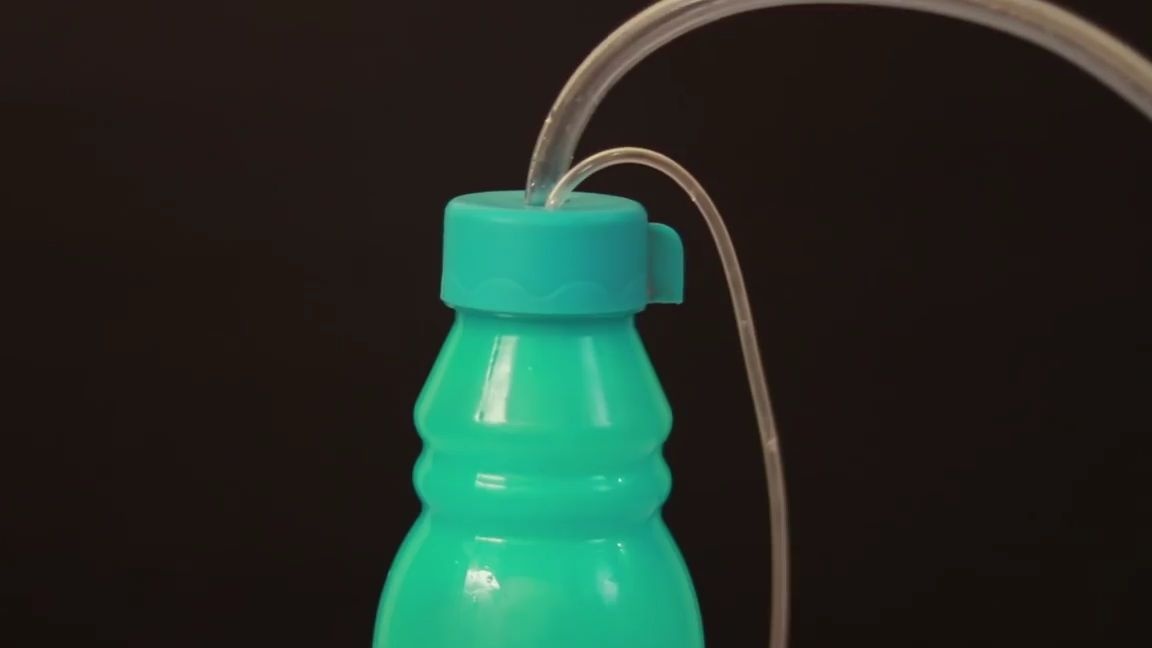
Now you need to insert the rubber tubes into the holes drilled for them (after you finish inserting them, it is best to rinse the tubes or disinfect in a safe way):
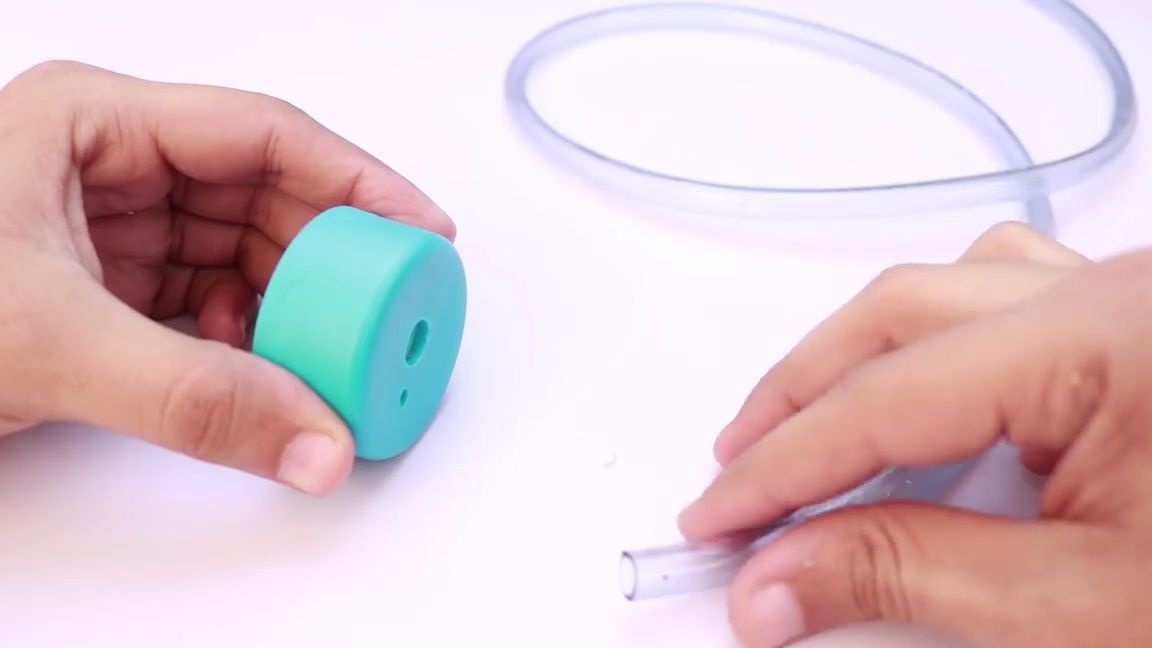
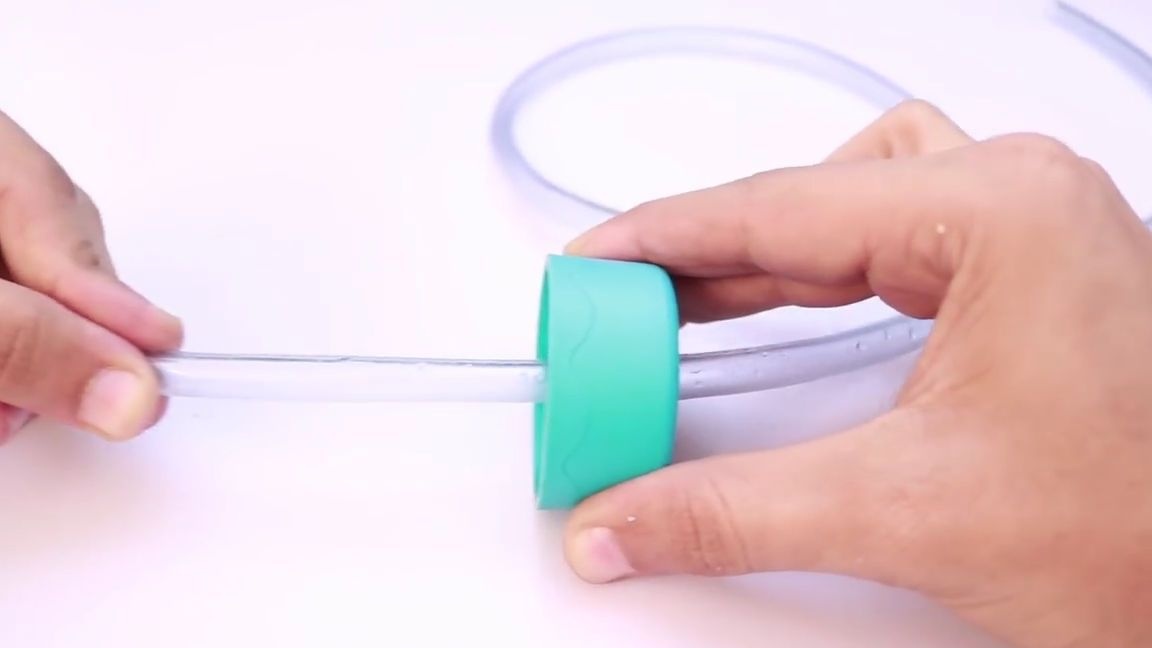
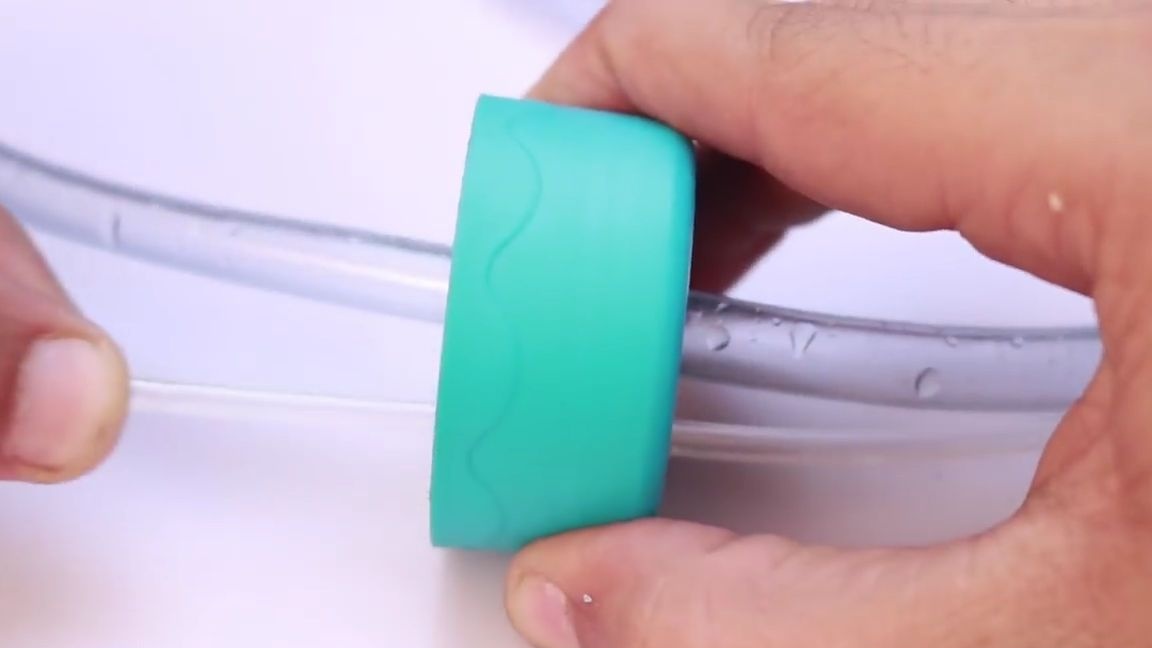
We seal the workpiece using thermal glue:
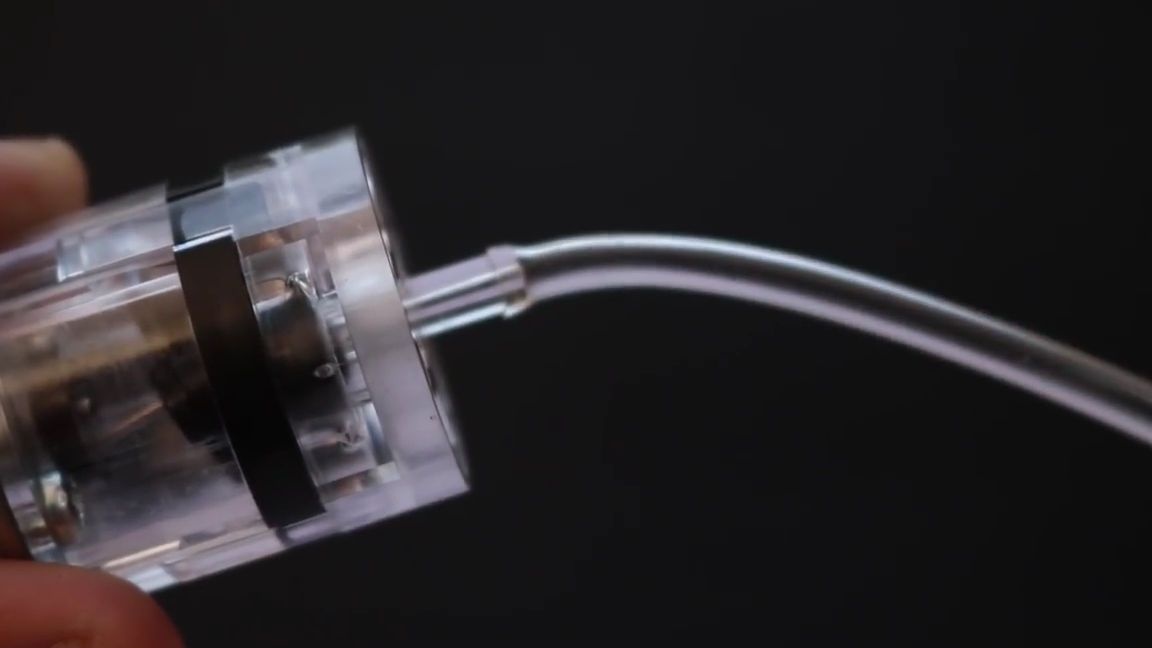
The return end of the thin tube must be put on the outlet on the electric pump, it must be done carefully and so that the tube does not fly off during the operation of the electric pump:
This is how the resulting design should look (by the way, an important point, a thin tube should go just a few centimeters inside the bottle, and a thick one should fit almost completely in the bottles, it is best to make it not reach the bottom of the bottle just a couple of centimeters. All this is necessary for the normal operation of the entire structure):
We start making ice cream, I know that this site is home-made, but what then is an ice cream machine without ice cream.
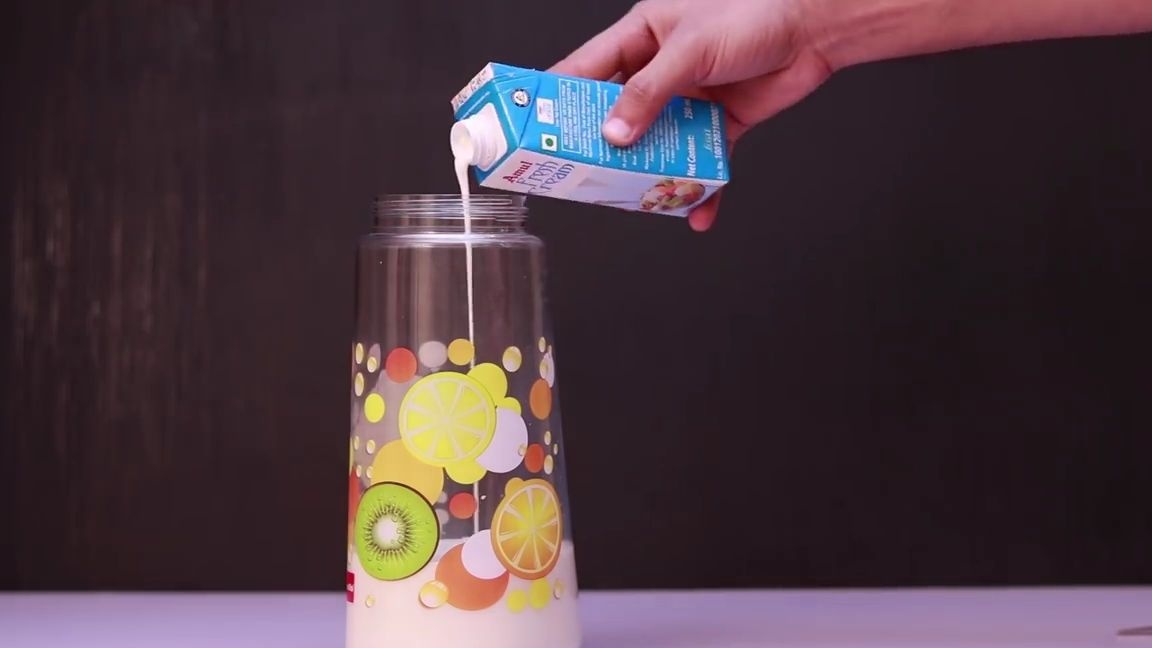
Take a small container and pour milk into it:
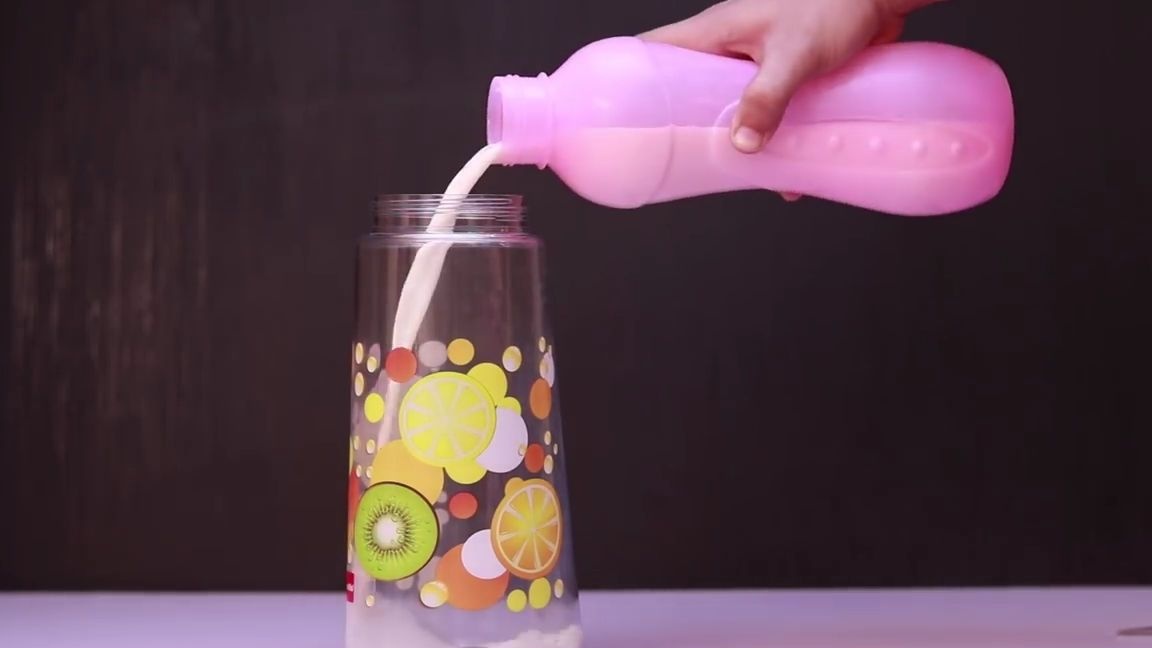
Then pour the cream (they should be such that they can be whipped):
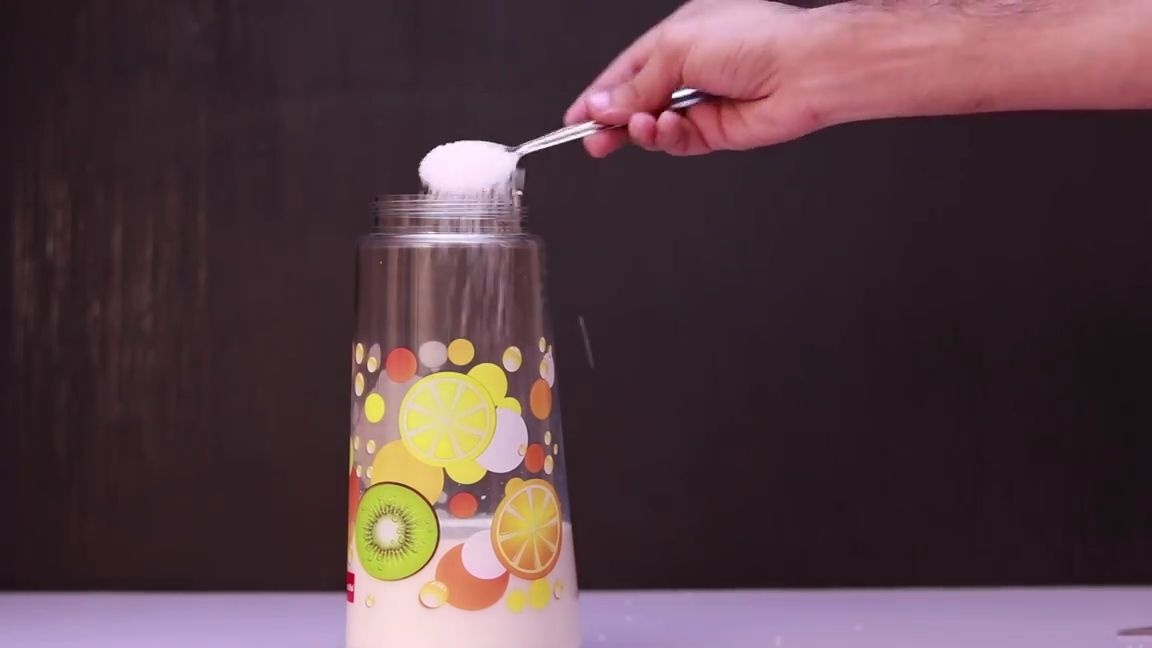
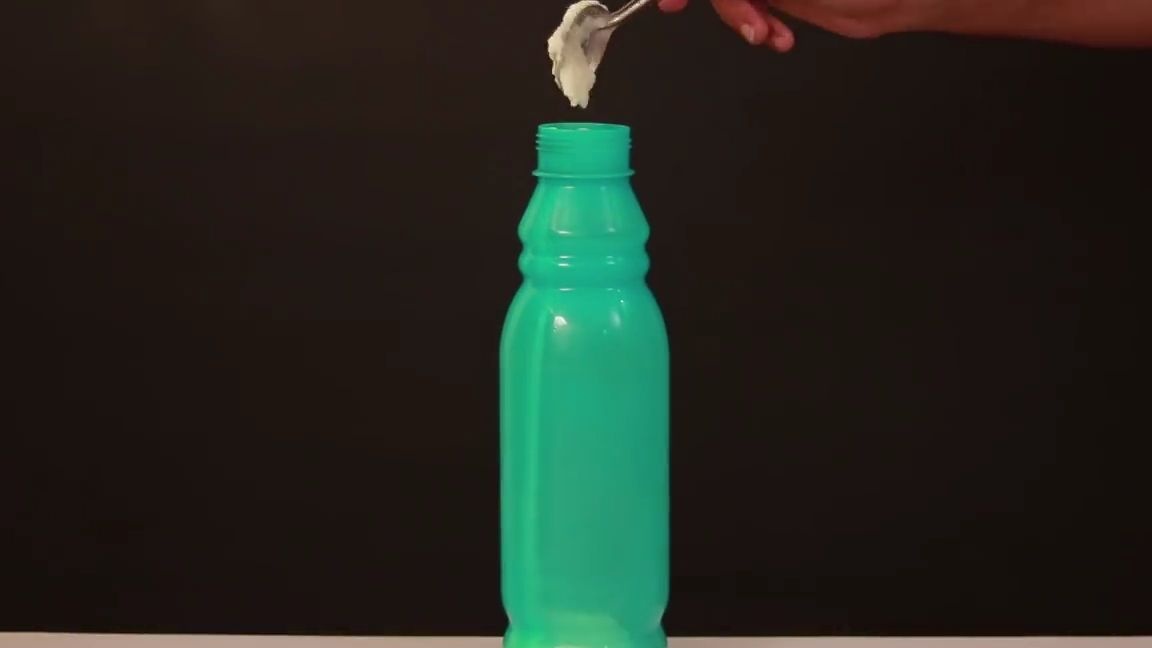
Add three tablespoons of sugar:
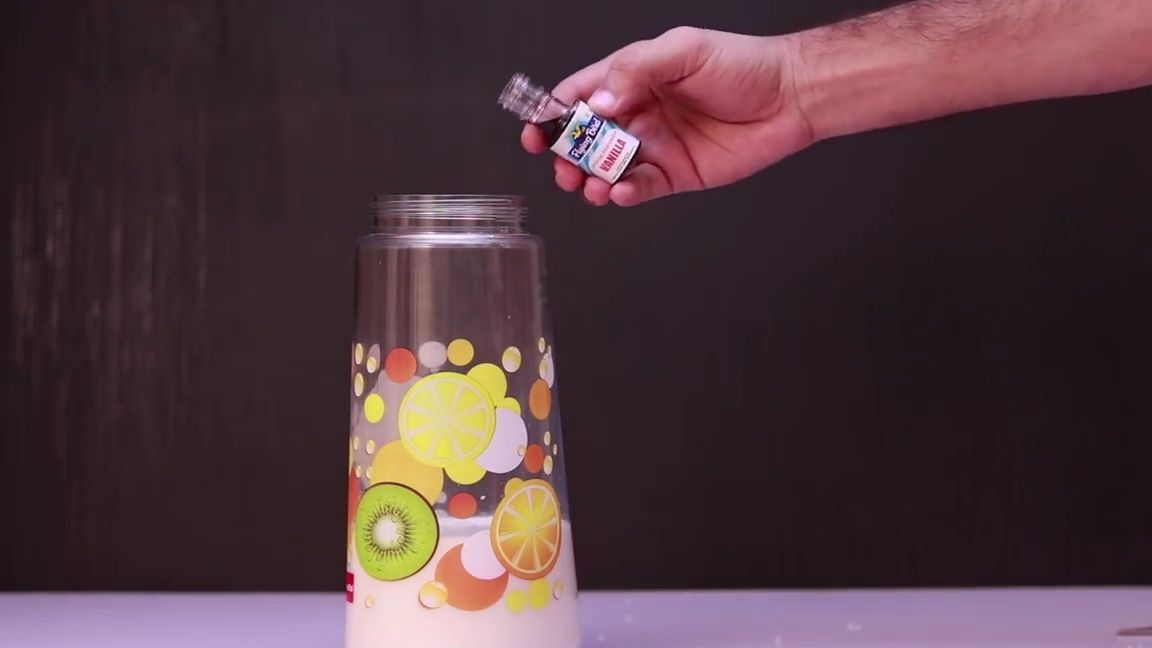
And pour a few drops of vanilla extract, or just plain vanilla:
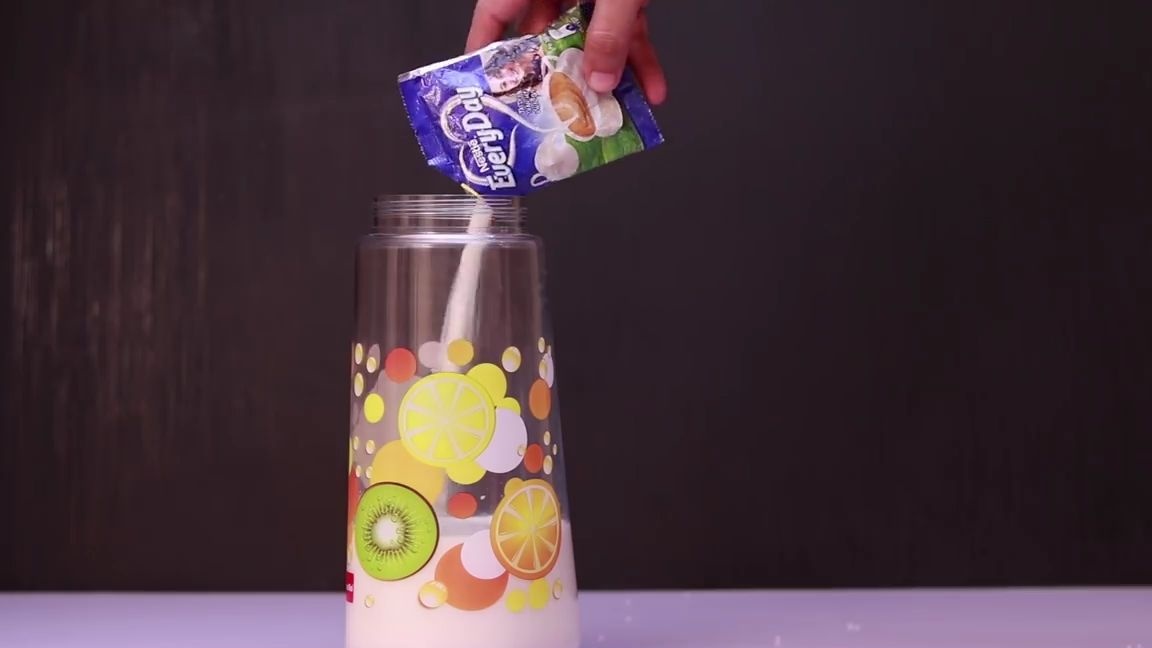
Add some milk powder:
Well, whisk it all with a blender until you get a thick homogeneous mass:
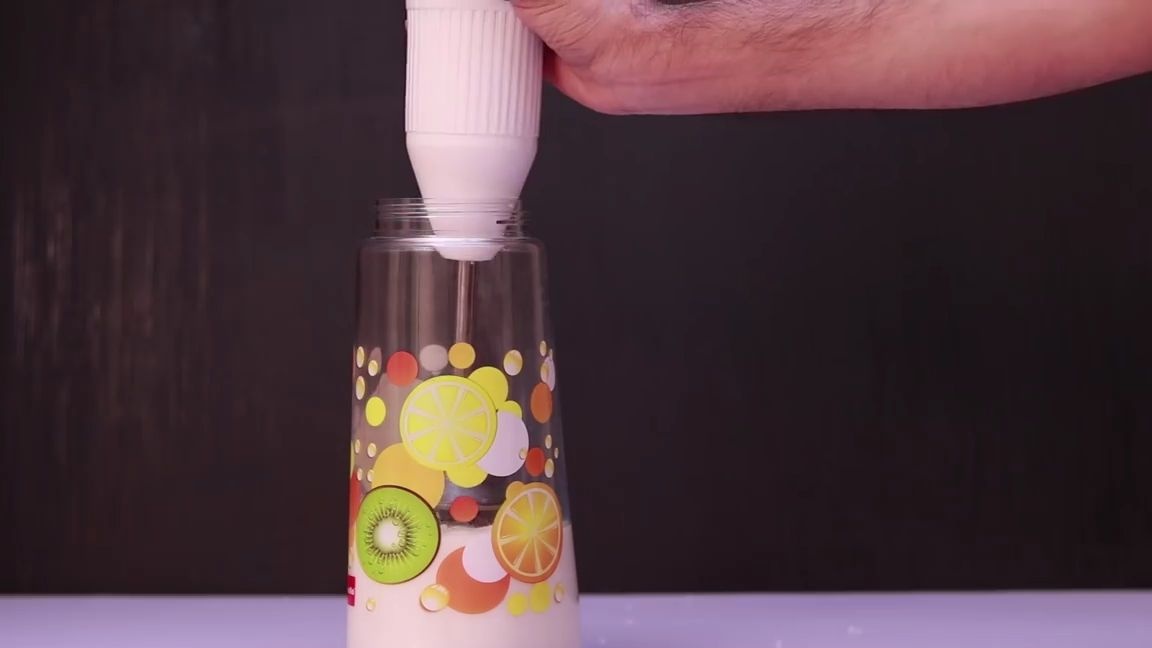
Then we transfer all this to a plastic bottle, into which the tubes were inserted earlier, by the way, the bottle should be preferably narrow:
We wrap the billet that was made earlier on the bottle with ice cream:
We install the bottle in a foam box, so the cold in the bottle will last longer, for greater efficiency, you can try to fill in the voids than to nibut, so that you get a thermos that will not let out heat, but not let it in:
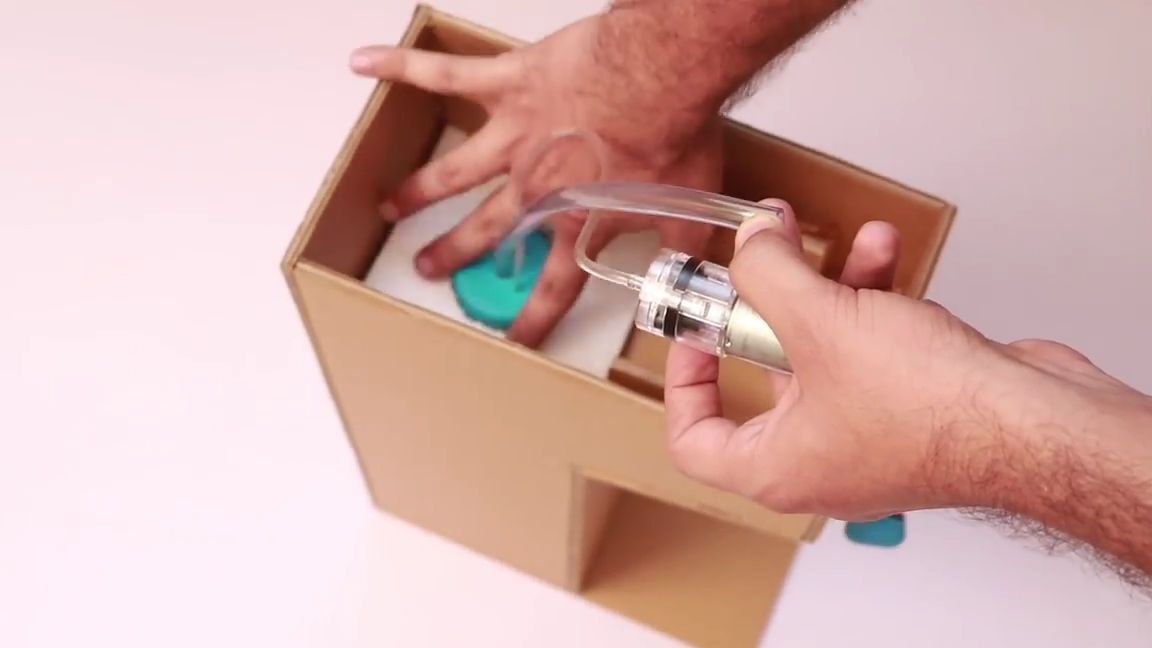
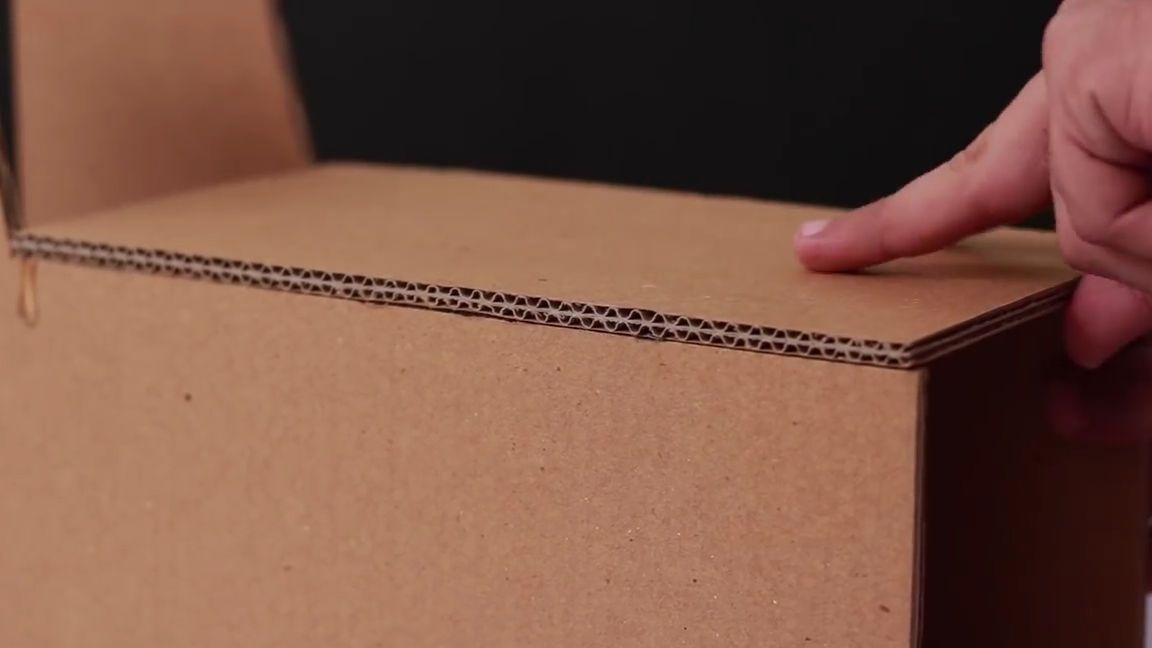
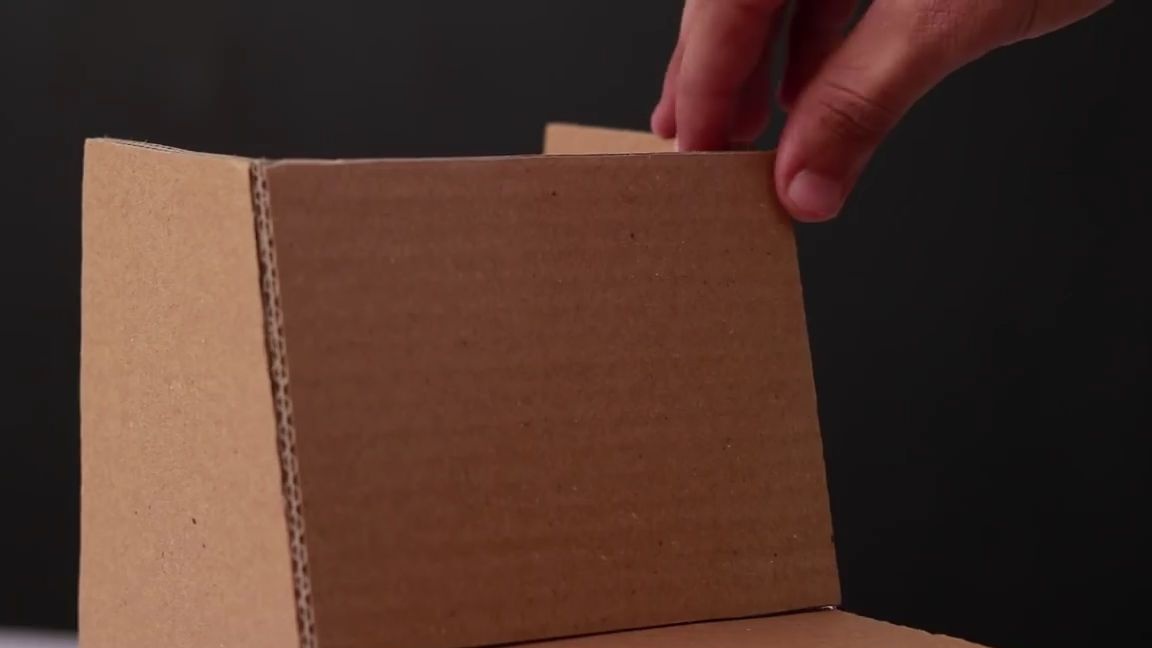
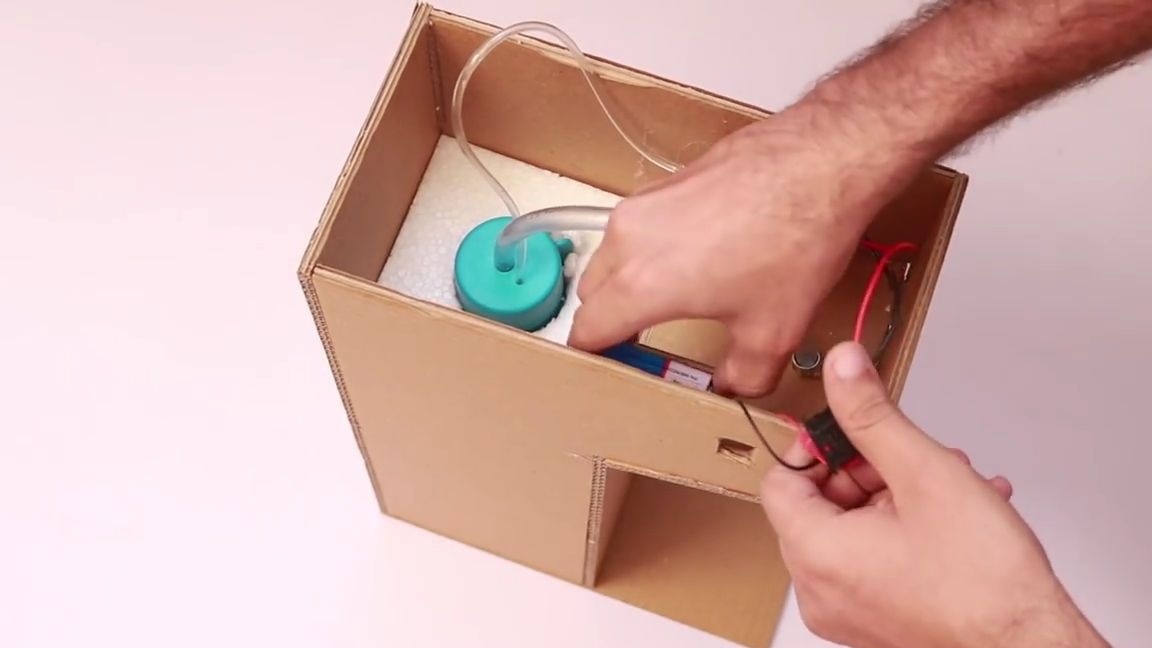
We insert a thick tube into a small hole, install the motor and battery with wires in the places prepared for them, and insert the switch into a specially made groove on the side of the structure. In general, we do everything as shown in the photo:
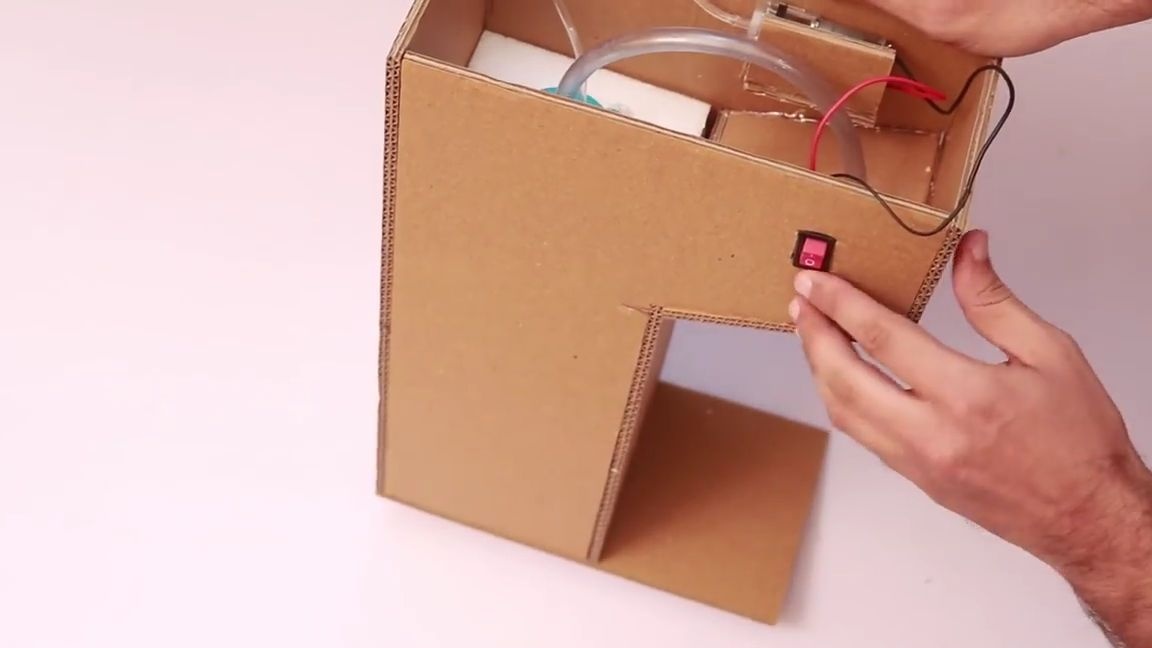
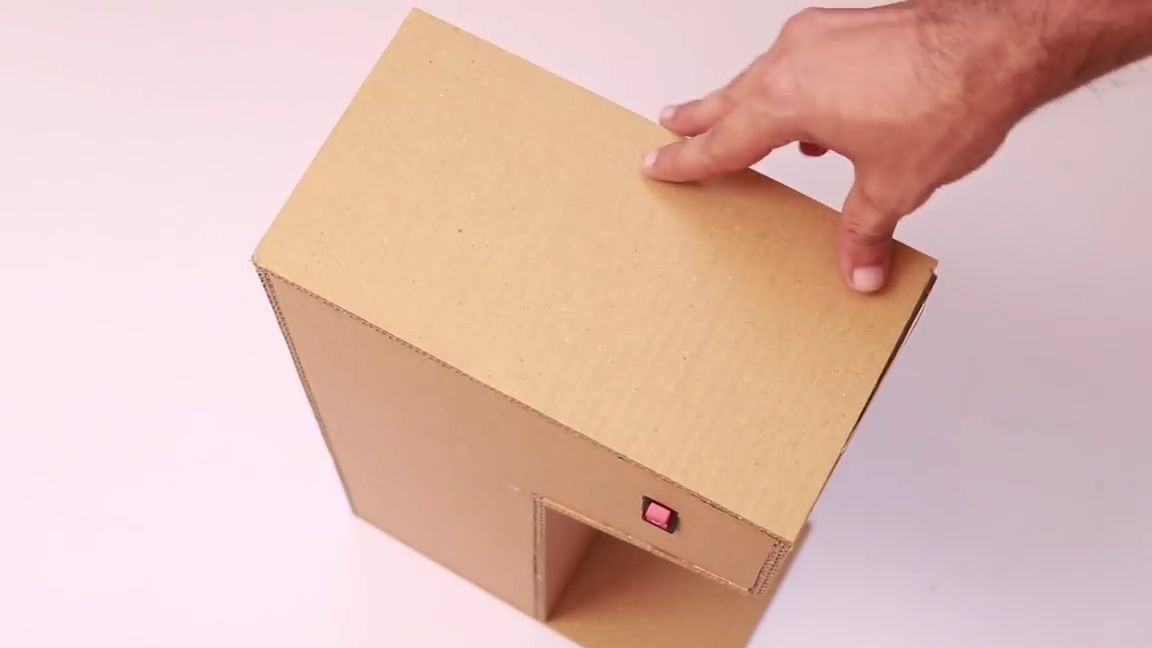
Using thermal glue, glue the last cardboard piece:
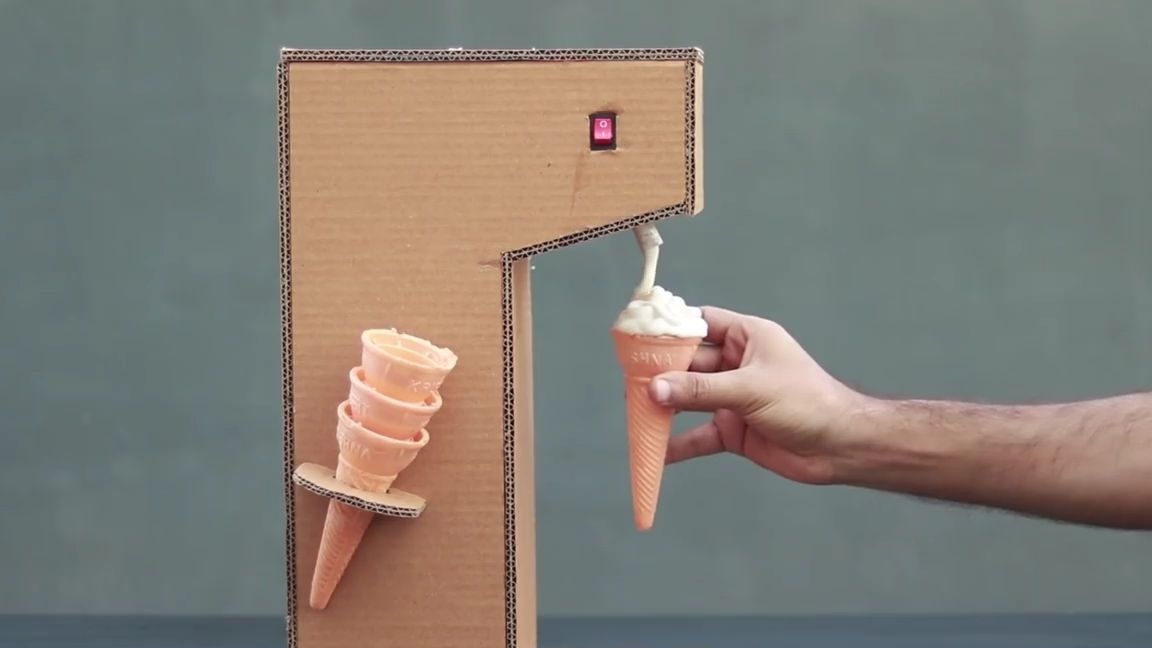
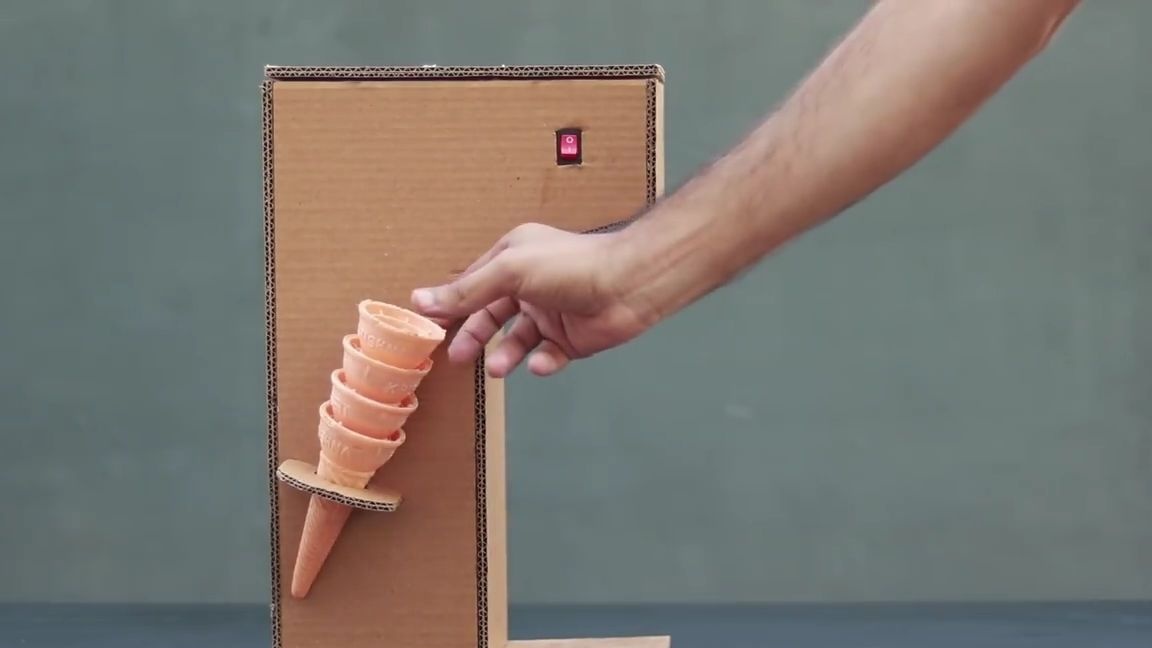
On the side of the whole structure, you need to install a small holder for waffle cones:
That's it! A simple ice-cream maker is ready and it remains only to test it! To do this, just take a waffle cone, put it under a thick tube and press the switch, after that the electric pump will start working, the pressure in the bottle will increase, and the ice cream will pop out and go through the thick tube directly into the waffle cone.After the horn is filled with the right amount of ice cream, you can turn off the machine with ice cream.
As for me, this is a very interesting and useful homemade product, which many will appreciate. First of all, I think the children will like it, because it is very cool when you can make ice cream for yourself. You can probably also use such home-made work at children's and not only holidays, I think guests will definitely appreciate it. I hope this article was useful to someone.

If you want to say something, then feel free to leave your comments.
Here is a detailed video from the author with a detailed assembly and testing of this homemade product:
Well, thank you all for your attention and good luck in future projects, friends!