
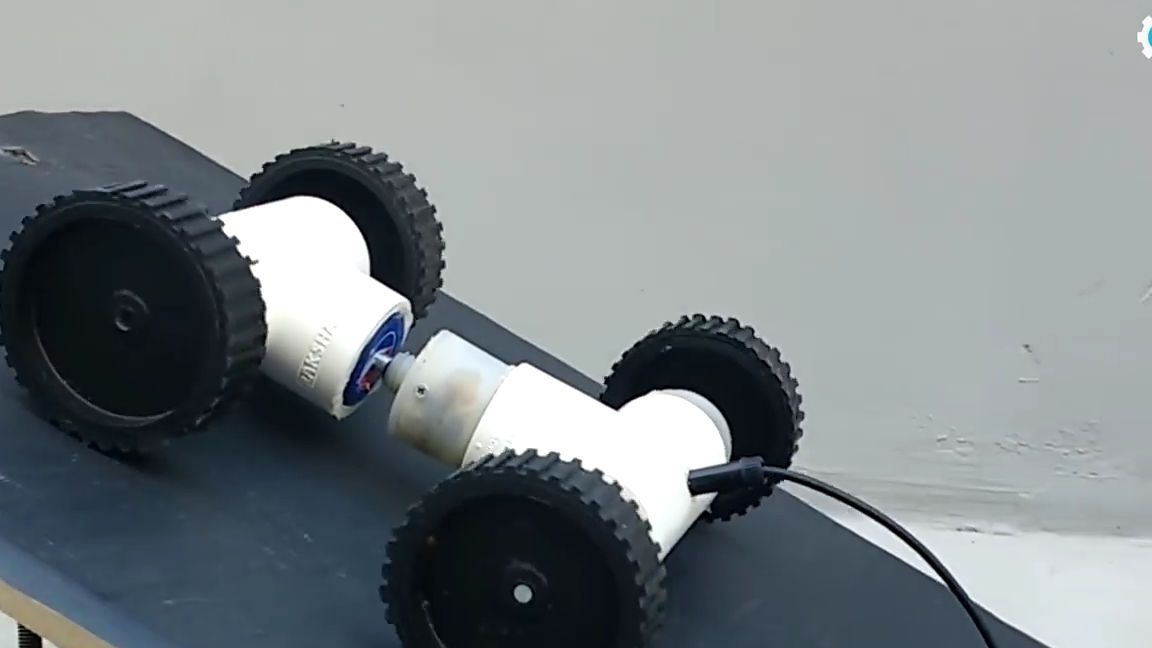
Good day to all dear friends! In today's article, I would like to show you a great idea on how to make a simple but unusual chassis on a wire control, the feature of this chassis is that it has not a classic rotary control, but rather exotic, for turning this unit uses front turn chassis. This is pretty standard but interesting, so let's not pull, let's go!
And so, for this homemade we will need:
connector for 9V crown
-Two tees for plastic pipes
-3 electric motors
-wire (kind of perfect old wire from usb, or some kind of unnecessary old headphones)
- small plastic box
-Two small switches in the form of a button (possible with a lock, or without)
-pencil
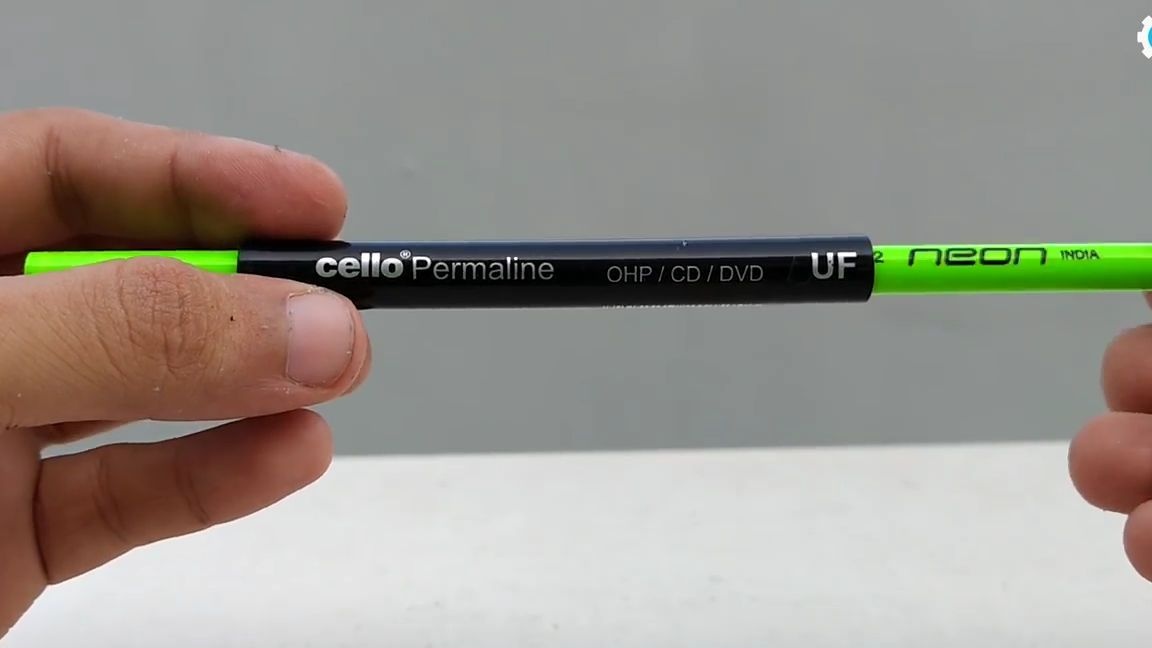
unnecessary marker
- several caps from plastic bottles
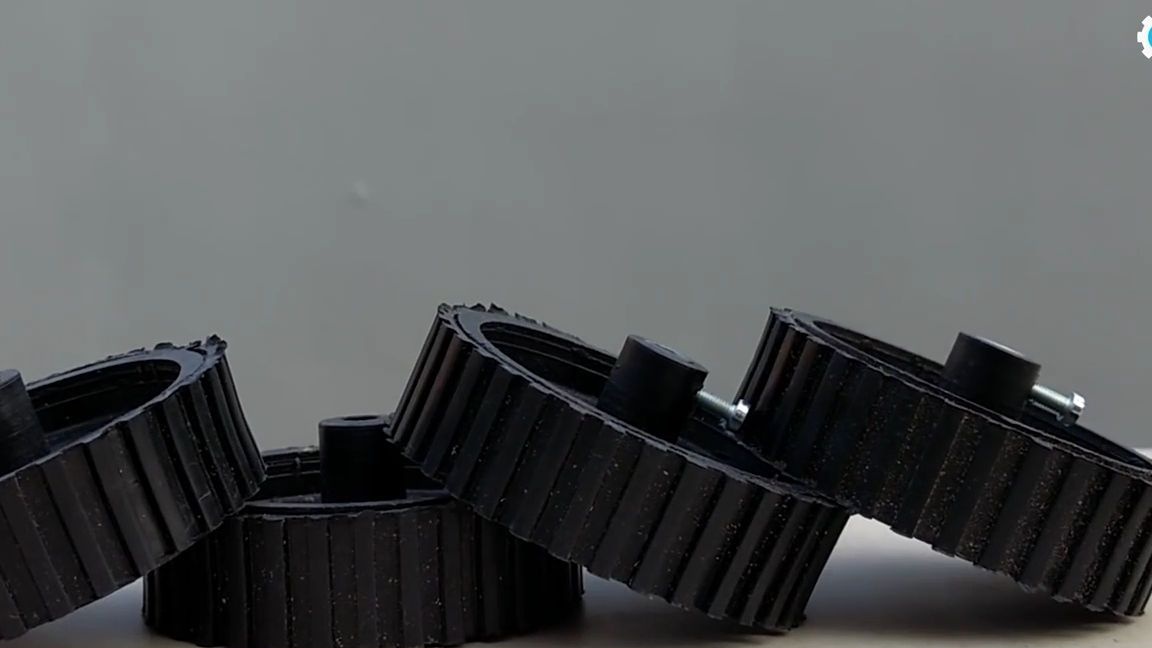
- four wheels for your motors
9V crown battery
Of the tools we will also need:
soldering iron
-thermo glue (by the way a very useful thing, I advise you to purchase)
-small hacksaw
-stationery knife
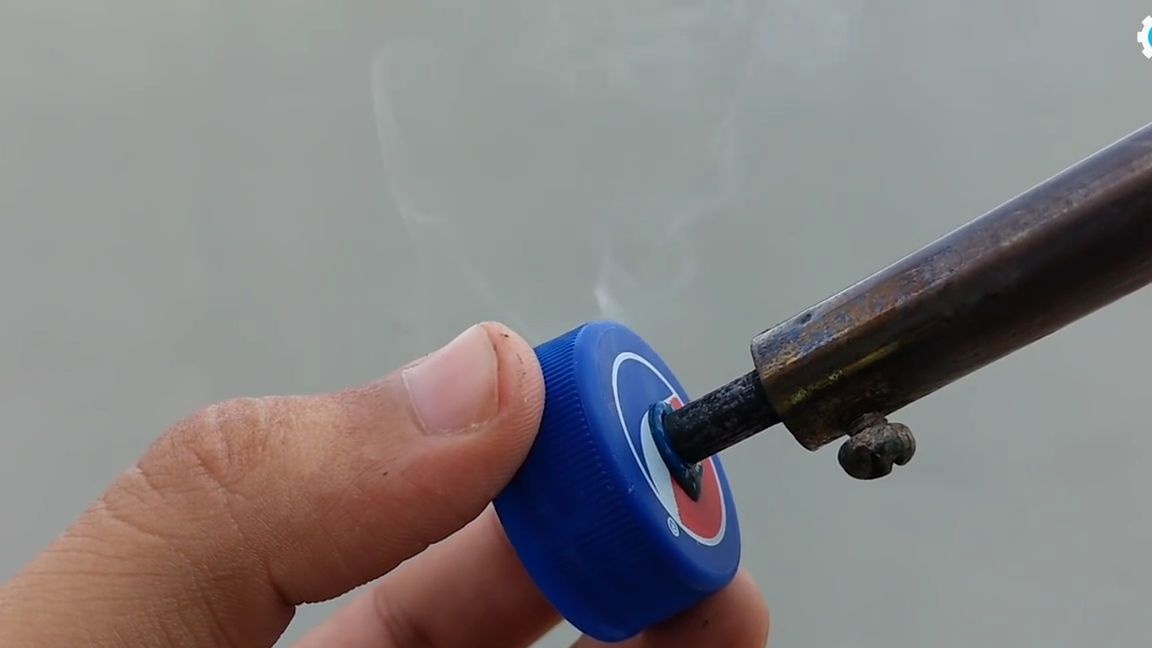
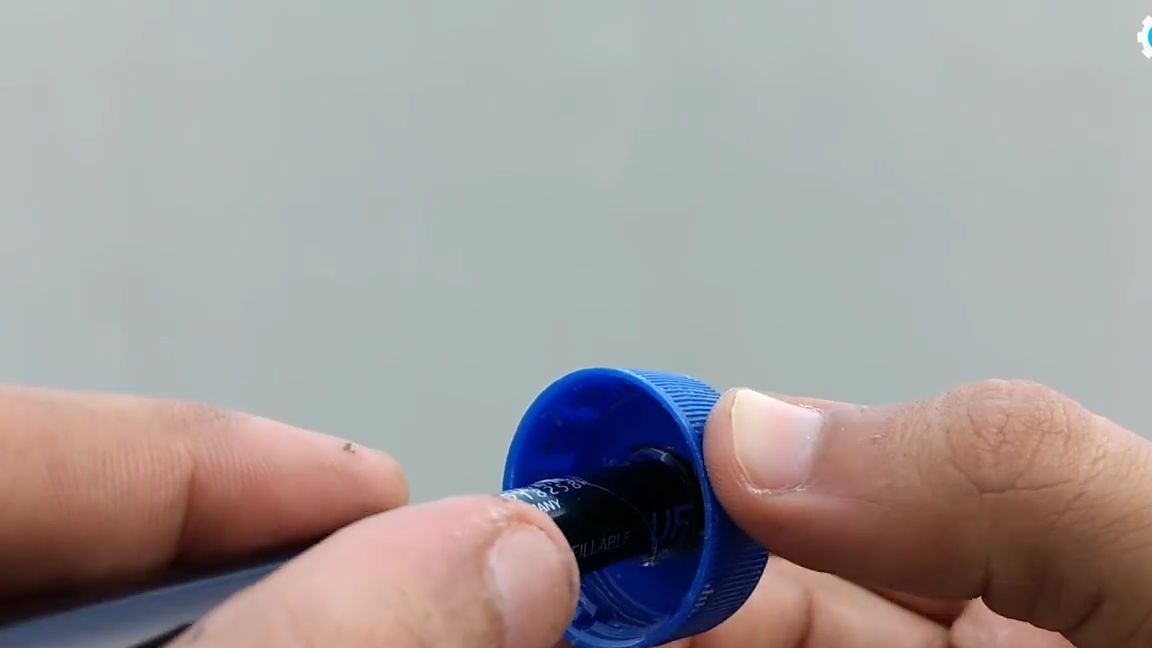
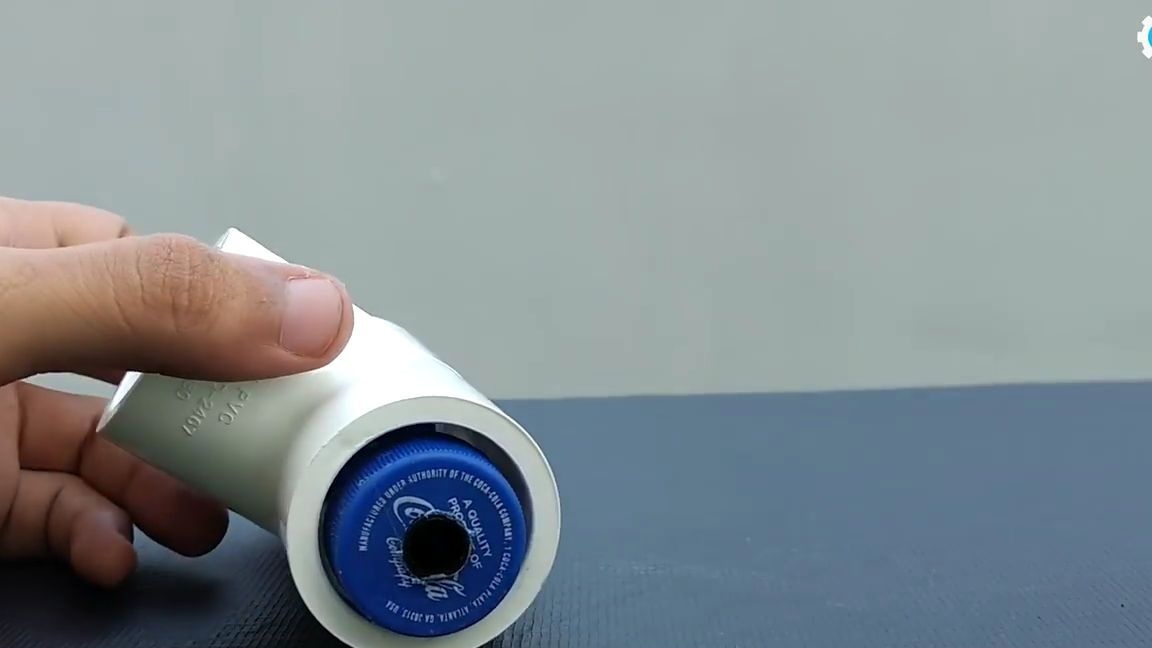
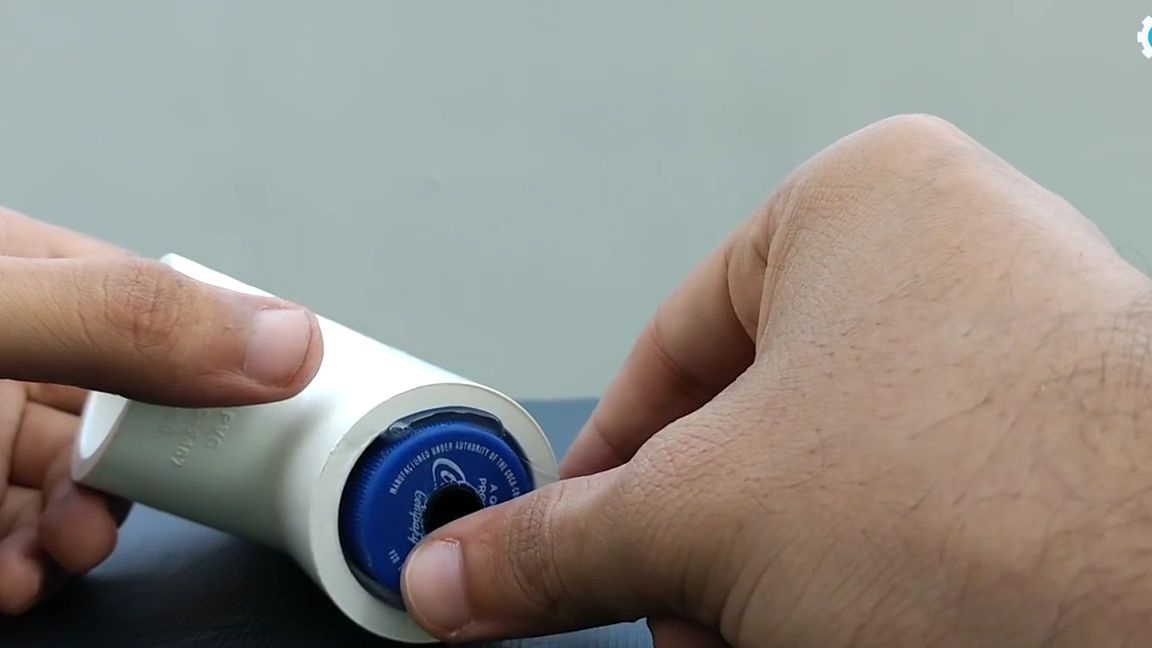
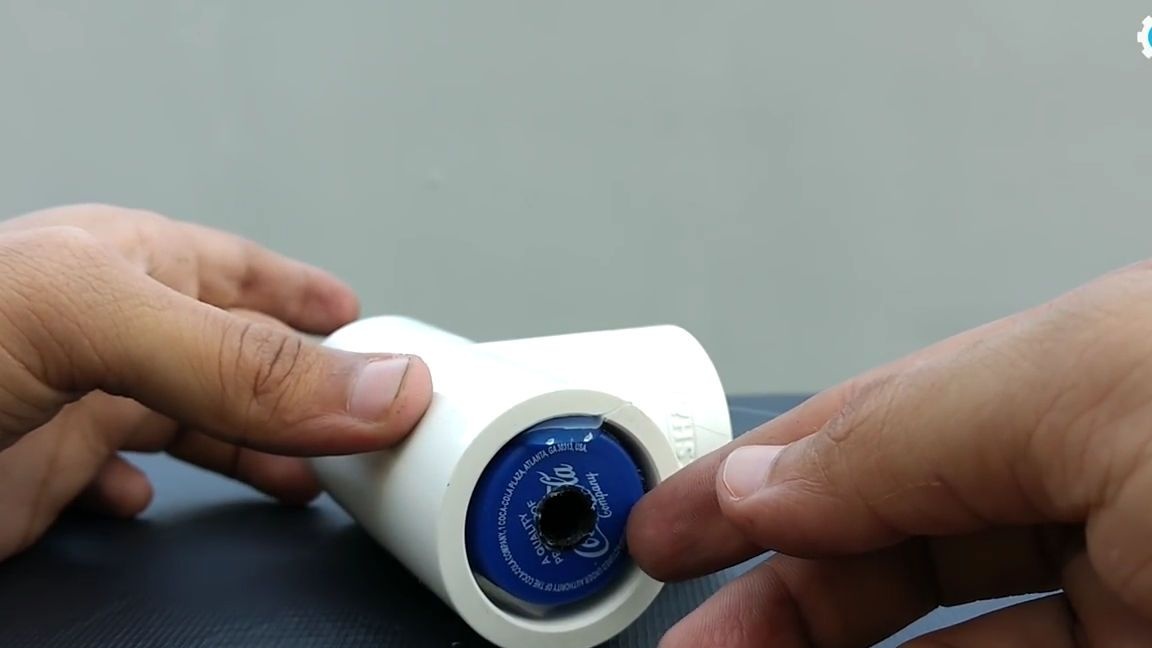
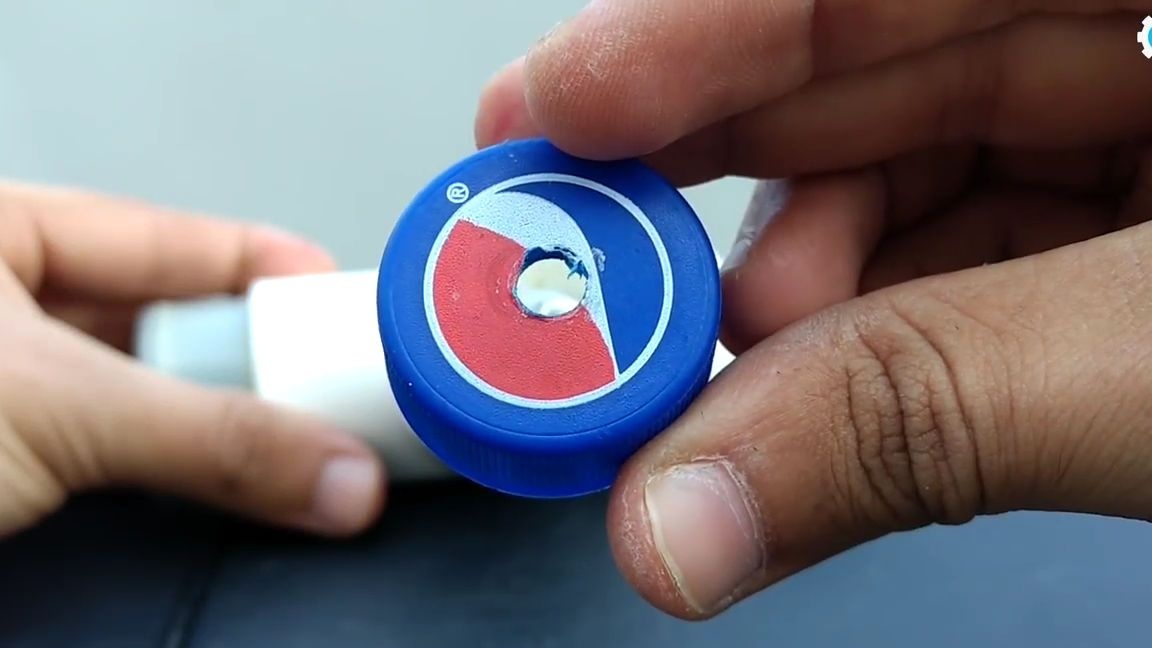
First of all, you need to use a soldering iron to make a small through hole in the center of the cap from the plastic bottle, this must be done carefully:
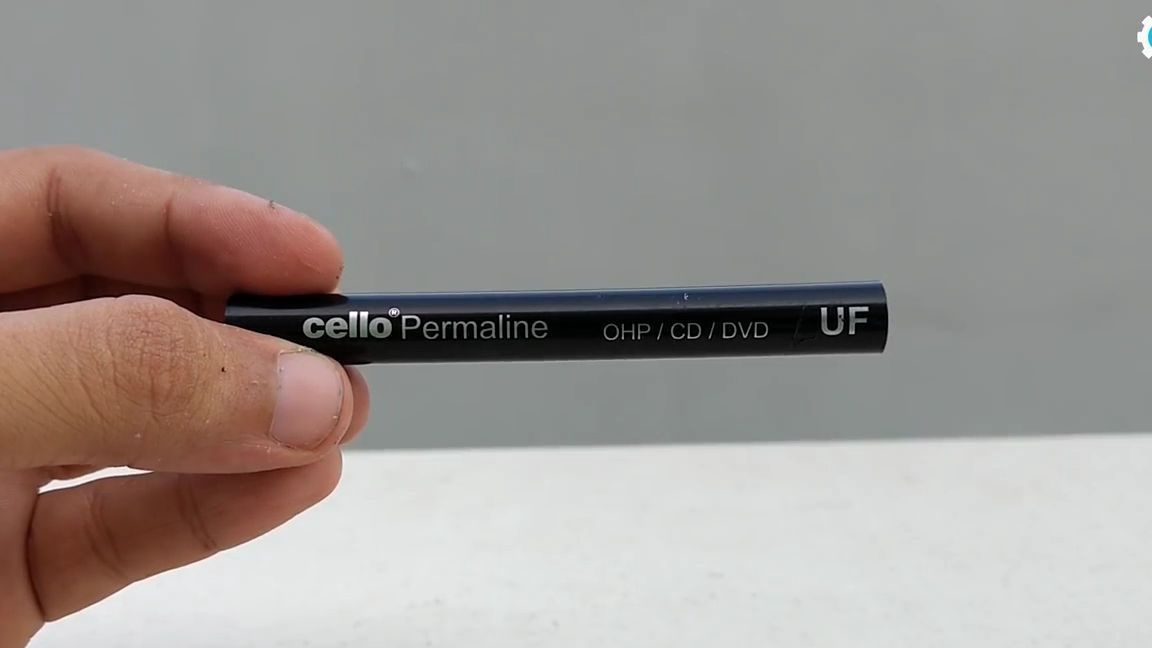
Now we take a marker and disassemble it, then with the help of a clerical knife we cut off the back part to get a tube in which a regular pencil should rotate freely:
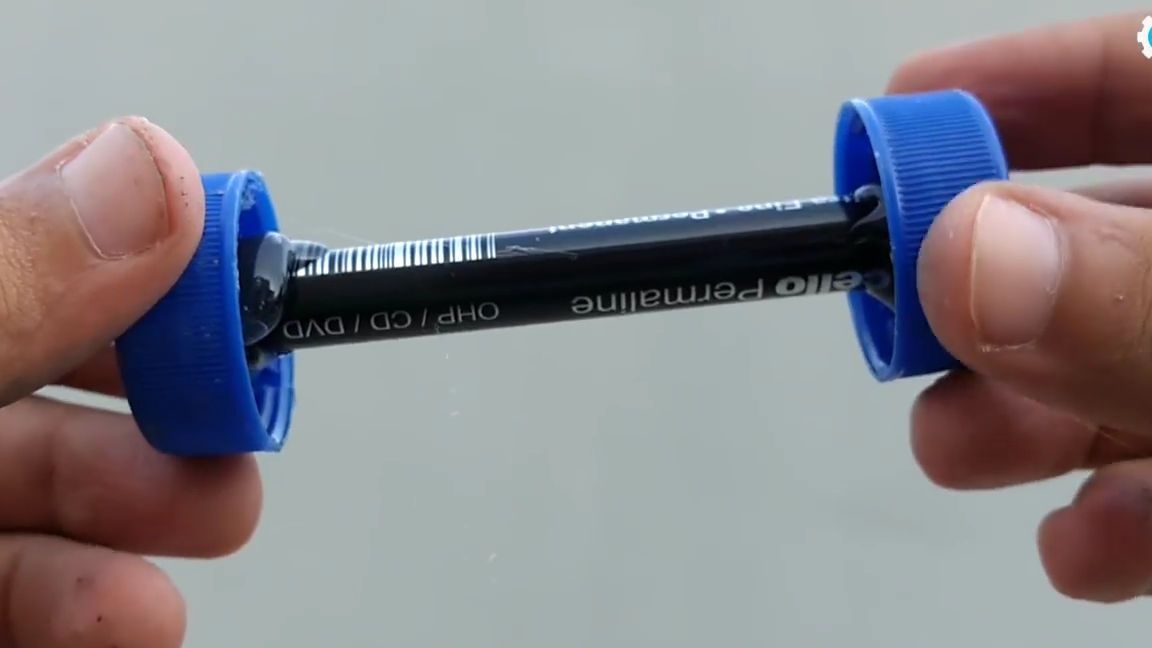
We apply a little thermal glue to one end and glue the lid from the plastic bottle as shown in the photo below, at the second end we also glue the exact same lid with a hole:
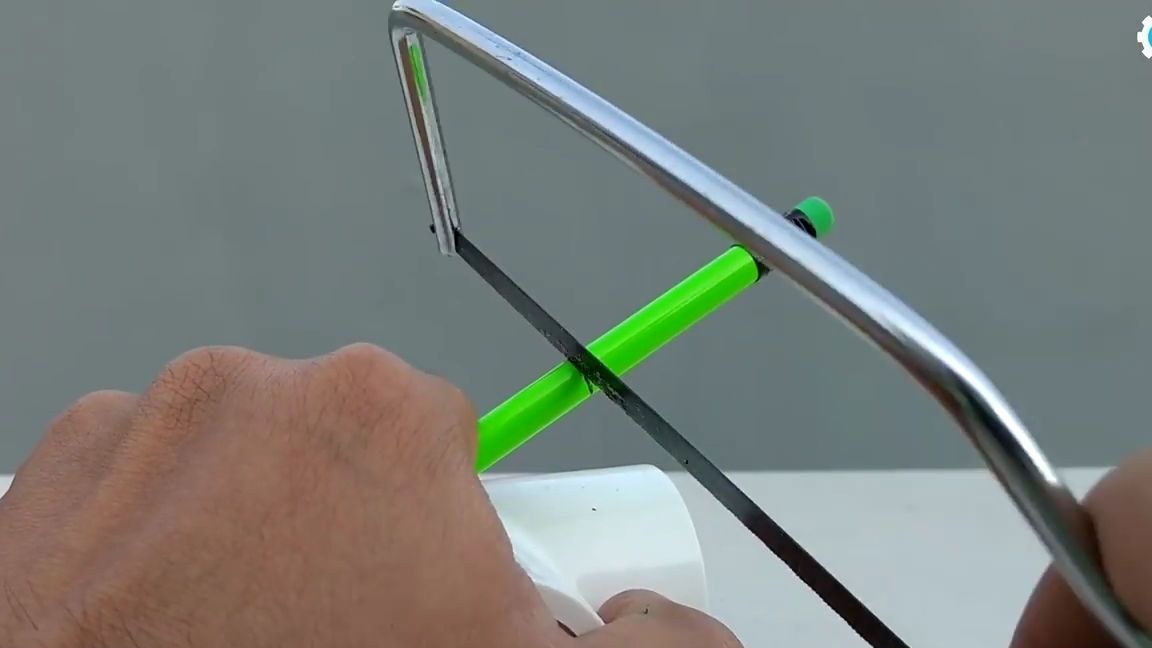
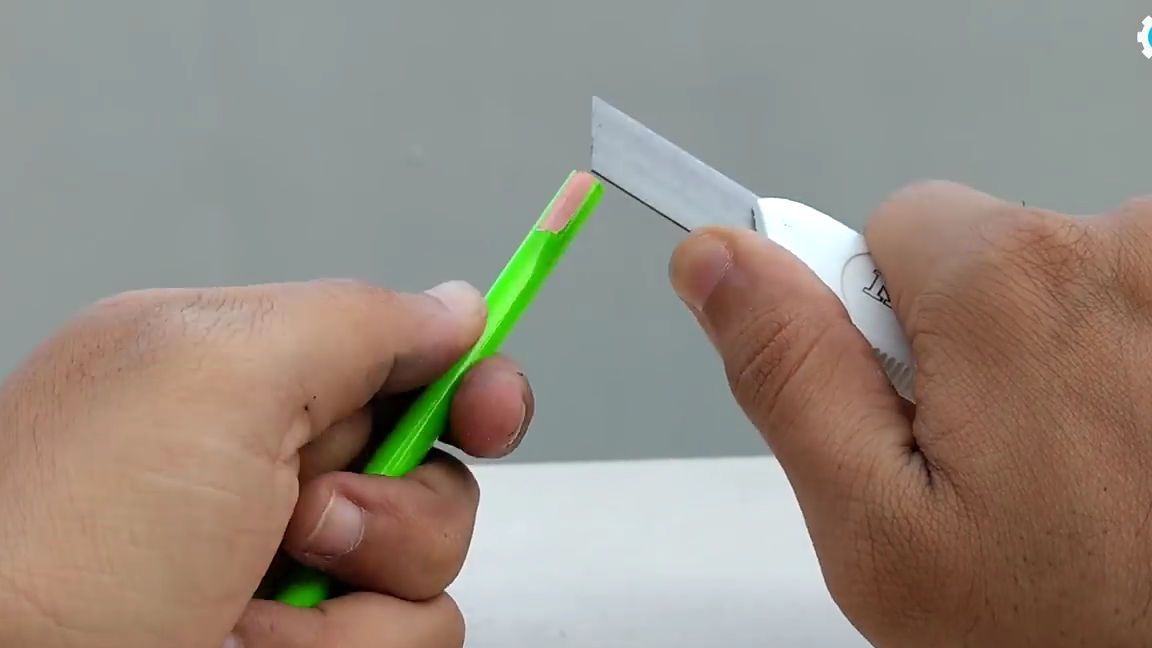
Cut off the excess from the pencil and sharpen the ends so that the wheels that you are going to use can be put on them:
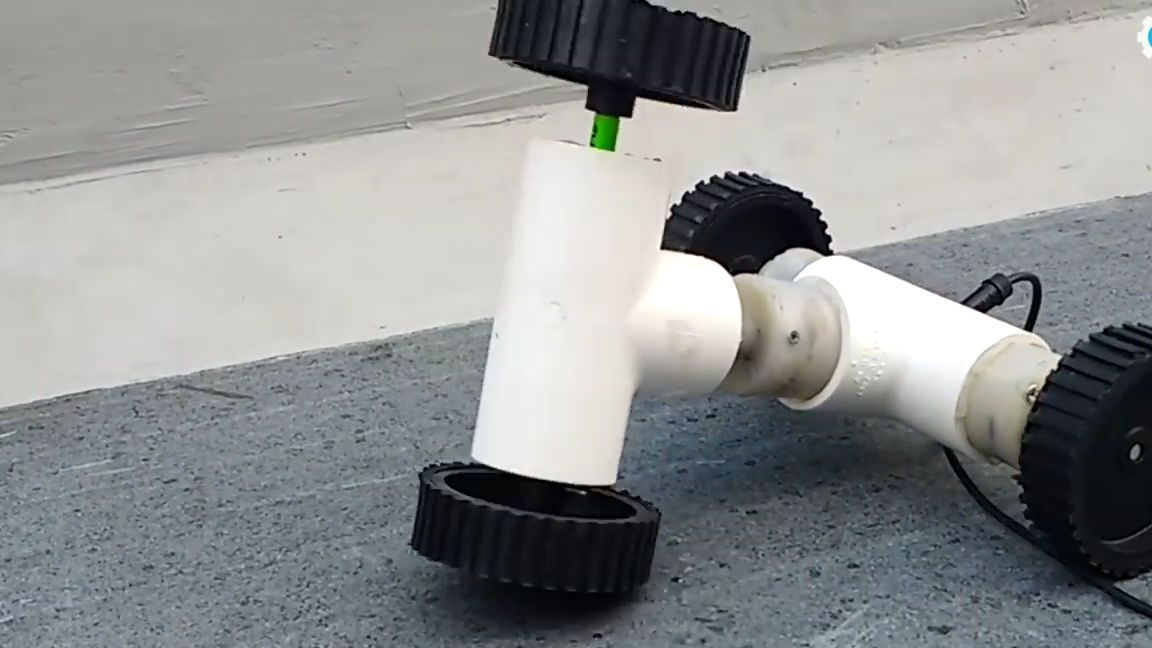
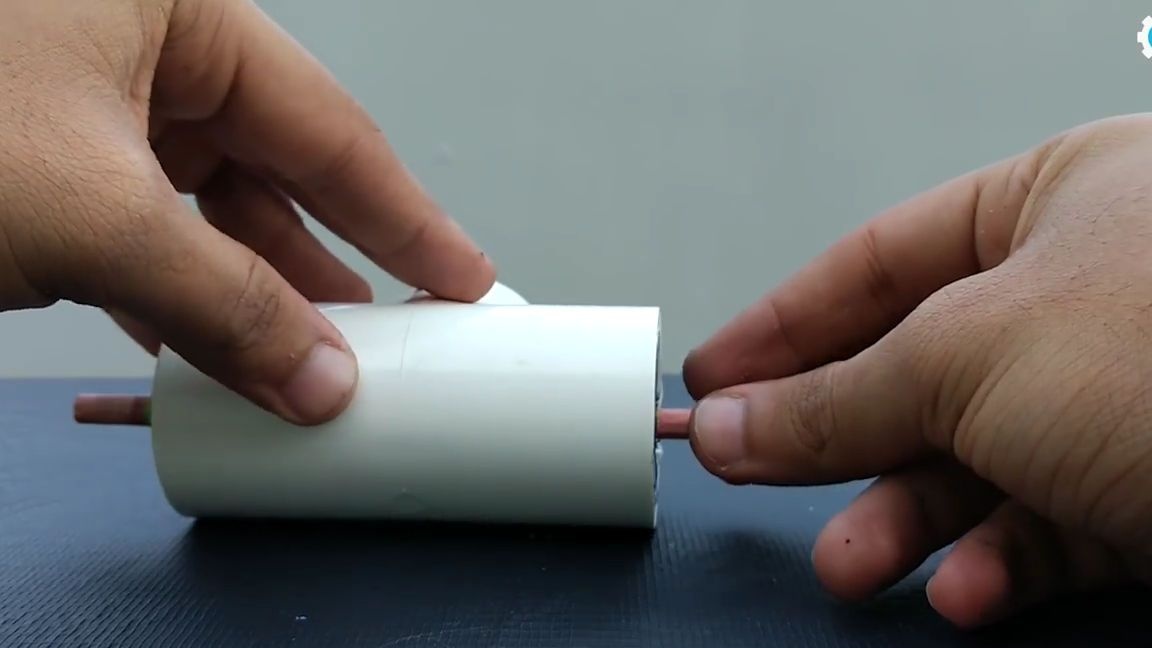
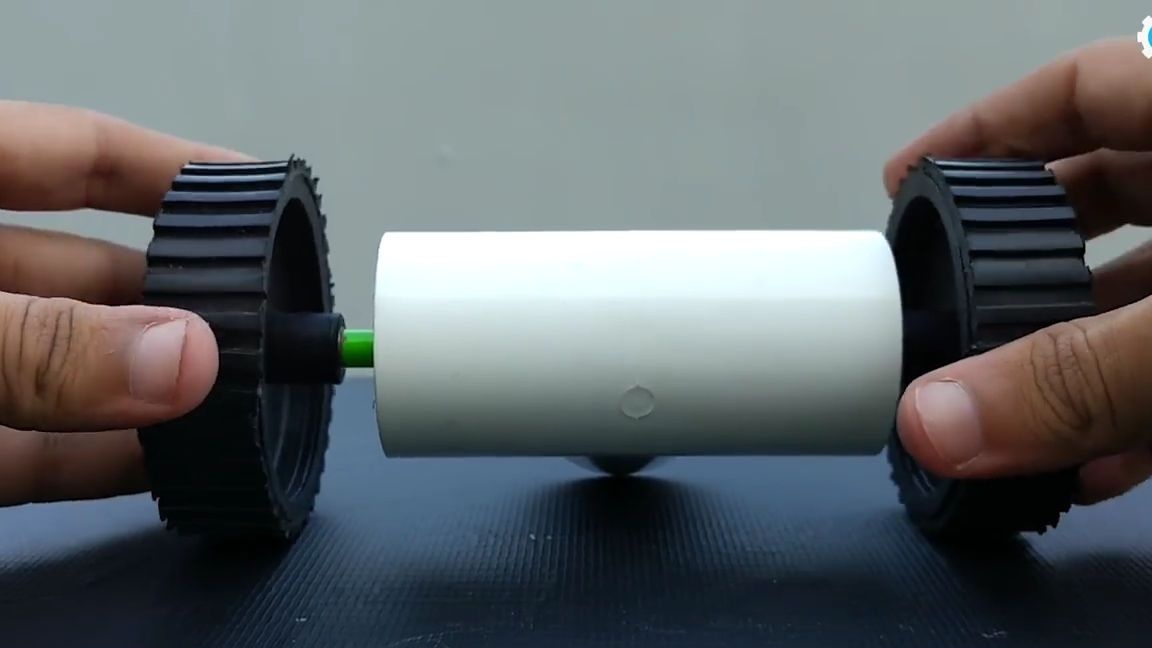
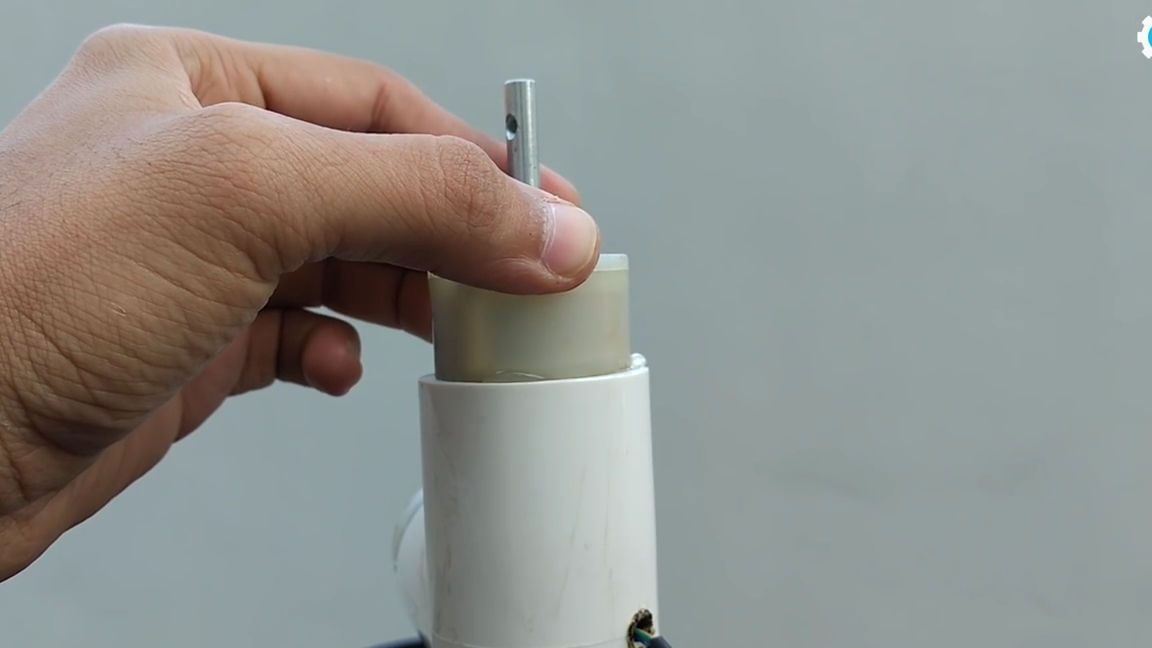
We take tees for plastic pipes and our half-finished blank, we paste it as shown in the photo below, everything should be equal and neat:

Now you need to take the wheels and pencil with fitted ends. Insert the pencil into the holes in the caps from the plastic bottles, align and put on the wheels, it is also advisable to glue them using thermal glue or super glue:
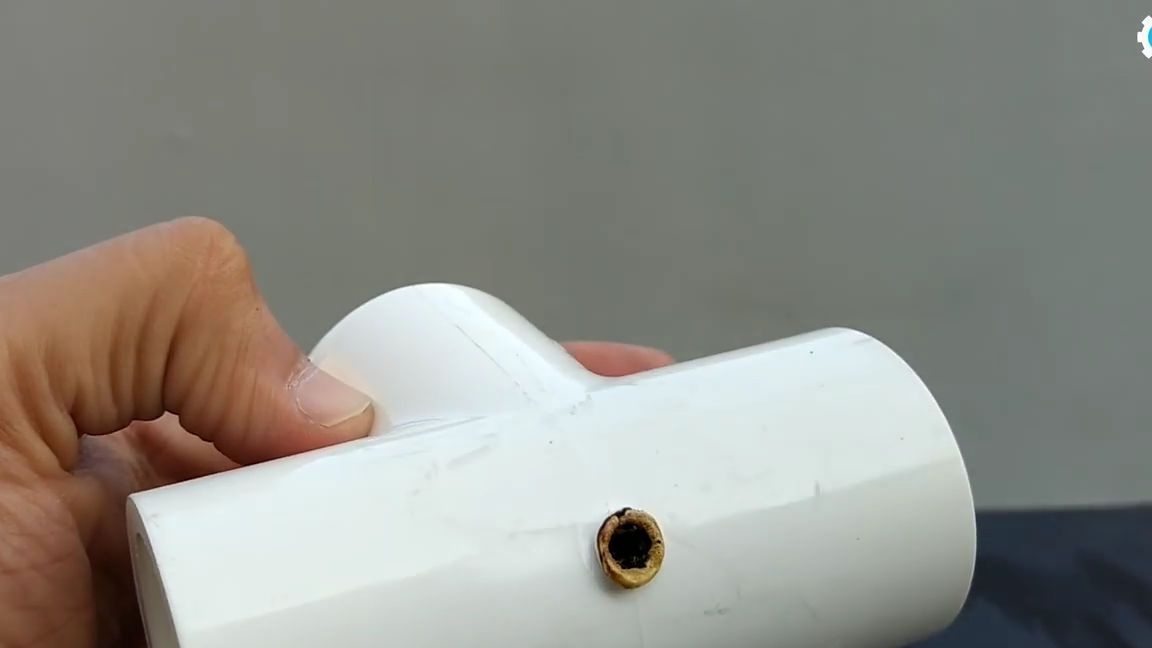
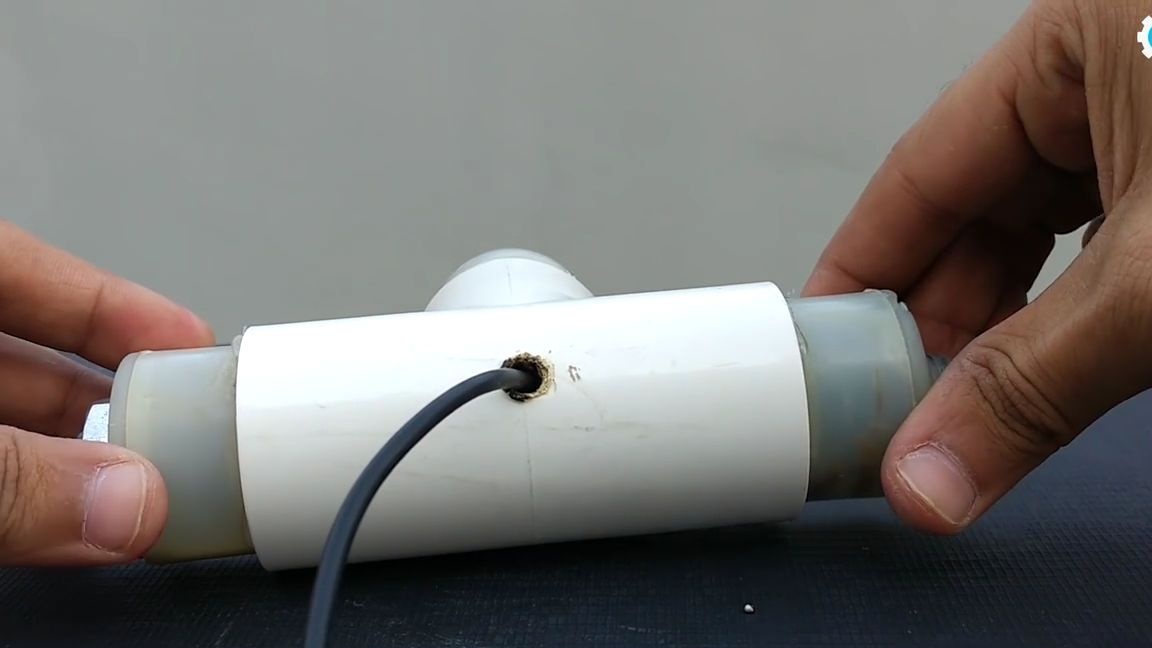
Take the second tee for plastic pipes and make a hole using a Friday soldering iron as follows:
Then you need to take an unnecessary wire from usb and cut off everything superfluous from it at the ends to get one wire from which 4 different colors come out:
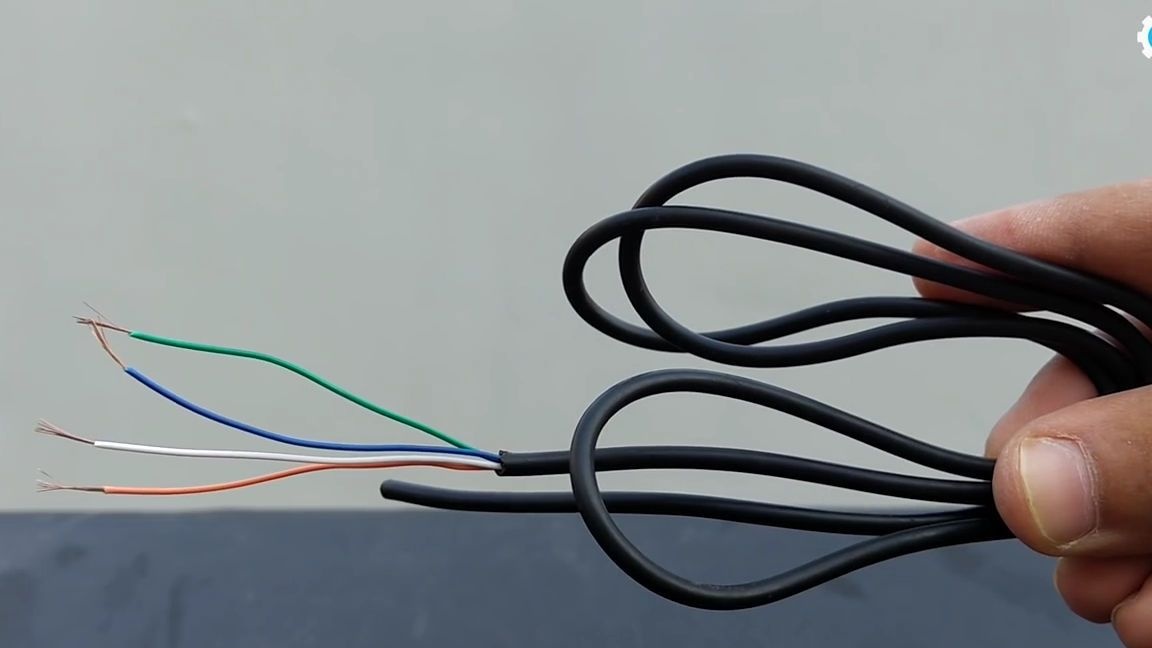
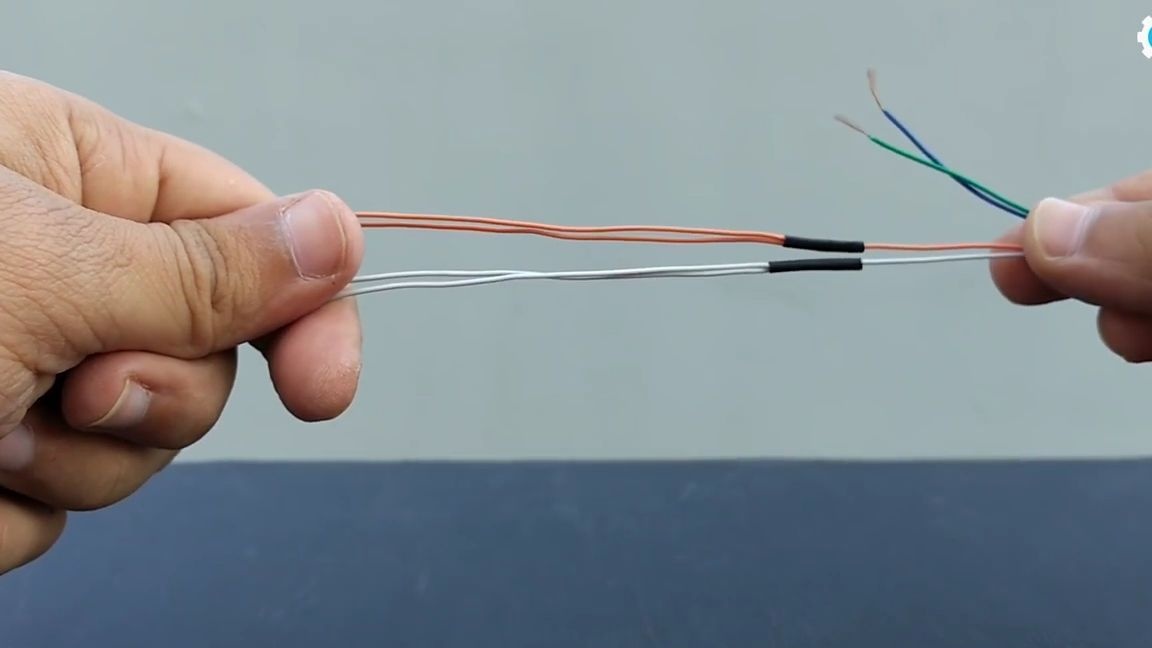
Two of the wires must be split as follows:
Now install the wires inside the second tee:
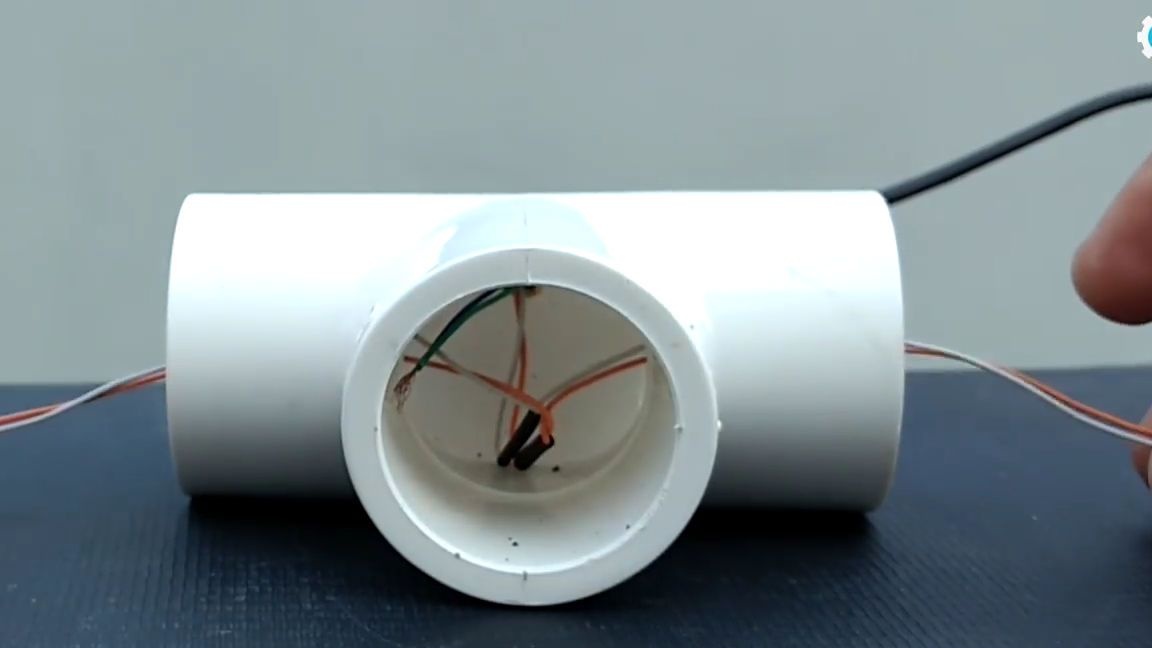
Solder those wires that are not bifurcated to the electric motor, it will perform a rotary function of the chassis of the machine:
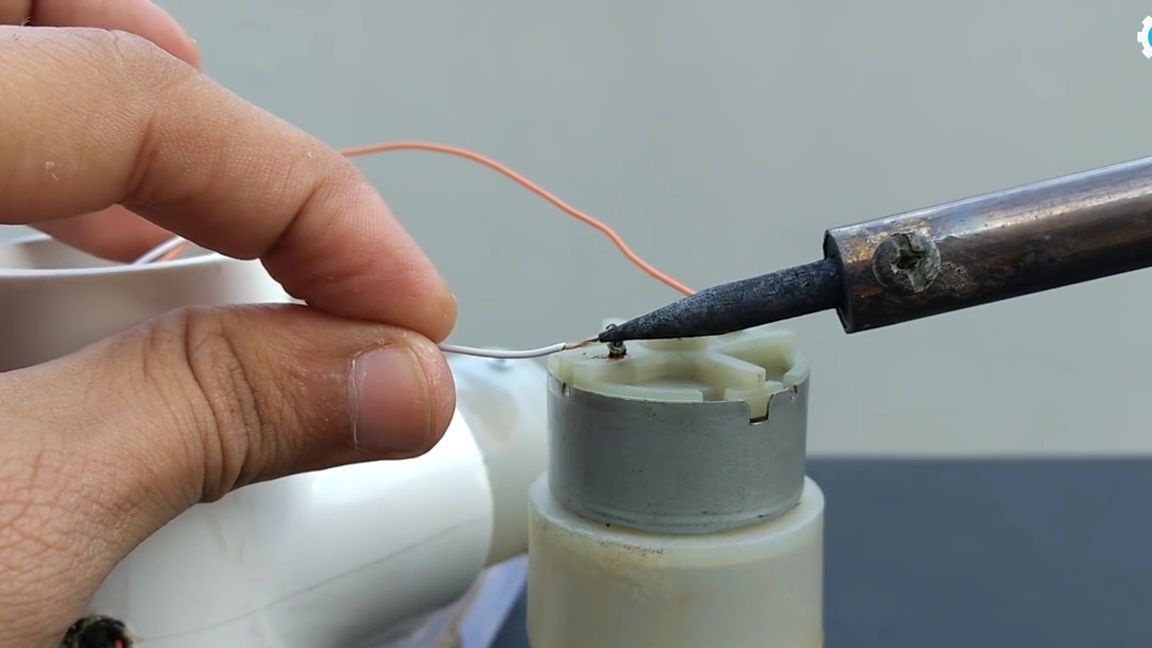
Well, and those wires that bifurcated need to be soldered to the two remaining motors, these motors will perform the interpretative function of the whole structure:
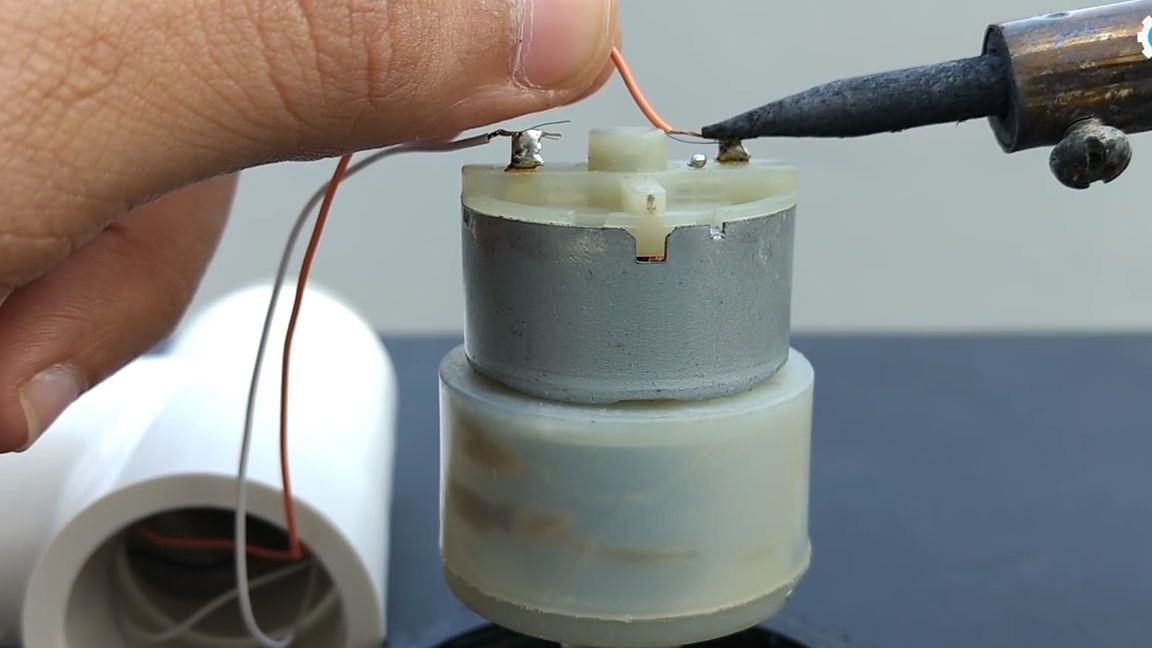
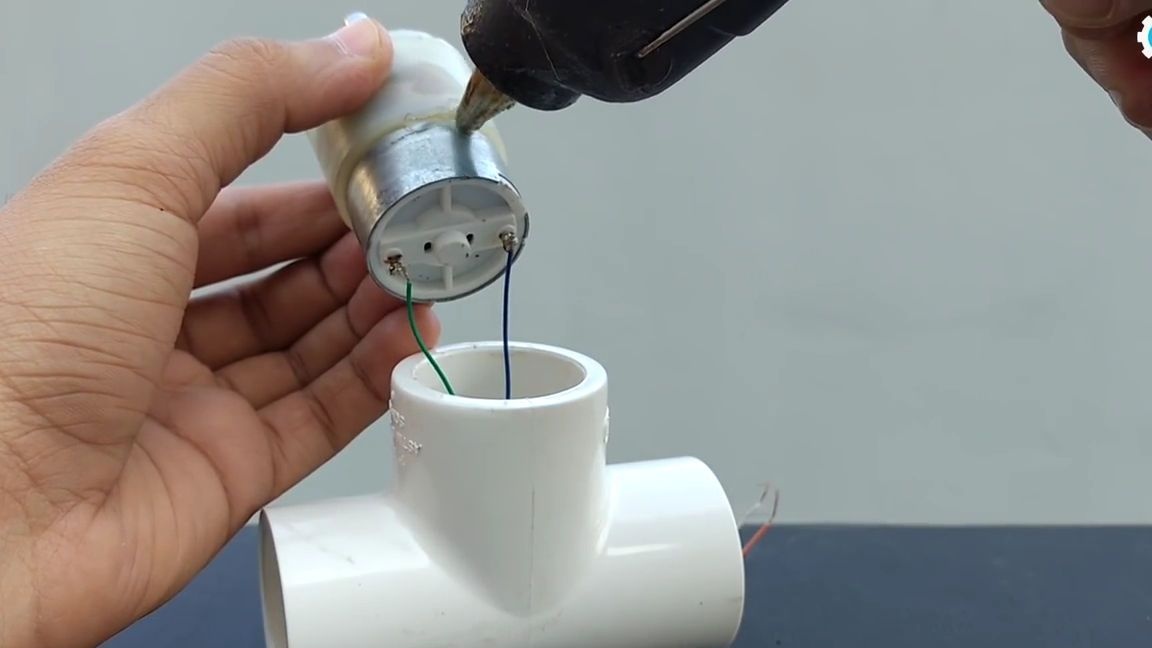
Using thermo-glue, we glue two motors to which the same wires are soldered into the tee, they must be located on the sides of the structure:
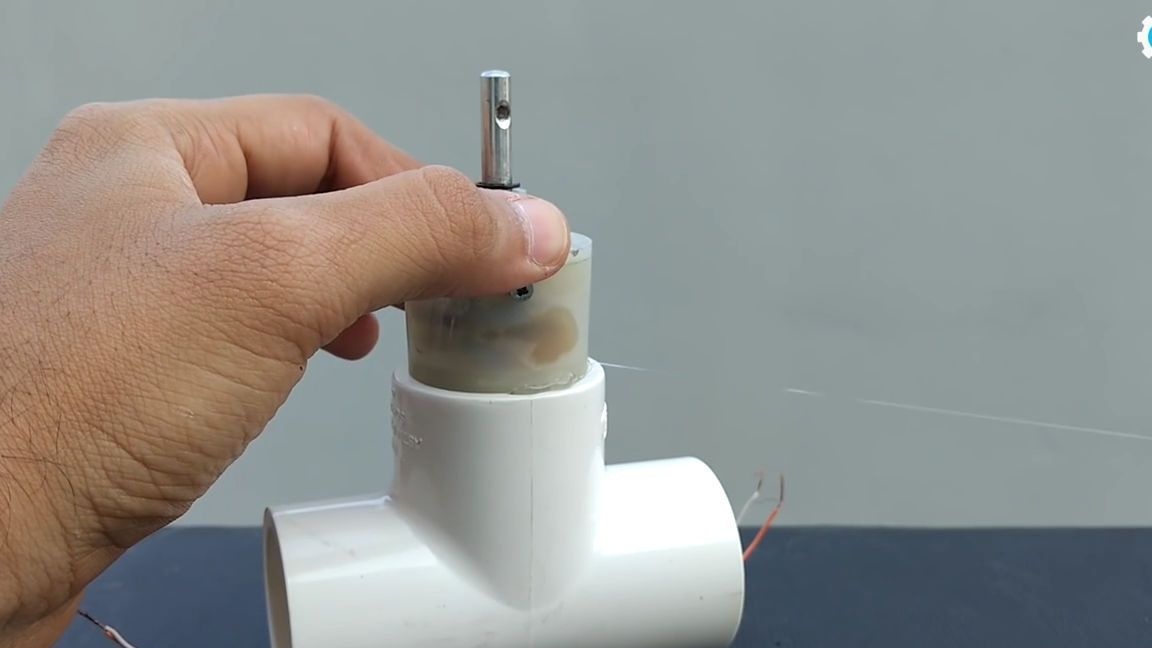
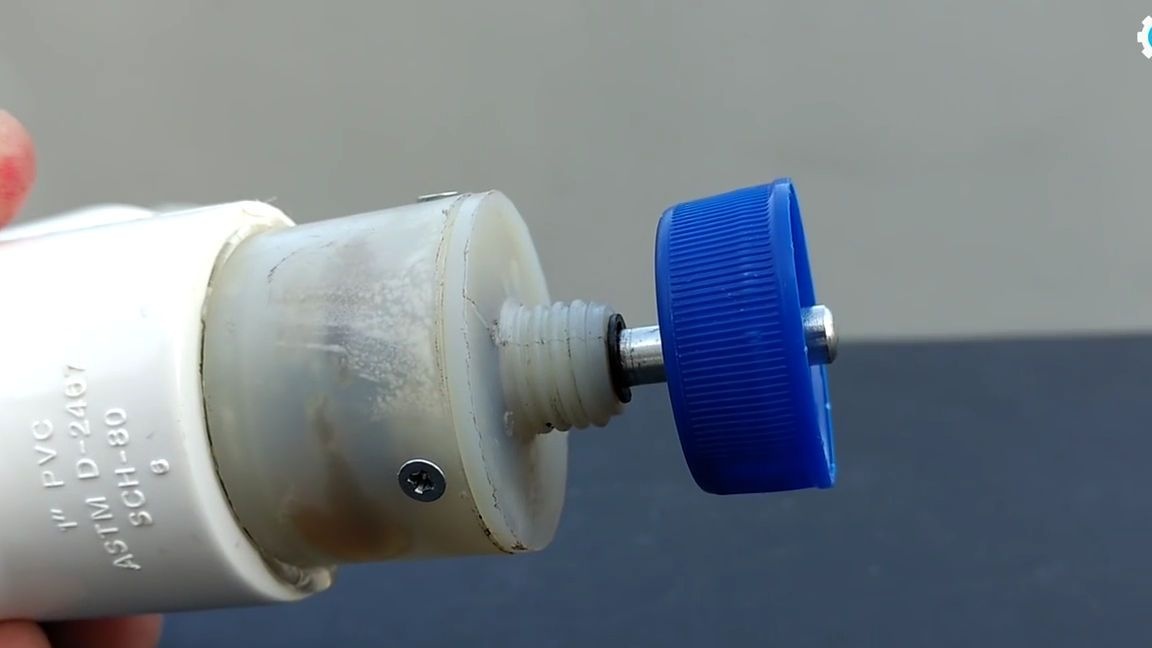
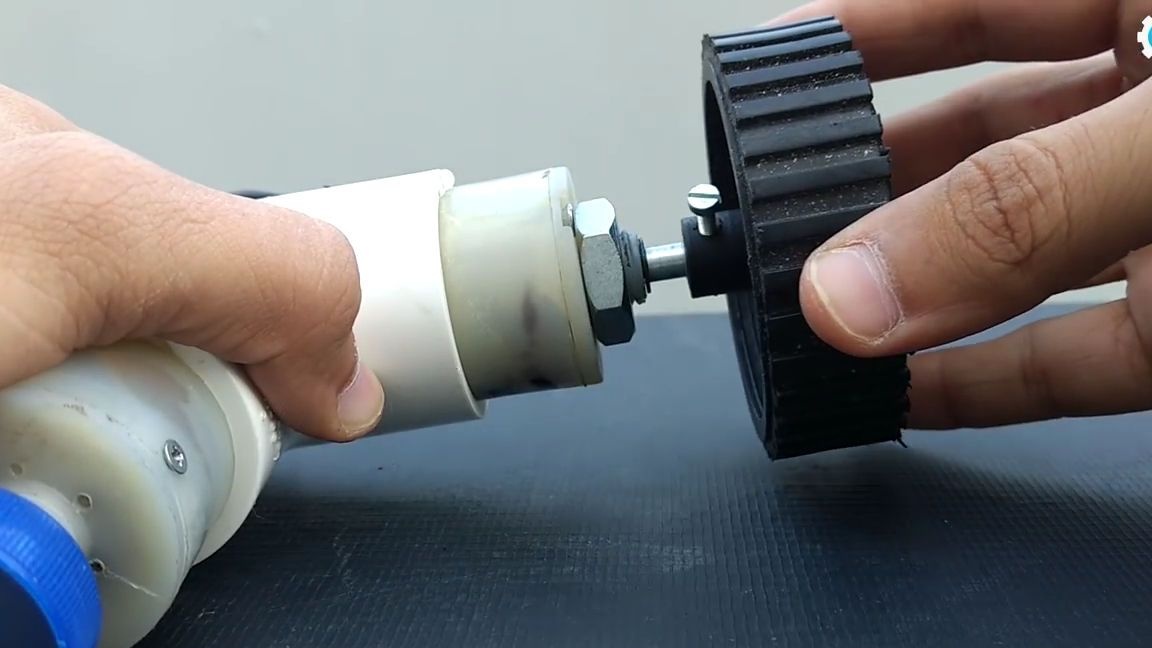
We take another plastic cover with a pre-made hole for the motor shaft in the center and glue it on the shaft of the last third motor, it also needs to be glued to the central part of the tee:
Again we take the wheels and put them on the shafts of the remaining motors:
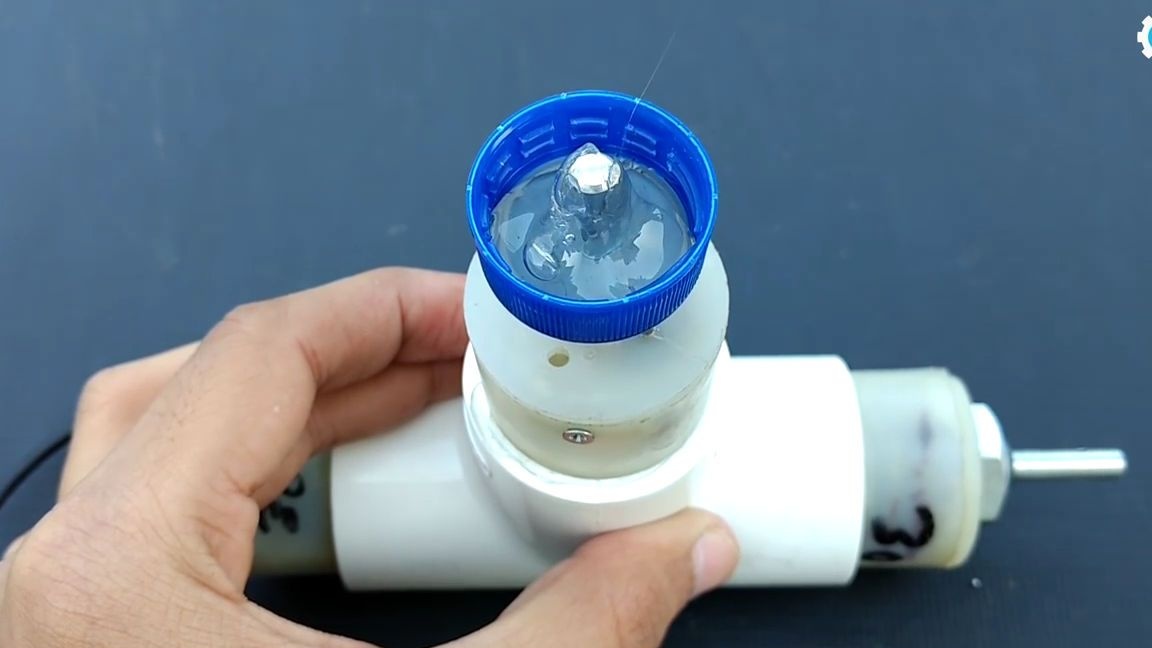
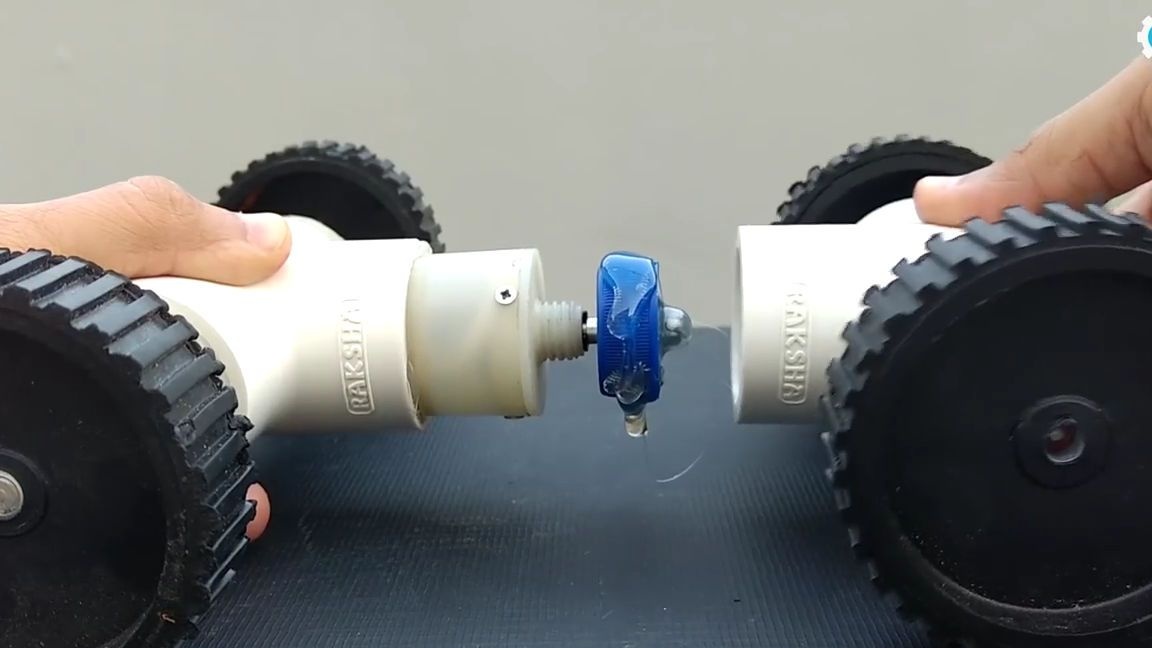
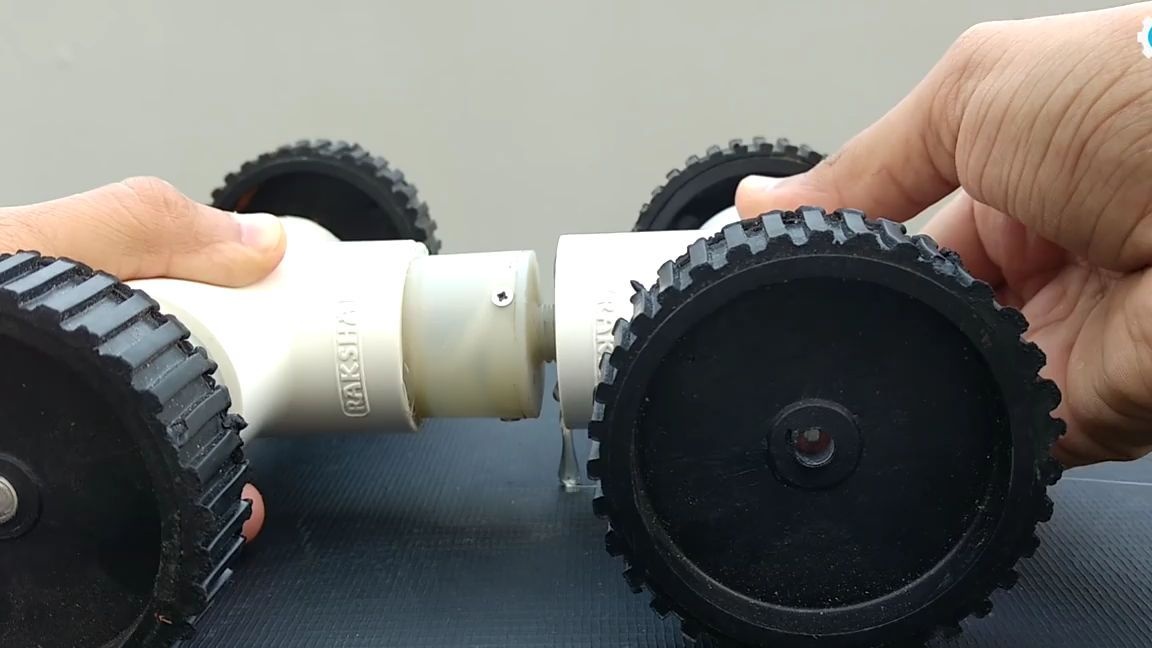
On the roof of a plastic bottle on the motor shaft, apply a little thermal glue and glue the second part of the chassis, you need to do everything as shown in the photo below:
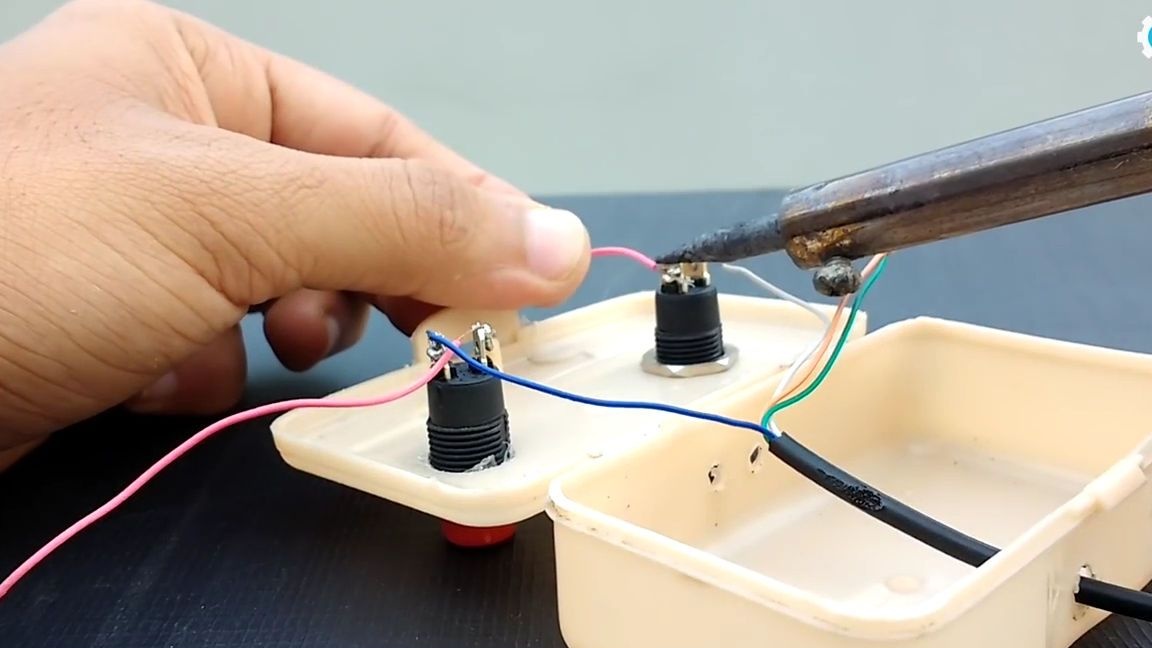
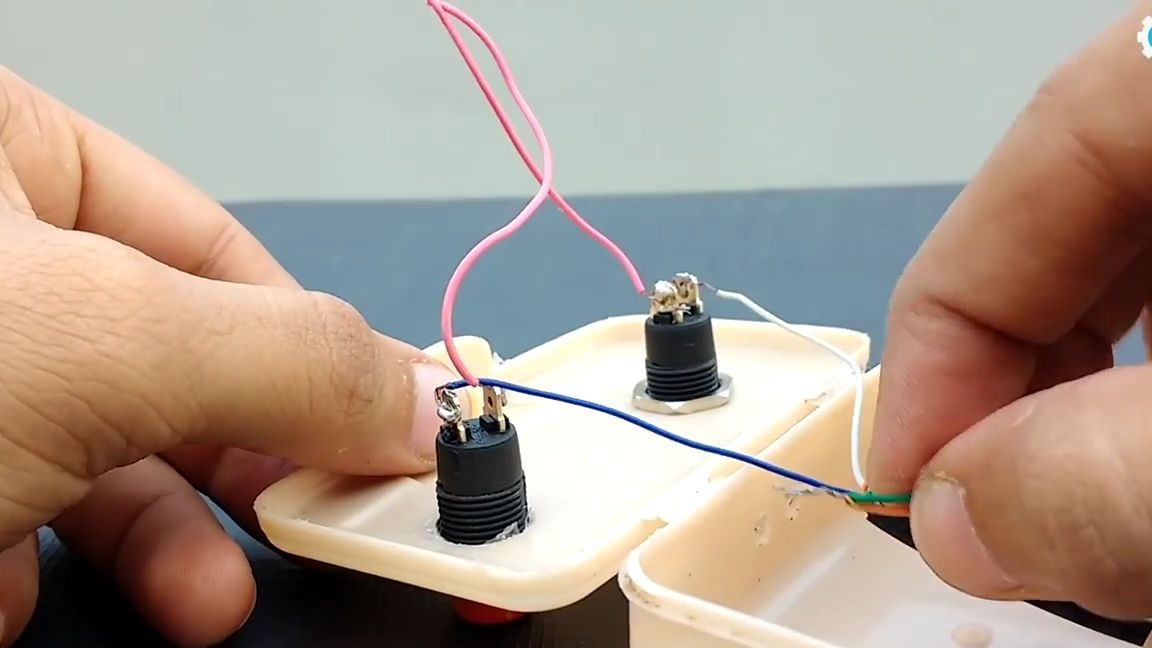
Now we take a plastic box and make two through holes for buttons in it:

We take these buttons and install them in the holes made:

We solder the wires on the back of the wire to which the motors are soldered to the switches, everything must be done as shown in the photo. It should turn out in such a way that one button is responsible for moving forward, and the second for turns:
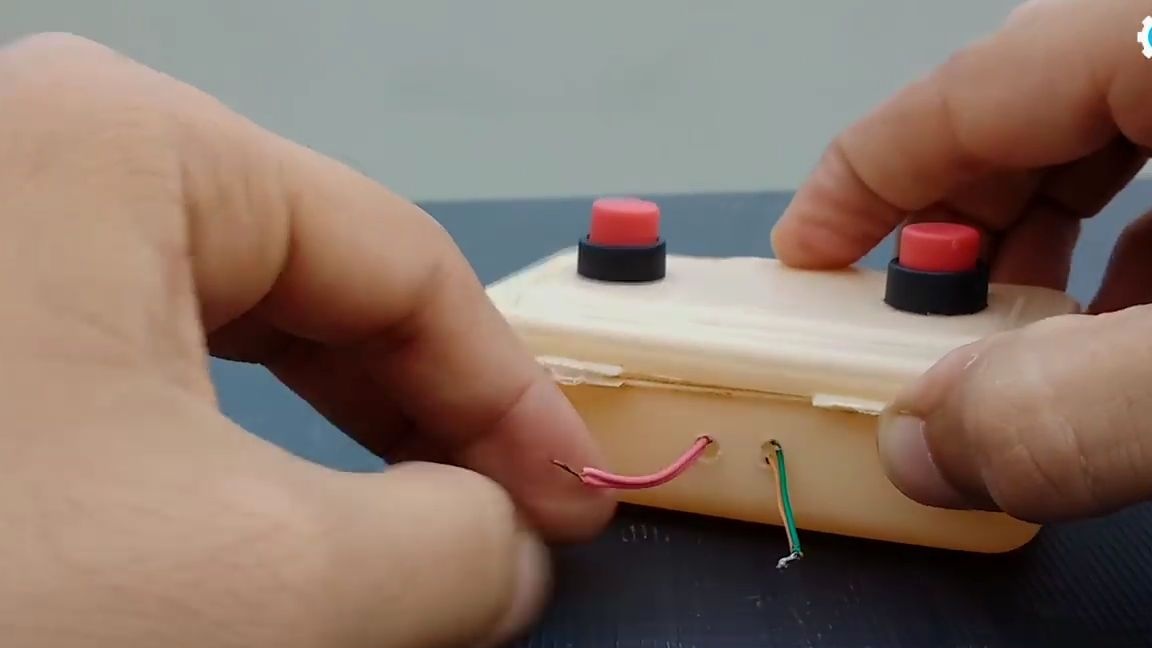
On the side of the box we make two small holes and output wires through them:
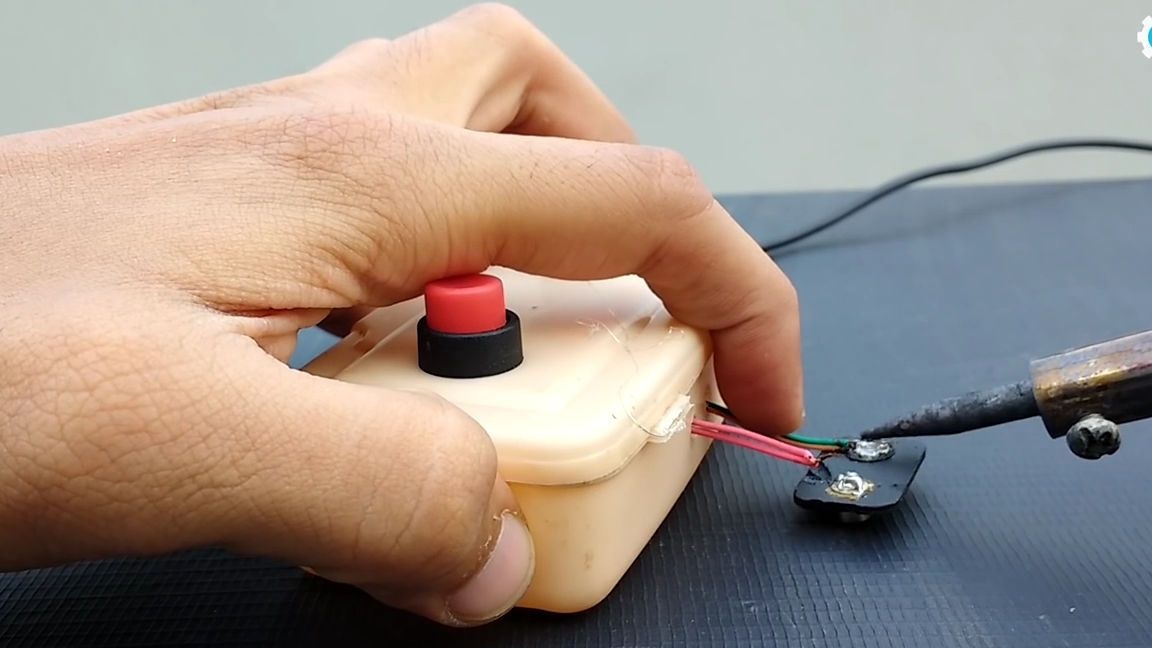
It is necessary to solder them, observing the polarity of the connector for the 9 V crown:
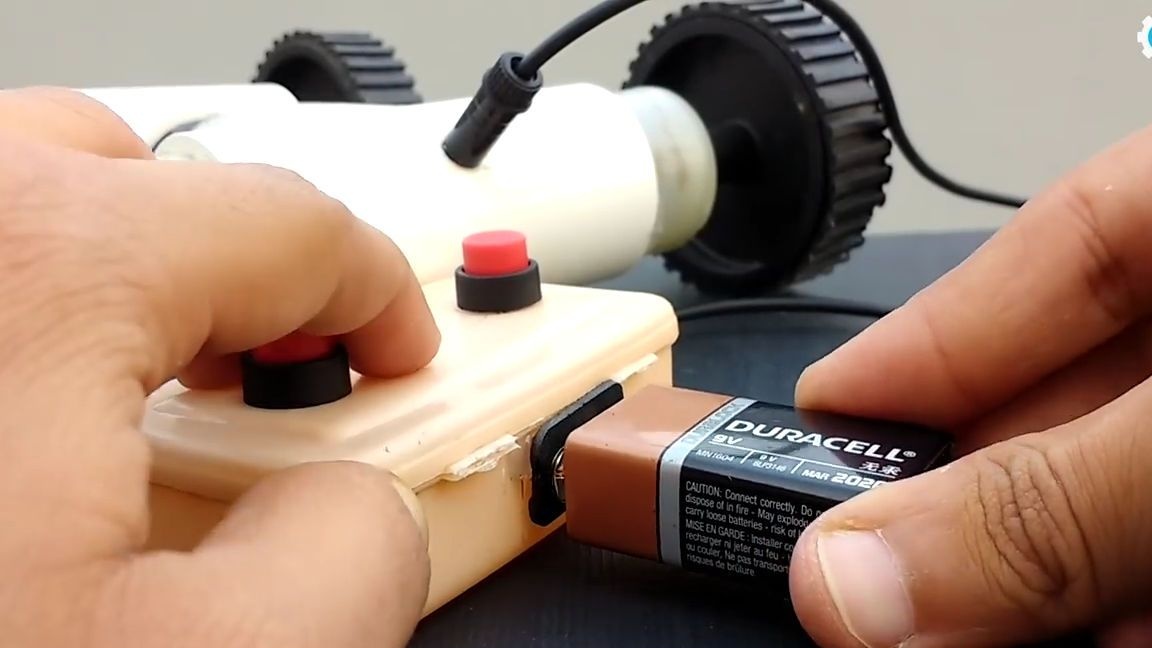
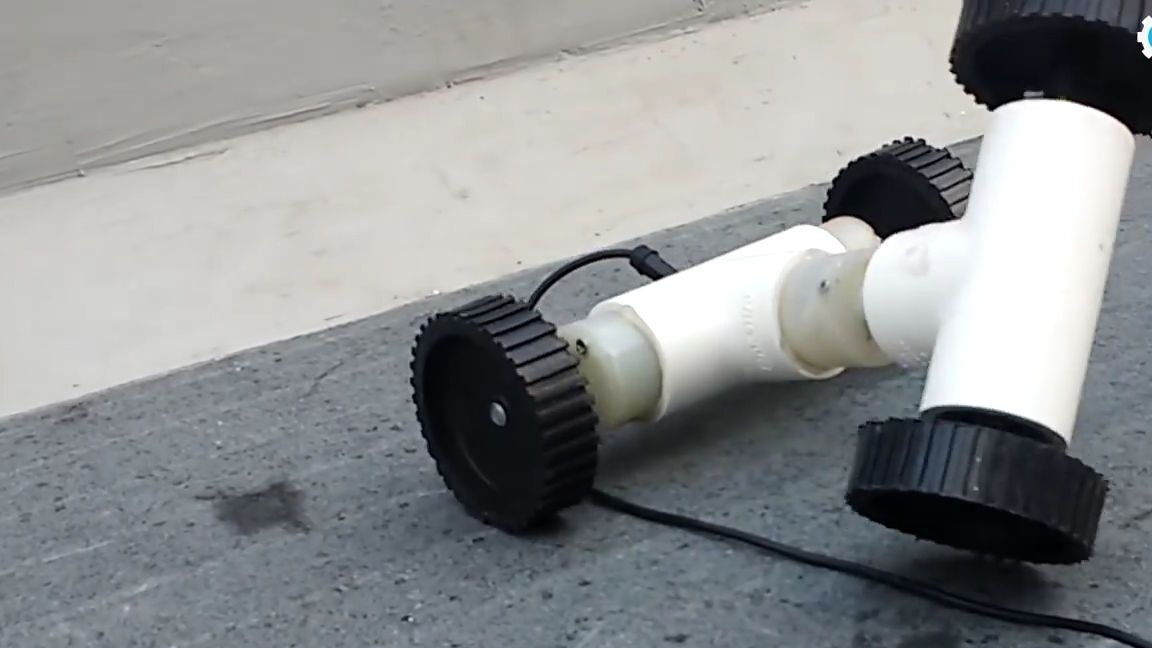
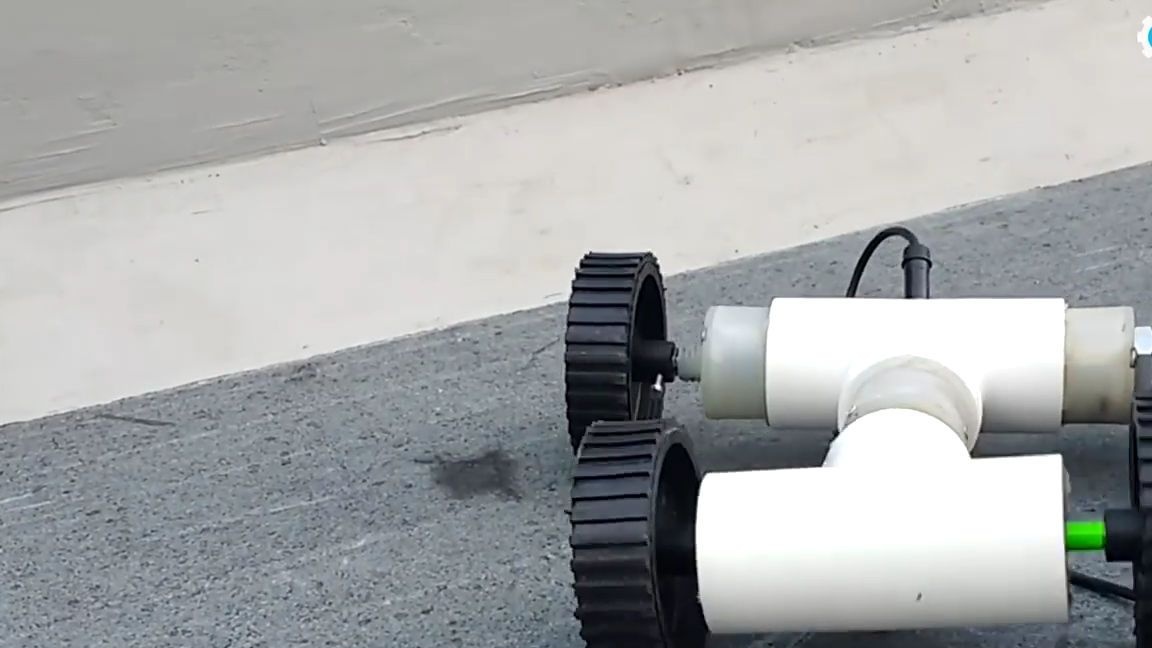
Then just connect the 9 V crown to the connector and that's it! The chassis with an unusual swivel mechanism is ready and it remains only to test it. To do this, simply click on the necessary buttons for turns and ride. I think many will like this simple homemade product, especially for children.
Here is a detailed video from the author with the assembly and corrections of this homemade product:
Well, thank you all for your attention and good luck in future projects, friends!