
It all began like this: the author’s wife asked me to make some kind of TV stand for her to work. Well, the author decided to create something like this to make it interesting. Such a creative resulted in a very long project. What happened in the end, you will find out at the end of the article.
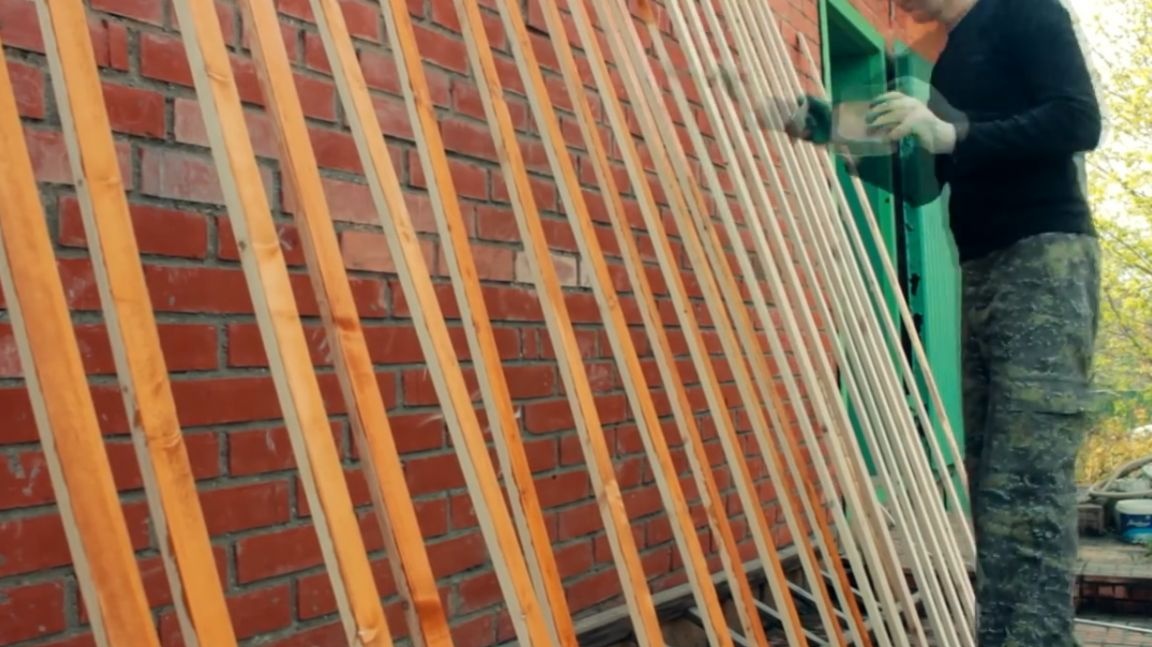
We will need 20 to 40 mm wooden blocks. The first step was to purchase 50 meters of timber 20 by 40 mm, which is about 25 pieces, since each timber is 2.10 long.
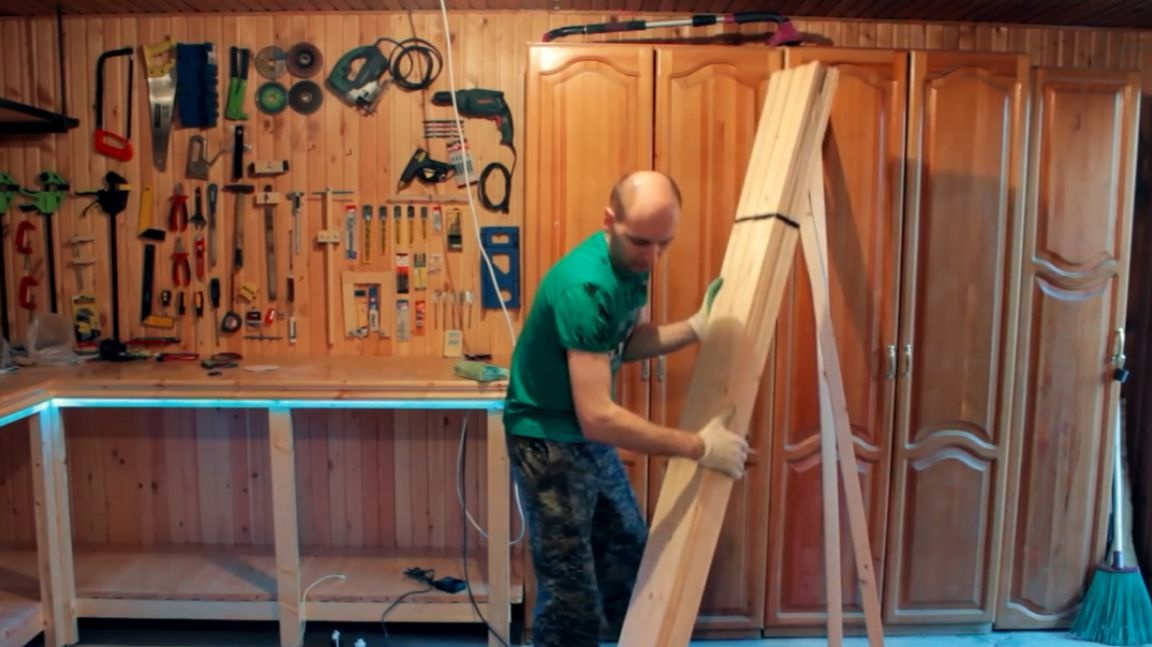
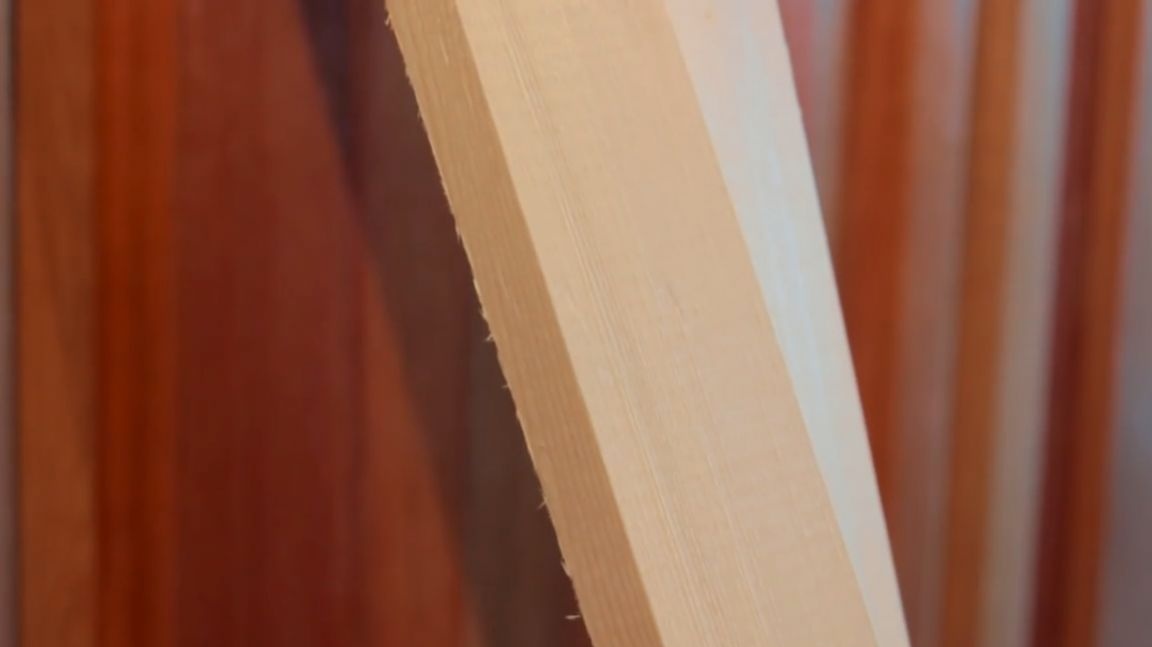
Since this timber was not a finishing material, the quality of its surface left much to be desired, even though three of its four sides were planed.
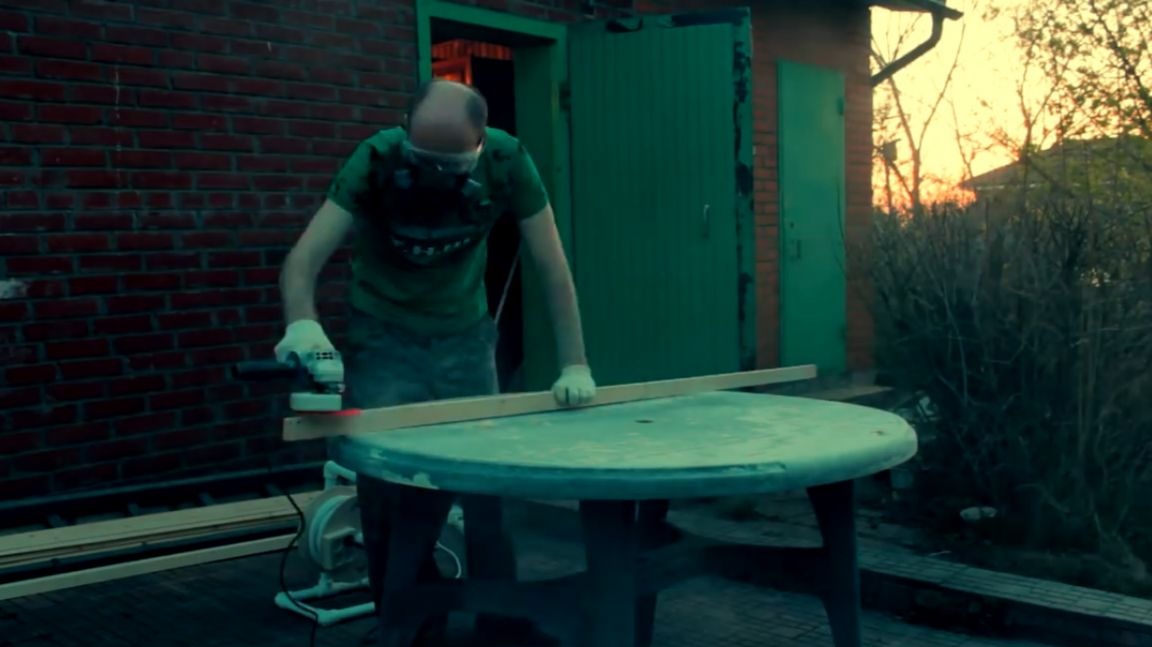
Grind so much timber inside the garage the master certainly did not dare. It was decided to equip the workplace right next to the garage. For this, the author used a plastic table, a home-made extension cord and a grinder with a corresponding nozzle.
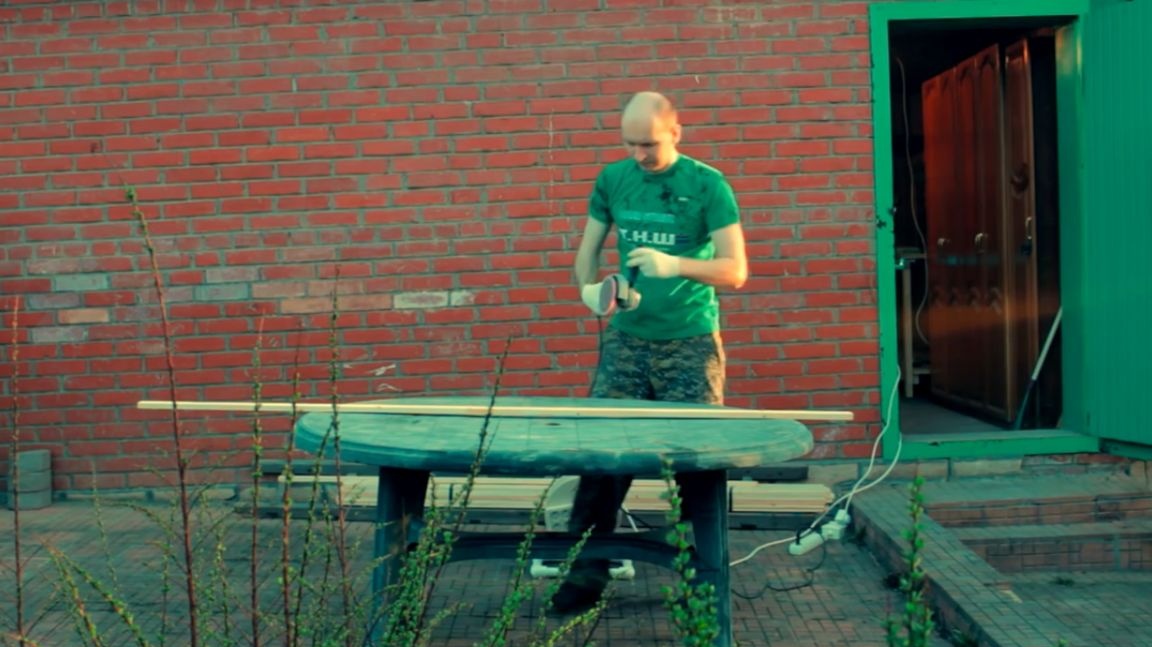
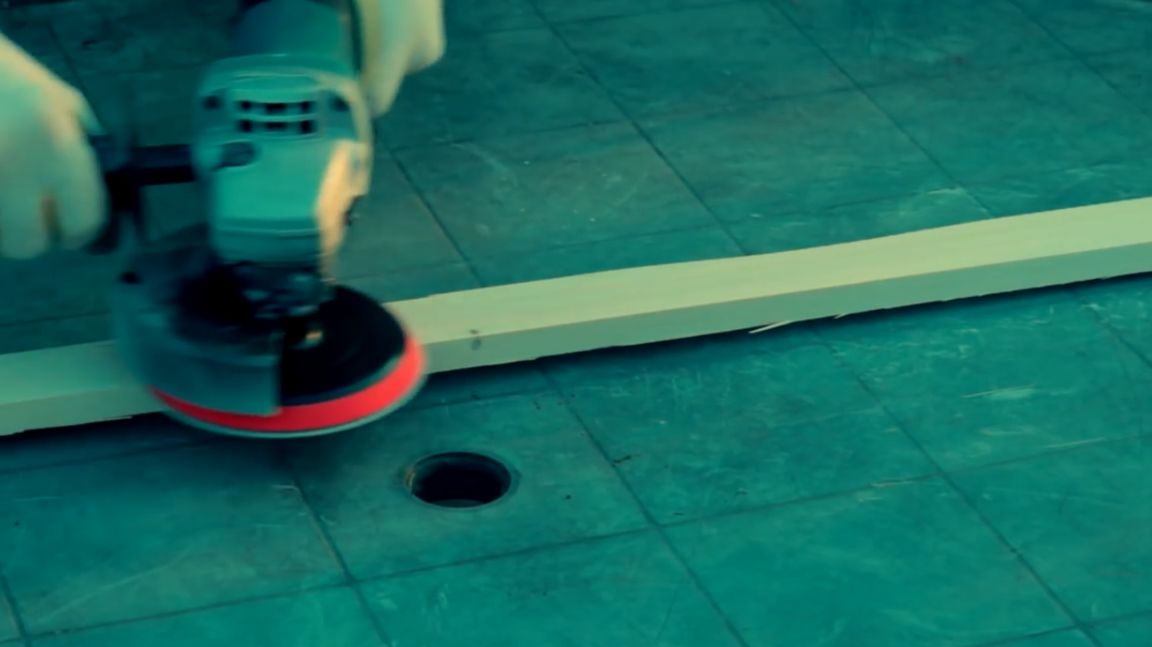
At first, the master tried to grind the nozzle with grain 300. Of course, it went off with planed sides just fine, but there were problems with the raw side. Therefore, the author decided to replace the grinding wheel with 150 grain and the process went more fun.
Do not forget about eye and respiratory protection. The author used a respirator and goggles so that fine dust did not get into the nose and eyes.
After the grinding has been completed, you can immediately paint everything with a stain.
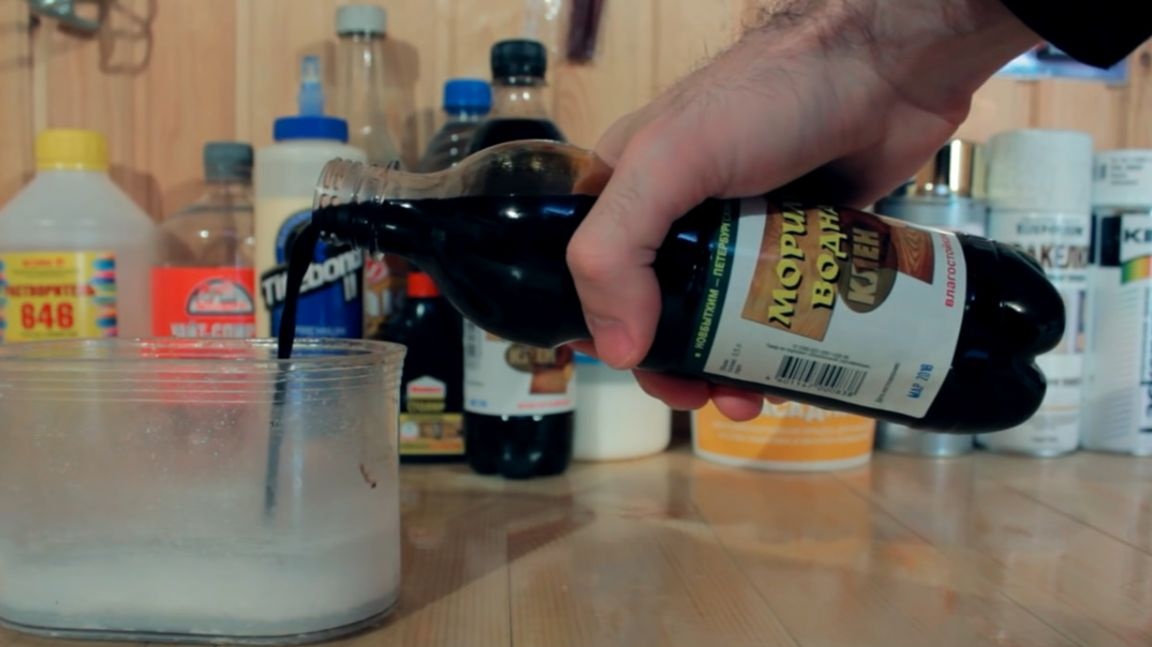
Just the future, by the way, 3d object, implied such a design that it would be impossible to paint from all sides. Therefore, accordingly, this had to be done in advance. We will use a maple stain, it dries quickly, for our project it’s the most.
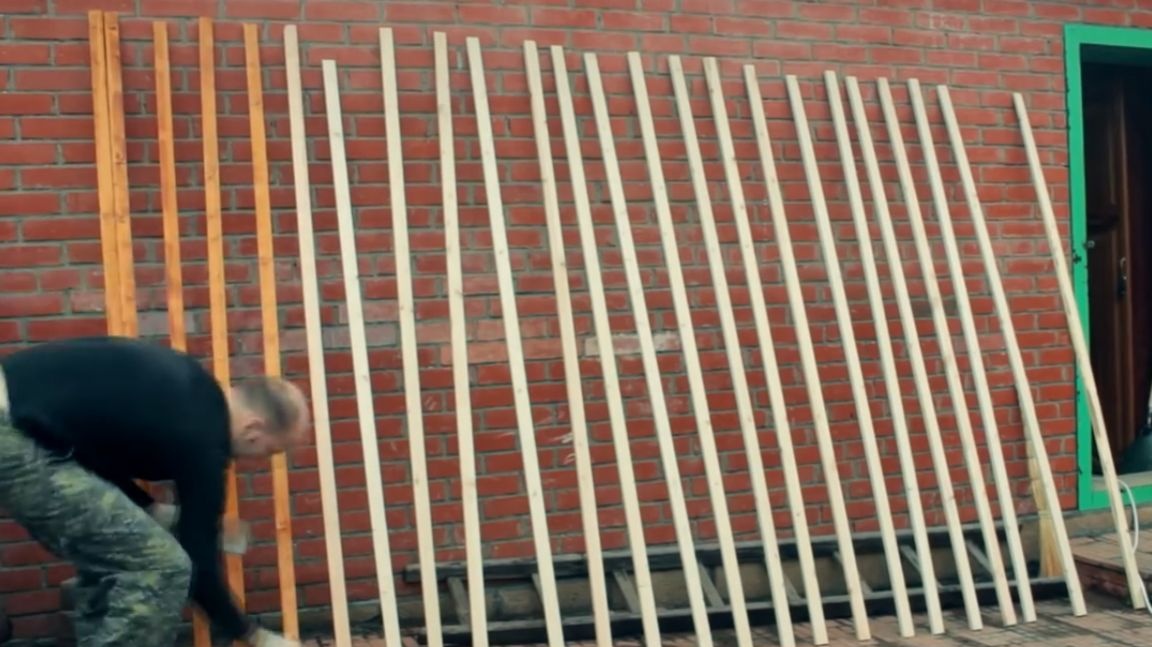
By the way, during painting, a small jamb still turned out. The fact is that the author painted one side first, and then the other, and this was the main mistake. With this method of applying stain, a darker layer was formed at the junction of the two layers, which is very noticeable. Not to say that he looked very ugly, but it was unpleasant. Subsequently, of course, we will try to hide these places inside the structure, but still, for the future, I advise you to paint all sides at once.
In this design, it is quite important to observe a beautiful and even end, which we try to make with the maximum quality using a jigsaw.
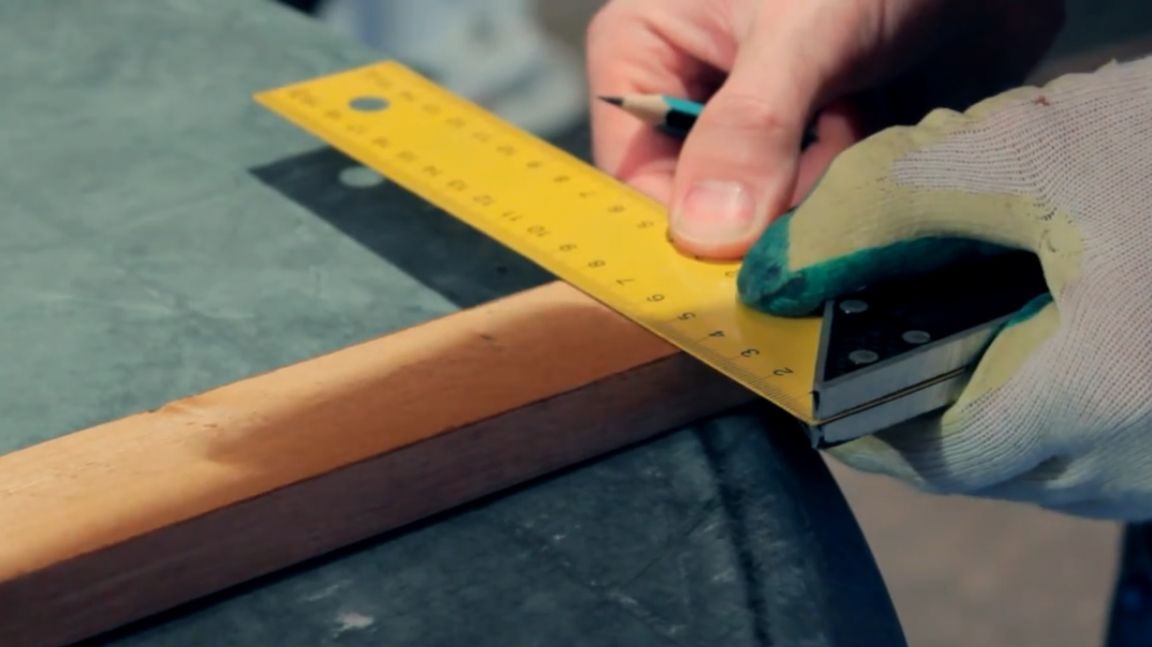
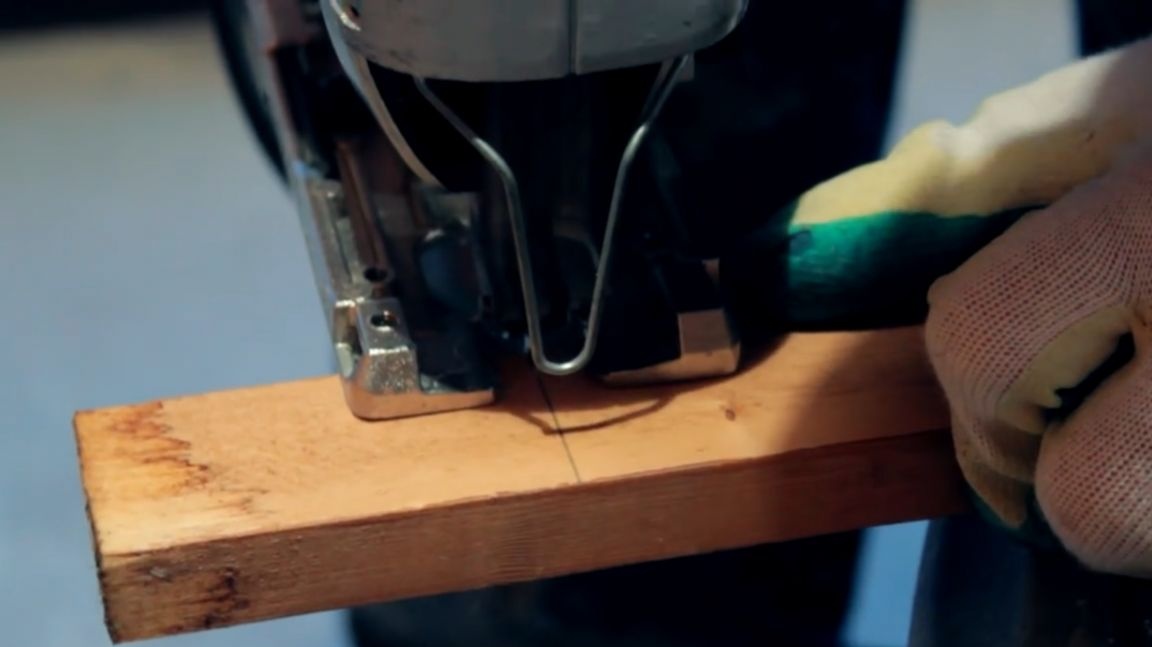
But as you yourself understand, using a jigsaw it was not always possible.
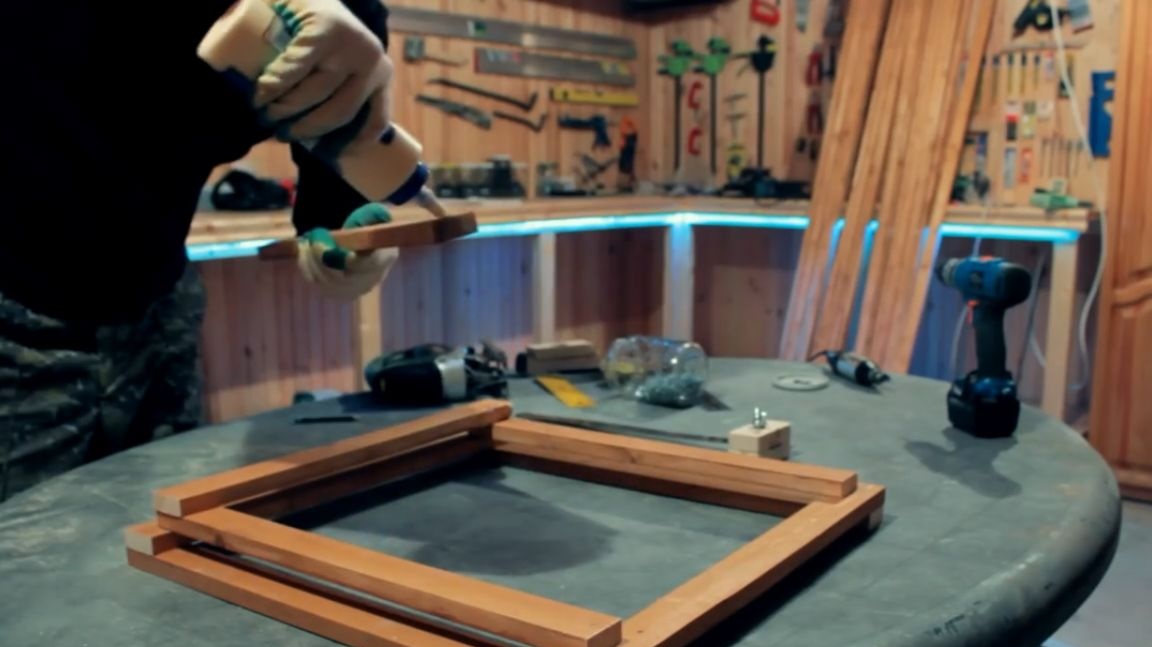
We will do the foundation of the future home-made as always on a grand scale.To do this, cut off 4 rails of 500 mm each and put them in a well (well, or as this design is called correctly).
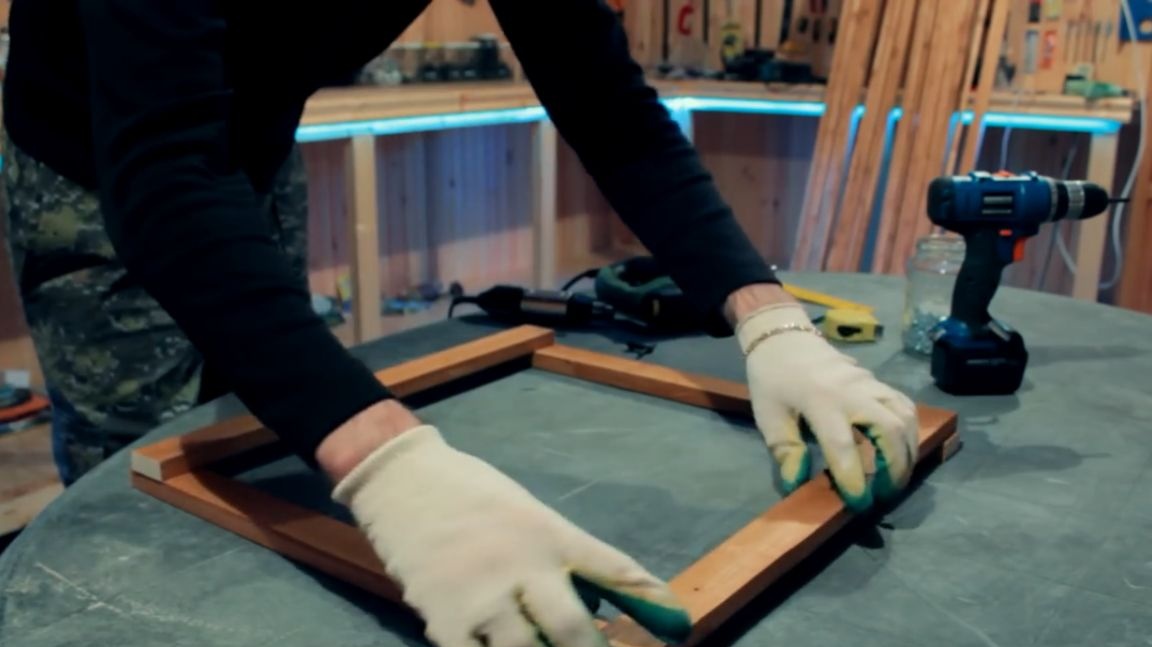
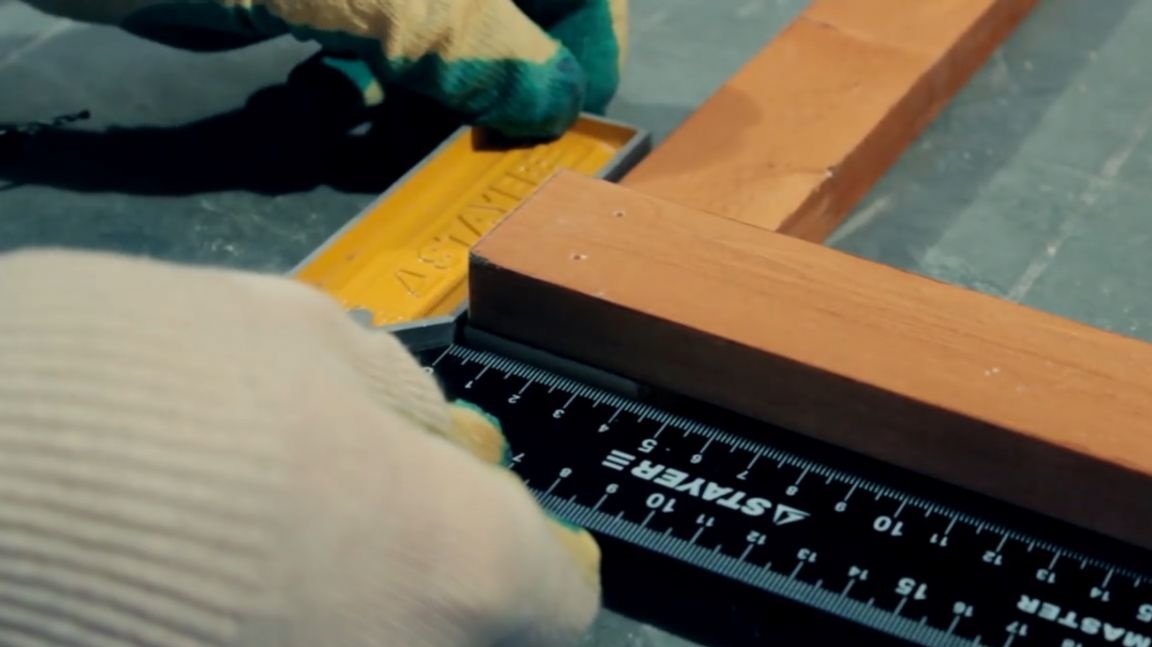
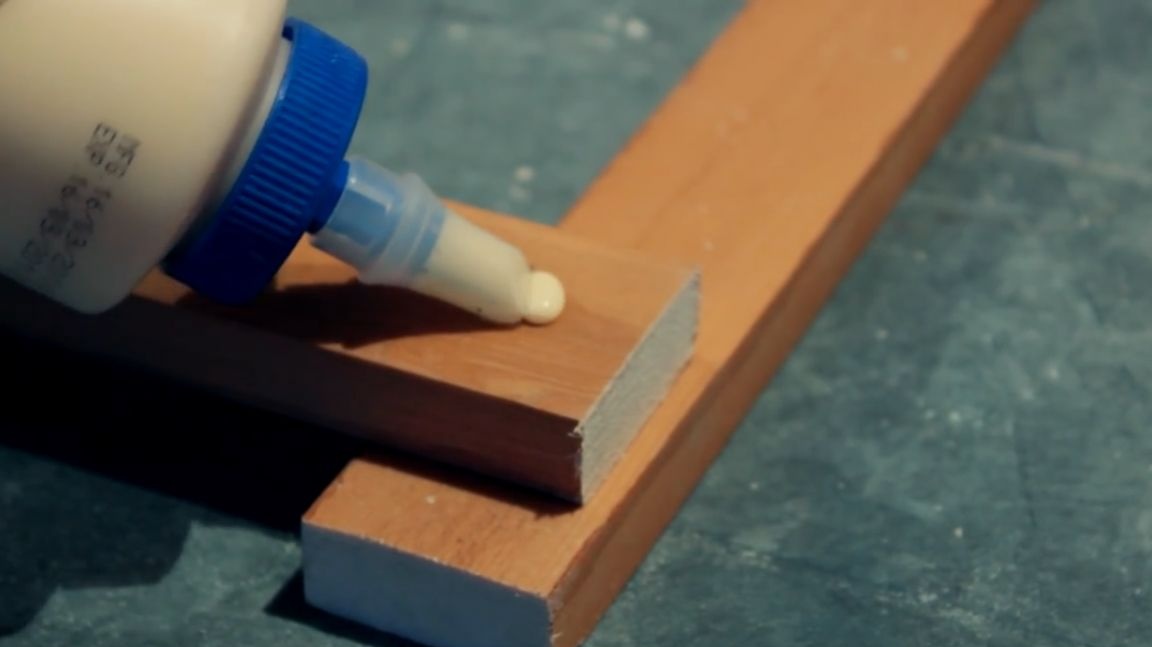
We fix each beam of the base to 2 self-tapping screws. Necessarily for the strength of the joint we apply carpentry glue. We also definitely control the angle of 90 degrees, since in this design it is more important than ever before. Well, after all the procedures we fasten everything with screws.
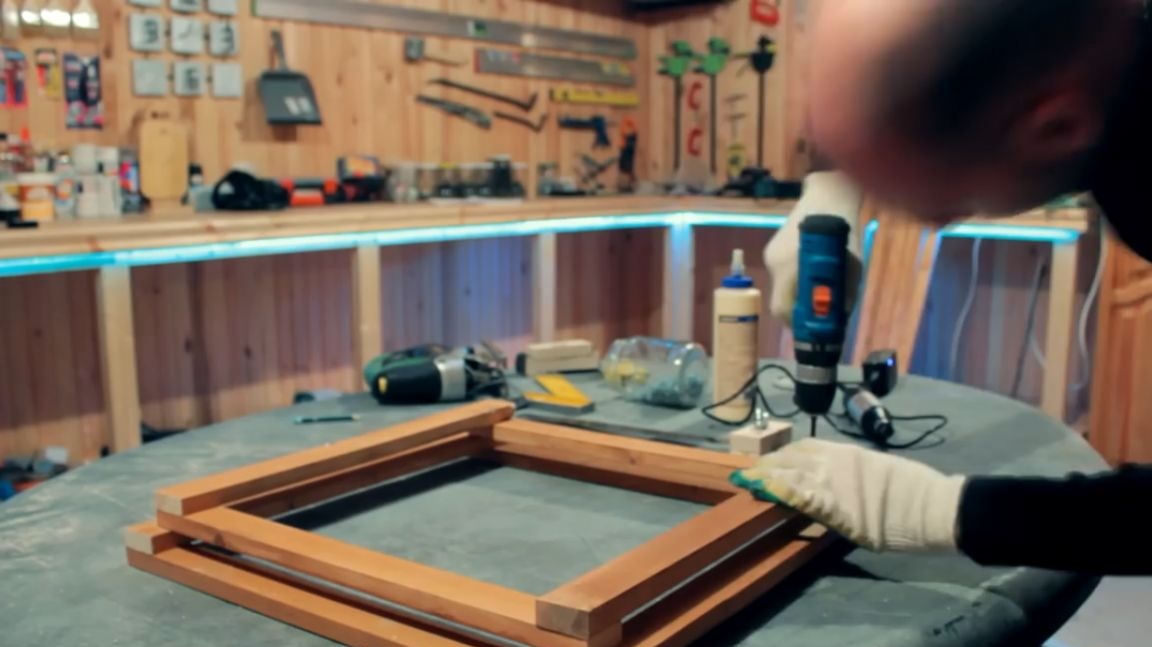
We will need the following sections of the beam with a length of 460 mm, that is, 40 mm less than the previous ones. Like last time, we cut everything off with a jigsaw and fold the second tier.
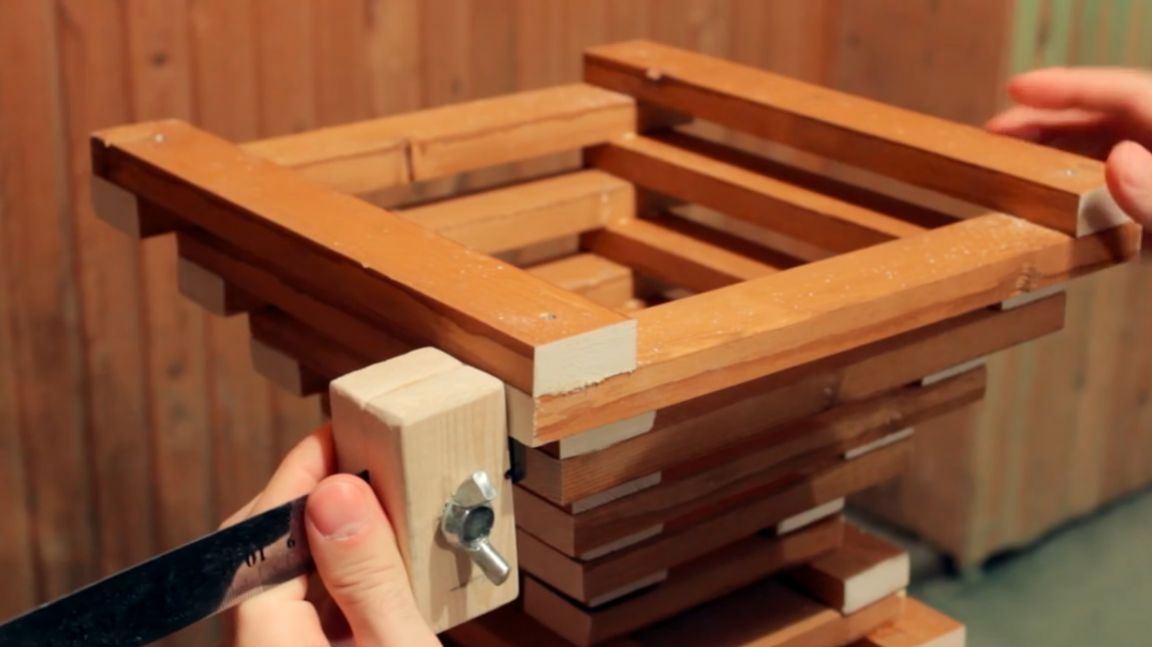
We level the second tier with the help of a homemade thicknesser and by the way, this is the tool without which the author does not understand how he worked before.
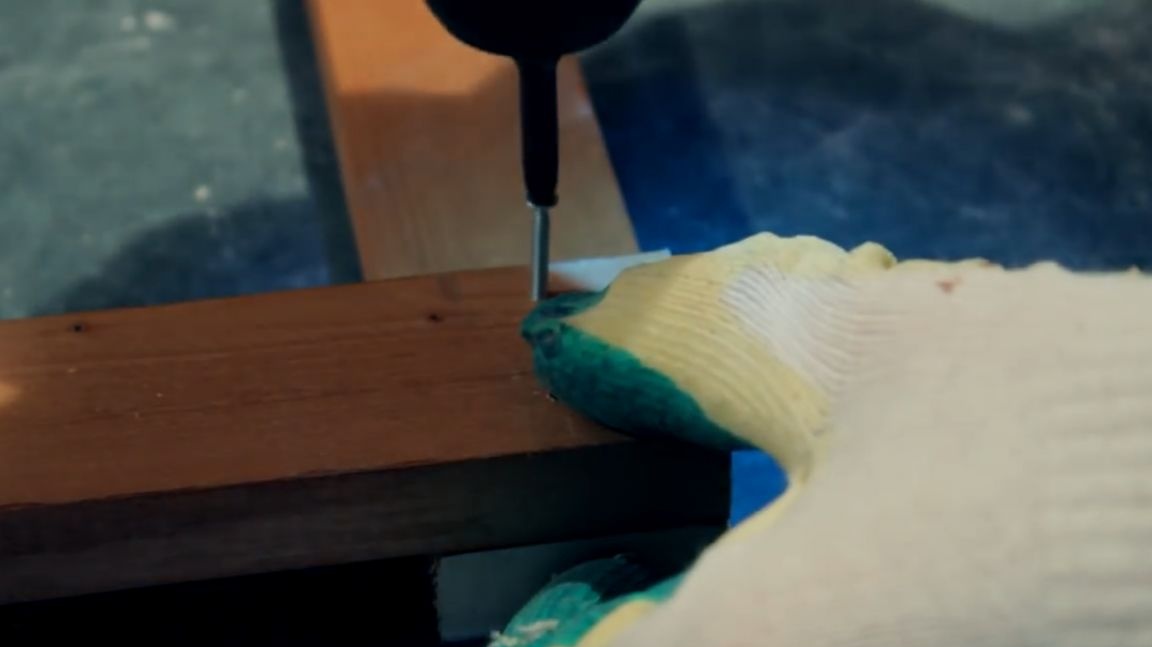
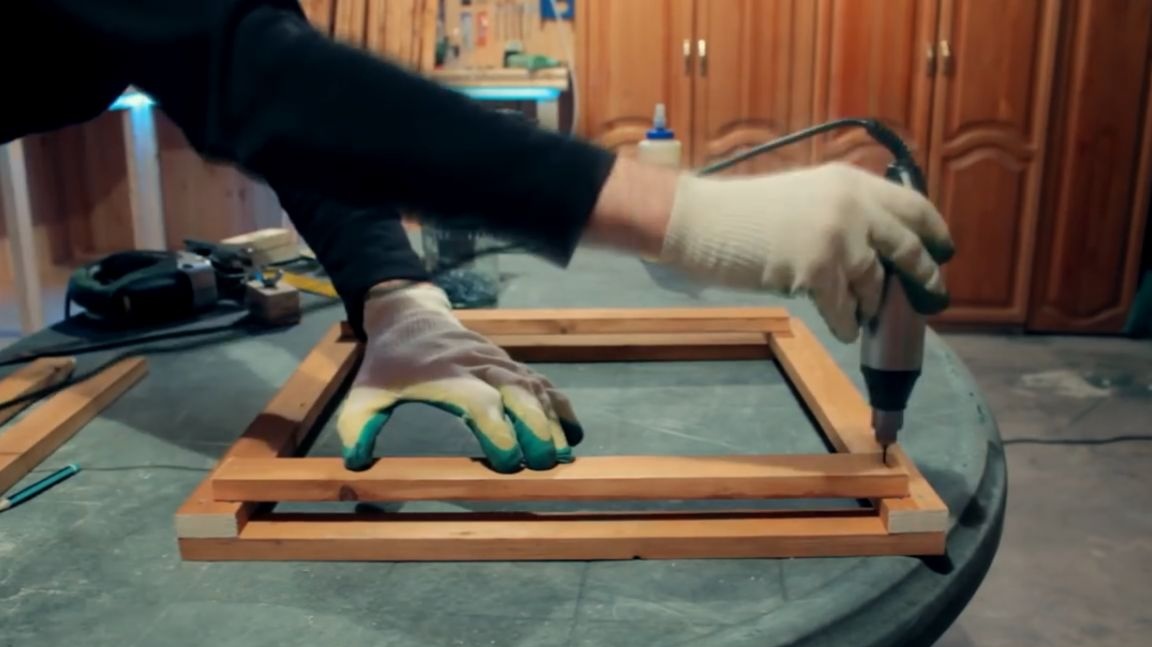
We quickly drill everything with a dremel and twist it onto the screws, pre-coating it with carpentry glue.
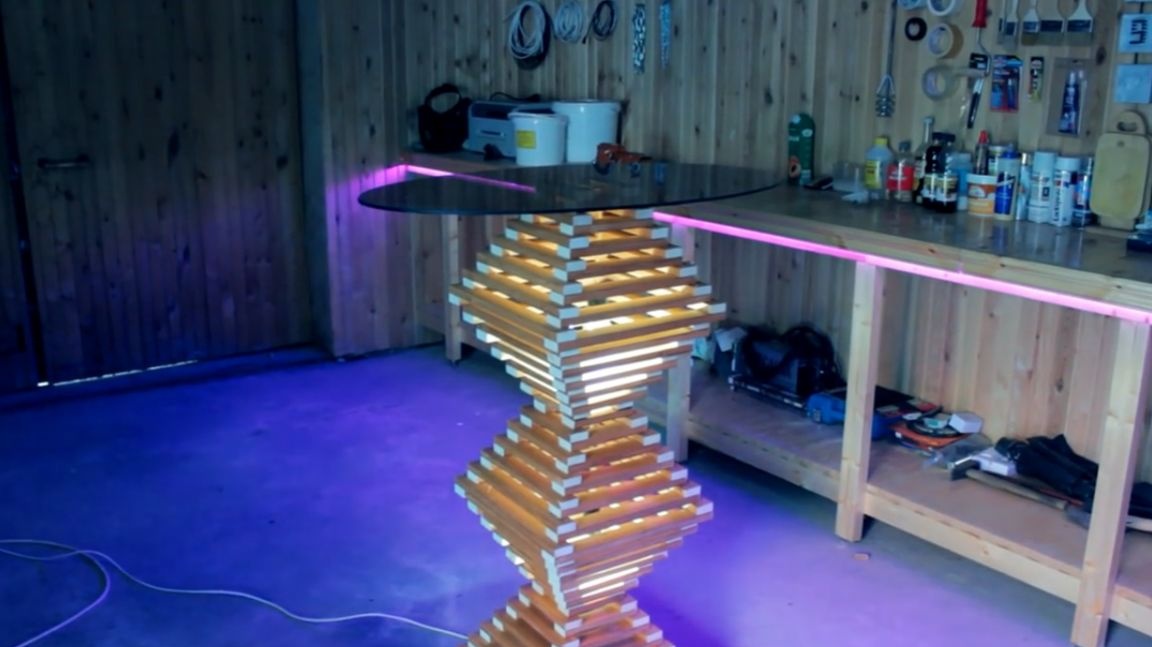
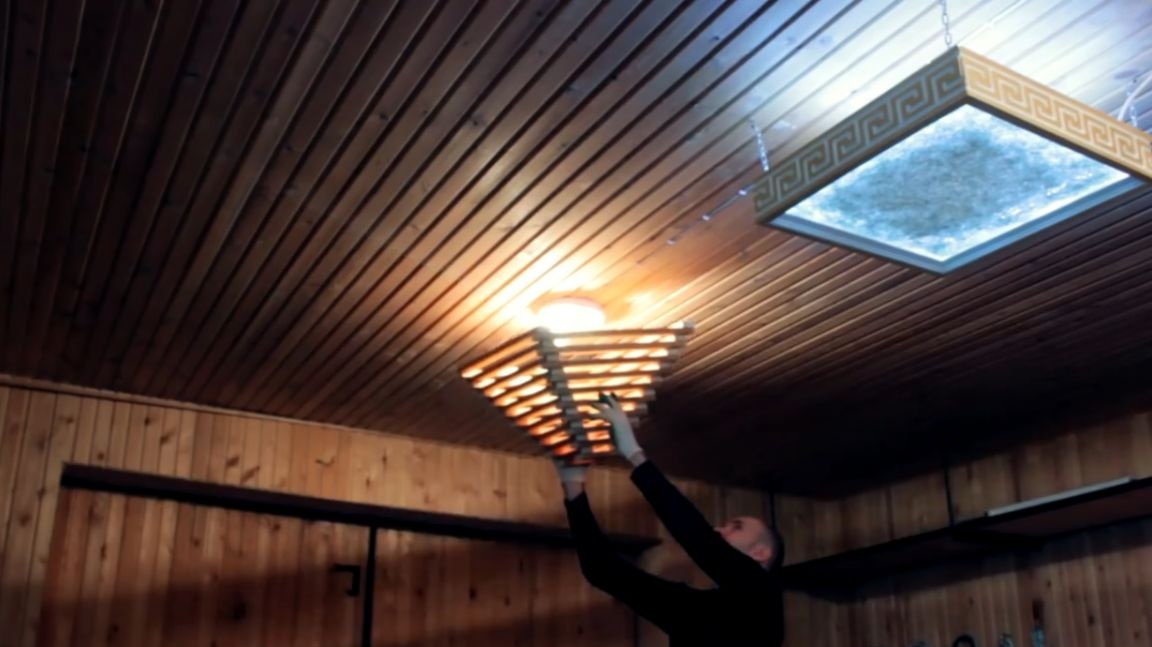
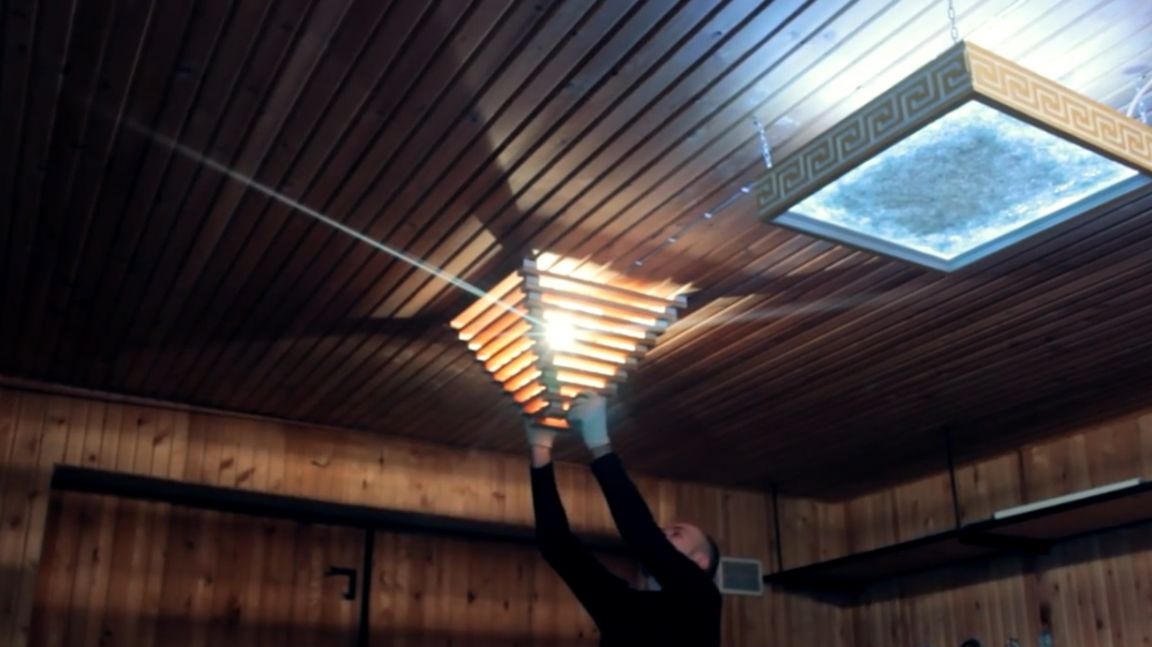
Having spent about 6 hours of working time, we get only a small part of the future design. And at this stage, this design can already be fitted into any wooden interior and get such a cool lamp that you can’t definitely buy anywhere in the store, and most importantly, the cost of materials for this lamp is just a penny. The main value is laid precisely in the work, so if you do not have a lot of money and a lot of free time, then why not make yourself the same here.

So unexpectedly, one more home-made from another home-made turned out.
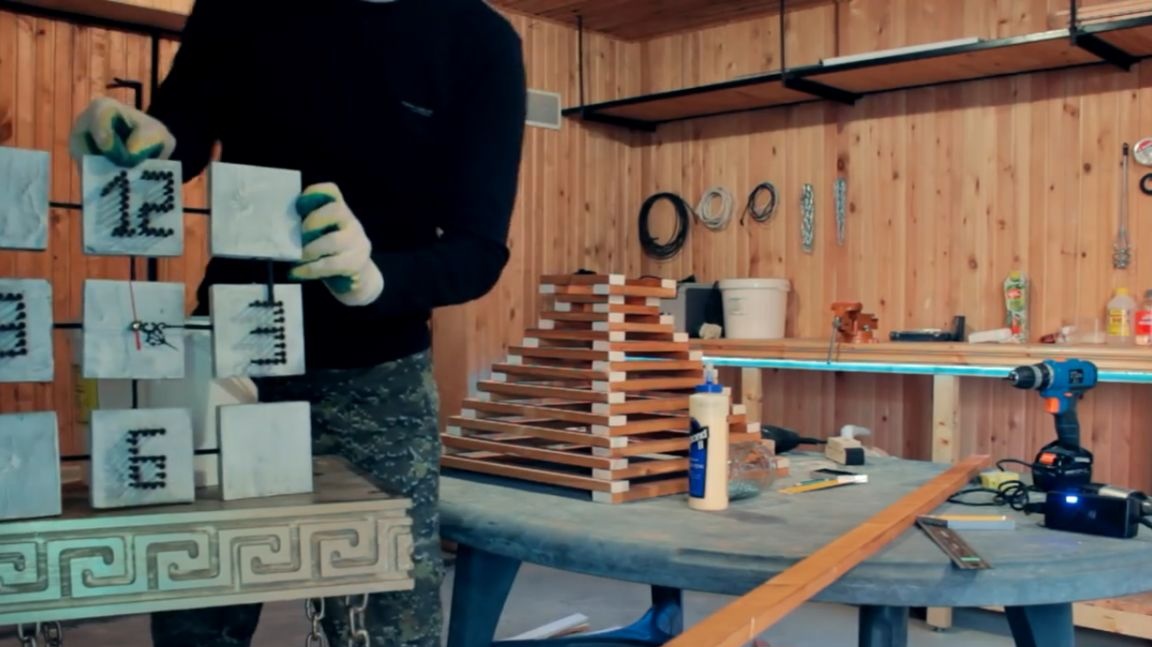
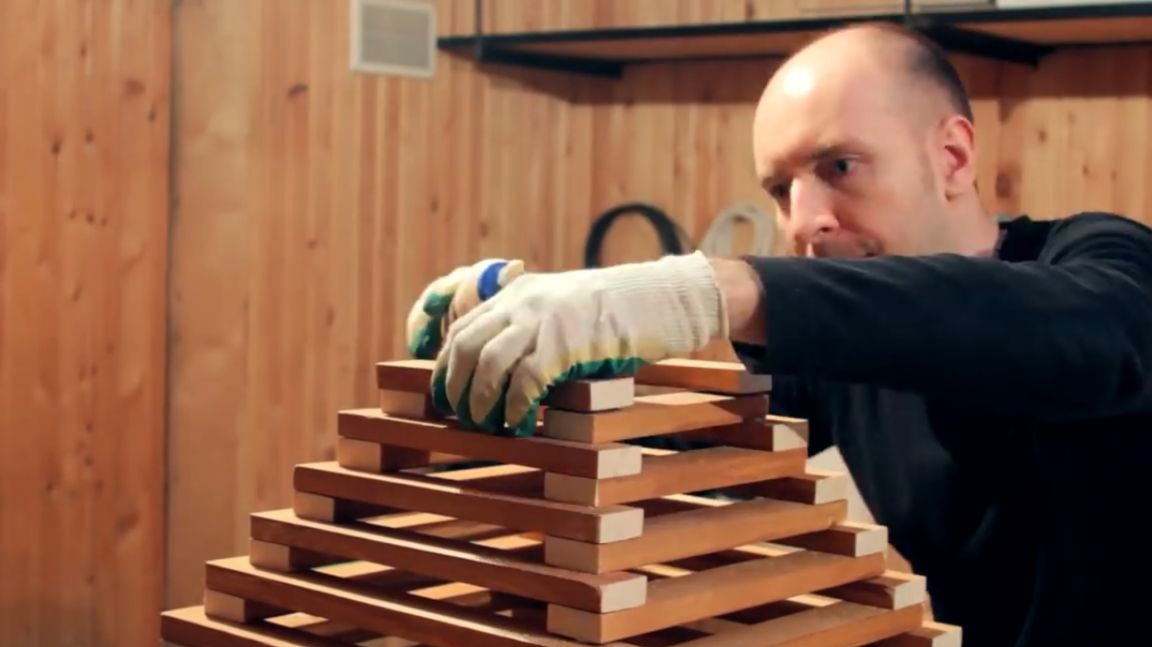
For clarity, the master decided to put a home-made watch in front of the camera, so that you can appreciate all the painstaking work. The fact is that, making a mistake of only one millimeter in each layer, at the end of our design we would get an error of 61 mm, and this would be unacceptable and simply ugly. Therefore, for fastening only 6 layers, it took an hour of time.
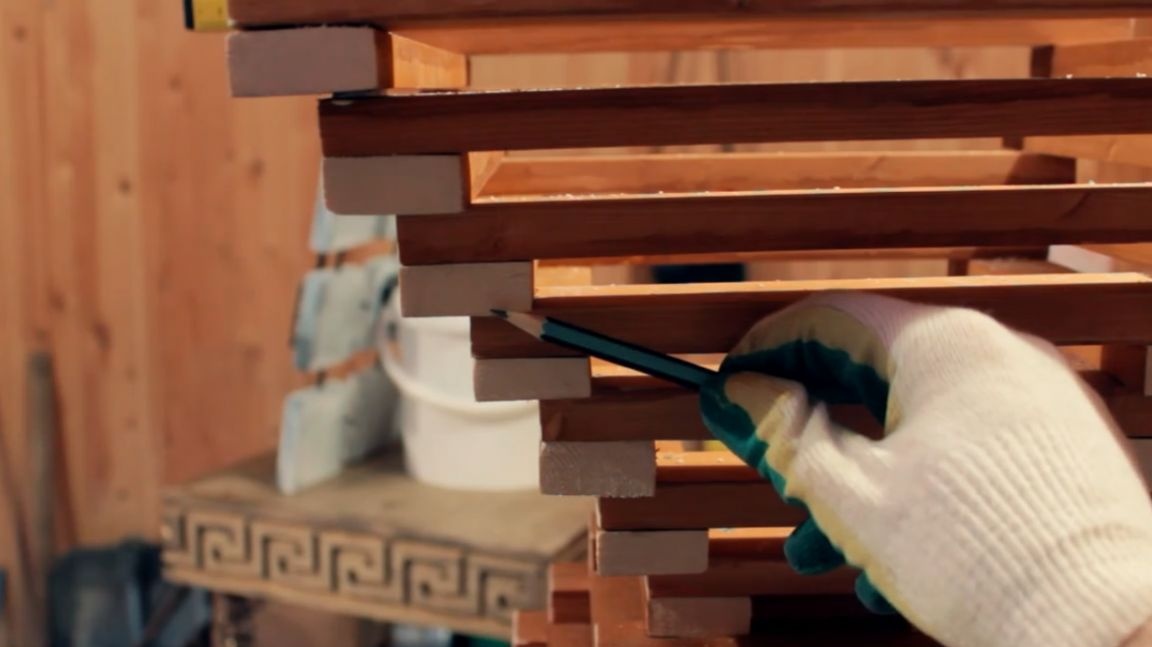
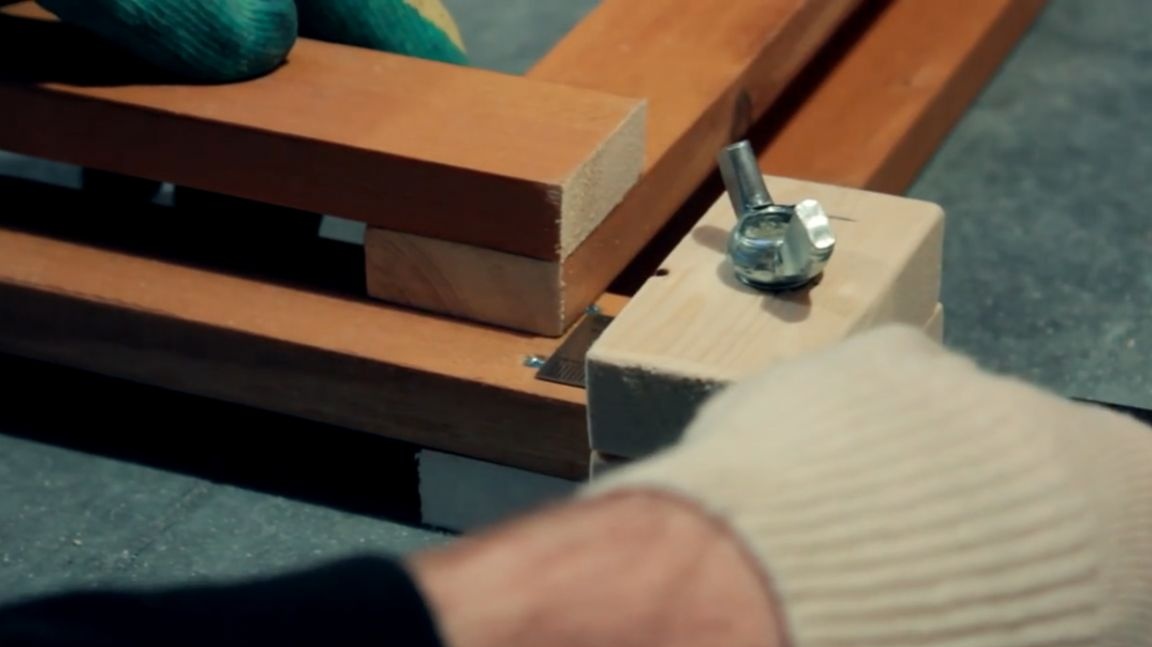
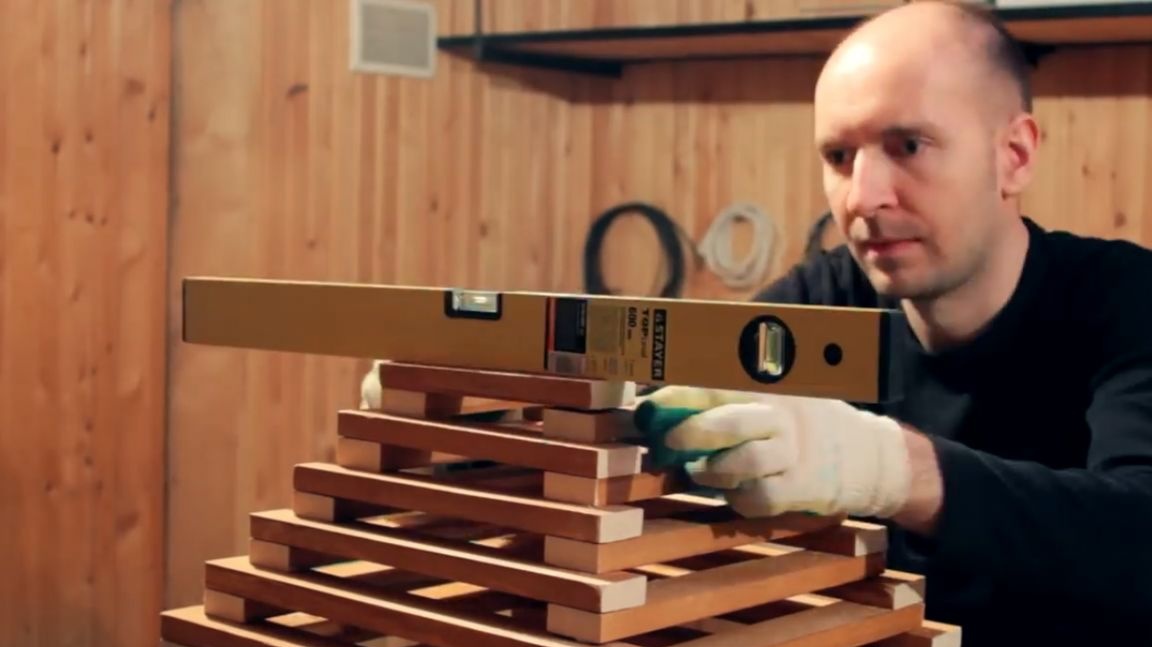
Further, the higher our tower got, the more all sorts of nuances became. One of the nuances was that the level relative to the ground was constantly shifting and this was due to the fact that some bars had unequal thickness. To solve this problem, the master used reinforced washers with a thickness of 1 mm. With such a thickness, it was generally invisible between the bars, but performed a very important corrective function.
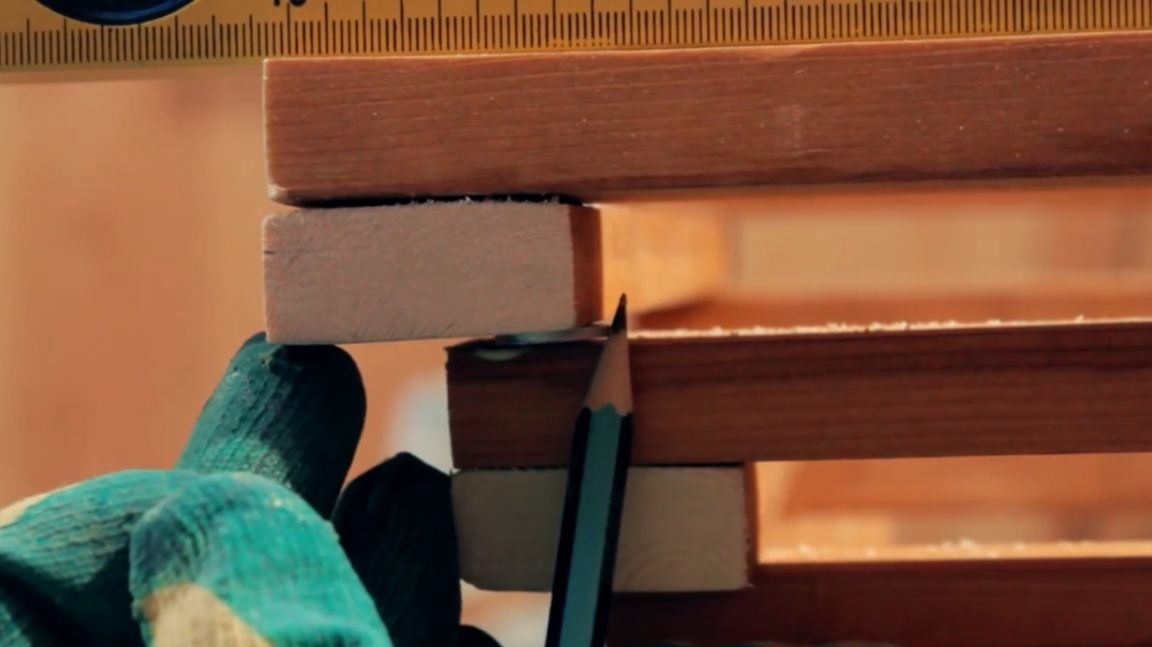
Even in the process, the author noticed one feature, the higher the tower became, the longer it took to adjust each layer. Sometimes, to adjust the layer, you just had to rotate it 180 degrees, and the level came on its own.
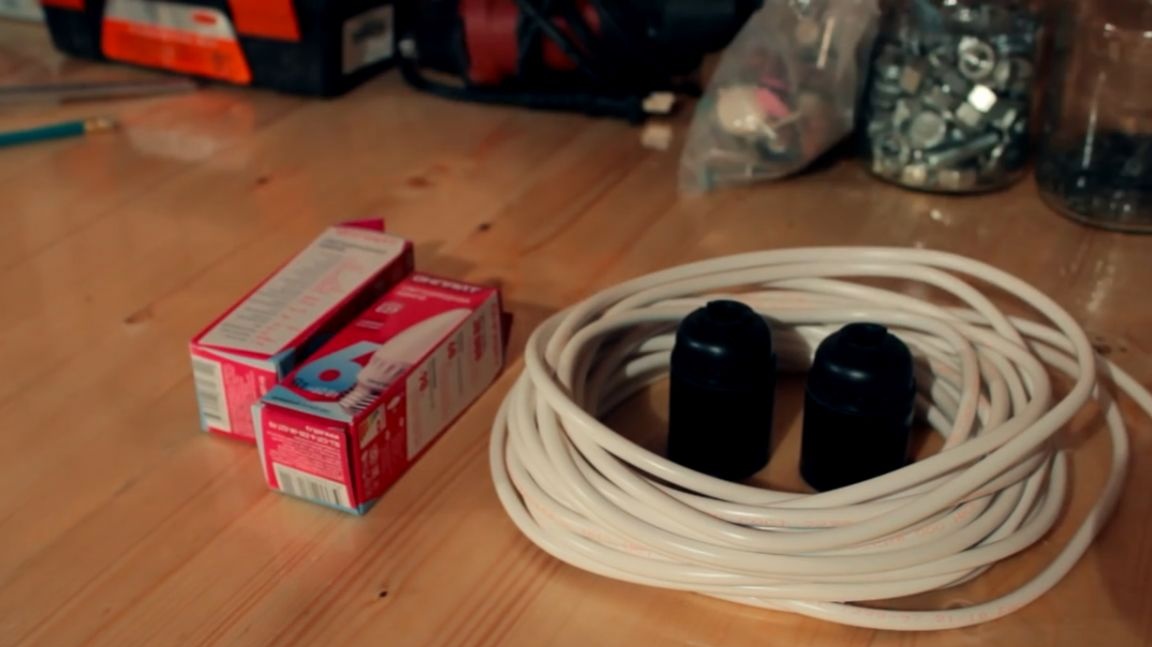
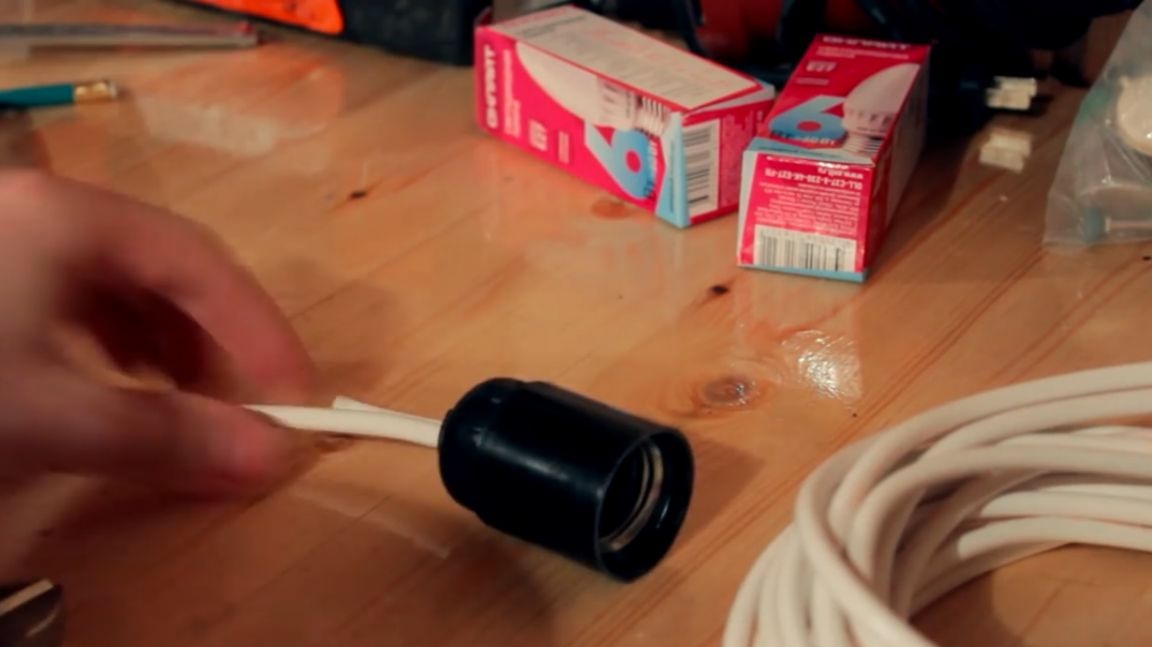
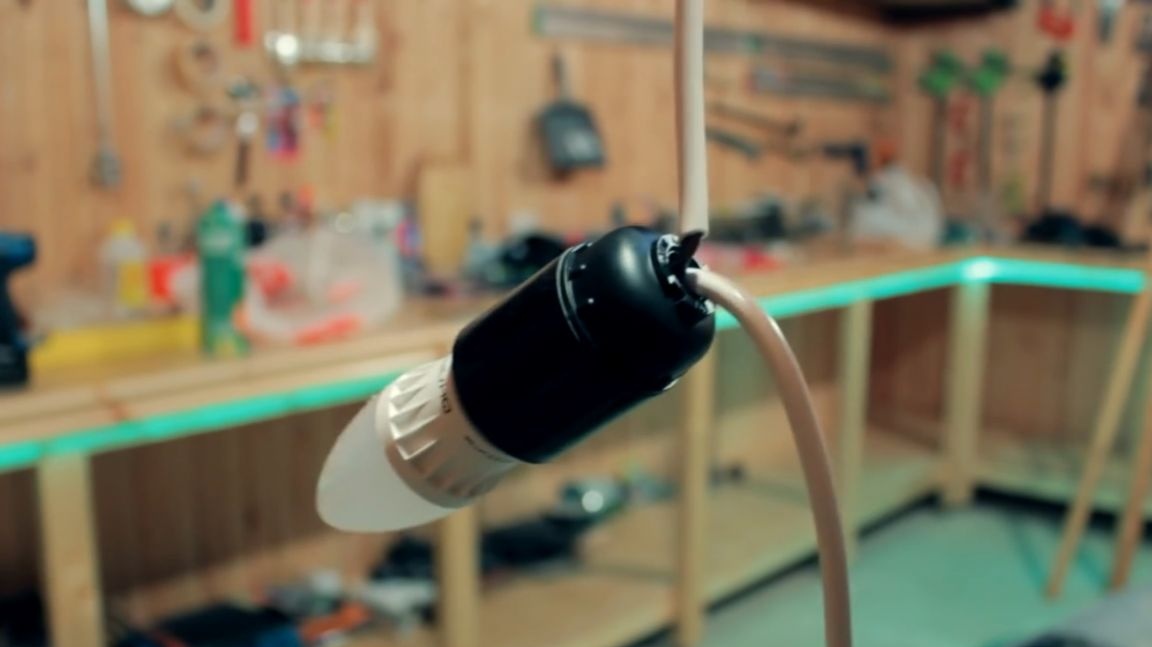
At the next stage, to add a twist to our homemade work, we will use a 2x0.75 PVC wire, two lampholders with an e27 base, two 6-watt LED bulbs each and a plug.
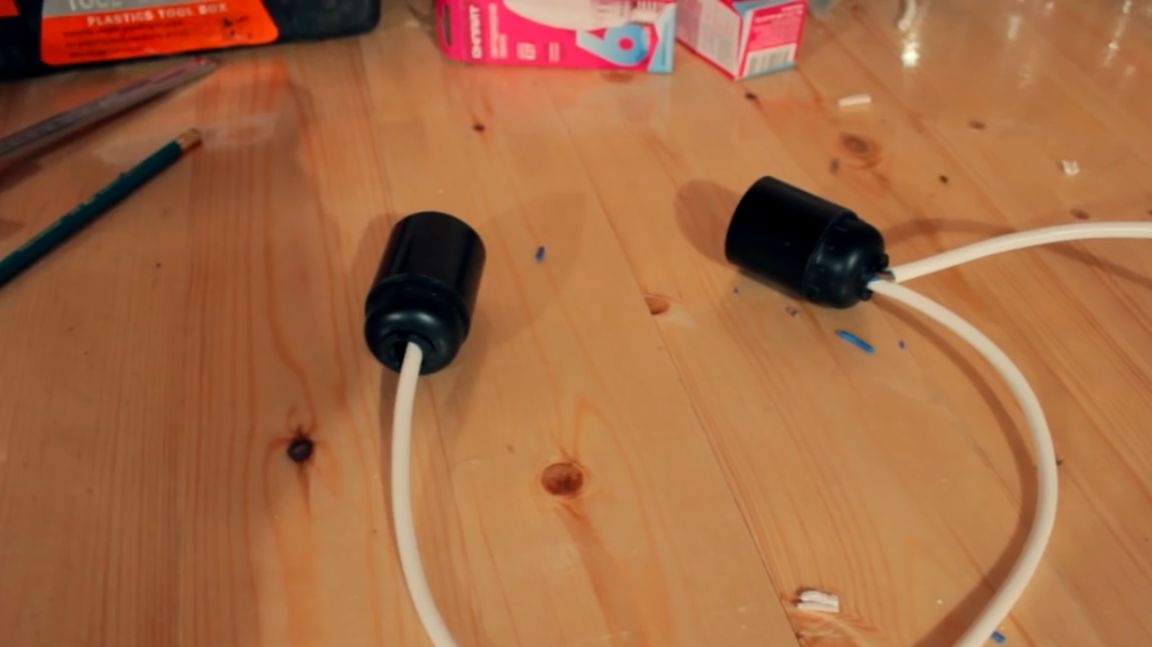
We connect the free end of the wire to the cartridge, there is nothing complicated here. Next, at a distance of 400 mm, we connect the first cartridge with the second cartridge using a loop, so that at the output we get such a design:
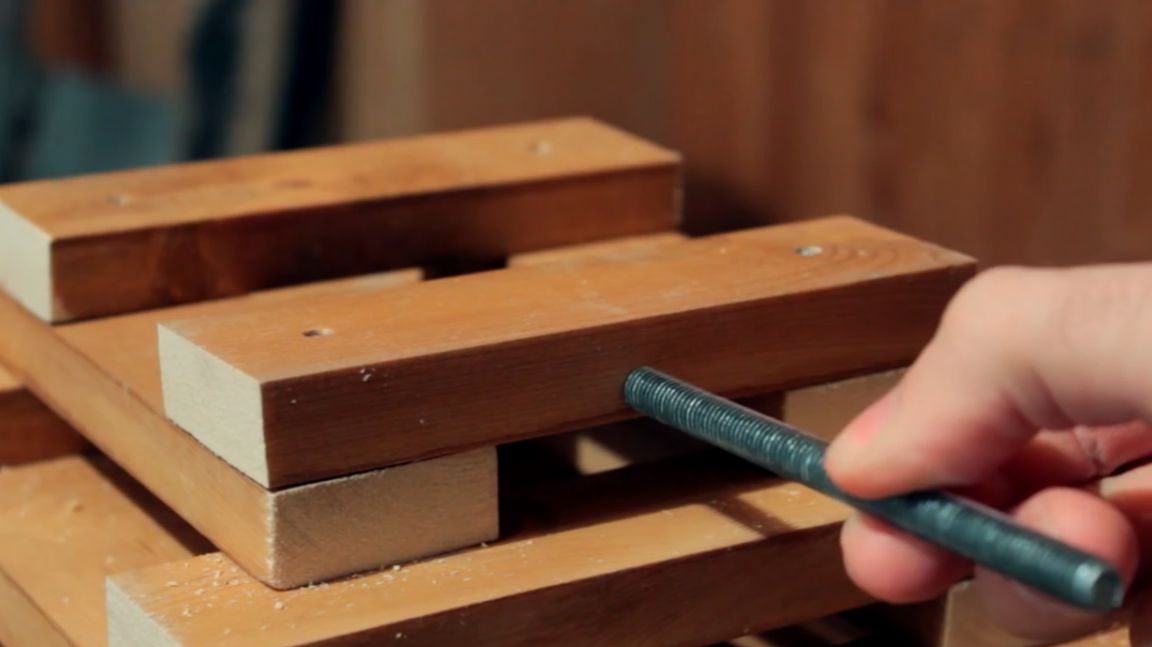
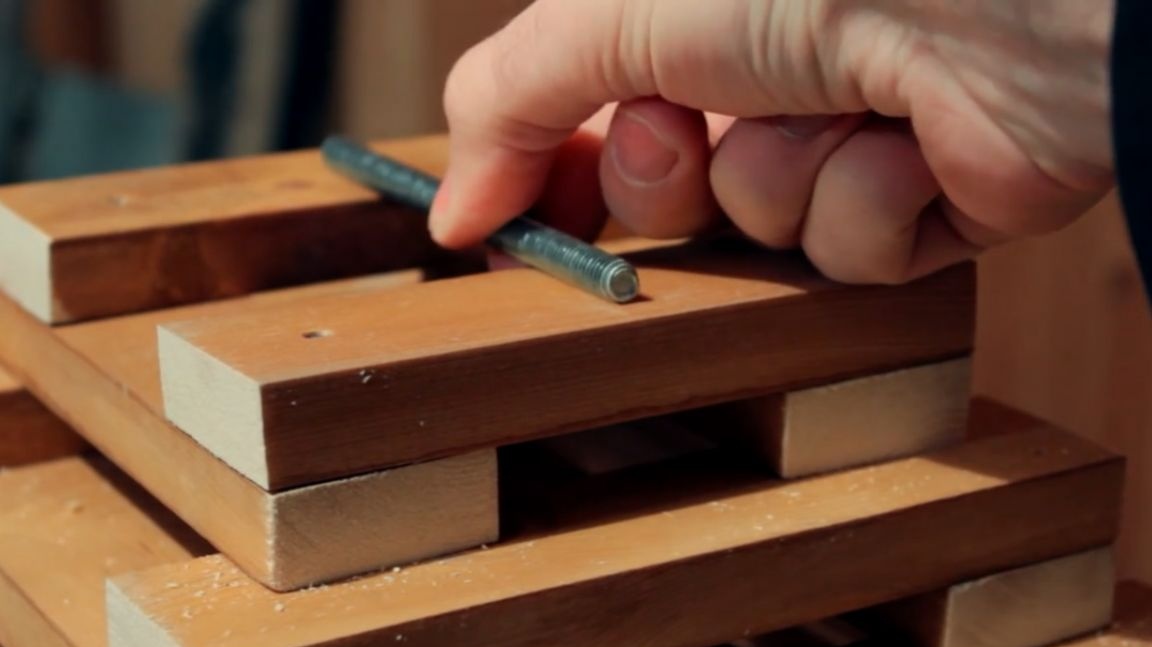
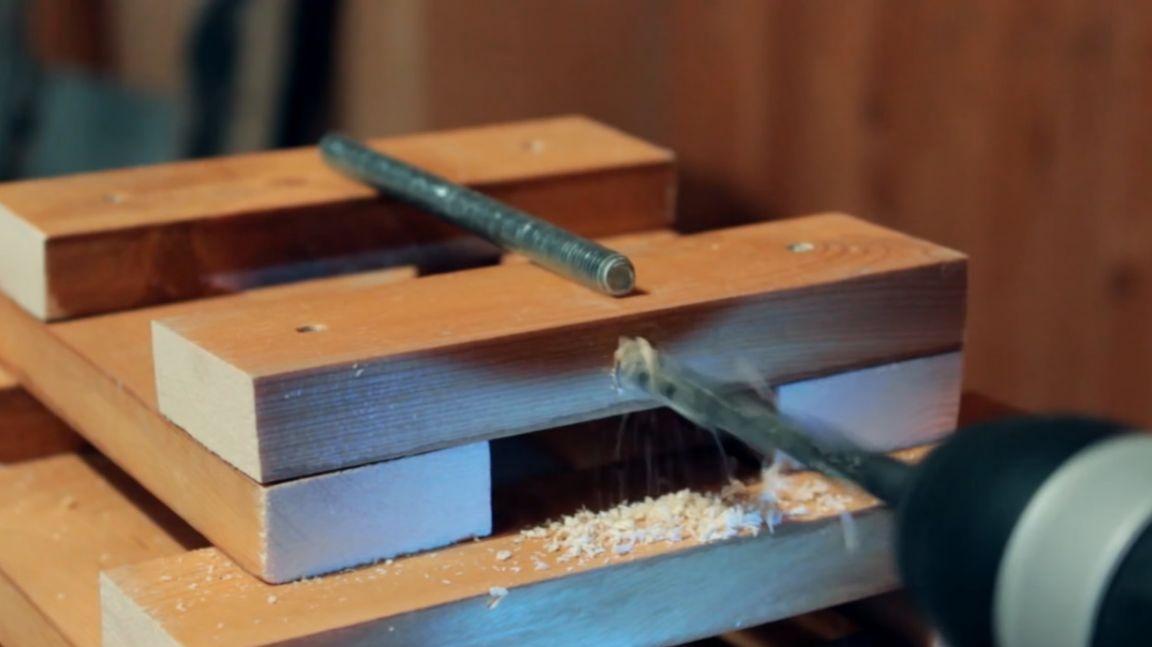
Further, the lighting had to be fixed inside the tower, but with the conditions so that at any time it was possible to change the blown bulbs. After thinking about the design, the author decided that the first thing we would do was to drill a through hole in the two upper bars for the m8 hairpin.
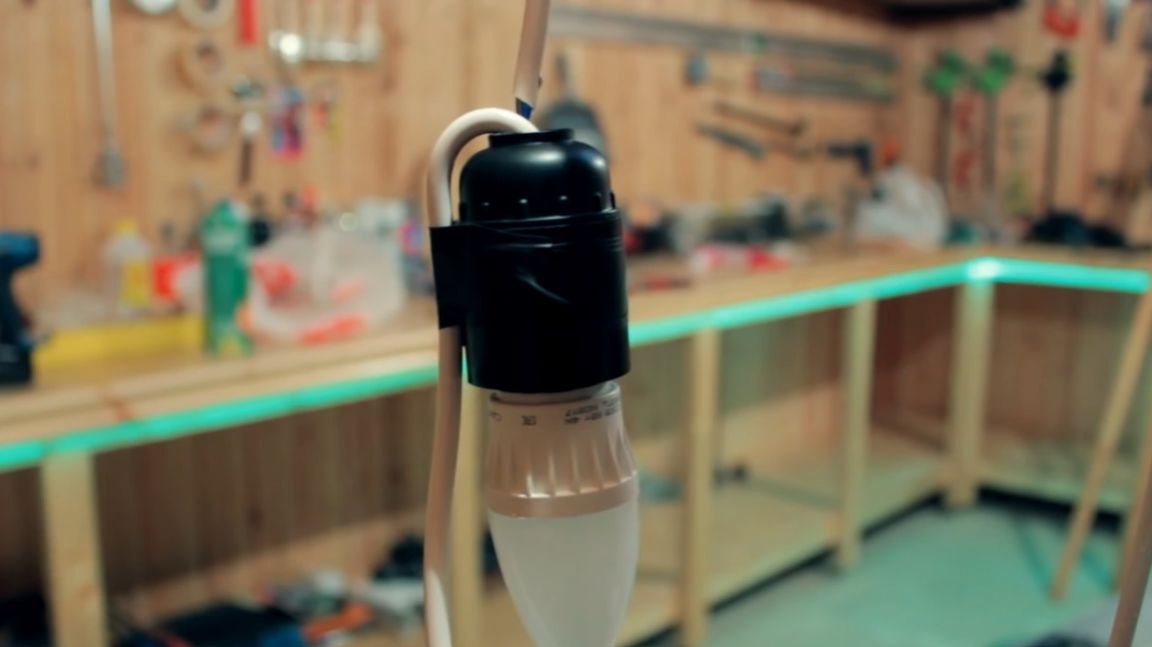
Now we put the backlight inside the tower. Stop. First, screw the bulbs into each cartridge and see how it will look outside.
As a result, we have a small problem in the form of a protruding bulb. We solve the problem with black electrical tape and insert the backlight inside the tower.

After the backlight is at the desired height, insert the m8 hairpin into the previously drilled hole, throw the wire through it and pass it from the bottom of the tower.
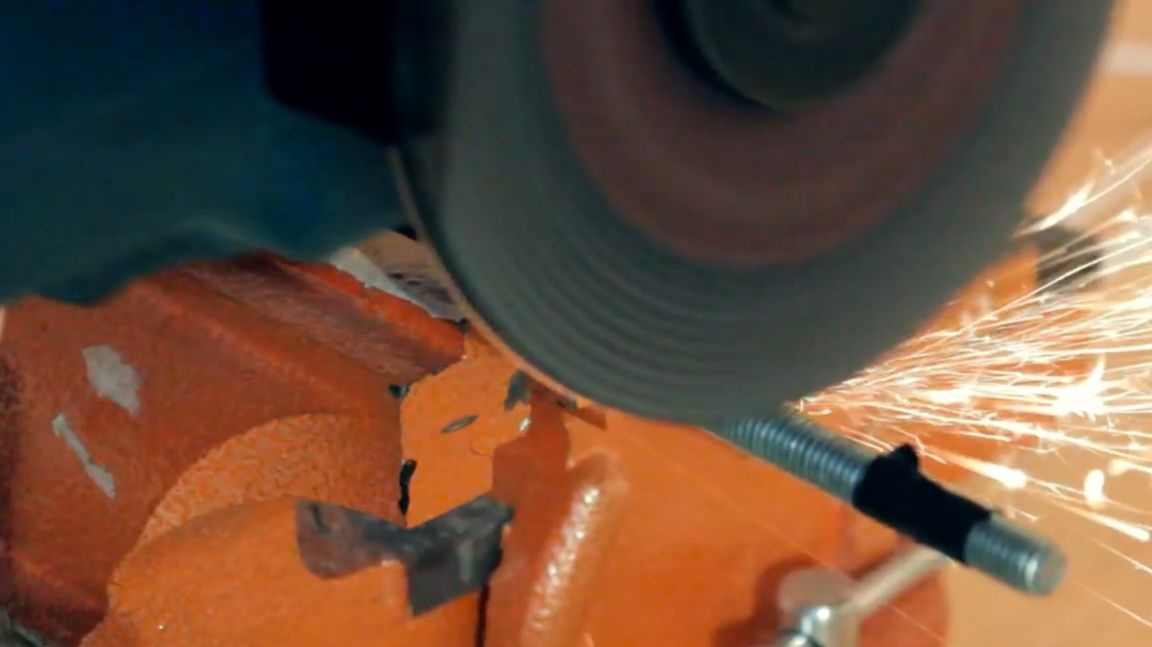
Slightly pulling the wire back and forth, the author realized that the thread on the stud would have an increased mechanical effect on the wire, and the only right decision was to remove the central part of the thread using a grinder.
At the last stage, we need a six-millimeter tinted glass in the form of an oval.
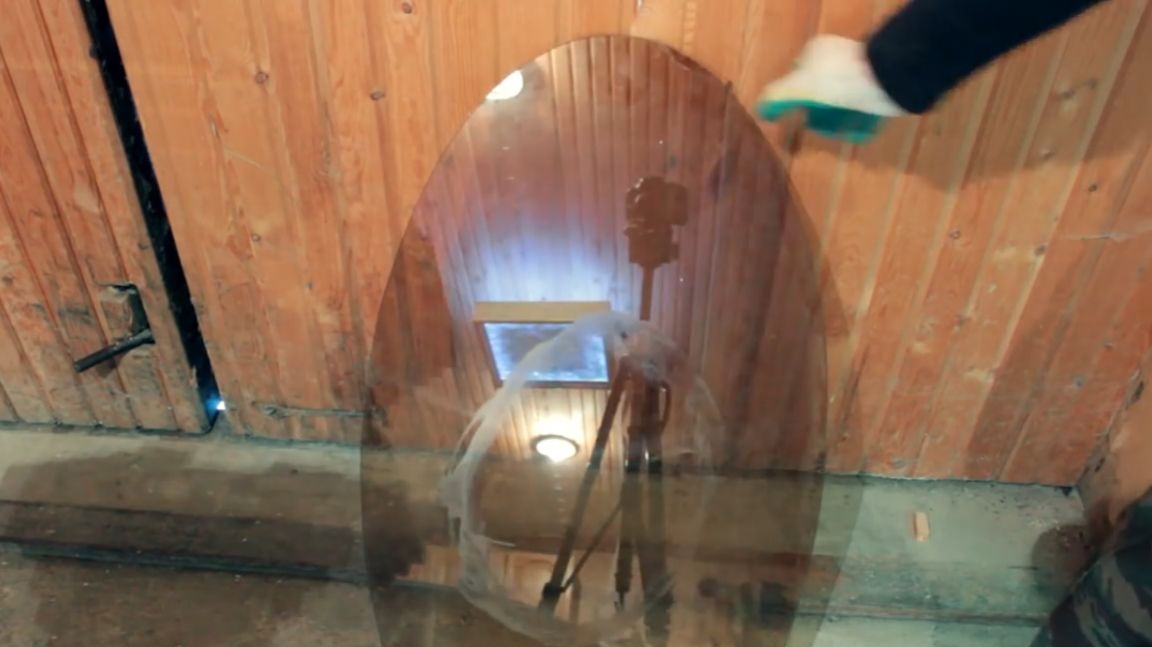
This fitting for 500 rubles, the master was made by a familiar glazier, whose client refused the order. By the way, there is another healthy cracked glass there, maybe we’ll come up with something too.
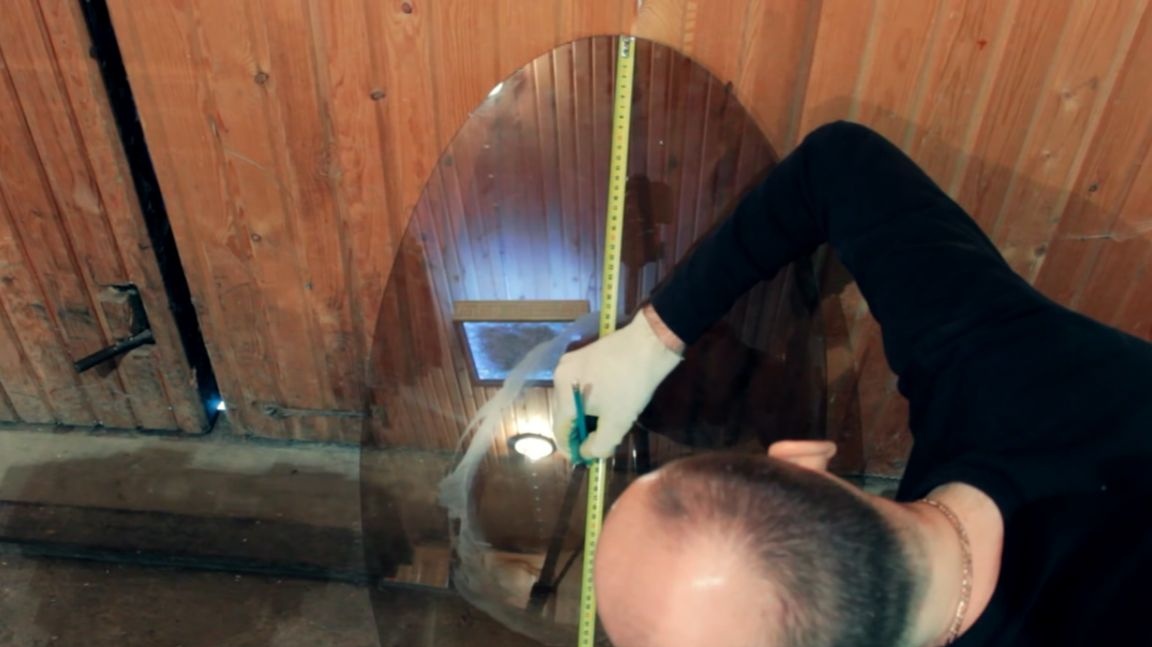
Our oval has parameters 440 by 880 mm, so finding a center is not difficult.
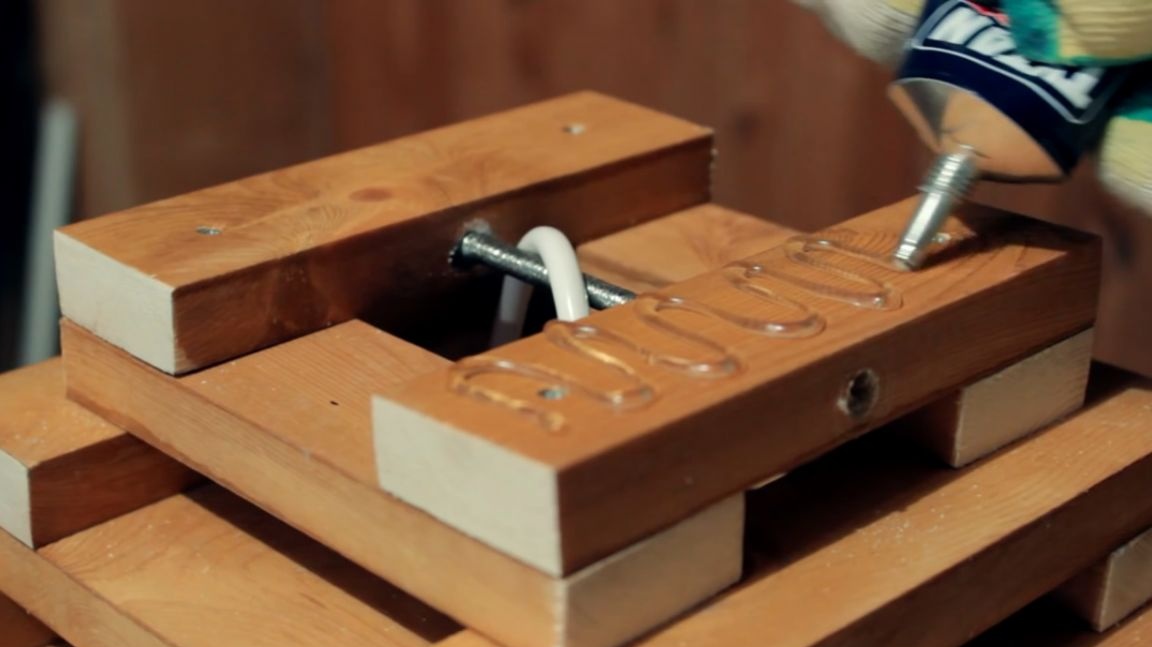
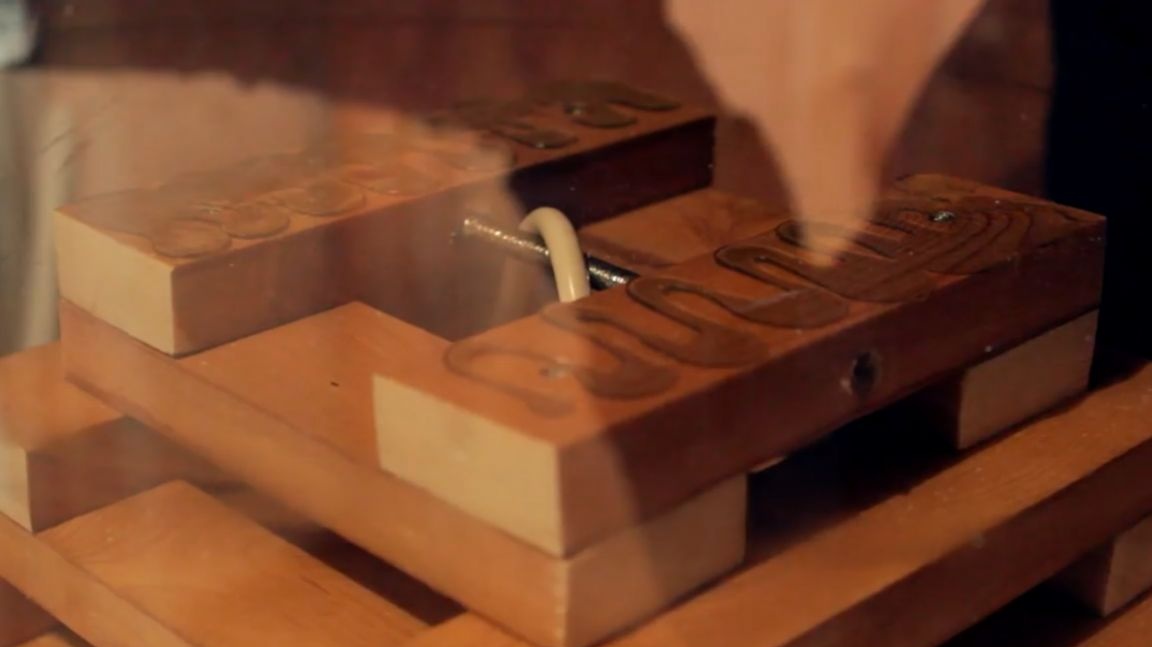
Now the glass must be glued to two wooden blocks. The store advised to use transparent glue titanium for this matter. Enoughly grease two bars and apply glass.
As you can see, the thickness of the glue was not enough to completely fill the beam. We tear off the glass and apply an even thicker layer of glue. Again we apply glass and now everything is OK.
Remove the glue that has come out with a solvent after a couple of hours. Do not forget to screw the plug to the free end and you can turn it on.
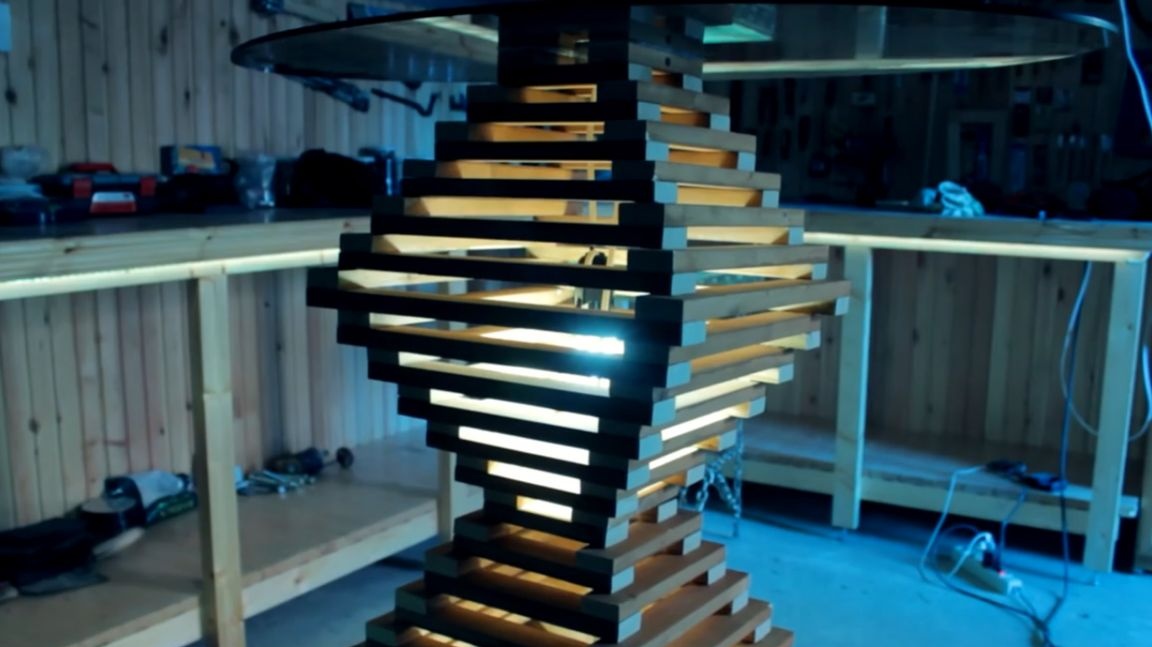
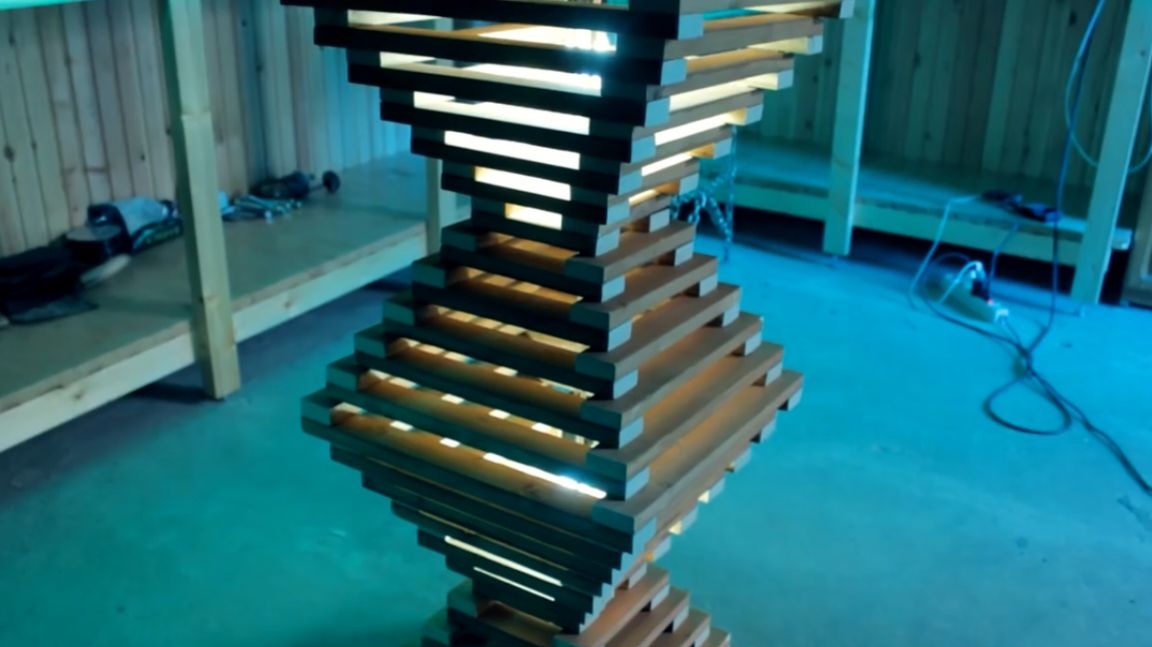

Well, today we have a 3d bar table, or a TV stand, or some kind of vase, for example. Due to the wide base and good gluing of all wooden surfaces, the table turned out to be very stable. This project took a whole week, starting from the idea and ending with its implementation. This table or stand will create a pleasant atmosphere in your apartment or house, thanks to the built-in light source. Well, an interesting design will surprise your family and friends.
Thank you for attention. See you soon!
Video: