
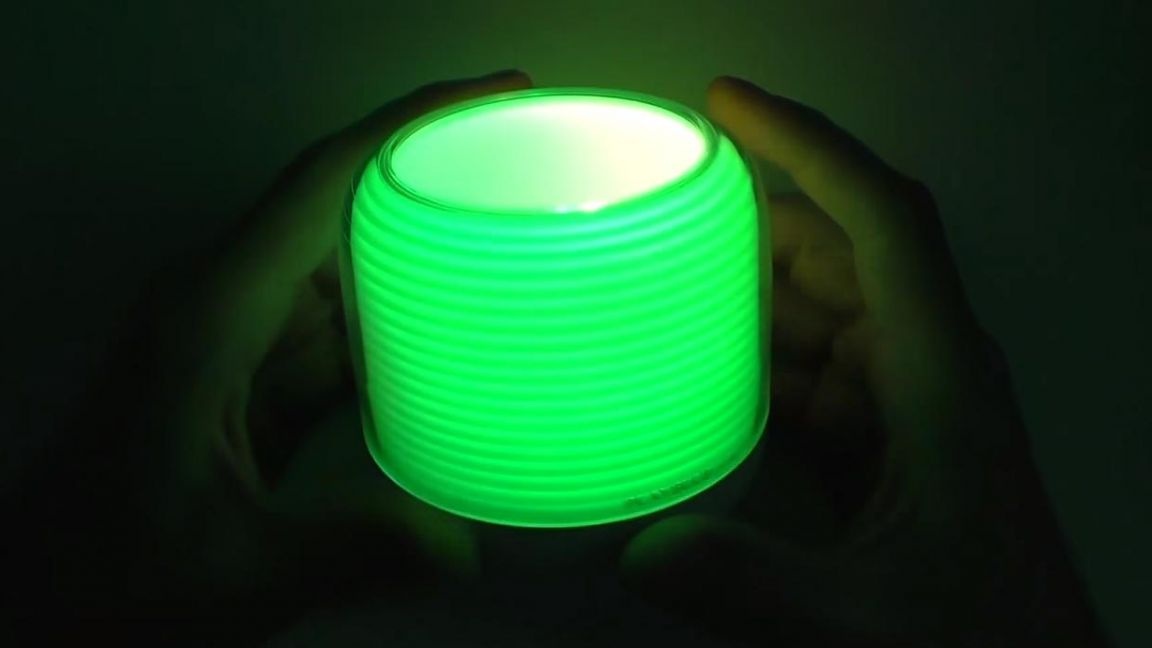
Hello to all lovers homemade. In this article I will tell you how to make a luminous circle on RGB LEDs. do it yourself, in the assembly of which the kit kit will help, a link to which will be at the end of the article. This kit is useful for those who want to gain experience in soldering and enjoy the process itself, also on the basis of this luminous circle you can make a lamp by simply adding a body to everything.
Before reading the article, I suggest watching a video with a detailed process of assembling this kit and testing kit.
In order to make a luminous circle on RGB LEDs with your own hands, you will need:
* Kit
* Soldering iron, flux, solder
* Device for soldering "third hand"
* 5V power supply or battery
* Side cutters
* Tweezers
* Soldering mat
Step one.
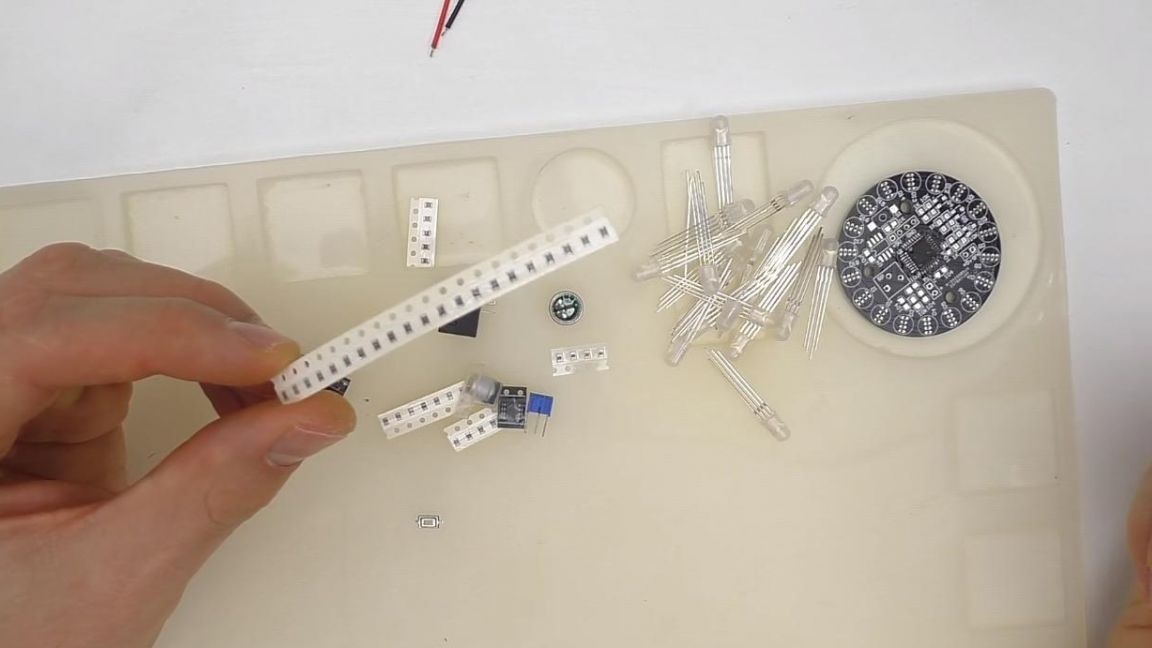
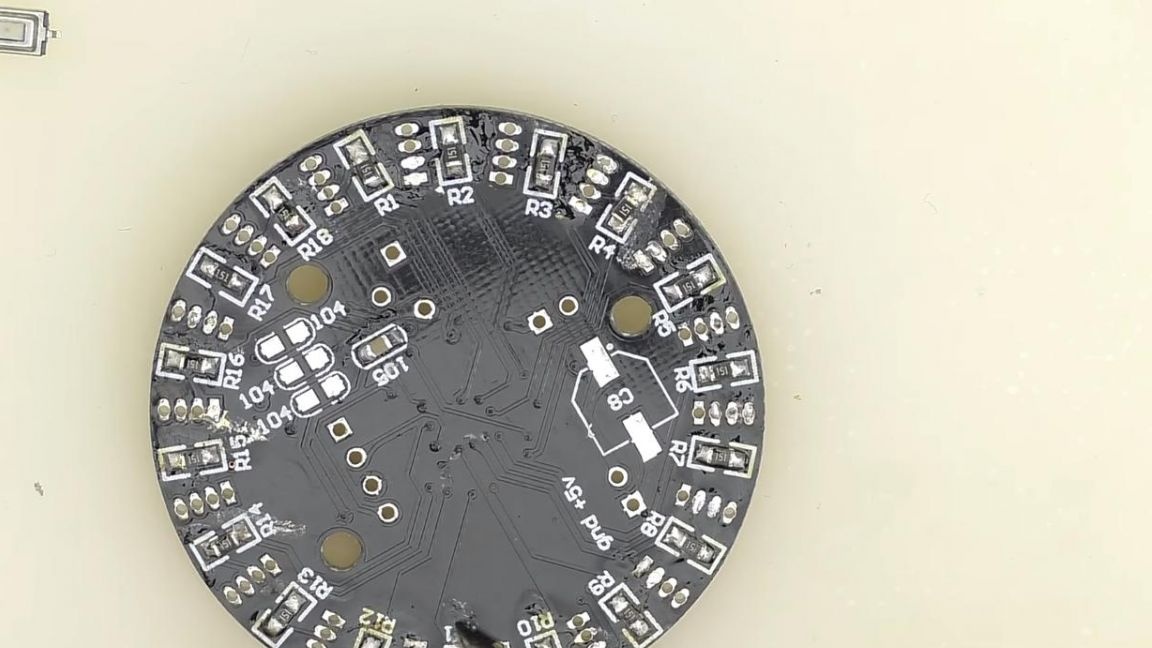
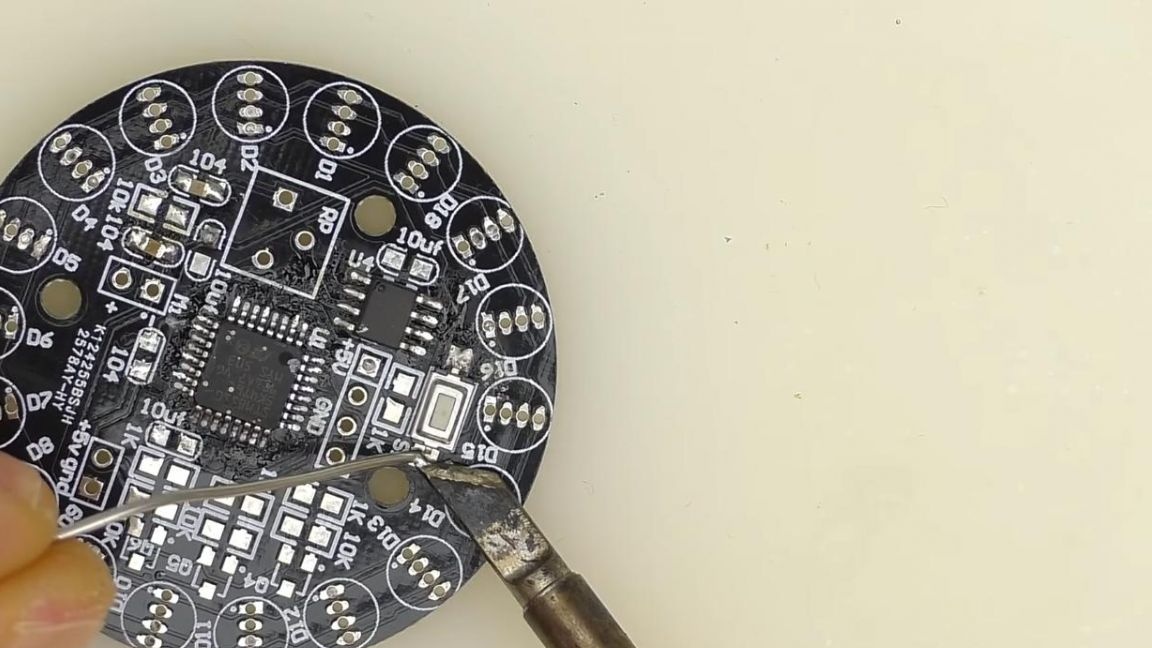
First, check what is included in the kit. Here is a double-sided printed circuit board for SMD components, that is, installation on top of the contacts, the holes are made only for the microphone, LEDs and a tuning resistor, its quality is at a high level.
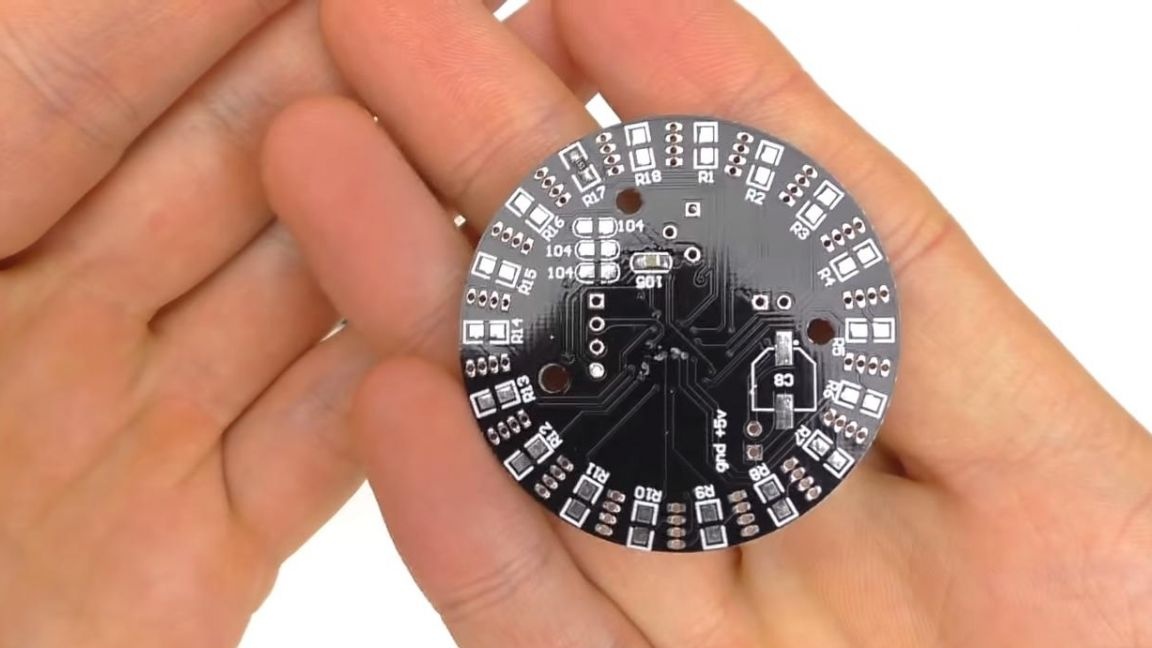

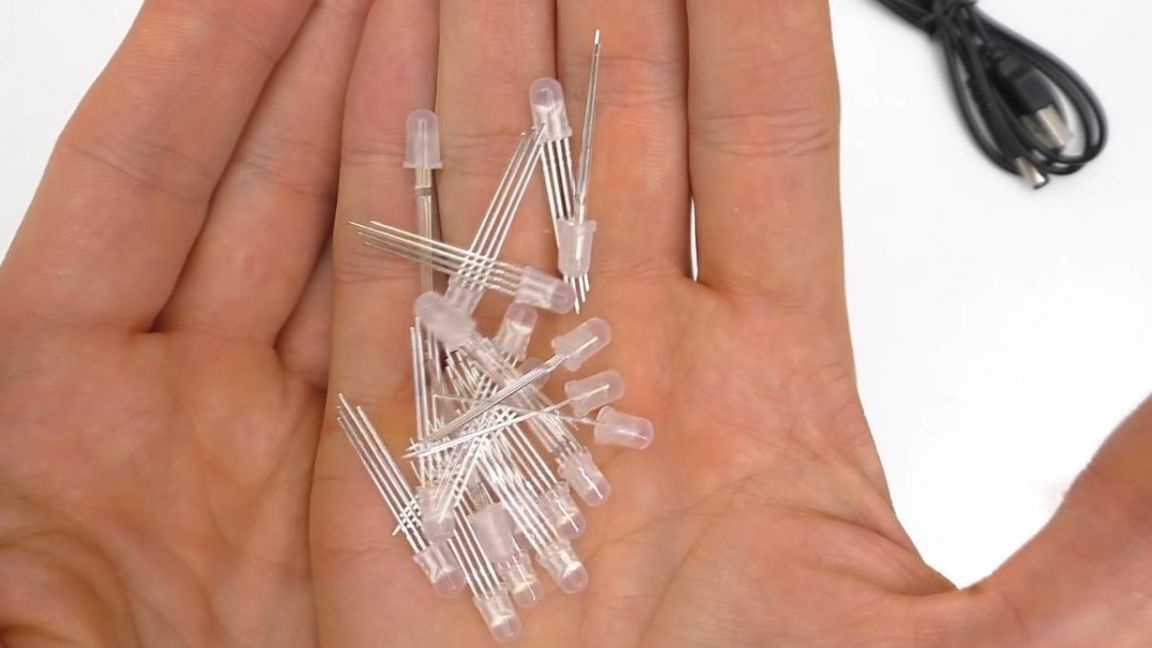
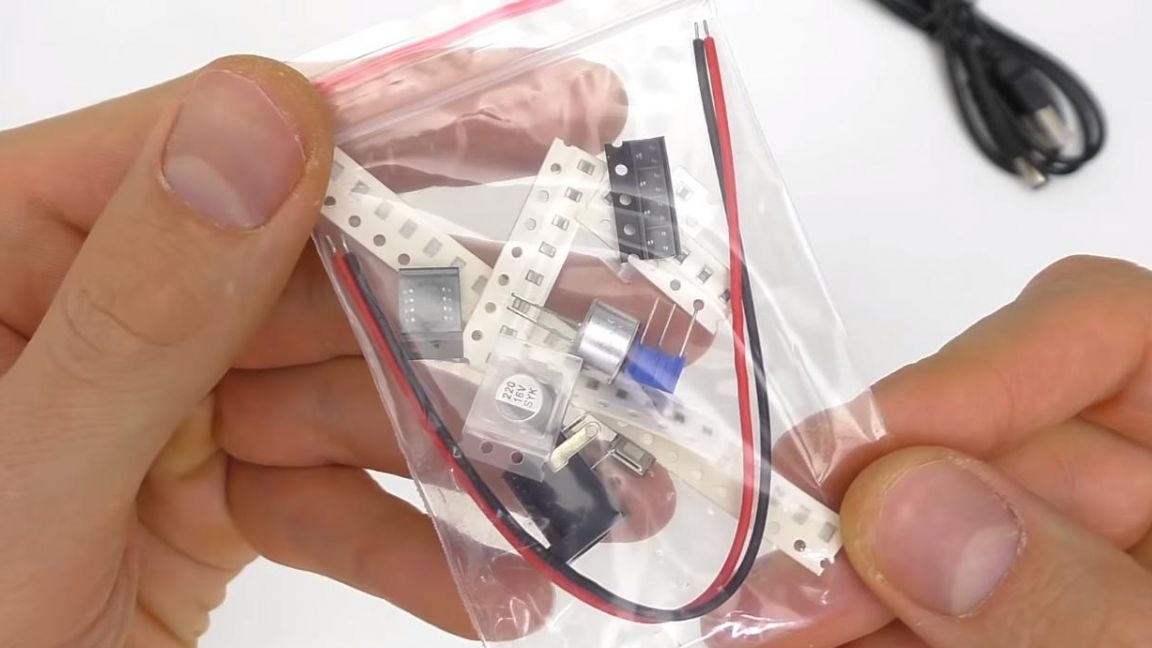
The microcontroller that was originally programmed is already soldered on it, so no programming steps are required. The kit also has 20 RGB LEDs with four pins, they are quite expensive, as they have three colors, there is also a small bag with the rest of the radio components, resistors, transistors and so on.
Step Two
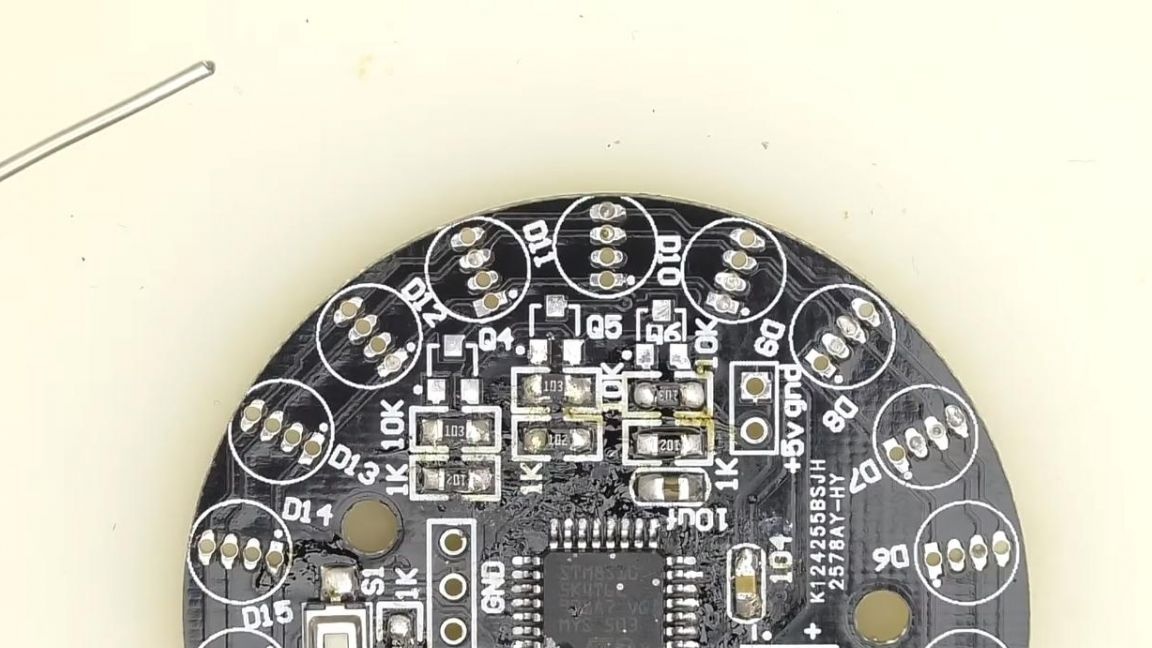
Having dealt with the kit, we proceed to the soldering itself. We lay out all the components on the protective soldering mat and start with resistors.
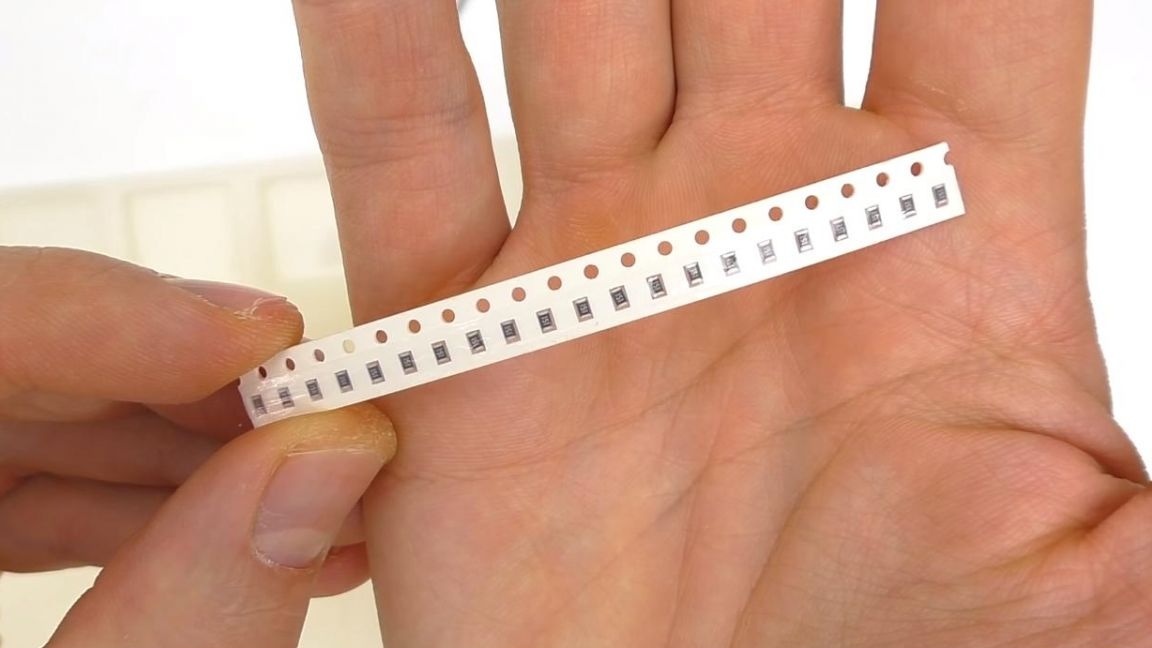
To determine the values of SMD resistors, a multimeter is not needed, their resistance can be determined by digital marking on the case, the first two digits are a numerical value, and the third factor, for example, the number 103 means that the resistor has a resistance of 10 * 10 to the 3rd degree, i.e. 10 kOhm.
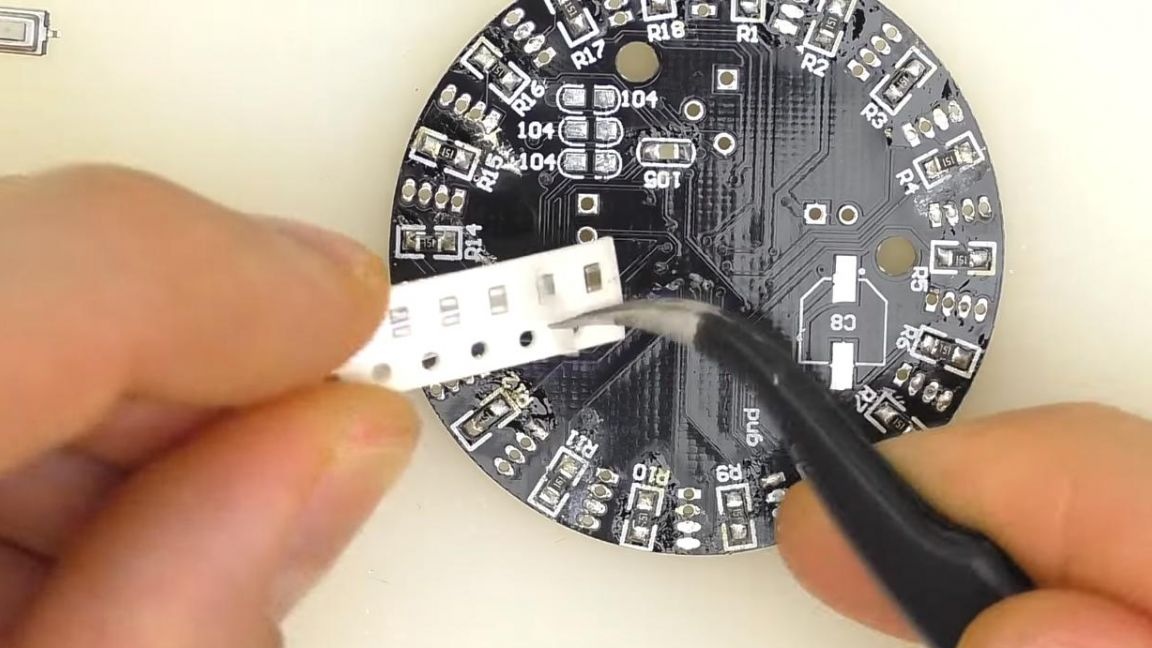
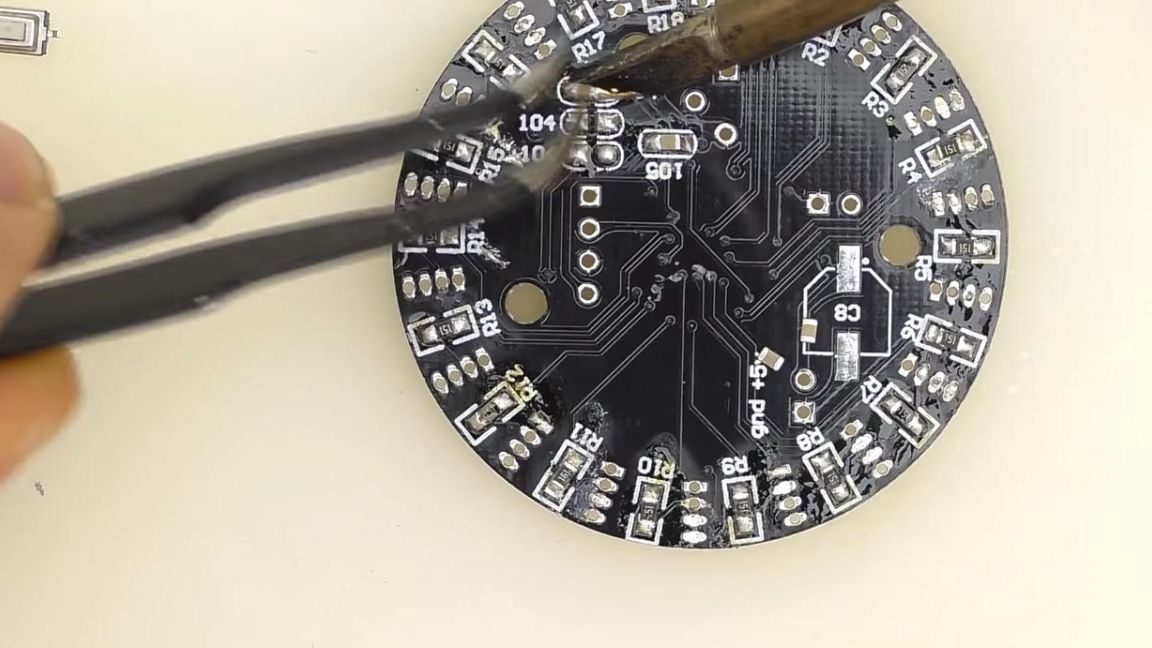
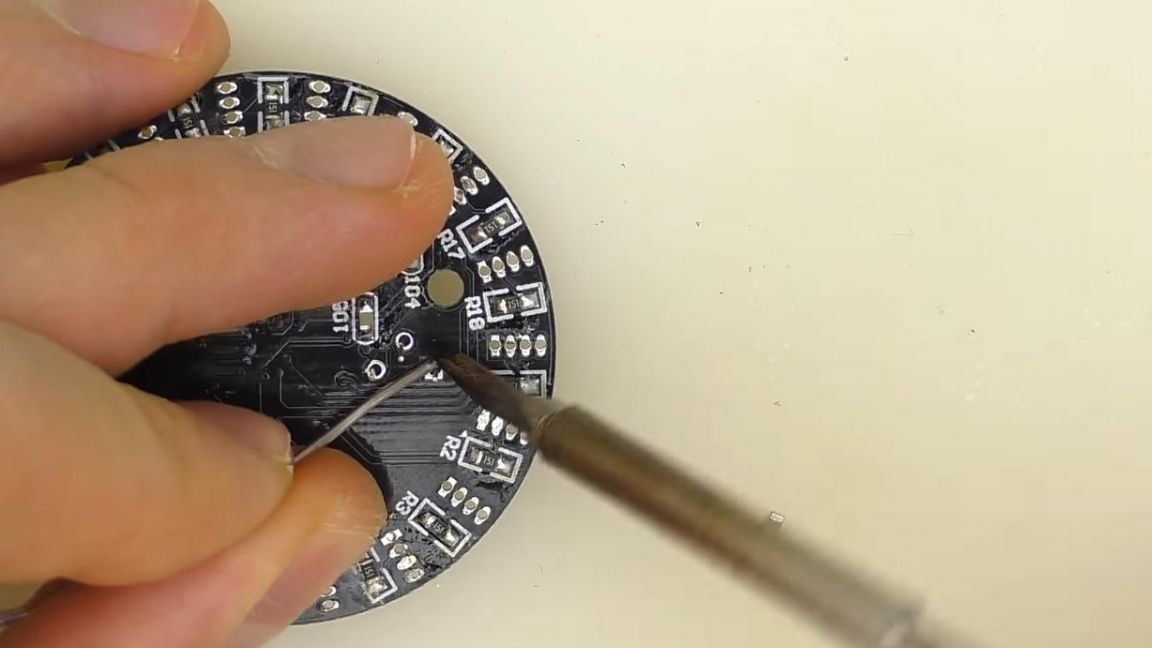
Using tweezers, we place the resistors on the board, then apply the flux and solder it with a flat tip soldering iron, feeding solder.
Step Three
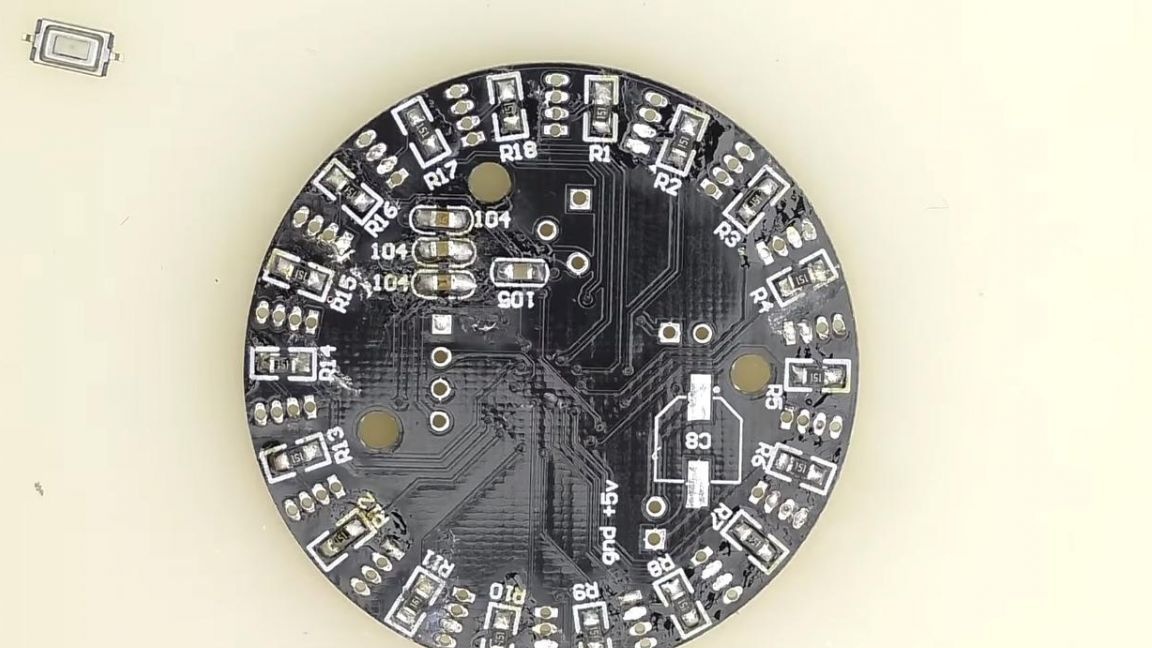
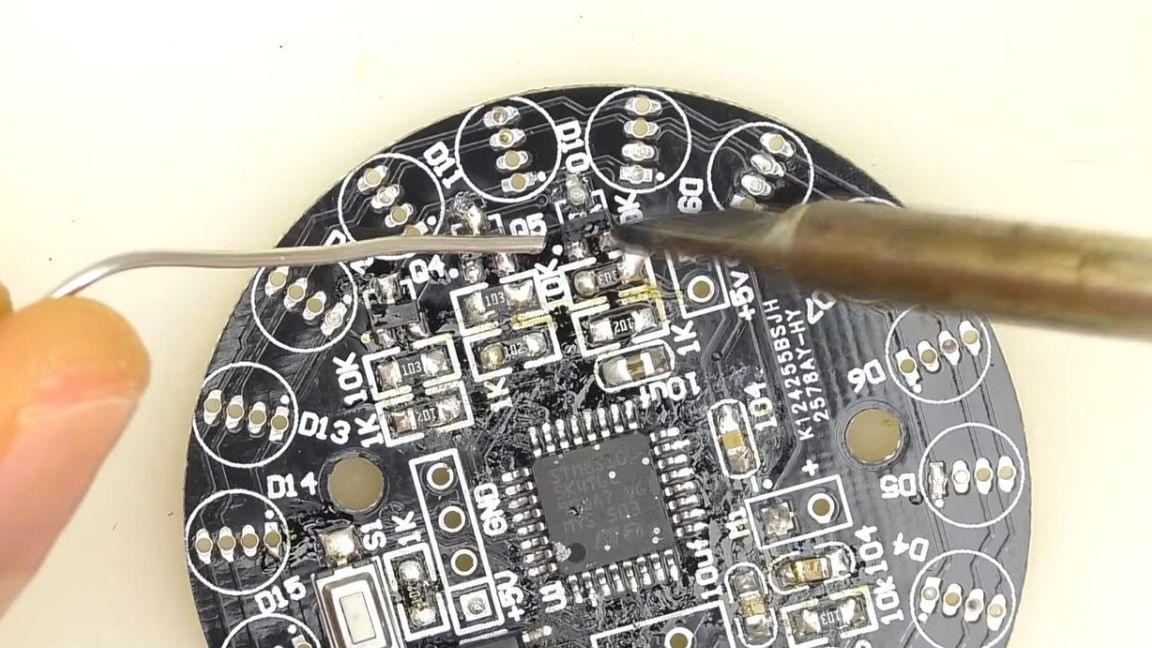
Now we install the capacitors in their place, their values are determined by the marking, and the number, 104 and 105 is indicated on the board.
Solder them in the same way as resistors.
Next, solder the microcircuit, on its case there is a key in the form of a circle, which must be combined with the key on the board. To better solder the microcircuit, pre-tin the contacts, after which we solder to the conclusions. When soldering a microcircuit, try not to overheat its legs, as this can disable it.
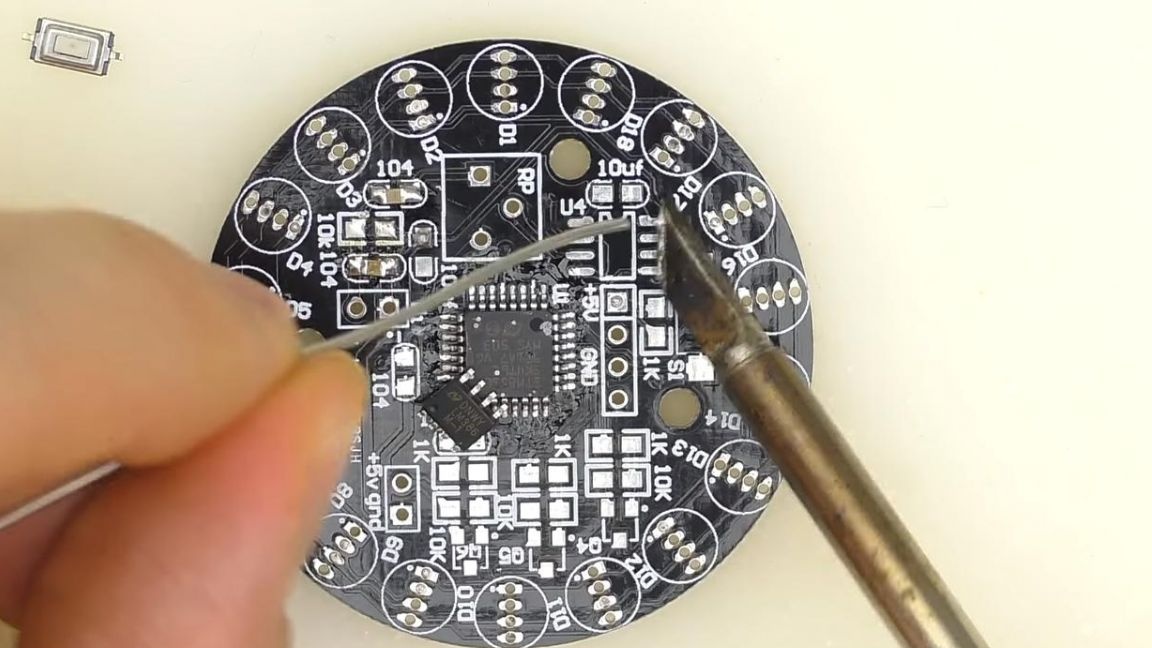
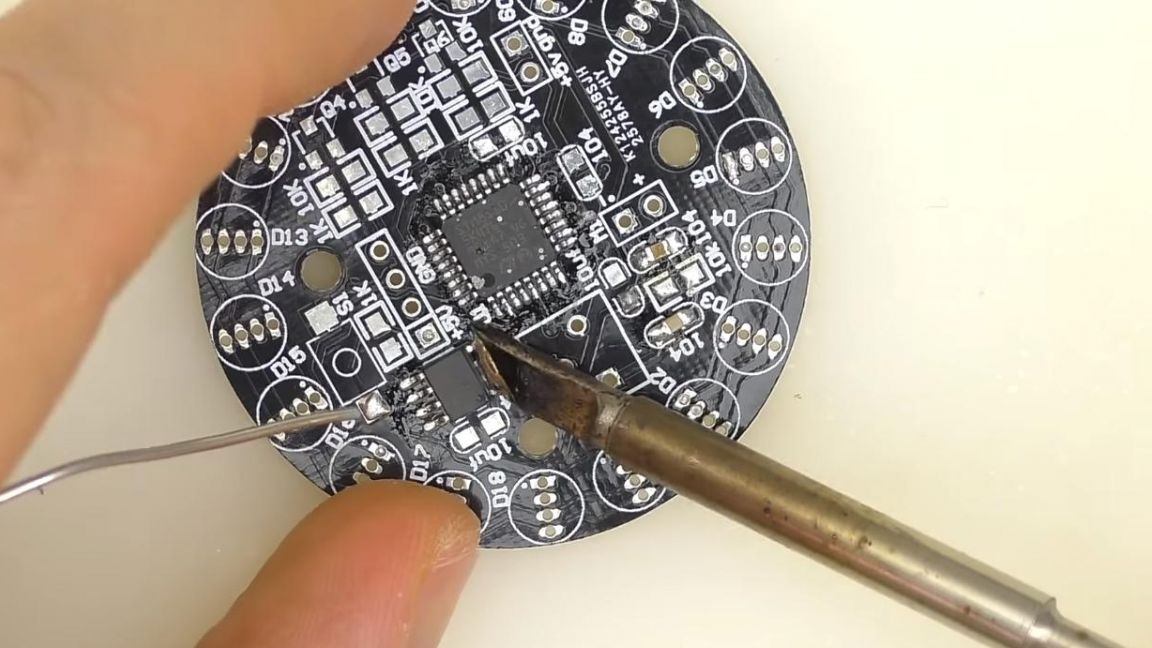
After the microcircuit, solder the button, holding with tweezers, then a resistor with the marking 102.
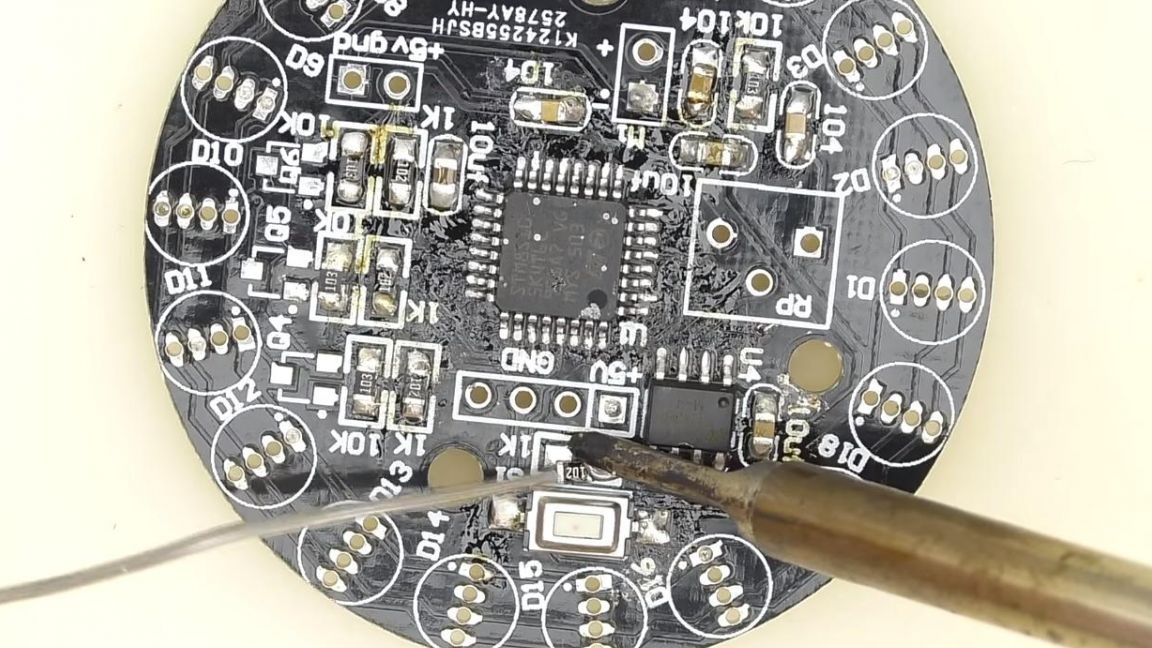
Three transistors came in the kit so that it was more convenient to solder them, first solder one leg, and then solder the remaining conclusions.
Step Four
To adjust the sensitivity of the microphone, the board provides a place for a variable resistor. We install it in its place, after that we solder it to the contacts on the back side.
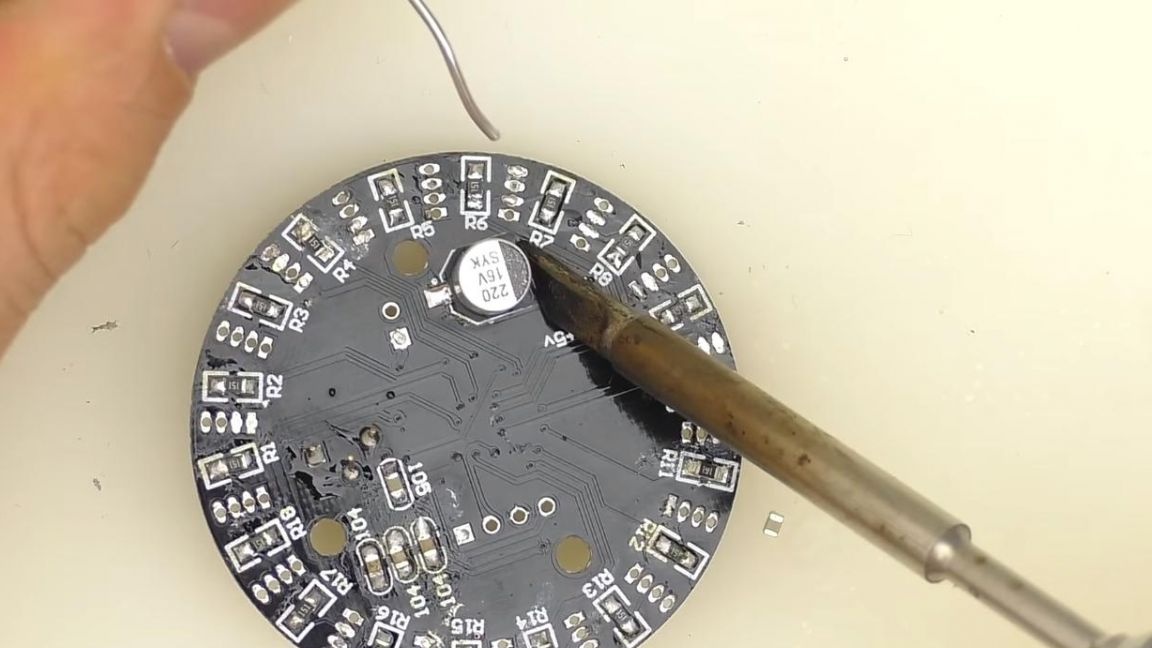
Next, solder the electrolytic polar capacitor, its site is made in the form of a square on one side of which a bevel is made at 45 degrees, the same shape is marked on the board.
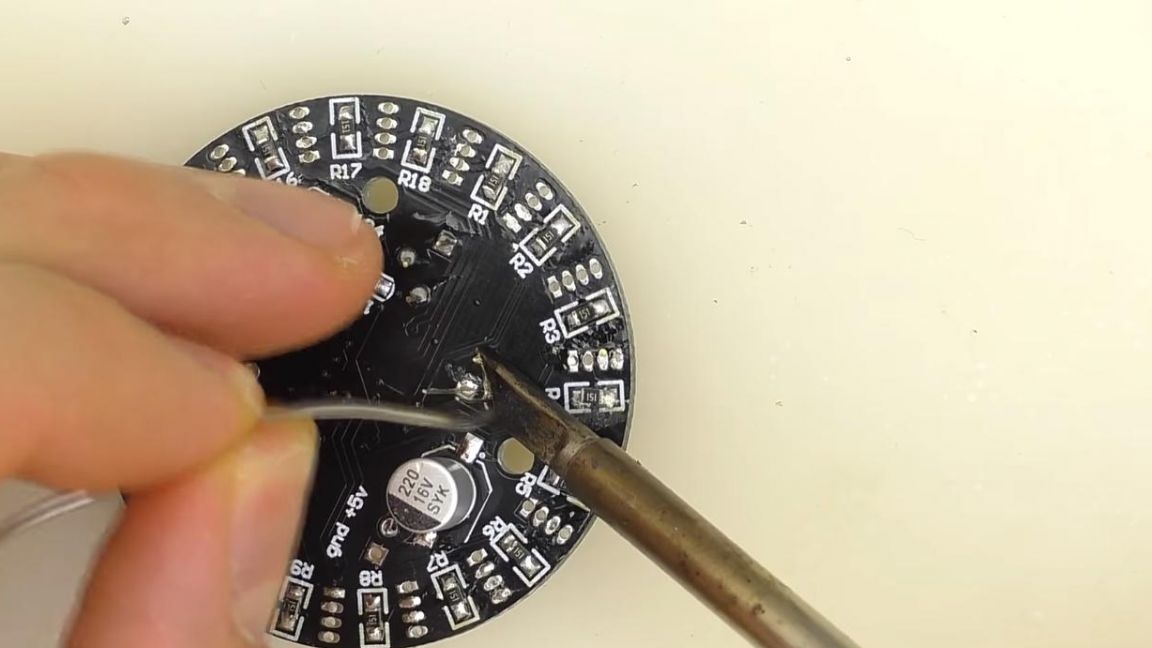
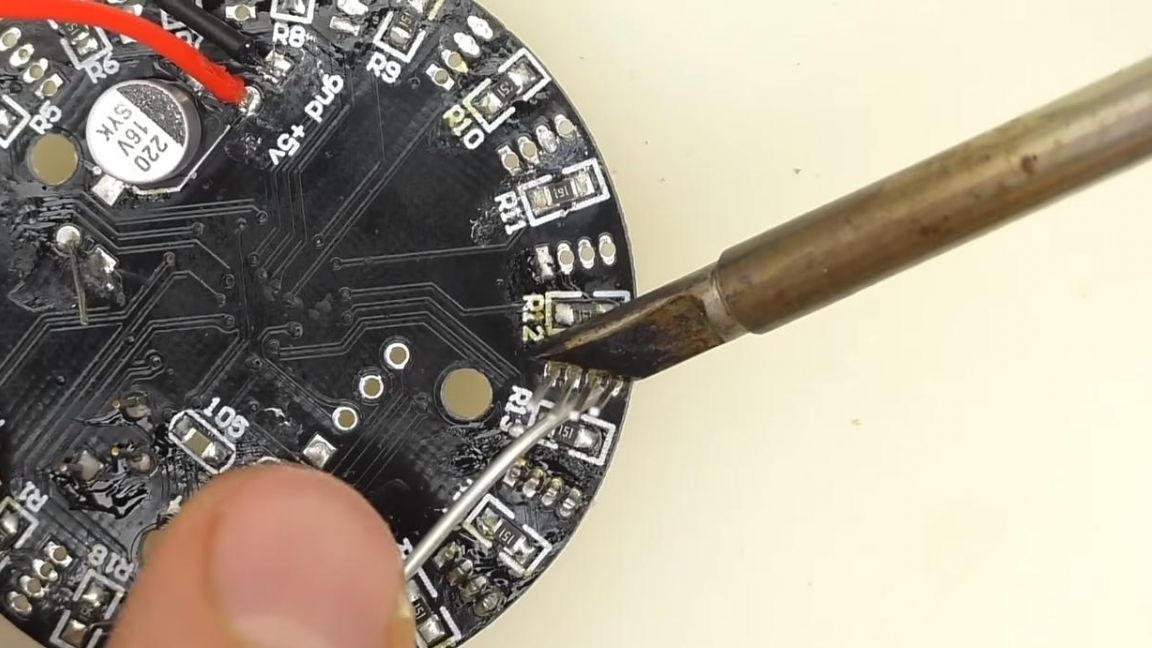
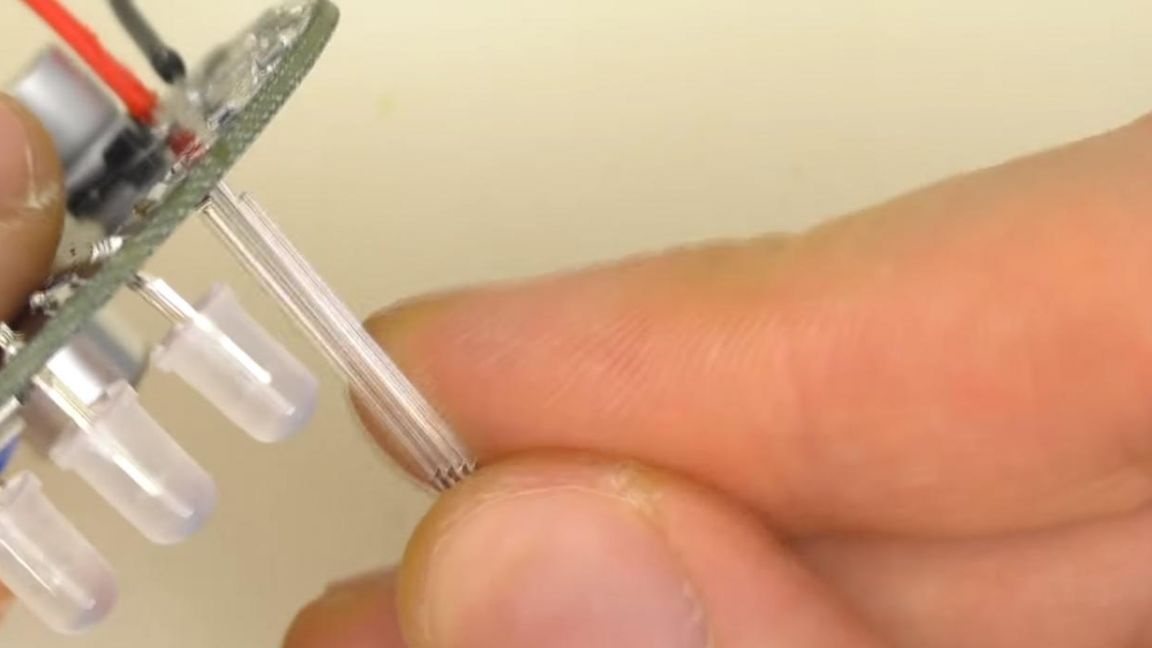
We insert the microphone on the board according to the polarity, the output connected to the case is a minus, the polarity is indicated on the board. Finally, solder the wires to connect the power and insert the LEDs, according to the polarity, long leg plus, short minus.

Step Five
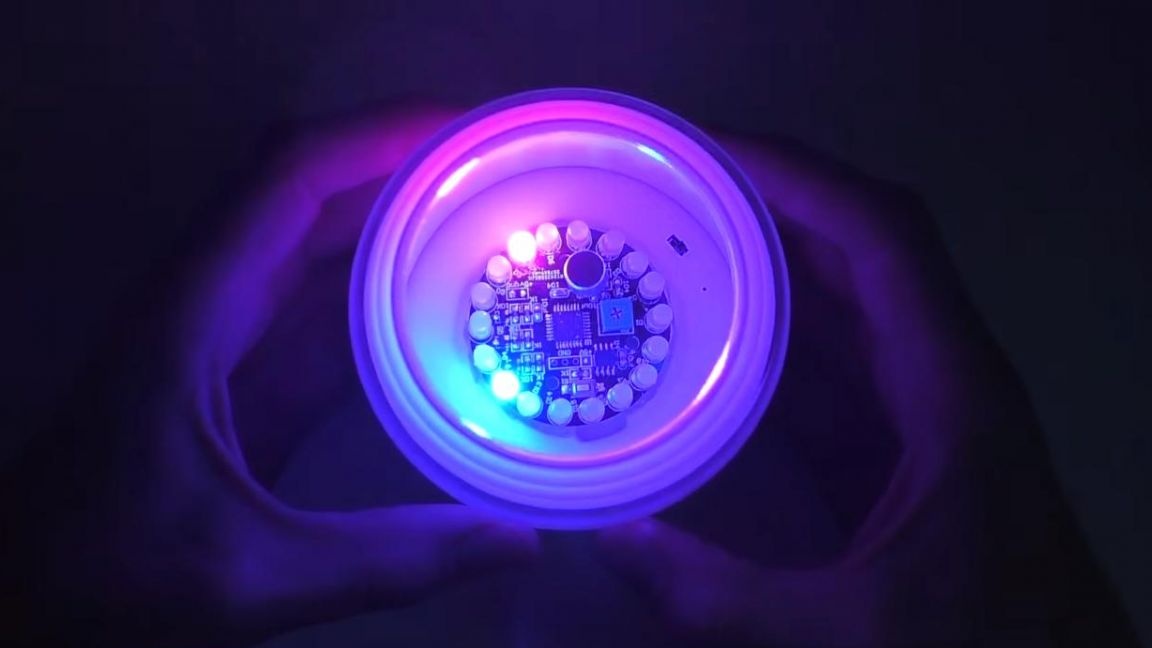
The kit is completely ready, now it can be checked. We connect the power supply voltage of 5 volts according to the polarity.
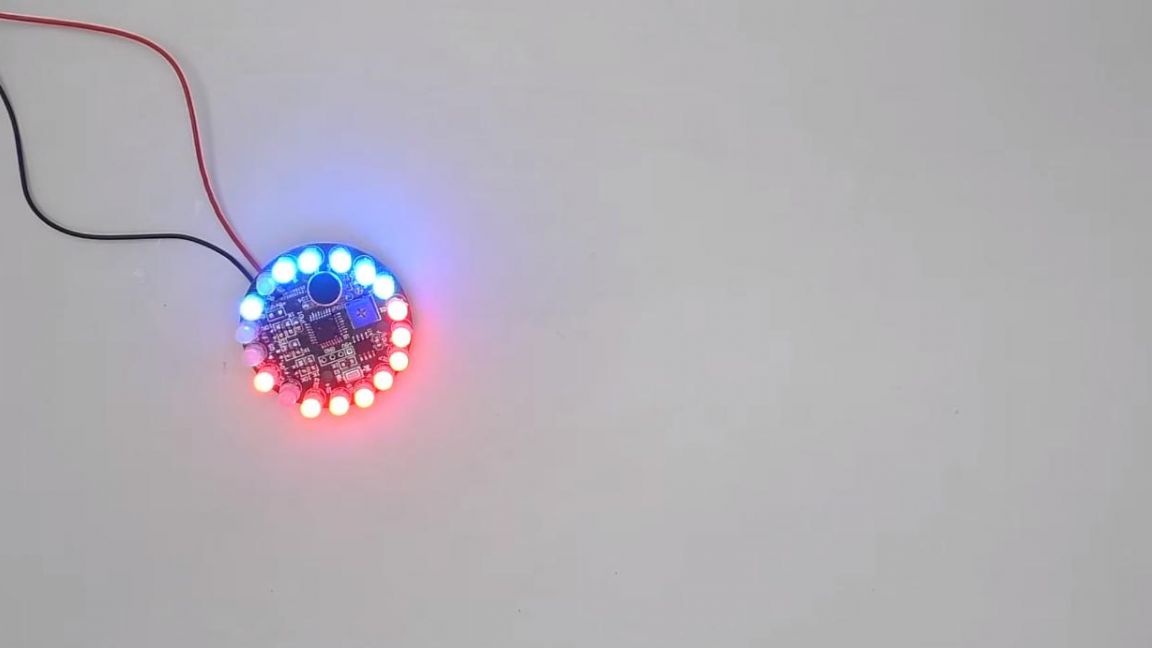
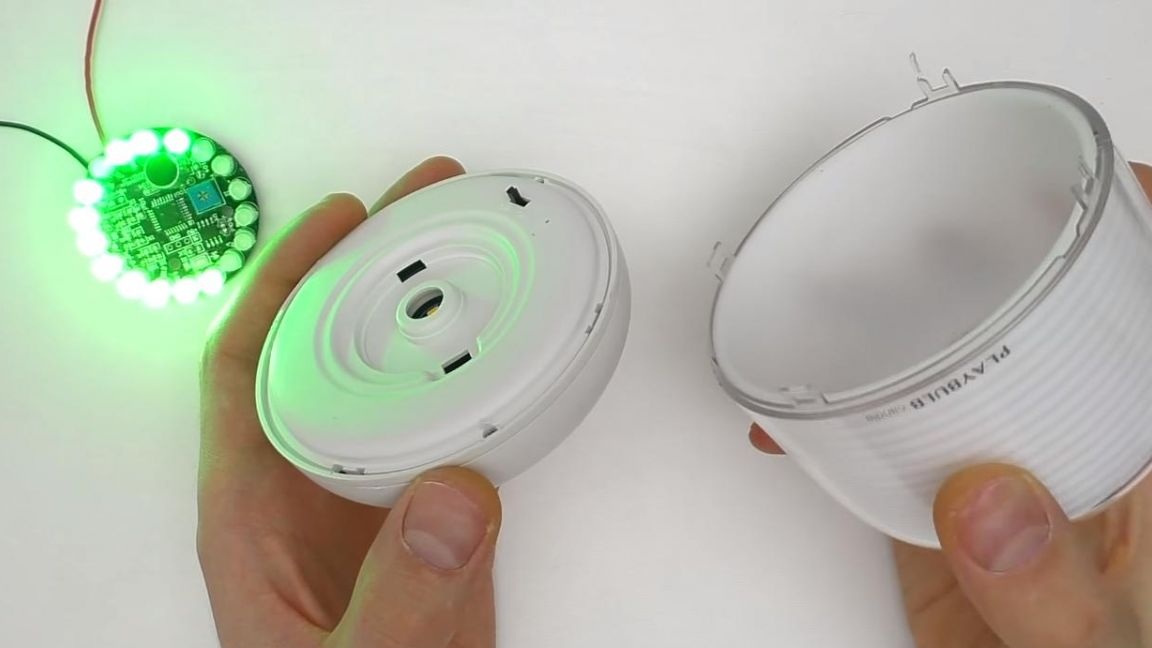
The LEDs are lit, which means that the kit kit is working, it can also be used as light music, for this it is enough to correctly set the position of the variable resistor, which is responsible for the microphone sensitivity. Such a luminous circle can be installed in a transparent casing and get a fairly beautiful and original lamp.
That's all for me, thank you all for your attention and creative success.