
Today we will try to make something out of a chain. In fact, a lot of things can be made from a chain, starting from bring a dog to a booth and ending with some works of art. We will take something in between and make an original chair, which is quite such a work of art.

Looking ahead, the author wants to say that he did not think that this process could drag on so much. And he dragged on in connection with welding, and why, you yourself will understand everything later.
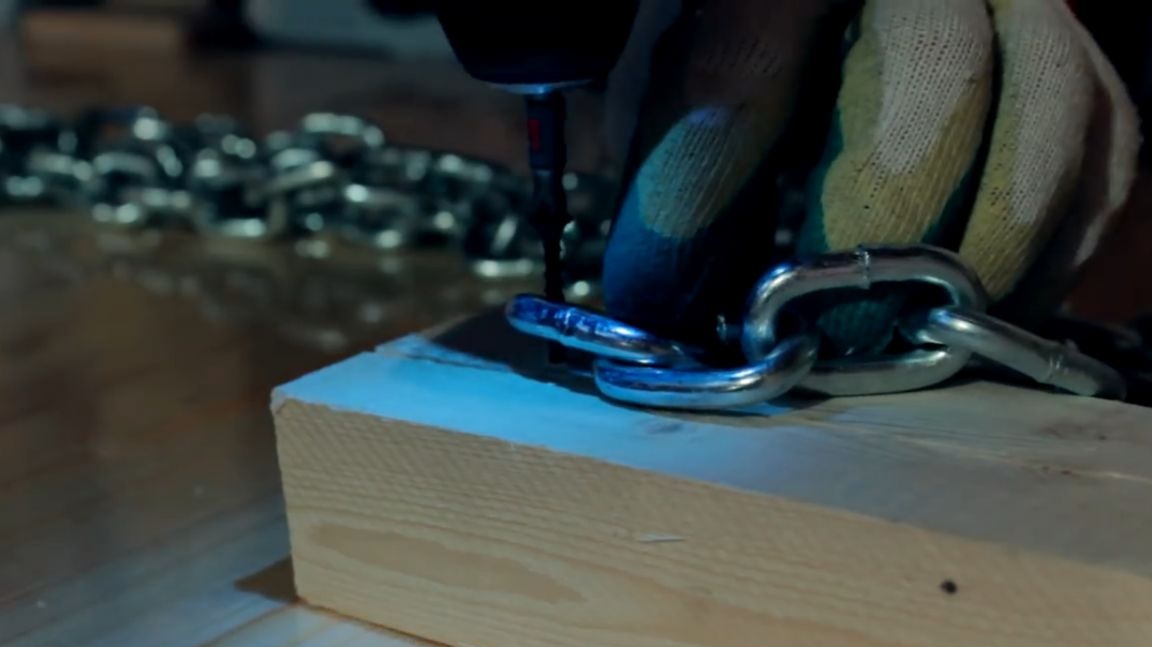
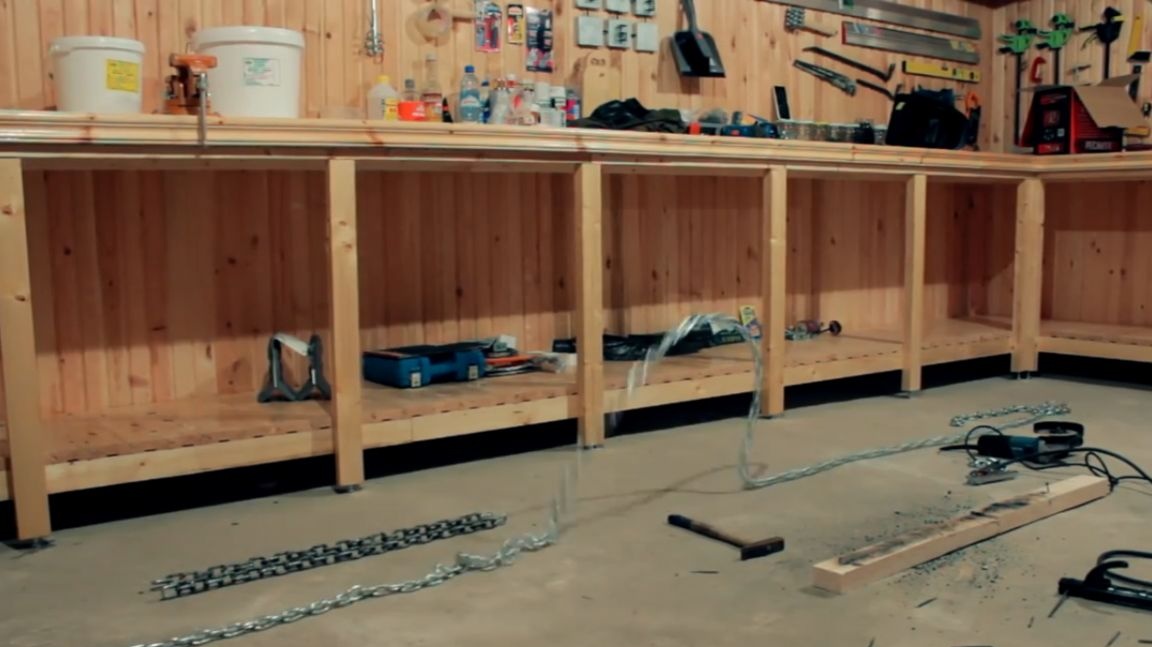
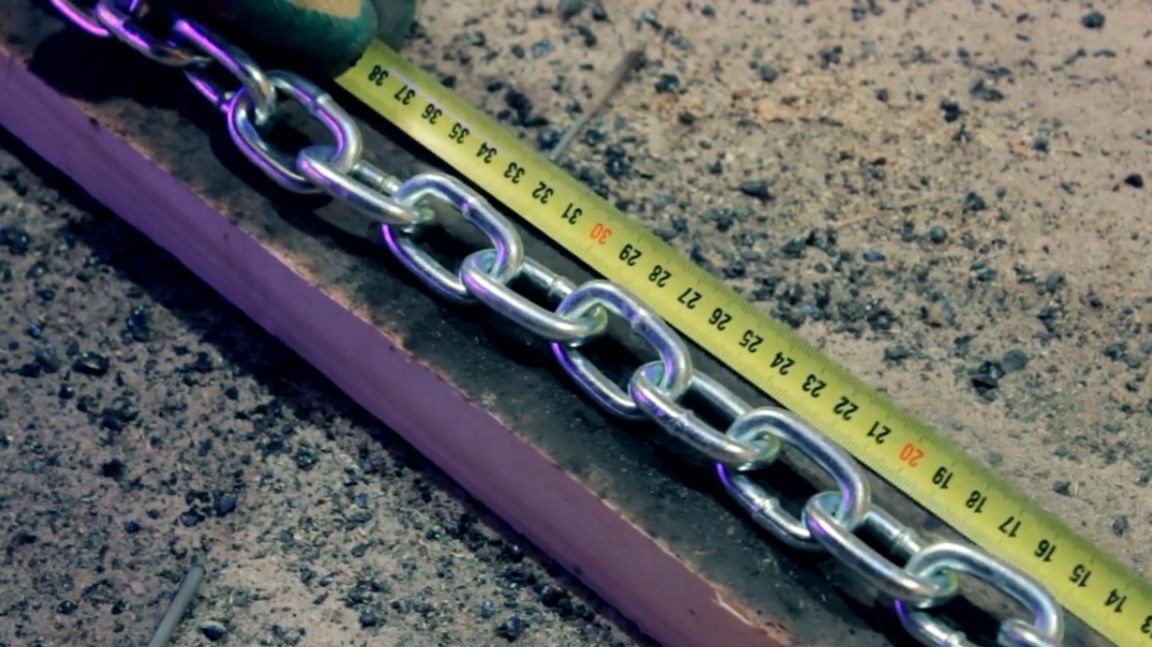
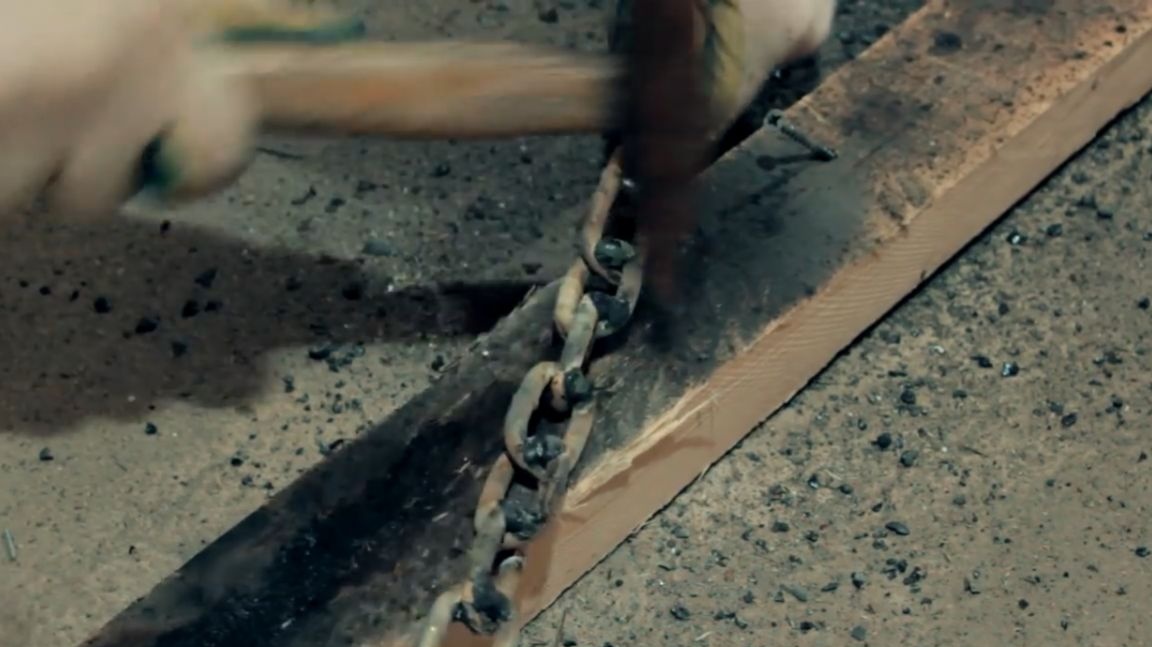
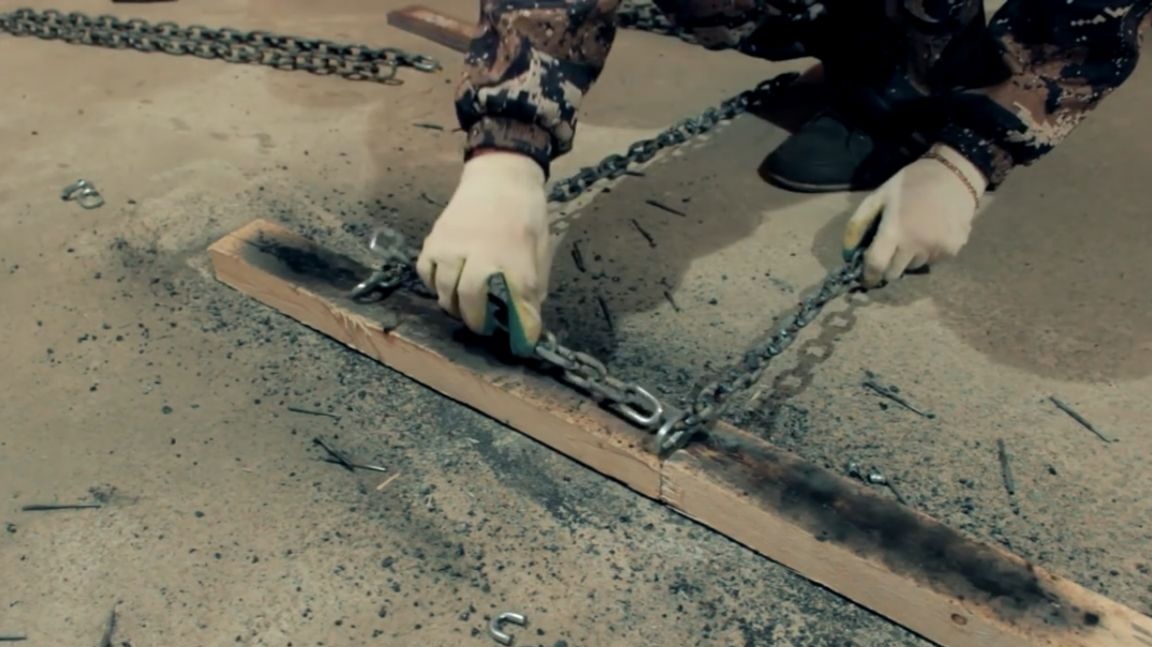
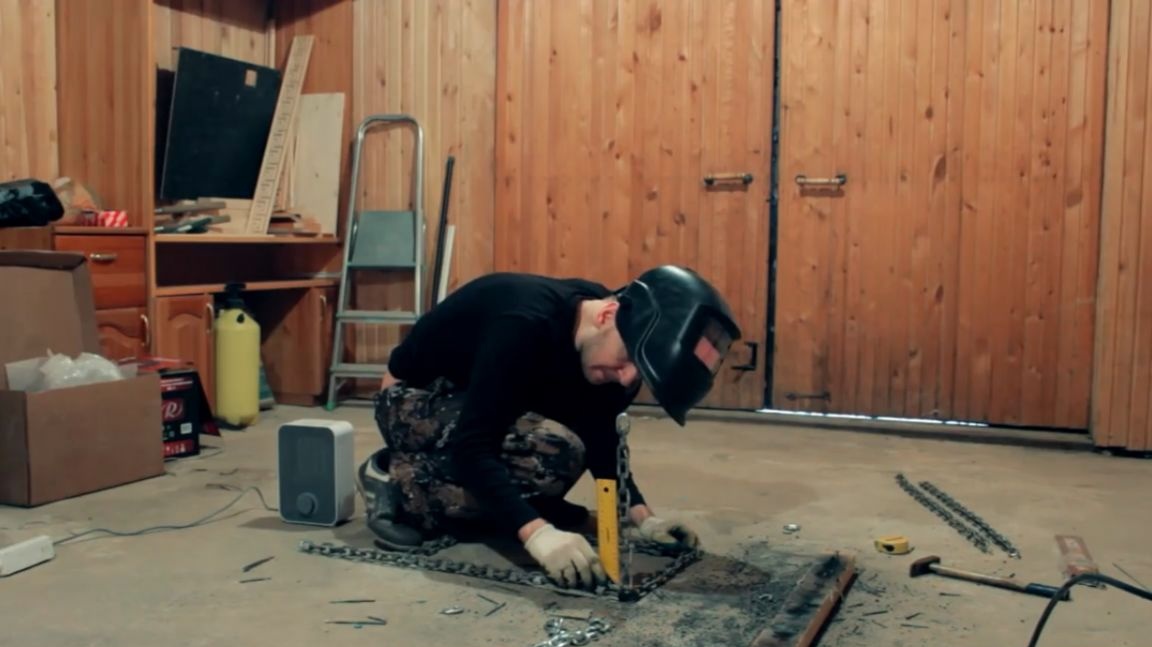
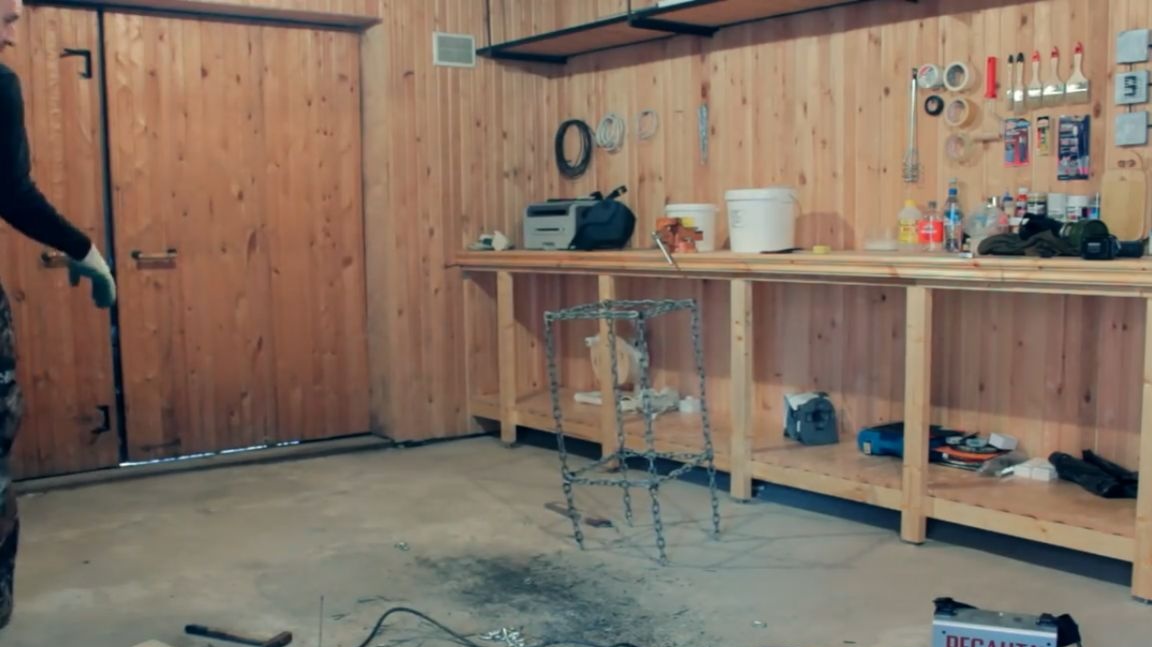
Today we need a chain, a lot of chain. Of course, not 100 meters, but 5 meters of the 8 mm chain for sure. And the first thing you need to fence something like a conductor, which will keep our circuit in a tense state. For this, the bar that remained with the master after making the workbench is perfect. You will also need a pair of screws.
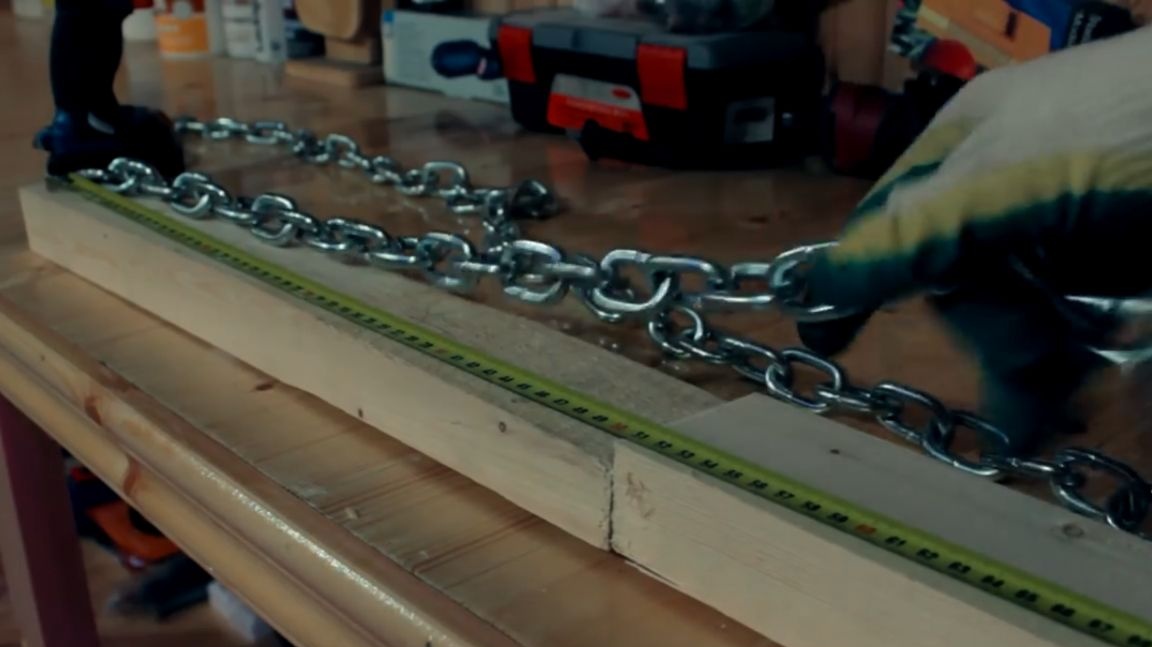
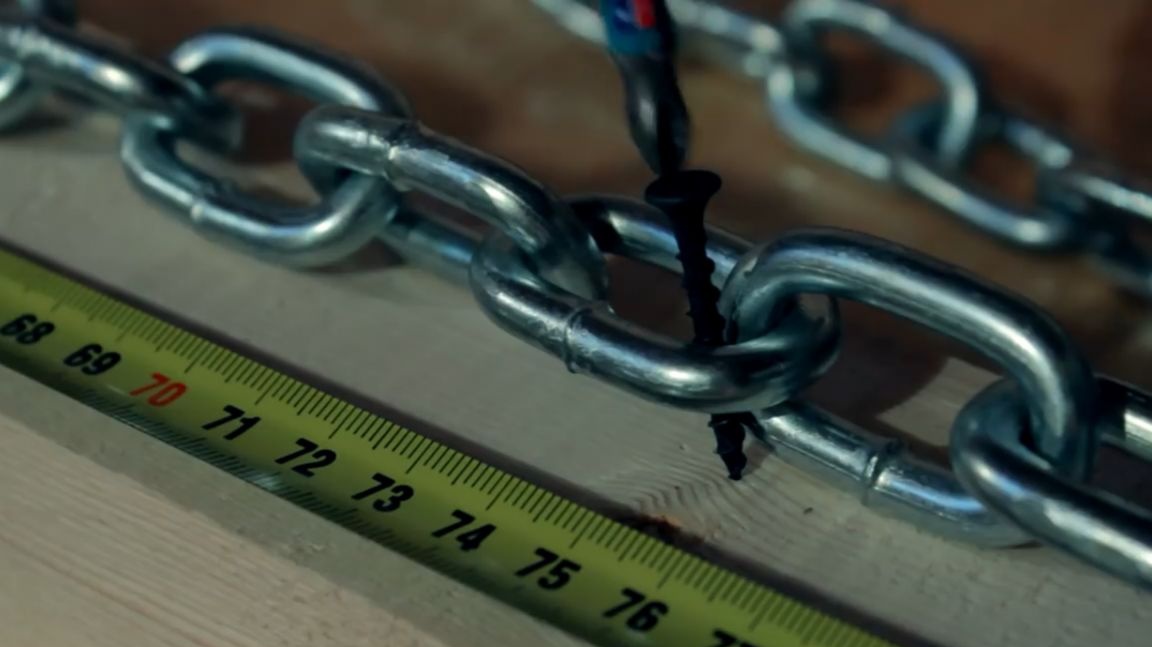
The first segments that we need to weld should be 75 cm long, and their total number should be 4 pieces. The template is ready, go to the welding work.
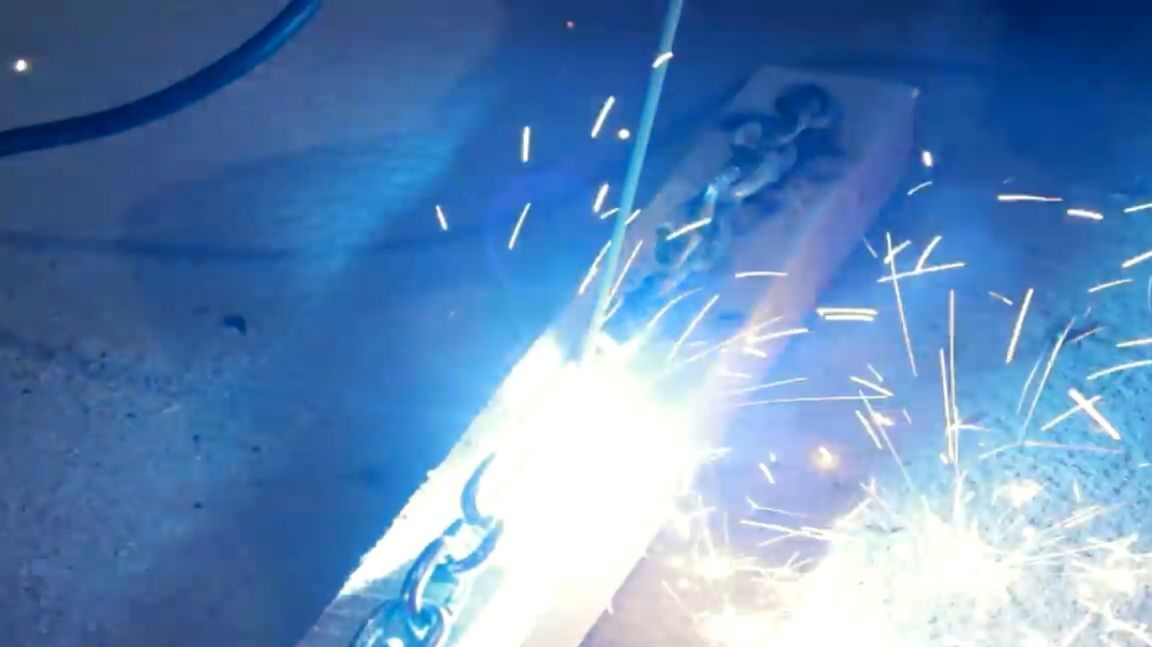
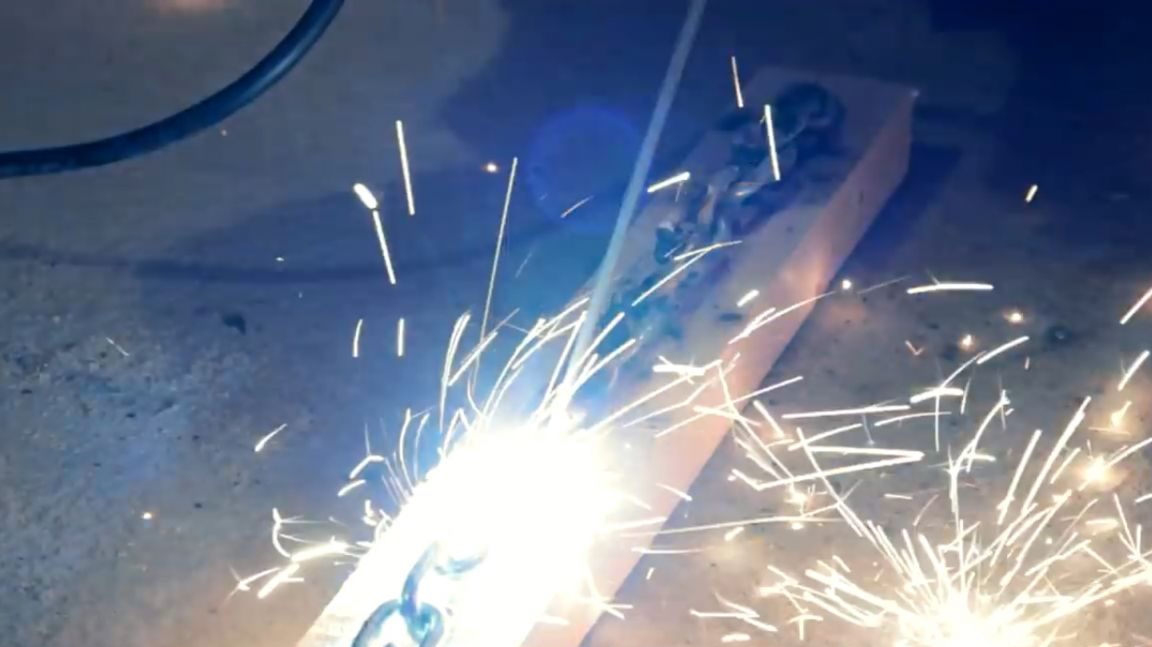
And at this stage the first problems began. It seems to be boiling everything, but in the end it turns out like this:
The author is, of course, a novice welder, but for links to be welded through one, this is a direct joke of some kind, to be honest. With grief in half, boiling one side of the chain, we turn the chain over, fix it and boil it on the other side. Of course, you can weld huge chunks of metal on each link of the chain so that the chain is sure to fail well, but since we also need aesthetics, we do not boil the links very much, we just grab it lightly, but nevertheless, to get it solid, this turned out to be an opportunity.
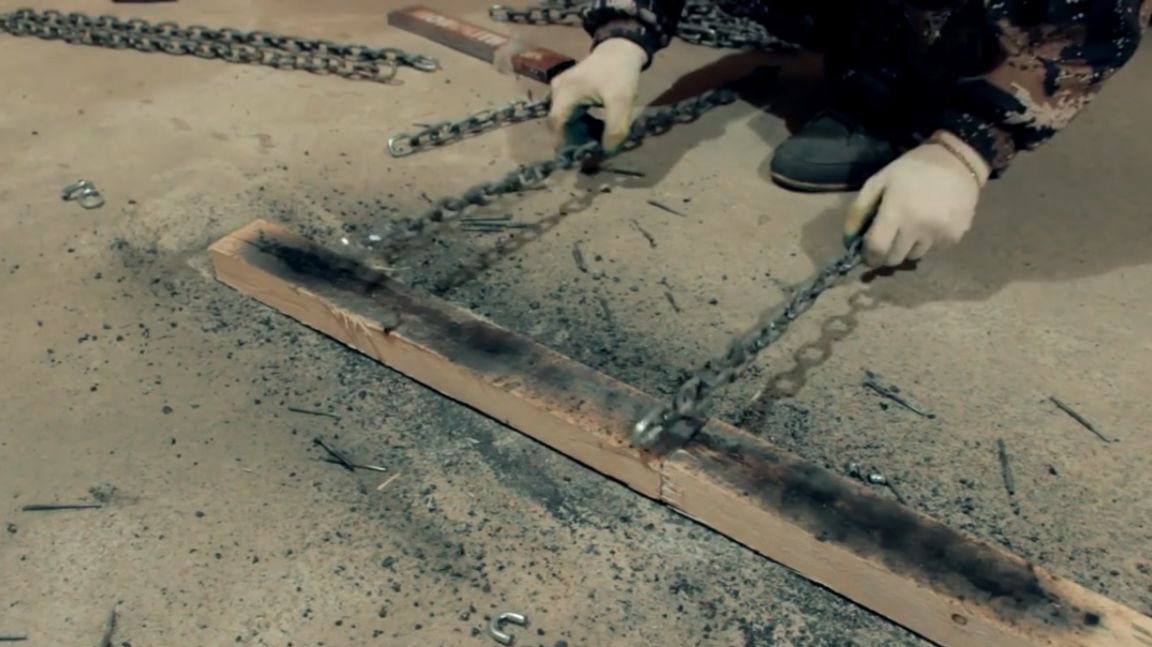
Having welded all the links to the desired length, the remaining part of the chain is cut off with the help of a grinder.
And from the monotonous and tedious work, the author entertained himself like this, started a wave along the chain:
Next, we will need 8 blanks of 30 cm each. In fact, with 30 centimeters there was a bust, 25 would have been enough, but since I sawed off and welded, we will already use what has been done.
Each time during the welding work, the author tried to adjust the camera so that a straight weld could be seen and in the end he almost succeeded.
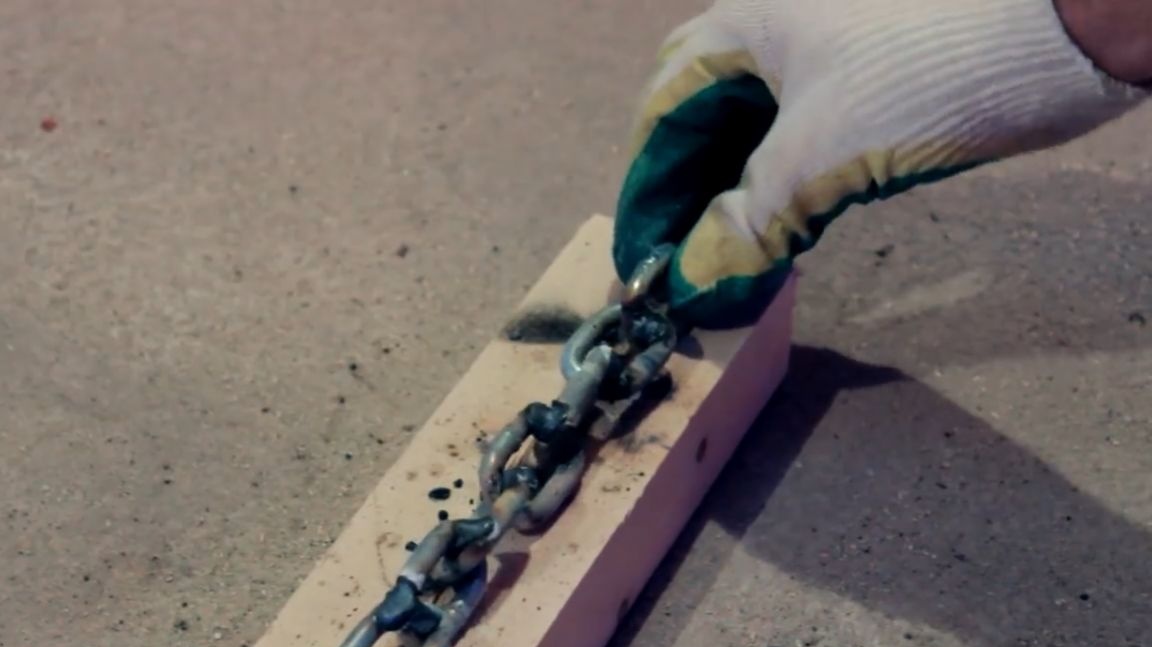
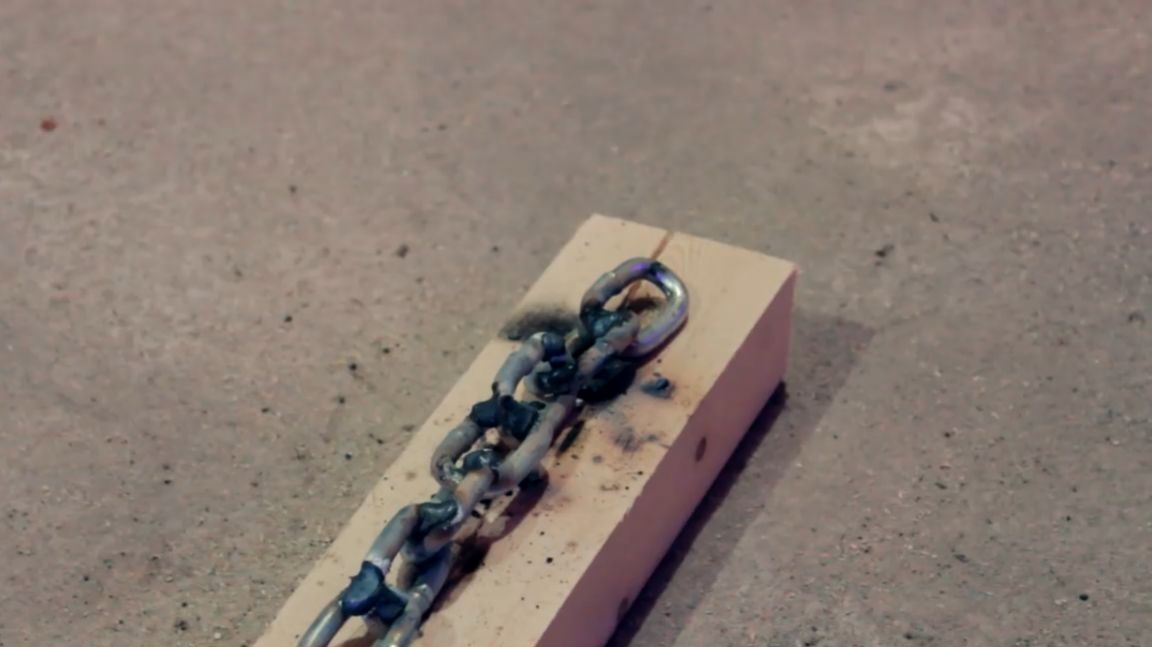
Having welded all 8 segments, be sure to beat off the slag. By the way, on those 75-centimeter segments, it was also necessary to recapture the slag.
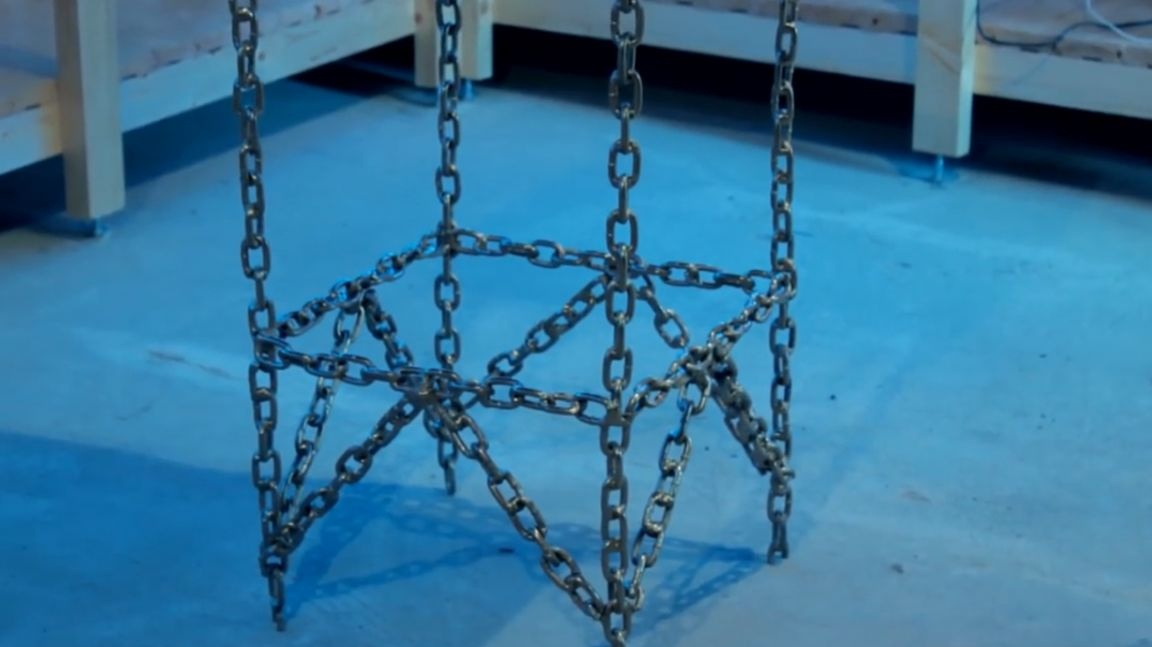
We take the first two blanks, lay them parallel to each other and put one blank in such a way that we get the letter “P”. And of course we weld it all.
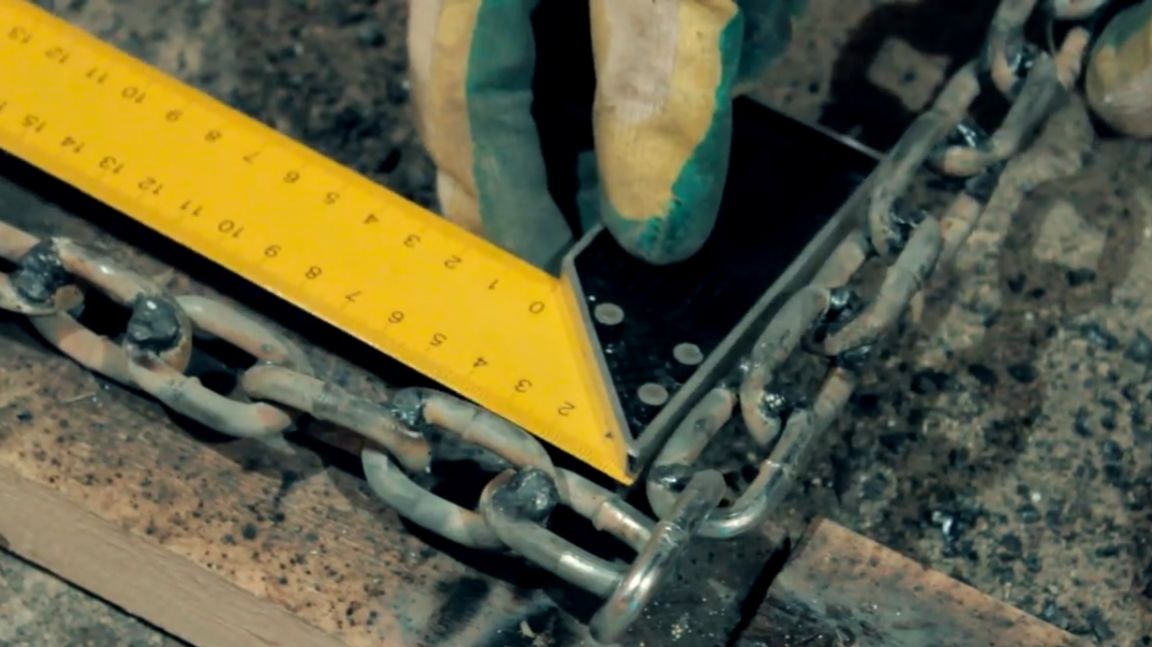
At these points, before welding, be sure to set a flat angle, well, at least approximately, since the chain is not perfectly flat.
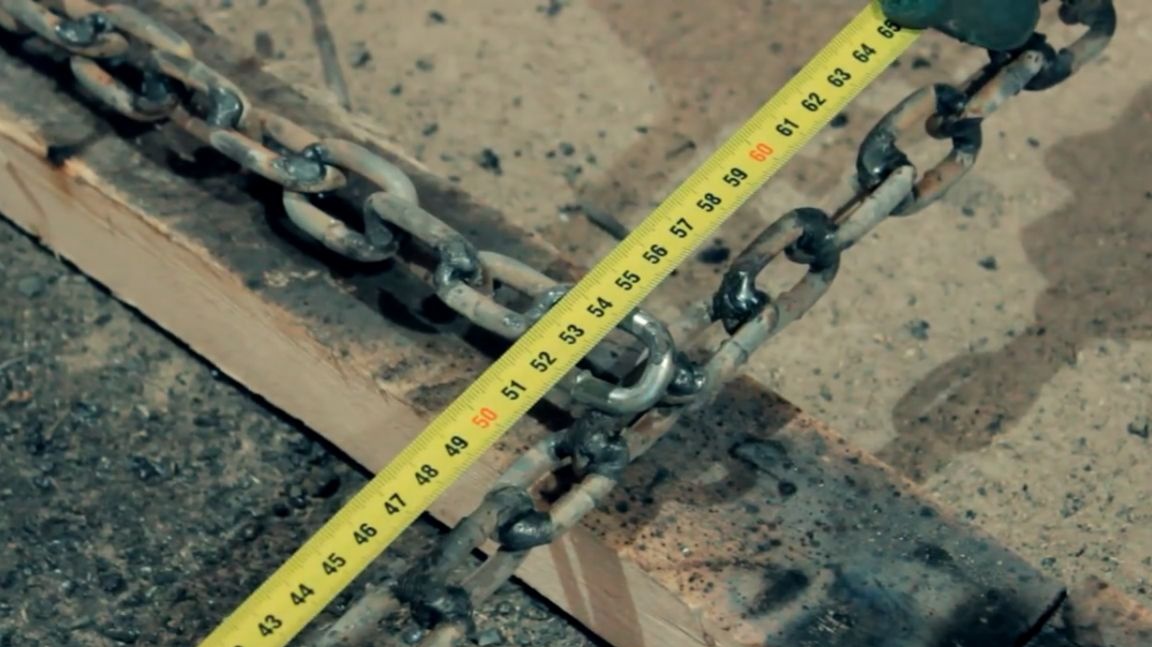
From the upper part of the u-shaped structure we measure 50 cm and weld the crossbar. And by the way, here the master also made a mistake. It was necessary to make at least 10 centimeters higher and it would be more convenient.
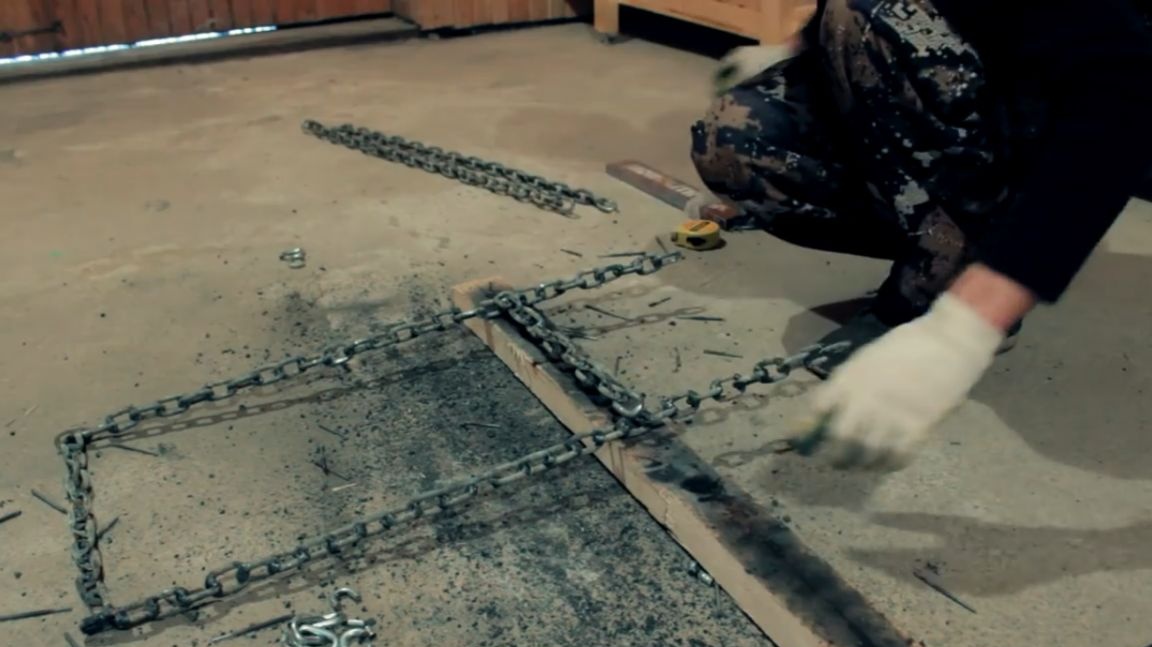
Next, we weld a vertical stand to the u-shaped structure and be sure to check the evenness of the angle, because the future quality of our product will depend on this.
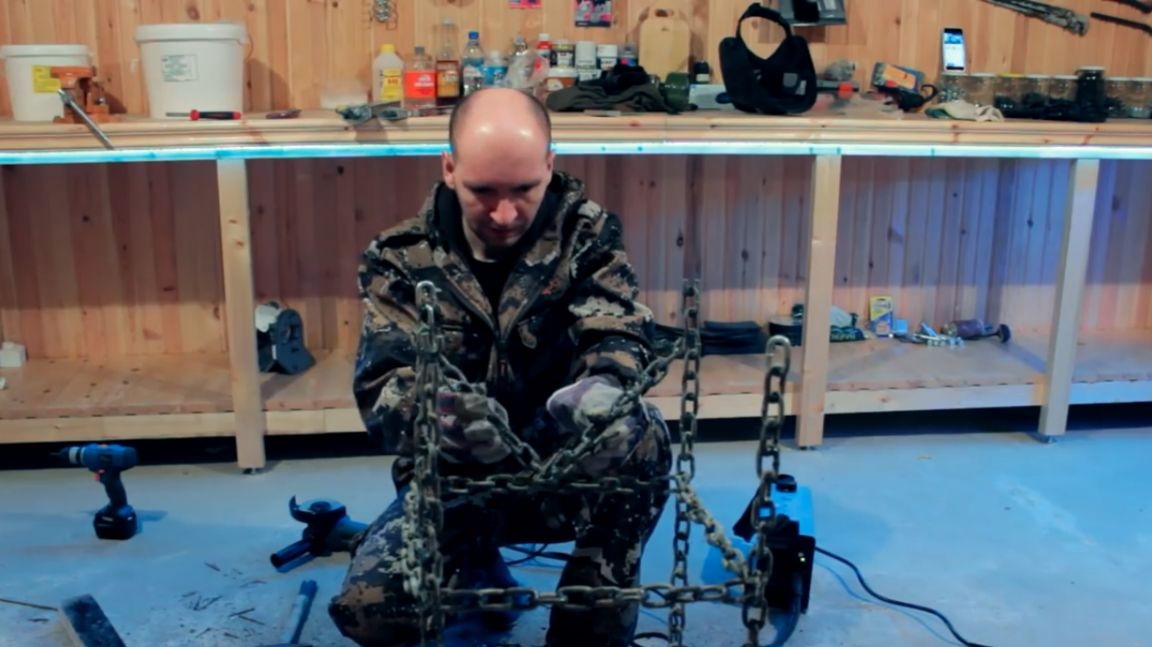
The next day, the master finished assembling the whole structure and got about this:
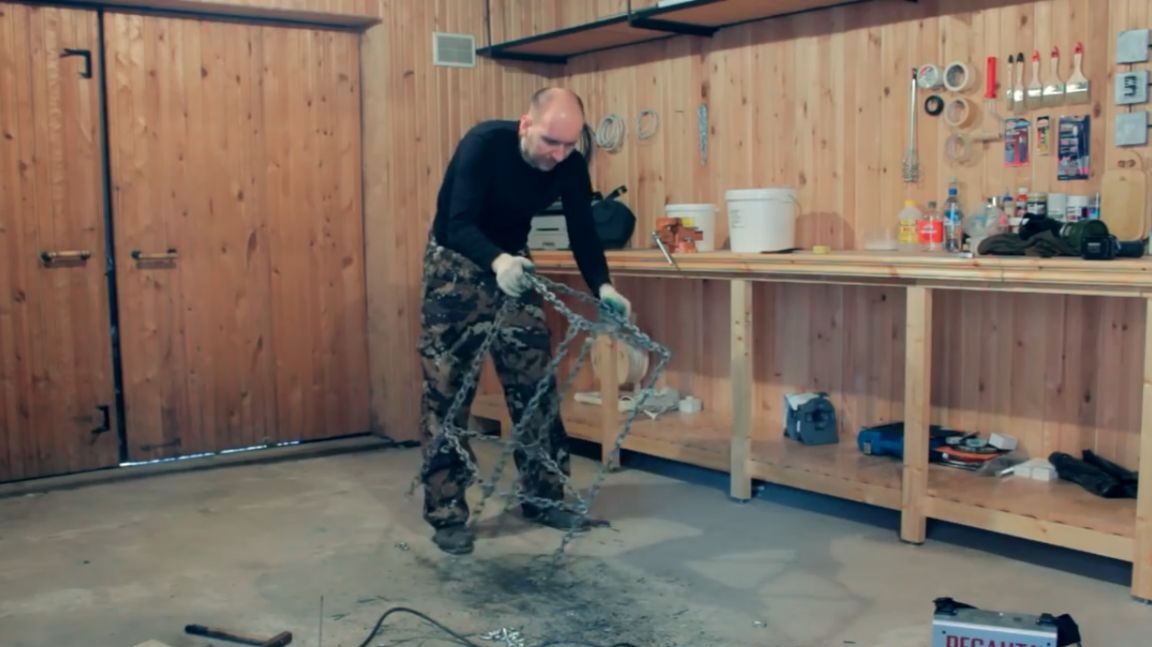
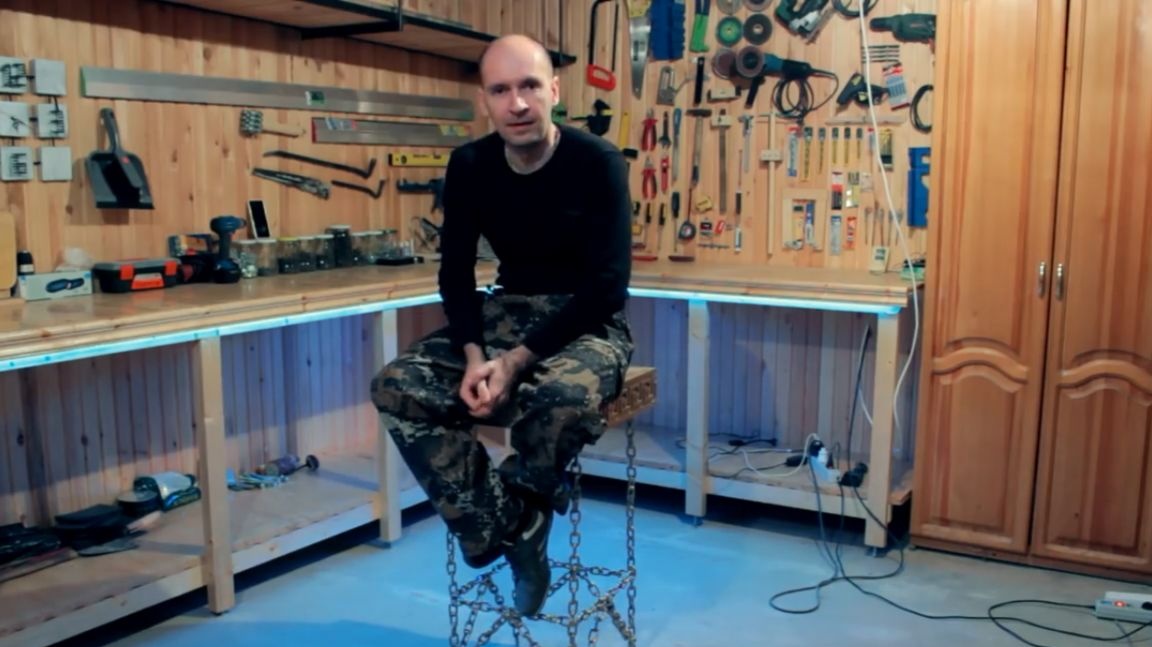
And it was necessary to check this design for strength. We make a feint, sit down and fall.
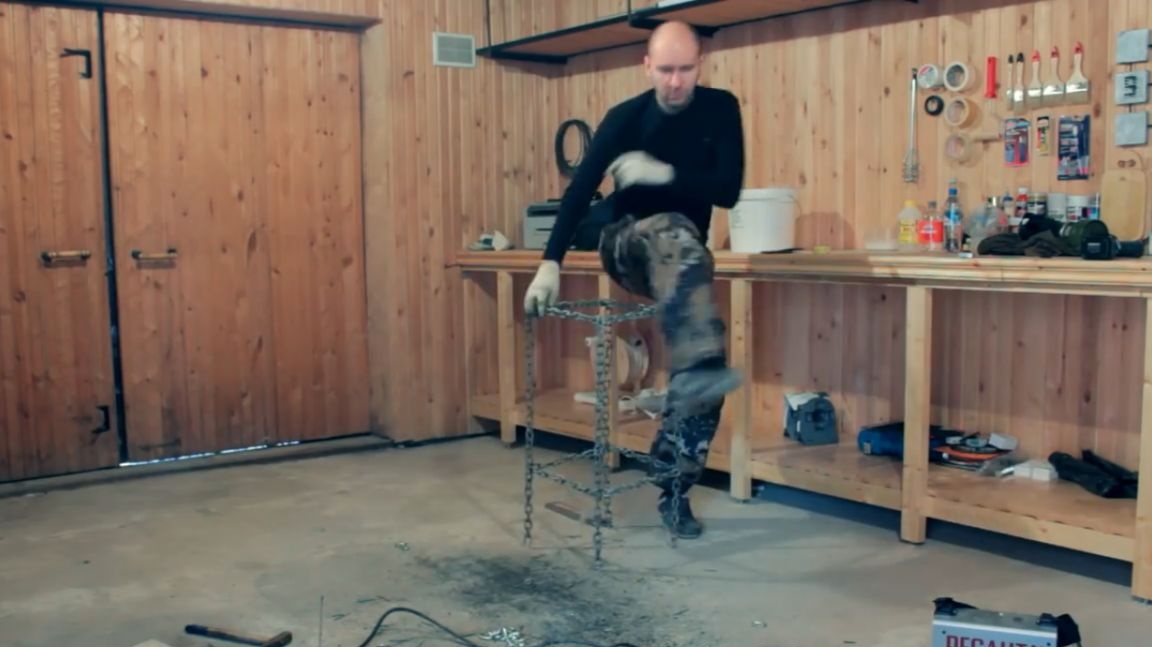
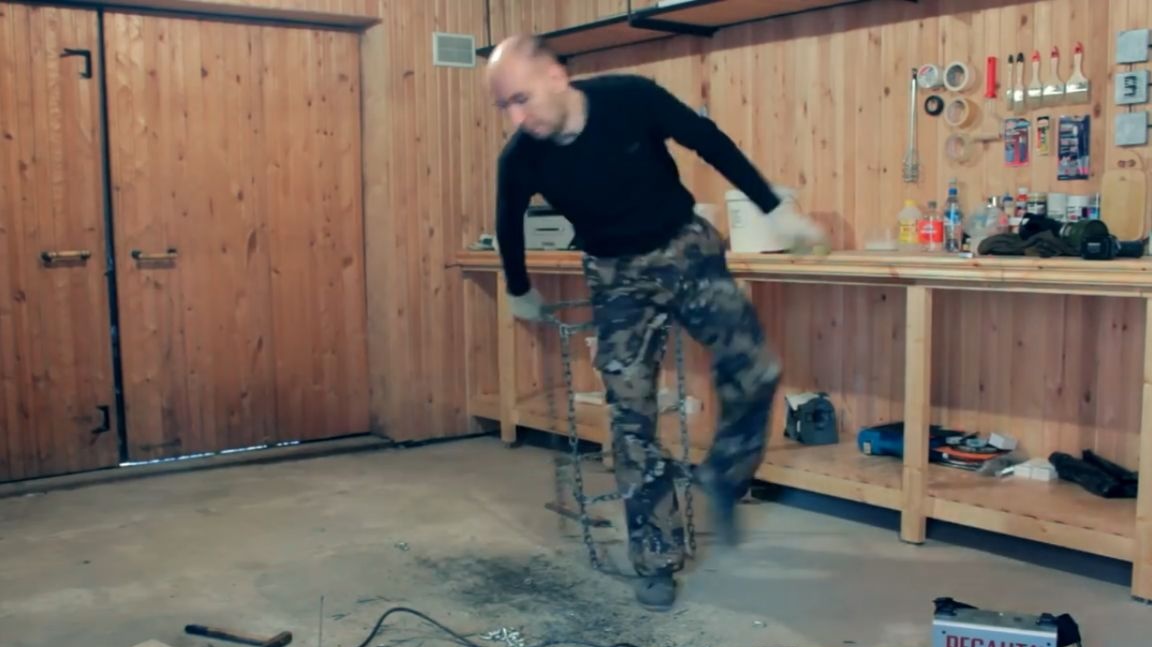
One leg gave way, so you need to think something. The author leveled the leg and tried another test.
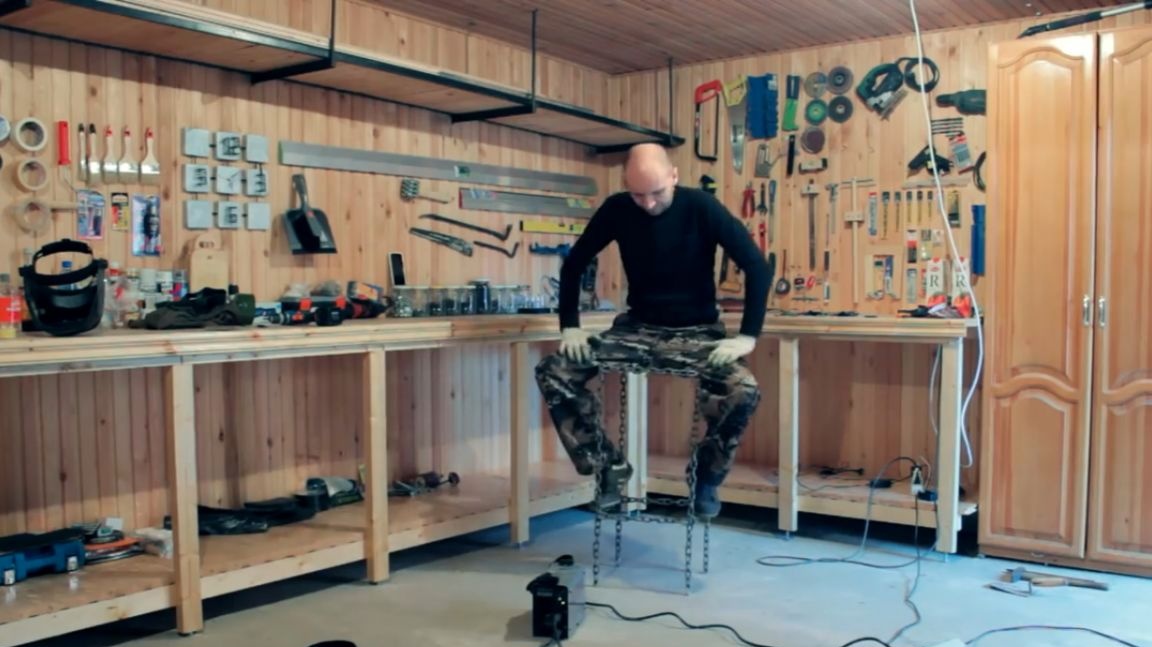

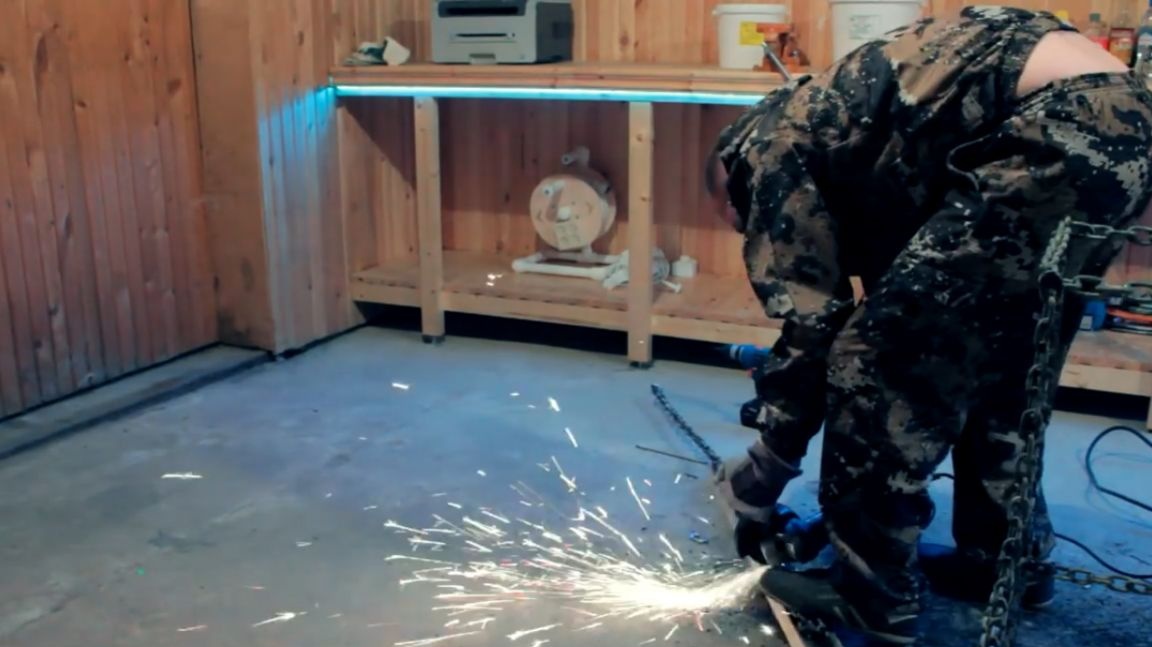
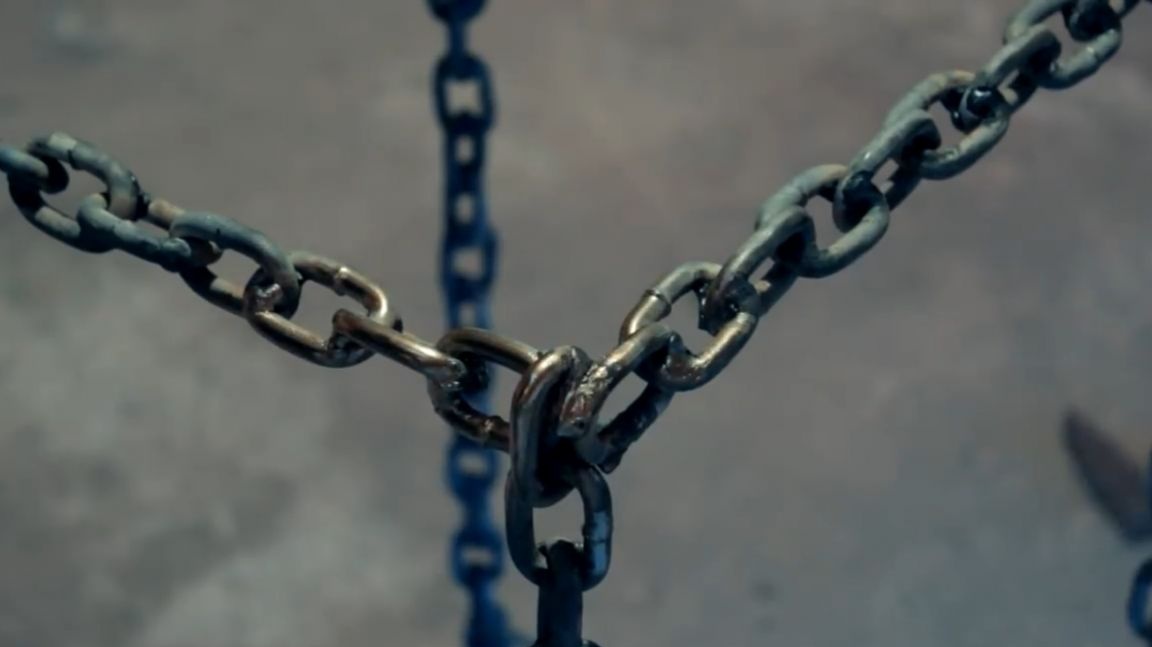
In principle, relatively stable. It holds such weight, but probably will not pull more. The master did a couple of exercises and began to think what to do next, because the design had to be strengthened. The most correct decision was to weld another long chain and cut into 9 links, so that in the end we got 8 segments. We put these 8 segments in the strut of the lower legs, they should have added rigidity to the structure.
We weld and weld everything and get this result:
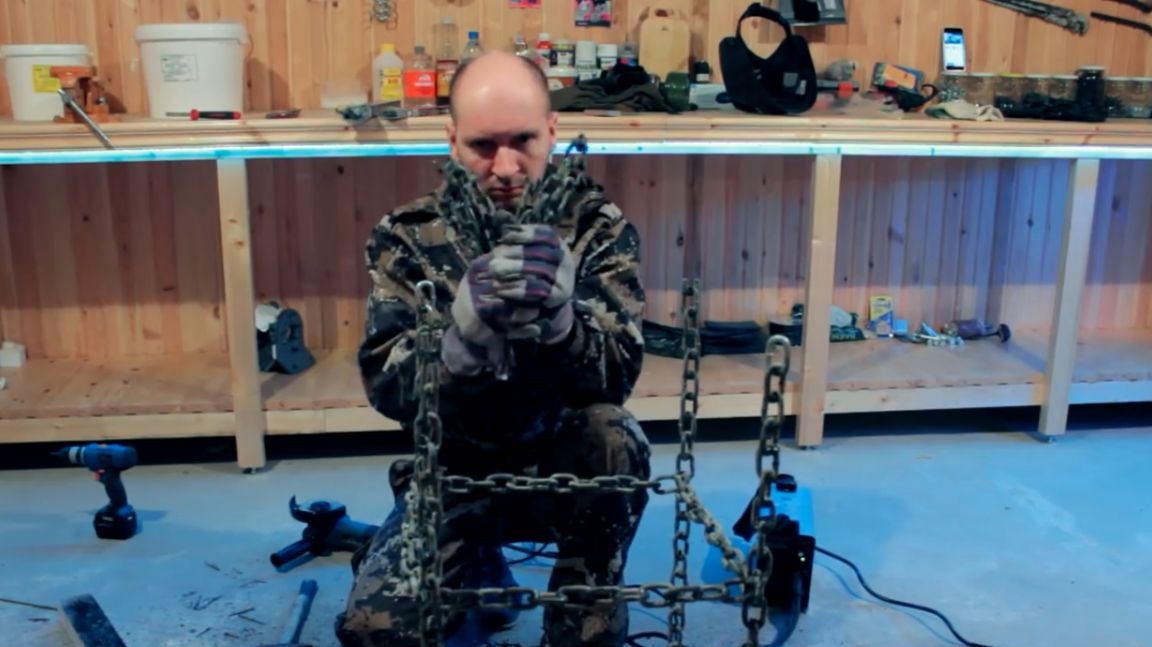
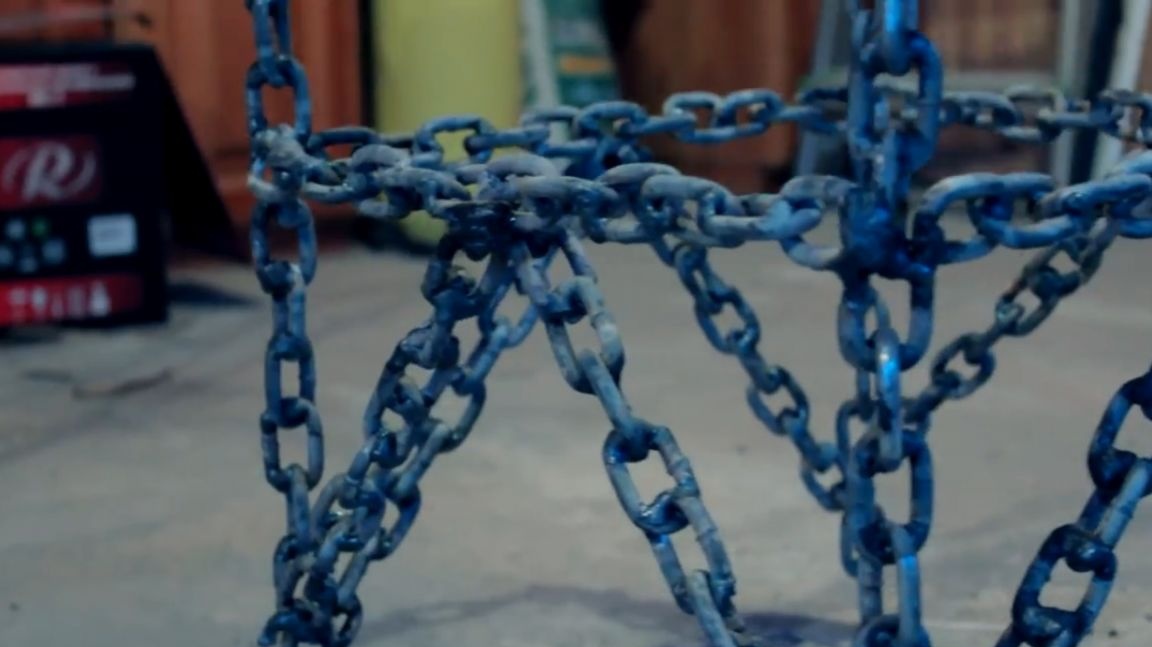
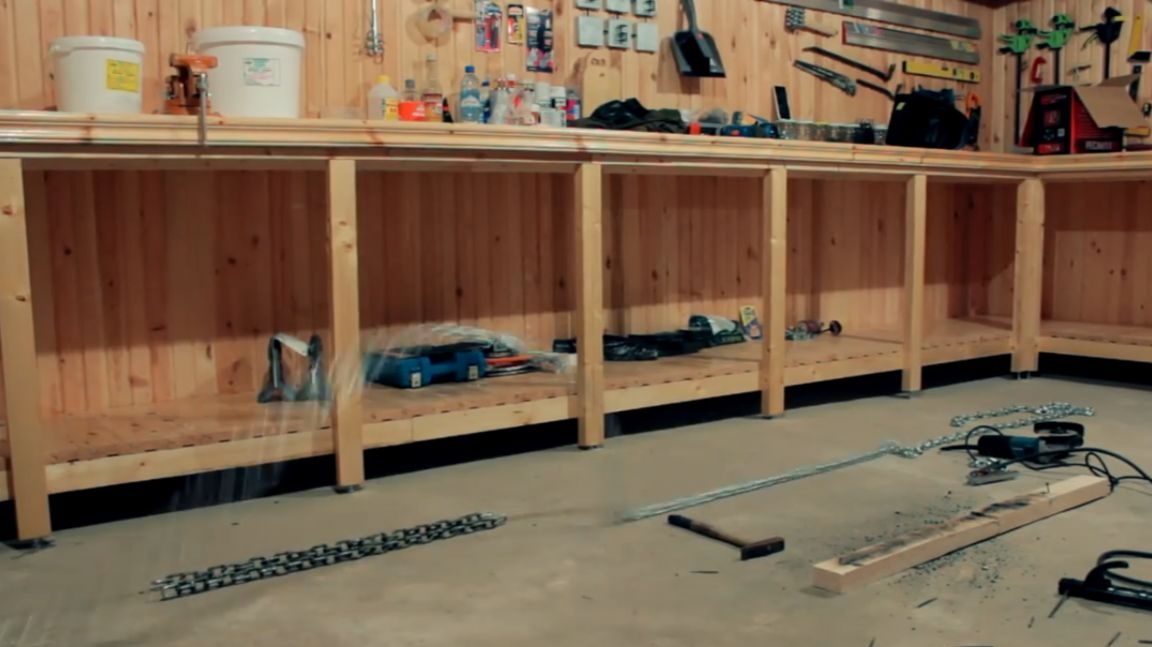
It seems to have turned out even better than it was. You can calmly exhale and finally turn off the welding machine, setting it aside, in this project it will no longer be needed.
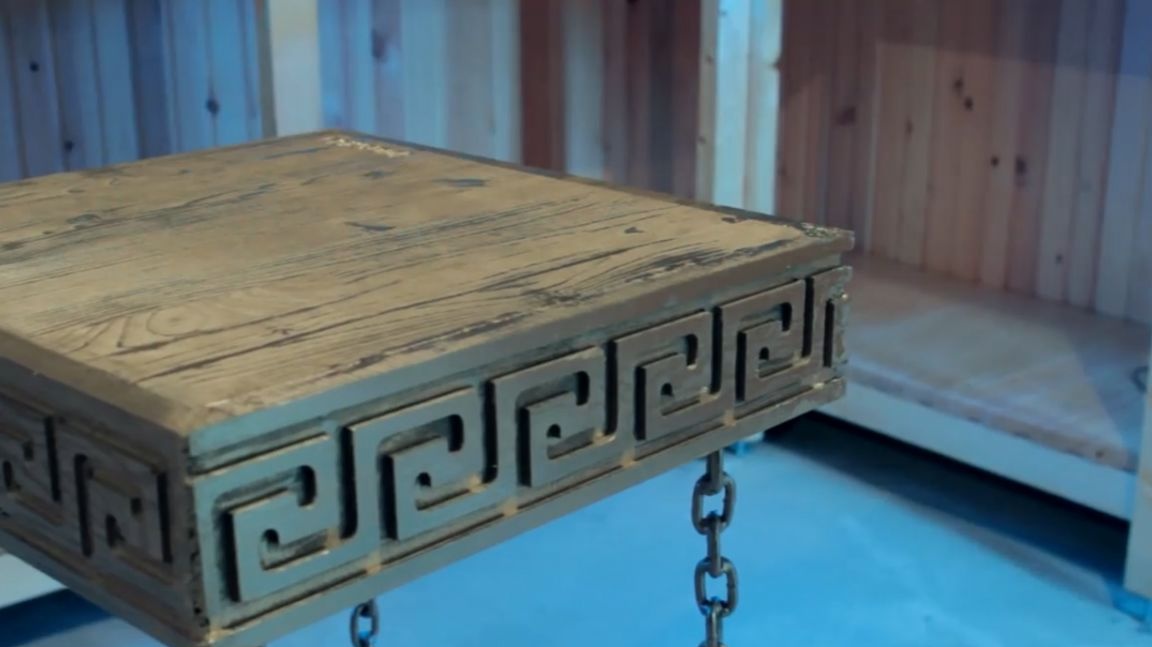
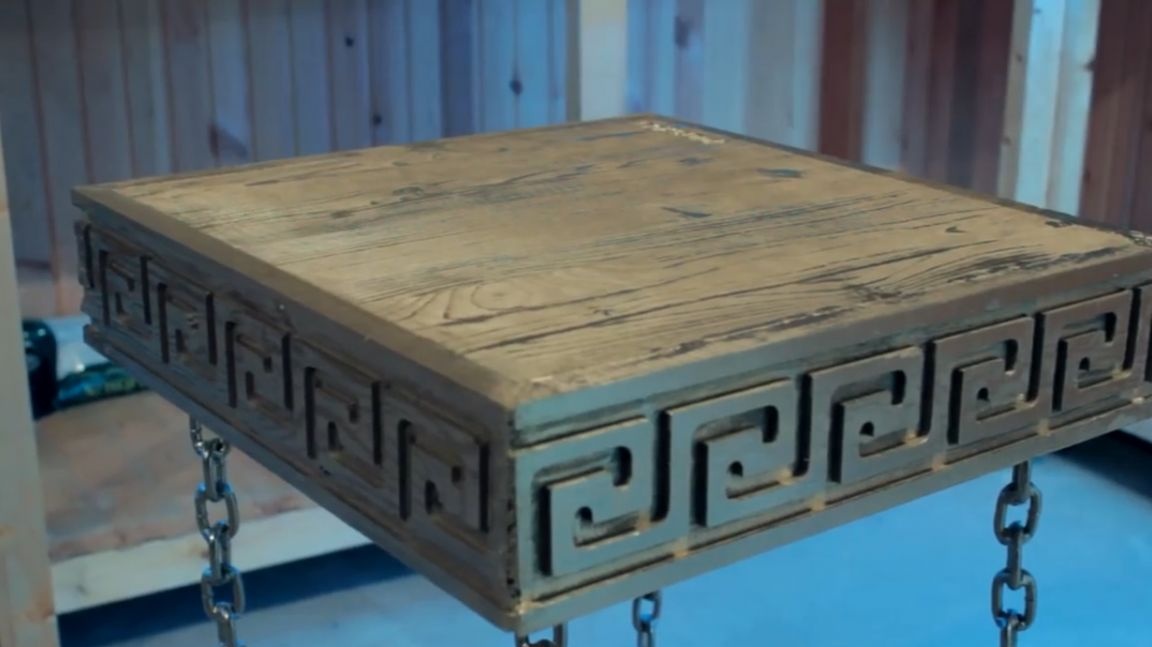
Next, go to the pieces of wood. Take the countertop, which the author still has from the manufacture of the lamp and measure a square with a side of 40 cm. We clamp all the clamps to the workbench and saw off with a jigsaw.
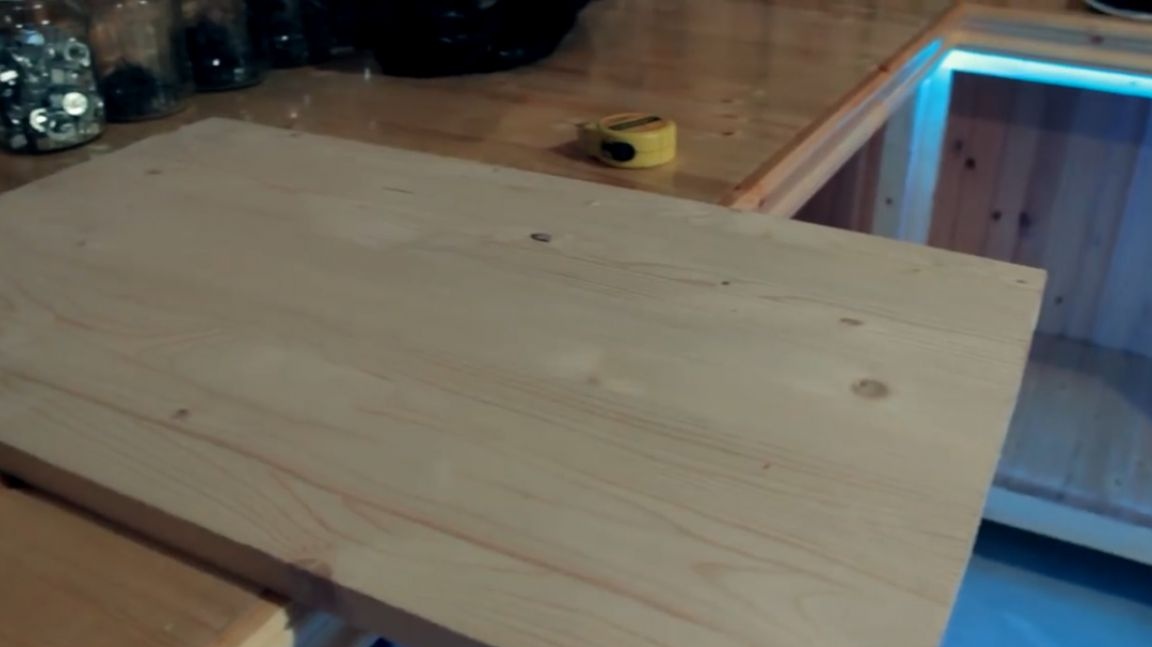
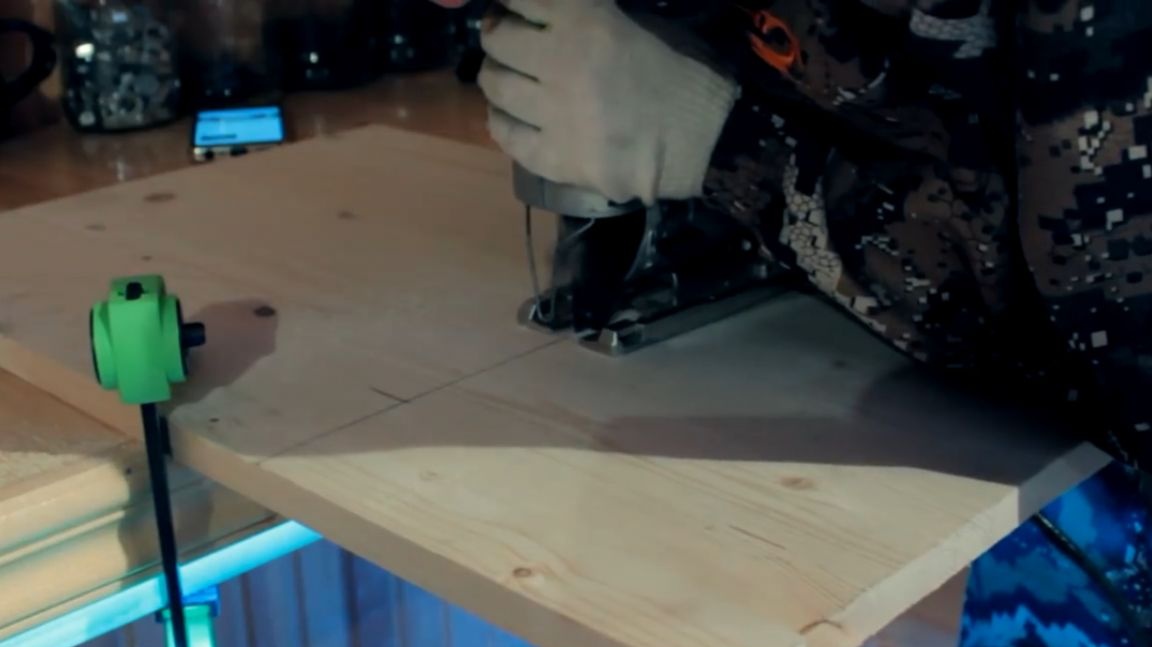
We process the edges with sandpaper and immediately set the countertop on the chain structure and check the evenness of the product so that then there are no nuances.

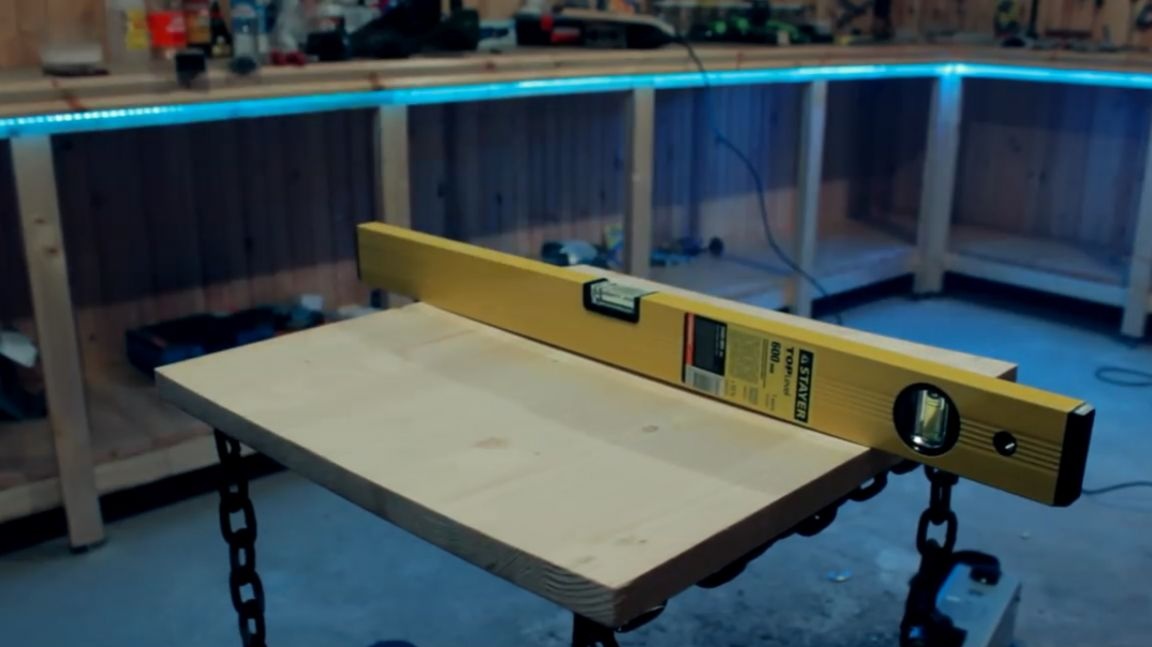
Everything turned out to be exactly, but it’s not just that, I had to weld here and there a couple of chain links to really make everything equal.
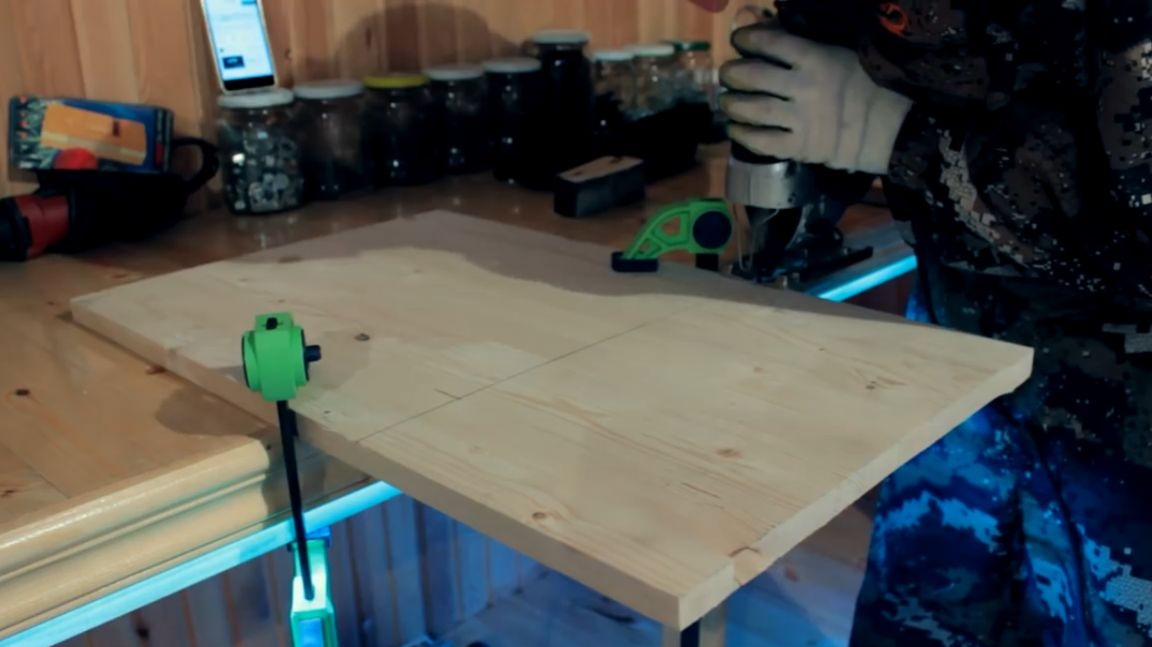
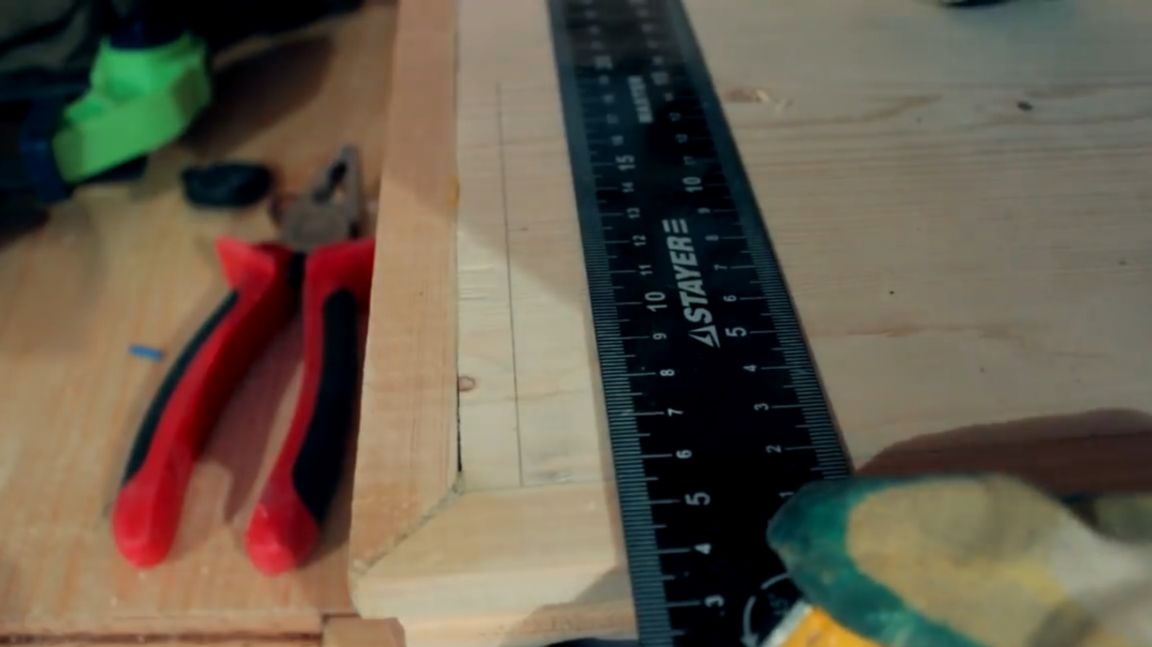
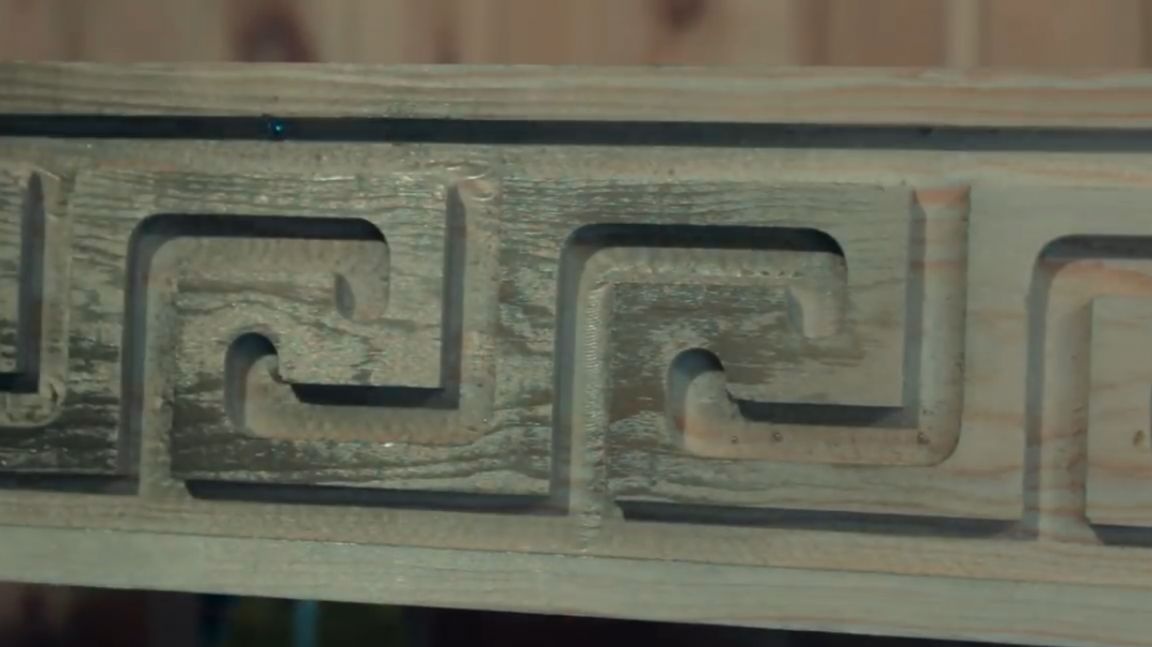
Now take the platband, also left over from one of the previous author's projects, and cut 4 segments at an angle of 45 degrees.
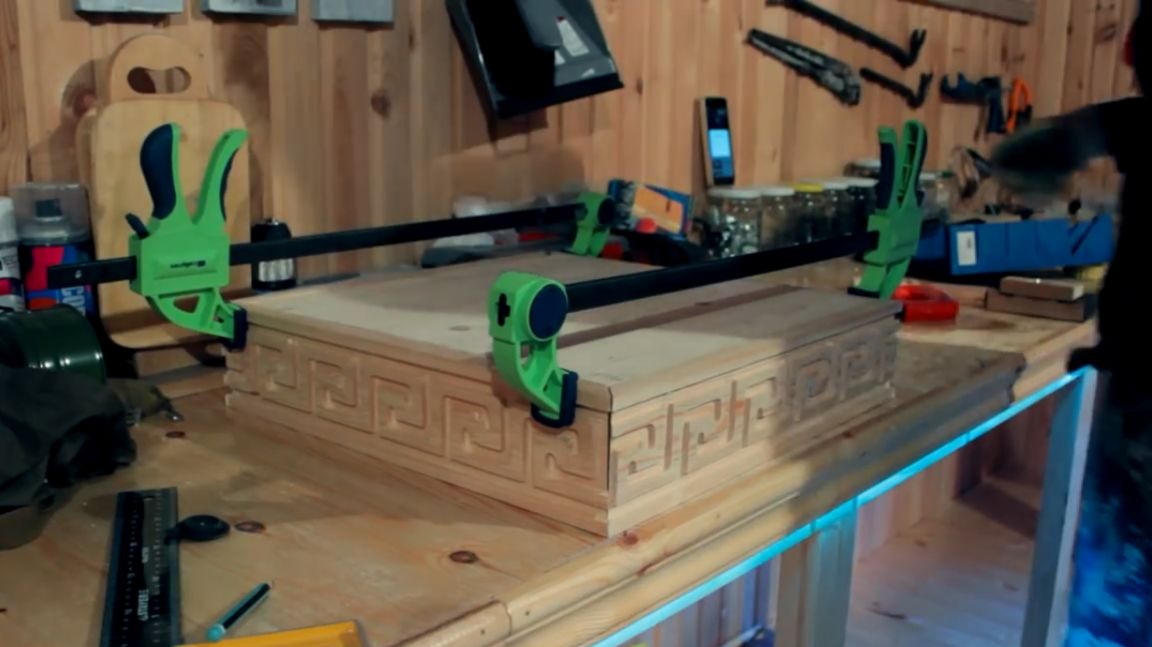
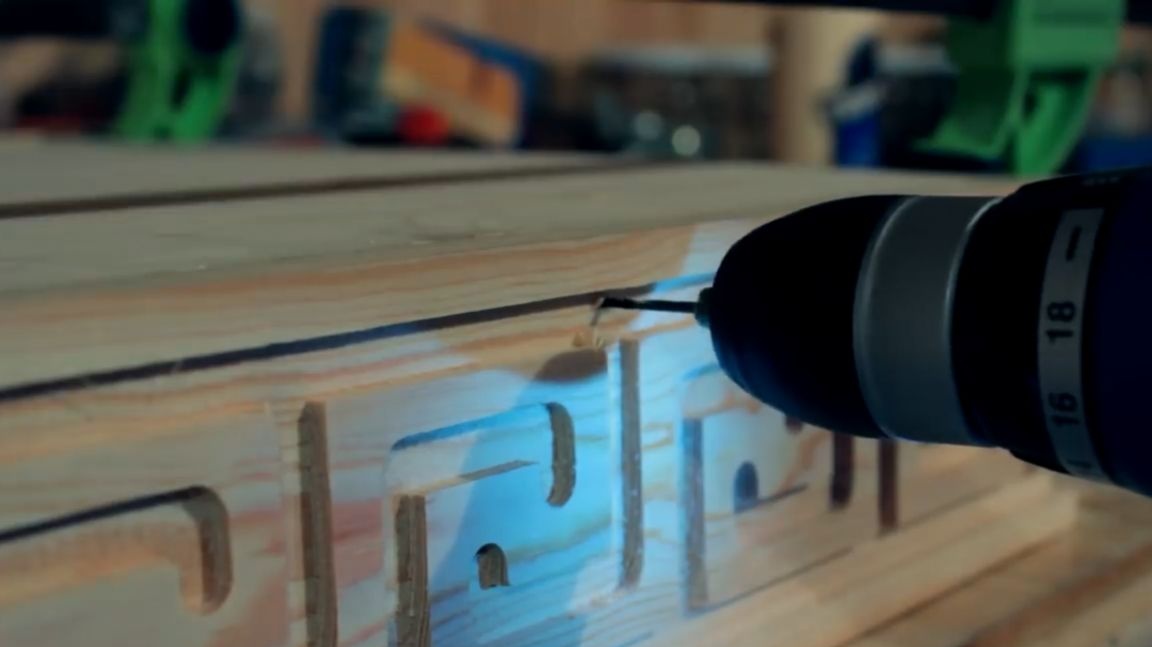
First, squeeze the entire structure with clamps to understand where what kind of clearance is obtained. We will fasten the countertop and platband as always with glue and screws. Therefore, we apply a strip of glue and press the platband to the countertop, drill 3 holes and twist 3 screws.
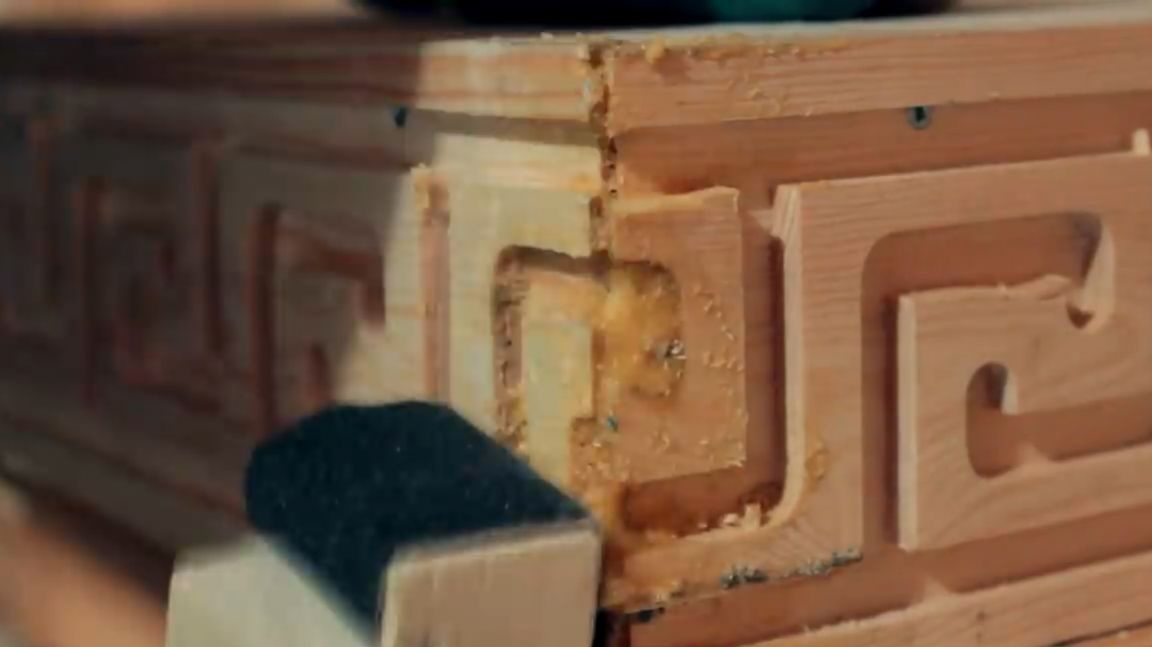
Unfortunately, cutting corners perfectly did not work out perfectly, because, as you can see, the miter box is being carried away. Therefore, in order to somehow more or less fix this jamb, we mix the sawdust with glue and smear the resulting gaps with this compound.
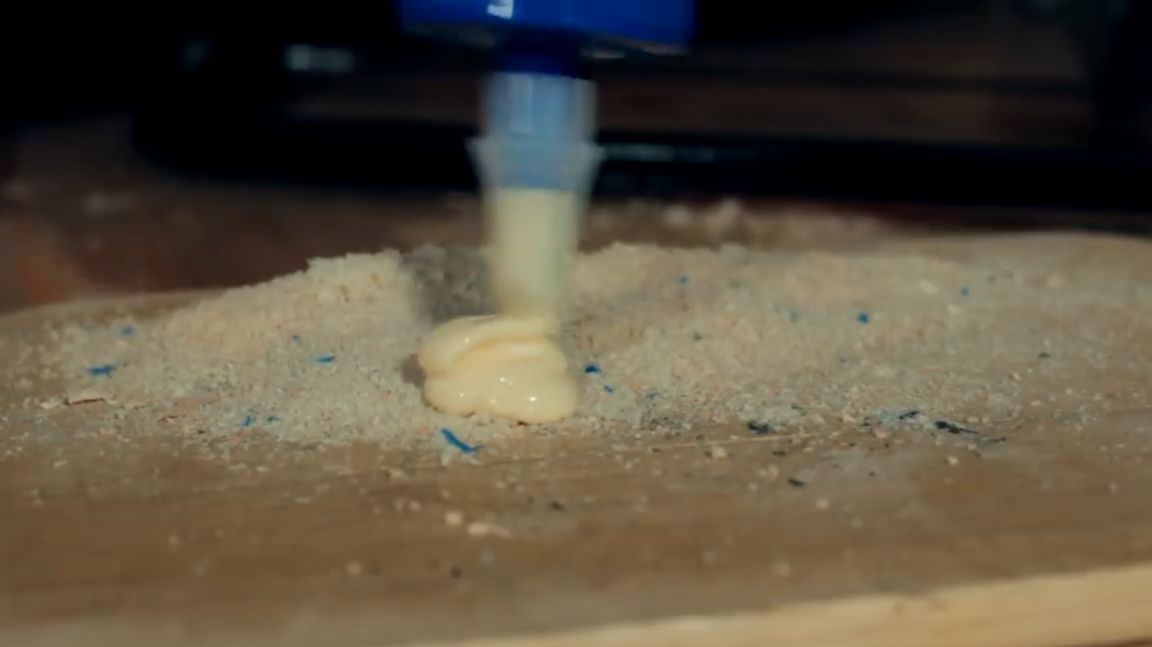

It turned out of course so-so quality, but for the garage I think it will. The next day, the master skimmed off the remnants of glue and decided to do a little more aesthetics.
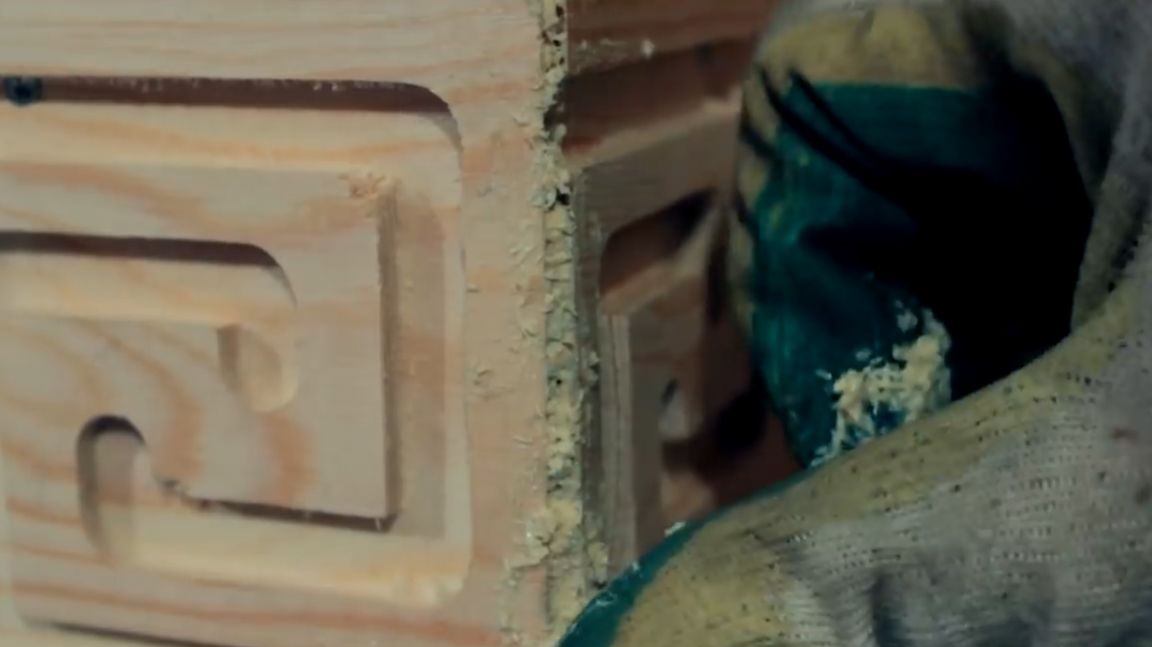
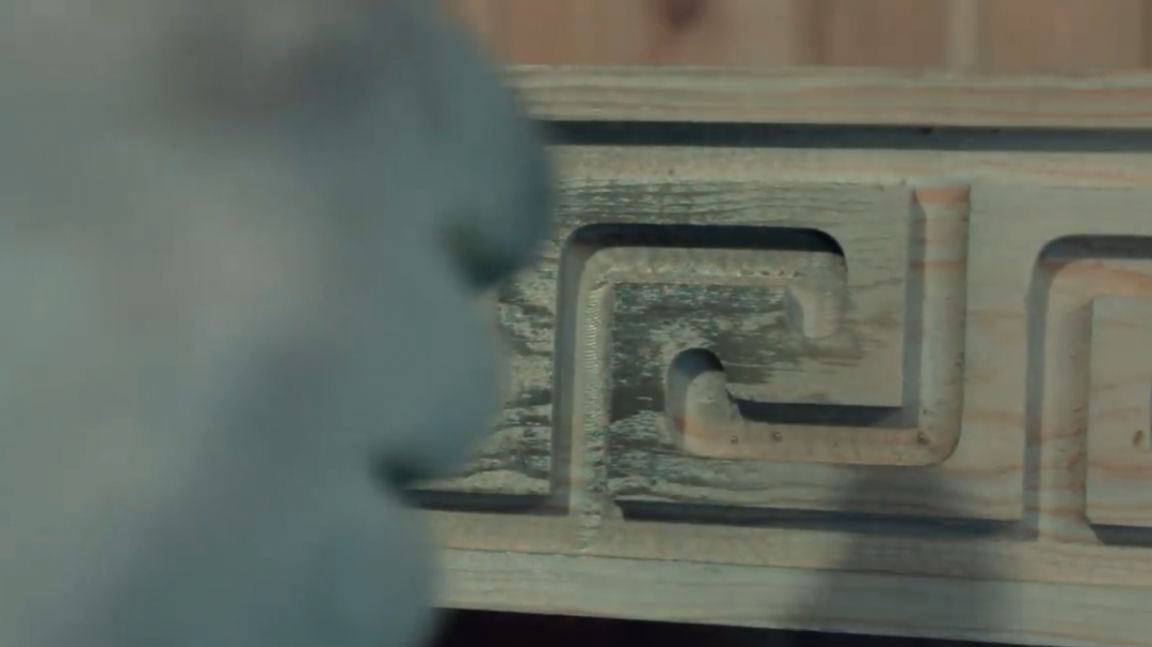
As you can see, the platband from the factory has unpleasant artifacts that the paint will not fall on very well.
Therefore, a little confusion to remove them. To do this, we need a miracle of Chinese engineering in this plastic box.
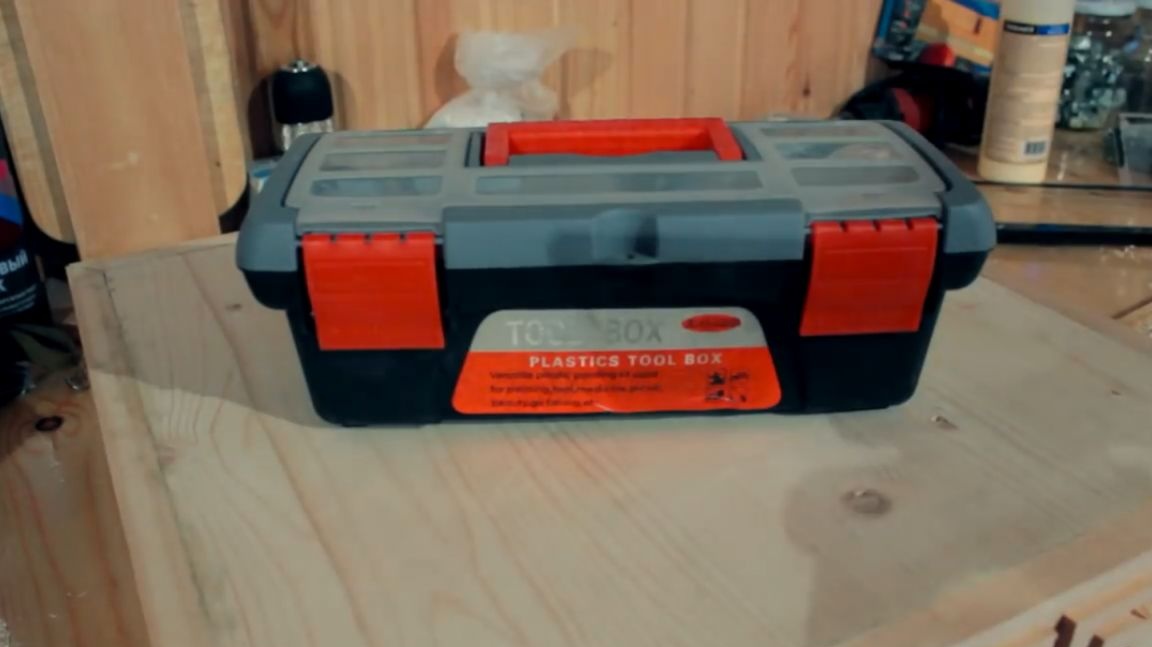
Inside the suitcase we have a dremel (or an engraver, who calls it what).
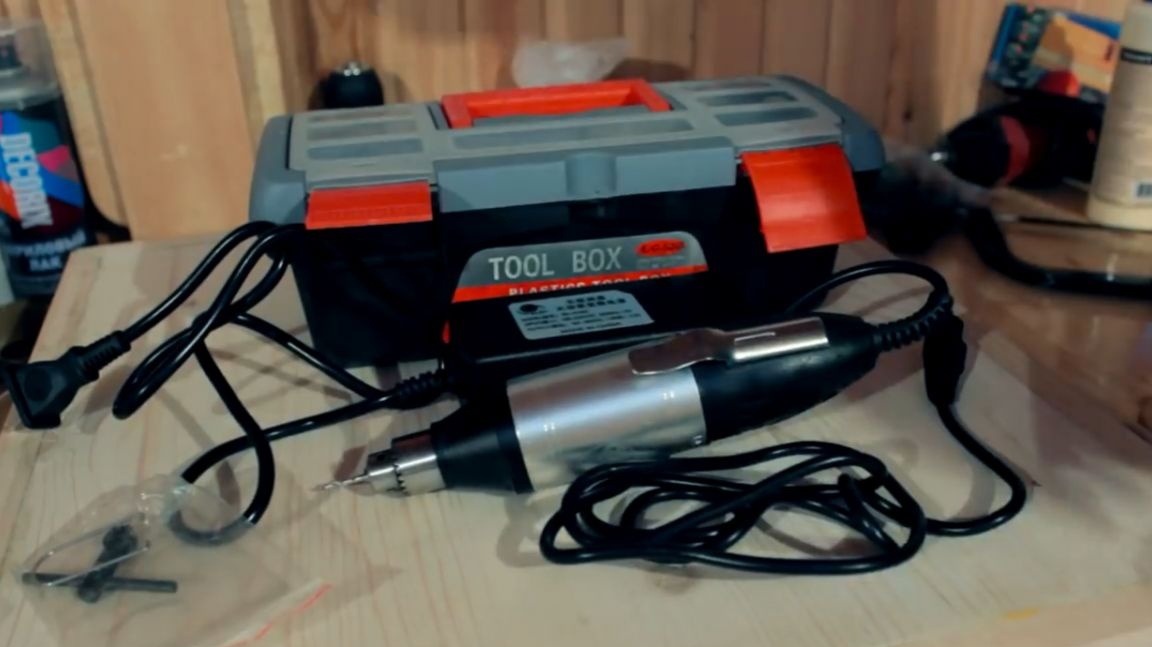
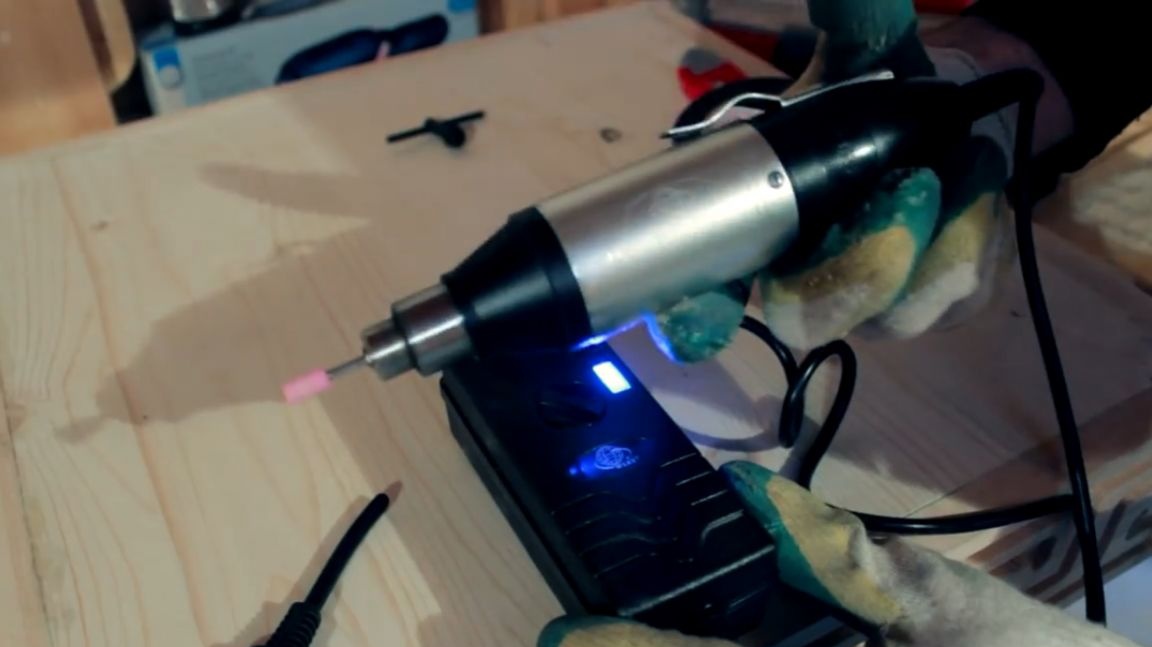
Complete with a snooze there are 5 nozzles and 4 drills. The only cant is that it does not come with our plug, but this problem can be easily solved with pliers and another plug. On the power supply to the dremel there is a speed regulator, but we will not bother, we set it right at maximum speed. We turn on the dremel with the help of a large metal key and with the help of a cylindrical nozzle from another dremel with sandpaper, we will process all the irregularities.
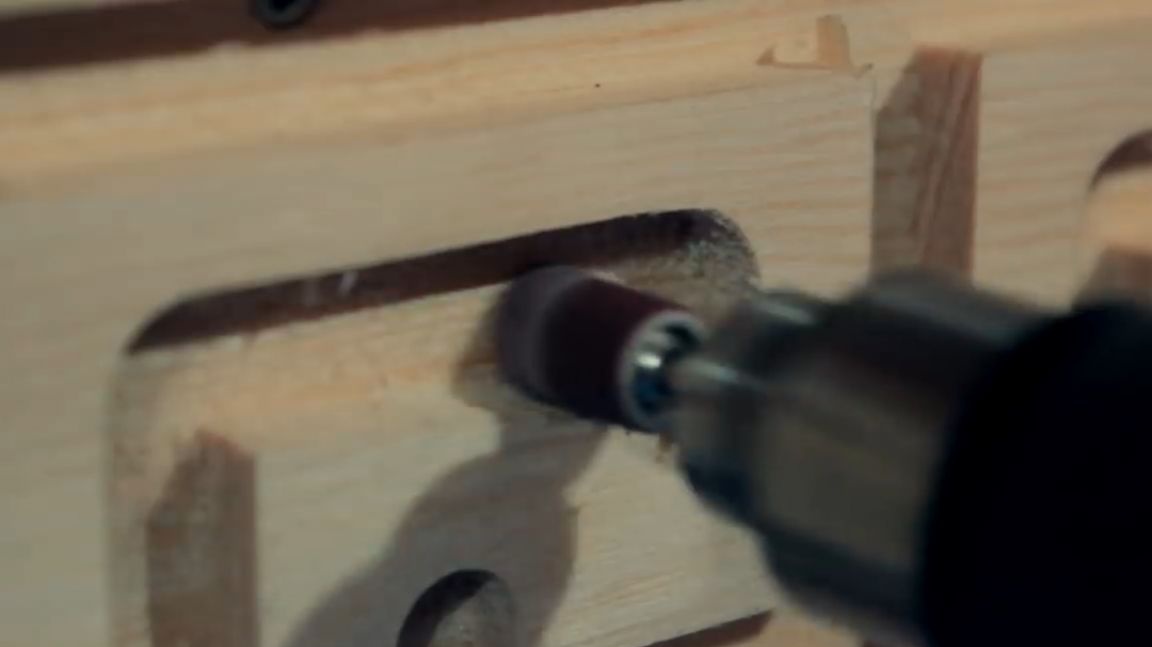
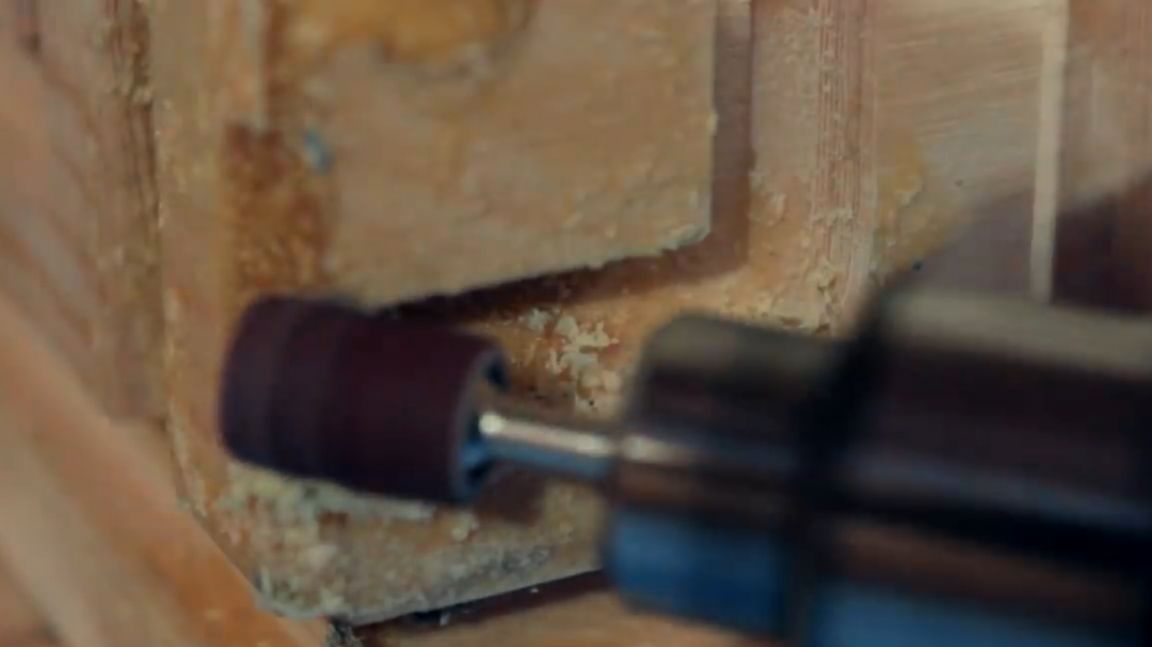
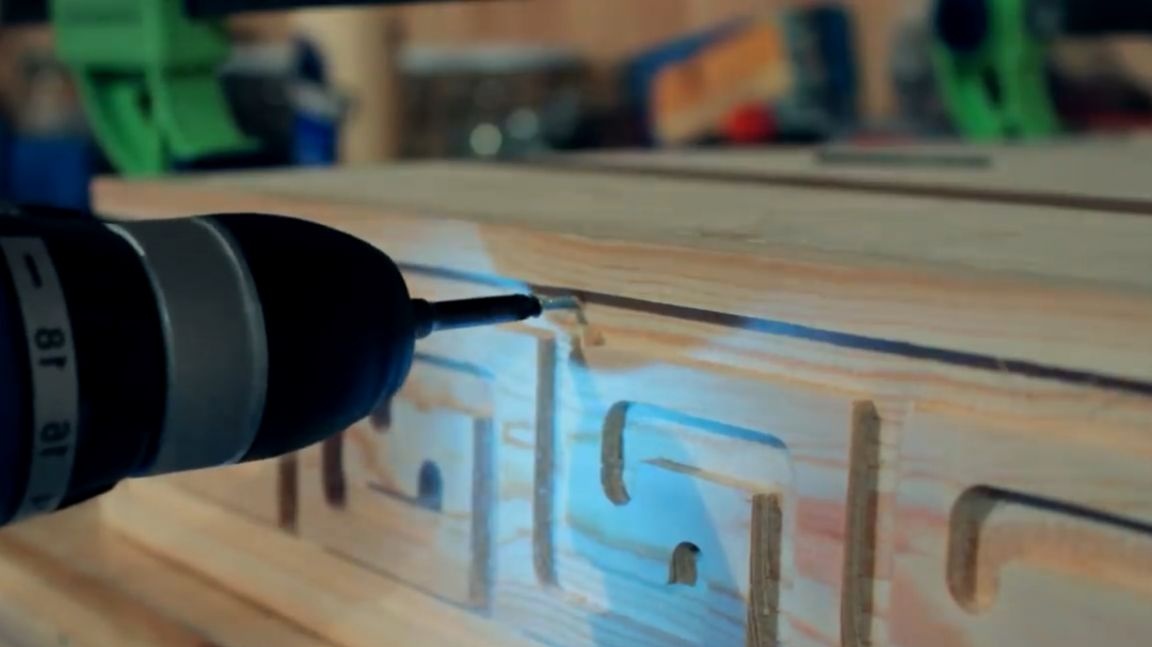
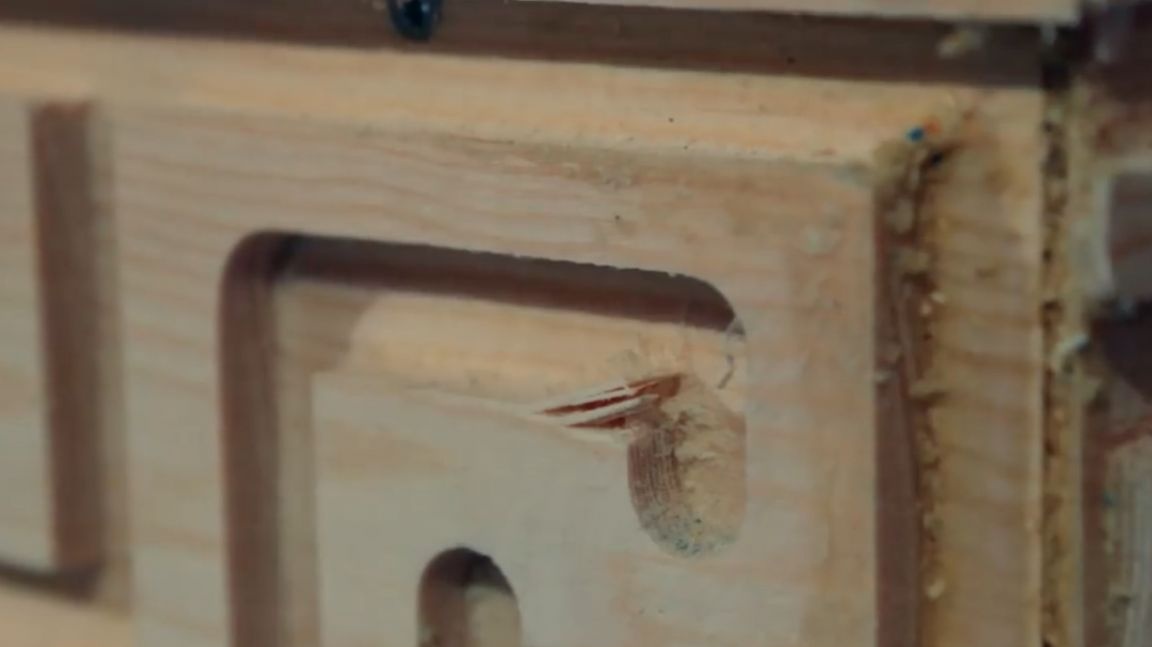
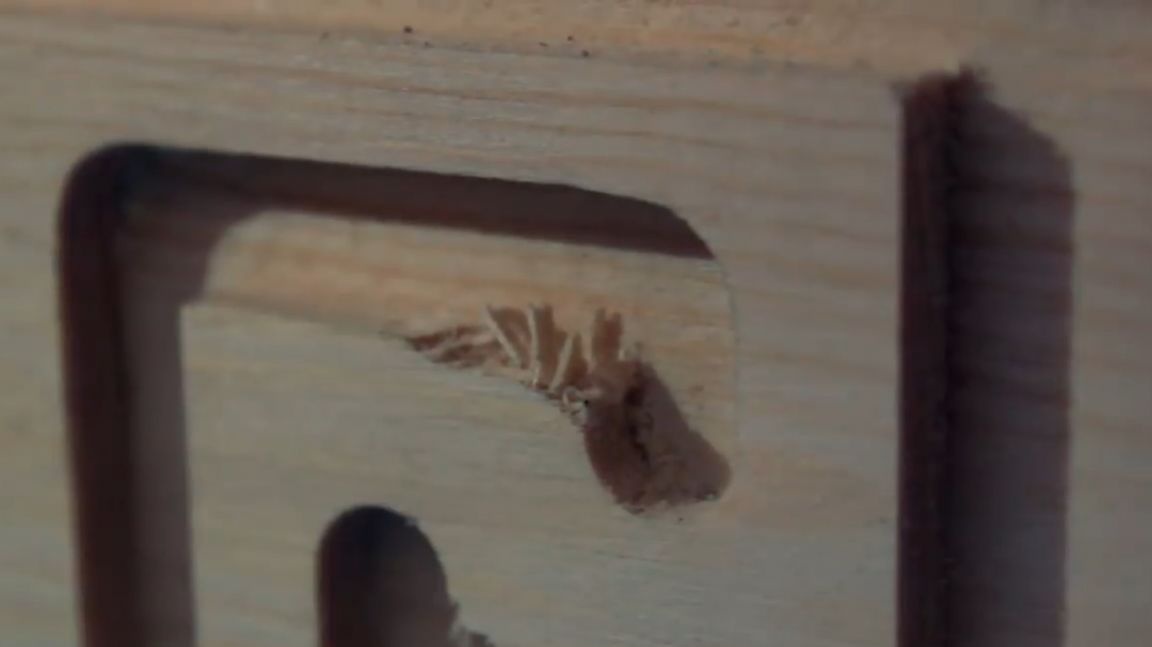
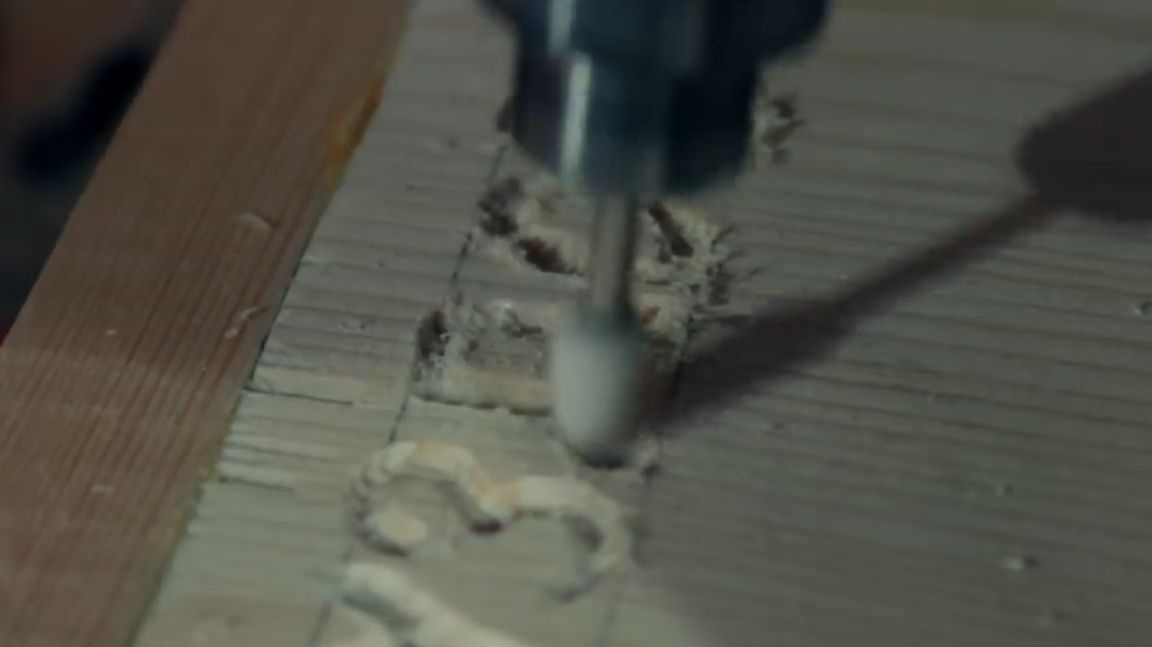
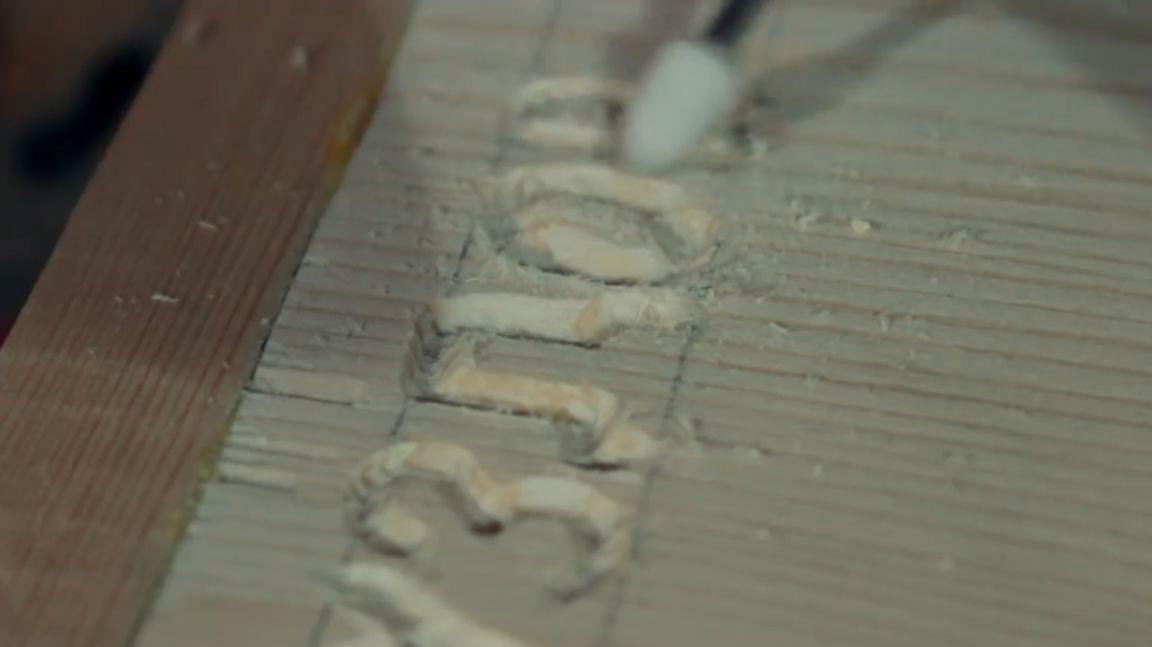
Having processed all the edges, the author decided to engrave. The master decided to sign his homemade products with his last name. Perhaps a little immodest, but let it be so. Of course, there was no special cutter for engraving, but he decided to do this with a drill.
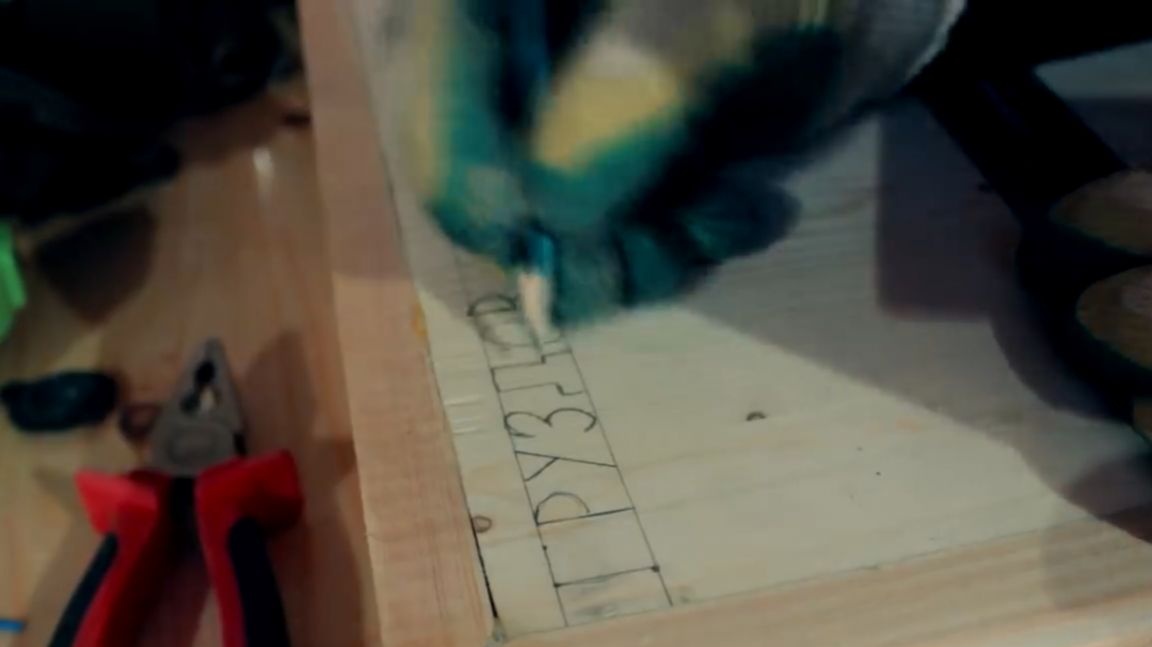
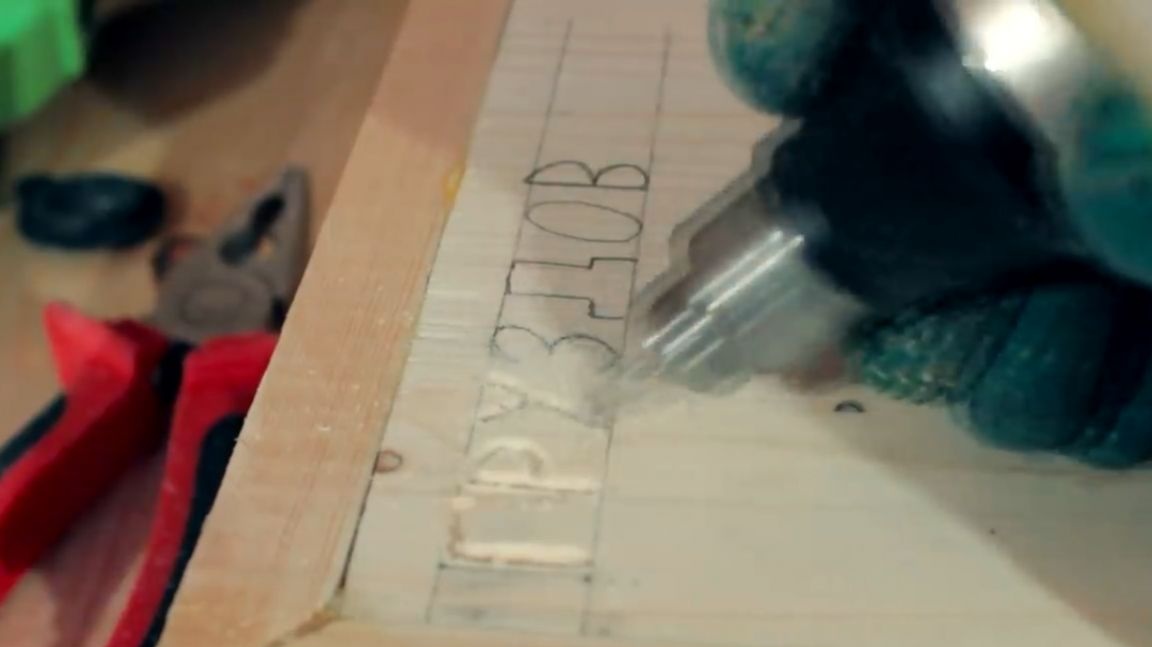
Surprisingly, the drill complete with dremel coped with this task. Of course it turned out not perfectly smooth, but just right for the garage style. Such a nozzle helped to remove the burrs and add evenness to the letters:
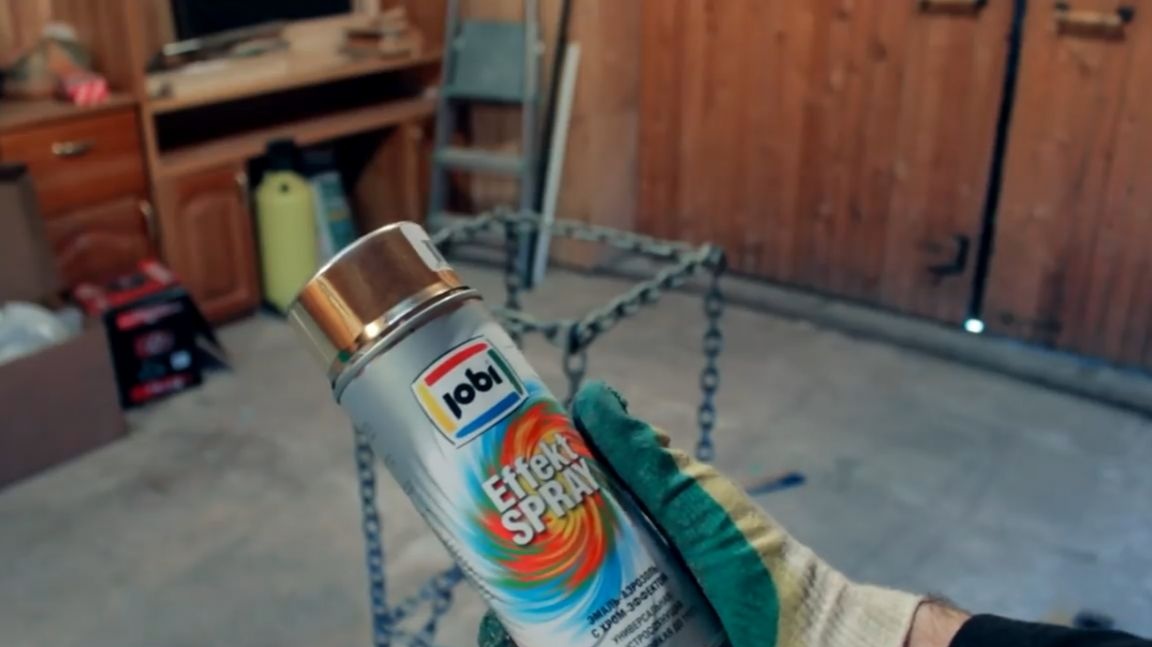
The engraving is finished and let's try to color our design. We will paint the frame using super-duper gold paint.

After applying the first layer, the author did not even expect that it would be so beautiful.
Indeed, the color turned out to be a direct bomb. We will not bother with the countertop, we will also paint it from a spray can, but at the same time we will see how such paint lays on a tree.
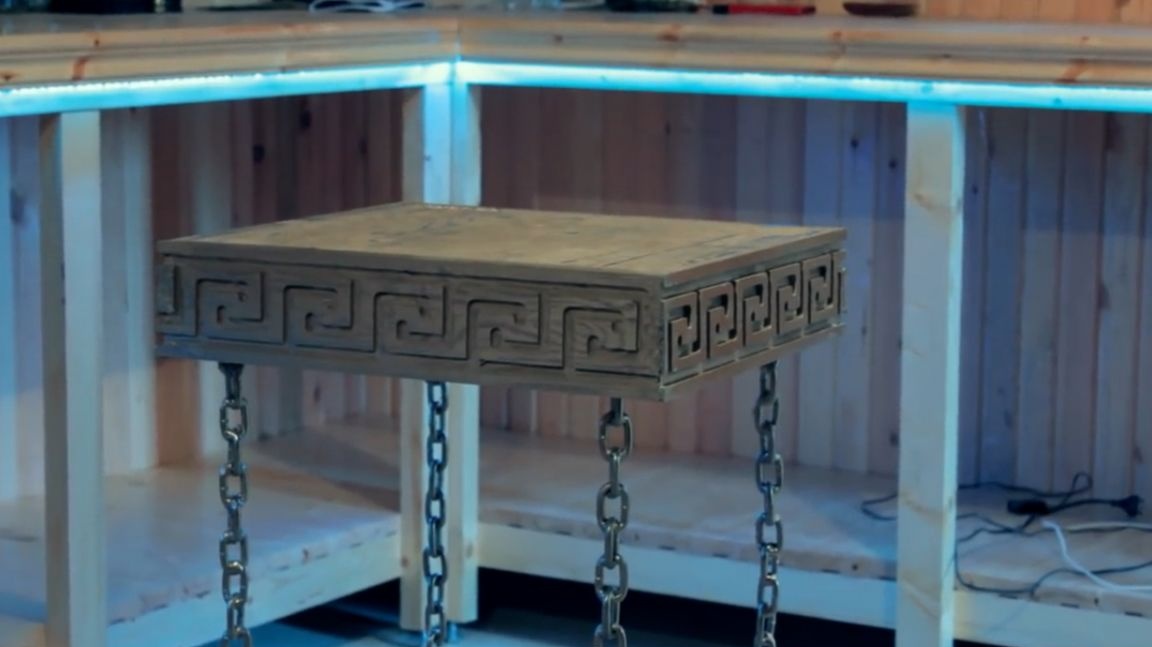
Well, friends, today we got such a healthy bar stool. Sitting on it is comfortable, it is quite stable, the only thing that can be redone is to put the foot support higher, that is, it will be necessary to weld 4 more crossbars somehow, plus this will add additional rigidity and it will be convenient to put your feet on.

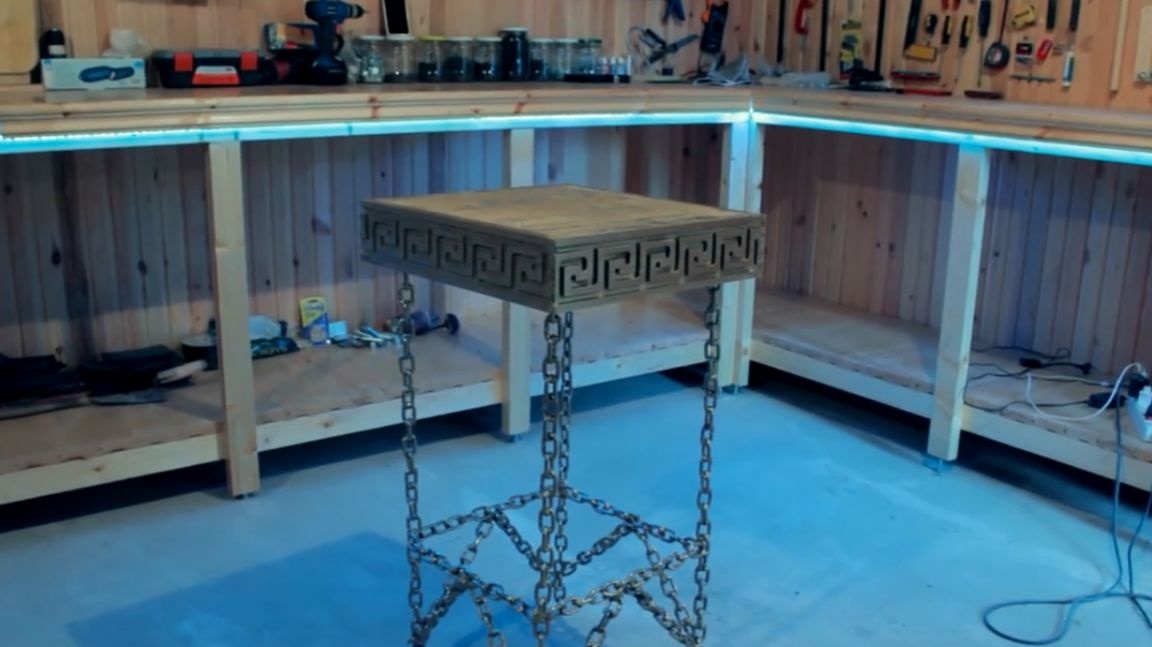
Well, in general, it can be used as a small table to figure out for three. Gold paint was quite cool on a tree and an interesting effect was obtained.
Thank you for attention. See you soon!
Video: