
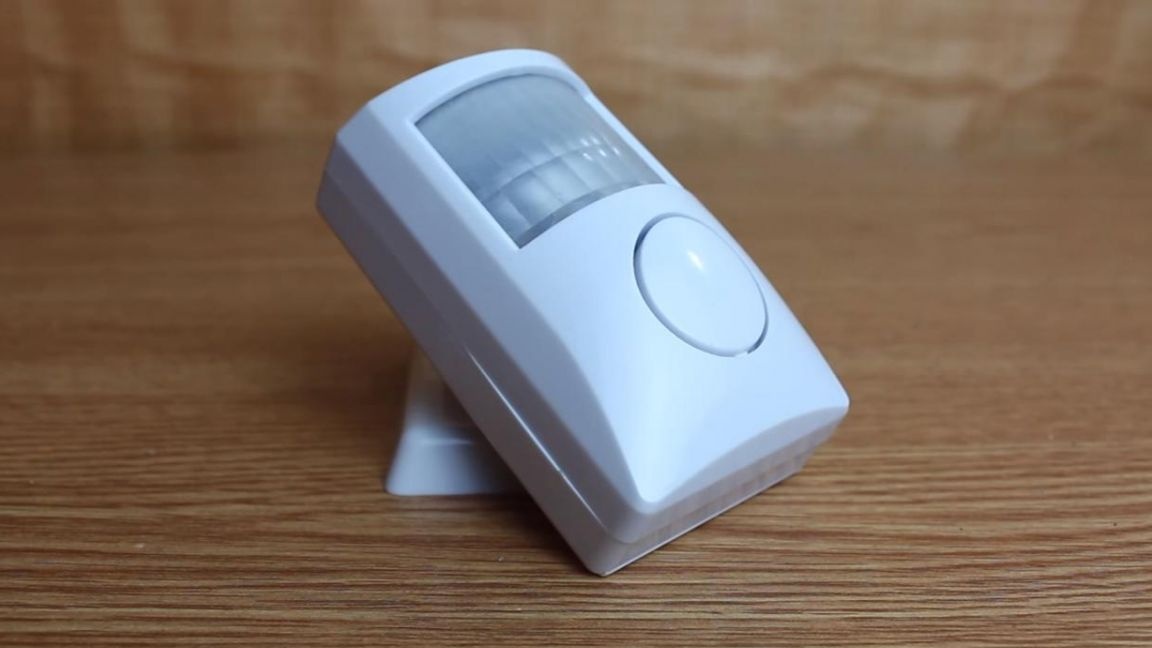
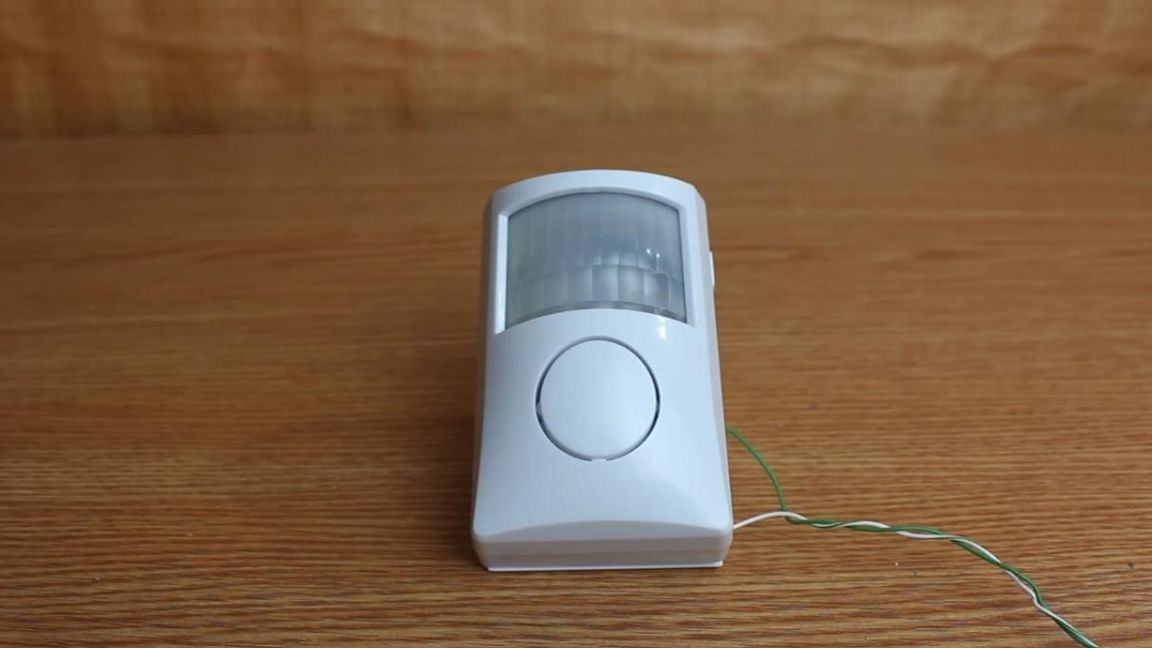
Hello to all lovers homemade. In this article I will tell you how to make an IR alarm do it yourself, in the assembly of which the kit kit will help, you can order it by the link at the end of the article. This kit kit is useful for those who want to gain experience in working with a soldering iron. Such an alarm can be installed in your yard and when someone passes by it, it will work and will make a loud sound, if you wish, you can refine this design and make it a complete alarm.
Before you start reading the article, I suggest you watch a video with a detailed assembly process of the kit, as well as its performance test.
In order to make an IR alarm yourself, you will need:
* Kit
* Soldering iron, solder, flux
* Side cutters
* Device for soldering "third hand"
* Multimeter
Step one.
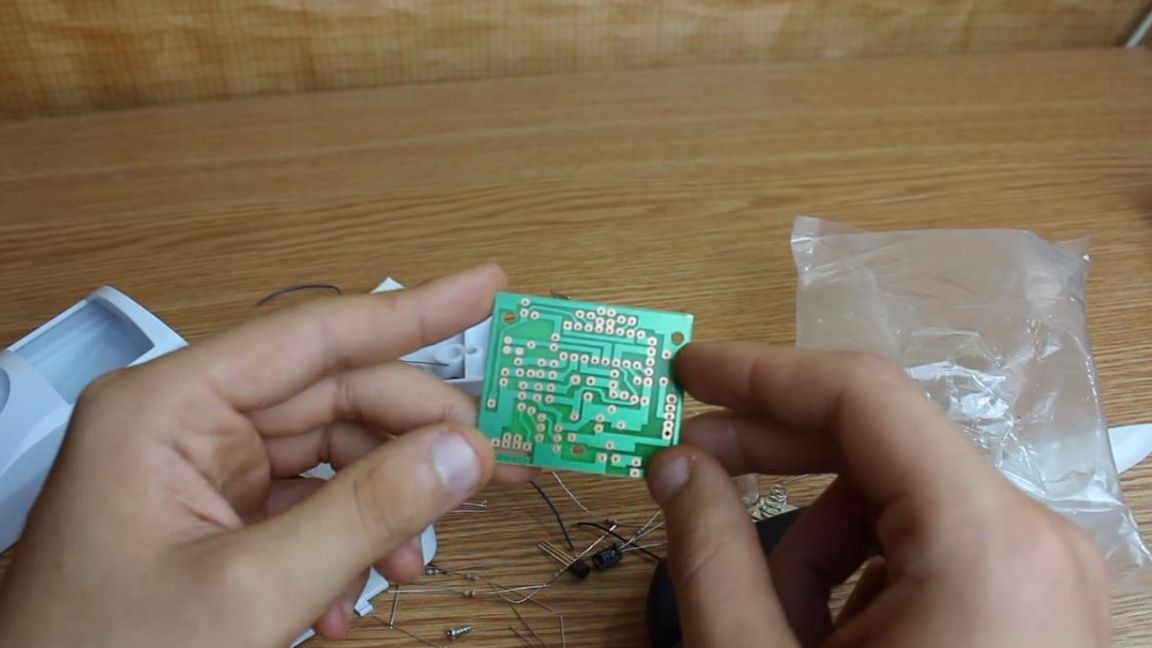
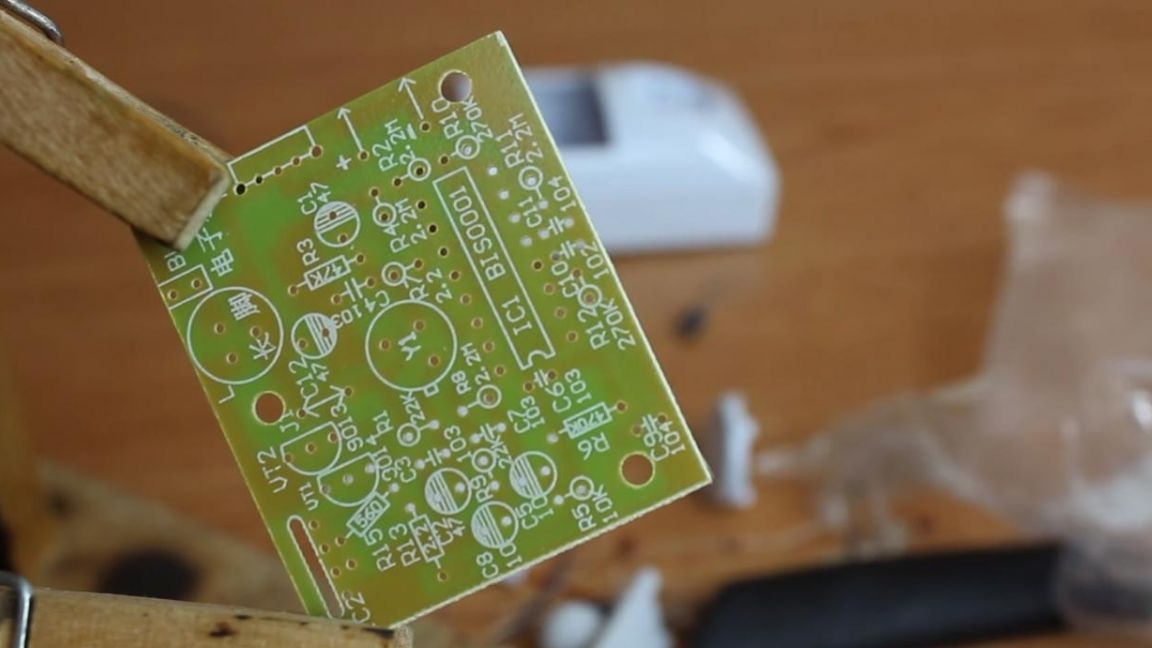
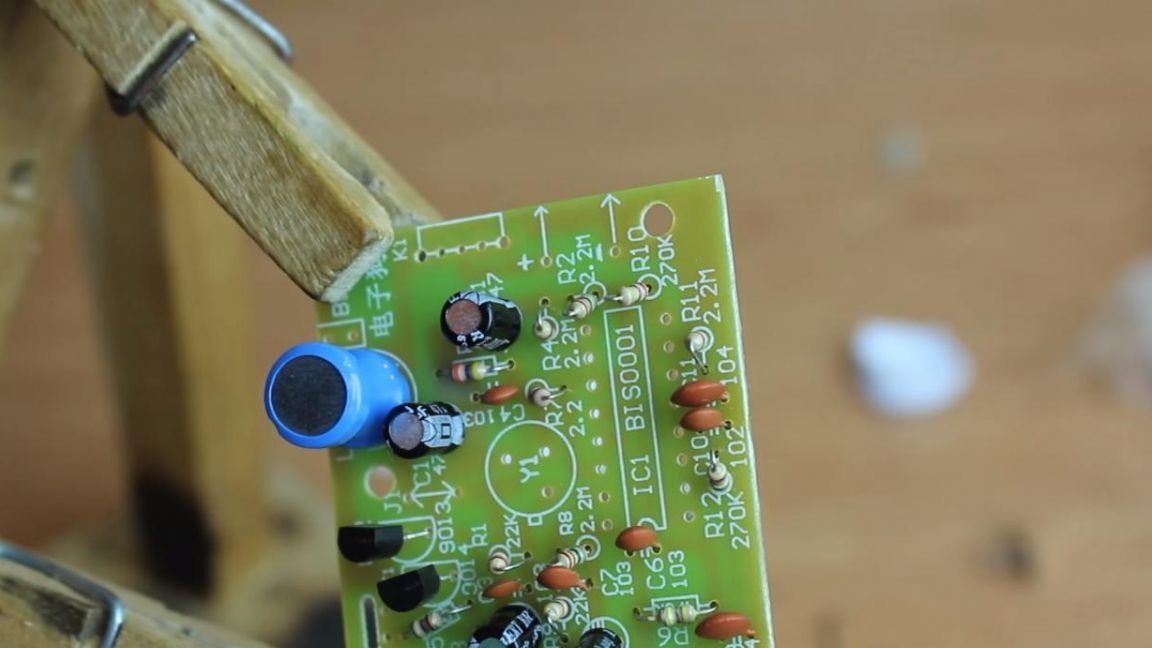
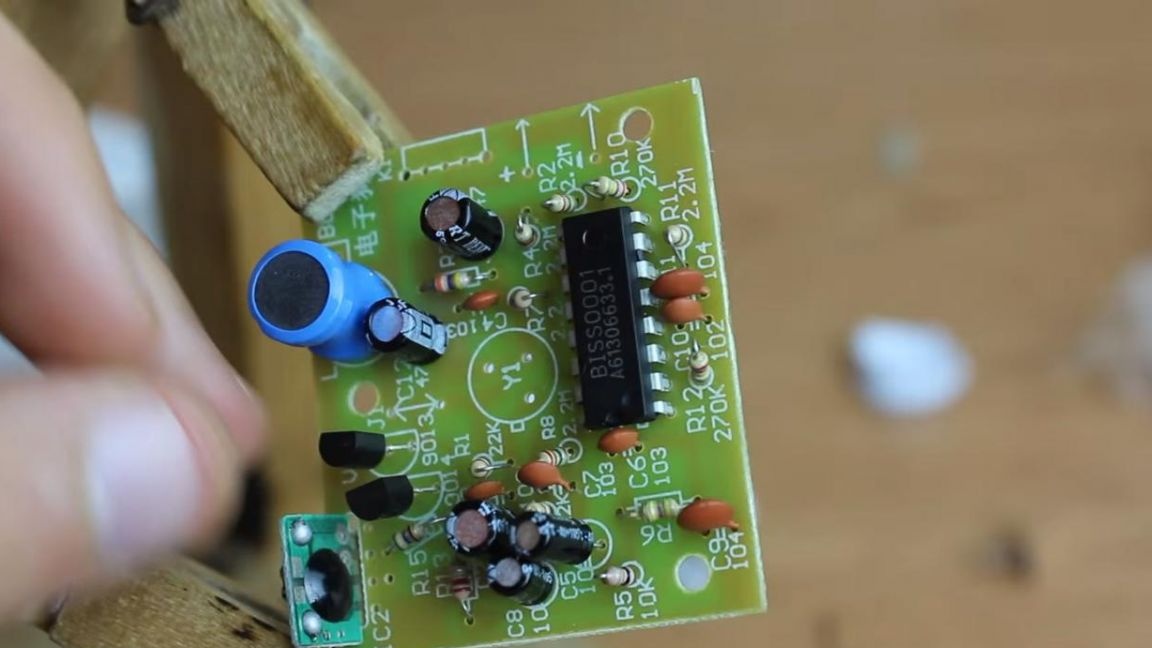
The kit comes with a single-sided printed circuit board, its quality is low, the ratings of the radio components are marked.
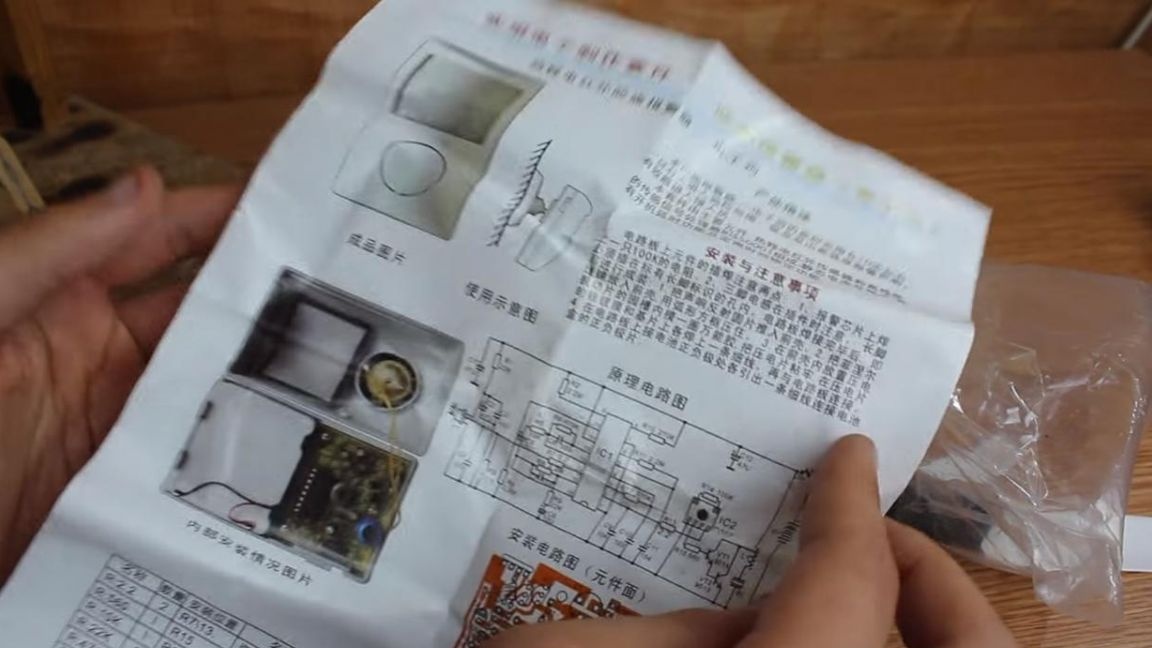
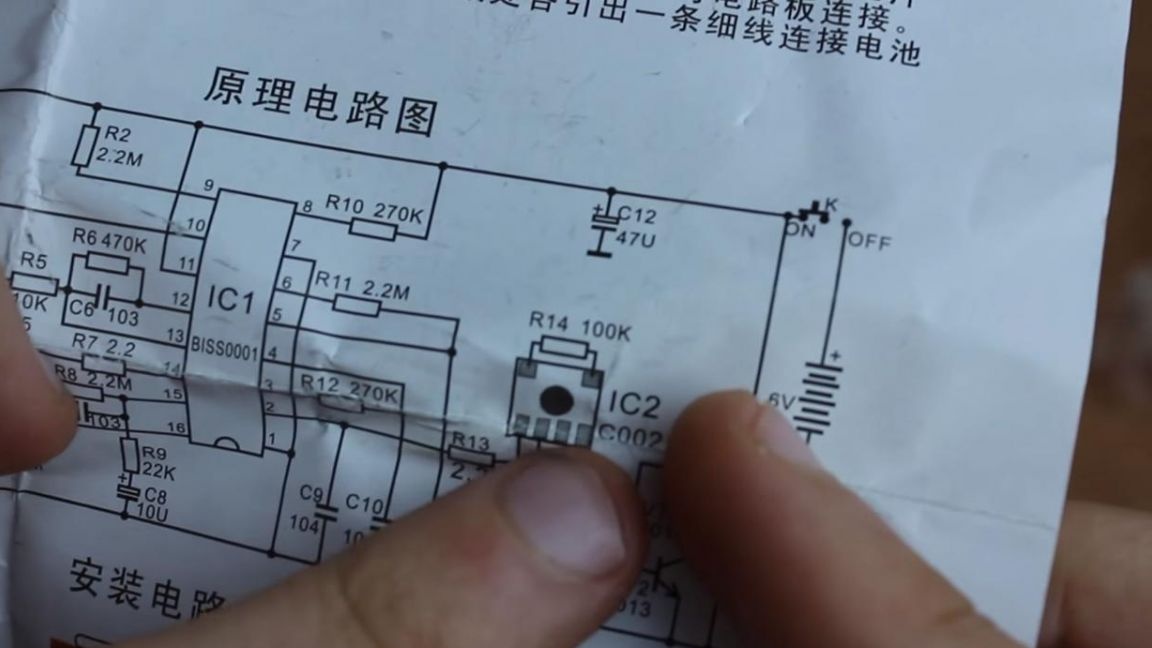
There is also an instruction for everything, on which the assembly diagram is detailed.
The case is made of plastic, on which the hinge is fixed, with it you can adjust the desired position.
Now let's move on to the assembly itself.
Step Two
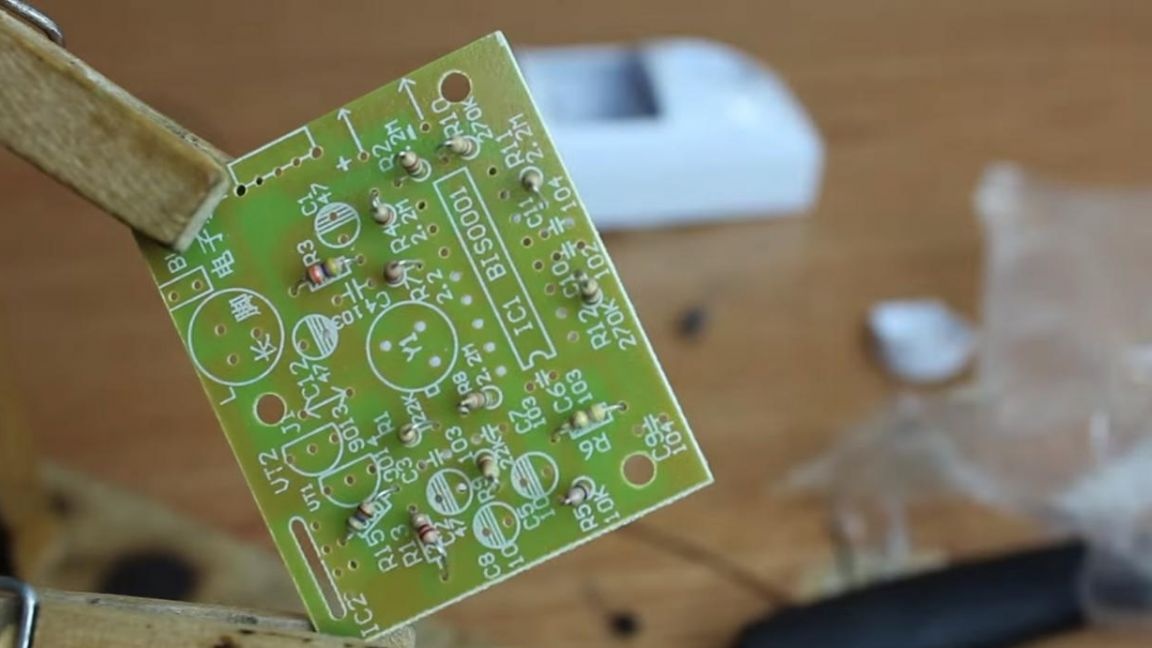
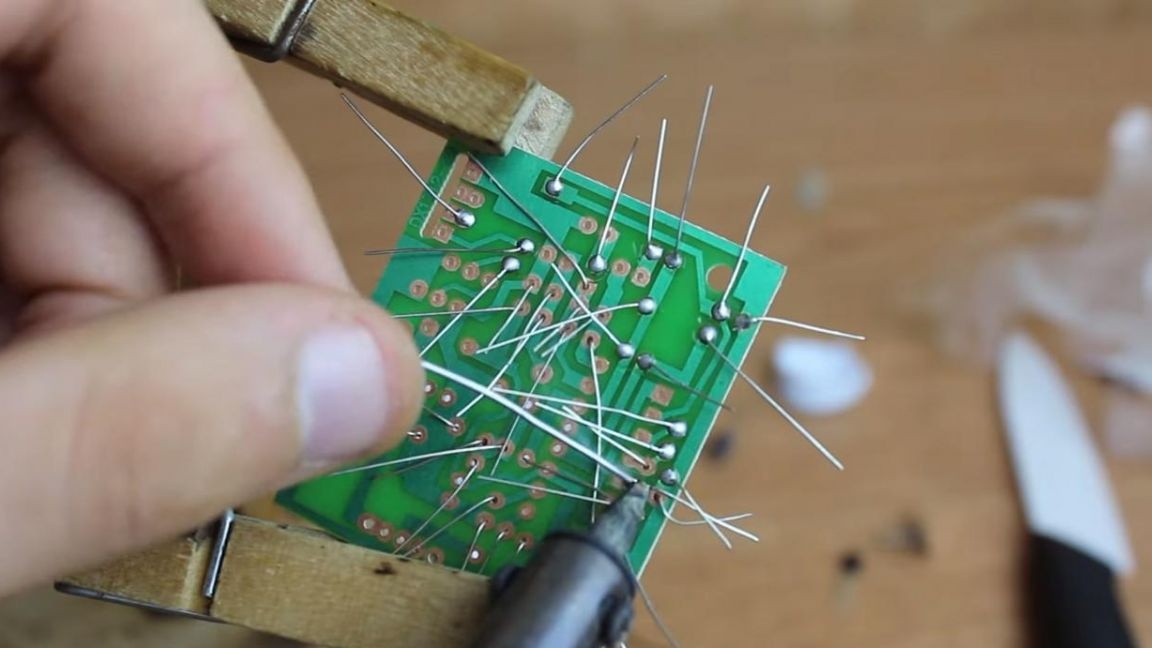
We fix the board in the “third hand” soldering device and the first thing we install on the board is resistors.
Since the resistors are not fastened with a piece of paper and their values are not signed, then their resistance must be measured. You can find out the face value in several ways, using a multimeter, color coding with a table and an online calculator. If you do not have a multimeter, then the other two methods are also very working, but will require a little more time to determine. Having determined the ratings, we install the resistors in their places, on the back of the board we bend the legs so that they do not fall out when soldering.
Step Three
Next, we install ceramic non-polar capacitors, on their case digital marking is indicated, as on the board itself.
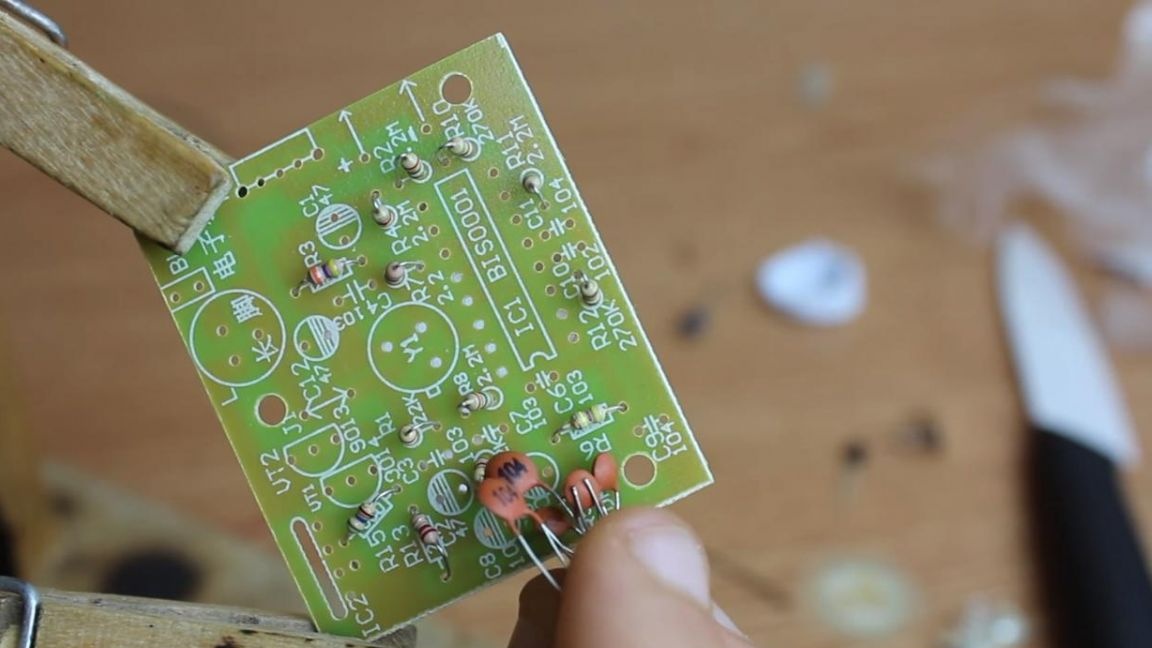
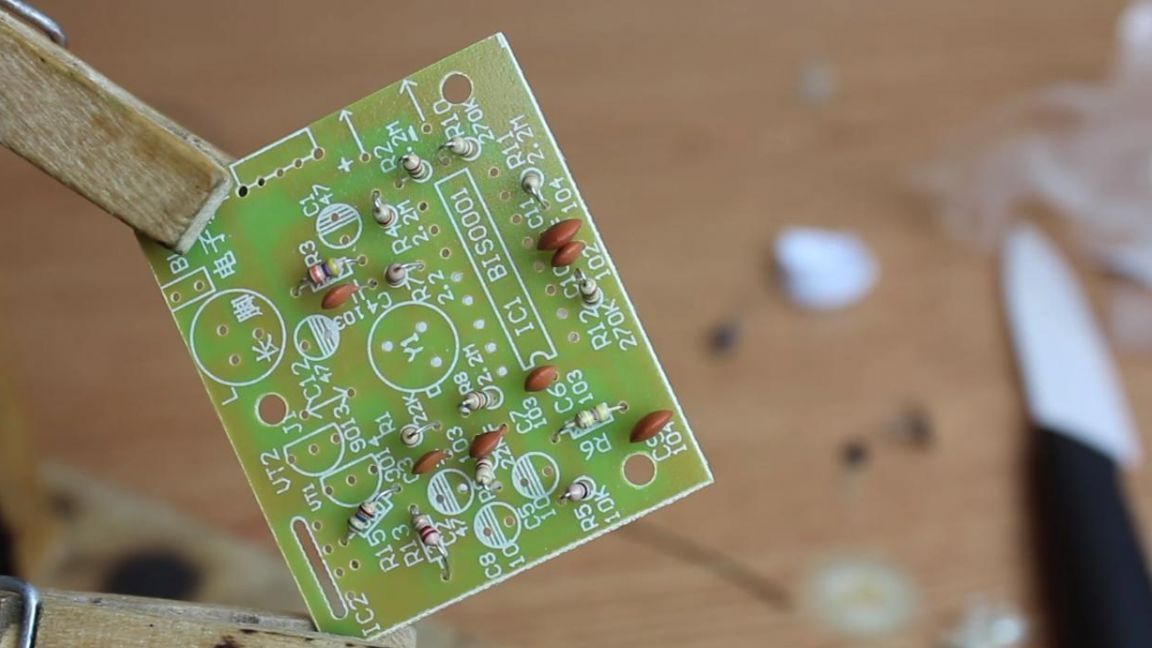
Then we turn the board over with the back side and apply the flux, after which we solder the conclusions with a soldering iron, adding solder.
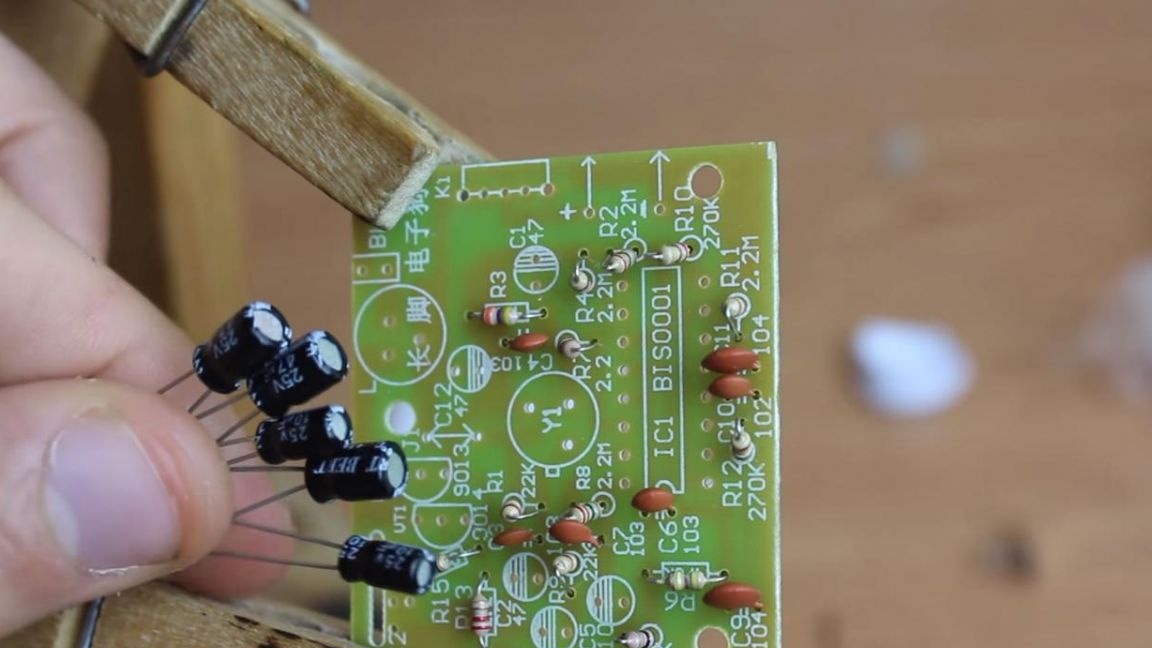
Step Four
After the ceramic capacitors, we insert the electrolytic polar according to the ratings, on their case a white strip is located on the negative contact side, on the board the minus is indicated by a filled semicircle.
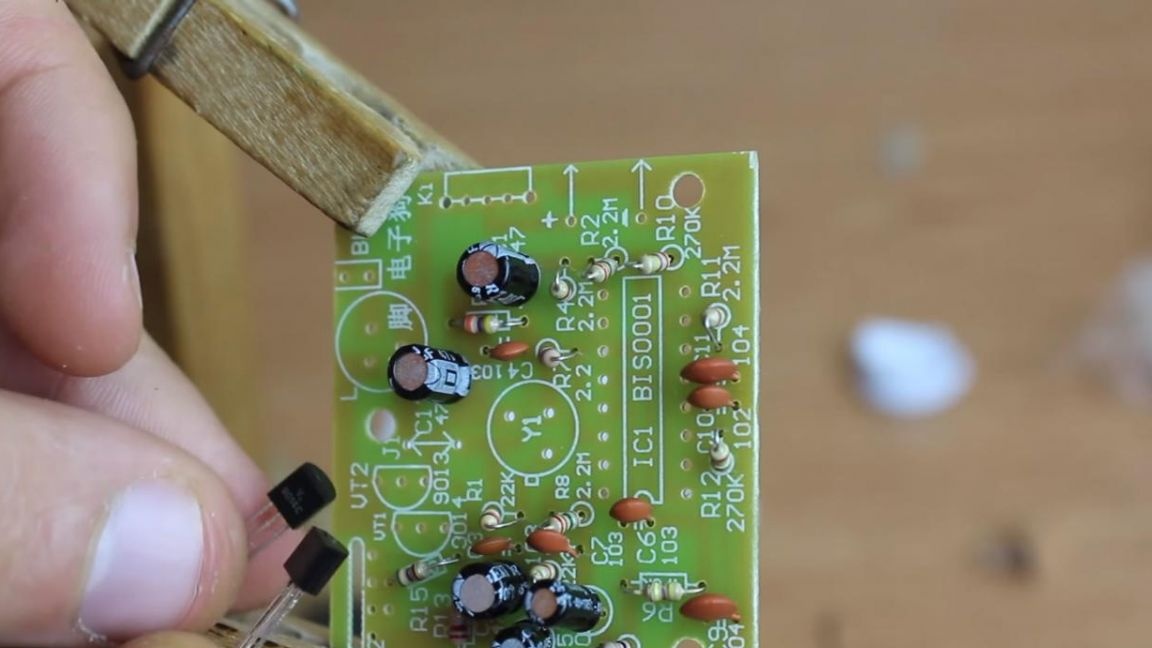
Next, we put transistors, their marking is indicated on the case and on the board, we are guided by the shape of the case in the form of a semicircle, which is applied on the board.
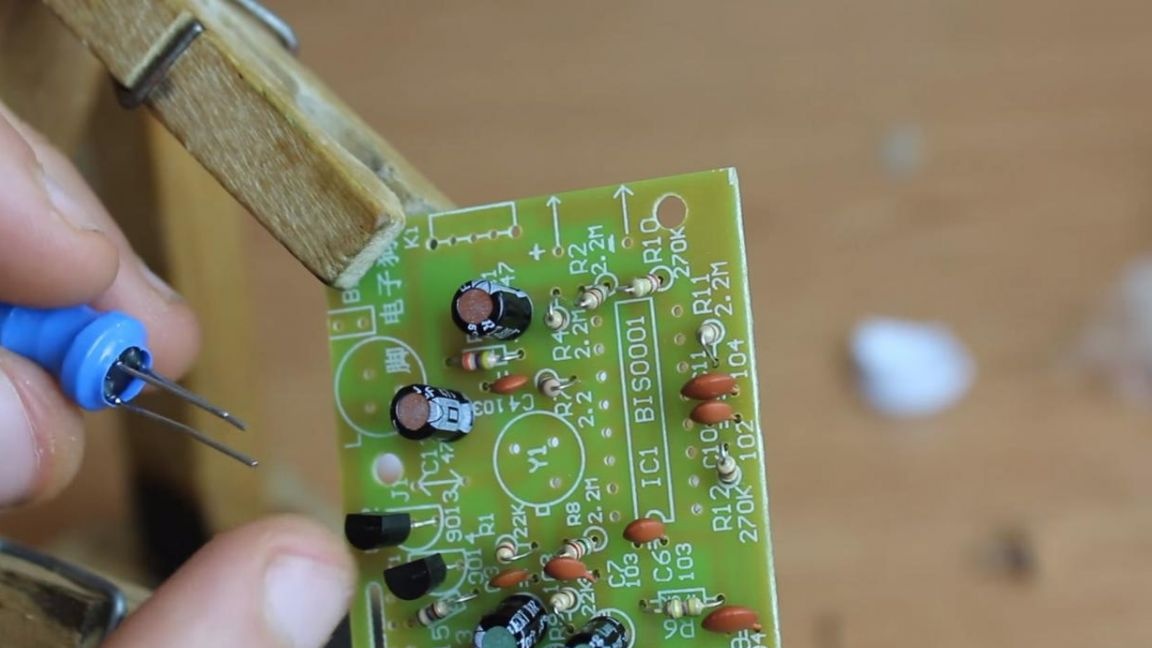
Now we insert the inductor, its long contact is located on the side of the letter L on the board.
Step Five
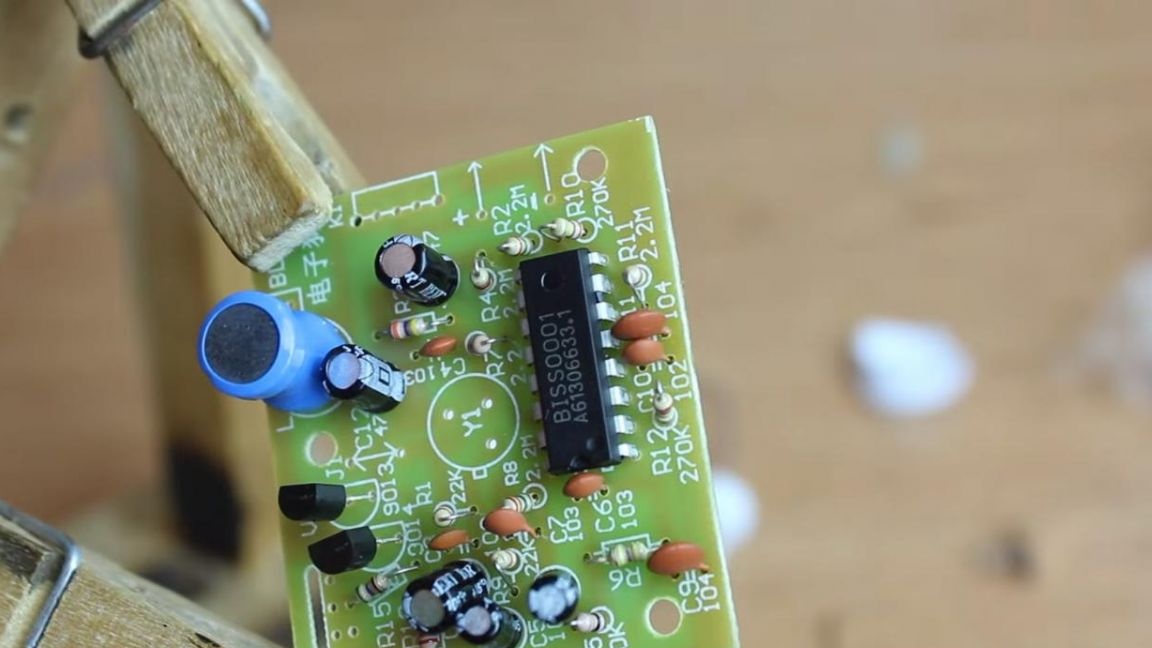
Guided by the key on the board in the form of a semicircular recess, as on the housing of the microcircuit, we install it in its place.
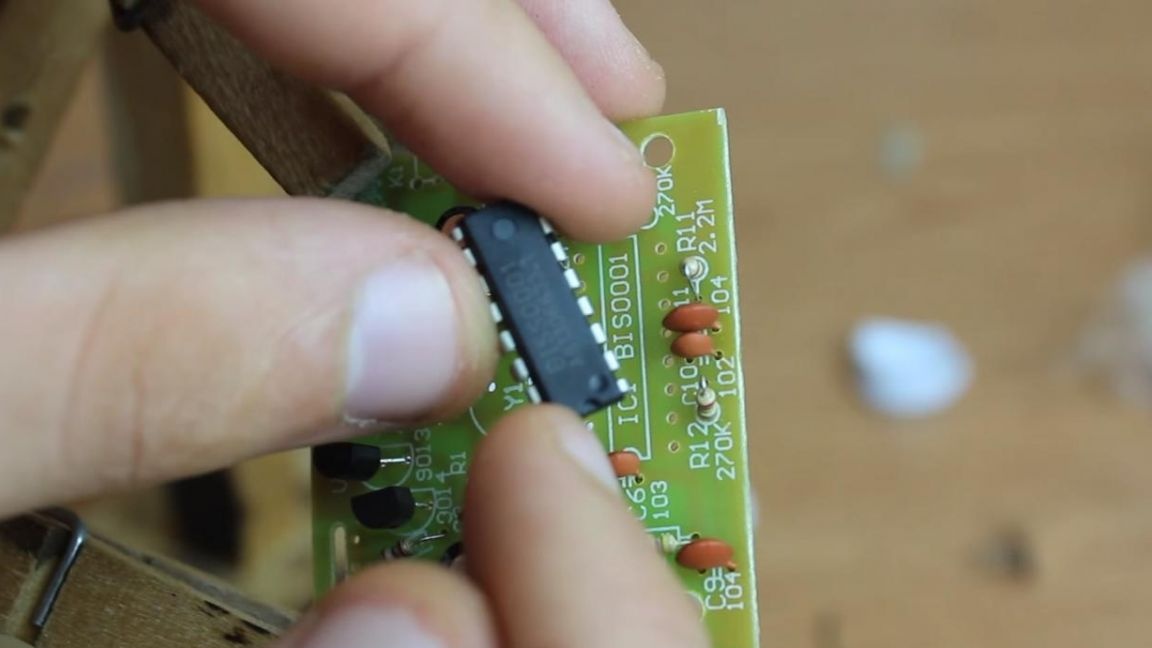
Next, we put a small chip in the sawn hole on the board, but before that we solder a 100 kOhm resistor to it, as shown in the instructions.
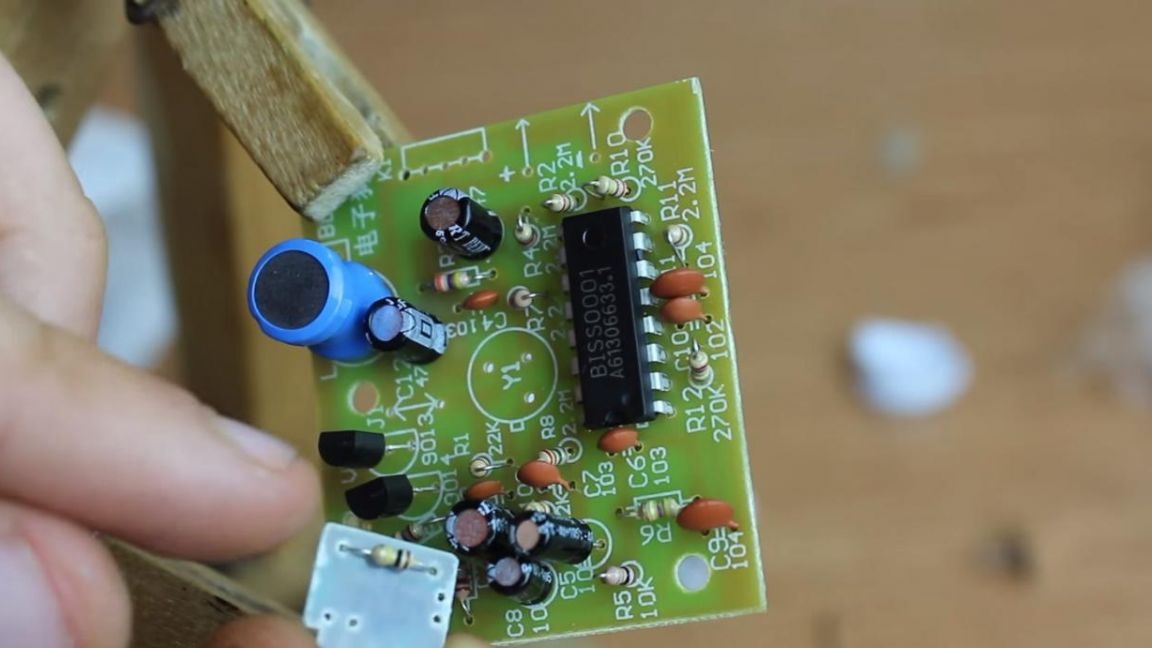
Then solder the contacts on the back of the board.

Step Six
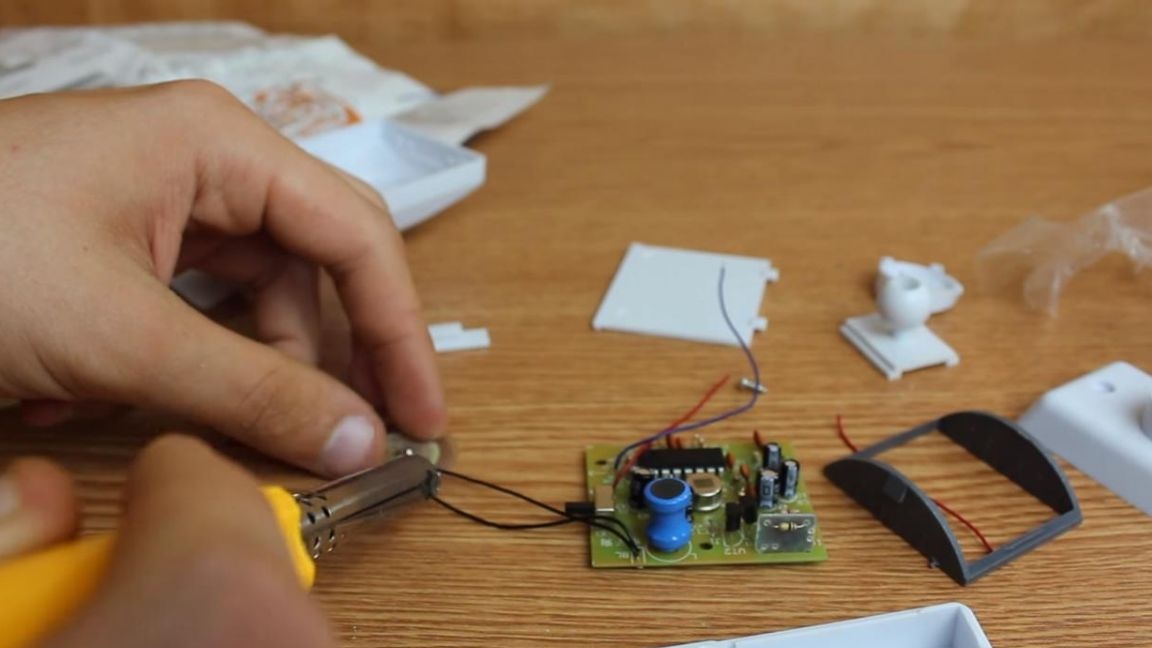
We install the IR sensor on the board, it has three outputs, which are located in such a way that the position cannot be mixed up. Using side cutters, we remove the extra part of the conclusions. When biting off the legs of the radio components, be careful as you can tear off the board tracks.


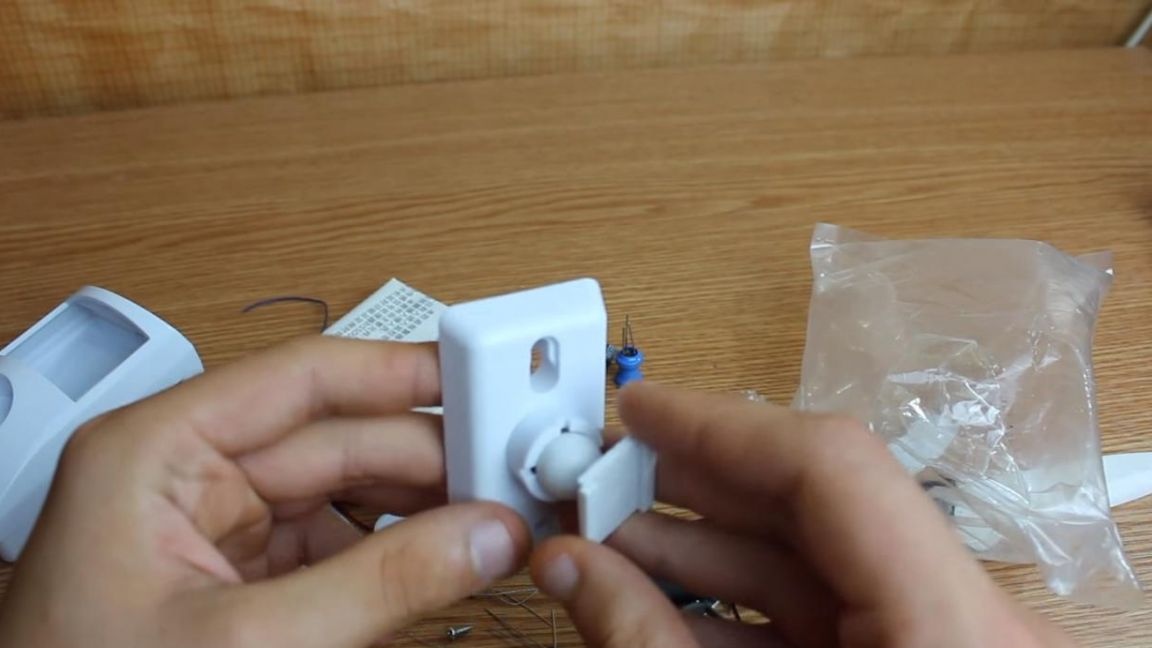
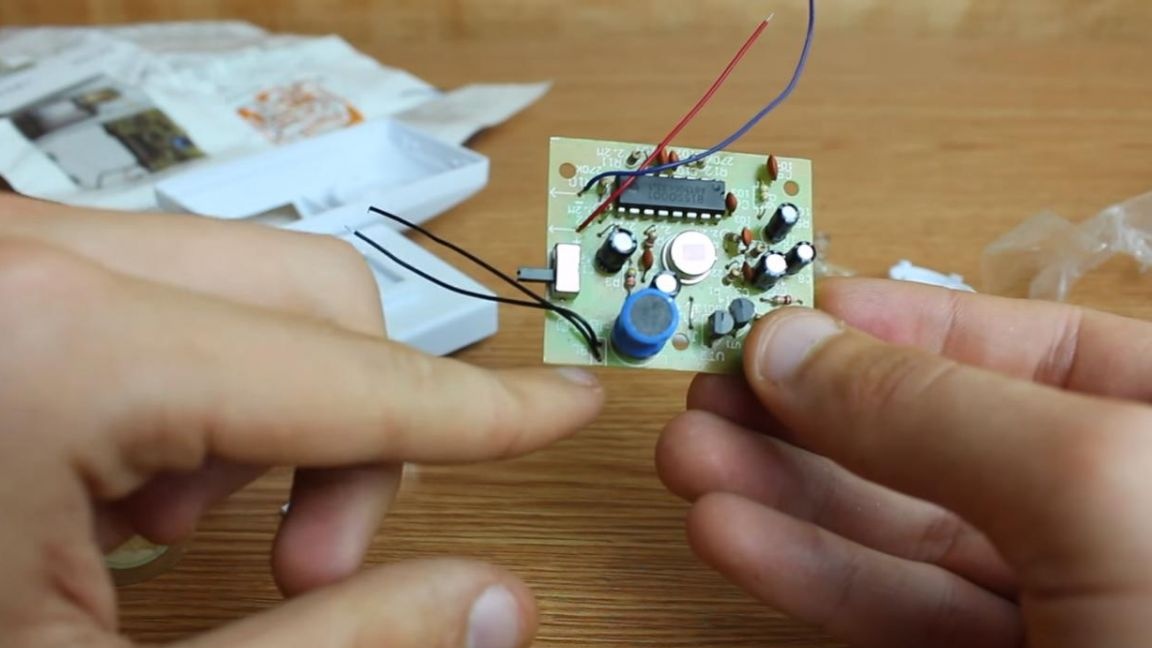
Then we insert the switch and solder the wires to connect to the piezoelectric element and to battery power.
We place metal jumpers in the battery compartment, solder two power wires to two of them according to polarity.
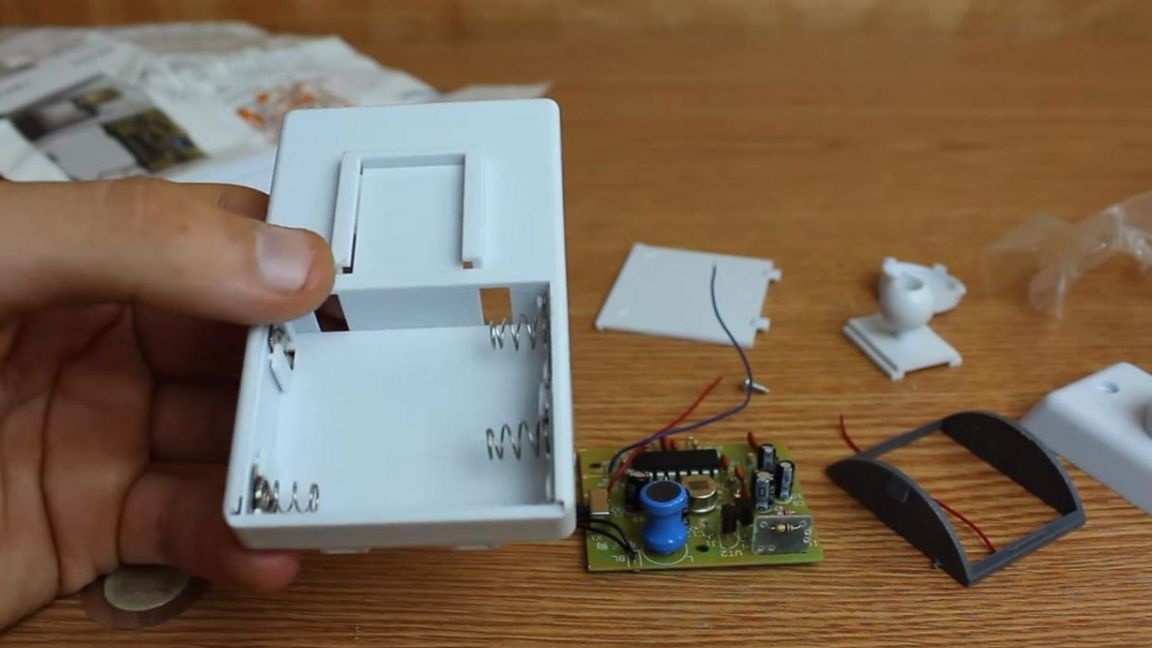
Next, we collect everything in the case, before that we solder two wires to the piezoelectric element.
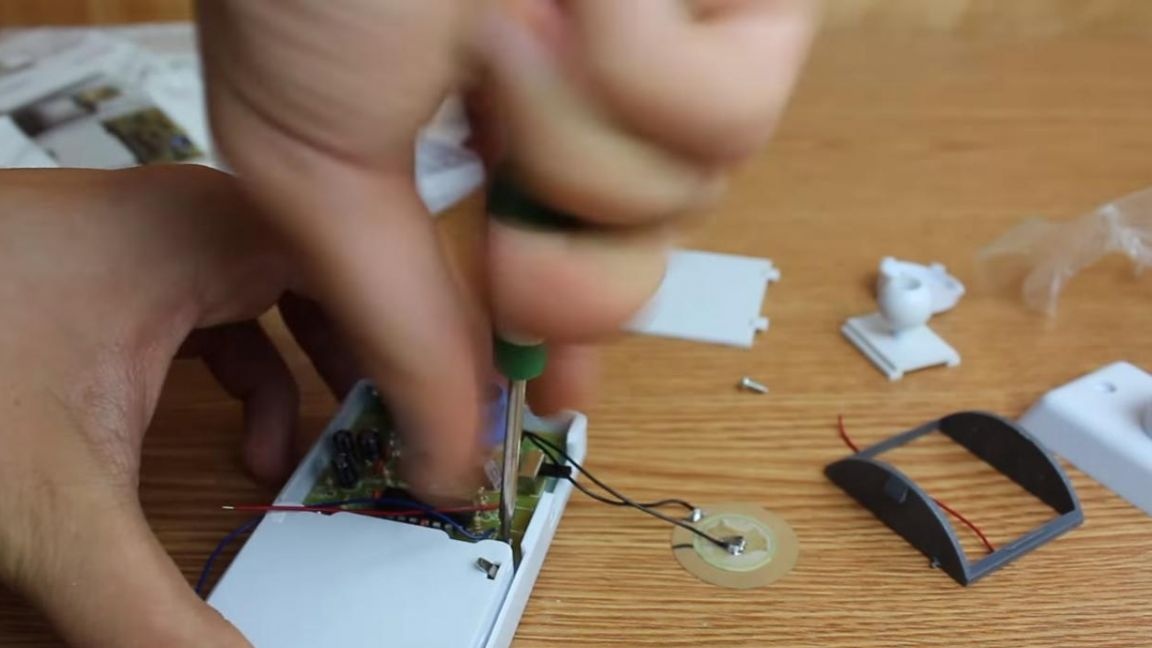
The IR alarm is completely ready, we insert the batteries or connect the power supply for testing and we run our hand near the sensor, the device starts to sound an alarm, which can scare away dogs and thieves, but no more, so it’s better to refine this scheme and add feedback to the house so that you They knew about the entry of strangers into your yard.
That's all for me, thank you all for your attention and creative success.