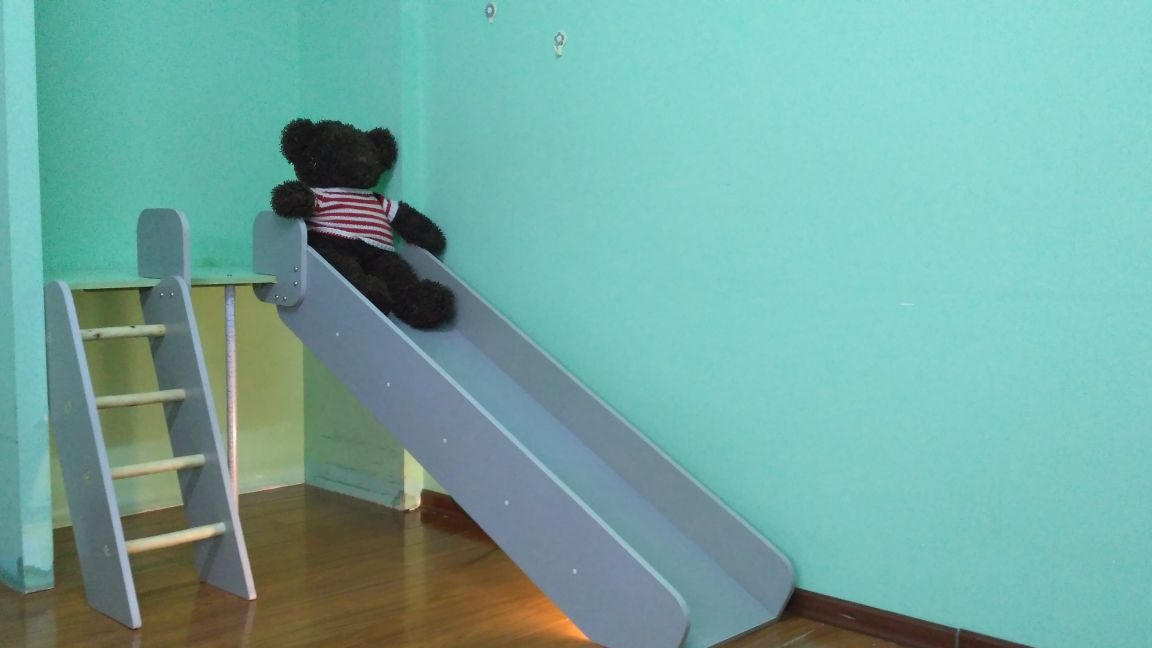
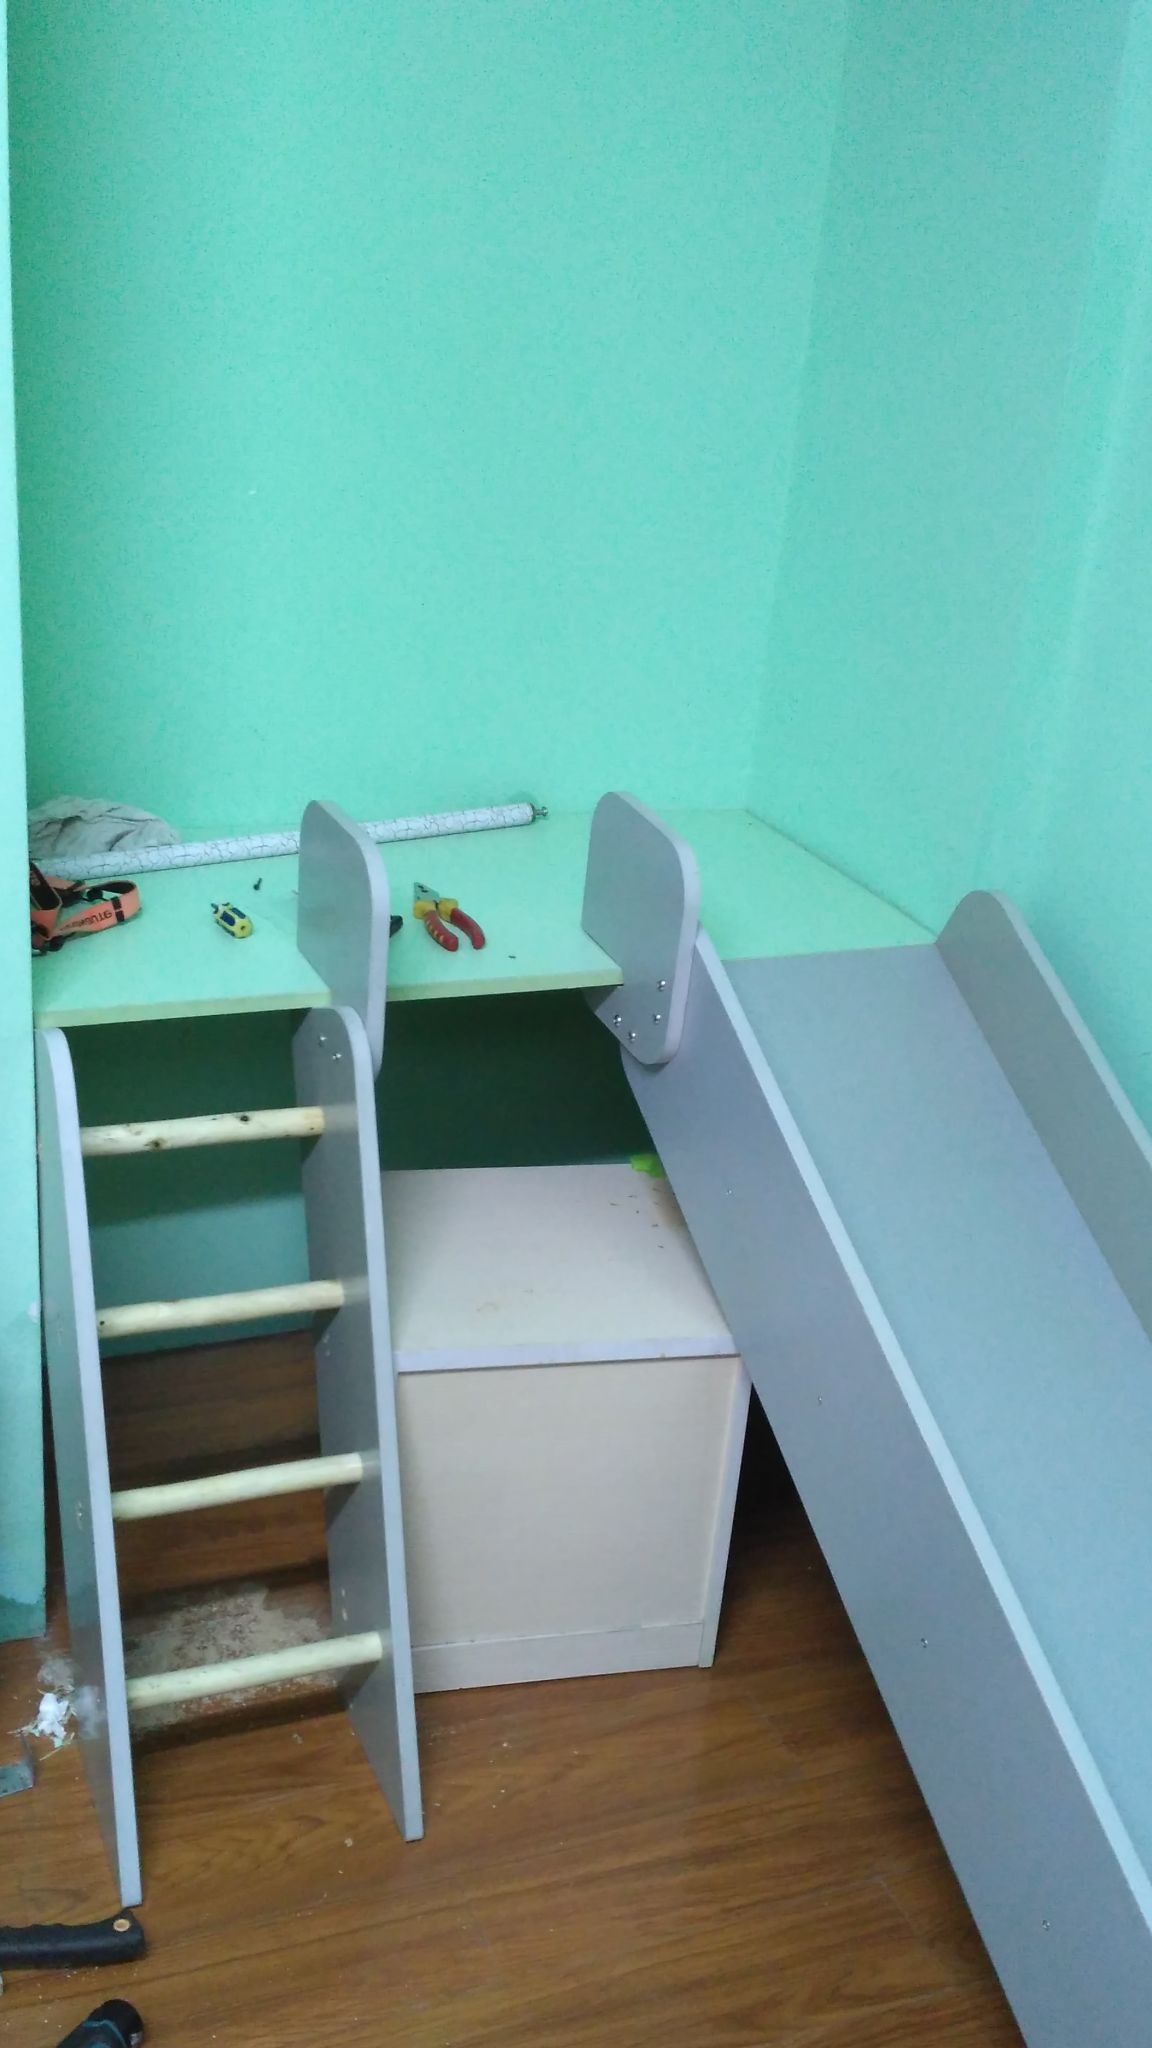
general description homemade
The whole structure is made of chipboard, the upper platform for rigidity is reinforced with wooden slats and an additional rack of metal pipe. As is usually the case during construction and operation, many nuances are revealed that were not taken into account in the project, but which are worth describing so that readers can avoid the author’s mistakes. I am writing this article a couple of weeks after the start of operation, and therefore I already know all my mistakes and shortcomings, which of course will also be said.
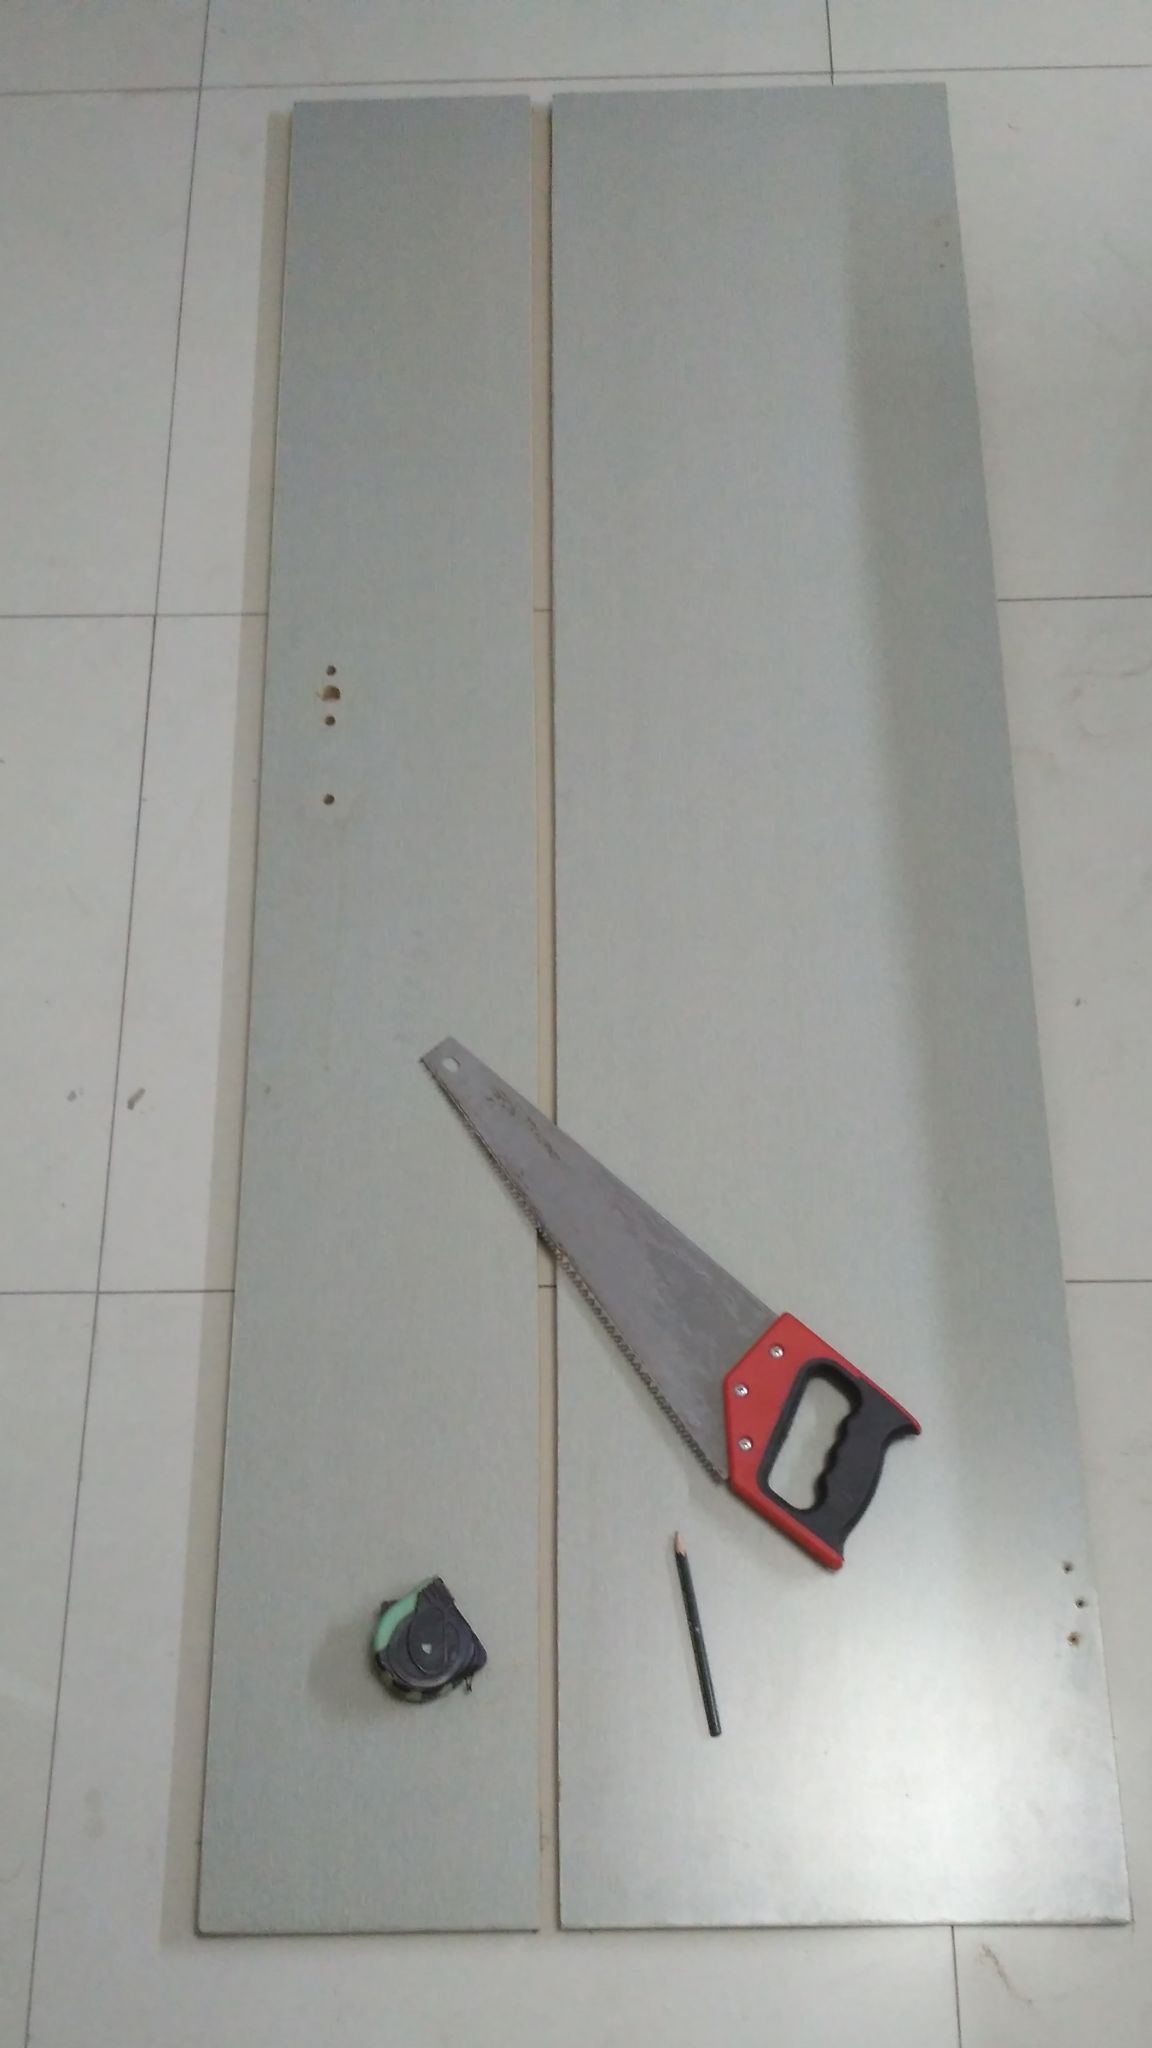
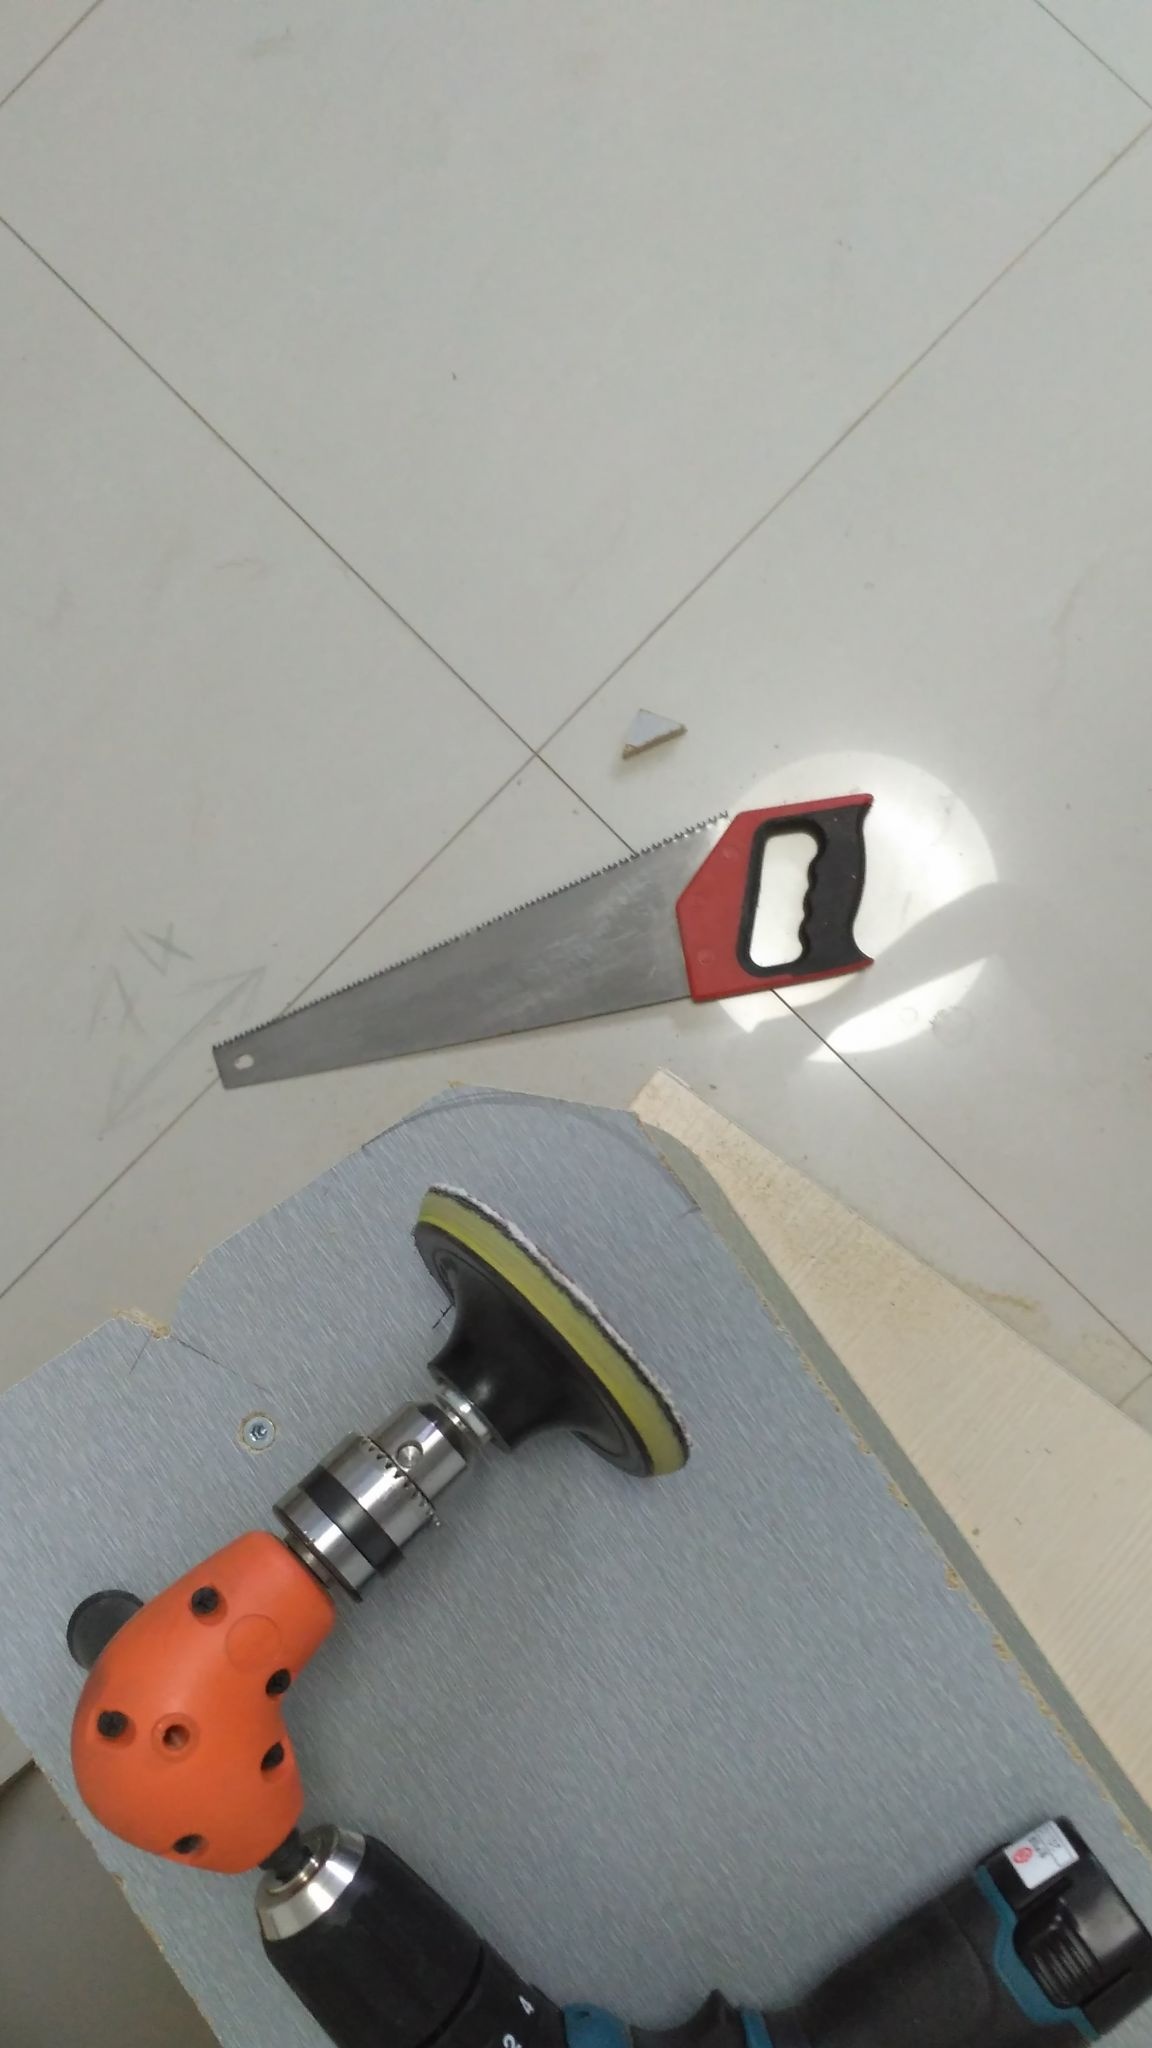
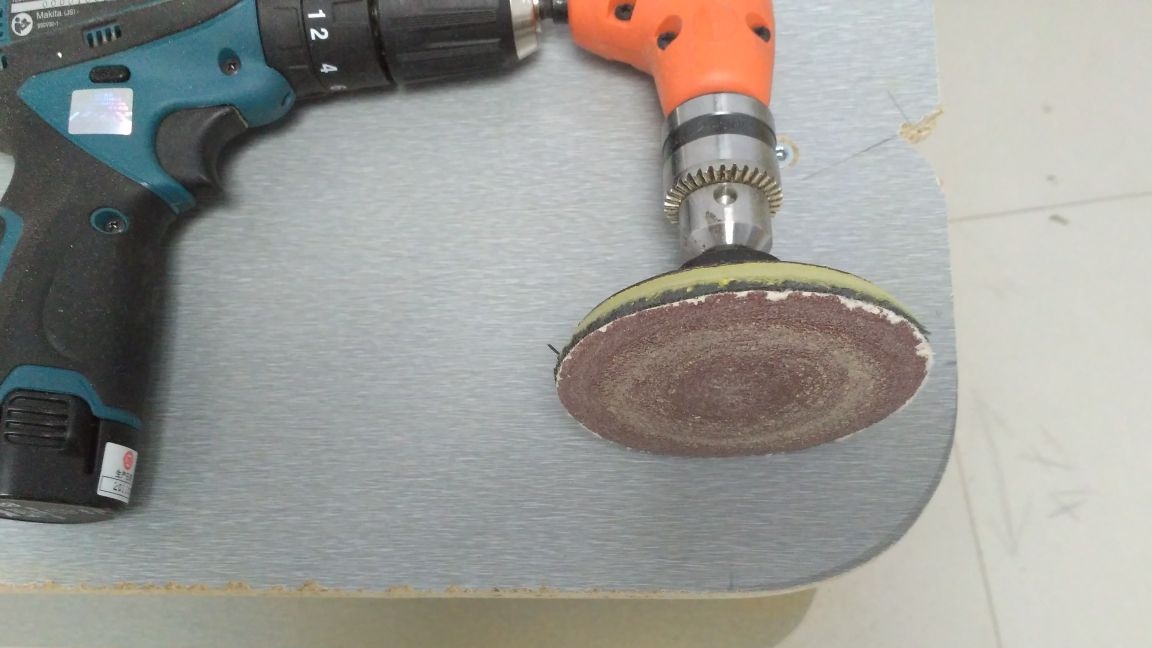
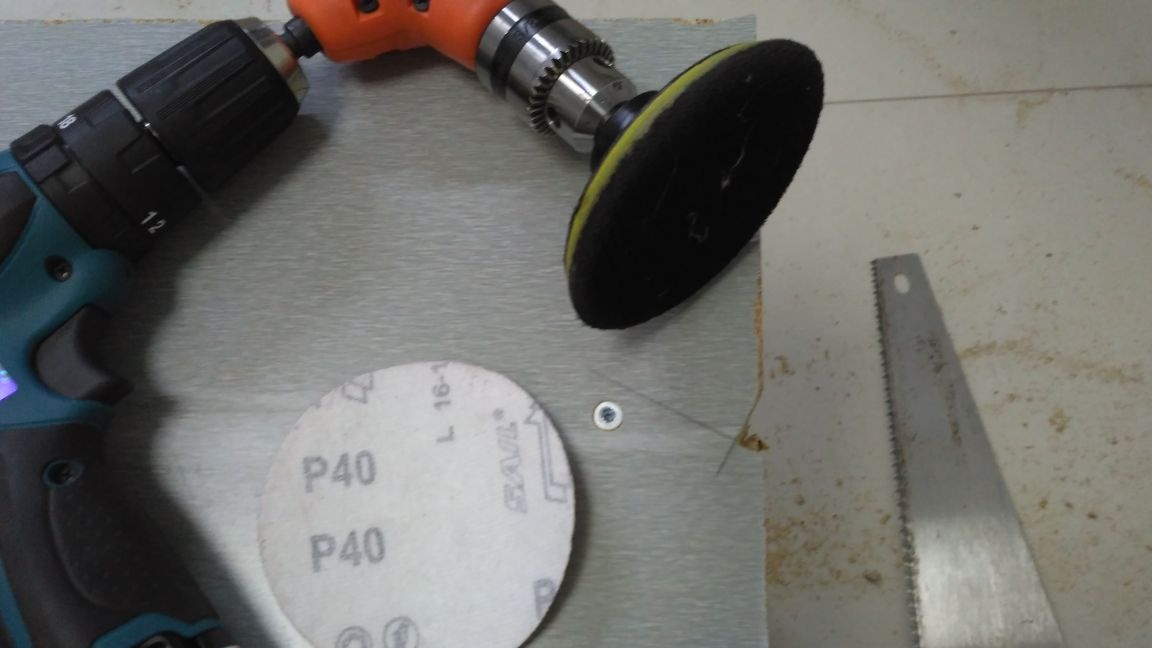
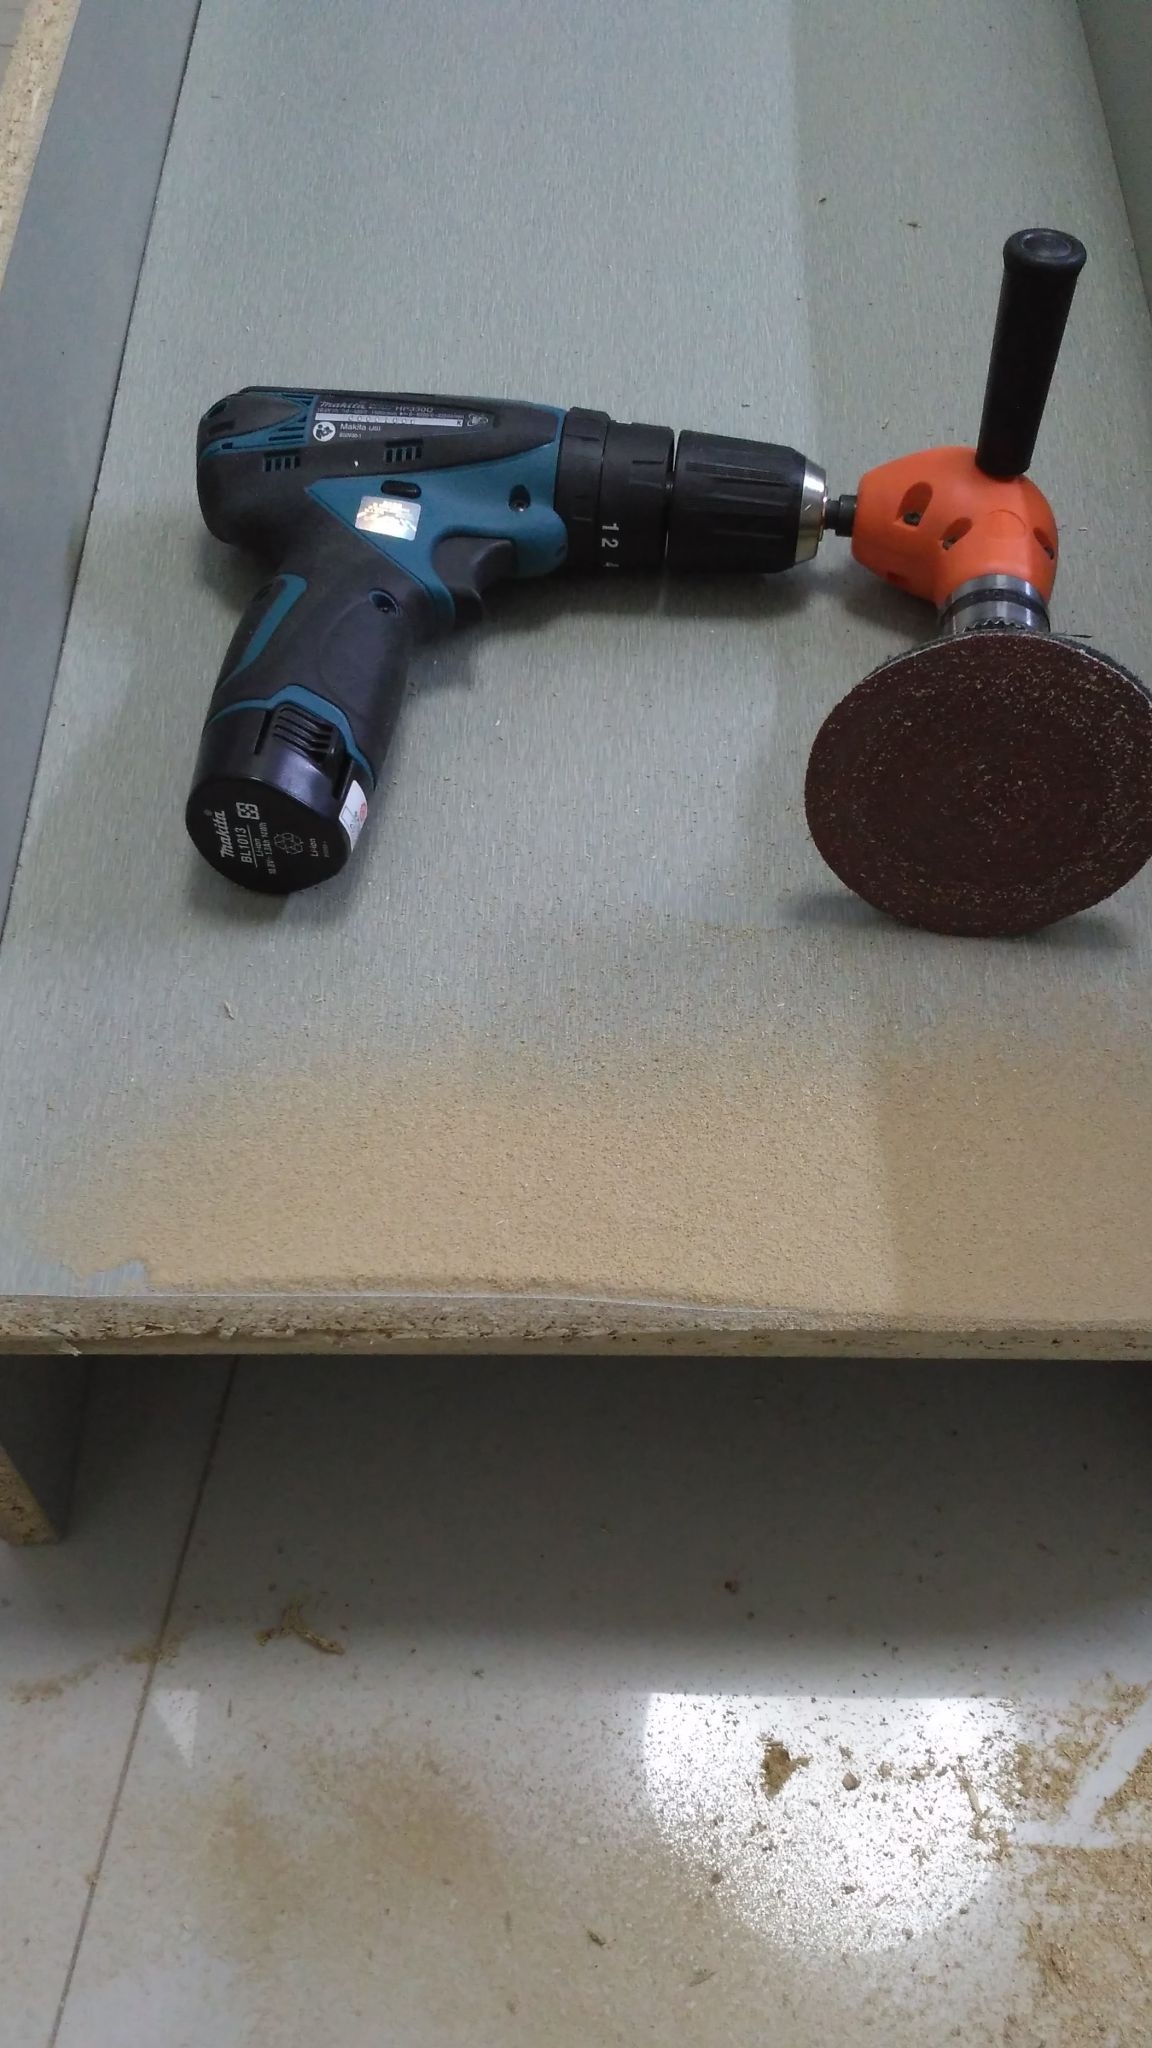
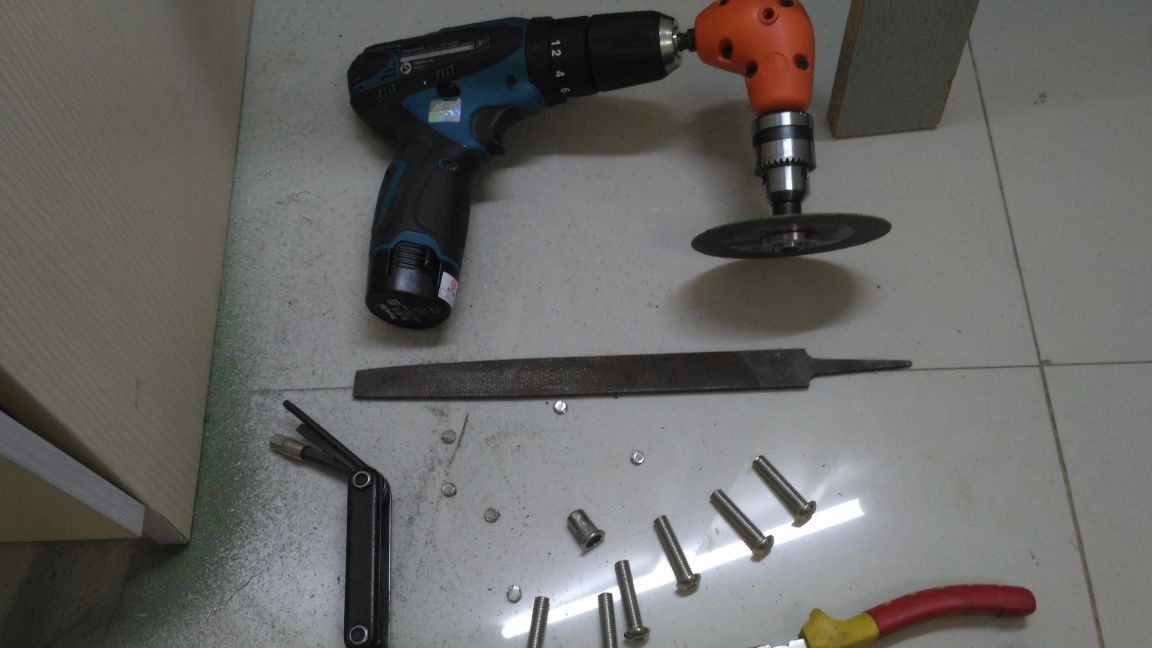
This homemade made in home conditions, improvised tools that are found in most home craftsmen. It would be ideal to use an electric jigsaw, but for lack of such, I managed with a hacksaw on a tree, and made circles with a screwdriver attachment and a large emery cloth (P40). The list of tools and material below is quite possible to both reduce and expand. But still, the more different tools you have, the easier it will be for you in the process of making any DIY.
So we transgress:
Materials and tools:
1. Hacksaw
2. Ruler
3. Pencil
4. The knife
5. File
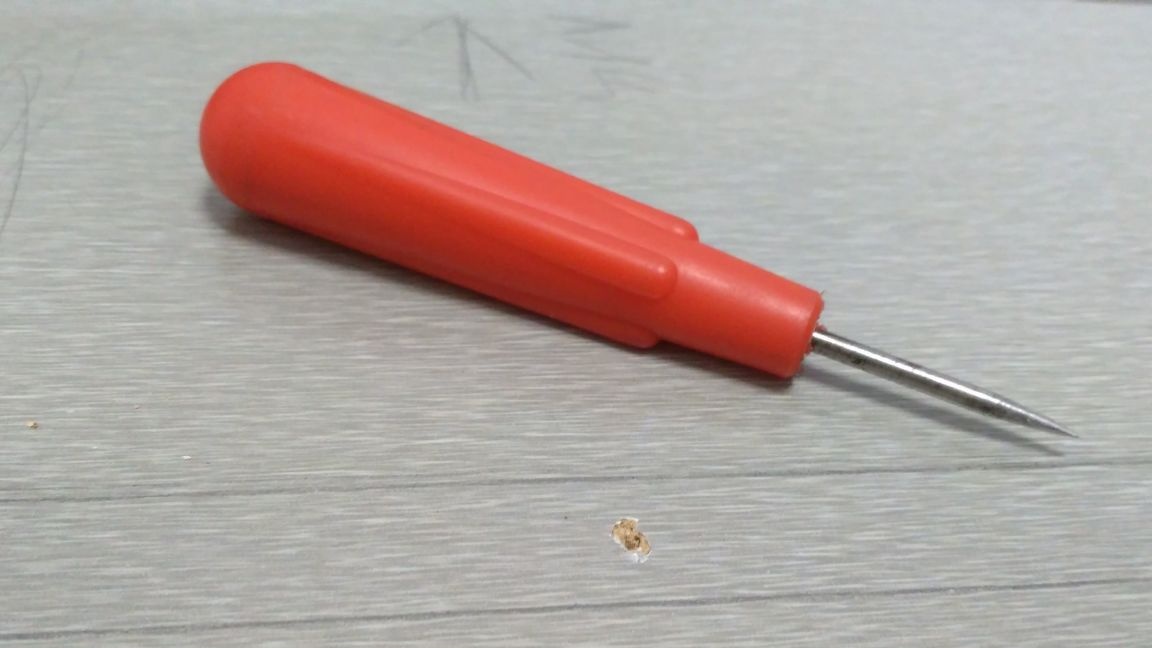
6. Awl
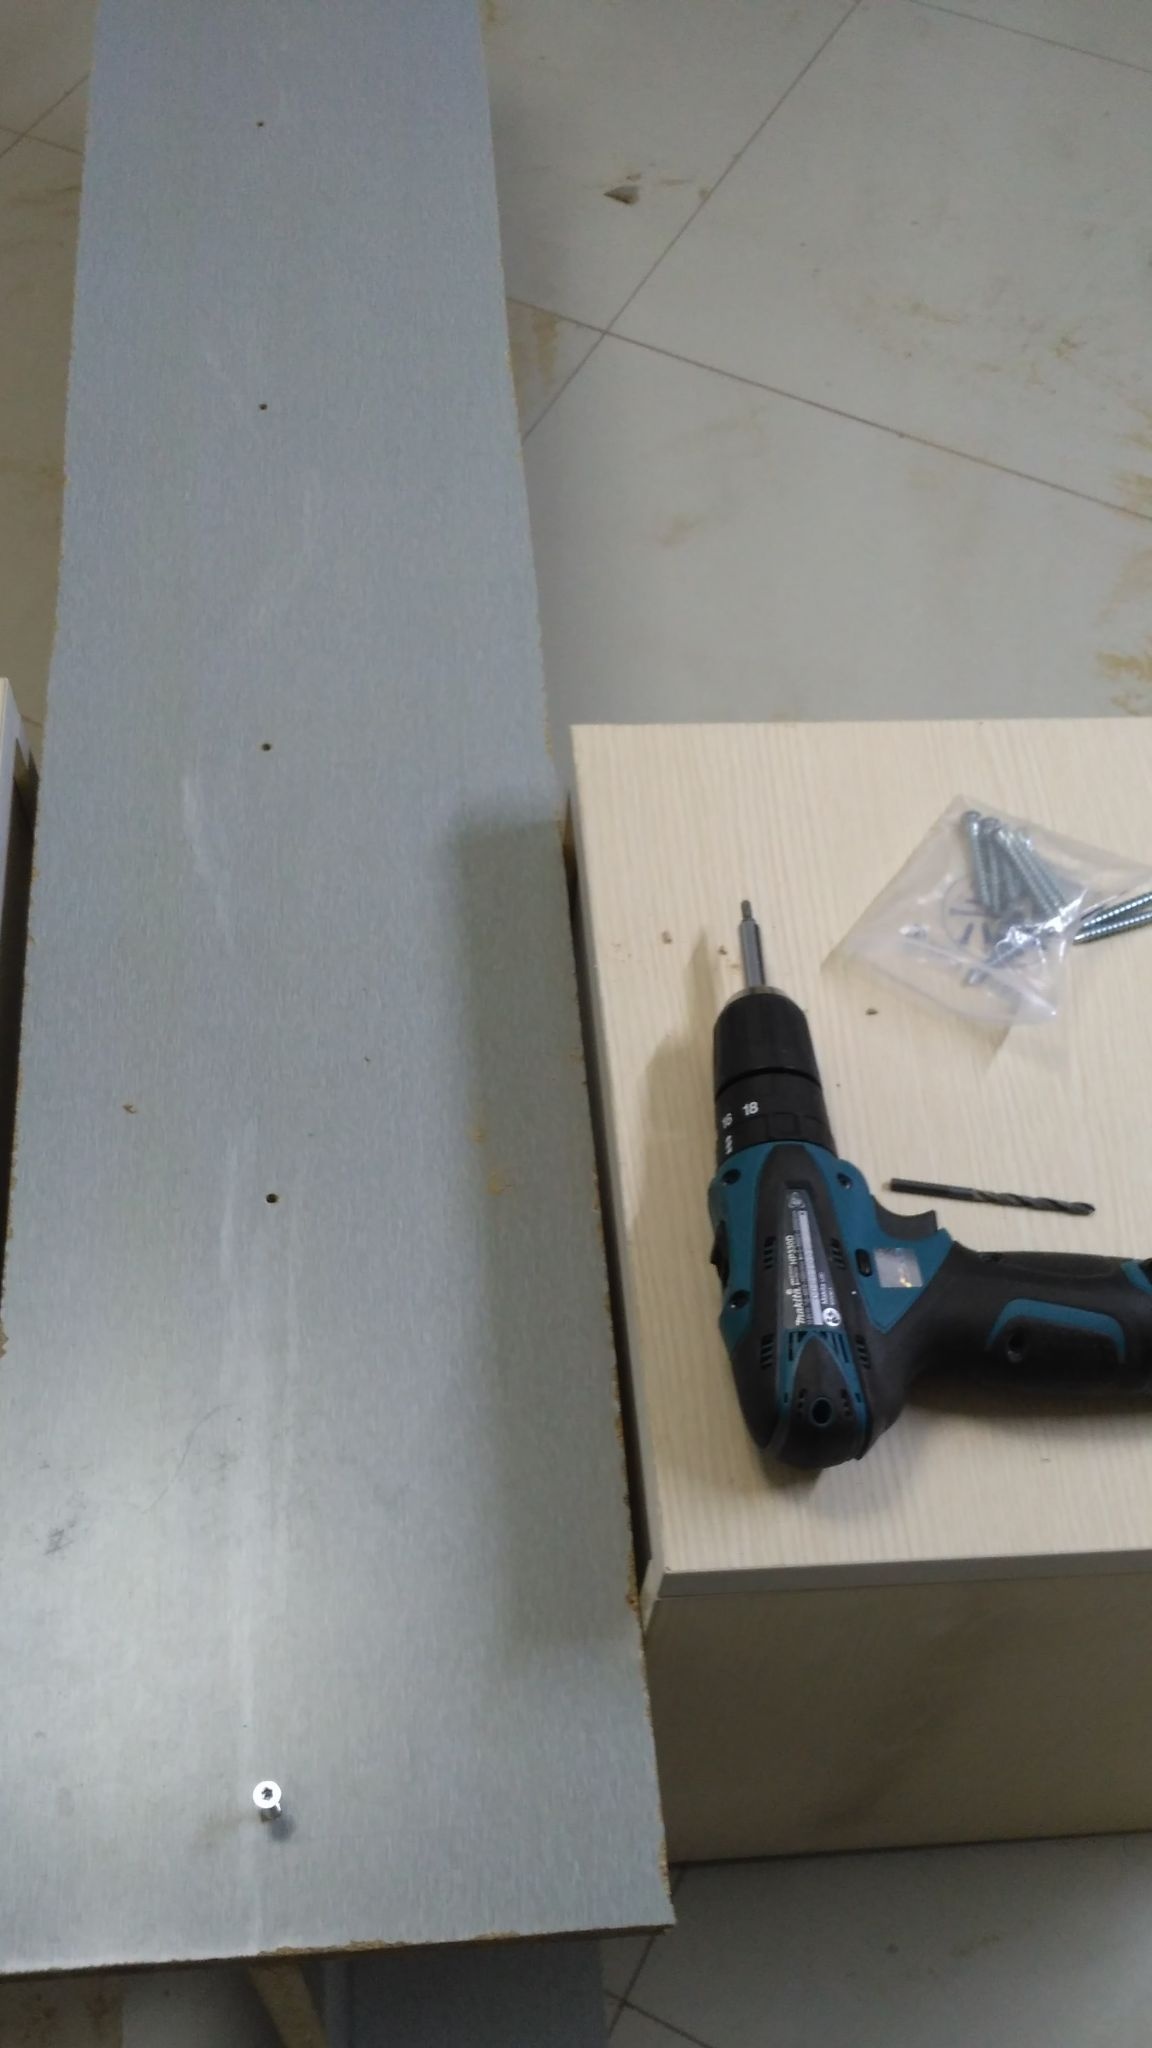
7. Screwdriver or drill with a nozzle for skinning
8. Set of drills
9. 30mm Forstner drill
10. Roulette
11. Square (I didn’t have it, but really wanted it)
12. Hacksaw
13. Pliers
14. A set of hexagons
15. Particleboard
16. Wooden slats
17. Shank from a shovel
18. Metal tube
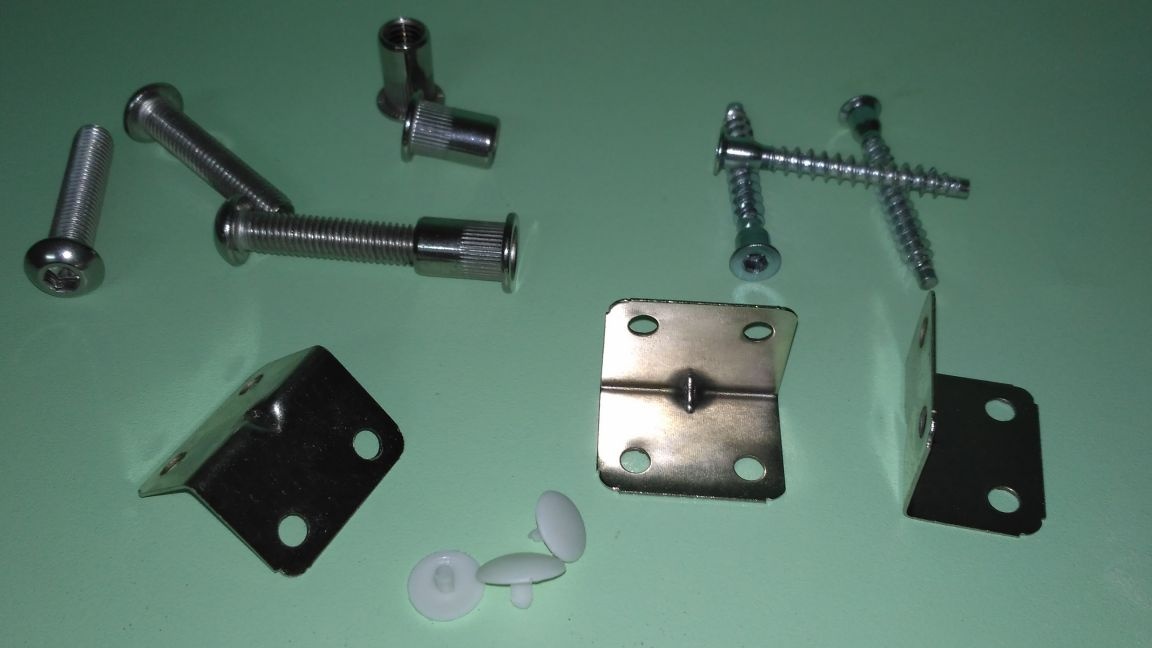
19. Steel corners
20. Wood screws
21. PVA glue
22. Euroscrews
23. Bolts with nuts
24. Decorative plastic tape for chipboard ends
Detailed manufacturing description:
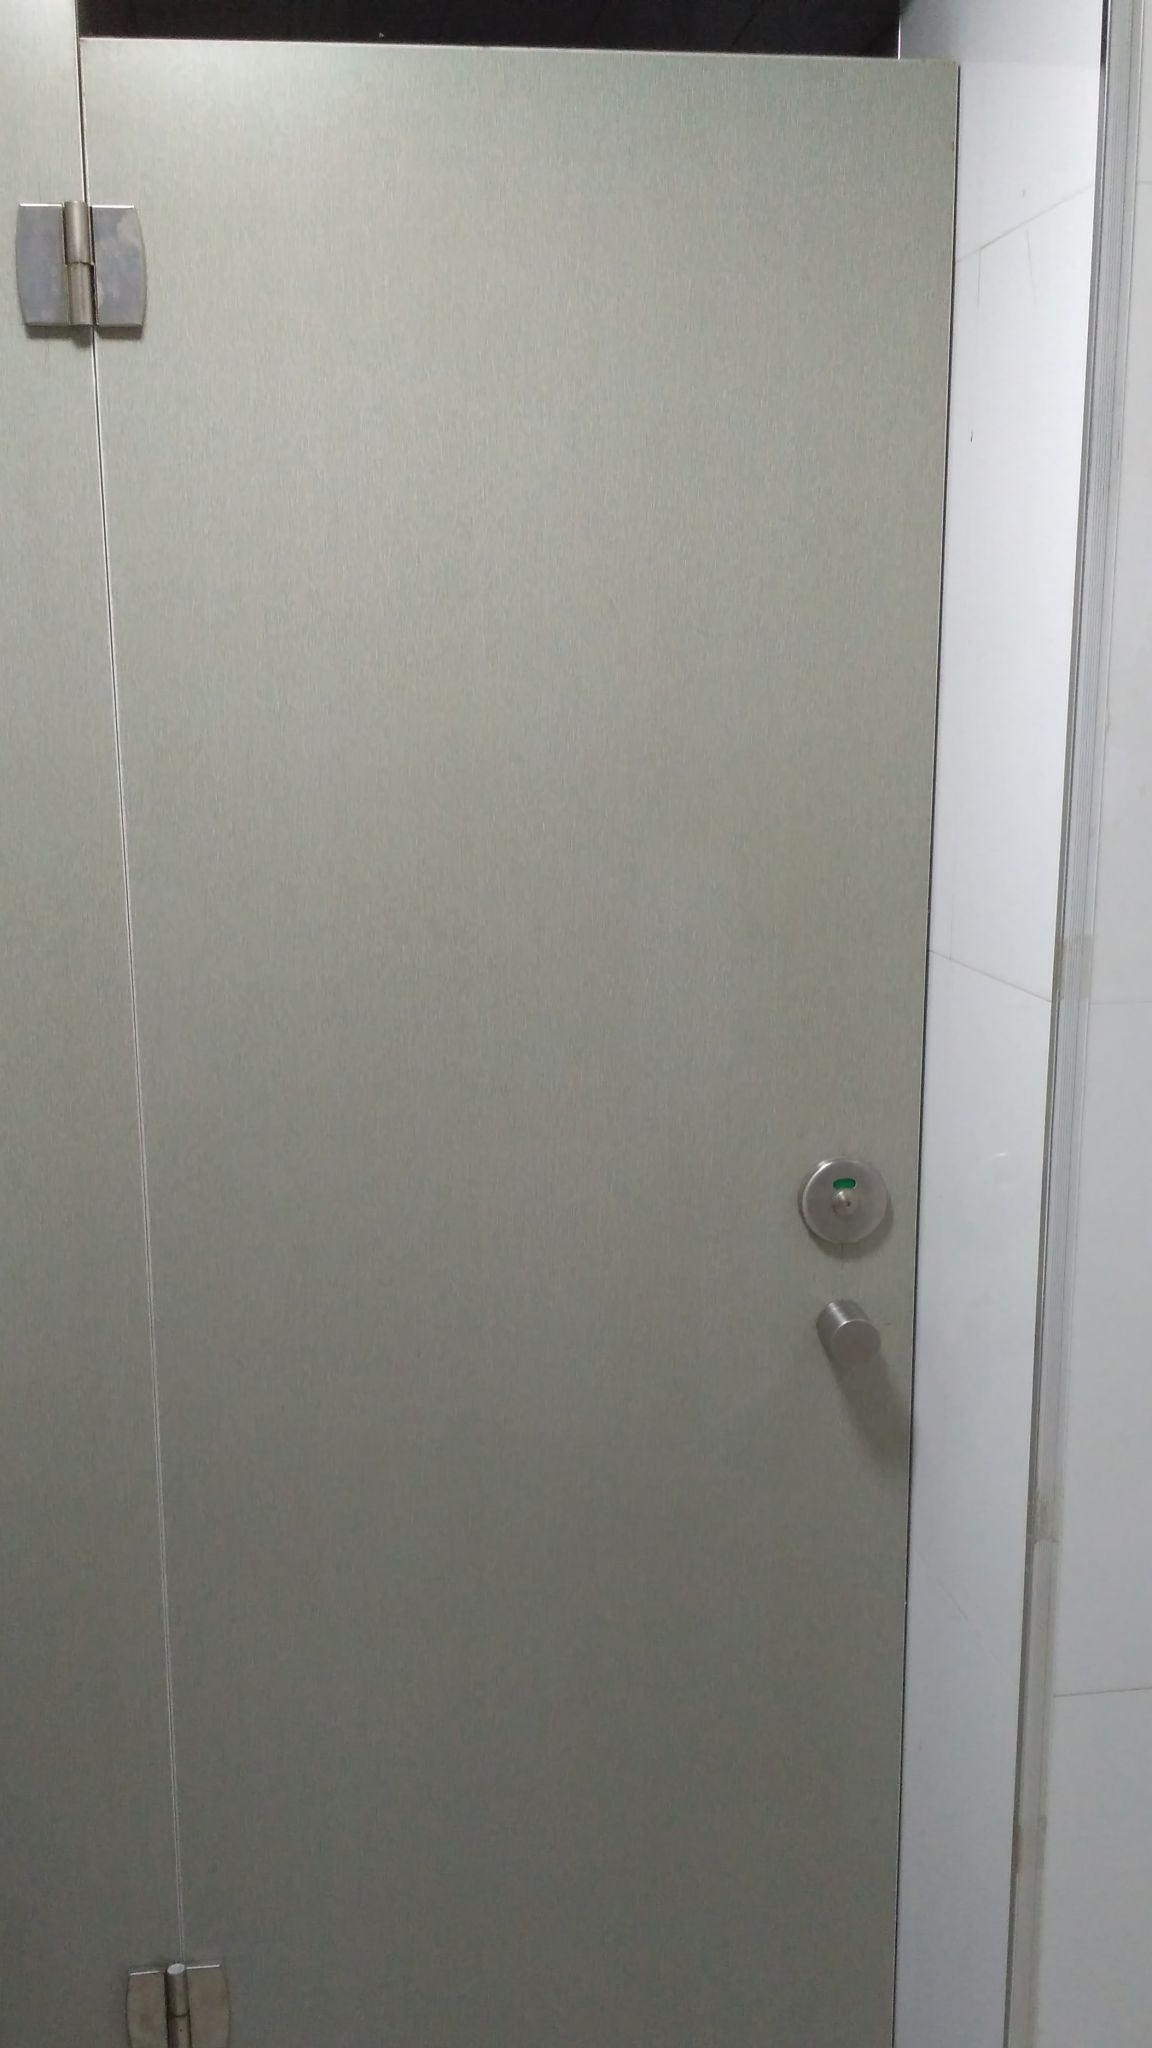
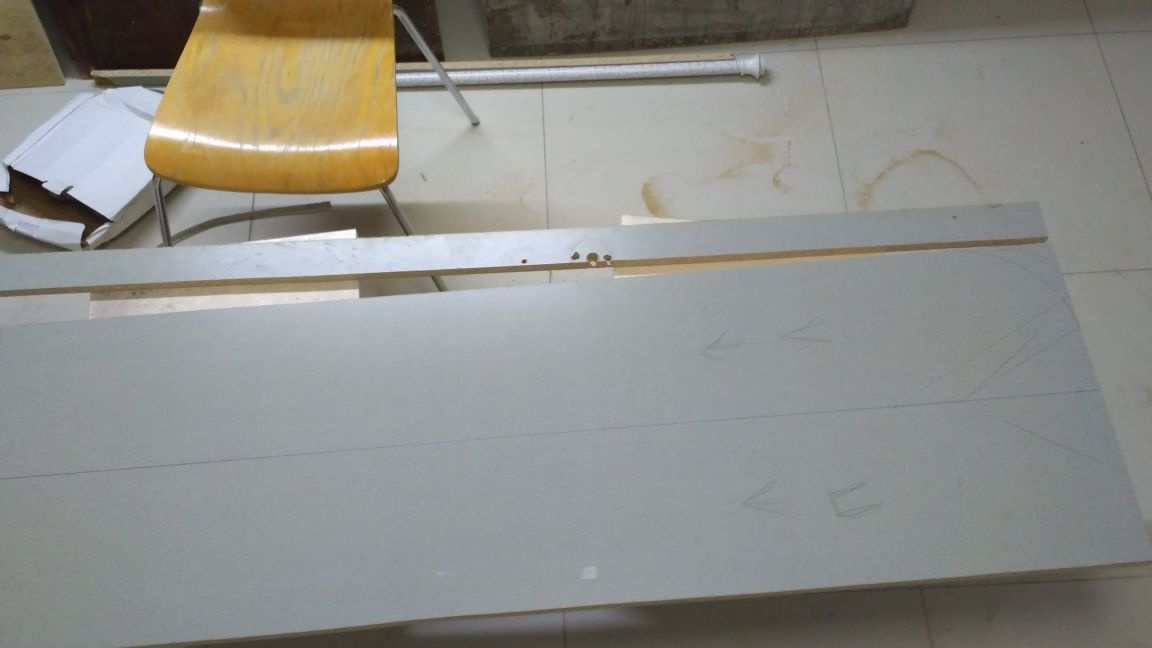
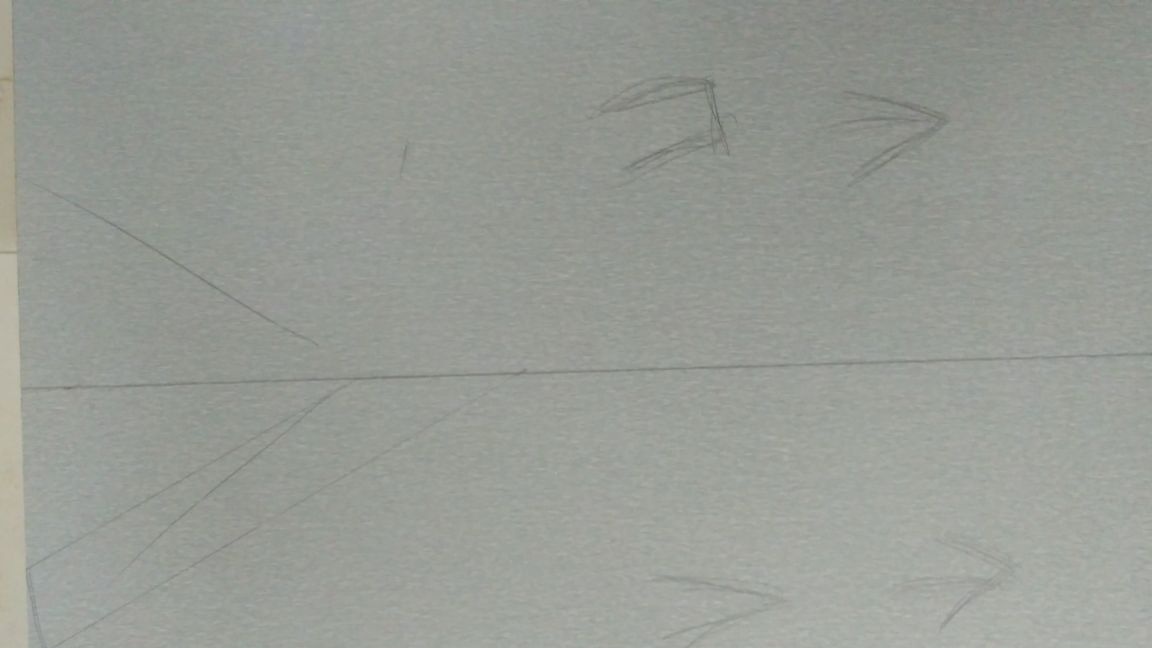
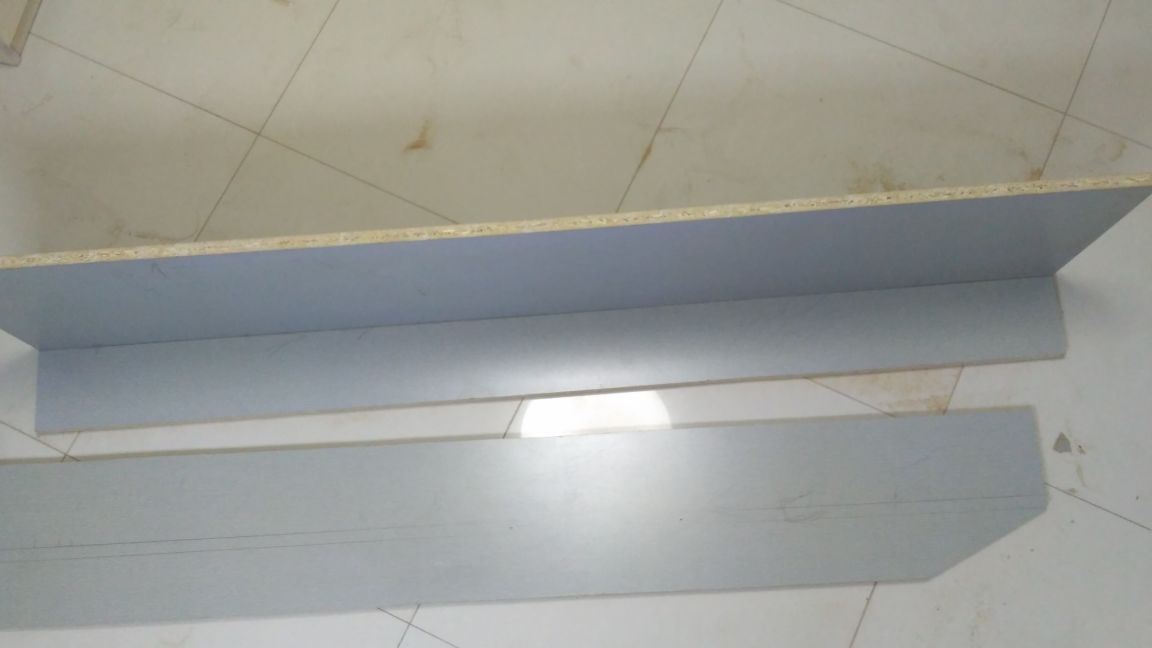
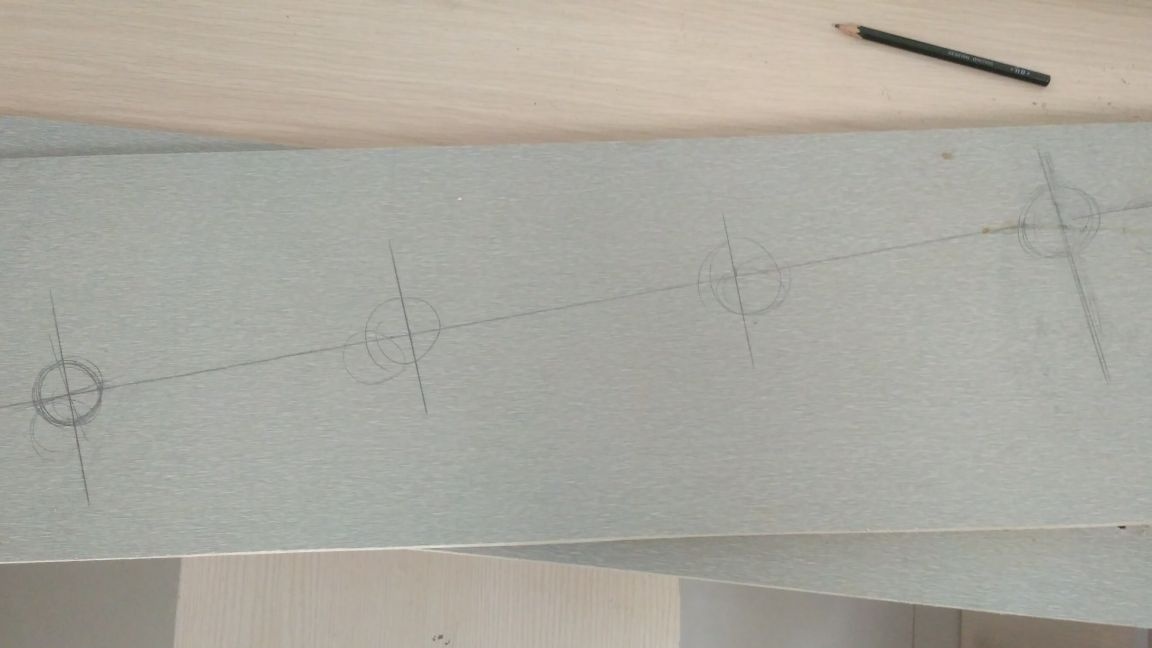
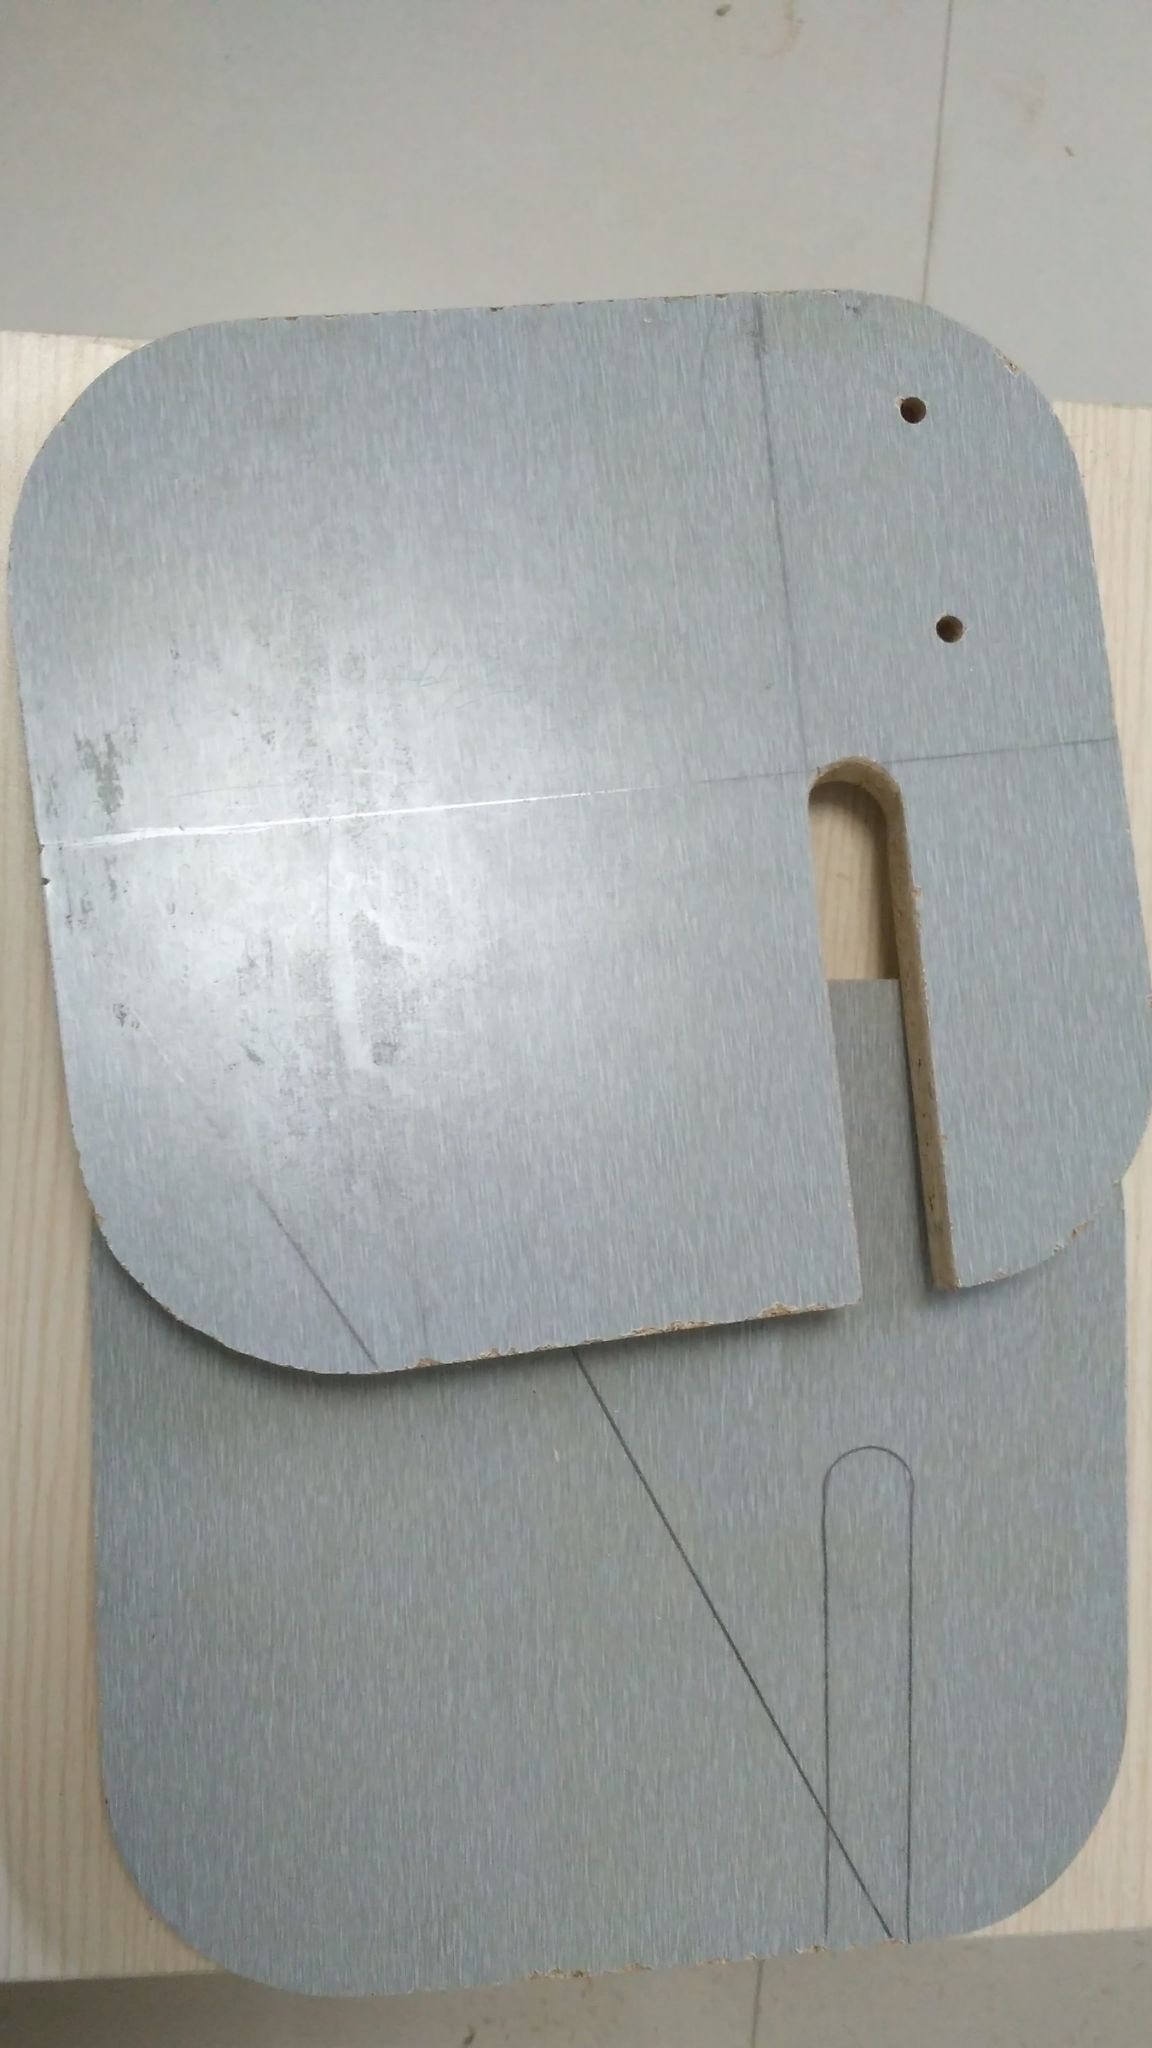
Step 1: As a material for DIY, I used a former chipboard door (2 pcs). And fasteners were purchased. Since I don’t know how to draw drawings and normal design, the whole structure was built by eye. I marked the individual notes and sizes that I had to get on the tile floor. The width of the hill and the height of the sides also estimated by eye, guided by the size of the target child, who is three years old)))
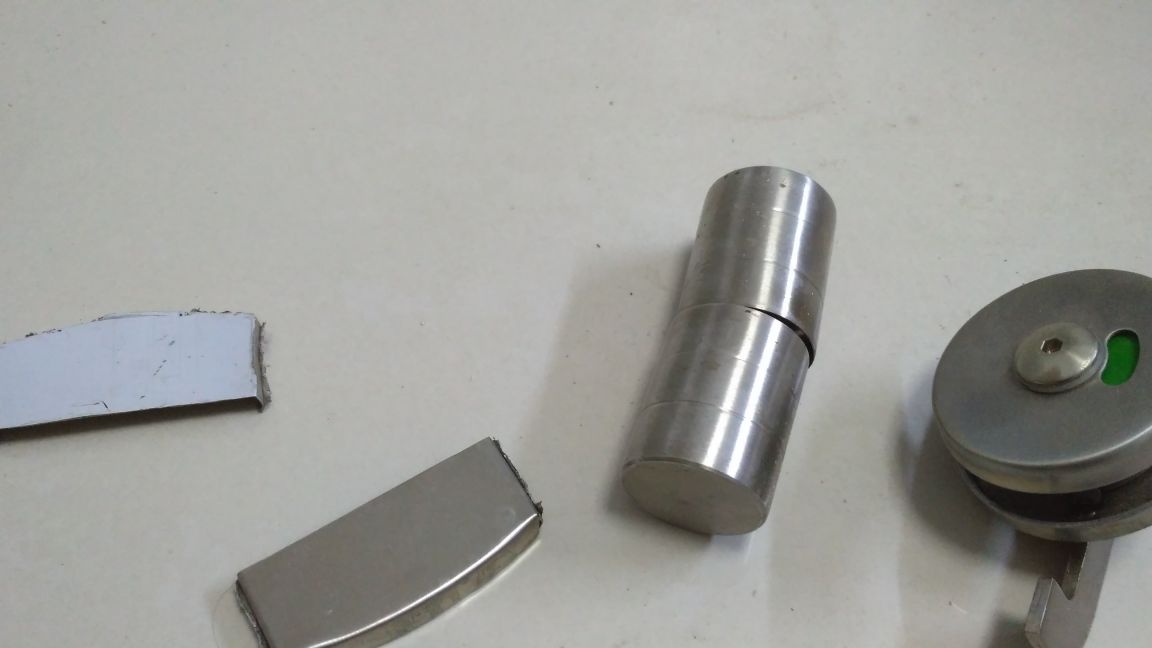
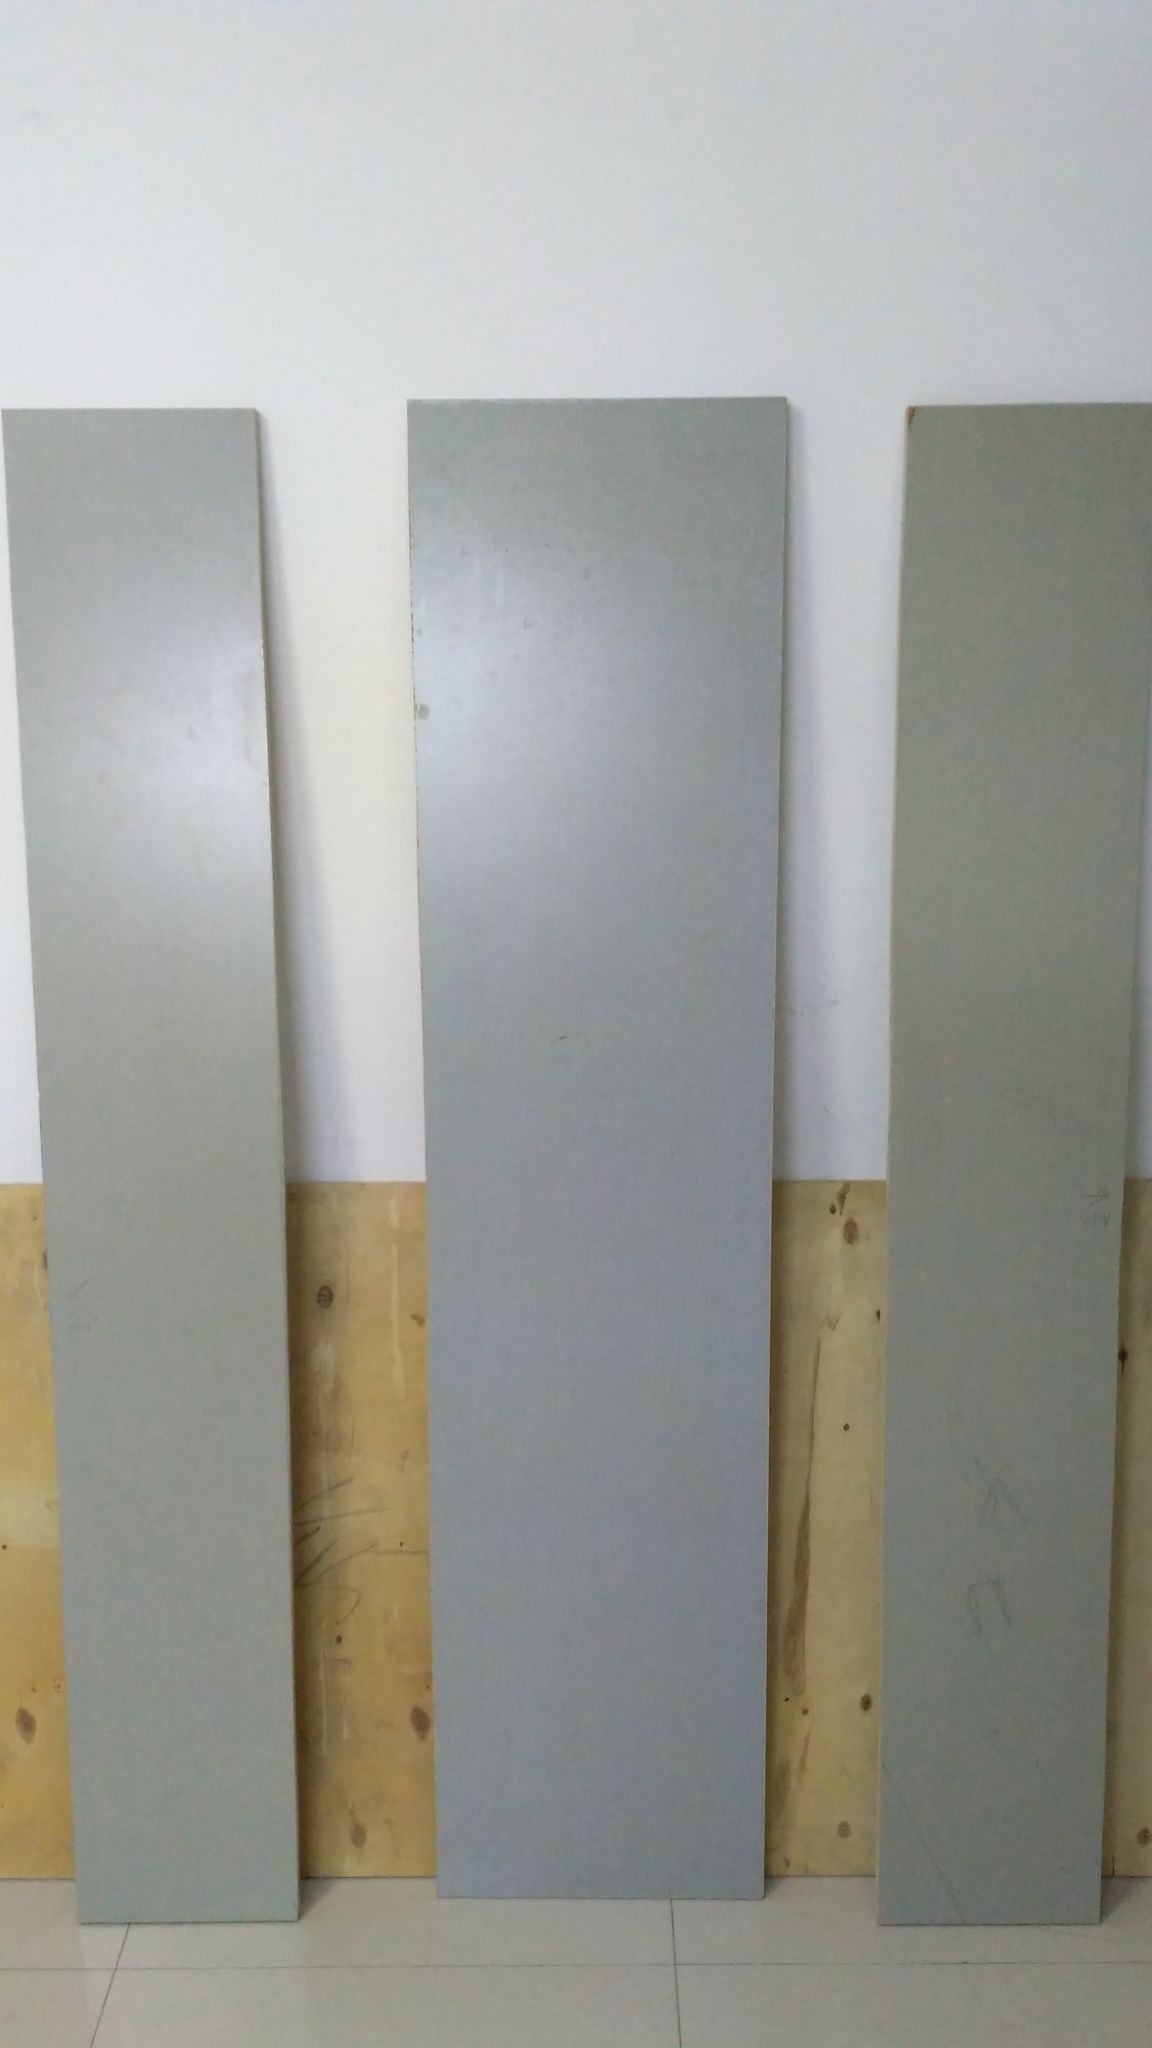
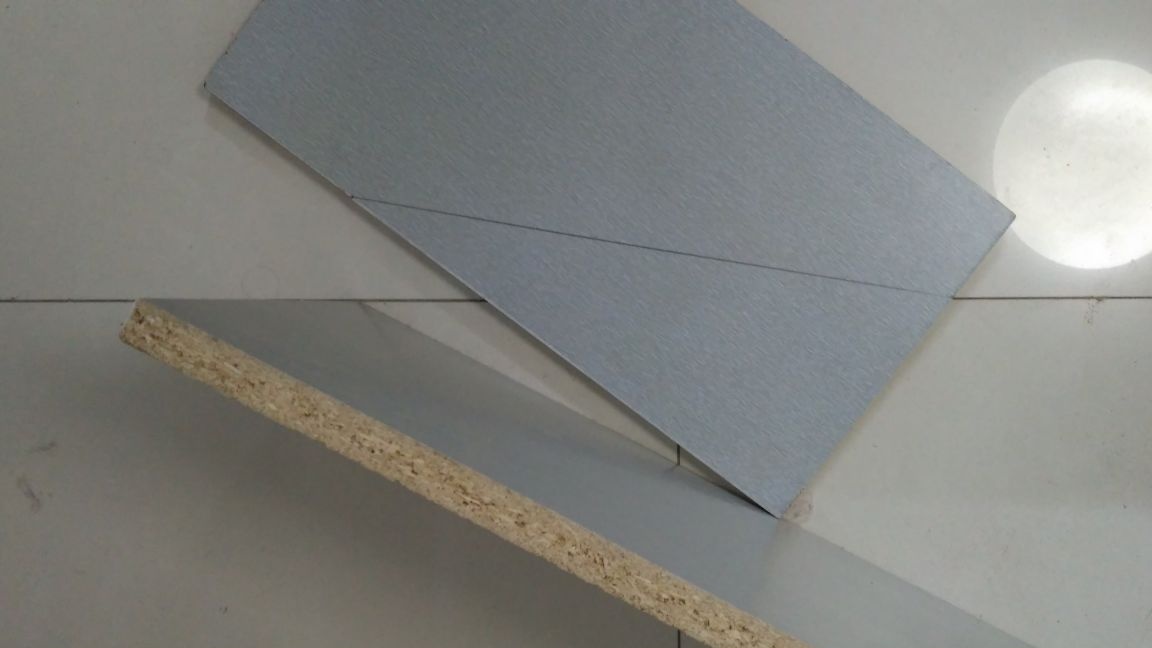
So, we take the door, remove everything superfluous from it, cut off the edges where there are holes from the handle and hinges. We make two sides 25x160 cm and the main plane of the slide 37x160 cm. During operation, there were no complaints about the dimensions of the structure.
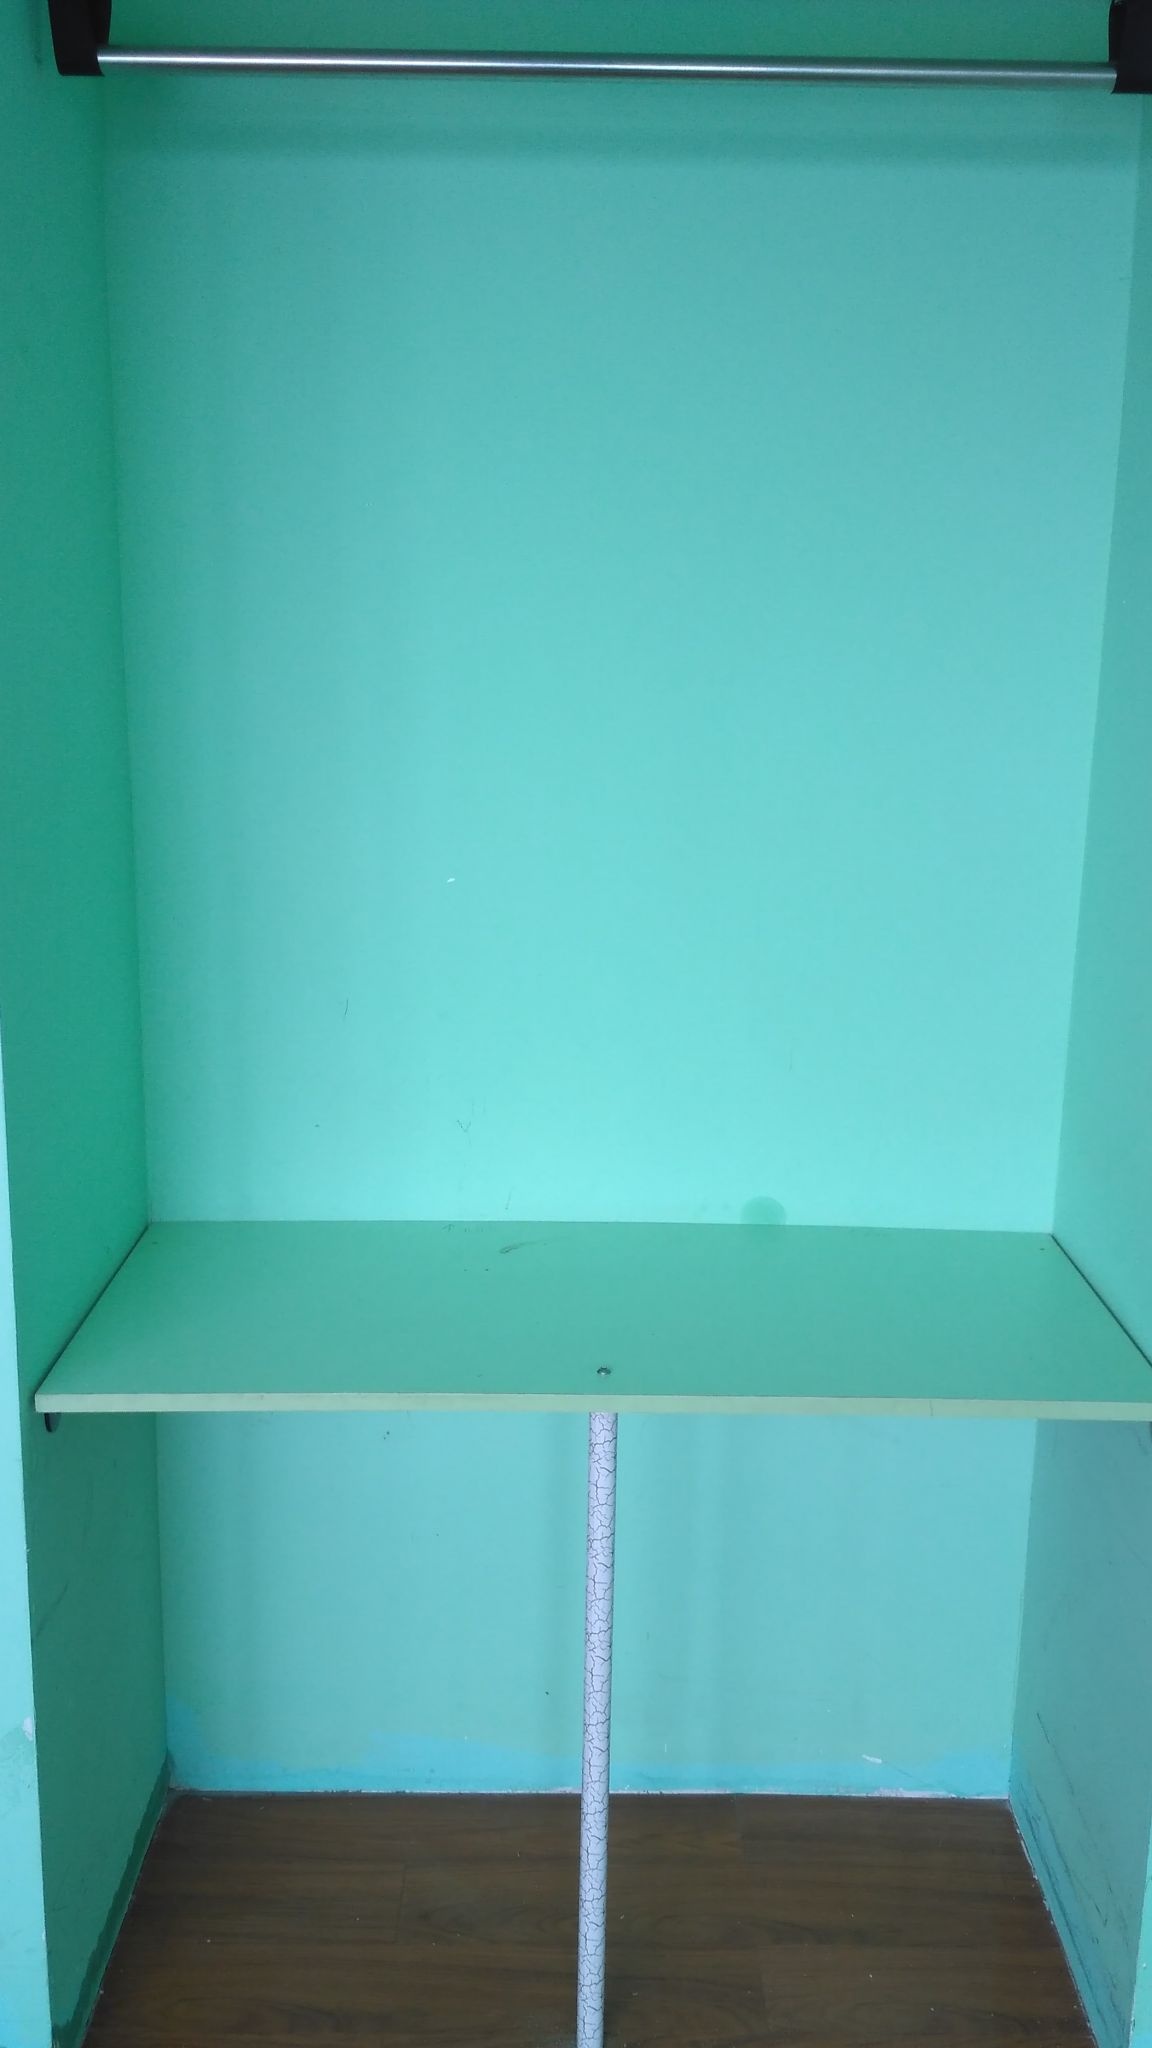
The slide, I initially “entered” into the shelf already in the apartment, so it was only necessary to make the slide groove and ladder itself, as well as to strengthen the shelf itself and its mountings so that it could support the weight of the child. But first things first.
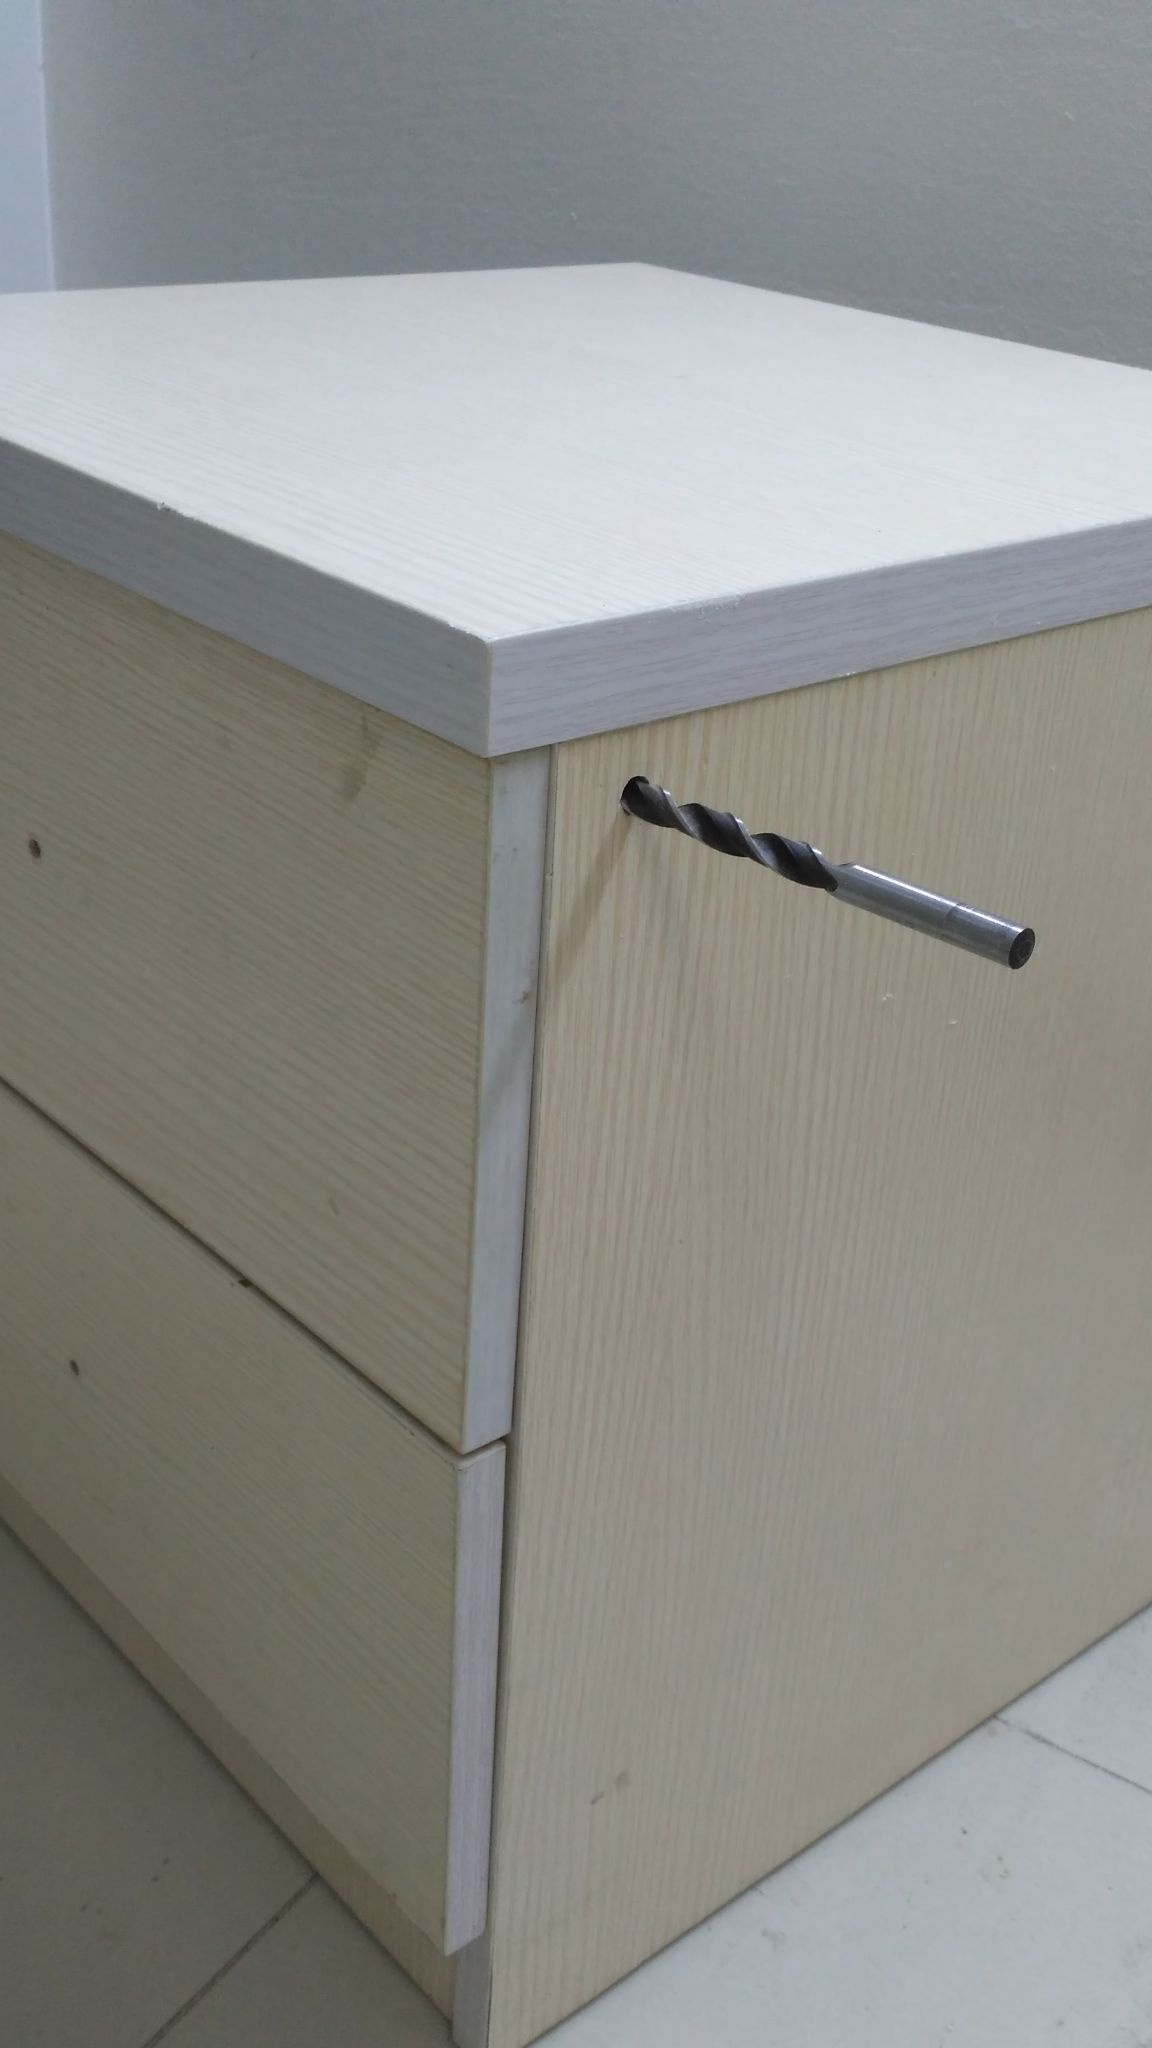
Step 2: Noting the height of the shelf on the floor (74 cm), I made a template by which I sawed corners on the sides, where the sidewalls will rest on the floor. It is better, of course, to calculate such things, or at least measure them using a protractor, but due to inability and lack of, respectively, one can do so.

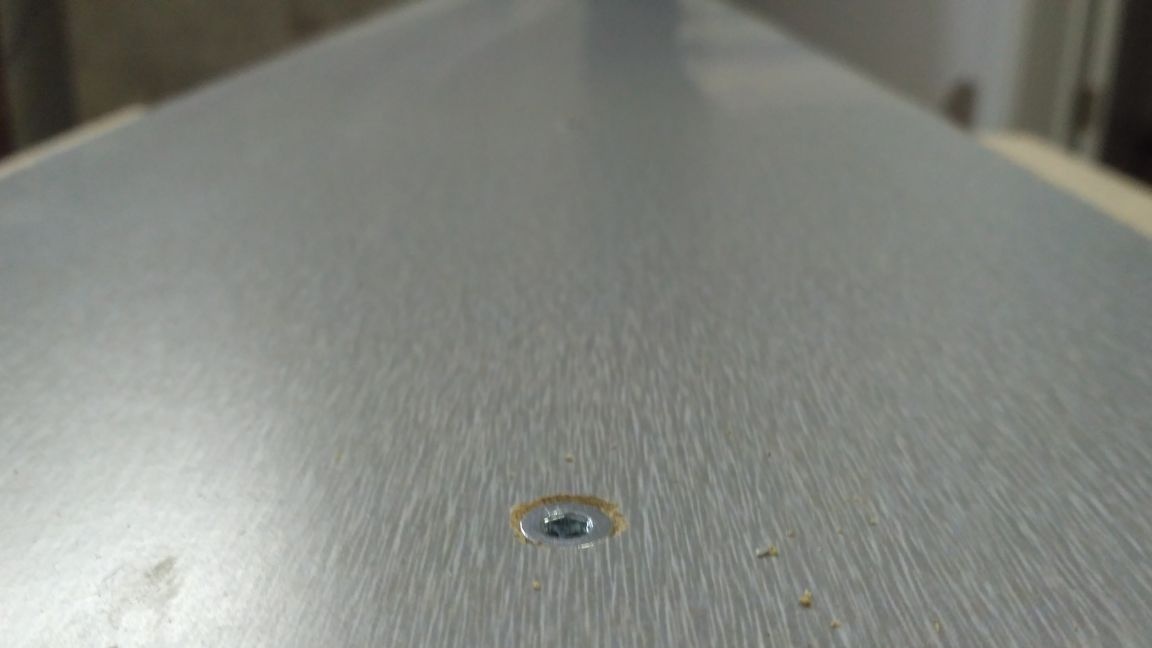
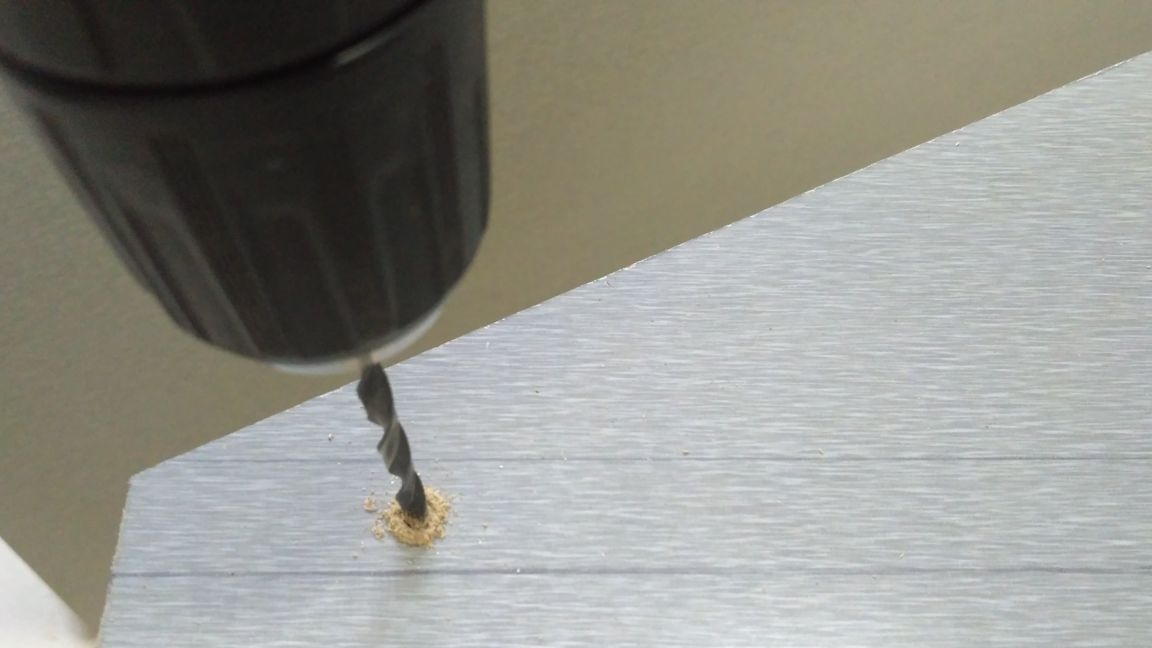
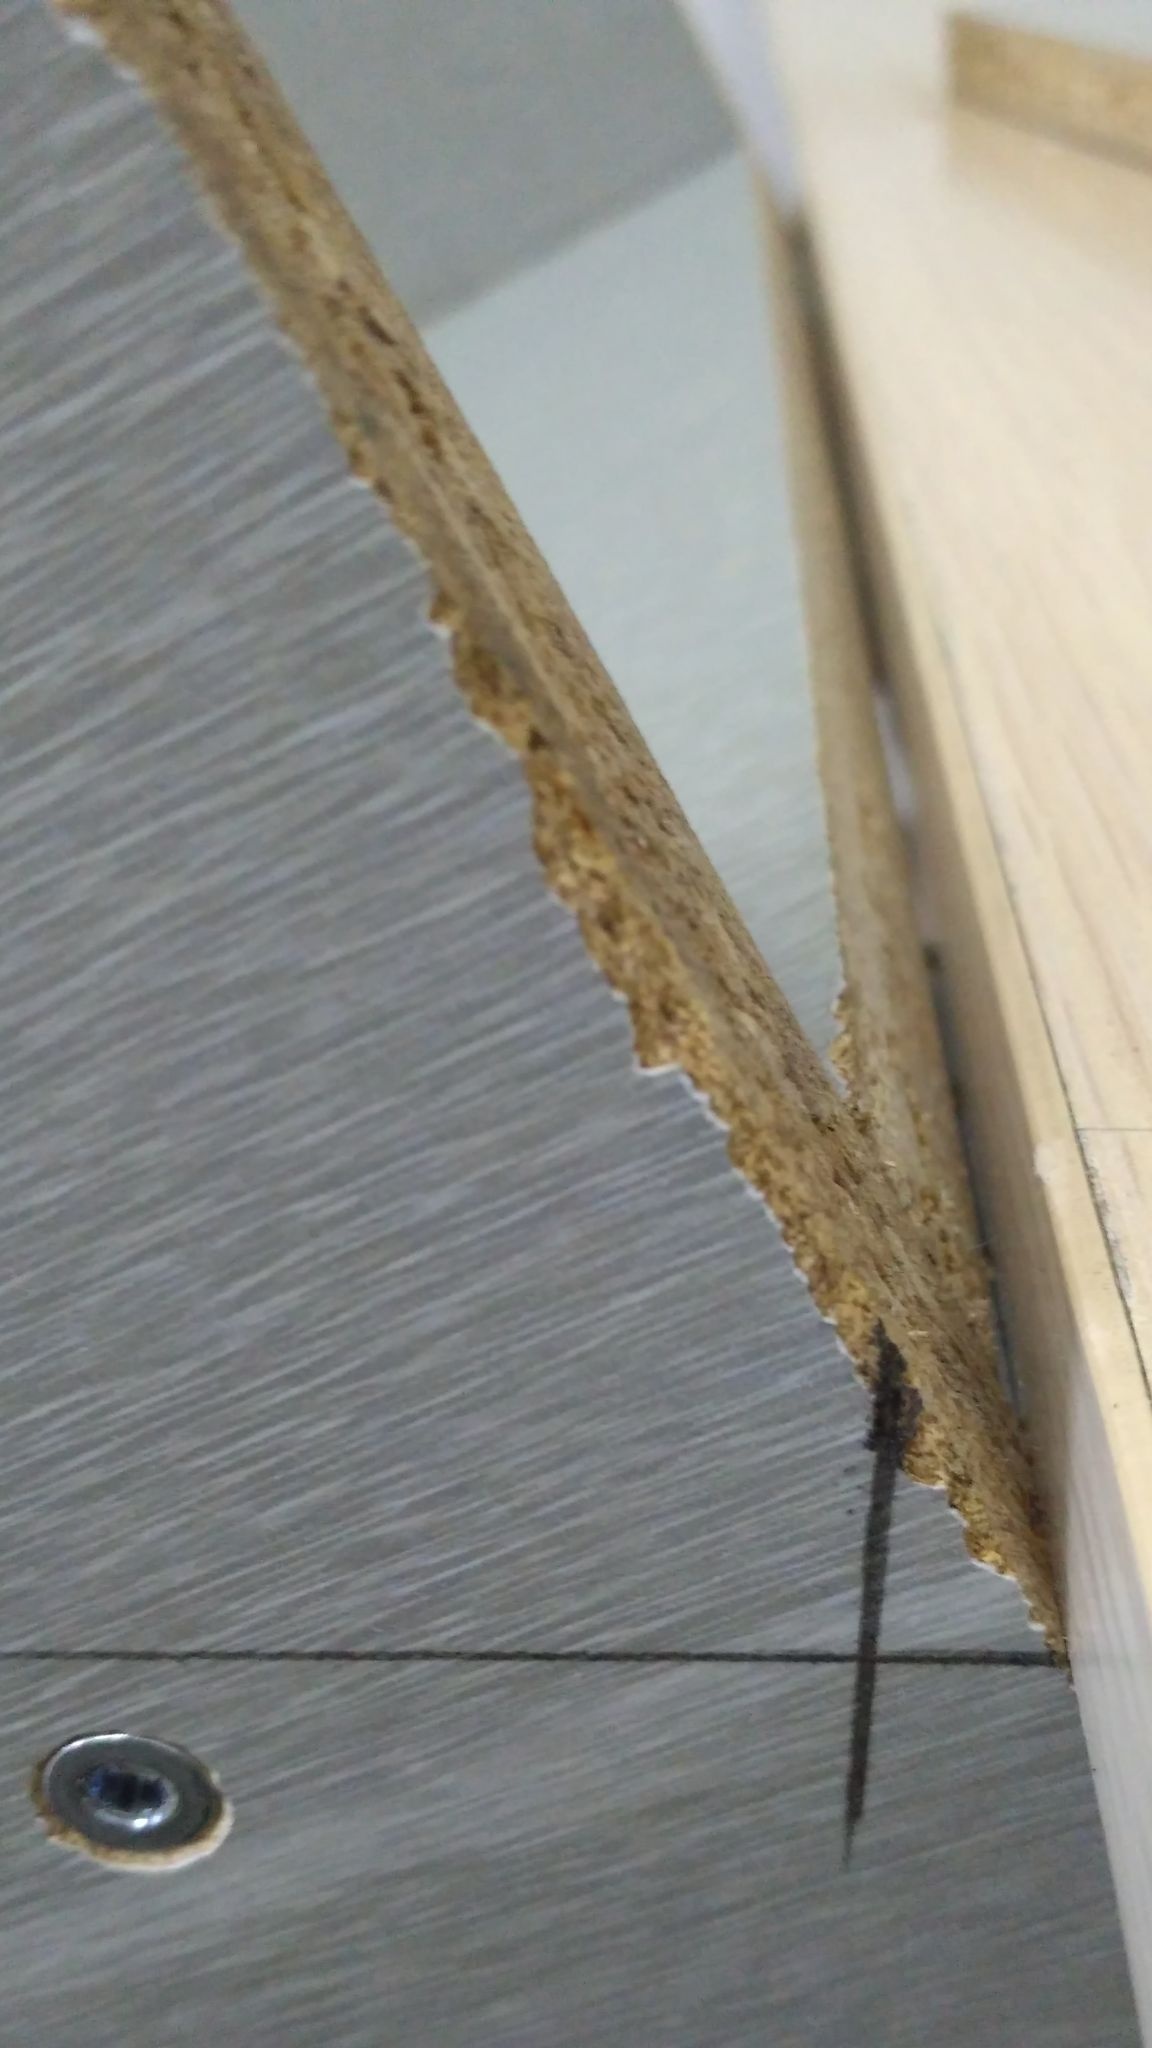
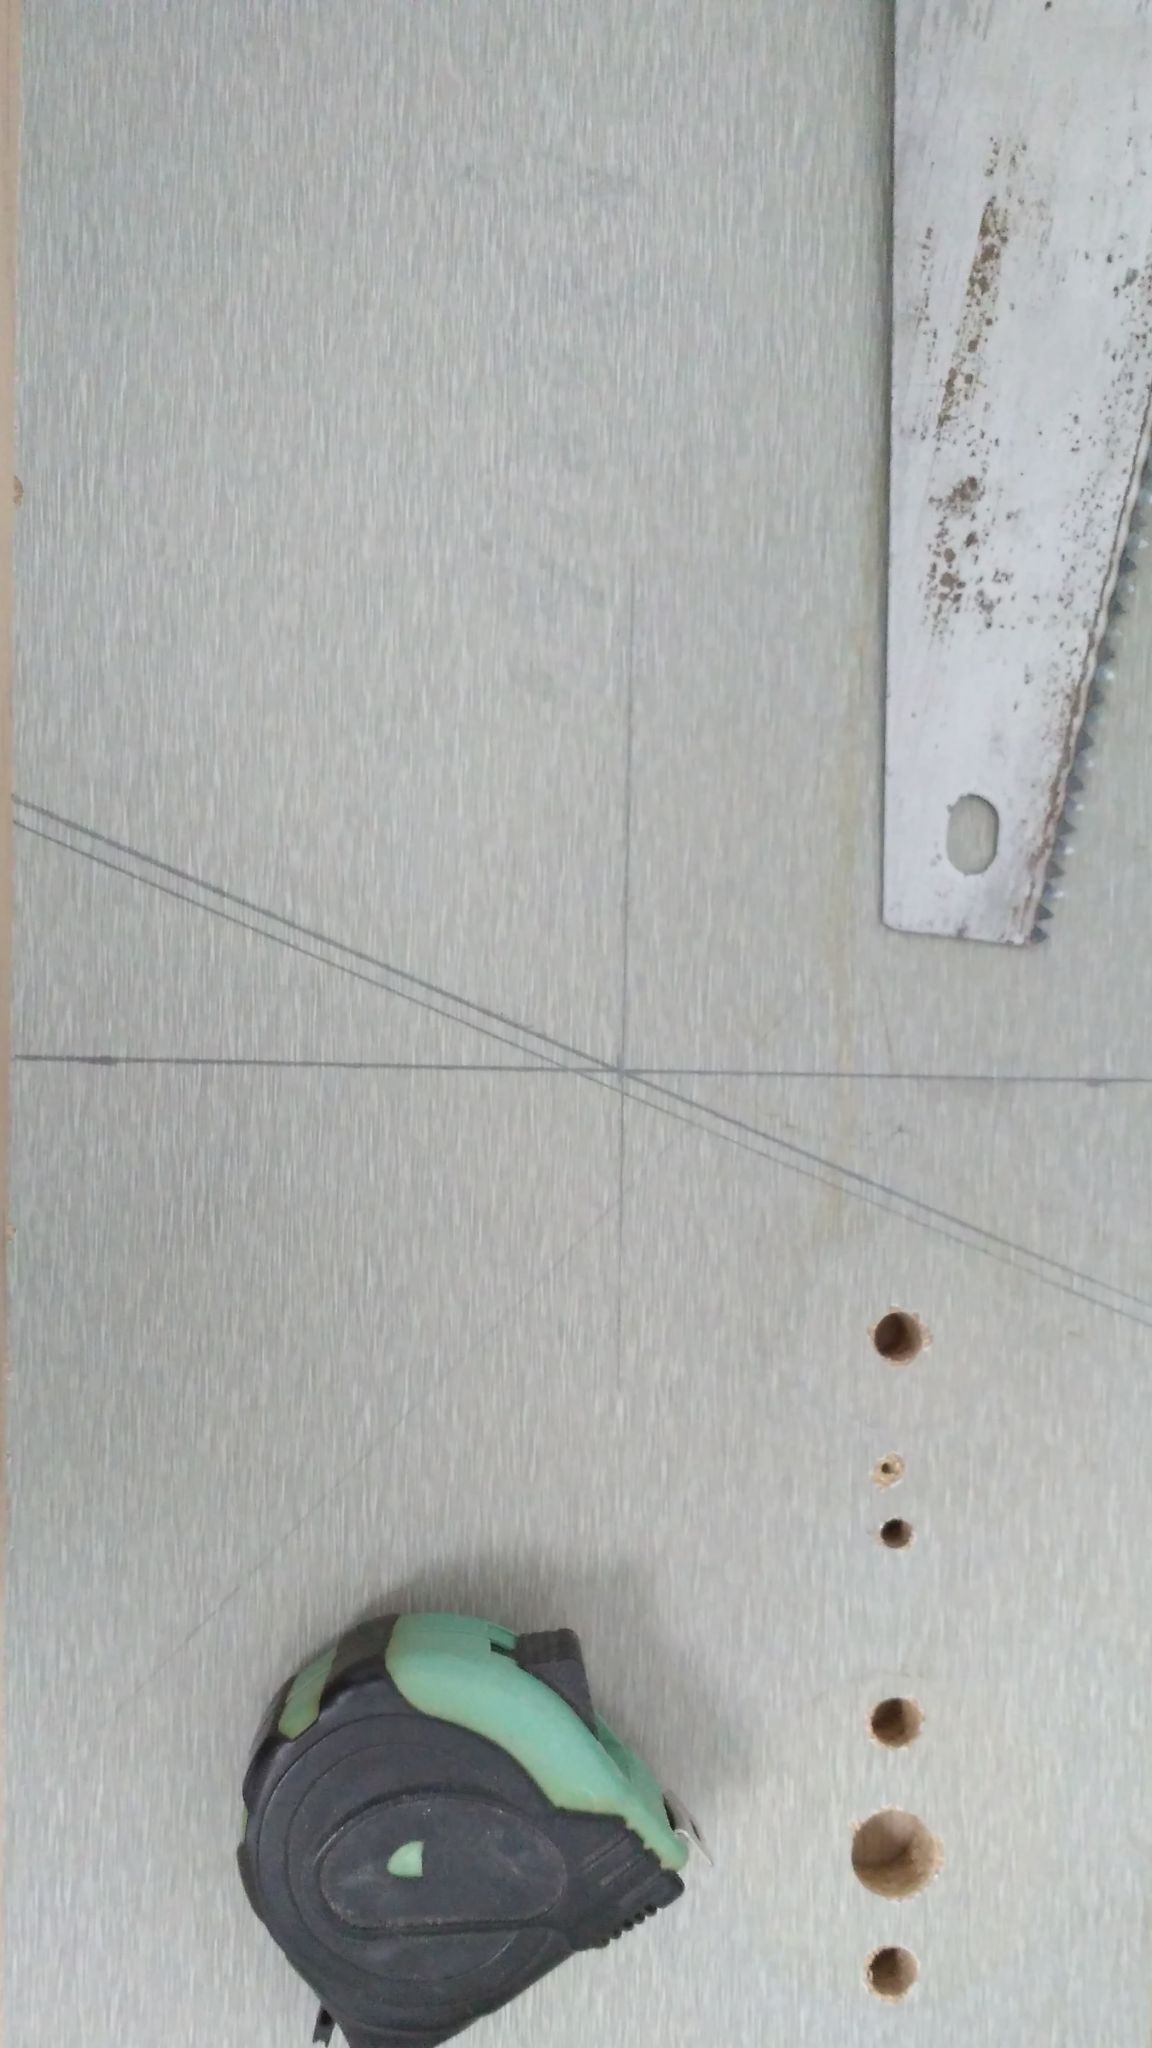
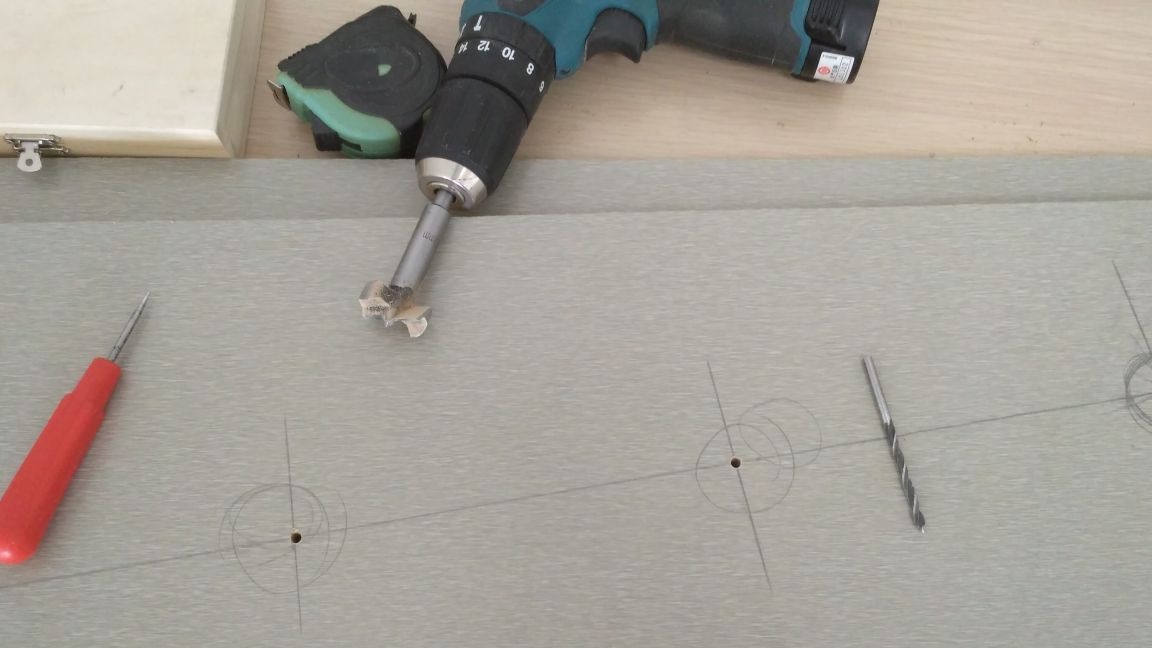
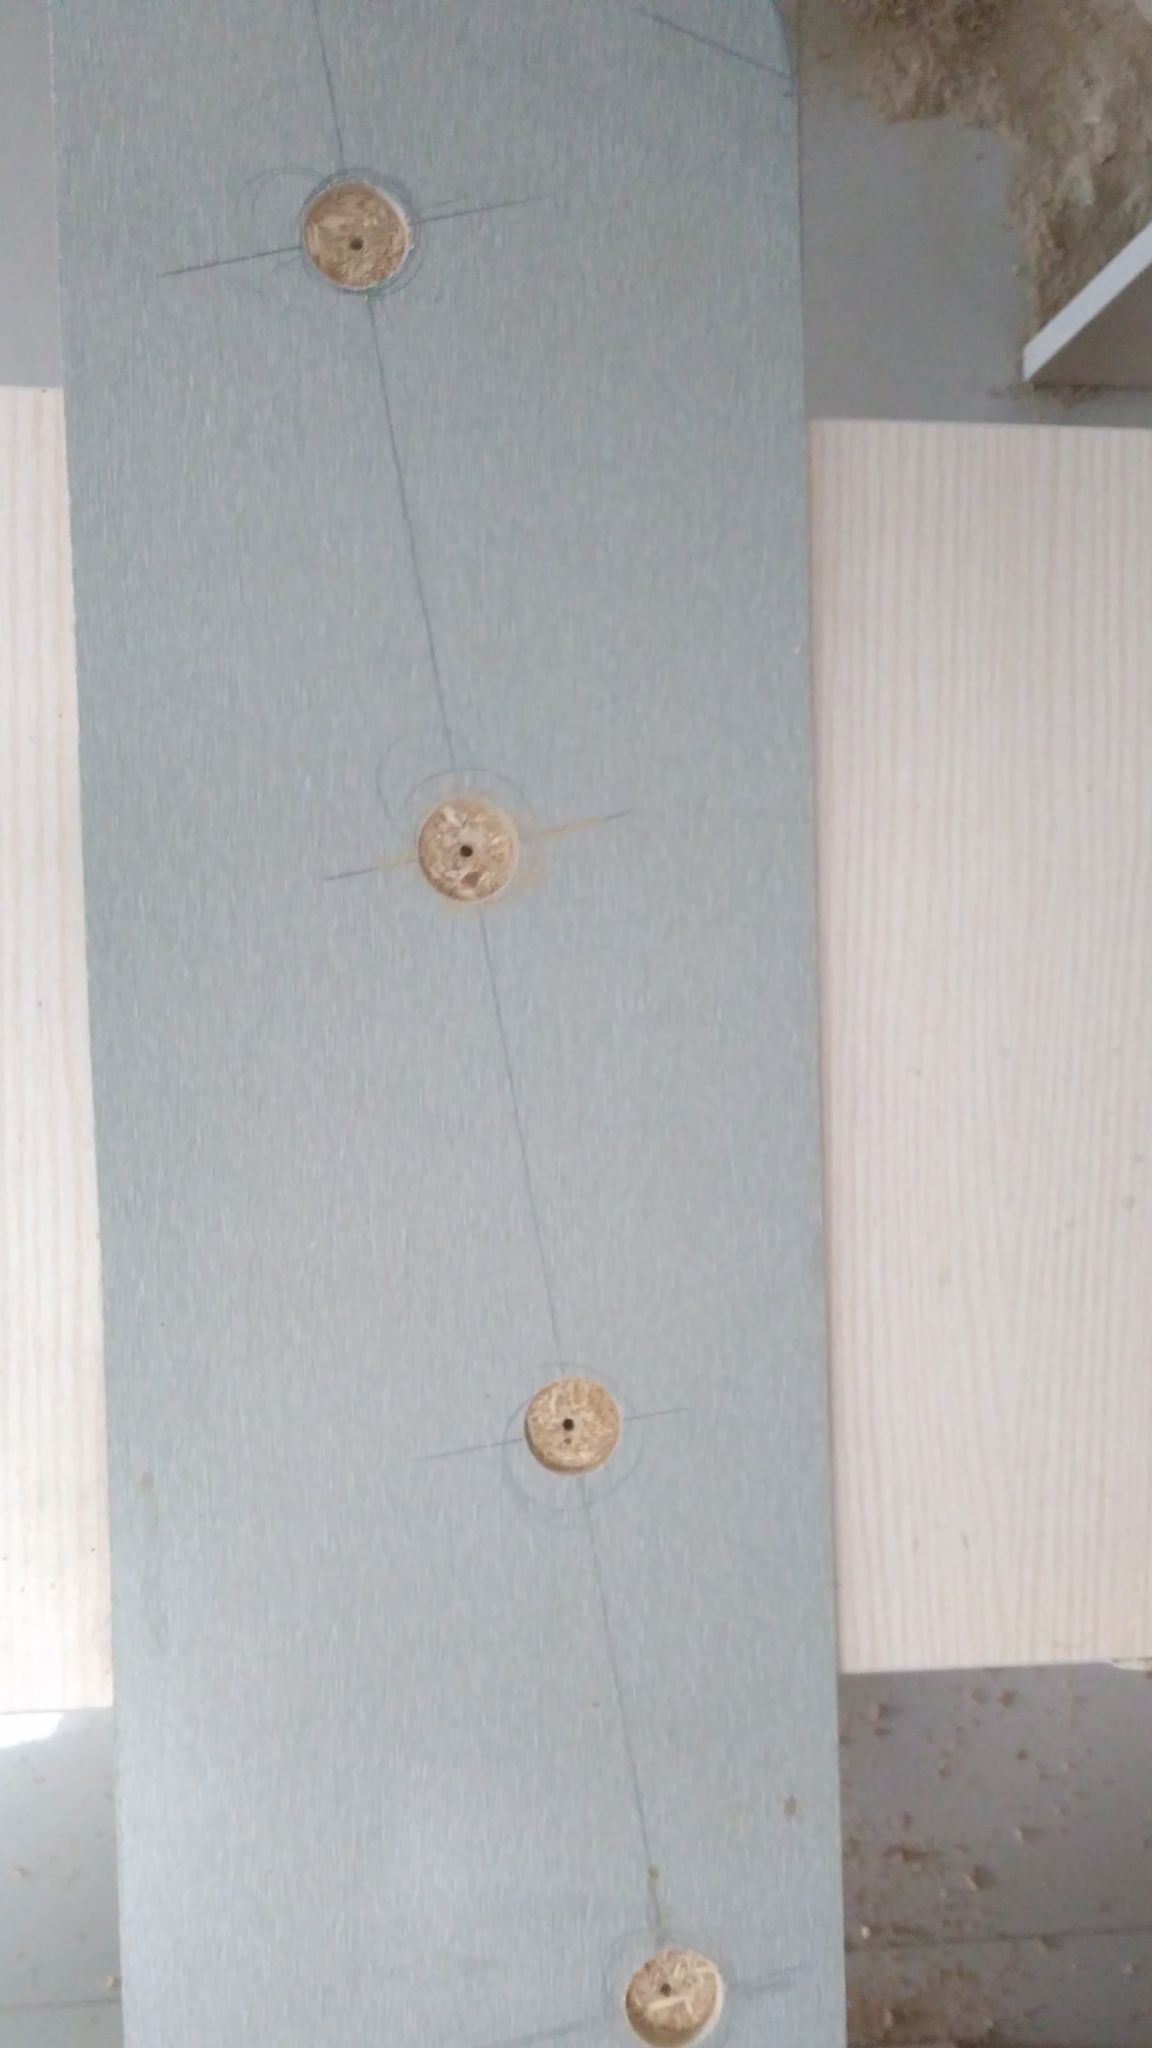
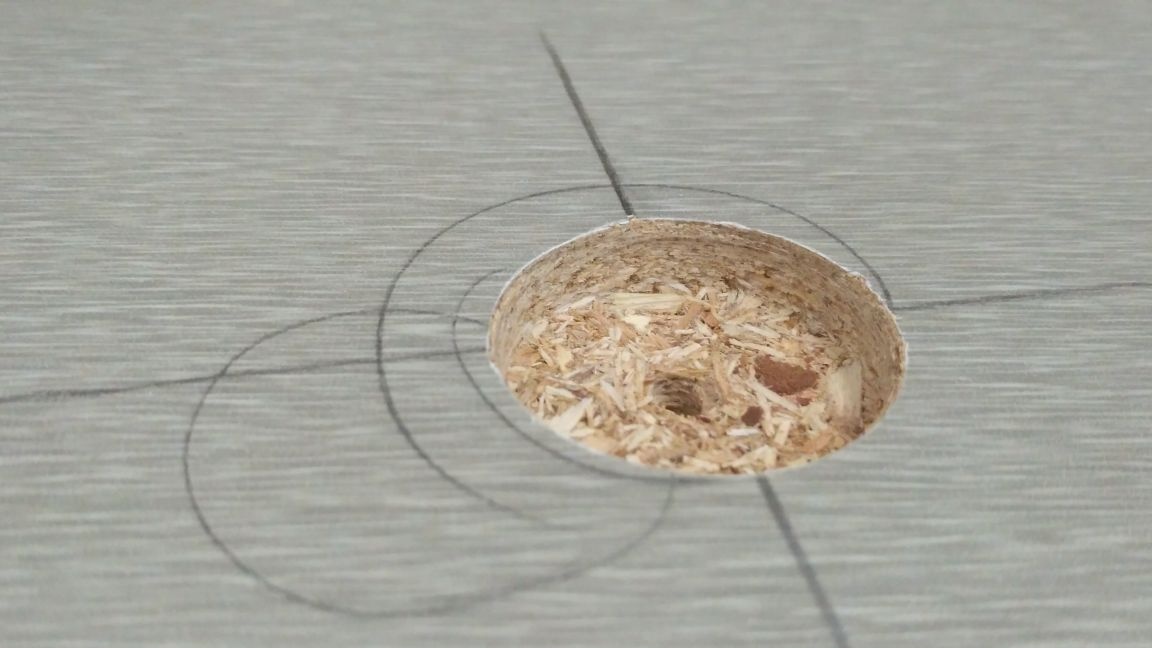
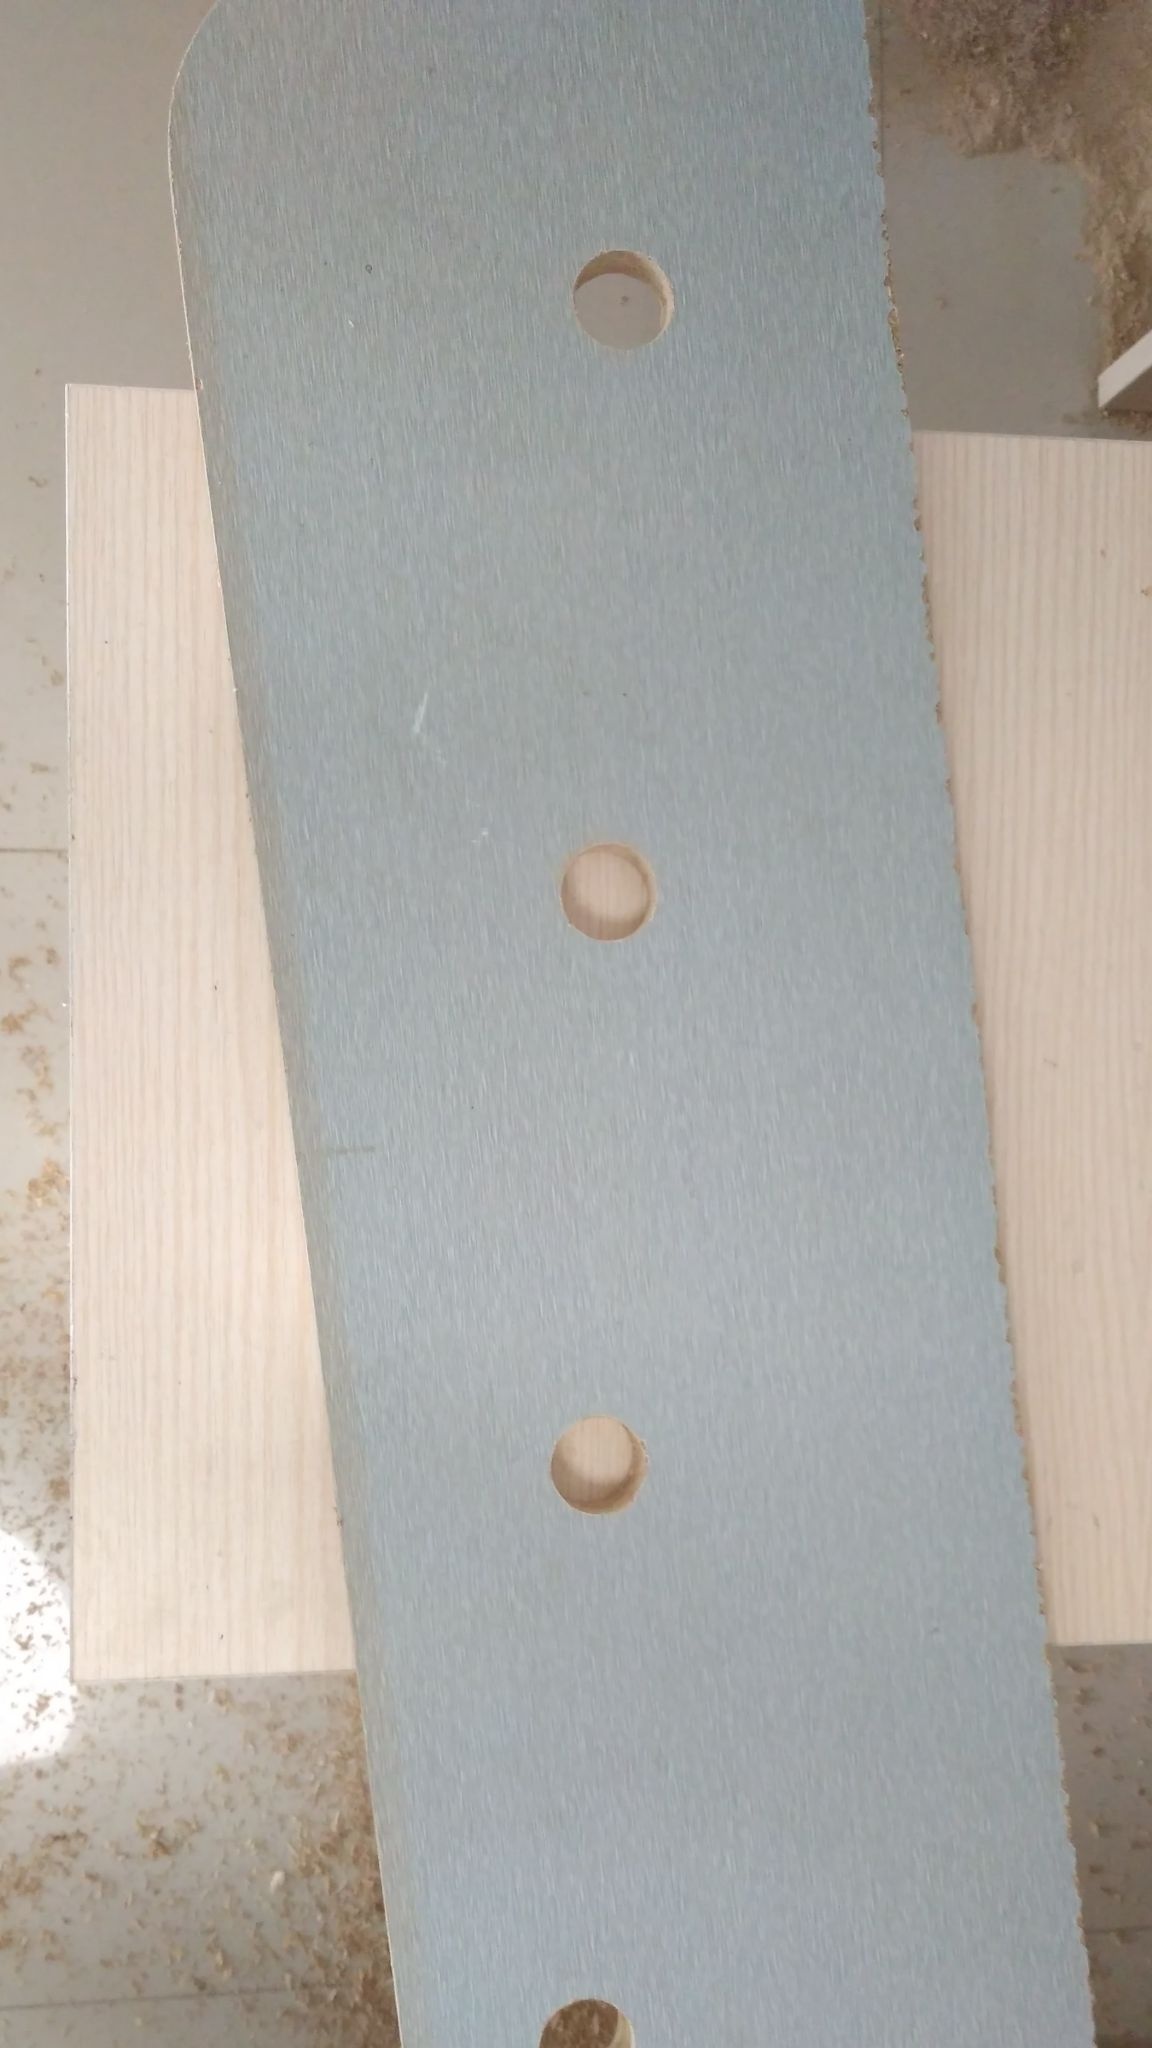
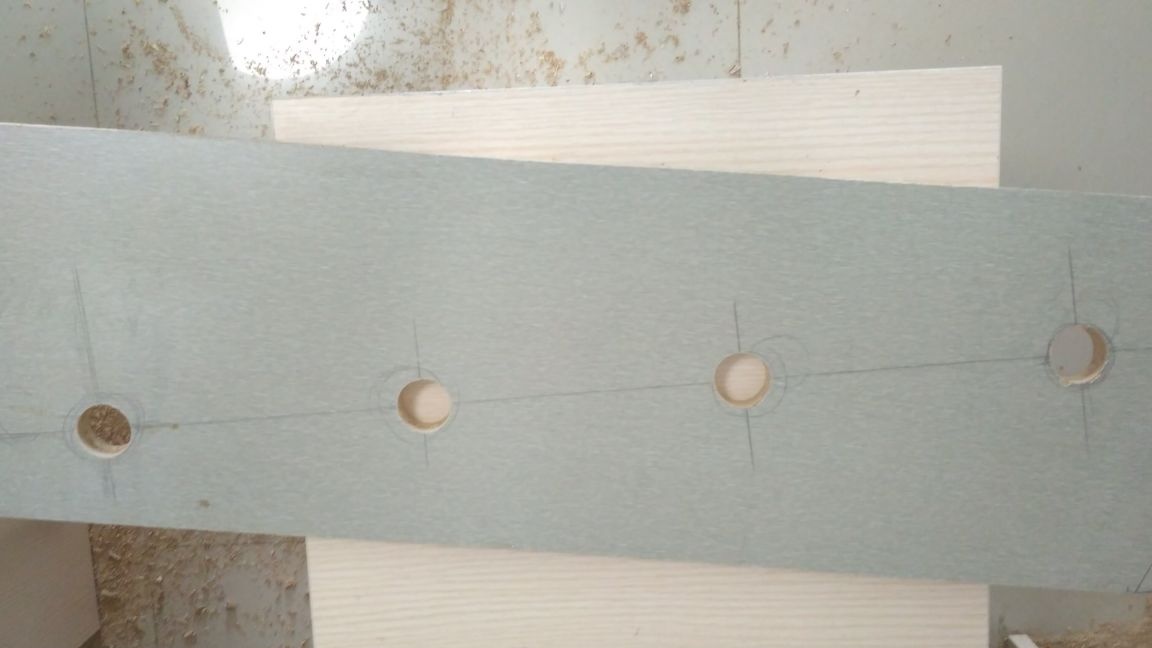
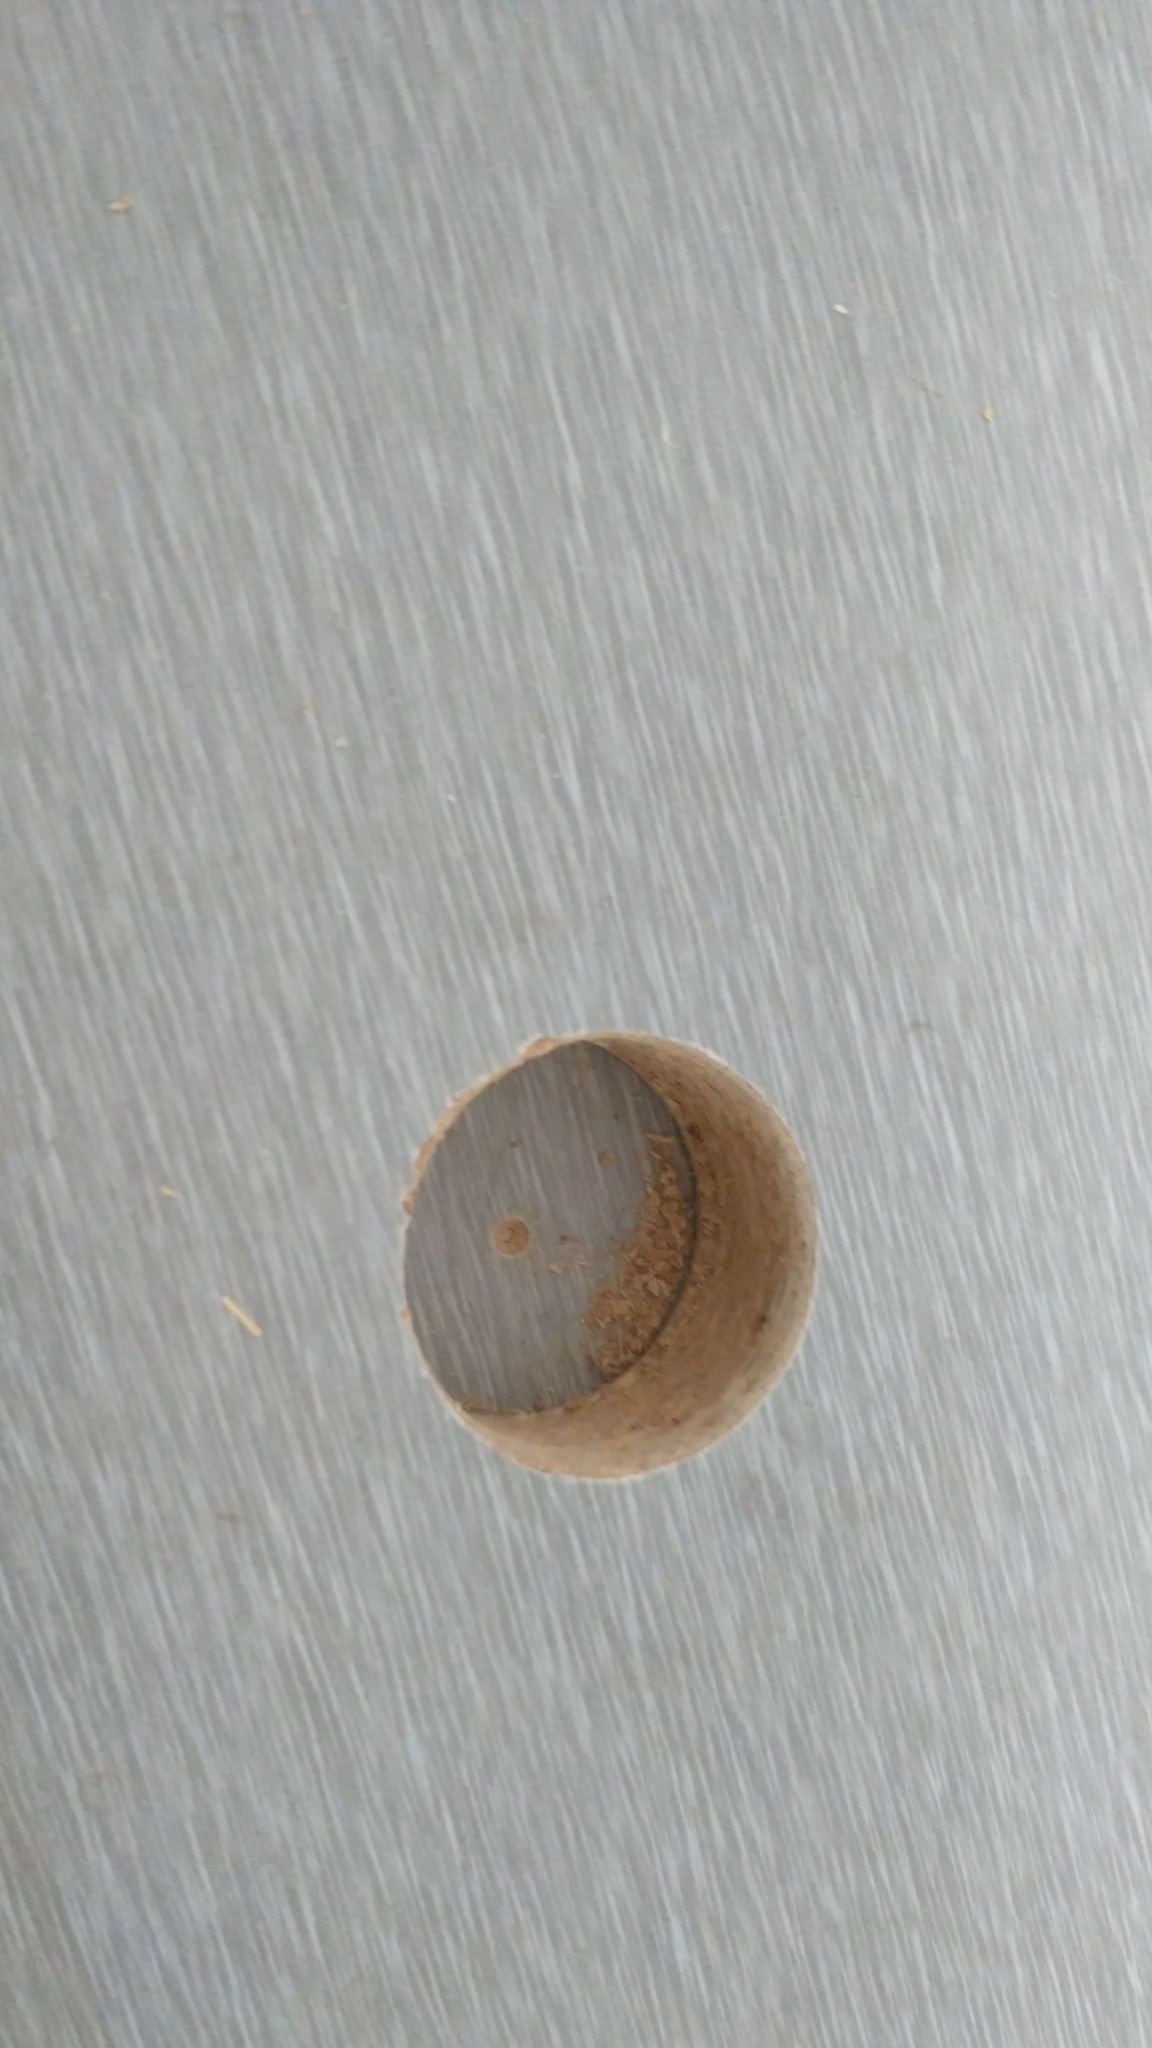
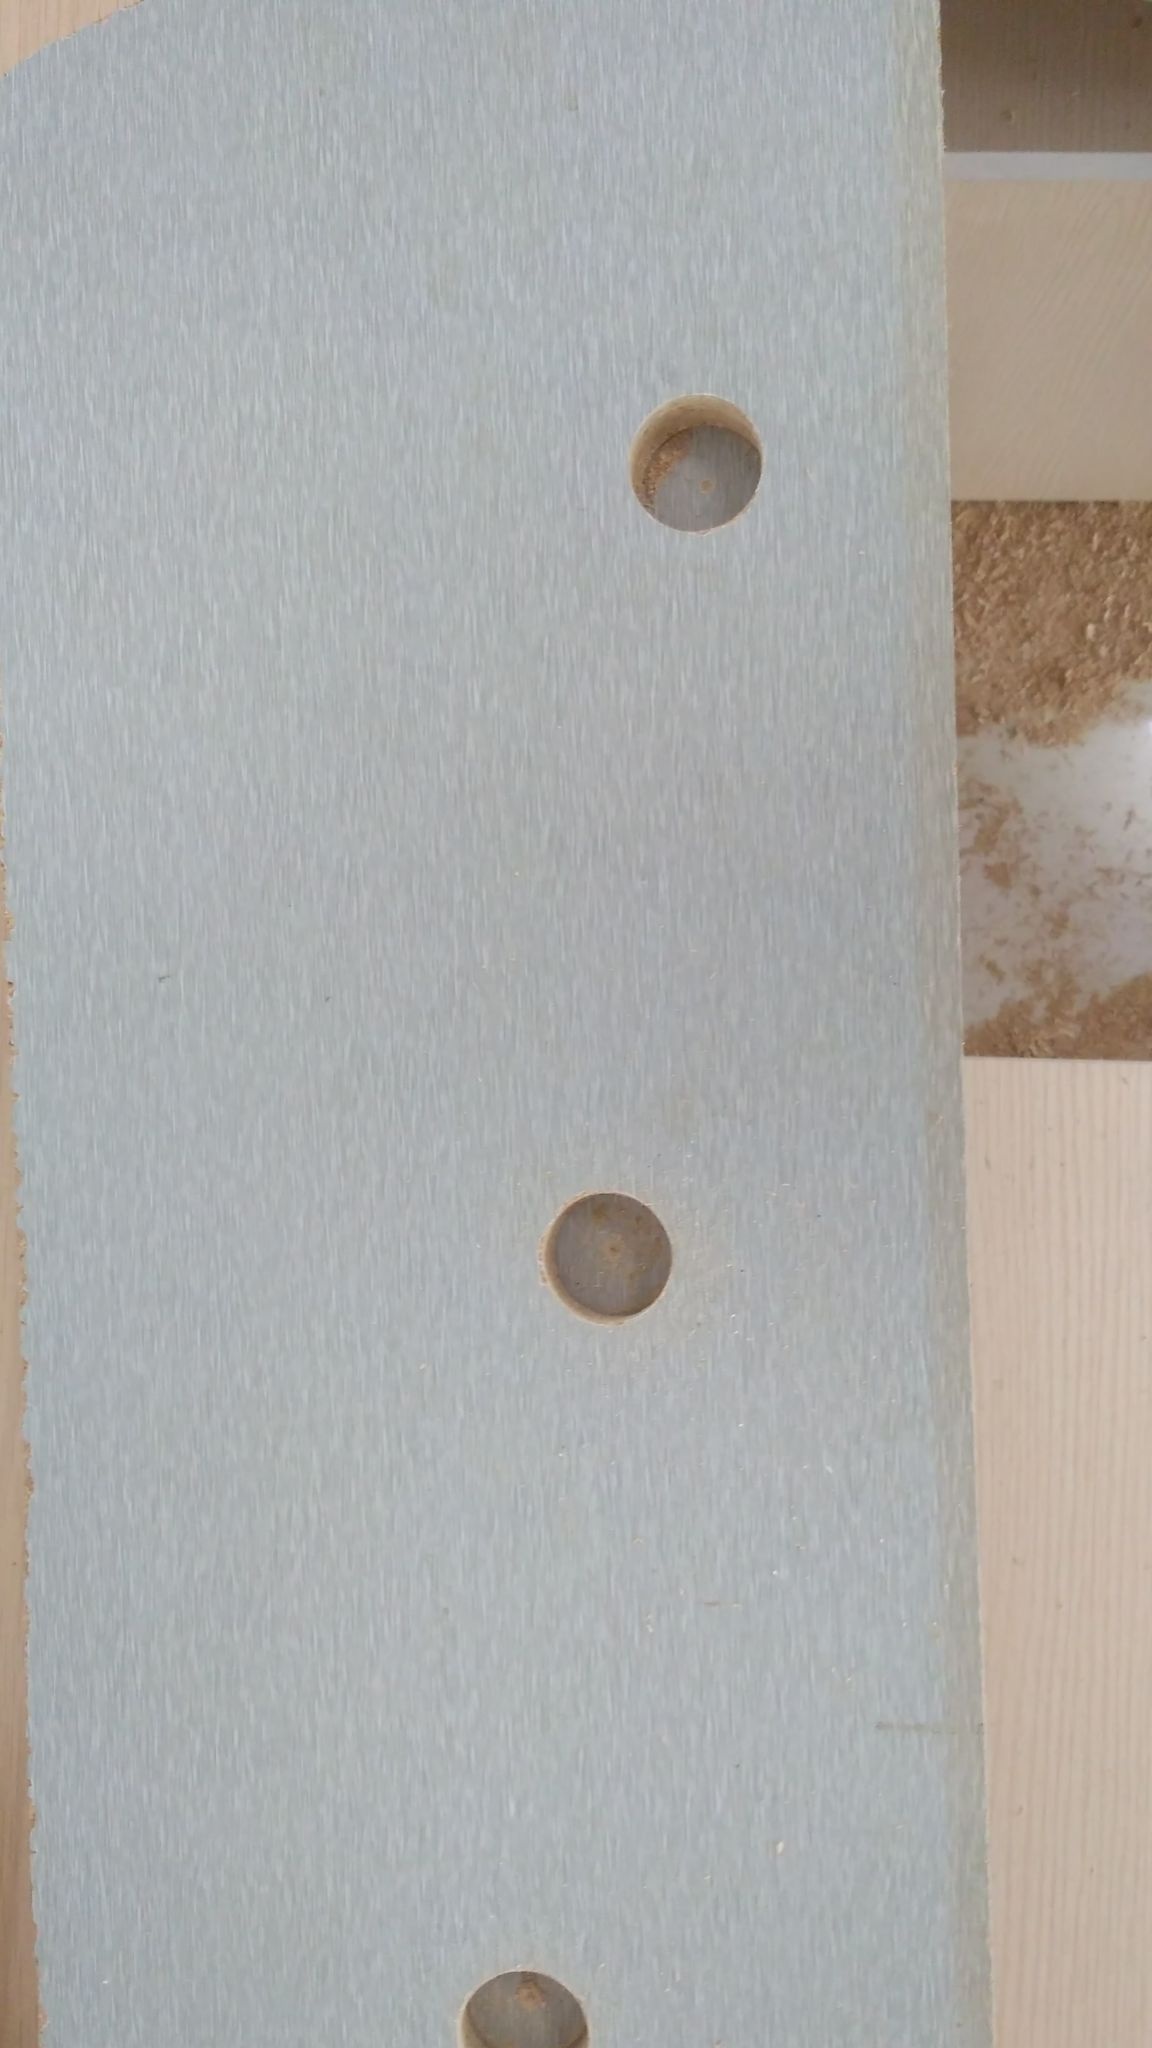
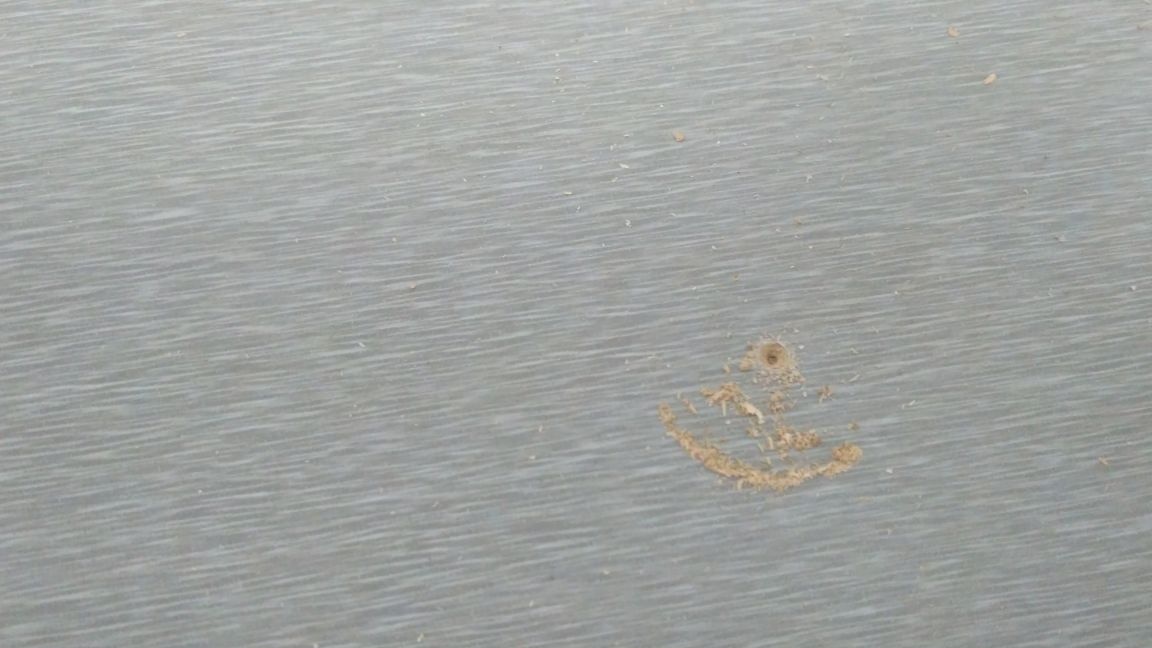
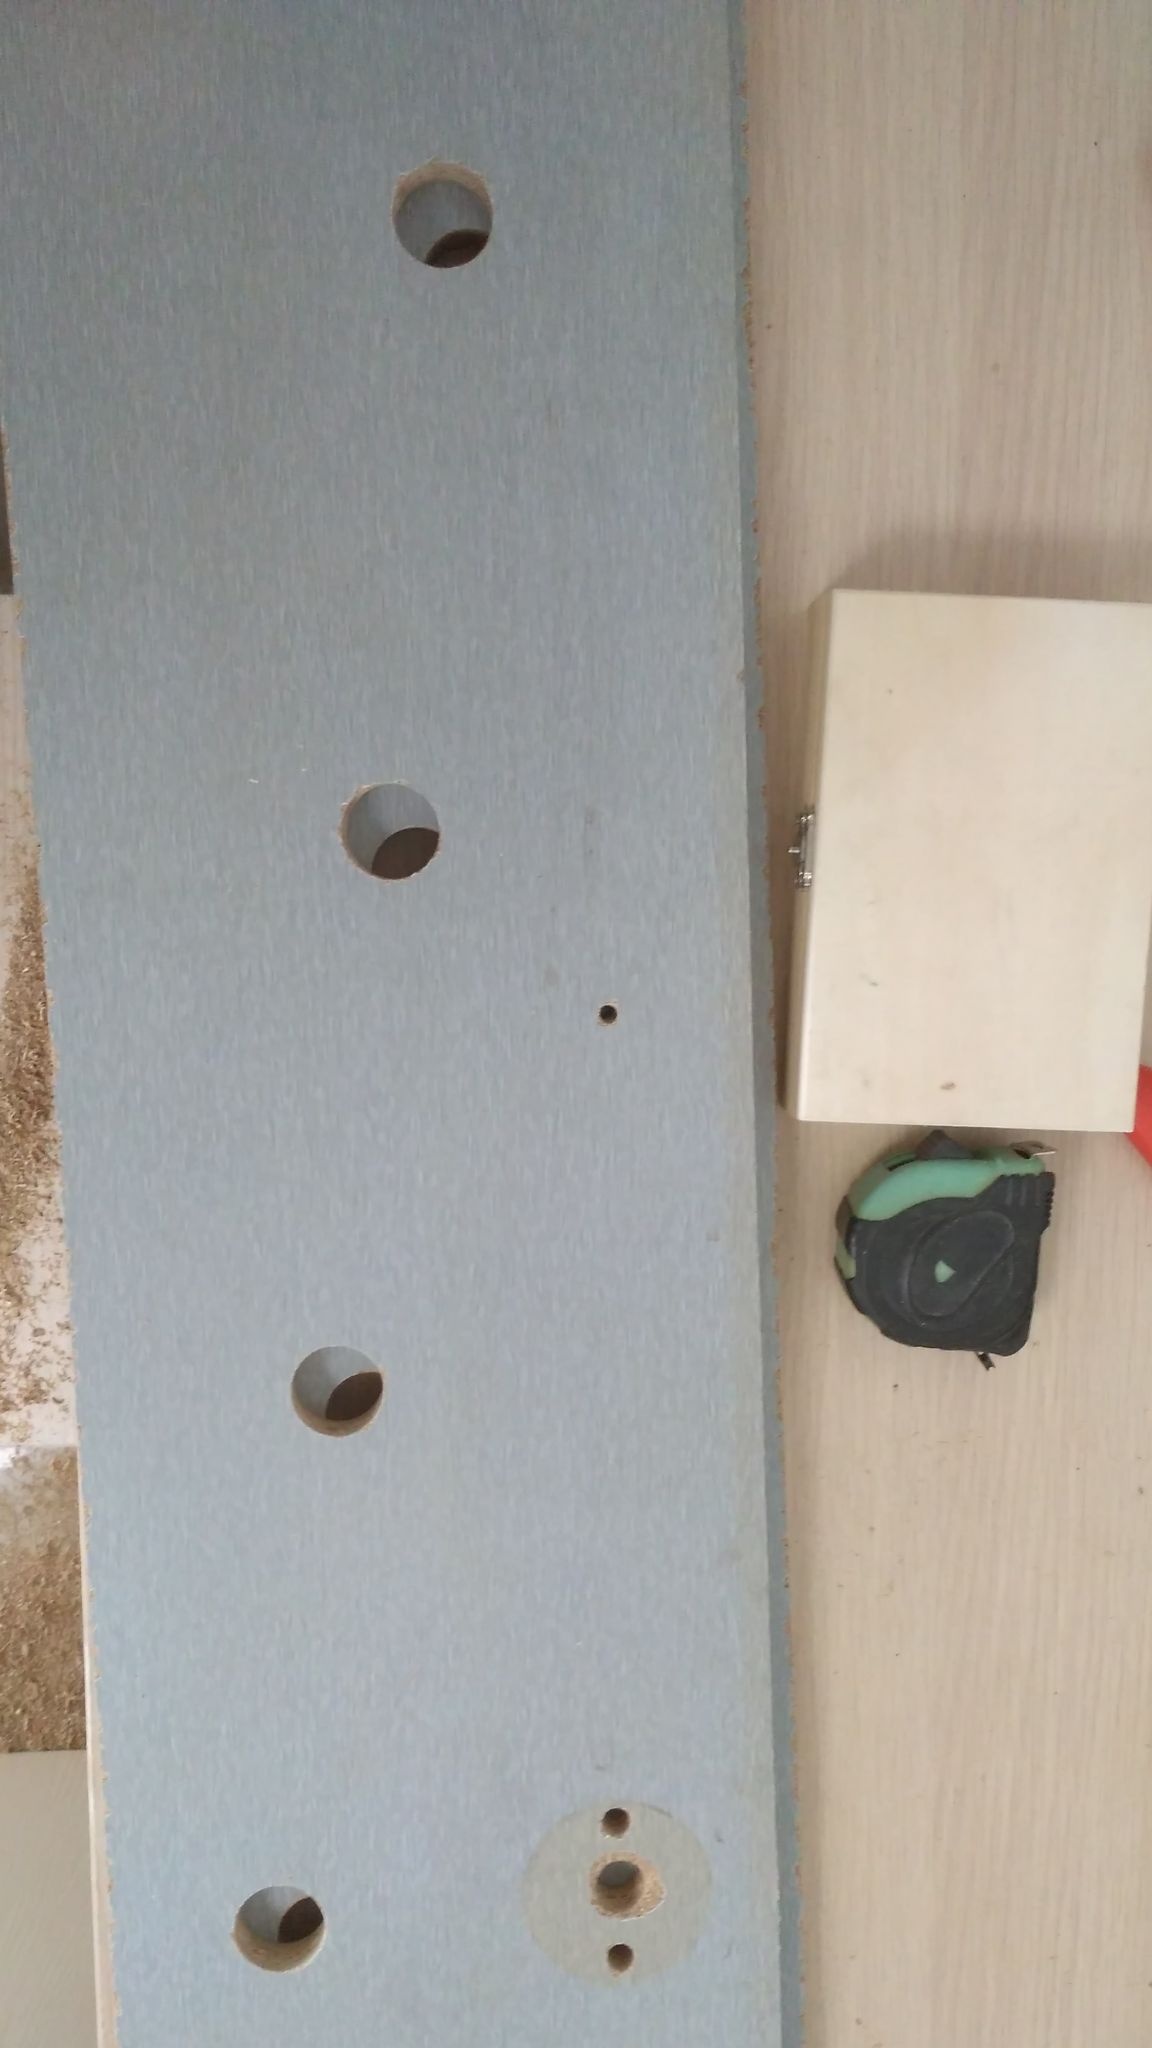
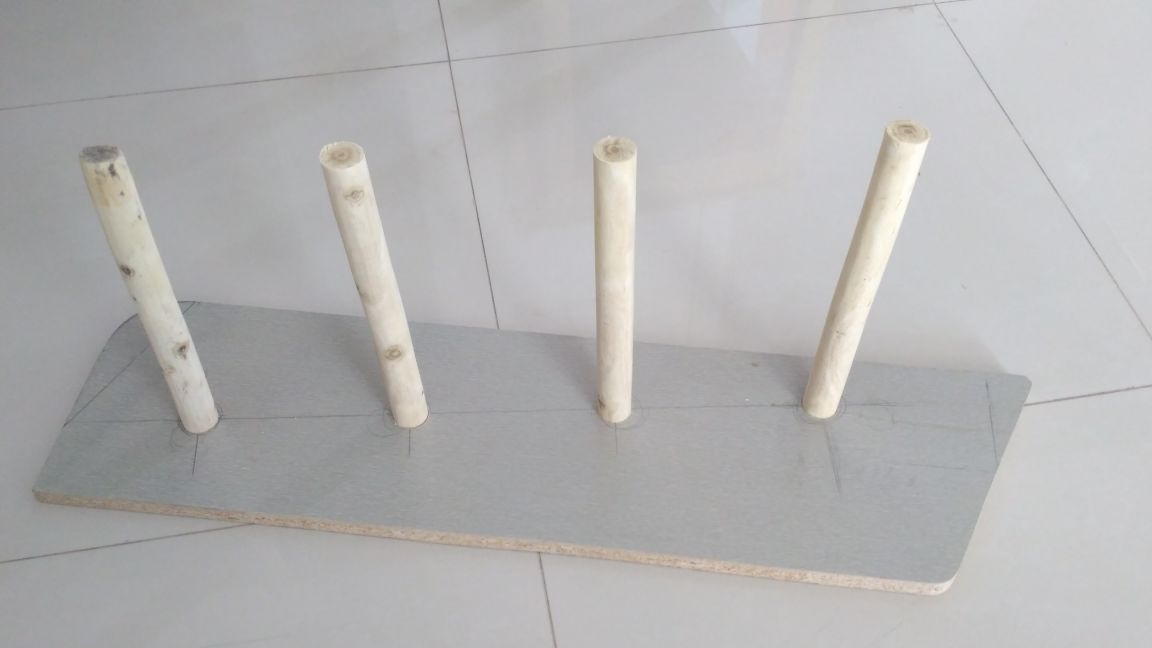
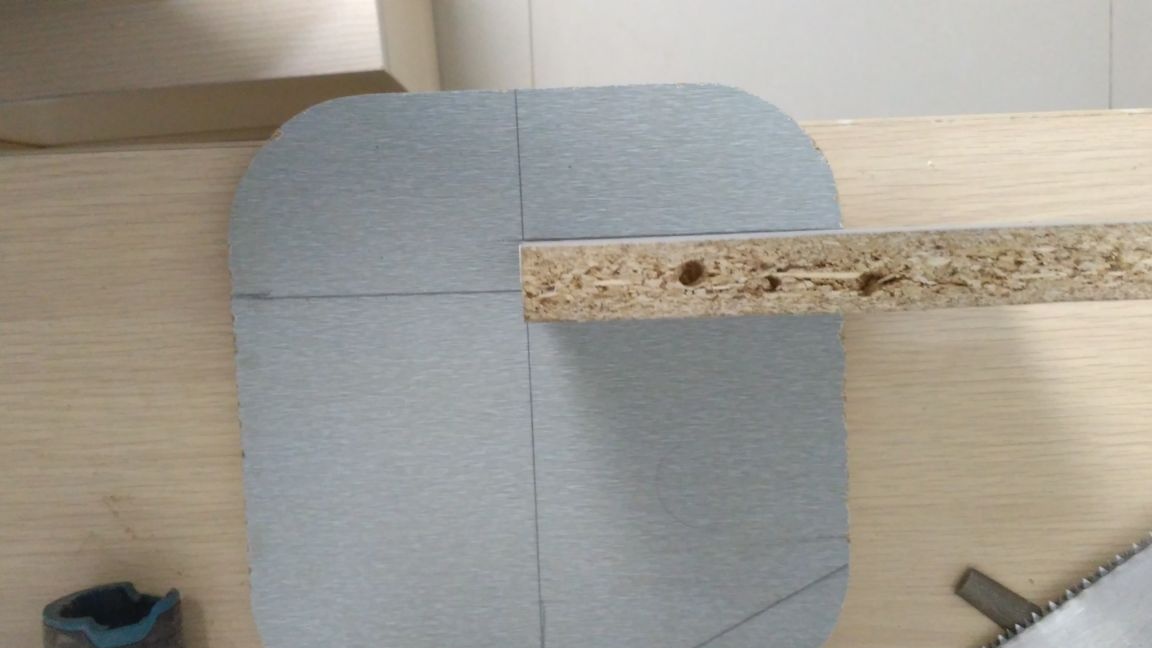
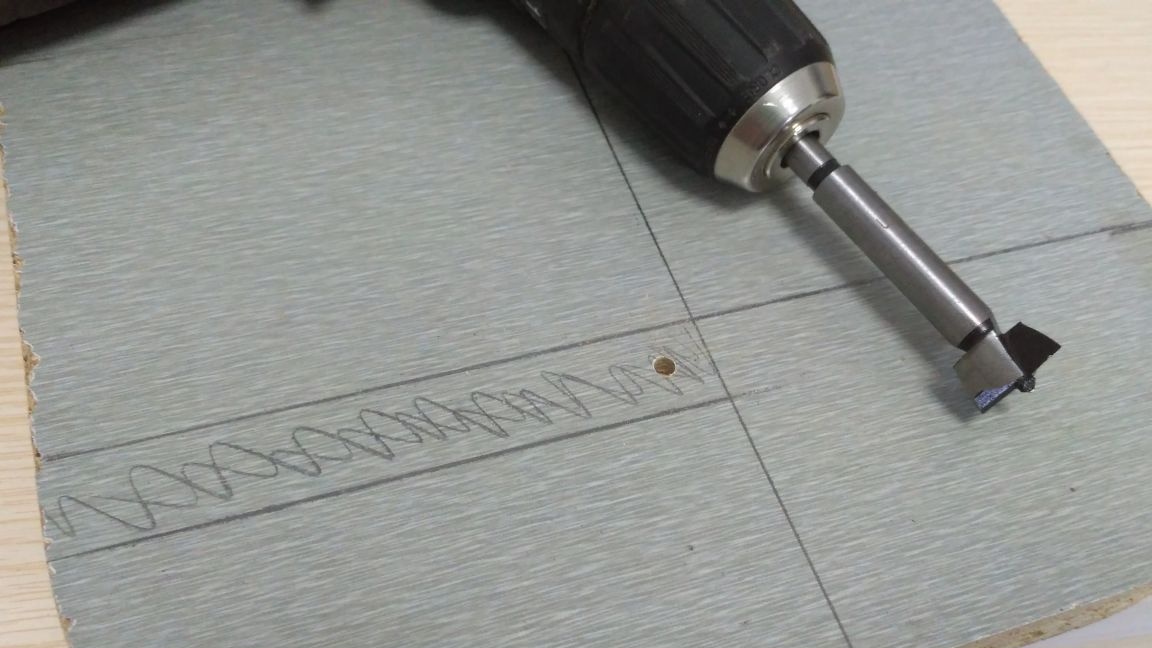
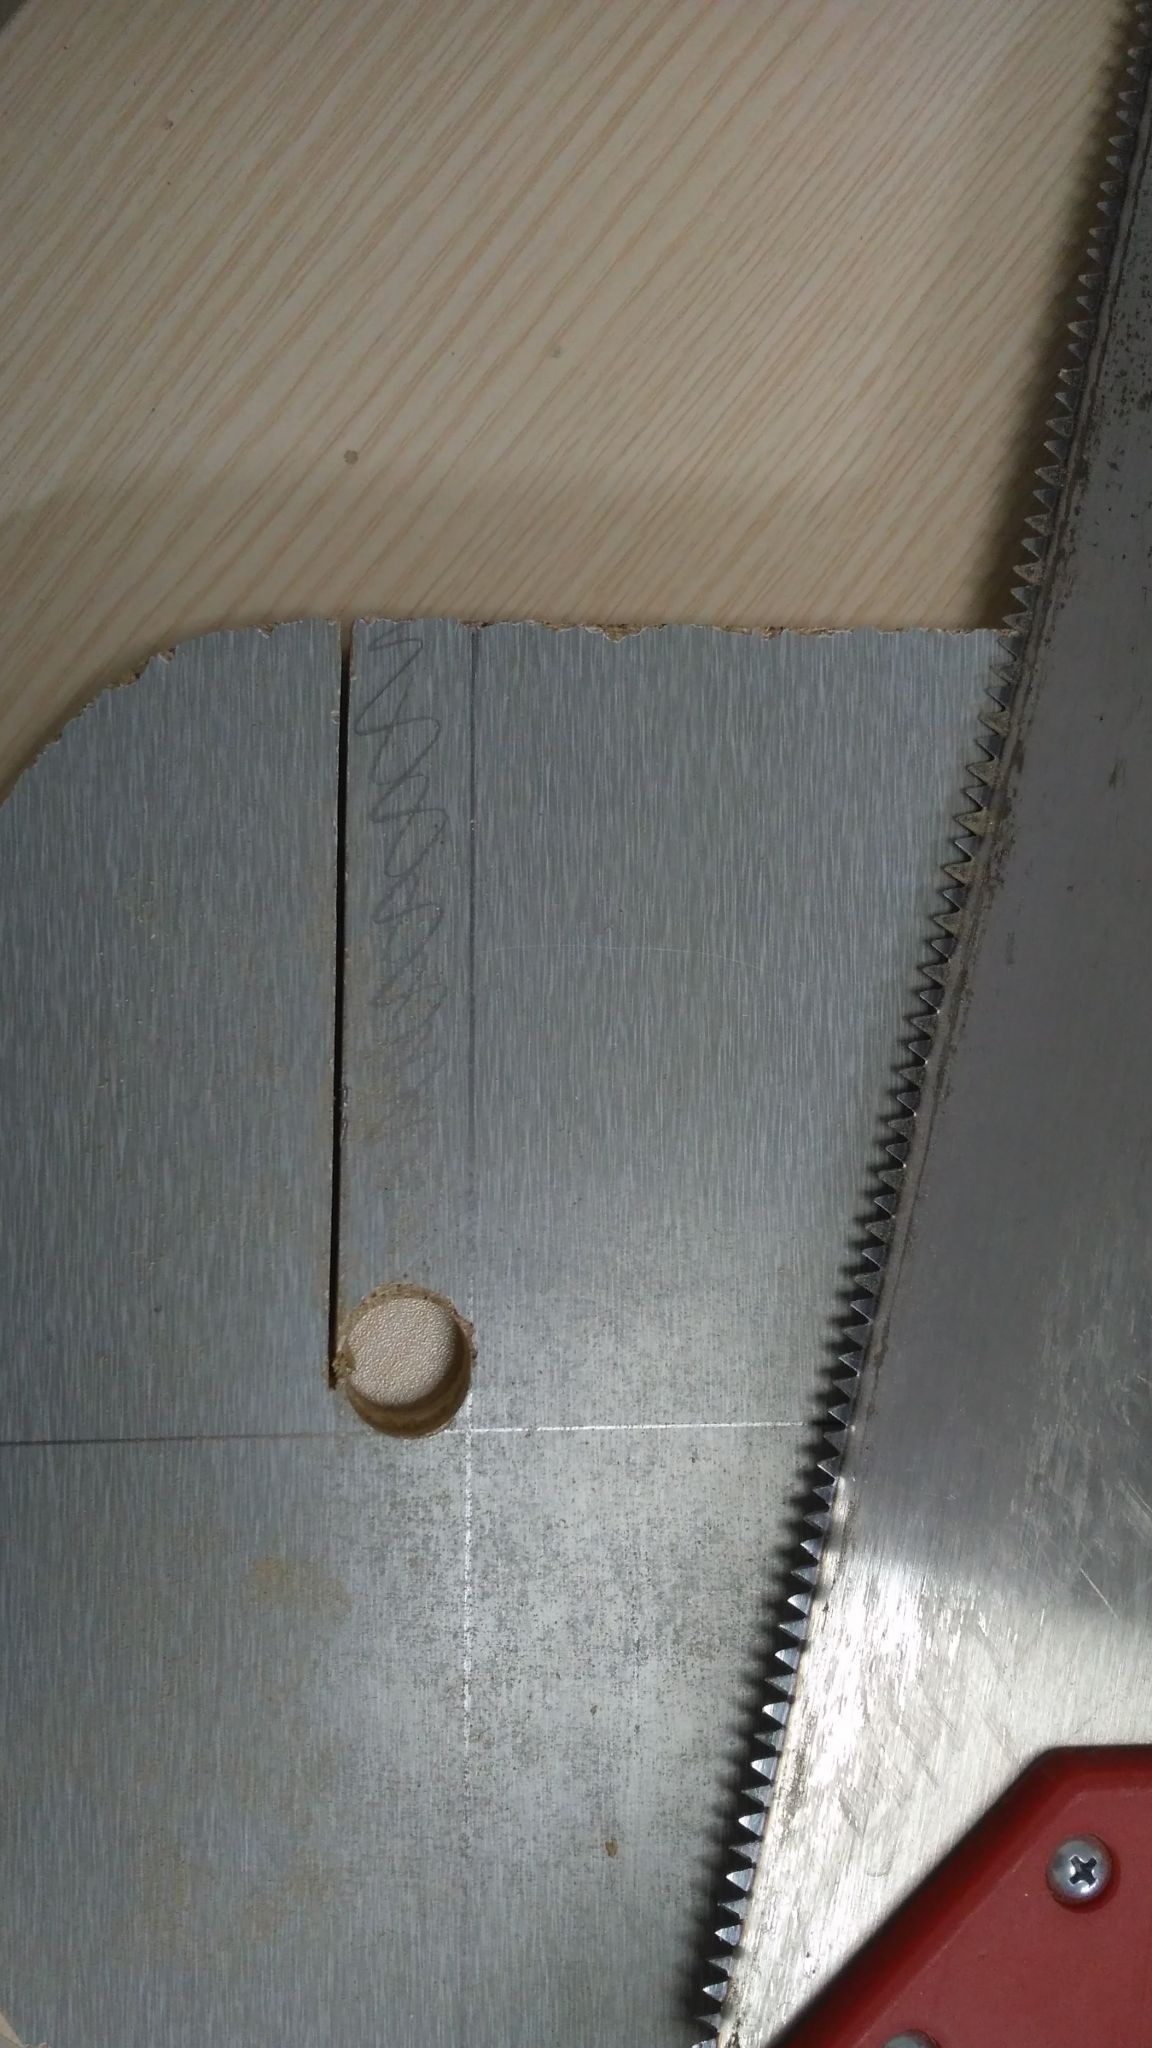
Step 3: At this stage, I picked up the diameters of the holes for Euroscrews and bolts with nuts. In the two joined surfaces they are different. I also tested the screwdriver nozzle, with the help of which the hats of screws and Euroscrews are sinking. Well, I experimented with a Forstner drill, which I made holes for stairs in a ladder. It turned out to be not so simple to work with this drill ... the first thing I did was to drill through holes with a small drill, and then I made a hole of the right diameter with a Forstner drill, but not through, but about half the thickness of the chipboard, and then turned the chipboard back and forth hand made a second, oncoming hole. If you drill right through, then on the inside of the chipboard you get an extremely unpretentious outlet.
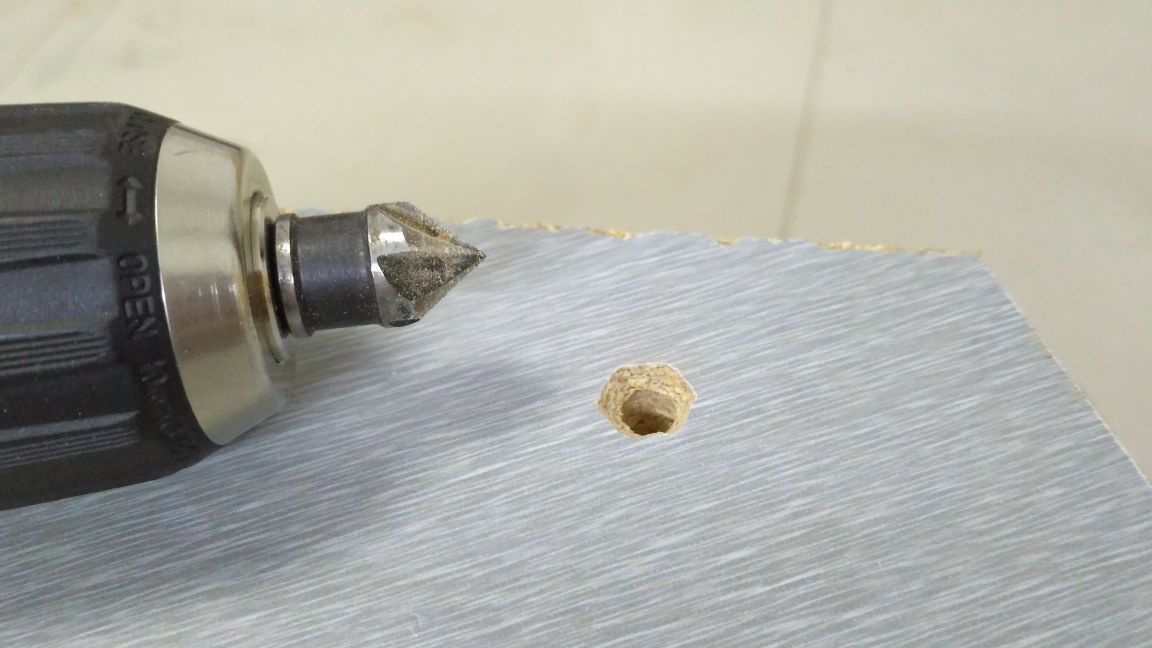

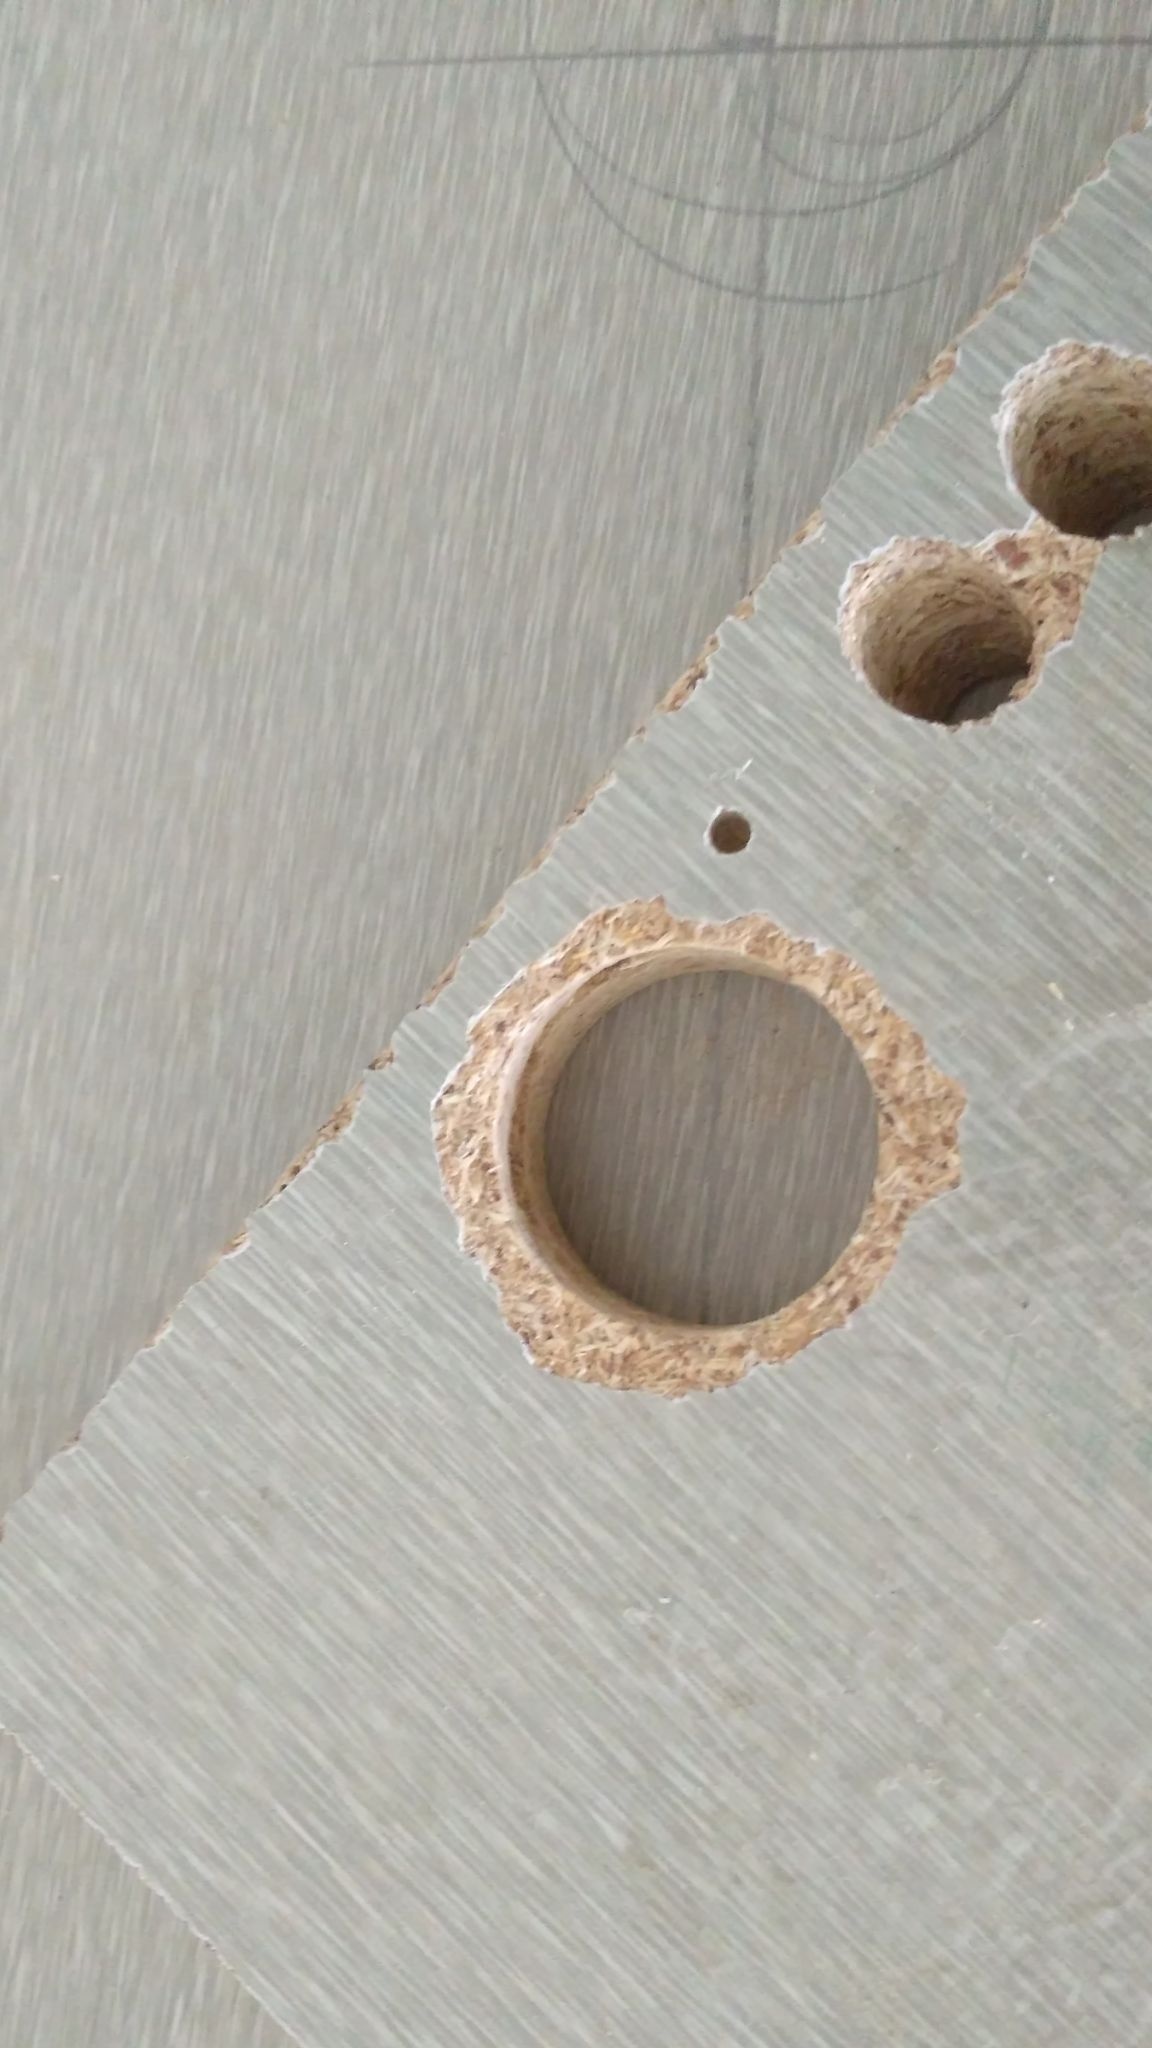
In general, the holes for the steps should not have been drilled through, and the steps should not be inserted into the hole but into the recess in the chipboard. It would have turned out even prettier. And then it turned out that the Forstner drill is not intended at all for through holes)))
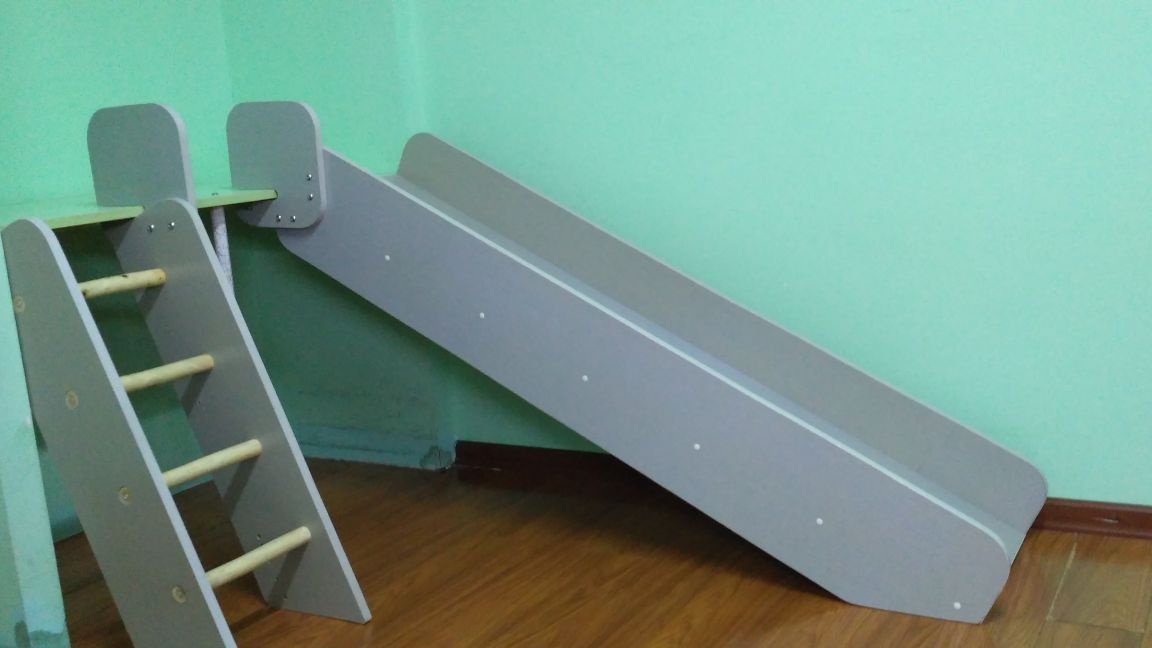
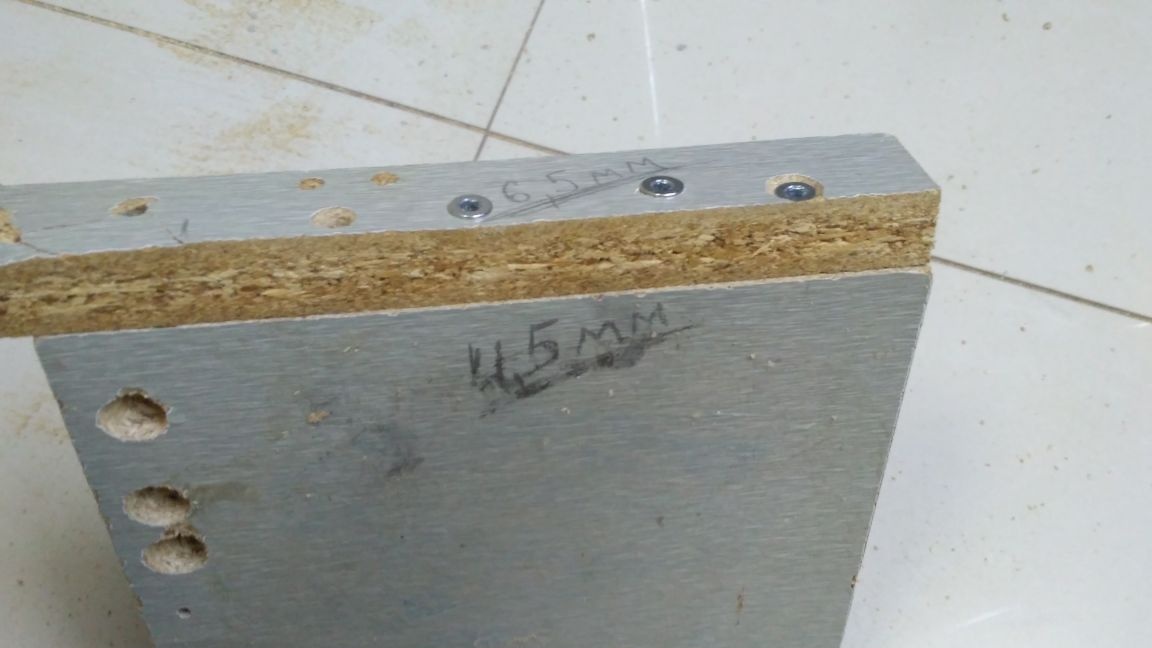
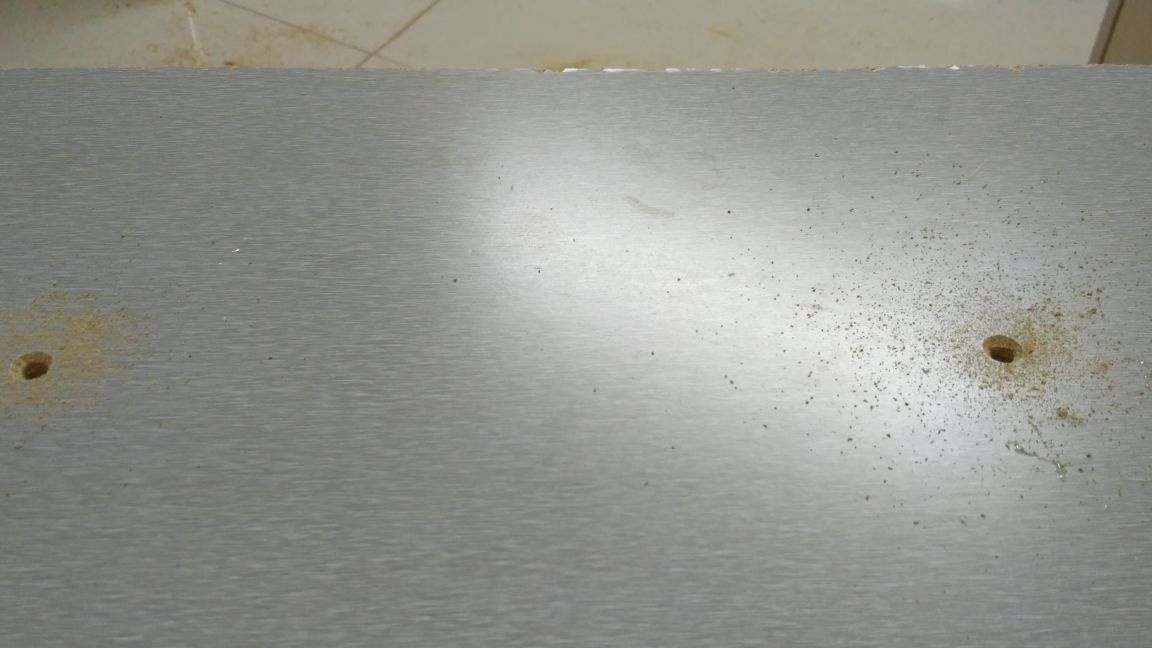
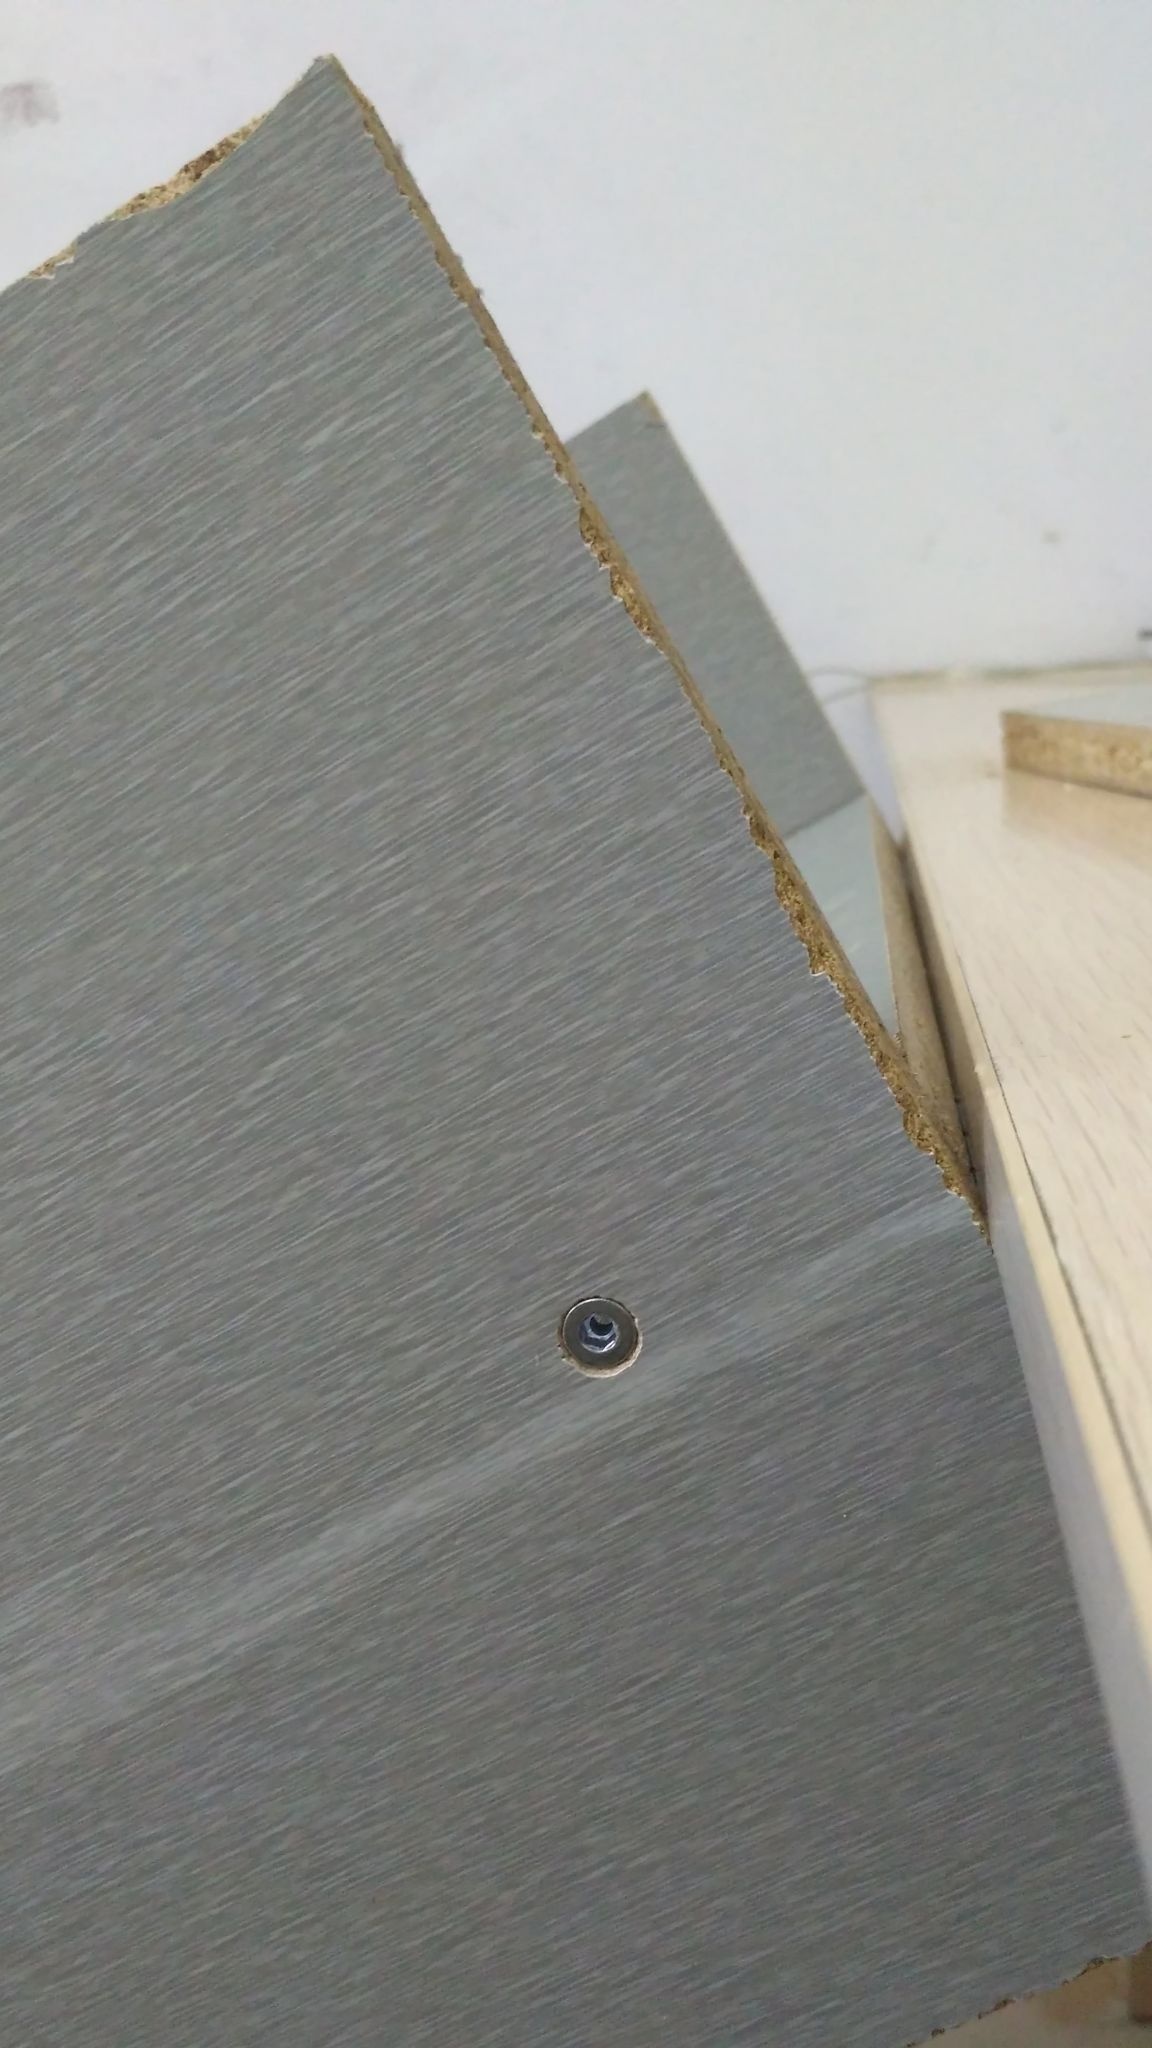
Step 4: We drill holes for Euroscrews and collect the groove of the slide. In the front plane, the diameter of the hole is 6.5 mm, and in the inner 4.5.mm.
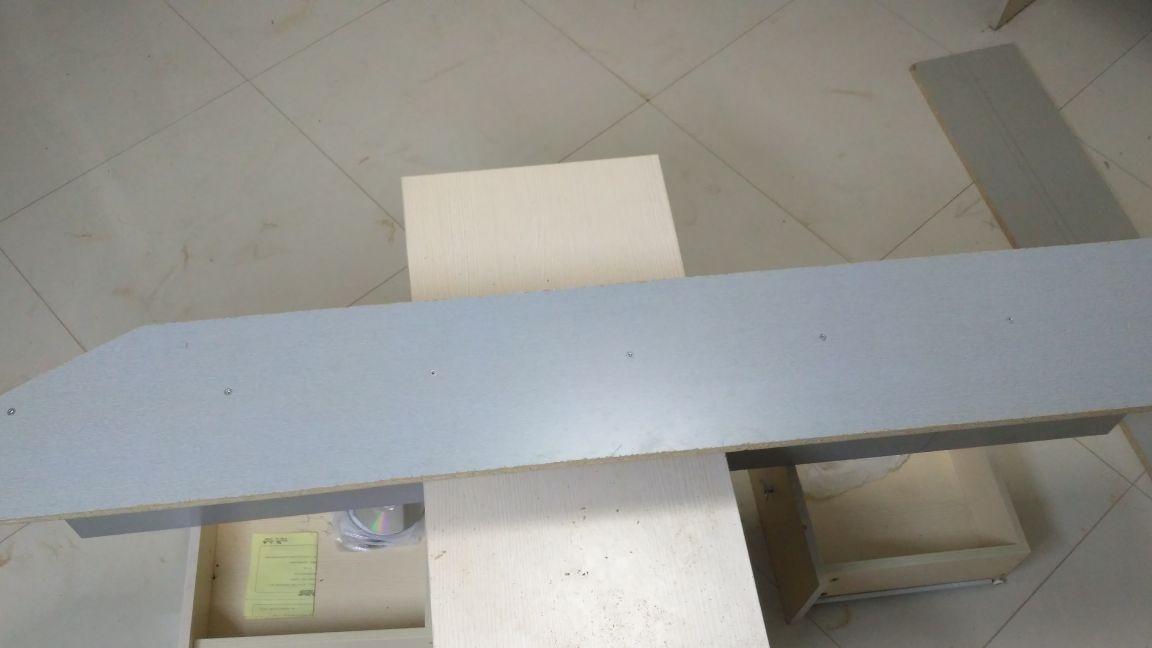
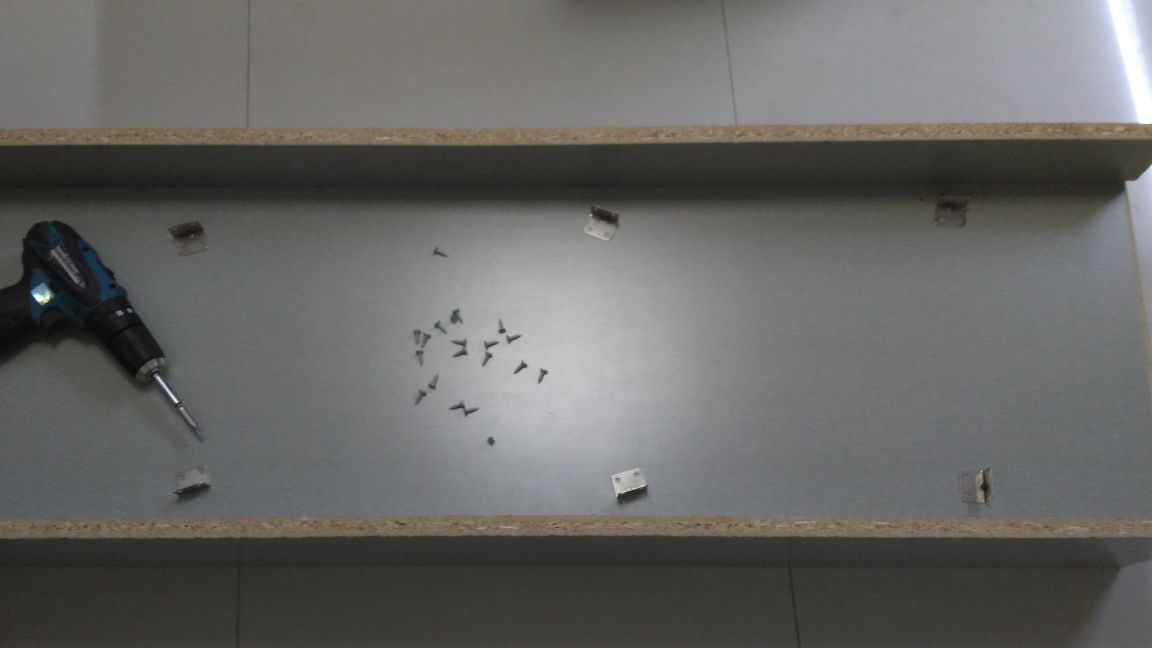
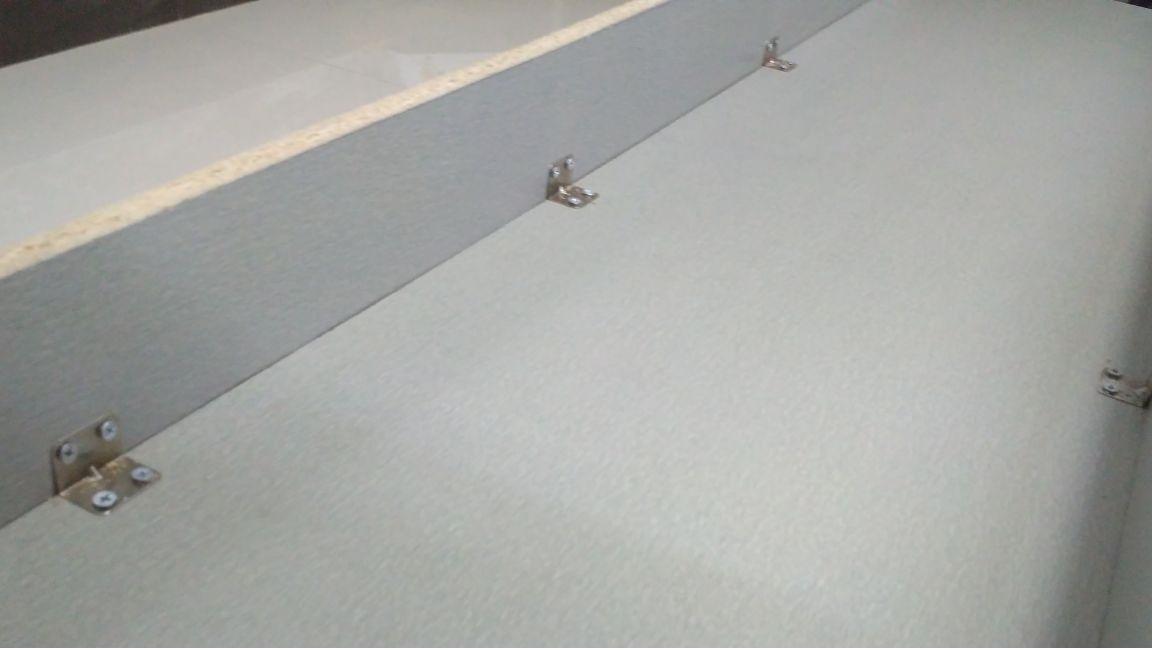
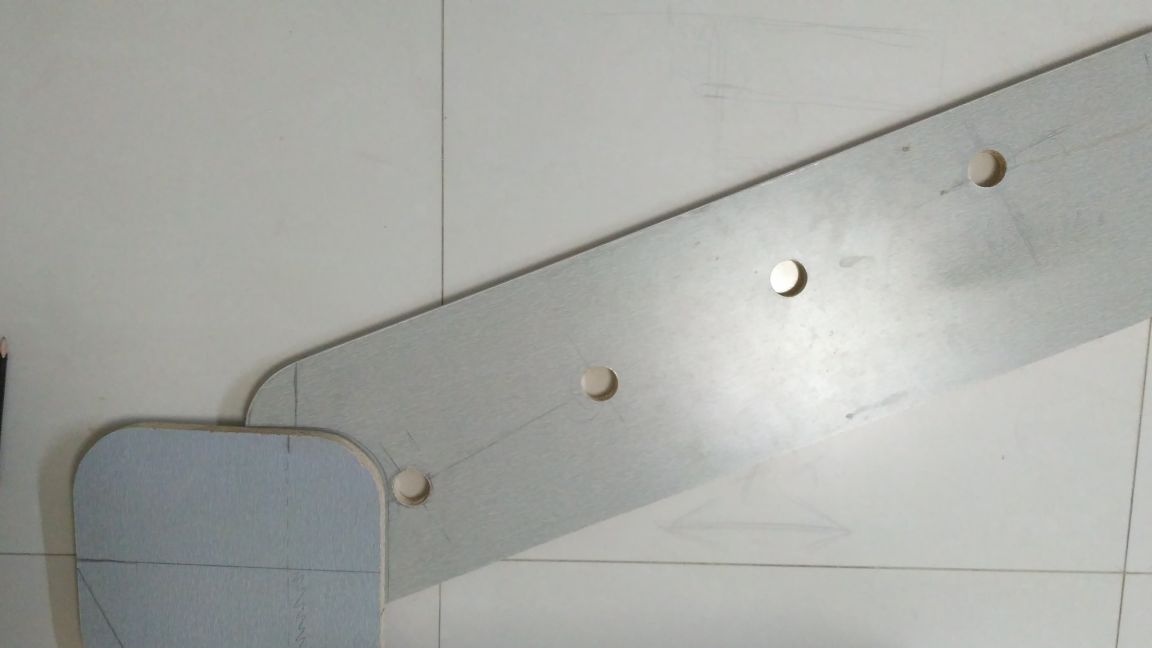
In the lower part, for reliability, I reinforced the structure with steel corners every 35 cm. Perhaps the corners are even superfluous, but I decided to play it safe, nevertheless, in child structures, as in aviation, reliability should be two to three times higher than calculated, and security systems should duplicated. Better, as they say, to overdo it than to overdo it.

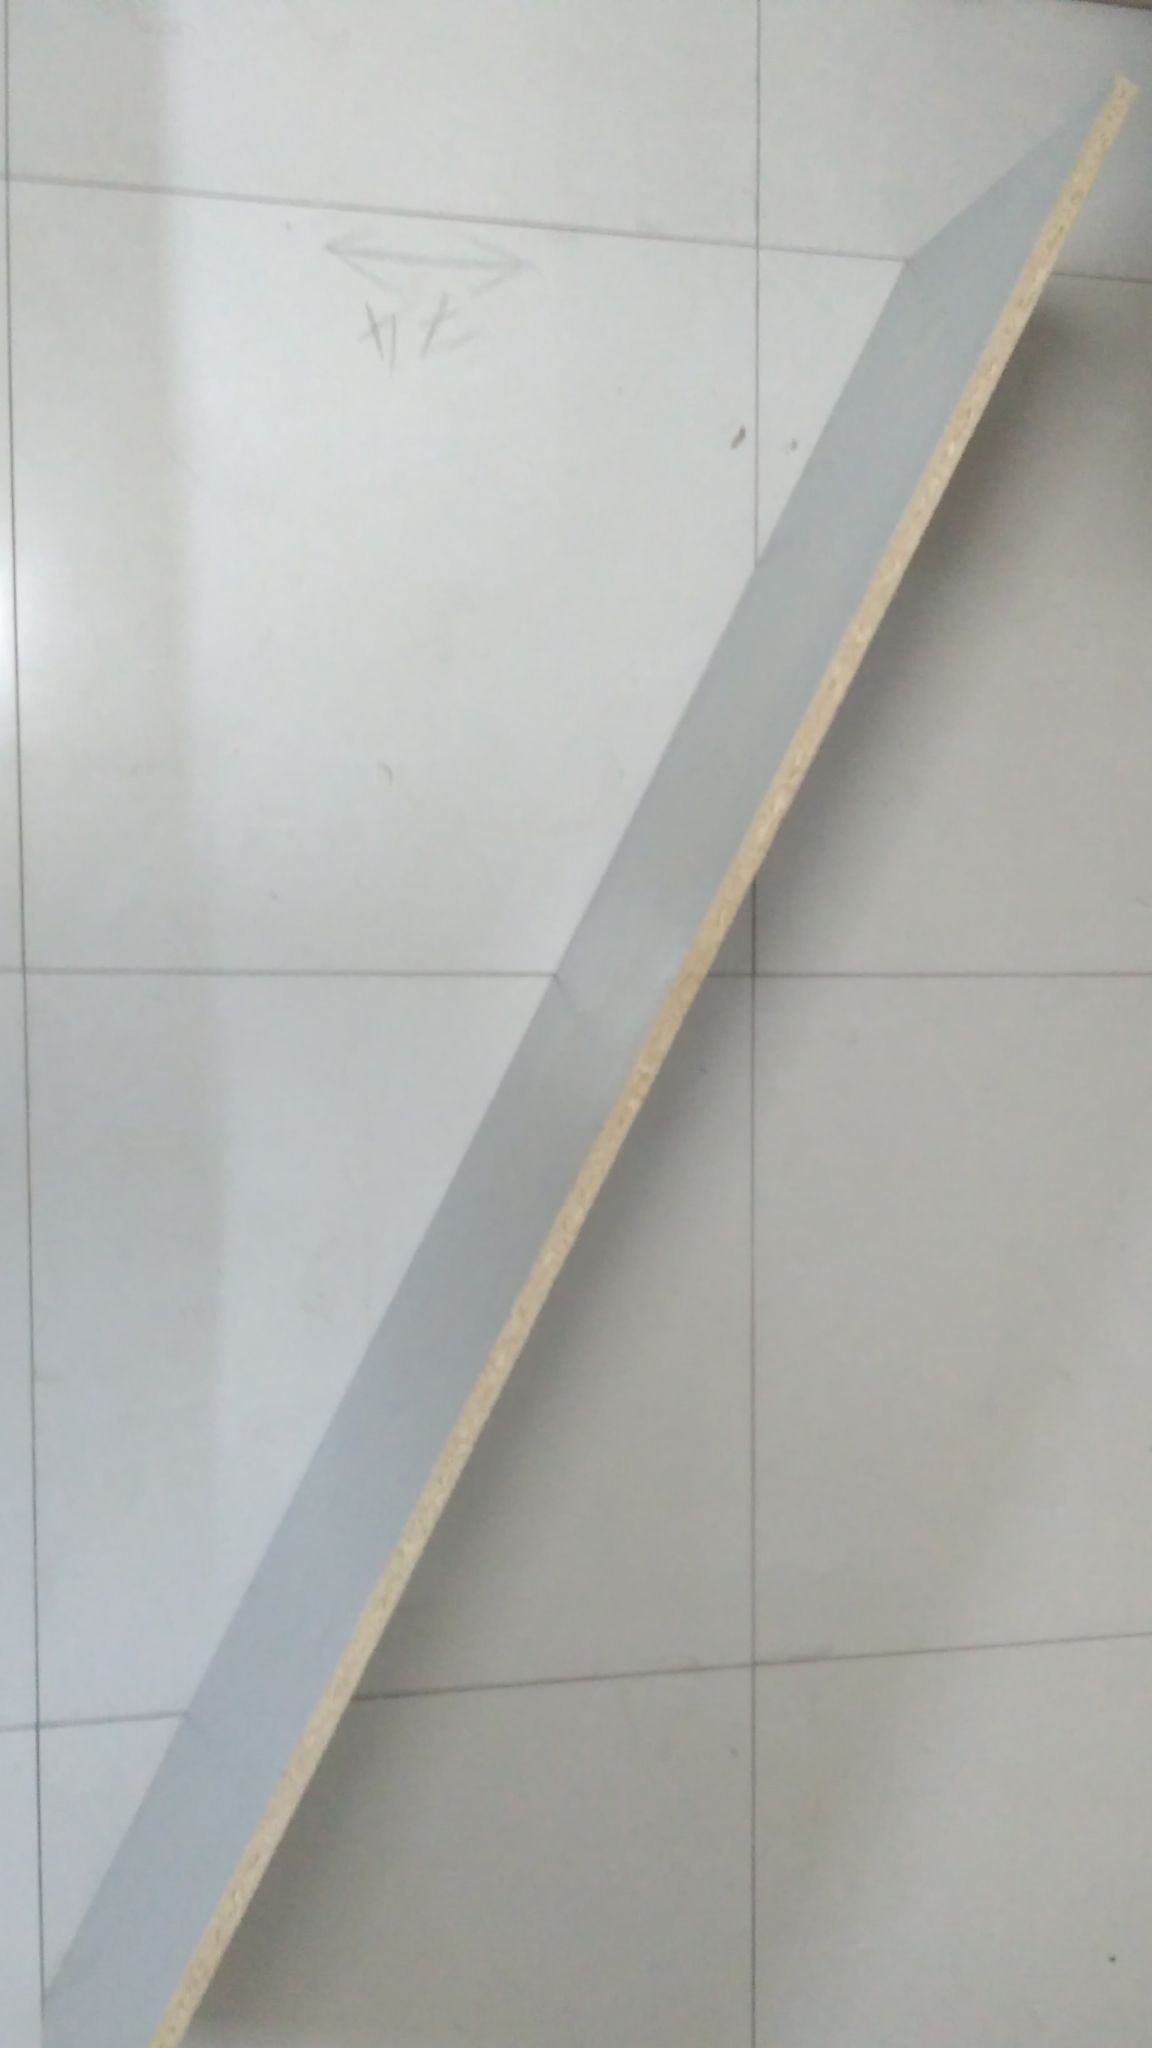
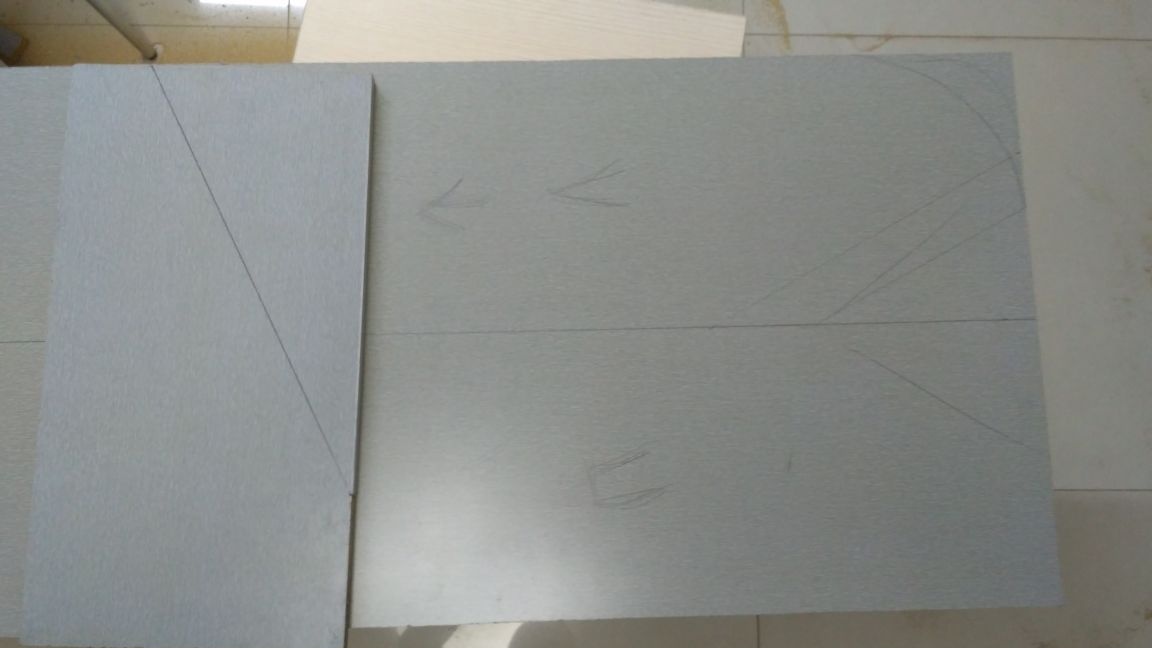
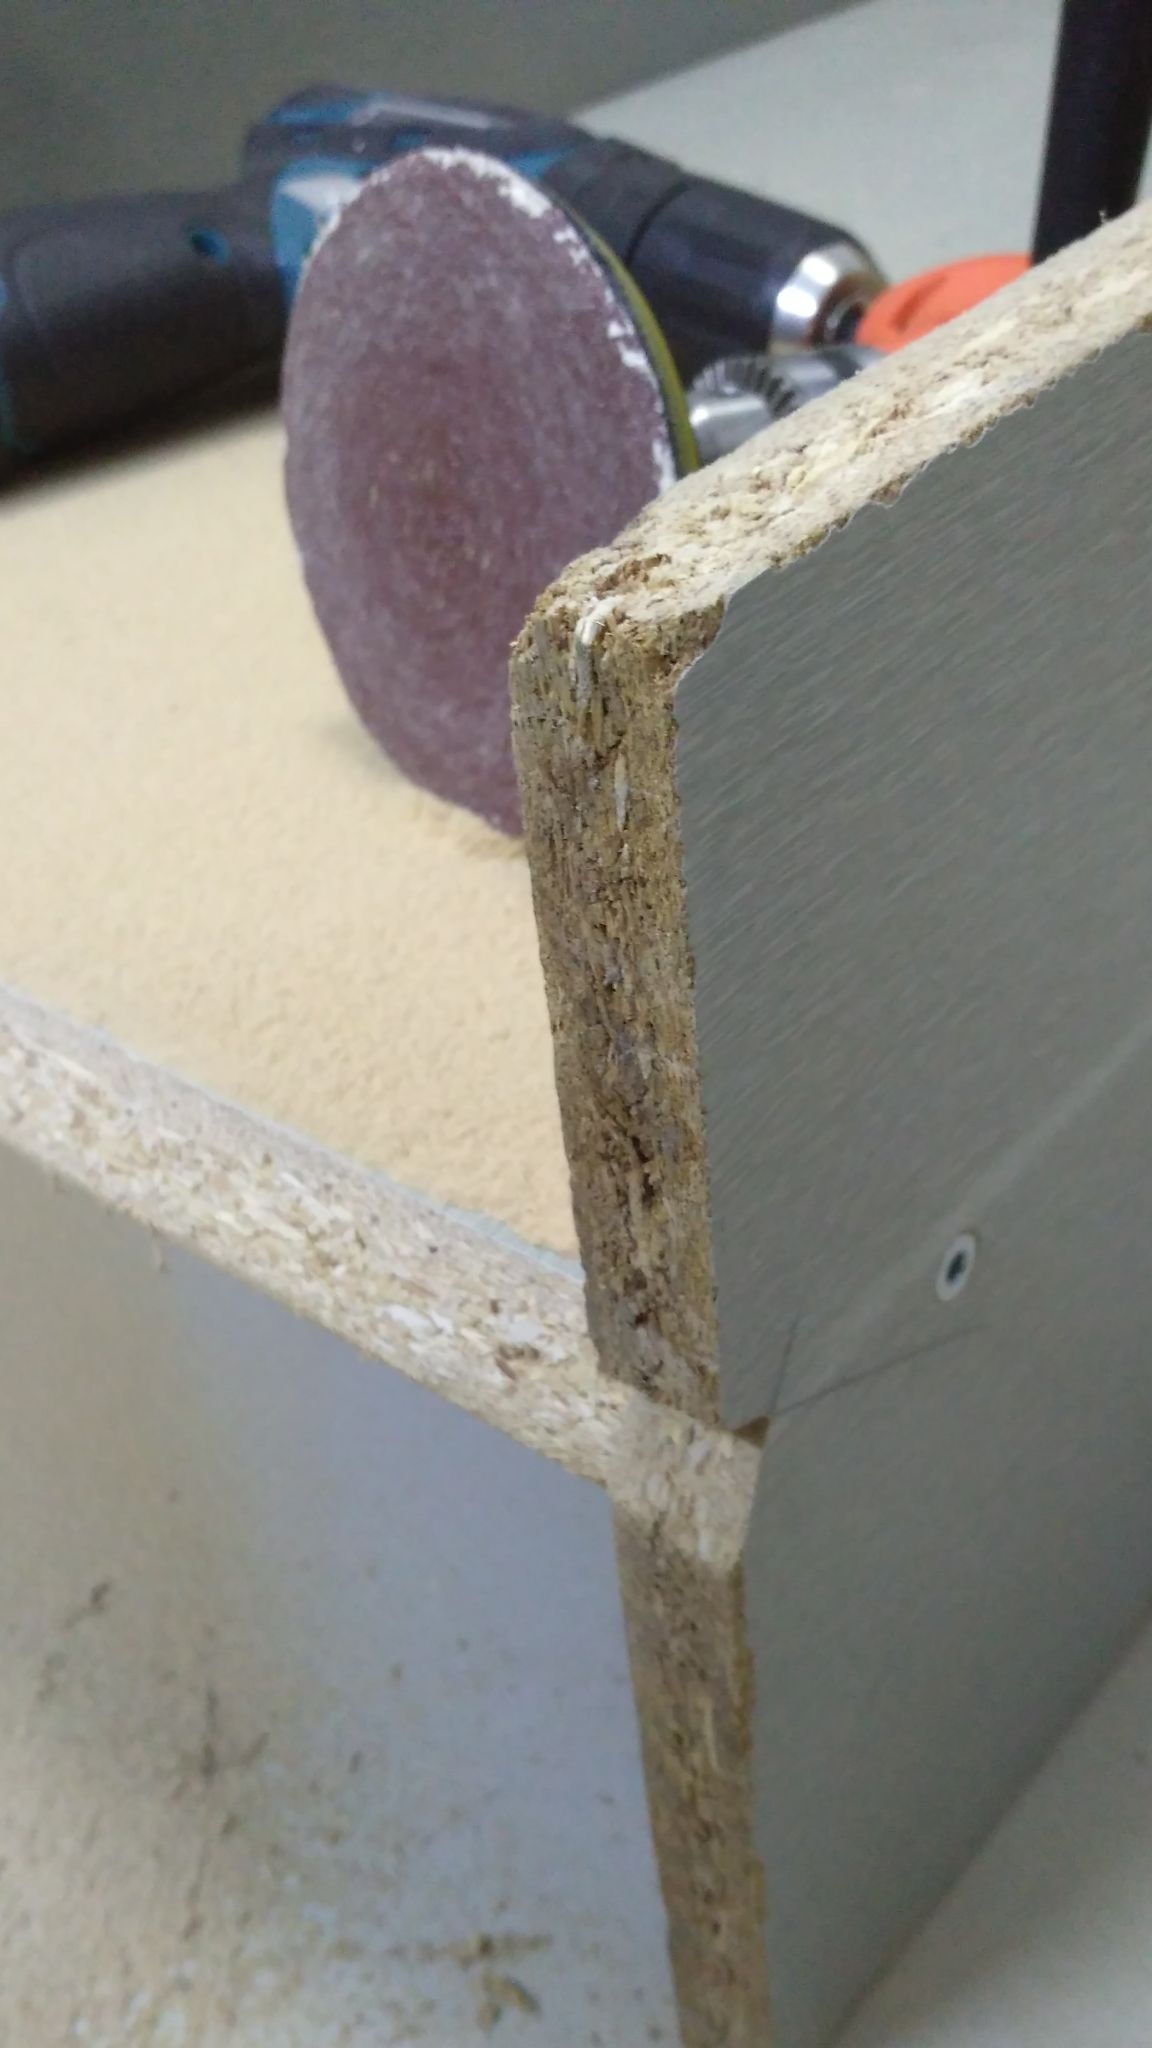
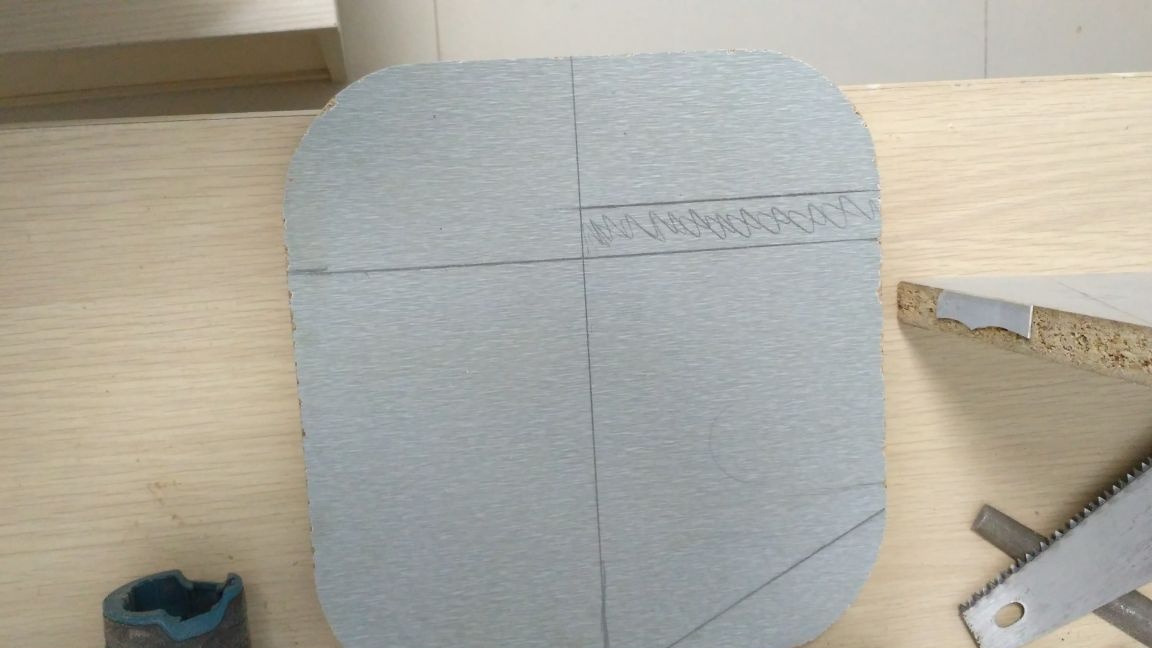
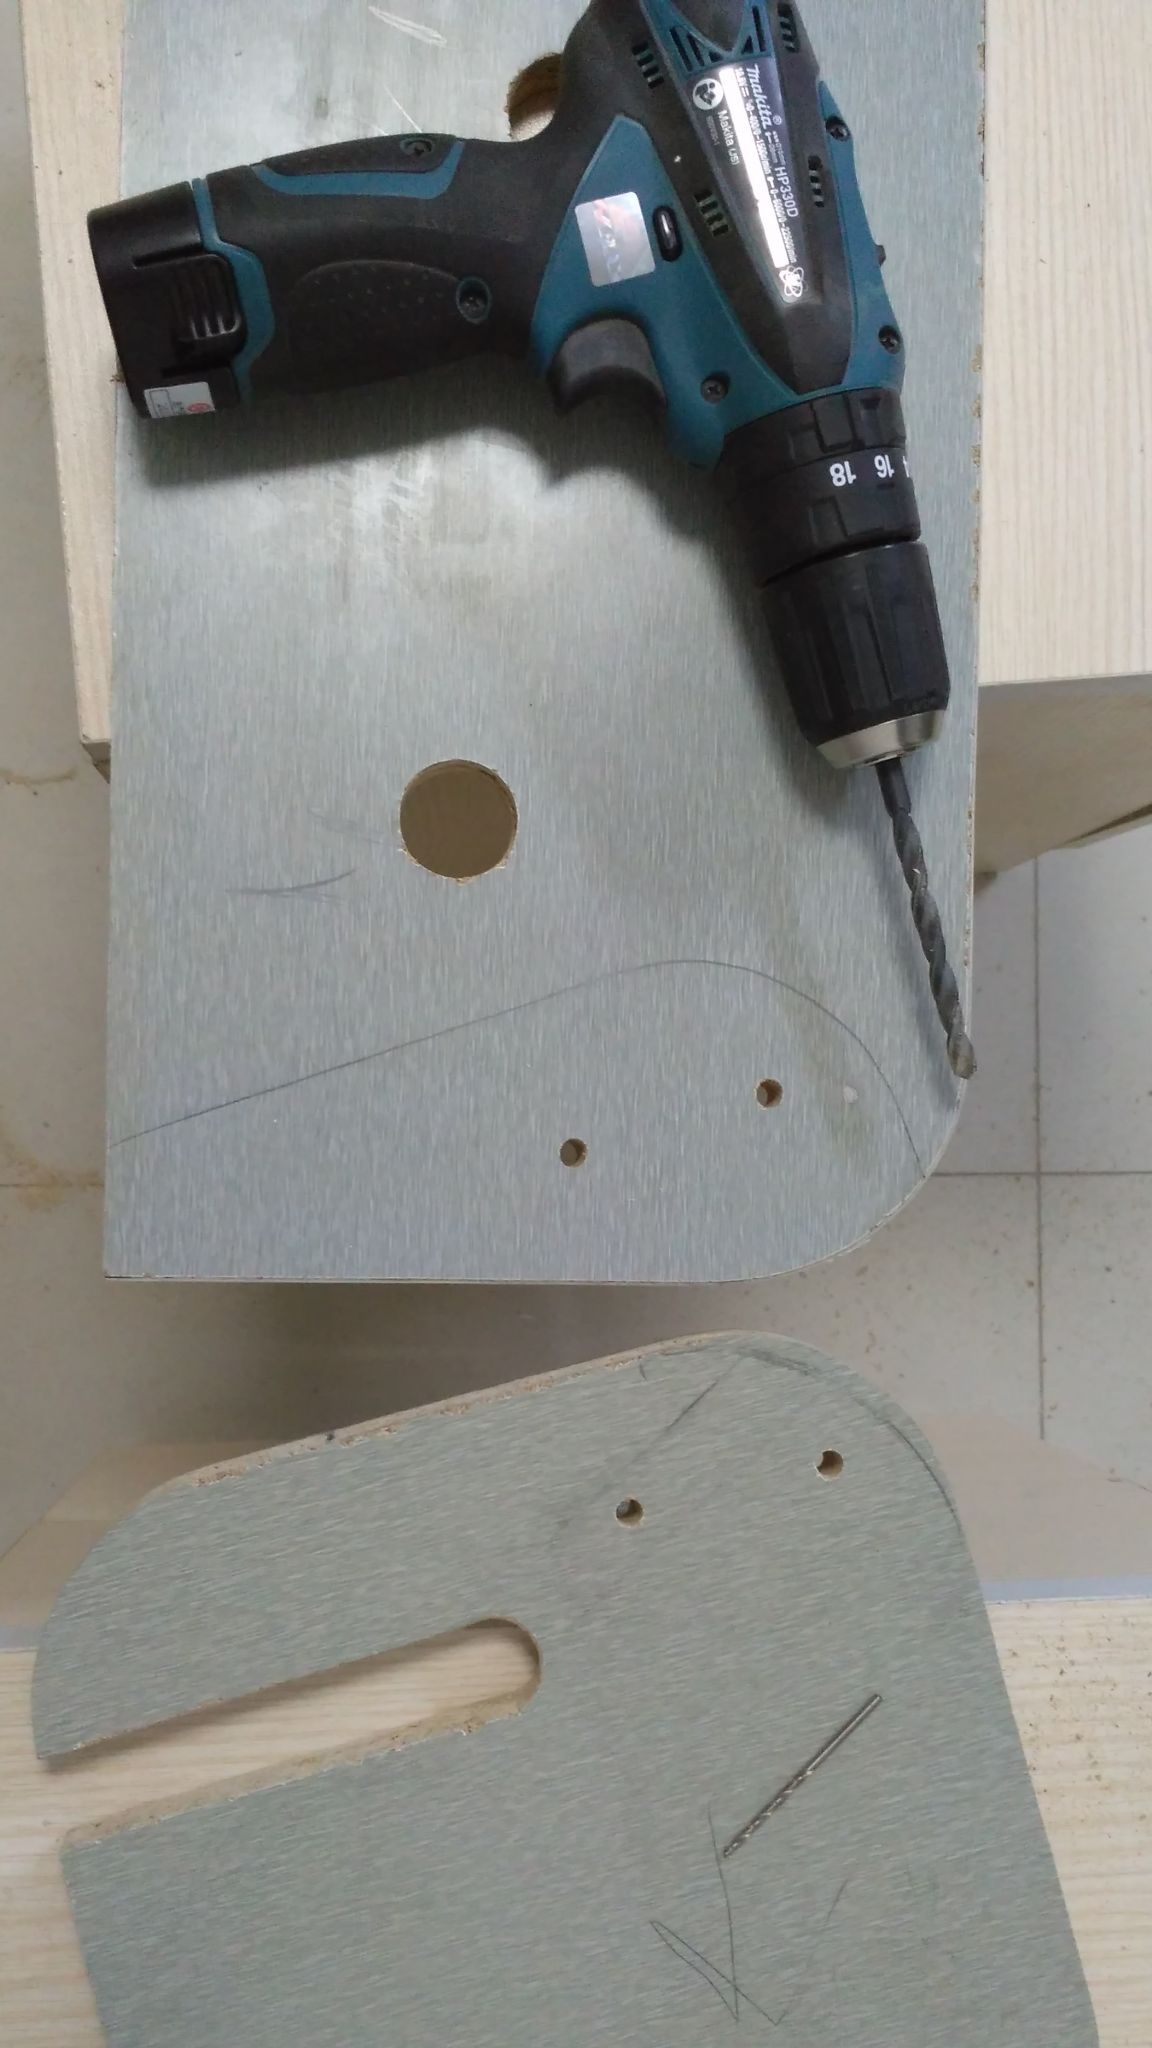
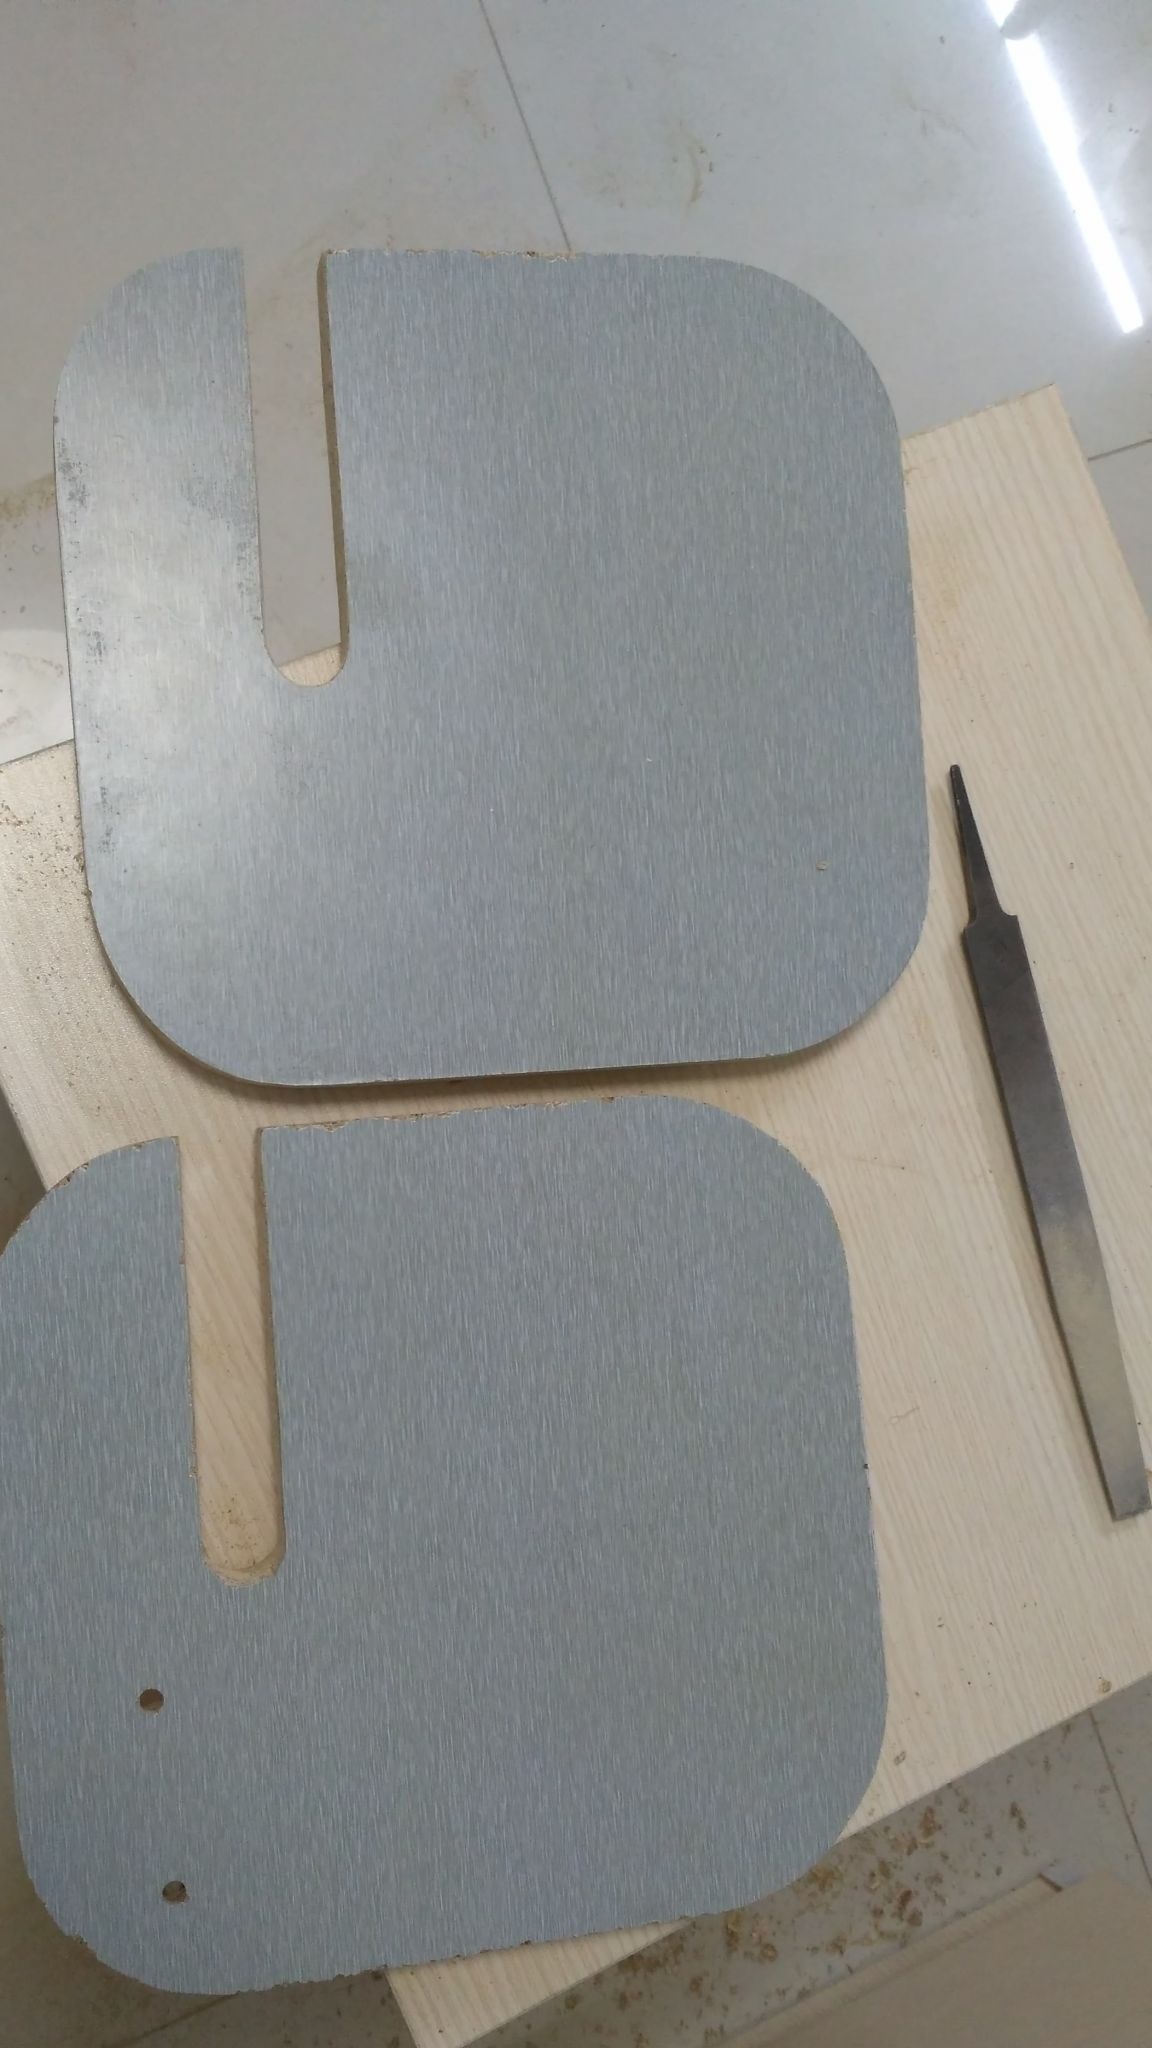
Step 5: Now round off all the corners, grind the irregularities and glue the plastic tape on the ends. At first I used a rubber band with spacers on the plane, but this turned out to be inconvenient, since the child's hands should slide along the sides when he rolls, and the rubber has too good grip.
The easiest way to round off corners is with an electric jigsaw, but for lack of such a screwdriver helped me again. First, I measured 7 cm from the corners in each direction and drew a smooth curve with a pencil. Then he sawed off the corners with a hacksaw, and finished off the rest with a screwdriver with a grinding nozzle. Used a large sandpaper P40.
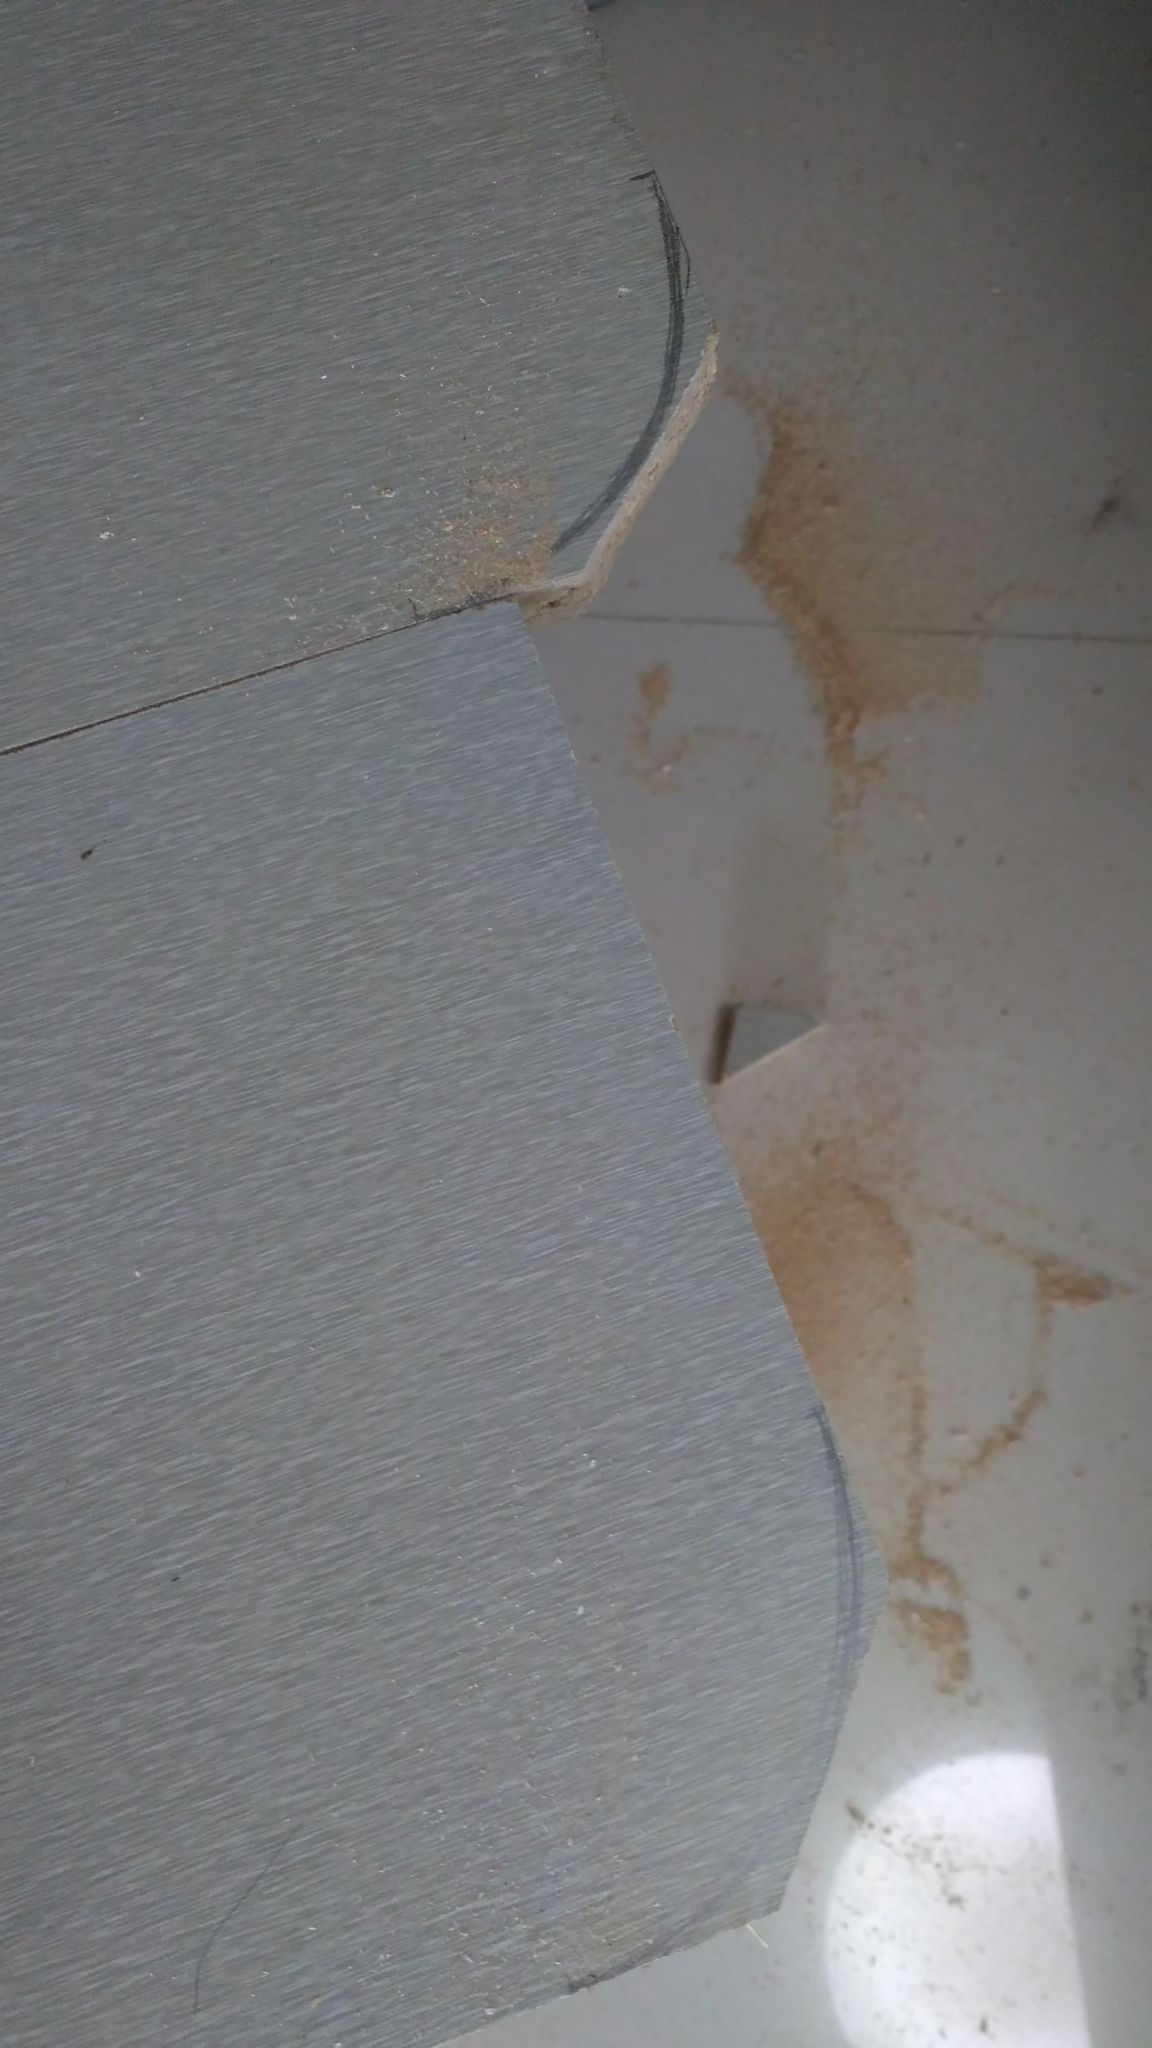
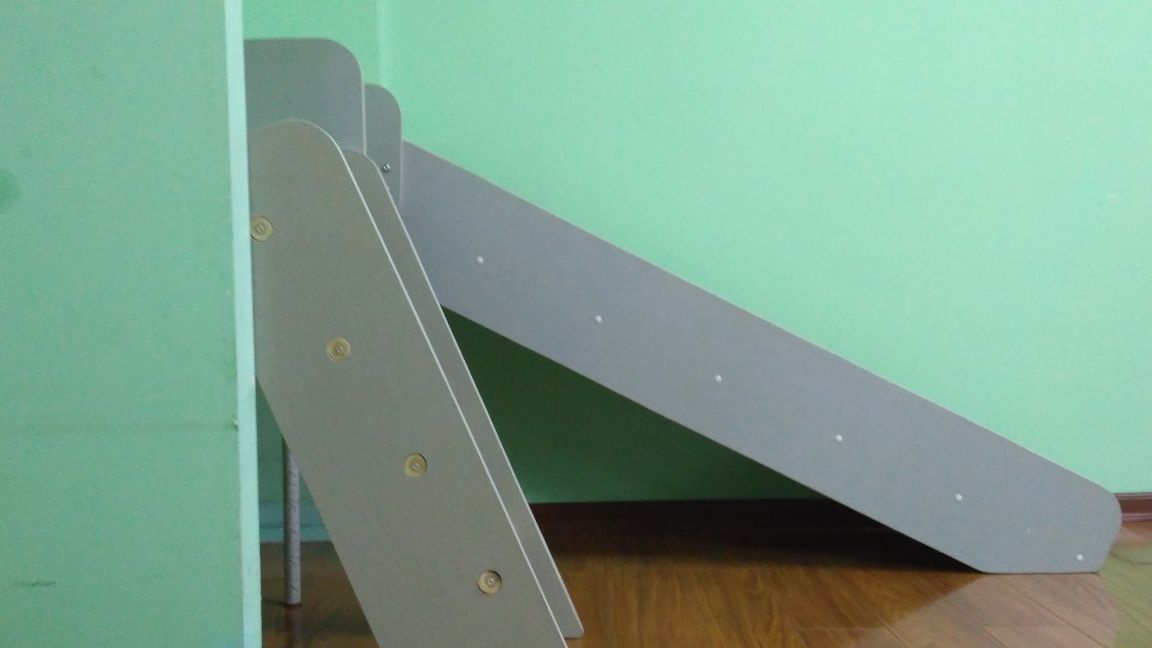
It is also necessary to make a cut so that the slide fits snugly against the upper platform. We do this with the same tool: a hacksaw and a grinding attachment for a screwdriver.

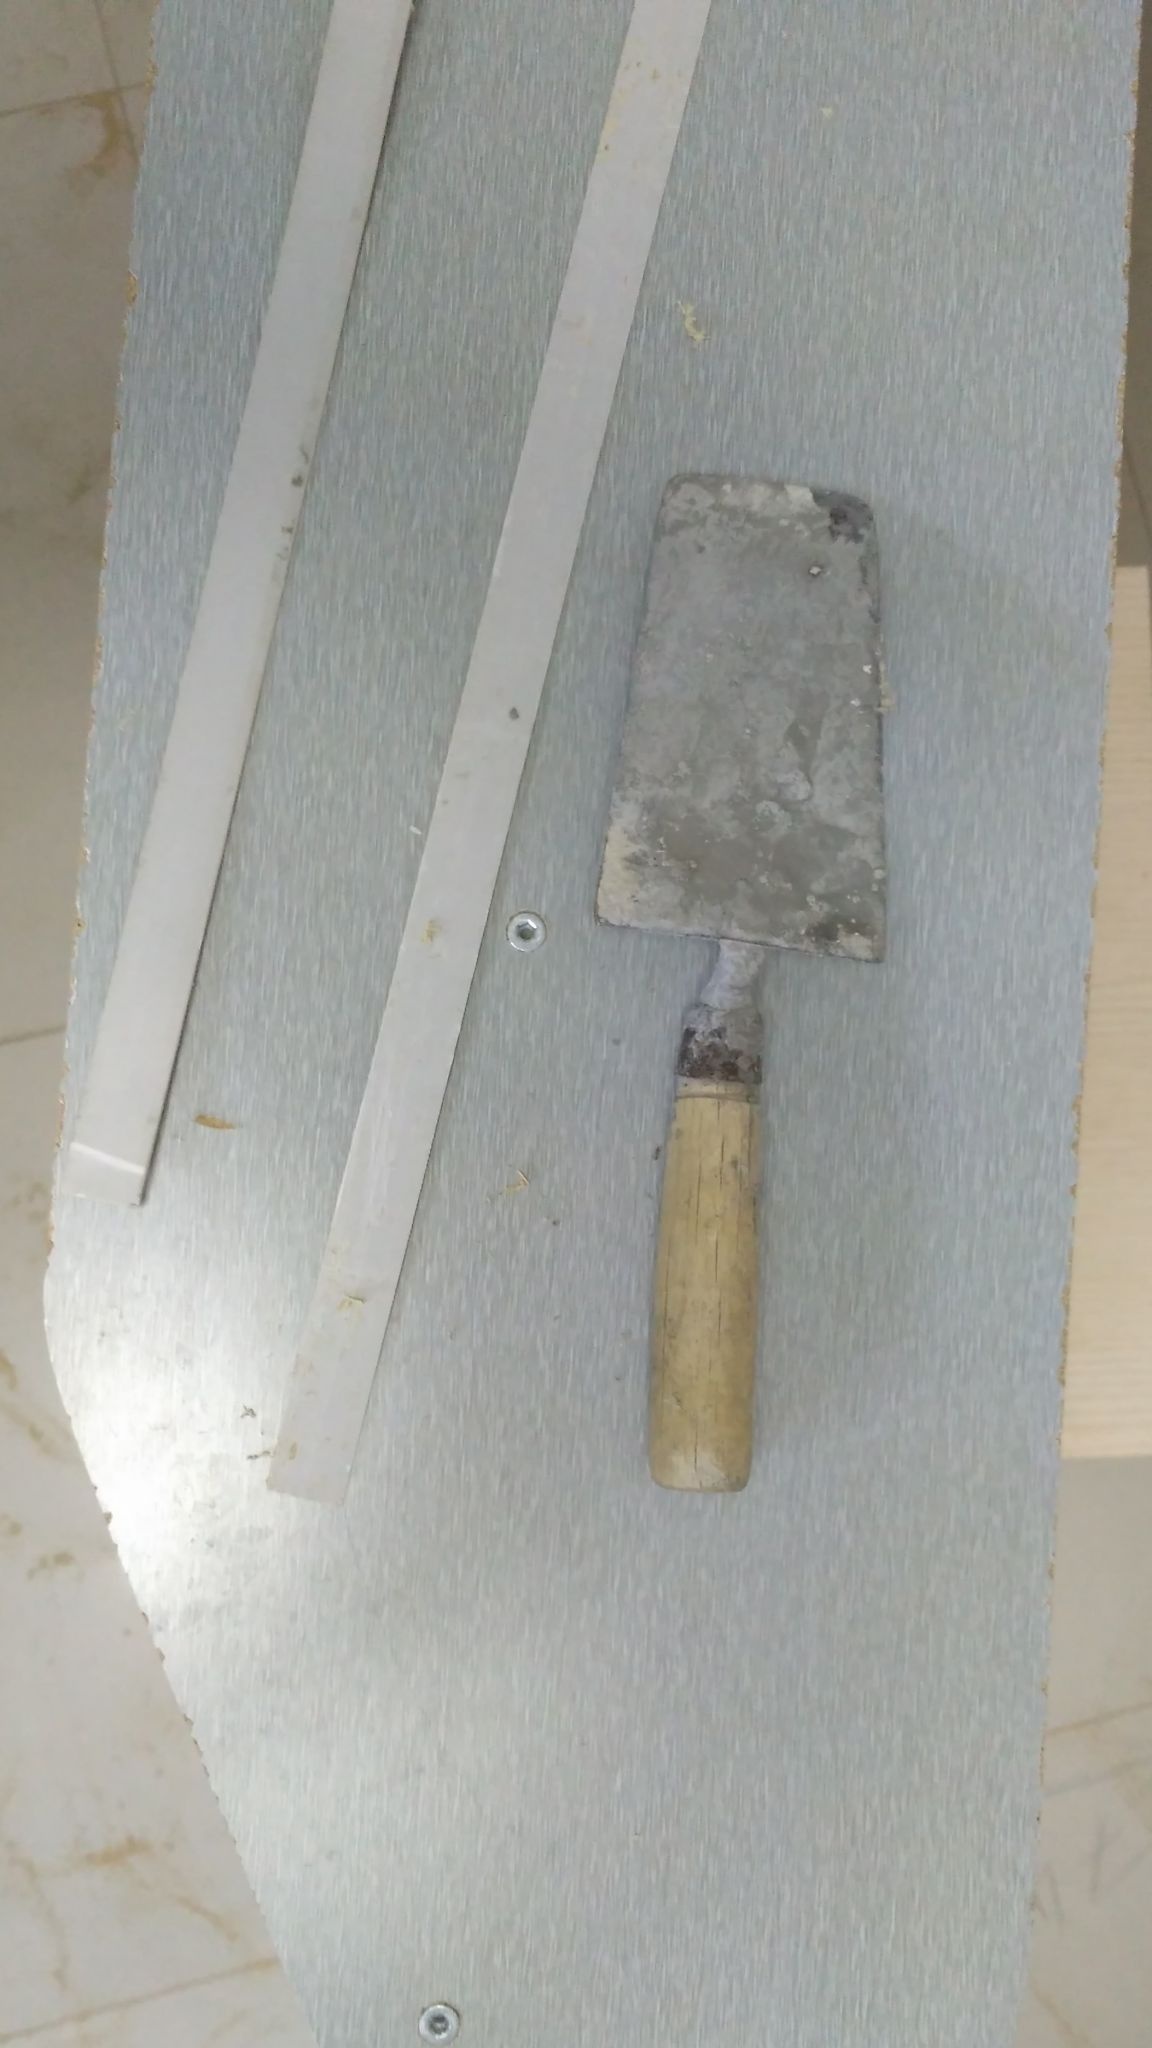
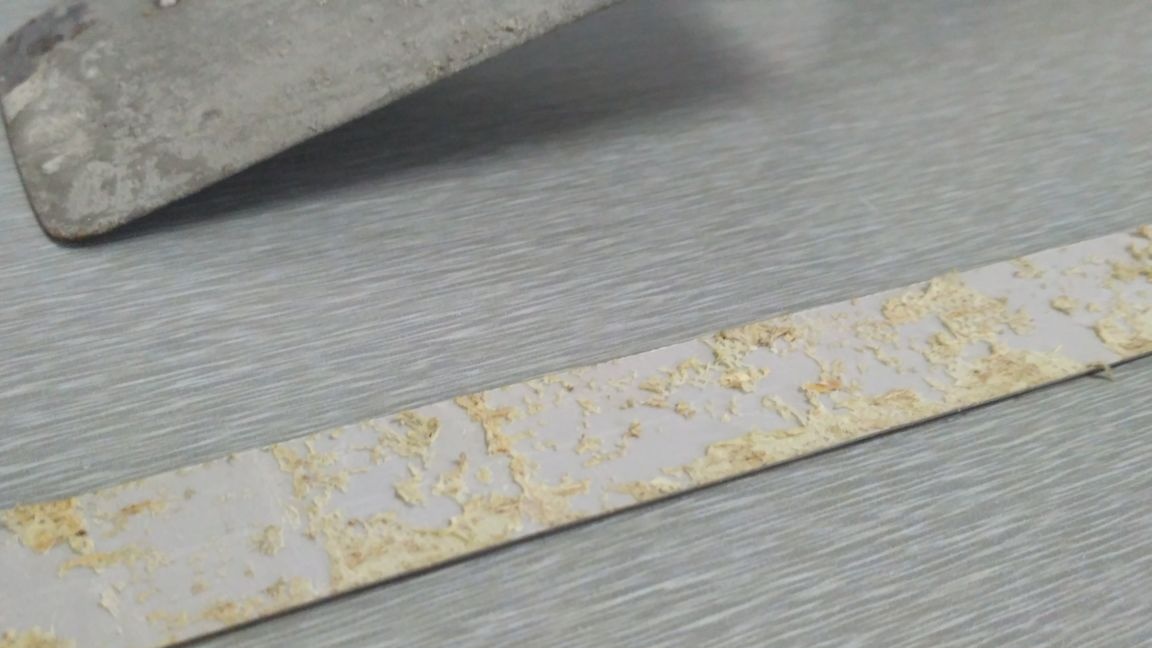
After the failure of experiments with a specially purchased rubber band for the ends, I decided to use the tape that I cut from the doors of which I’m making a slide. It should first be cleaned of old glue, and then glued. I glued onto some unknown glue for PVC, the result seems to be normal, but I would advise using Titan glue - it is more reliable and easier to work with.
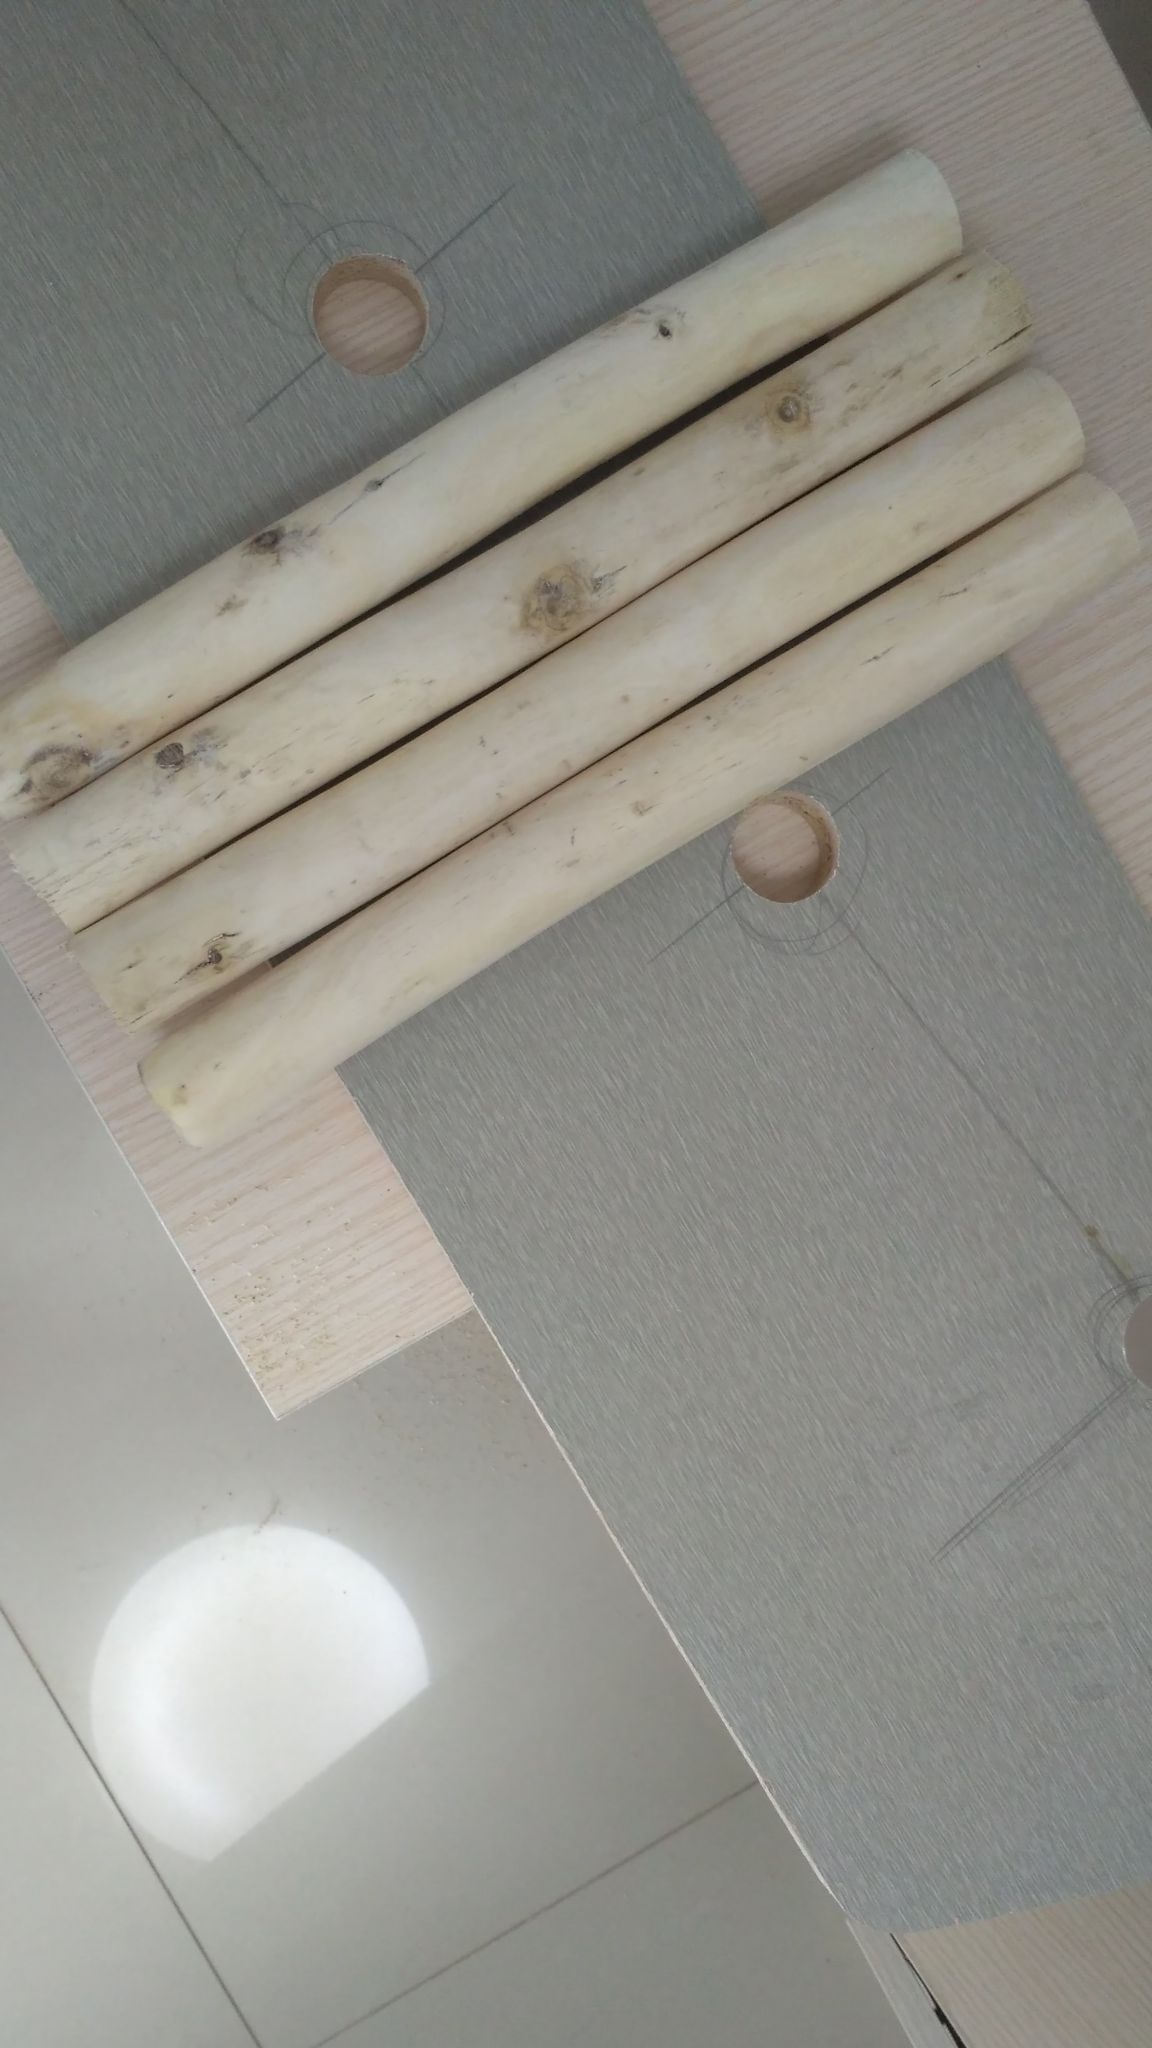
Step 6: We begin to make a ladder.
Since I had only two doors, I had to use a piece of chipboard with holes from the handle and lock for one of the racks of the stairs. I left these holes in the most inconspicuous and inaccessible place, additionally gluing tape on both sides with tape so that the child would not be able to put his finger there.
I note once again that the holes for the steps in my DIY are not designed in the best way. Better if they are not cross-cutting !!!

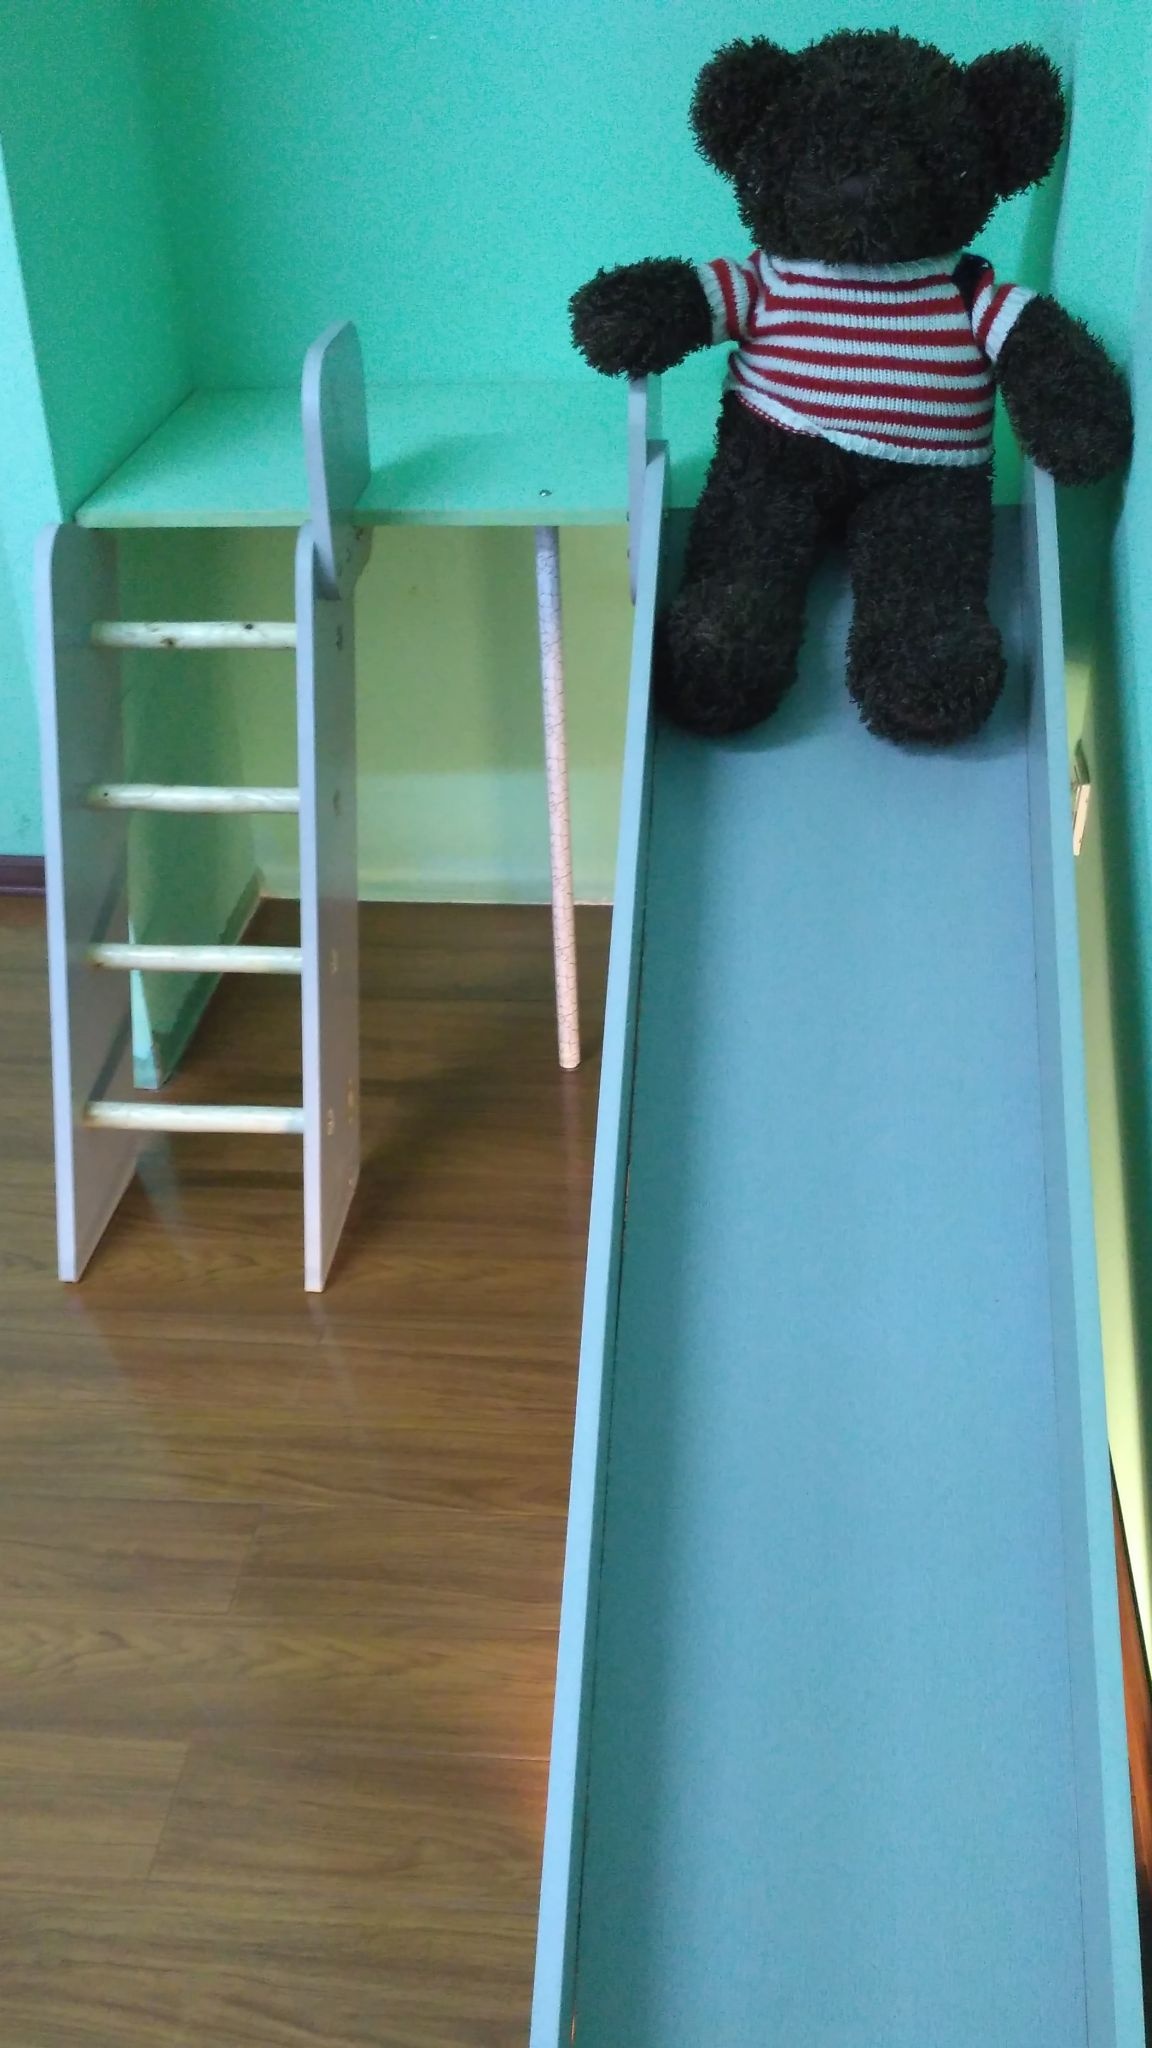
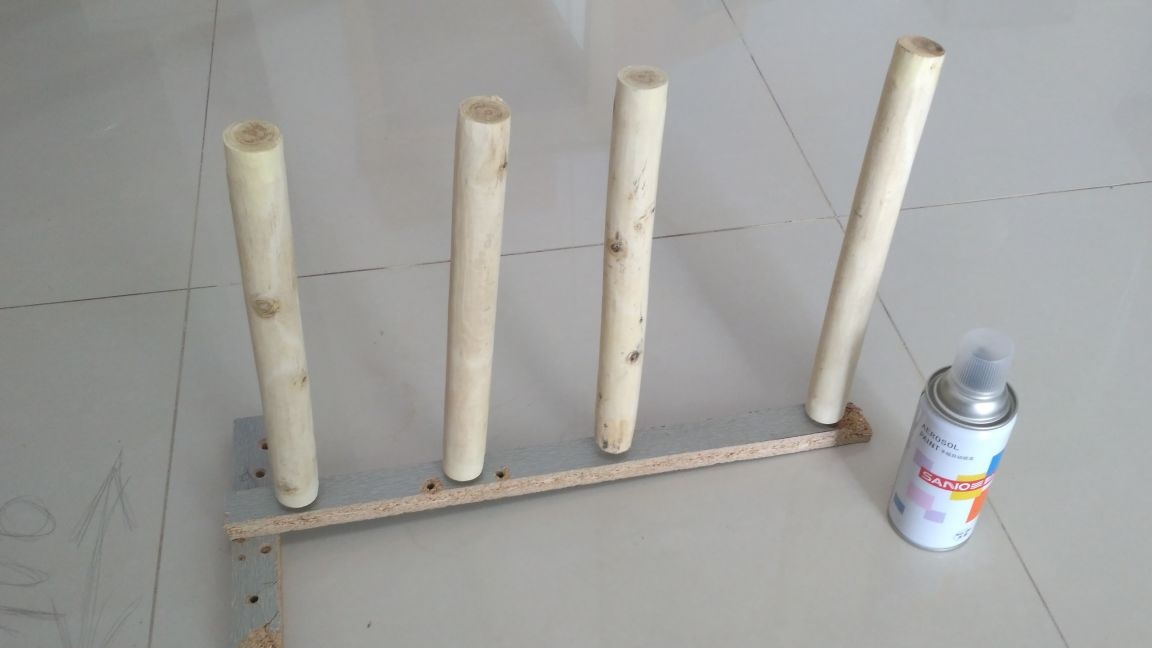
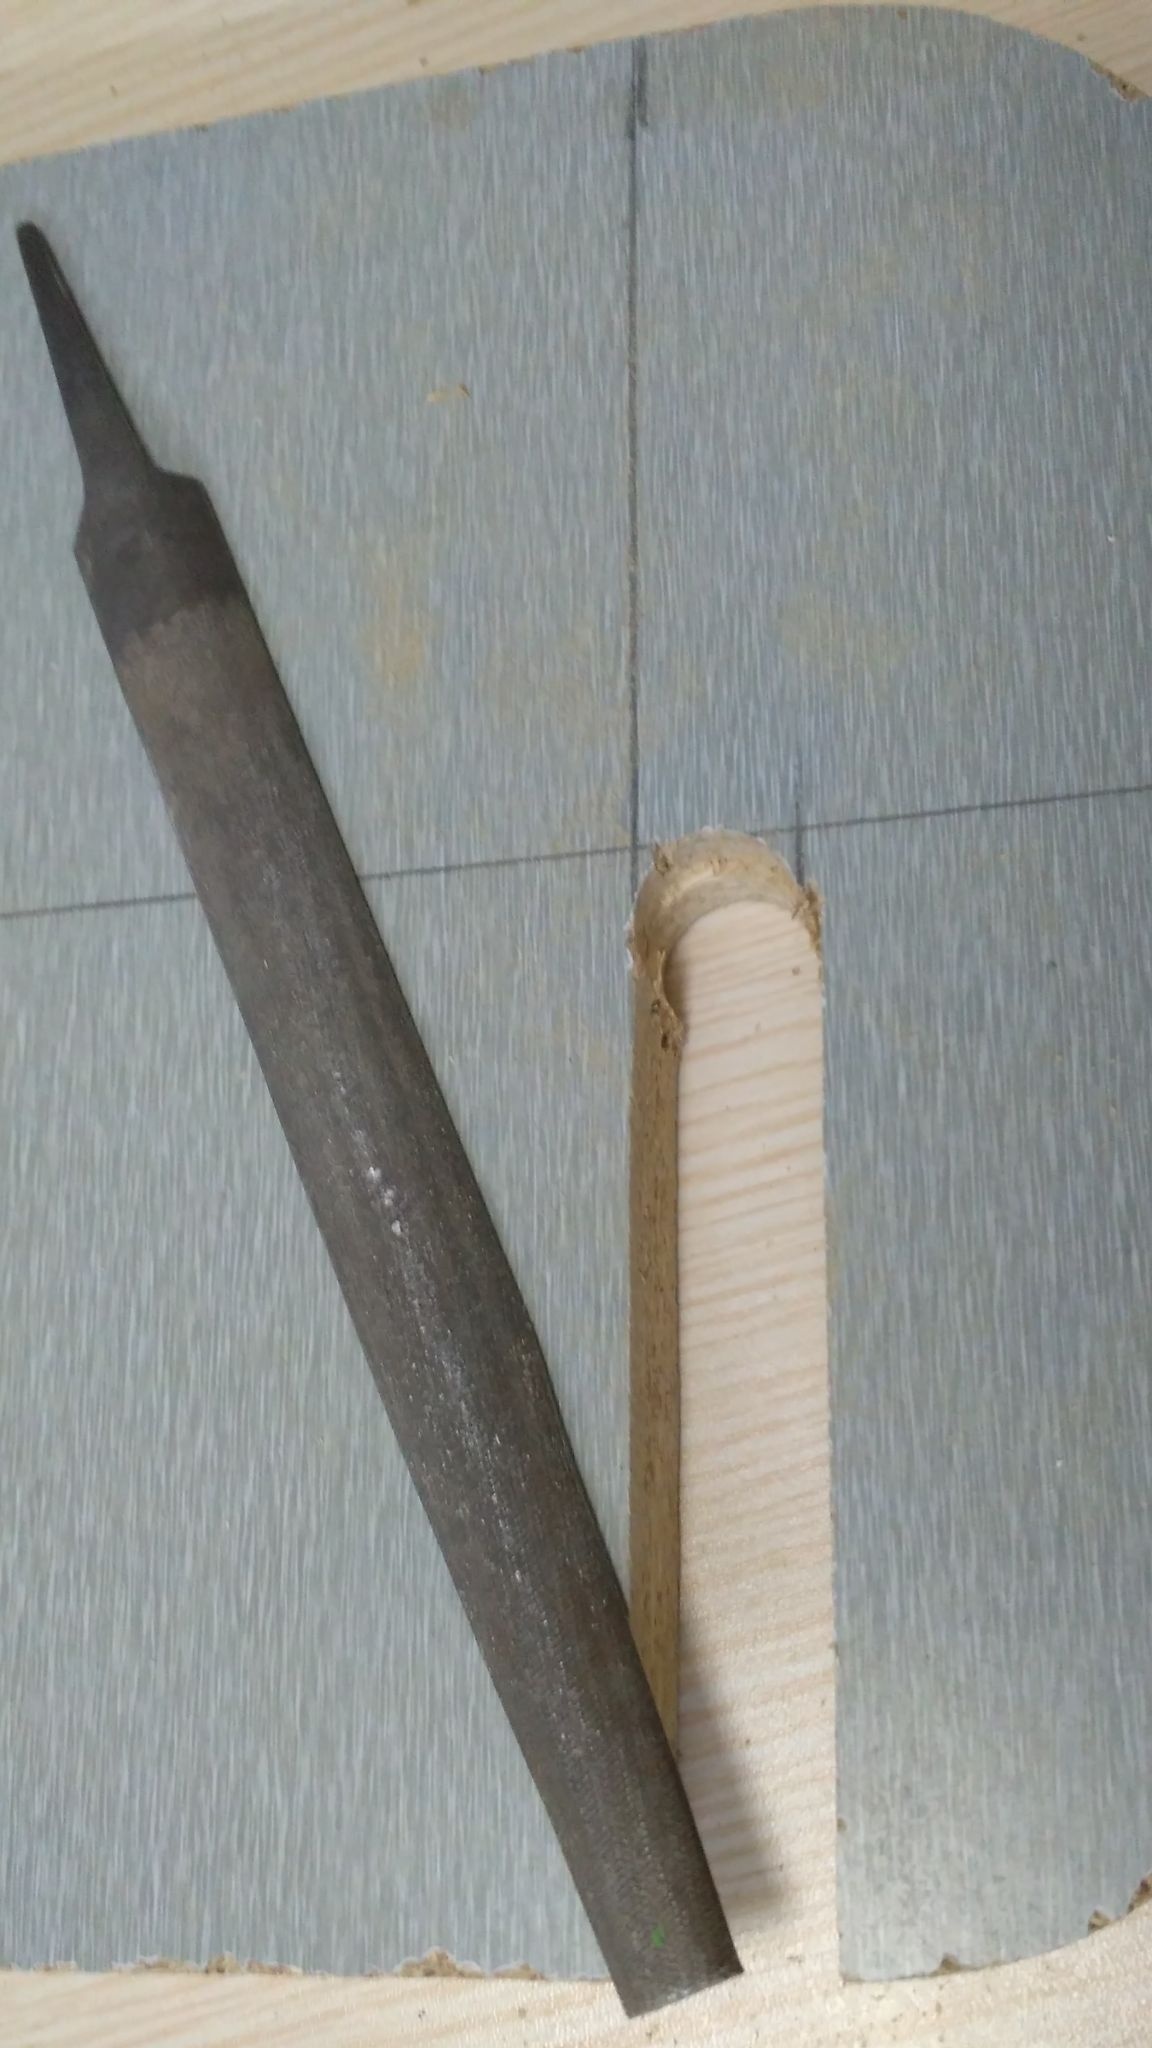
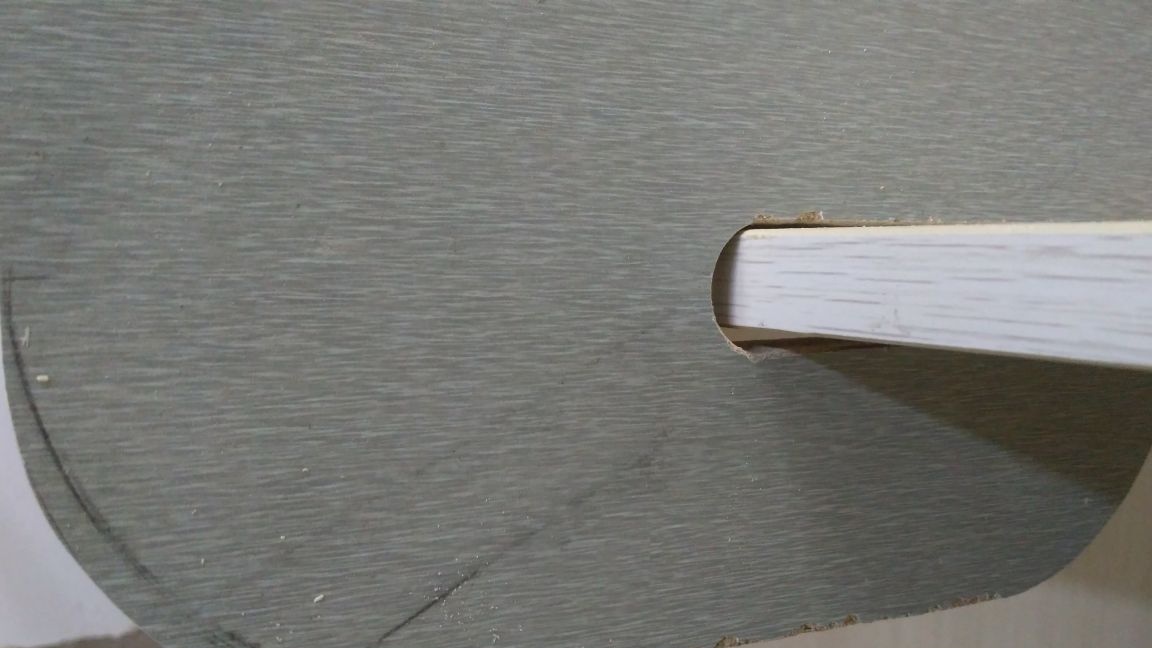
Step 7: I made steps for a ladder from a birch shank from a shovel. The width of the steps turned out to be 30 cm, during operation it turned out that this is not enough, it is better to make 35 cm and three steps will be enough for such a height. Four steps of 30 cm is also normal in principle, but still I would recommend three of 35.
For beauty, you can cover them with stain or paint. I covered with clear varnish to preserve the wooden texture.
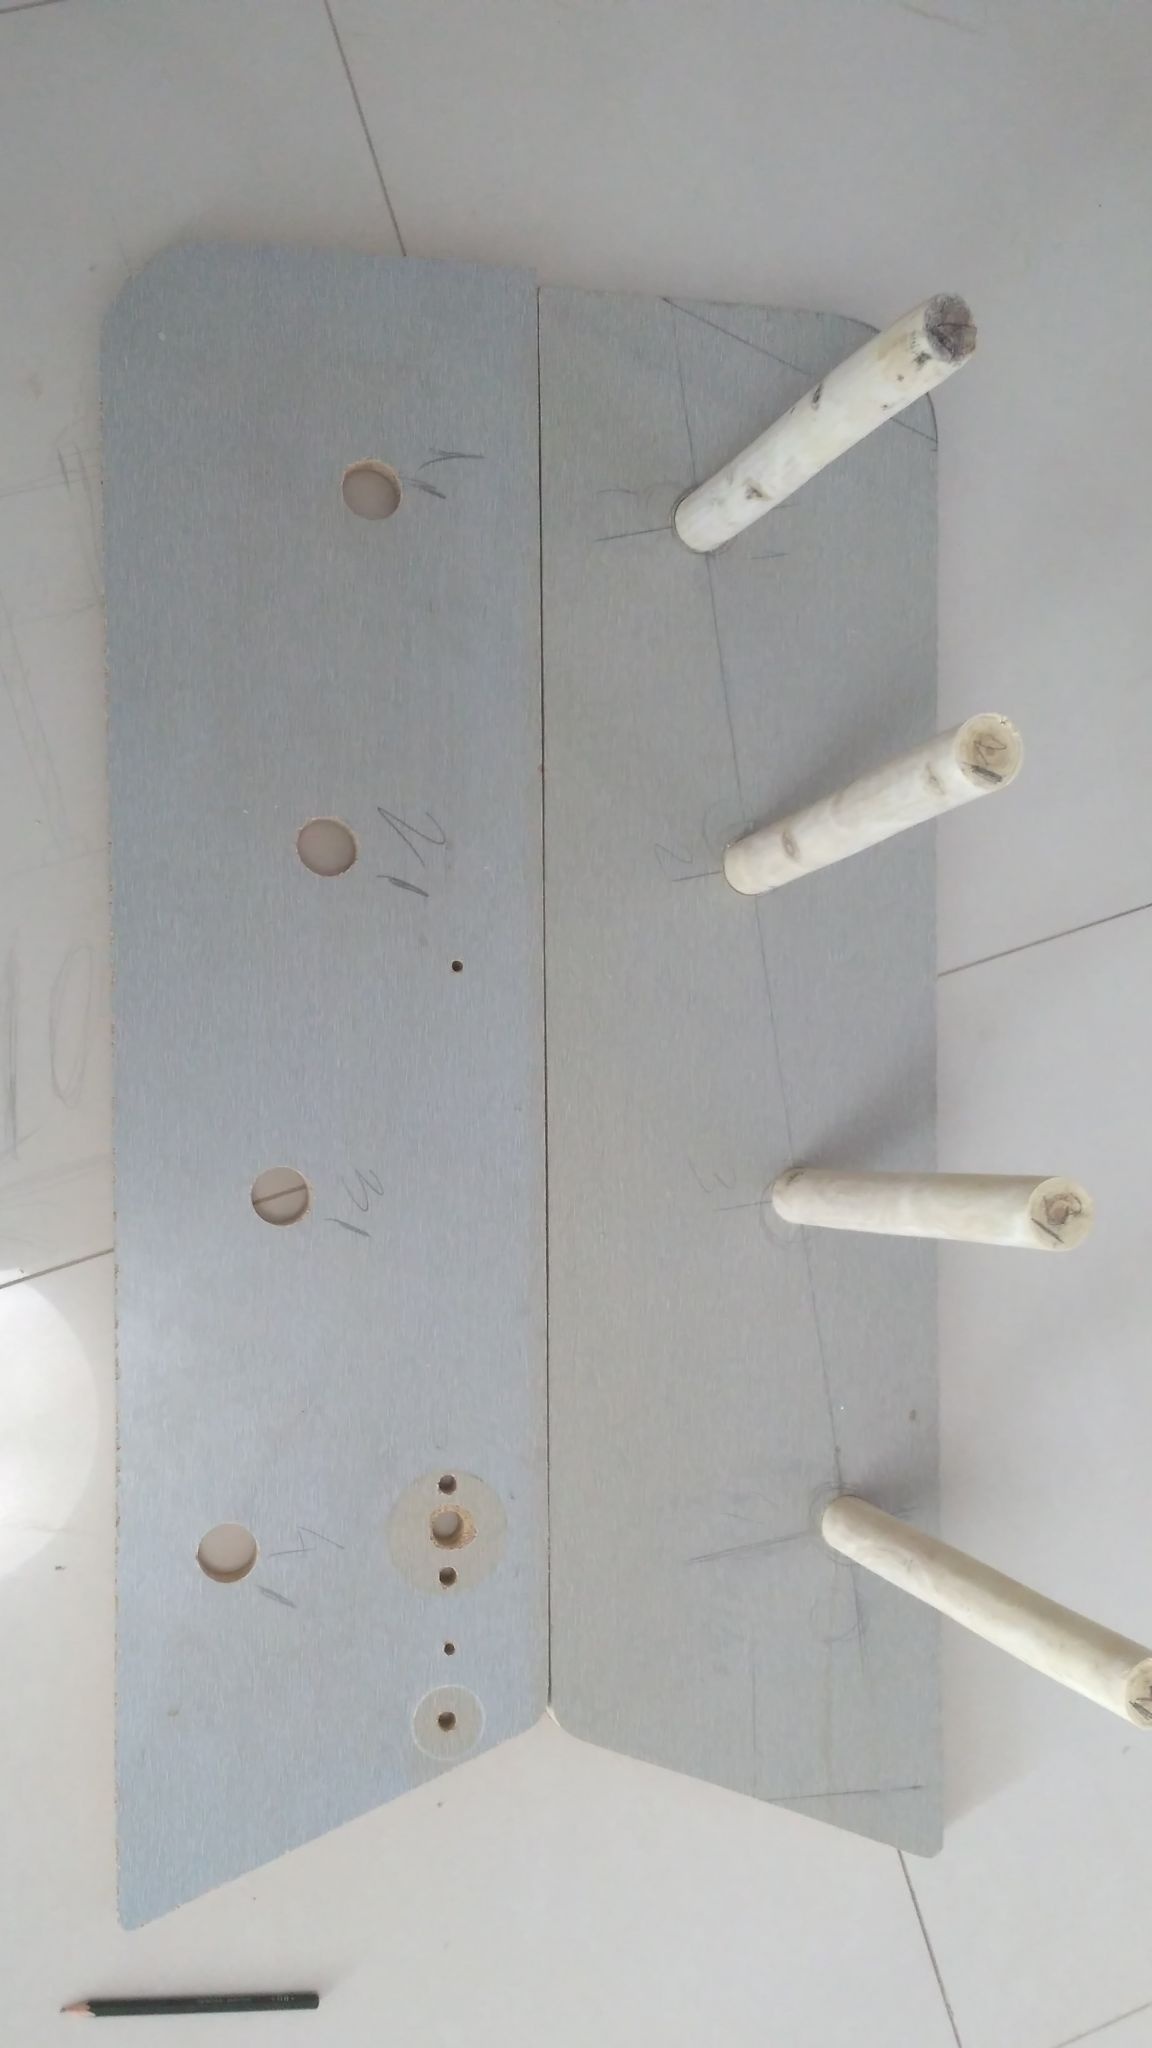

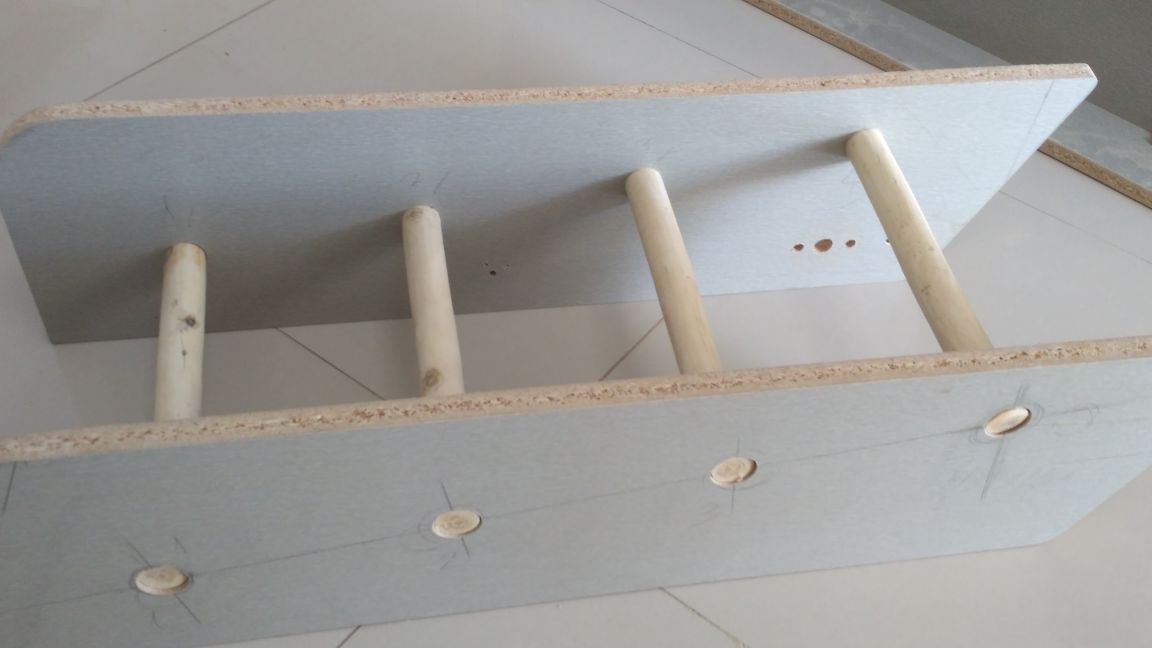
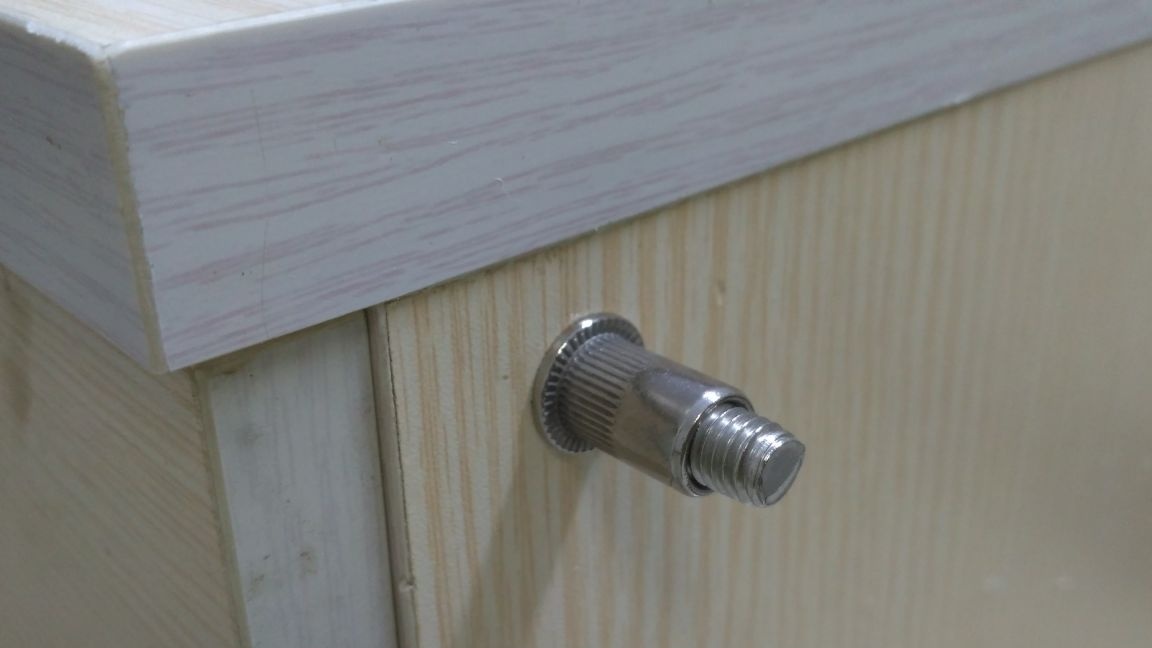
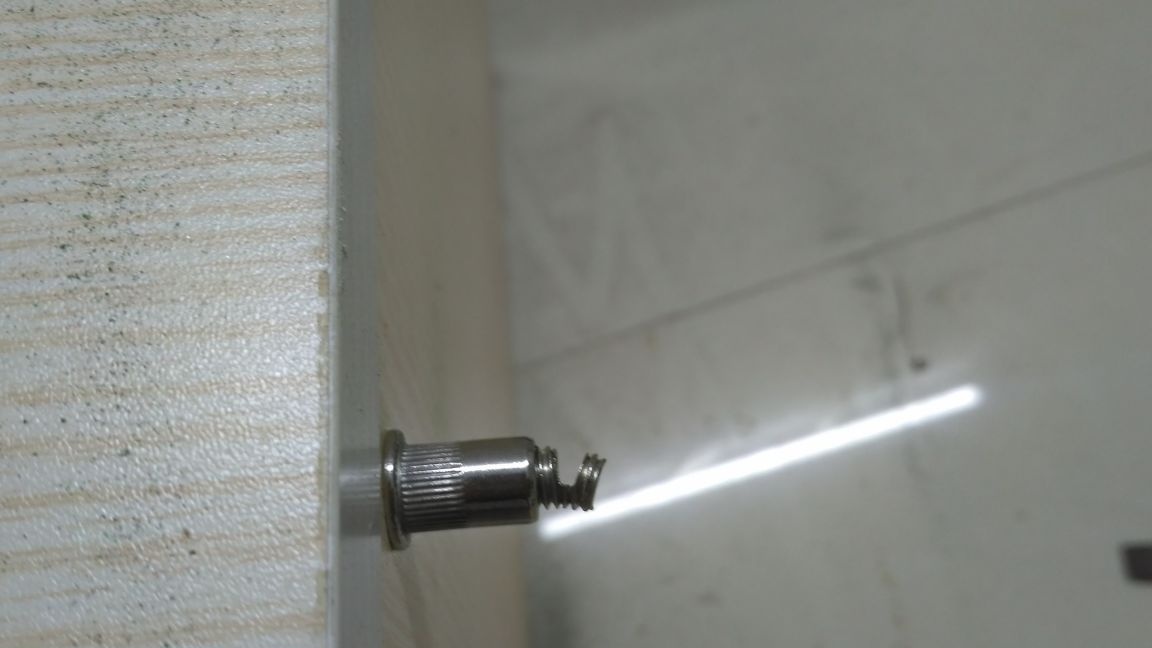
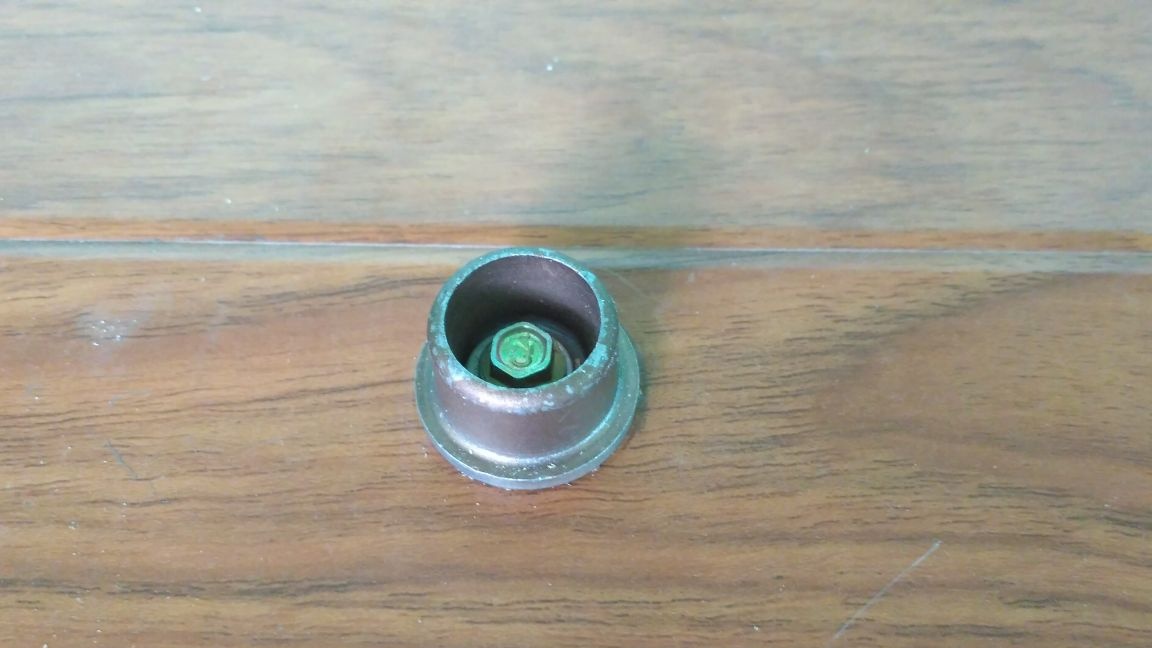
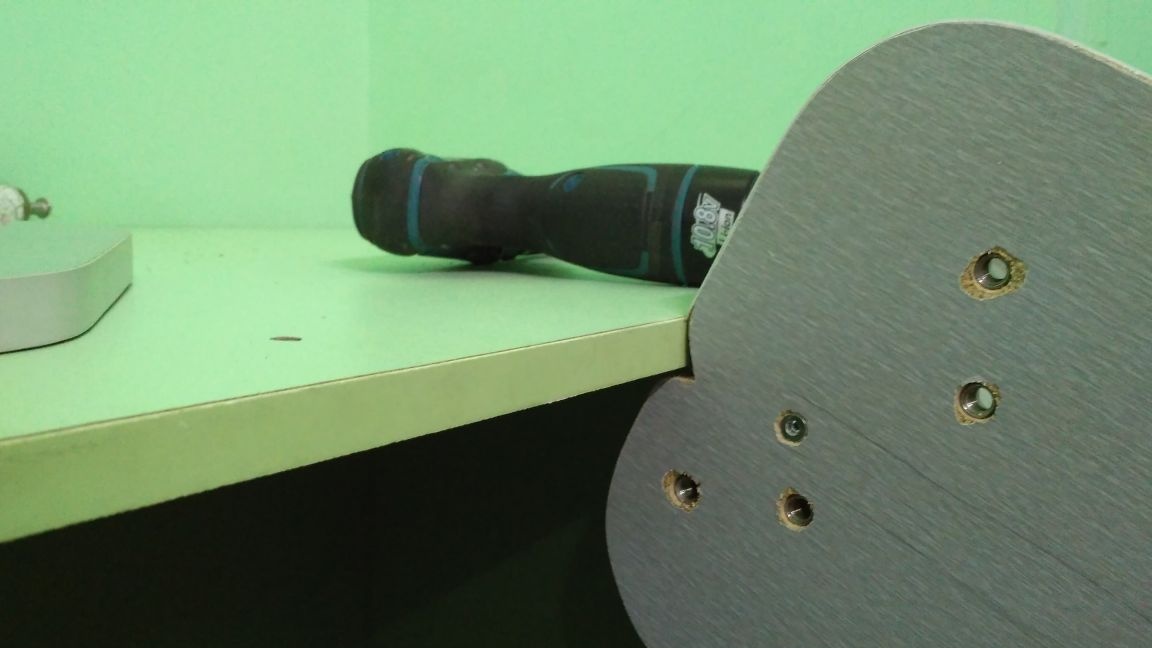
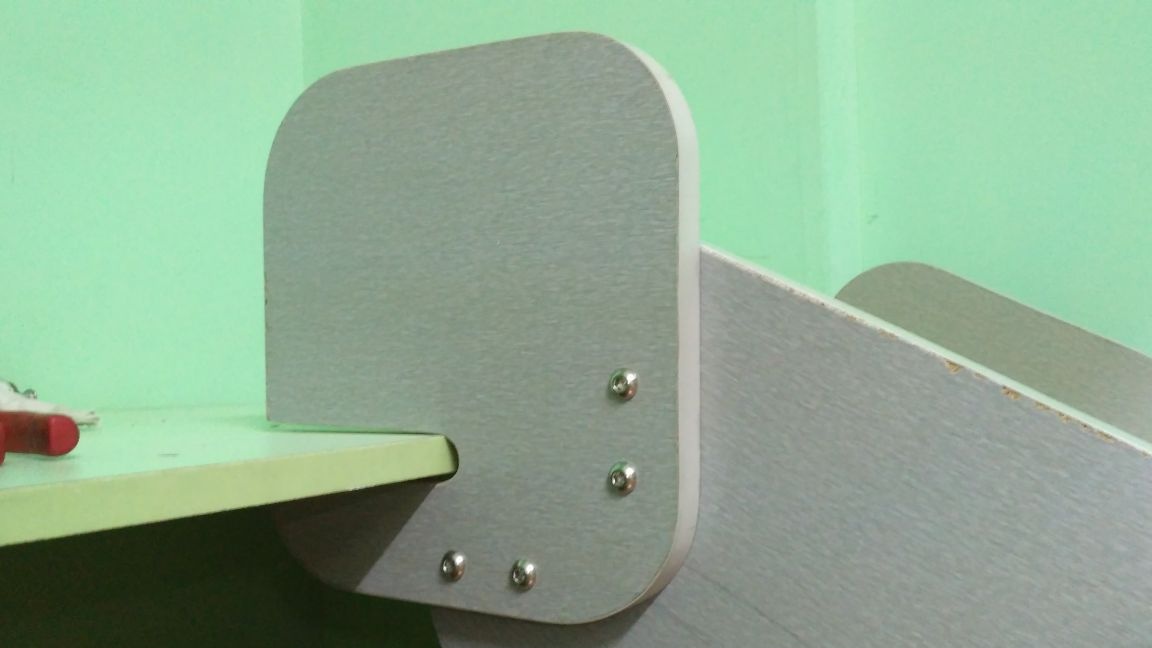
Step 8: The main fasteners for the gutter of the slide and ladder are wood screws screwed into the walls of the GVL structure and steel strips for fastening to the upper platform. As a backup security system, I made hooks from chipboard, which are fixed with steel corners to the upper platform and bolts with embedded nuts to the sides of the stairs and slides. I will not describe the order and the process of their production for a long time, since everything is quite clear in the photographs.
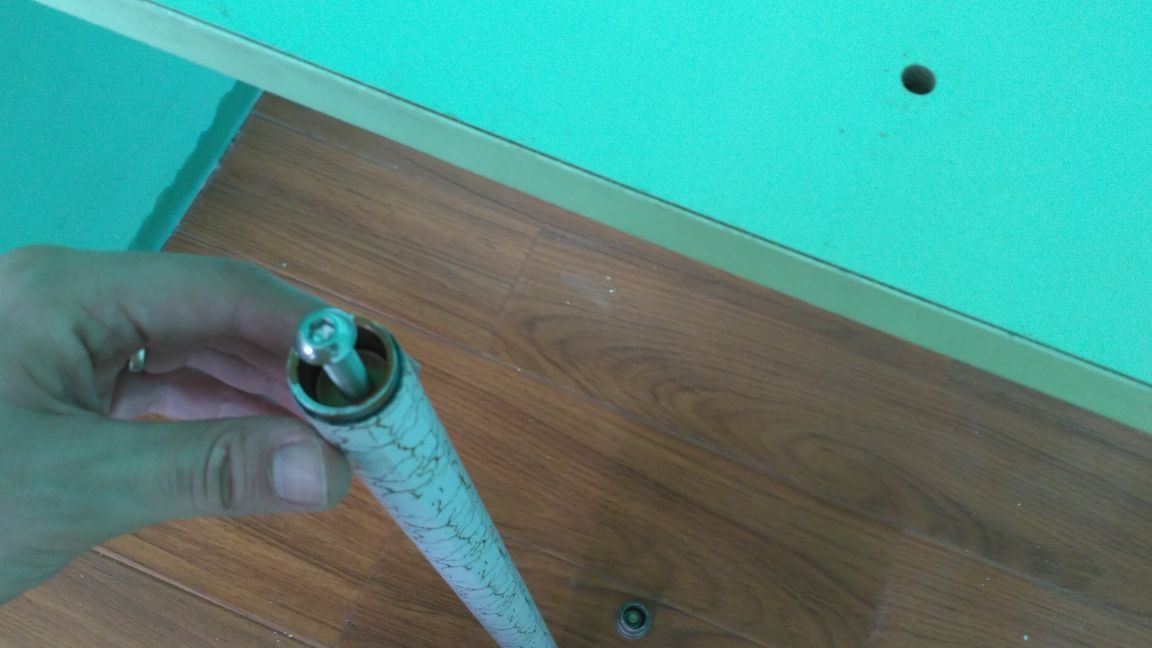
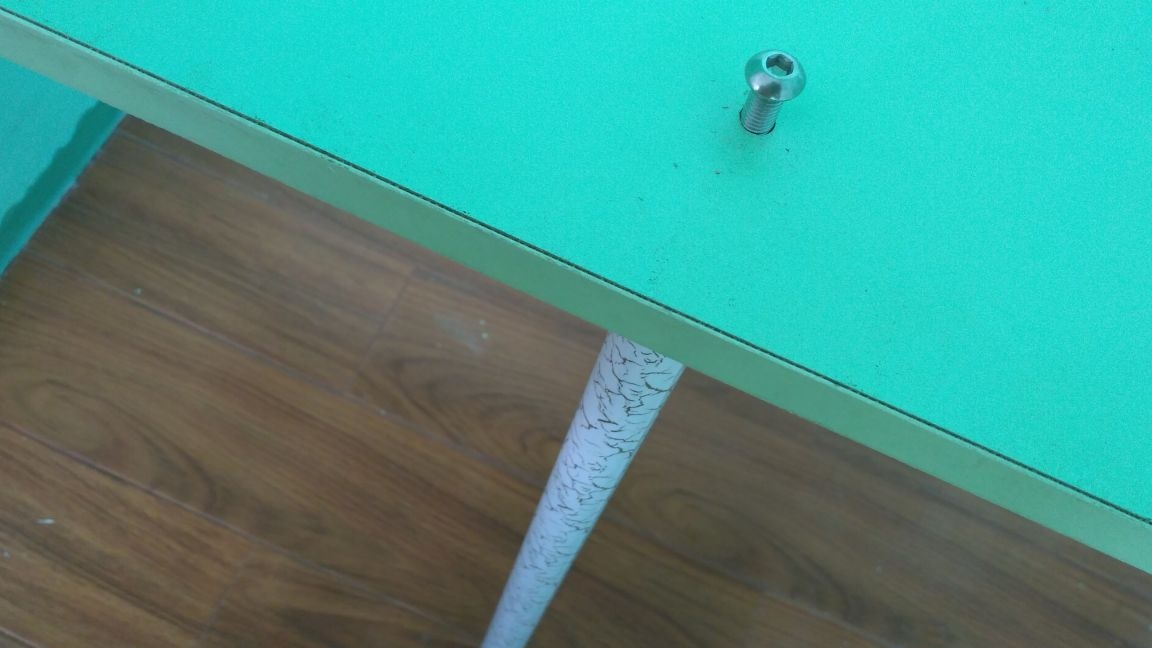
When installing it directly in the room, it turned out that the bolts stick out a little, which can not be allowed in any case. I had to saw off each of the six bolts of 3 mm. And this turned out to be the most difficult part in the whole DIY. The problem was that I had neither a vice nor a hacksaw for metal, nor a grinder. There was only a disc from the grinder, which I installed on the attachment to the screwdriver. And as a vice I used a bedside table in which I had to drill a hole. Now it’s ridiculous to recall this, but the next time I’ll still prepare the instrument in advance so as not to repeat such experiments.


Step 9: Final.
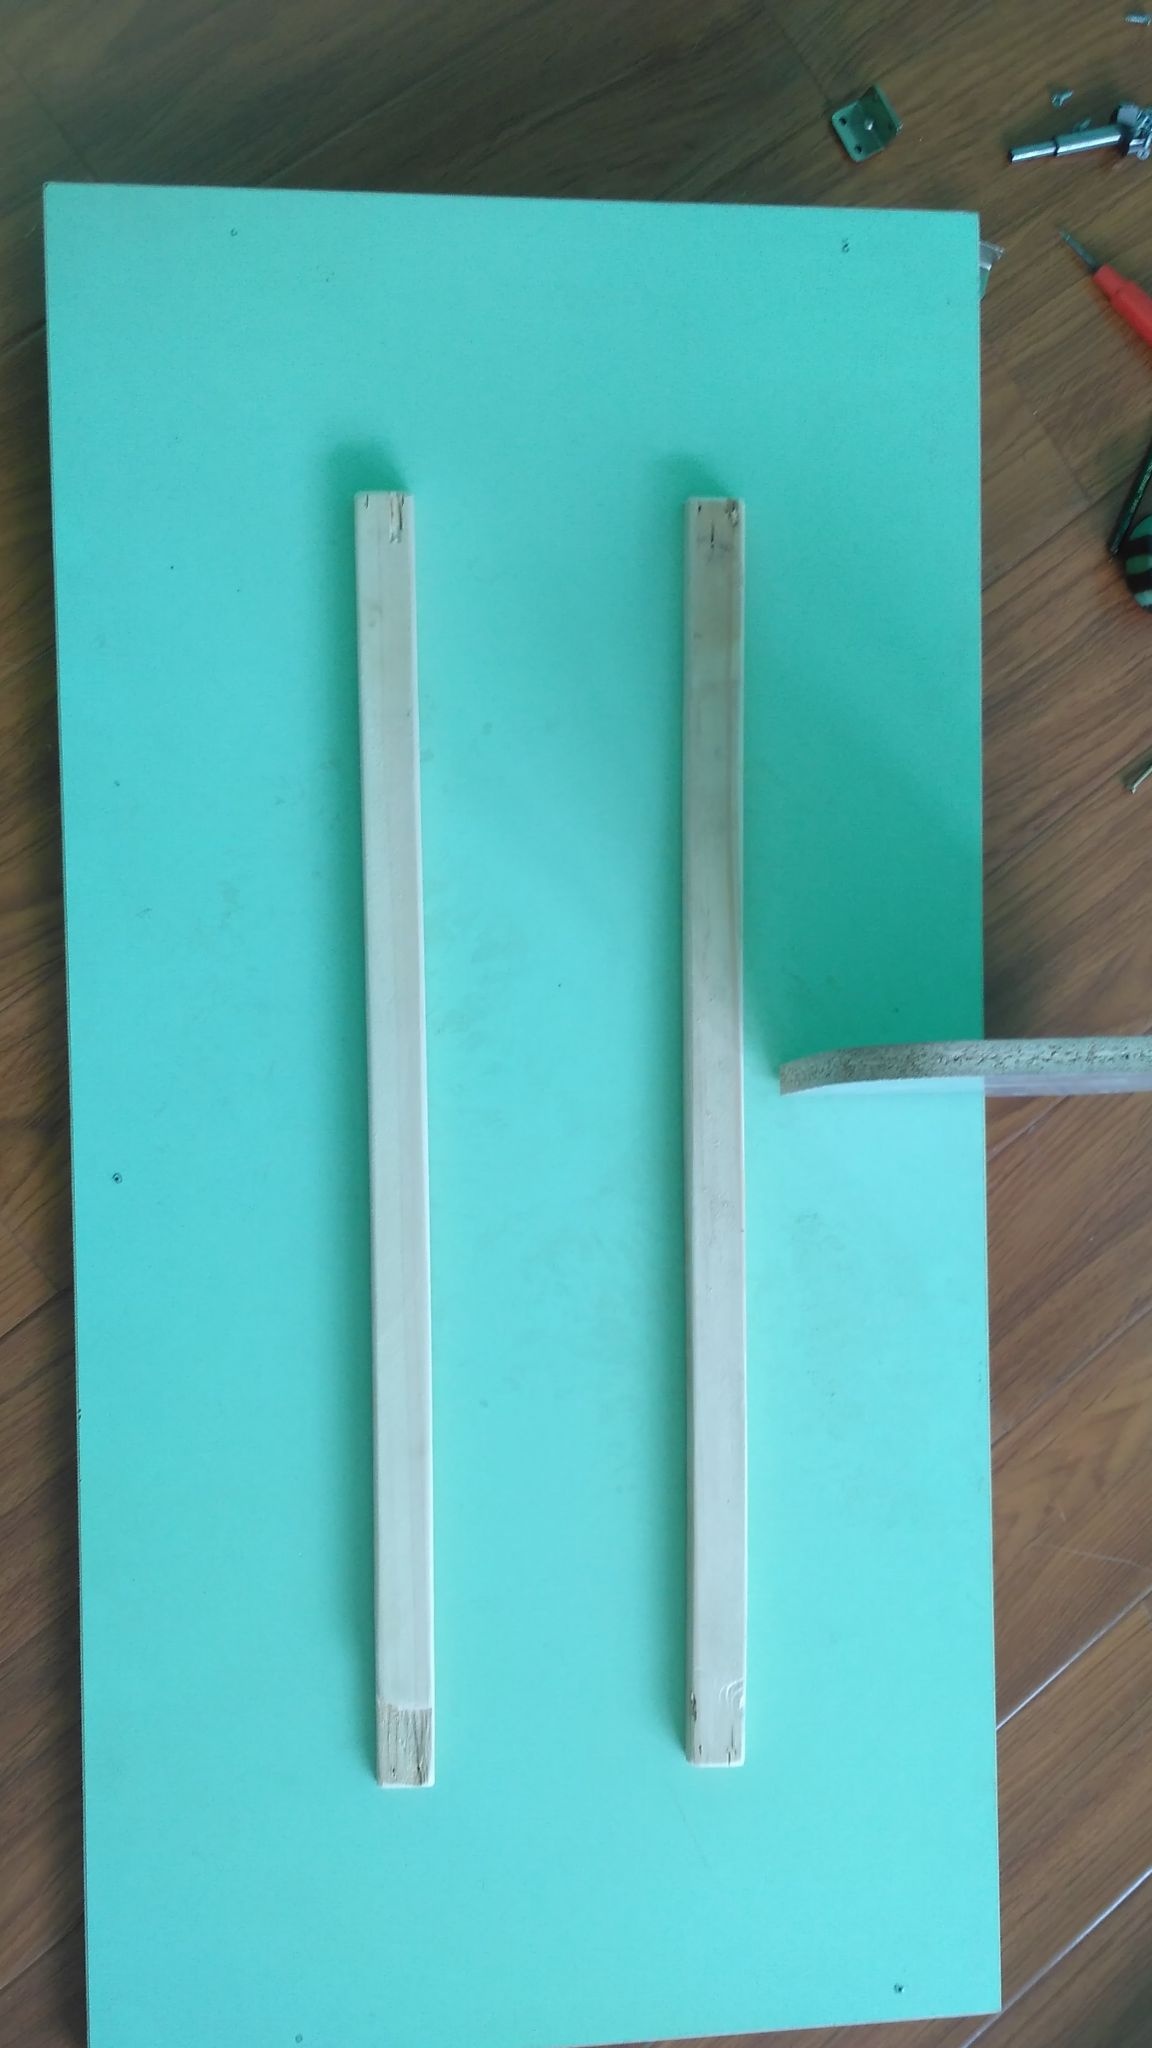
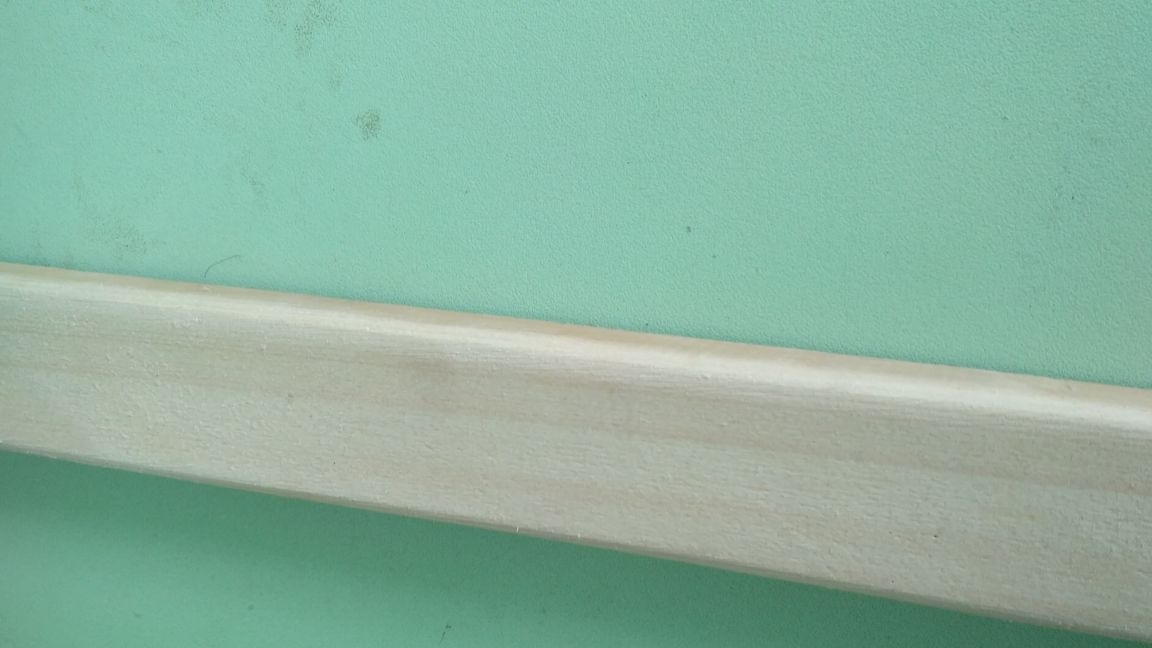
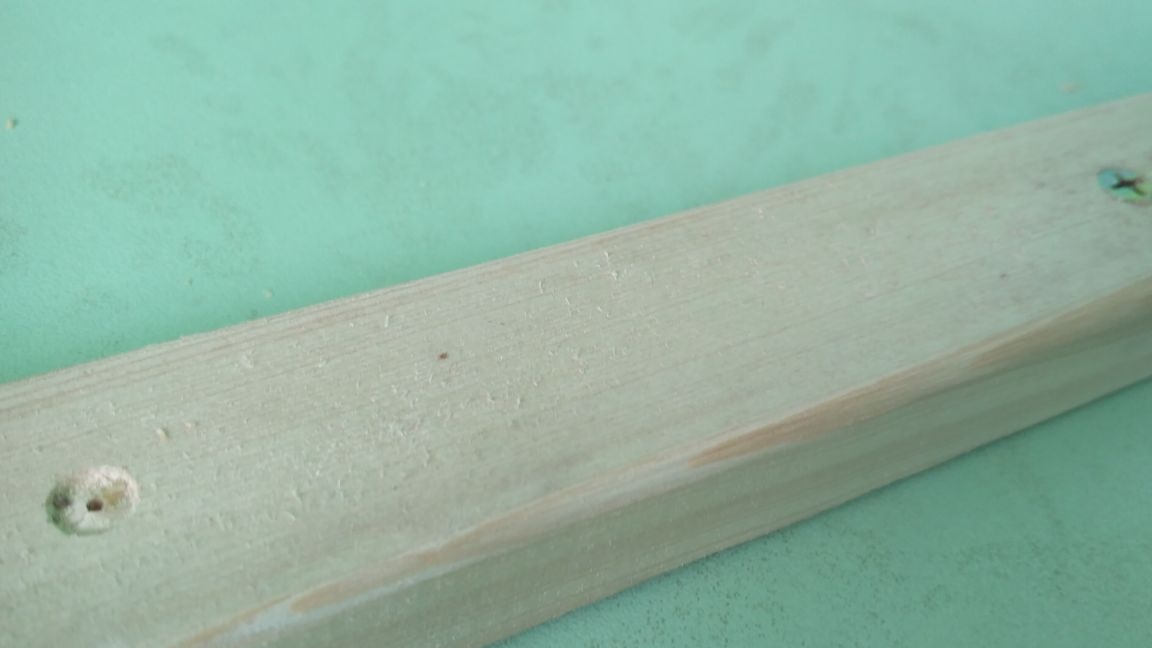
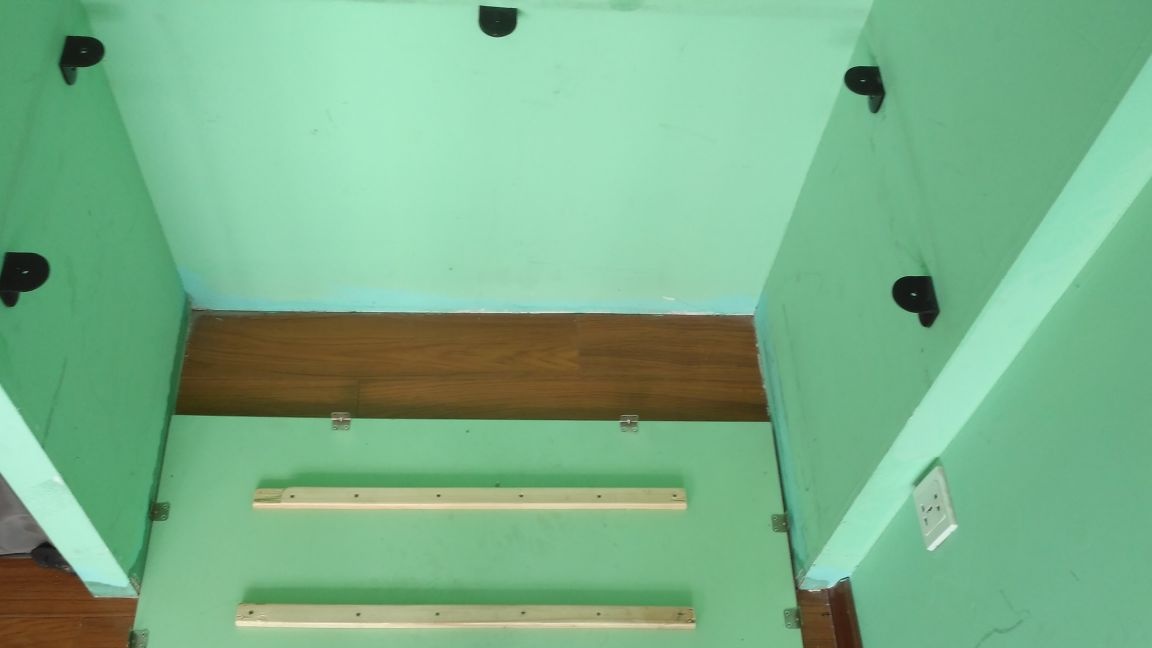
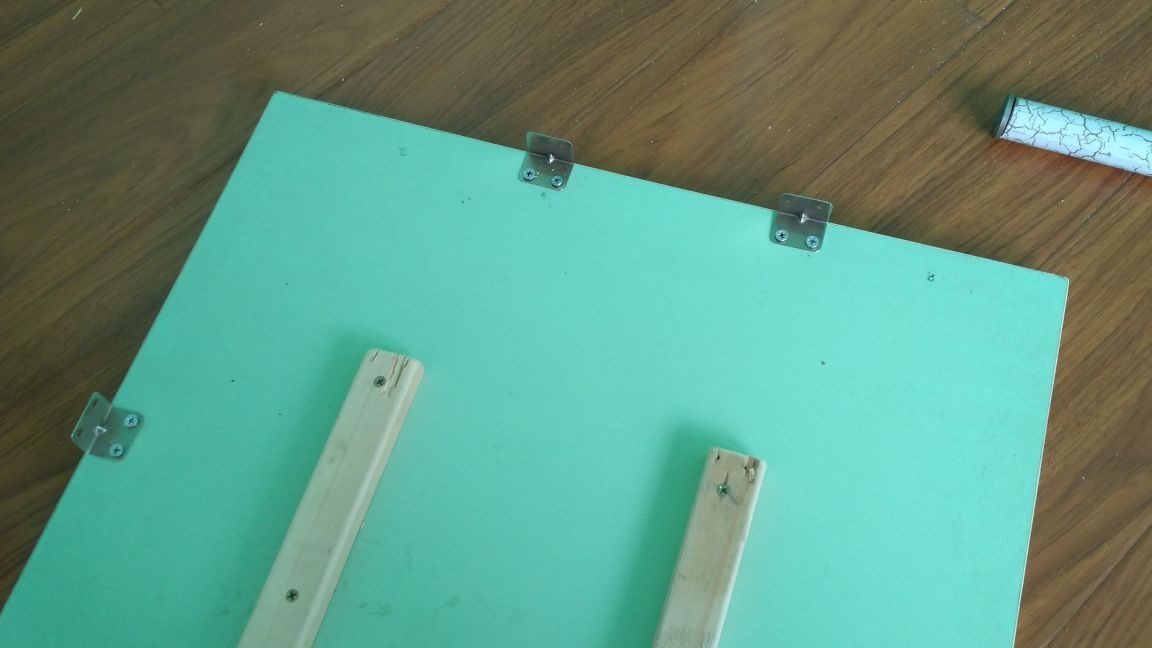
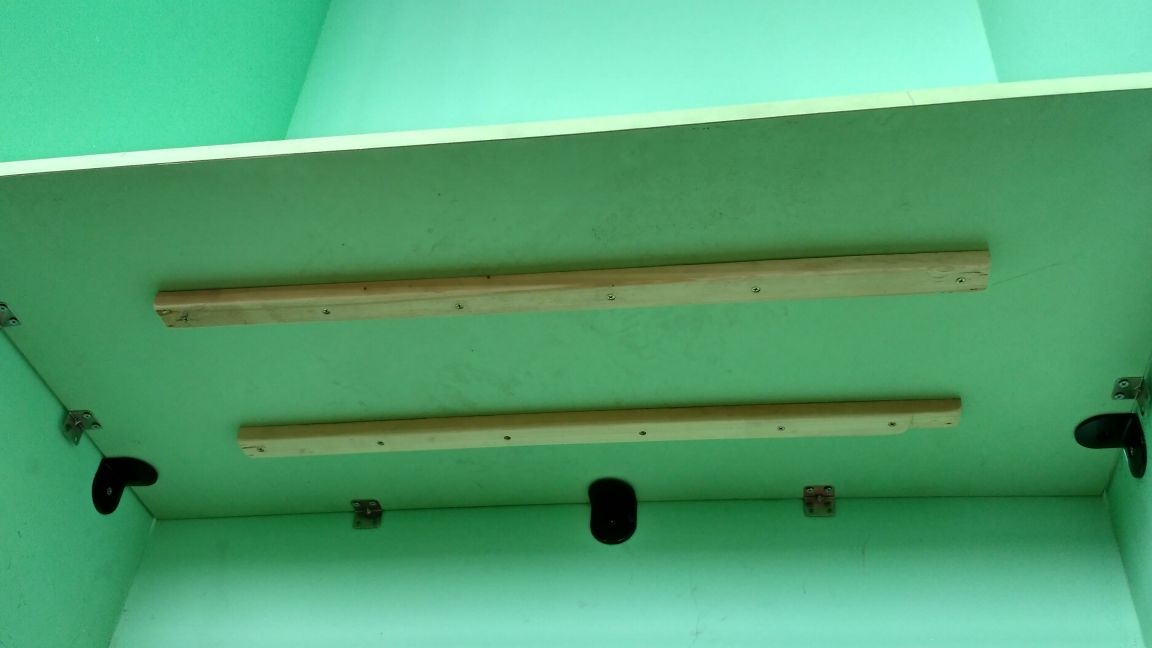
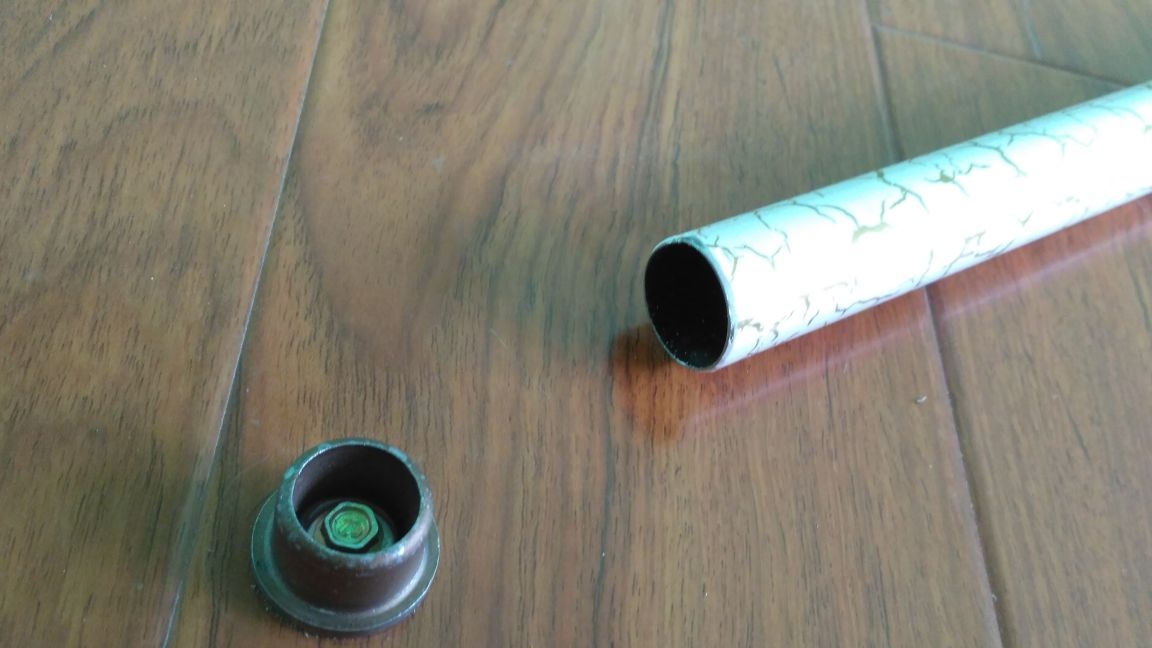
I reinforced the top shelf with 30 mm thick bars. I smeared the whetstones with PVA glue and twisted it with screws every 10 cm. Also, to the existing five plastic corners for attaching the shelf to the walls, I added six steel corners and a metal pipe stand in the center. Someone will say that this is too much, but I think that is just right. For children, you need to do so that it definitely does not break, and then reinforce it even twice.
Now we assemble the entire structure in place, erase all pencil drawings and notes. It is important not to forget and not to miss anything. For example, when I screwed the groove of the slide, I put a nightstand under it. Then, screwing up the stairs, the bedside table was not needed, but I did not think to pull it out. And when the entire installation was completed it turned out that now the bedside table could not be pulled out of there. I had to unscrew the ladder, get the nightstand and screw it back.

Conclusion
In addition to the nuances already noted, I will add that a week later, the stairs began to hang out a bit, which could lead to scrolling. Therefore, I took apart the ladder, made 2 cm deep cuts from the ends of the crossbeams, and then having previously coated with PVA glue, I assembled the ladder and drove wooden wedges into the cuts. Since then, no further modifications or changes have been required.