

Good day to all dear friends! In today's article, I would like to show you a rather interesting homemade, which is not only a toy, but also can come in handy in your household. I think many now know that it’s now popular to make various projects and home-made products from ordinary corrugated cardboard, now they just don’t do anything from it, by the way, even I devoted more than one article to this topic. Well, this homemade product is in fact e mill, and although it is made of material that is quite common and, as it were, should not be material for such projects, it nevertheless does its job well, grinds the grain with little effort into flour. Thanks to it, it is possible to grind grains in small quantities for home flour, from almost any kind of crops.
Oh well, enough of the long preface, let's go!
And so, for this homemade product we need:
- corrugated cardboard
- powerful electric motor
- wires
- variable resistor
- paper
- two ball bearings
- plastic tube
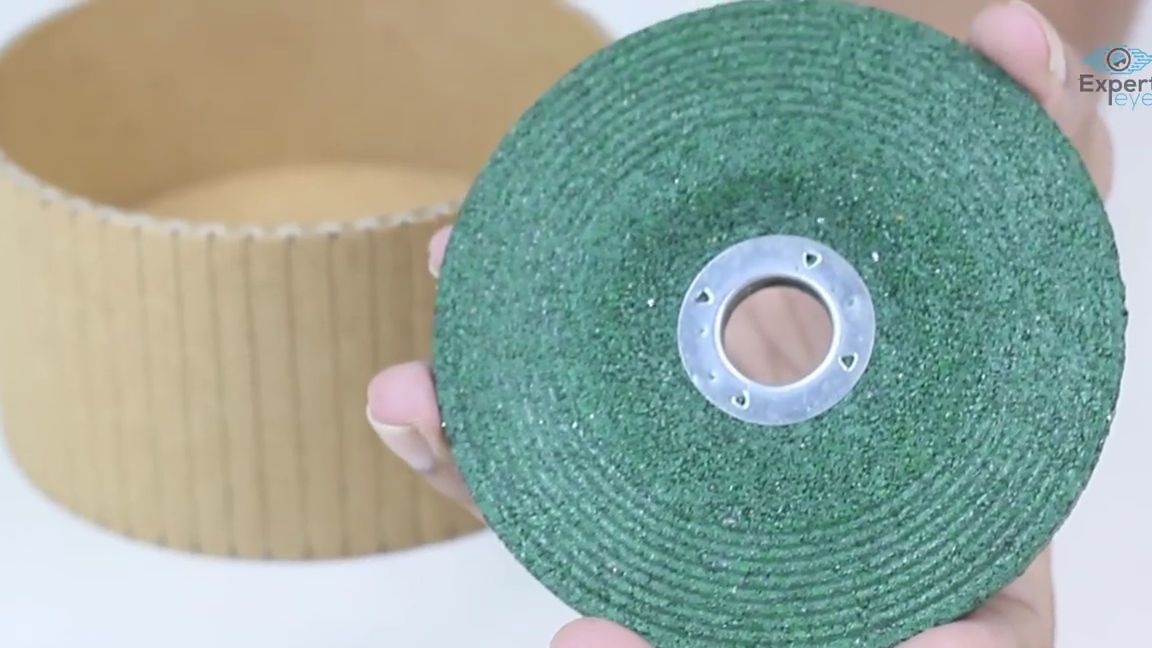
- two grinding wheels with a rough surface (as I understand it for a grinder)
- power supply (use the power supply for your electric motor).
Of the tools we will also need:
- soldering iron
- stationery knife
- terma glue
- scissors
- Super glue
- screwdriver
- a small drill.
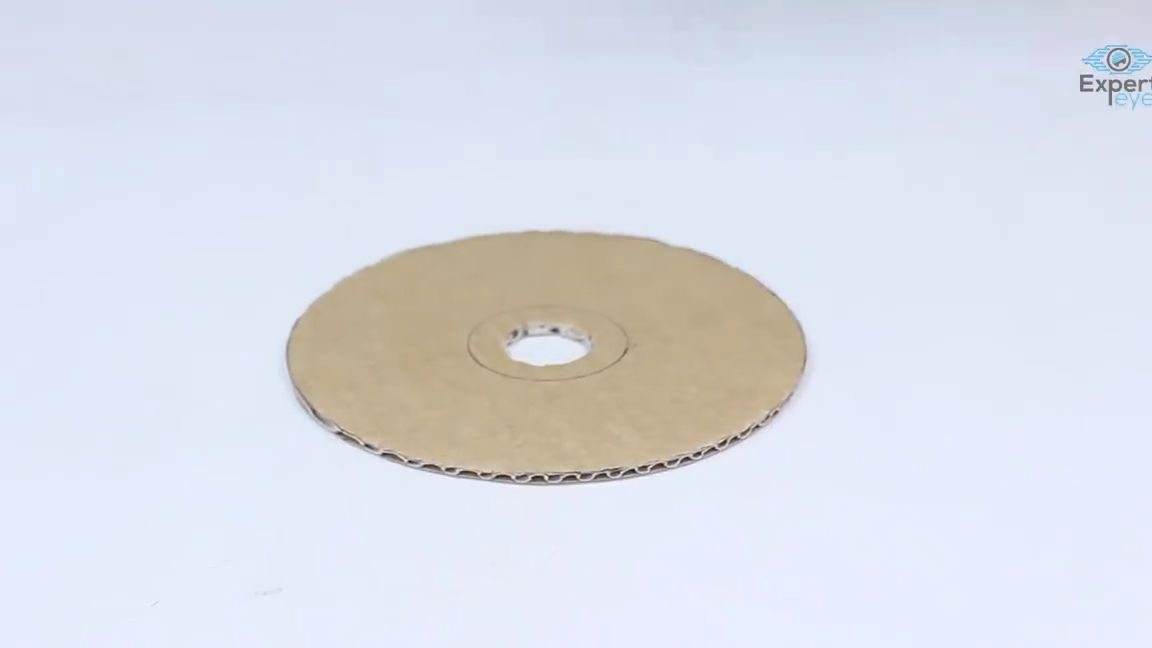
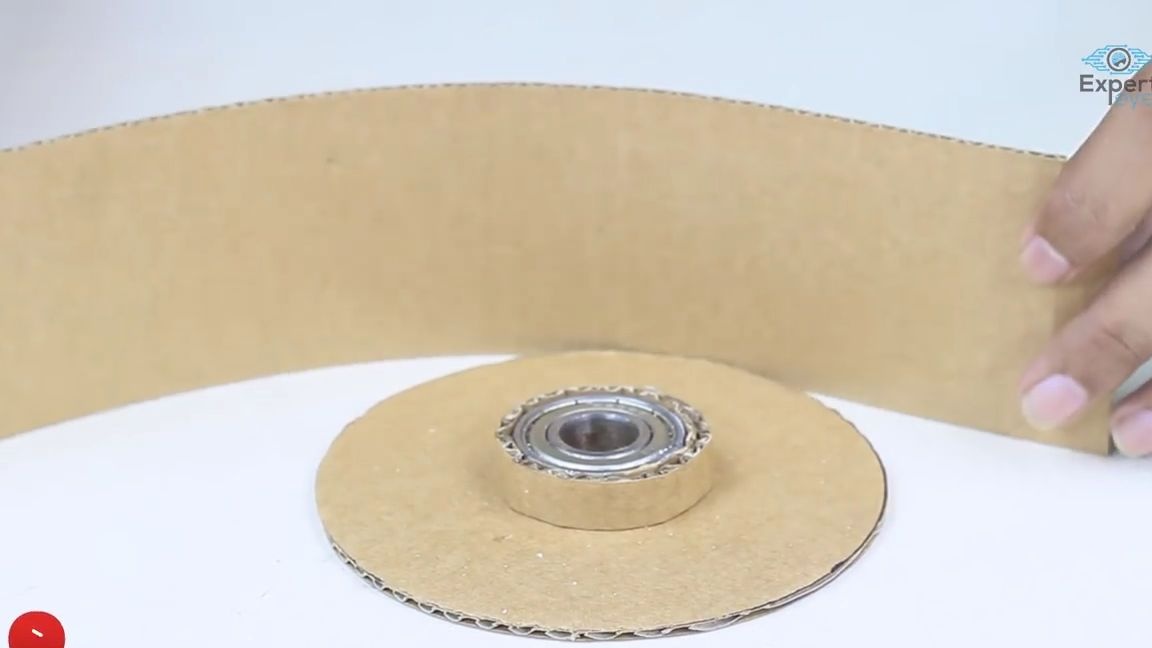
First of all, you need to cut a small circle from the corrugated cardboard with a hole cut in the center, the diameter of this circle should be slightly larger than the diameter of the grinding discs from the grinder you are going to use, there should also be a marking for the ball bearing around the hole:
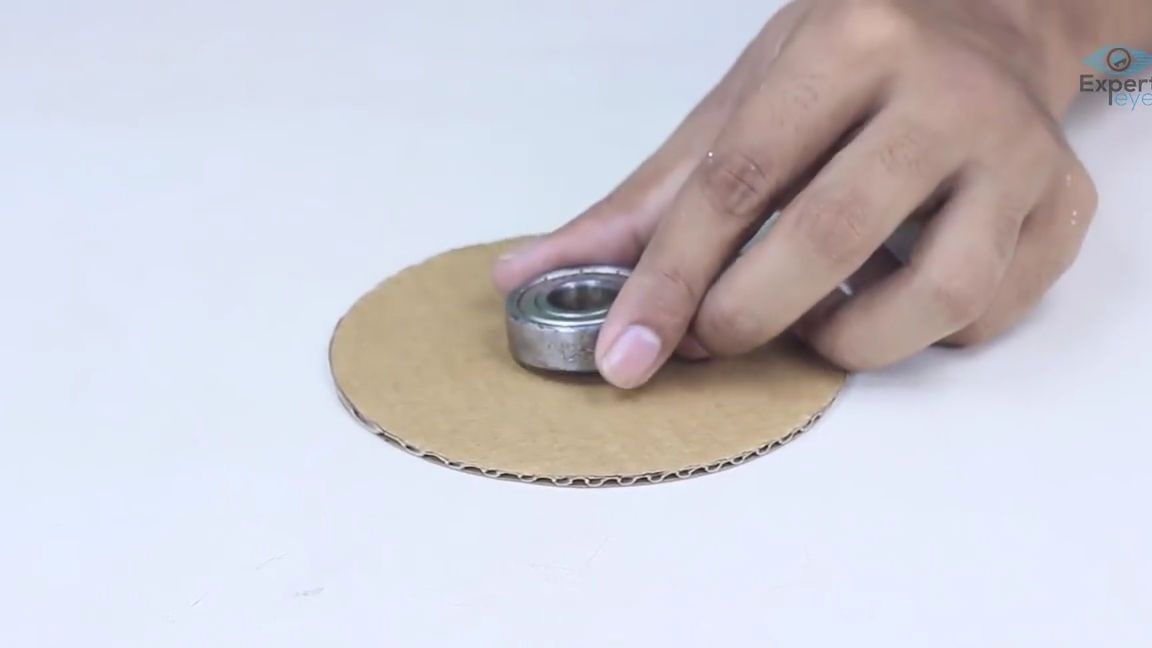
We install on the marking and glue the ball bearing as carefully as possible (you need to glue so that it can still rotate)
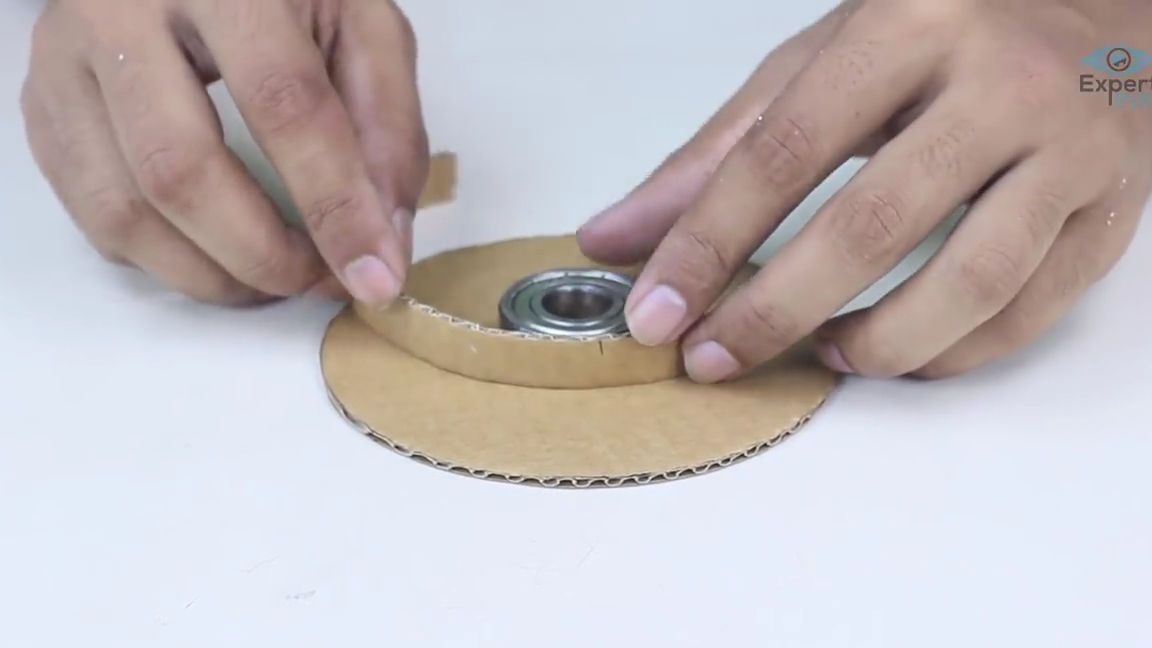
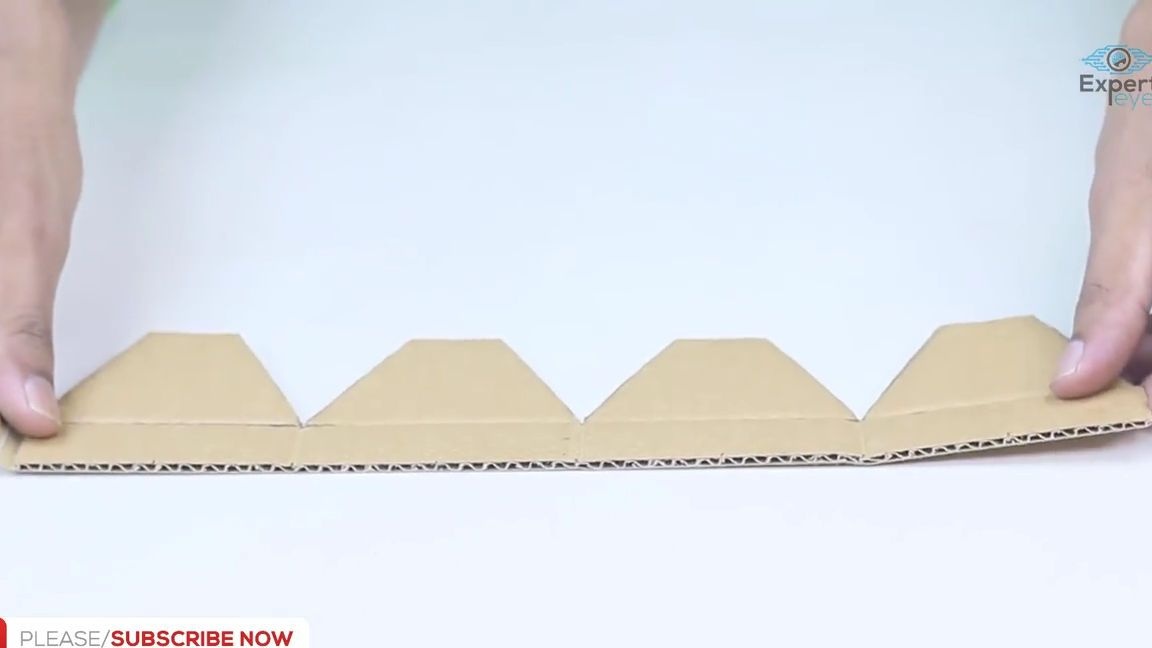
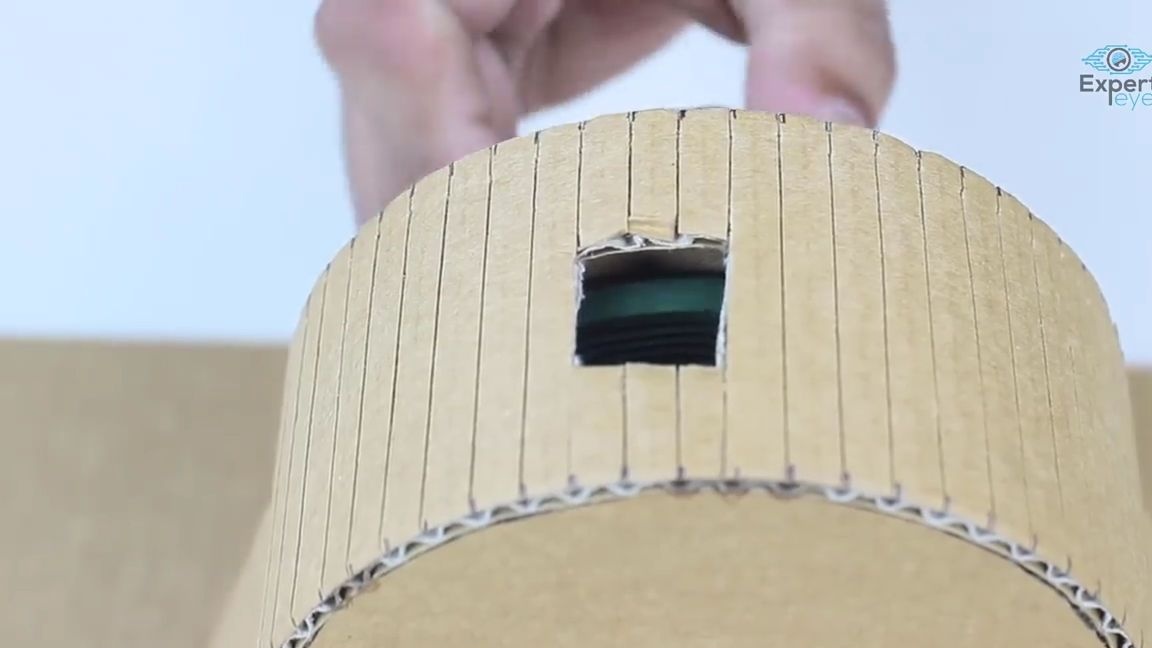
From the same corrugated cardboard we cut a small strip, its length should be equal to the circumference of the ball bearing, then at a distance of 4-5 millimeters do not deep cuts on the top layer of the cardboard, this must be done so that the cardboard becomes more flexible and can easily bend . We glue this workpiece to the ball bearing, as shown in the photo:
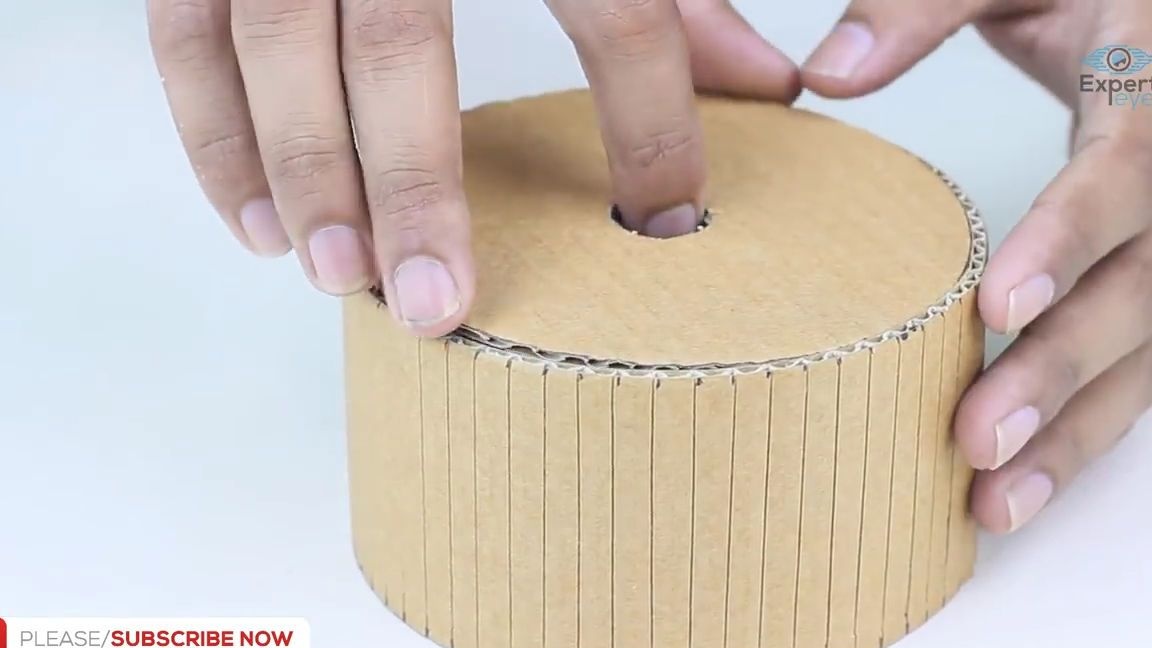
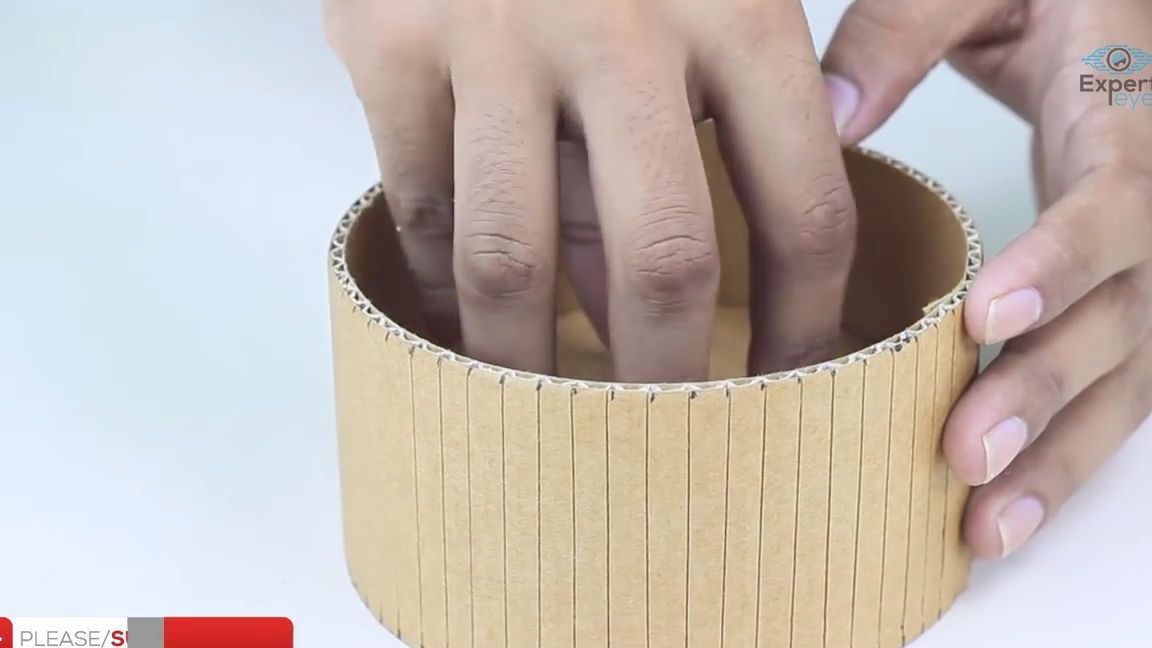
Now you need to make the side of the bobbin, for this, just cut out the rectangle from the cardboard of the right size and do the same manipulations with it as with the previous workpiece, and then glue it as follows:

Cut the circle from the corrugated cardboard as for the first time, and glue it to the bottom of the bobbin:
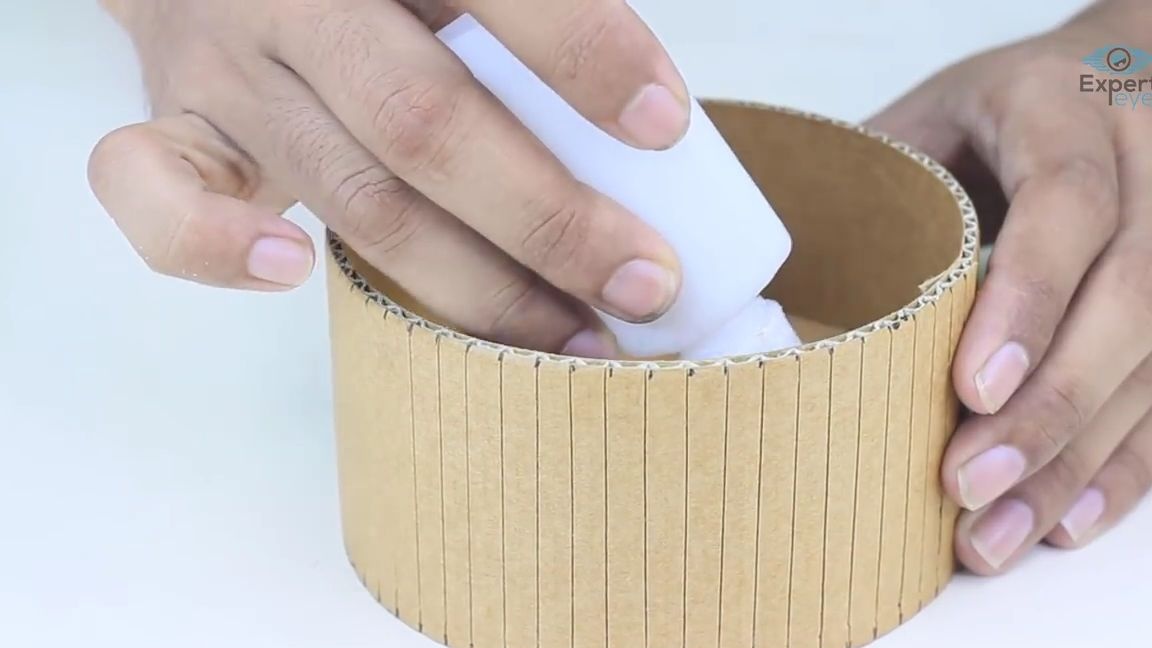
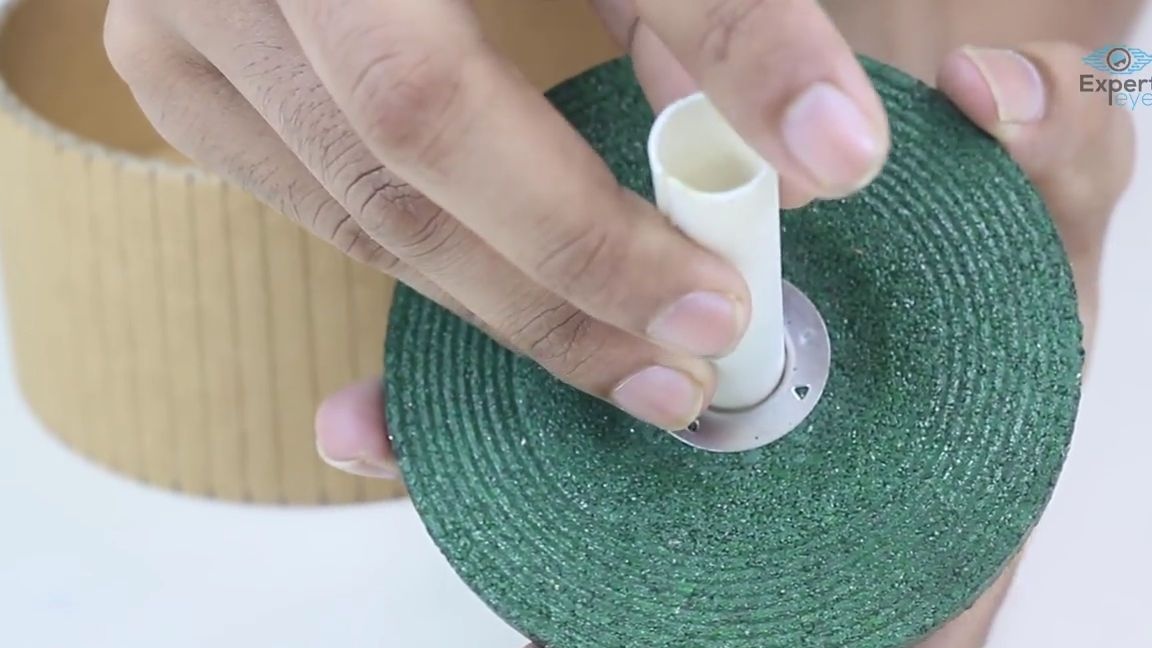
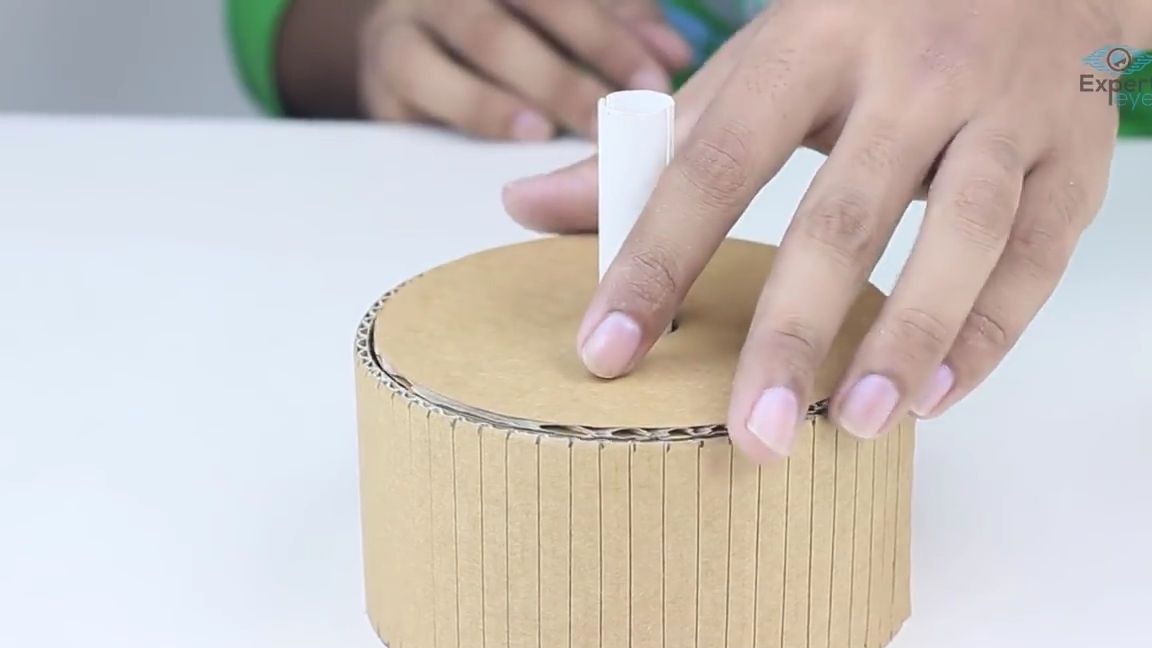
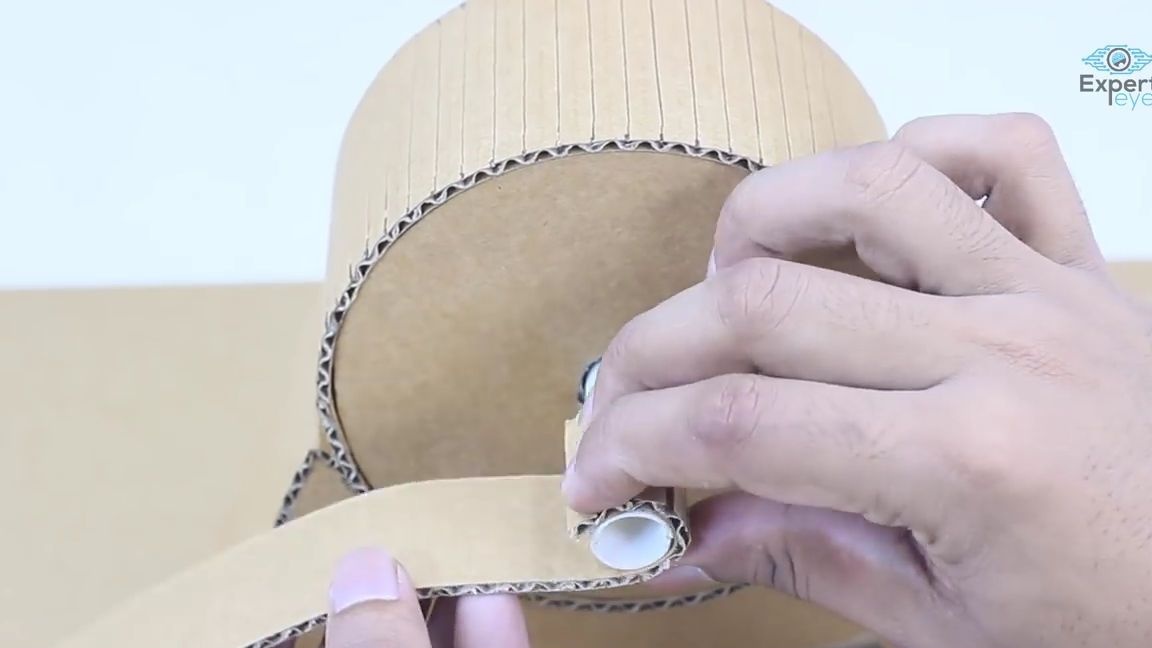
Now we take a disk for grinding or sharpening and insert a hollow plastic tube in its center:
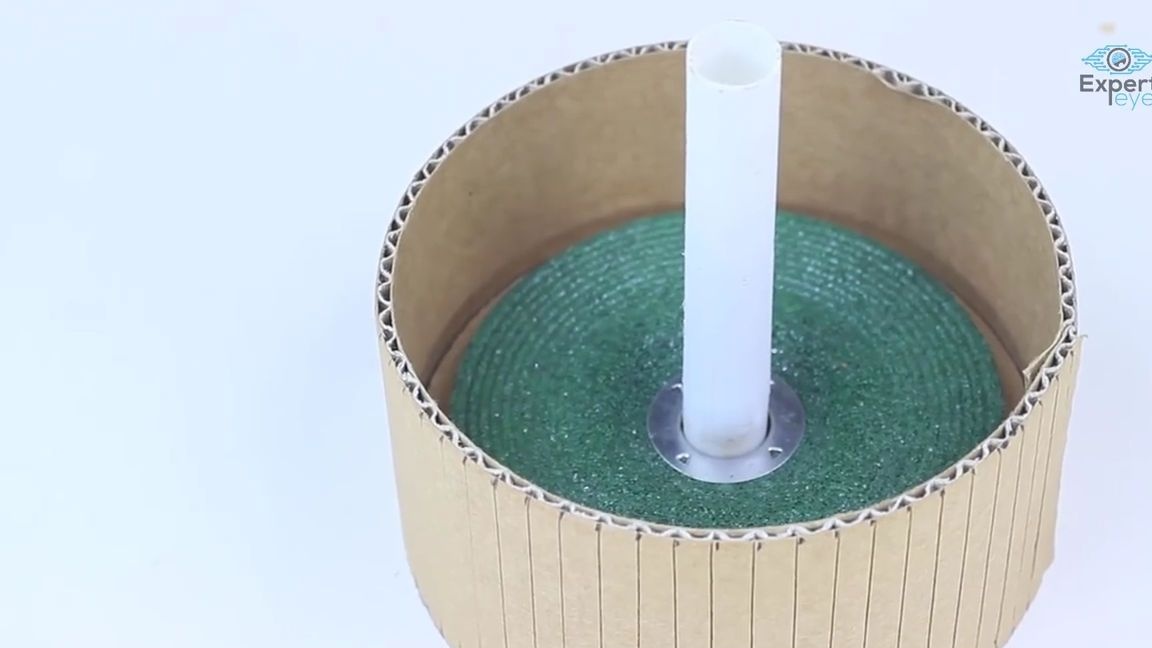
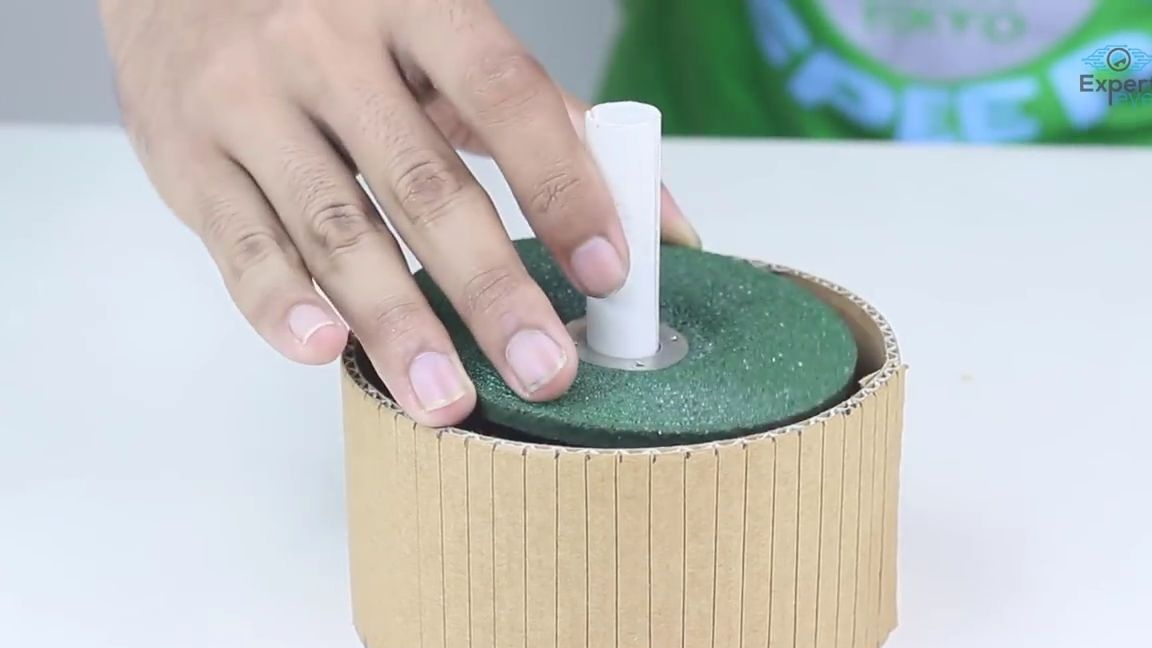
We insert the whole thing into the hole of the ball bearing as shown in the photo:
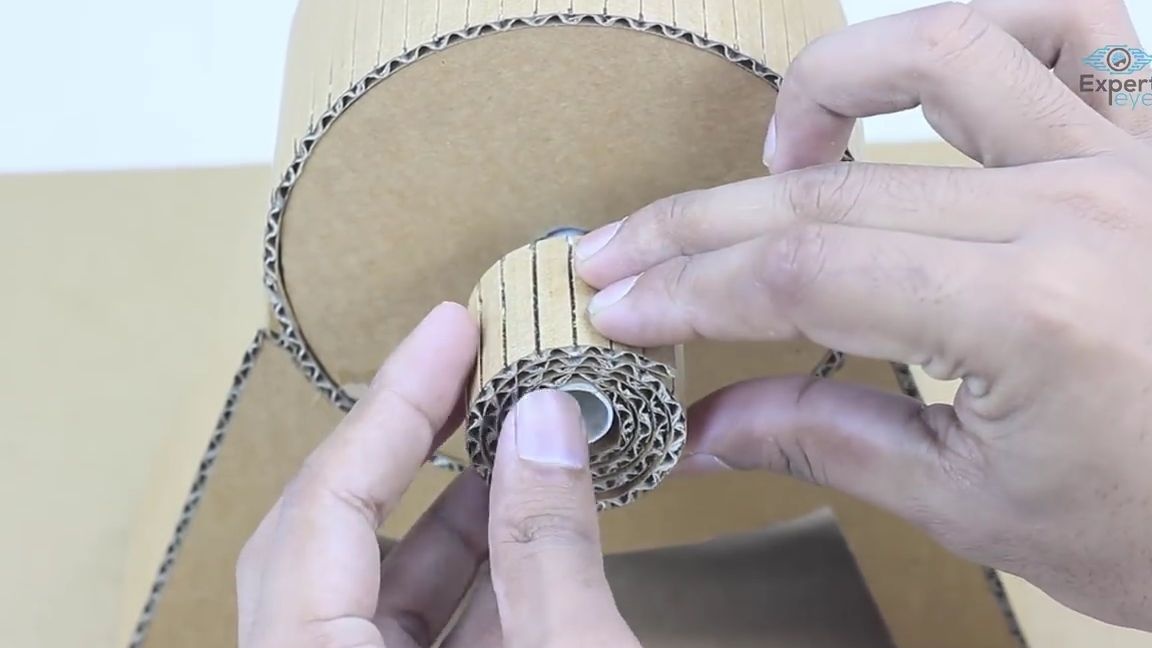
On top of the first disk, put on the second exactly the same disk, we get a kind of sandwich:
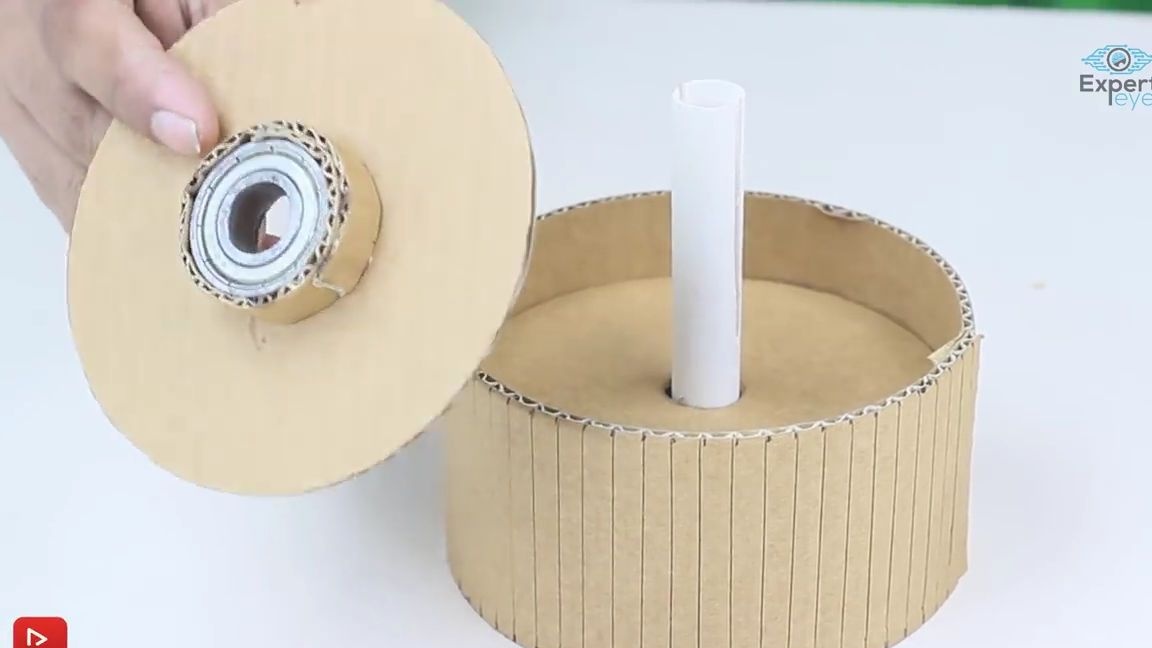
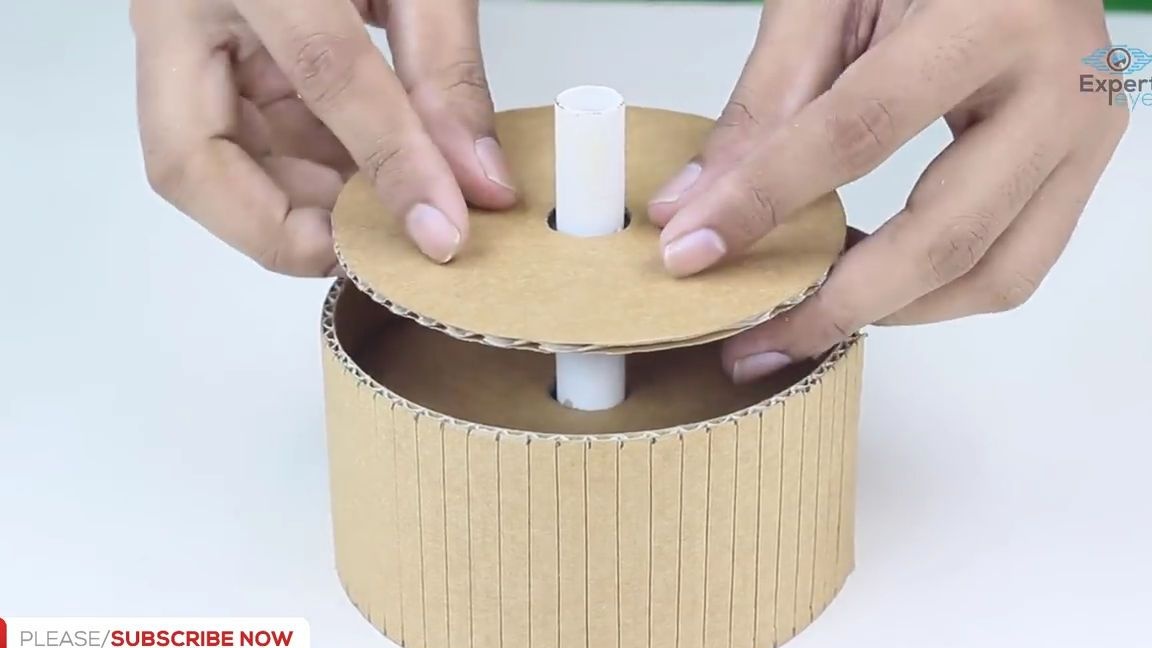
On top of this sandwich we put on another cardboard disk with a slotted hole:
Glue the ball bearing onto the exact same disk as the previous one, around which a cardboard strip with slots should also be glued, well, then cover the whole sandwich with this blank and glue it:
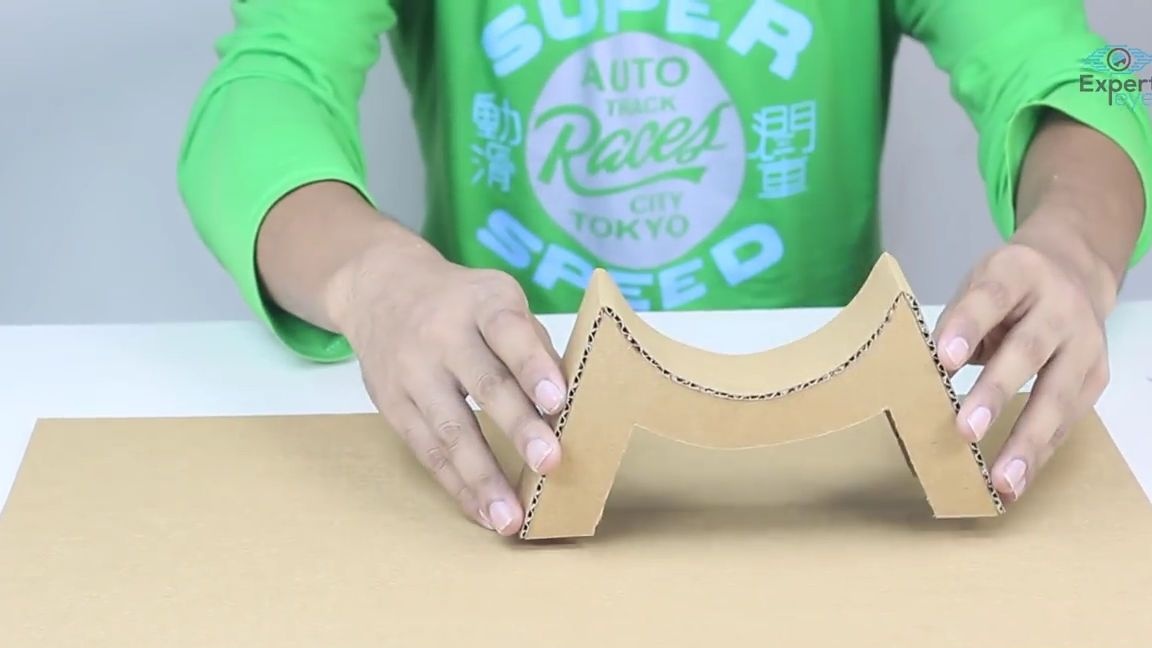
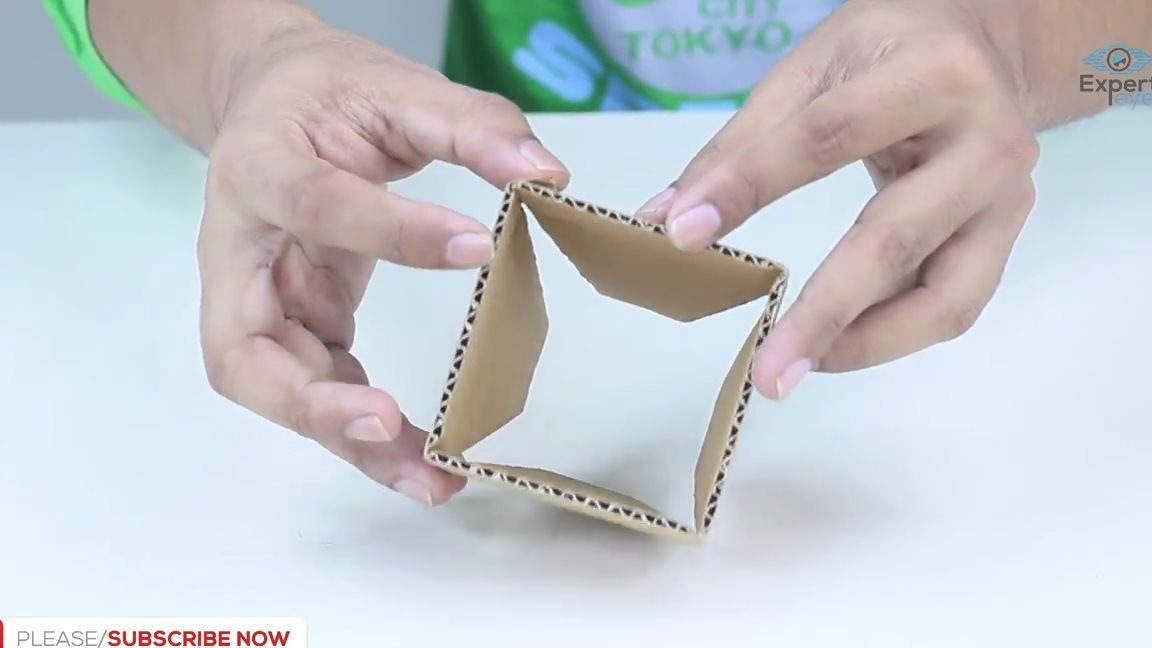
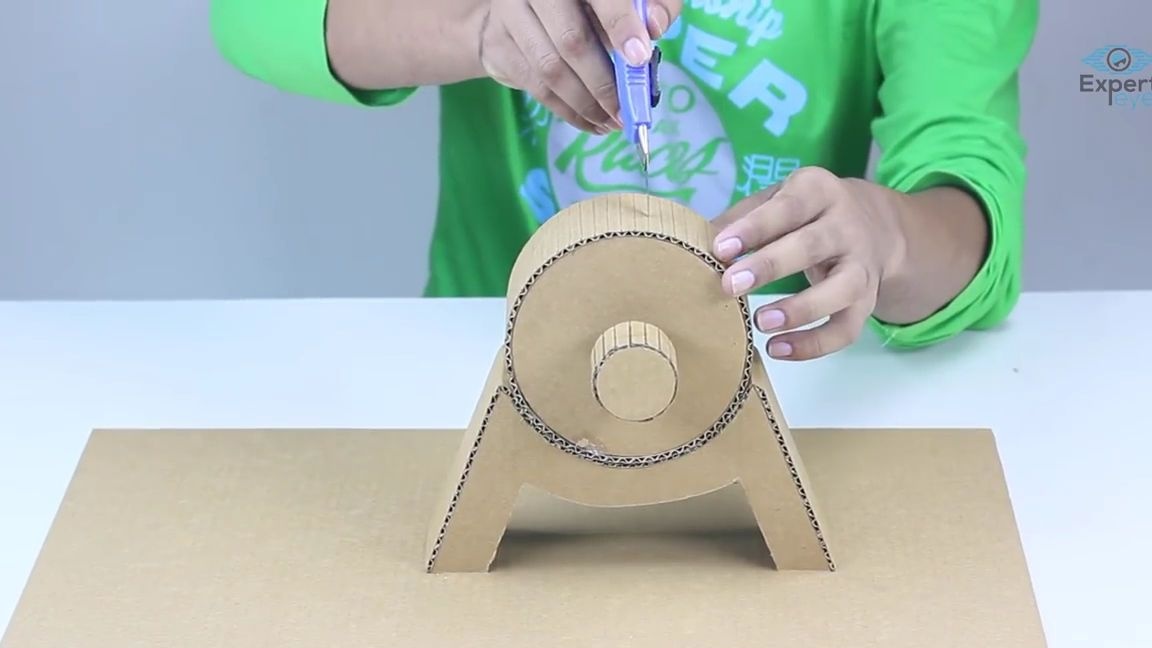
From corrugated cardboard, it is necessary to cut out such a detail here, and in duplicate:
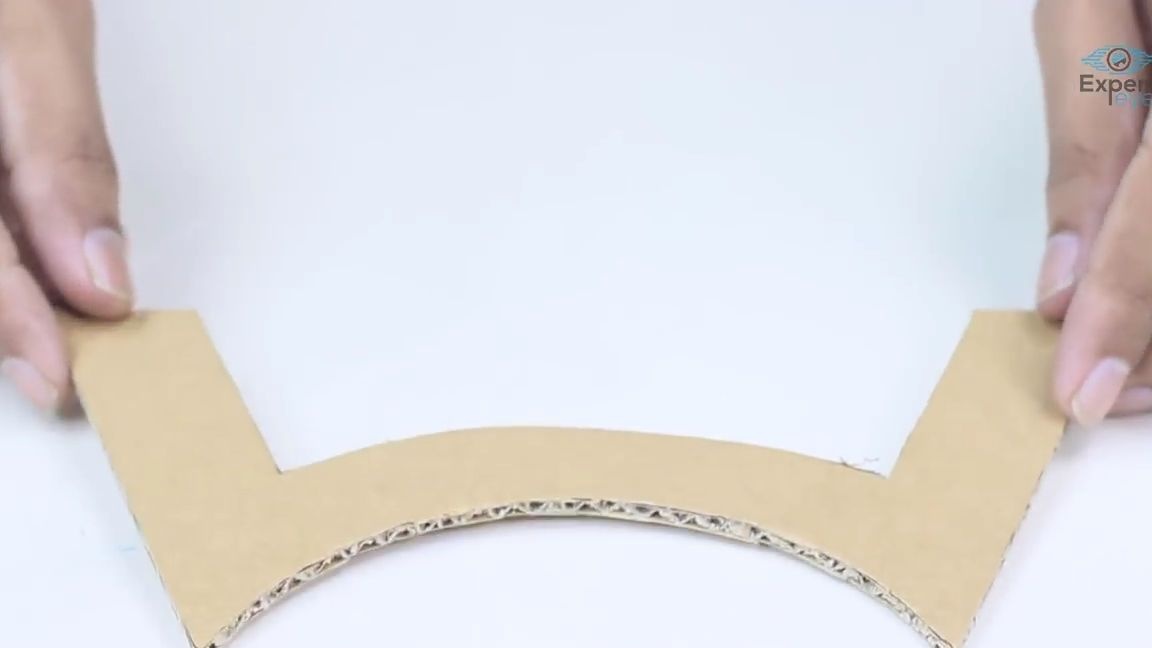
Glue a cardboard part to its “edge”, on which cuts should be made on the upper part for flexibility:

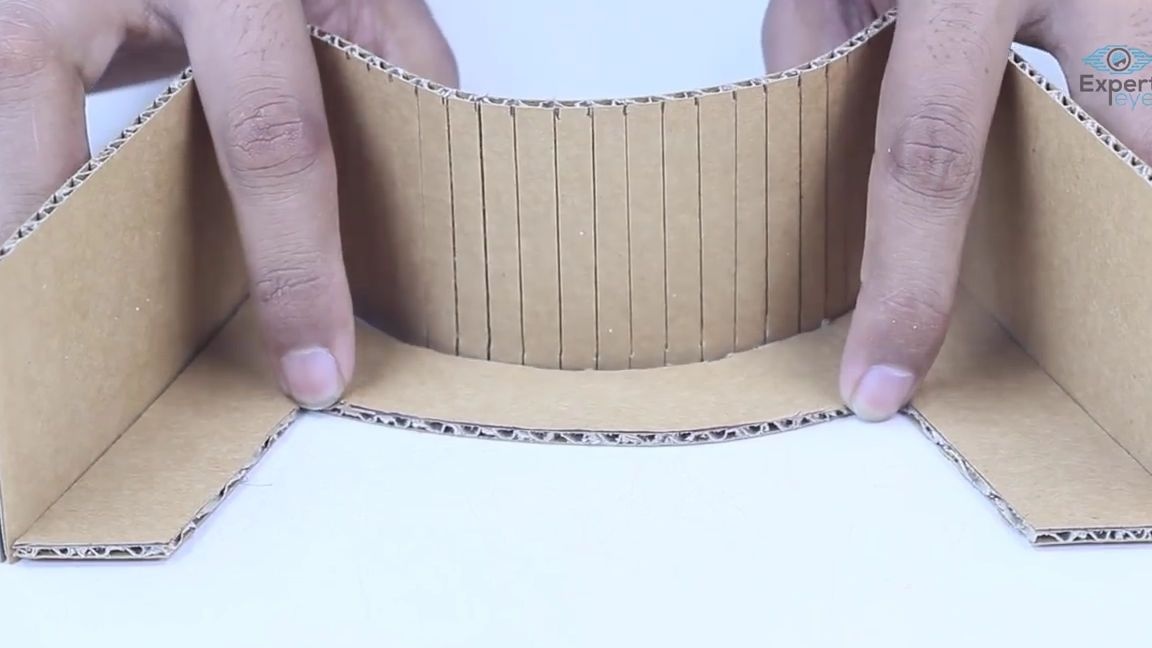
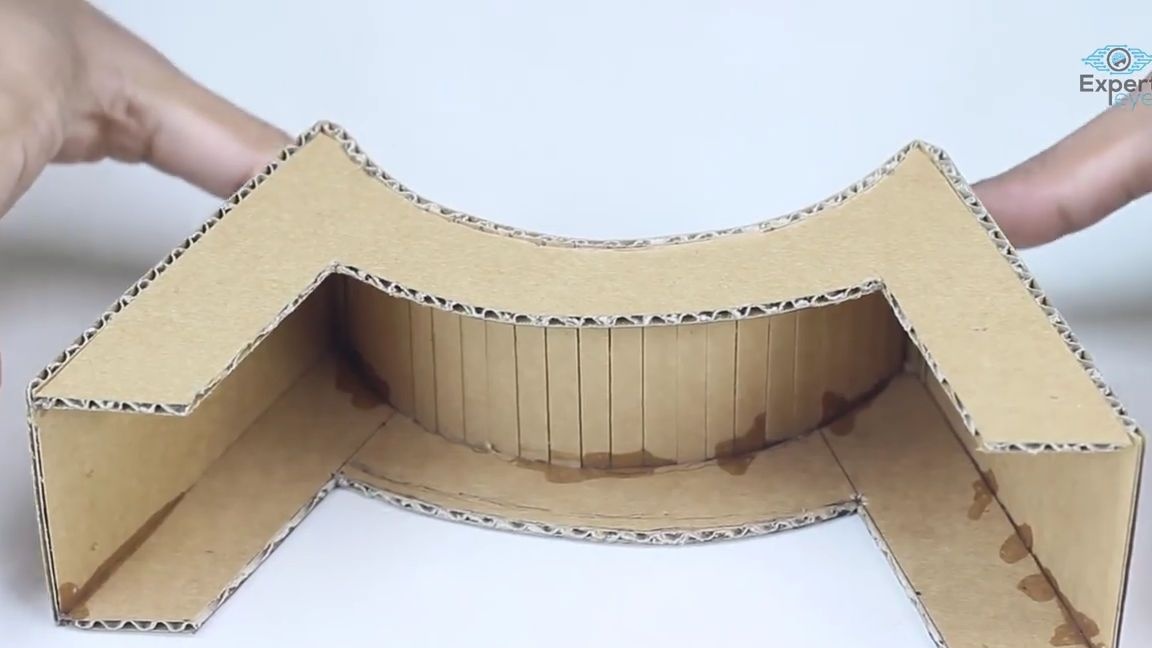
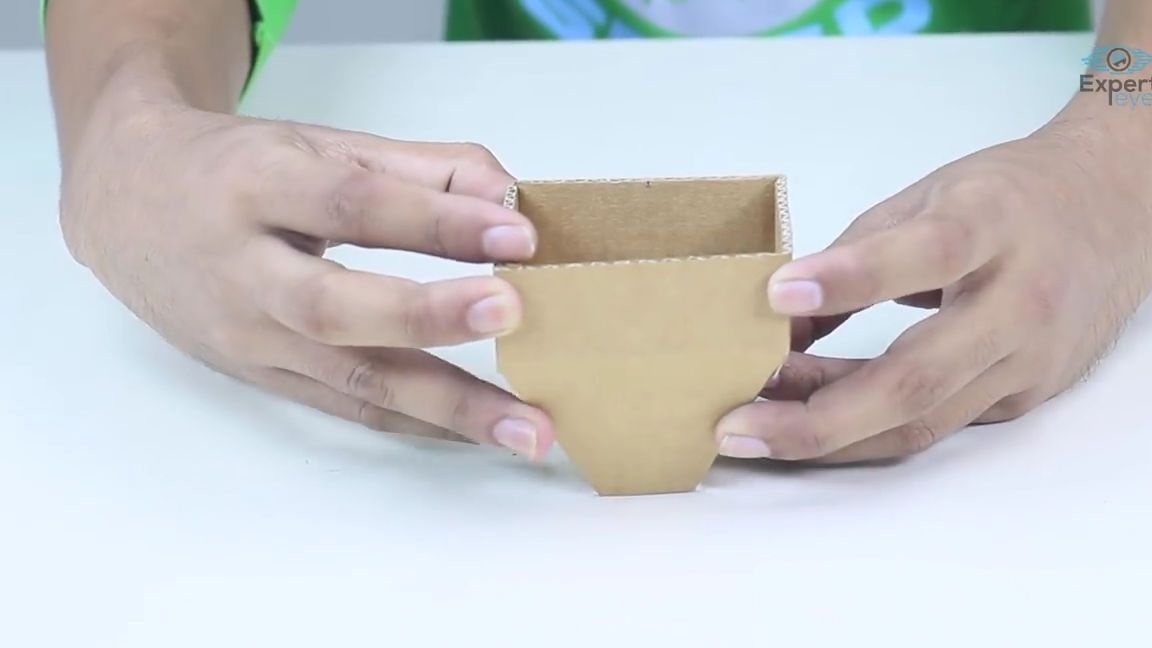
Well, on top we glue exactly the same detail that we did earlier, you can do this with both glue and super glue:

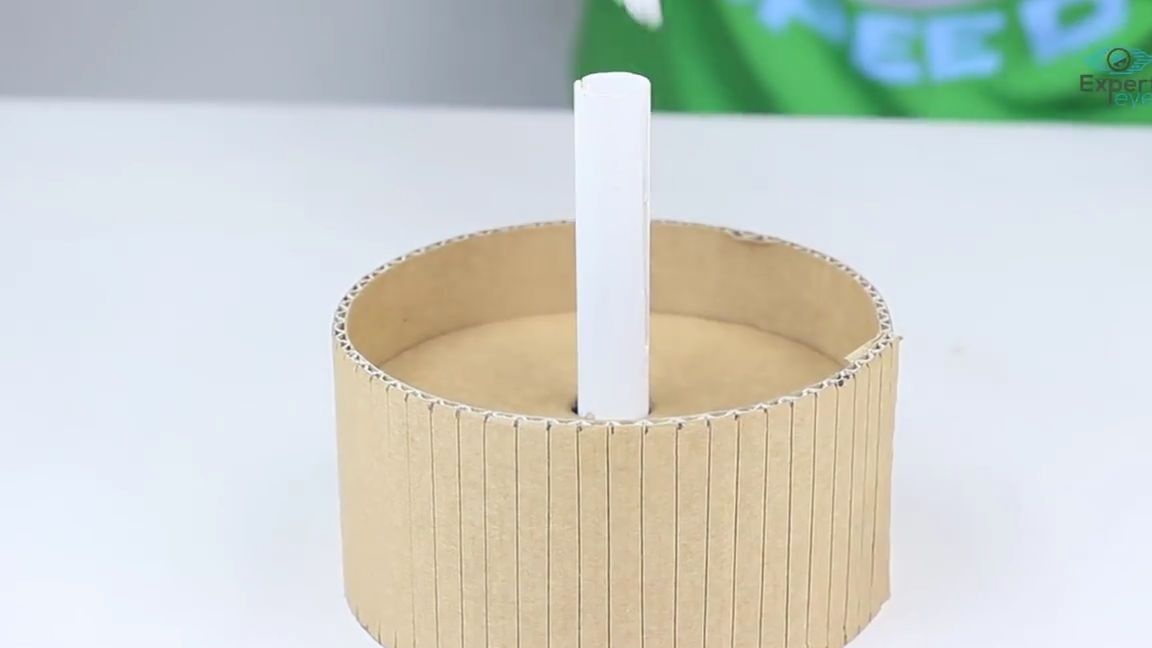
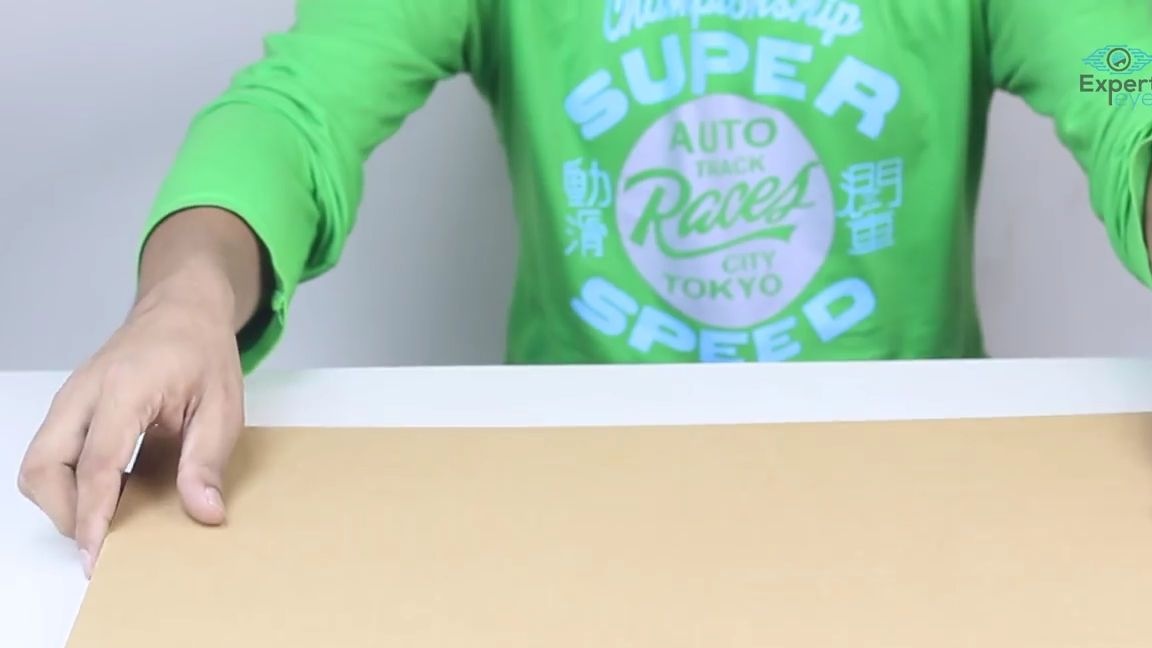
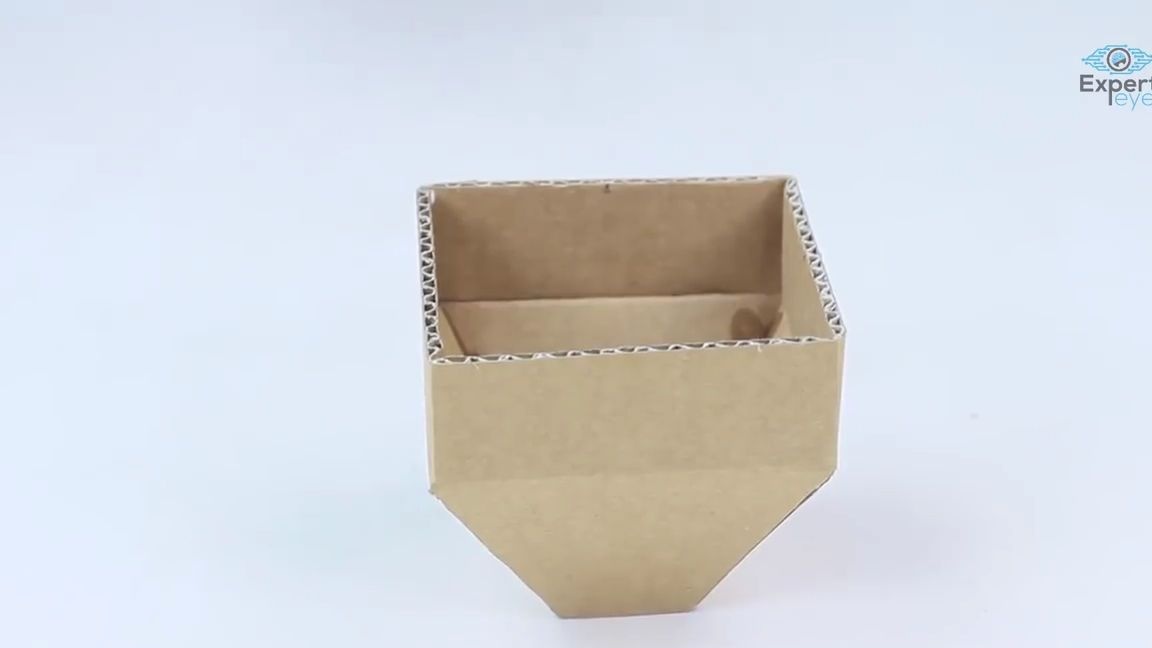
We take a large sheet of cardboard on which the structure itself will be located, and install the previous blank on it, on which, in turn, we install and glue the bobbin:

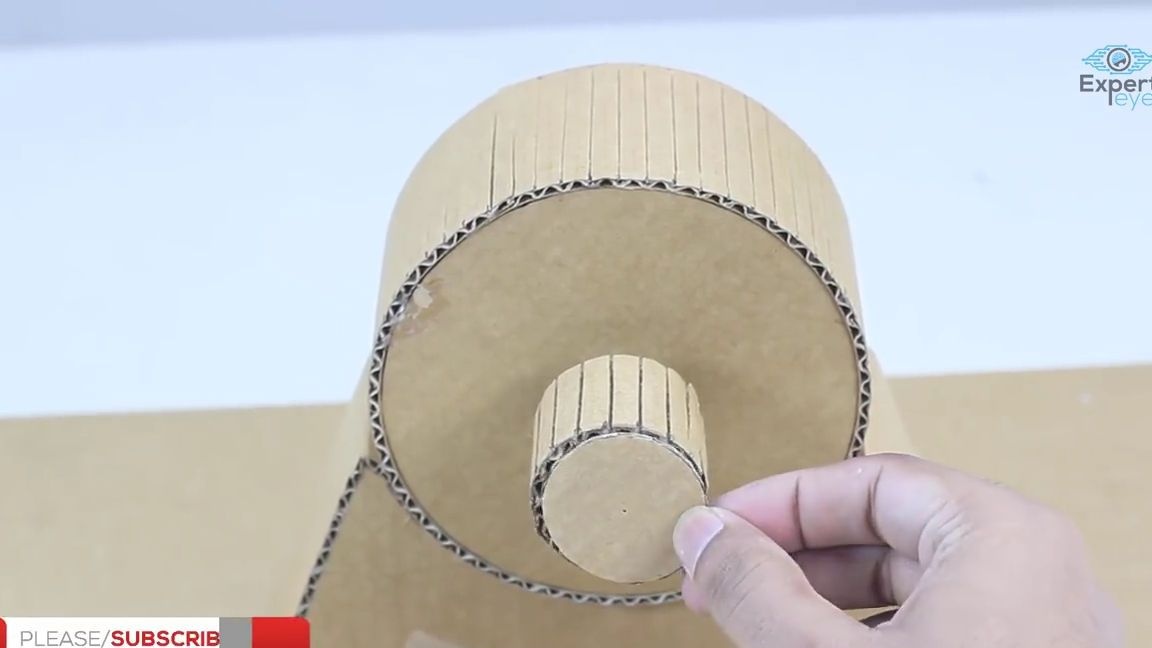
On the bobbin axis (that is, on a plastic tube) we wrap a strip of corrugated cardboard with pre-made cuts for flexibility, you should get a certain block:
Glue a small circle of cardboard on the side of the block:
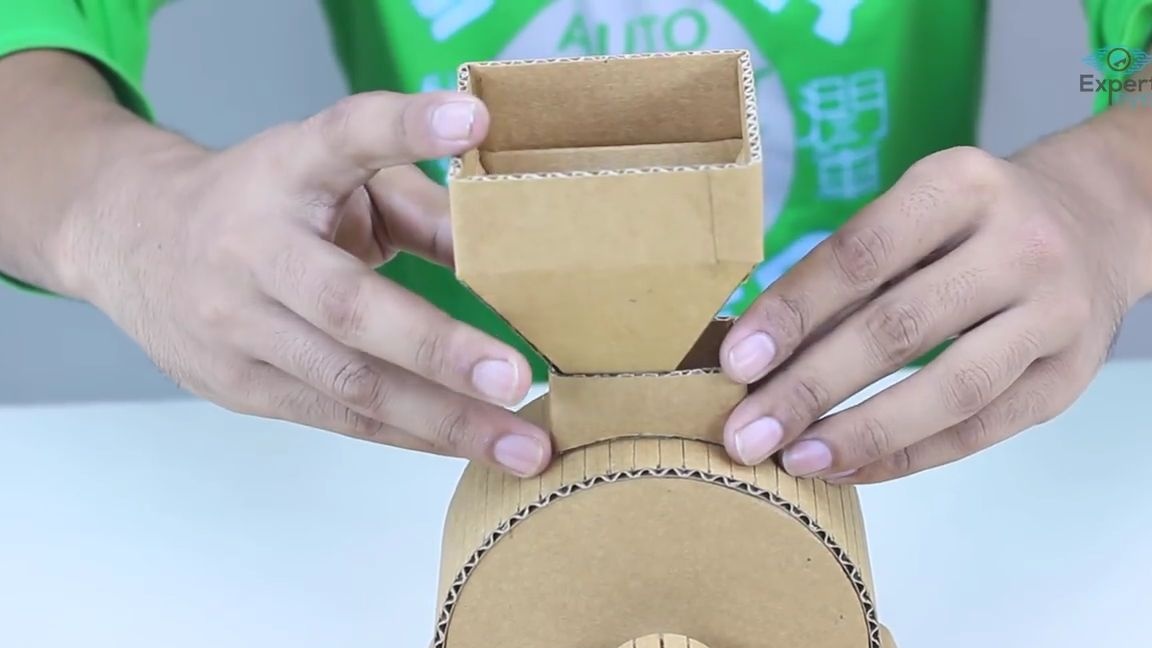
Now, from our favorite corrugated cardboard, we need to cut this one out here, from which it is necessary to glue, something like a funnel:
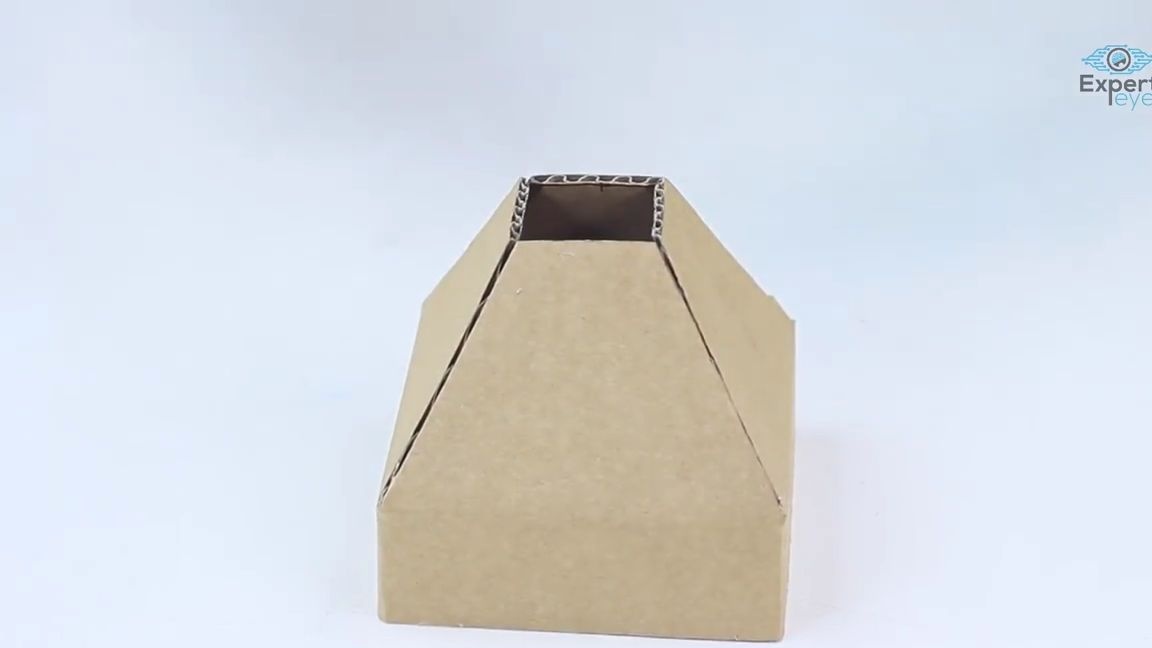
We attach a cardboard part to the end of the funnel, it is necessary to control the flow of grains in
Grinding reel:
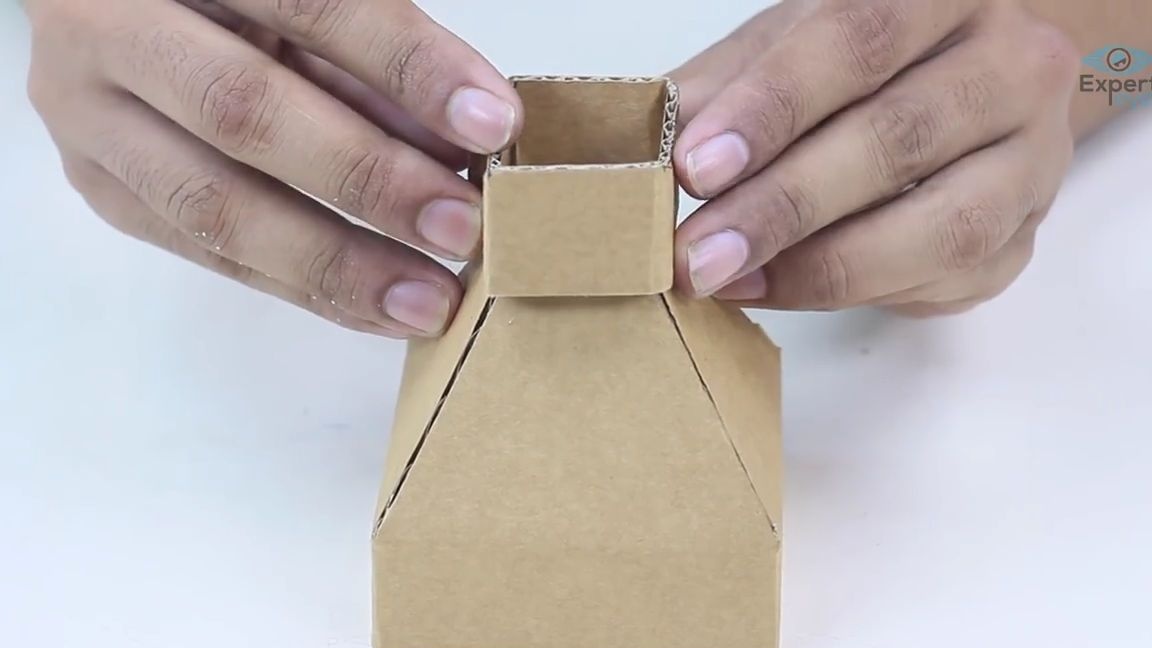
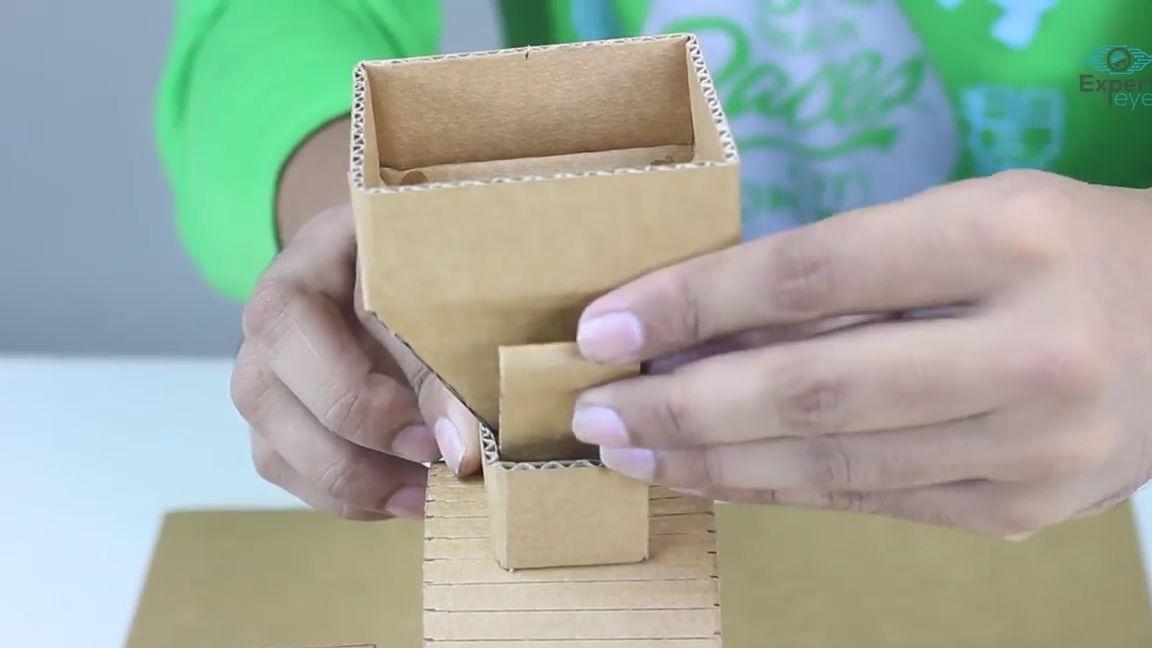
Using a clerical knife on the top of the bobbin, we make four cuts, on which we need to glue our previous workpiece, all this must be done accurately and accurately so that there are no different wastes from the desired hole:
We install a cardboard rectangle to control the flow of grain into the bobbin, at the end of this rectangle you can stick for convenience, something like a pen:
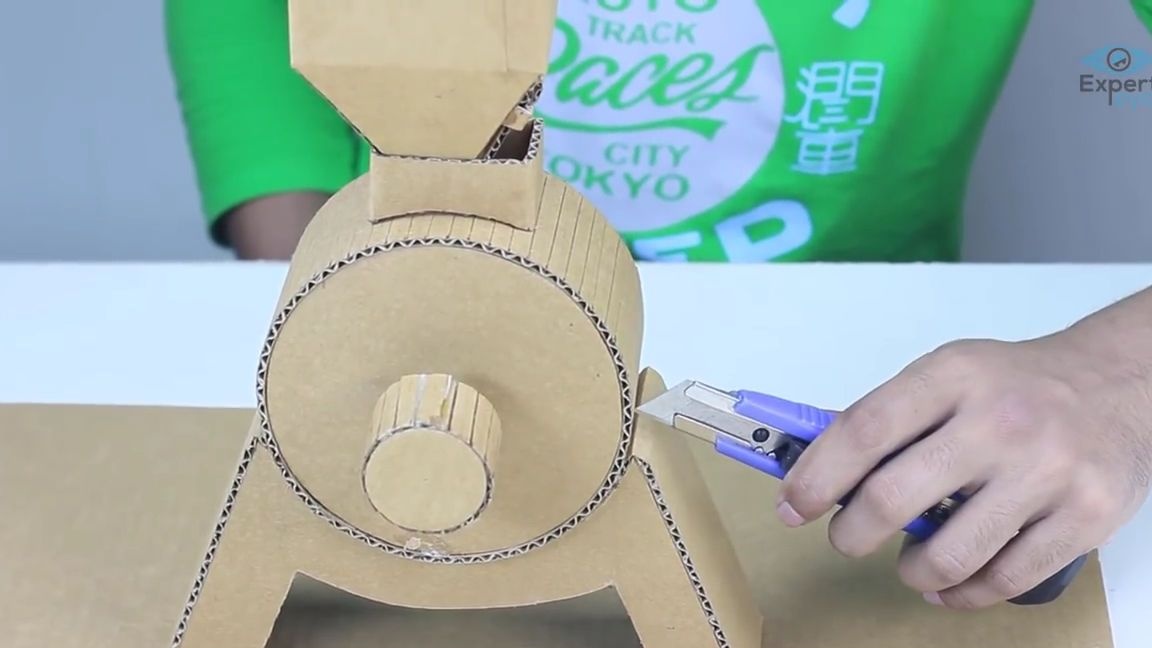
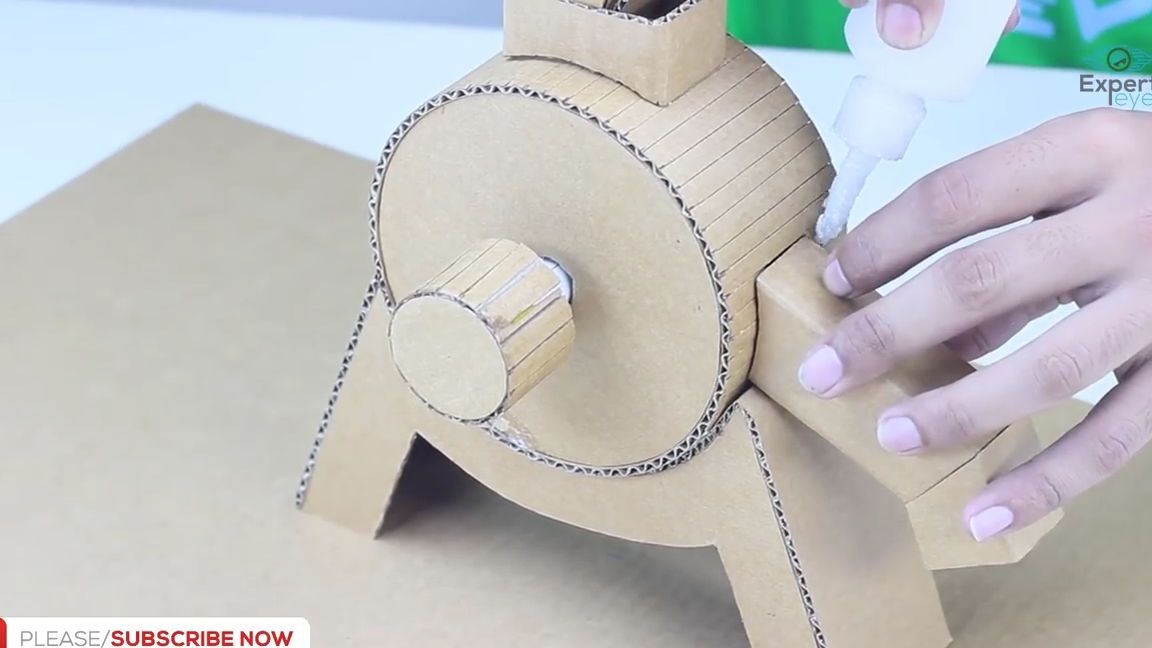
On the side of the structure, we also make incisions to make a hole for the flour to exit, it is necessary to glue a cardboard tube on this hole, for the convenience of collecting flour:
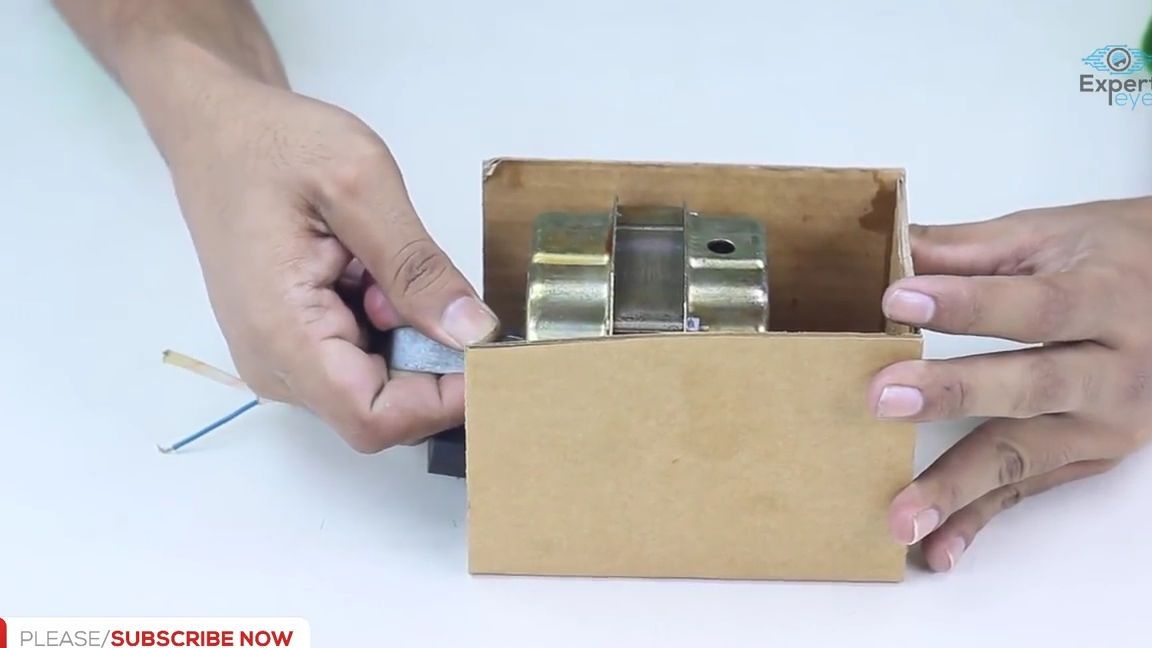
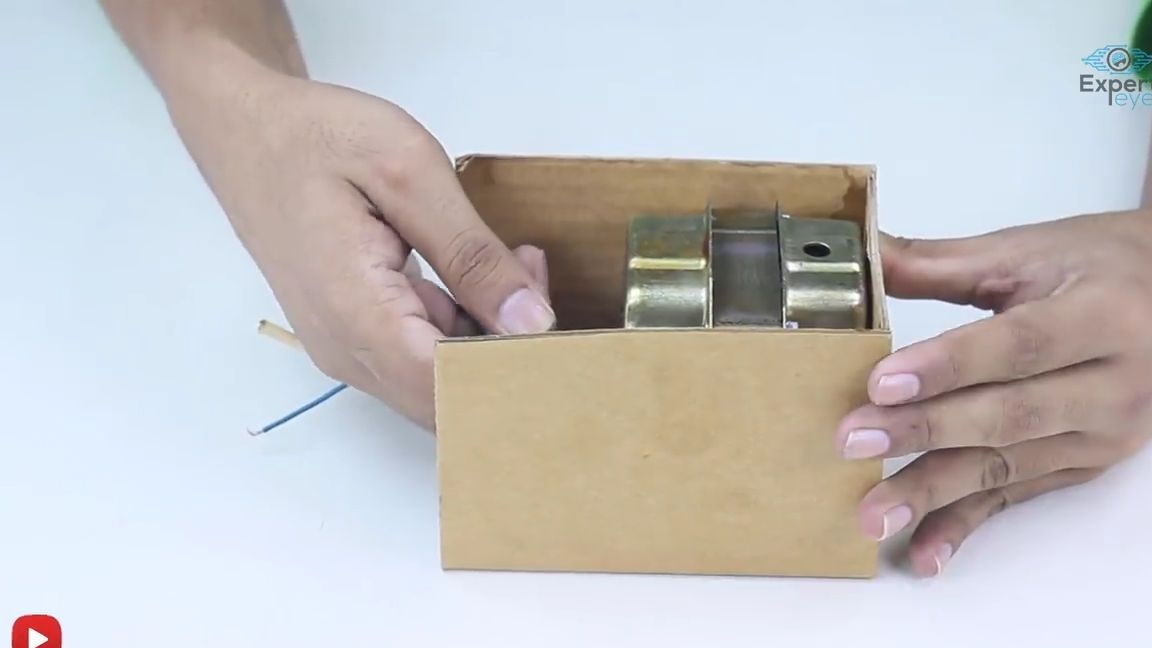
Then we cut and glue a rectangular box from cardboard, but without two sides: top and side. Cardboard for these purposes is better to take a double.
After gluing the box into it, it is necessary to install an electric motor, and insert its shaft into the hole previously made under it from the side of the structure:
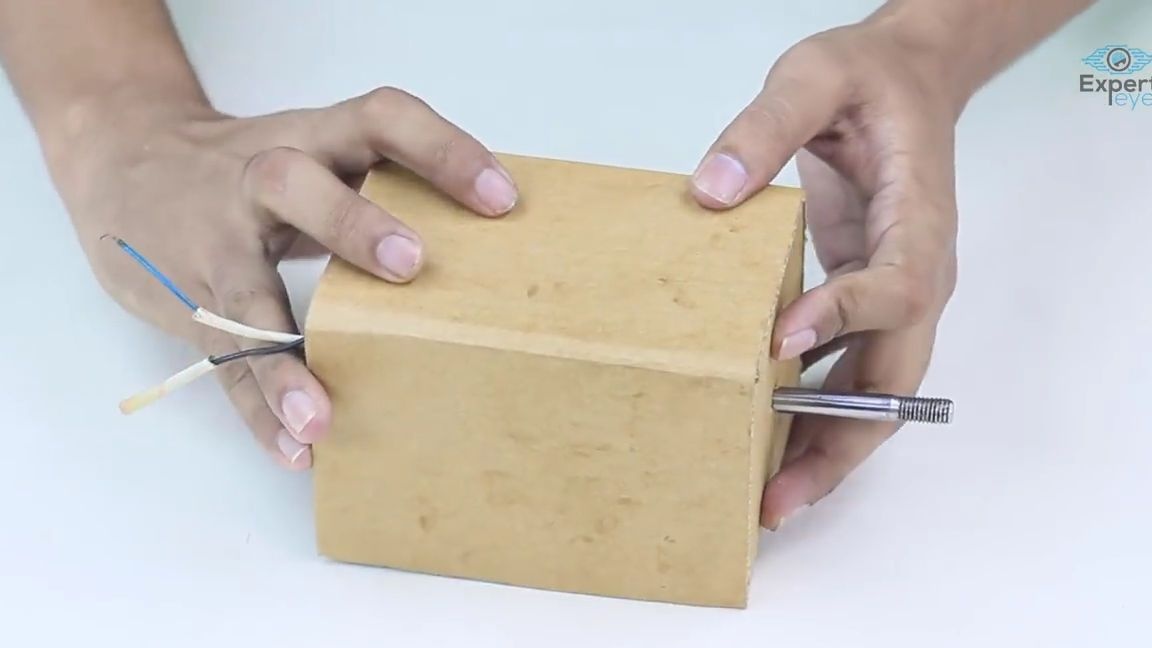
In the upper part, you need to drill a small hole for a variable resistor, insert its handle there. After it, we pick up the soldering iron and solder the variable resistor to the motor so that it can regulate the voltage supplied to it, and the electric motor, in turn, is connected to the power supply, preferably with thick insulated wires:
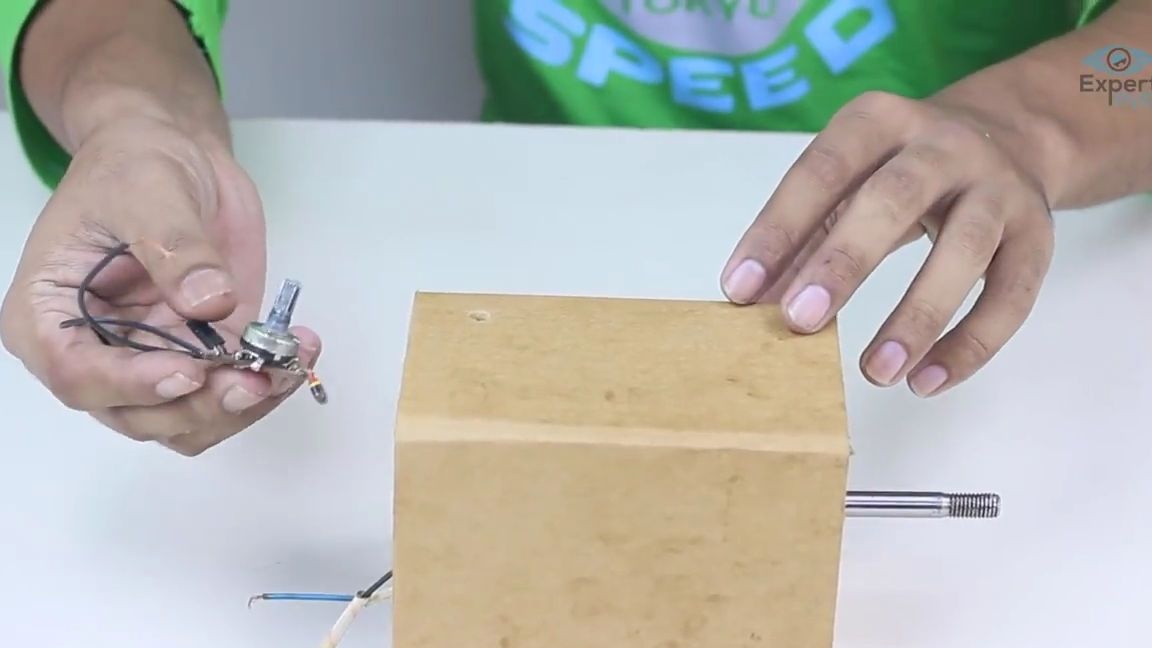
Glue a small cardboard wheel on the handle of the variable resistor, for ease of control:
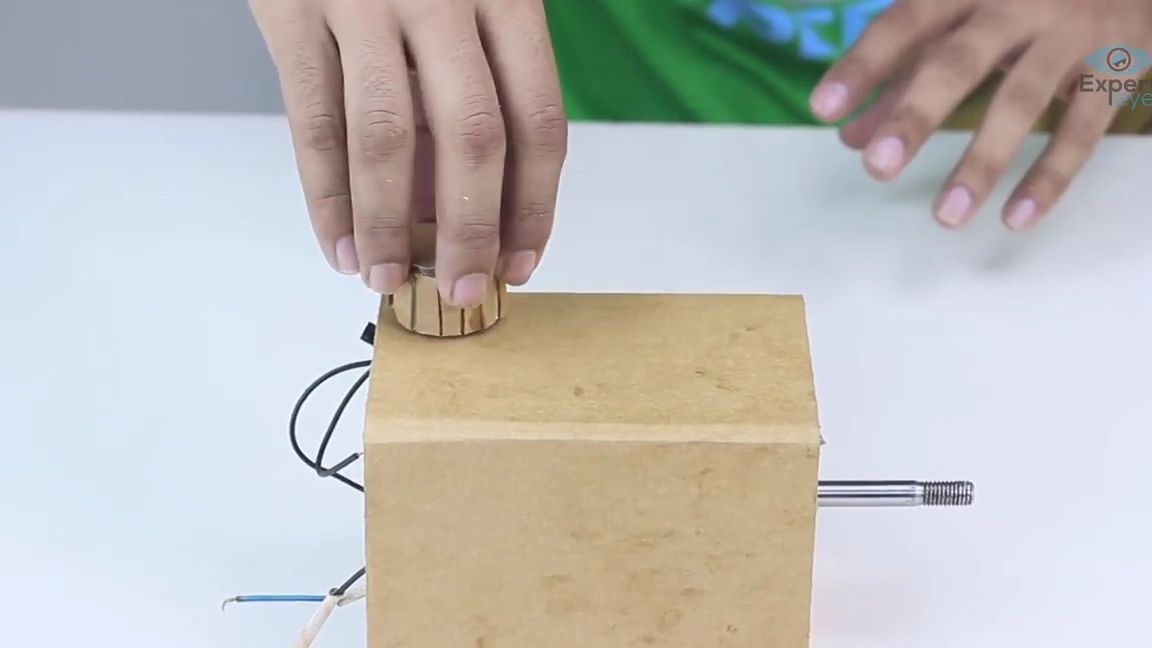
We install and glue VTB this blank on a common base, as shown in the photo below, on the motor shaft it is also necessary to glue a block of cardboard flat, as on the first blank:
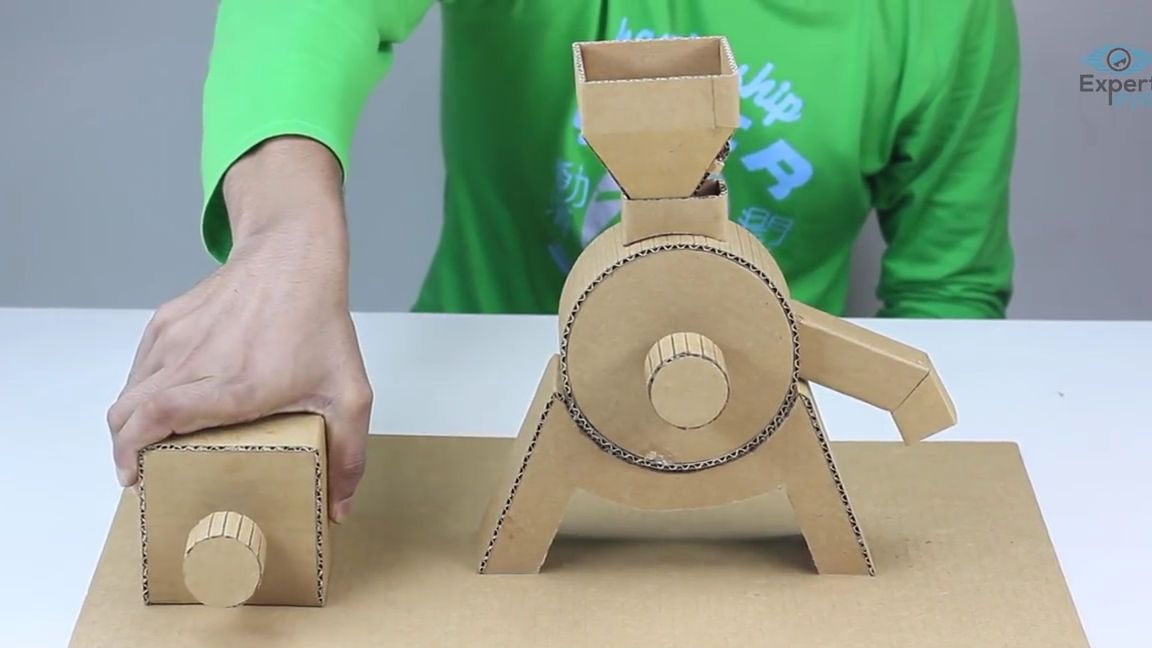
Now we put on a fitted tape from cardboard or paper on these two blocks as follows:
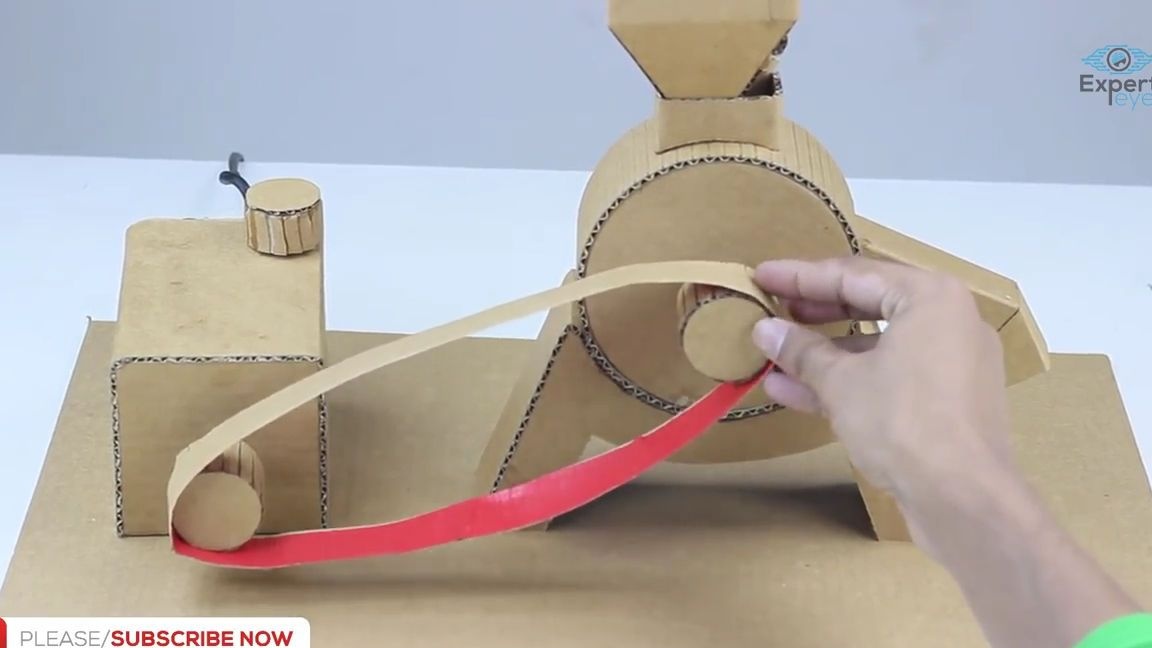
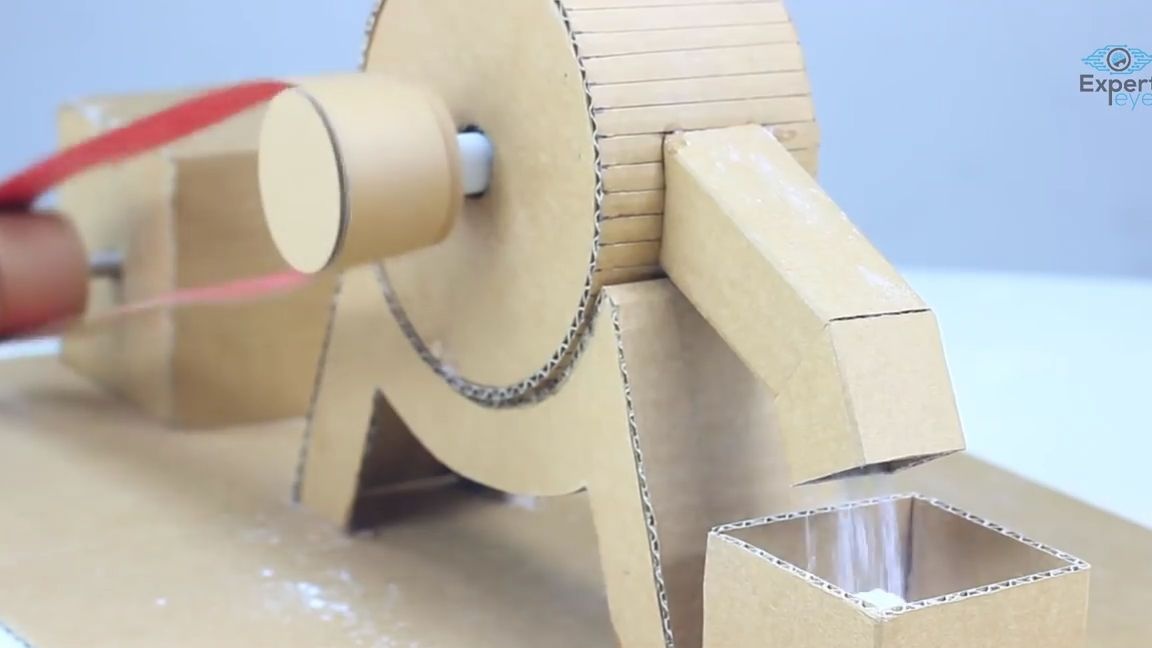
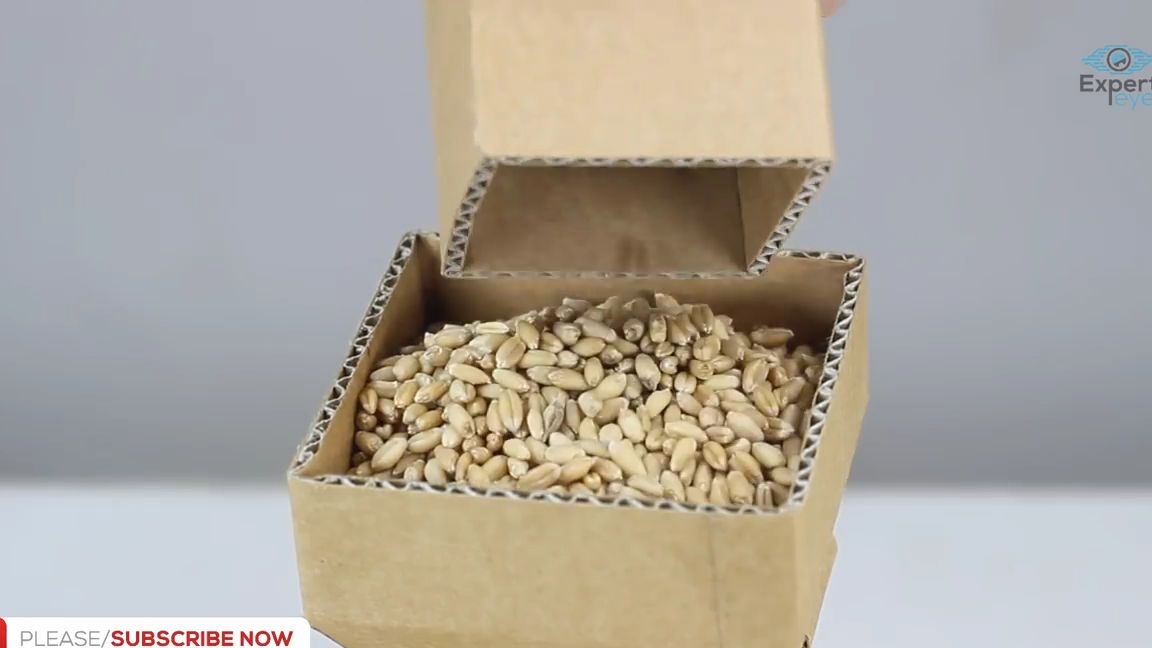
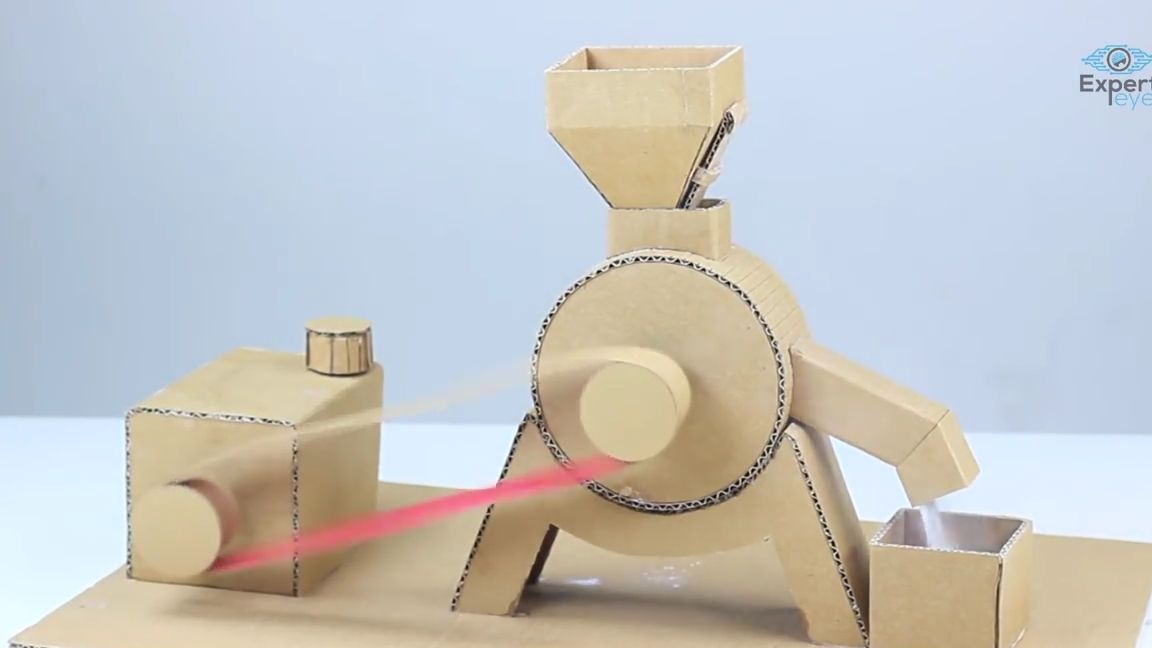
That's it! A simple and miniature electric mill is ready and it remains only to test it. To do this, we simply pour almost any grain into the funnel, substitute a small container under the collecting tube into which you would like the flour to pour, turn on the electric motor, adjust the rotation speed and open the damper to the funnel. After that, the grain will fall into the bobbin, where it will be ground into flour.
I think there is no need to explain that fingers and other parts of the body should not be stuck in the bobbin - this can lead to bad consequences.
Homemade is quite interesting and useful in everyday life, I hope many will appreciate it.

Here is a video from the author with a detailed assembly and testing of this homemade product:
Well, thank you all for your attention and good luck in future projects, friends