

Hello to all lovers homemade. In this article I will tell you how to do electronic hourglass do it yourself, in the assembly of which the kit kit will help, you can order it by the link at the end of the article. This radio designer will be useful for those who first start working with a soldering iron and want to gain experience in this area.
Before you start reading the article, I suggest watching a video with a detailed process of assembling this kit kit and checking it for performance.
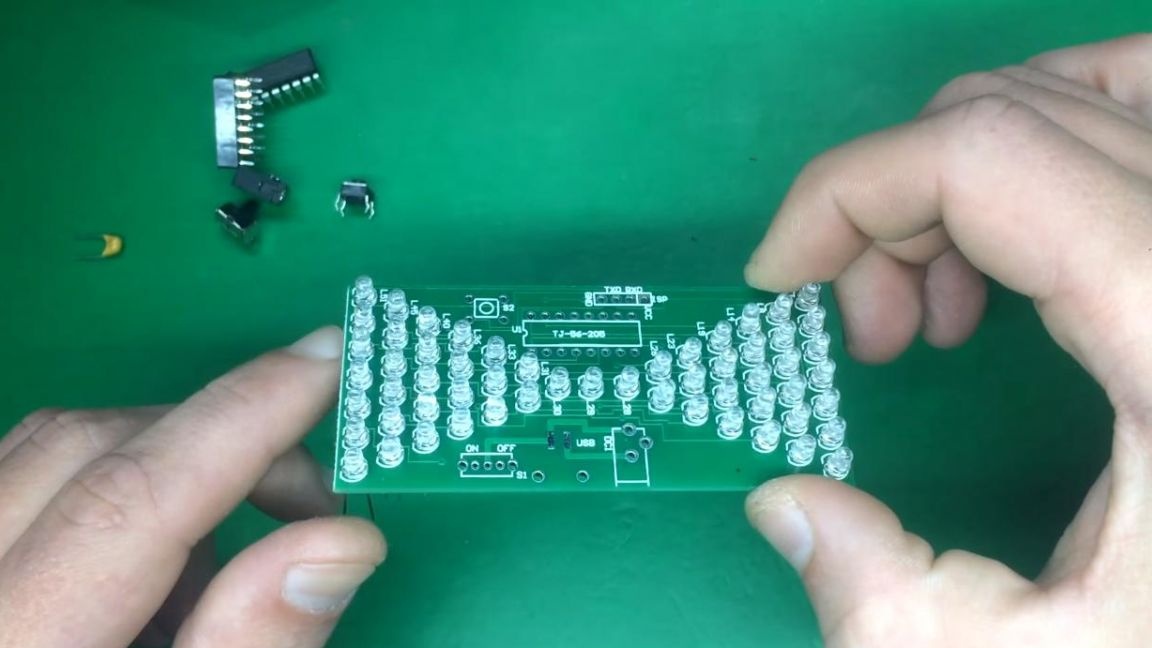
In order to make an electronic hourglass with your own hands, you will need:
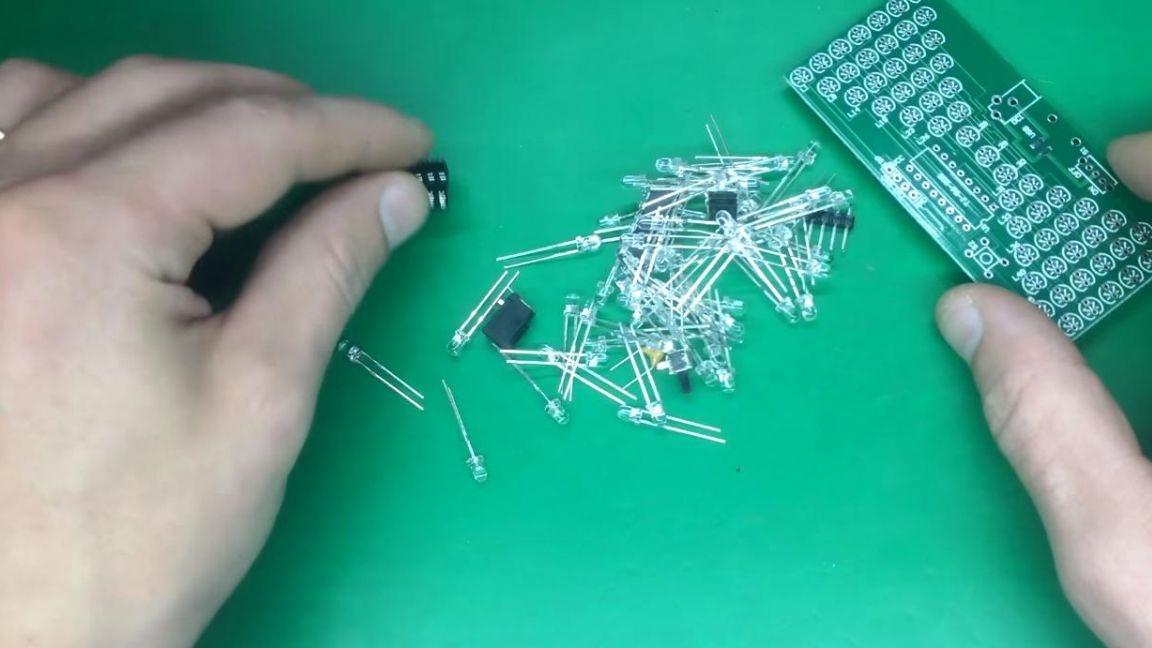
* Kit
* Soldering iron, flux, solder
* Side cutters
* Power supply for checking ready-made kit
Step one.
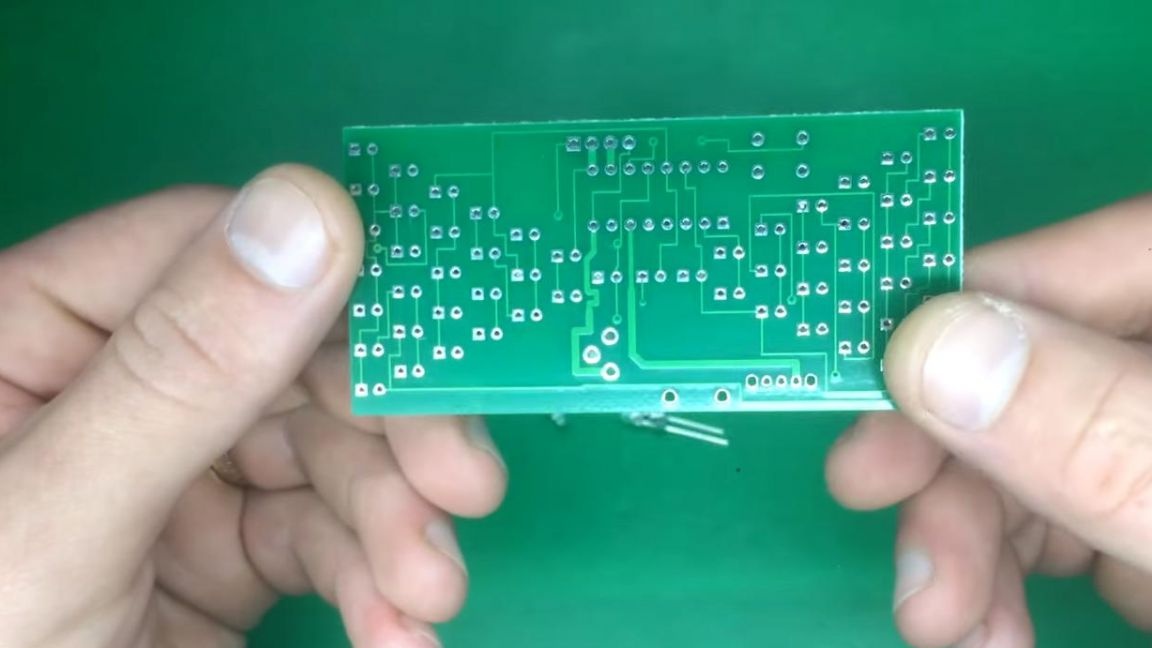
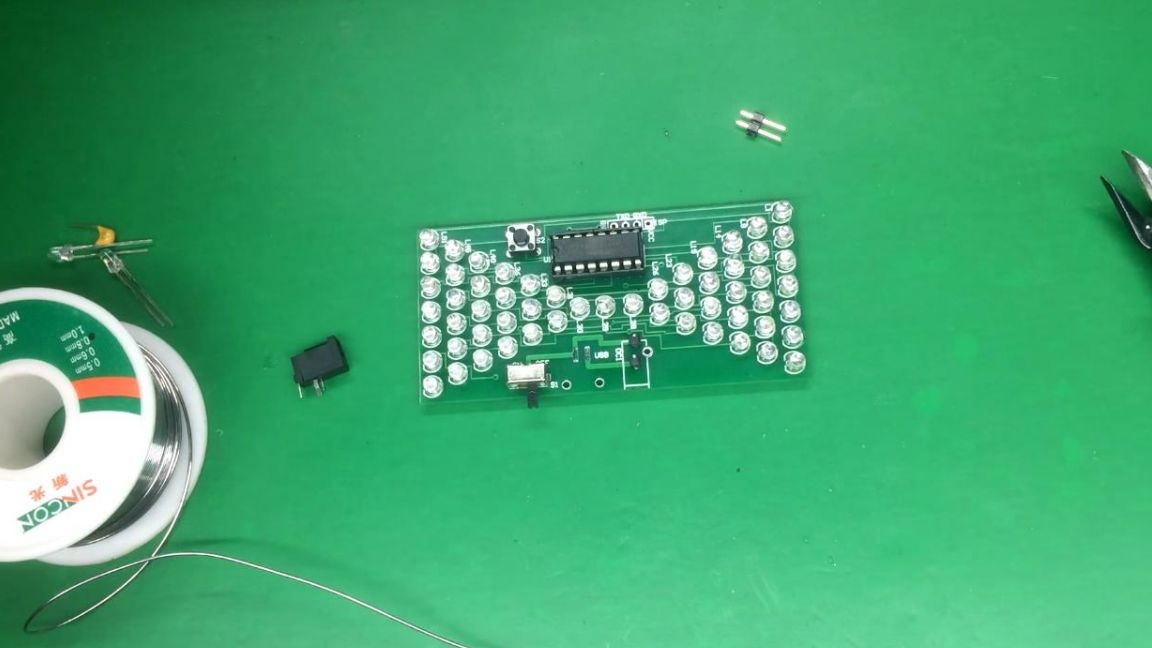
The kit kit comes with a double-sided printed circuit board with all the designations for installing radio components, the manufacturing quality of the board is average, the radio components themselves are quite small.
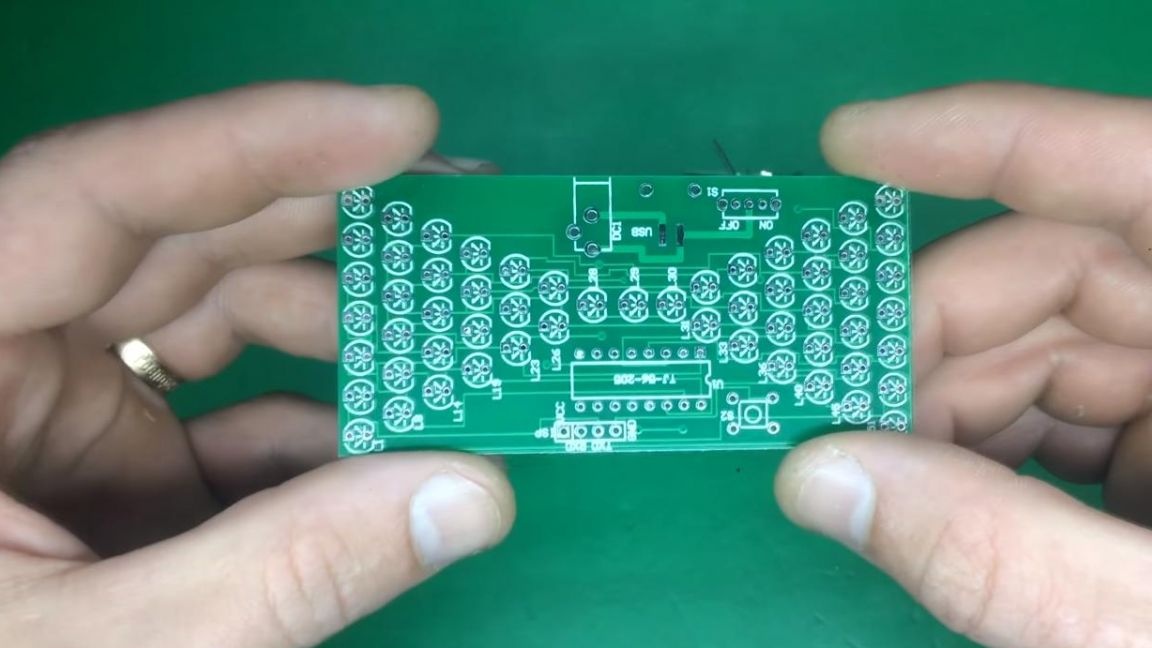
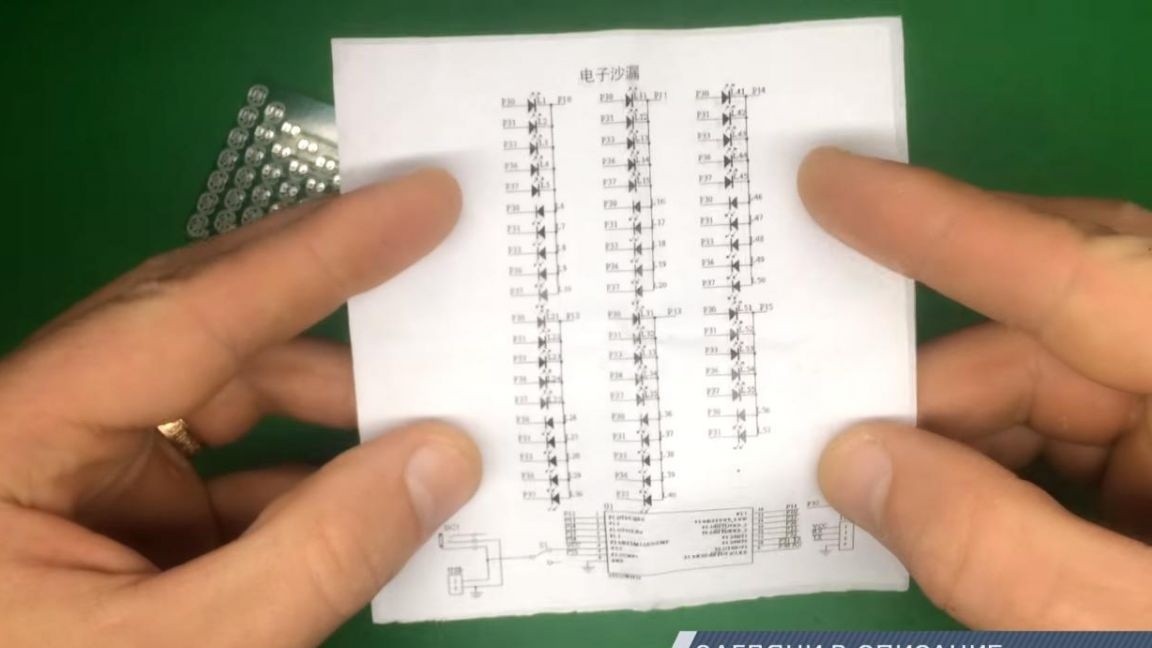
Also, do not forget to put the instructions, where everything is clearly shown.
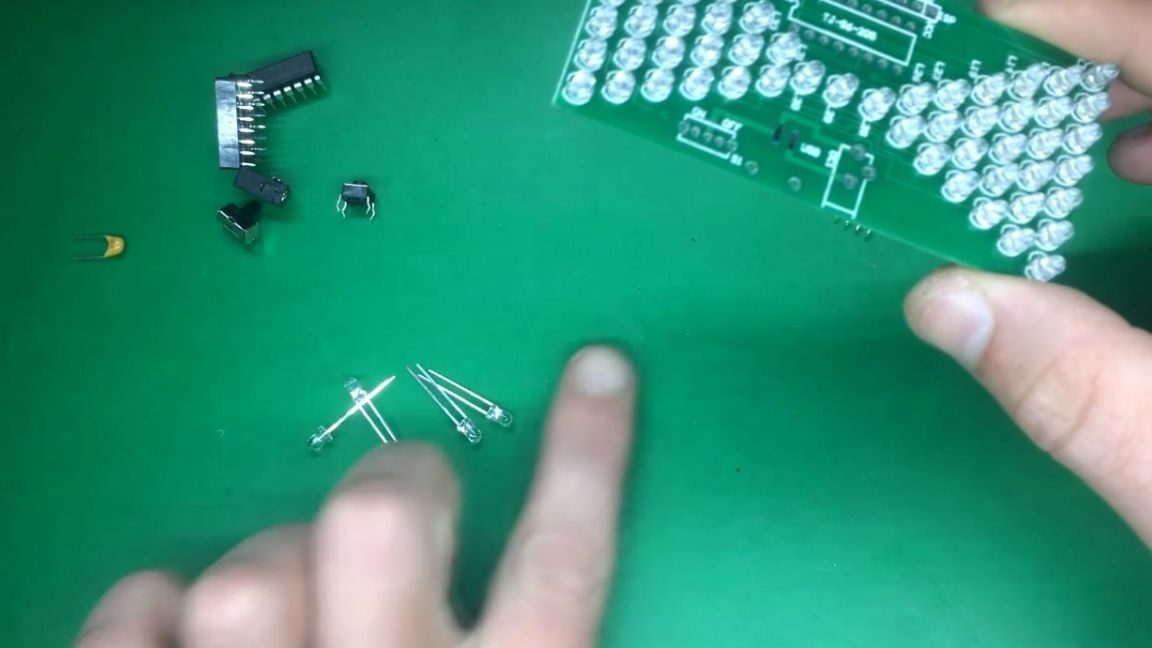
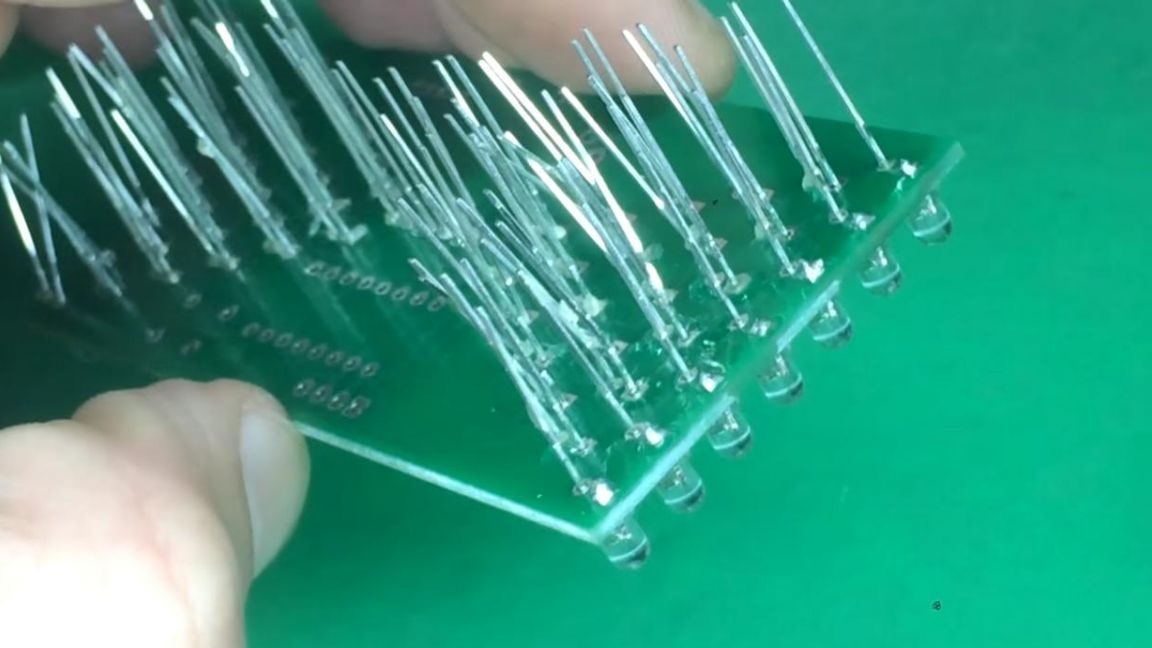
The first to install LEDs on the board, their polarity is determined by the length of the legs, the long leg is a plus, the short one is the minus. On the board itself, a dash indicates the negative contact.
For convenience, we insert LEDs into the board openings, observing the polarity, after which we turn the board over and put it on a flat surface, this is done so that they do not fall out and are at the same height. Just in case, the manufacturer put four more LEDs, if any of them is defective or burns out during operation.
Step Two
Next, apply a flux to the board contacts and start soldering the LEDs.

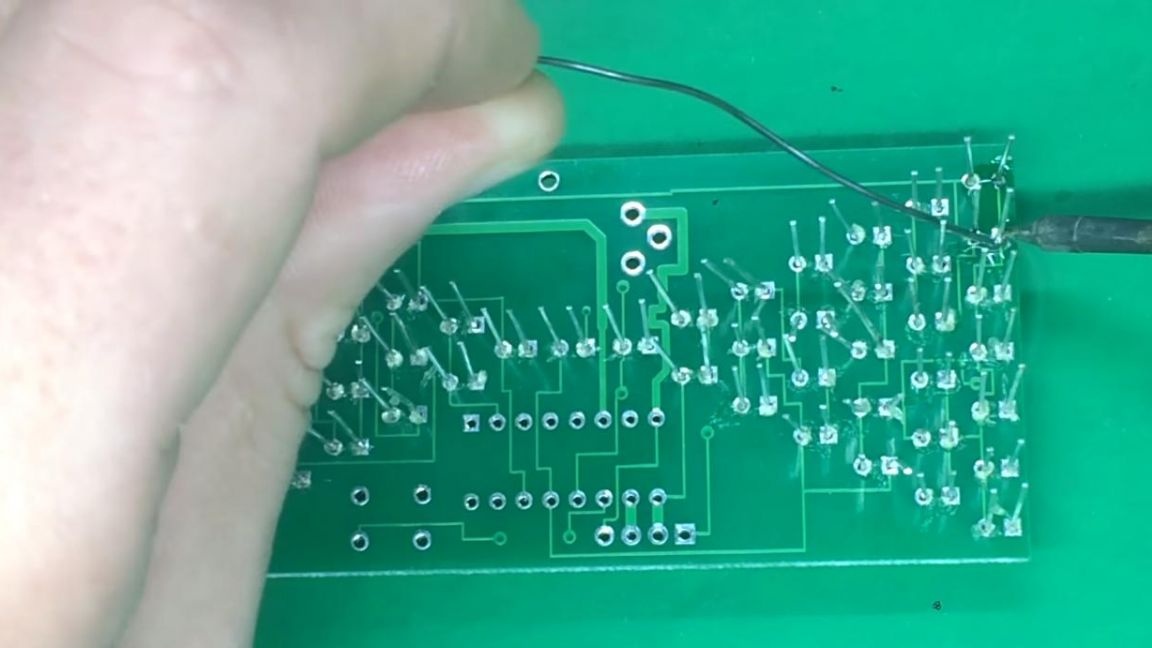
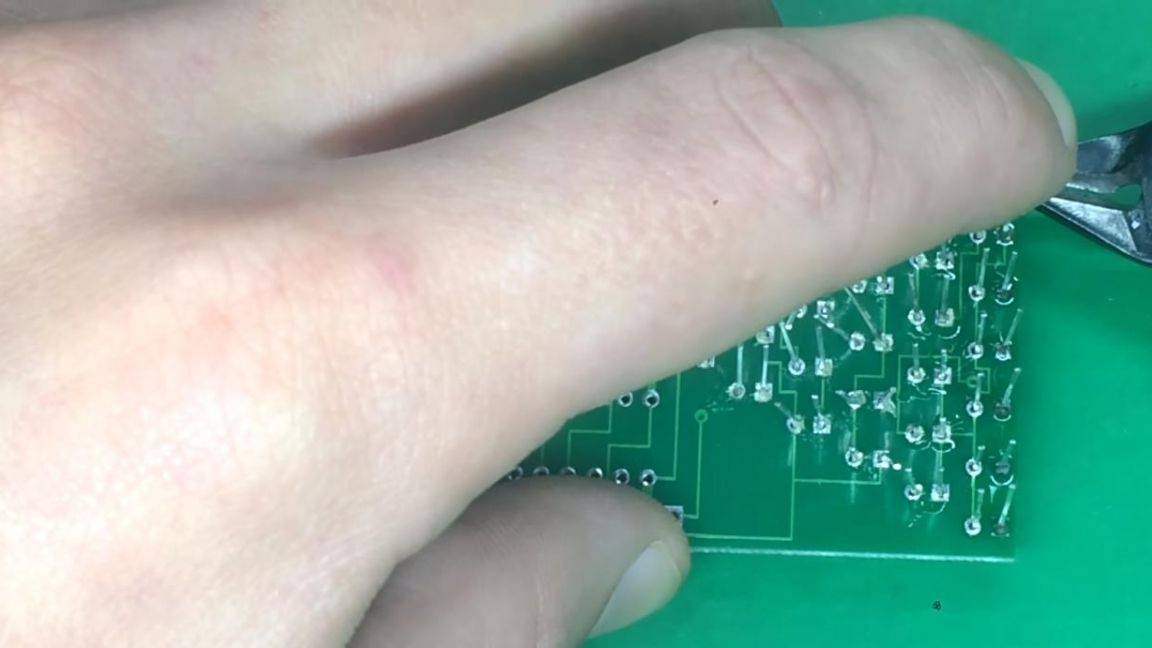
First, solder some of the conclusions of the first row of LEDs, then with the help of side cutters we remove the remnants of the conclusions. When nibbling the terminals with side cutters, be careful as you can remove the board track.
After that, solder the second conclusions of the LEDs and remove the excess part of the legs. We also do with the rest of the LEDs. When soldering, try not to overheat the terminals of the LEDs, as this can lead to their failure.

Step Three
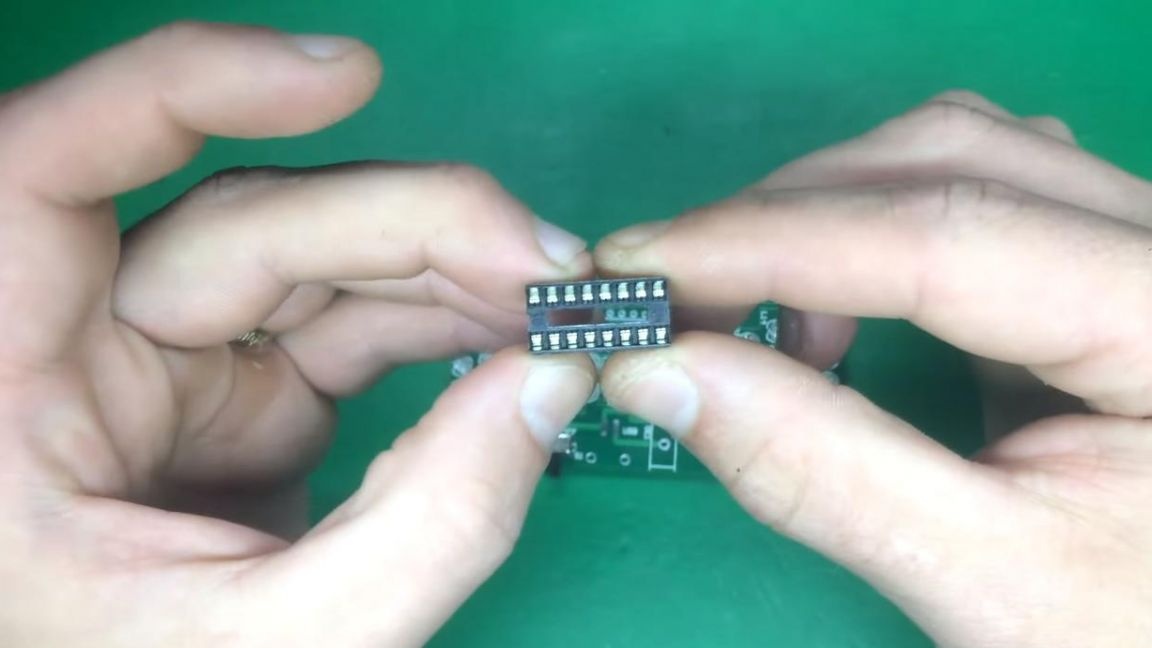
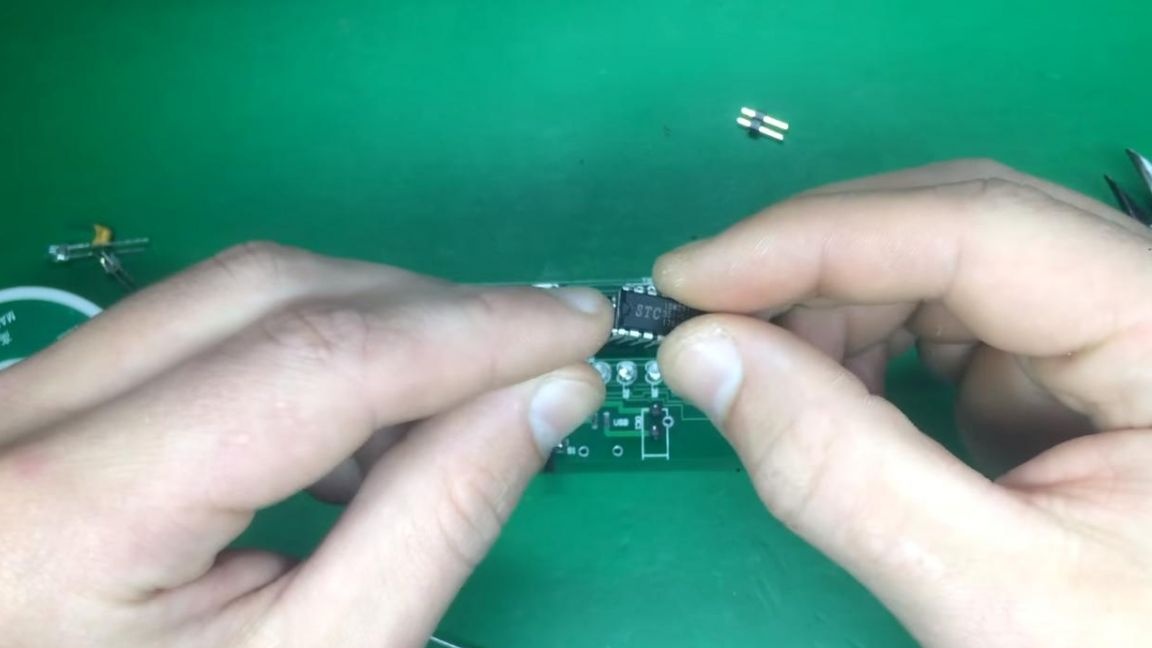
Soldering all the LEDs on the board, go to the next radio parts.We install the socket for the microcircuit, it has a key in the form of a recess, which must be combined with the key on the board.
Next, put in place the switch and button, as well as the socket for connecting power.
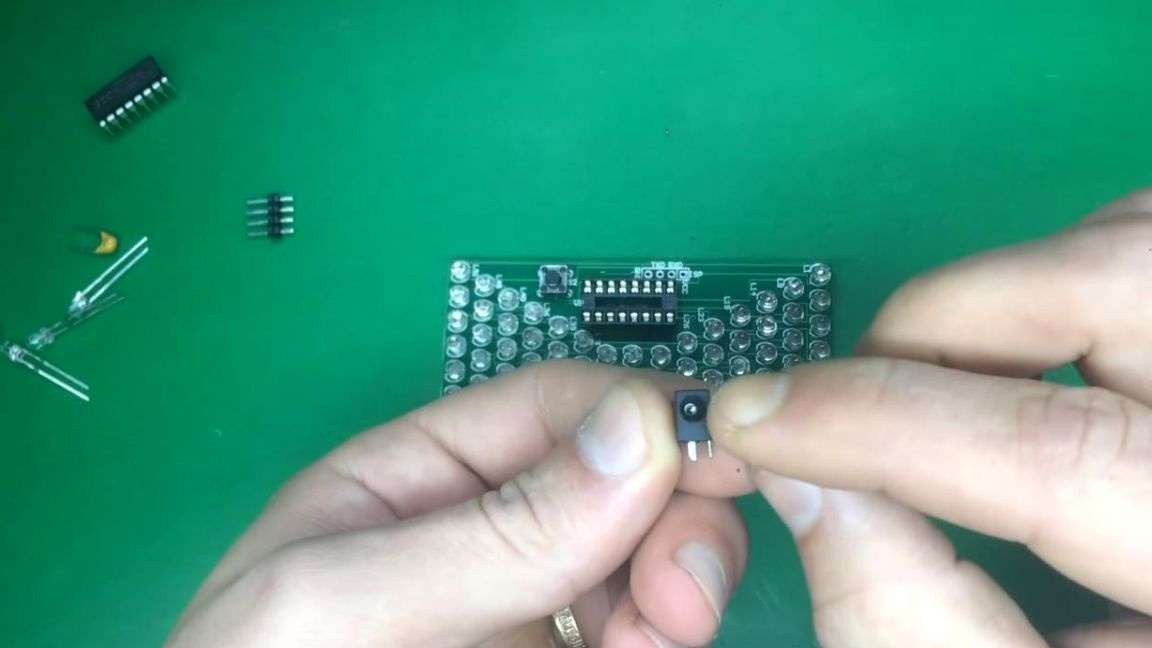
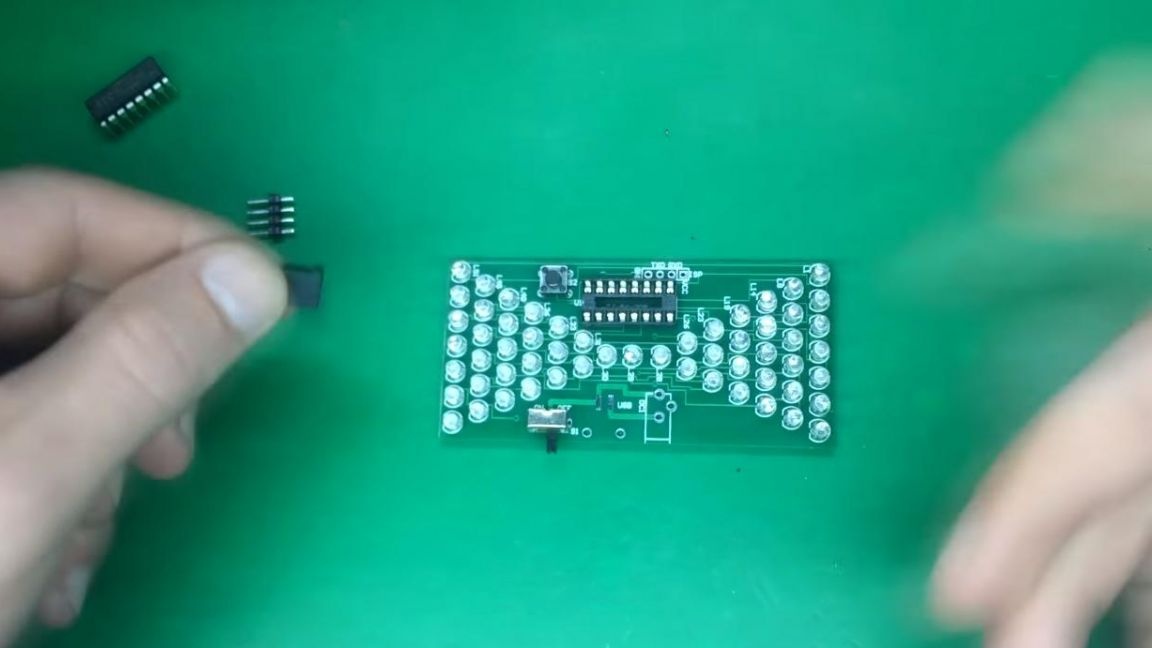
In this case, the power socket was not installed, since there is no suitable plug. The last step is to install the chip itself in the socket, we are guided by the same key as on the case.
Step Four
At this electronic hourglass is ready. We connect the power to the terminals and turn on the clock, the LEDs light up, as the time passes, the LEDs from the top gradually turn off and "go" down, simulating sand pouring.
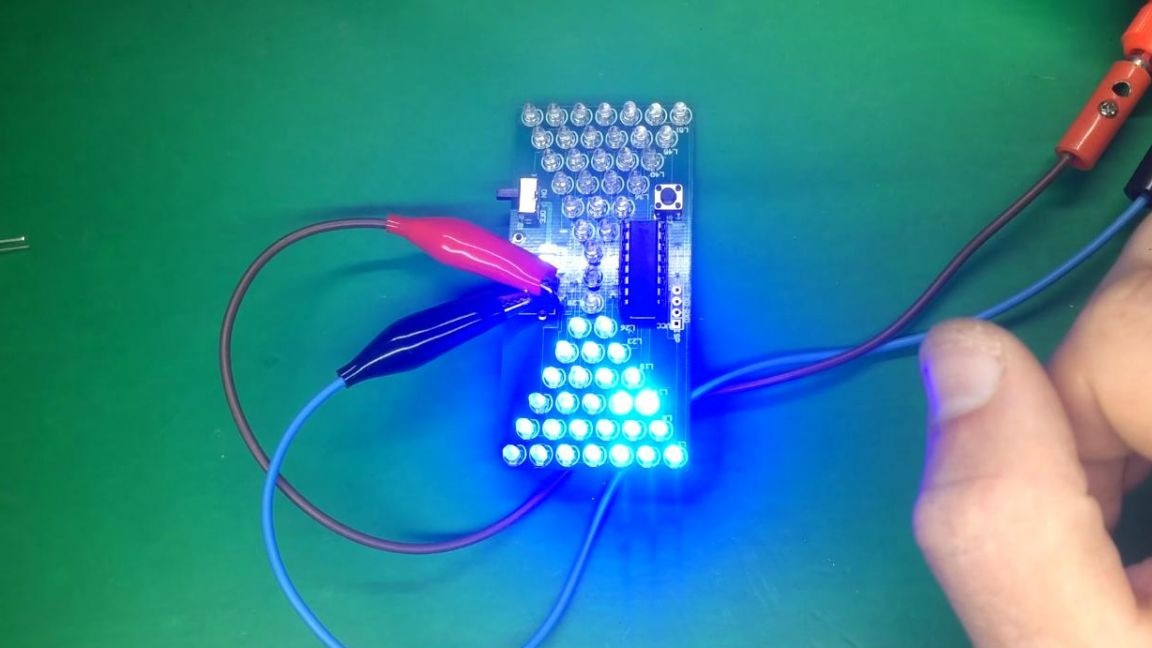
Such a kit kit will help beginner radio amateurs to get comfortable in this area and try themselves in the assembly of electronic circuits.
That's all for me, thank you for your attention and creative success.