If you once soldered, then you probably had such a problem as weakly heating. This greatly complicates the soldering process and makes it of poor quality, since the place of soldering takes a lot of heat. In addition, the convenience of a conventional soldering iron is not that it often has too much a sting.
To solve the problems with soldering, you can make one simple for yourself. His stinger heats up to high temperatures literally a couple of seconds after turning it on. And the stings change easily, and you can make them yourself for various needs. As a heating element, a piece of copper wire is used here, which feeds a makeshift transformer that produces a large current with a small voltage. You can make such a soldering iron from any transformer, but a round-shaped transformer is better, since it is easier to wind the secondary winding on it. So, let's get started!
Materials and tools used by the author:
Material List:
- round transformer;
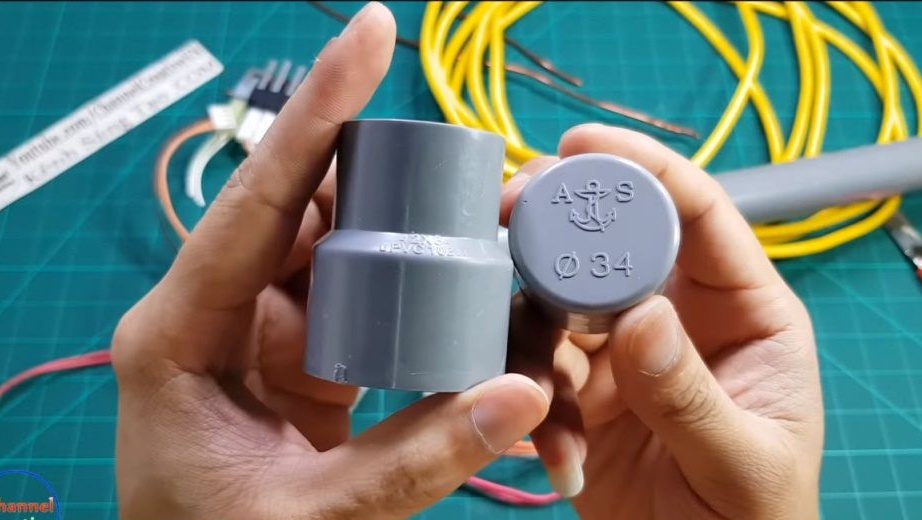
- conical part of PVC, as well as a cap for pipes on 34;
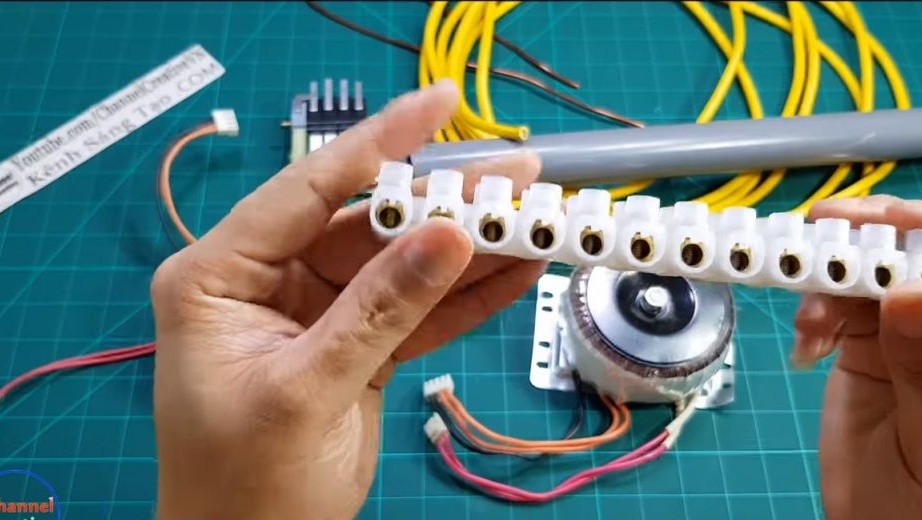
- a piece of PVC pipe;
- keyboard switch;
- screw clamps;
- copper wire (for a sting);
- a piece of thick copper wire (for secondary winding);
- insulating heat-resistant tube;
- heat shrink;
- a piece of steel wire;
- plastic clamps or metal;
- cable with plug.
Tool List:
- drill;
- drill;
- PVC cutting tool;
- glue gun;
- pliers;
- a screwdriver.
The process of making a soldering iron:
Step one. Secondary winding
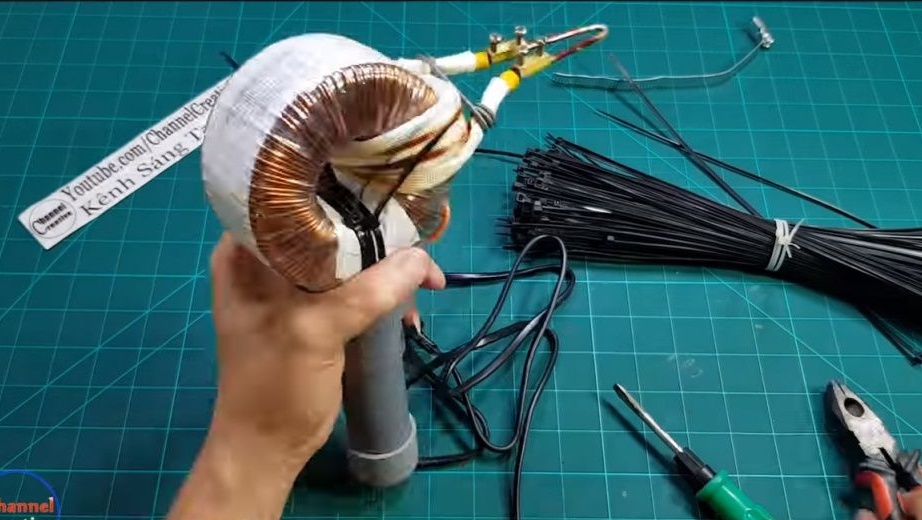
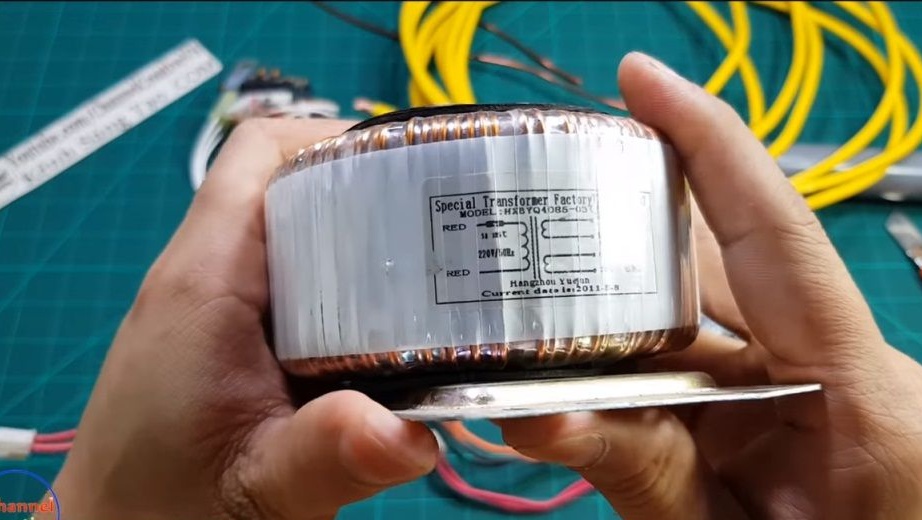
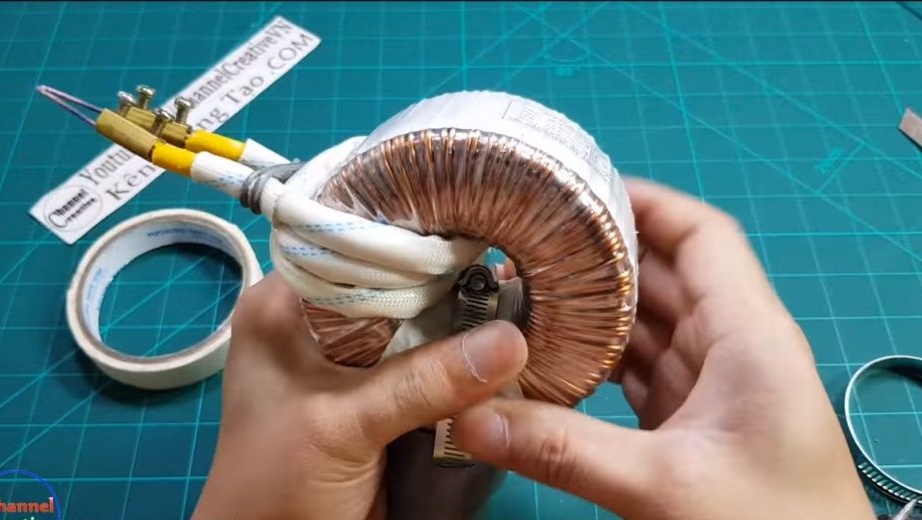
First of all, choose a suitable transformer, we need 220V, since we will power it from the network. A microwave transformer or the like is suitable. The author decided to use a round transformer, plus such a design that there is no need to change the design of the transformer. It will remain intact, and if necessary, you can use it.
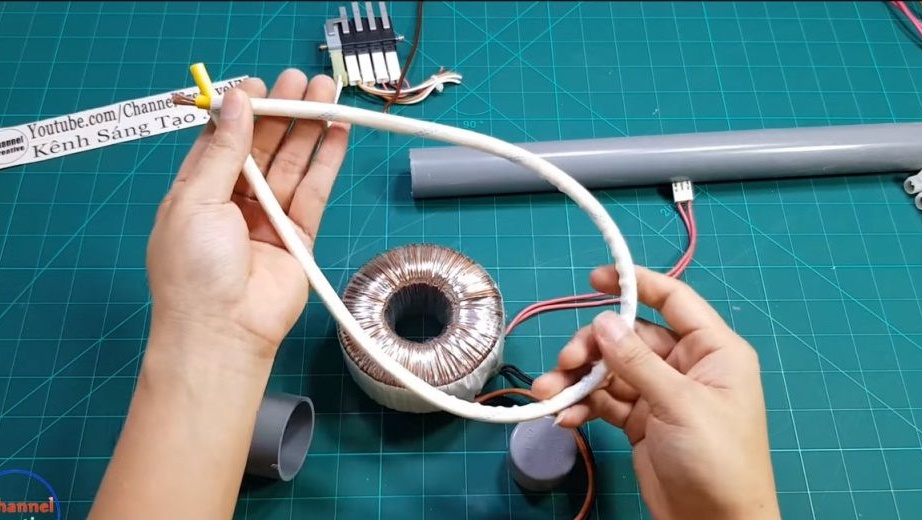
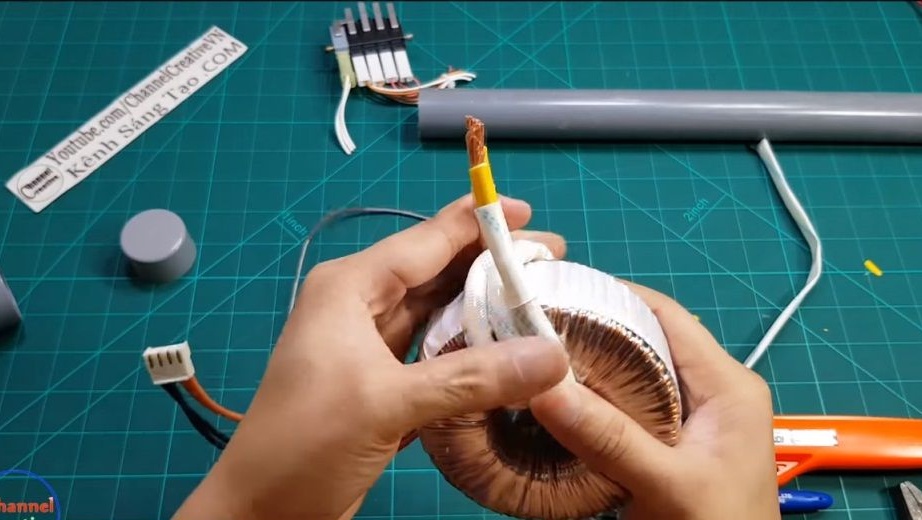
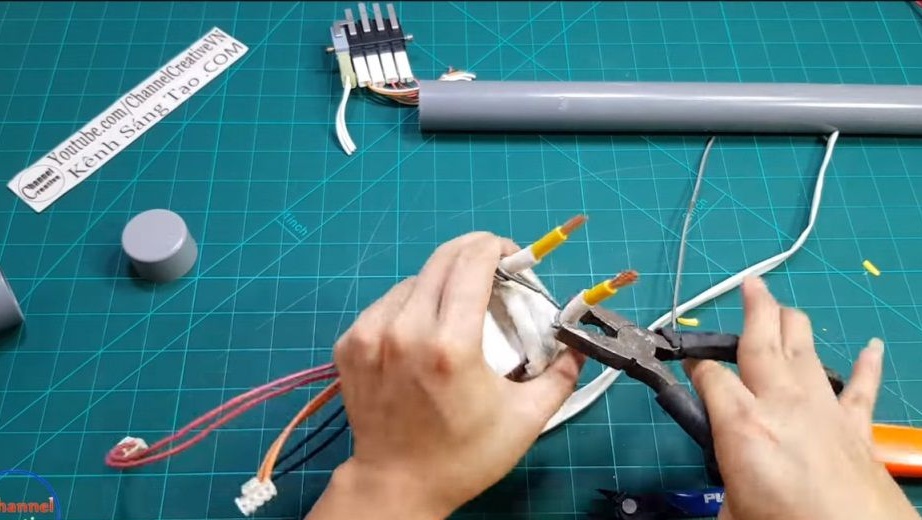
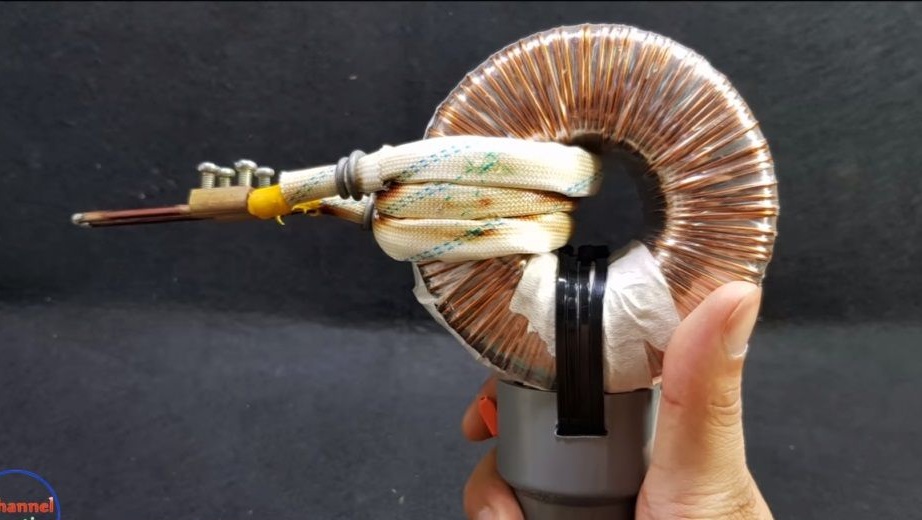
On top of the primary winding, we need to wind the secondary, which will allow us to obtain a large current strength with a small voltage. The winding consists of two full turns, here you will need a copper wire of large cross section, since the other will warm up or completely burn out. We put on a protective tube on the wire, which is not afraid of high temperature. Instead of a wire, it is best to use wire, since the insulation of the wire will smoke when heated.Fasten the ends of the wires together using steel wire.
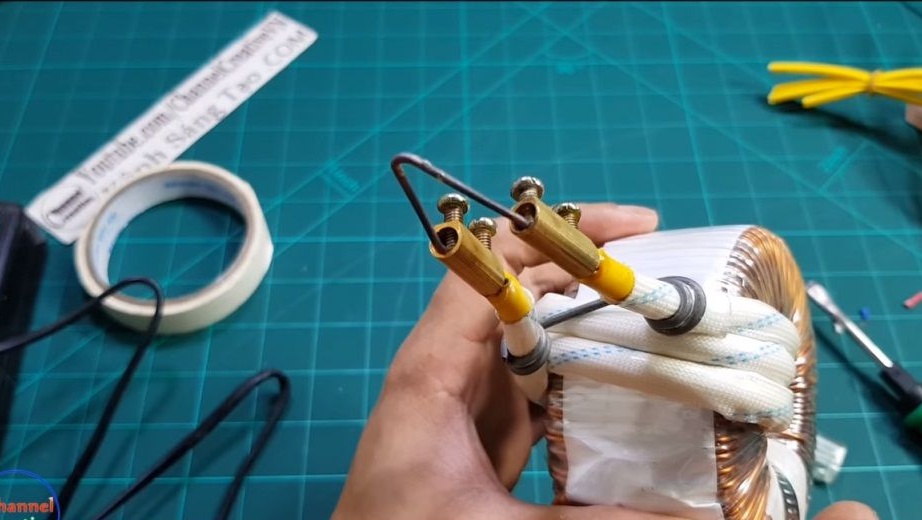
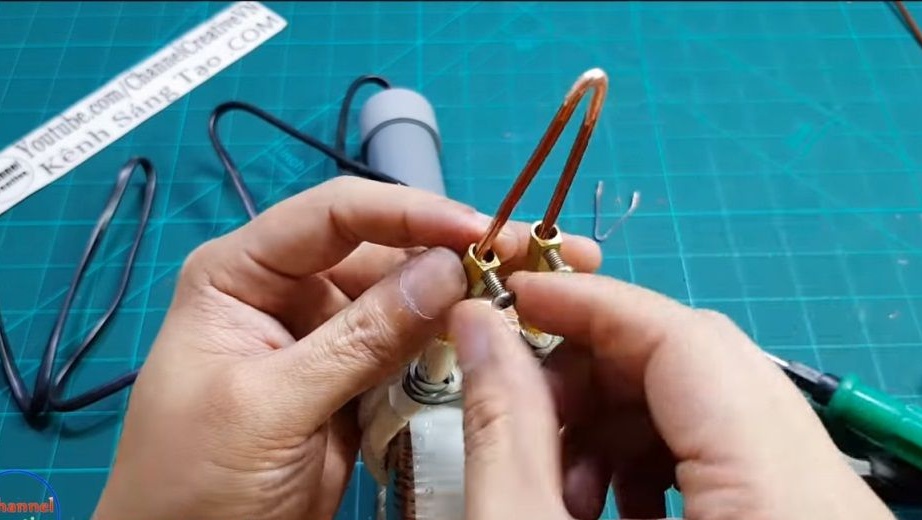
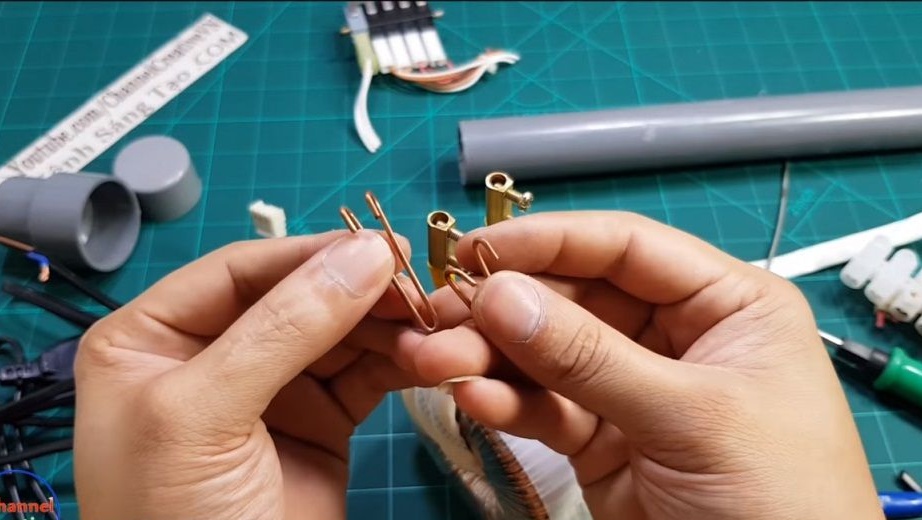
Step Two Install the heating element
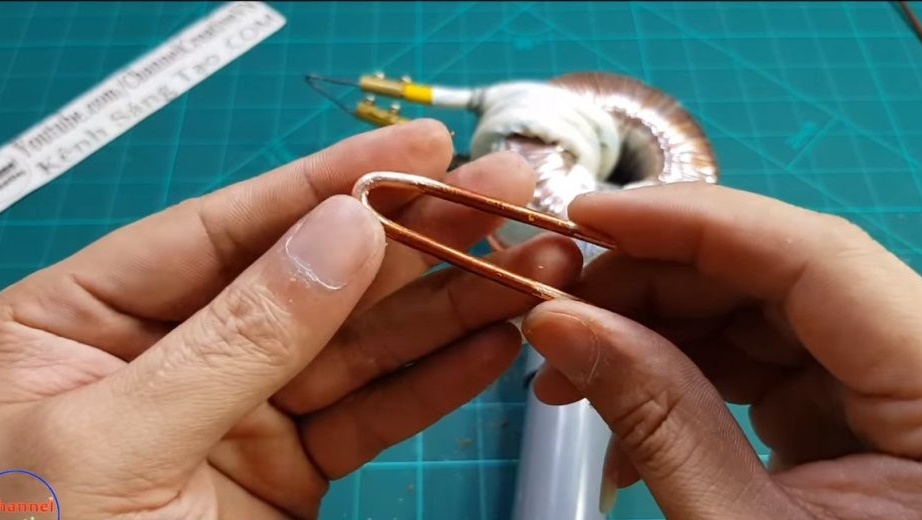
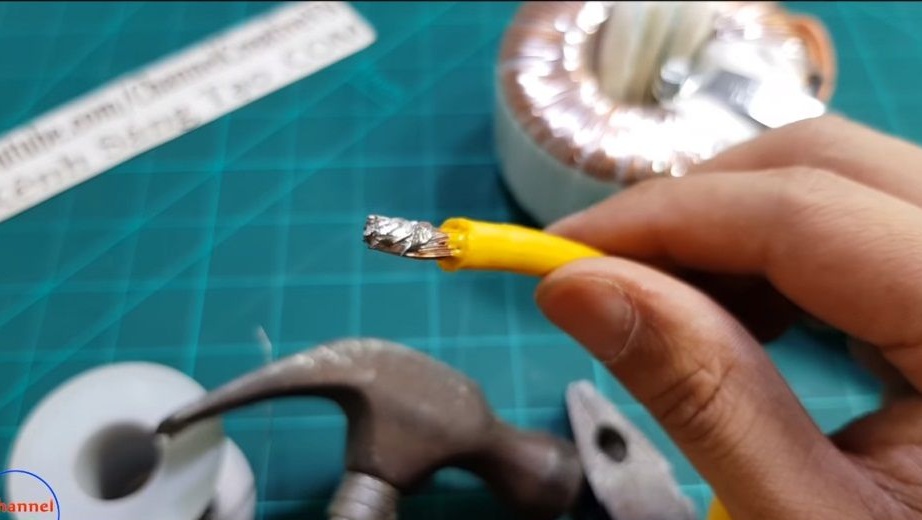
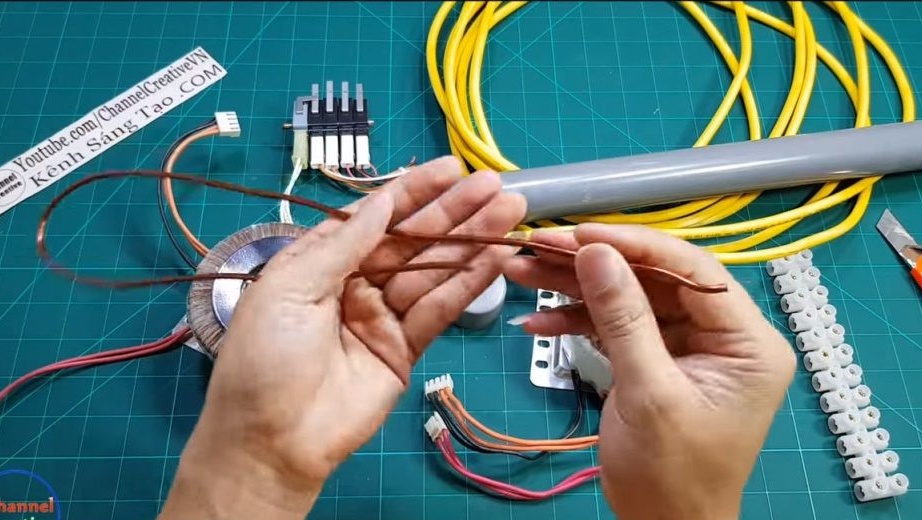
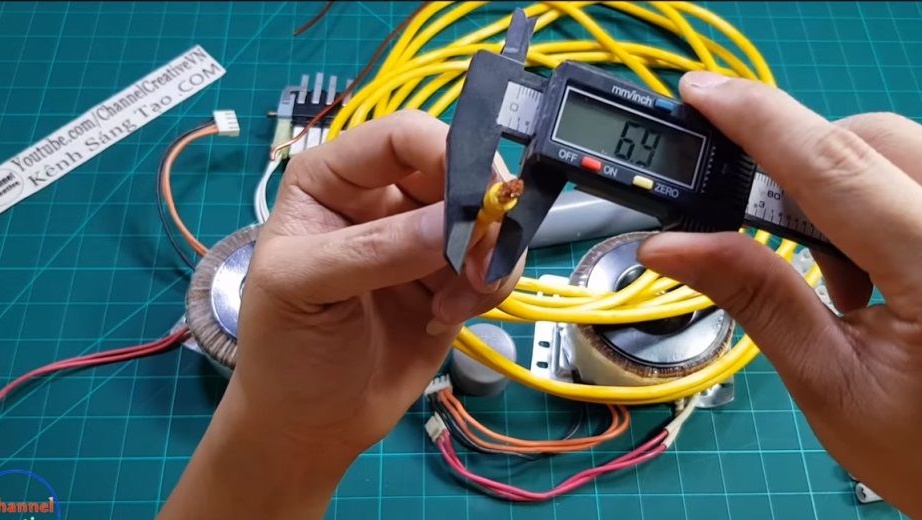
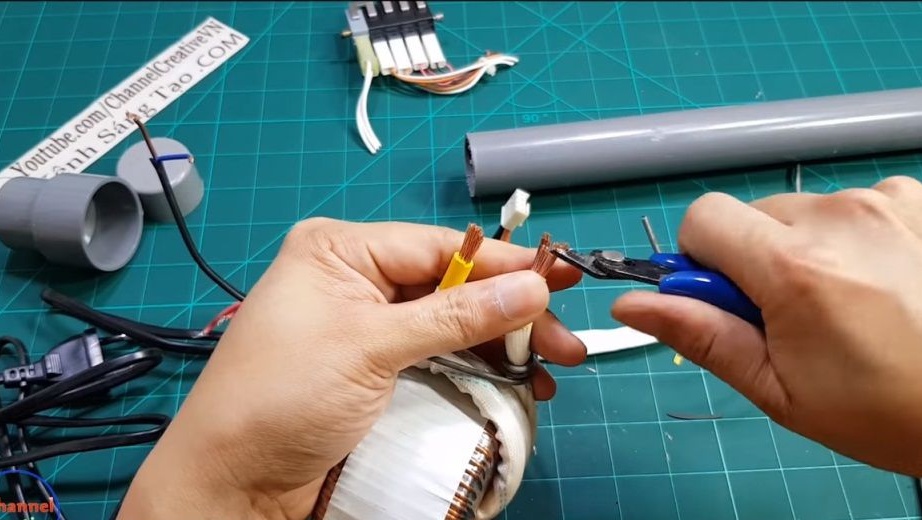
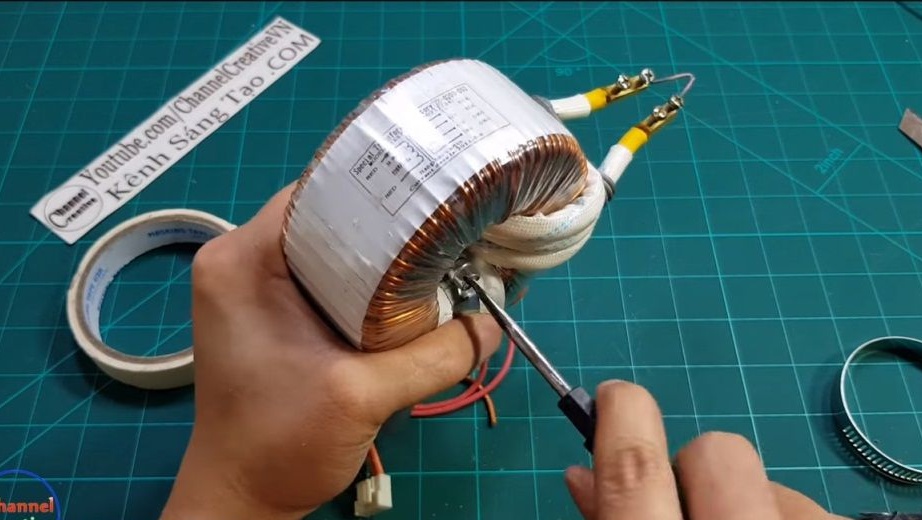
As a heating element, you can use copper wire or steel wire and so on. The diameter and material of the wire are selected experimentally. If you wish, you can make yourself stings, which will be different in size and will have different heating temperatures.
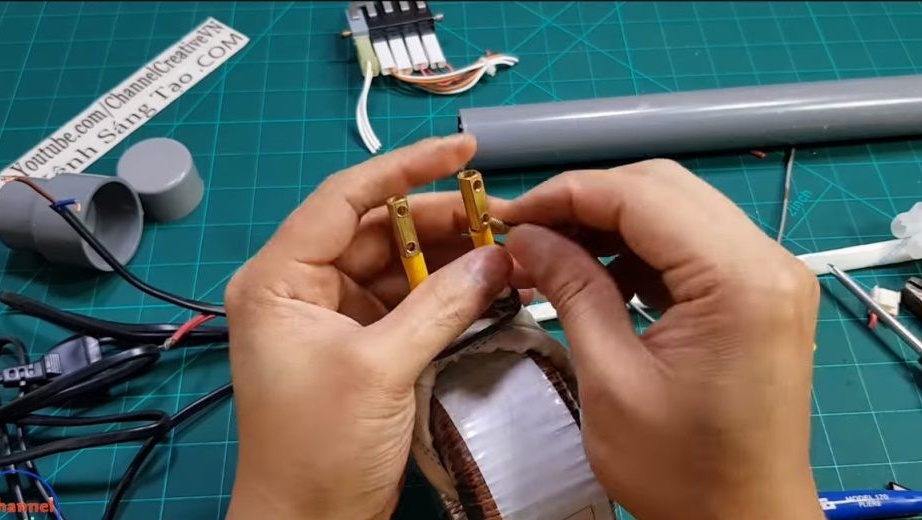
To fix the heating element, you will need two screw clamps. Before installing the screw clamps, we clean the ends of the wires of the secondary winding away, otherwise the insulation will smoke, like the author's, and the smell there will be very unpleasant. Well, then it remains to tighten a few screws.
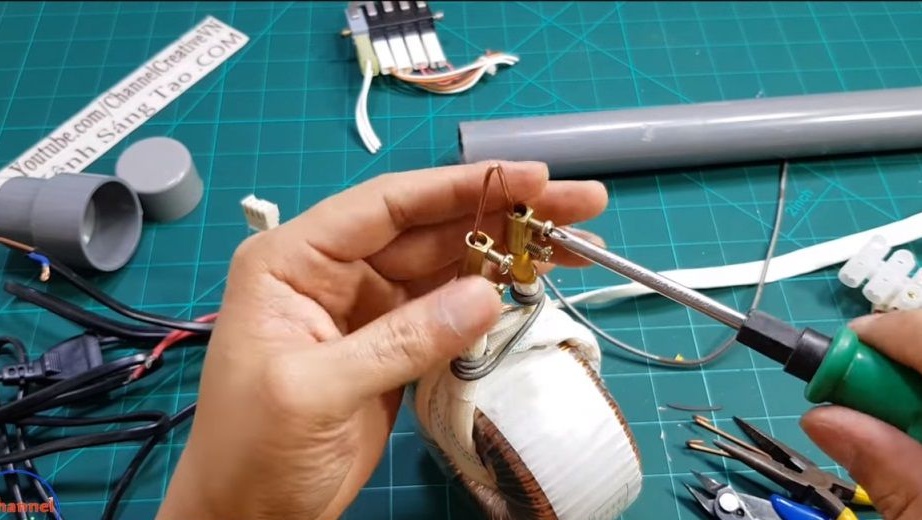
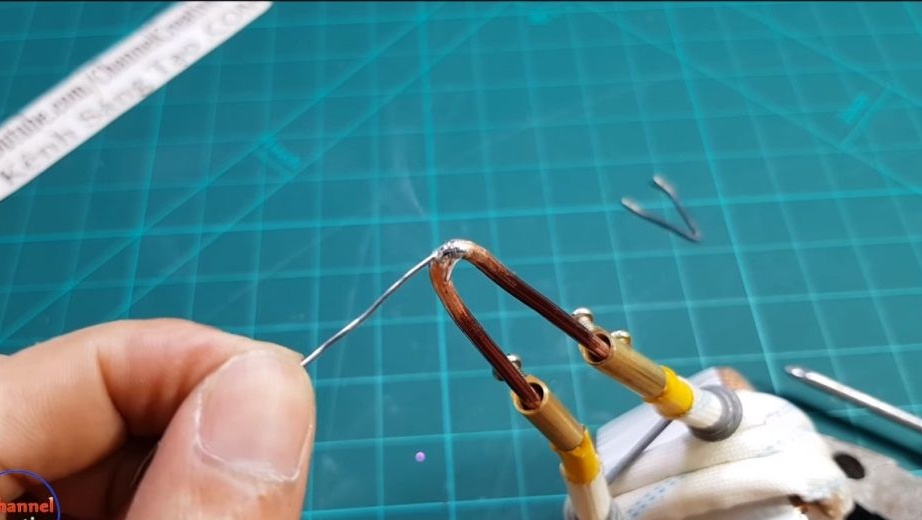
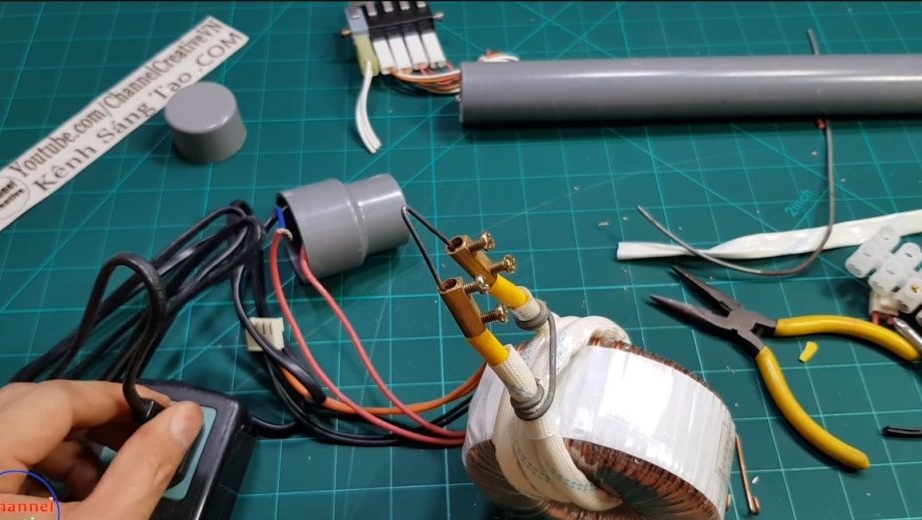
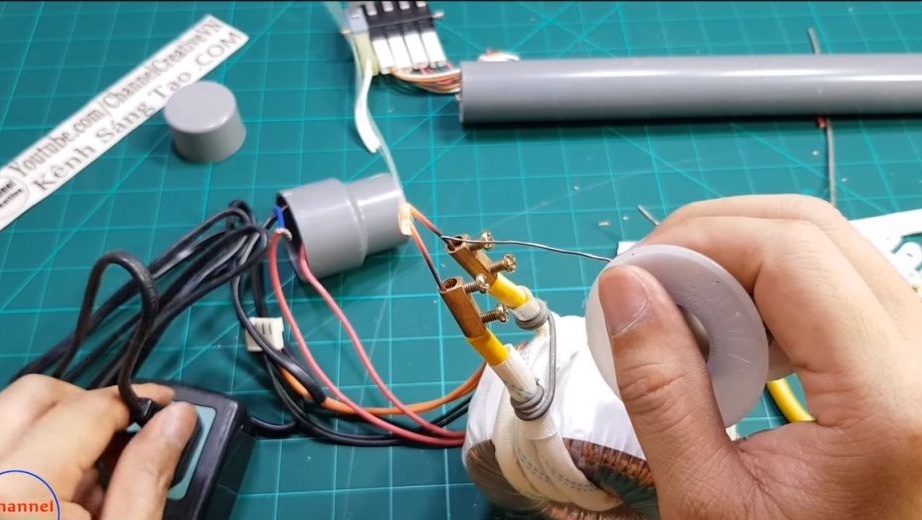
Step Three First test
That's all, technically ours is ready, you can try to turn it on! Just apply voltage to the primary winding and the sting should start to warm up! We select the diameter of the wire so that it does not burn out, but at the same time it warms up significantly.
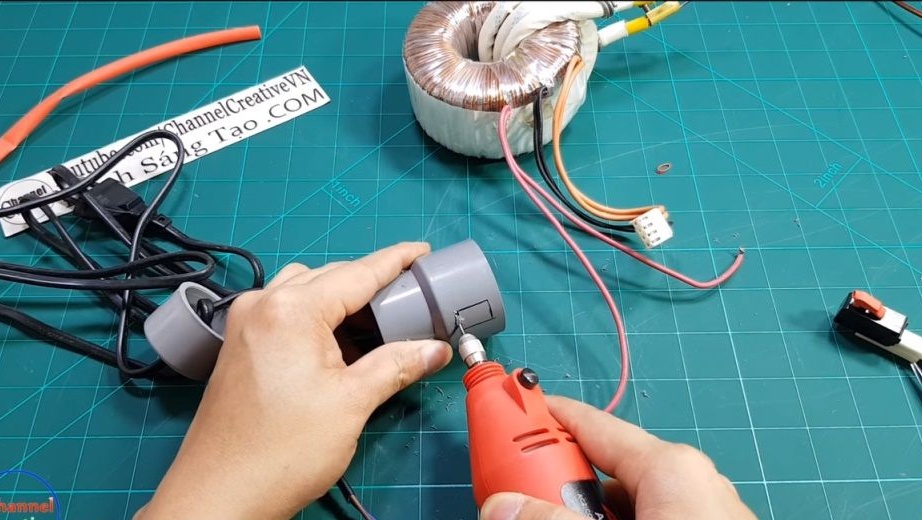
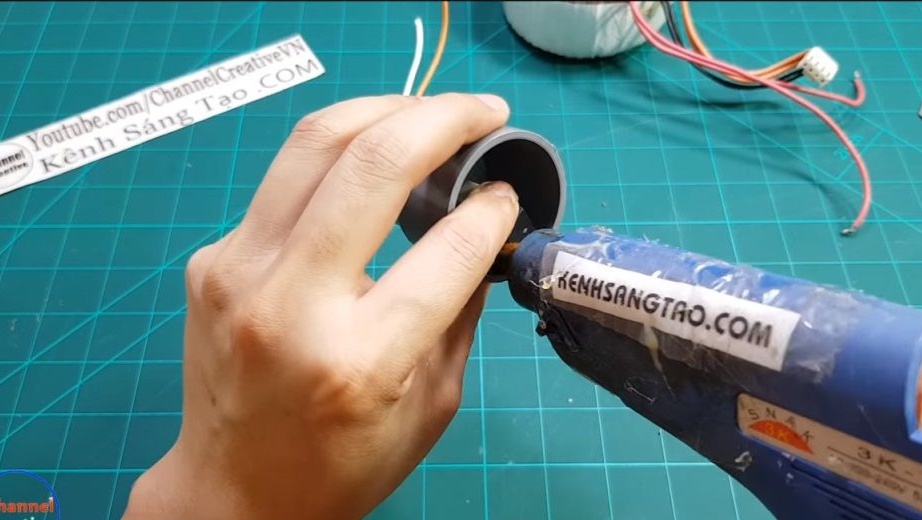
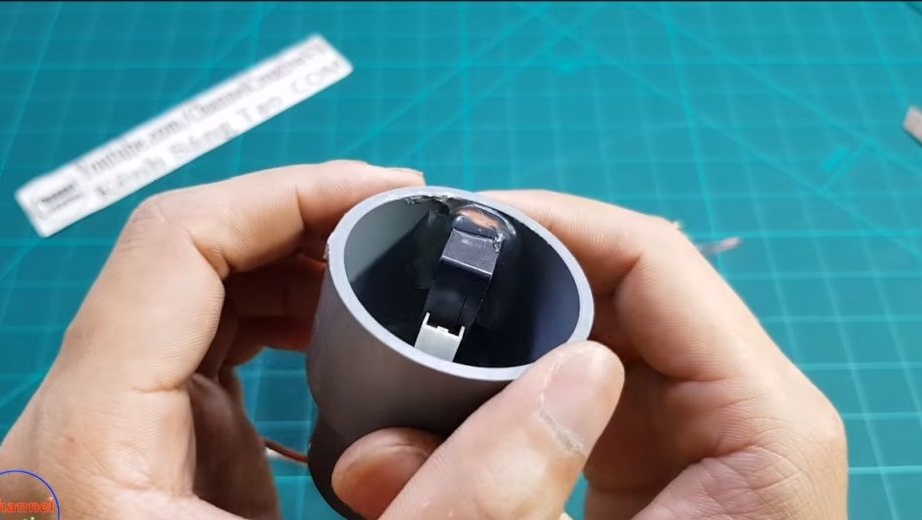
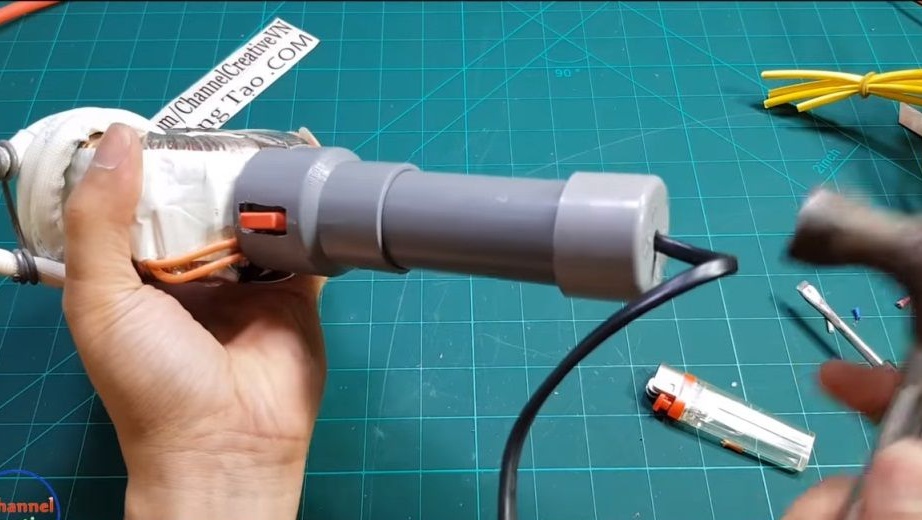
Step Four Pen and switch
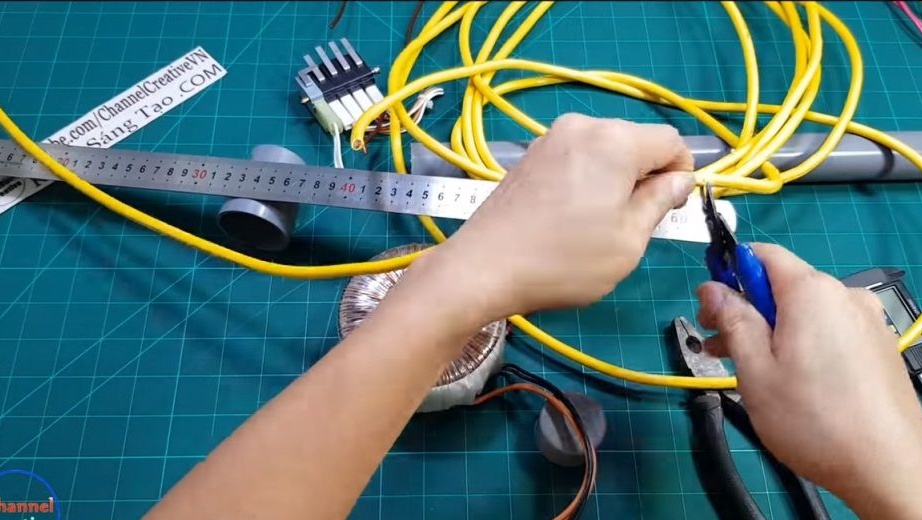
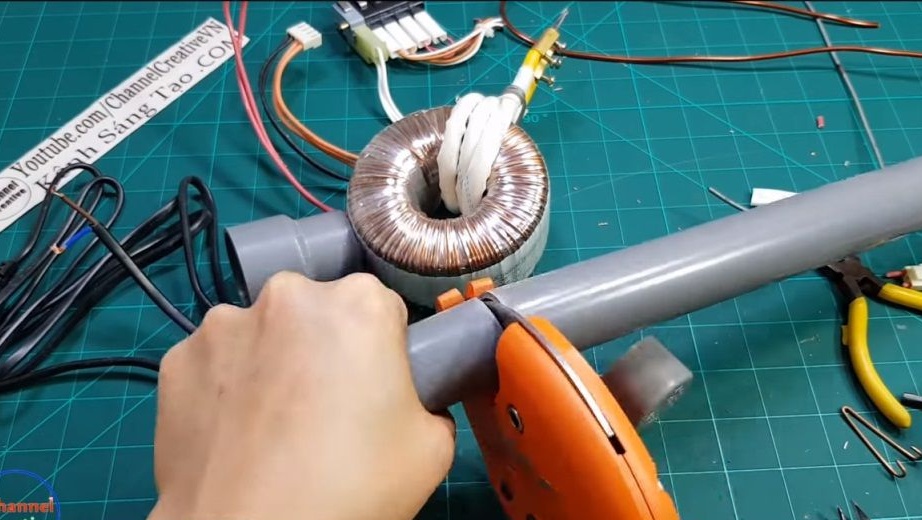
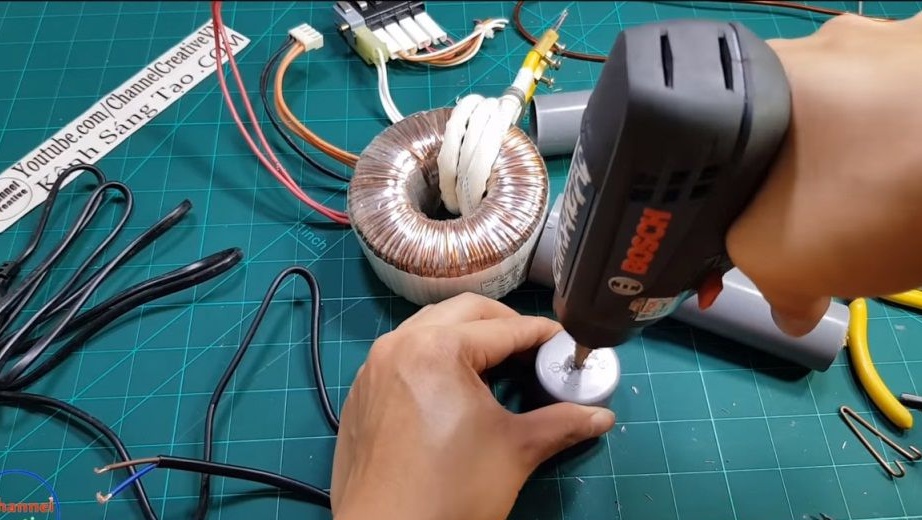
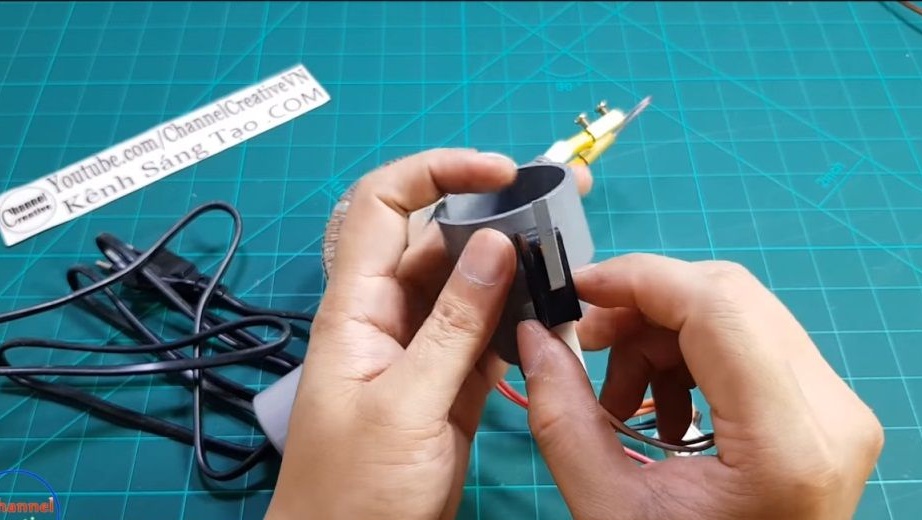
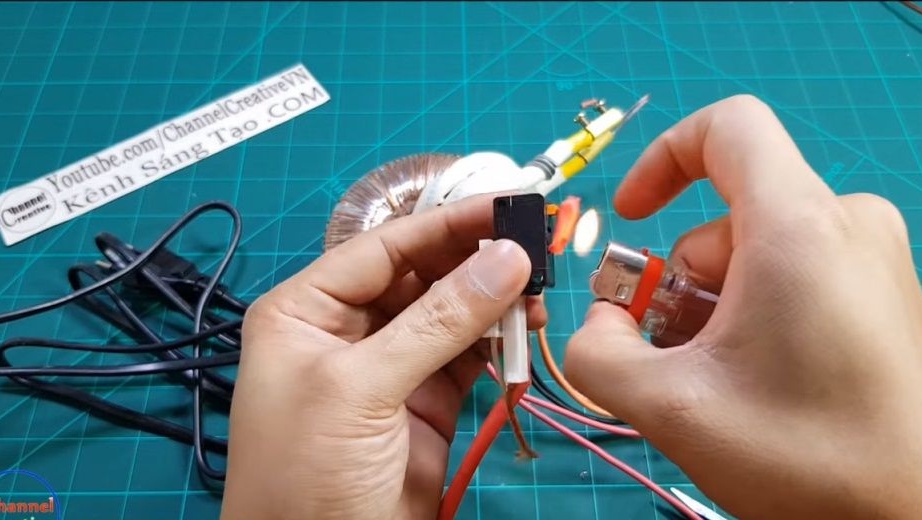
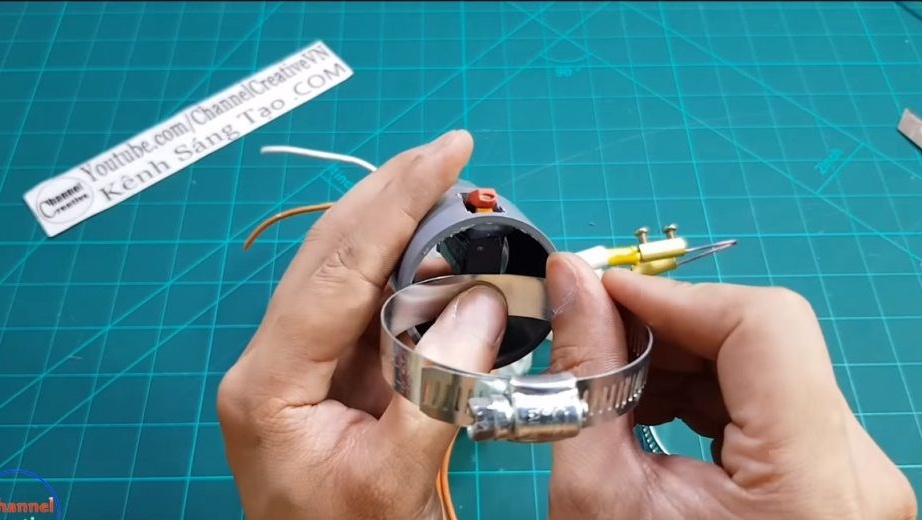
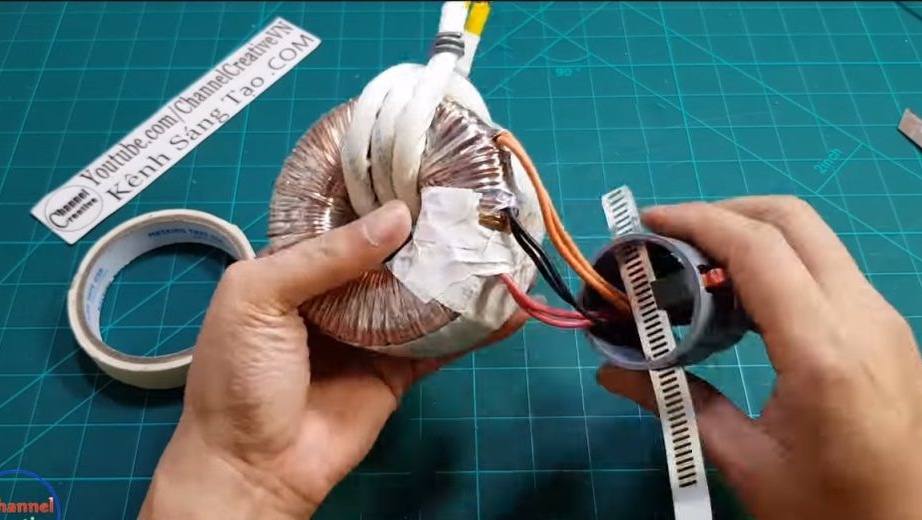
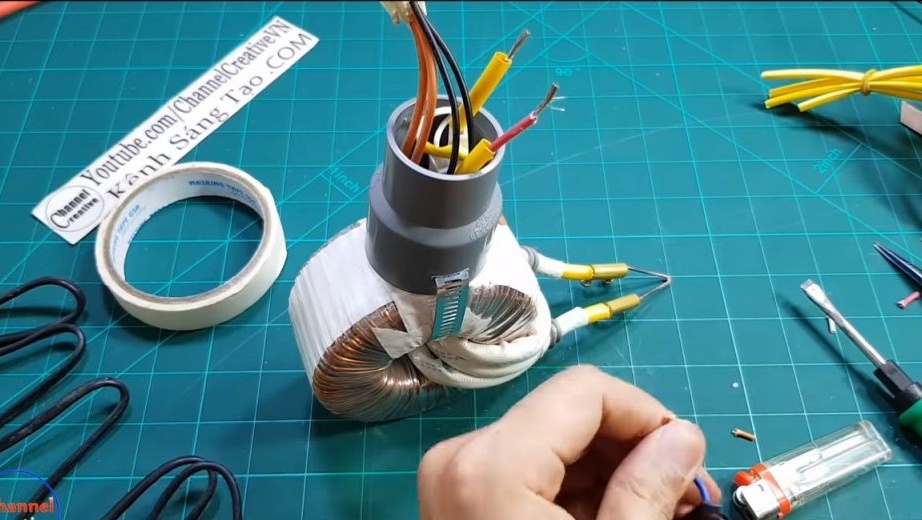
The peculiarity of this soldering iron is that it turns on on demand, that is, exactly at the moment when the soldering occurs. This allows you to significantly save energy. For these purposes, we need a button of the keyboard type, which will close the circuit only when holding the switch. Solder the wires to it and prepare the place for installation. We take a cone-shaped PVC part and cut out a window under it for a switch. It’s easiest to do this job using a drill. We fix the switch using hot glue. Attach this part to the transformer using a metal clamp or plastic ties. The author decided to replace the clamp with plastic ties, as currents will appear in the metal ring, which will reduce the efficiency.
As for the handle, in its role is a piece of PVC pipe, at the end of which we install a plug. We connect the power cable and on this the production of the soldering iron can be considered finished.
Step Five Testing
That's all, the soldering iron is completely ready for use. Install the sting, and plug the plug into the outlet. To check the tool in action, press the button, after a couple of seconds the sting becomes hot and you can solder. The copper red-hot wire perfectly tears.
That's all, the project is over, I hope you liked it. The only design flaw can be considered that the weight of such a soldering iron is slightly more than the classic. Good luck and creative inspiration in the manufacture. Do not forget to share your best practices with us!