
Good day to all dear friends! In today's article, I would like to tell you a rather interesting idea about how to make a full-blown model automatic rifle do it yourself.
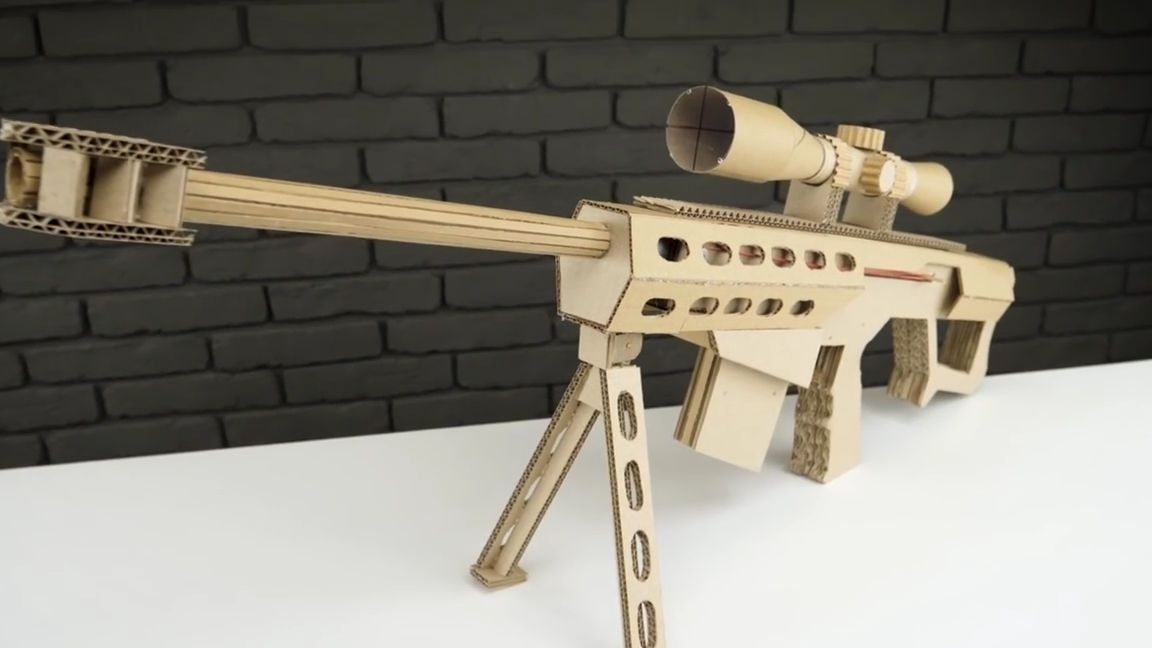
This automatic rifle can not only decorate your room or collection as a model, but is also able to shoot toy bullets from paper or from wax crayons. Of course, the firing range of this rifle is not very large, but just to shoot at home on the banks is perfect. I think this homemade many foci will like it. By the way, it is made of very popular material at the moment, namely cardboard. As you probably know, now it has become quite popular to make various home-made products and tools from ordinary corrugated cardboard, who, just not doing it, even car models. Well, let’s not pull with a preface, let's go!
And so, for this semi-automatic rifle we need:
-corrugated cardboard
office gum
ice cream sticks
barbecue skewers
- wooden spatulas
-wax crayons
Of the tools we will also need:
thermal glue
-stationery knife
-scissors
nippers
- screwdriver or electric drill
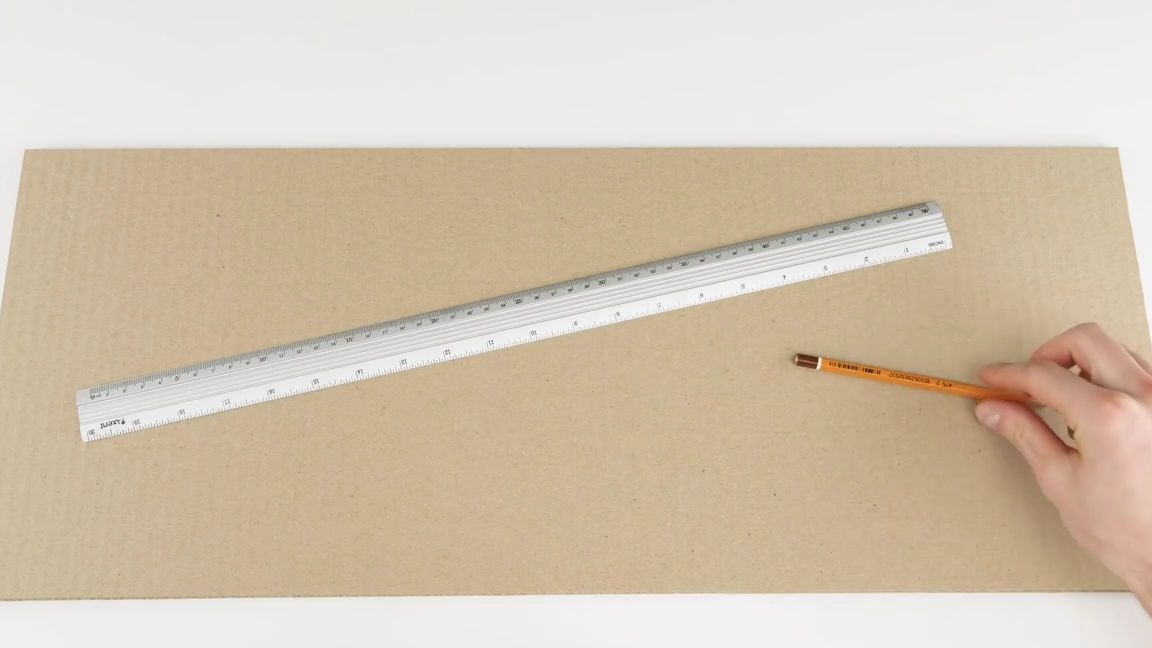
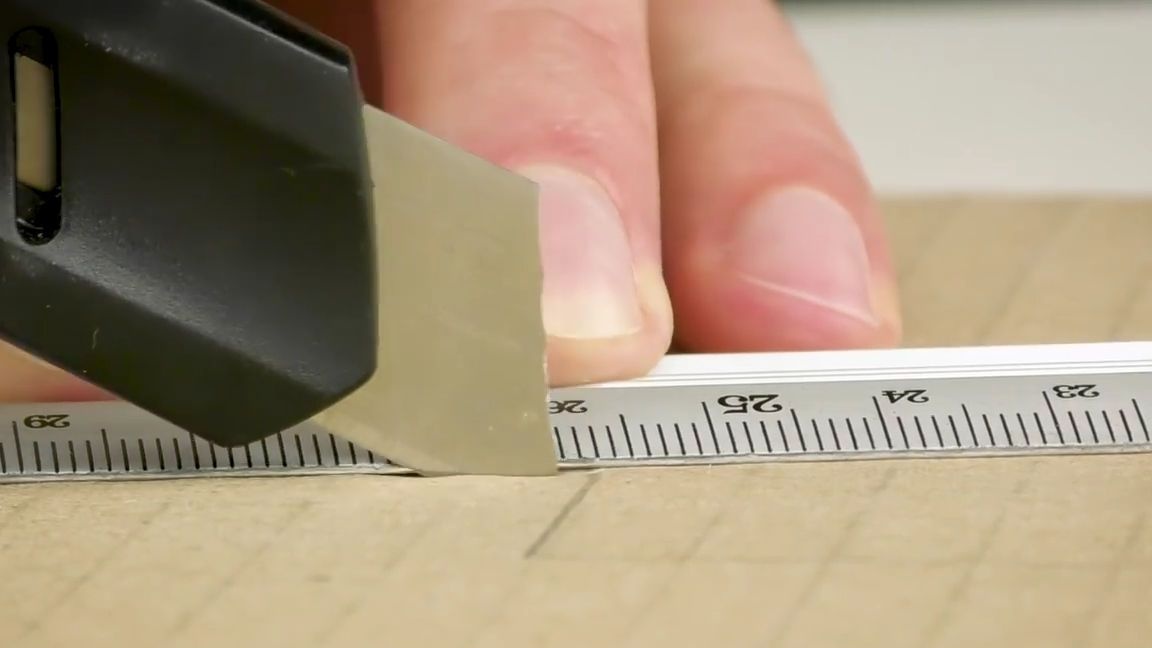
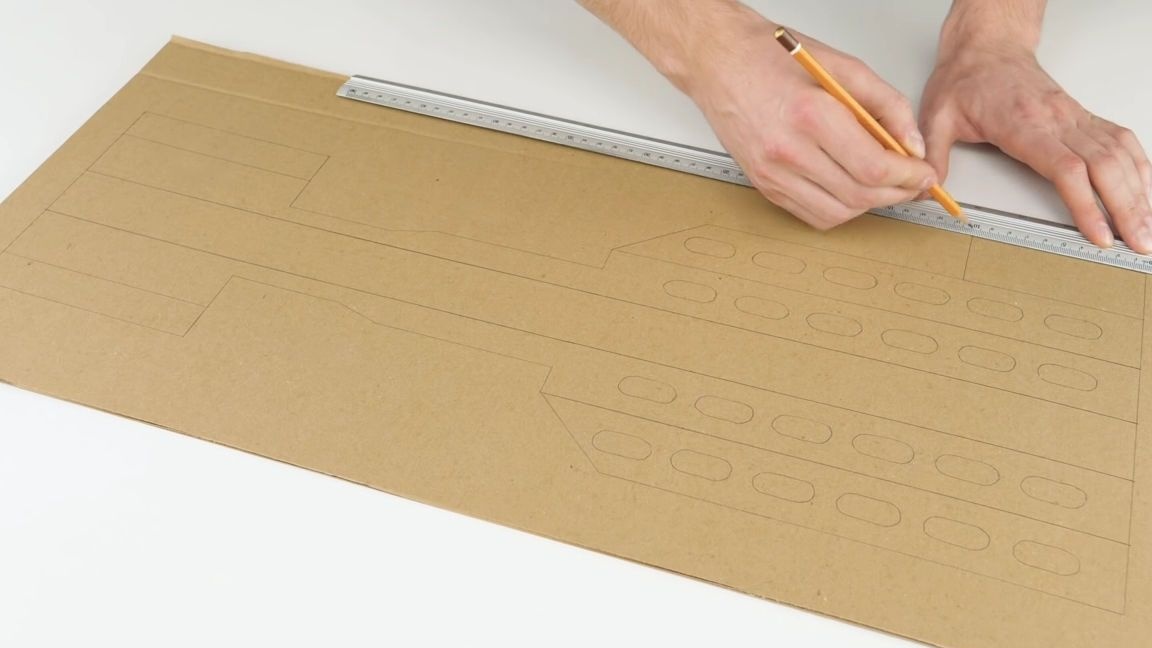
The first step is to take a pencil, a ruler, corrugated cardboard and an office knife.
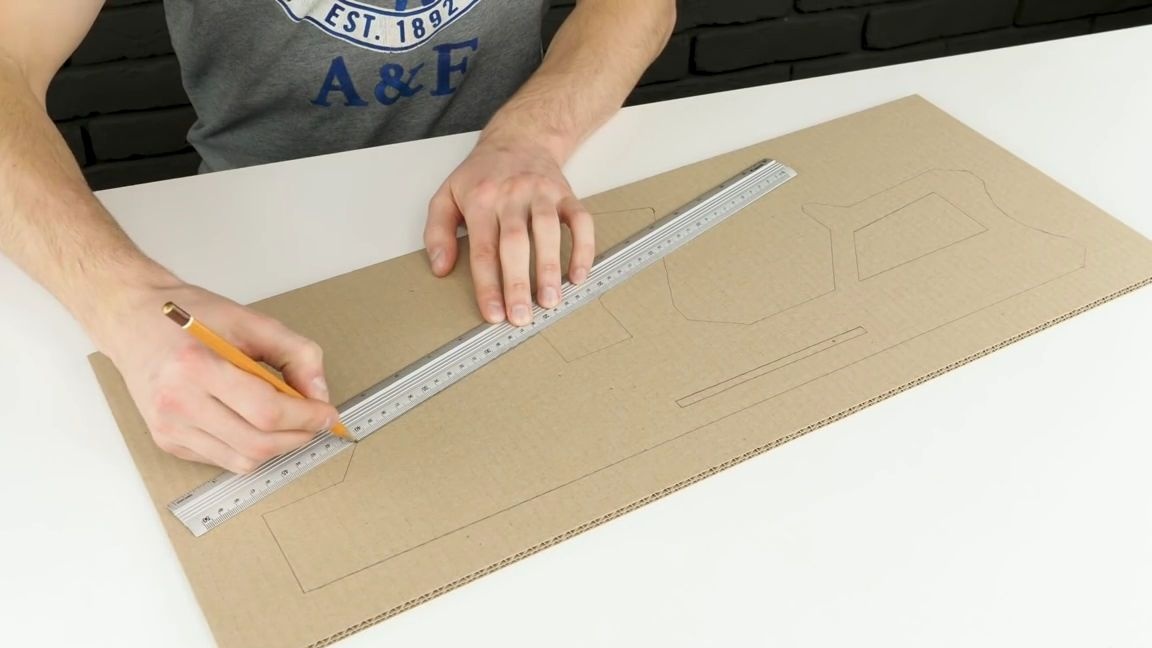
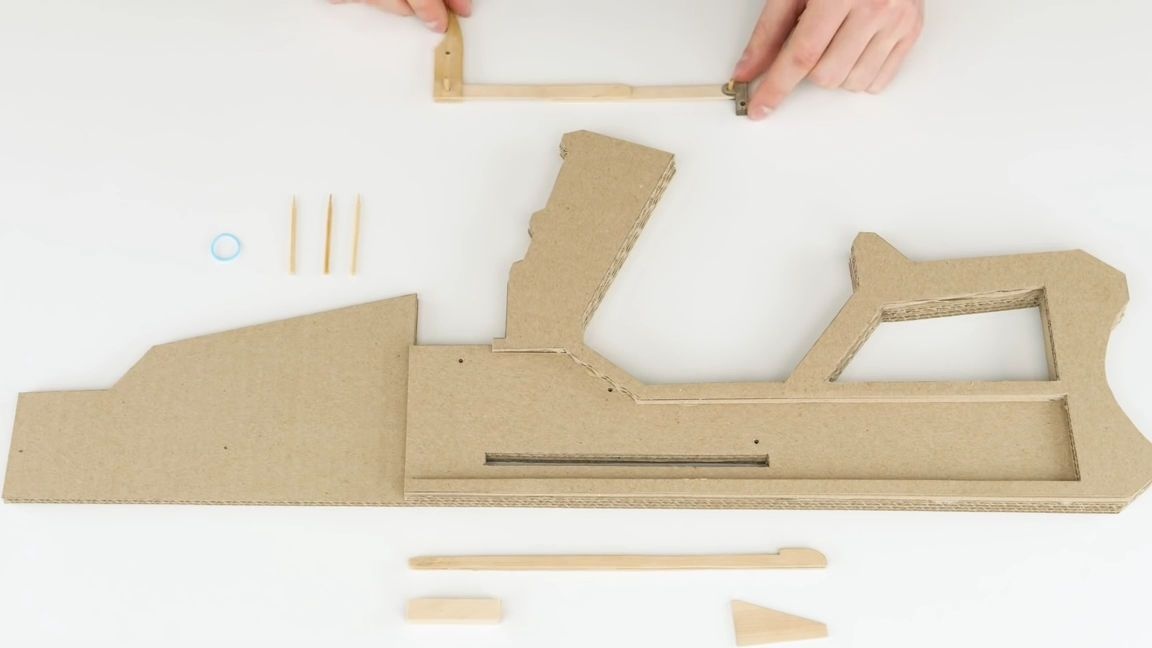
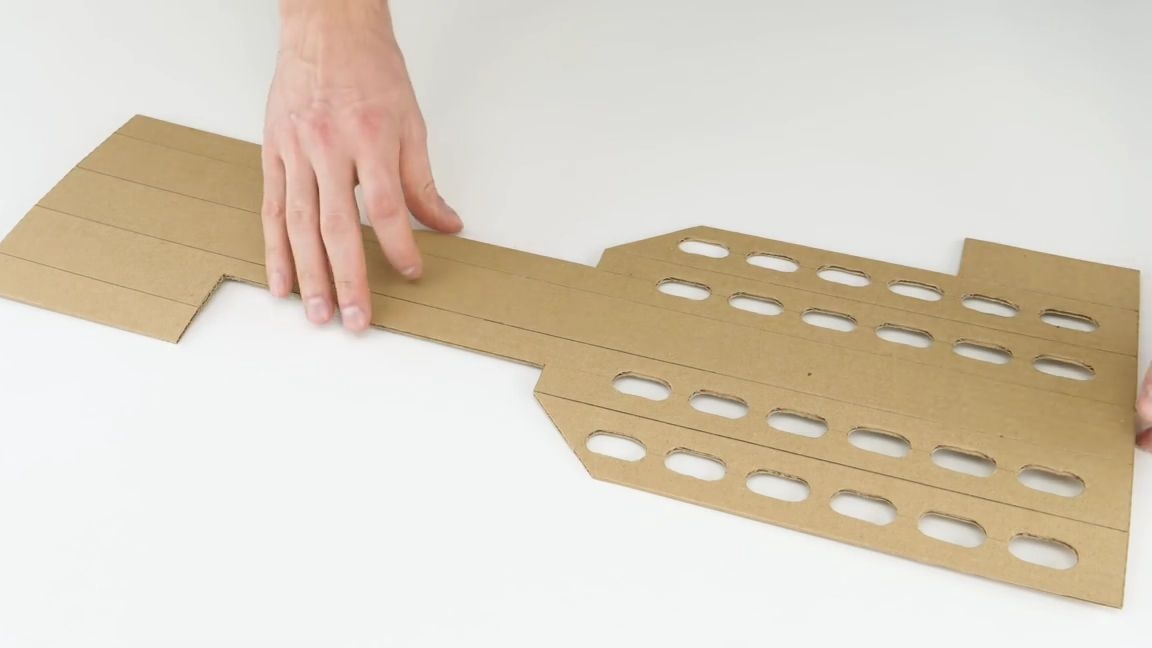
On a sheet of cardboard we draw a shape (base) for a future cog, it is best to do this as shown in the photo below. Then we cut out two more intermediate parts, which should be sized to the first workpiece, then we cut all three workpieces with the help of a stationery knife and glue them together with thermal glue, of course, with ordinary super glue:
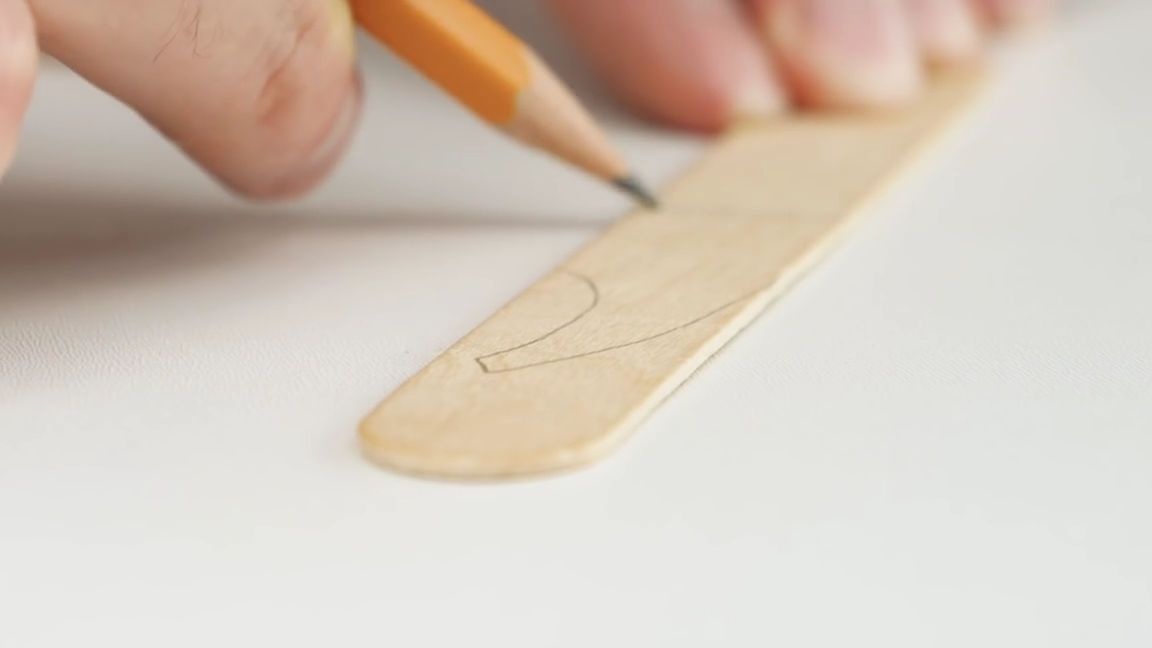
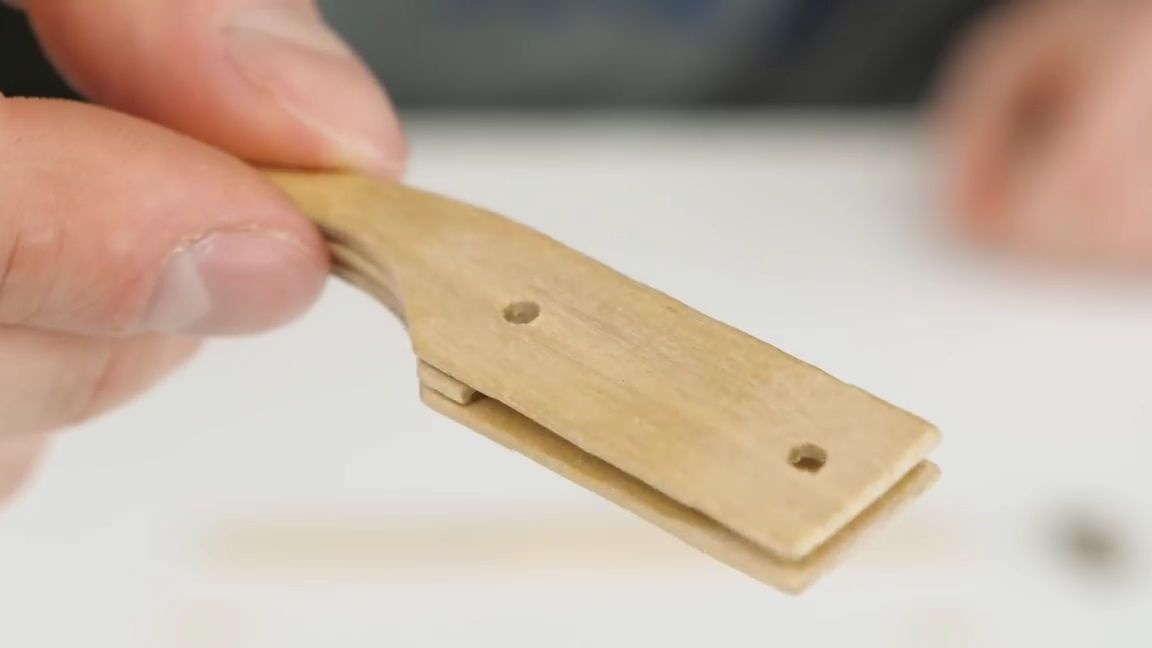
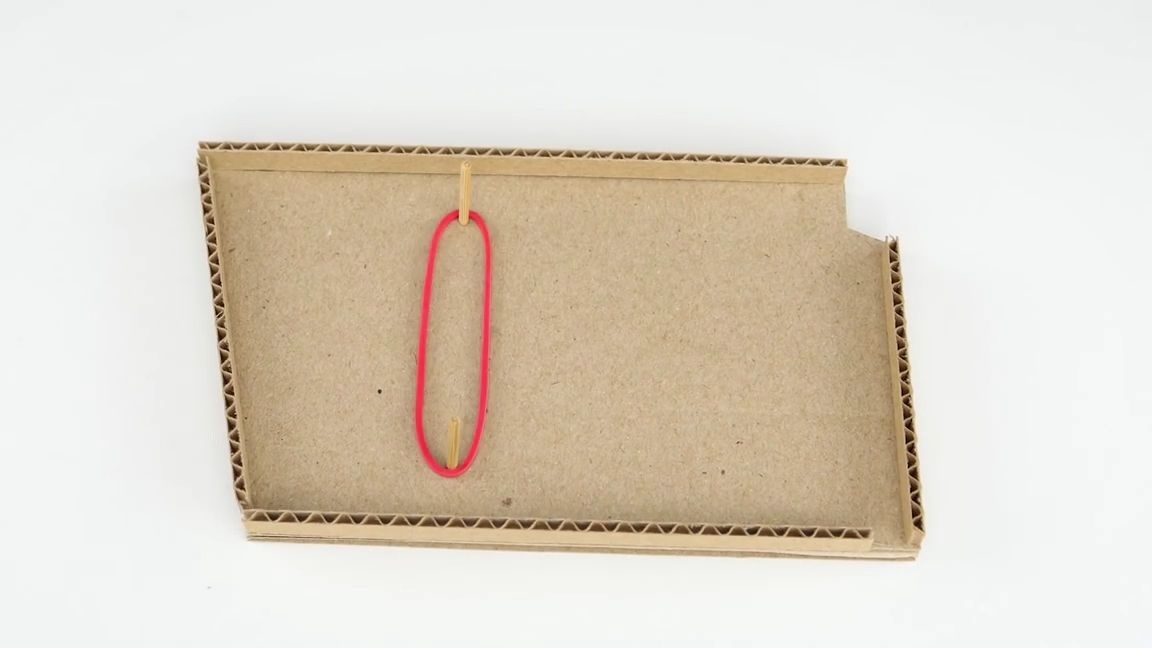
We take an ice cream stick and a pencil, or draw a helium pen on it, something similar to an elongated hook, then cut it out. In total, we will need three such blanks, but two of them should be equally increased in length, relative to the first:
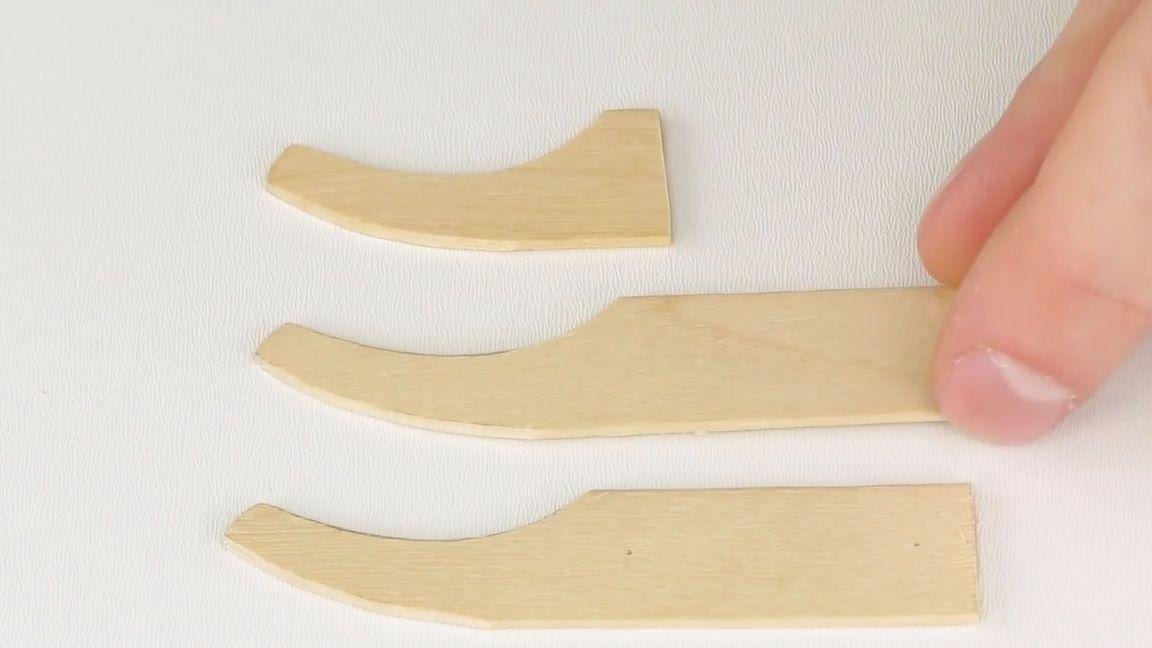
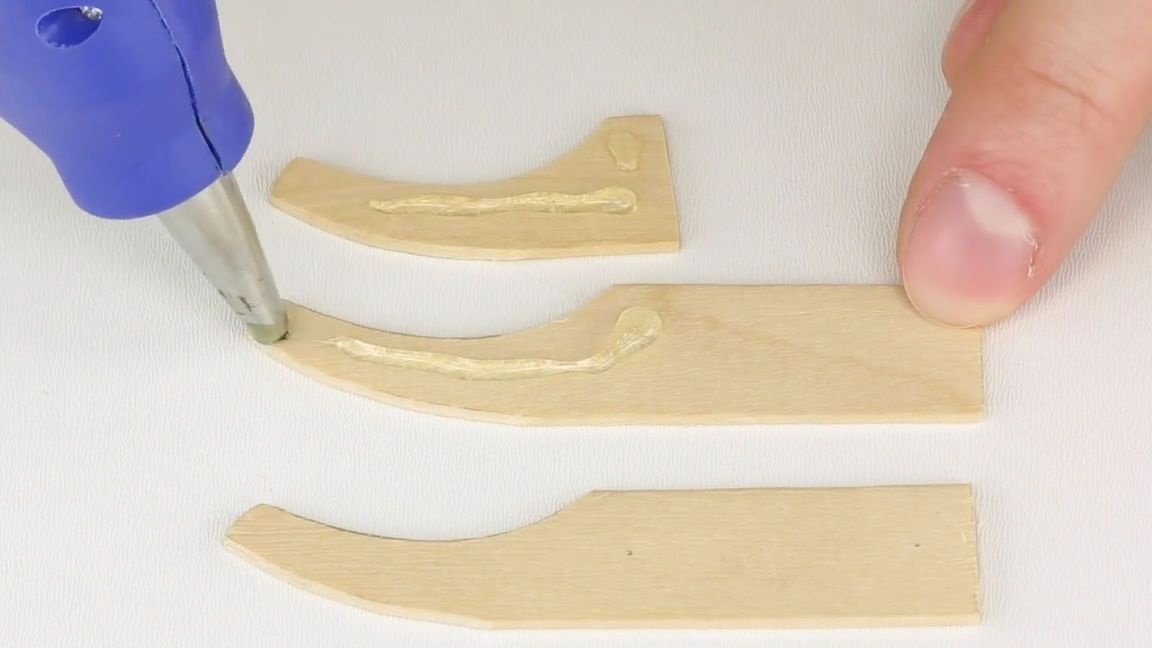
We glue them together so that the shortest one is sandwiched between two others:

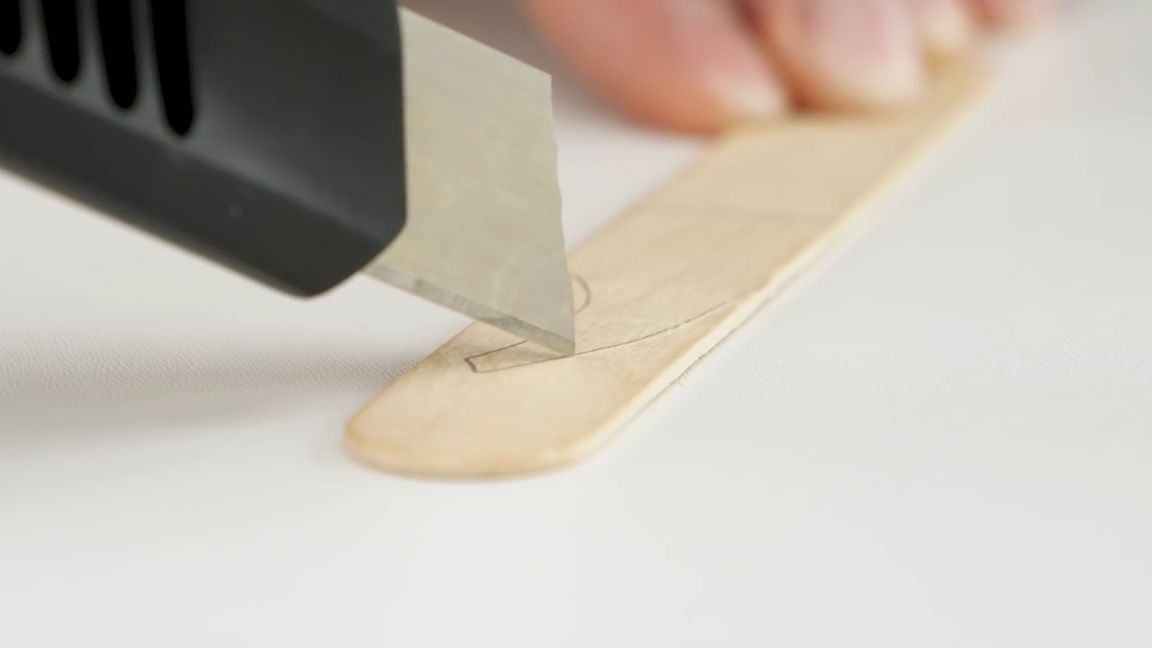
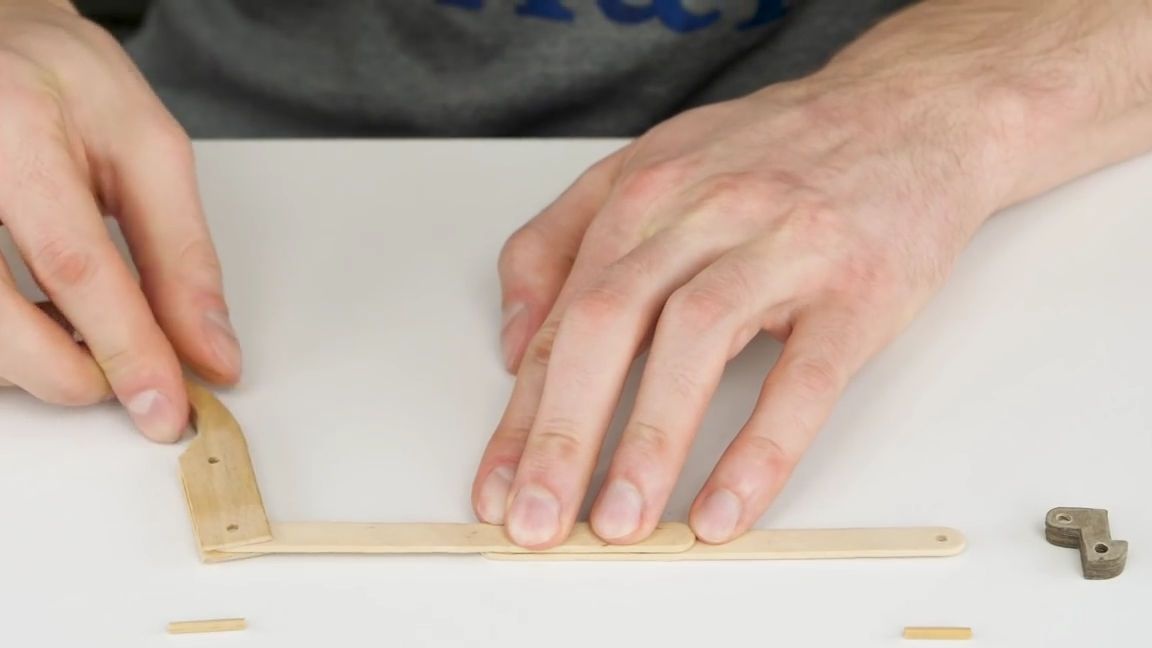
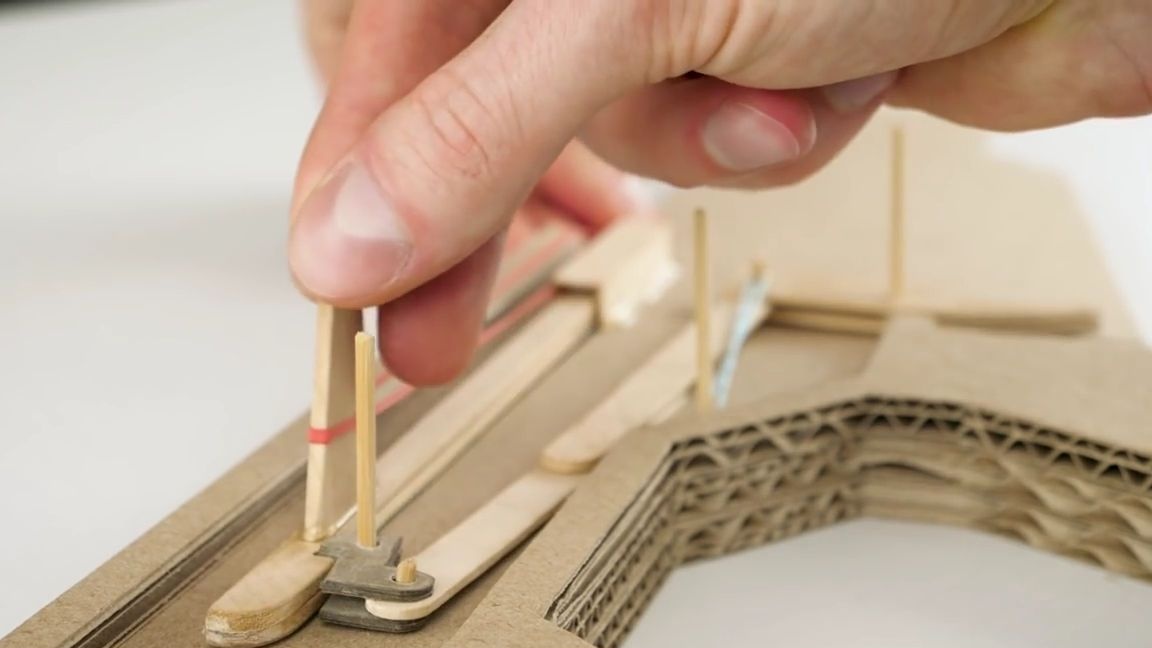
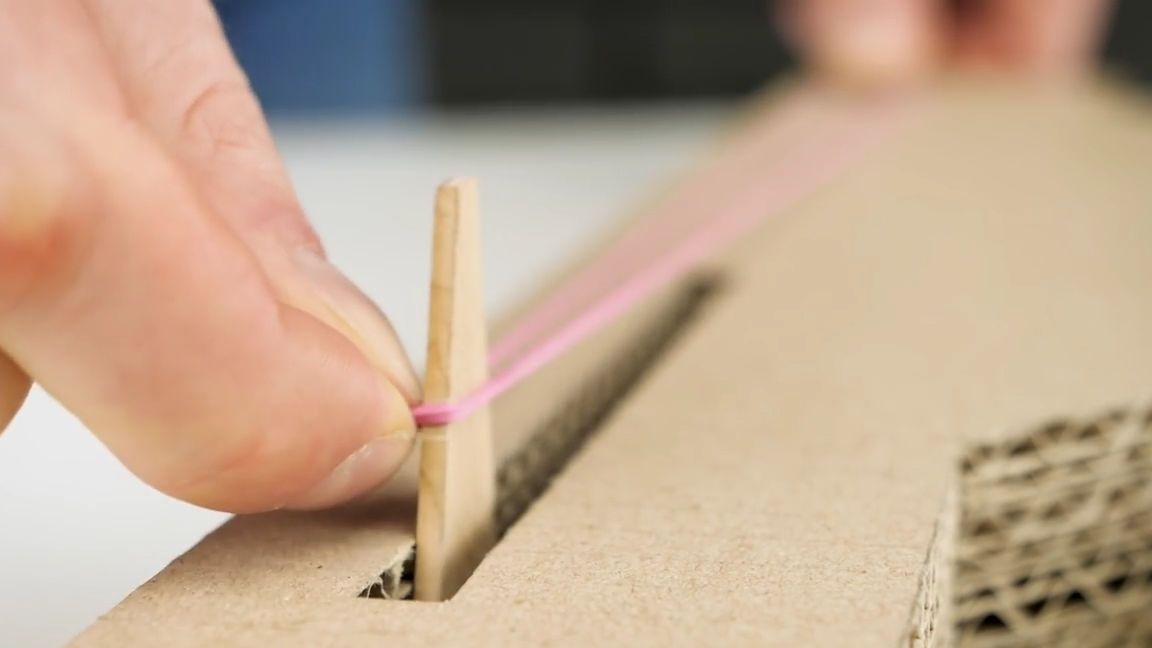
Now we take a screwdriver with a thin drill and make two through holes at the beginning and middle of this workpiece:
Then you need to take two sticks of ice cream and use the same drill to drill one hole at one end of the sticks. The next step is to glue these sticks with thermal glue to each other, to glue the opposite ends of the sticks from those where we drilled holes.
After gluing the sticks, we take the previous workpiece and connect it to one of the ends of the ice cream sticks, this can be done with pieces of a barbecue skewer.
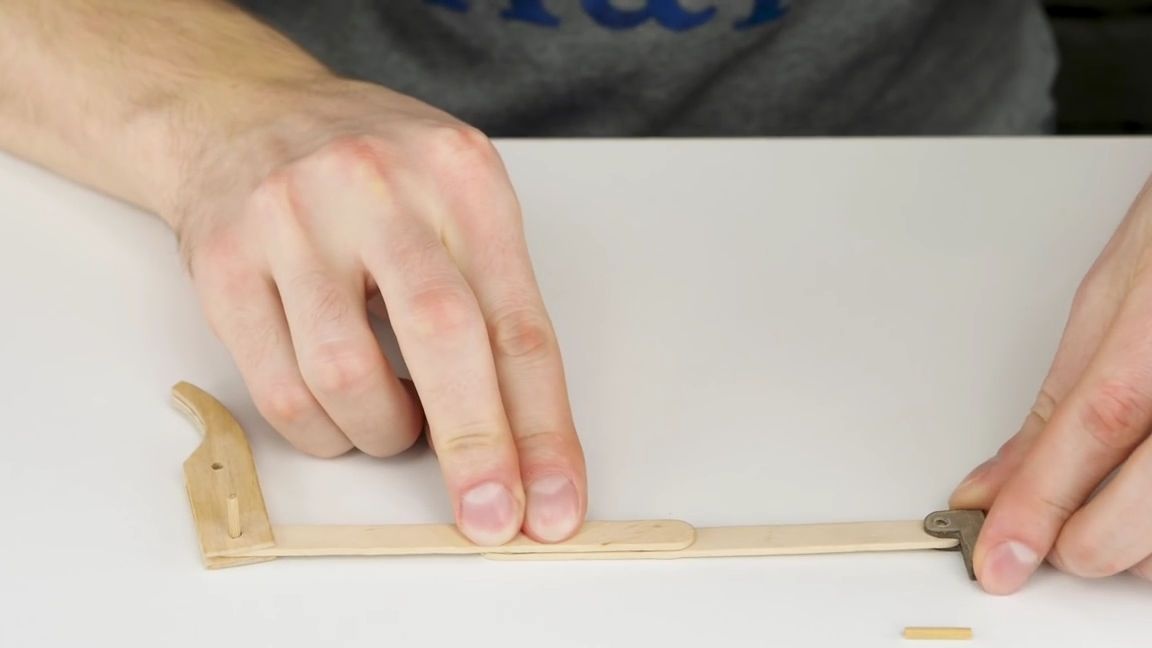
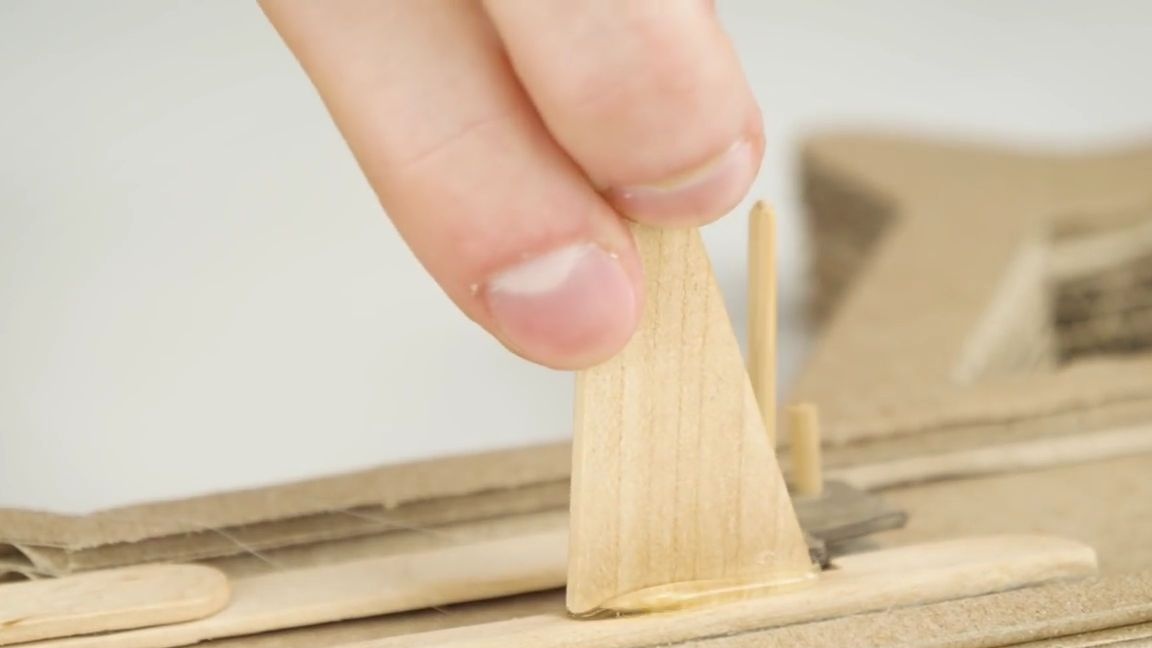
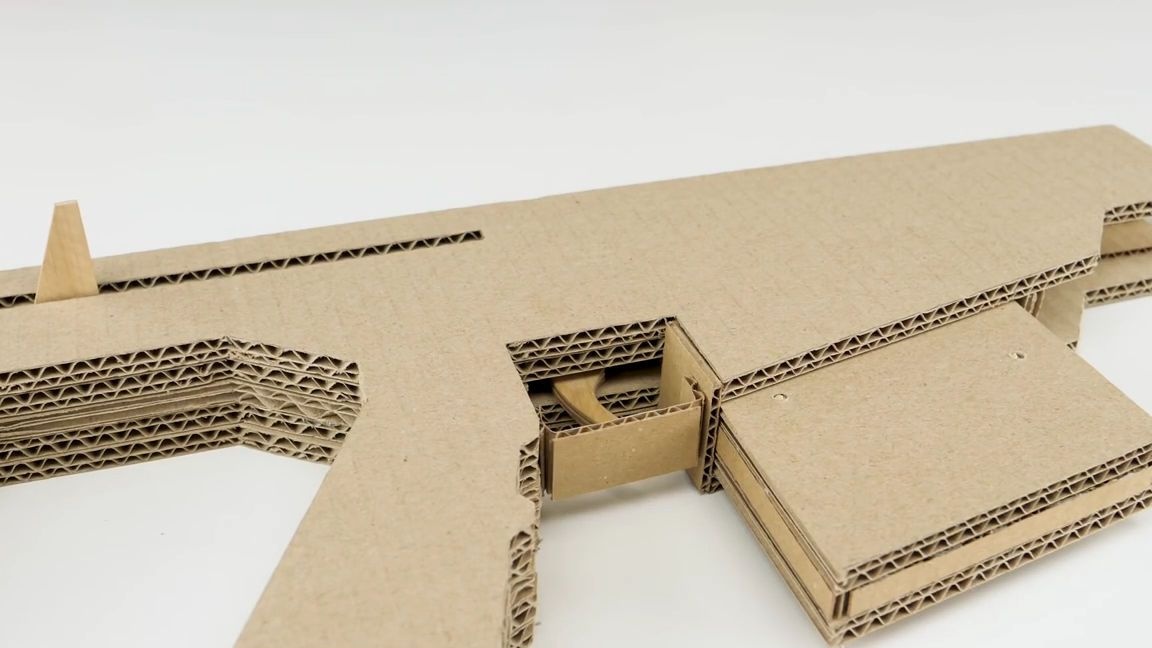
On the opposite side, we connect the edge of the stick in the same way and the Z-shaped part made either from plywood or from another strong material, then how this part looks, you can see in the photo below:
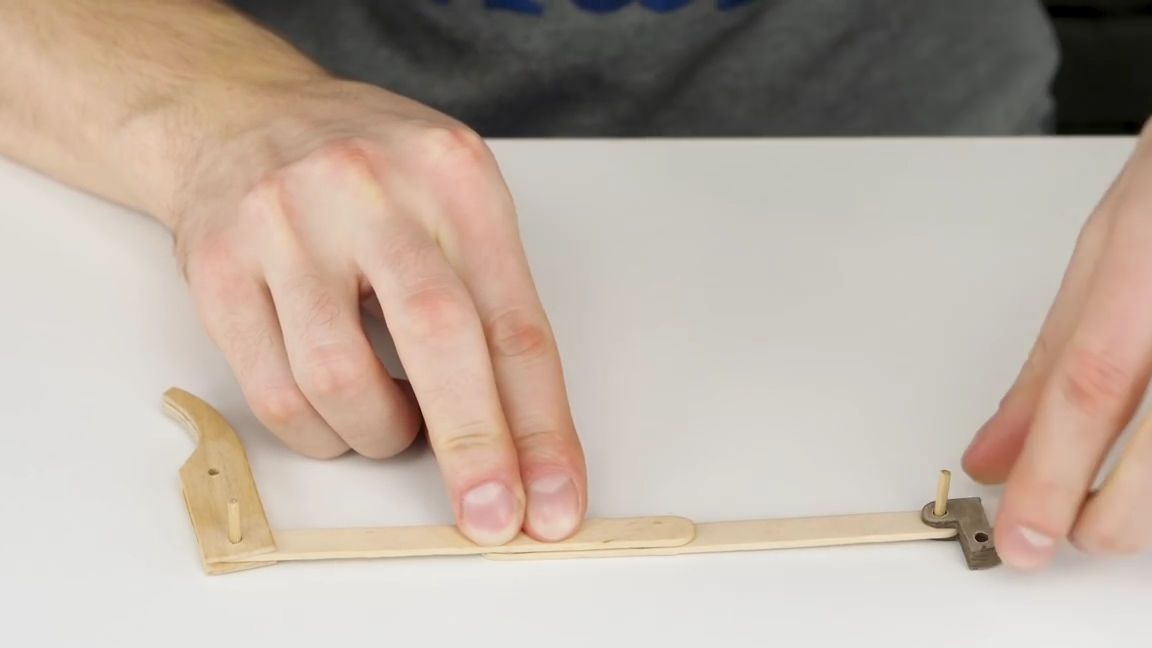
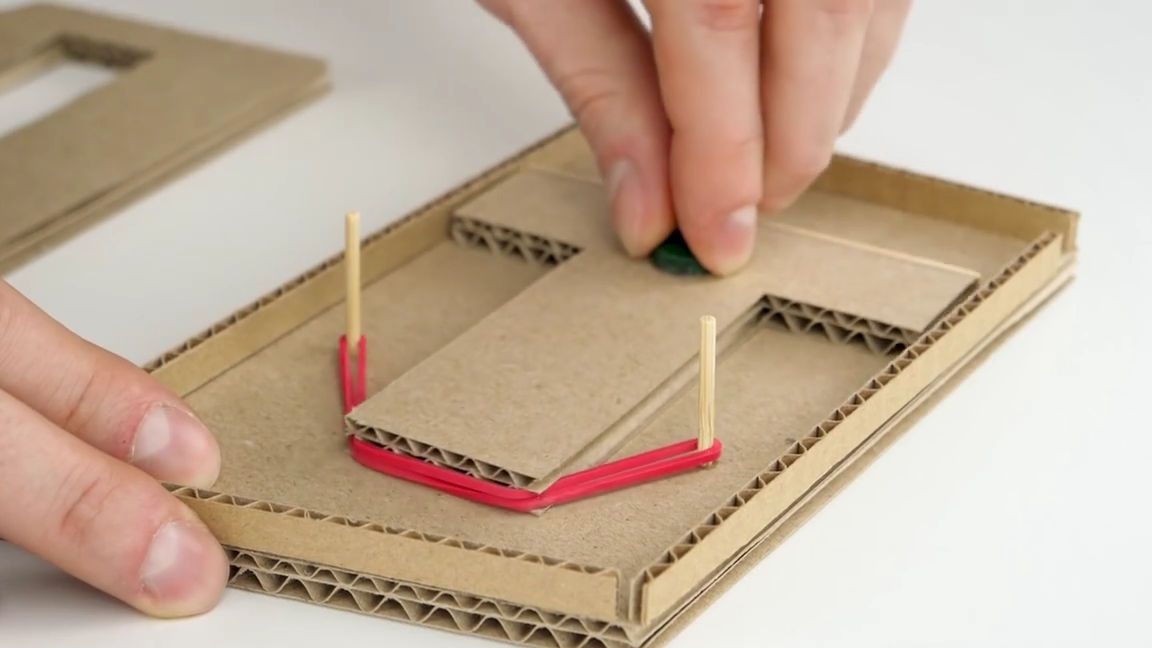
Now we need one small gum, three pieces of barbecue skewers and three parts made of two ice cream sticks and one wooden spatula.
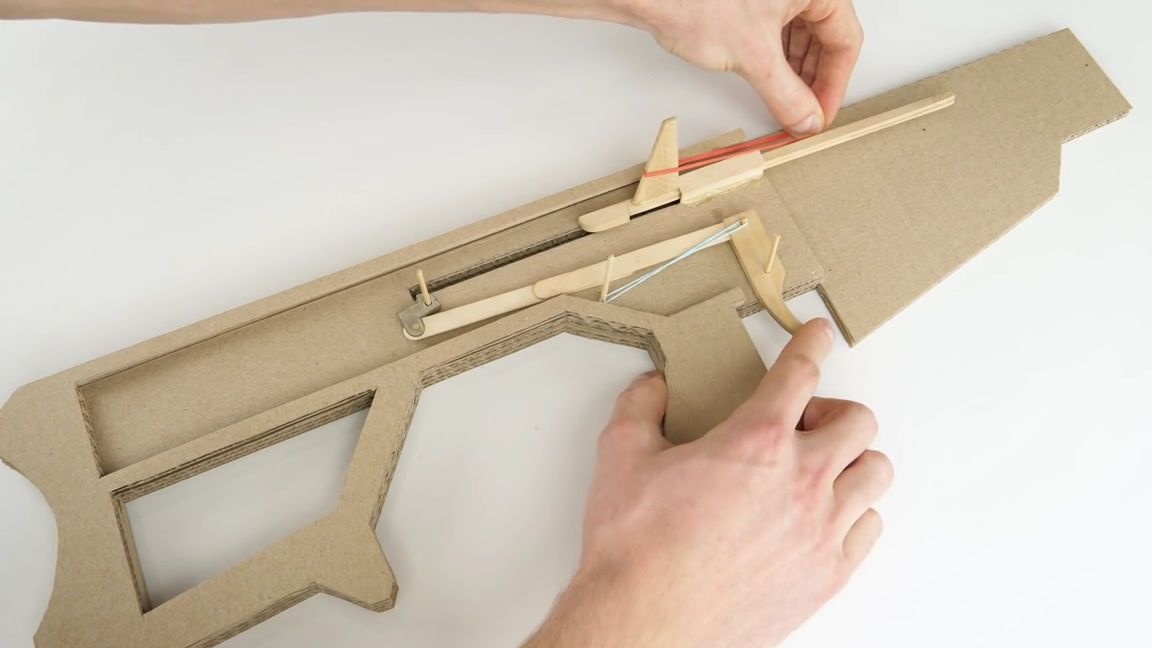
We insert the pieces of skewers into the previously made holes in a common basis, then we put on the previous workpiece on these pieces, we stretch the elastic band as shown in the photo below. Then we install the largest part from the ice cream stick, do not put its end and glue with thermo-glue the part that is glued from 4 pieces of ice cream sticks and made in the shape of a tube, and at the other end we glue the “triangular” part. Everything should turn out as in the photo below.

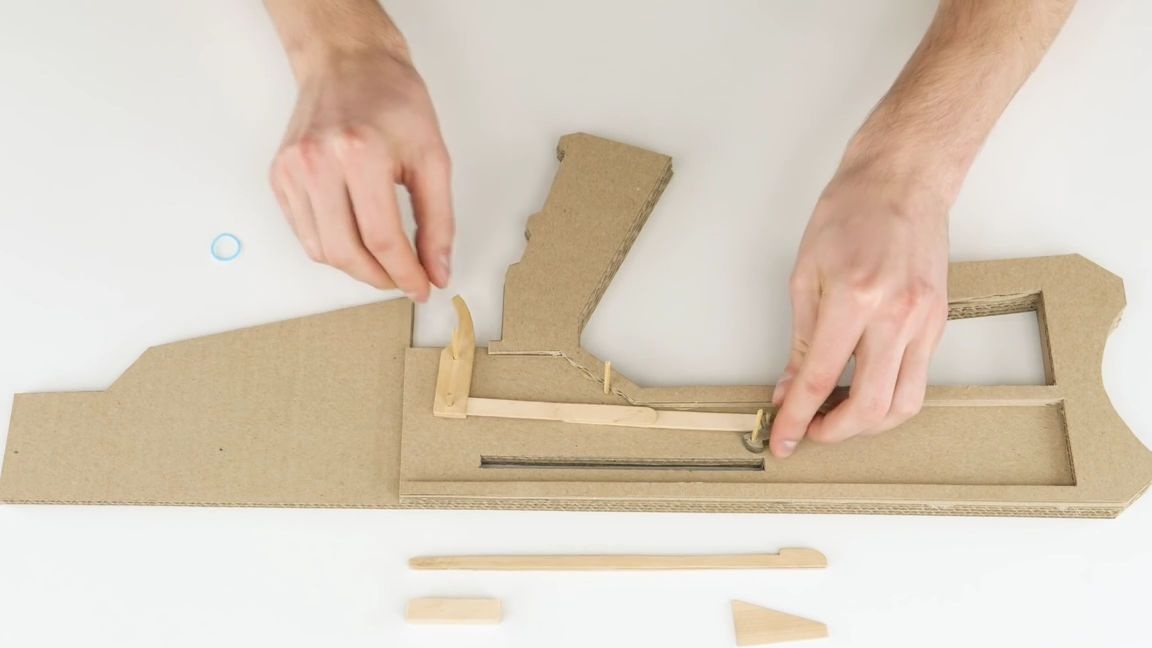
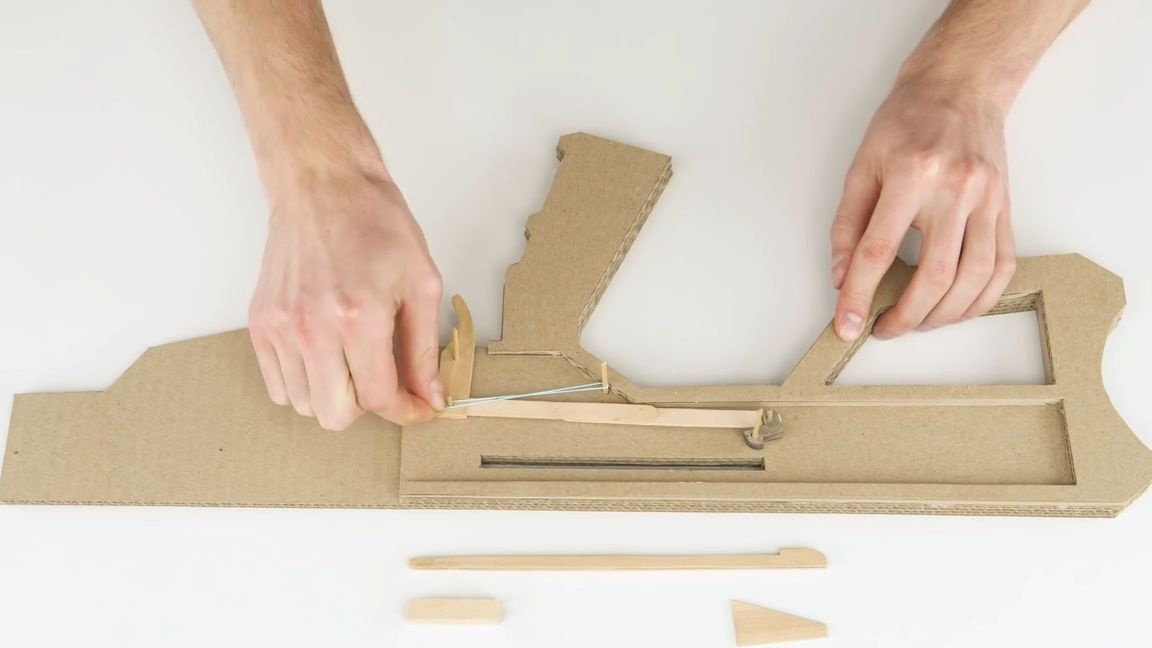
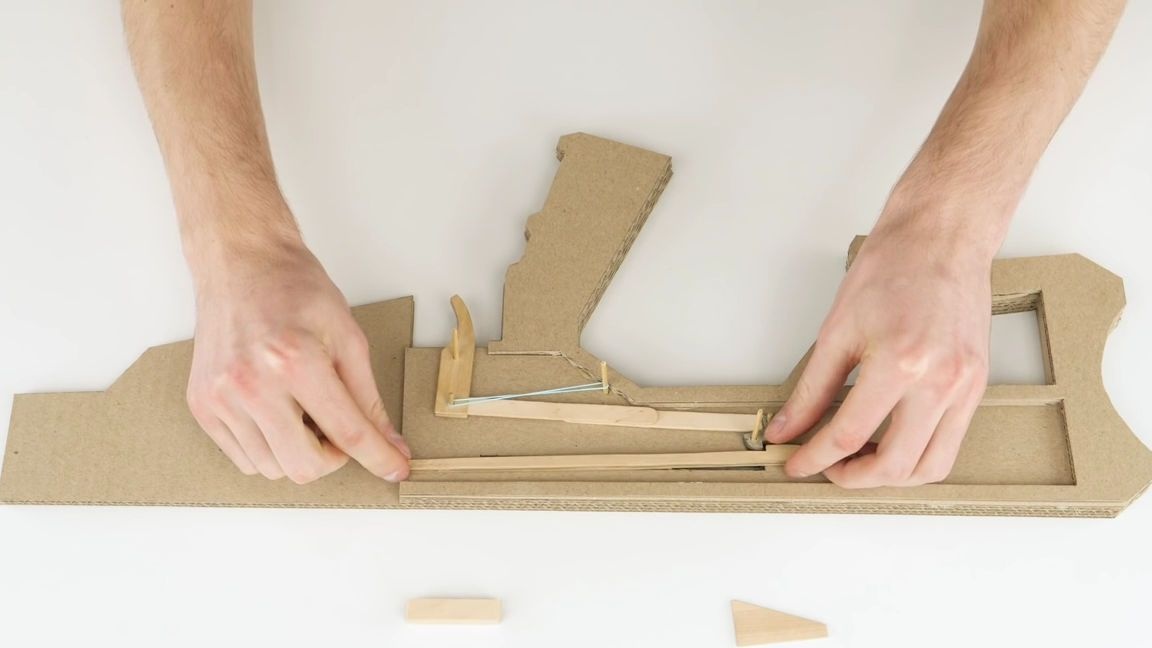
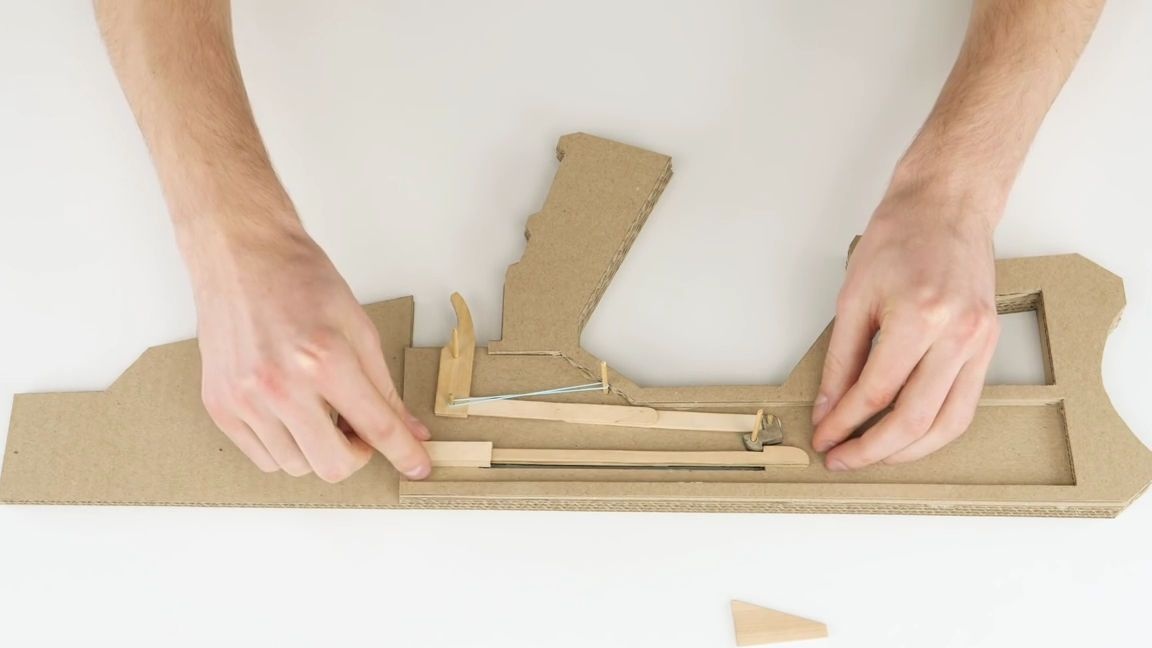
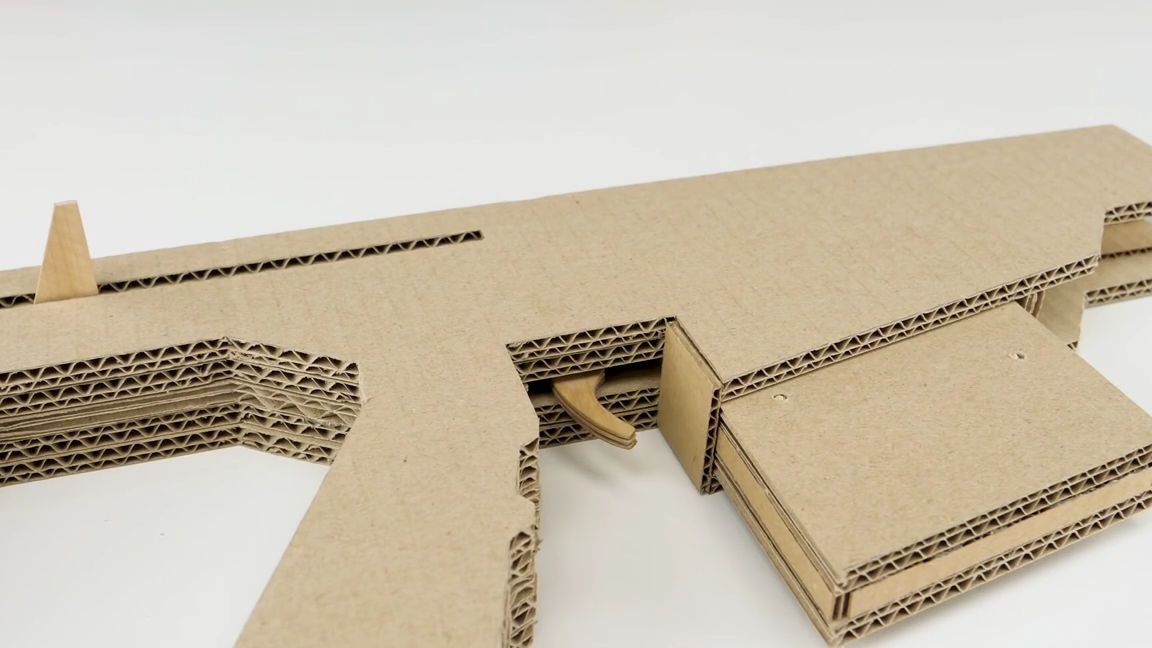
After all these actions, the trigger should turn out, which, thanks to the rubber band, returns to its original position:
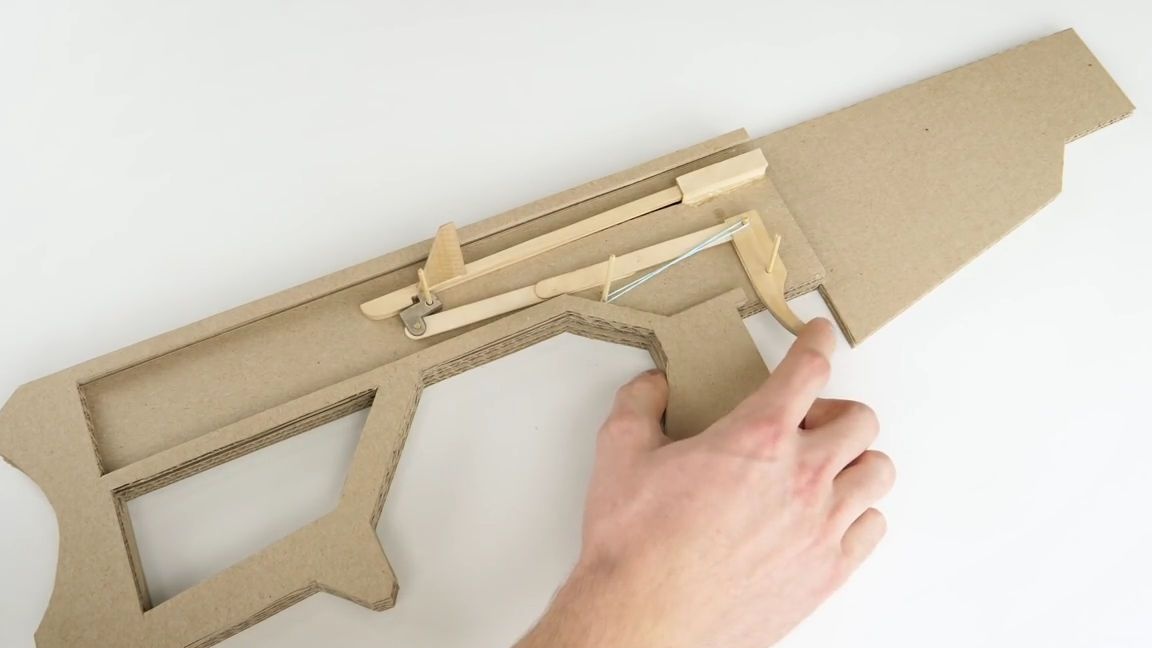
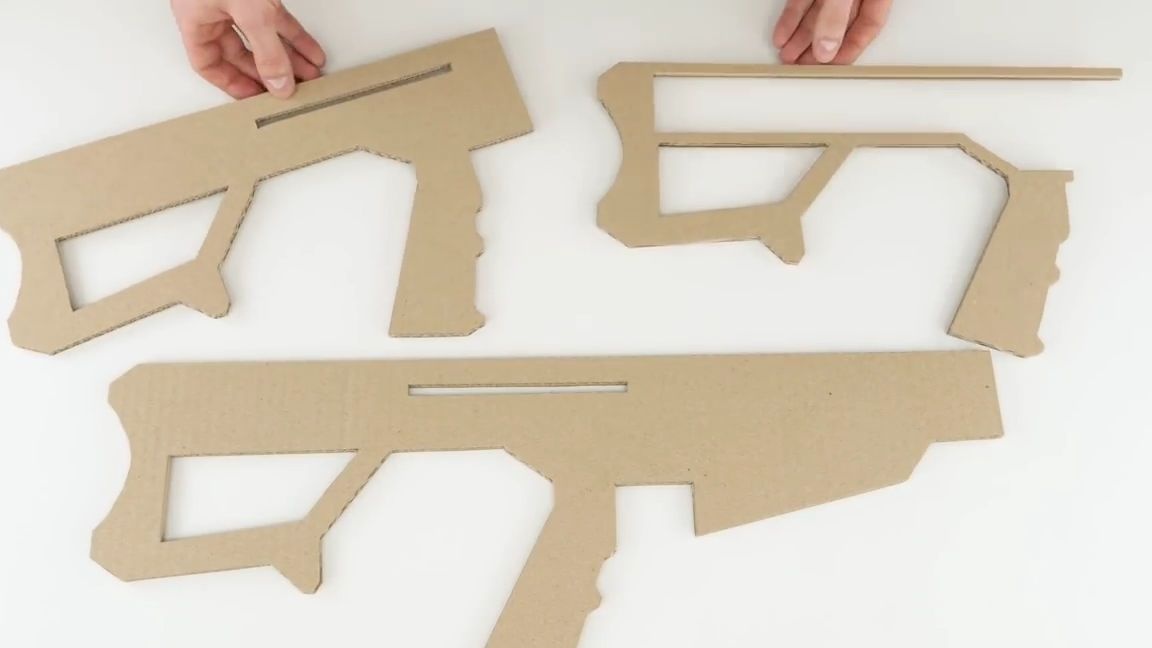
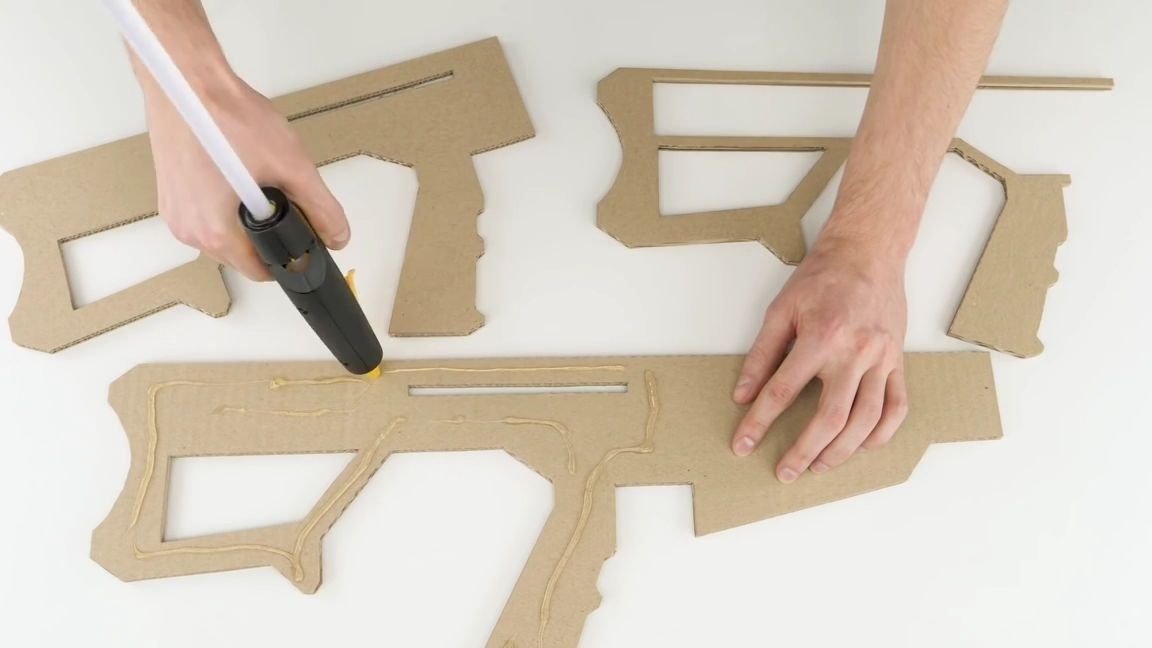
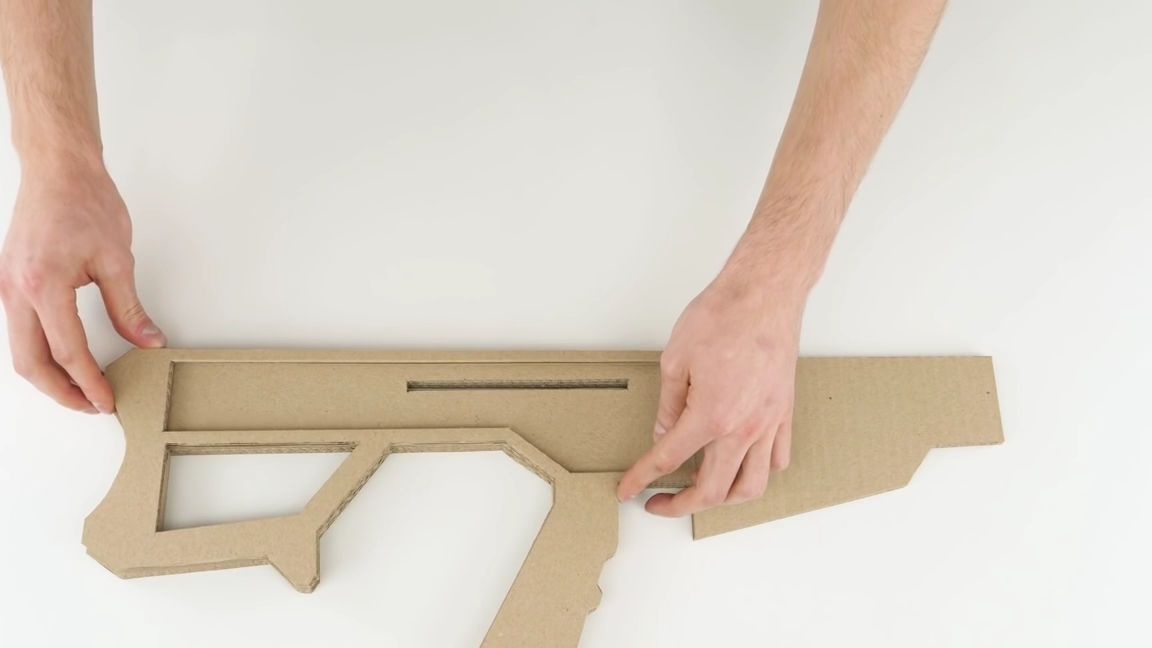
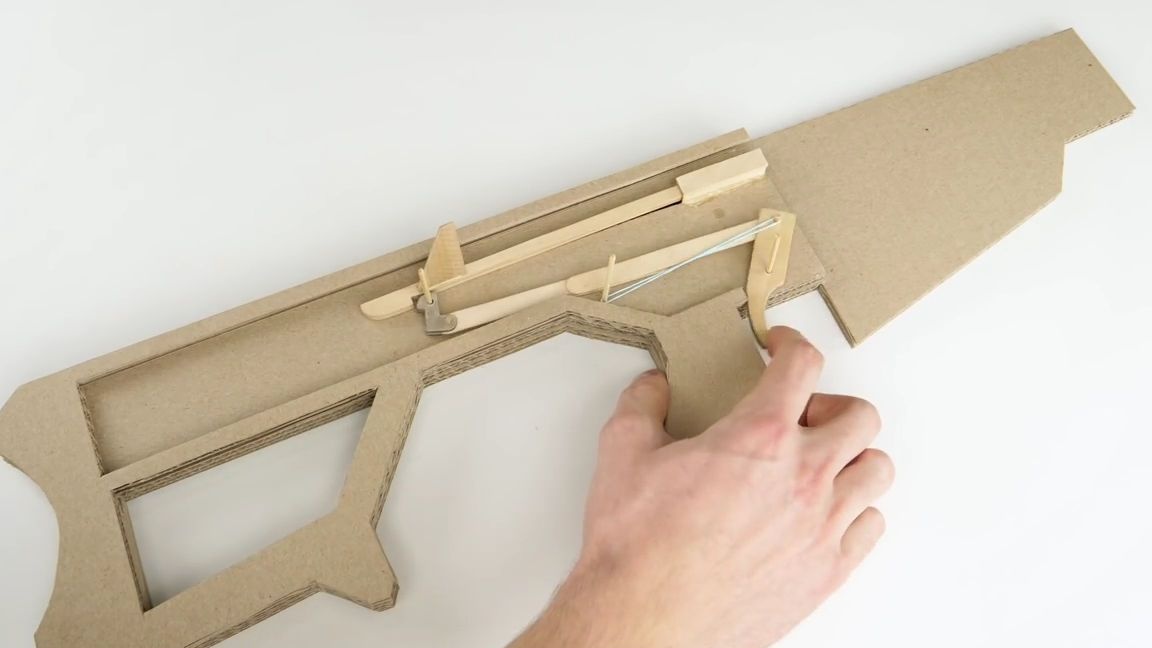
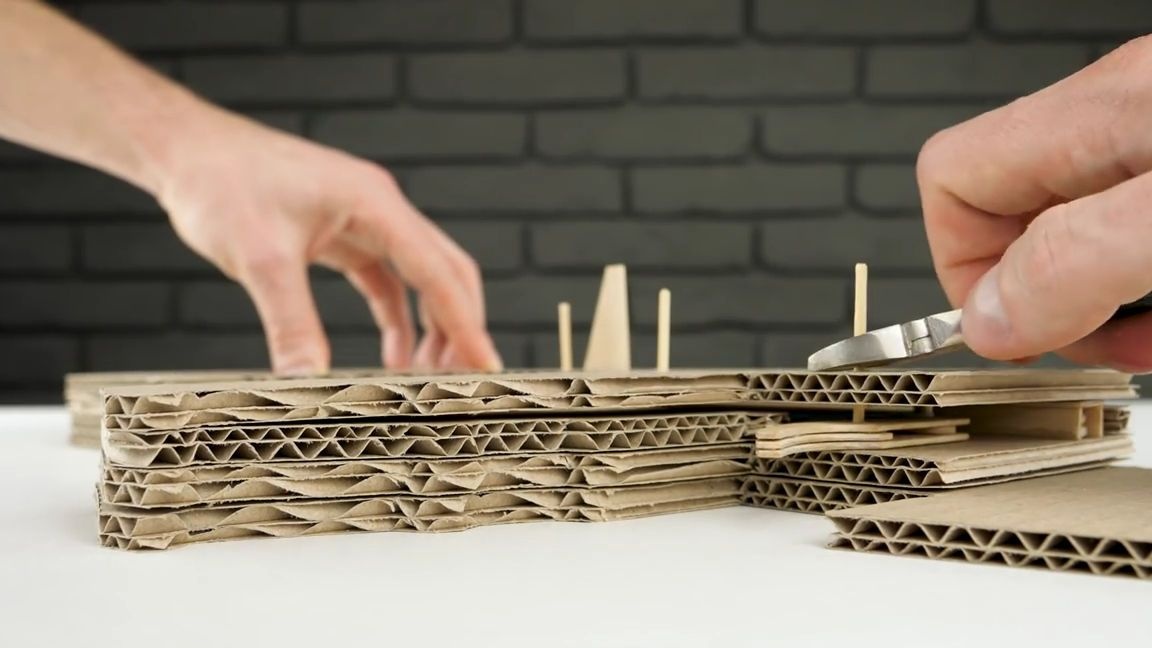
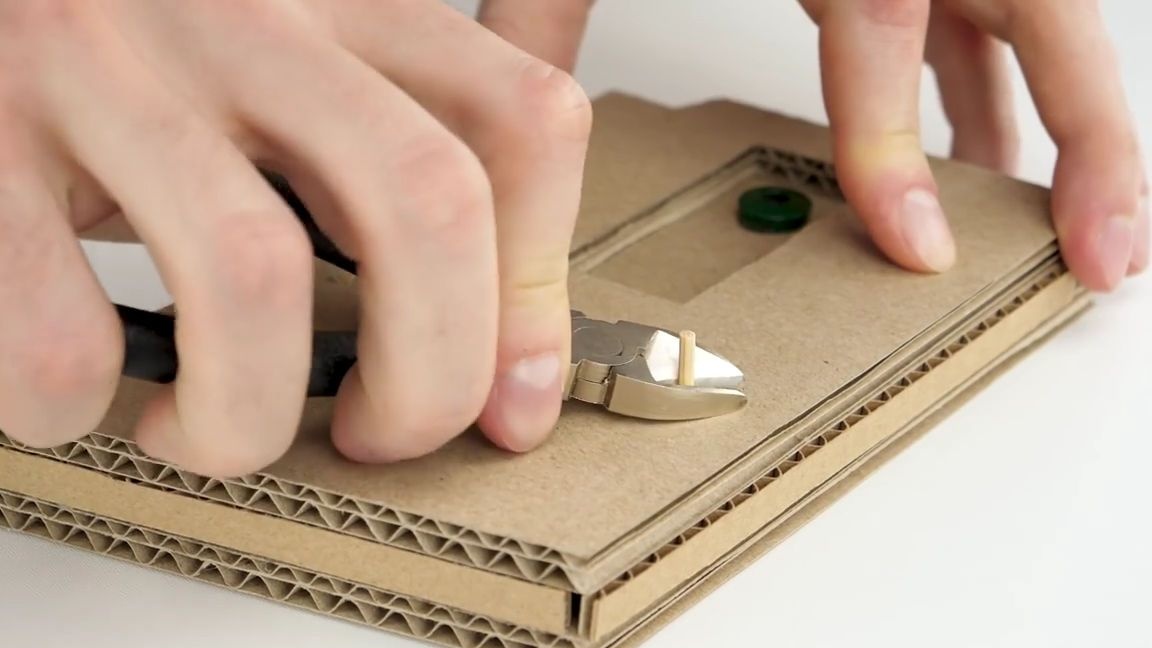
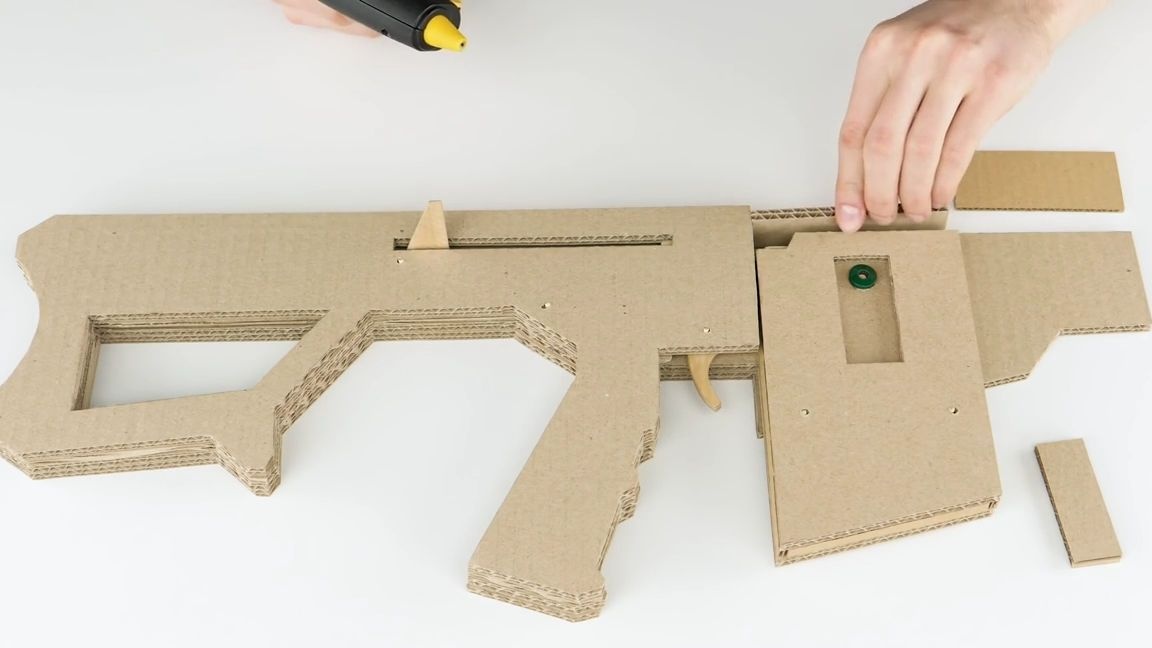
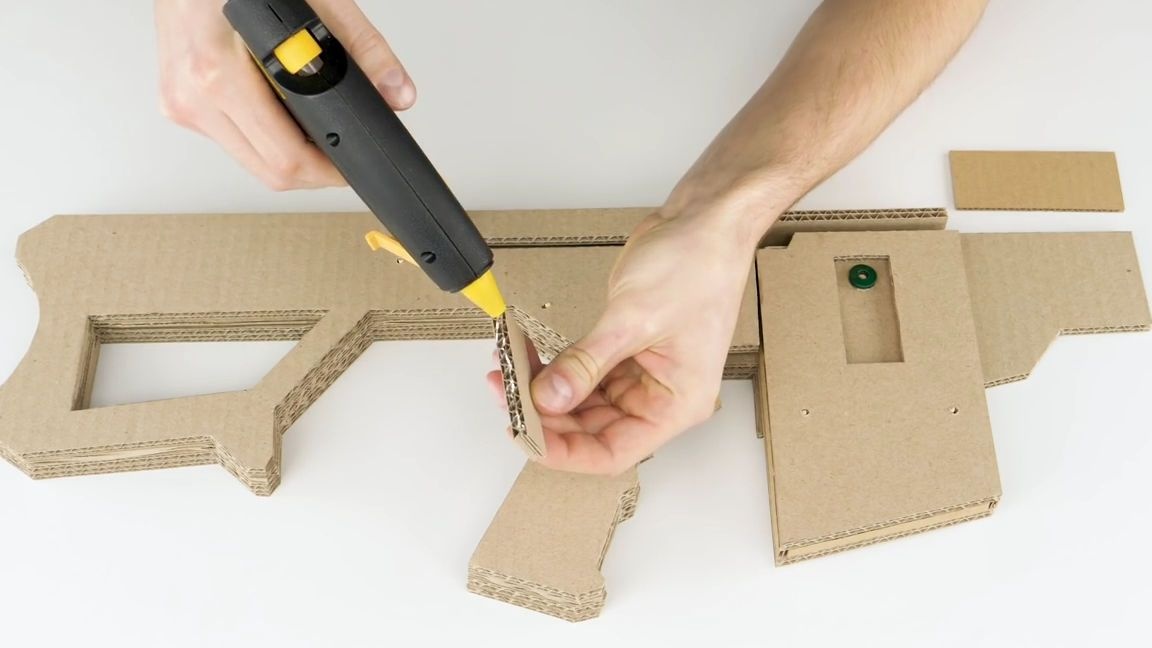
On top of this whole structure we glue a blank made of corrugated cardboard and repeating the contours of the whole structure, bite off the excess ends of the barbecue skewers with the help of nippers:
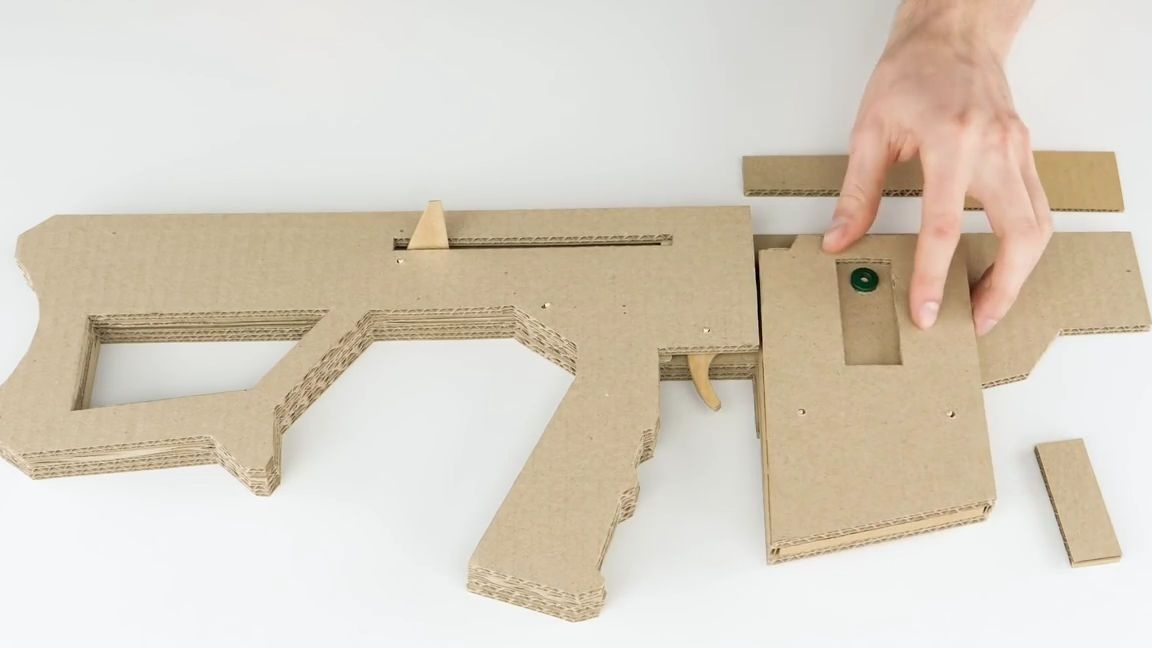
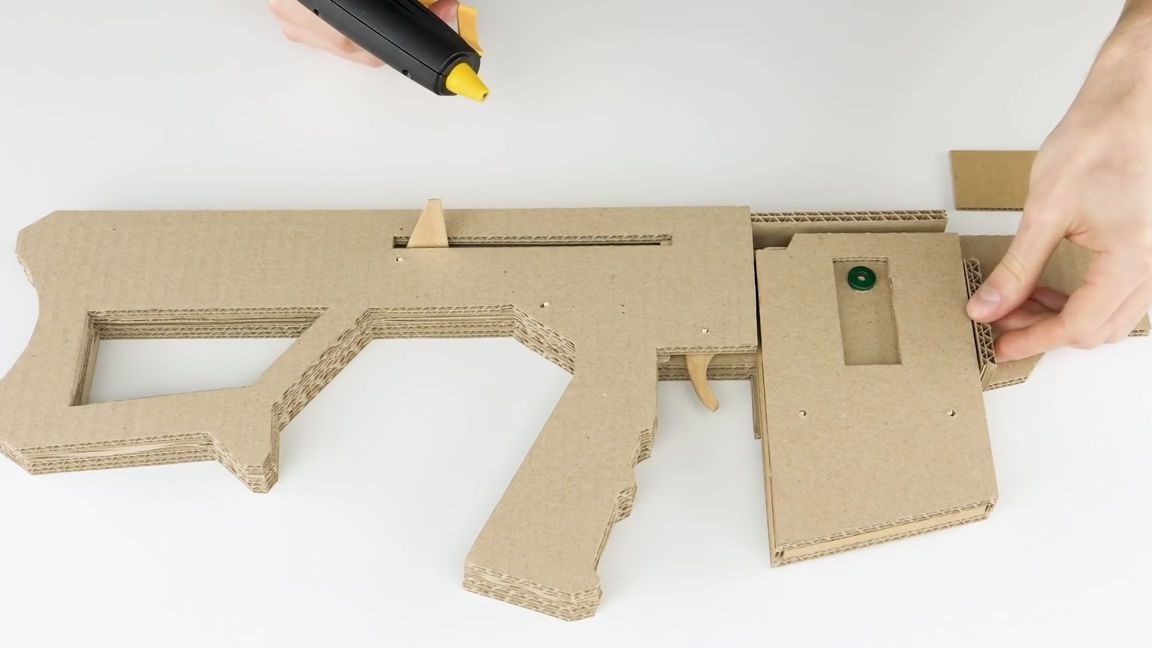
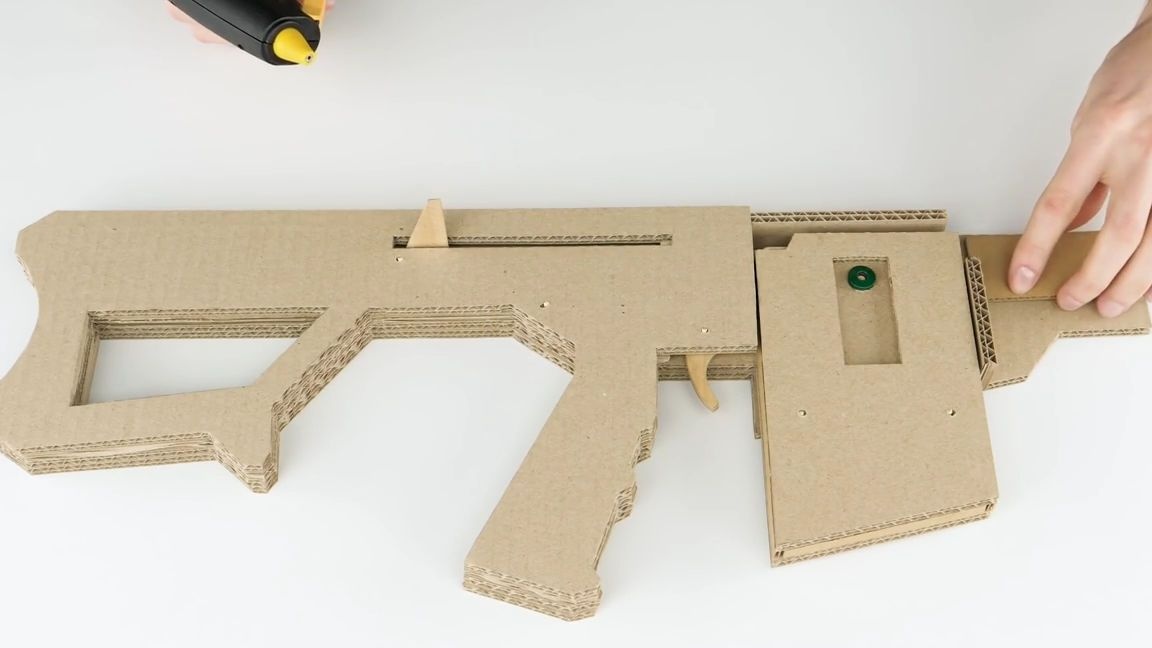
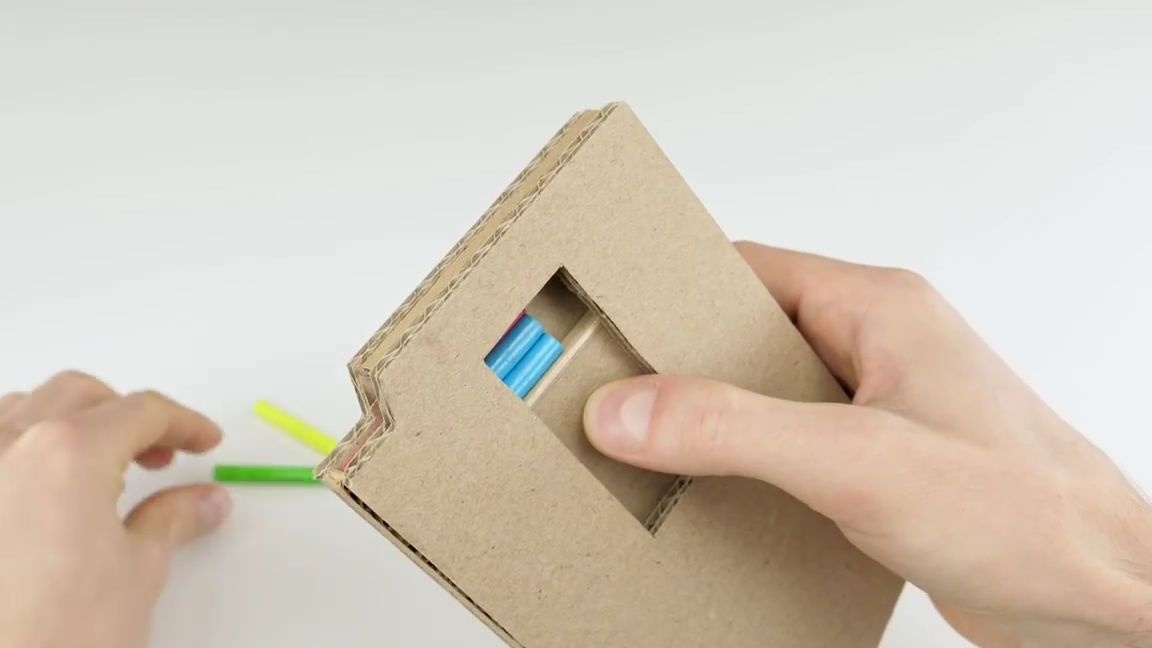
From a corrugated cardboard, skewers and elastic, it is necessary to make a “store” for shells, there is nothing complicated here, so just do everything as shown in the photo:


Then set the "store" in the desired position and glue in the whole structure three different corrugated rectangles
go cardboard as follows:
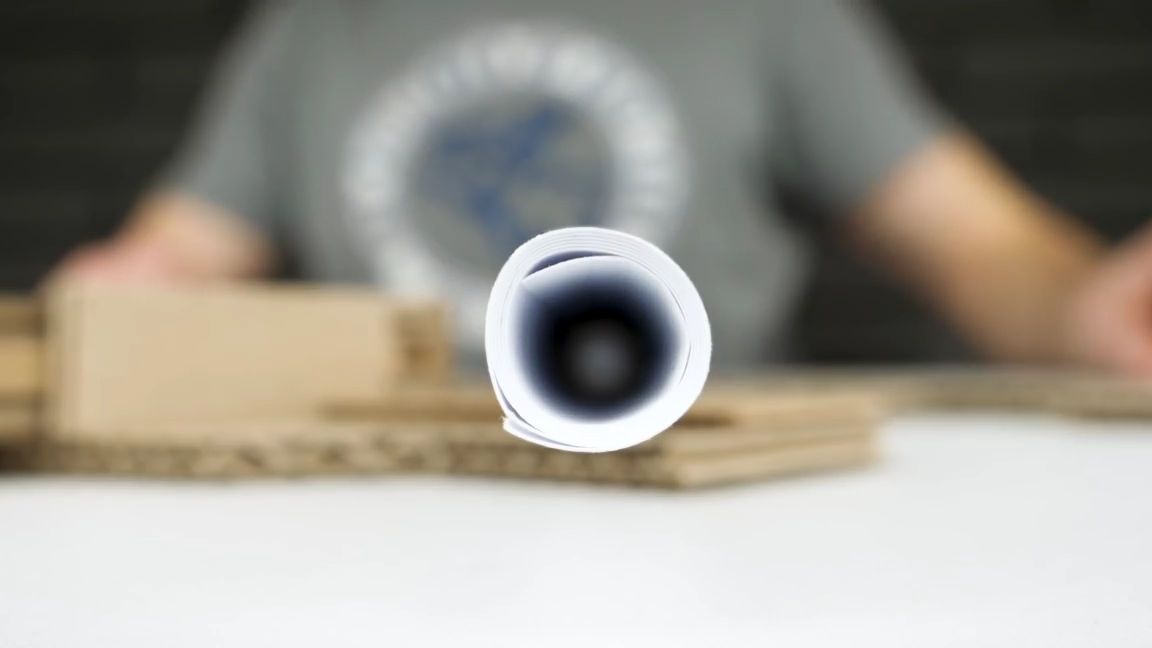
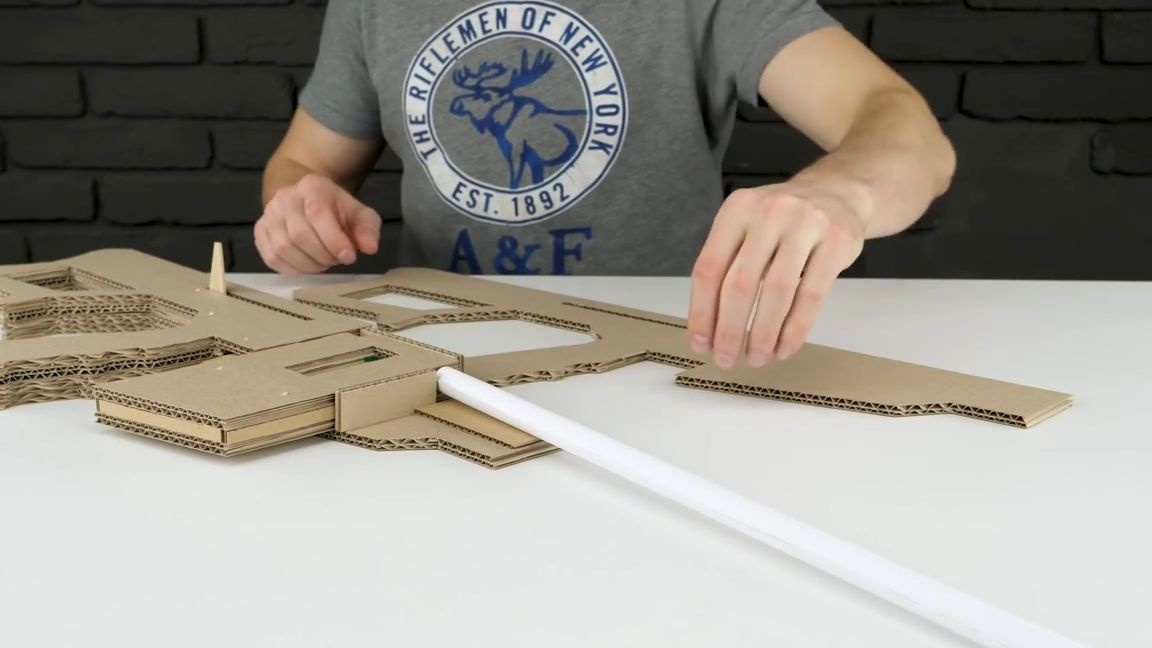
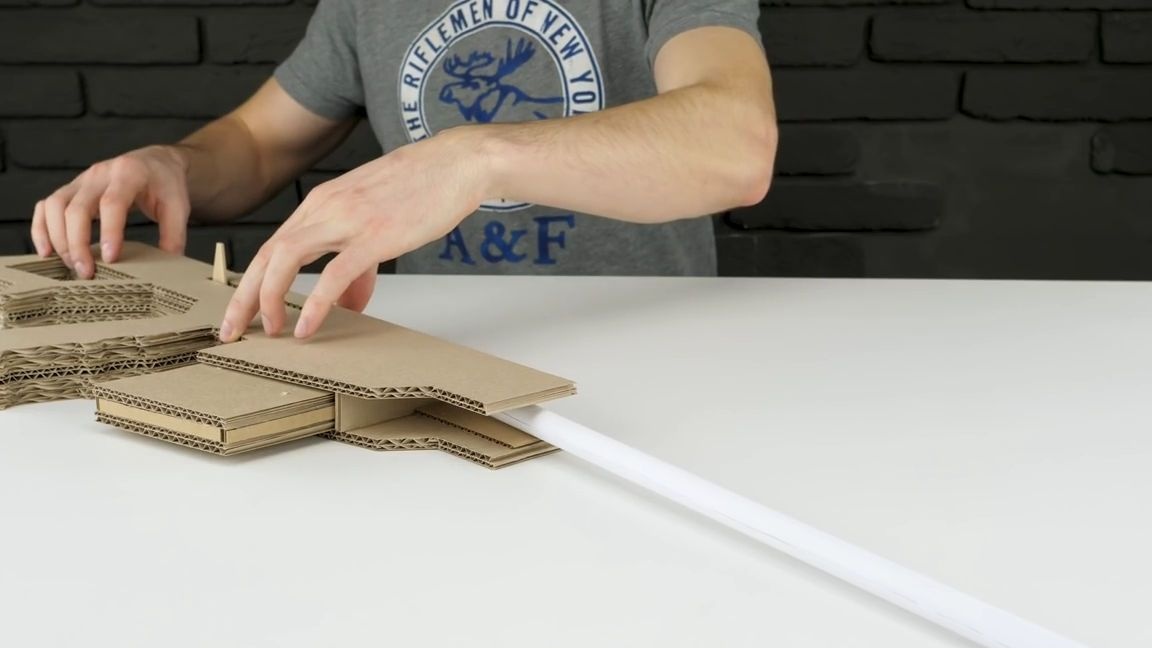
From paper, you need to make a long and even pipe in which the wax crayon can move freely, insert it into the center of the rifle:
Add a couple more cardboard parts and put on a clerical gum so that it is taut:
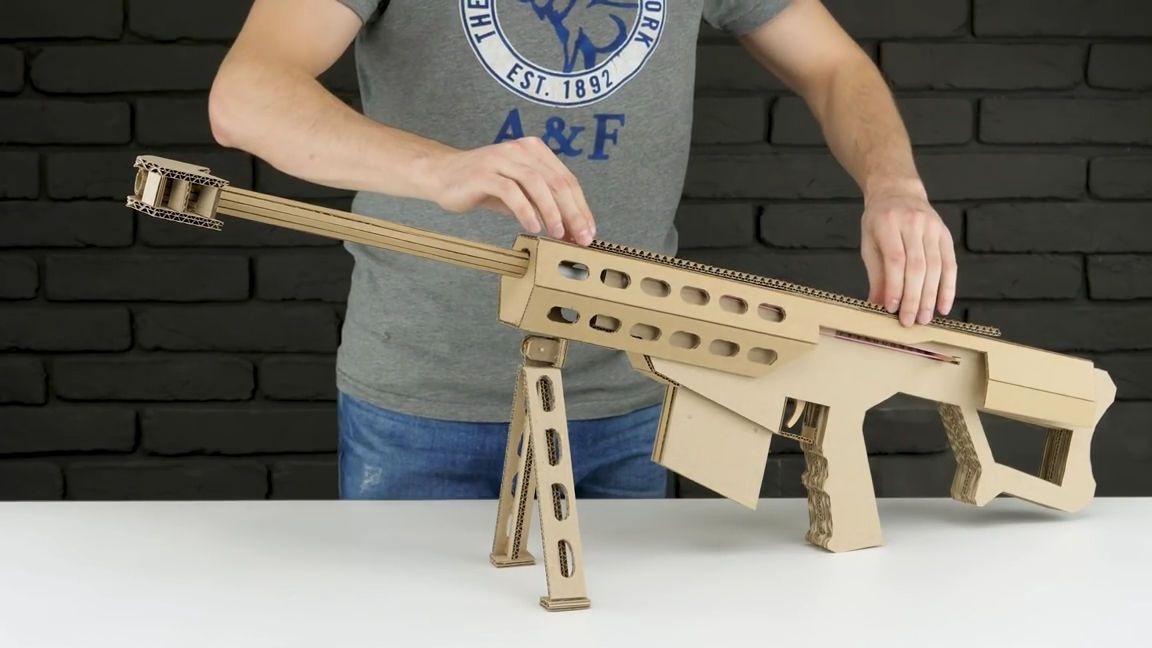
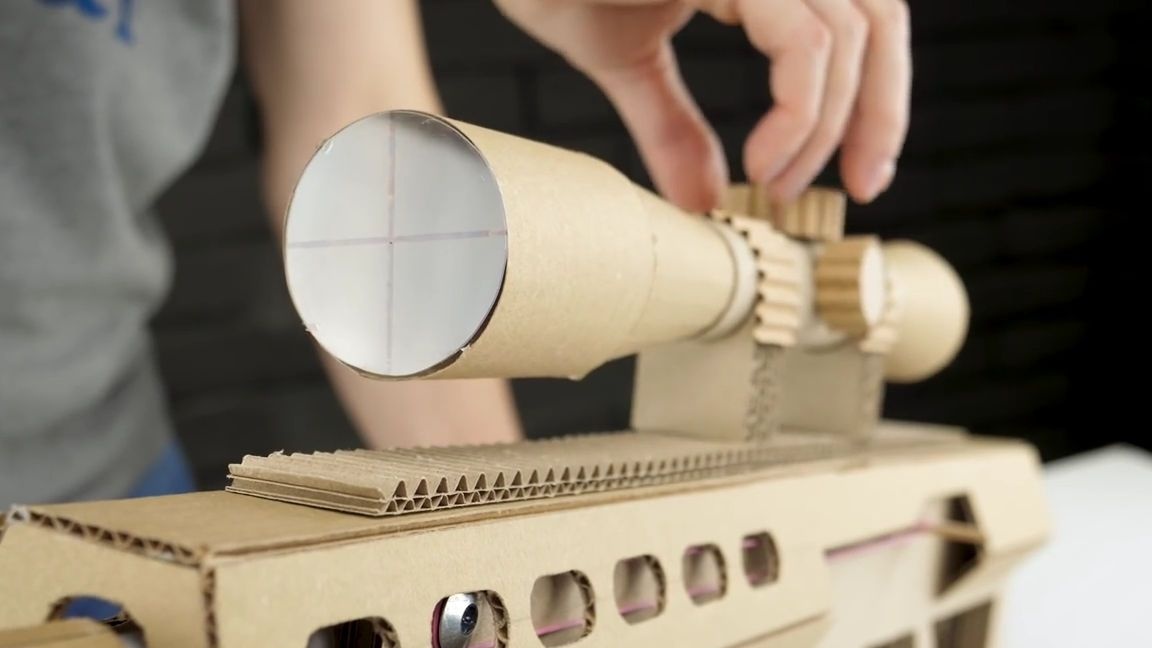
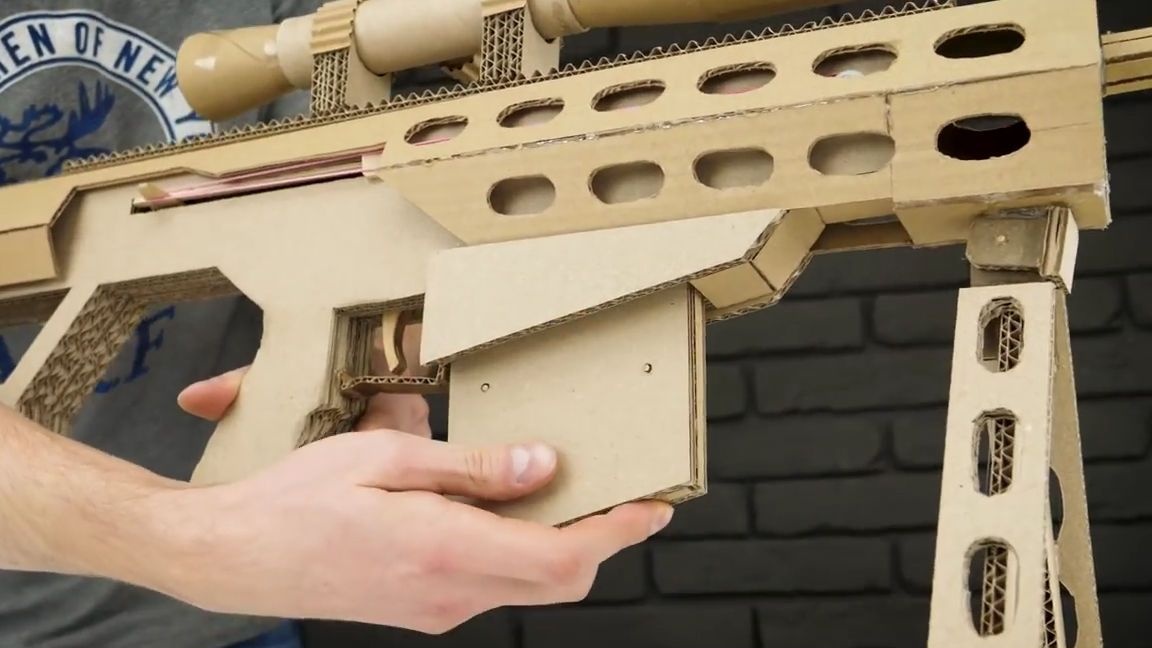
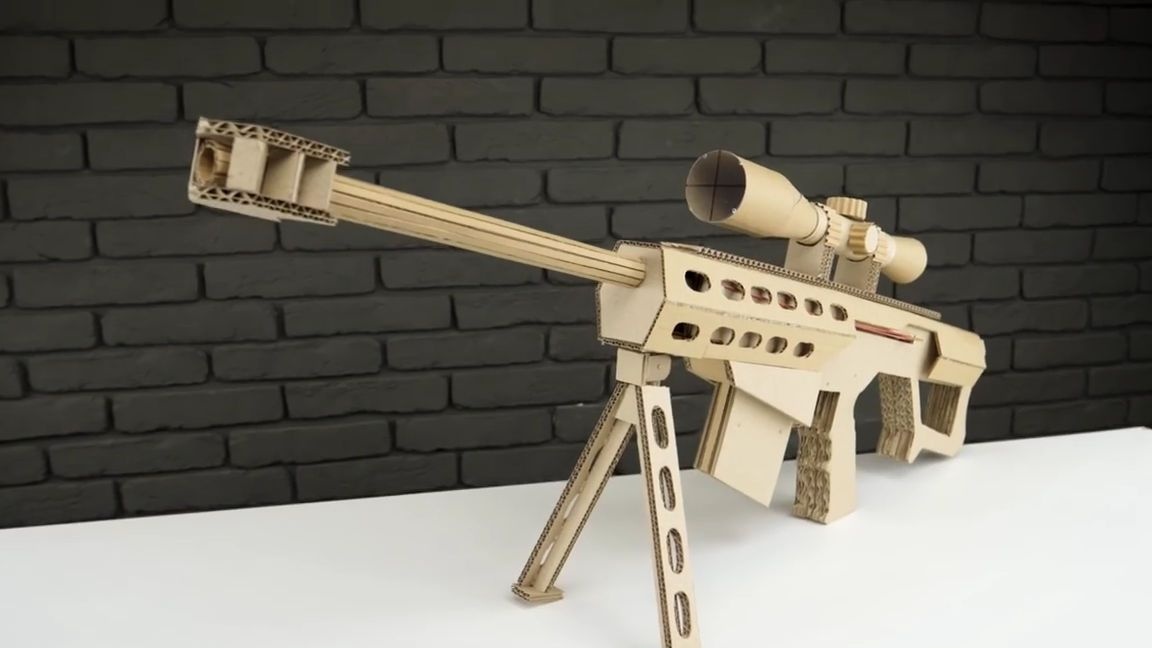
We cut out all of the same corrugated cardboard a decorative barrel for an automatic rifle, it is advisable to make symmetrical holes in it to resemble a muffler. After making the “barrel”, glue it to the rifle (on top of it you can glue a small rectangular piece of cardboard to simulate a site for installing a sniper scope), you also need to make a two-leg for a more convenient location of the rifle, thanks to it, by the way, you can shoot more accurately:
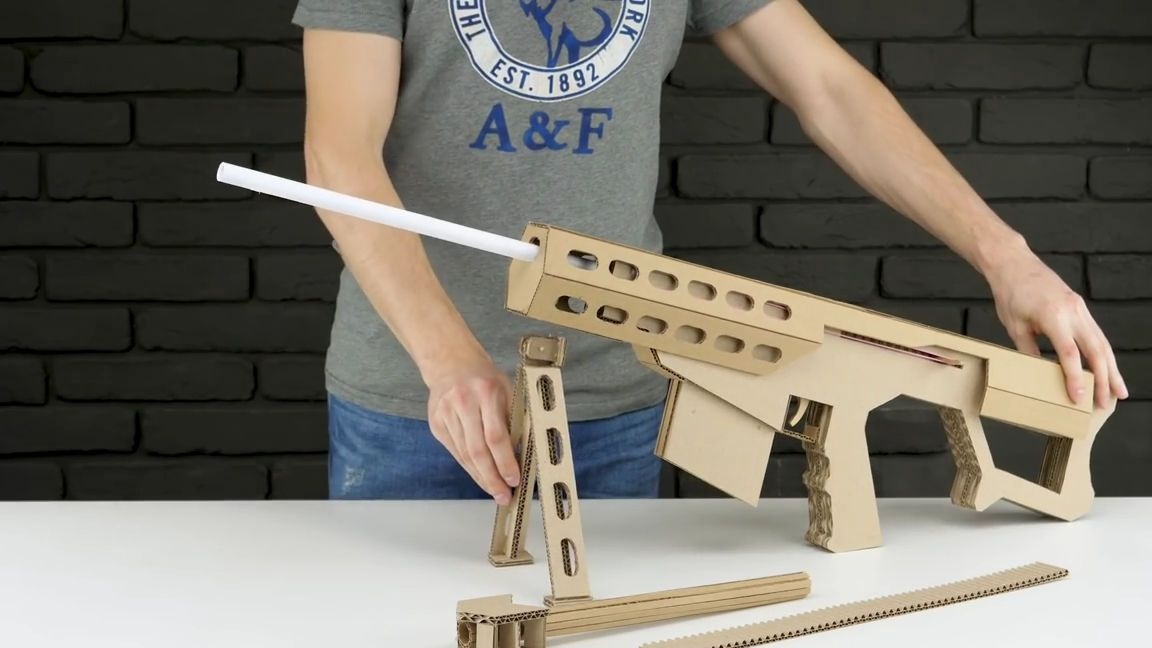
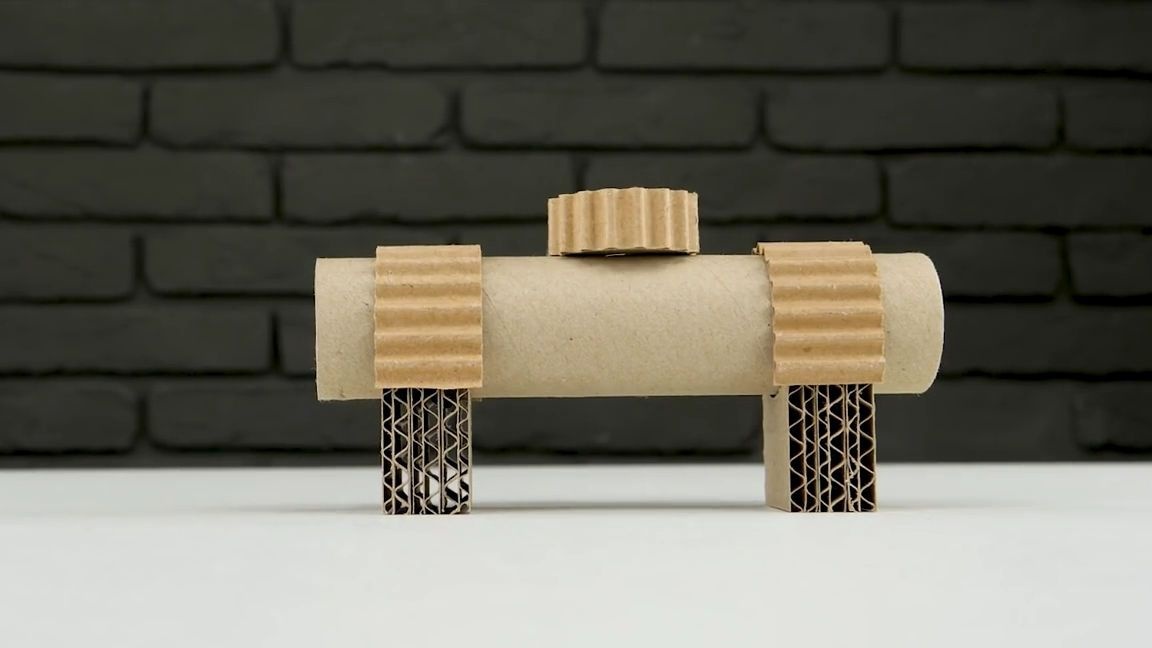
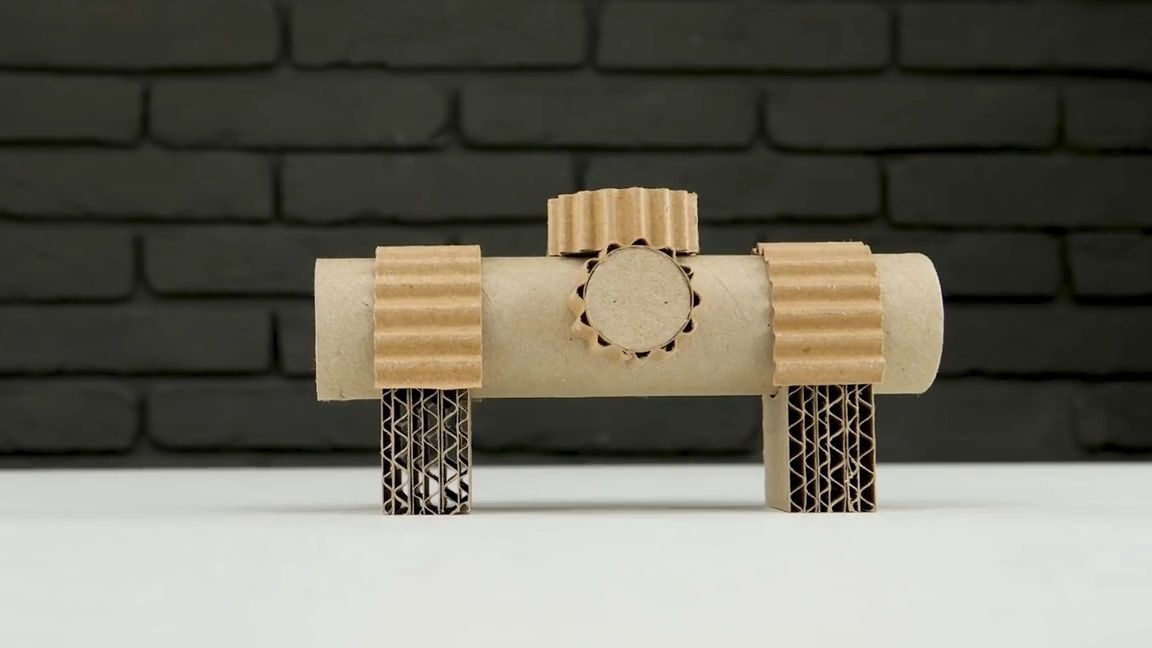
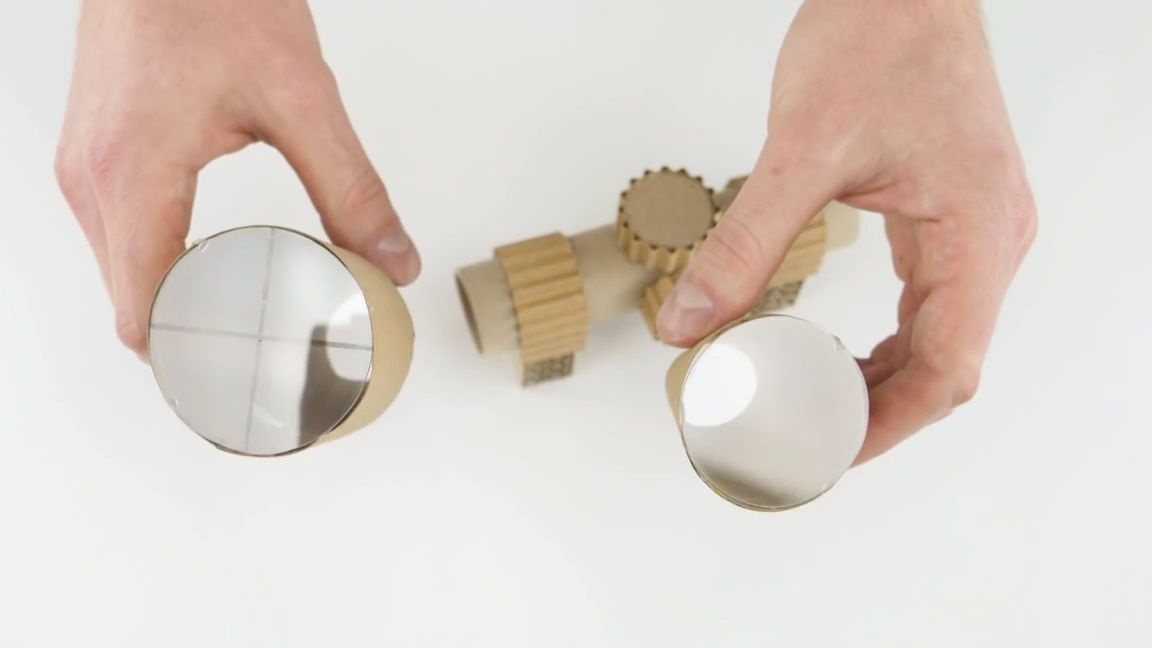
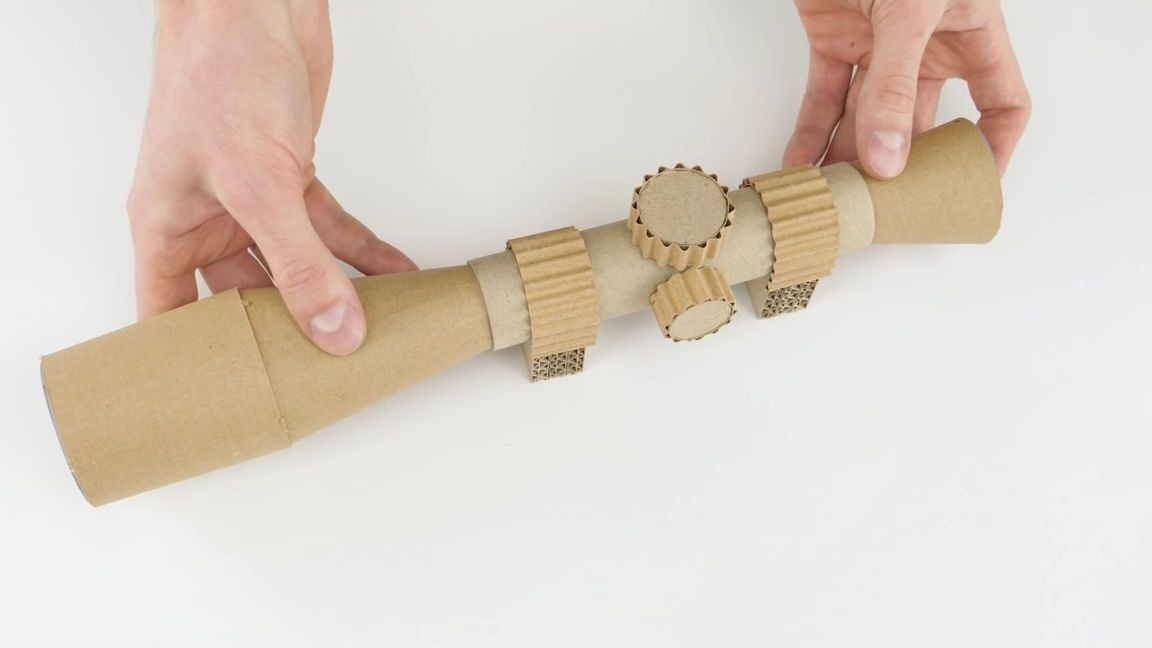
From cardboard and a cardboard tube on which foil is usually wound, we make a sniper scope, you can insert real lenses in it, if they are not, then you can replace it with cloudy transparent plastic:

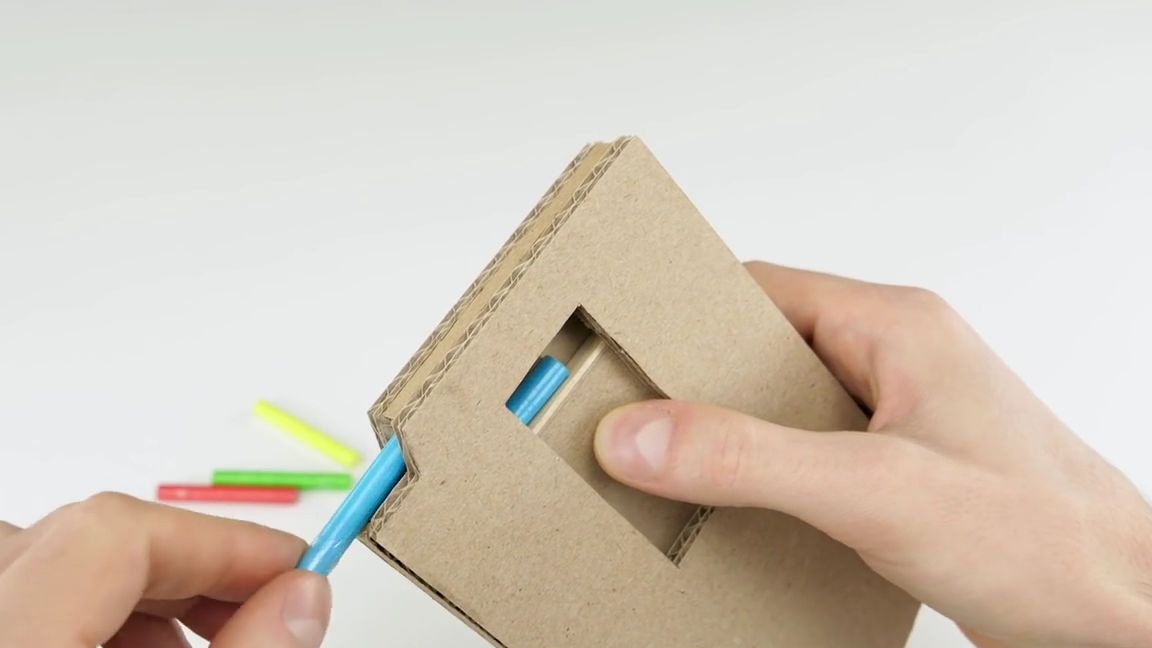
Insert the wax crayons into the "store" and the "store" in its groove on the rifle.
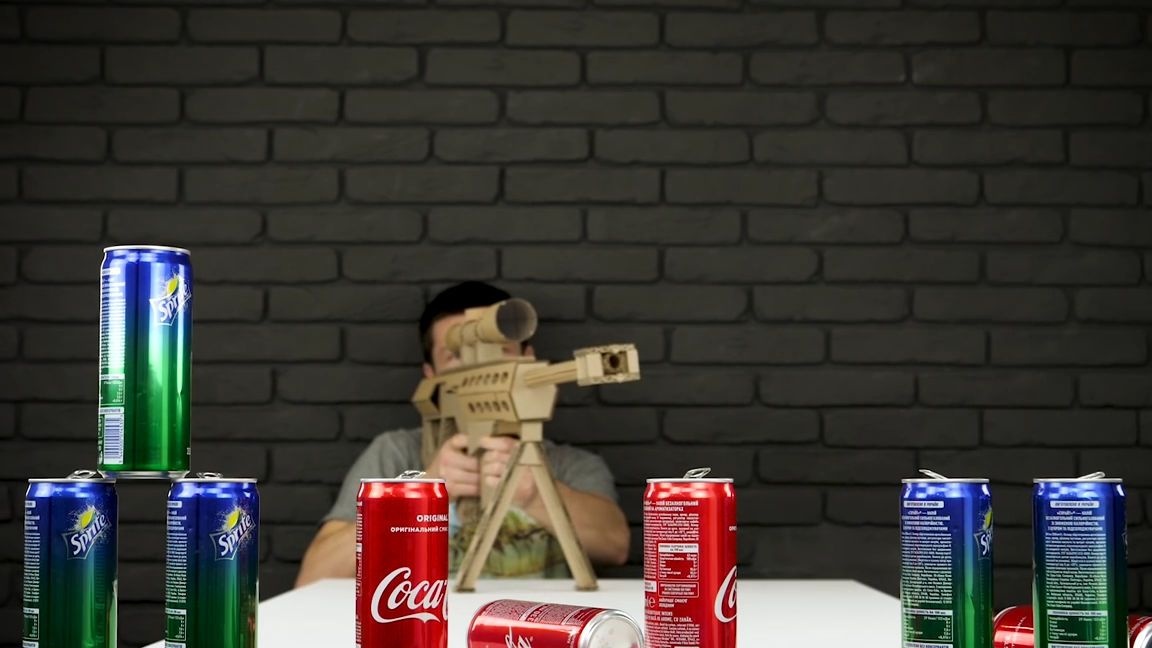
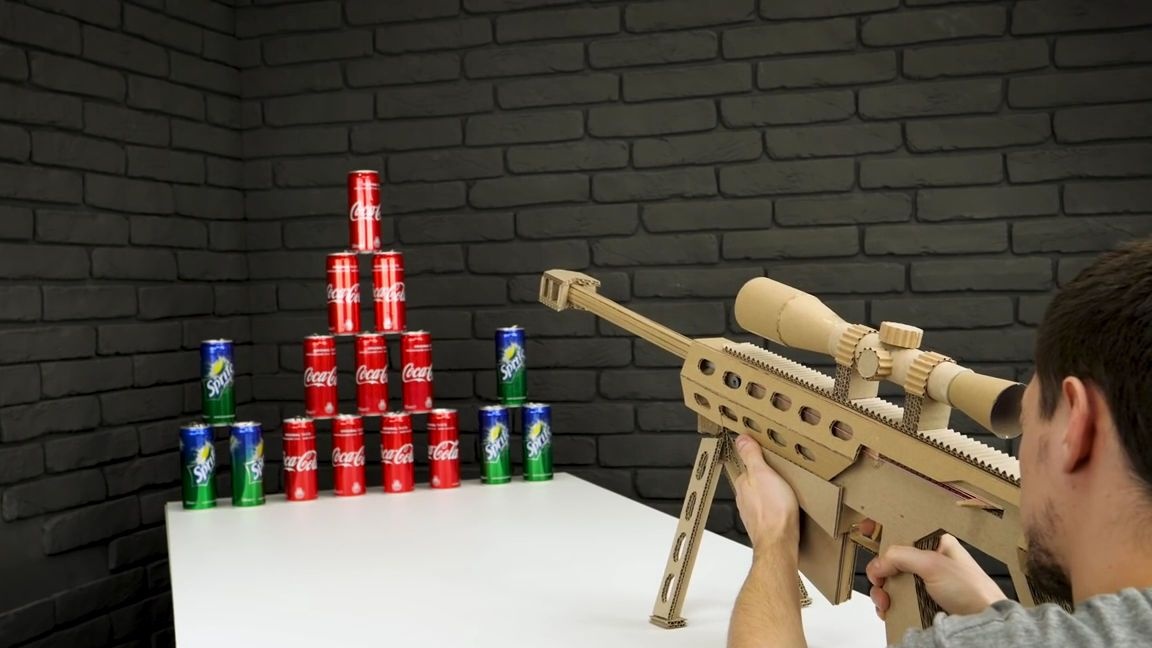
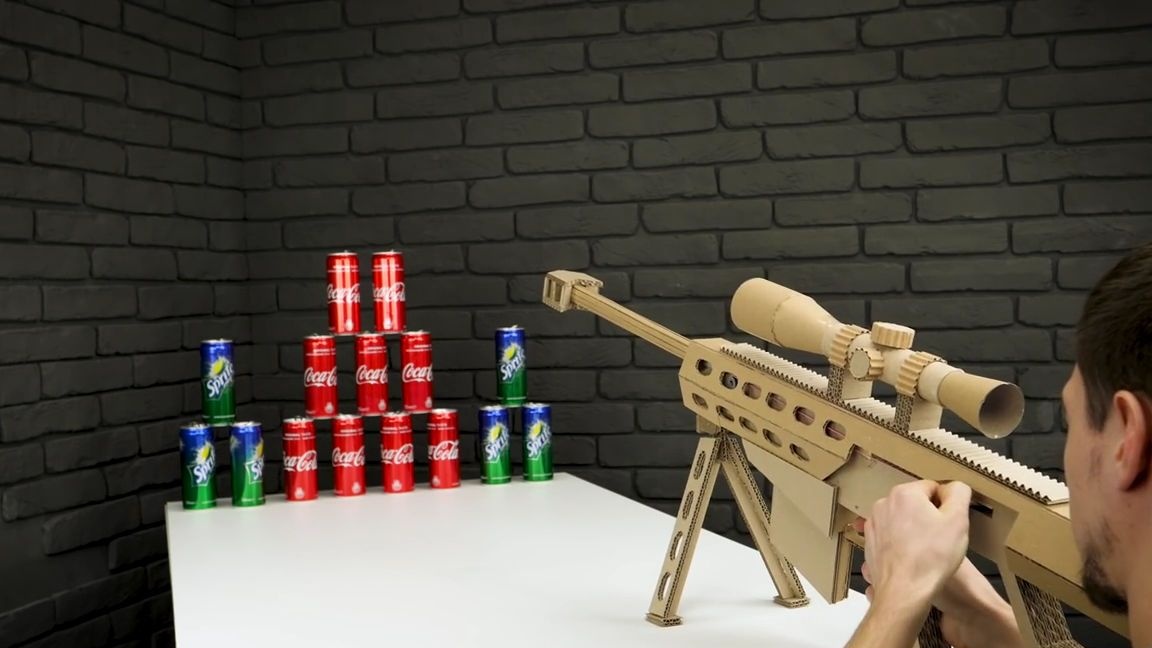
That's it! A simple semi-automatic rifle is ready and it remains only to test it! To do this, make a target (in no case do not shoot and do not aim at people) it can be cans from under soda, load a rifle, aim and shoot. I think many people will like this rifle.

Here is a video from the author with a detailed assembly and testing of this homemade product:
[media = https: //www.youtube.com/watch? v = CSTYj1X3i-Q & feature = youtu.be]
Well, thank you all for your attention and good luck in future projects!