
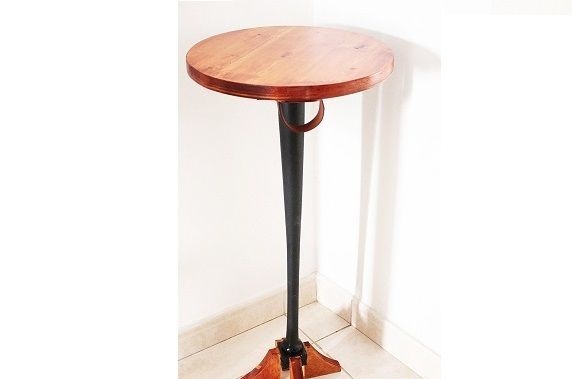
Hello everyone, I present to your attention a unique furniture. And its uniqueness lies in the fact that with the help of this bedside table you can protect yourself from enemies. If necessary, it can easily be transformed into a bat and a protective shield. Now you will always be safe, knowing that you have near the bed weapons and shield. In appearance, the table is unremarkable, therefore it will not attract the attention of guests and so on.
Everything is done quite simply, and you can cope with the work with a hand tool. The shield itself is made of boards and plywood, and you can use a bat as the leg of the cabinet. You can arrange the appearance at your discretion. You can paint the table, cover with stain or varnish. Materials, in principle, can also be diverse. So, for example, for the manufacture of countertops, you can use a wood slab, this material is durable and looks beautiful. So, we will consider in more detail how to make such a table.
Materials and tools used by the author:
Material List:
- plywood;
- wooden boards;
- wooden bat;
- glue for wood;
- sheet metal;
- self-tapping screws;
- a piece of leather or similar material;
- varnish, stain and so on.
Tool List:
- ;
- pencil, ruler and other drawing accessories;
- hacksaw for wood;
- ;
- marker;
- sandpaper;
- rasp.
The process of making a table:
Step one. Countertop Making
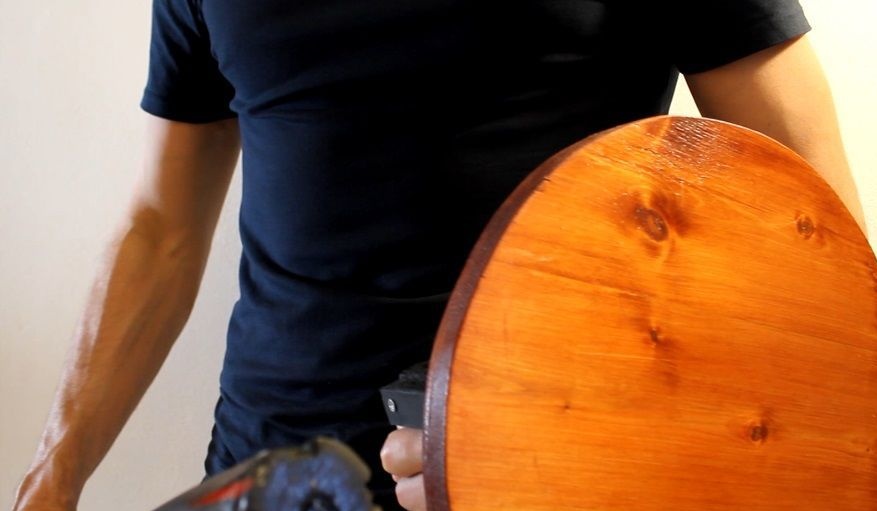
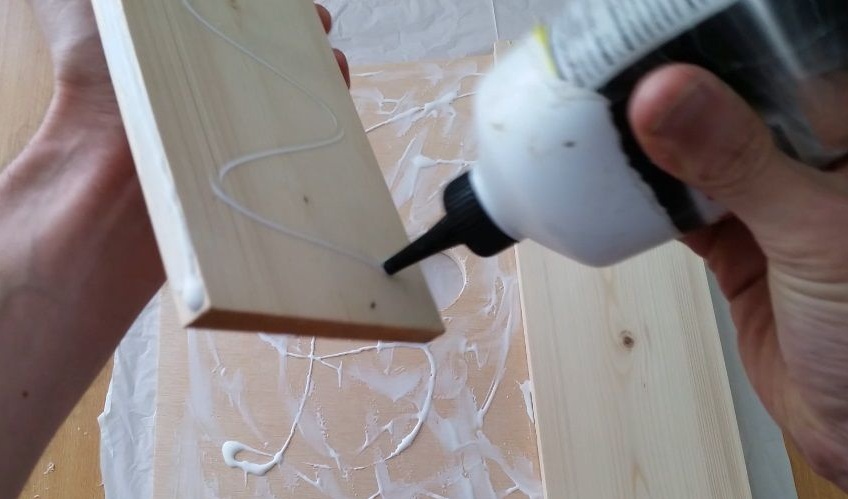
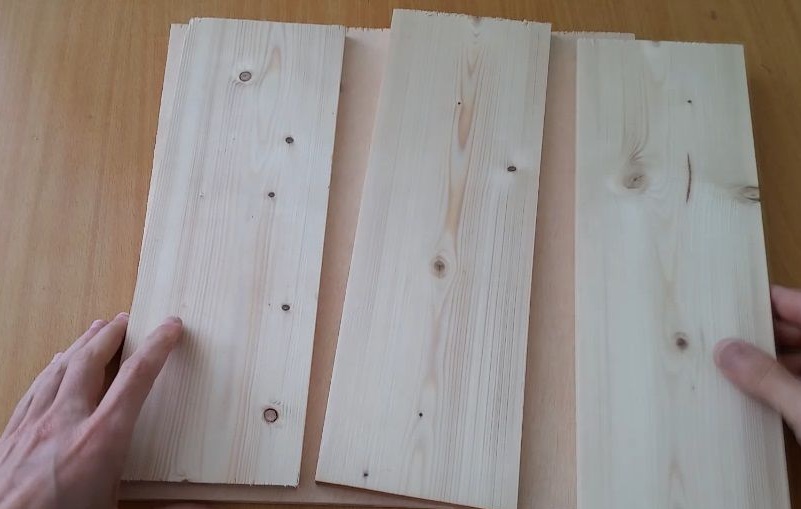
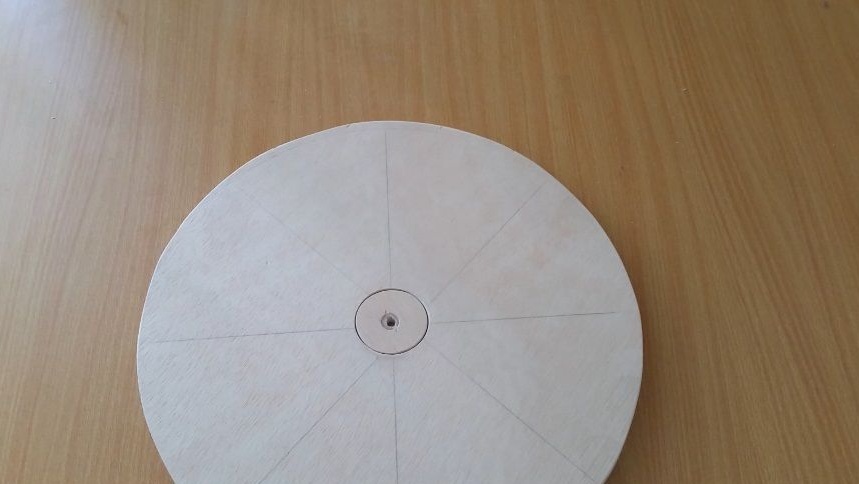
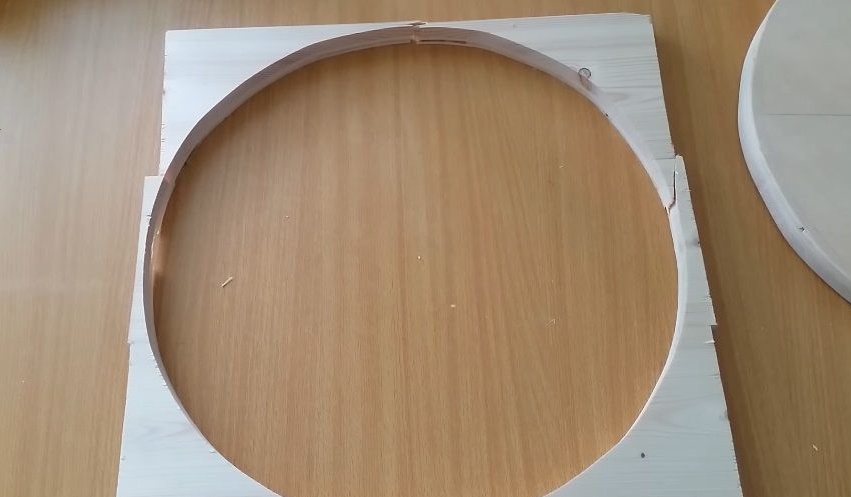
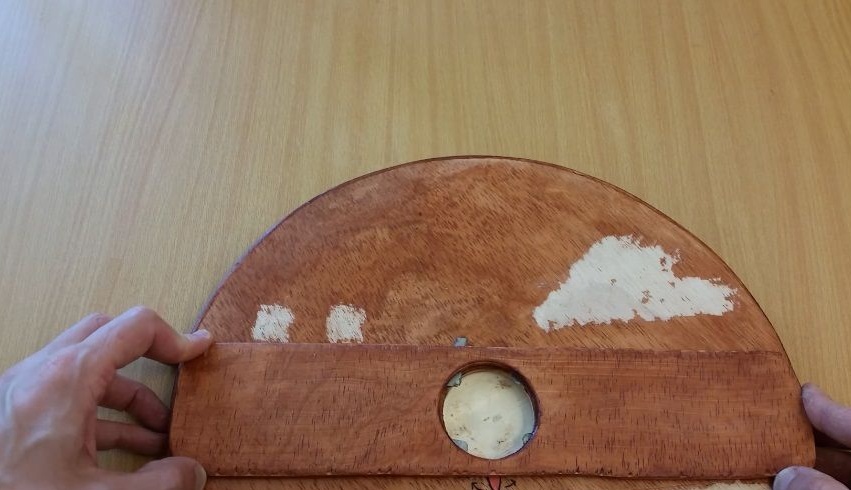
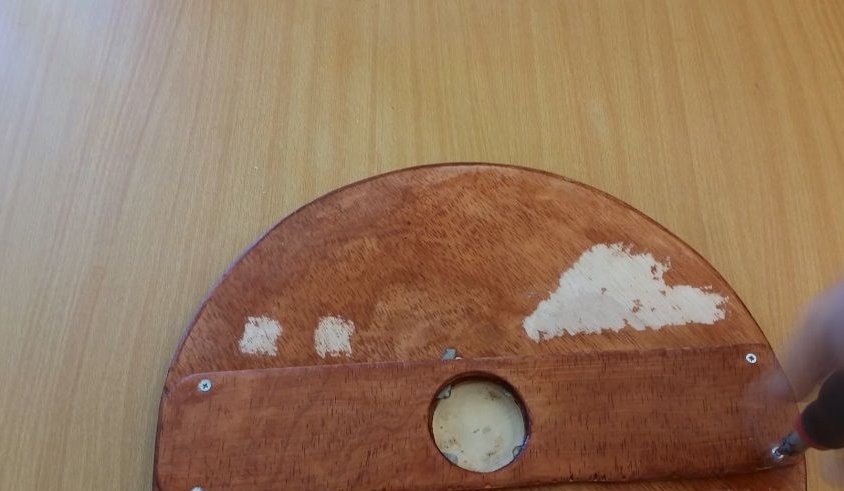
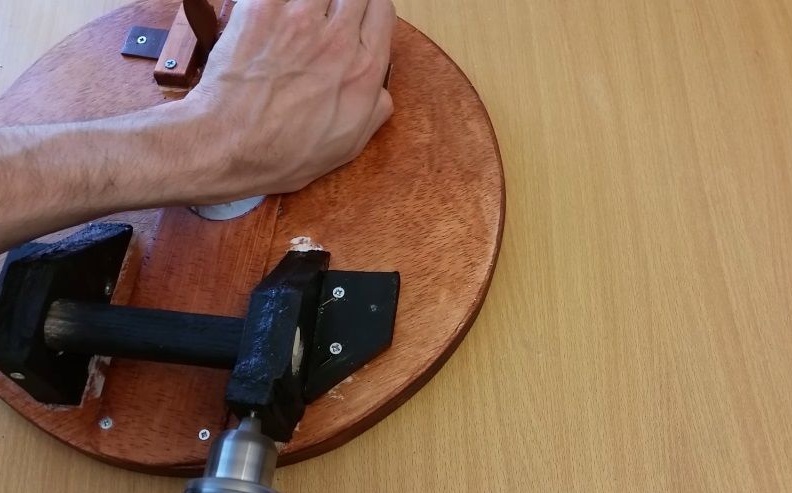
First of all, we will make a countertop, which will also be a protective shield. As the upper part, the author decided to use plywood, which makes it possible to get an even plane. And for the power part, boards are used. To get started, take a piece of plywood and glue the boards to it. Glue is good for PVA or similar for wood. Press the parts to be glued together well and let the glue dry.

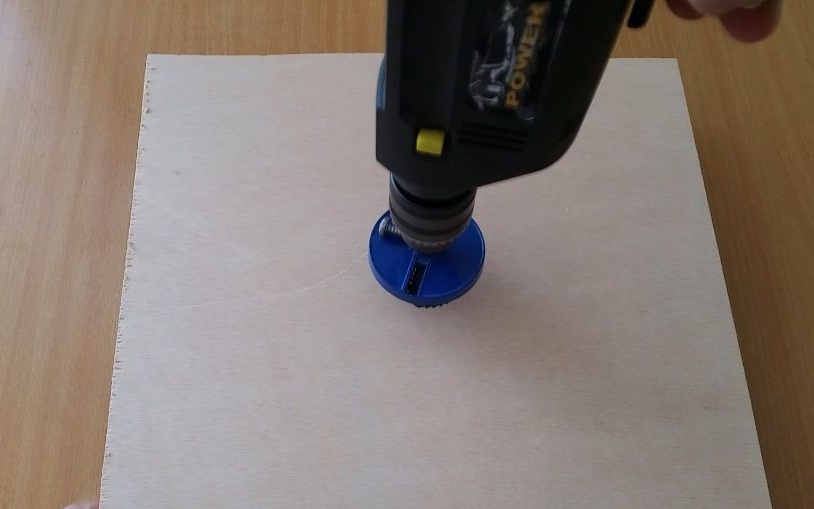
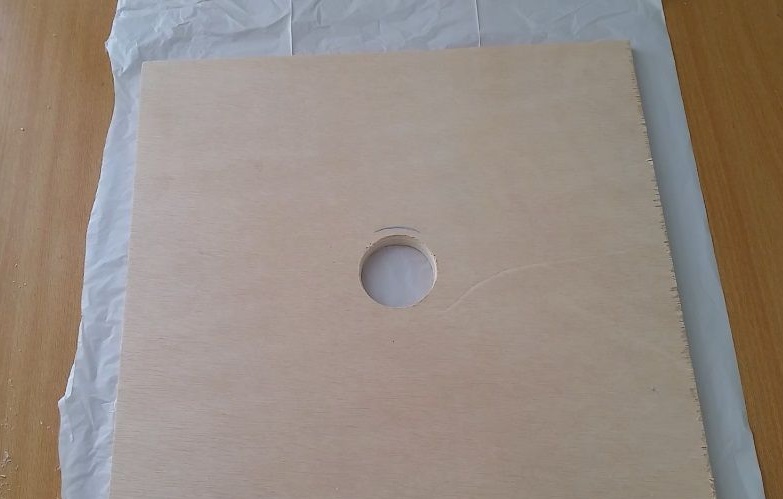
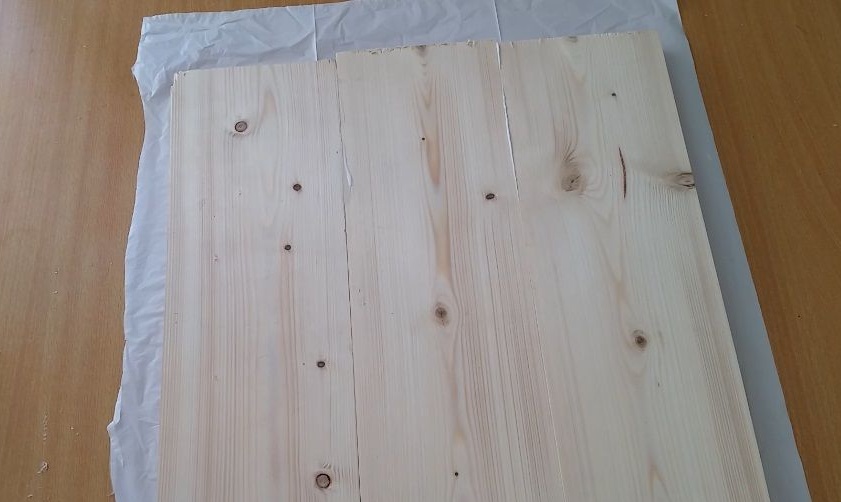
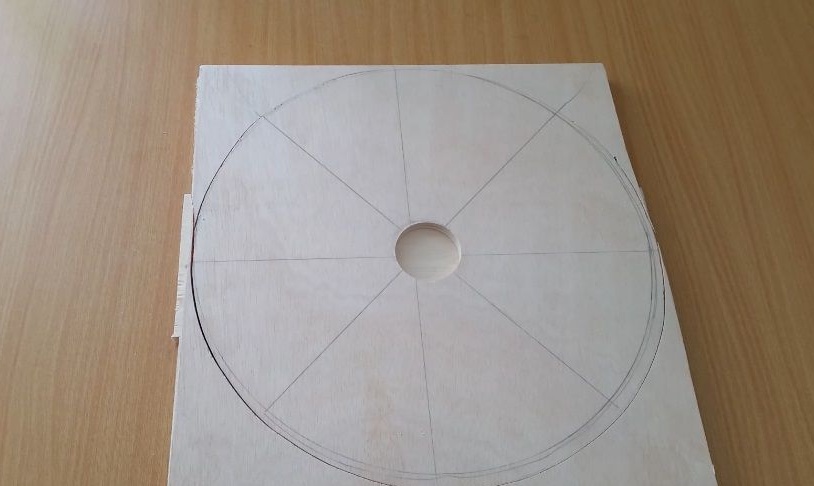
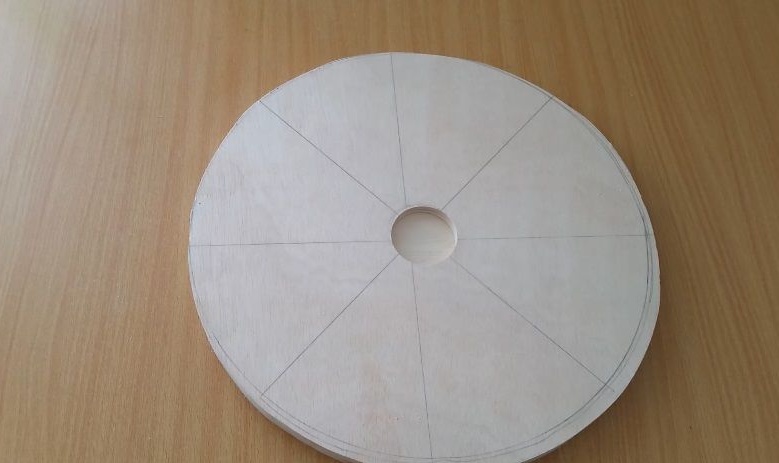
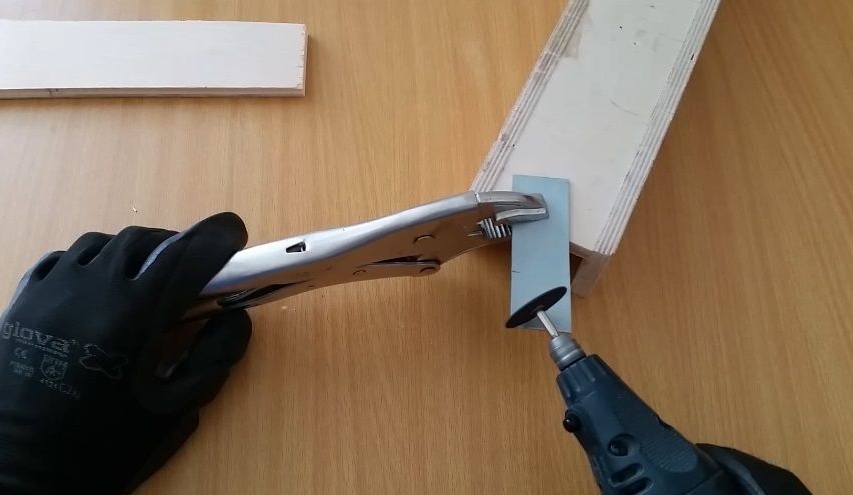
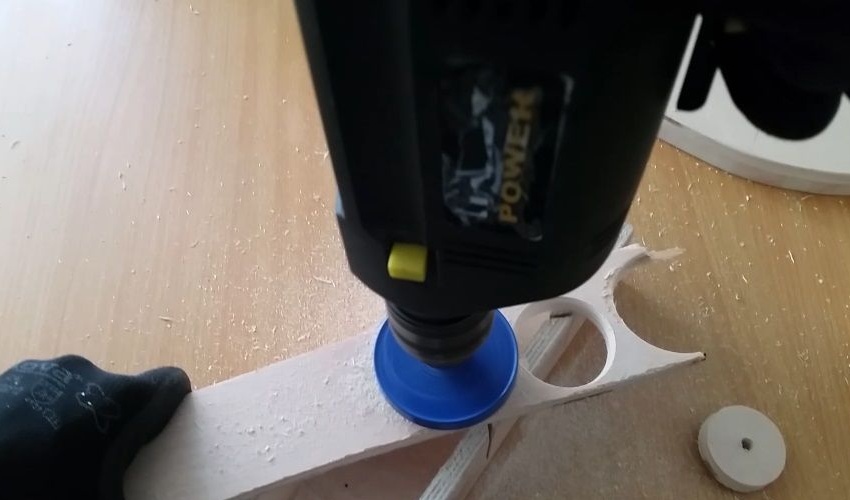
Then, in the center, the author drilled a hole with a suitable sized bit. With it, a bit will be attached, and it should be removable with us. Well, then cut out the circle. This can be done with a hand jigsaw, but the fastest way to do this is with a jigsaw. The made circle needs to be carefully ground in a circle, and also to align the plane. Here a grinder will come to your aid, but if you wish, you can solve this problem with ordinary sandpaper.
Step Two Training bits (racks)
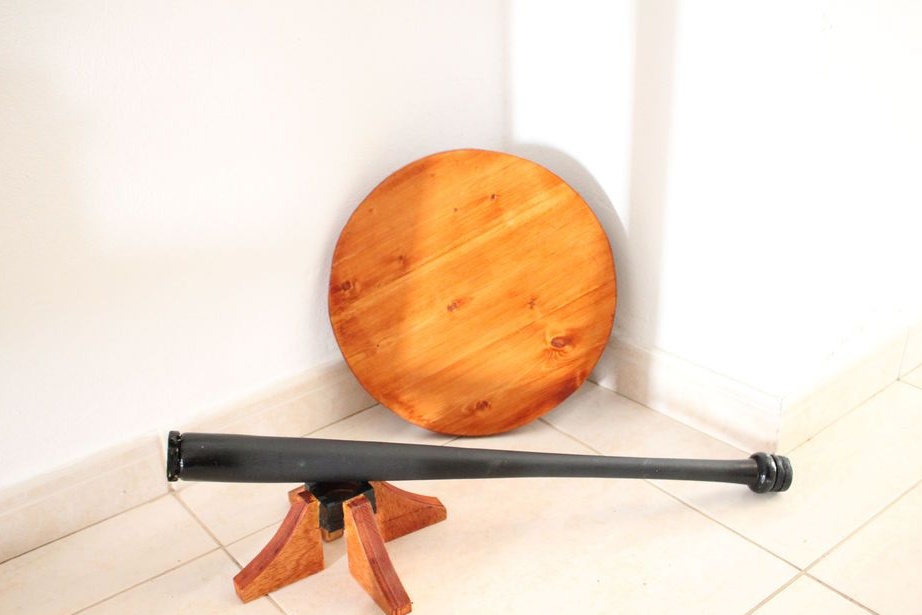
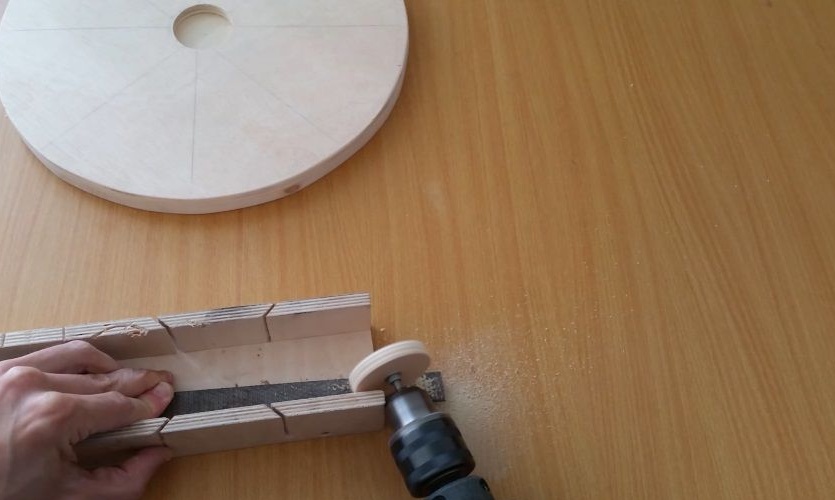
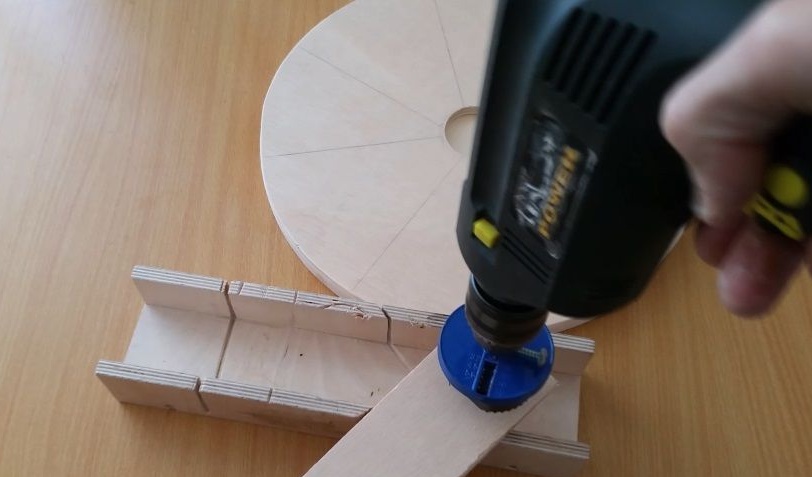
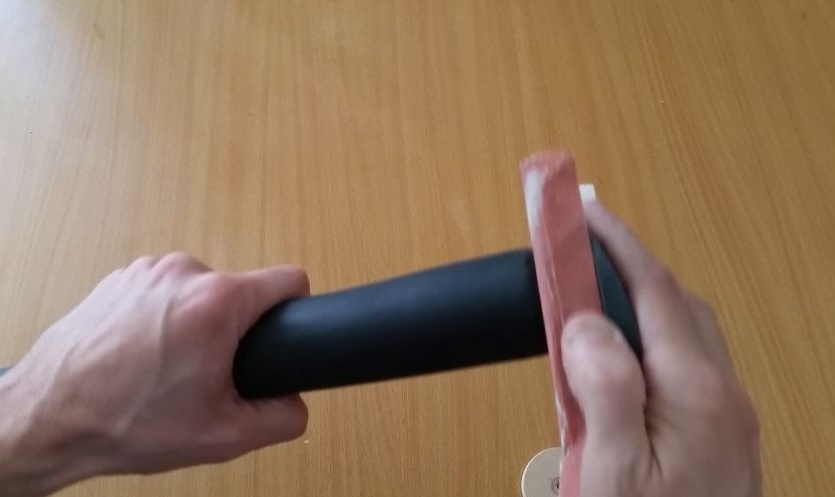
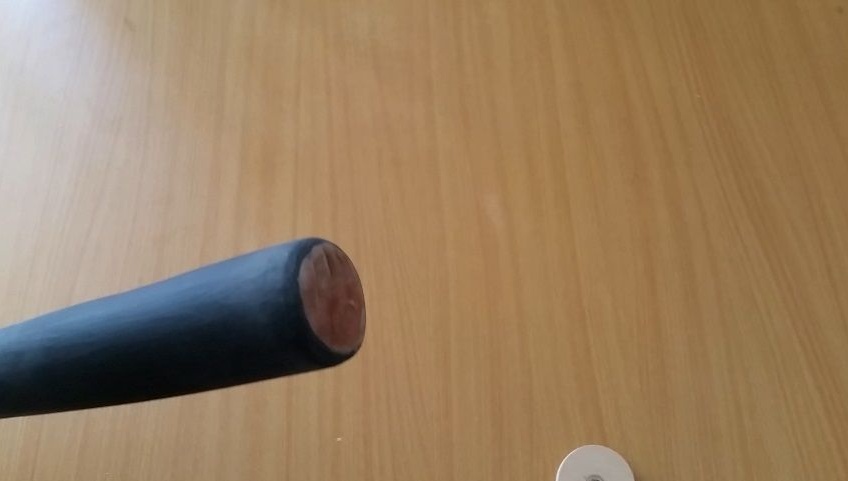
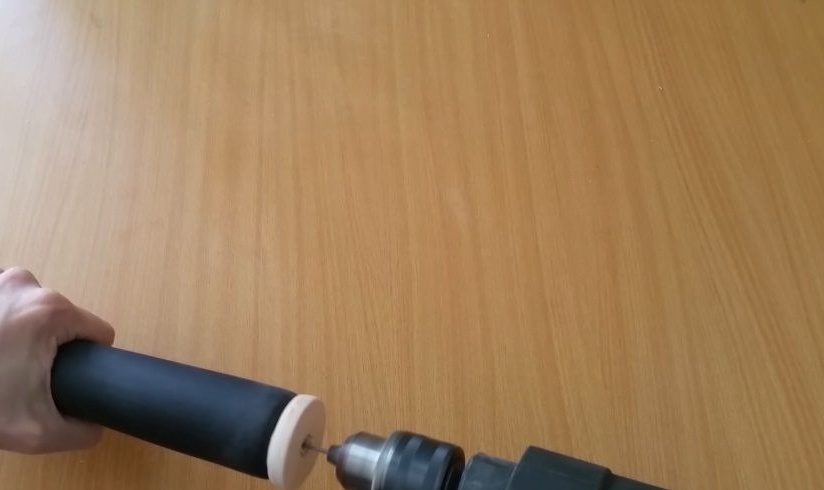
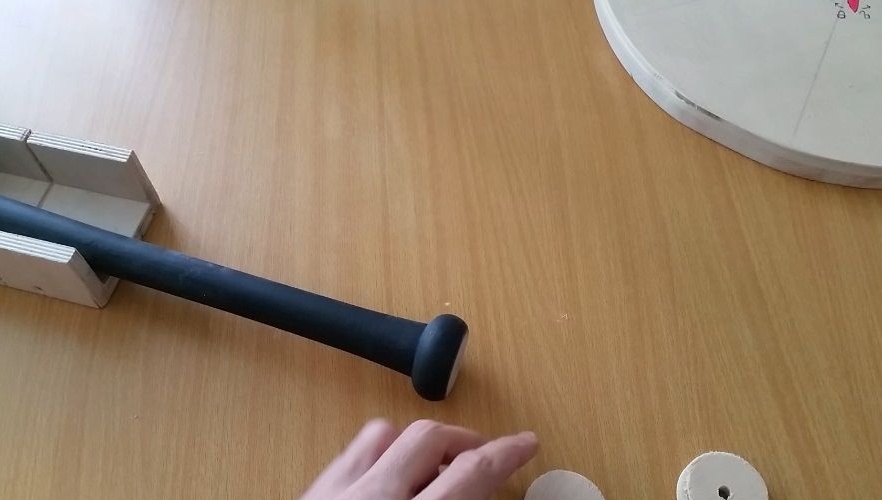
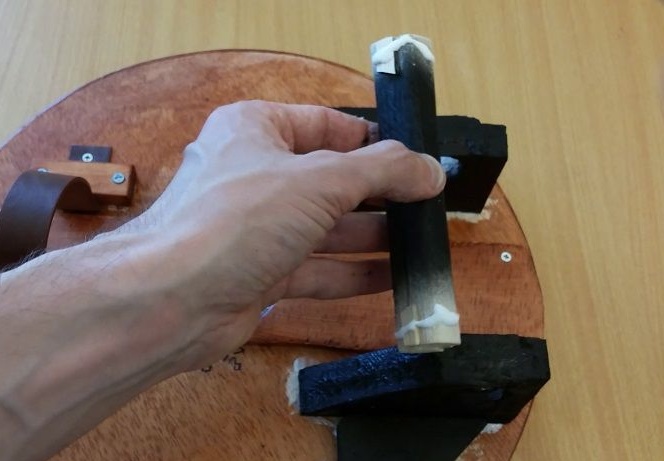
You can make a bat yourself if there is a lathe.The heavier the gun, the more damage it will cause during use. Oak, maple and other hardwoods are well suited. To fix the bits, we need the circle that was cut out in the center of the countertop. In the center of it we drill a hole, and then we insert a bolt with a nut and fix it in the drill chuck. Well, then with the help of a rasp or sandpaper, we grind the circle in the drill chuck so that it can go into the hole of the countertop with some clearance.
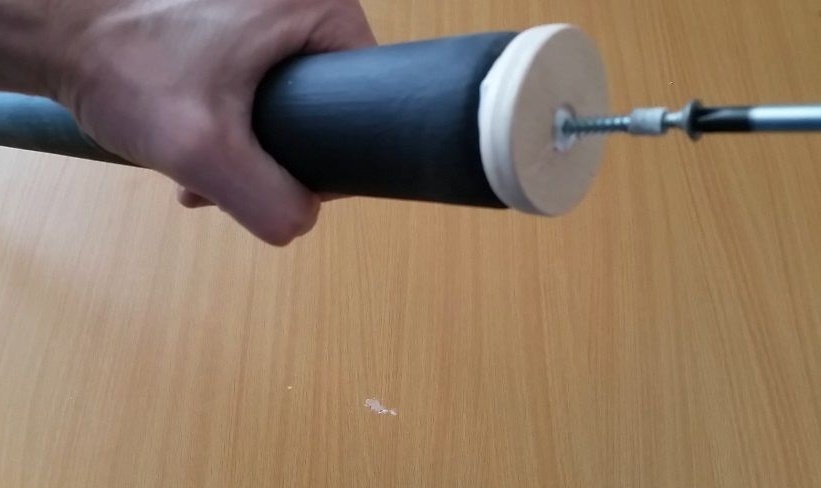
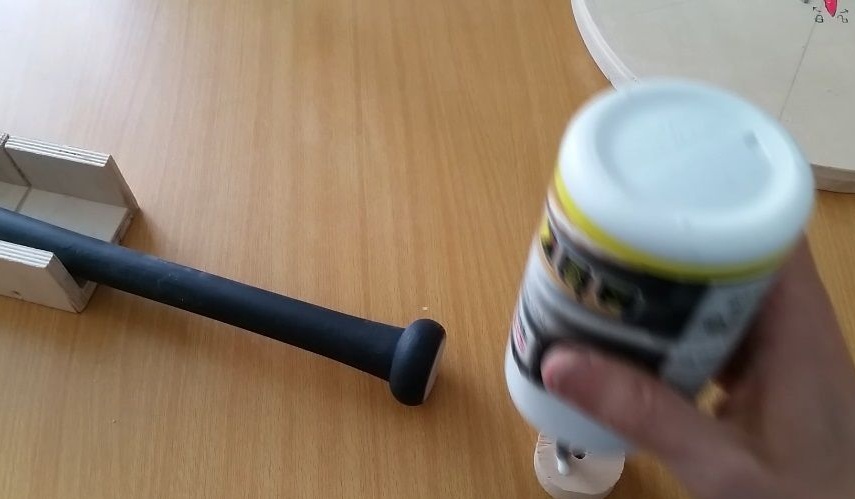
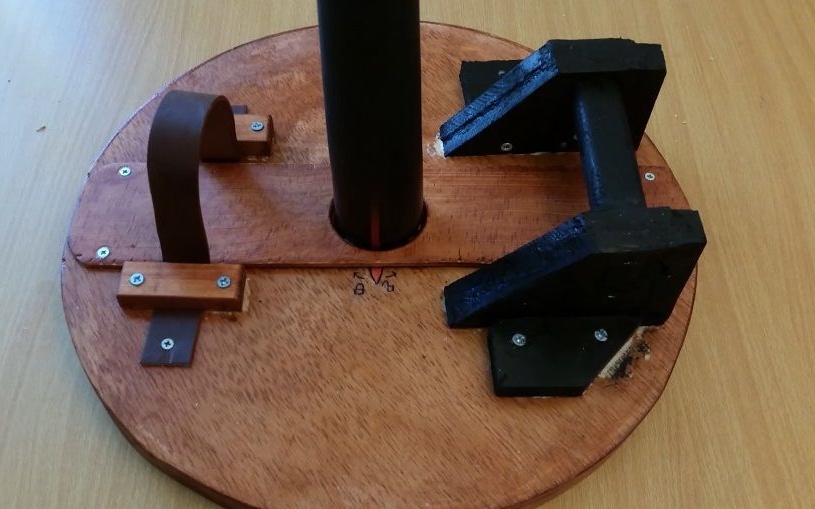
That's all, now we attach this same round timber to the end of the bit, using wood glue and a self-tapping screw. The author decided to paint the bat itself black.
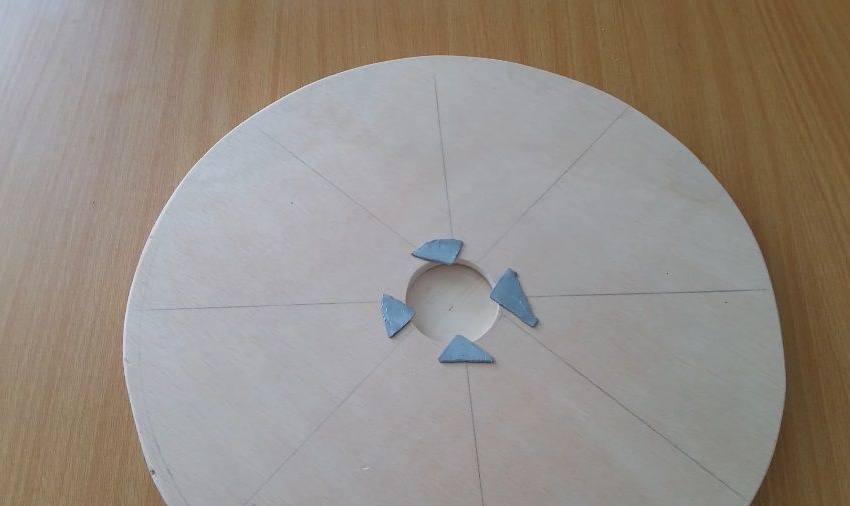
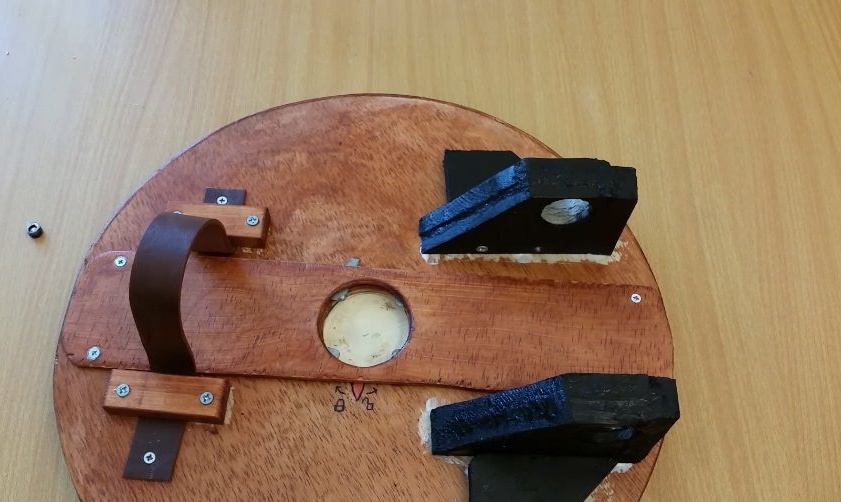
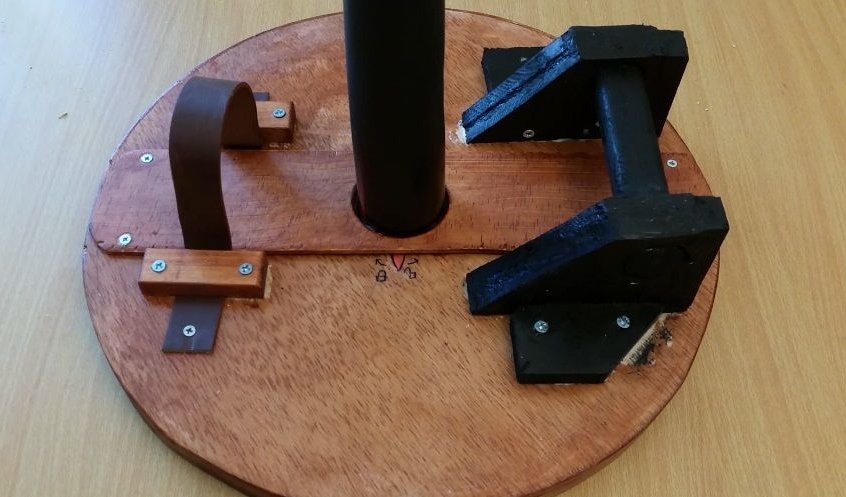
Step Three Locking device
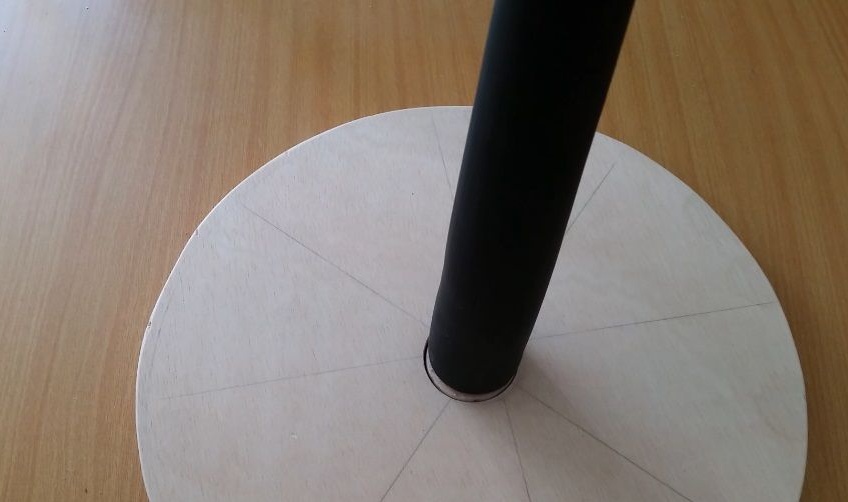
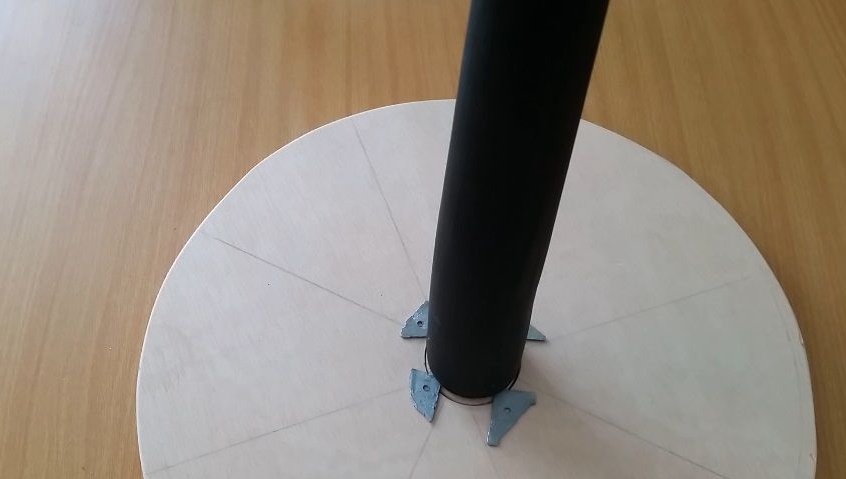
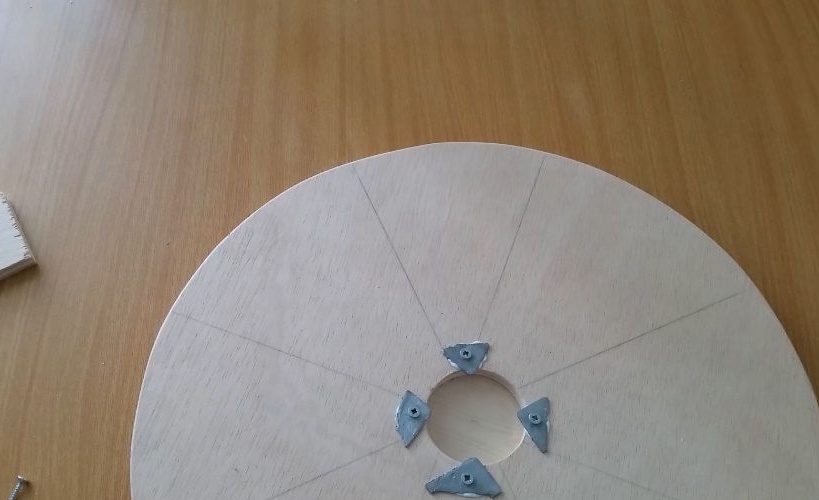
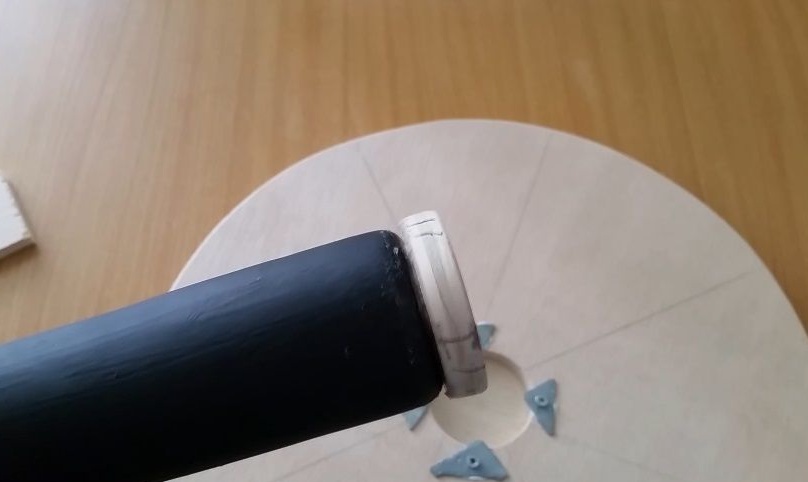
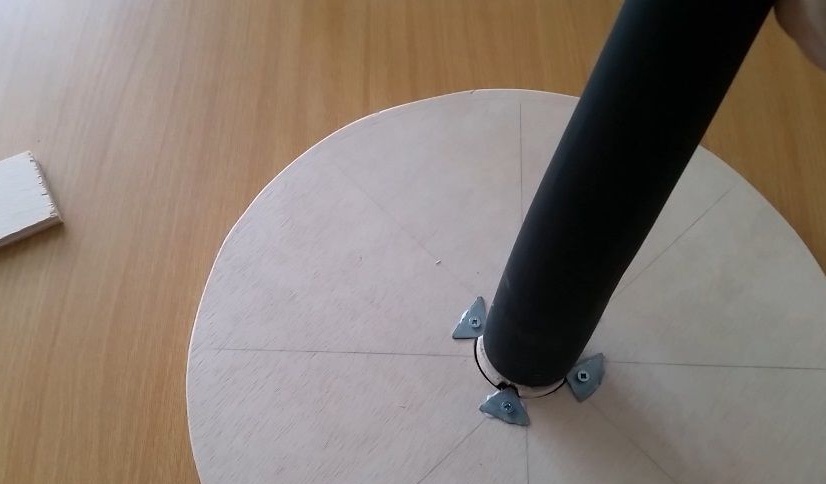
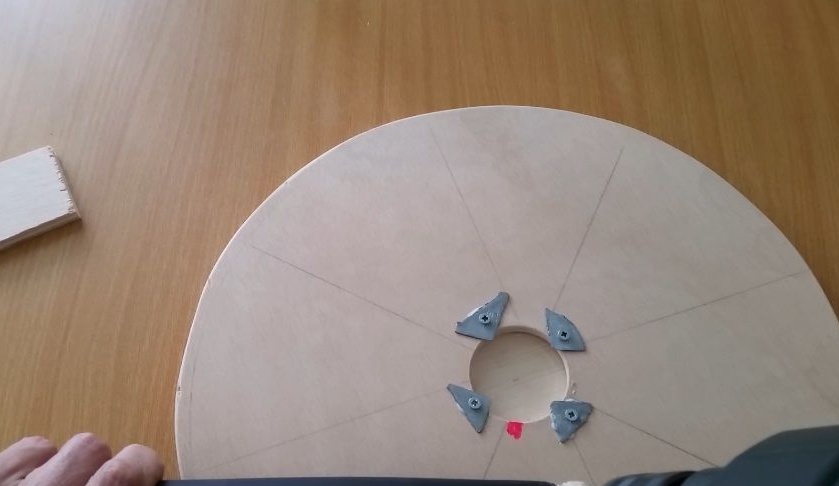
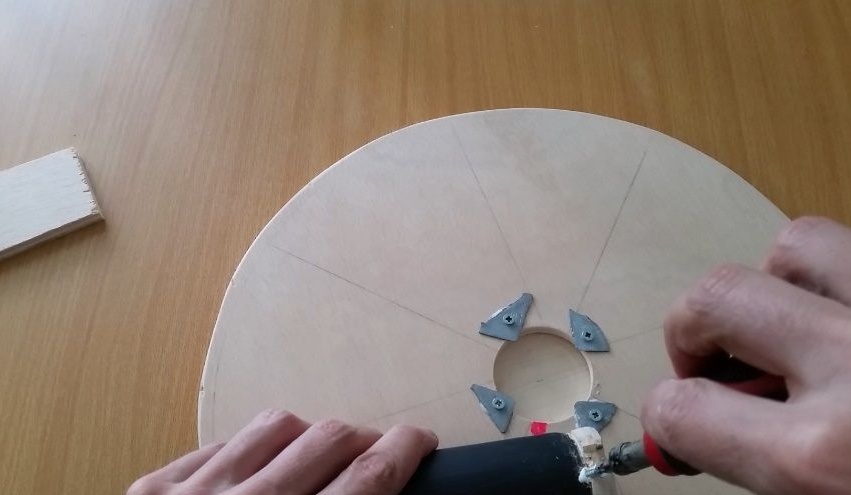
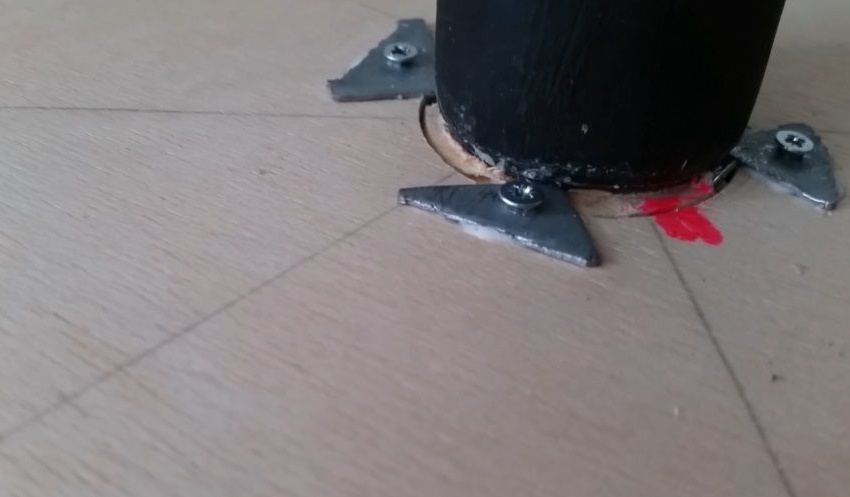
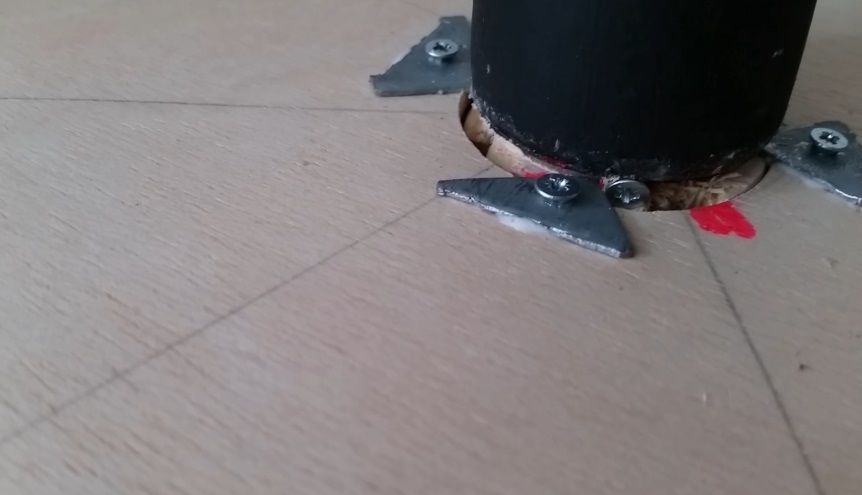
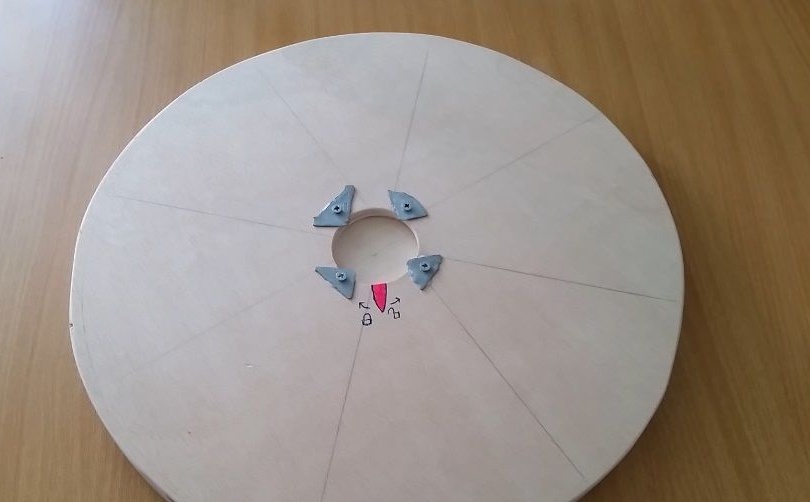
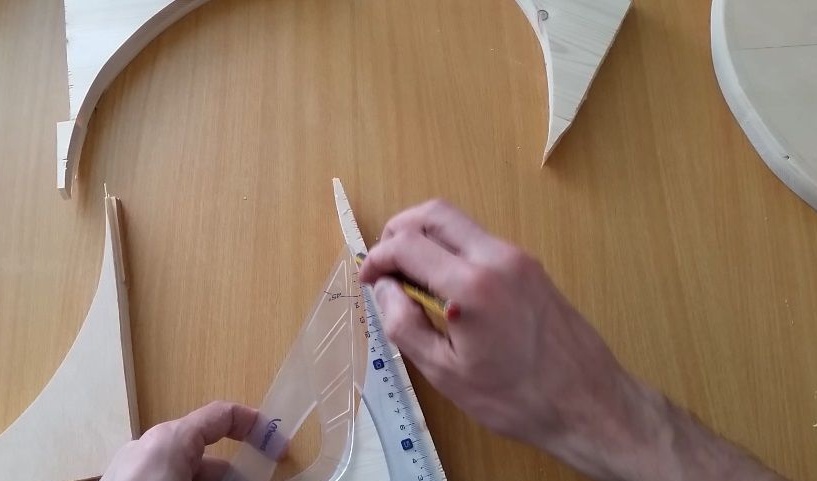
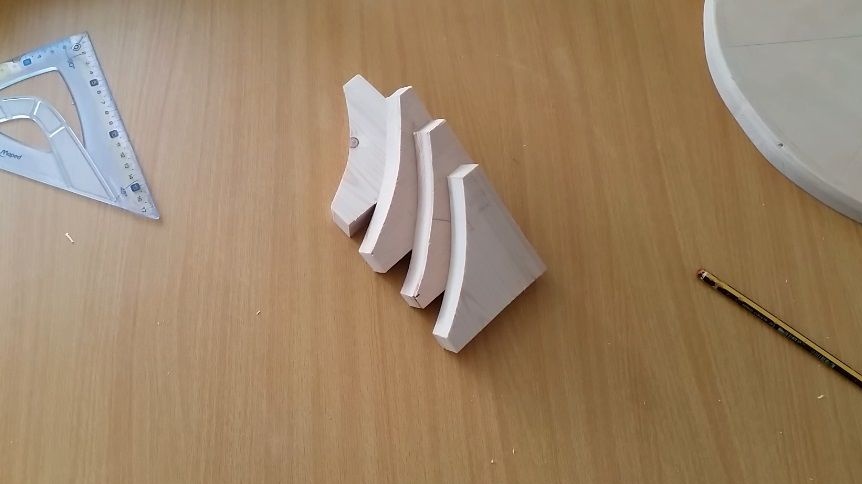
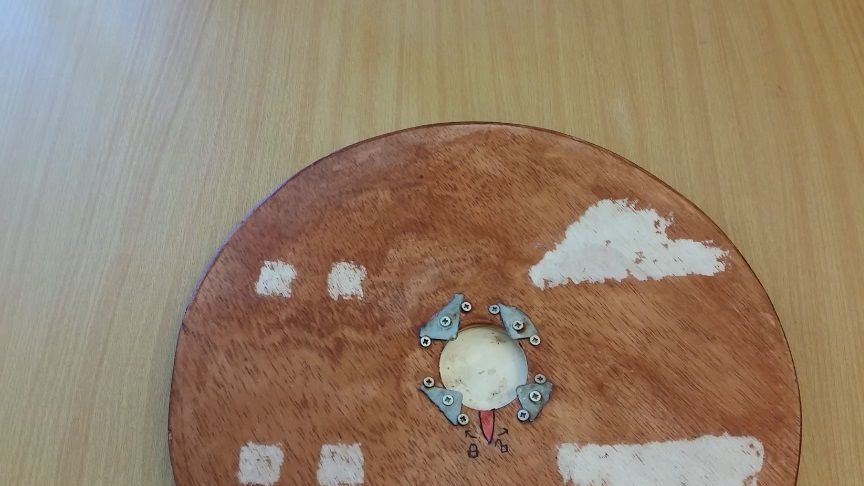
The locking device is very simple, it consists of four cloves, but in fact there are enough three. These cloves have the shape of triangles, they are cut out of sheet metal. Well, then everything is simple, we drill holes in them and fasten to the countertop, as the author. The teeth can be turned to fix them securely, use glue or two screws instead of one.
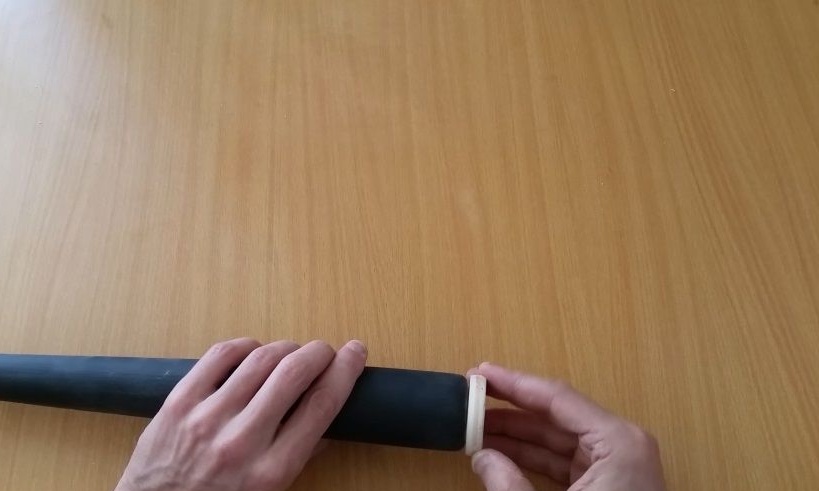
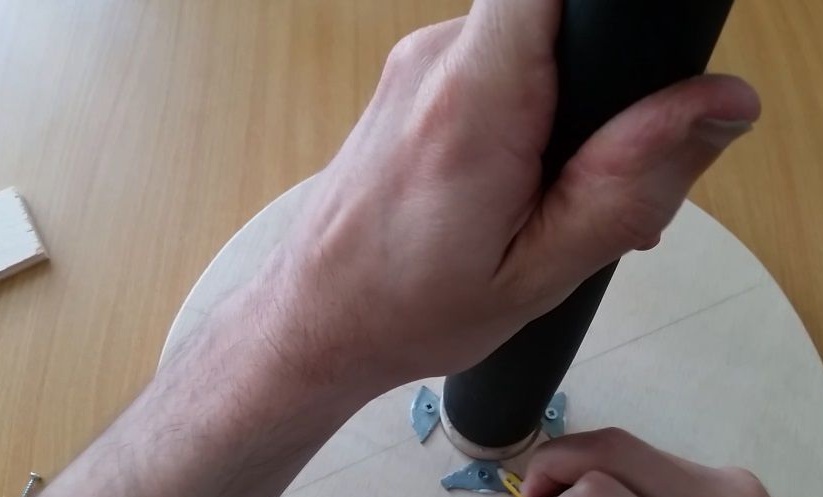
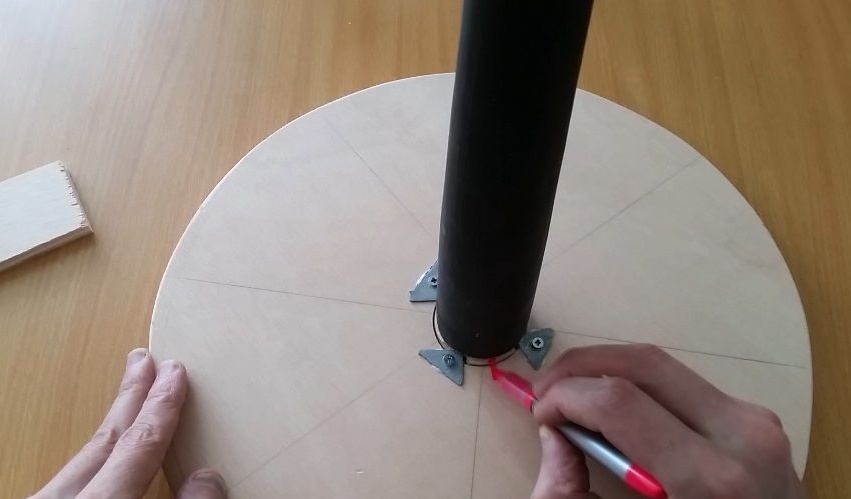
On the round log that we screwed to the bit, make cuts in accordance with the teeth. Now, when you install the bat and crank it, it will be fixed in the countertop. Focus on the bits so that it does not spin in a circle, wrap a self-tapping screw. And in order to understand which direction to turn, make the markers a marker on the countertop and a bit.
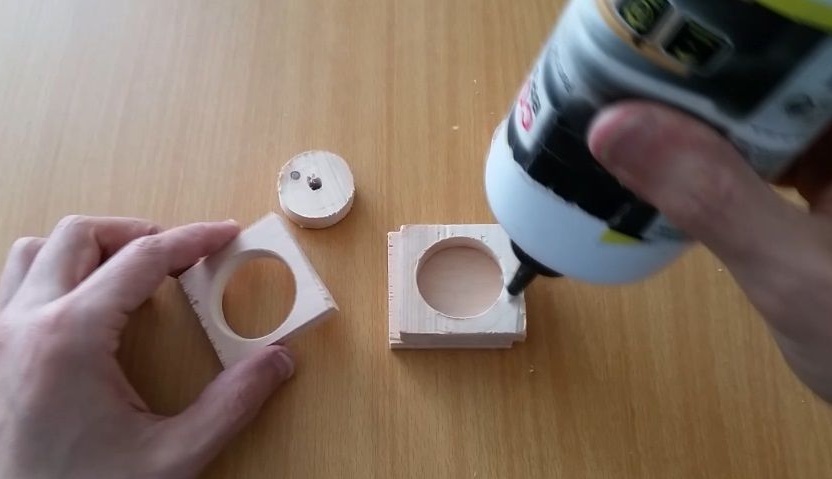
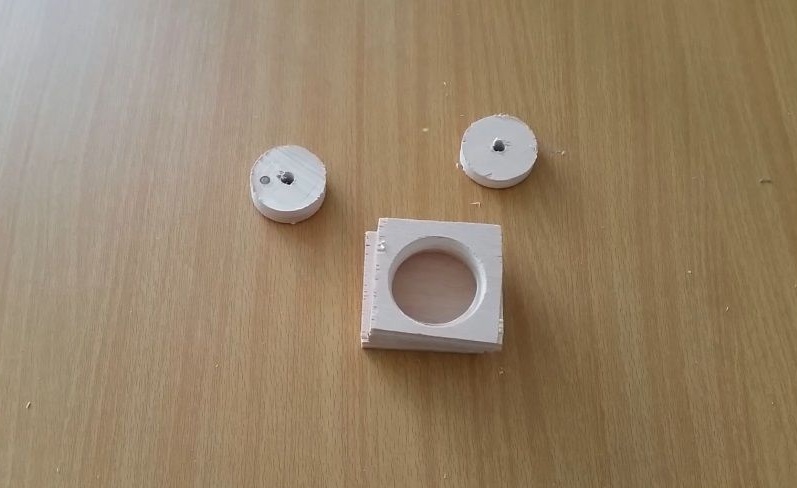
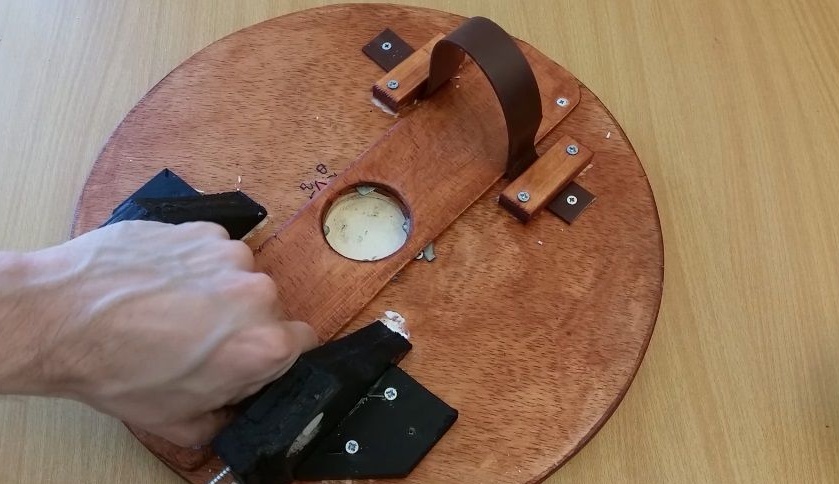
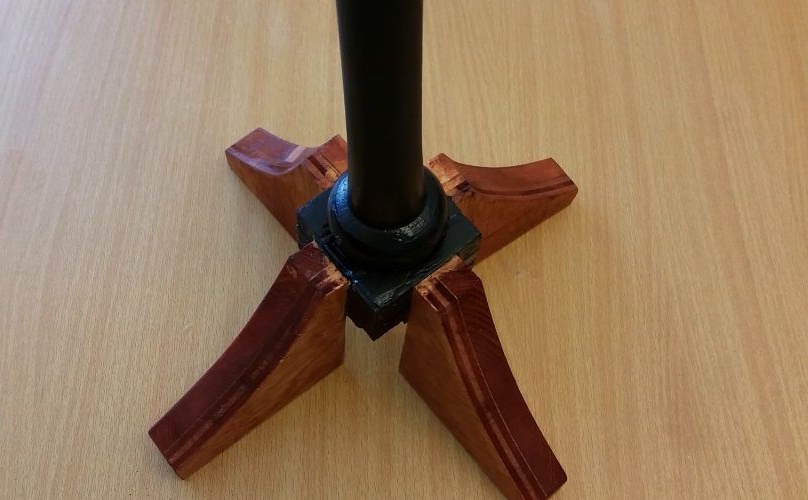
Step Four Making the lower support
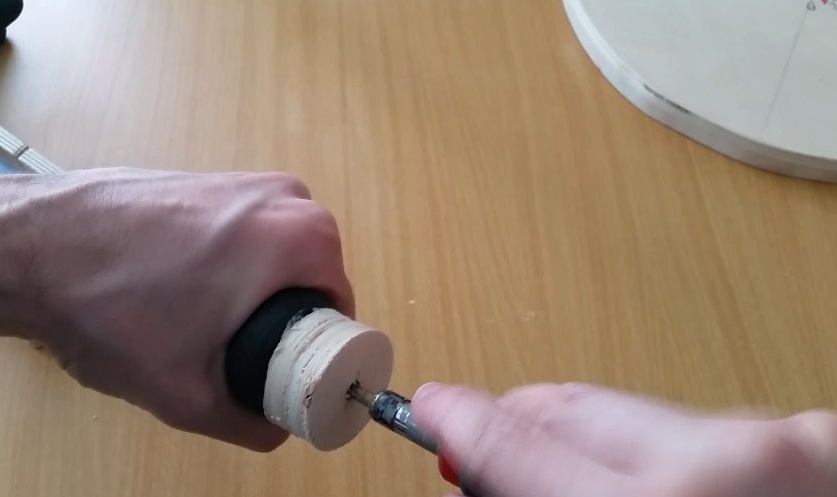
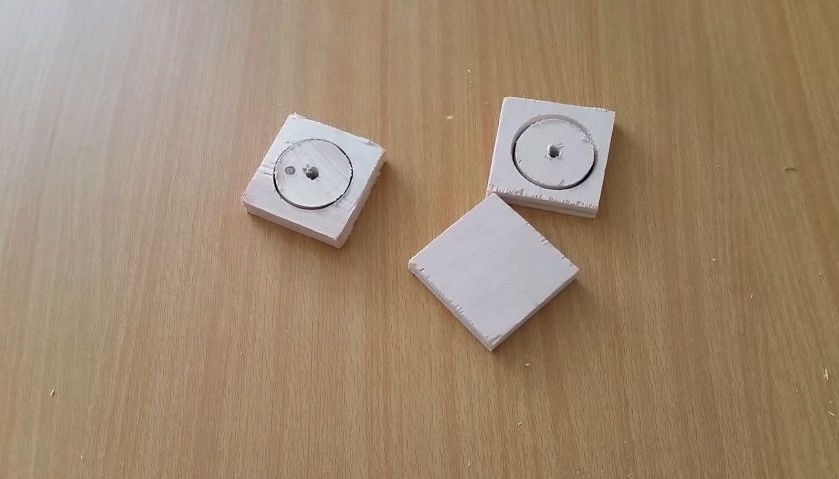
To make the lower support, we take three pieces of plywood, in two of which we drill holes with a bat. Grind two wheels in a circle, and then fasten to the bit, as in the steps earlier. As a result, you will have three square pieces of plywood, two of which will have holes. We glue this block, as a result, it will fix our bit.
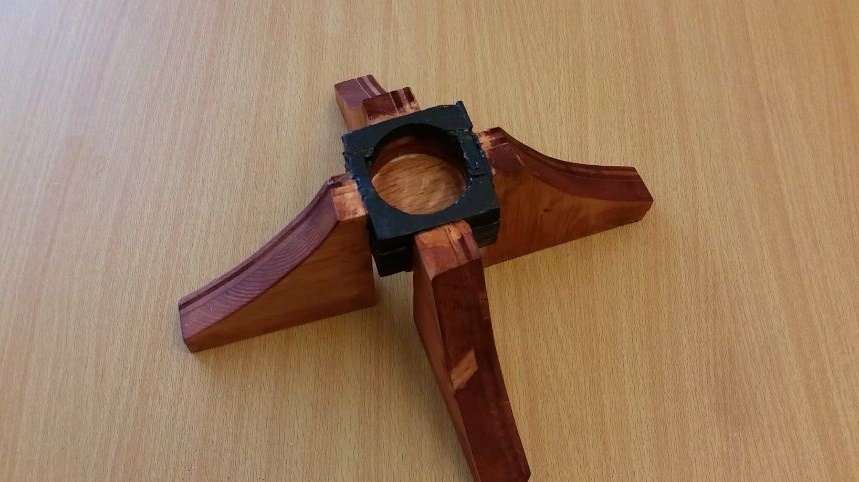
Well, now it remains to make the legs, that is, increase the area of the support. The author cuts these legs from the part of plywood from which the tabletop was cut. We glue the legs to the previously manufactured part, and in addition they can be fixed with screws. Finally, cover the tree with stain.

Step Five Finalization of the shield
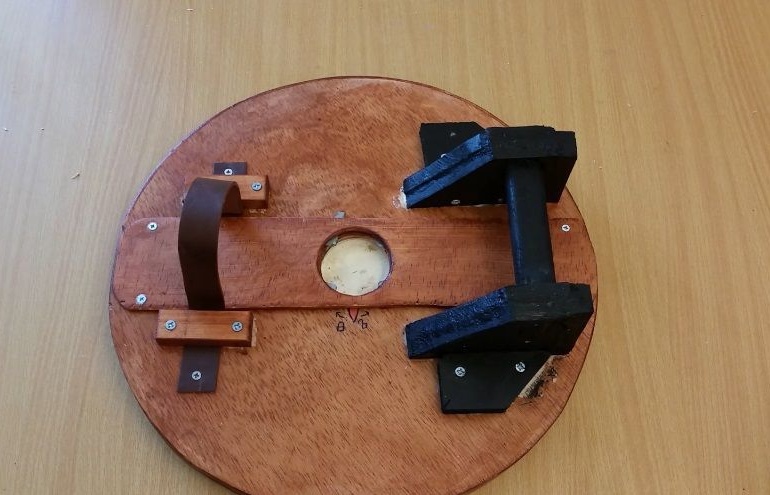
We also cover the shield with stain, and to make it convenient to hold in your hand, you need to make a pen. First, we cut out the detail from the plywood, as in the photo with the hole in the center and screw it to the countertop. This part will further strengthen the shield as well as the fixing assembly. We coat the part with glue before installation, and then fasten it with screws.
To ensure that the shield is securely fixed to the hand and does not fall during the battle, make a loop on it into which the hand will be inserted. Choose the desired piece of leather along the length and fasten it to the shield. As for the handle, it must also be strong. The handle consists of two racks of plywood or boards, between which a horizontal bar is installed. The handle itself is securely fastened using glue and screws.

Step Six Testing
That's all, the table, which is transforming into military uniforms, is ready! As soon as the enemy approaches you, put the tabletop down and turn the bat, and the tabletop will turn into a protective shield. Of course, you won’t be protected from bullets by such a device, but you can easily fight off drunken hooligans. At the end you can cover your table with varnish.
That's all, the project is over, I hope you liked it. Good luck and creative inspiration, if you suddenly want to repeat this. Do not forget to share your best practices with us!