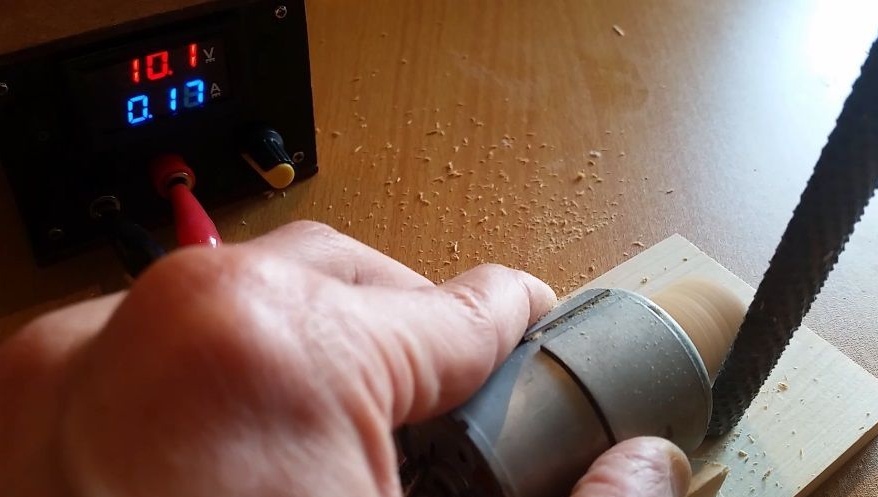
Greetings to the masters! In this guide, we will look at how to make a simple mobile. He will be able to work from a voltage of 12-24V, depending on the type of engine used. And the main feature of the saw is that here you can adjust the speed, choosing the right cutting speed for different materials. Such a jigsaw can be powered from the battery, which means that you can take it with you wherever you need. Since the engine here is not very powerful, the device is quite safe to use, unless, of course, you try to cut off your fingers with it.
As an engine, it is best suited. These engines are powerful, they serve for a long time, have a forced cooling system. Such motors are actively used in the manufacture of various home machine tools. But you can use an arc motor on 12V or something like that. The engine that the author uses is powered by 12-19V. Everything is assembled from available materials, which for sure many will be able to find in their workshop. Most of all you need plywood, as well as a frame from the drive. So, we will consider in more detail how to make such a jigsaw!
Materials and tools used by the author:
Material List:
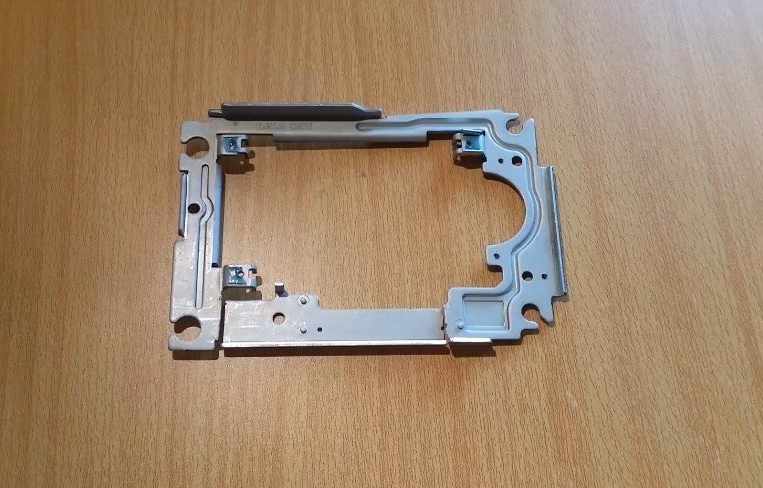
- a frame from a drive or other similar material;
- plywood;
- (or similar on 12V);
- speed control;
- self-tapping screws;
- saw from a jigsaw;
- glue for wood;
- switch;
- wires;
- socket for power supply;
- cogs and other little things;
- paint or stain.
Tool List:
- screwdriver;
- soldering iron;
- drill;
- a hacksaw or other tool for cutting wood;
- drill.
The process of making a jigsaw:
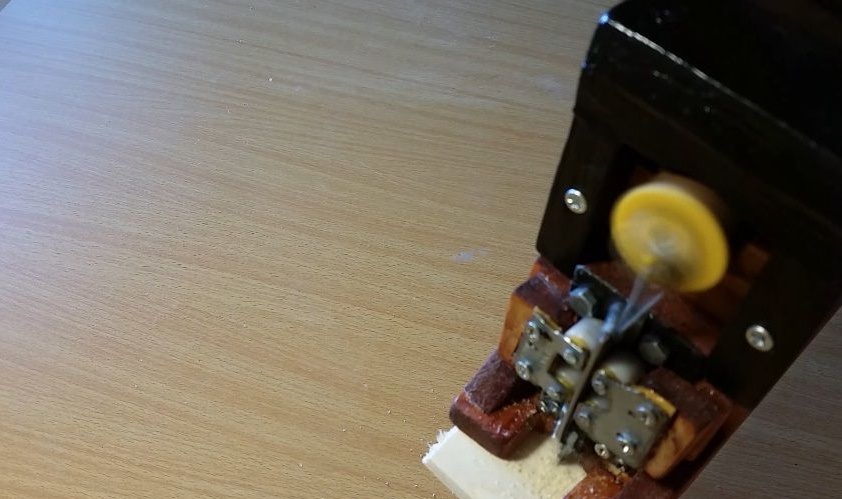
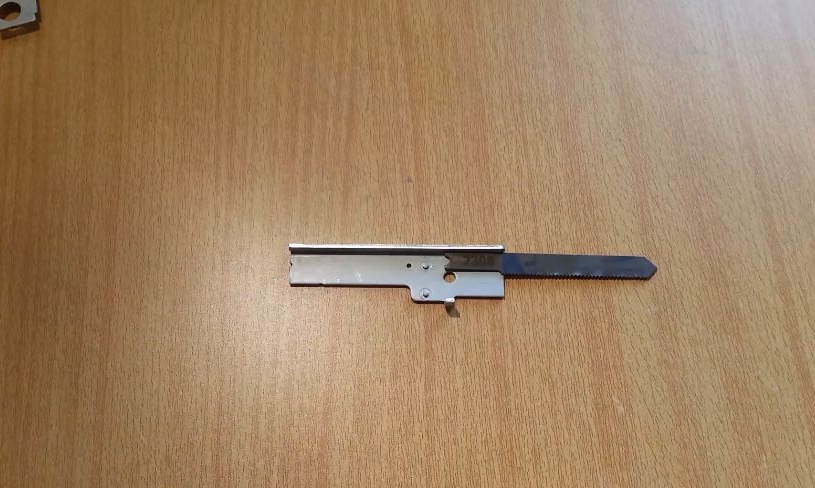
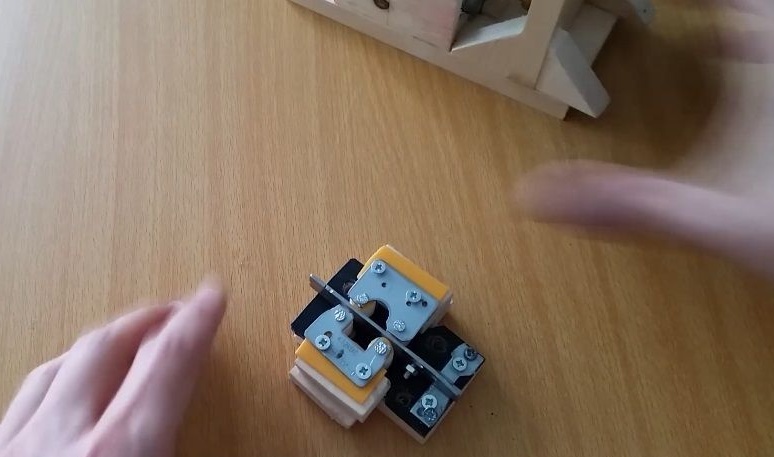
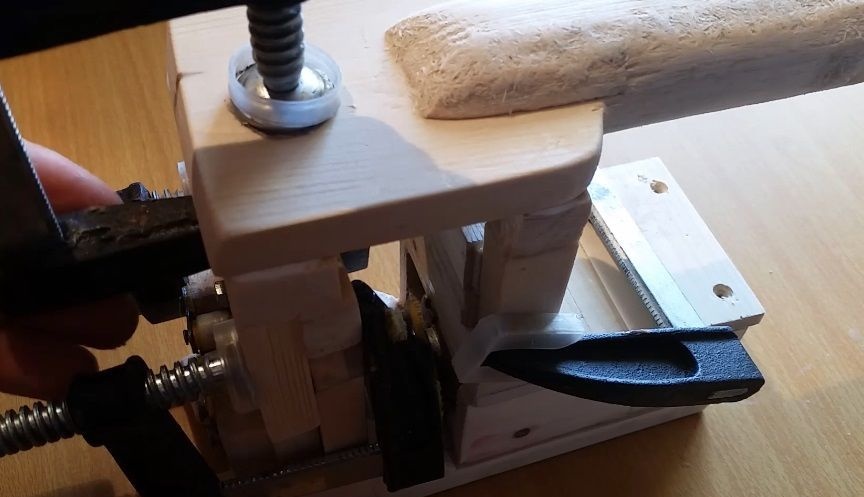
Step one. Fasten the cutting blade
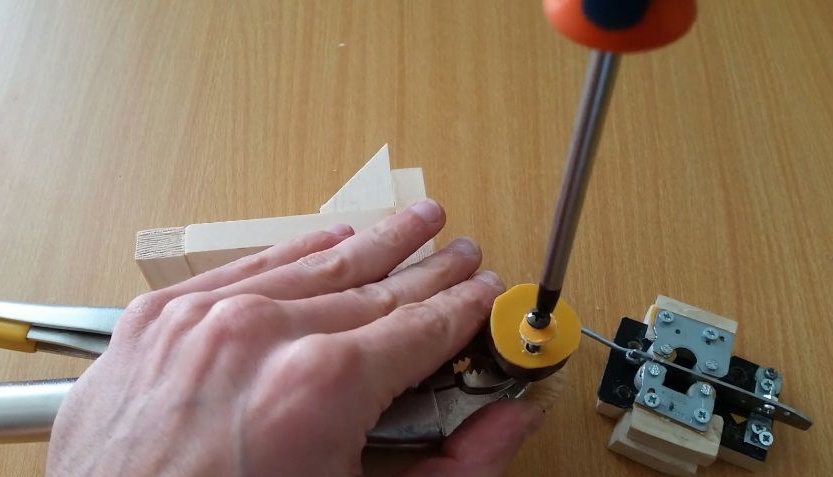
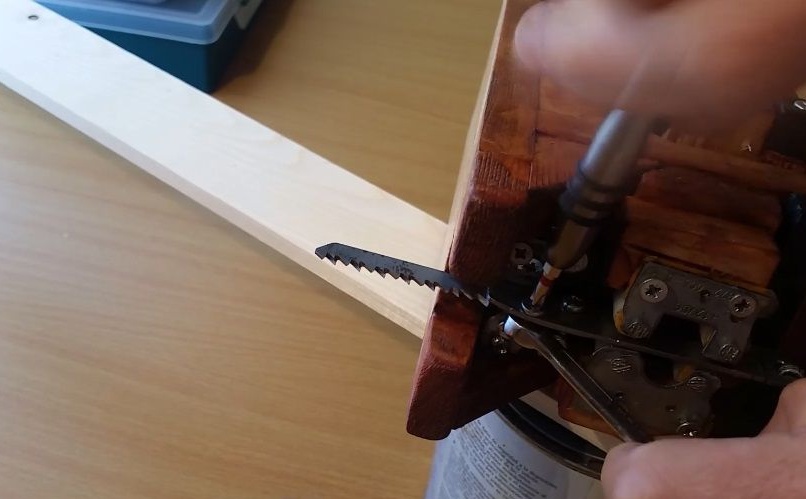
First of all, we will make a bracket that will hold the cutting blade. To do this, you will need either sheet metal, or simply select and cut the desired part from the drive frame. It is most convenient to cut using a drill with a suitable nozzle. Next we fix the canvas, the author uses two screws with nuts. One screw holds the canvas in the part where it has a recess, and the second presses the canvas to the base.
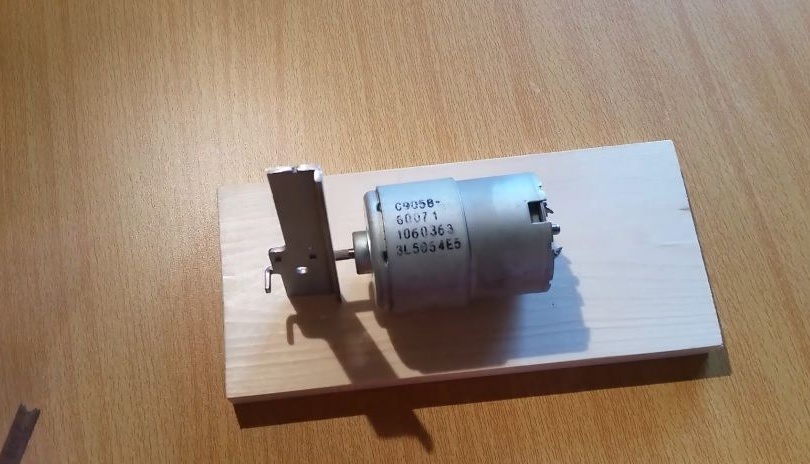
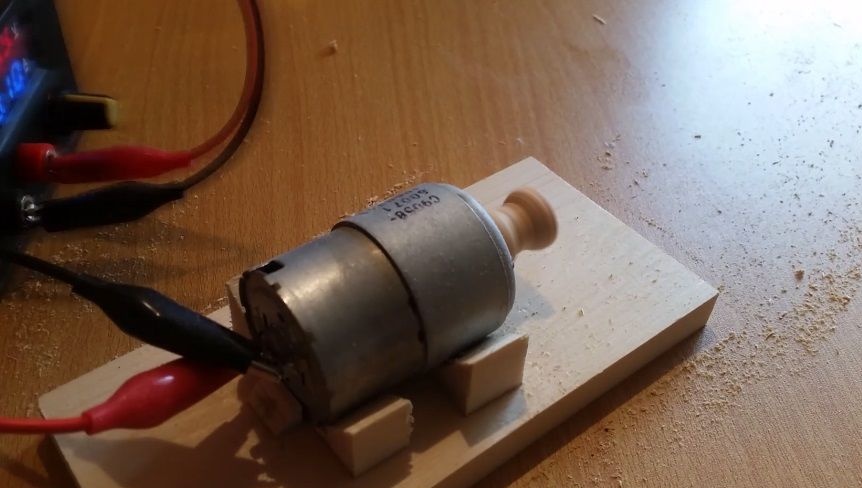
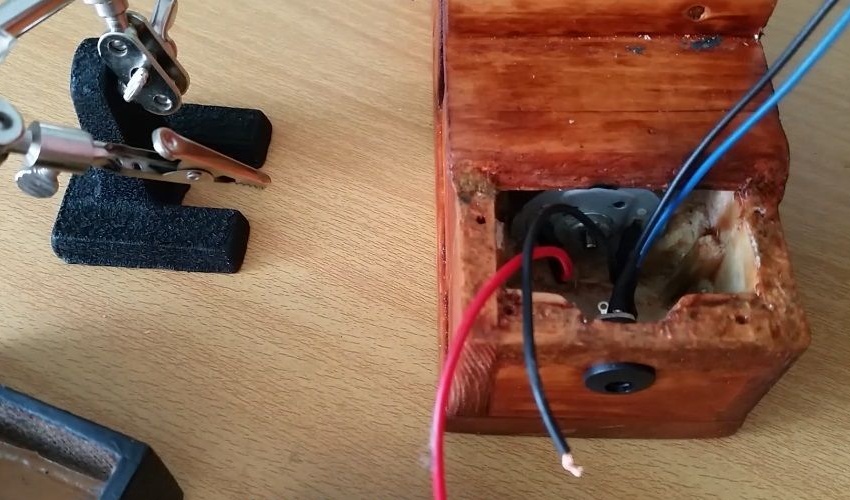
Step Two Engine mount
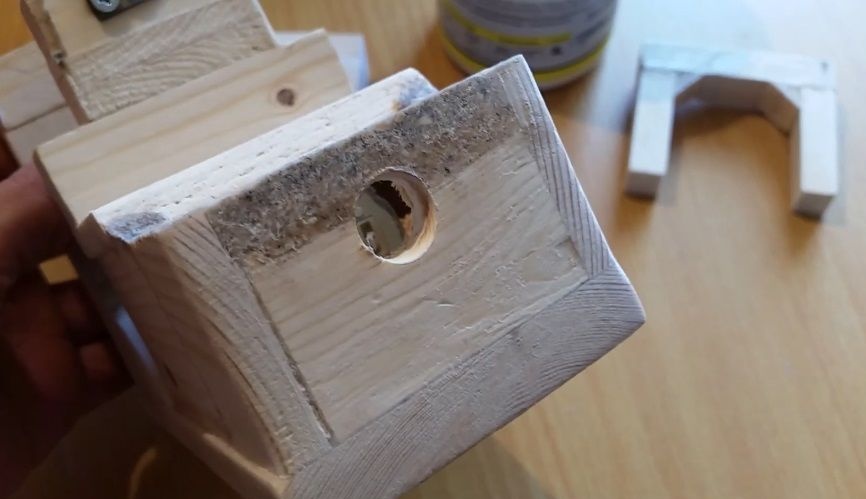
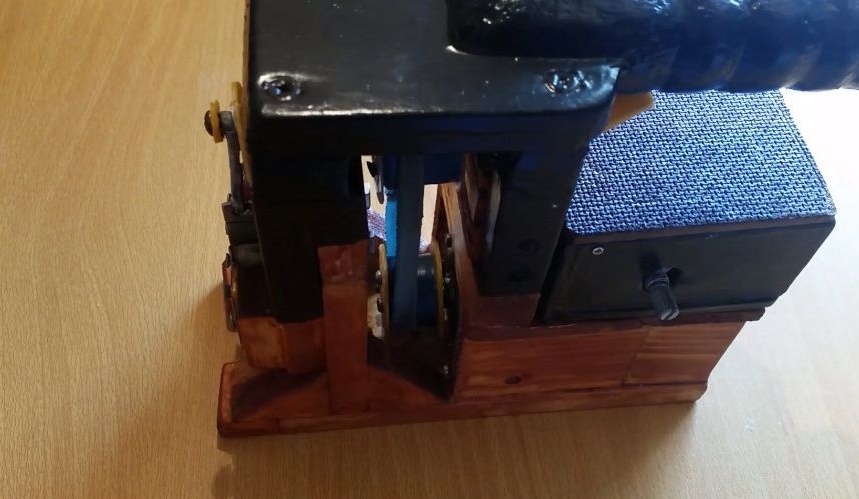
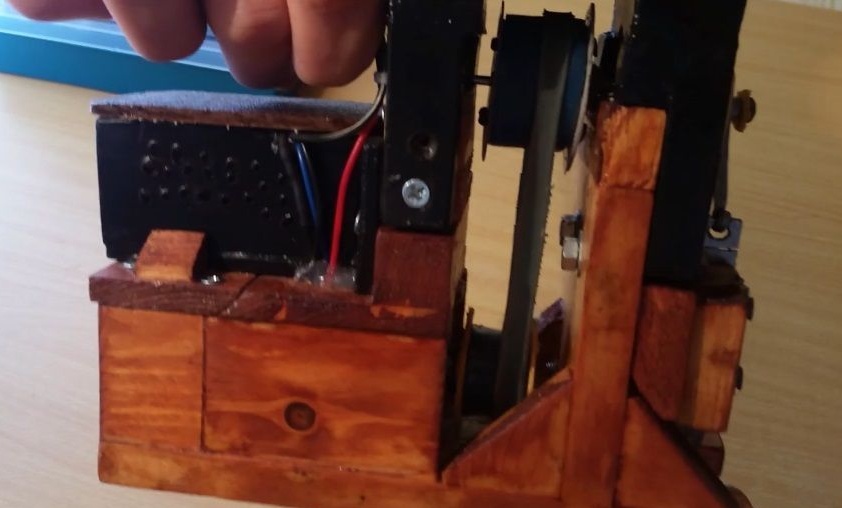
As a basis, you can use plank or plywood. Now we have to fix the engine. For these purposes, we cut out the stops from the tree, two on one side and two on the other. We glue them or fasten them with screws, and it is better to combine both methods. In the future, the frame will be assembled in a similar way, using wood parts as well as wood glue.
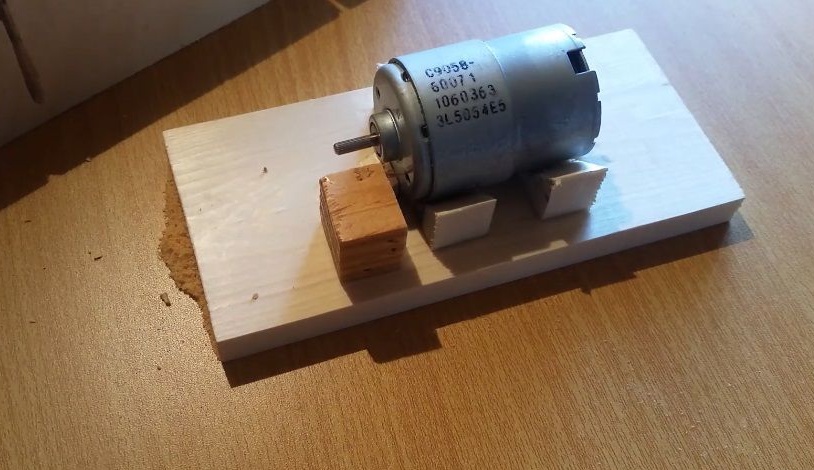
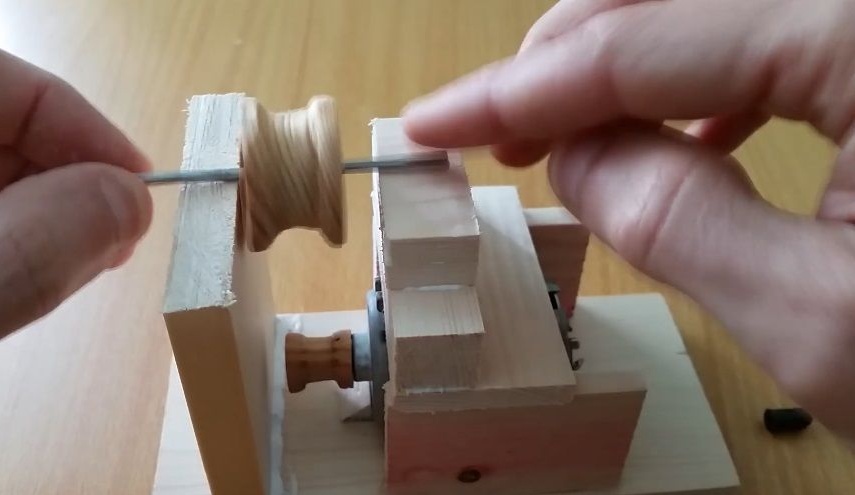
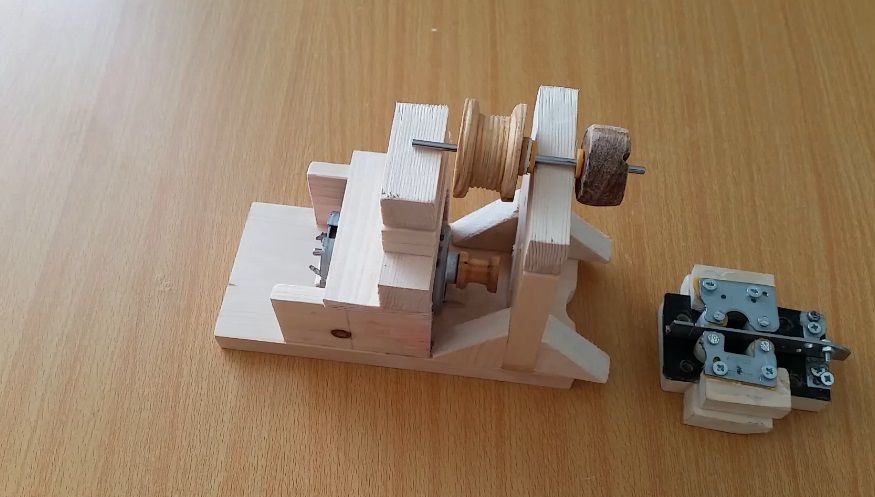
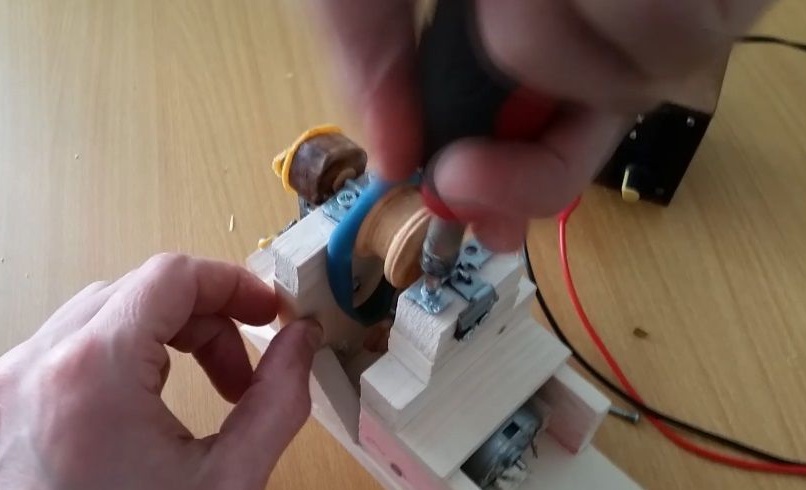
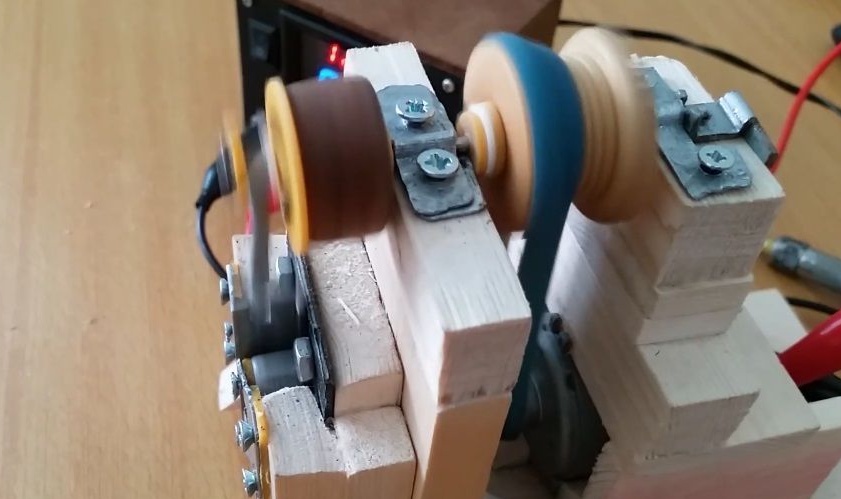
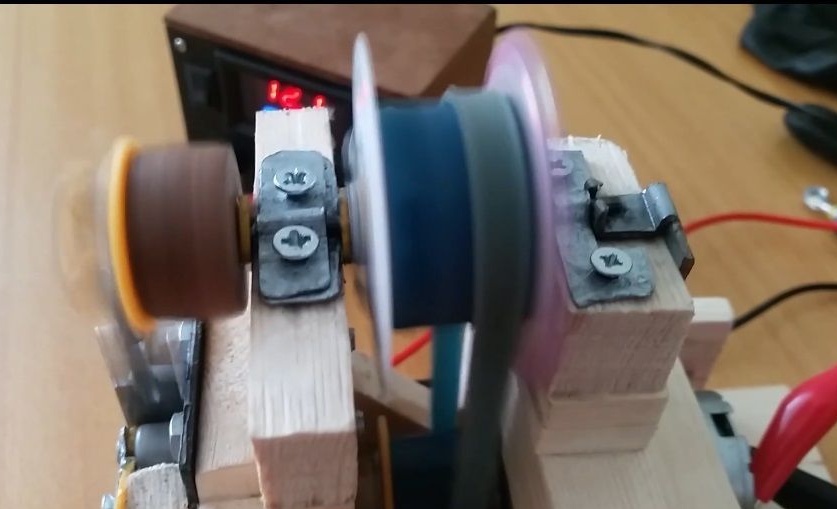
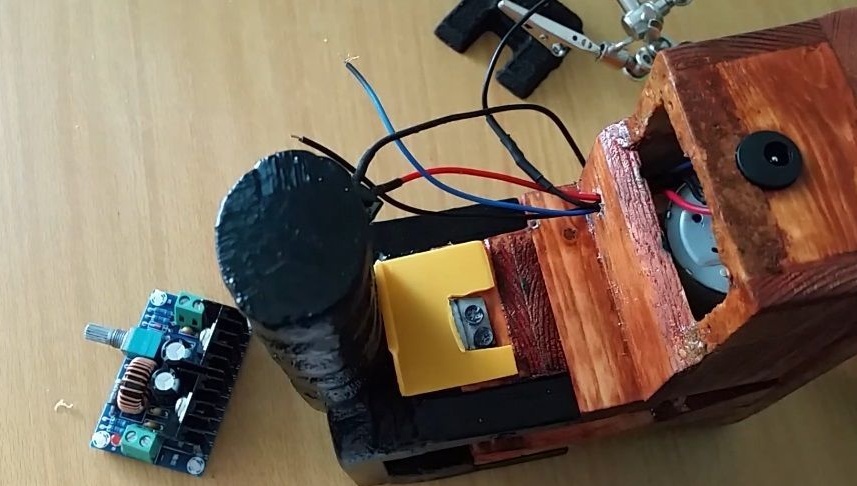
Step Three Make pulleys
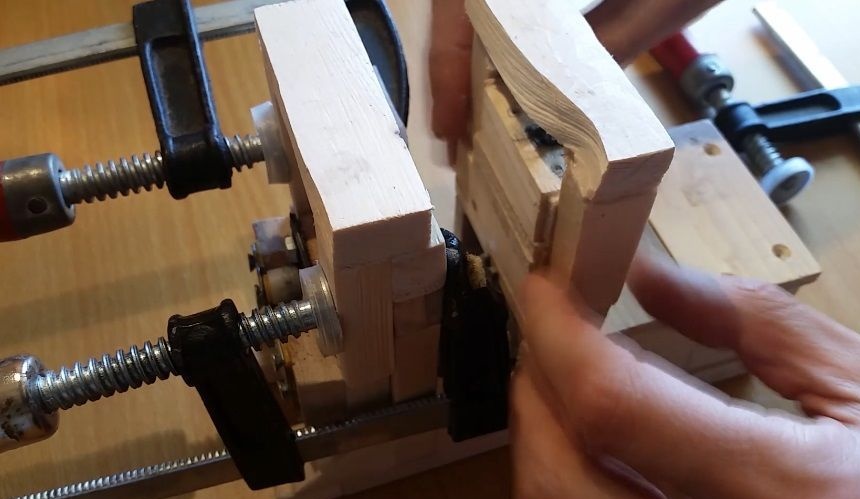
To transmit movement from the motor shaft to the working shaft of the tool, the author used a belt drive. The pulley on the motor shaft is installed smaller, this is done in order to reduce speed, having received a higher torque. To make these two pulleys, take pieces of a board or plywood and drill holes under the motor shaft in them. We put the parts on the motor shaft and turn it off. Well, then everything is like on a lathe, using files or a saw blade for metal, we form the desired profile. We carry out the final work with sandpaper so that the parts become smooth and do not spoil the belt. Fasten the pulleys to the shafts with epoxy or super glue.
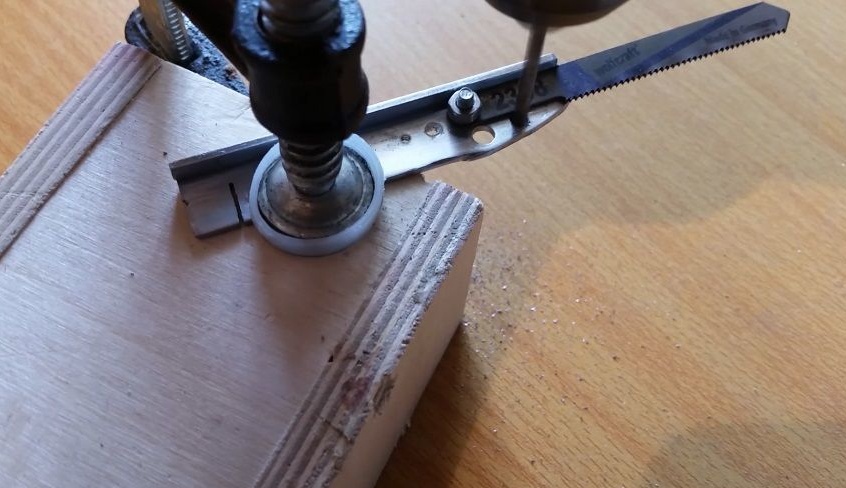
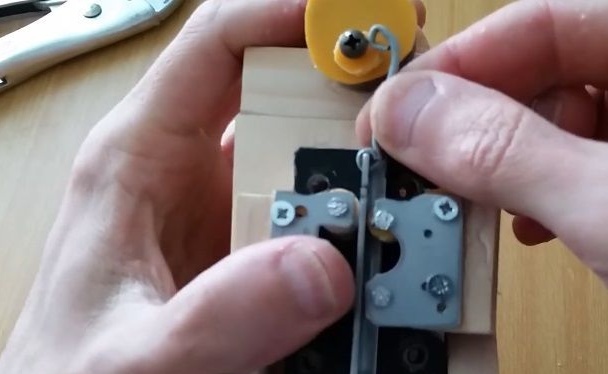
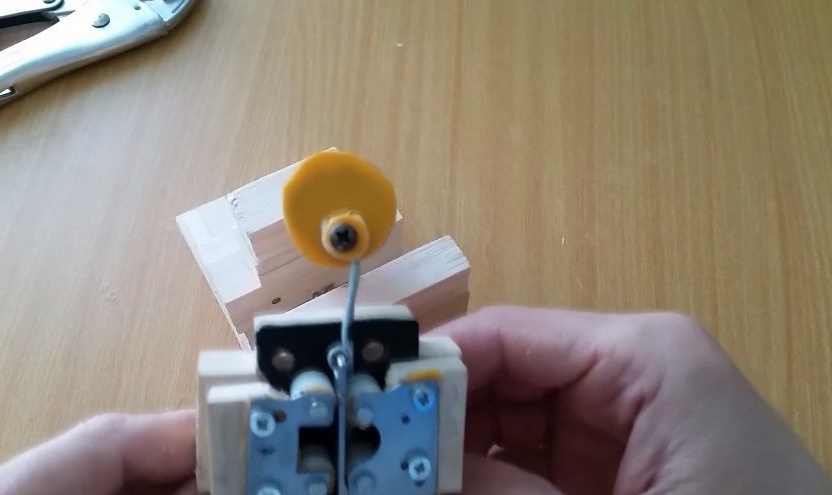
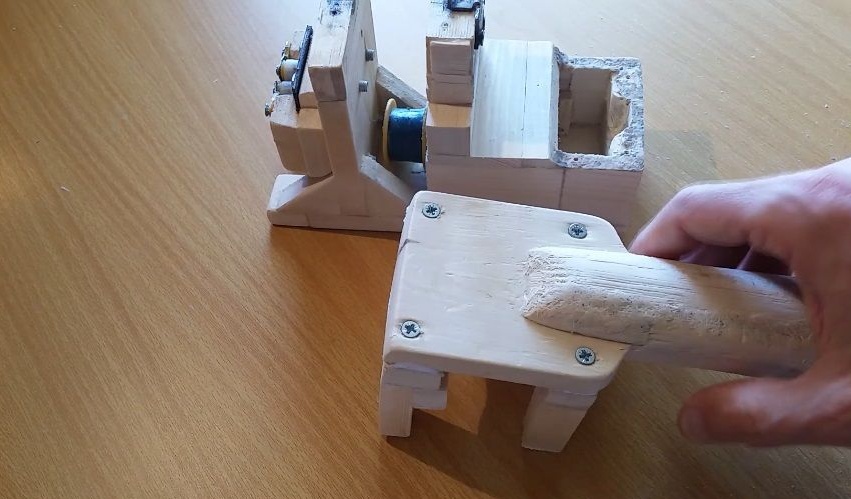
Step Four Thrust mechanism
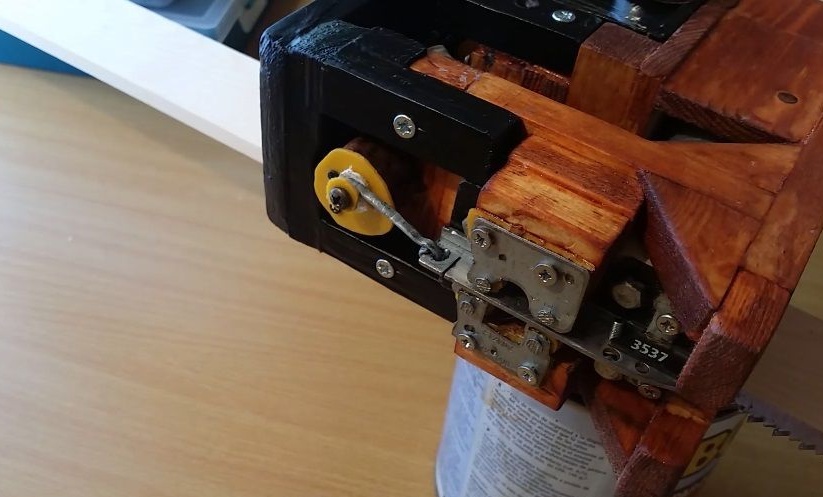
For the saw blade, emphasis is needed so that it does not walk in the ass and in front. As a basis, the author took the piece on which he fixed the clips with carnations. Between them, and our canvas will walk, or rather the bracket holding it. As additional emphasis, the author adapted parts from the drive, plastic inserts and more.
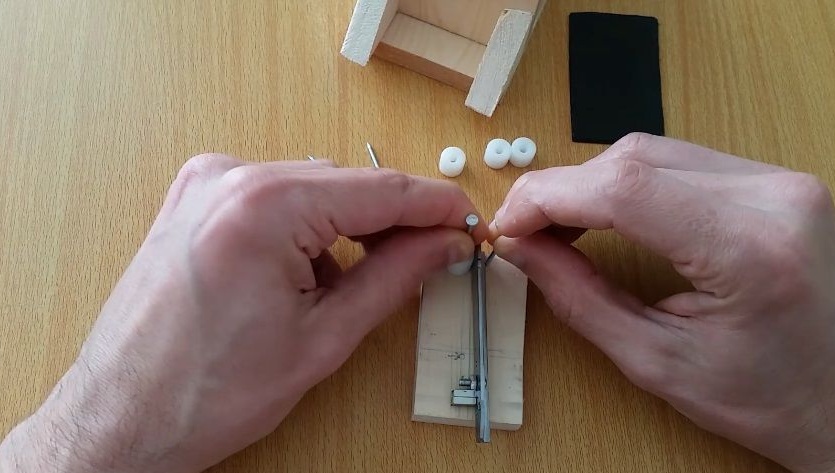
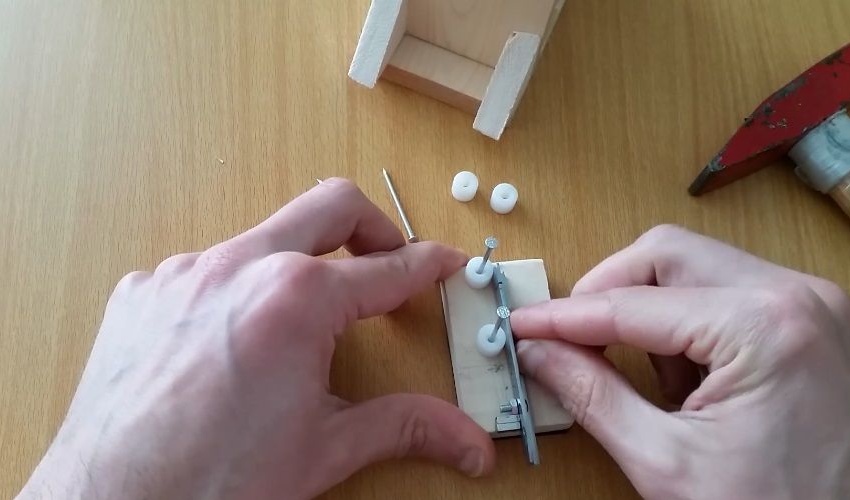
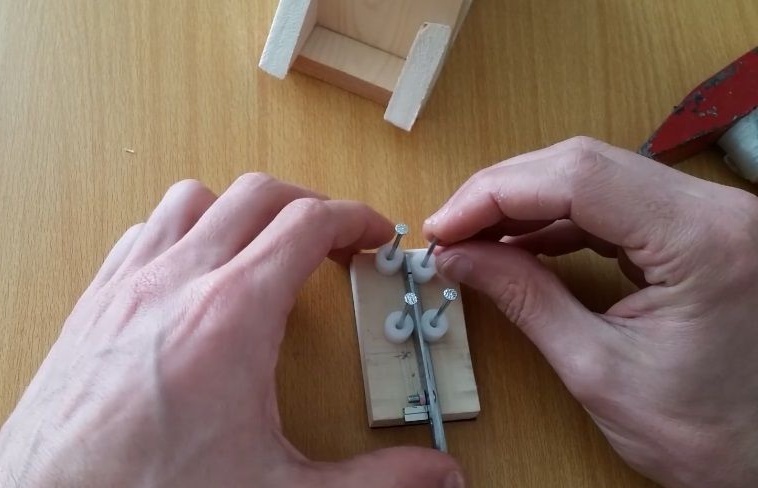
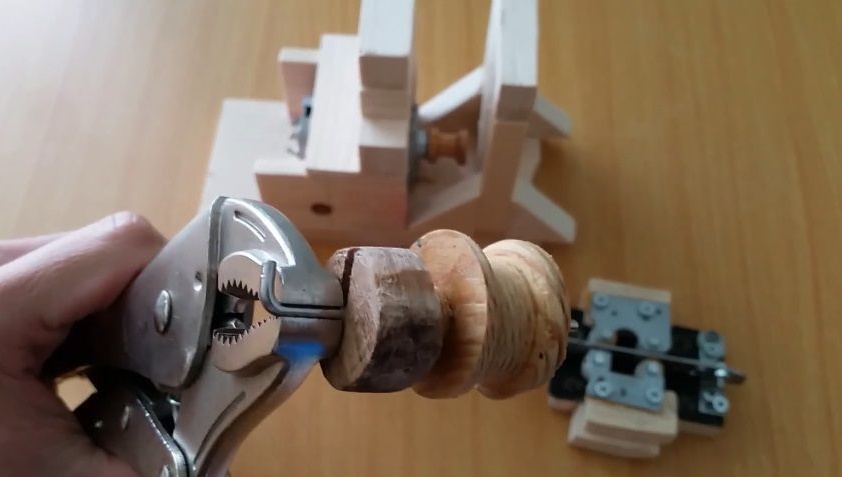
Step Five Make a crank
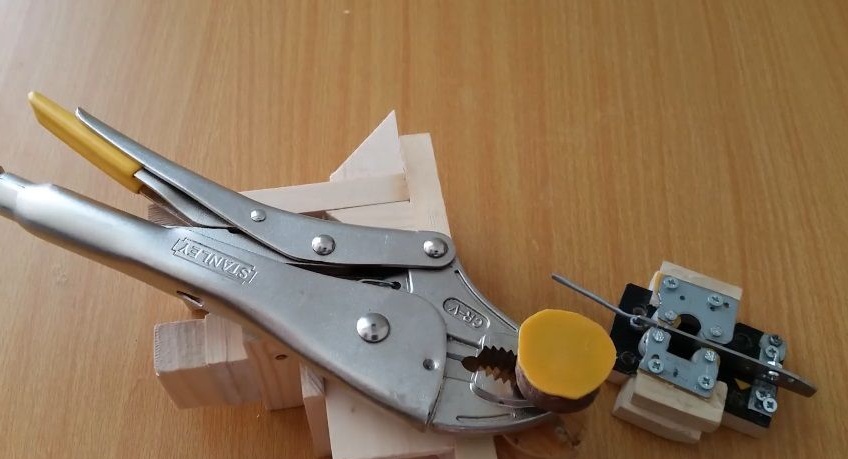
Now we need to turn the rotational motion of the engine into reciprocating. For these purposes we will use a crank system. To make a crank, cut a wheel out of wood, on which the author decides to stick a sheet of plastic to reduce the friction of the connecting rod on the wheel. The spike itself is a small screw with a plastic washer.
As for the connecting rod, it can be made of steel wire, just bend it to the desired profile.
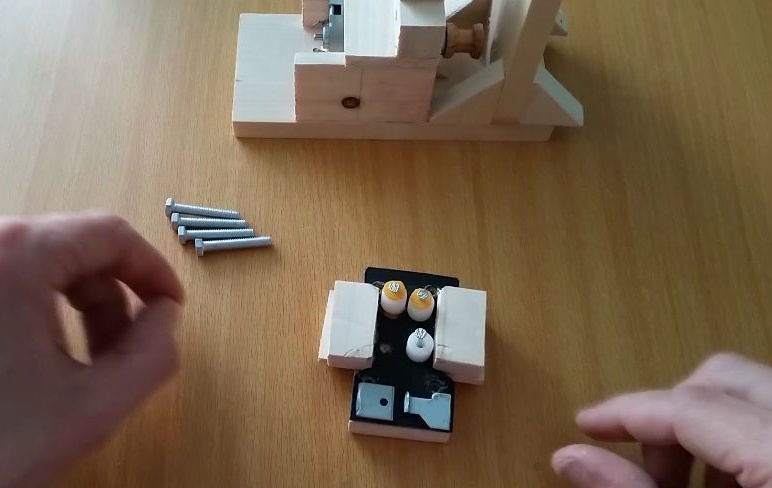
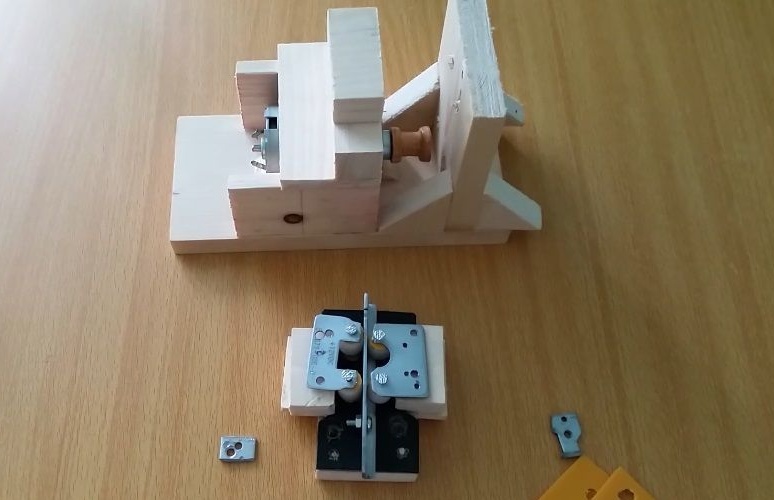
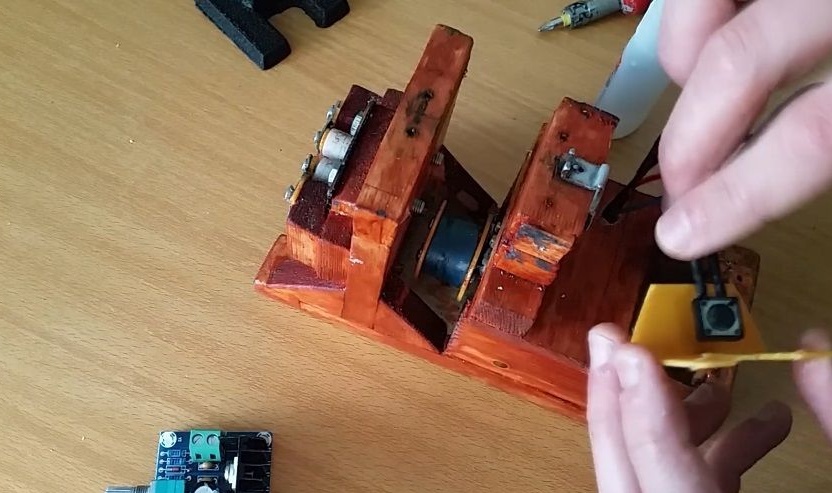
Step Six Mounting the working axis on the frame
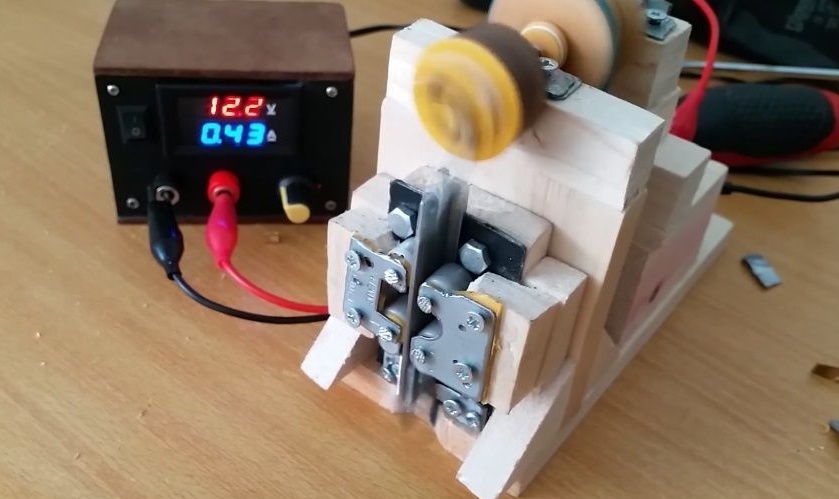
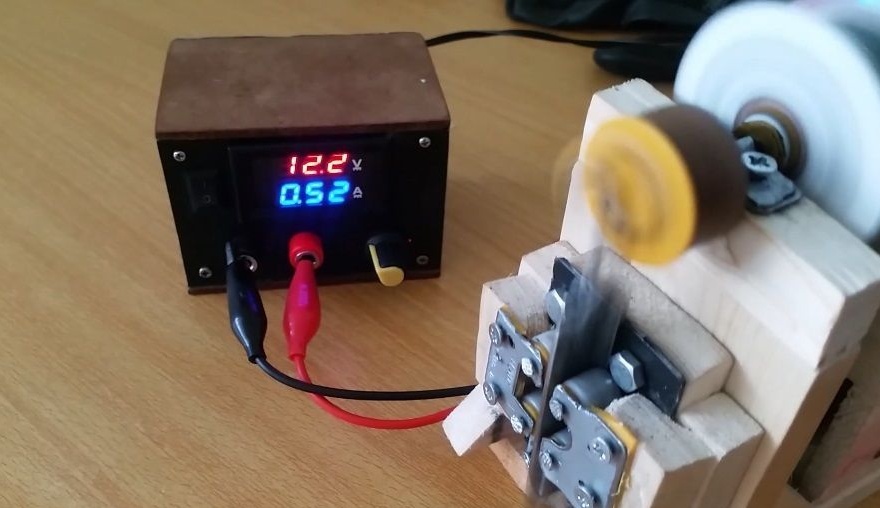
To fix the working axis with the crank on the frame, make two brackets from sheet metal. These brackets are screwed with screws. Remember to install the belt before installing the axle. It can be cut out of a bicycle or car camera. That's all, right after that you can supply power to the engine and see how everything works.
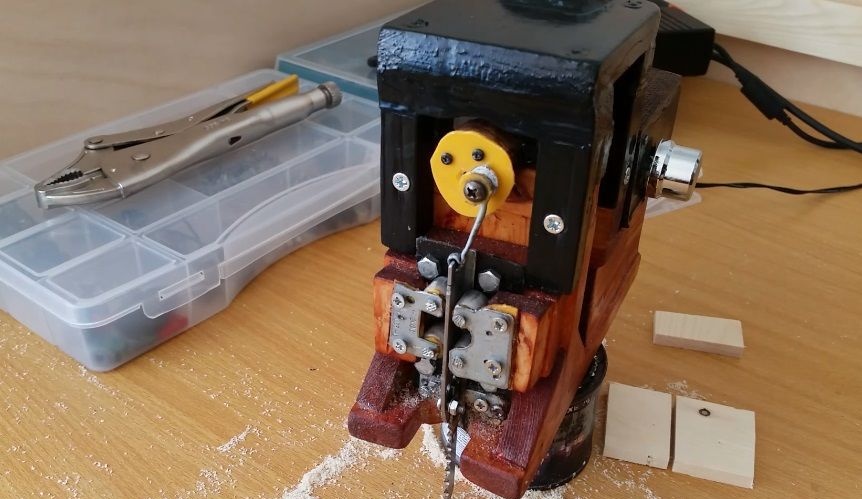
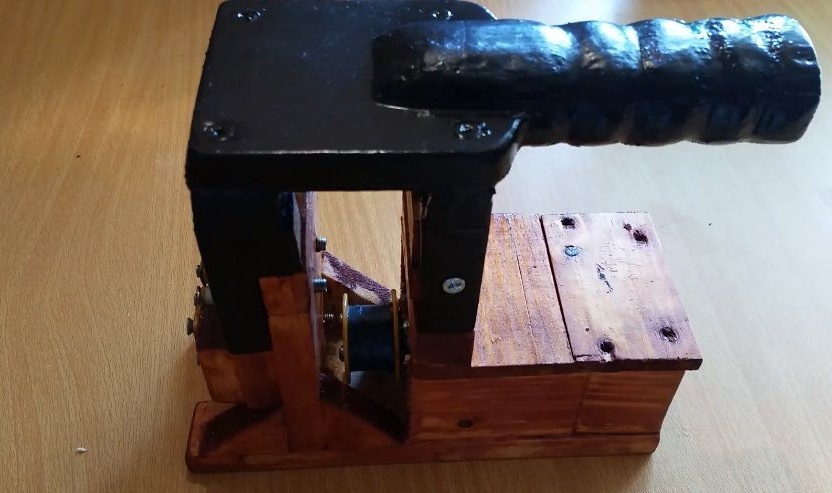
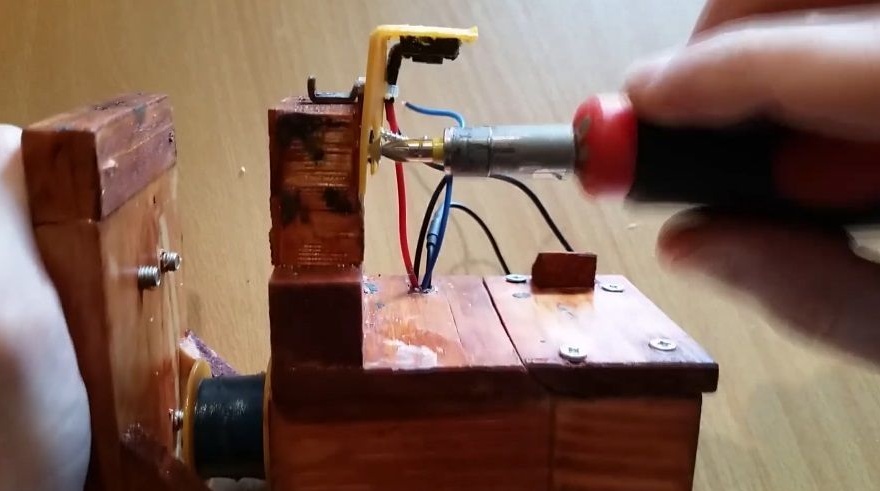
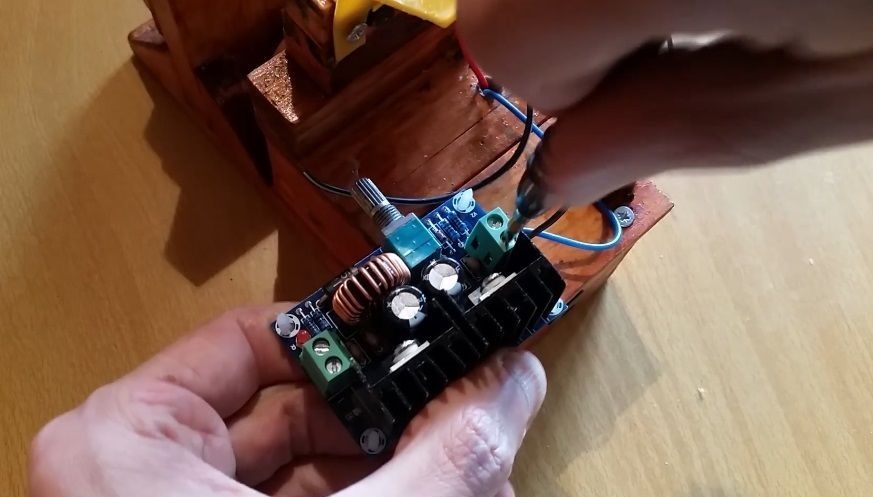
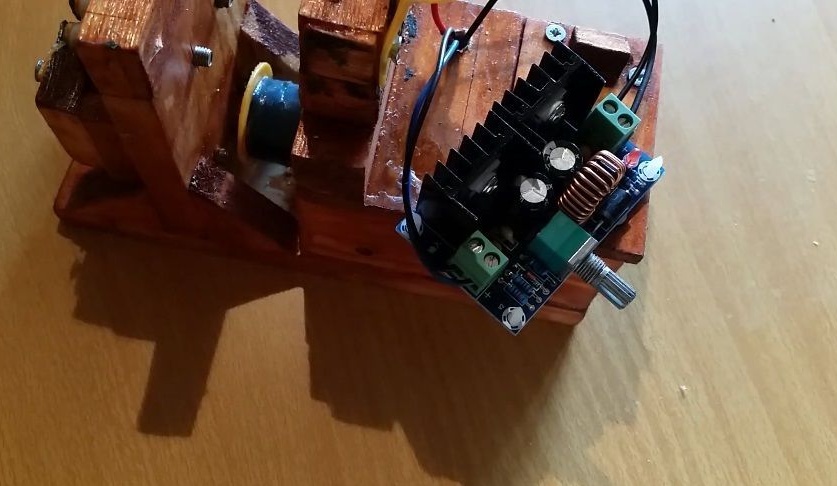
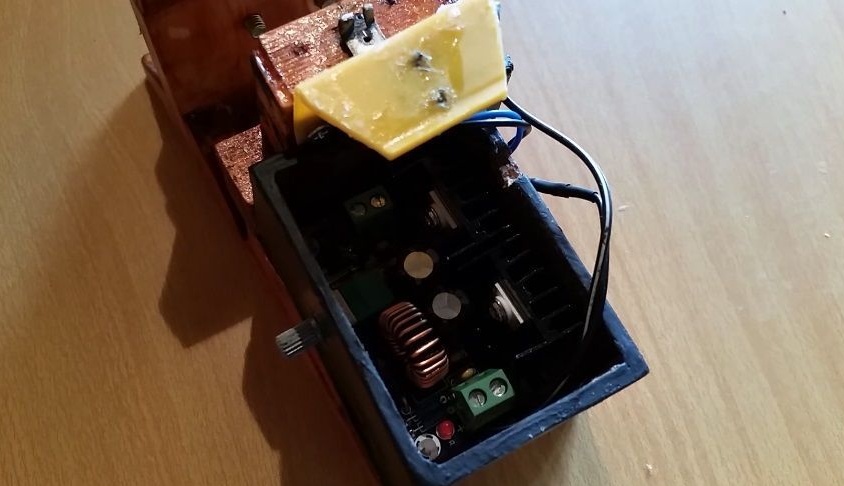
Seventh step. Final assembly of a jigsaw
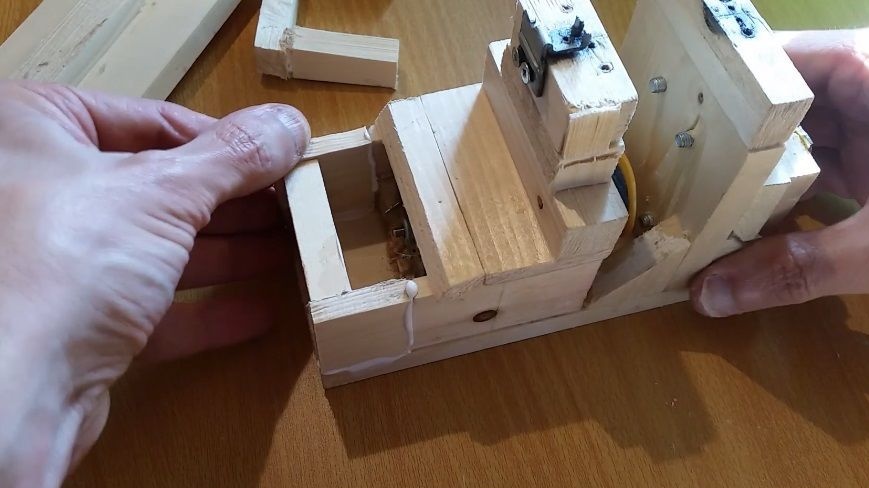
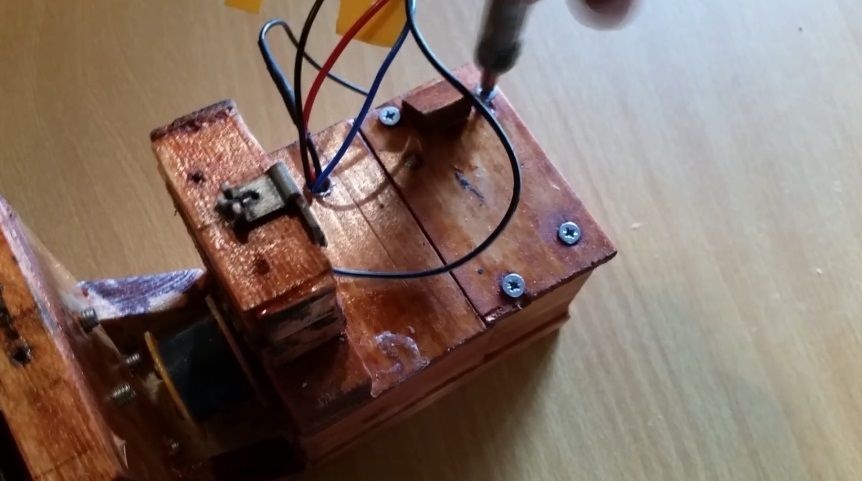
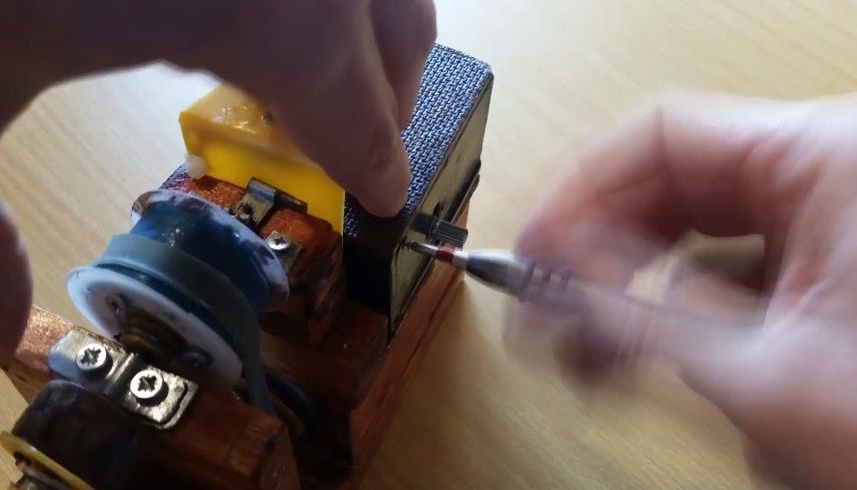
A jigsaw is provided with a controller with which you can control the speed of the device. Under this controller, make a place so that dust and other dirt do not fly at it. In addition, you have to install a push button switch in a convenient place for you.
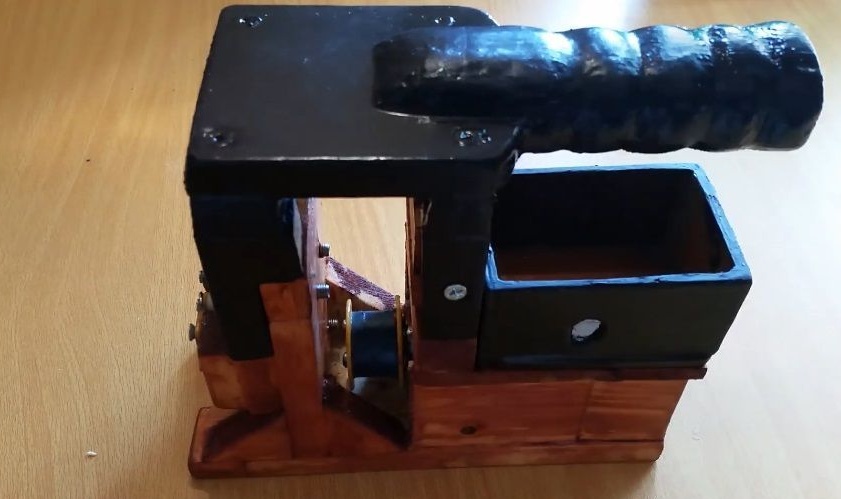
At the end, make a handle so that it is convenient to use the machine. Here you will need boards and timber. When everything is ready, paint all the wooden parts with stain or paint, you can also soak in oil. Otherwise, the wood will quickly become dirty, absorb moisture and quickly collapse.

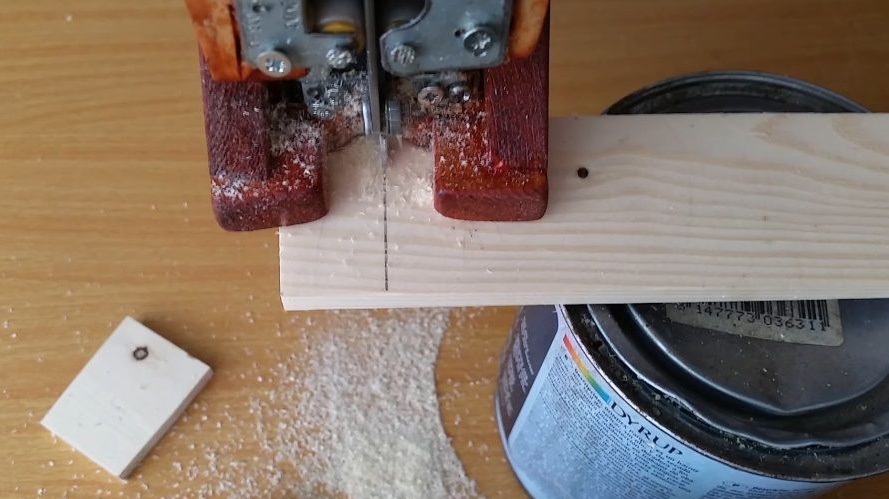
Step Eight. Test
That's all, the jigsaw is now ready for use. The author easily cuts through his wealth. If desired, you can set the speed of the cutting blade for various tools. The tool is mobile, lightweight, safe and easy to use.
That's all, the project can be considered successfully completed. Good luck and creative inspiration, if you want to repeat this. Do not forget to share your best practices and homemade with us!