
Good day to all dear friends! In today's article, I would like to show you a rather interesting and no less useful idea about homemade. I think this homemade product will be definitely appreciated by people who are engaged in the cultivation of any cereal crops in small quantities, because spikelets with grains to grow is one thing. Quite another is to remove the grain from the spikelet without unnecessary debris. In the old days, this was done with the help of a sickle, or rather, with the help of a sickle, they simply cut grains from spikelets. But we do not live in the old days, so we will come to the rescue electronics and everyone’s favorite corrugated cardboard, which has now become very popular in various projects and homemade products, I have already devoted more than one article to this topic.
In general, today we will consider how to make a simple electronic device from corrugated cardboard to separate grains from a spikelet. Well, let's not delay with a long introduction, let's go!
And so, for this unit you will need:
corrugated cardboard (a lot of cardboard)
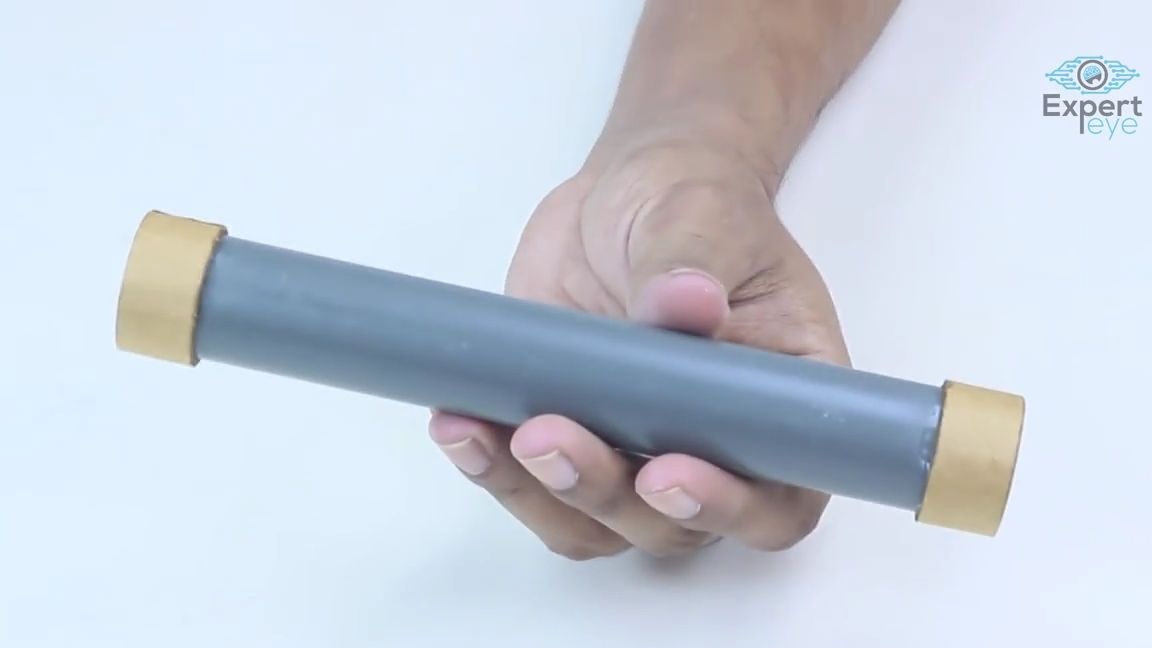
plastic pipe with a hole diameter of about 1 centimeter
Three small ball bearings
-Two sewer plastic pipes
metal wire
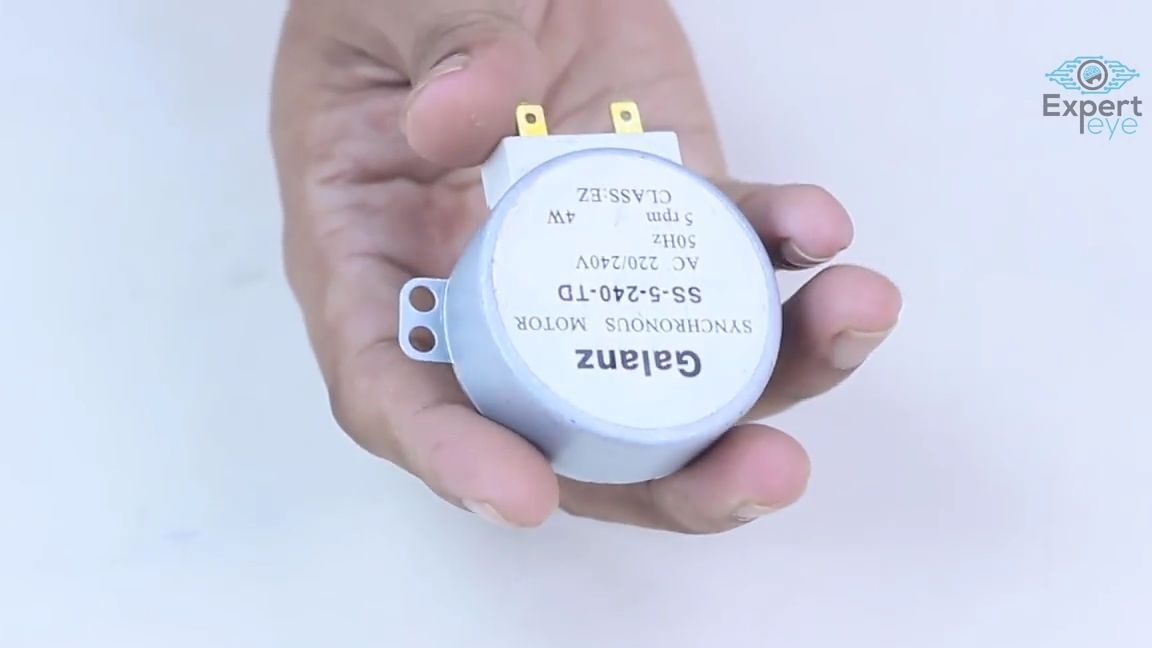
-powerful electric motor
-slow-rotation reducer (use one that suits your nutritional requirements, the main thing is that its power is enough to rotate two plastic pipes, taking into account friction, it is better to use a reducer from 2 to 4 watts in terms of power)
-switch
wire
-variable resistor
fancy pencils
Of the tools we will also need:
soldering iron
thermal glue
-Super glue
-pliers
-scissors
-stationery knife
-compass
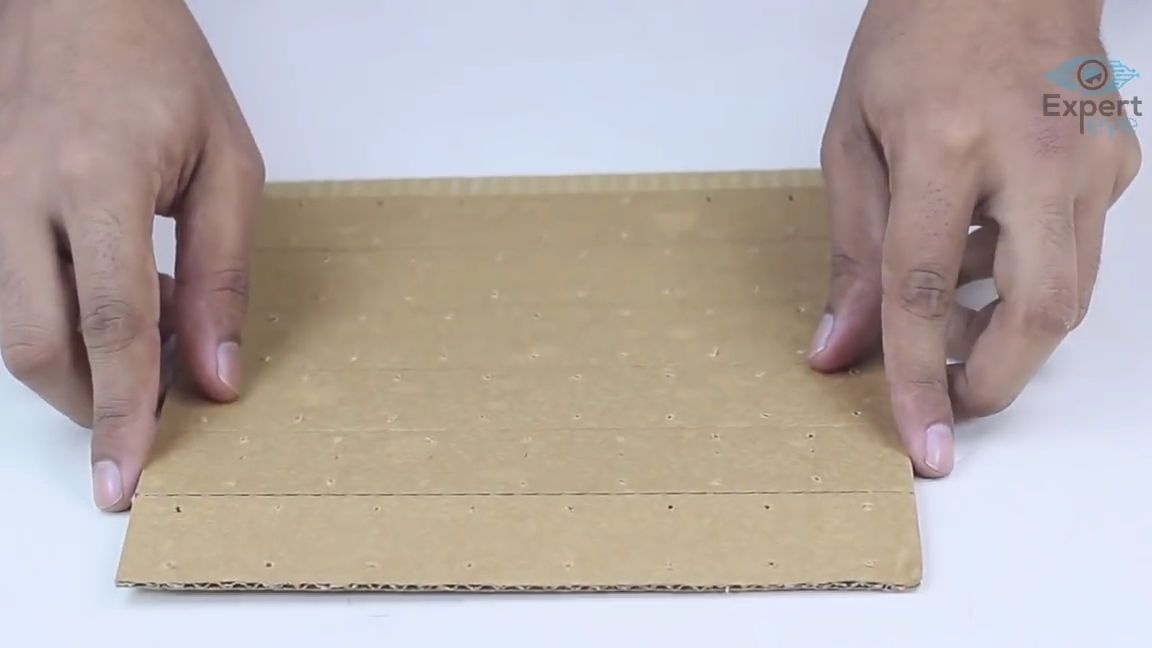
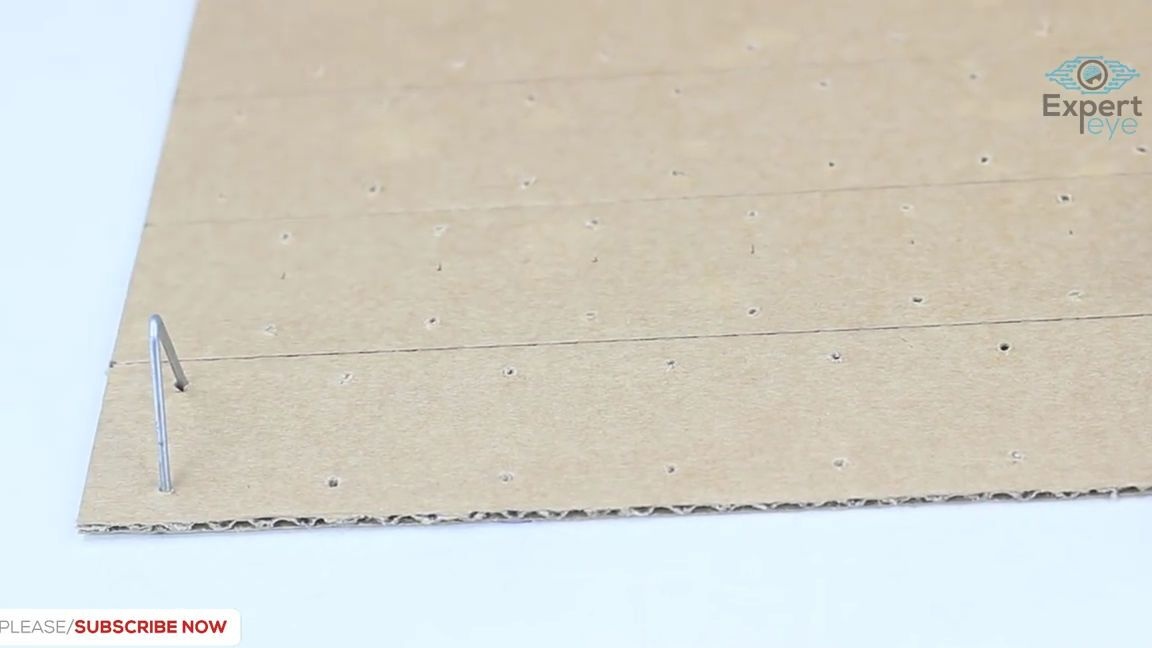
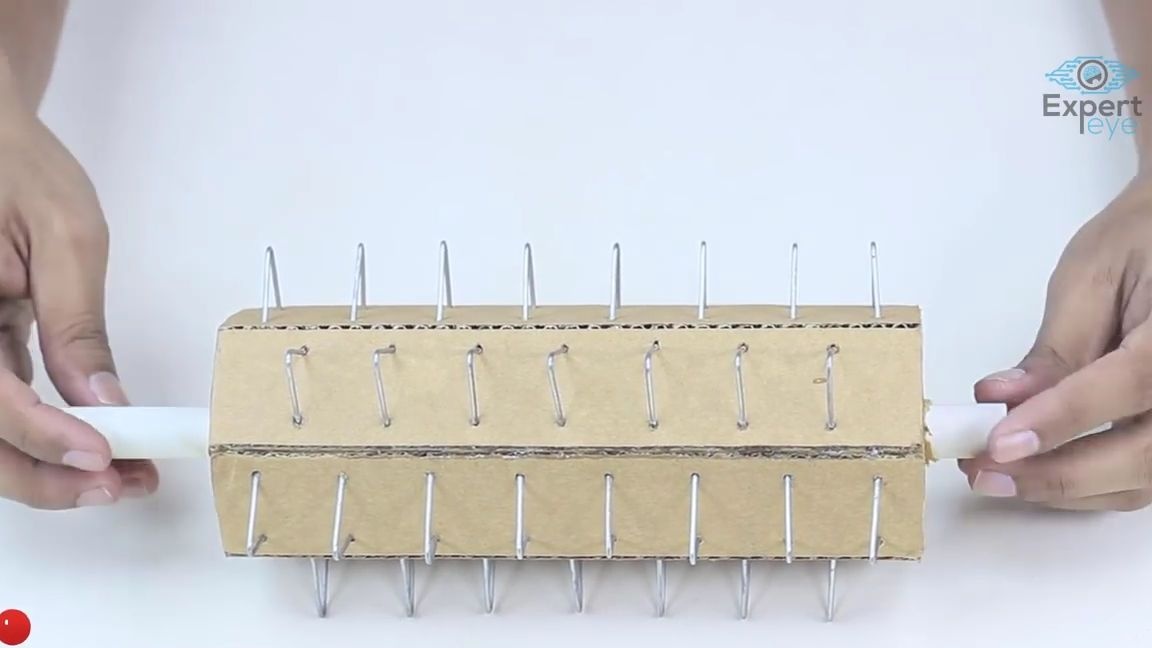
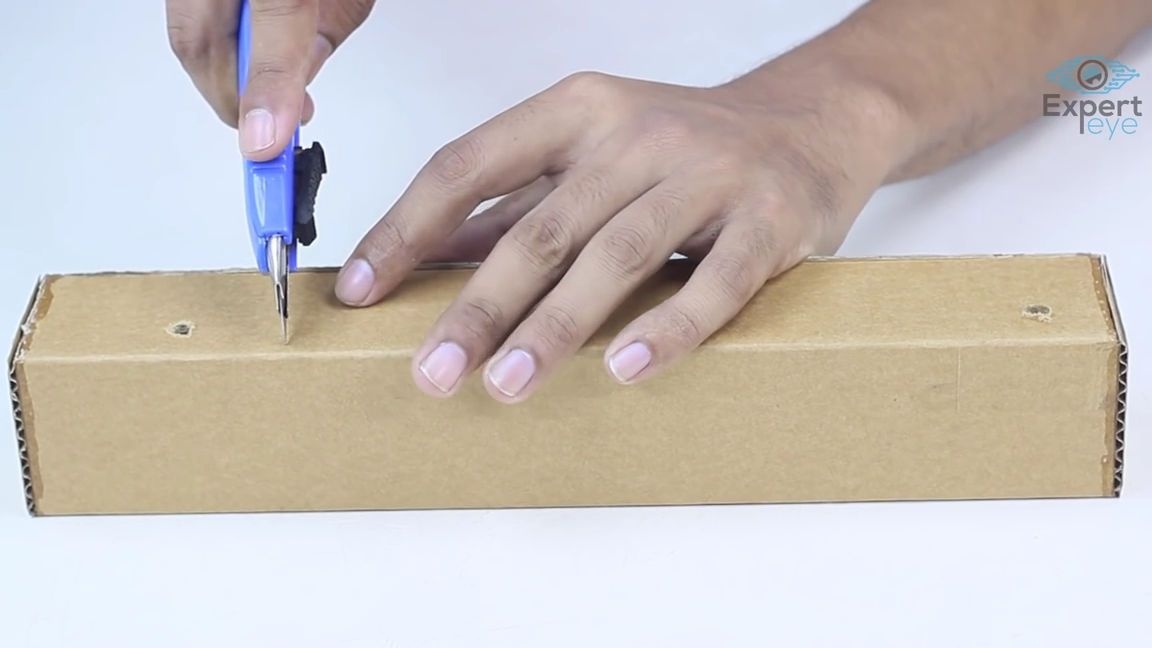
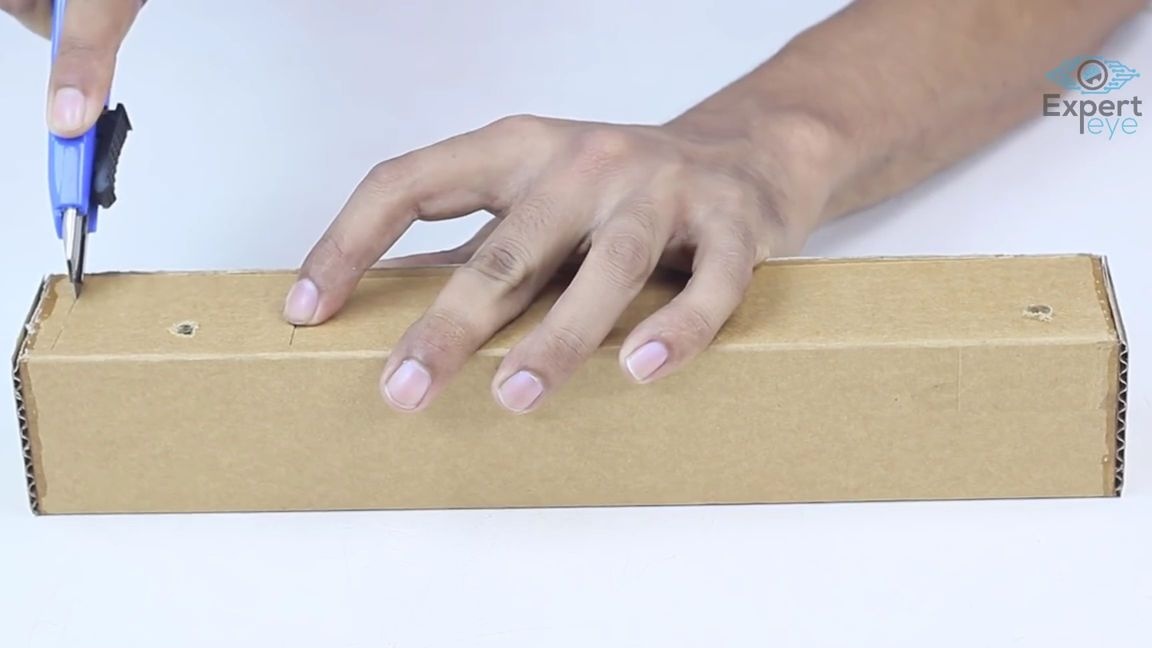
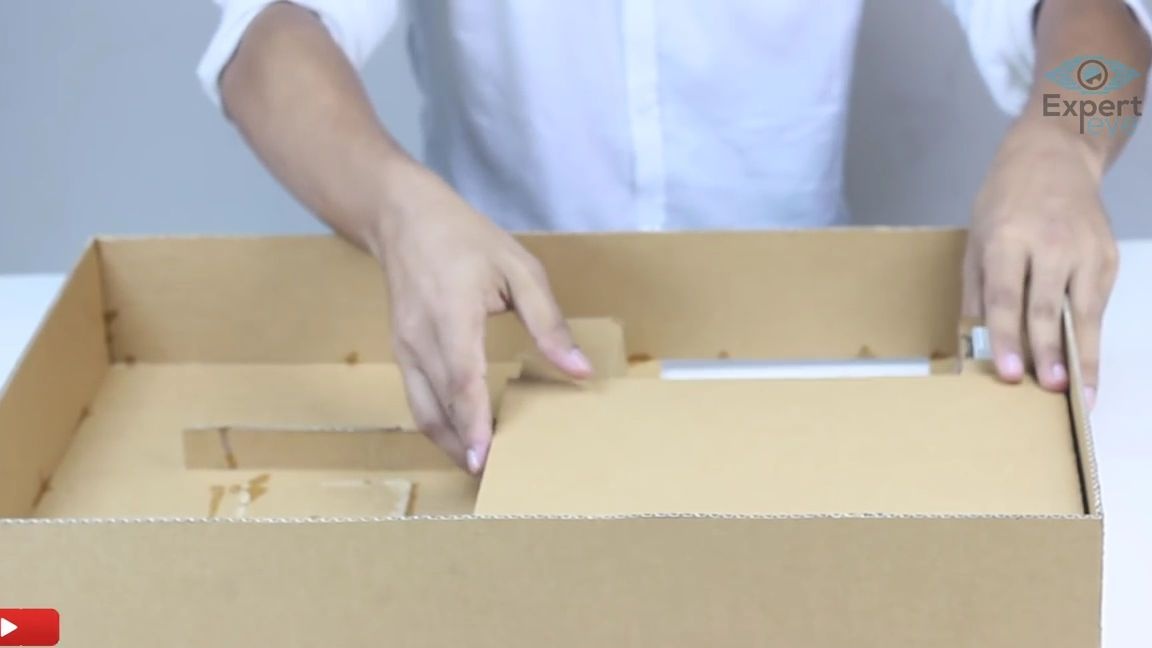
First of all, you need to cut a small rectangle from corrugated cardboard, in which you need to make a lot of thin holes, then divide the entire rectangle into 6 equal parts and at each junction of these same parts, make a not deep cut with a clerical knife, so that only the top layer is cut cardboard, just so you need to do with all the joints — this is necessary so that this structure can be bent evenly:
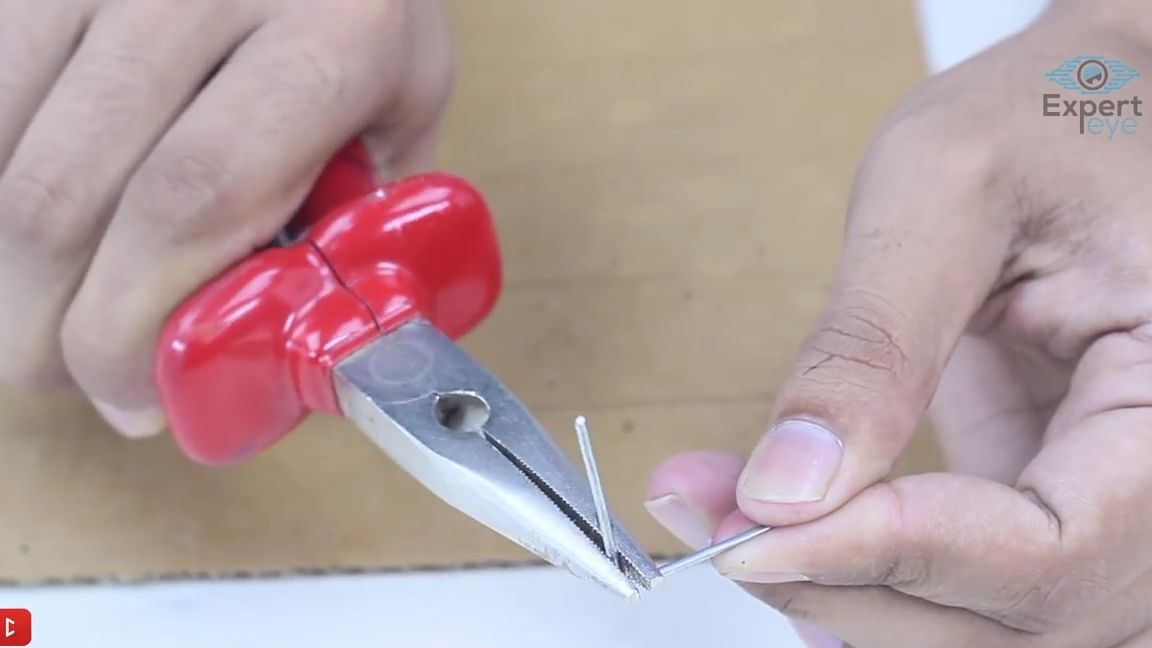
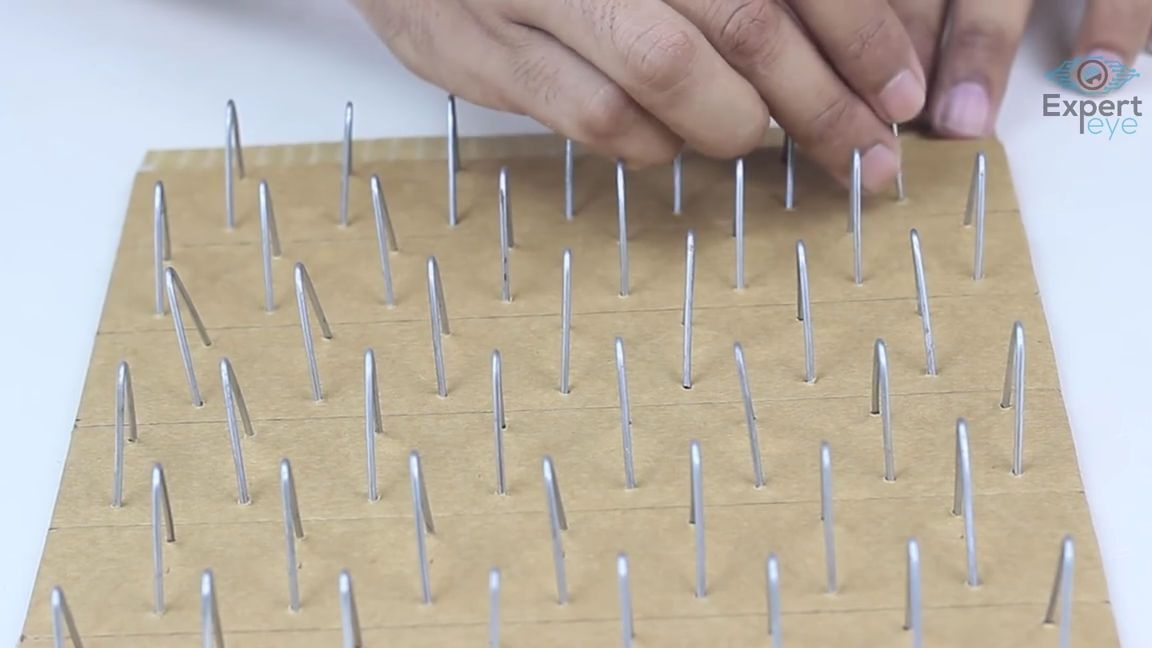
Now we take pliers or narrowly pliers and with their help we bend a small segment of a piece of metal wire, so, as shown in the photo, a small triangle should turn out:
Then we insert this triangle into the previous workpiece and fix it with thermo-glue from the back. We make a bunch of such triangles and also glue them, like the first:
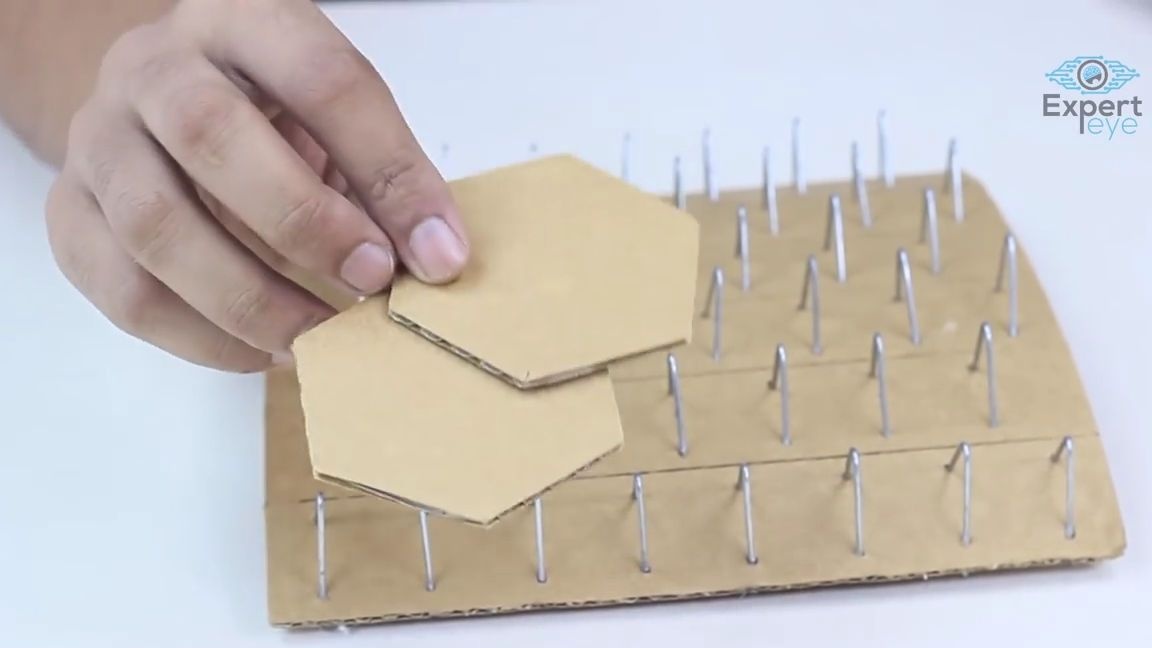
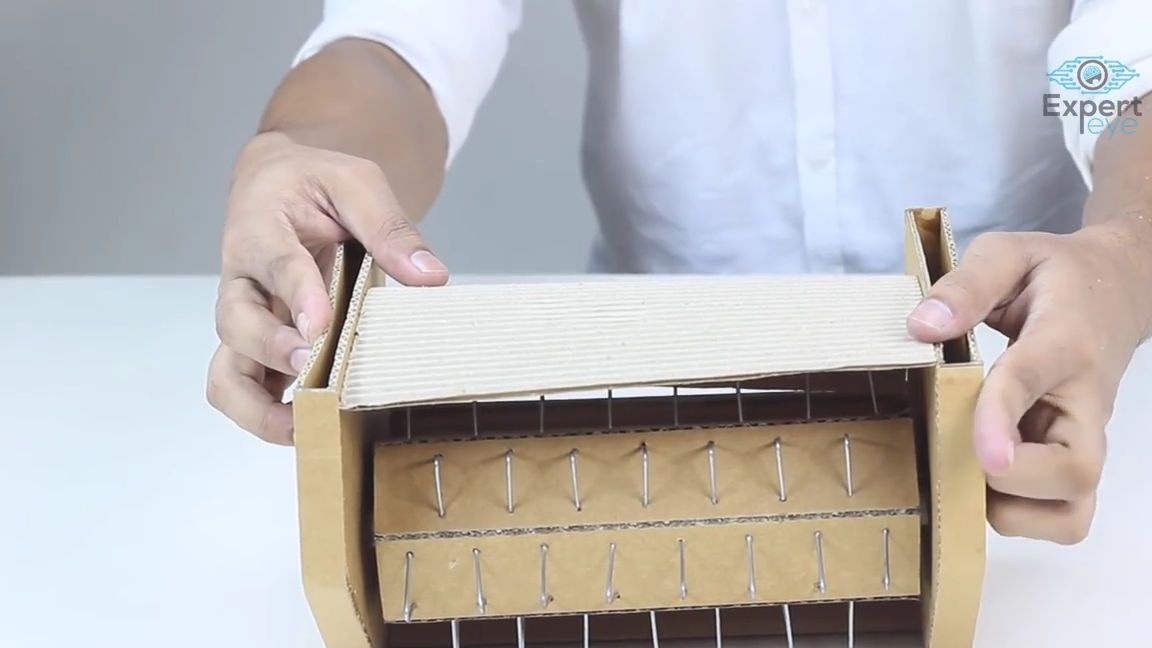
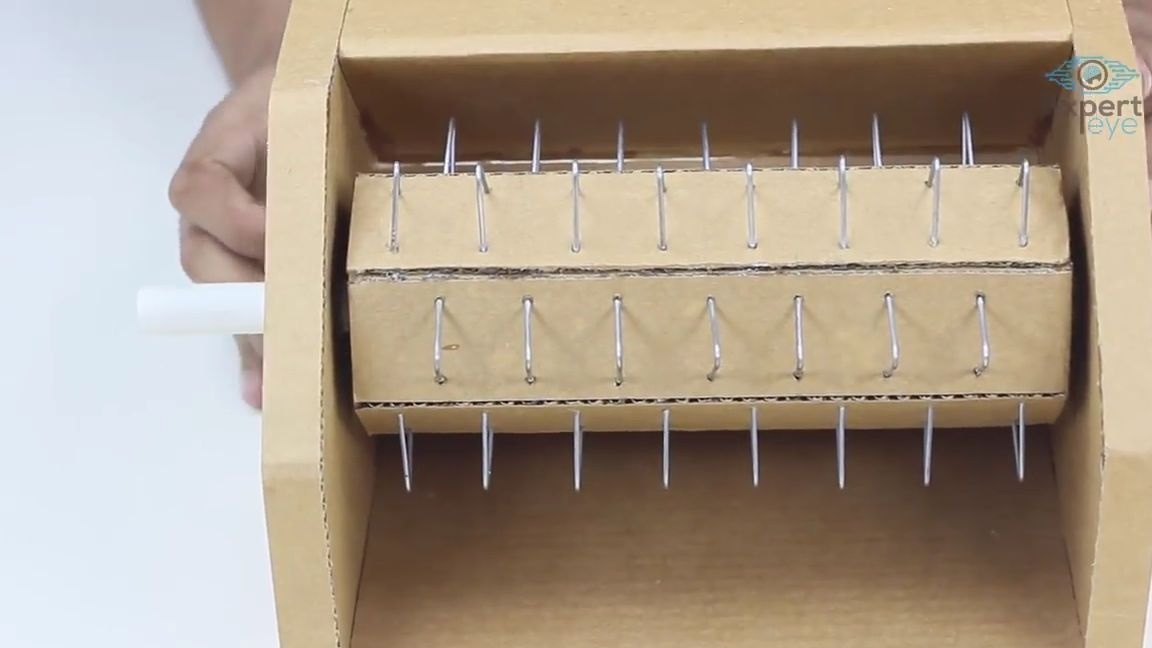
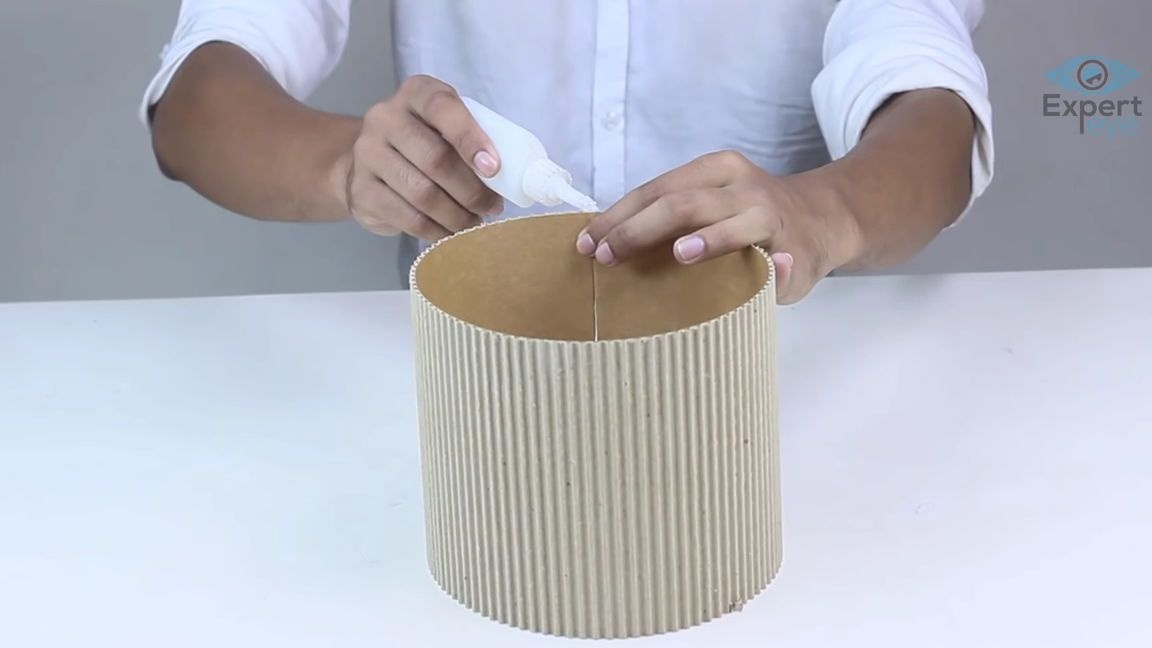
From corrugated cardboard we cut out two equal hexagons. We bend the previous workpiece with triangles outward and glue cardboard hexagons along the edges of the formed hexagonal pipe as follows:
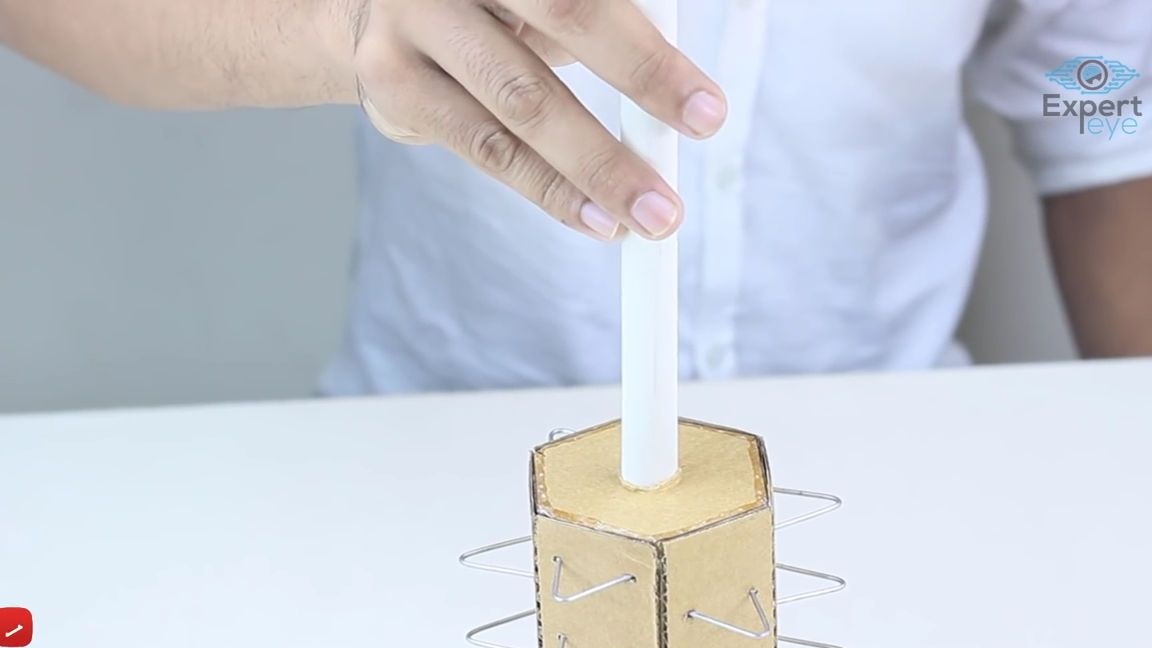
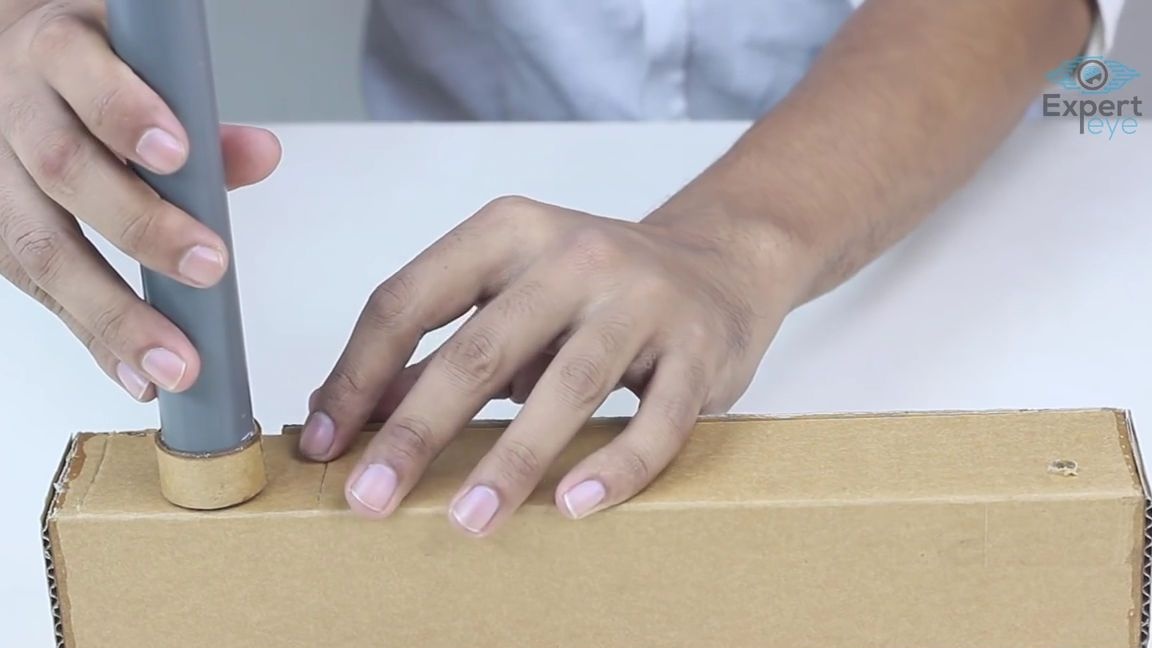
Now we drill one hole in the centers of the hexagons and insert a plastic pipe into them, along the length it should not be much longer than the cardboard hexagonal pipe:
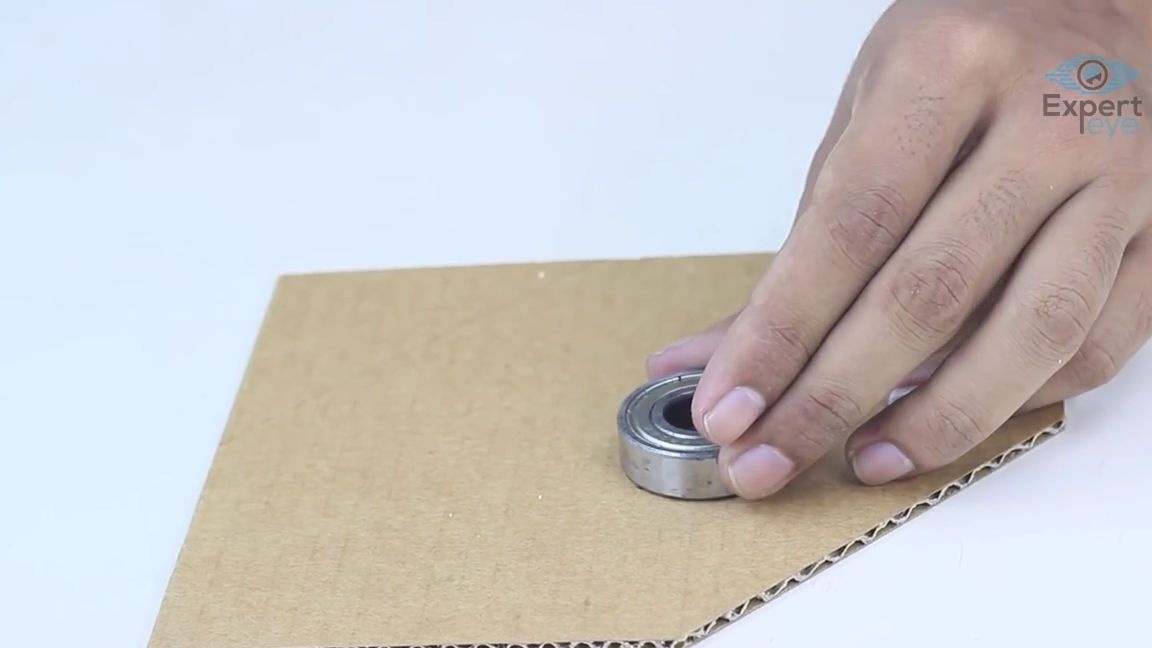
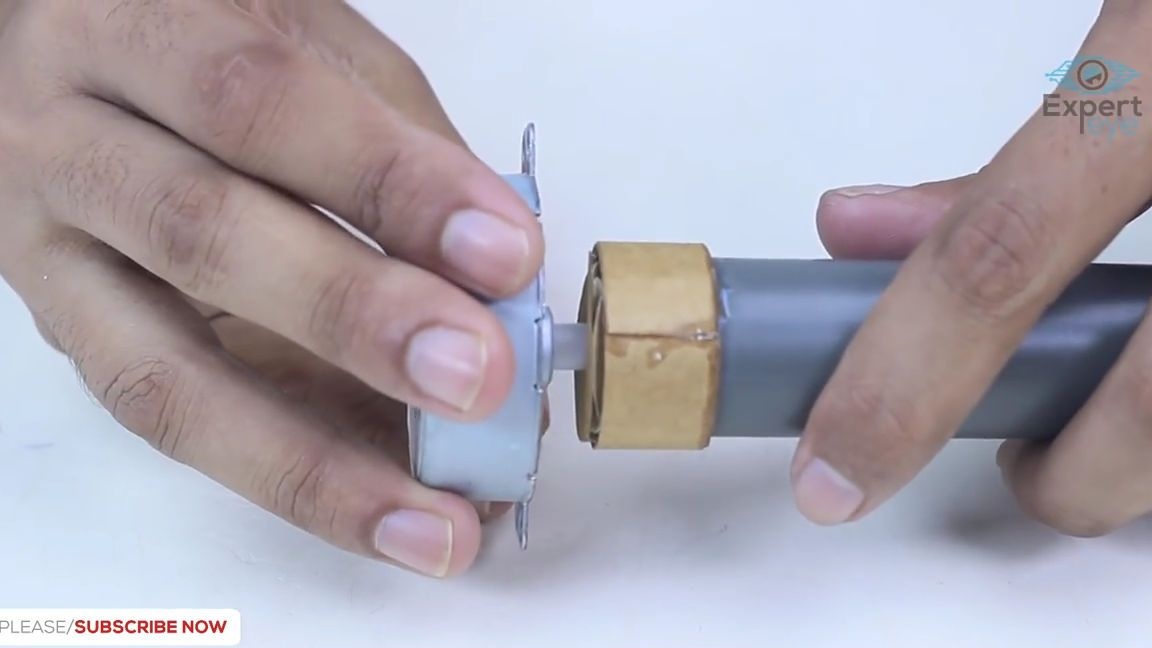
We cut out a pentagon from the same corrugated cardboard (you can see its exact shape in the photo below), then use a compass to draw a small circle with a diameter equal to the diameter of the ball bearing that you are going to use, find the center in the drawn circle and drill a through hole in it a small drill. The next step is to glue the ball bearing onto the circle drawn for it, it is best to do it with ordinary super glue, but you should do it carefully, otherwise the glue can get inside the ball bearing and it will no longer work normally, if at all, so glue it gently:
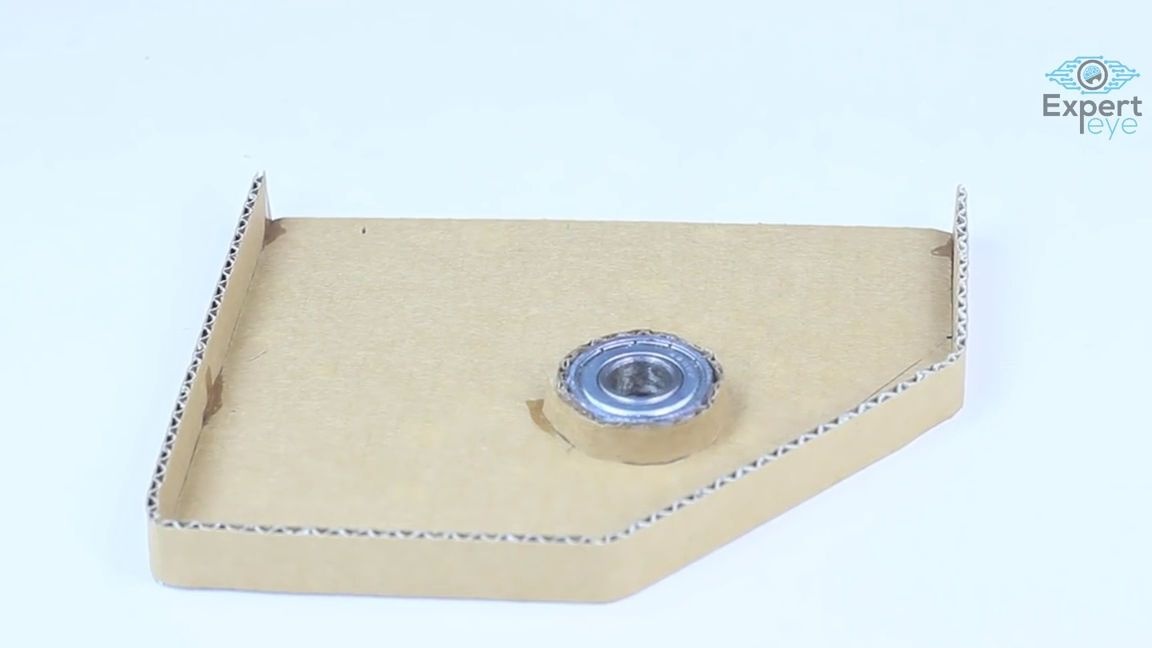
On the sides of this workpiece we add walls, in height, approximately slightly higher than the ball bearing itself, on which a not wide strip of corrugated cardboard should also be glued, with the upper layer of cardboard removed in advance for better elasticity. Also on top of the whole structure, it will be necessary to glue a pentagonal piece of cardboard, symmetrical to the bottom part.
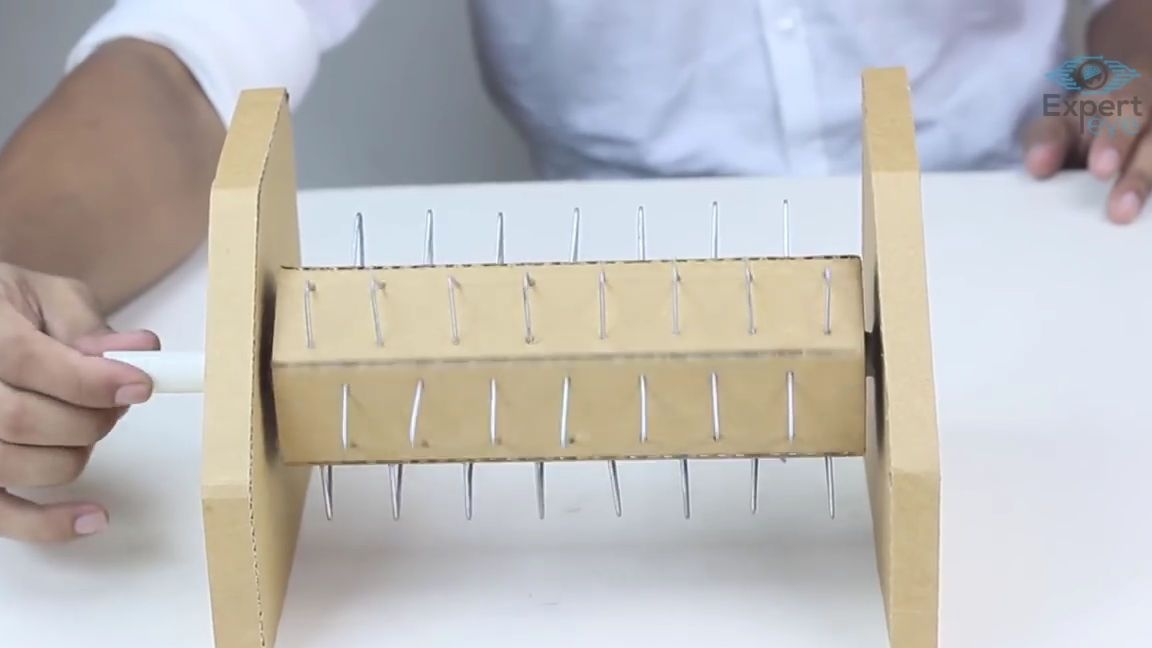
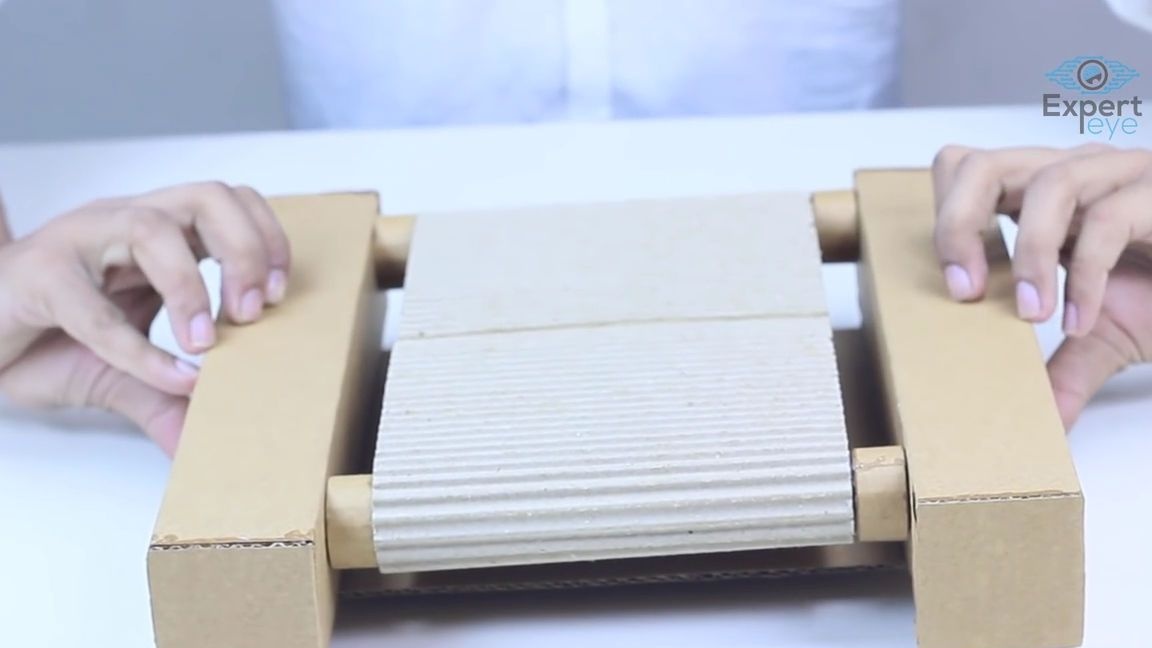
In total, it is necessary to make two such blanks with ball bearings:
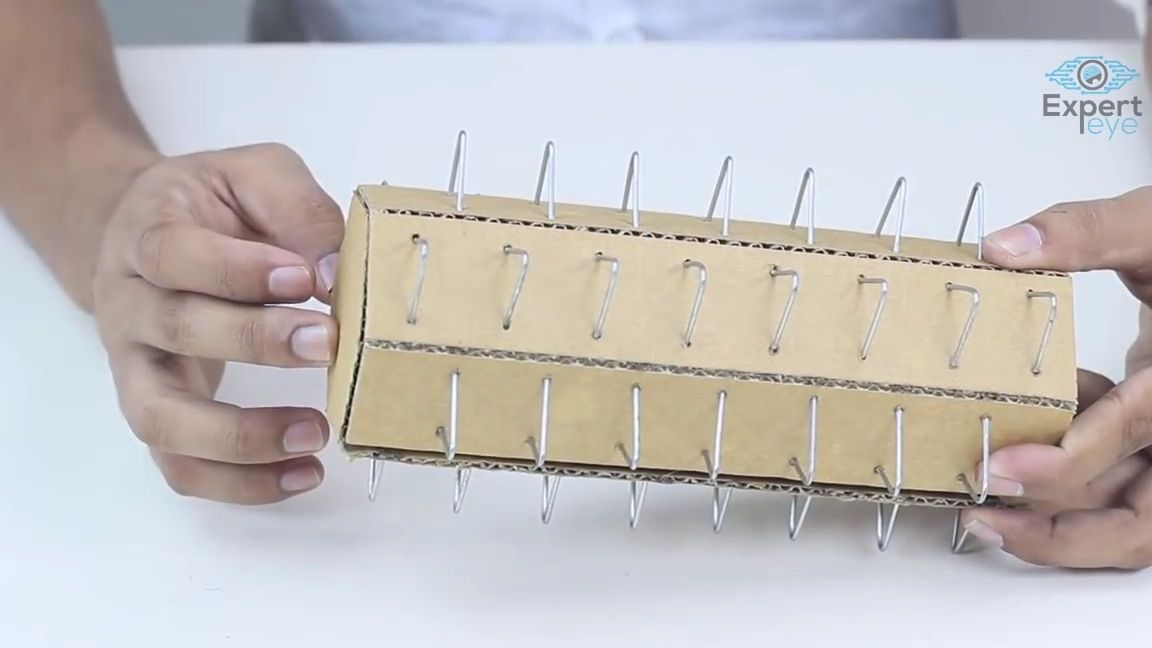
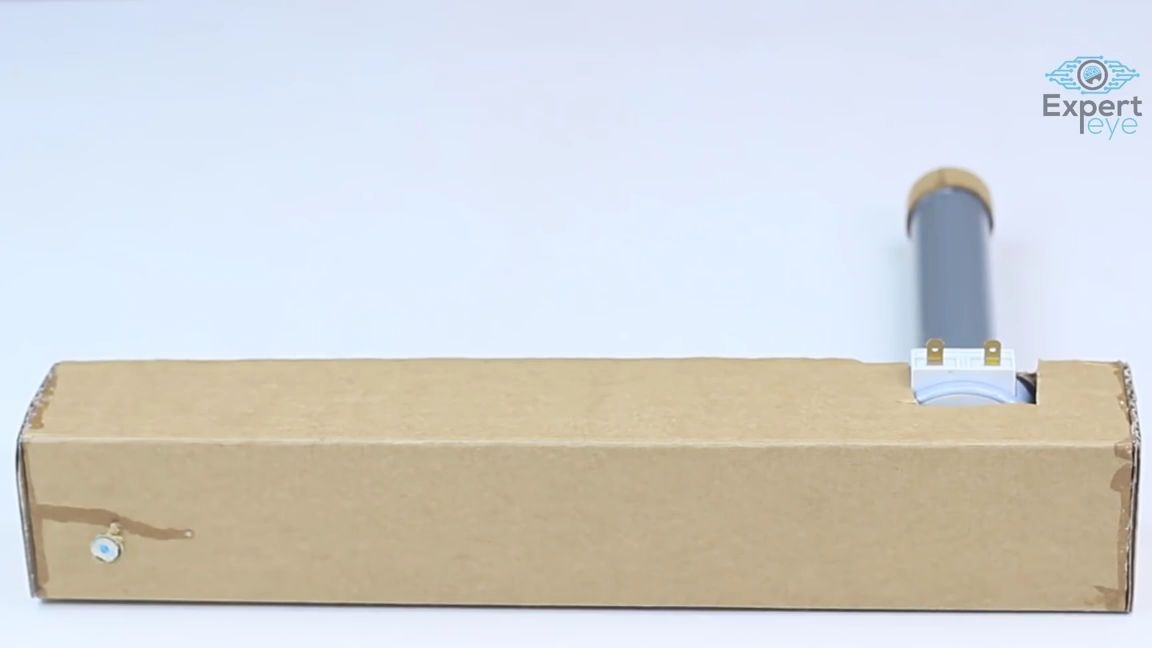
We insert a reel with wire triangles between the two past blanks. The bobbin should rotate freely around its axis, and beyond the limits of the fifth
For flax structures, a plastic tube should come out 3-5 cm, but only on one side:
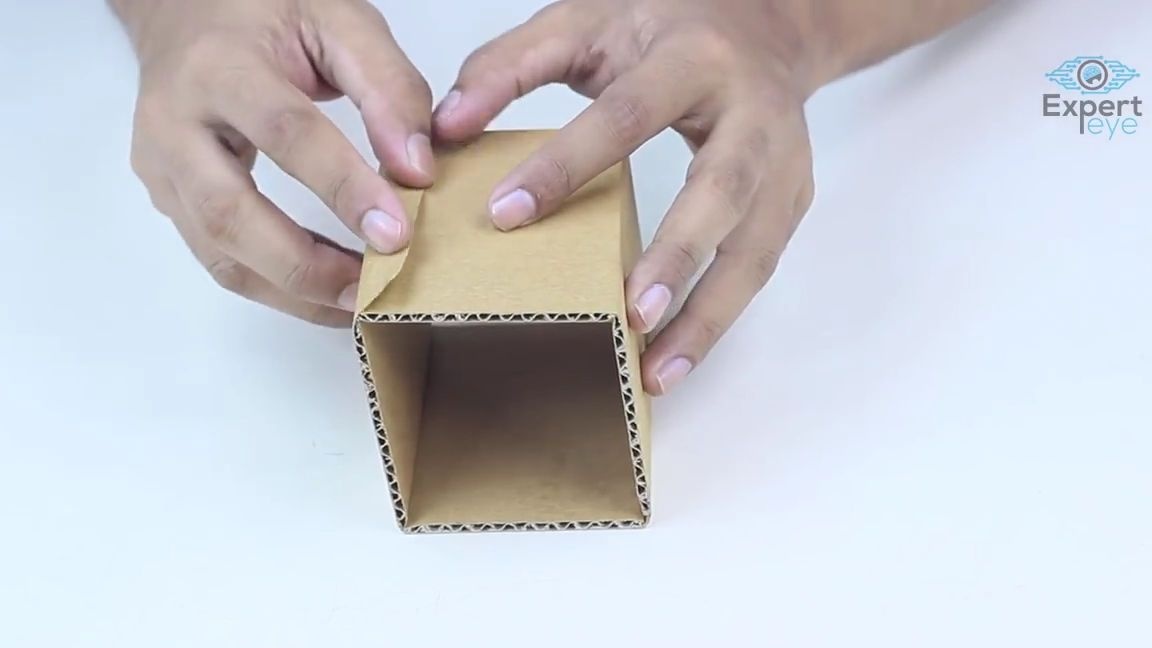
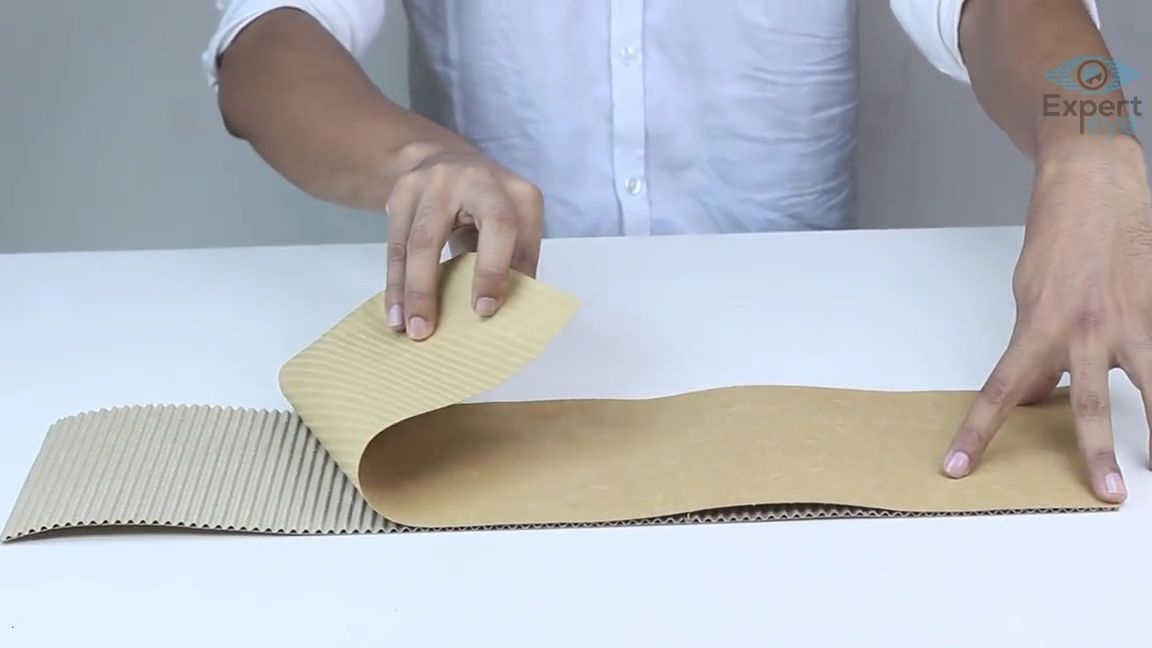
From the corrugated cardboard, we cut out the rectangle and bend it into a triangular pipe, after which we glue it as shown in the photo below:
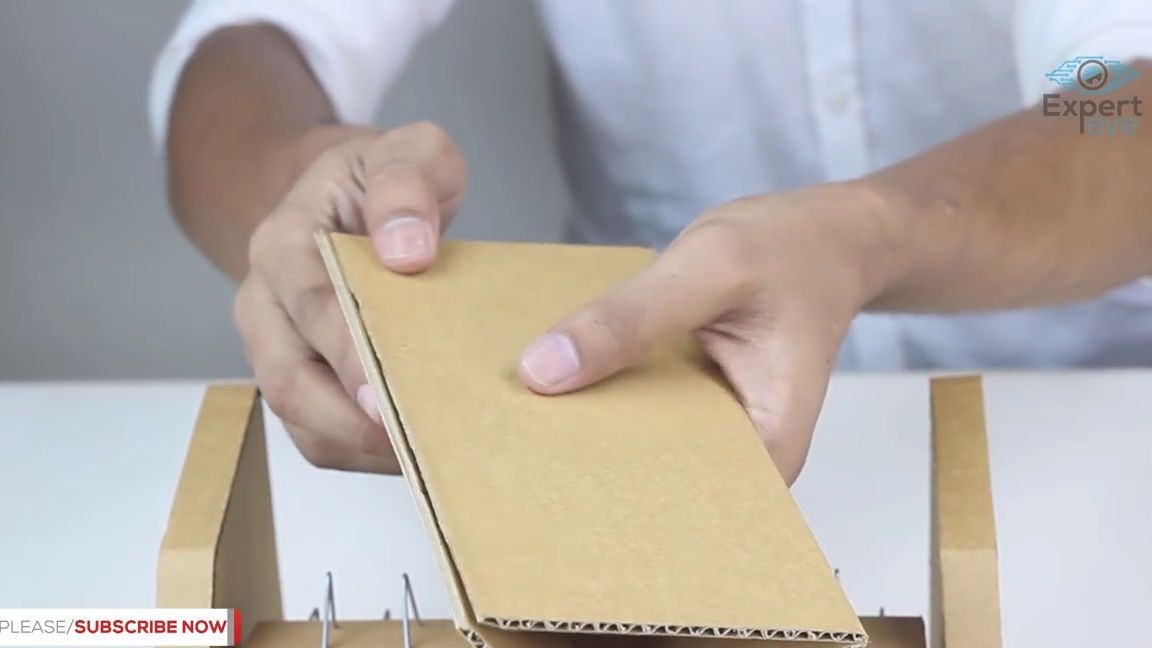

From the same cardboard, we cut out another rectangle and remove the top layer of paper from it, as I said, this is necessary for better elasticity of the entire cardboard sheet. Then we turn over the previous structure and glue a flexible cardboard rectangle to its bottom and to the back part:
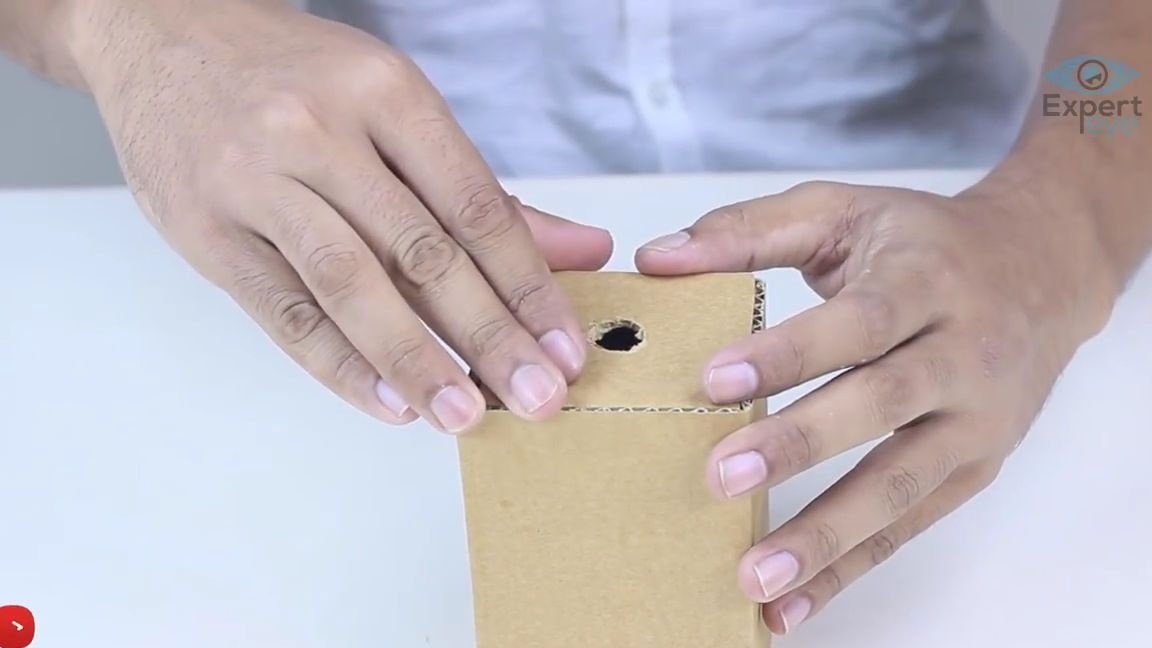
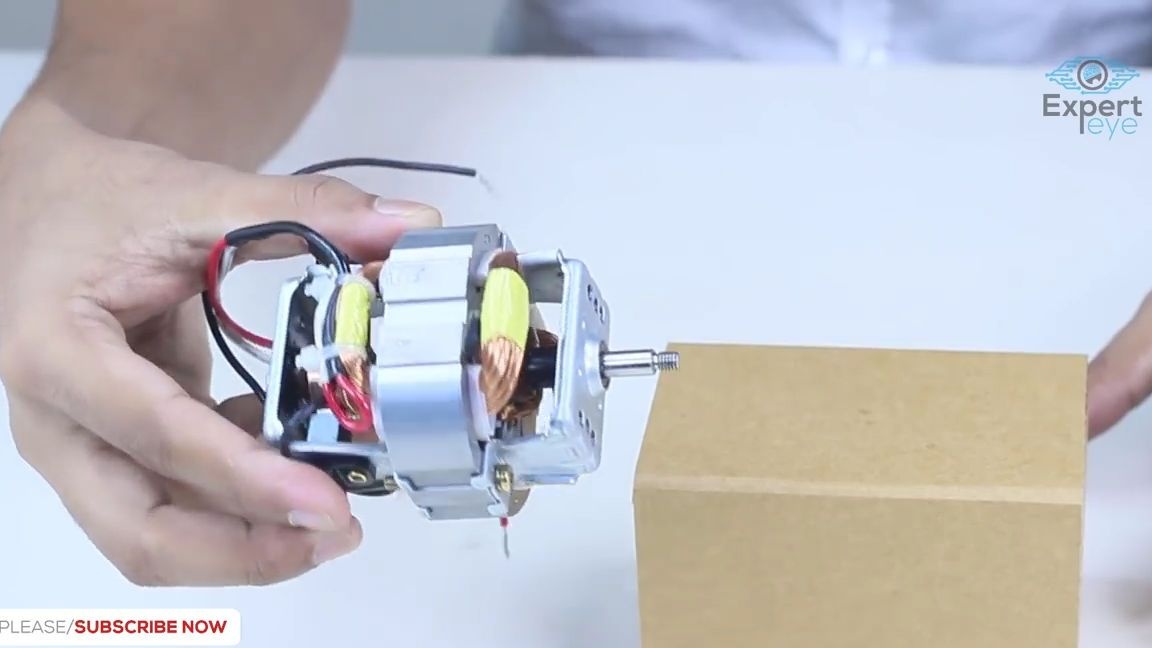
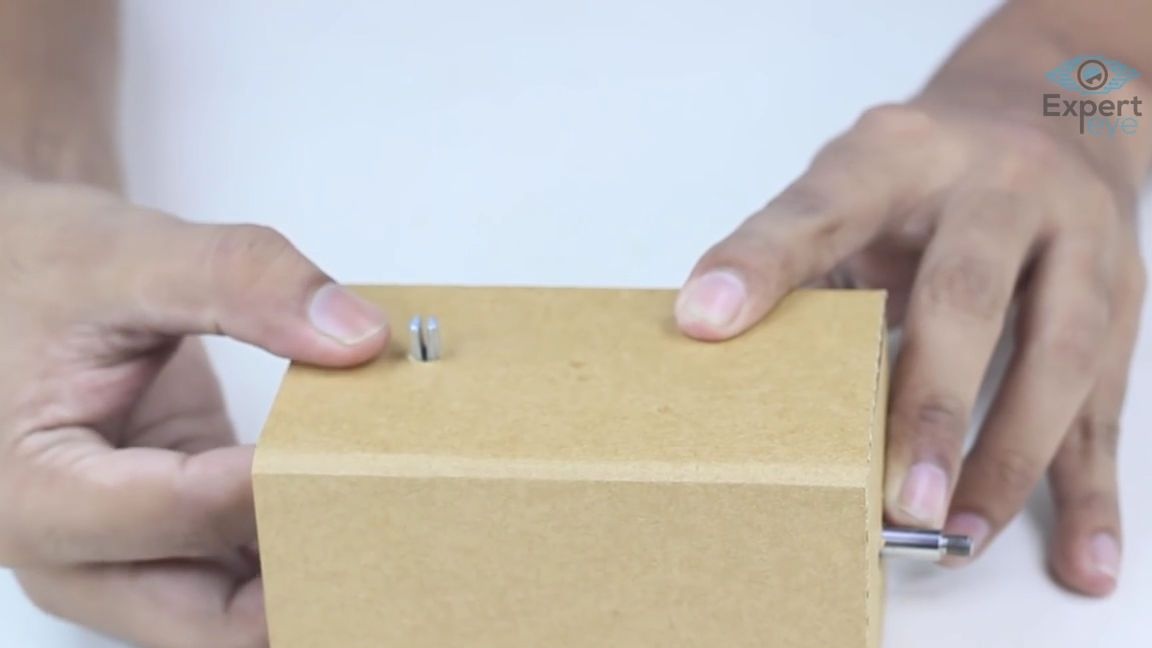
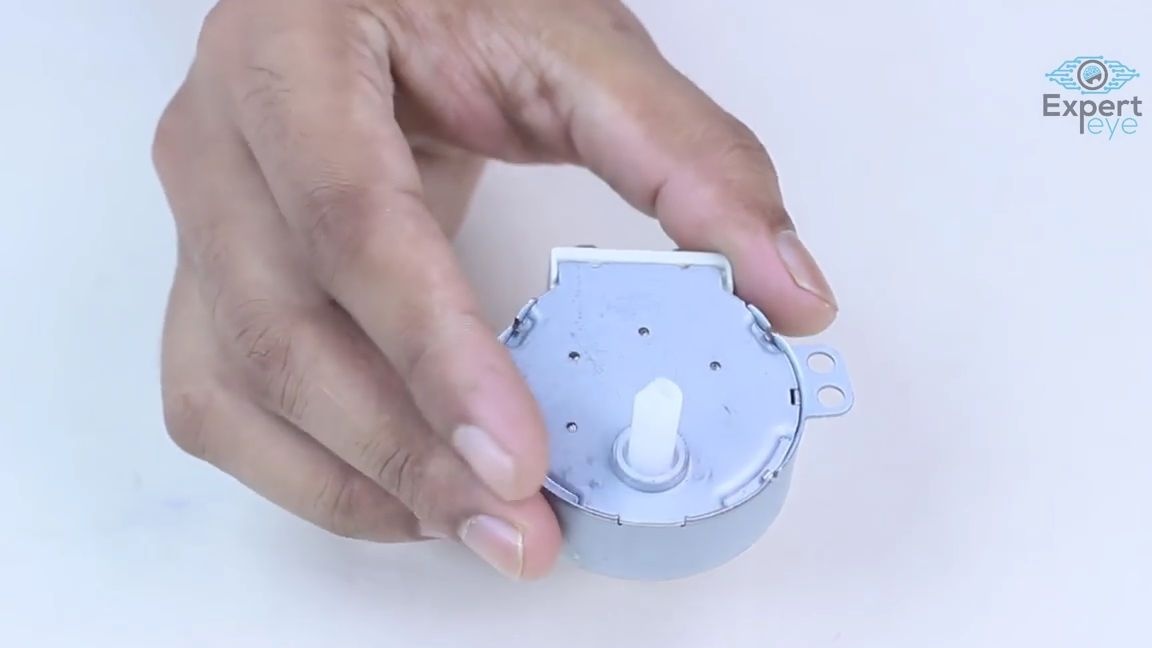
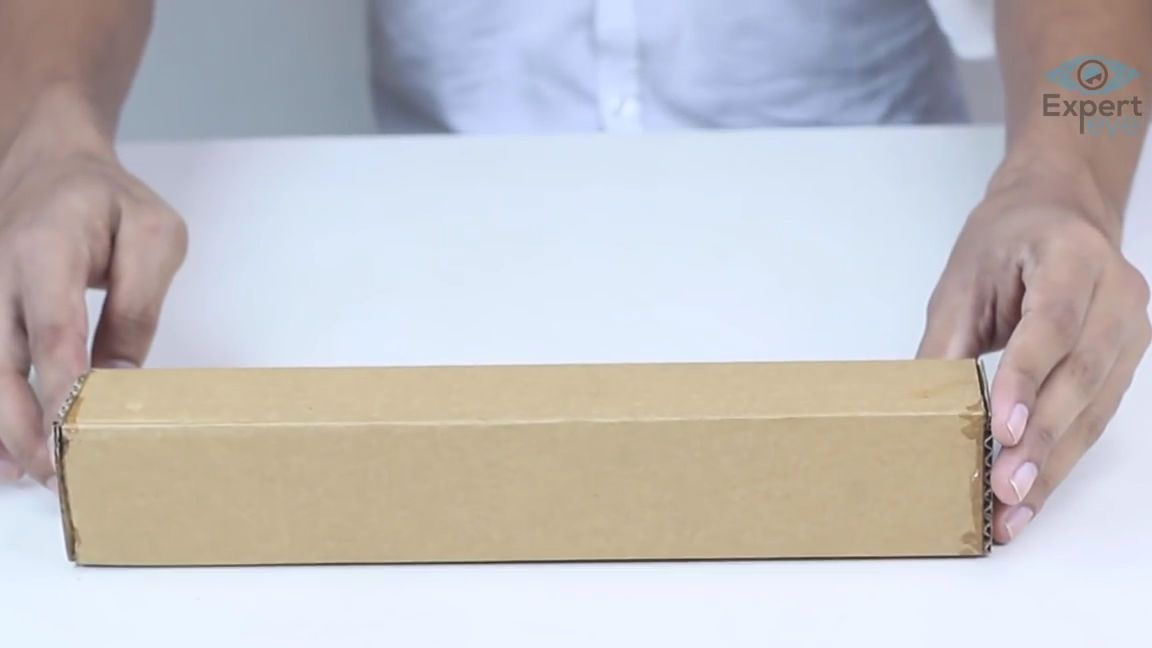
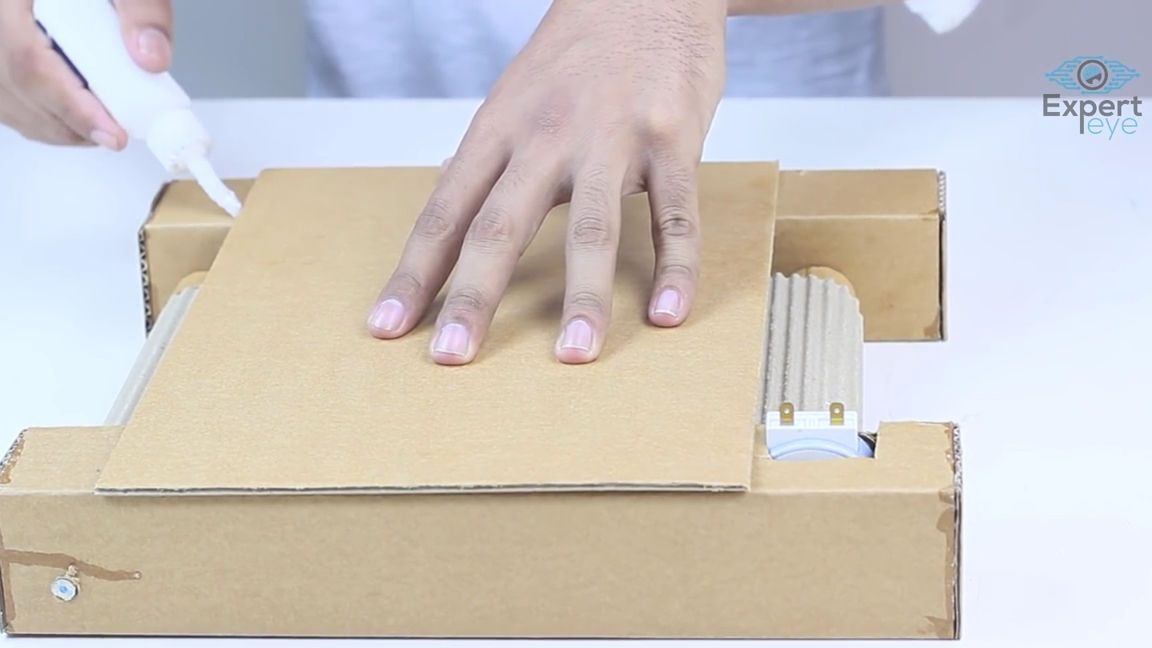
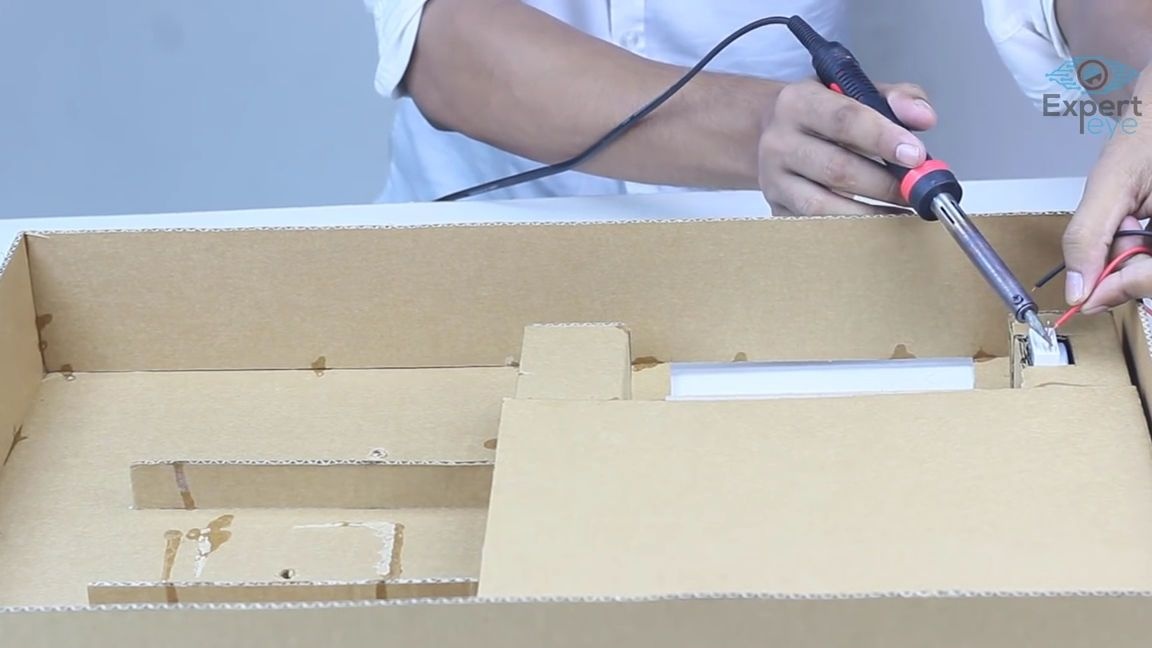
Now you need to make a box for an electric motor. To do this, take corrugated cardboard and make four coal pipes, and then glue a cardboard square on one side, with a hole made in the center for the motor shaft, then insert the motor itself into this box:
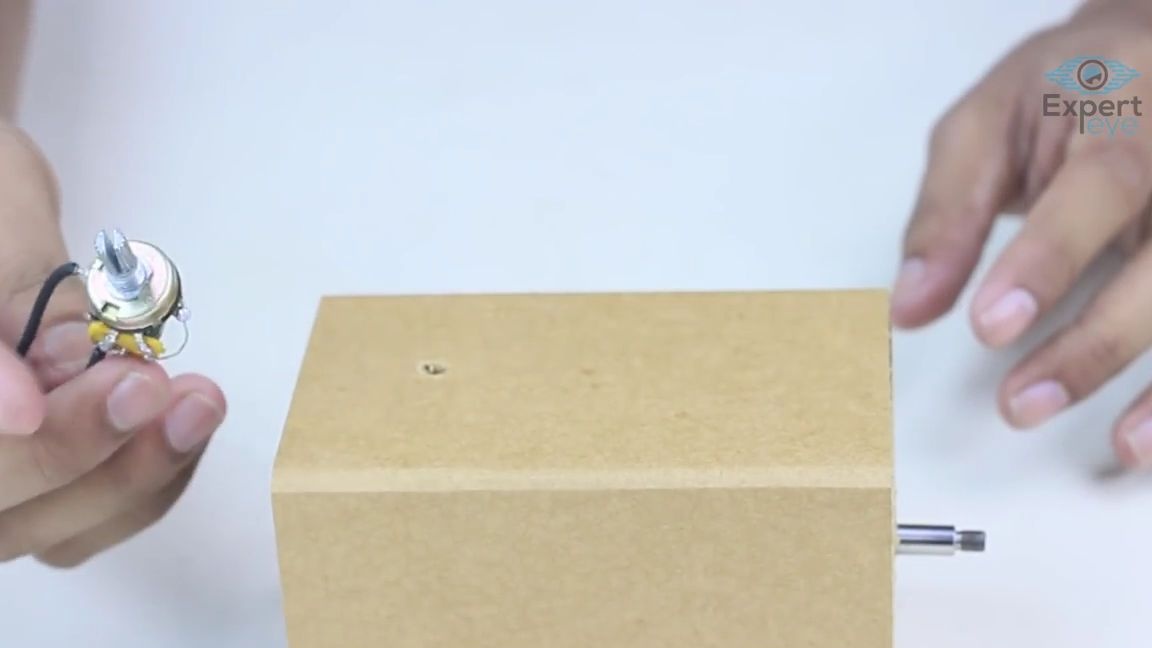
We take a variable resistor, then drill a small hole on the side of the motor box and insert a variable resistor into this hole, so that only the handle sticks out. Then, using a soldering iron, solder one of the motor contacts to the register, and from the resistor we derive a new wire:
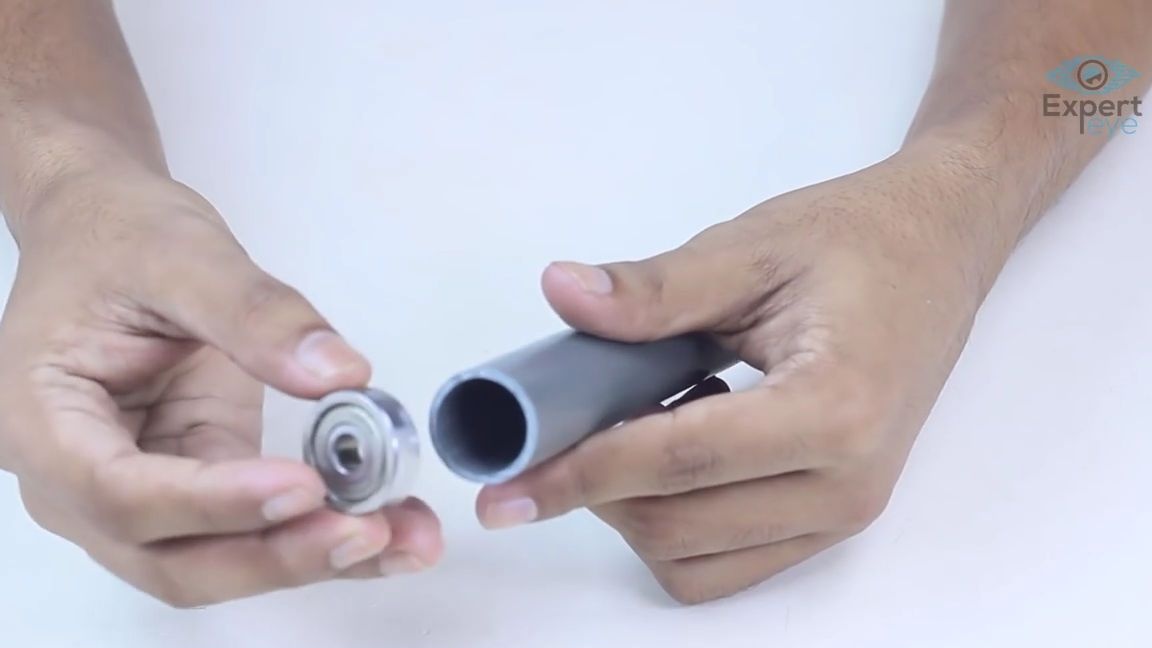
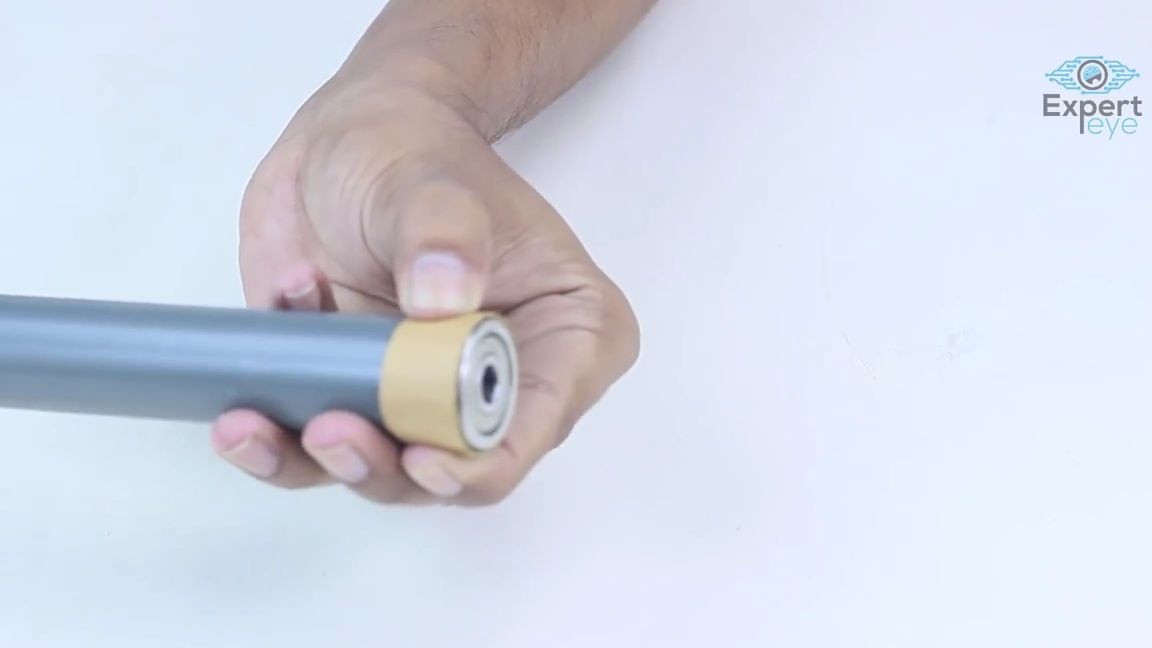
The next step is to take a plastic pipe and ball bearing. Glue the ball bearing to the pipe and wrap both parts with corrugated cardboard, with the upper layer removed. The same must be done with the opposite side of the pipe. In total, two such blanks must be made:
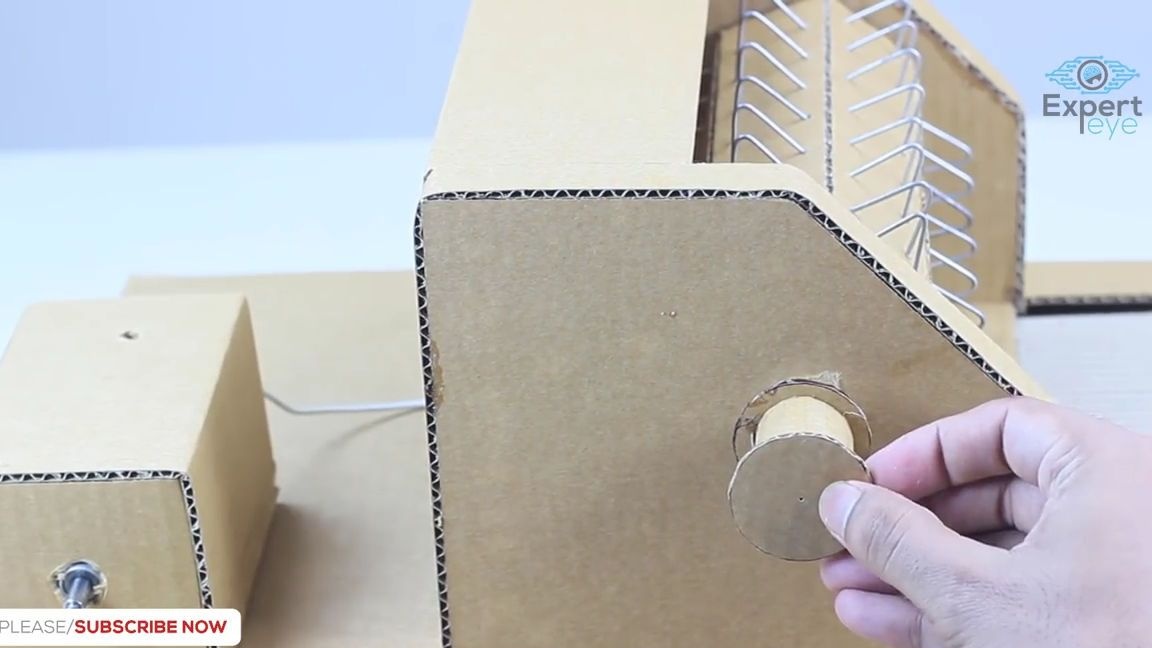
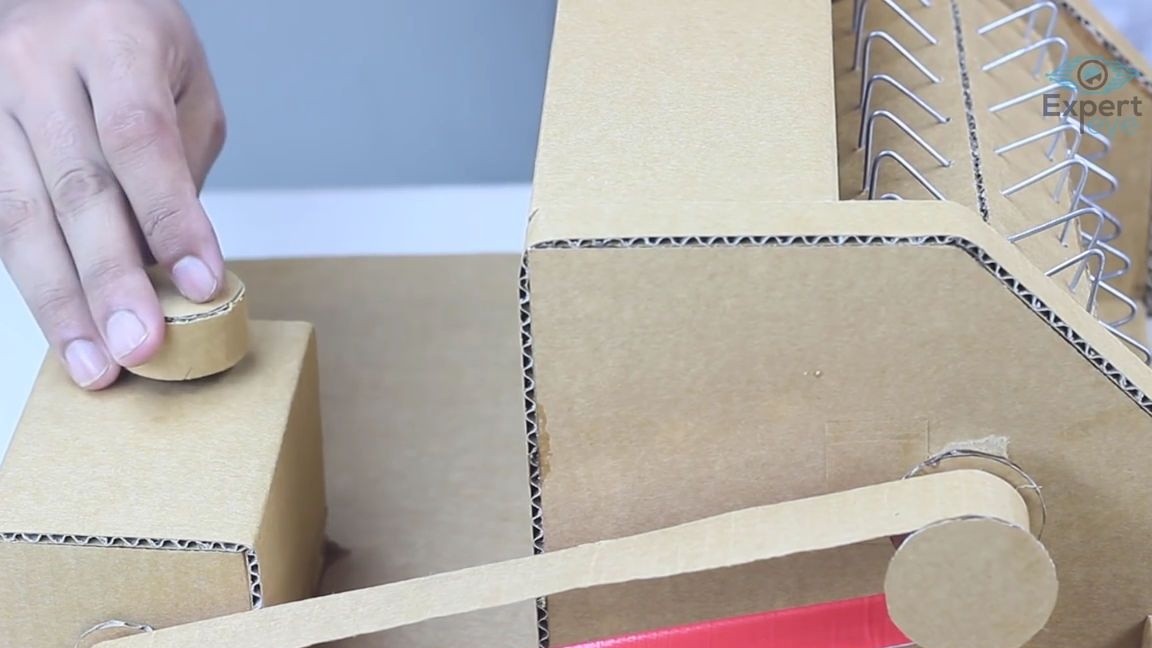
On the axis of the gear motor we put on and glue a small cardboard wheel. Then this wheel, with the help of super glue or thermo-glue, glue to one of the sides of the workpiece, which we did earlier, it should turn out like this:
From corrugated cardboard we cut out a large elongated rectangle and remove the top layer of paper from this rectangle. We turn the resulting sheet into a cone, so that the side without the top layer is outside the cone:
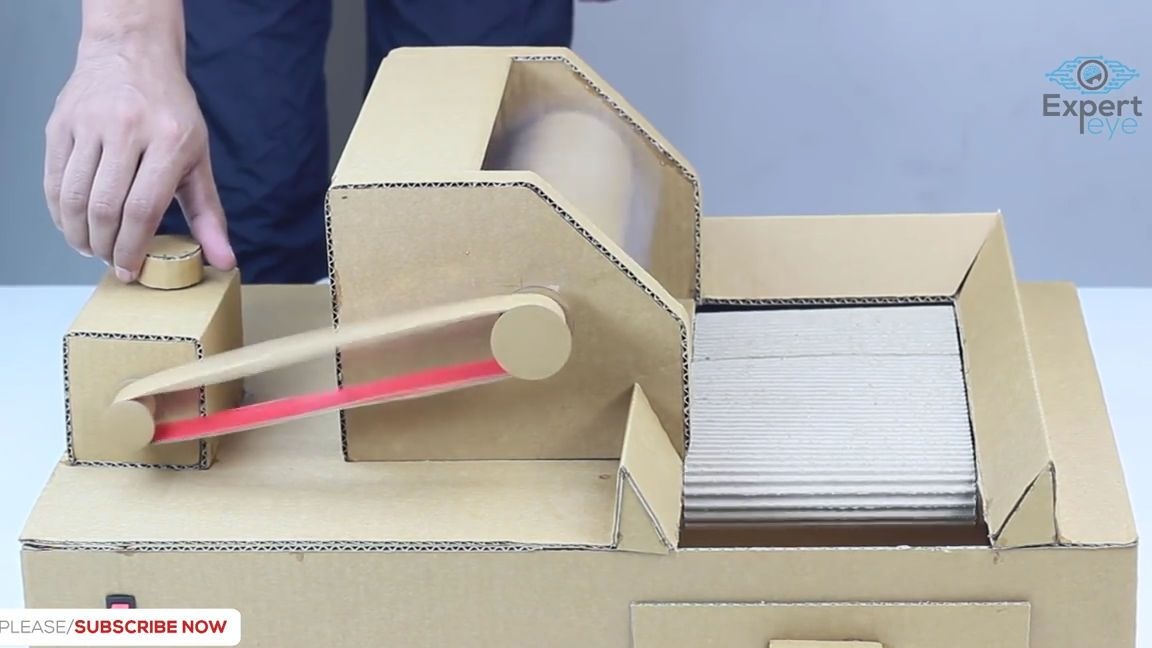
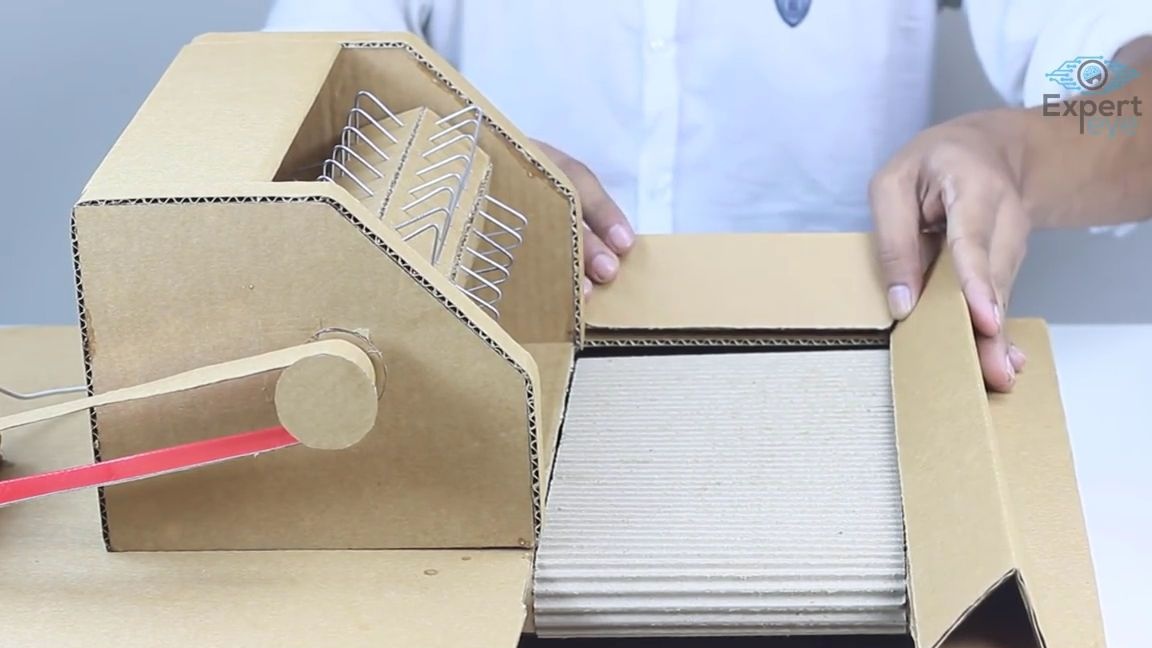
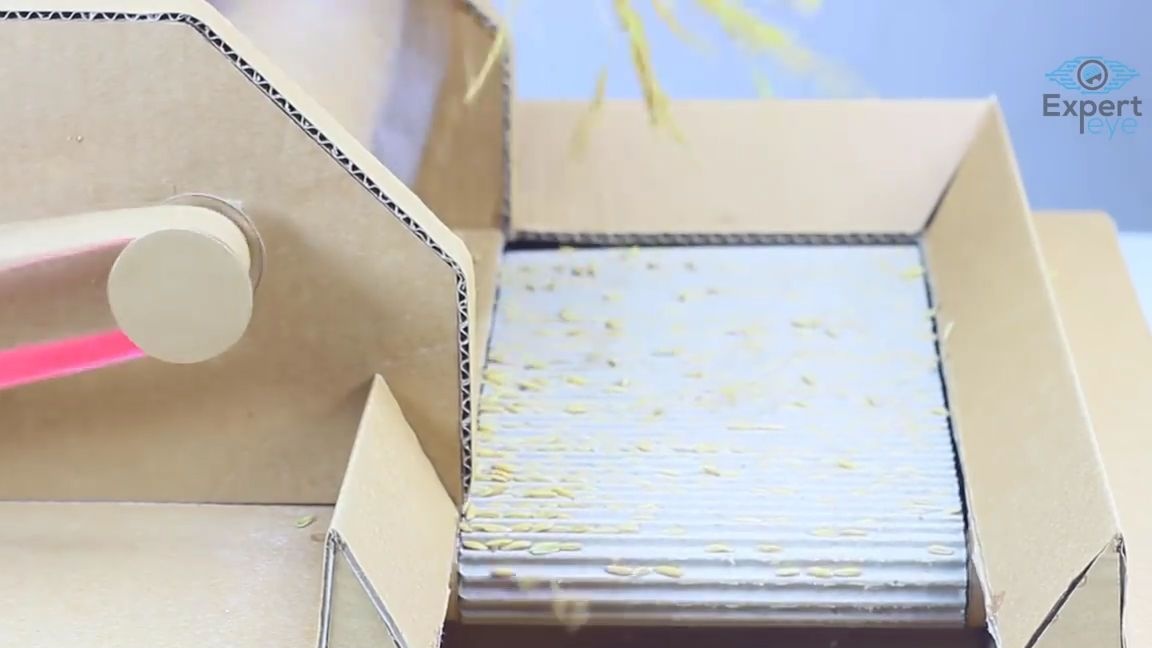
Now you need to assemble the conveyor belt, along which the removed grain will move in the future, there is nothing complicated here, so just do everything as relies on the photo below:

Glue the cardboard bottom to the bottom of this conveyor:
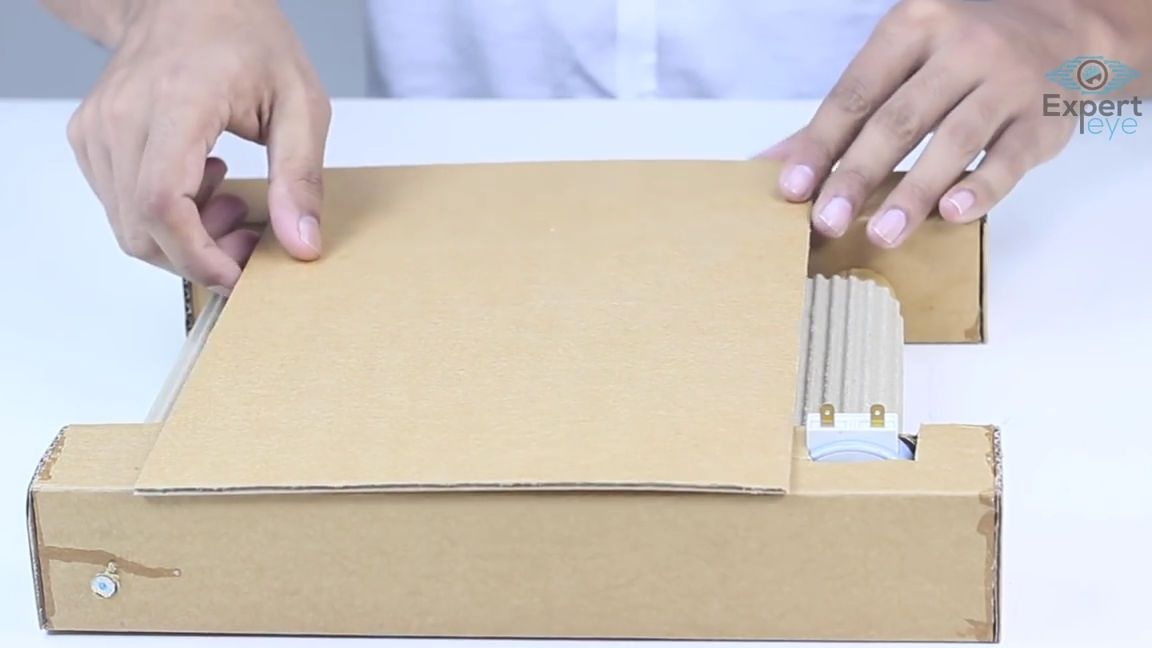
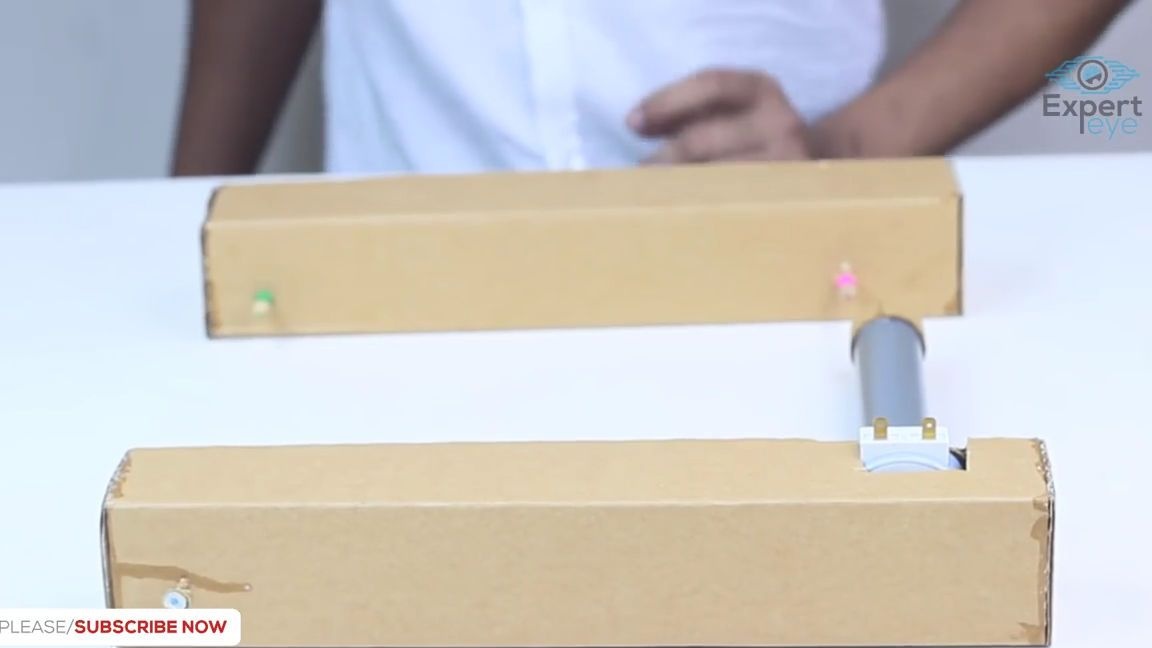
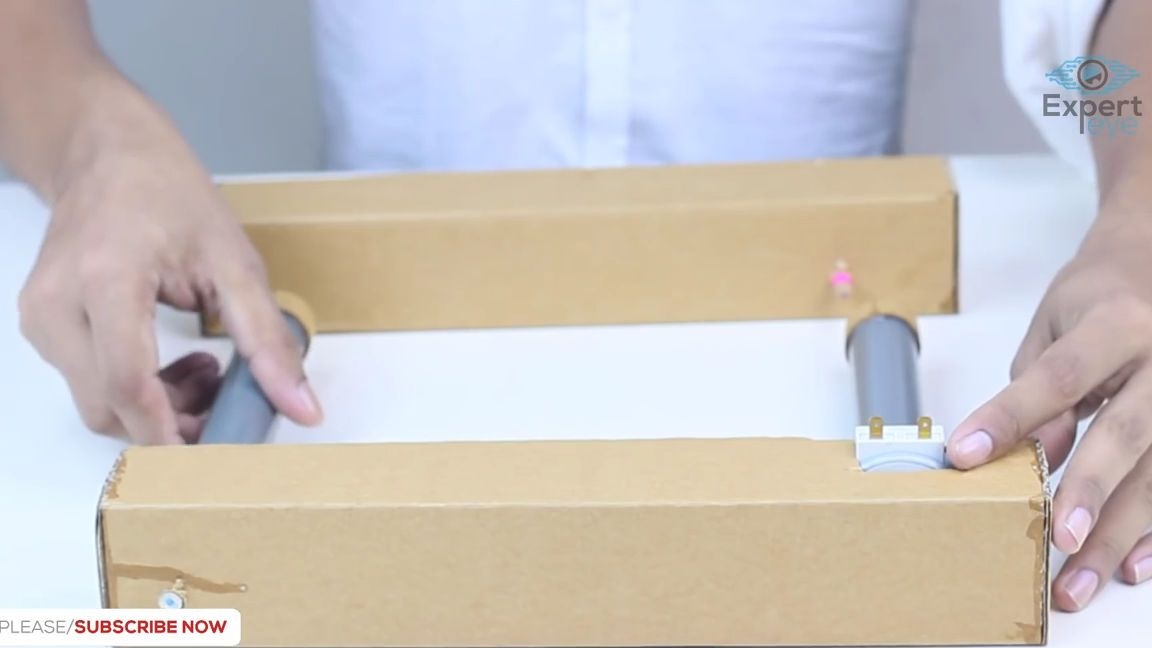
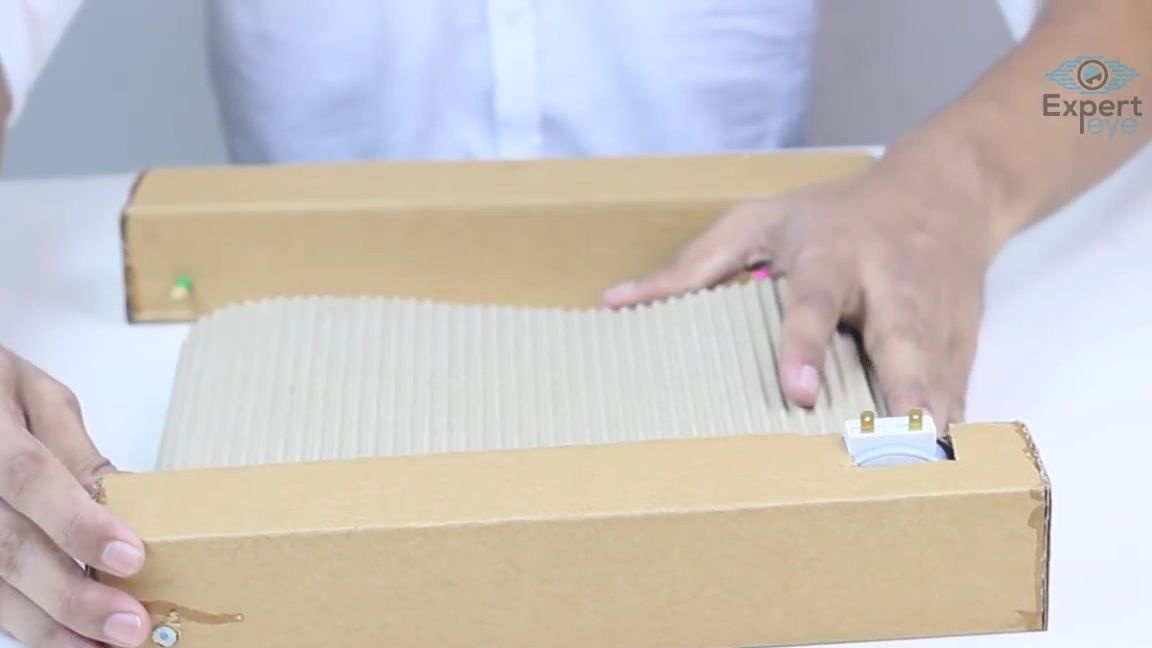
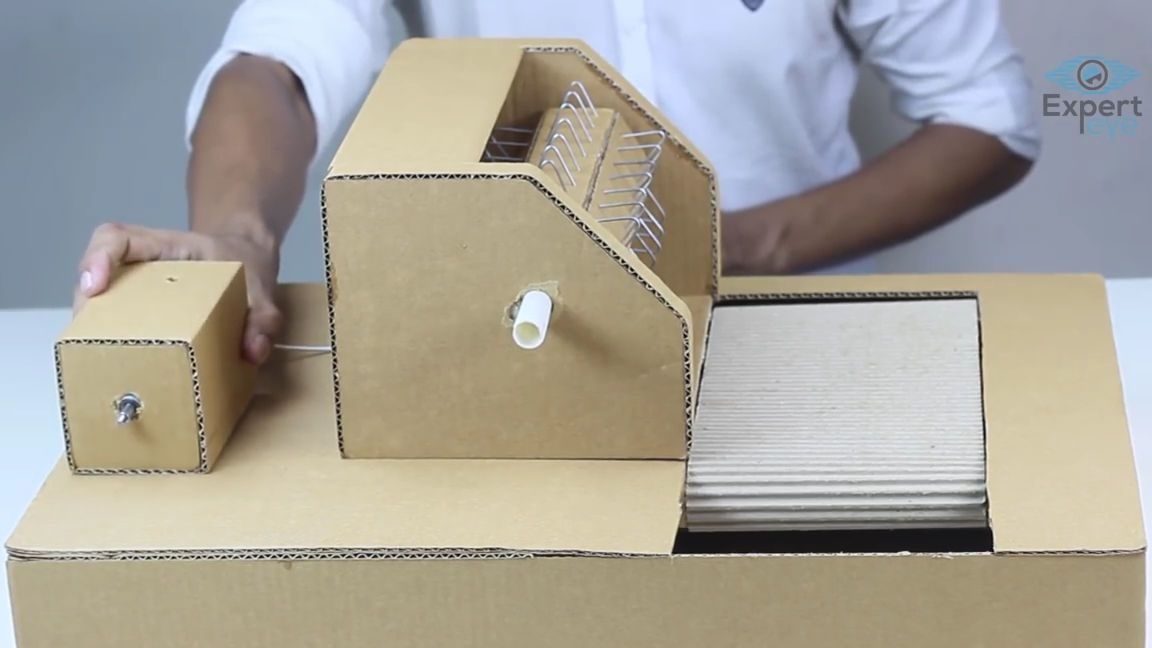
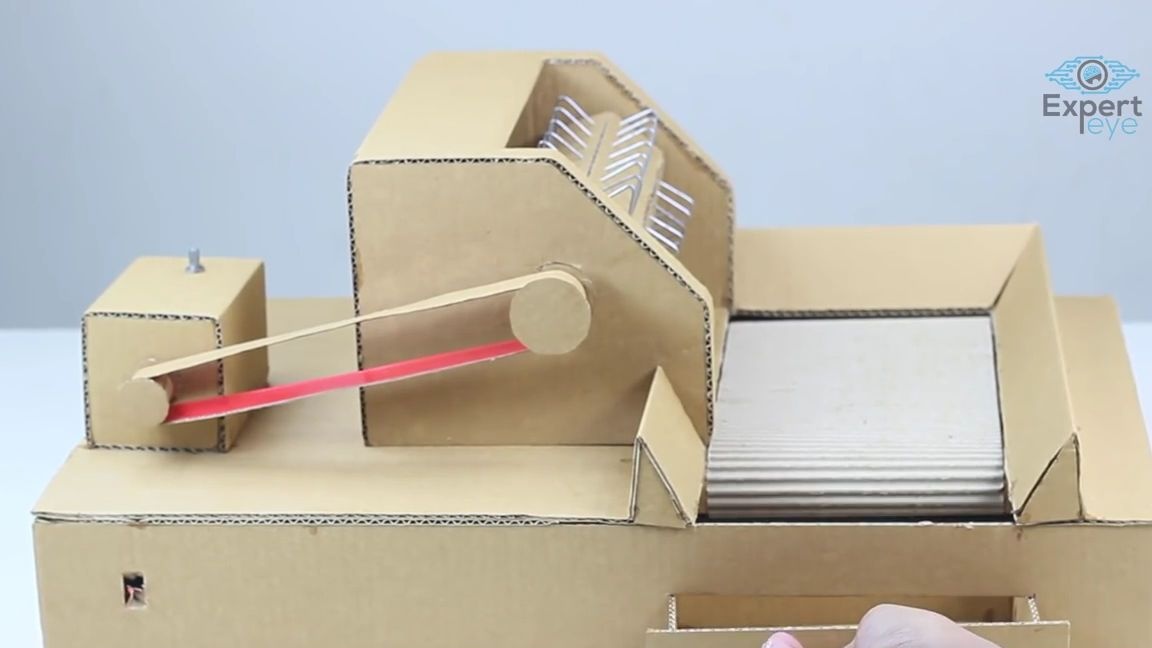
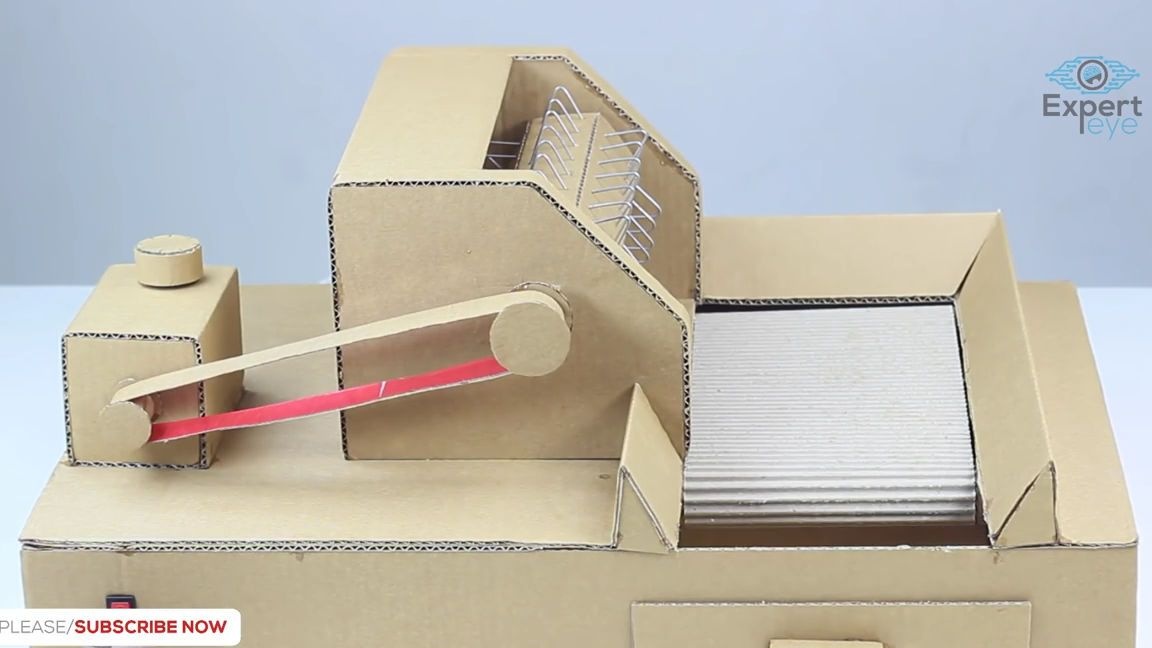
From the corrugated cardboard we cut out and glue the base for the whole structure (it looks like something on a phone case), glue the conveyor, which we did earlier, to the back of the base, then we take a soldering iron and solder two power wires to the gearbox:
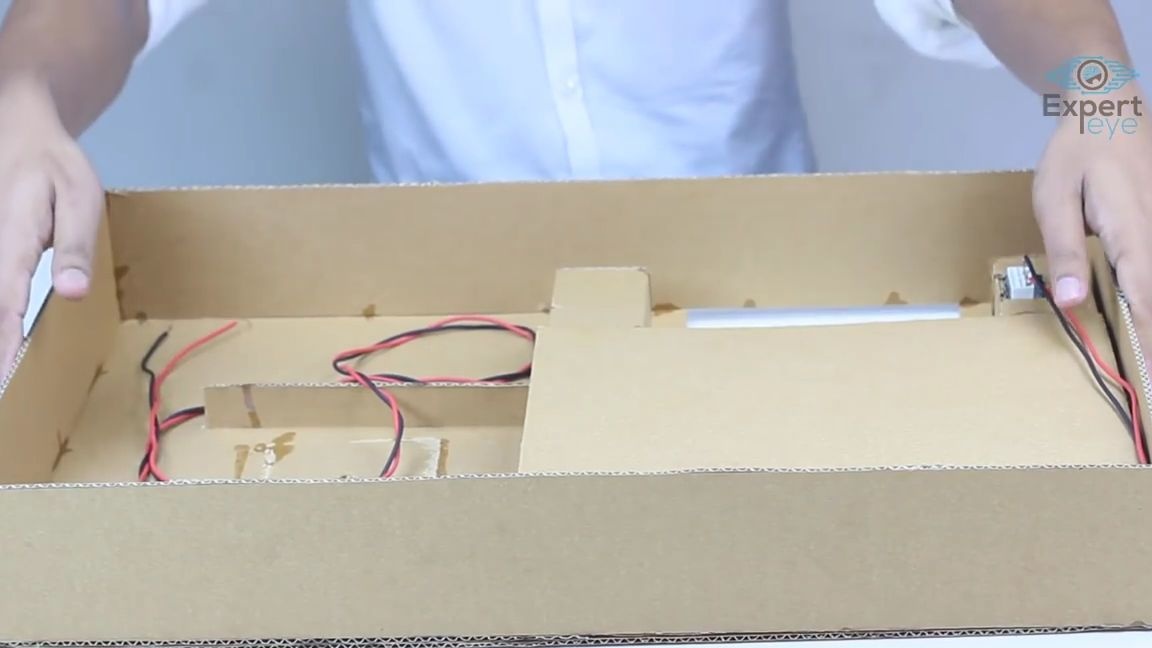
We turn the base over and glue the blank with the bobbin to the upper part as shown in the photo:
Then glue the box with the electric motor:
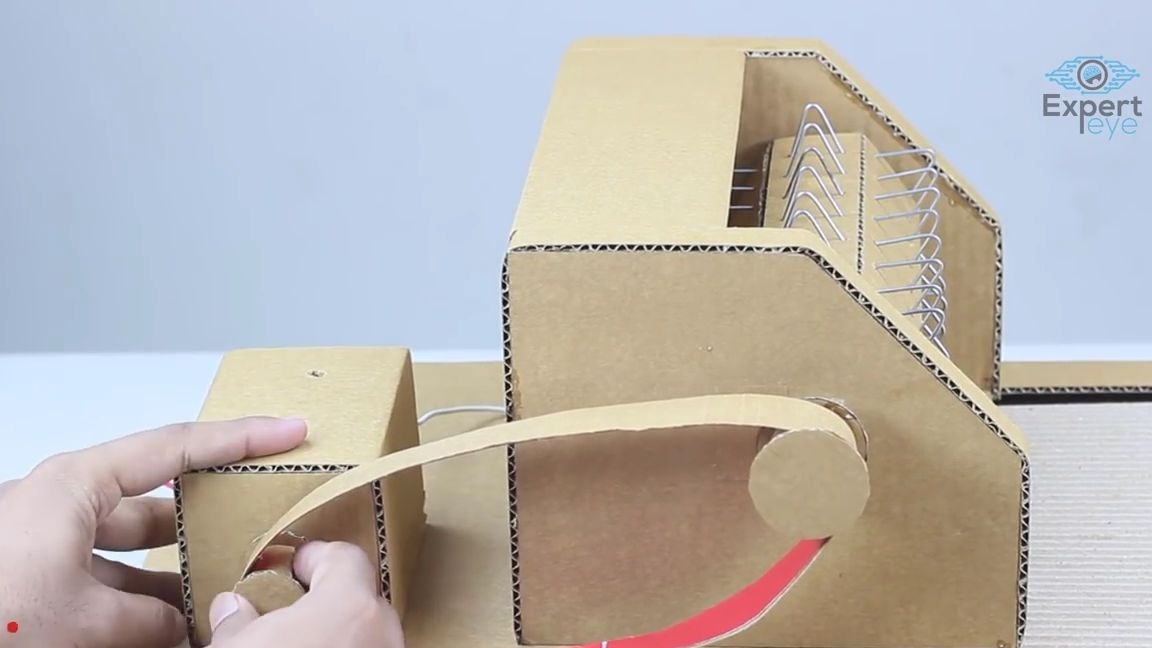
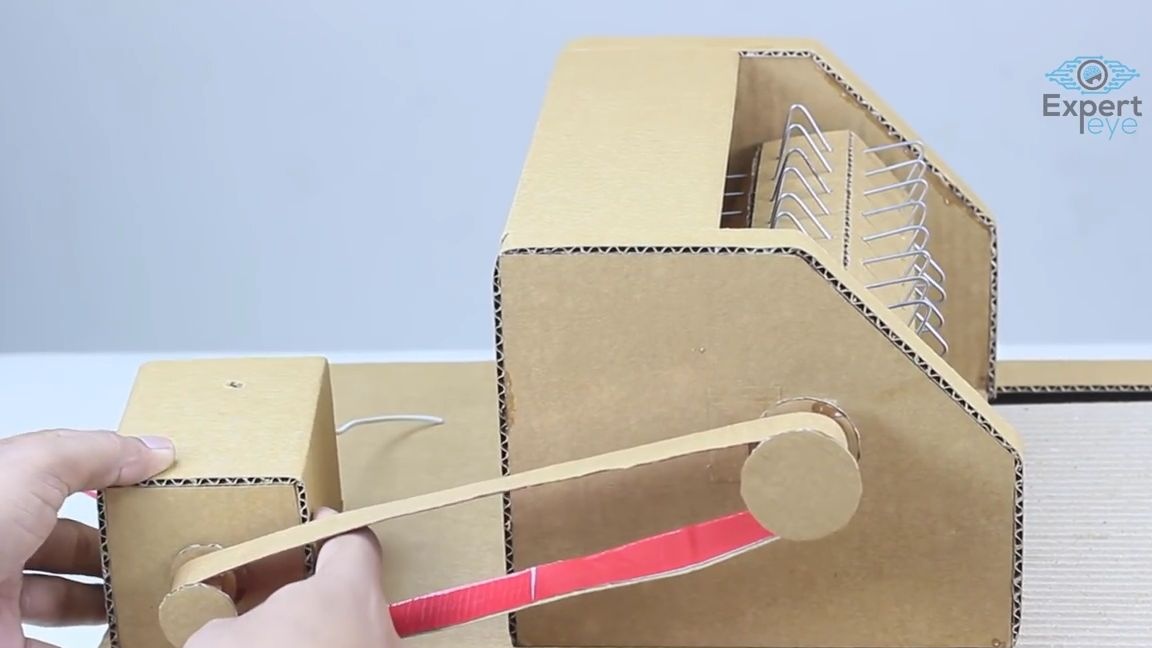
We wind cardboard on the axis of the bobbin without the top layer of paper to make a block, and then glue a protective cardboard circle on this block. The same must be done with the motor's axis:
On the resulting system we put on a tape of cardboard or paper and pull:
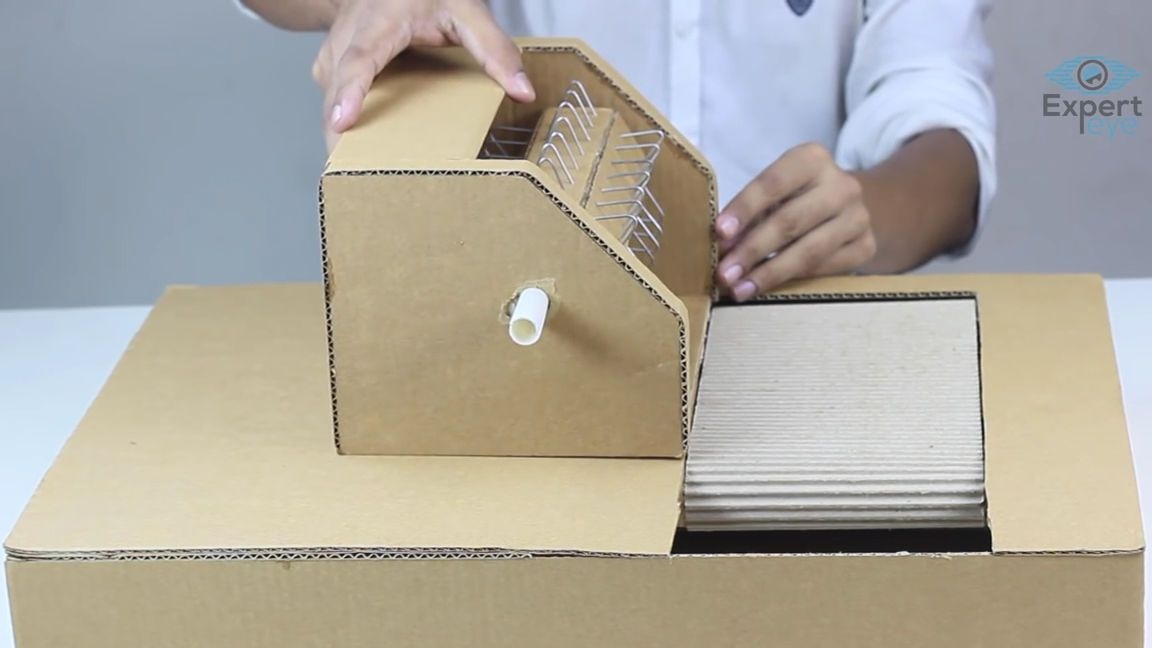
We glue several protective walls on the sides of the conveyor (best of all, of course, it will cover almost the entire working surface with cardboard so that there is only an opening for stuffing spikelets with grain, so we will fly off less grains):
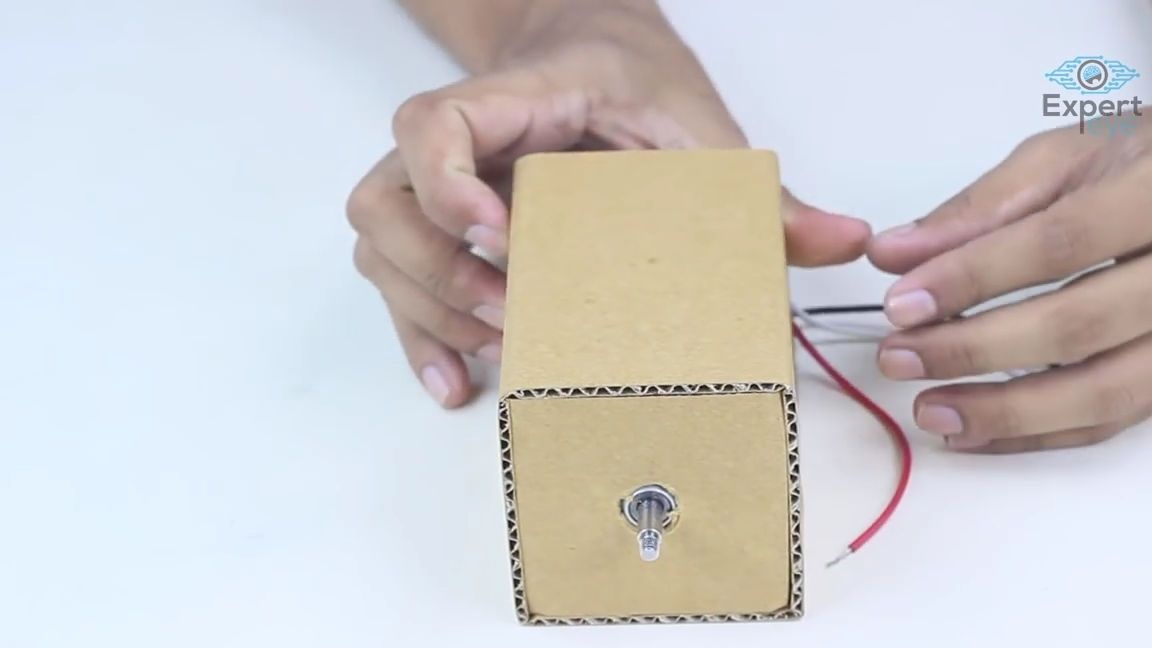
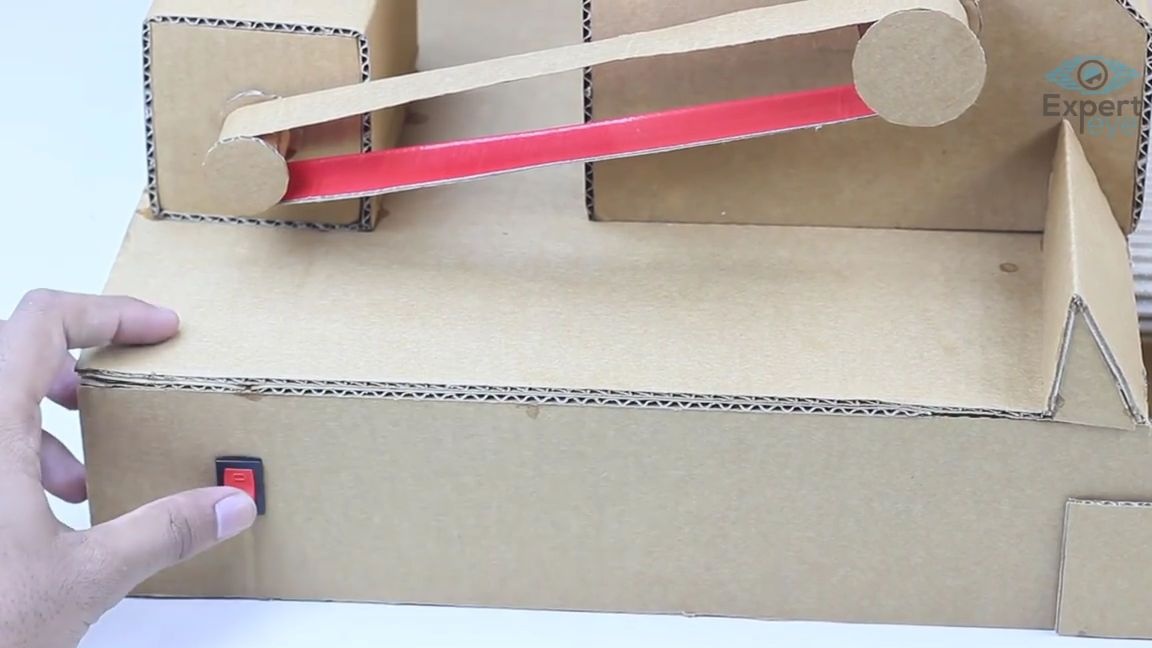
Now again we take the soldering iron and solder all the electronic parts into a single whole. It is better to connect the motors to a different power supply so that there is no voltage drop, also it is necessary to solder a switch into the circuit, which in turn is output through the hole on the side of the whole structure:
We put a cardboard wheel on the handle of the variable resistor, for ease of operation:
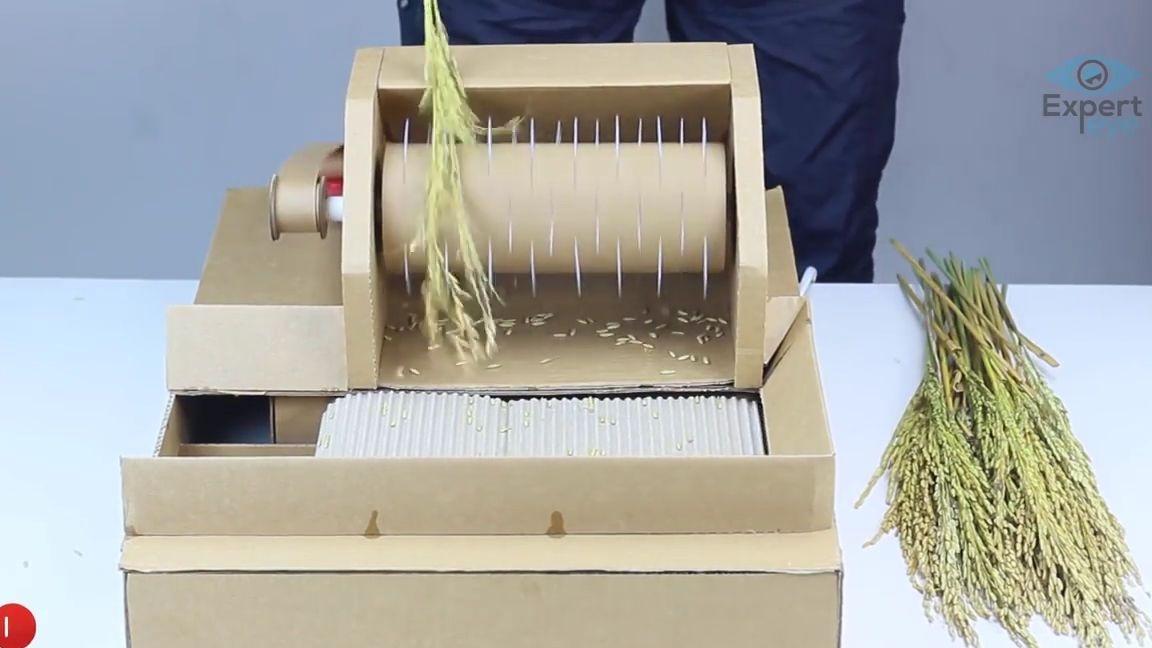
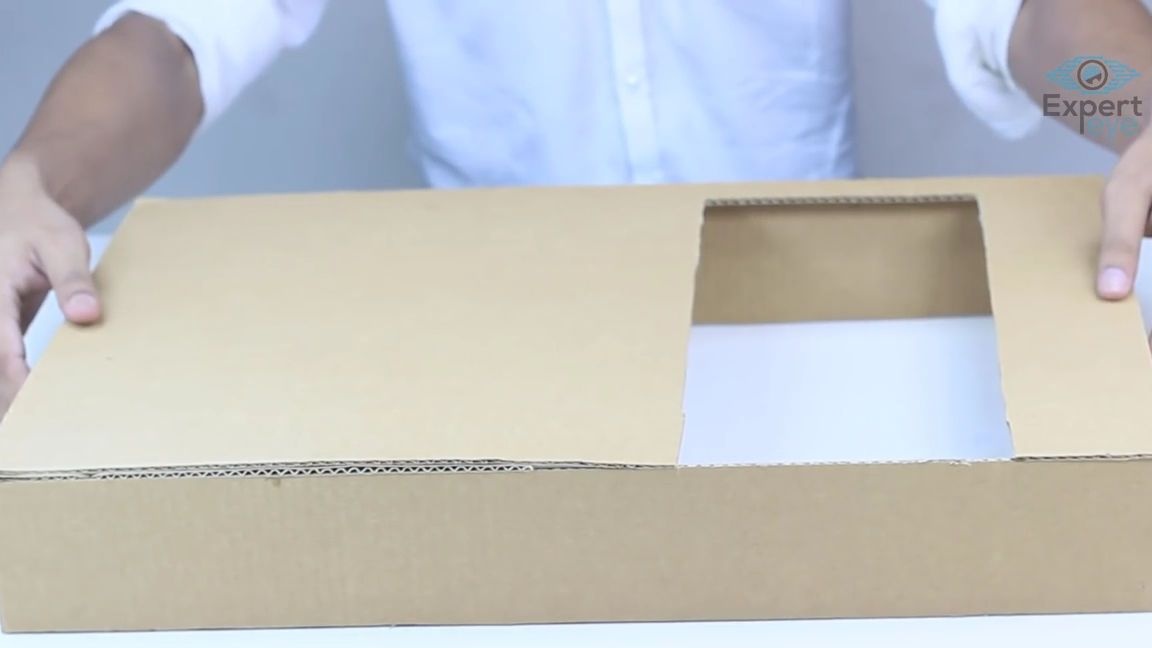
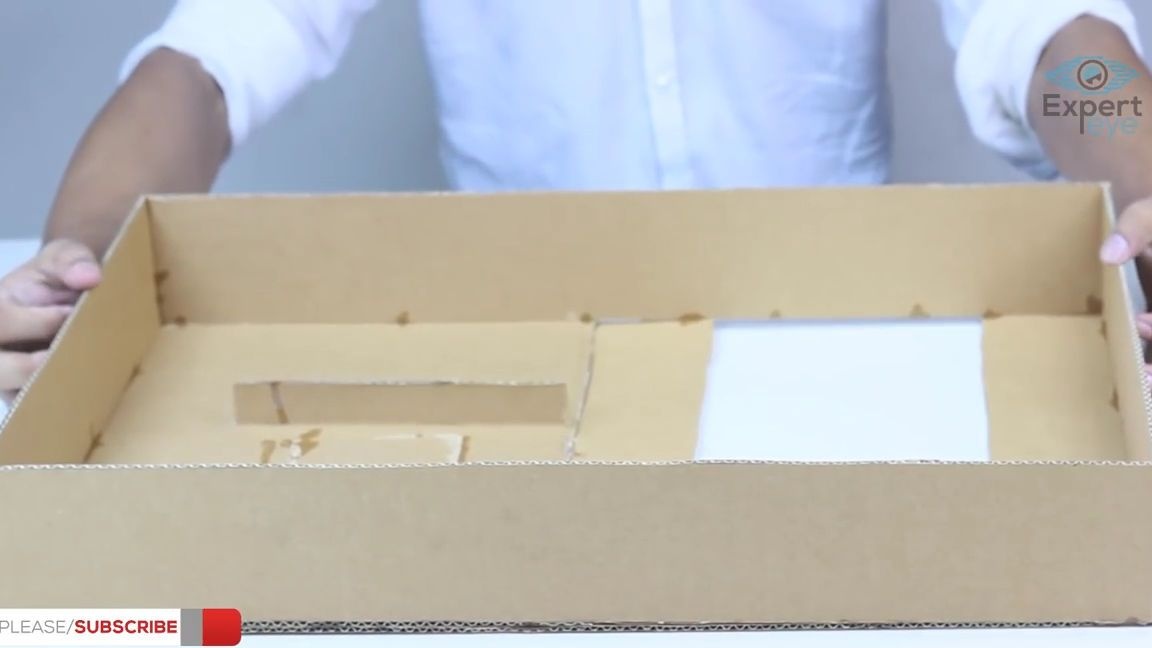
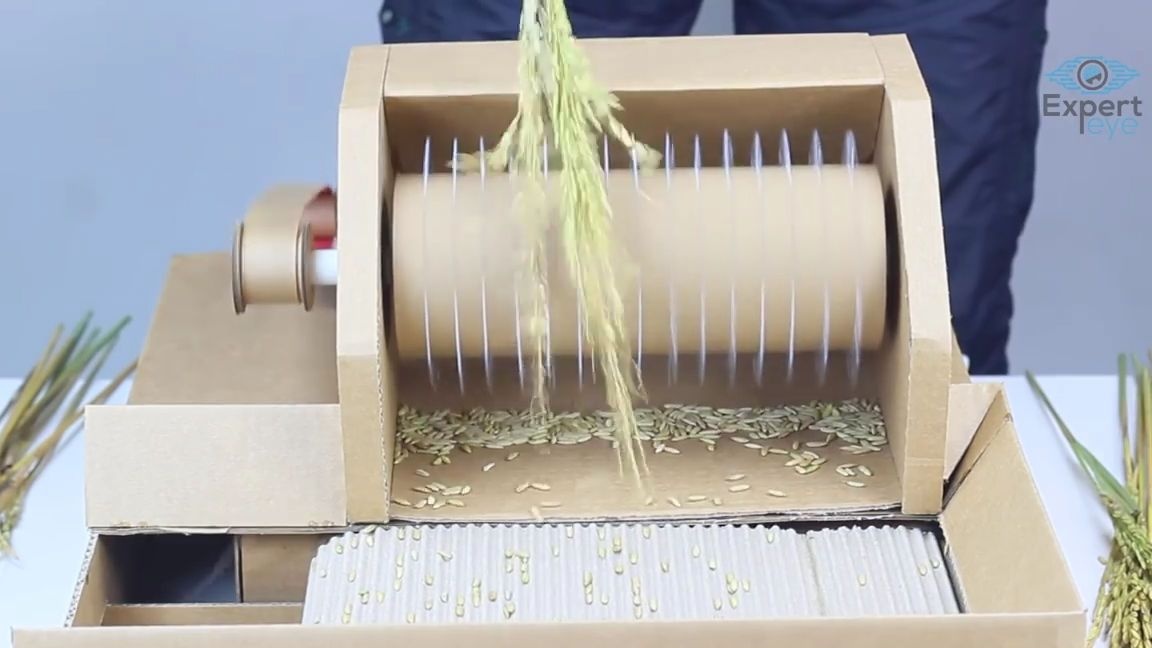
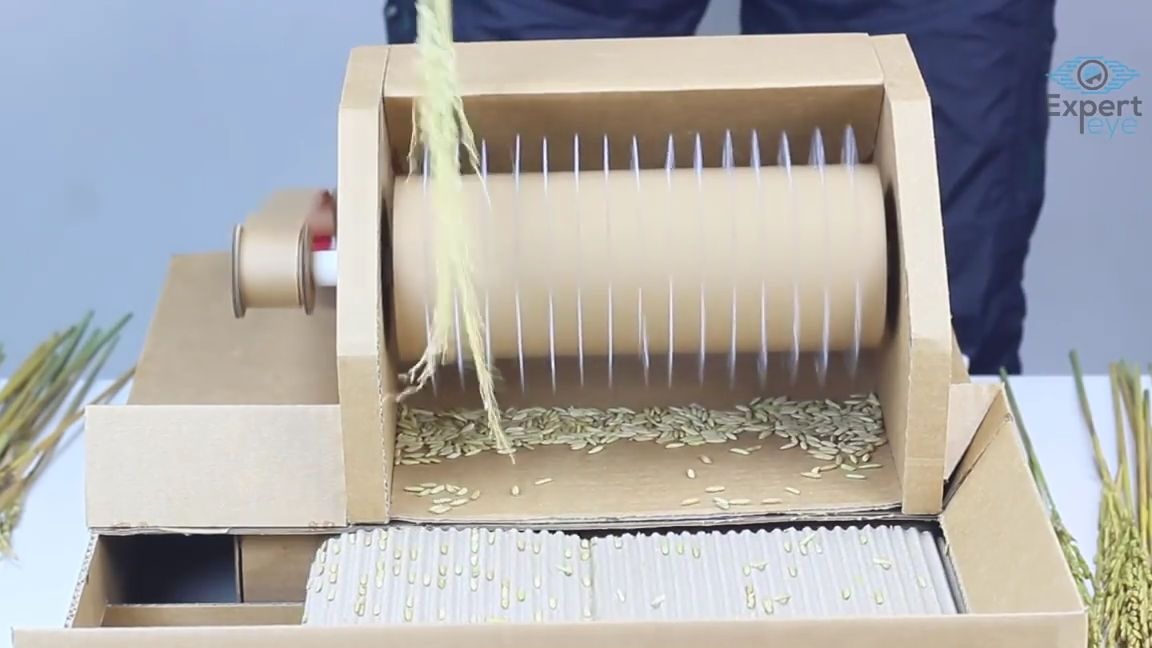
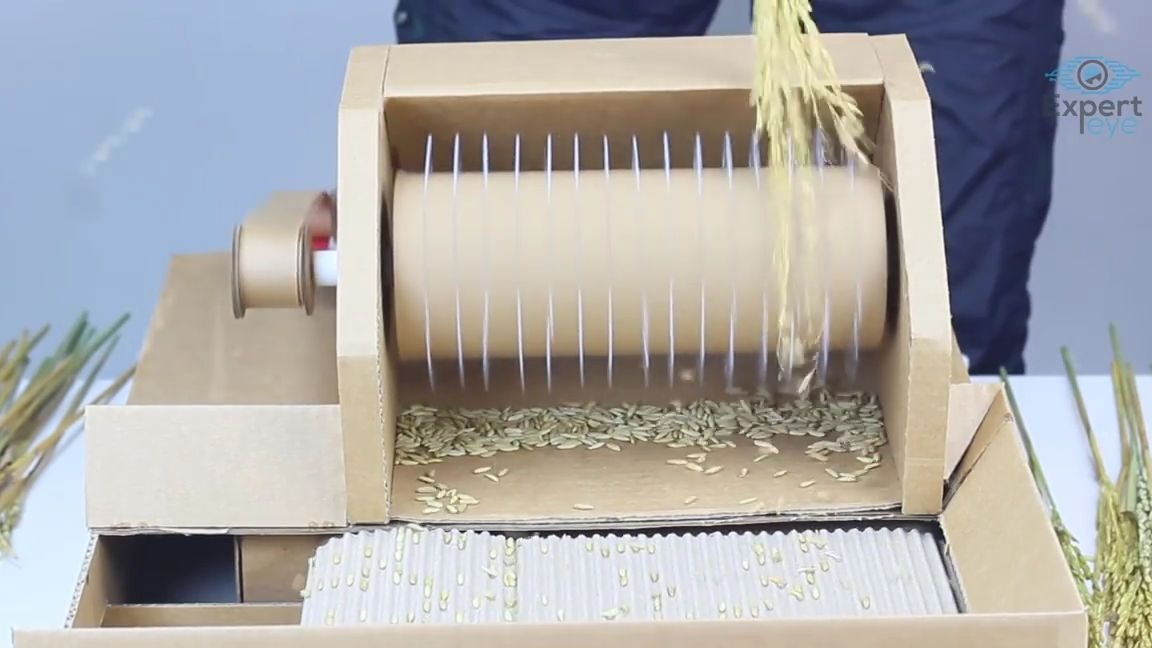
That's it! The device for separating grains from spikelets is ready and it remains only to test it. To do this, simply insert the grain collecting box into its place, turn on the constitution, adjust the bobbin rotation speed and begin to bring the spikelets to the rotating bobbin, while the metal triangles will knock down the grain spikelets, which will fall on the lower part of the structure and fall onto the conveyor, from where will fall into the collection box.
I think this homemade product will be appreciated by many.
And remember the safety precautions! Do not stick your hands and other parts of the body to the spinning babin!
Here is a video from the author with a detailed assembly and testing of this homemade product:
Well, thank you all for your attention and good luck in future projects!