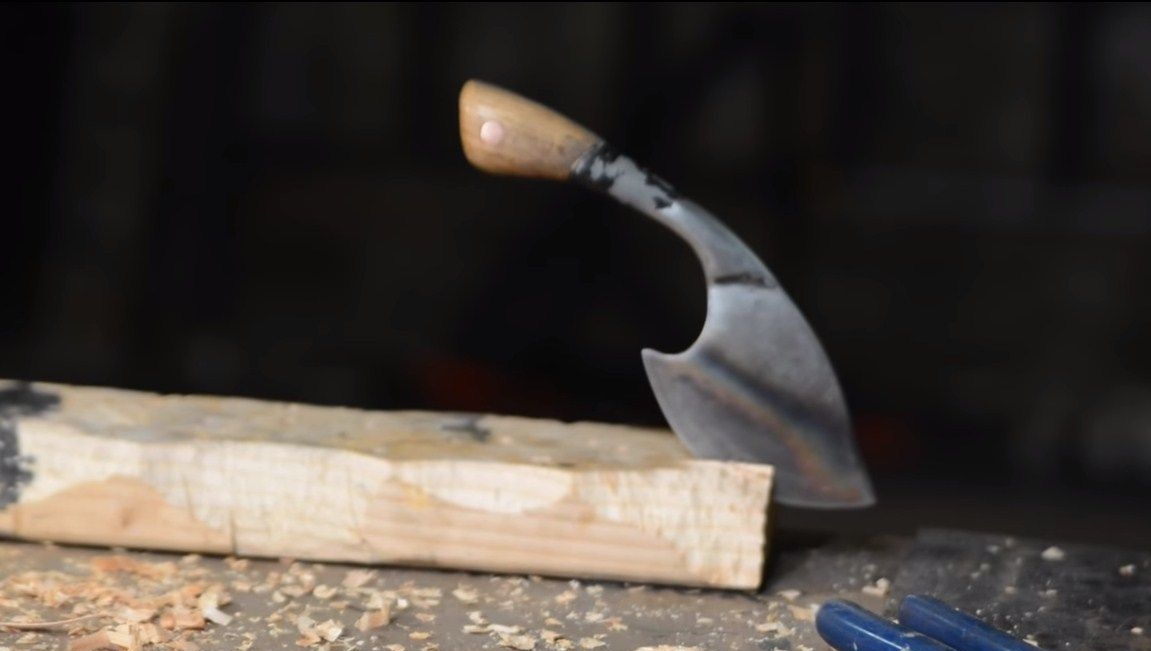
I welcome fans to work with metal, in this instruction we will consider how to make a hatchet knife do it yourself. Using that fixtures You can chop branches, sharpen sticks, cut and more. Such a knife is also useful for culinary purposes. The knife is made of high-quality steel and is hardened; in this regard, it keeps sharpness for a long time and does not blunt when cutting rather hard materials. But here everything will depend on the correctness of hardening.
To make such a knife is not at all difficult, as it might seem at first glance. The author makes it using the available tools, and everything turns out pretty high quality. The blade is cut with the help of a grinder, with the help of it the bevels are formed and the main grinding takes place. As for hardening, if there is no furnace, this is not a problem either, the task can be dealt with using a gas burner. When making a knife, the author damaged the handle, so part of it was made of cold welding. But with a skillful approach, you can make the entire lining of the tree, as it was originally planned. So, we will consider in more detail how to make such a knife!
Materials and tools used by the author:
Material List:
- high-quality high-carbon steel (suitable tool or from an automobile spring);
- wooden pad for the manufacture of linings;
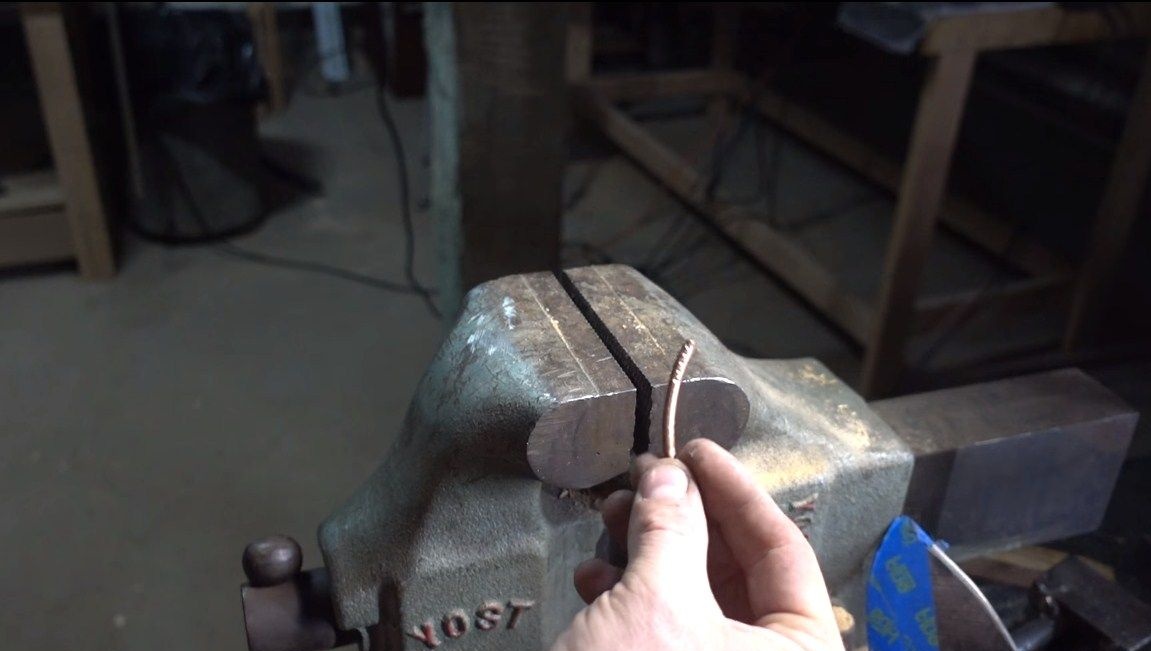
- copper tubes, brass rods (or other parts for the manufacture of pins);
- epoxy glue for the handle (the author did not use);
- cold welding (used to finish the handle).
Tool List:
- welding machine (optional);
- Bulgarian with cutting and grinding discs;
- marker;
- drill;
- jigsaw;
- hammer;
- sandpaper;
- vise;
- gas burner, refractory brick and hardening oil;
- varnish, oil, paint or other for a pen;
- files;
- clamps.
The process of manufacturing a knife-ax:
Step one. Material preparation
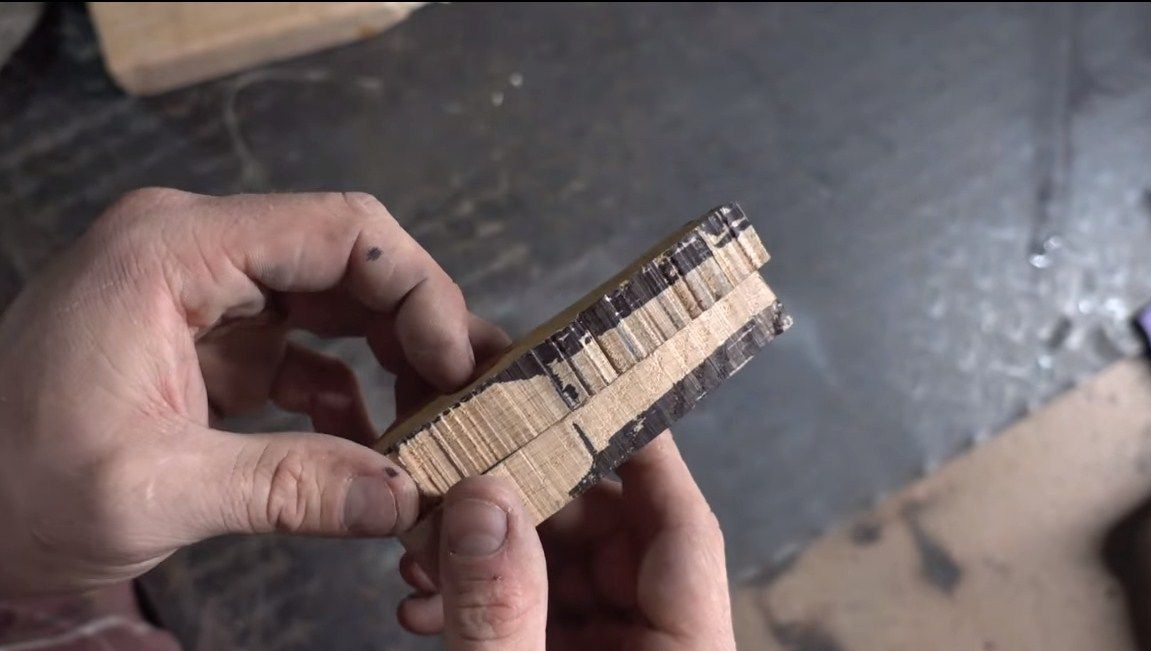
The material will need good strong steel. Otherwise, the ax will quickly blunt, notches will appear on it, and so on. Steel should have a large amount of carbon in its composition, then it can be hardened. Typically, high-quality steel is used in the manufacture of tools, files, for example. Also, automobile springs, knives for plows and so on are made from it.
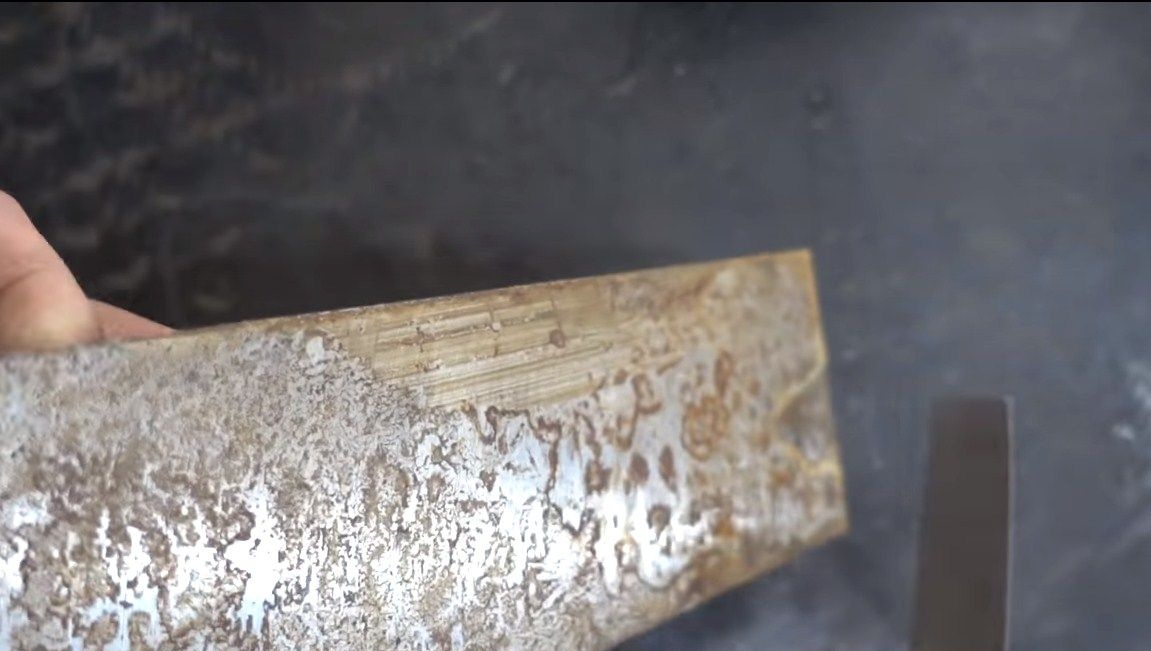
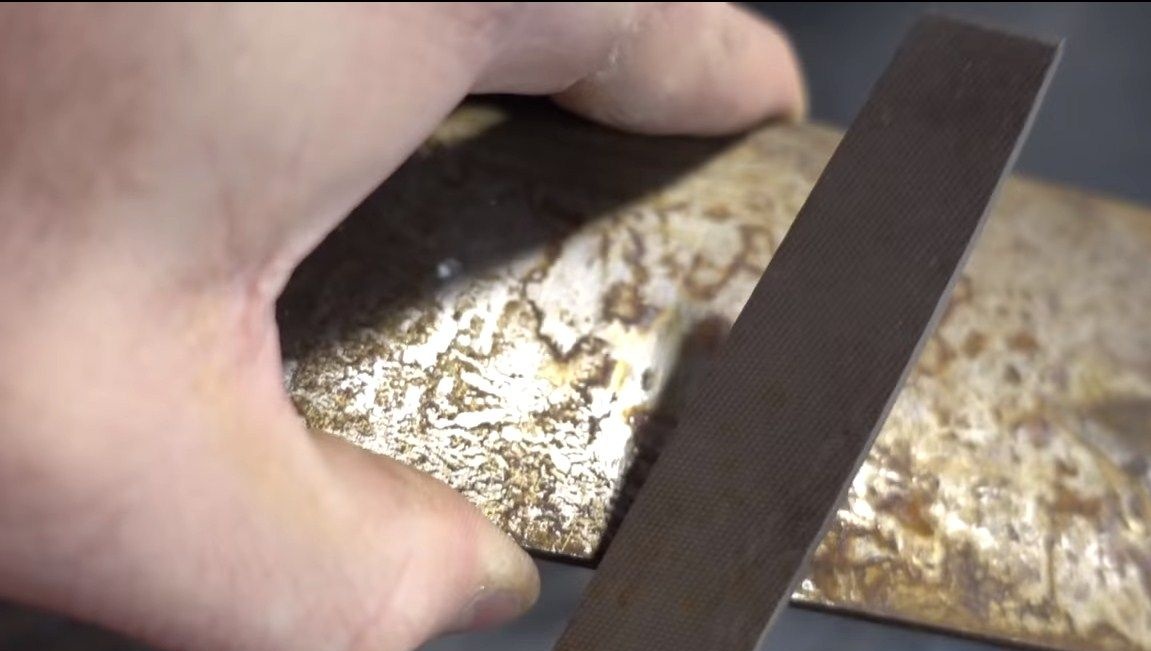
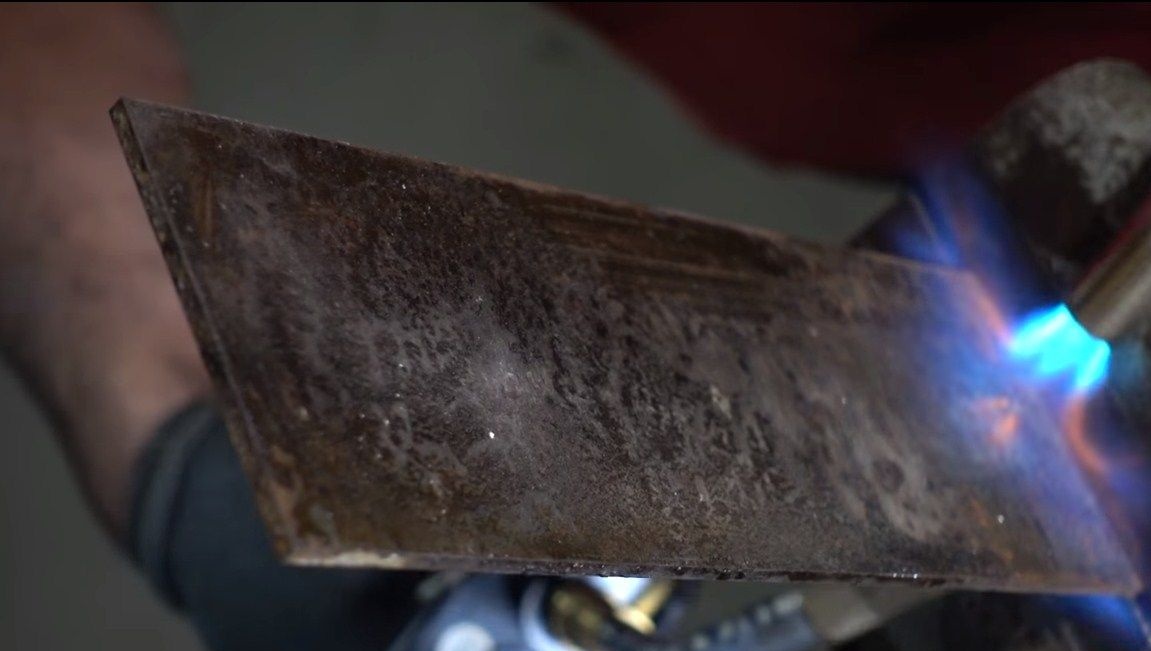
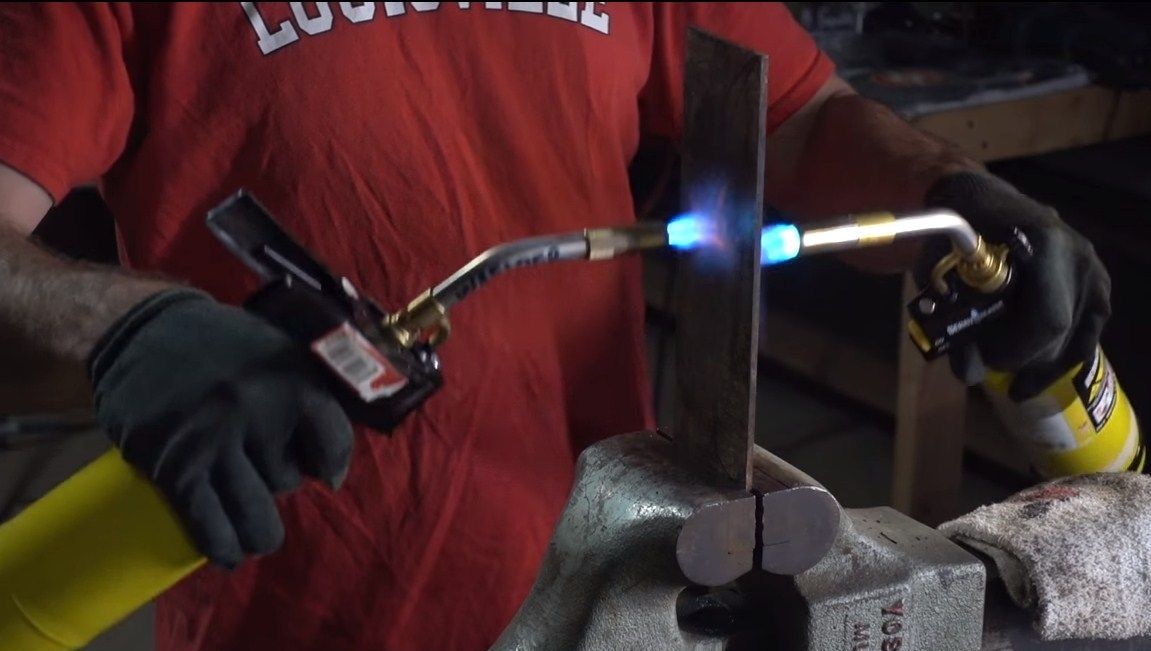
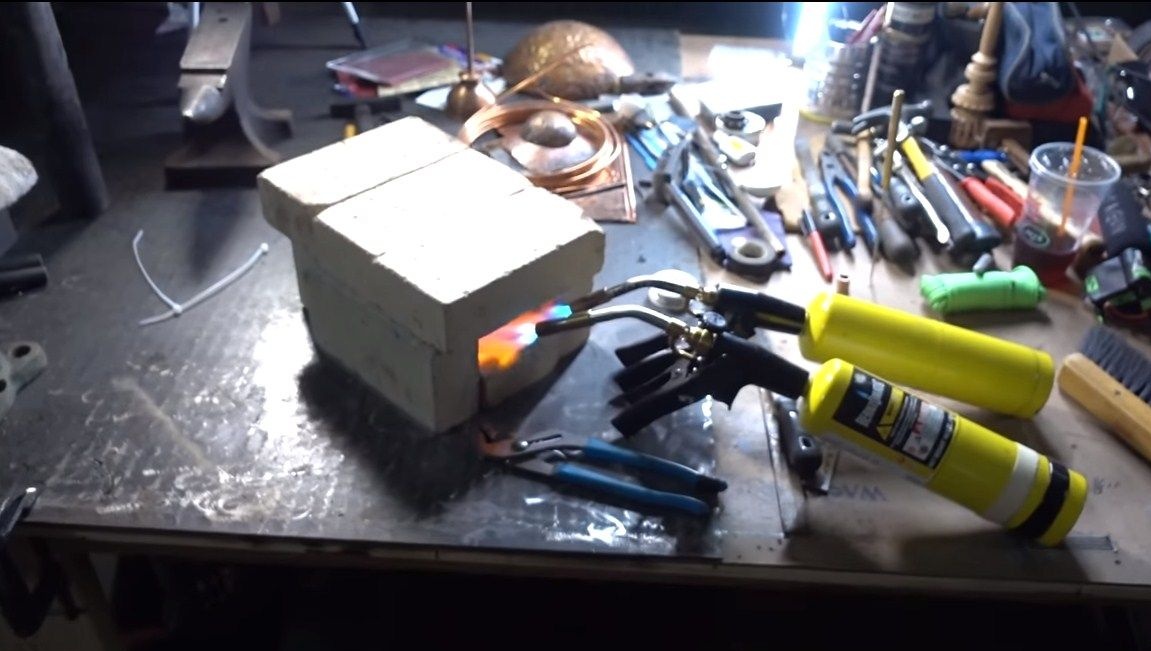
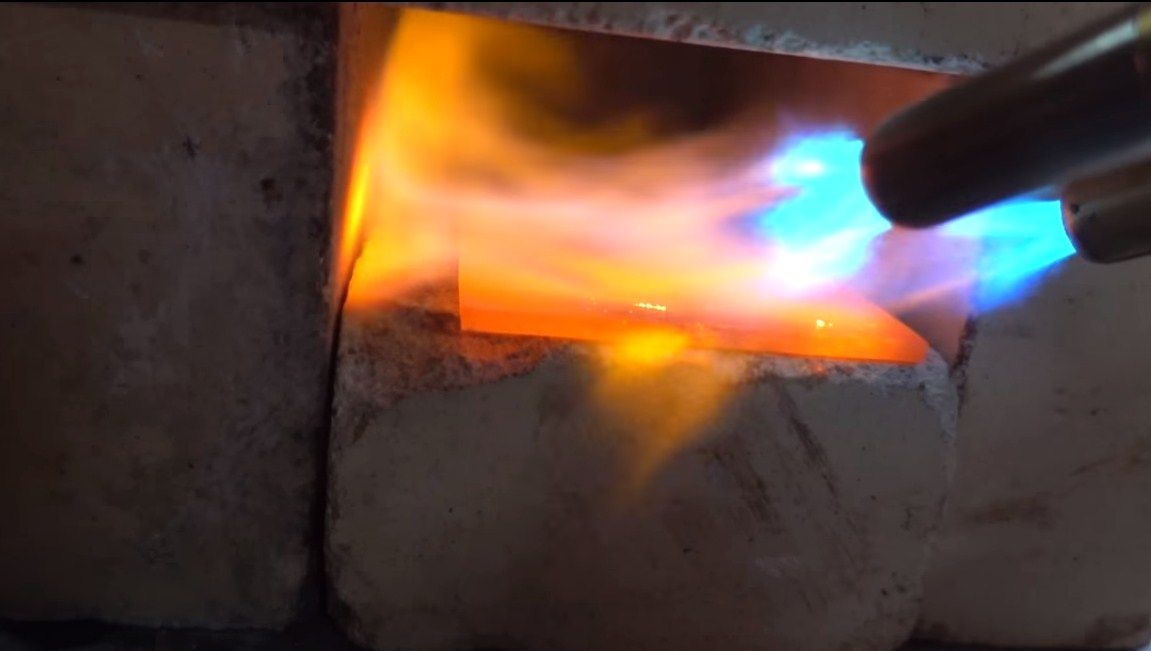
The author had a sheet of steel, this metal was not taken with a file, which indicates that the steel is hardened.To continue working with metal, it must be released, after which it will become soft. To do this, the steel must be heated to red and allowed to cool in the open air. For starters, the author warms up the metal, holding the workpiece in a vise, and cleans all the dirt from it. Well, then you can start annealing. To do this, we need a refractory brick, it will allow us to warm the workpiece evenly. The author used two gas burners for this case. As soon as the steel is evenly heated, let it cool in the open air. The slower the metal cools, the softer it will be later. Now we go through the file again, if there are traces on the metal, it means that the vacation was completed successfully.
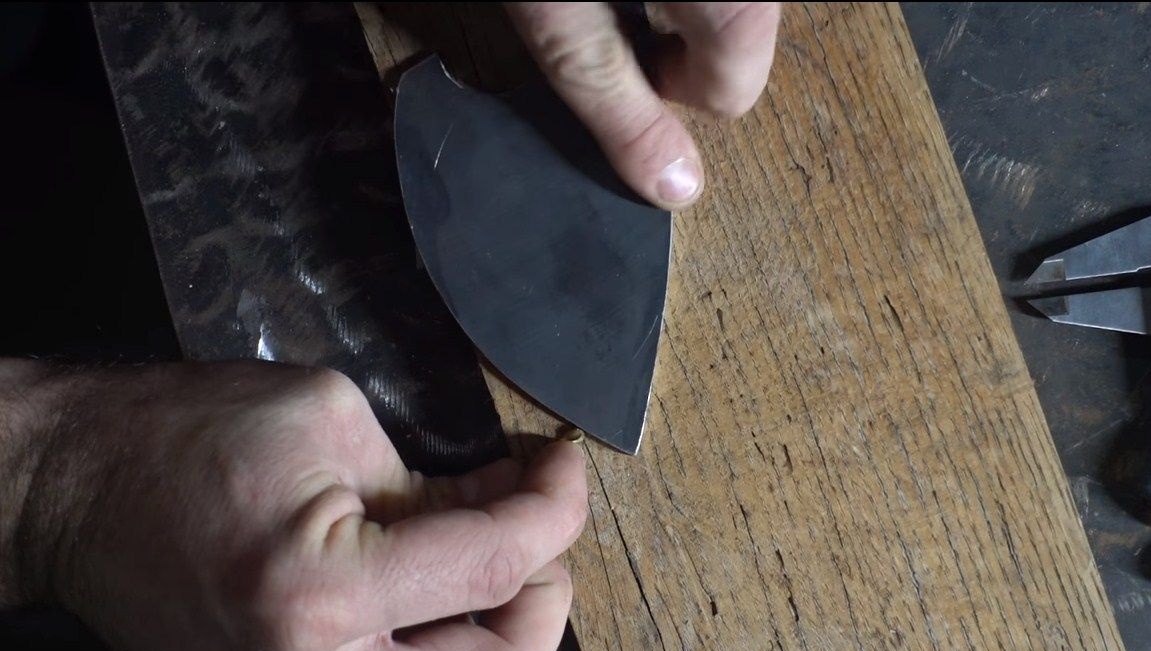
Step Two Cut a rough profile
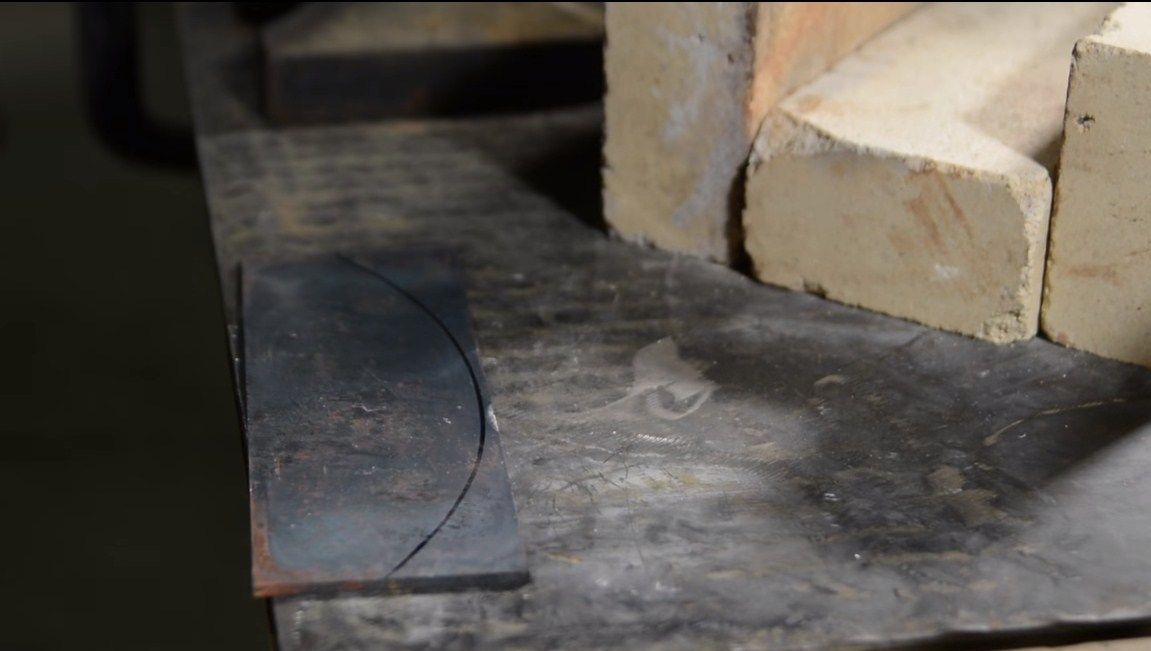
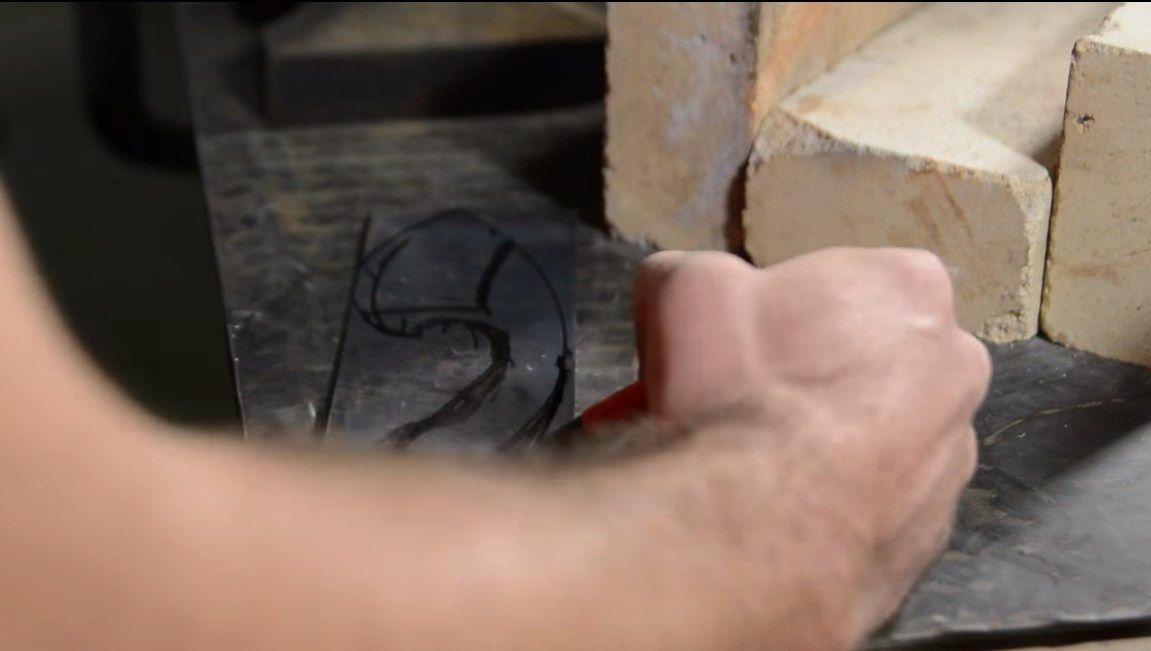
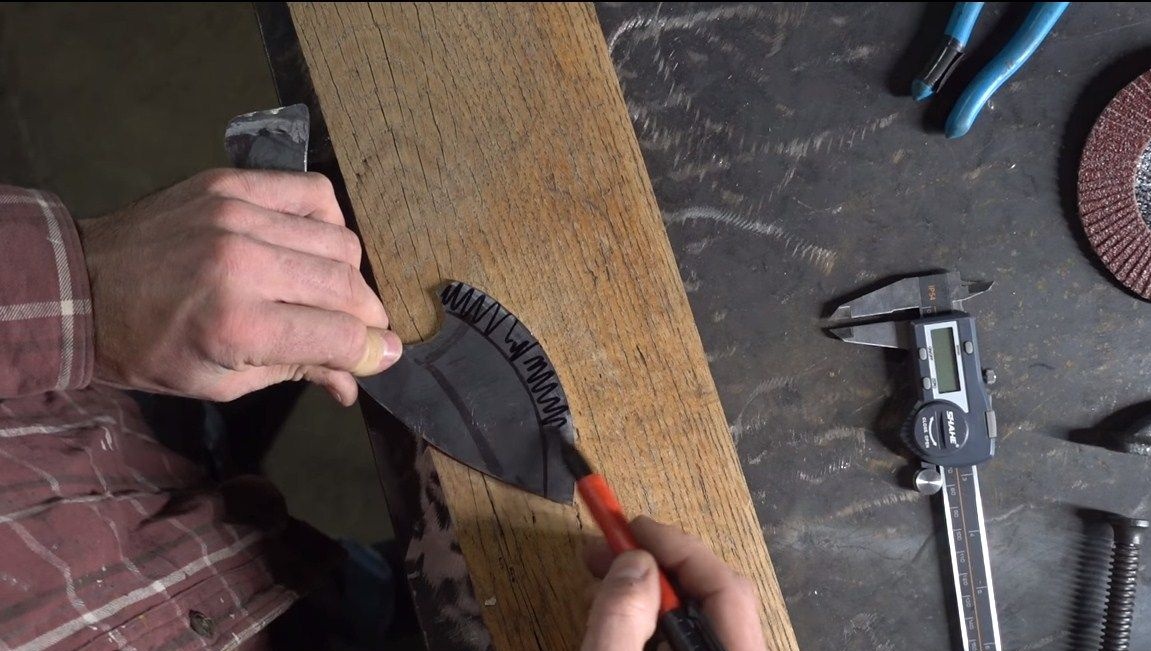
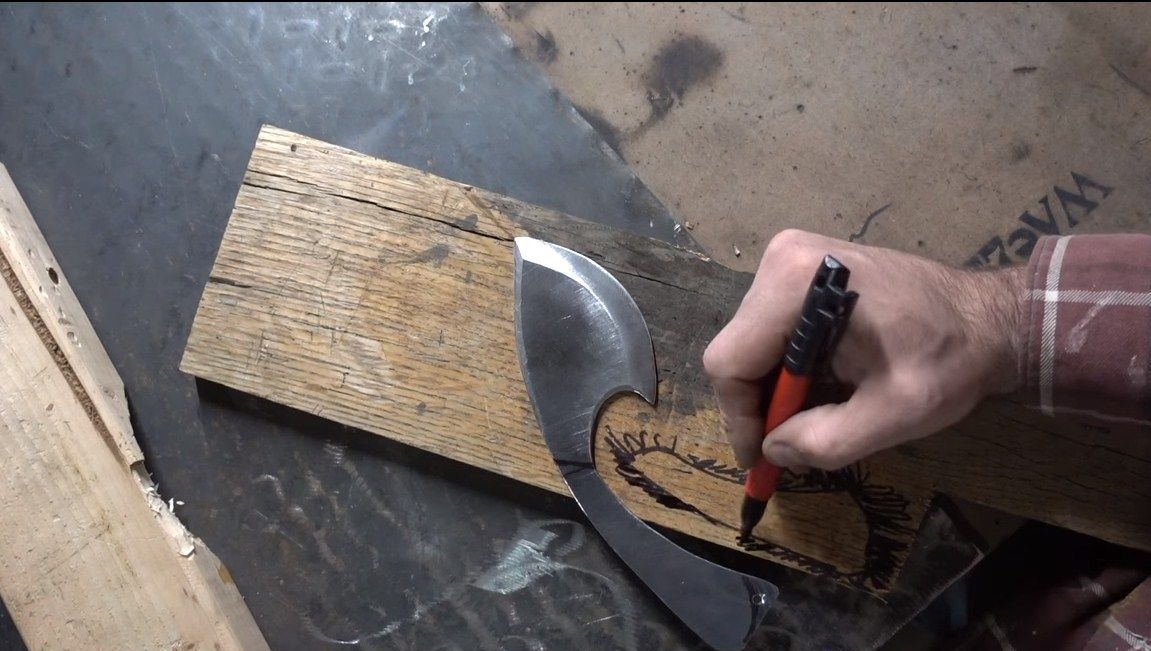
Now we turn to the manufacture of the profile of our knife. To do everything qualitatively, it is best to make a knife profile on paper, and preferably on cardboard, and then cut it. As a result, you will have a paper model that you can hold in your hands and determine whether the knife will be convenient. The author simply by eye draws the desired profile directly on the metal using a marker, which is not a professional approach.
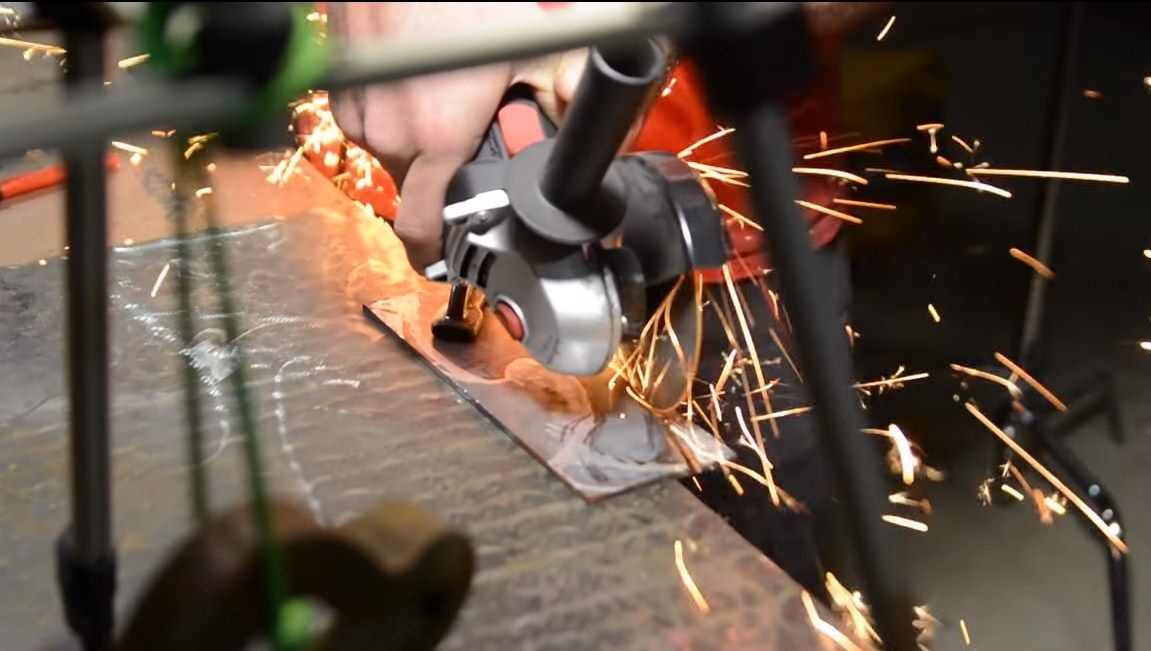

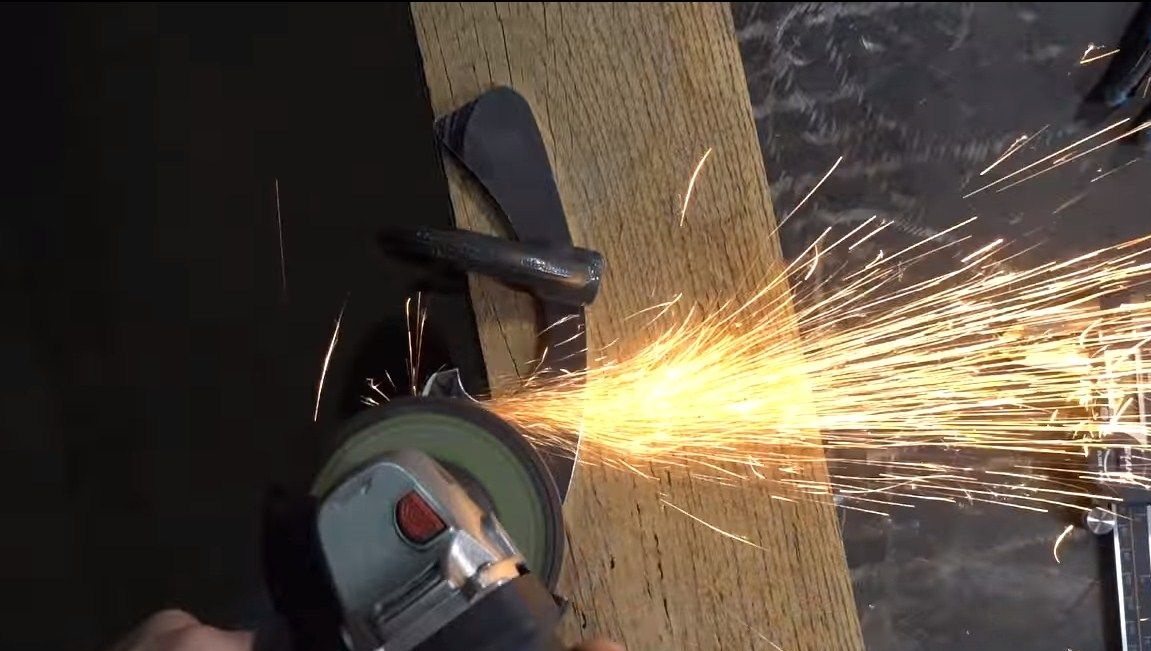
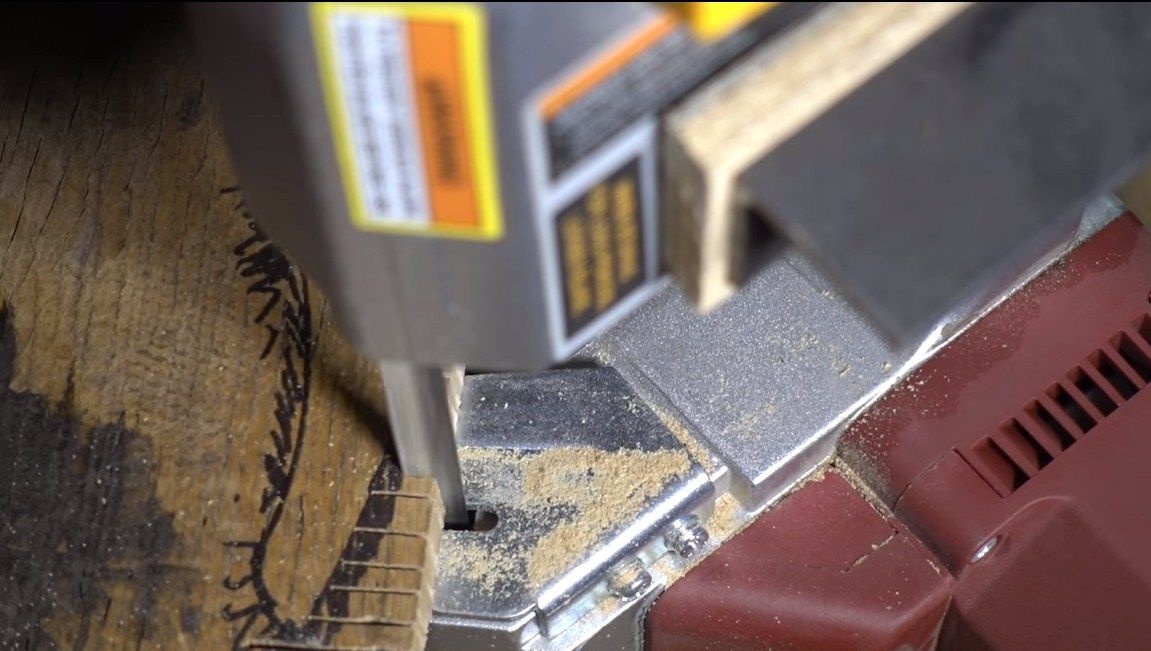
As soon as you draw a profile, it can be cut. For these purposes, the author uses an ordinary grinder. With this tool, you can carry out similar work, but you need to have some skills, since steel can be easily overheated. If the metal begins to darken, then it will overheat and it will be difficult to return to its former hardness even with the help of hardening. It is best to carry out such work with band saws. By the way, it’s quite possible to handle this kind of work with a jigsaw or a metal saw.
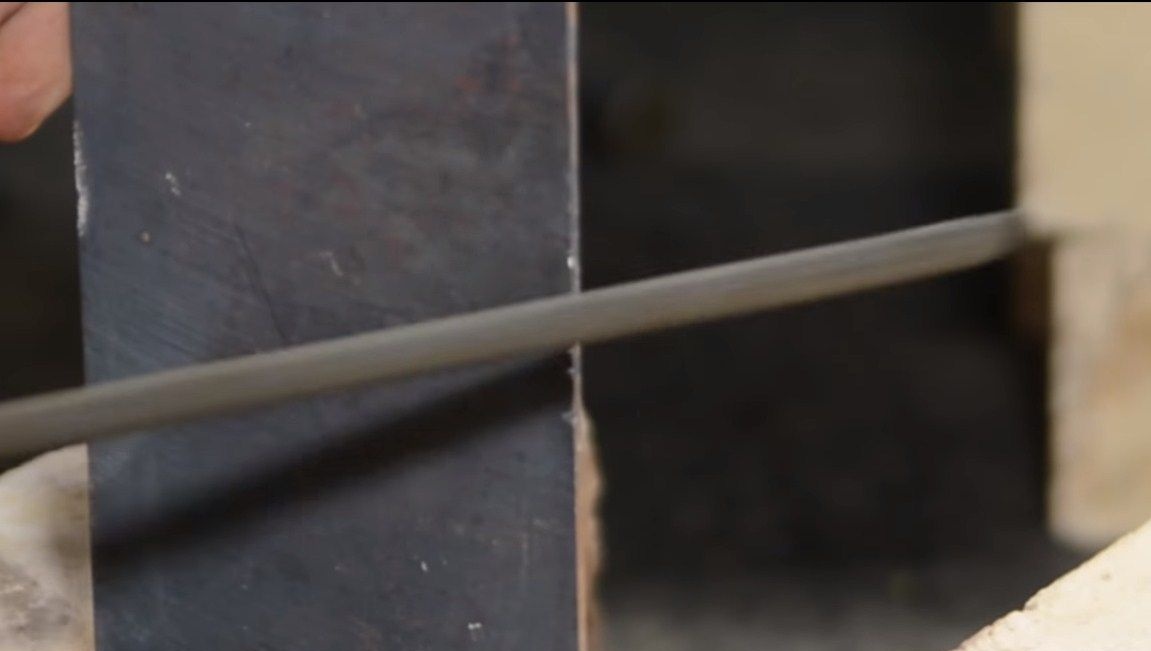
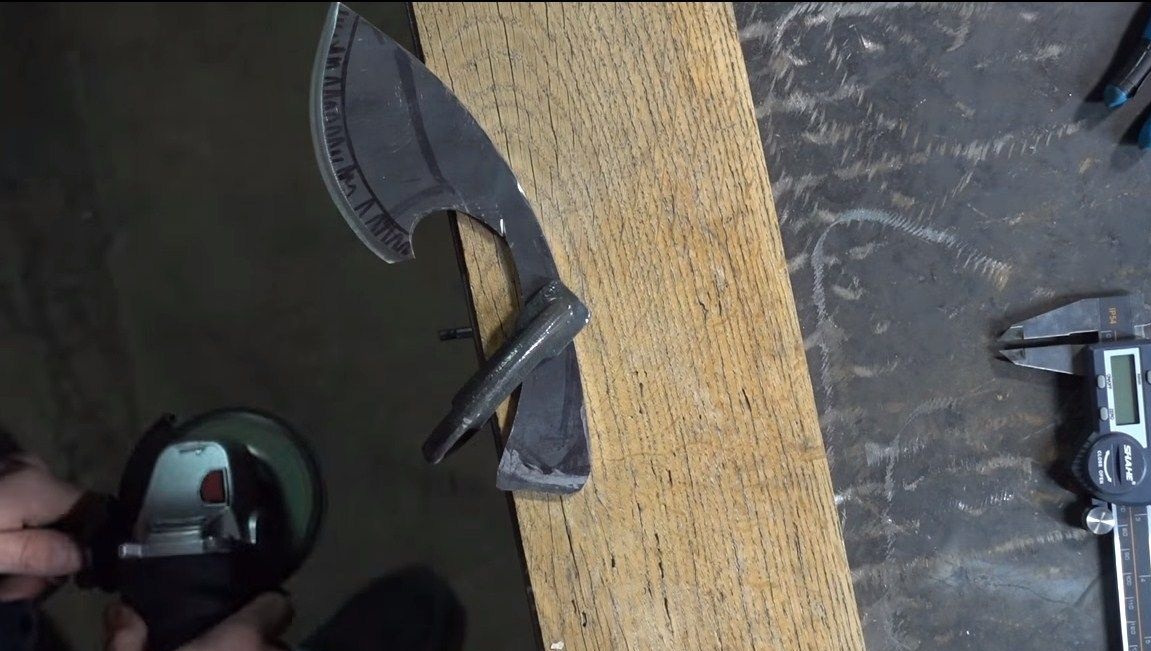
When the main profile is cut, modify it manually. We clamp the workpiece in a vise and work with metal files.
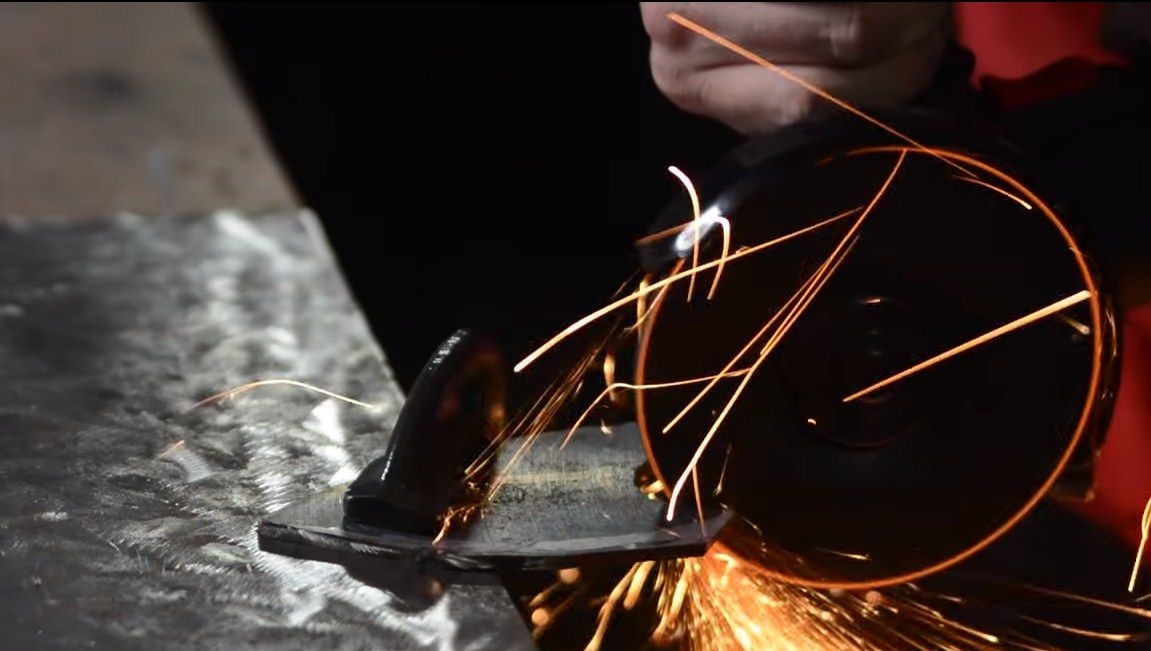
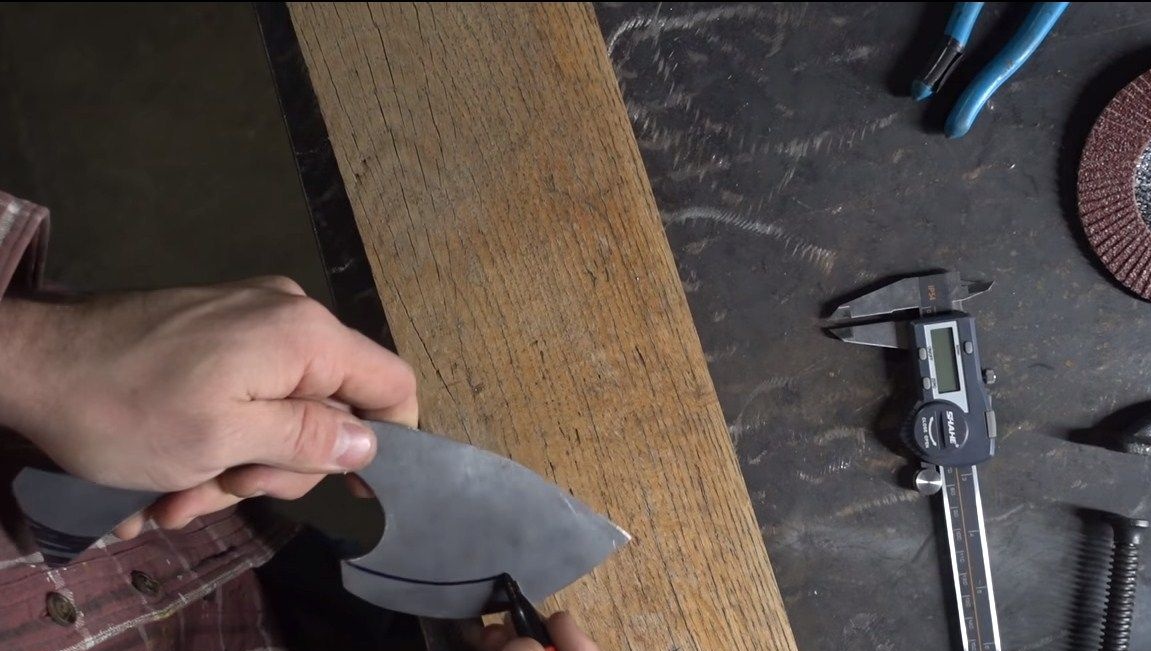
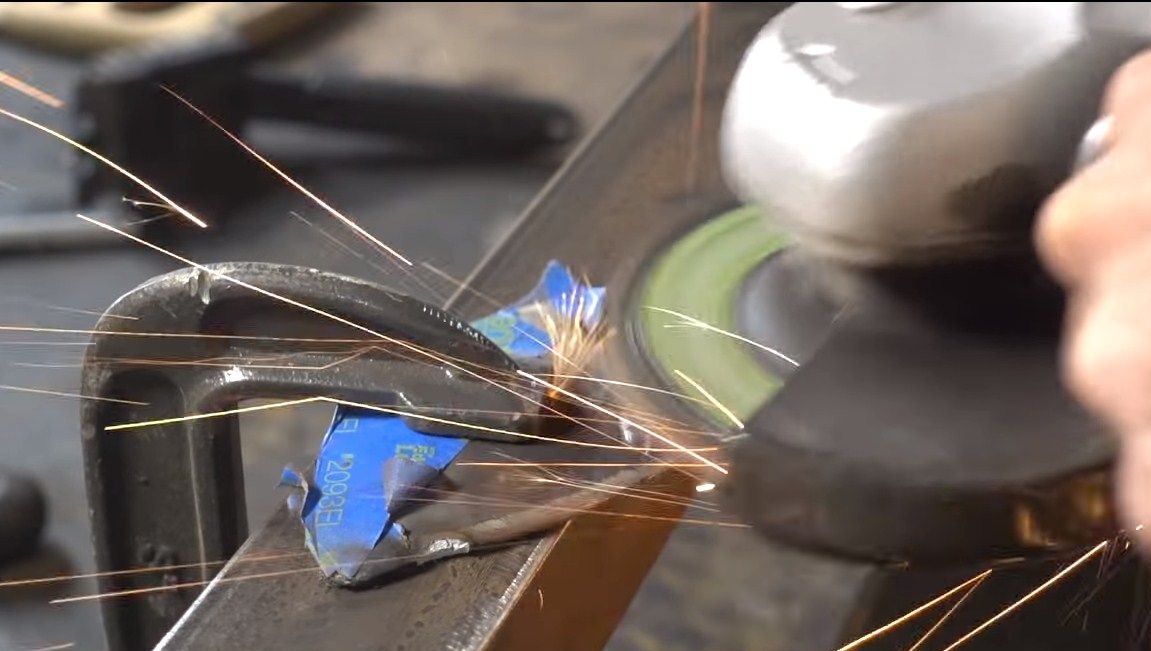
Step Three We form bevels
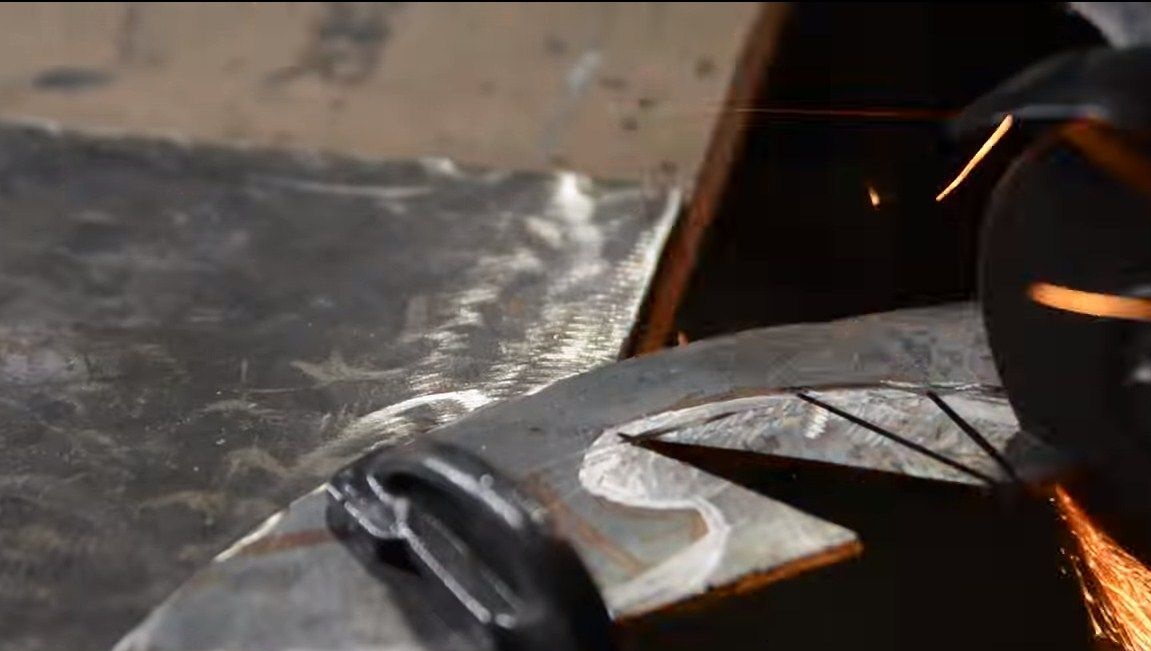
Now we proceed to the formation of bevels, the cutting data of your knife will depend on them. The thinner the blade, the better the knife will cut and sharpen, but it will not be able to withstand heavy loads. And since we need a knife for chipping purposes, the bevels are made steeper. First, divide the place where the blade will be into two halves. To do this, measure the thickness of the metal, and then select a drill of such a diameter as the thickness of the metal. Draw a drill along the contour and get the center line. As for the bevel width, we draw them using a marker.
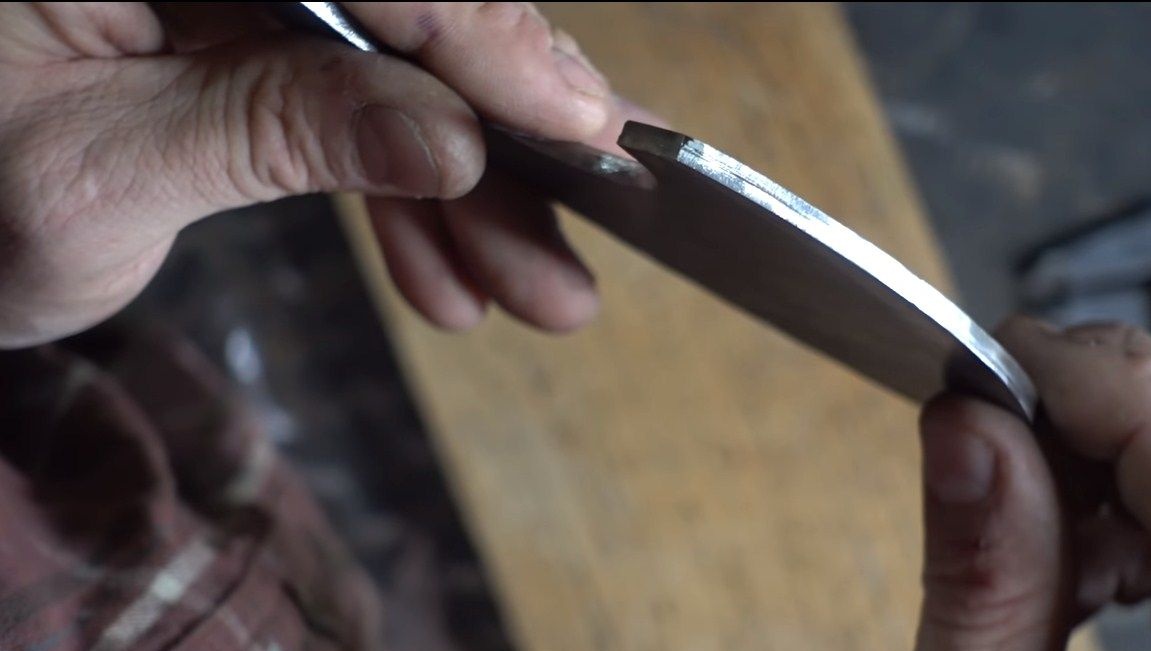

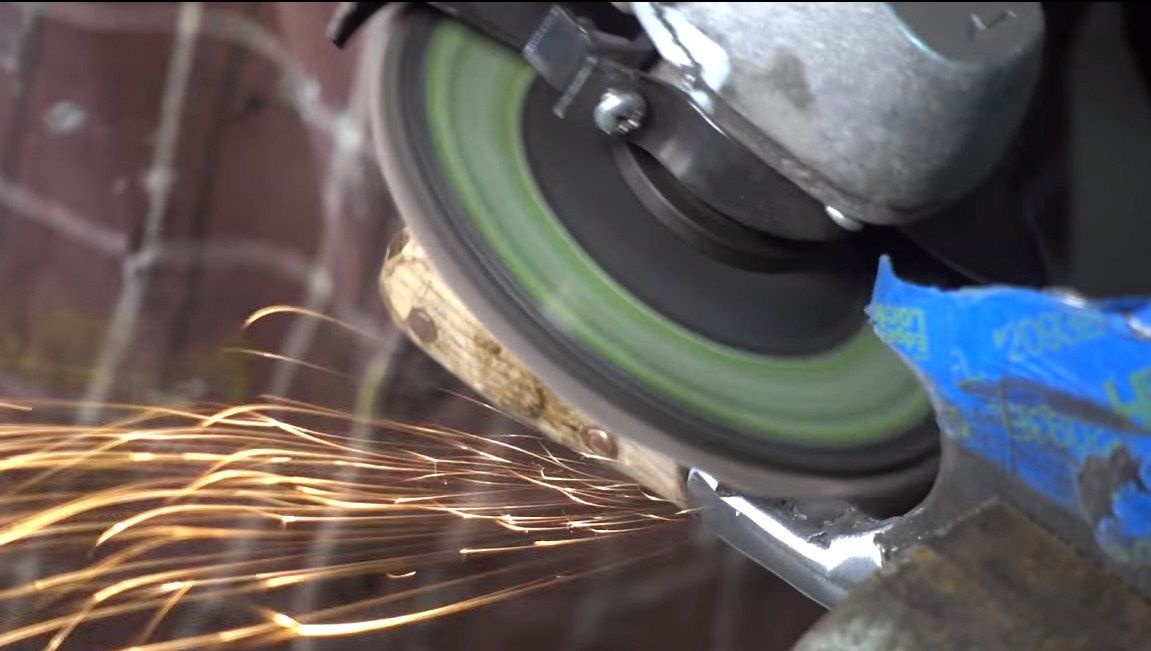
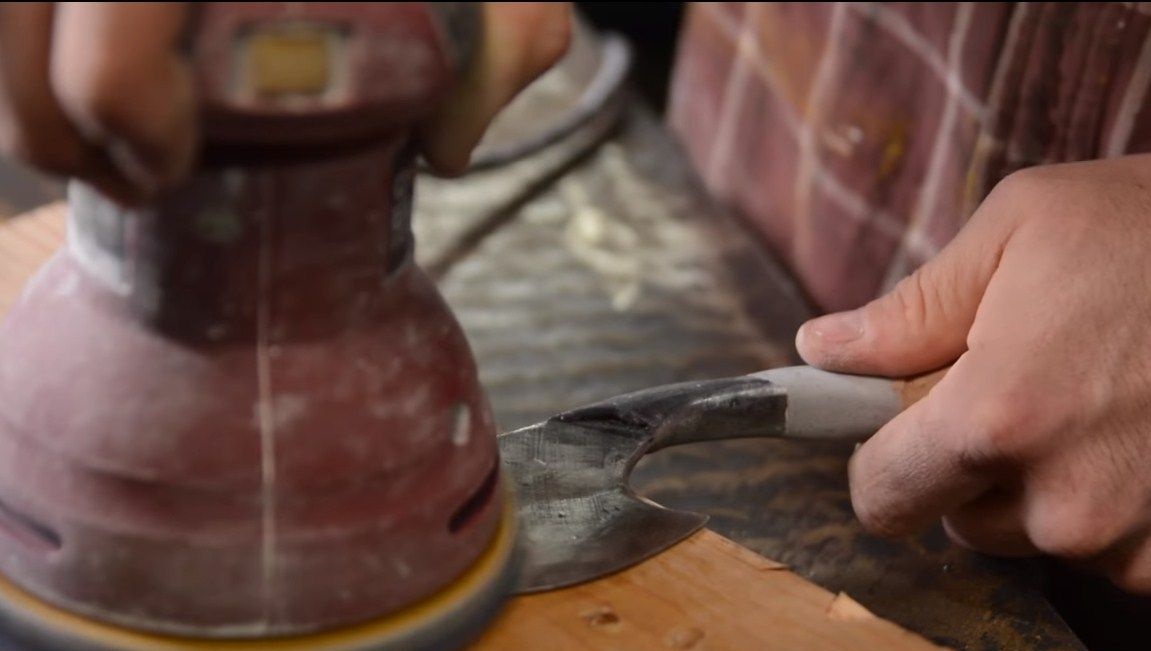
That's all, now we clamp the blade with a clamp and form the bevels. There is no need to rush here, do not forget that we do not want to burn metal. We work with a grinder with a grinding wheel. First, we form a bevel on one side, and then on the other. The bevels in our case are symmetrical. In the end, we produce more delicate processing manually. Clamp the blade in a vice and work with a metal file. But until you sharpen the blade, this is done after hardening.
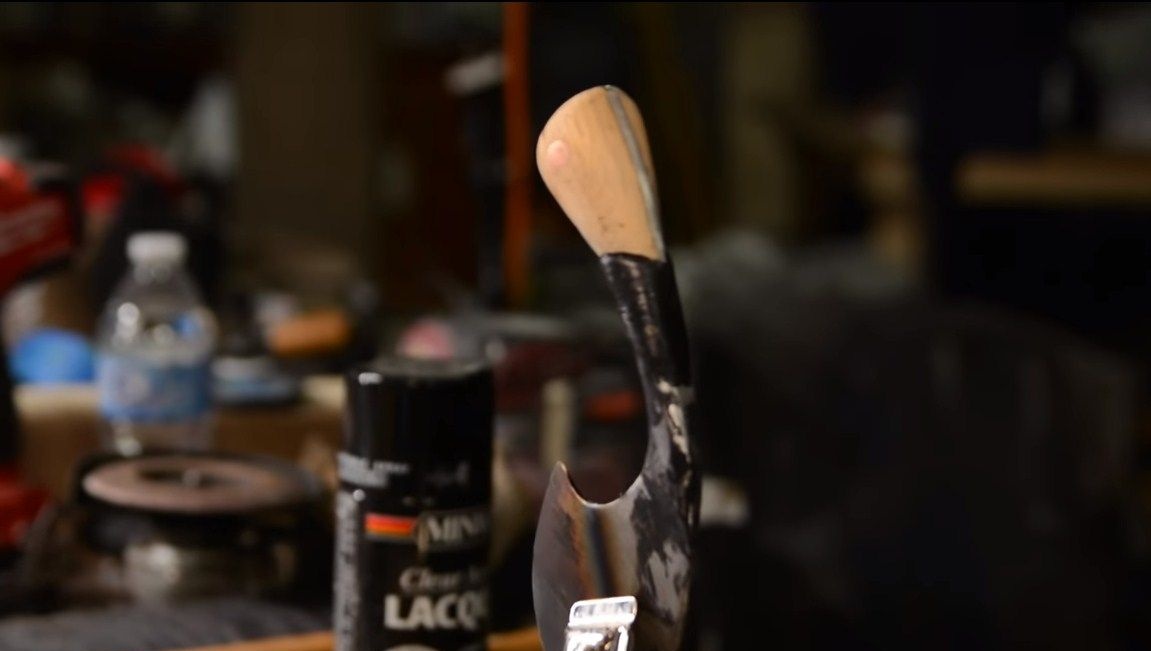
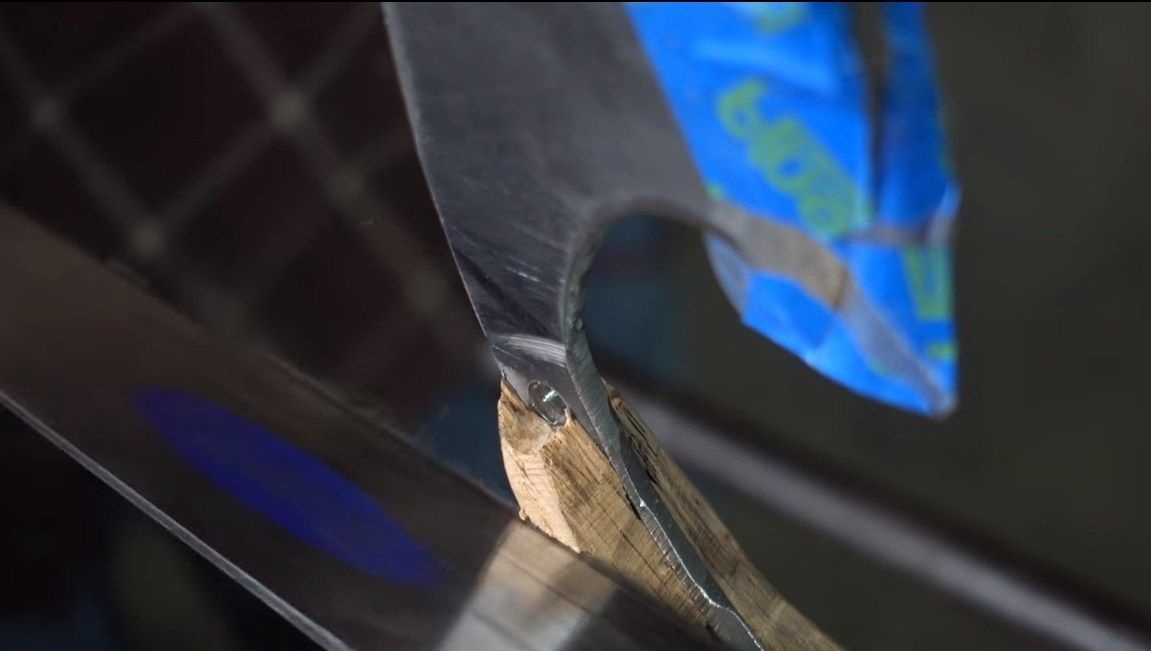
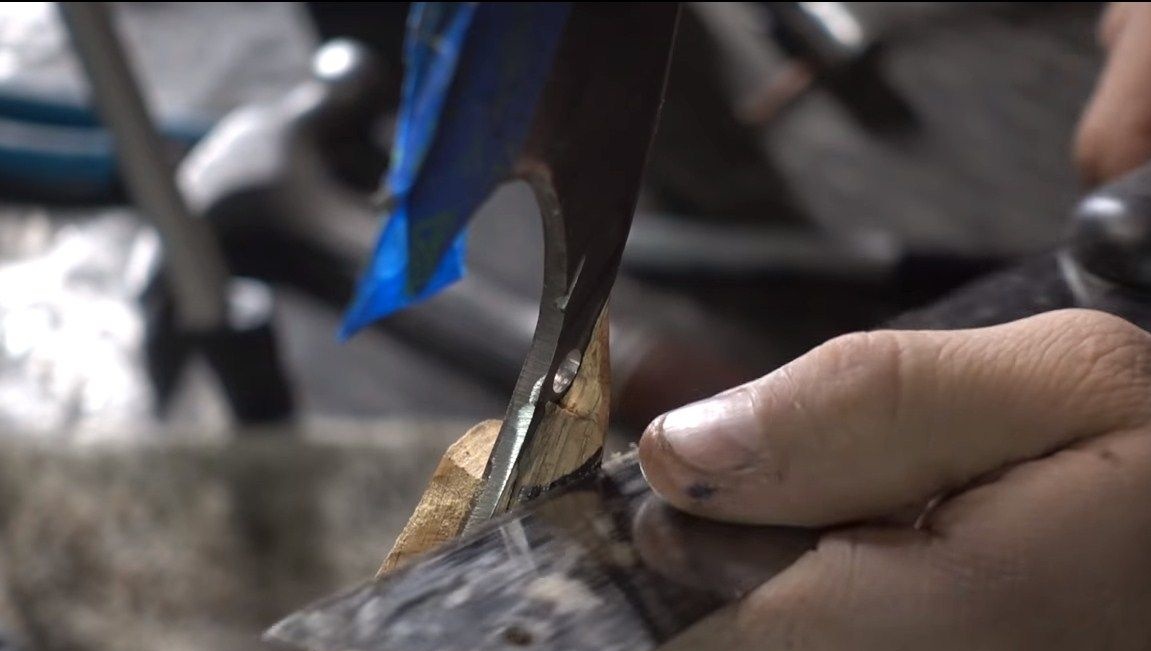
Step Four Lining
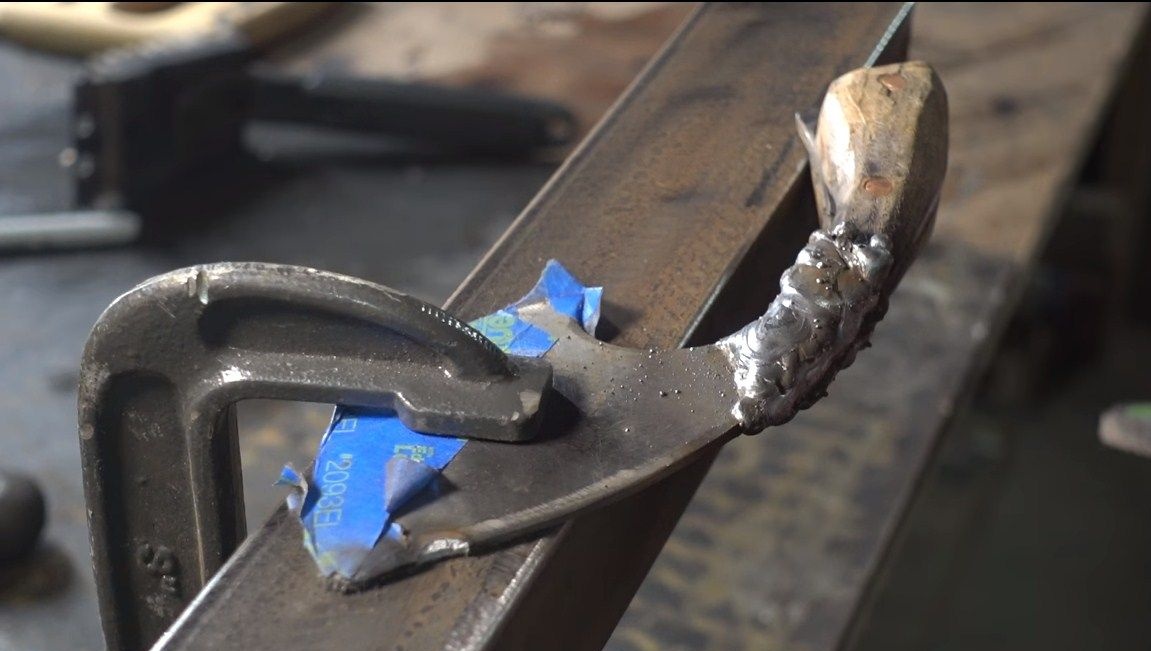
In the manufacture of linings, the author began to work very carelessly, while there were many mistakes that you should not make. It is best to assemble everything with epoxy glue and drill holes for the pins of such a diameter so that they go in with a little effort. The author chopped the handle during manufacture, so the place of the cleavage was filled with cold welding. However, this gives the knife a special design.
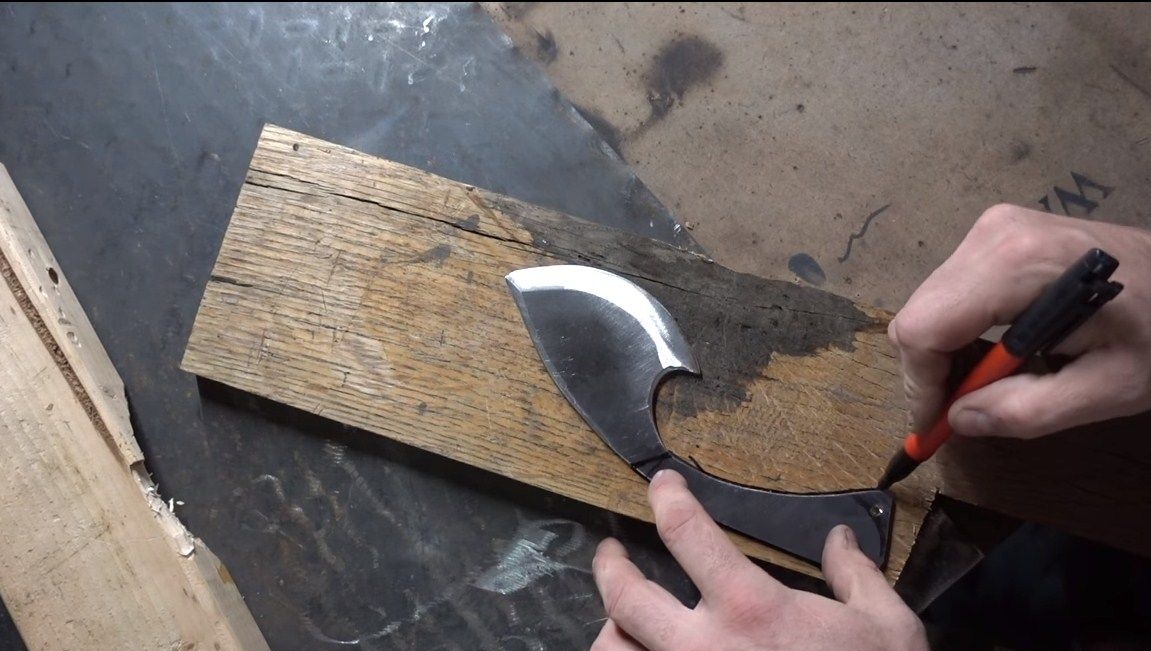
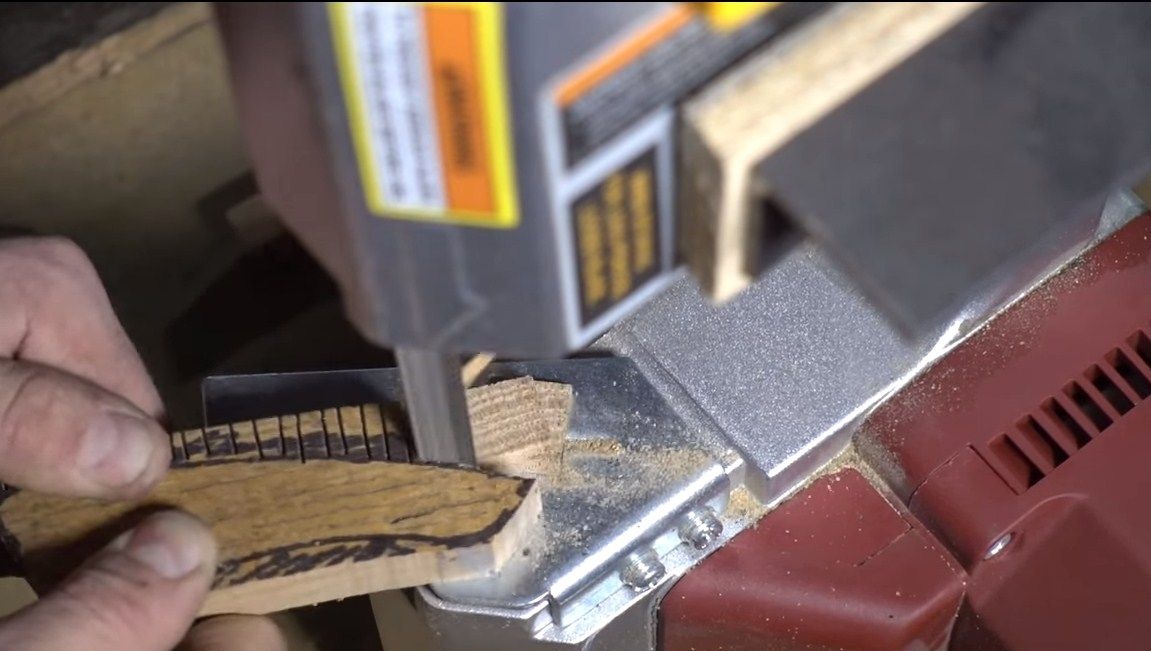
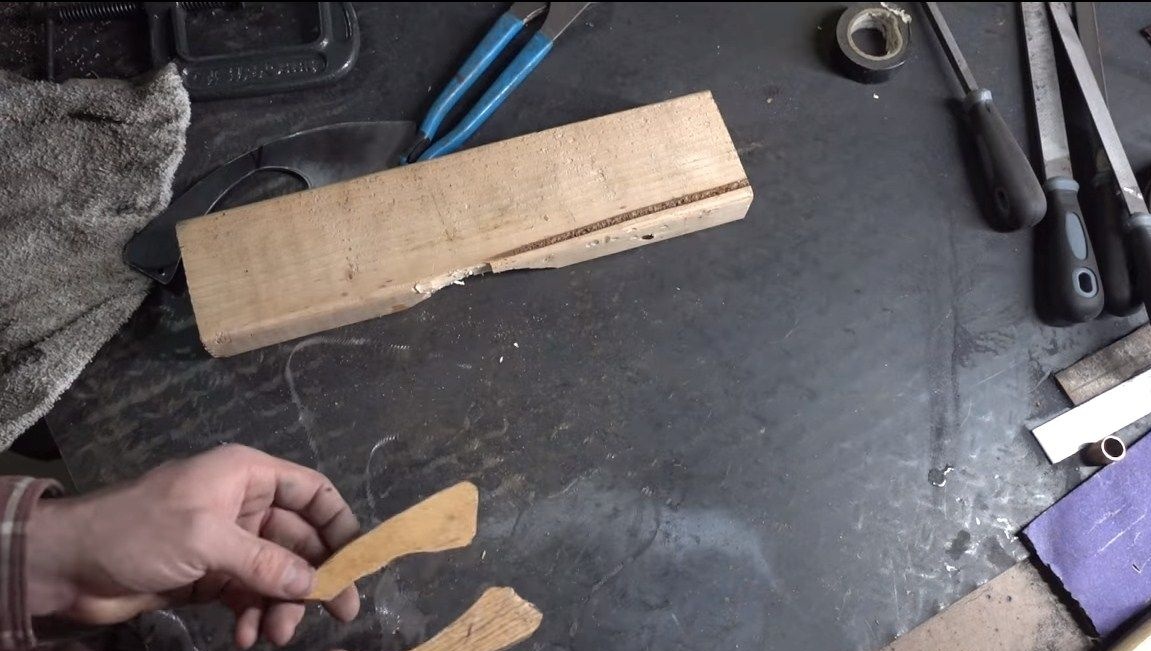
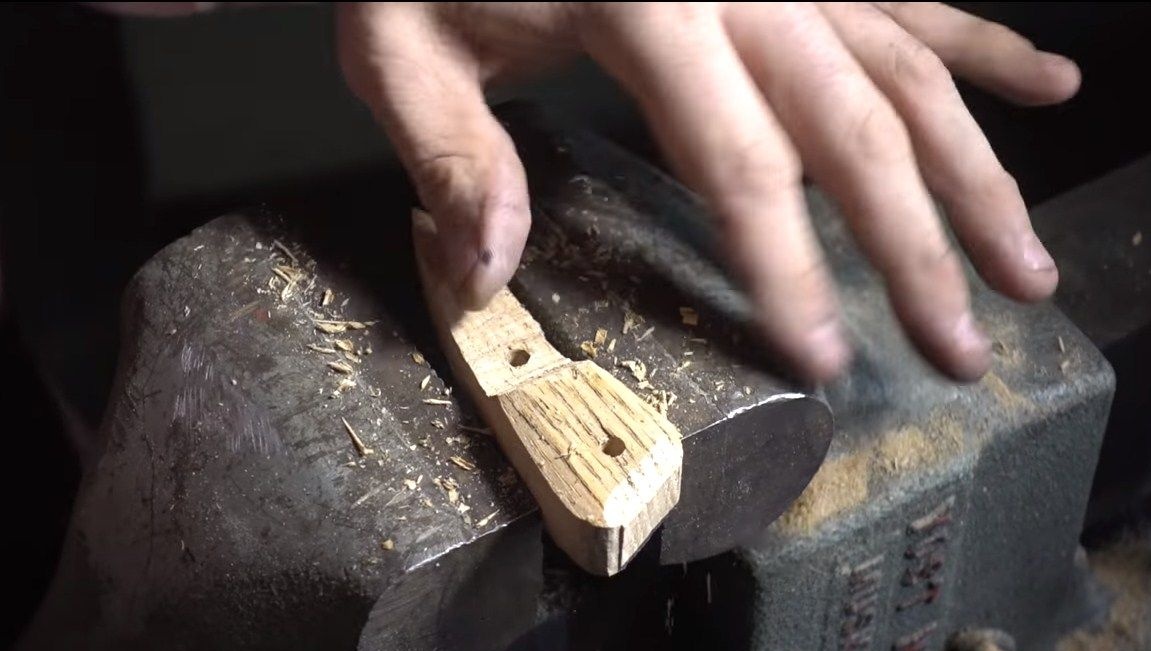
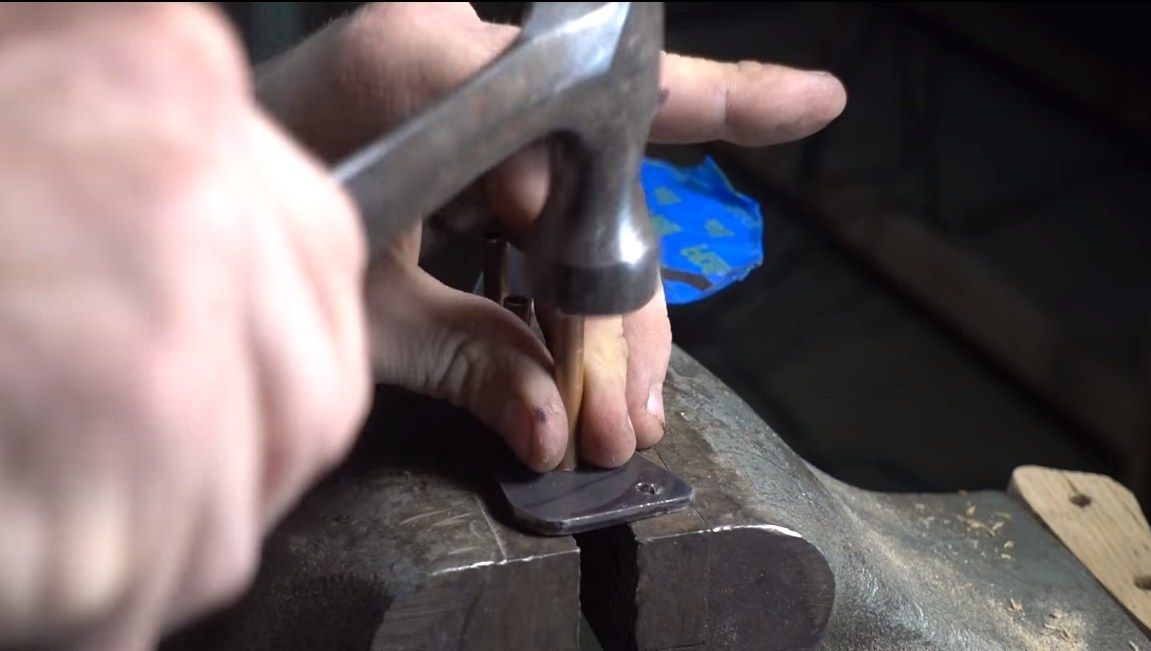
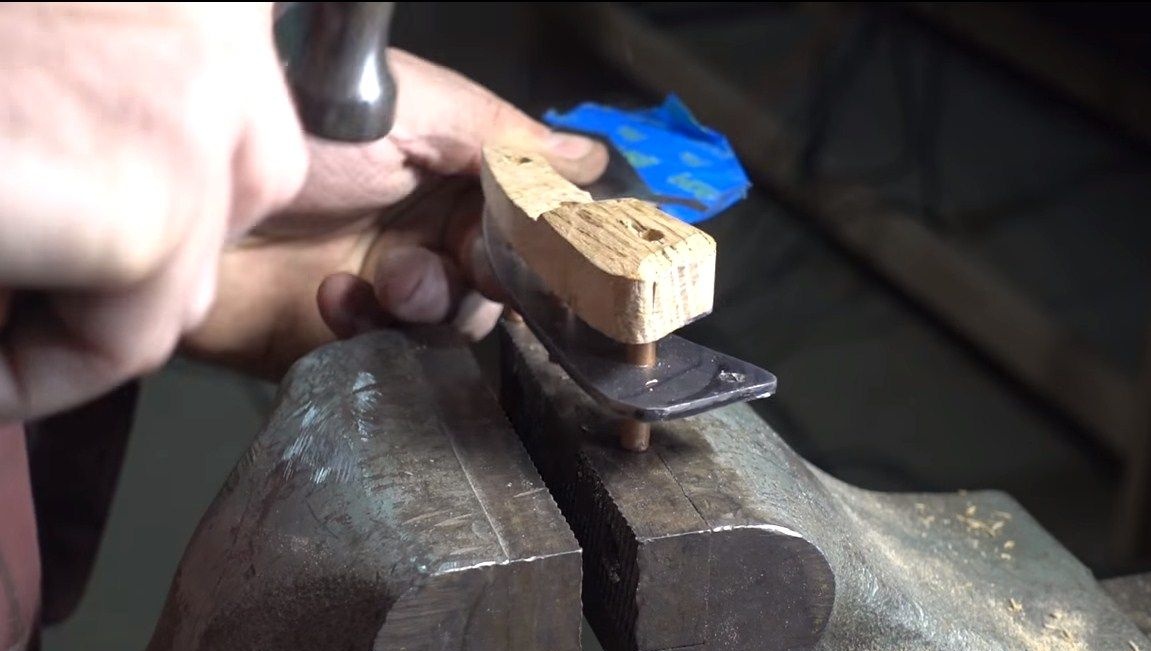
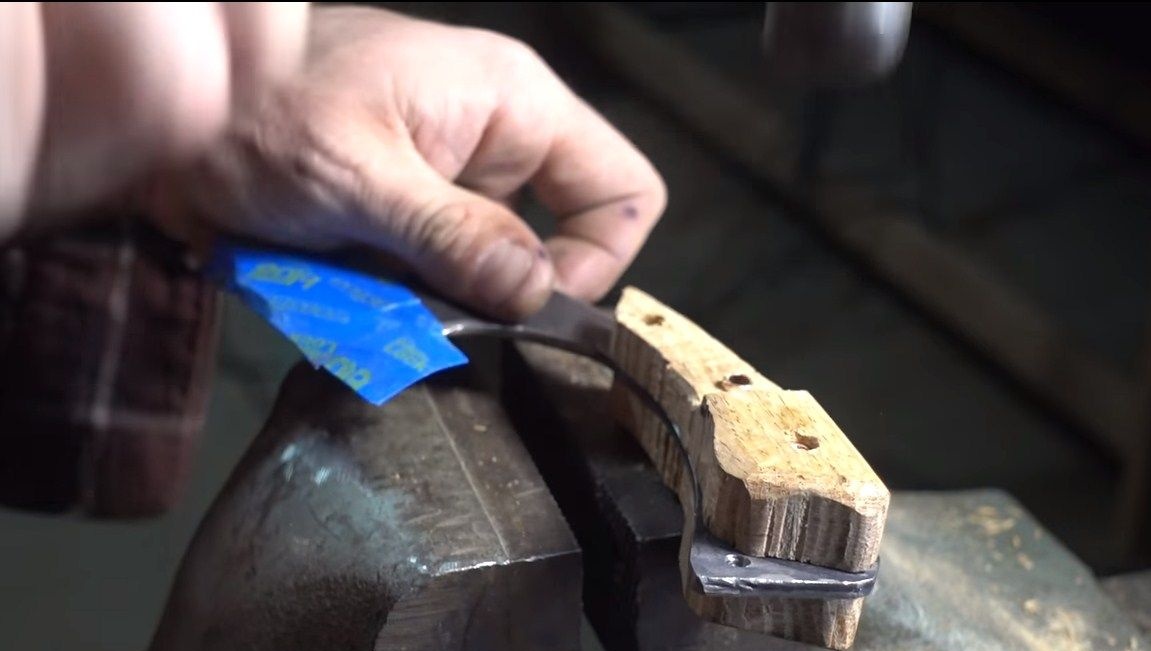
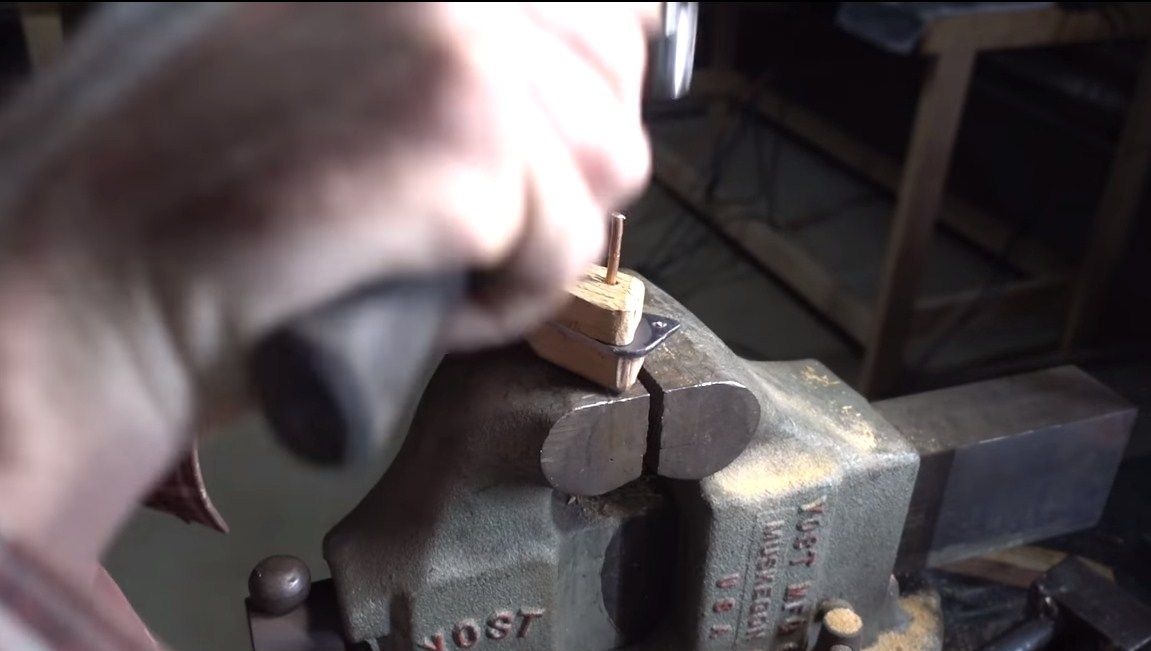
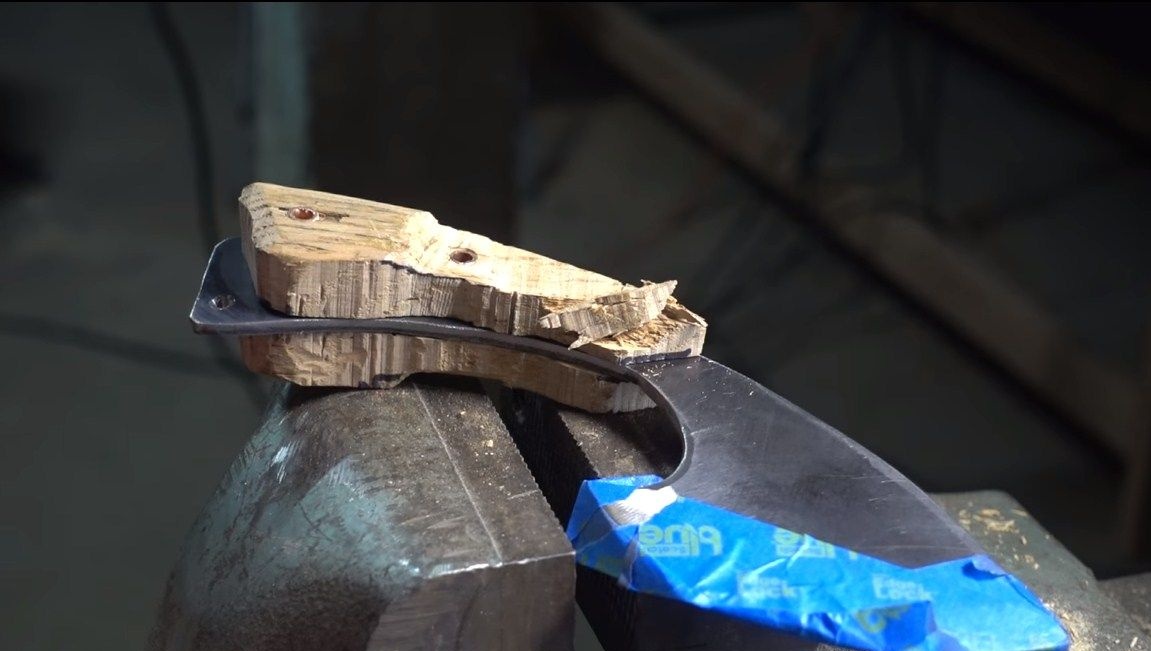
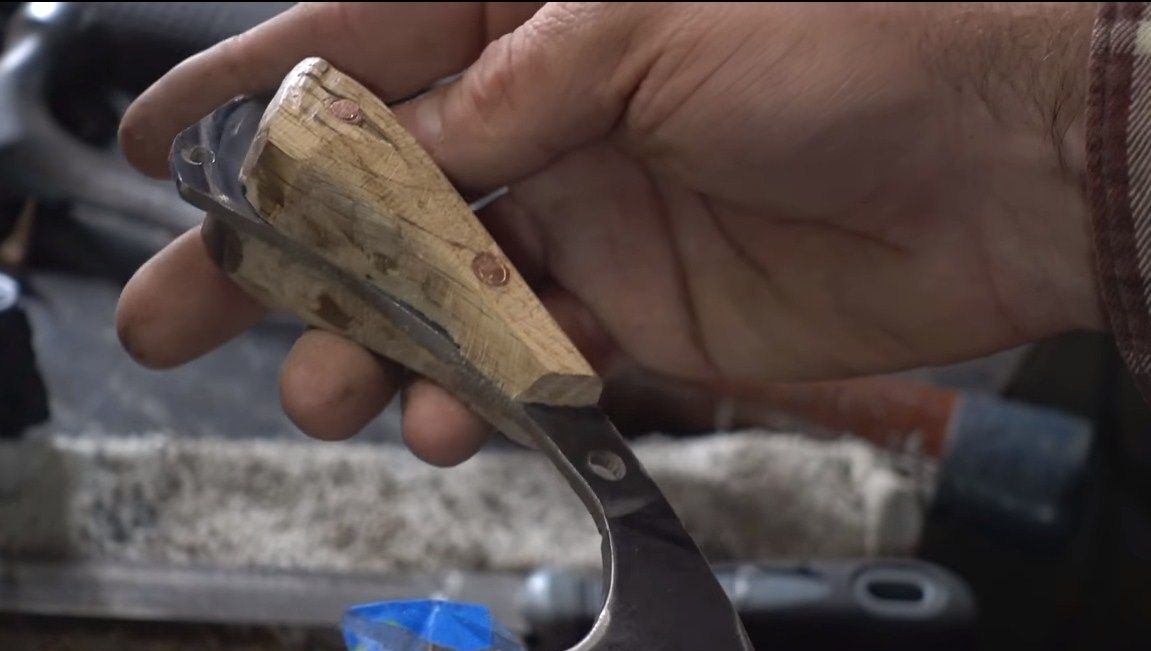
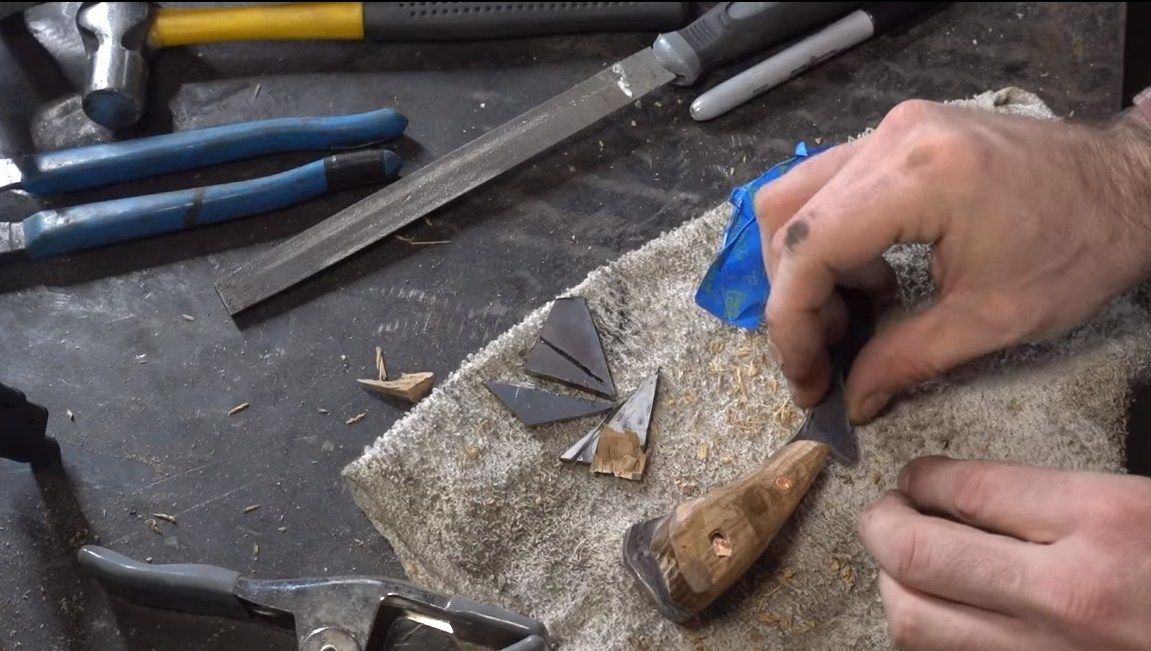

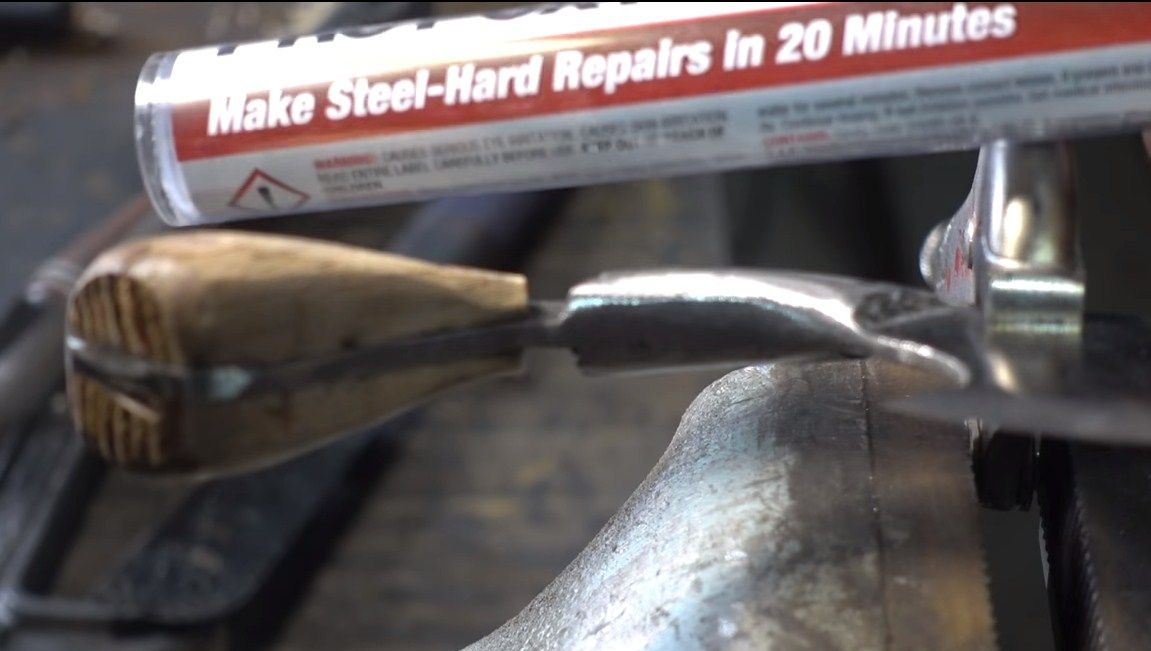
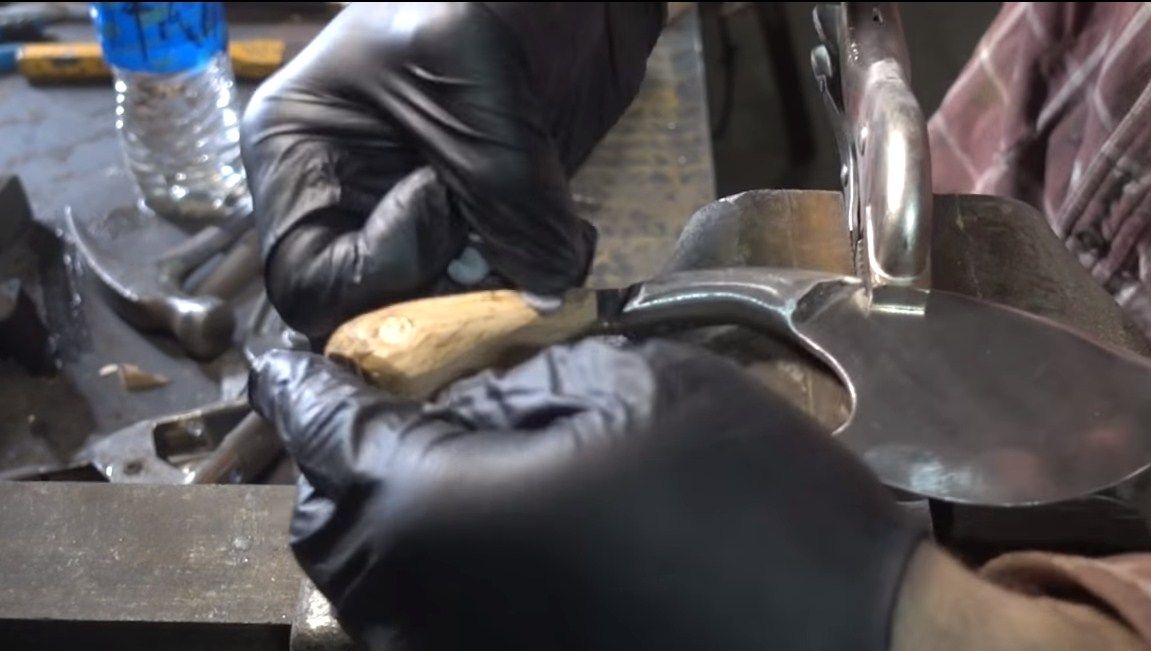
We cut two pads from the board, drill holes for pins in them and in the blade handle. Next, apply glue to the pads, install the pins and tighten the handle with clamps. The author assembled a pen without using epoxy glue. First, he pushed copper tubes into the handle, and then copper pins were installed as rivets.
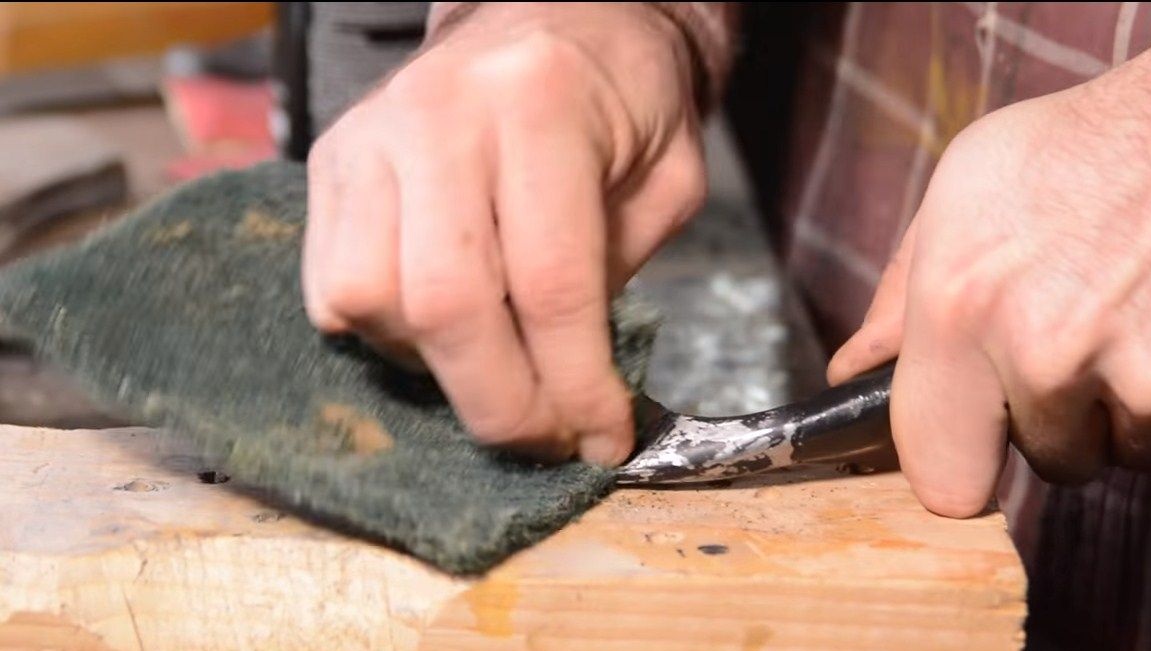
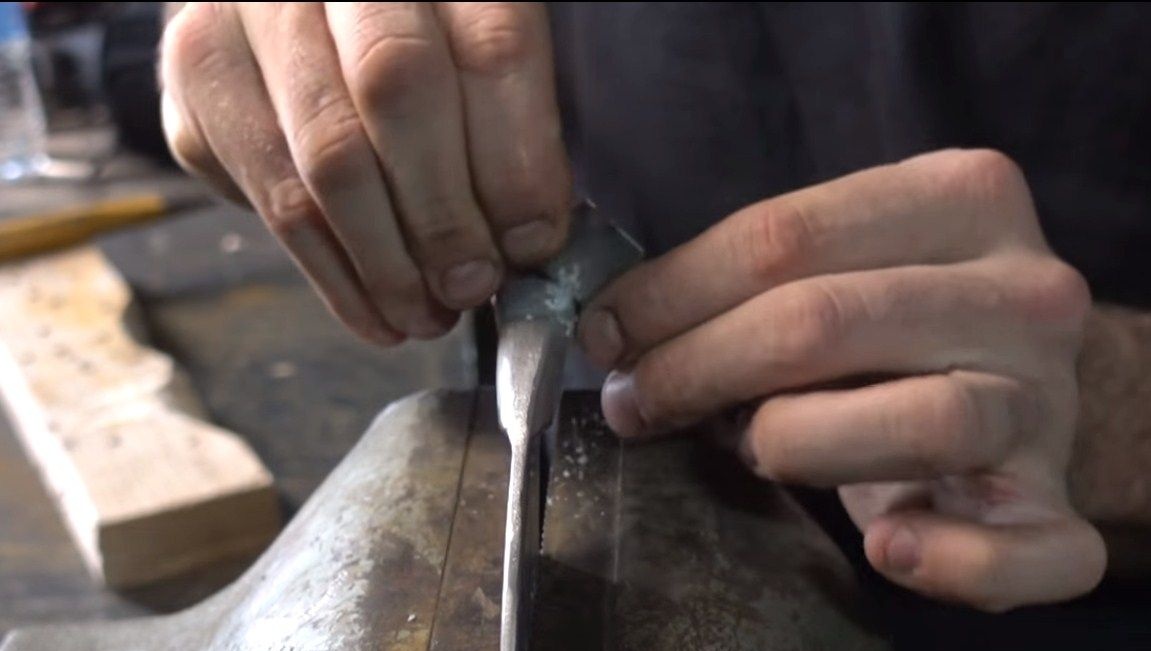
If you also want to use cold welding to decorate the handle, well clean the surface on which it is applied. In principle, then cold welding is easy and simple to process with files and sandpaper.At the end, we grind the entire knife using sandpaper.
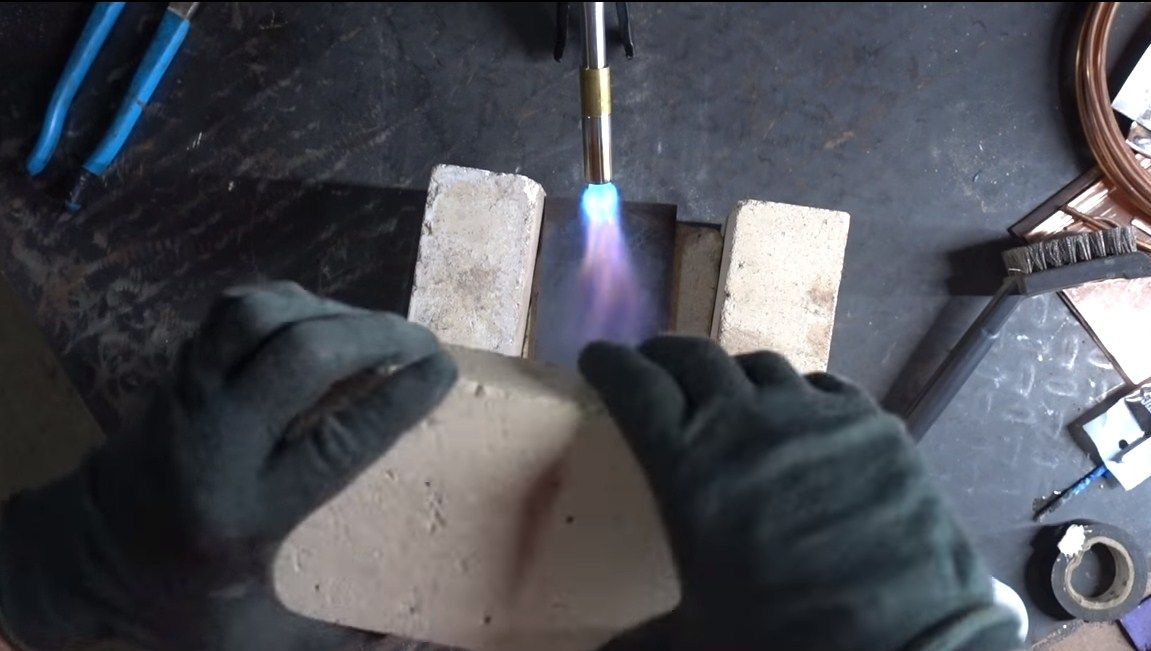
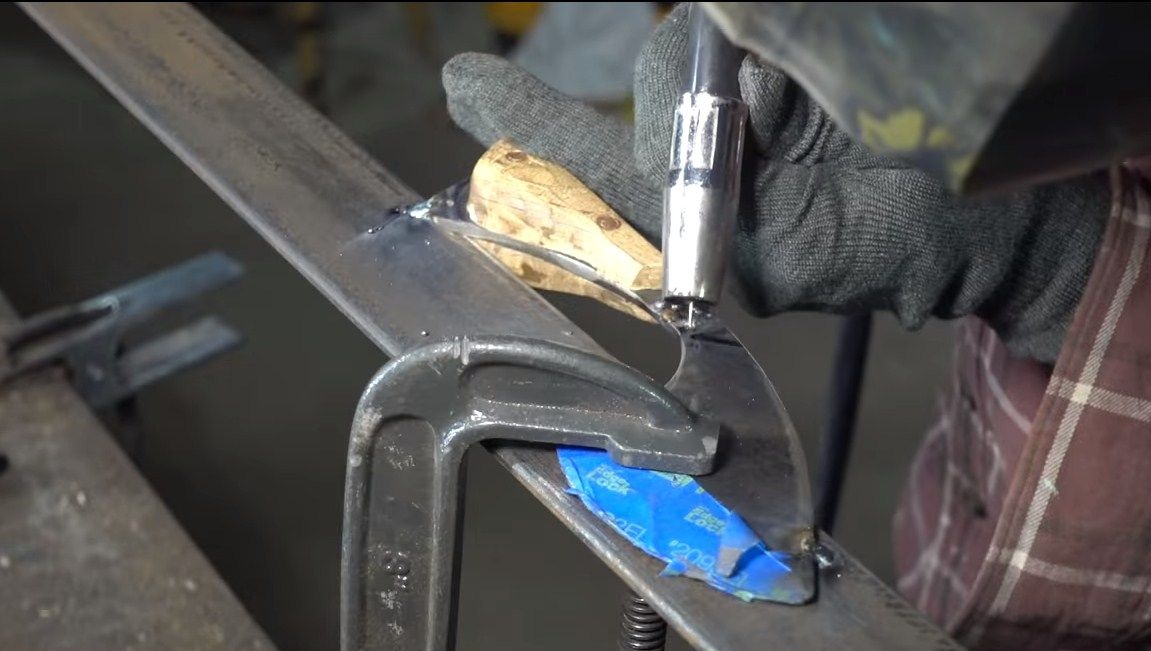
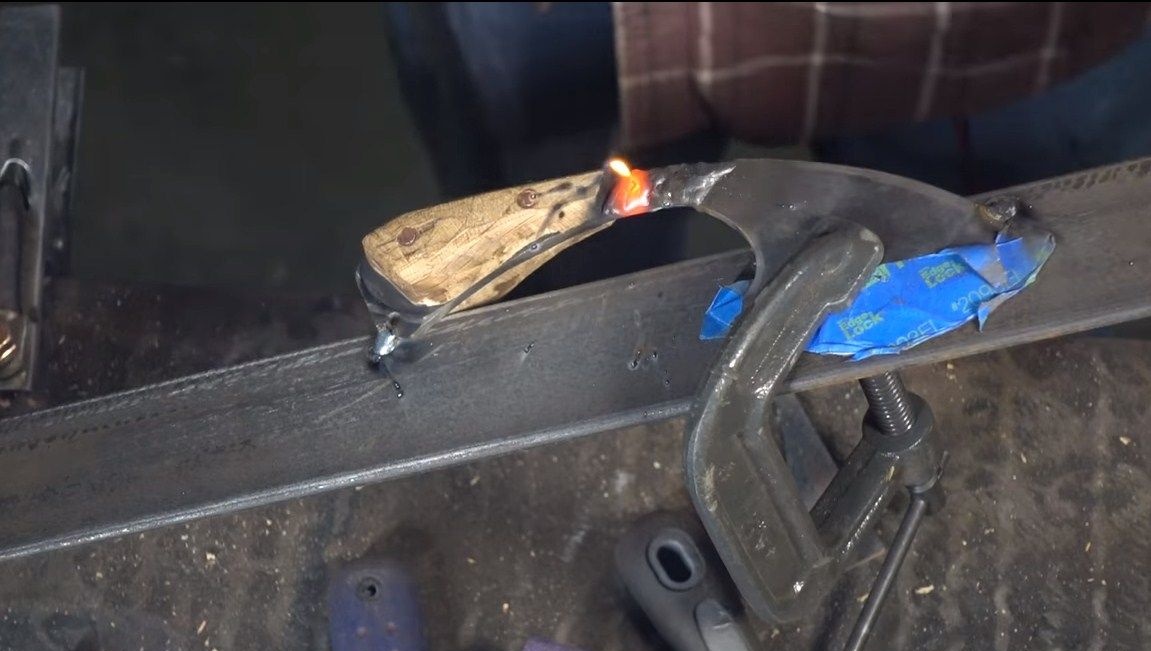
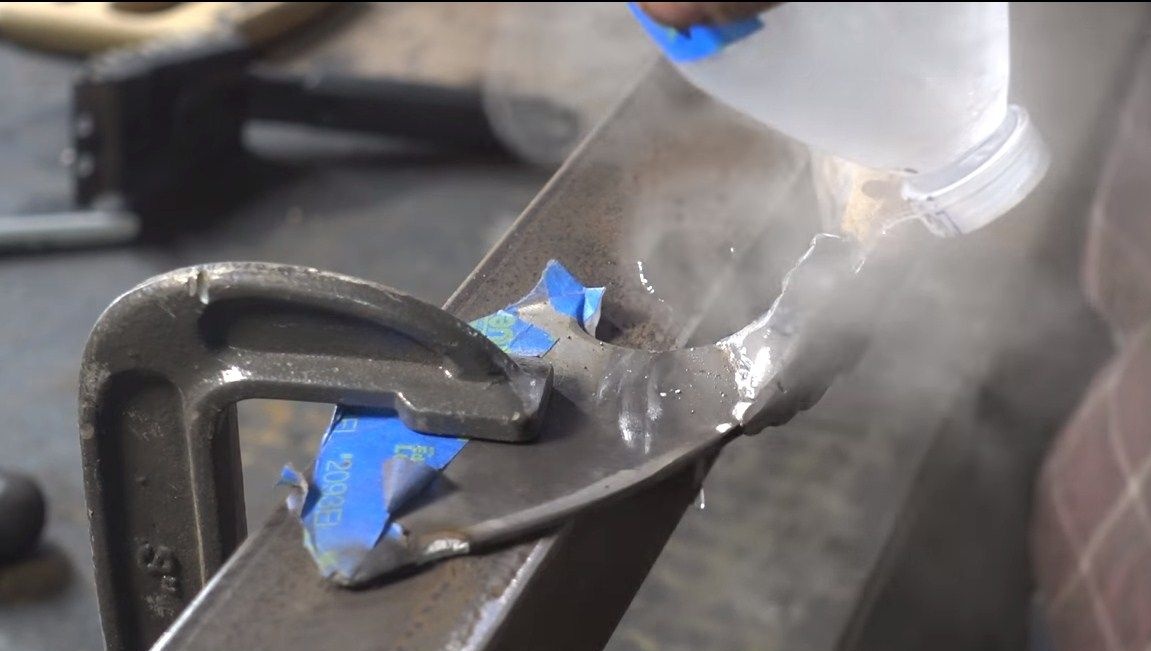
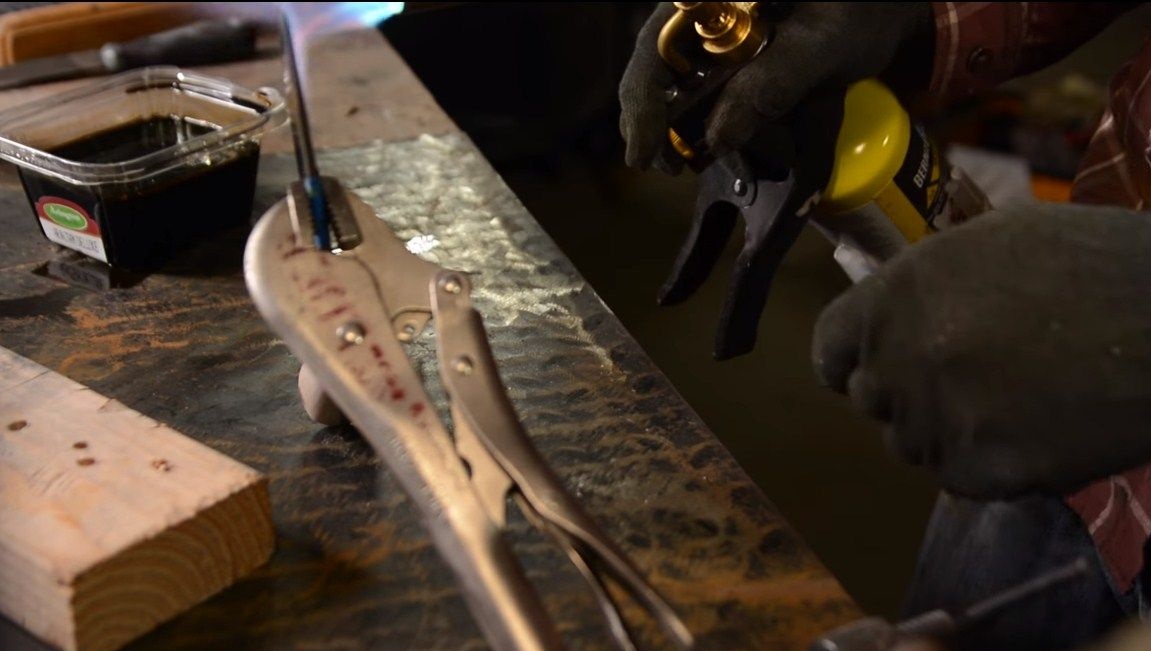
Step Five Quenching
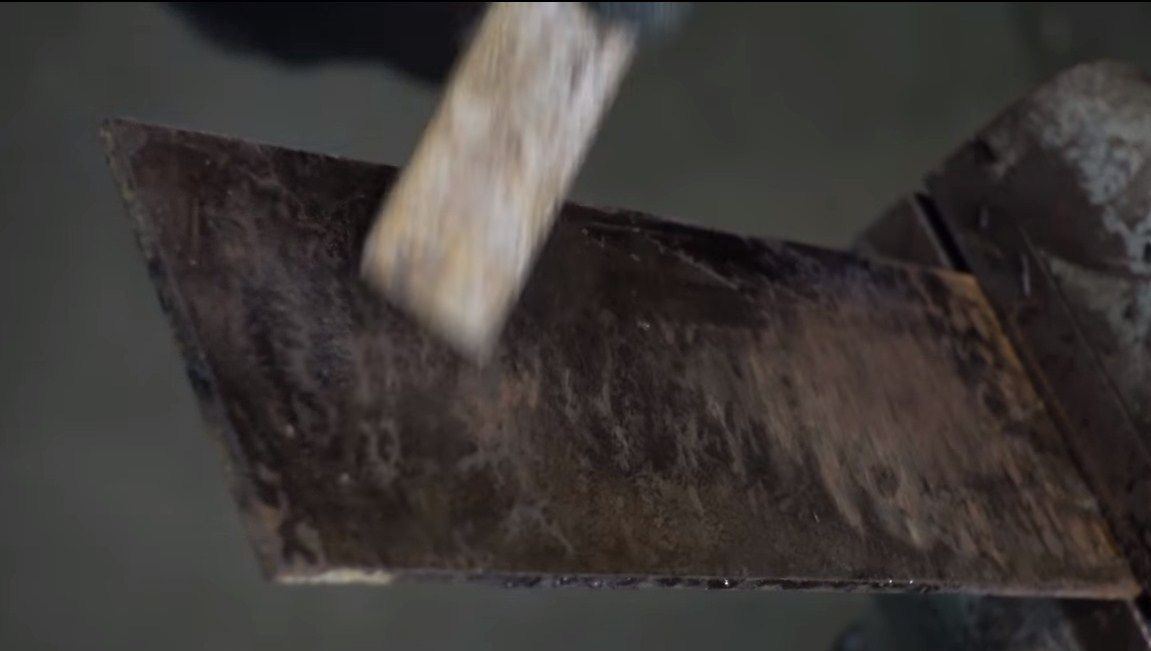
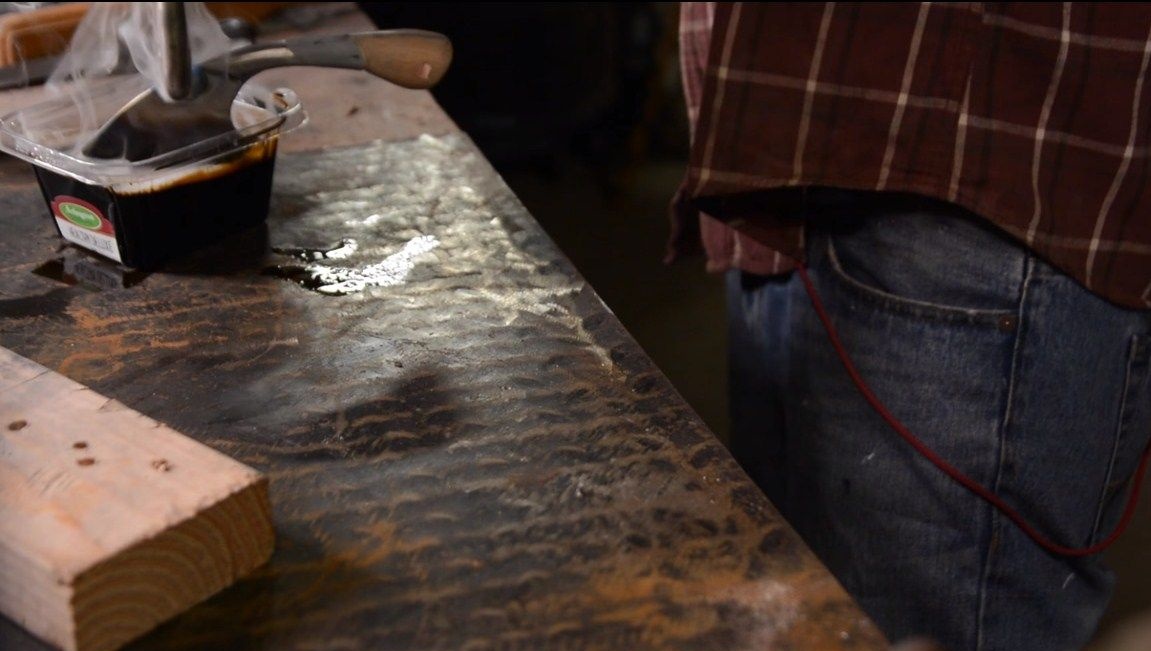
Steel quenching occurs according to a similar method, but for each steel the temperature regime is individual, it is important to understand this. First, heat the blade with a red hot burner, and then lower it into oil. As a result, the author only hardened the blade, which makes the blade quite durable. But such a blade with high load can break off, it is best to let it go. Usually, the blade is heated in the oven for this, but it turned out to be impossible for the author, since the handle is already installed on the knife.
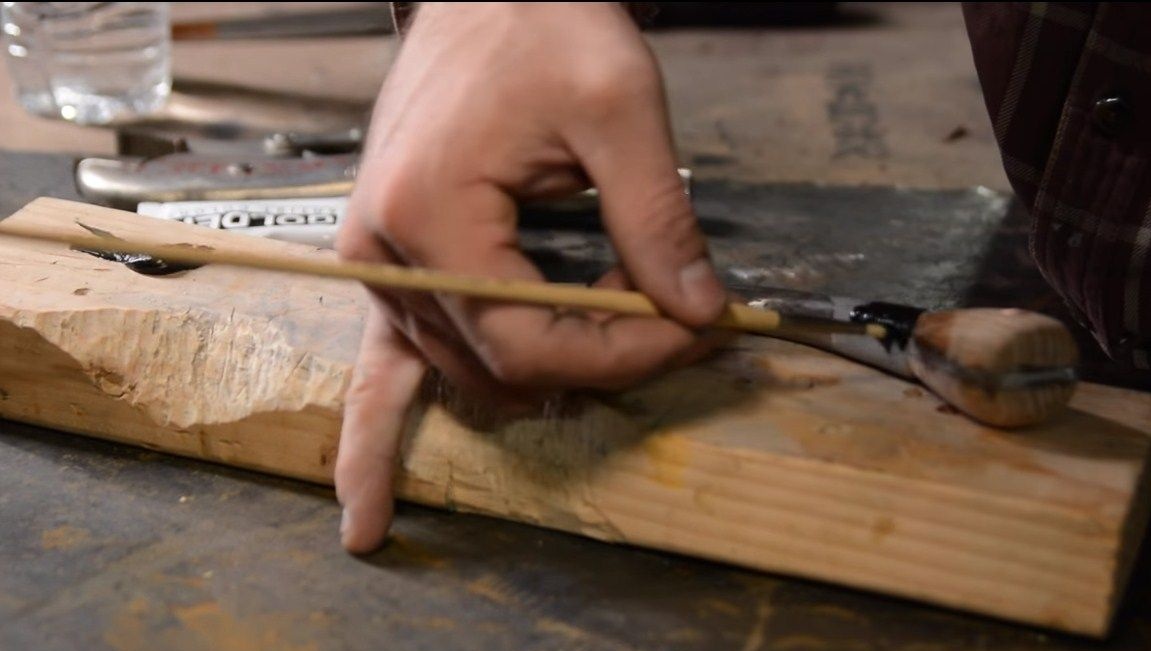
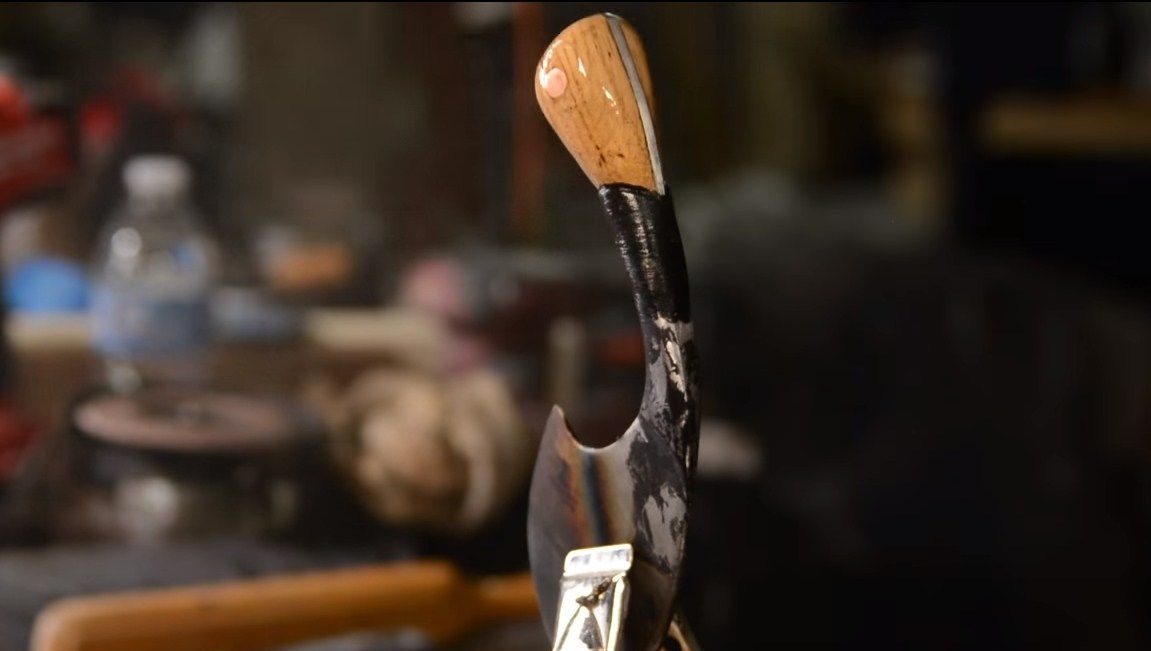
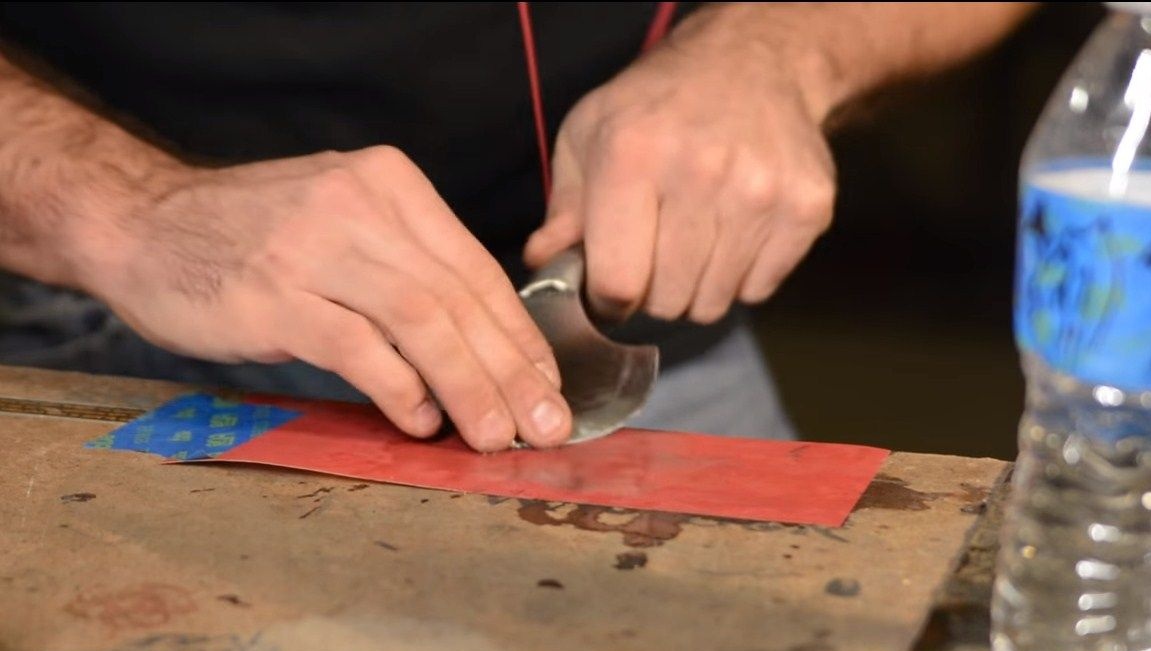
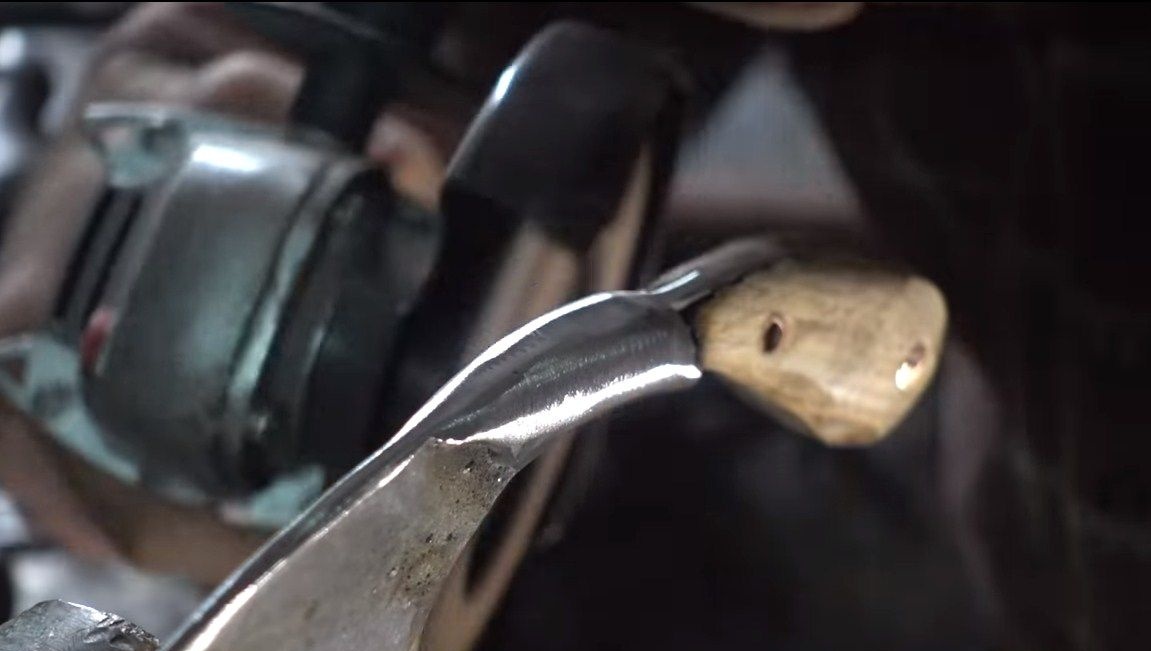
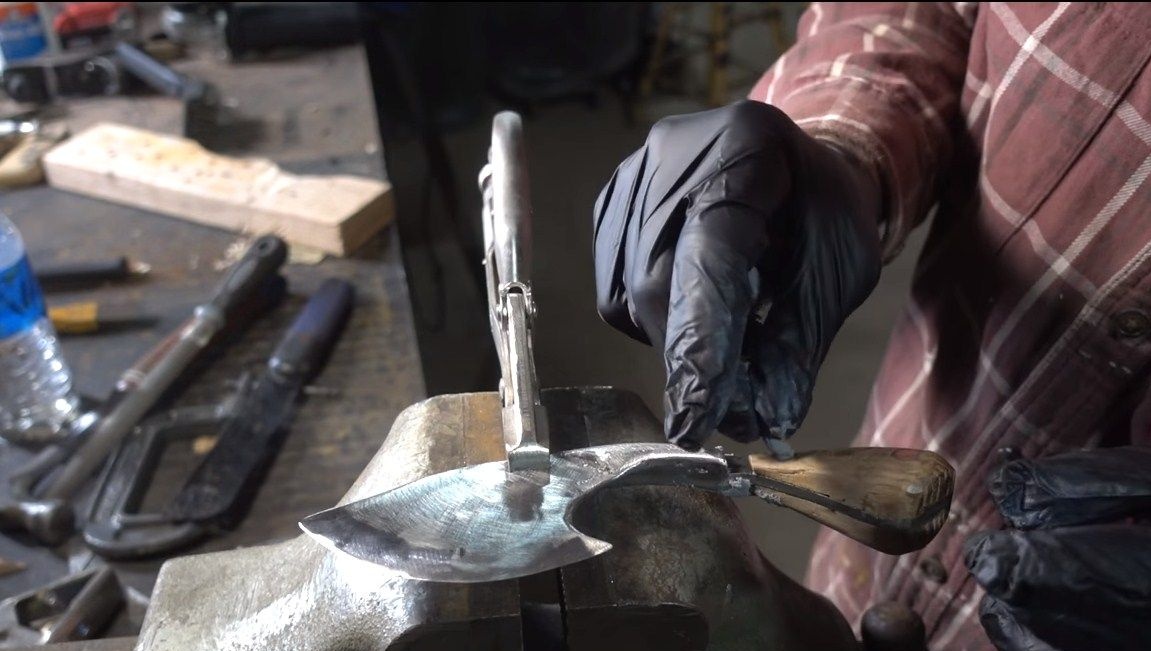
Step Six Final work
At the end, saturate the linings with oil or varnish the handle. As for cold welding, it can be painted. You can also coat the handle with epoxy, then it will become strong and pleasant to the touch. That's all, now all you have to do is just sharpen the knife. We use sandpaper dipped in water for this. The knife is ready!