
Good day to all dear friends! In today's article, I would like to show you a rather interesting homemade, namely a homemade quadrocopter. If you like aircraft modeling, but it’s quite difficult for you to assemble an airplane, then you can start with a quadrocopter. This article will describe in detail how to assemble your own homemade quadrocopter. This assembly will consist of the cheapest components purchased in Chinese stores. Of course, this micro quadrocopter will not boast of its flight qualities, and even some other parameters. But this will help you to master the correct location of the mass on the flying apparatus and the basic settings and the basic functions of the quadrocopter. Oh well, enough of the long preface, let's go!
And so, for this homemade product we need:
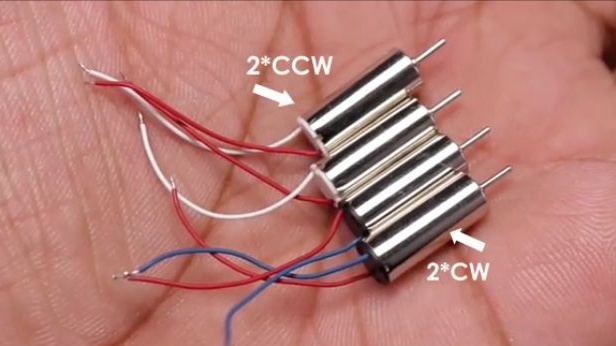
- electric motors 4 pcs. (2pcs CW and 2pcs CCW are sold in a set of 4pcs.)
- suitable screws for electric motors 4 pcs.
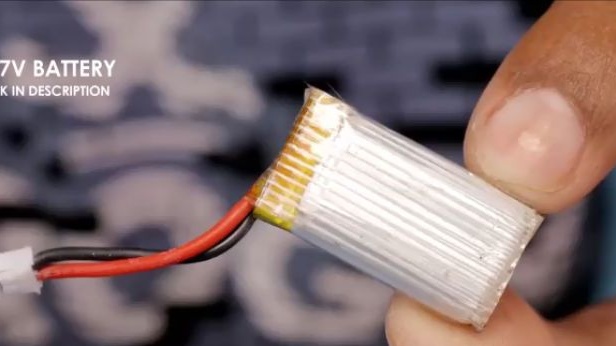
- A suitable size 3.7V battery.
- charging cable for the battery.
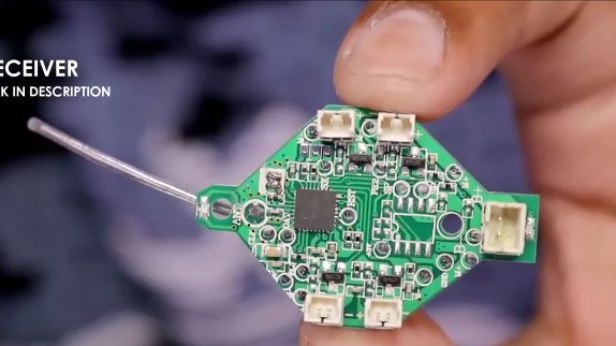
- control board.
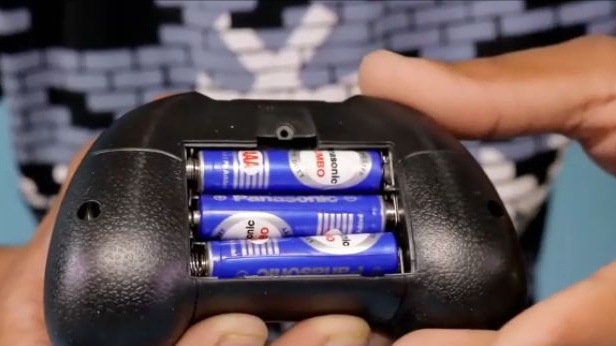
- equipment for the control board.
- a sheet of ABS plastic (you can use a box from a DVD disc).
- wires.
- term shrinkage.
Of the tools we will also need:
- soldering iron.
- stationery knife.
- drill.
- drill.
- ruler.
- marker.
- double adhesive tape.
- terma glue.
- Super glue.
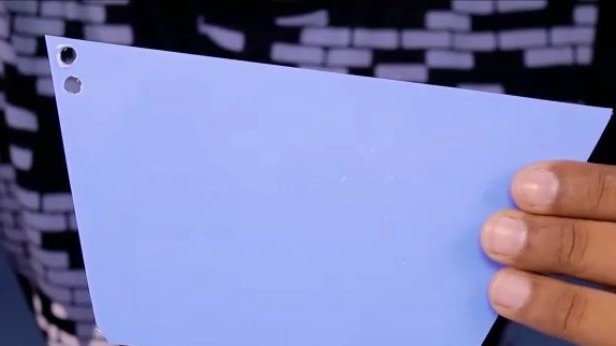
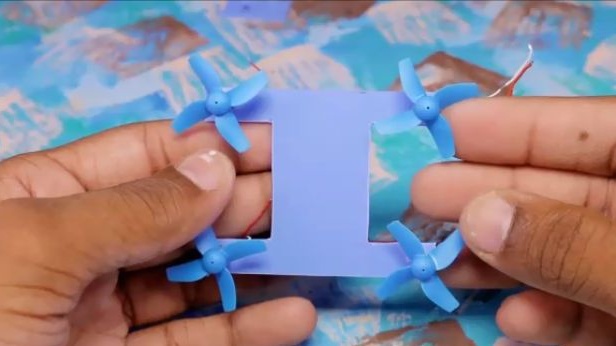
First, we should make a frame on which the quadrocopter will assemble. For the manufacture of the frame, we should take a sheet of plastic, ABS plastic is best suited, since it is very light, which is very good for a micro quadrocopter. But if you do not have such plastic, then a box from a DVD disc or a food container is perfect.
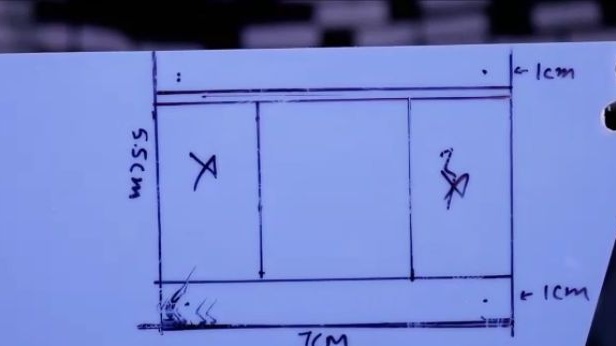
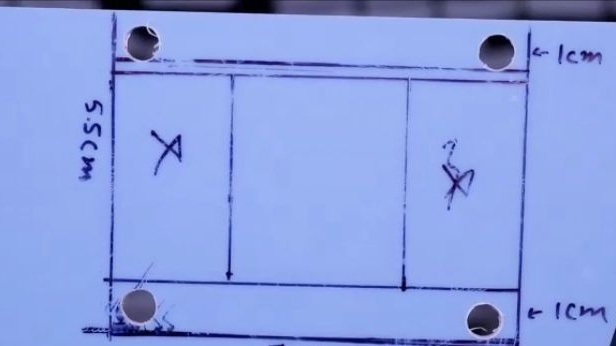
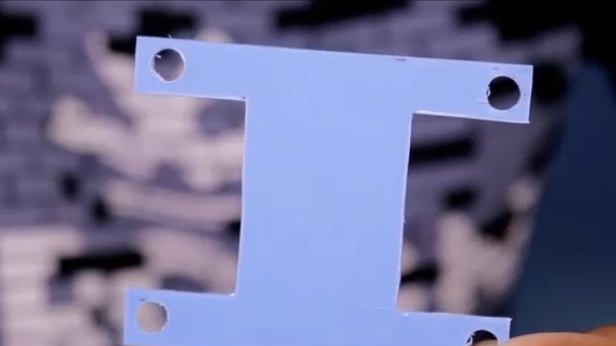
Having dealt with the plastic for the frame, on the plastic itself we make similar marks, approximately, such as those shown in the photo below. You should also pay attention to the marked points, electric motors will be installed in these places, which means that they must be marked as accurately and symmetrically as possible.
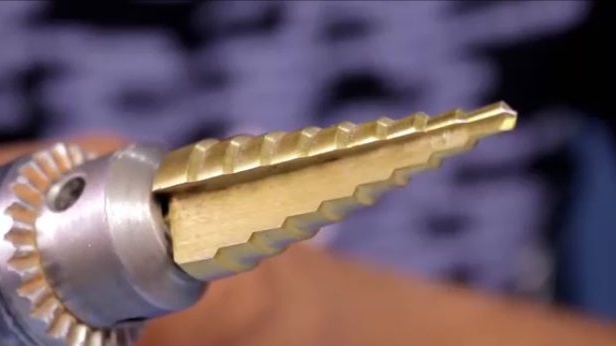
Our next step is to drill holes for mounting motors. This is a very important stage, since the controllability and general behavior of the quadrocopter will depend on this. For drilling, it is better to use a stepped drill, it will be very convenient for them to make a clear outline. But if you don’t have one, then you just need to take a drill of a suitable diameter, that is, the diameter of the drill should match the diameter of the electric motor.
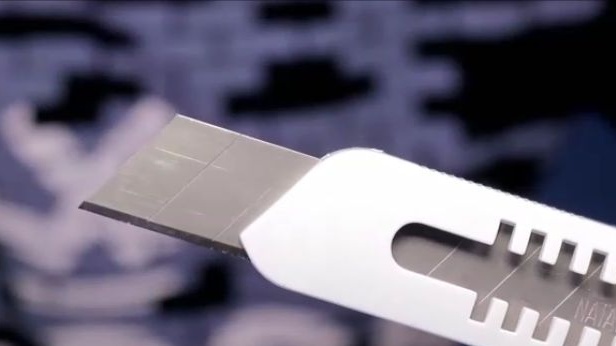
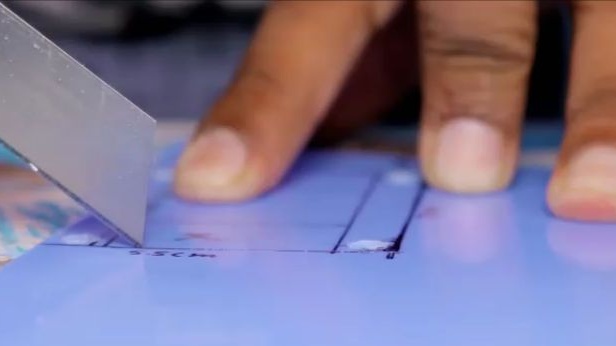
Then we need to cut out the frame itself.We will cut using a clerical knife. I advise you to do this using a ruler, applying a ruler, pressing hard, hold with a knife and break off, bending the plastic. Try to do as carefully as possible.
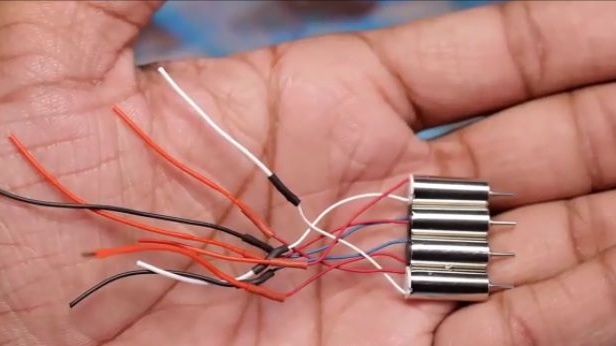
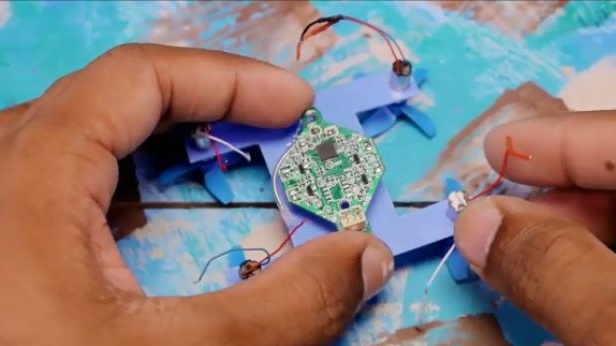
Let's move on to installing electric motors. This is not quite as simple as it might seem, since the purchased Chinese kit contains 2 CW format engines and 2 CW engines. But first, we increase the length of the wires on the electric motors, since their length will simply not be enough for us. Solder the 3-4-cm wire segments and isolate the term with shrinkage.
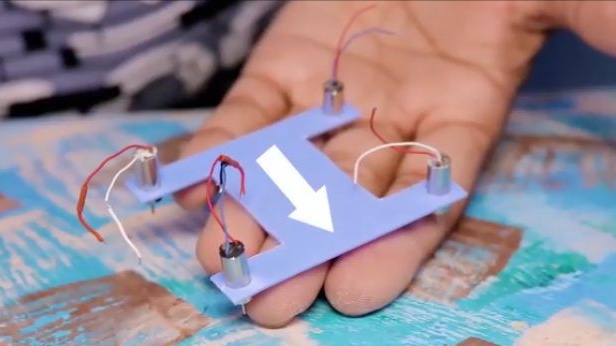
The image below shows how to install electric motors. The arrow on the image points to the front of the quadrocopter. And install the electric motors according to the image.
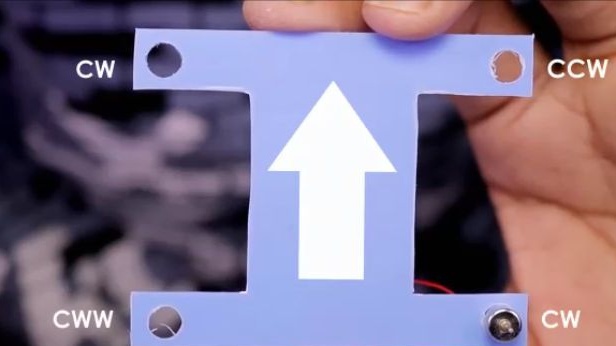
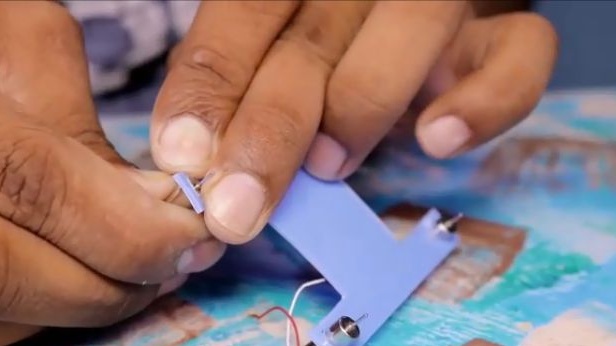
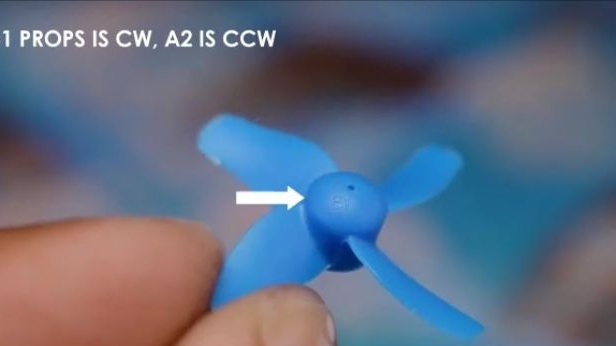
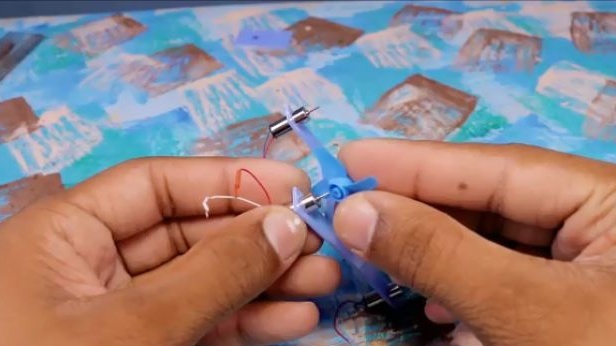
The next step is to install screws on the motor shafts. Here, too, is not so simple. If you look closely at the screw, then on it you can see the inscription "B1" or "A2". What does it mean that a screw with a rating of "B1" should be installed on a motor with a rating of CW, and a screw of "A2" on a CCW motor.
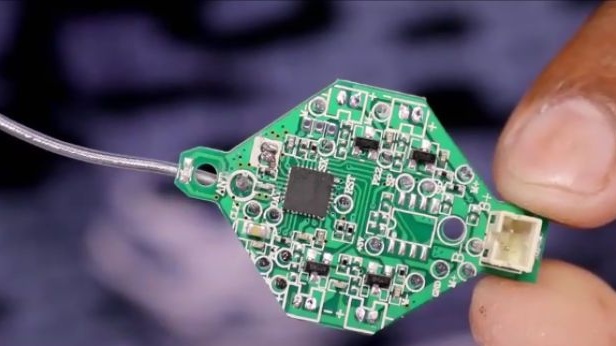
Then we take the quadcopter control board and unsolder all the connectors for electric motors from it.
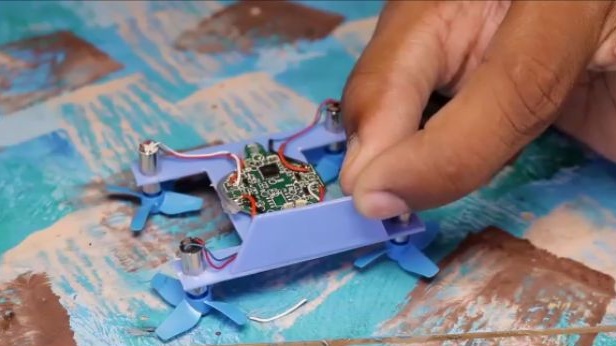
The control board should be glued to the frame of the quadrocopter strictly, as it is indicated in the photo below. And you should install this board using a term of glue, of course it would be better to screw the board with screws, but the screws are much heavier than a couple of drops of the term glue.
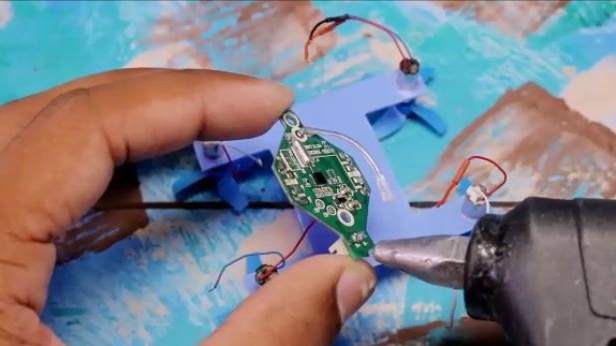
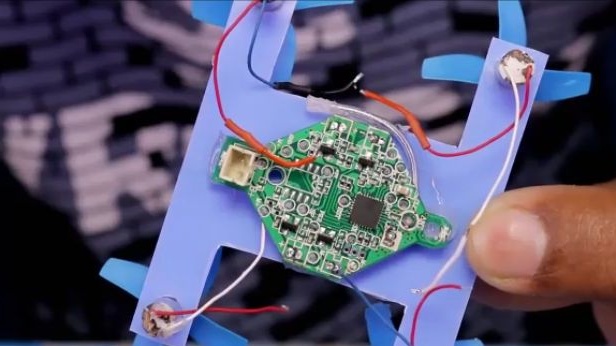
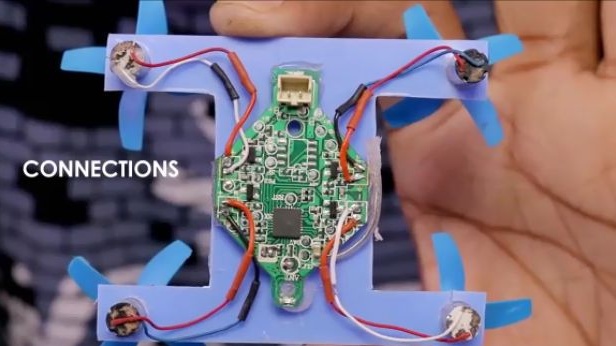
Solder the contacts from the electric motors to the control board in the same way as shown in the photo below.
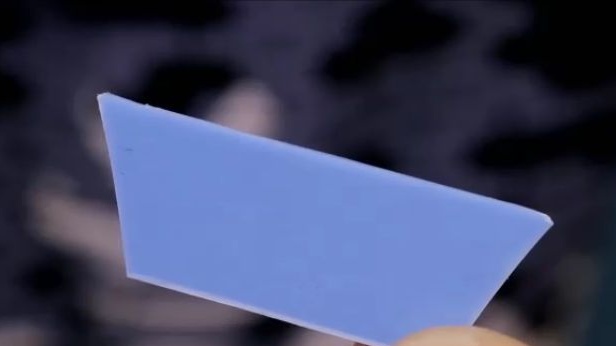
Next, we cut out of the same plastic a suitable trapezoid. We need 2 pieces of such blanks. They will fulfill the role of both legs and quadrocopter protection.
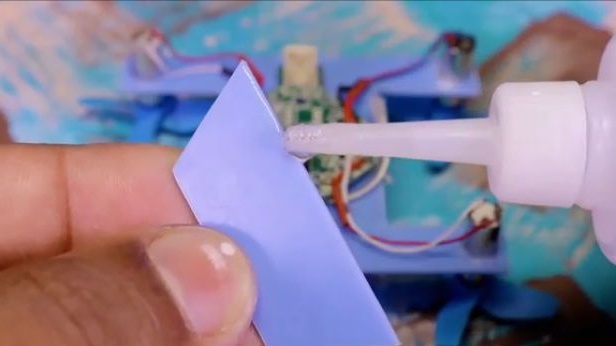
The cut trapezoid should be glued to the indicated places. Glue best on super glue. We put super glue on the trapezoid, wait about one minute, apply it to the frame and wait for the glue to set.
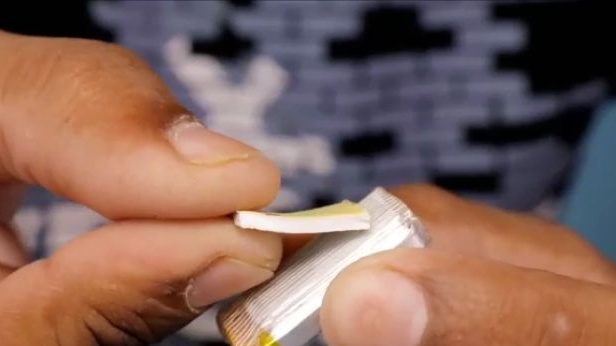
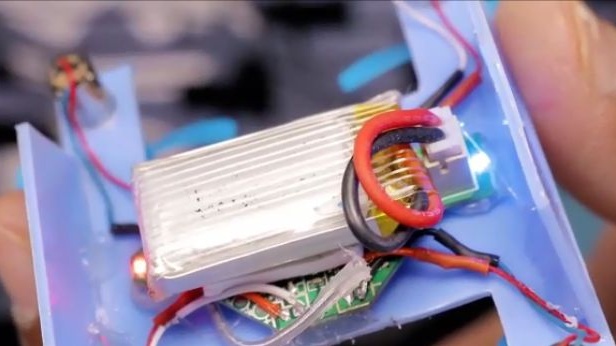
Then we should fix the battery on the case, we will fasten using double tape.

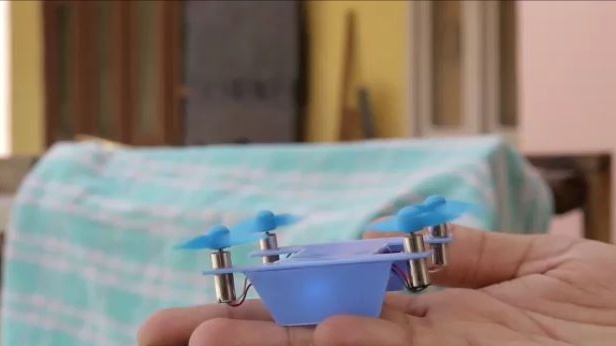
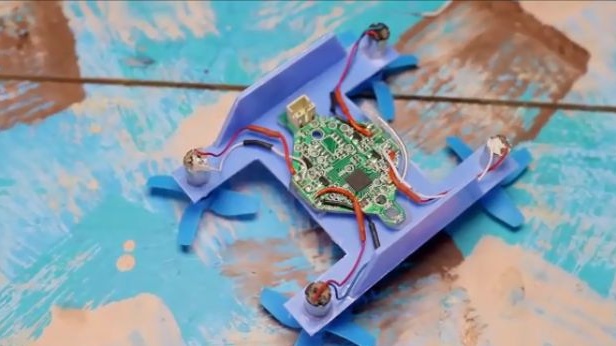
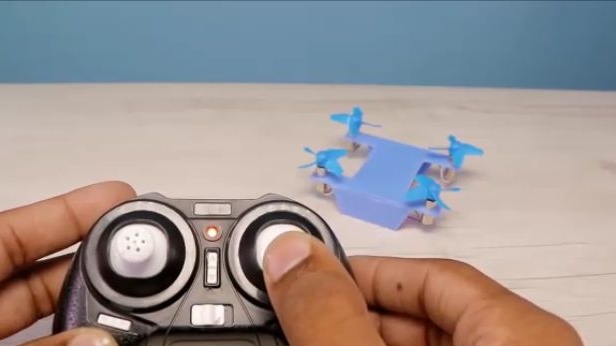
We insert the connector from the battery to the control board, and if the blue LED lights up, then everything is fine.
After turning on the control board, turn on the equipment. By moving the sticks, the equipment connects to the control board, and the blue LED stops blinking.
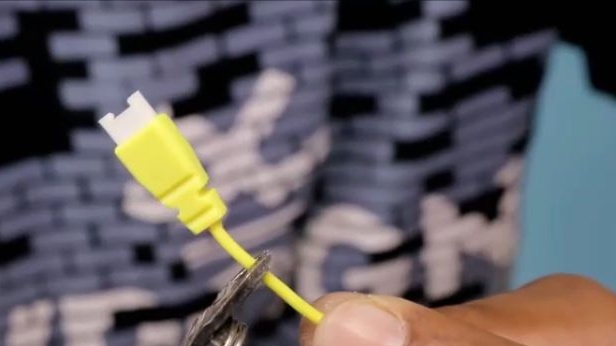
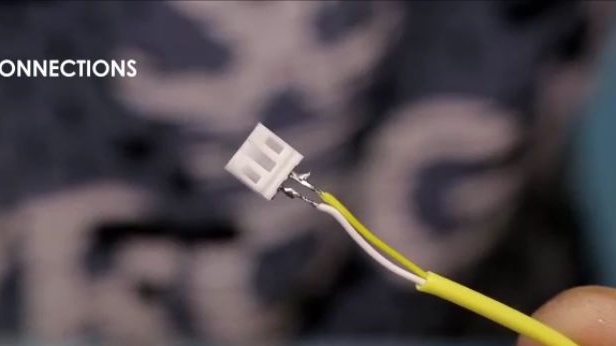
You should think about charging the battery of our micro quadrocopter. To do this, take a ready-made USB cable with a charging module. But since the connectors did not fit, the author of the homemade product simply soldered the connectors.
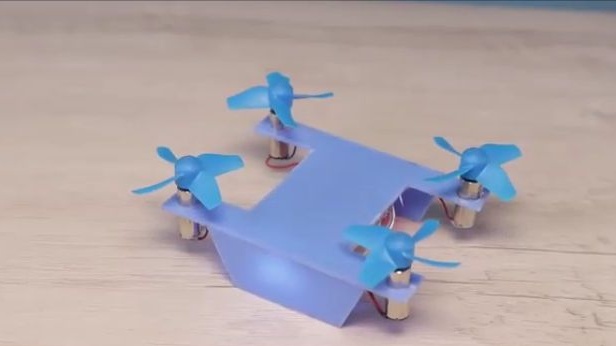
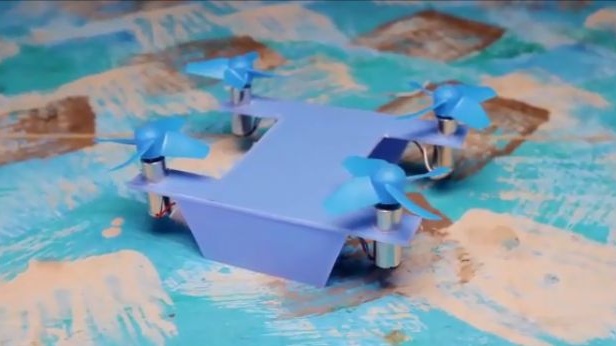
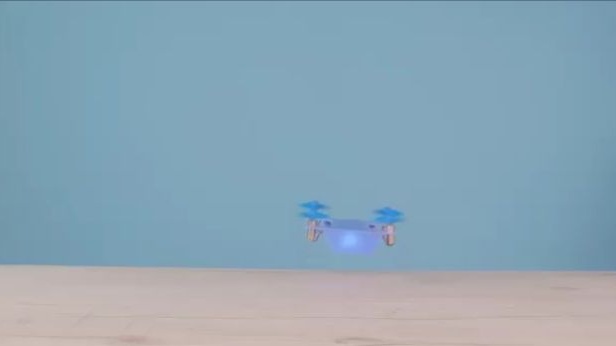
All is ready! Now it remains to adjust the speed of each engine and enjoy the flight. It should also be added that in order to start the electric motors it is necessary to reduce the sticks to the center and the motors will begin to rotate at minimum speed. As a result, we got a funny quadrocopter with which it will be interesting to play with both a child and an adult, since he knows how to carry out coups and fly quite fast.
Here is a video from the author with a detailed assembly and testing of this homemade product:
Well, thank you all for your attention and good luck in future projects, friends.