

When converting a screwdriver to a lithium-ion, I charge it through the adapter wire using Turnigy.
The alteration is simple, but the charger is not available to everyone.
I decided to make a simple and reliable balancing charger. Most of the parts can be found at any master, and a number of parts are available for order from China, or you can buy them at a radio goods store.
Tools and materials:
- housing for the device;
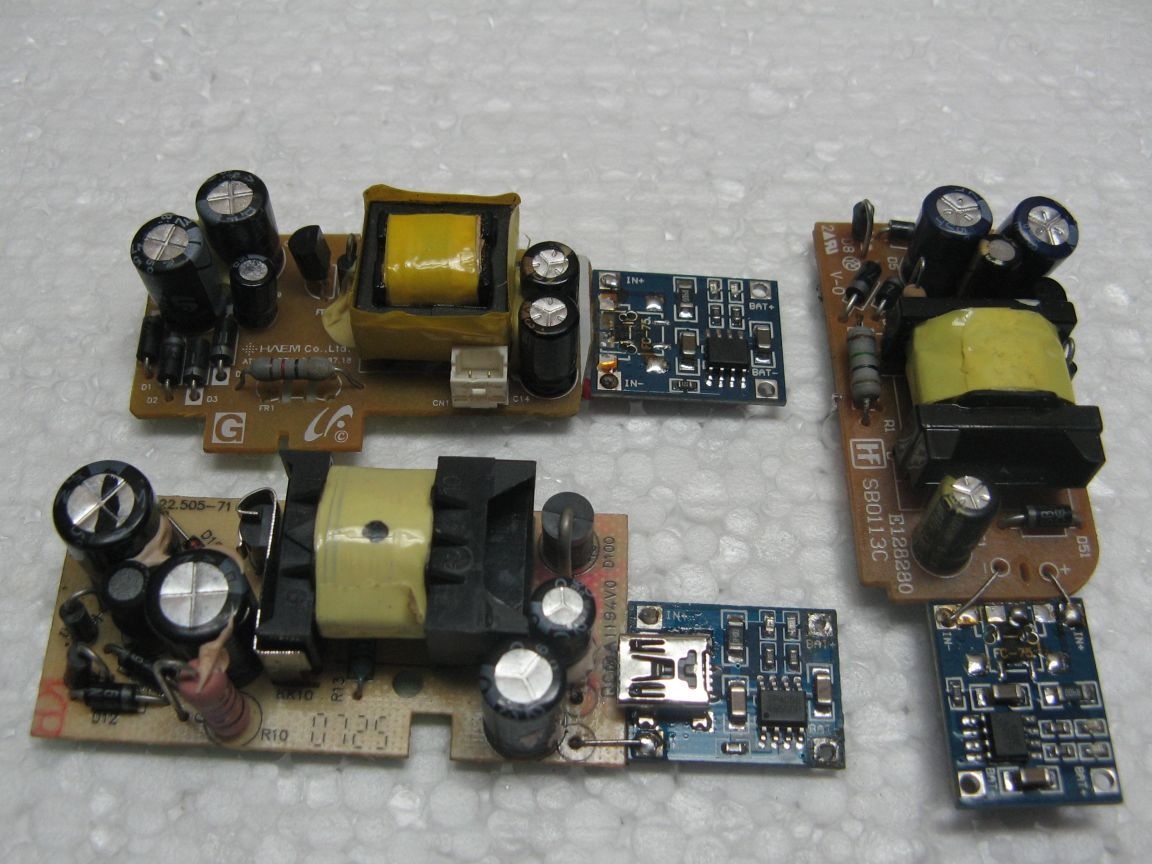
- charge cards for the tablet;
- controller for lithium-ion;
- connector with pins;
- connector with sockets;
- switch;
- wires, soldering iron, glue gun.
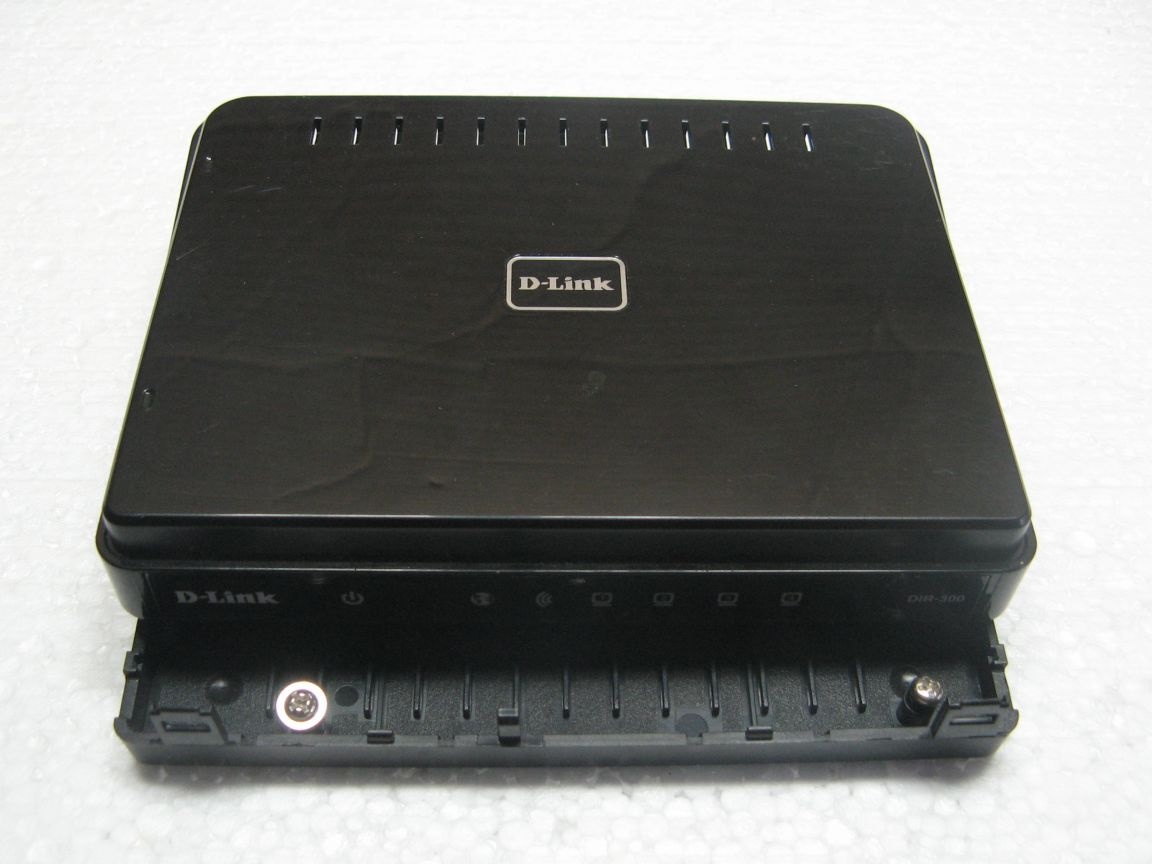
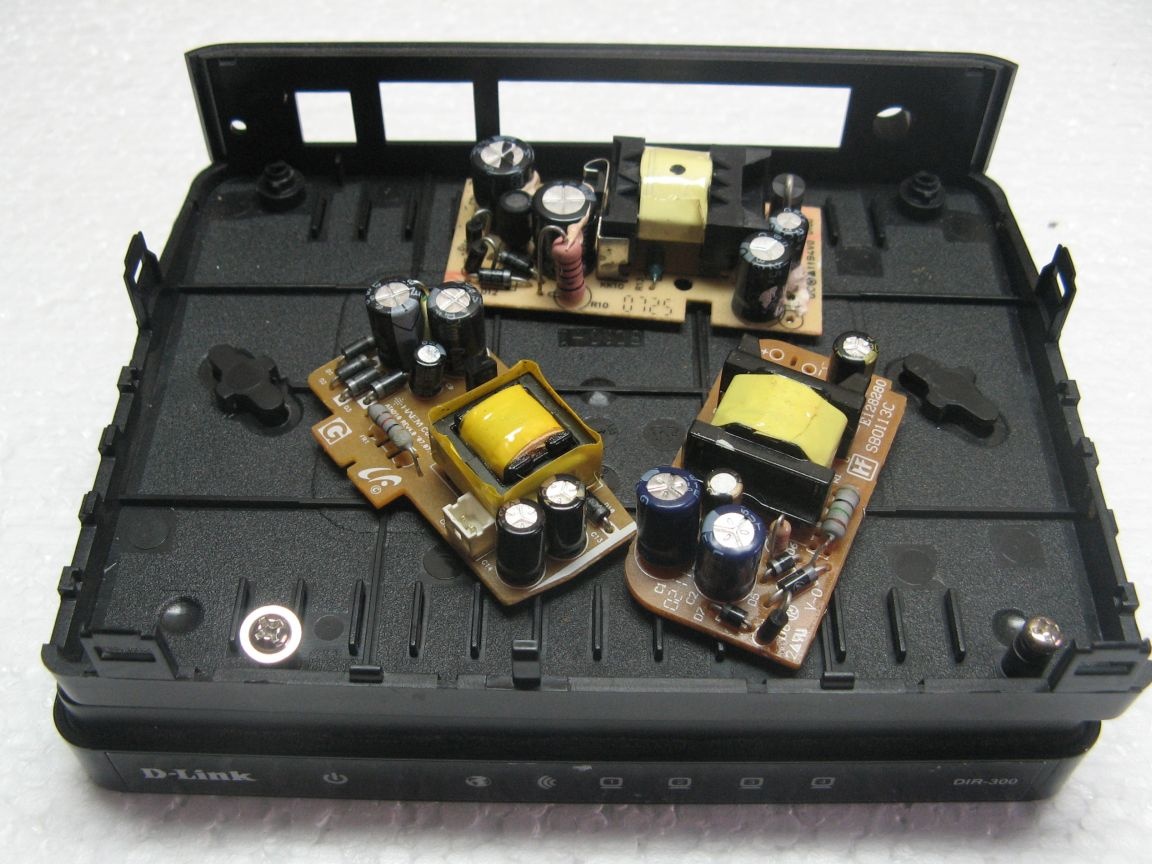
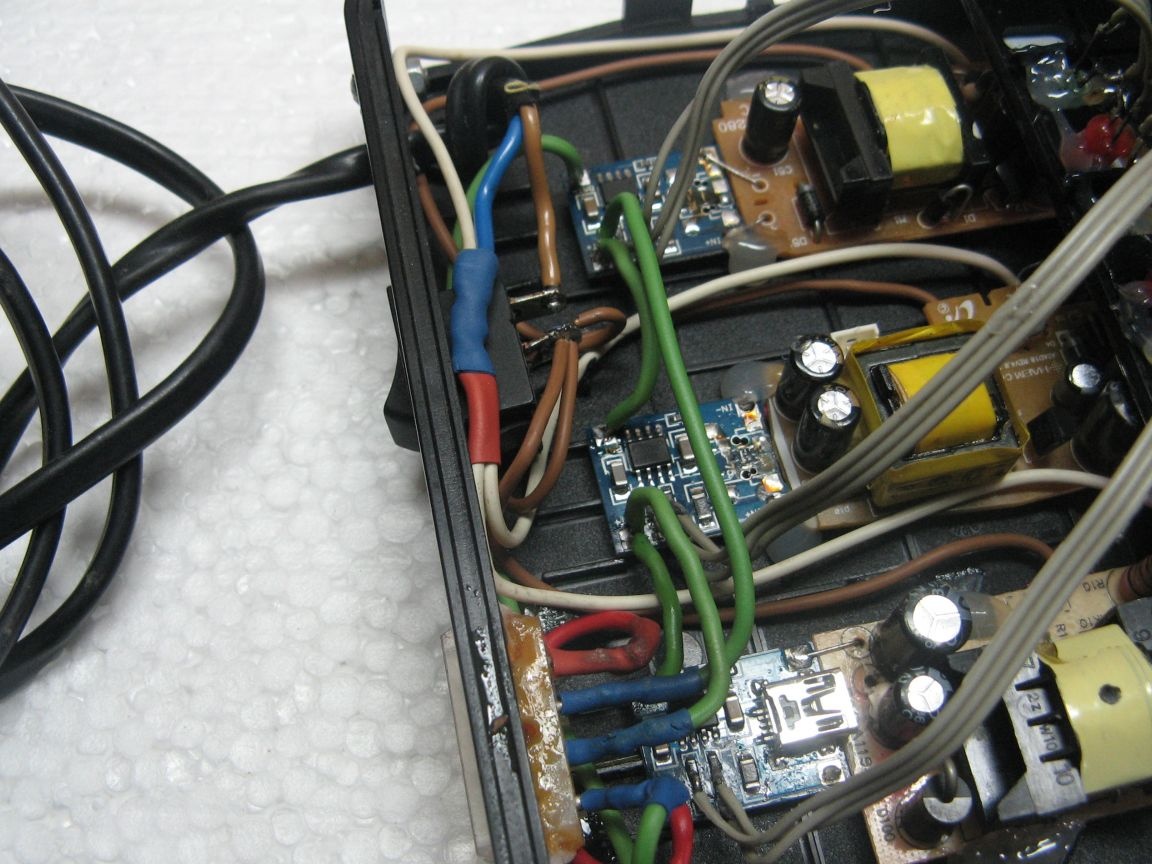
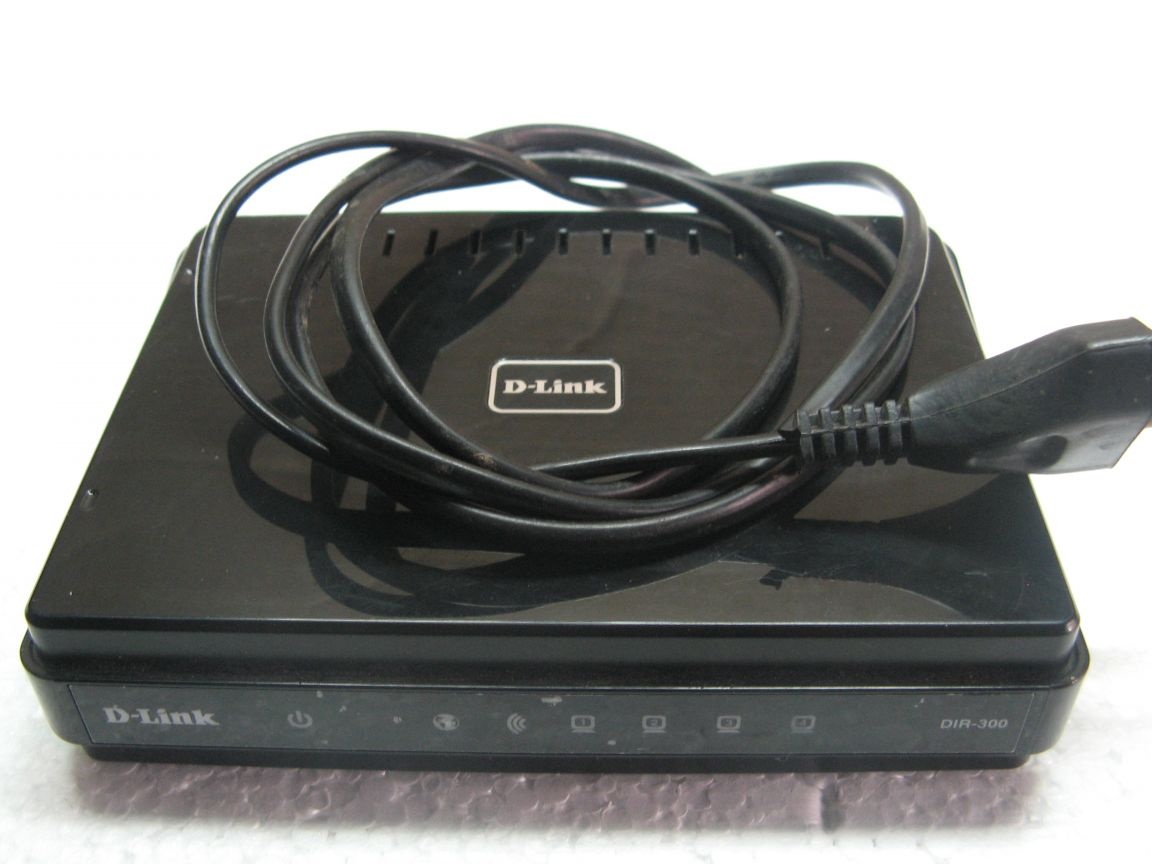
I will mount the charger in the case of a burned-out router. In the process of mounting the circuit, I realized that I chose a small case. The assembly process was a little complicated, but I coped with the task, but more on that later. The router board may still work for something.
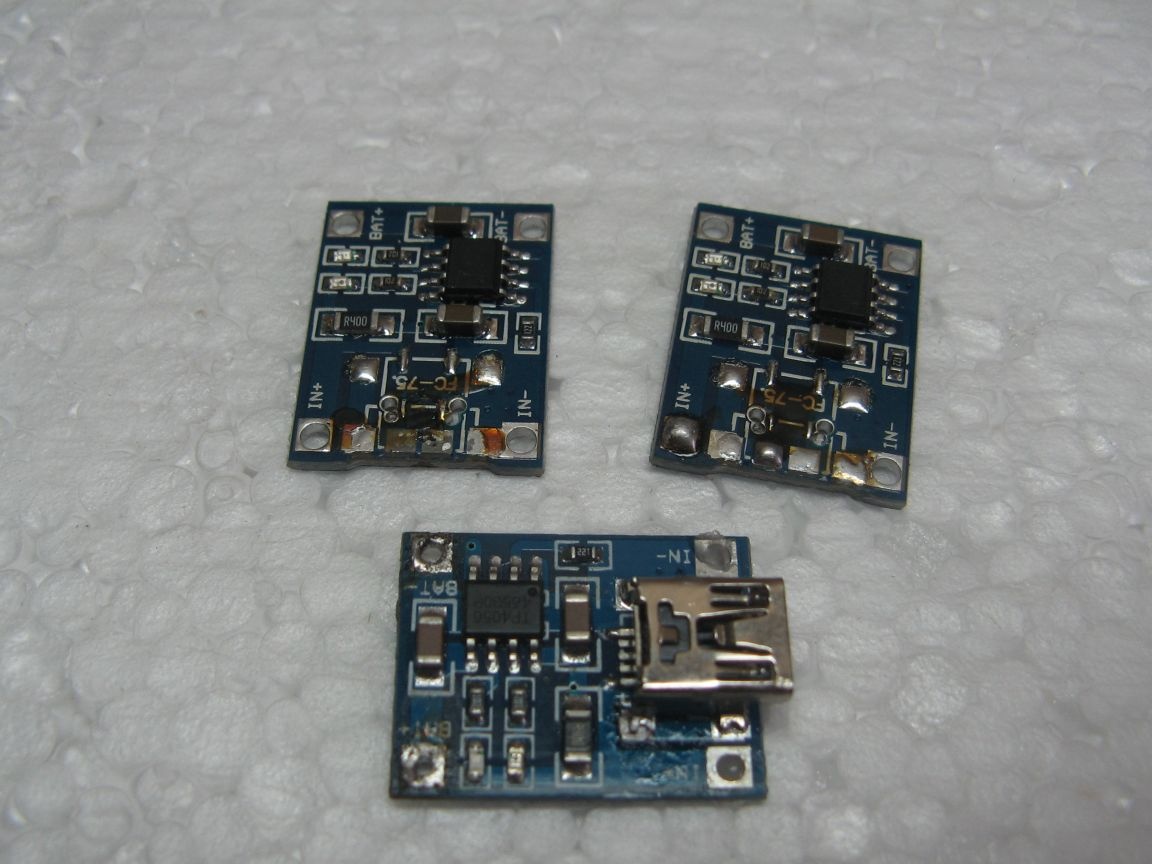
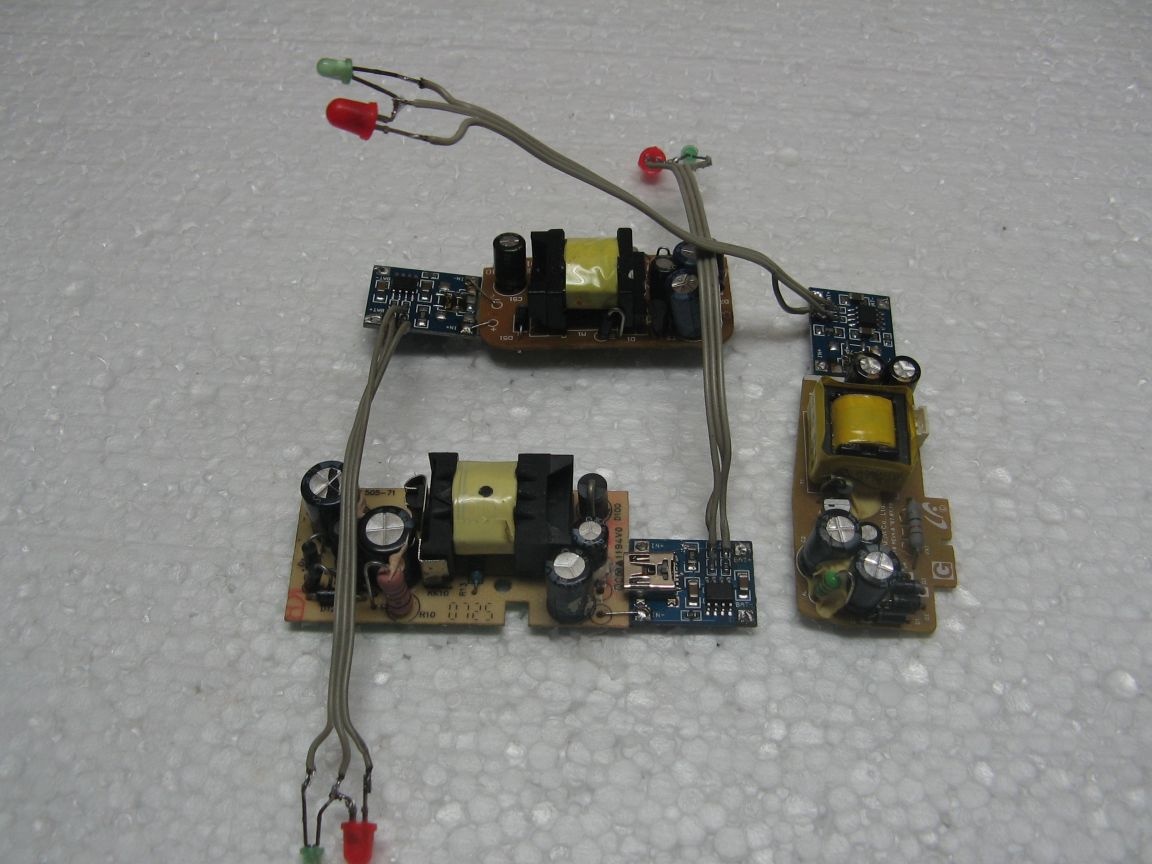
For each channel, I will use charge cards. The number of boards, you can apply more or less. I have three channels and there are also three charges.
The charge controllers for the lithium ion will monitor the charge process. You can apply with BMS, but in this case it is not needed. I have one new board, and two with soldered connectors (I used them somewhere). The connector does not interfere with the work and the assembly process.
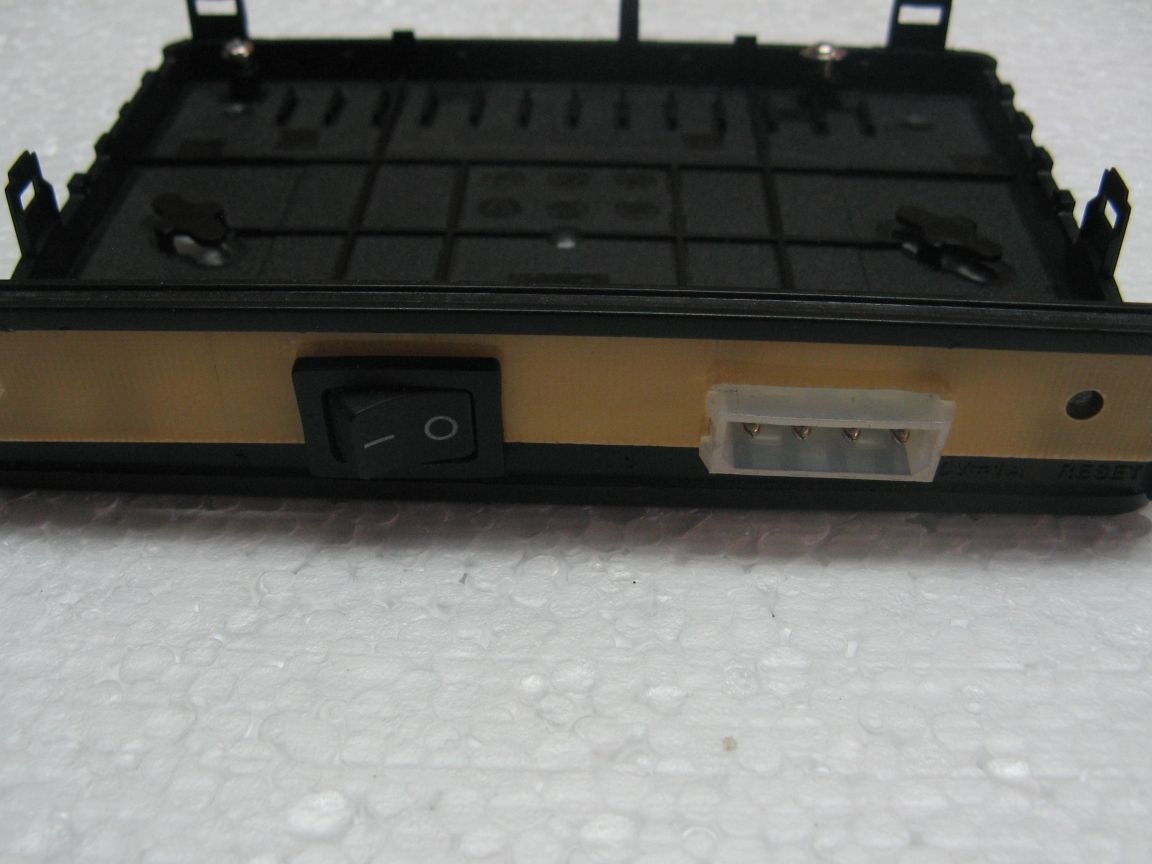
On the back of the router, you need to cut a strip of plastic. I have fiberglass with a thickness of one and a half millimeters. In the strip, cut out the windows for the power switch and the balancing connector.
I used the connector from the old hard drive, 4 pins. The switch was removed from the burned ATX unit. Just drilled holes for the screws. for fixing the strap. Later I will drill a hole for the power cord. The connector stuck on a soda with super glue.
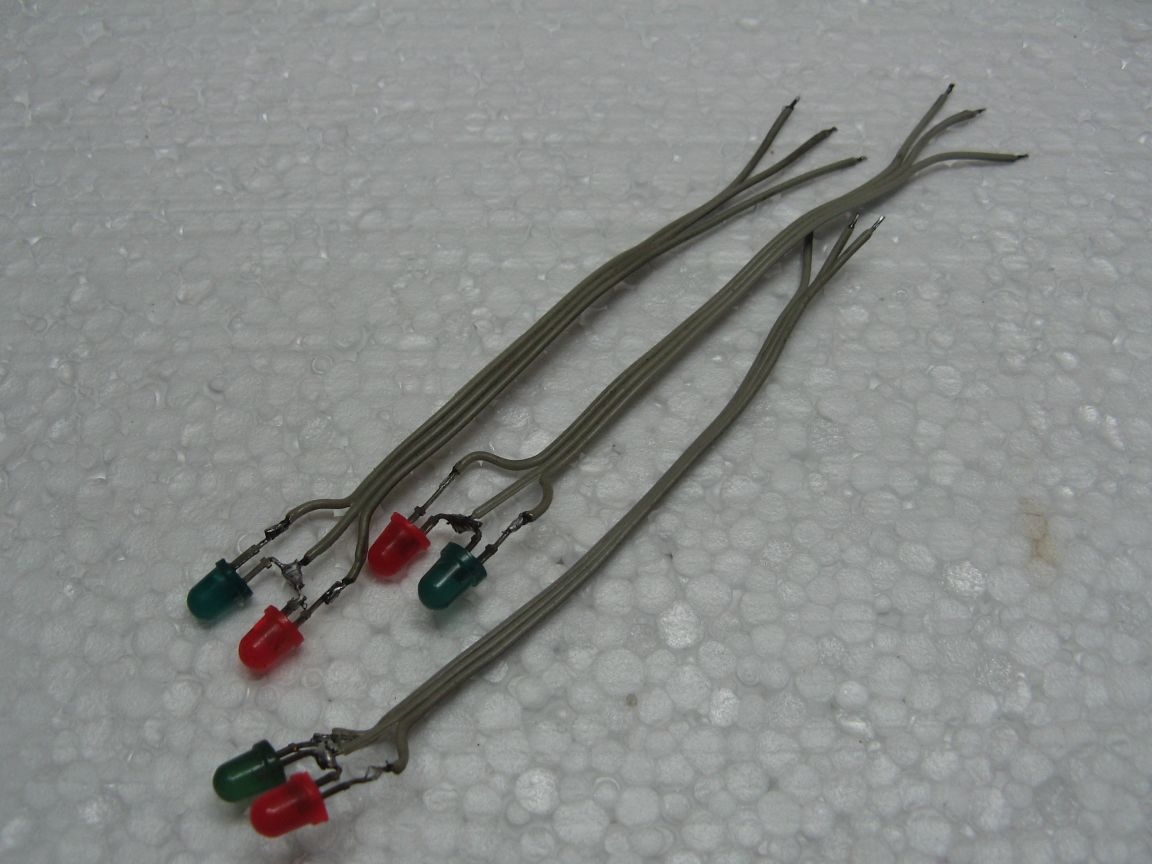
Charge controllers will be installed in the housing and the display will not be visible. For this, I took multi-colored LEDs. Red indicates the charge process, and green indicates its end.
To solder the LEDs to the board, I applied IDE line segments.
The controller boards must be connected to the charge cards. I connected them with a tinned wire of 0.5 mm.It turned out pretty tough.
The cables with LEDs were soldered instead of the standard LEDs of the controllers. It is immediately evident that the green LED has decreased in size. I made a mistake and did not check the LEDs, they turned out to be burned out. Soldered which came to hand.
Boards glued to thermo glue. They hold perfectly, I tried throwing them to the floor)) Before gluing, I soldered the network wires.
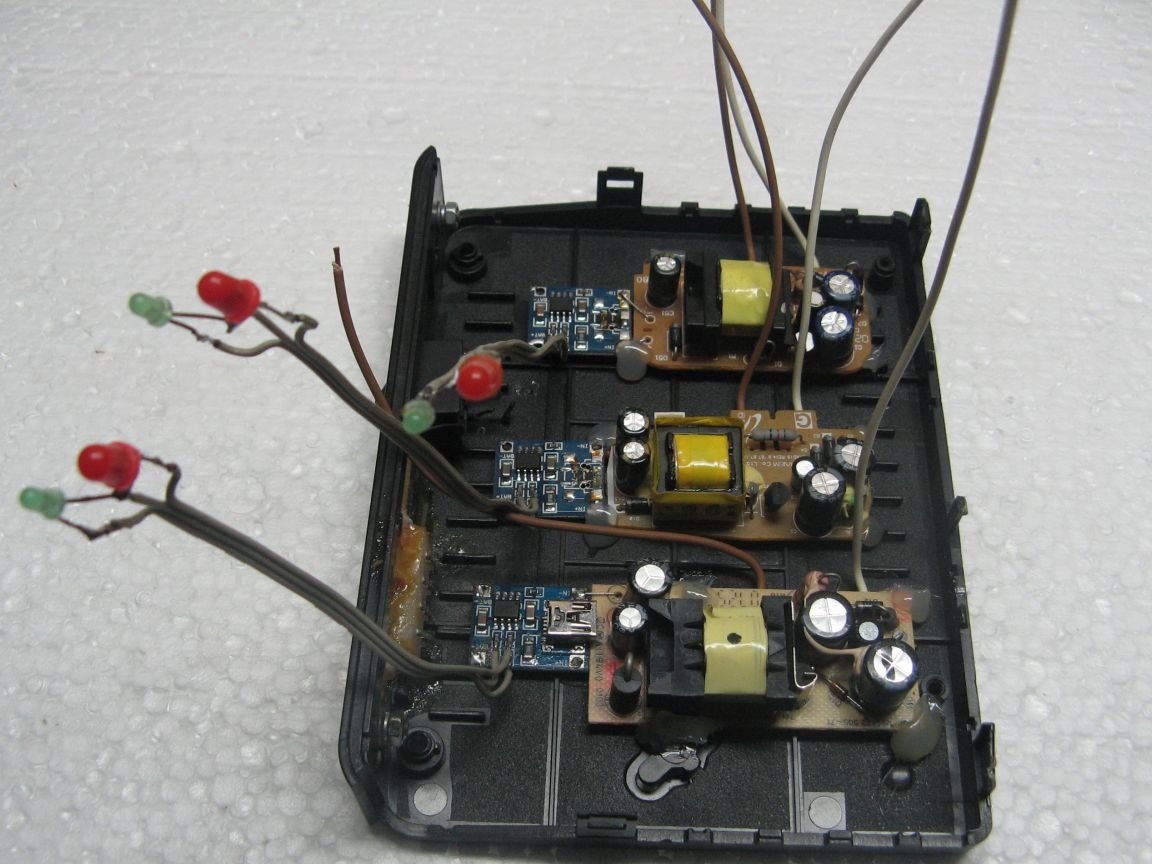
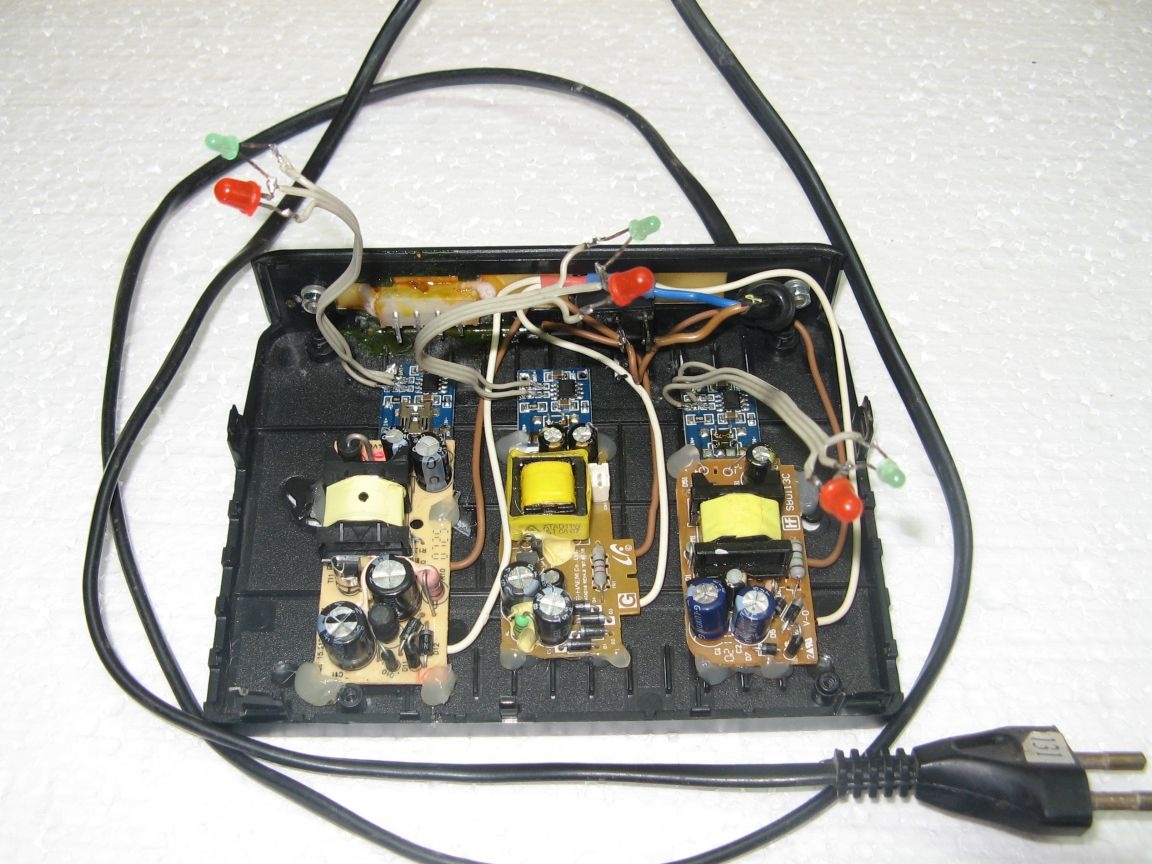
I drilled a hole for the power cord. I unsoldered one of the wires to the switch. The second network connected with the remaining wires from the charge cards.
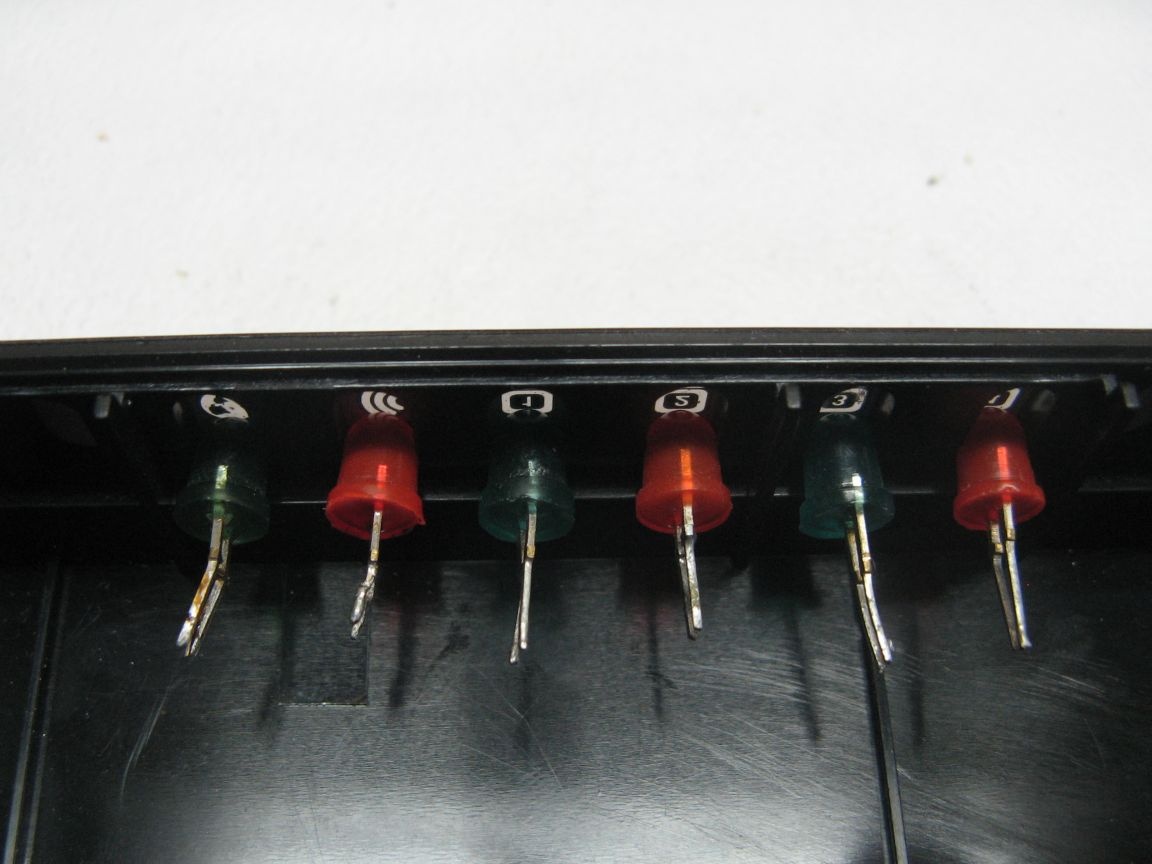
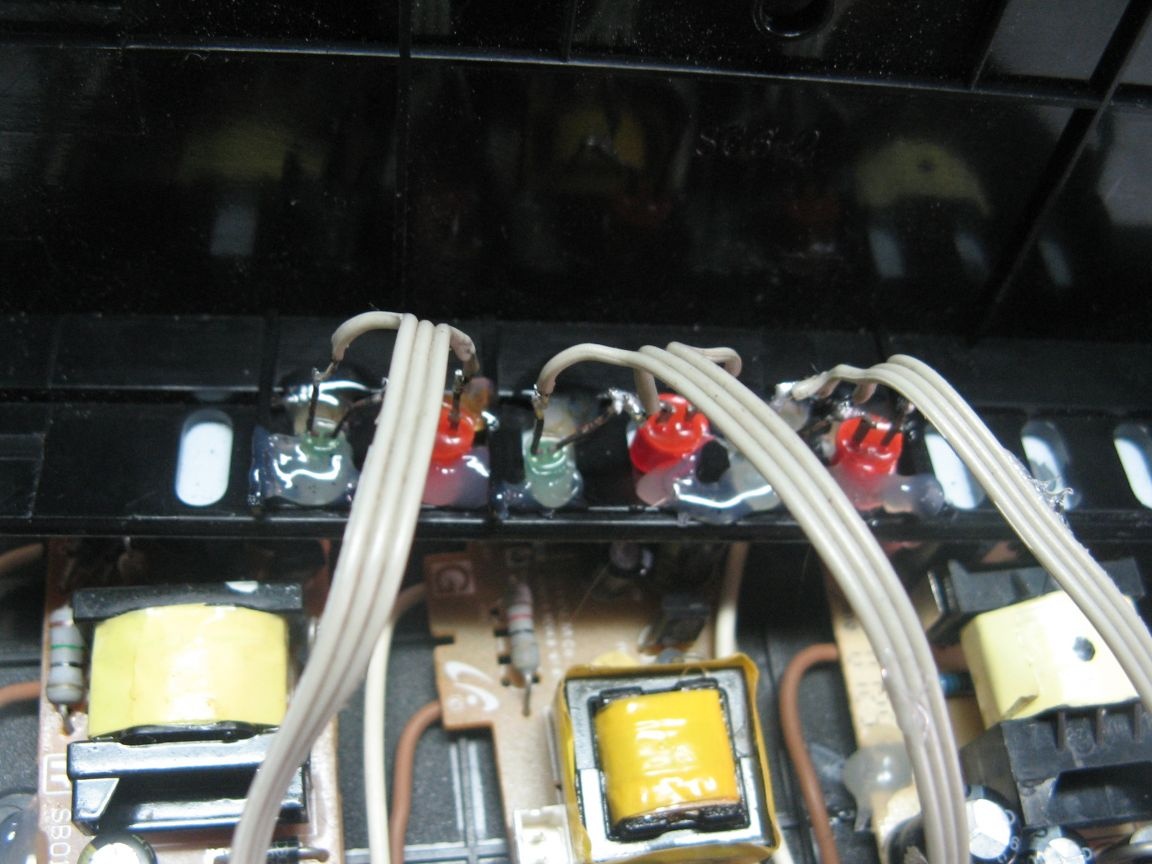
I glued the LEDs to the places where the LEDs of the router board were previously installed. Glued on thermo glue.
The output wires of the controllers are connected in series. Plus soldered to the first contact. On the second contact, soldered the connection of the wires of the minus of the first and plus of the second controllers. Next, unsolder the remaining wires in order.
We dress the cap and screw it on. Put the charger aside and unsolder the charging wire.
I applied the wires from a burned-out power supply. I unsoldered the correspondingly modified battery of the screwdriver. According to the scheme, the wires are soldered in order from the first to the fourth. I solder the joints with heat shrink.
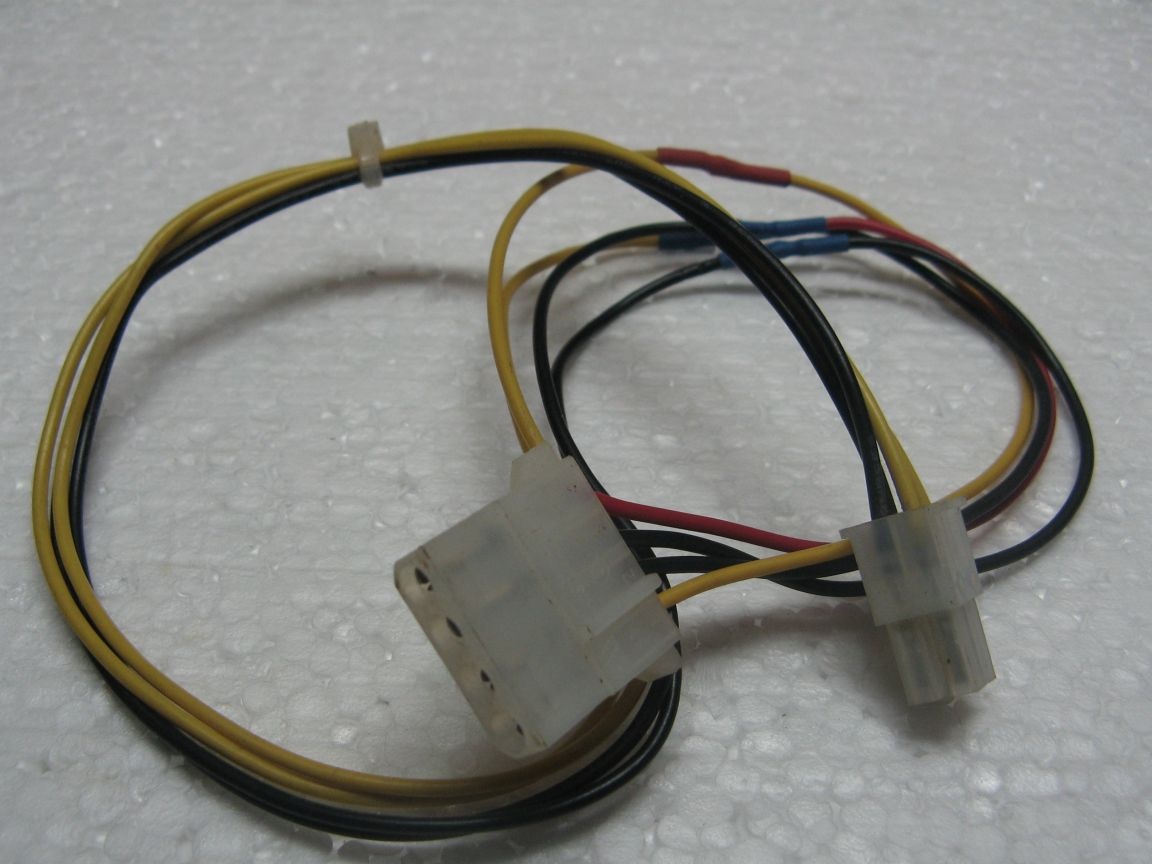
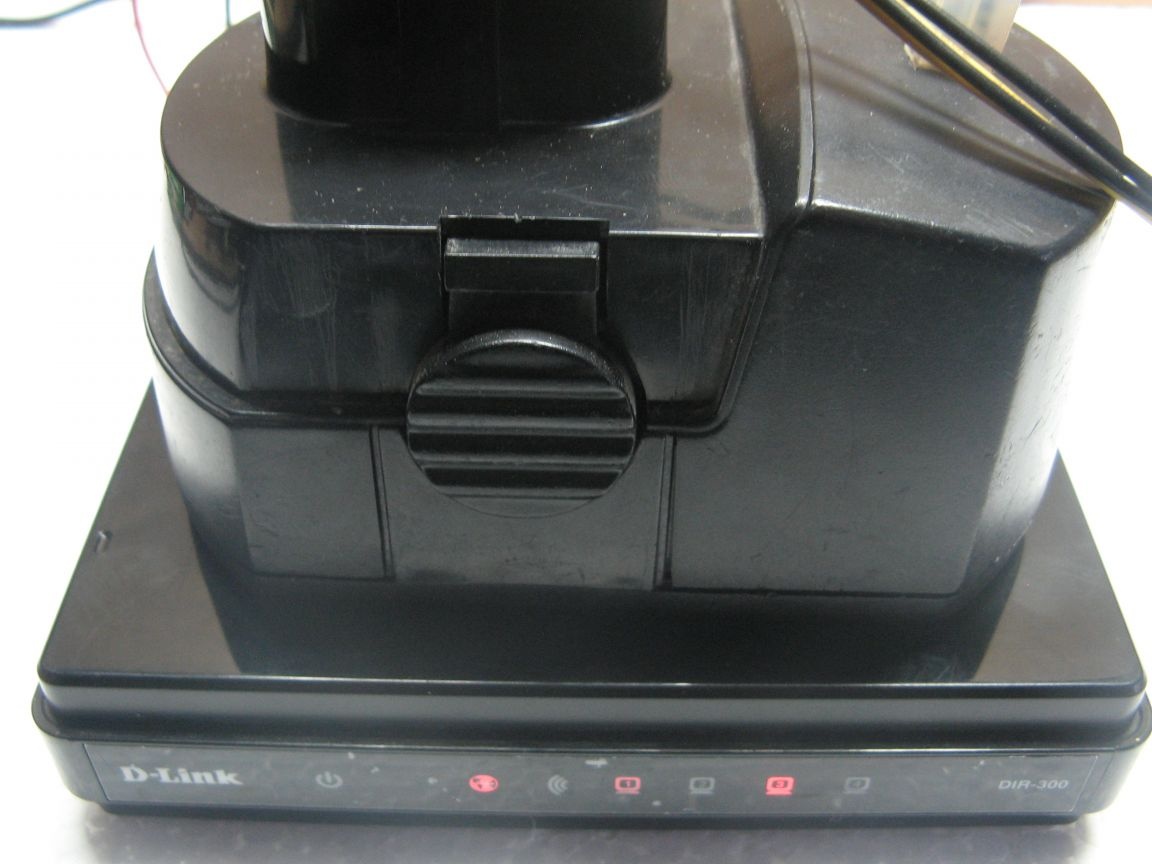
We connect the adapter wire to the battery and to the charger. During charging, the red LEDs light up. When the green light turns on, the battery is considered charged.
This charger can be used to charge batteries where 3 elements are installed, i.e. 3S. Quadrocopters, lights, boats. I plan to redo some more devices where there will be three elements in series.
Video about the assembly of the charger: