
Good day to all dear friends! In today's article, I would like to show you how to make a radio-controlled boat. This homemade perfect for those who want to do boat modeling, but boat models are quite expensive. Collect your model It will not be much cheaper, but much more interesting than just buying a finished boat in the store. Oh well, enough of the long preface, let's go!
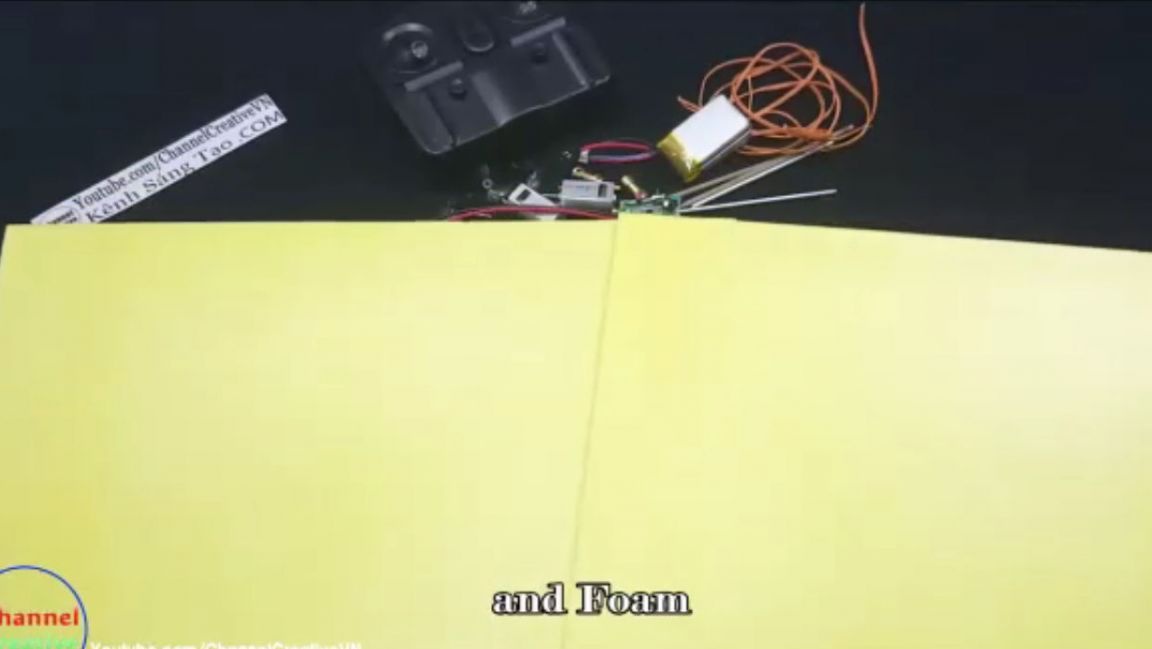
And so, for this homemade product we need:
- sheet of ABS plastic.
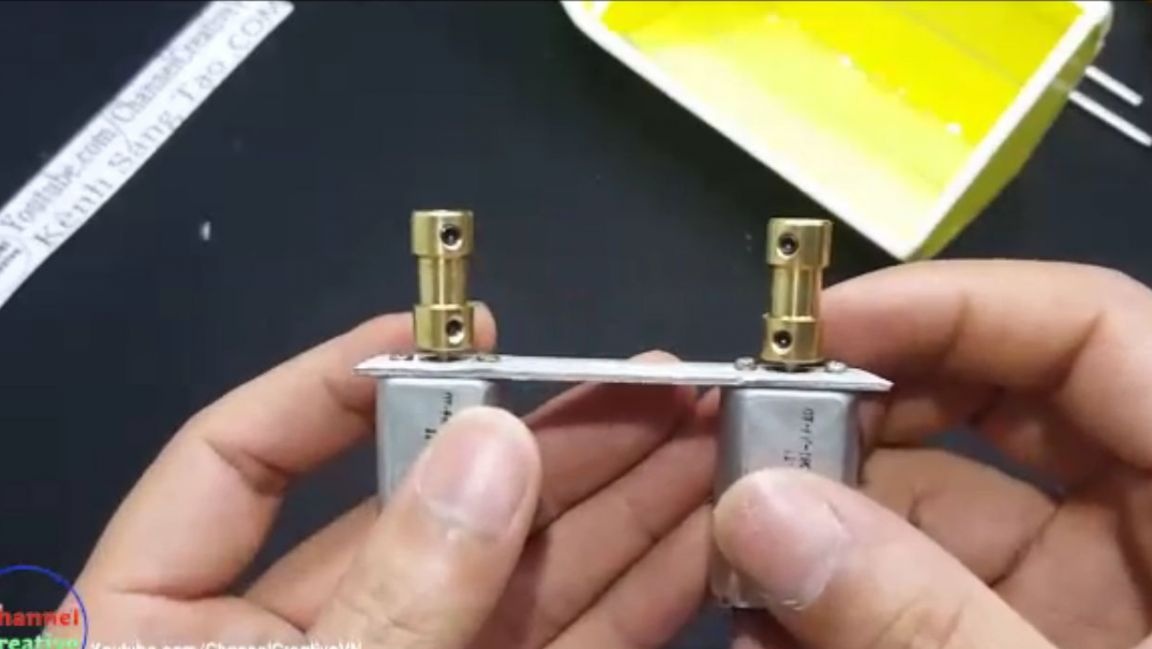
- electric motors 180 class 2pcs.
- boat propellers.
- an adapter for an electric motor shaft.
- electrodes of suitable diameter.
- aluminum tubes, the inner diameter of which is equal to the outer diameter of the electrodes.
- 2s 7.4v Lipo battery.
- a little wire.
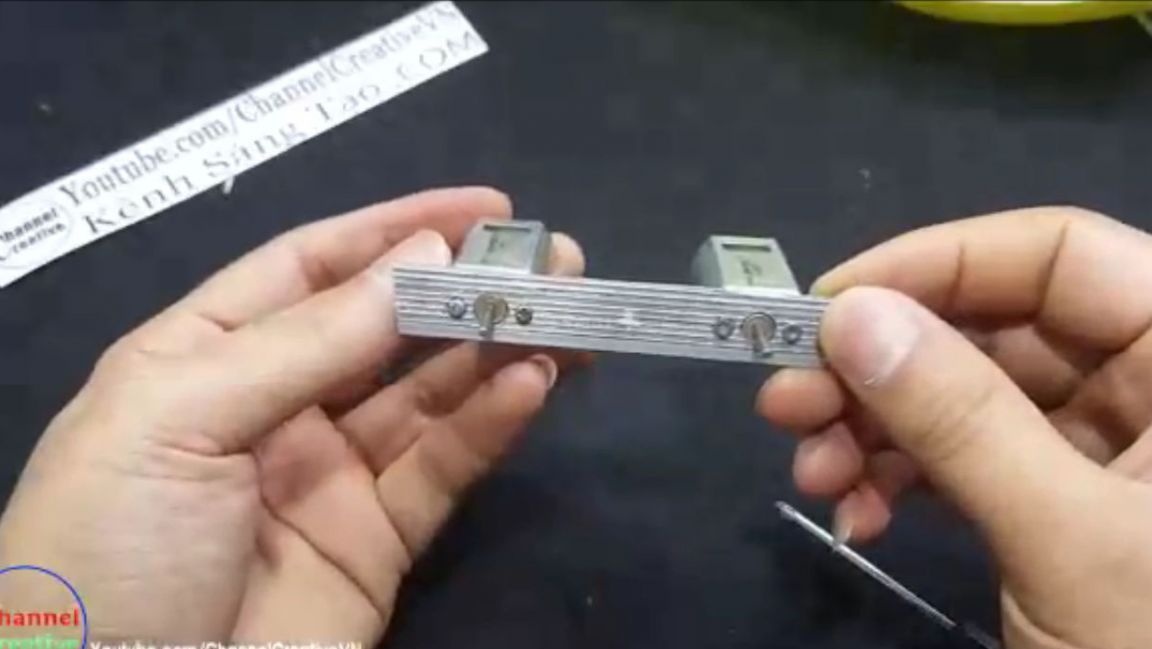
- electronics from the old radio-controlled helicopter.
- aluminum plate.
- screws.
Of the tools we will also need:
- Ruler.
- marker.
- stationery knife.
- terma glue.
- drill.
- screwdriver.
- pliers.
- grease.
- soldering iron.
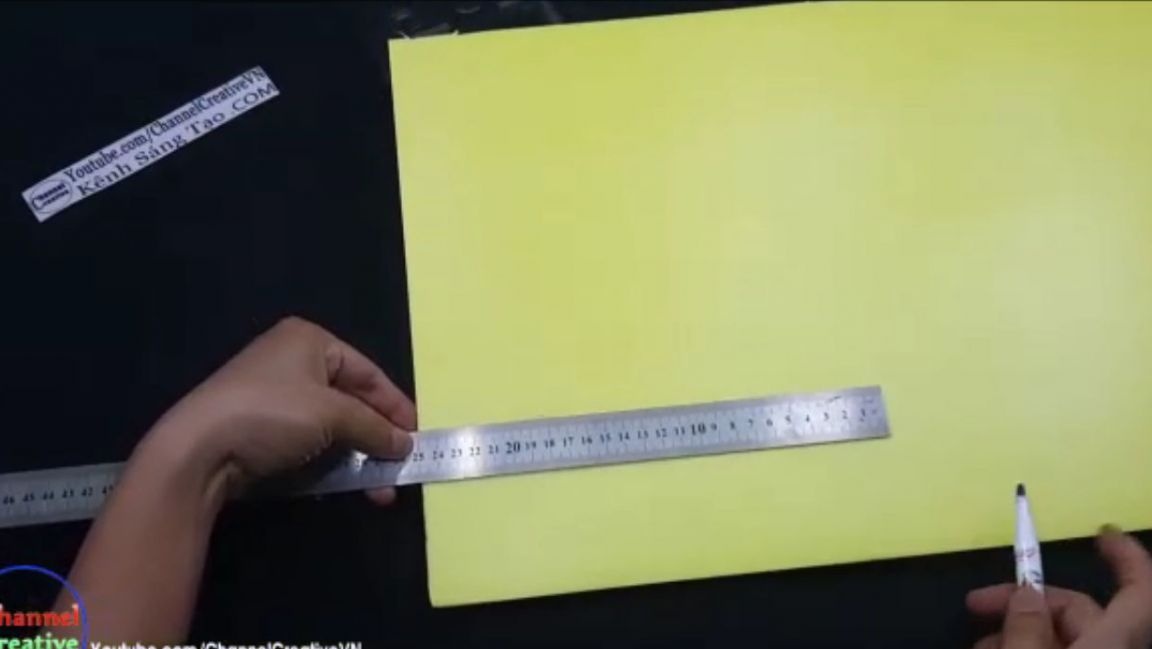
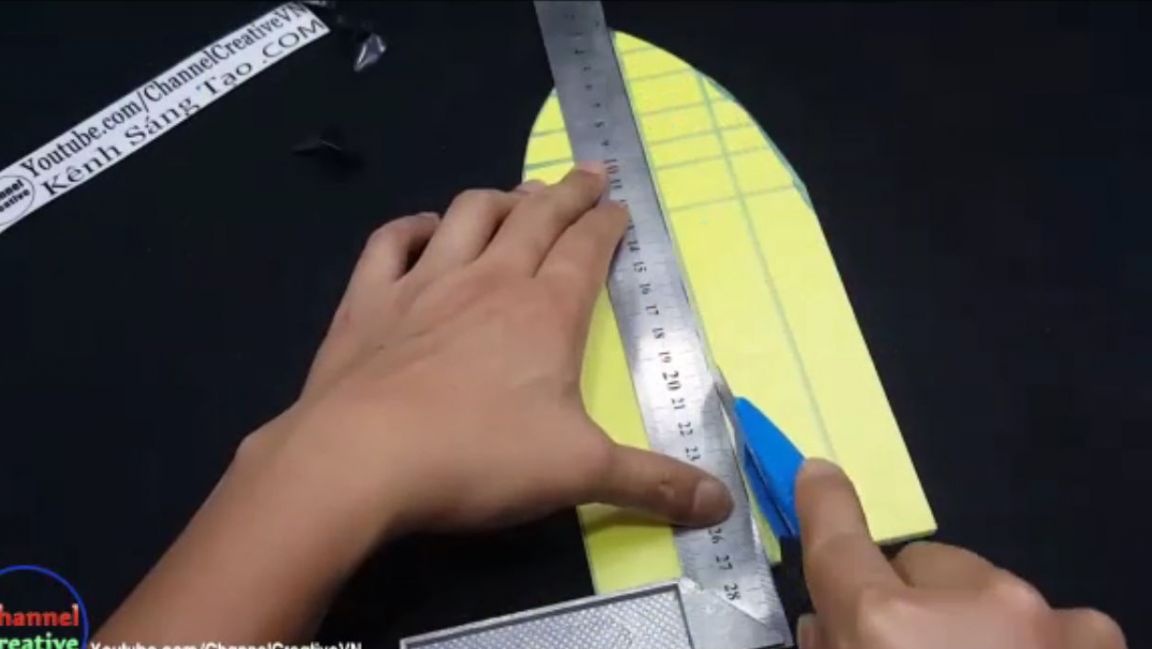
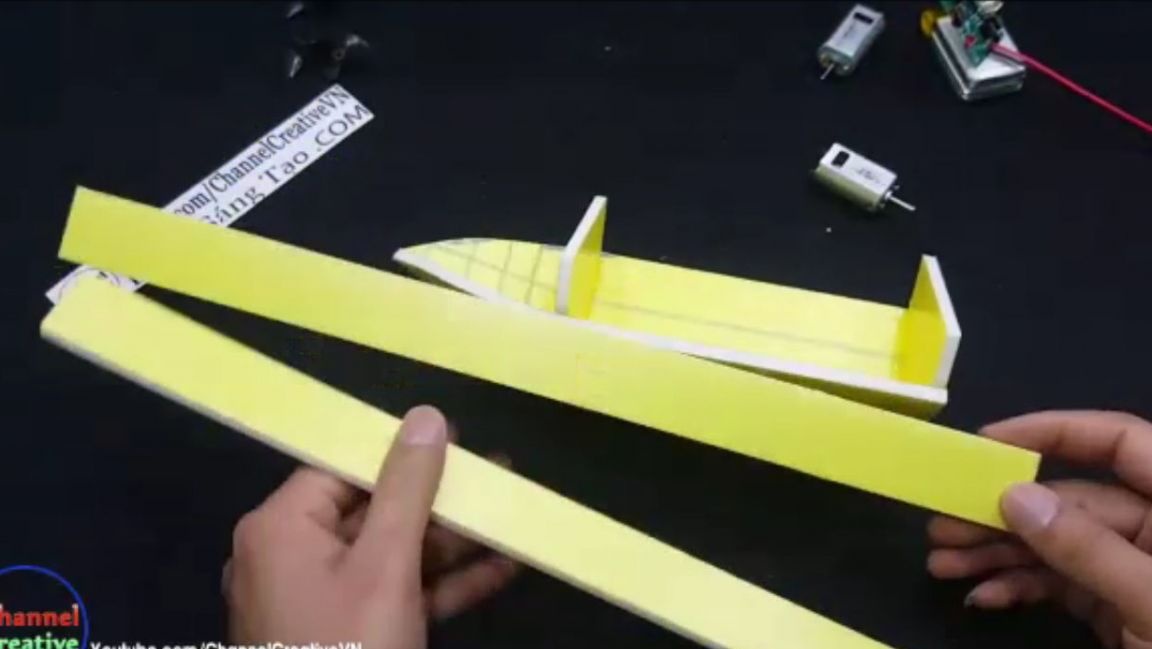
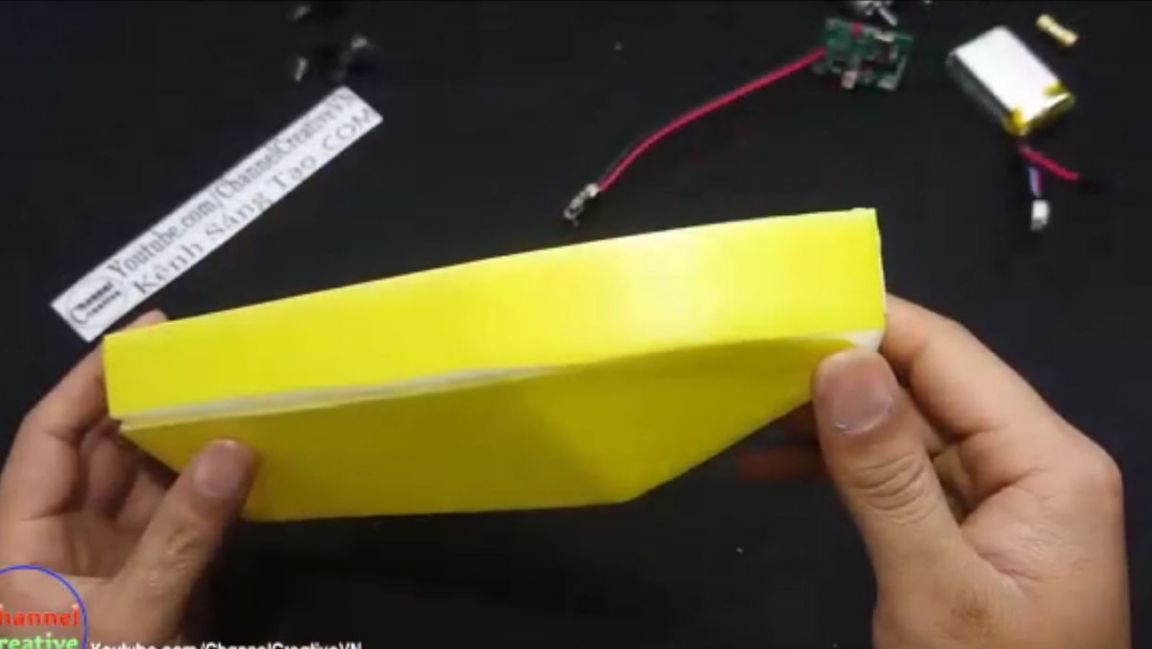
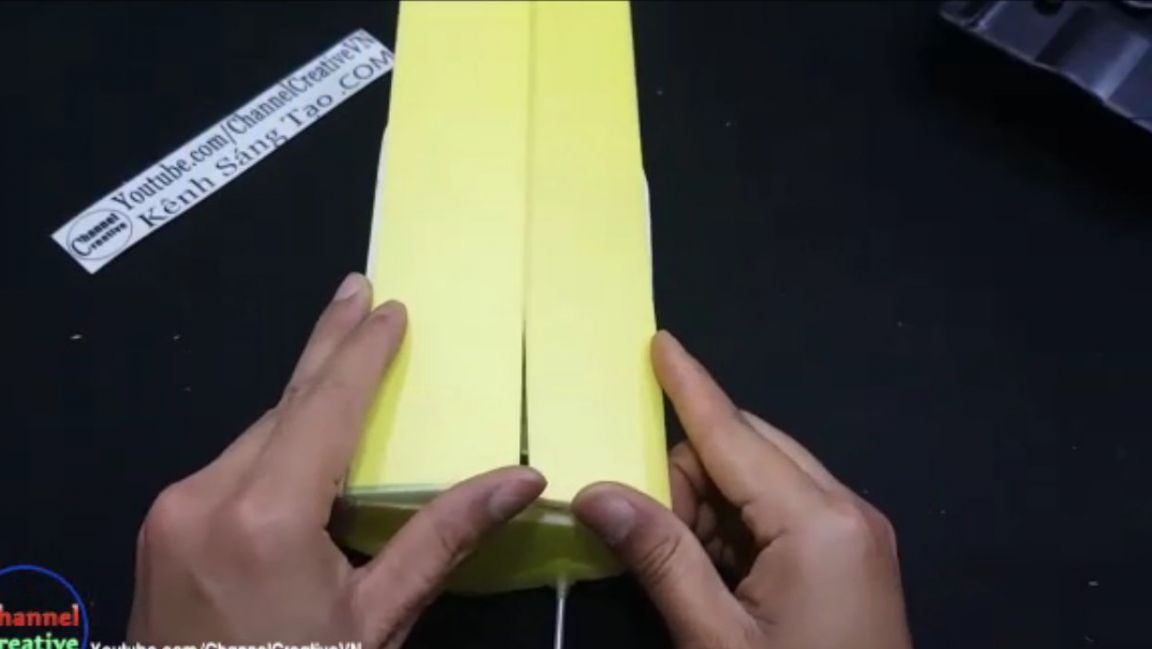
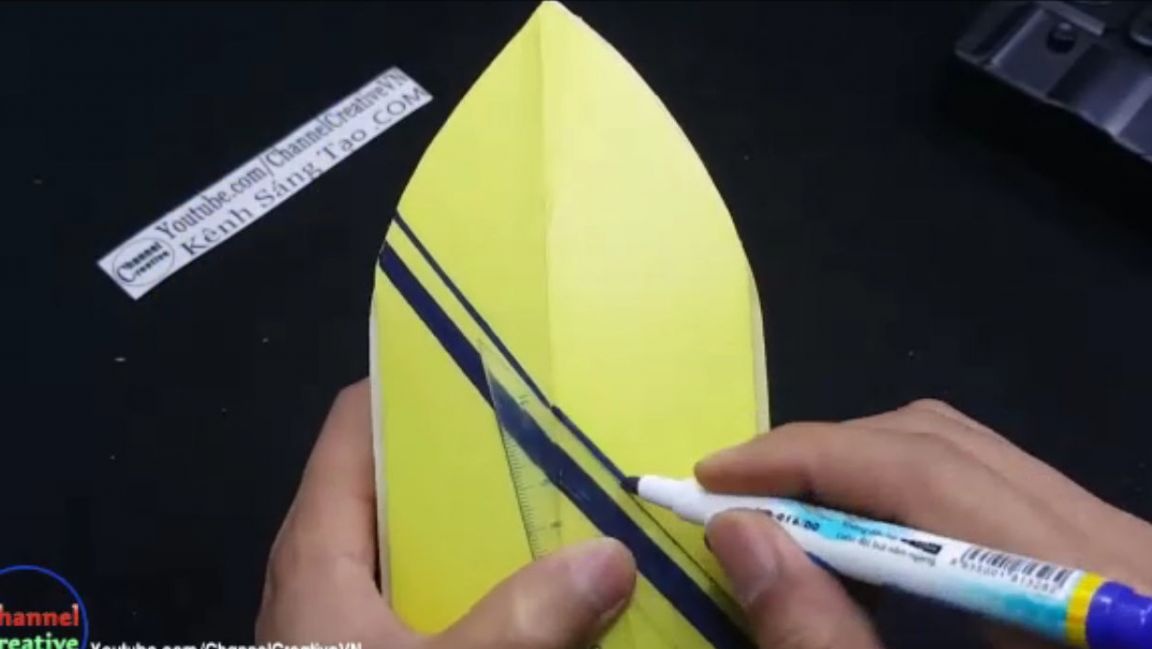
First we need to make the hull of the boat itself. As a material for the case, it is best to take thick sheets of ABS plastic. On a sheet of plastic using a ruler and marker, a rectangle 25cm long and 11.5cm wide should be noted.
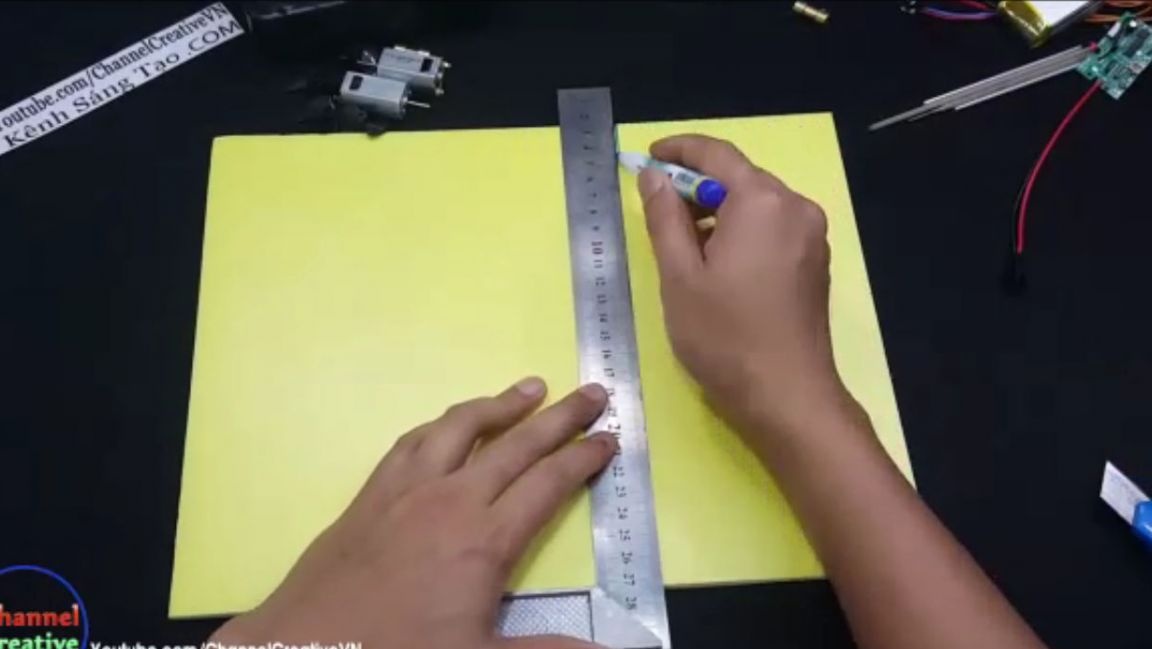

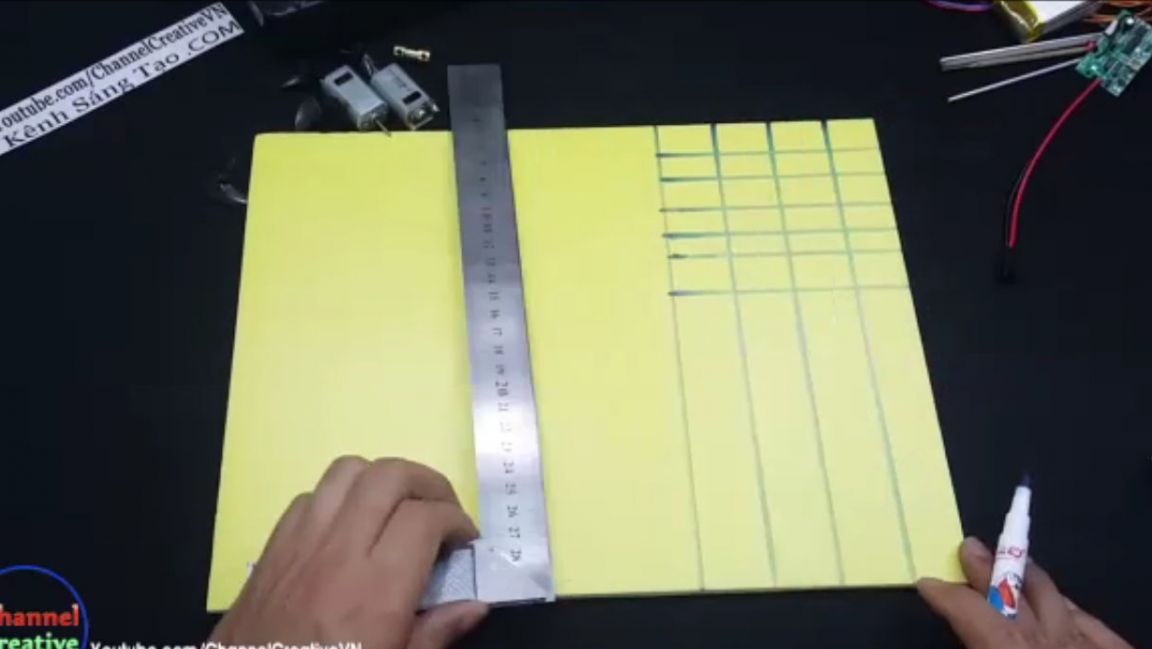
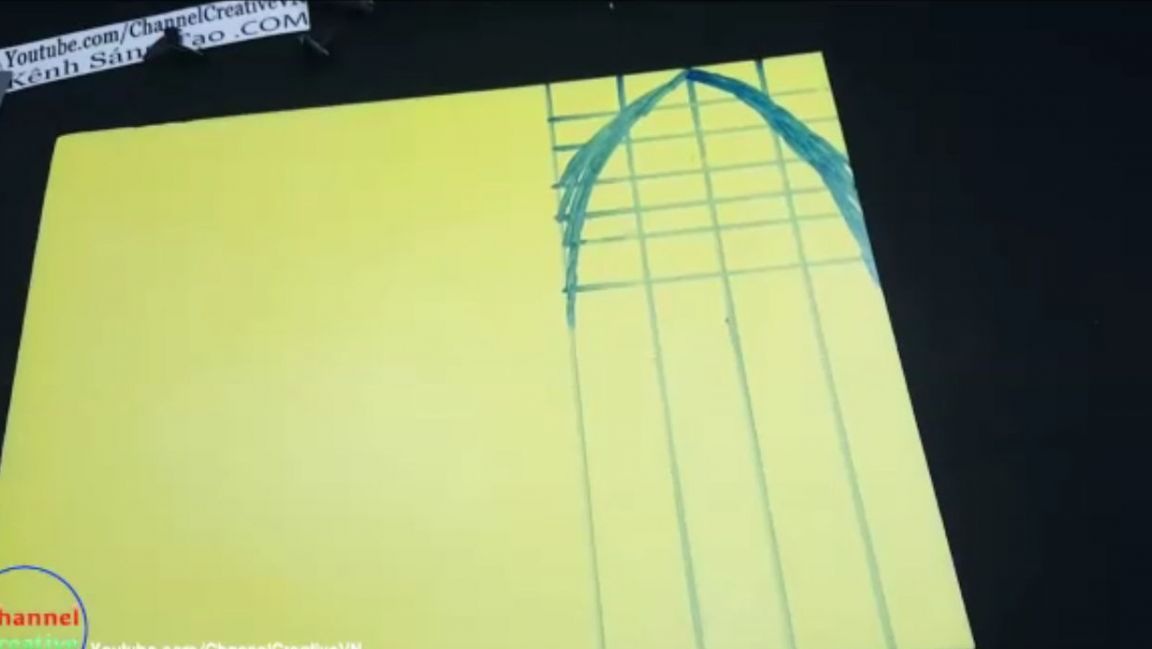
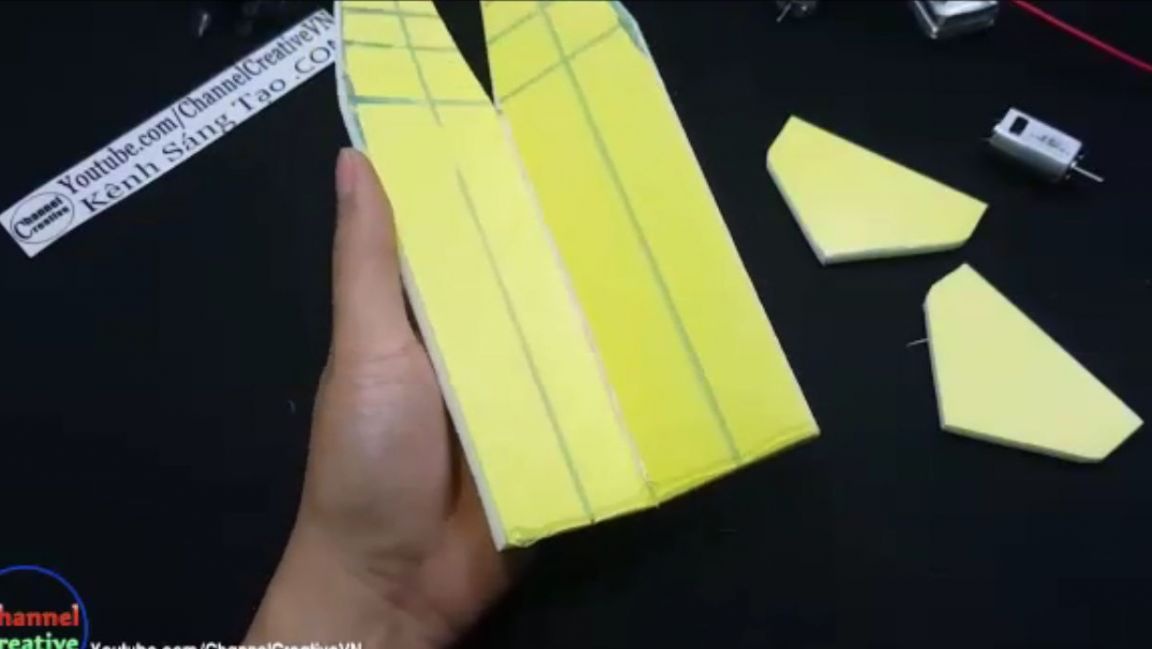
After you figured out the dimensions on the plastic sheet, you should divide the upper part into rectangles, as this is shown in the photo below. This is necessary in order to more symmetrically draw the bow of our boat. And we’re trying to make the bow of the boat as accurate as possible, but if you don’t succeed, you can download and print photo masks on the Internet.
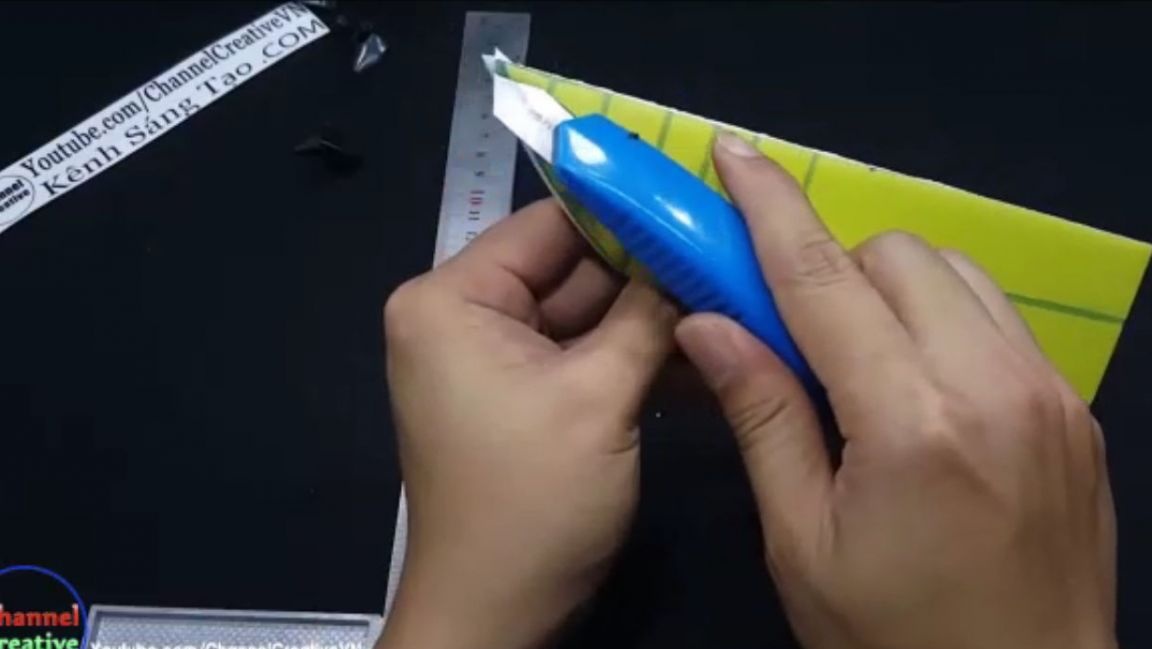
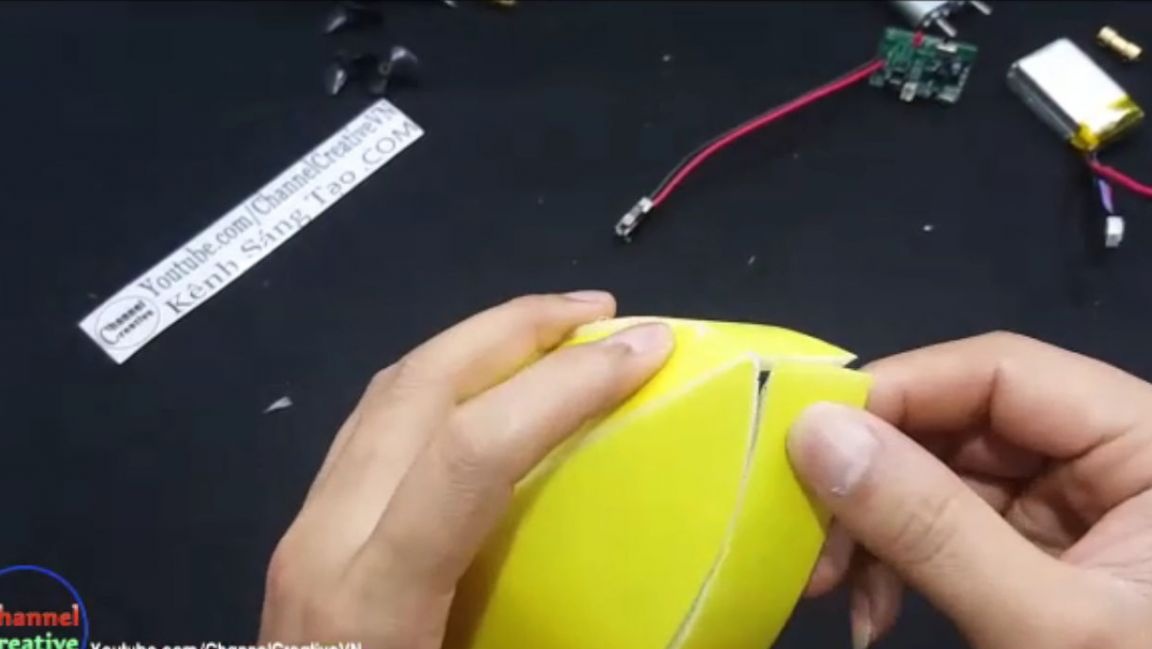
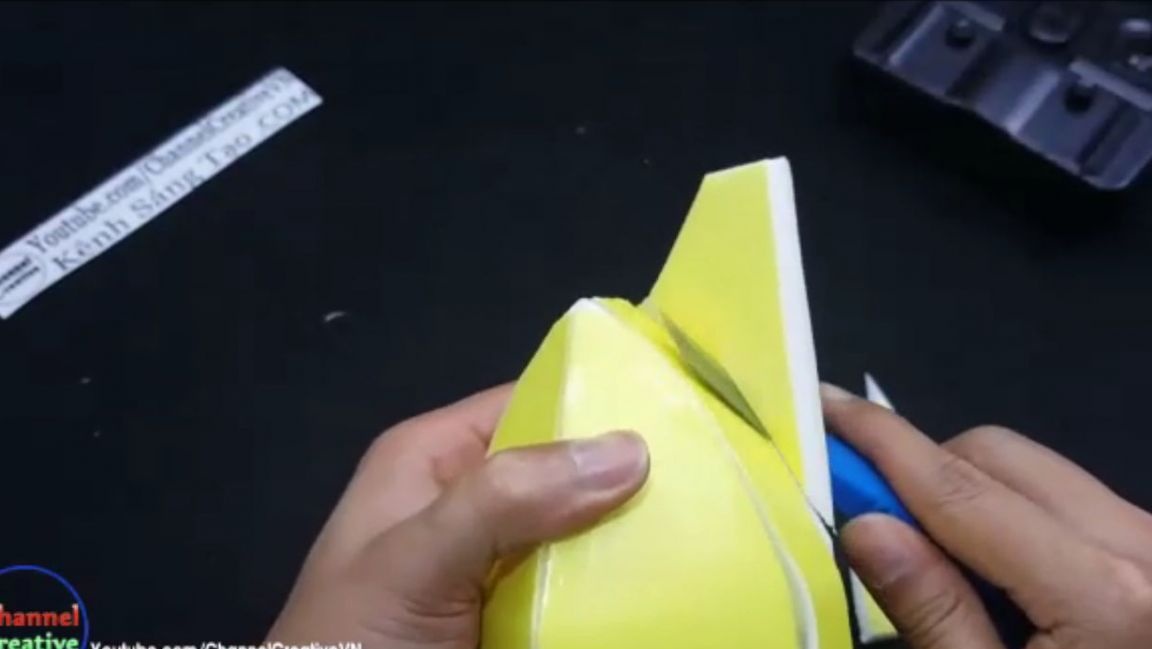
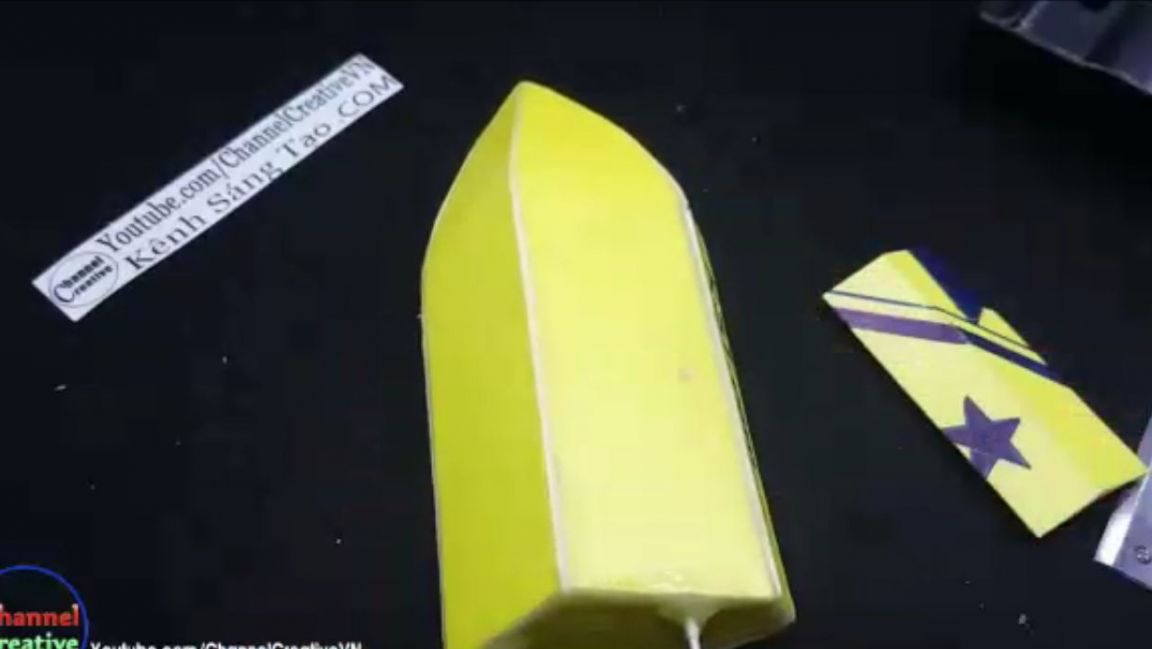
Using a clerical knife, cut off the rectangle and cut off the excess from the rectangle. So that we get something like a boat. Then with the same stationery knife we divide our workpiece in half.
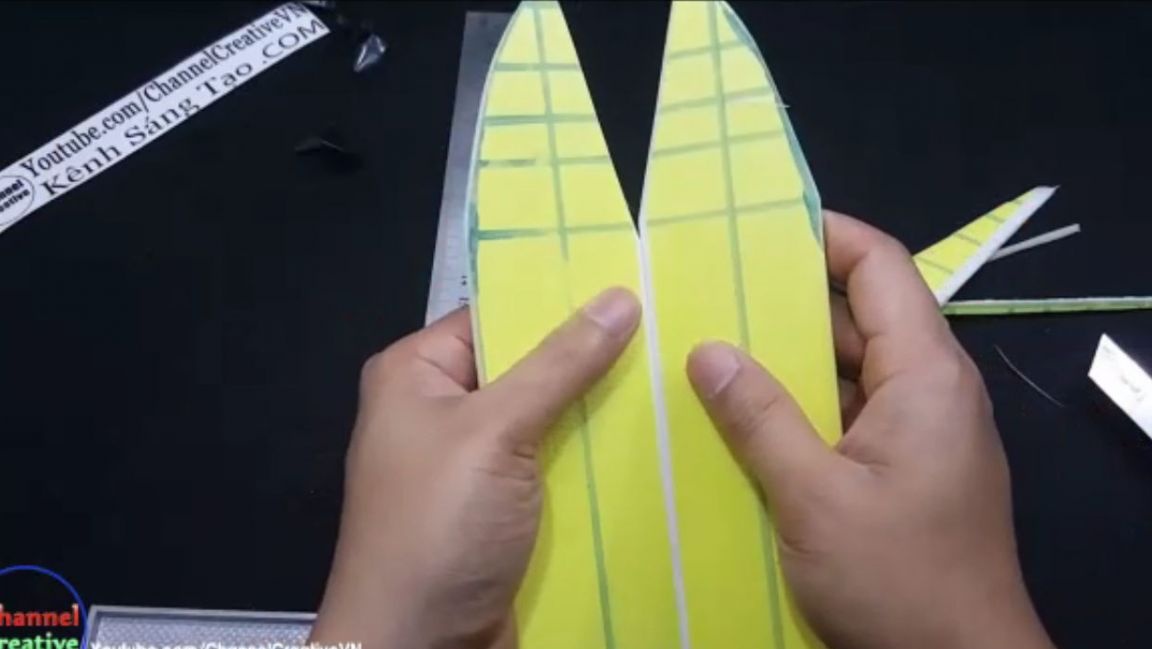
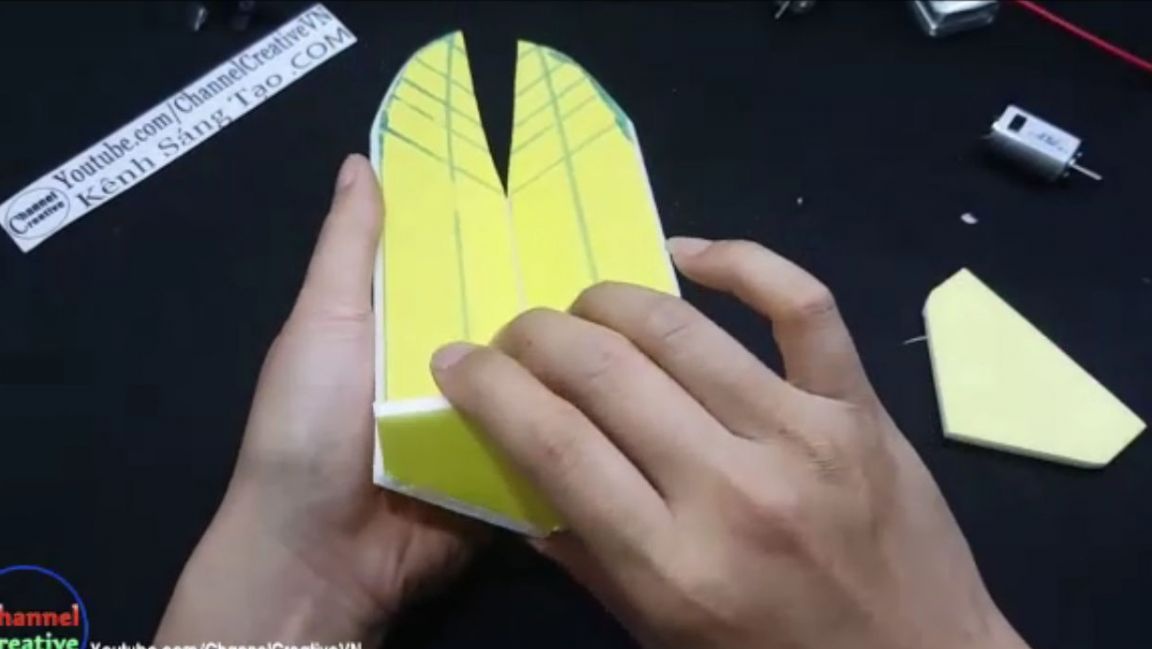
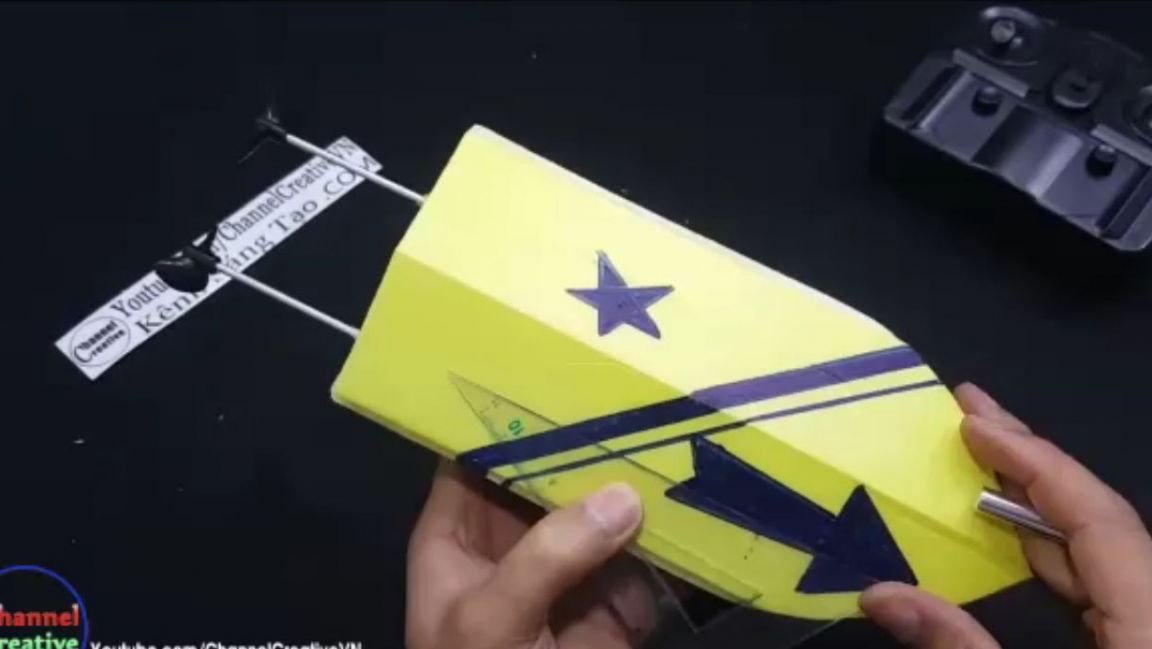
With a clerical knife, cut the corner on the blanks that you just received. This is necessary so that they can be glued as tightly as possible at an angle.
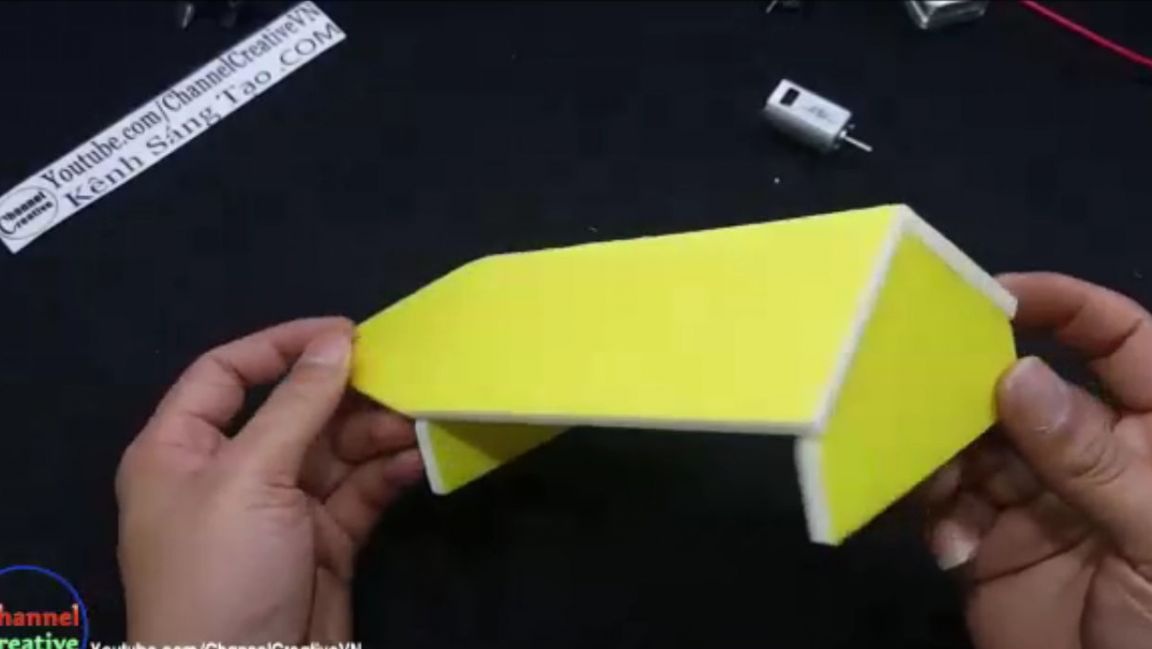
Then we cut two blanks so that you get it, as in the photo below.
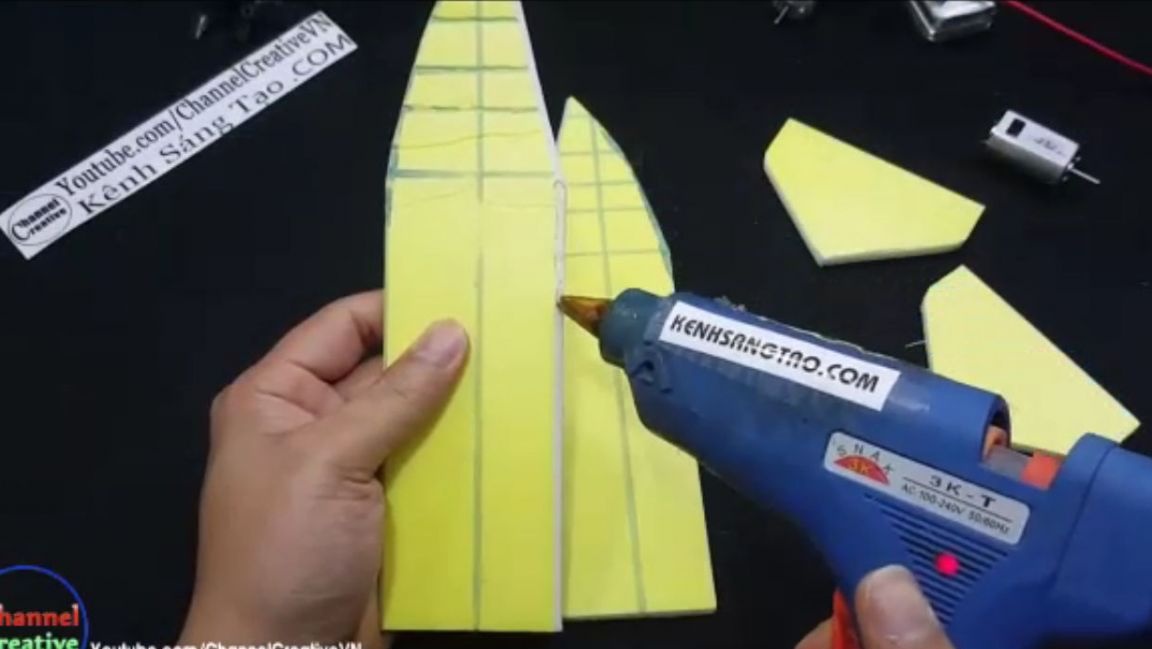
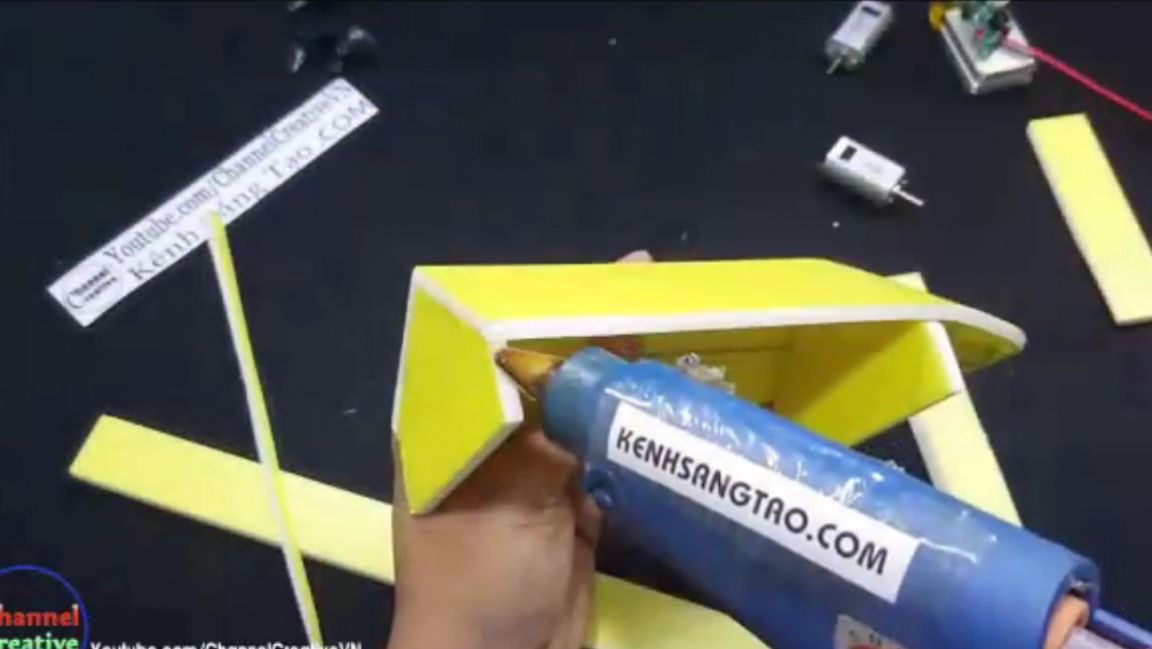
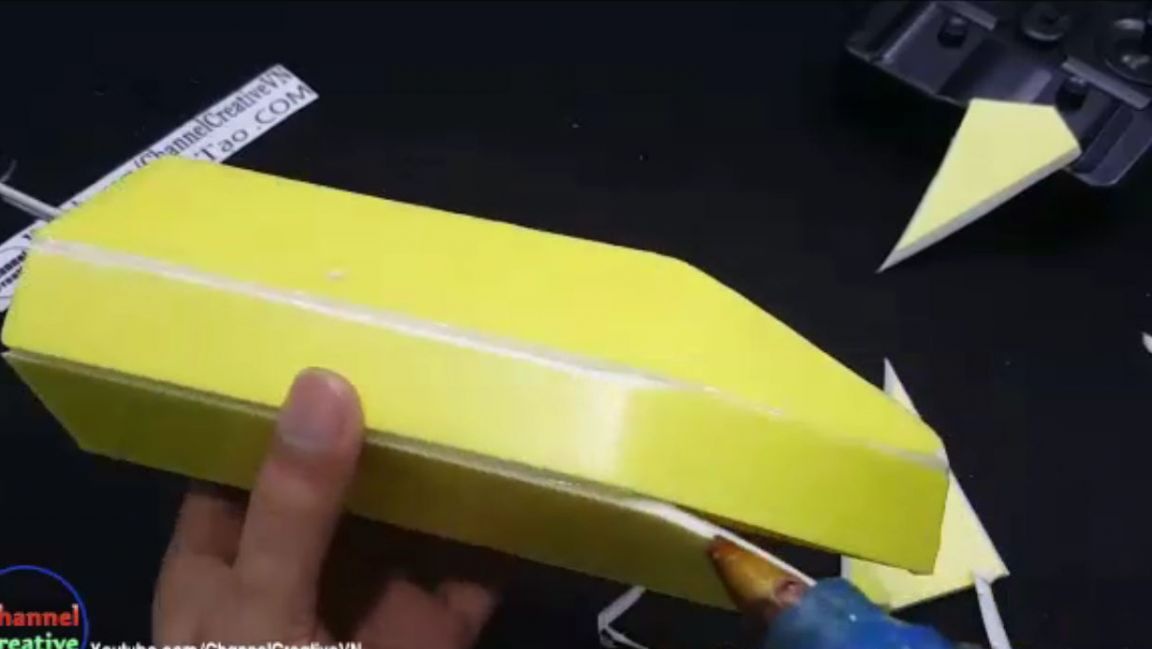
We apply thermal glue to the workpieces and glue them together. Two pieces similar to three squares should be cut from the same plastic. And glue them to the boat in order to strengthen the hull.Throughout the entire assembly of the case, try not to spare the term glue and glue everything very well, this is necessary for the tightness of the entire structure.

We apply the term glue to the specified place and bending the plastic, glue the two ends together.
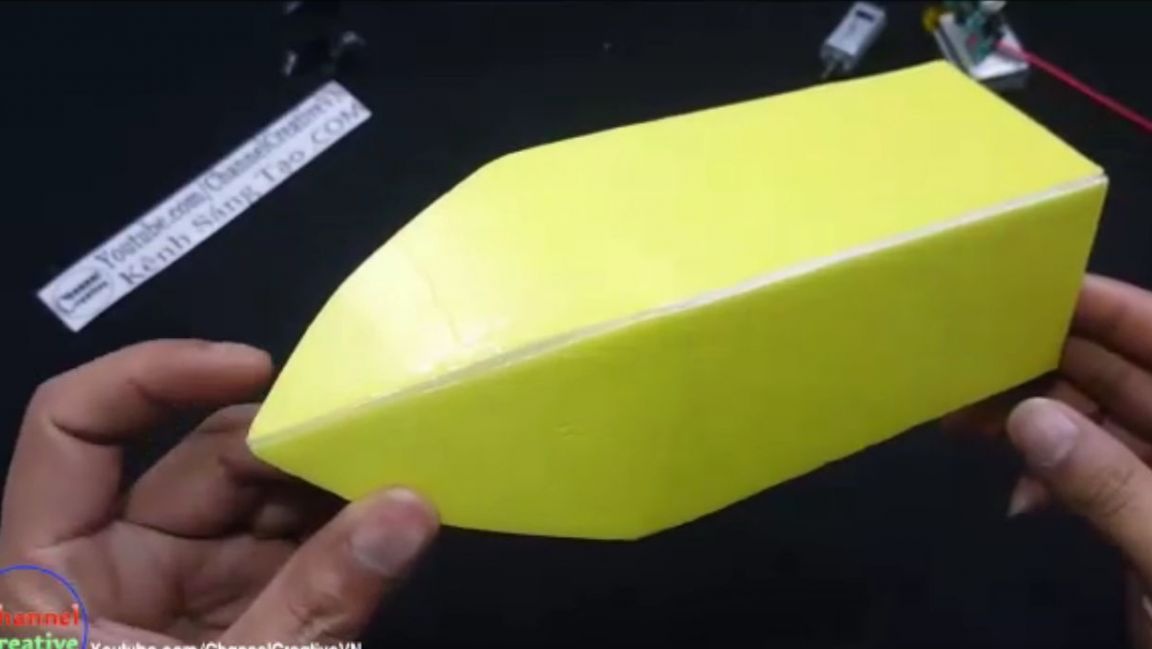
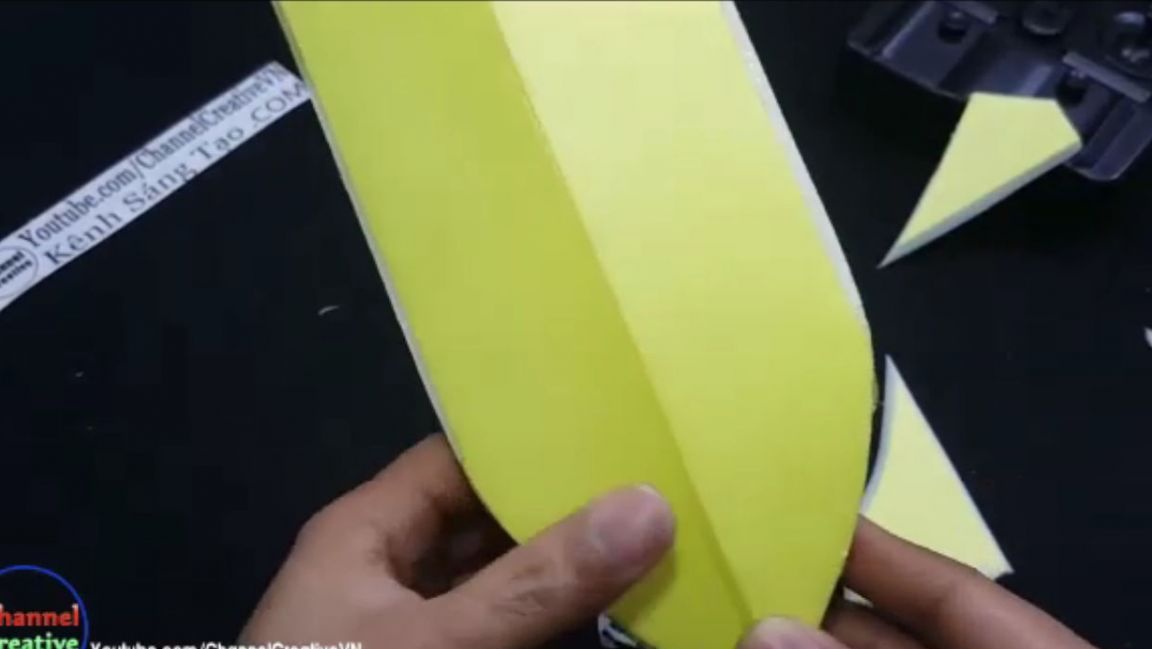
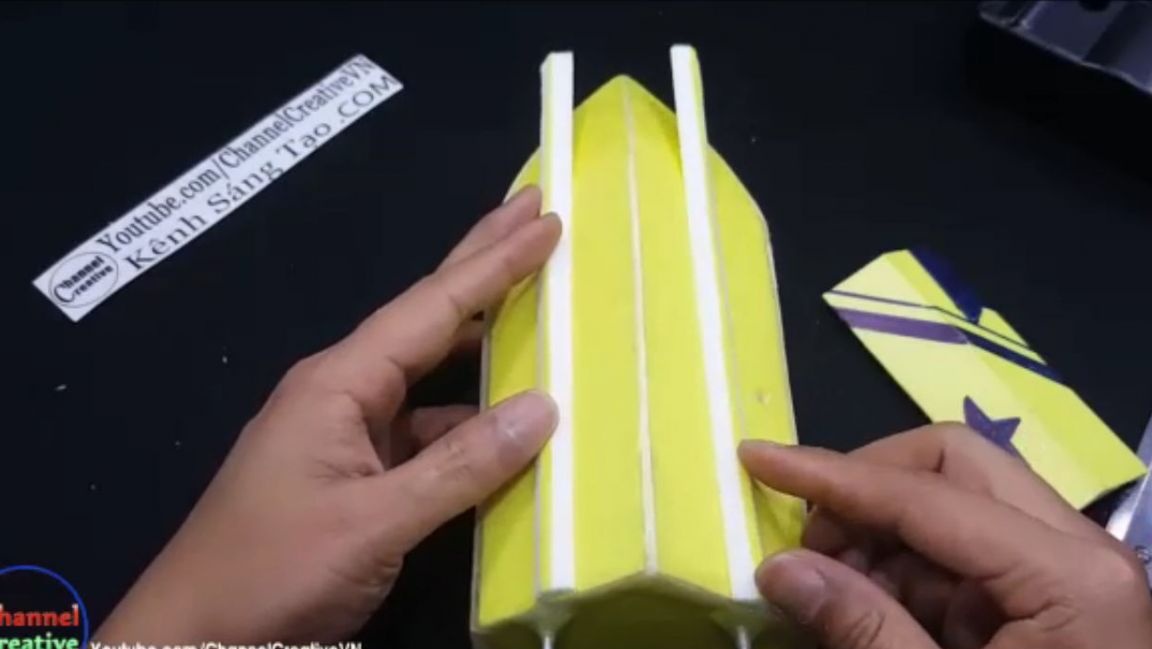
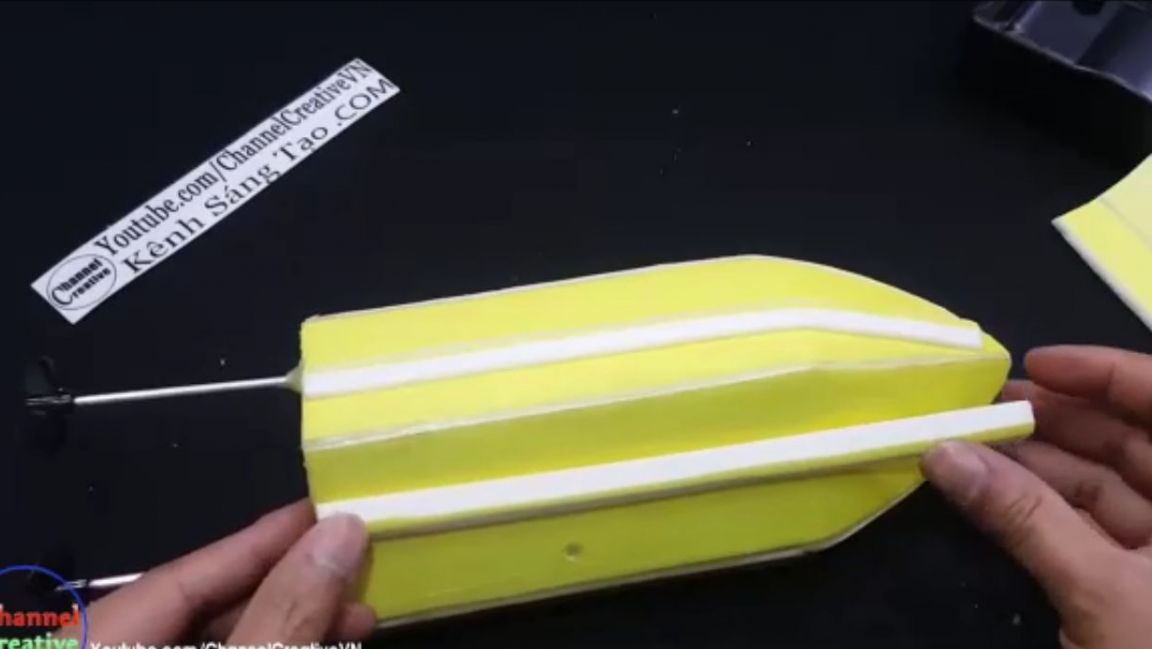
From the plastic used, two strips should be cut so wide that they are no higher than the back wall. And glue to the places indicated in the photo.
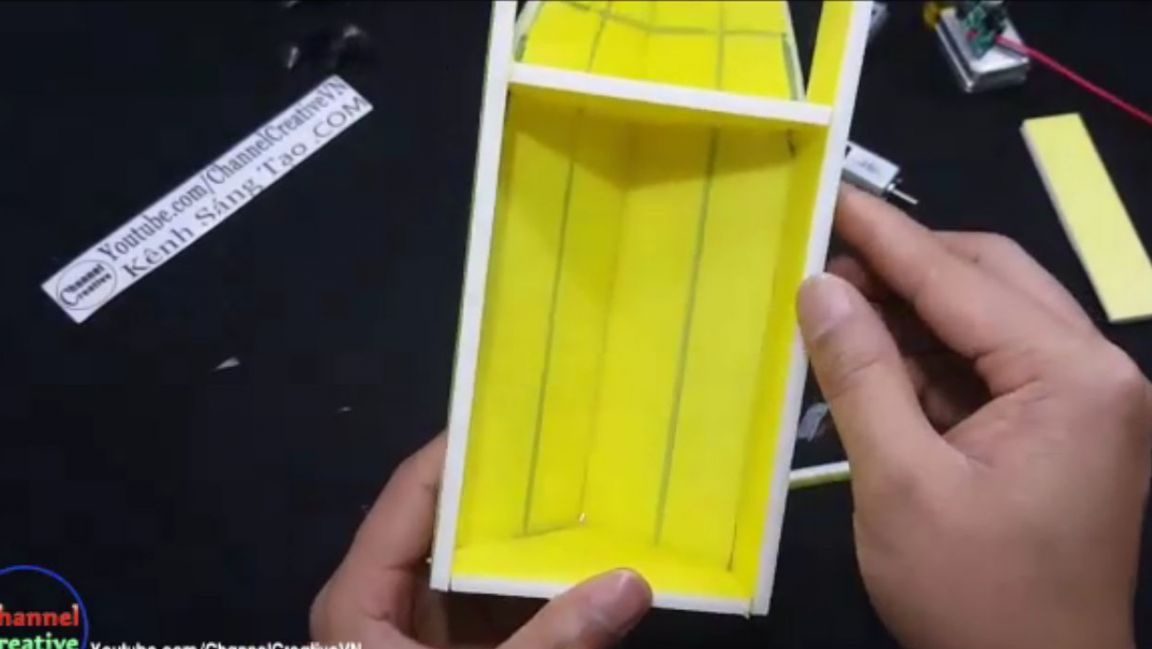
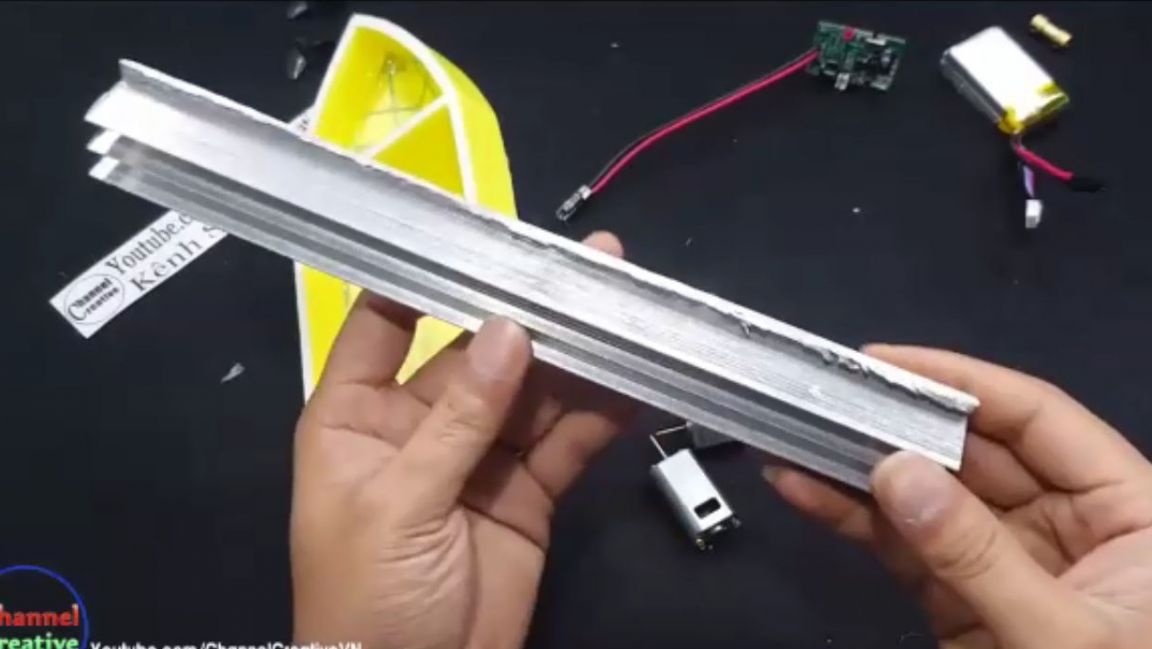
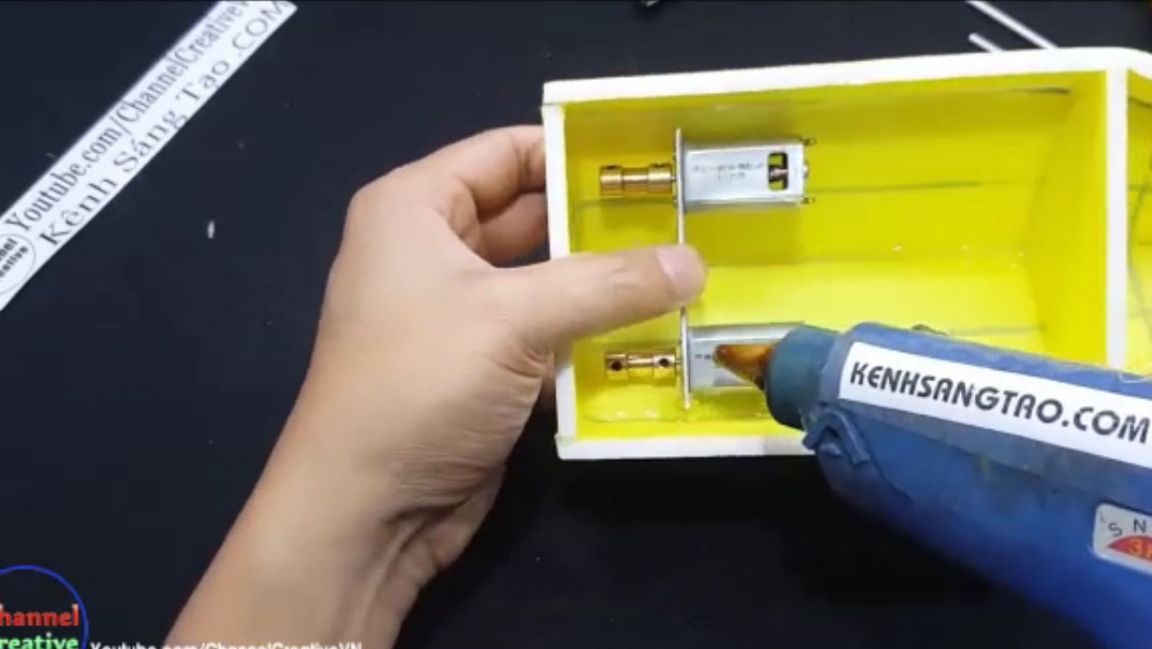
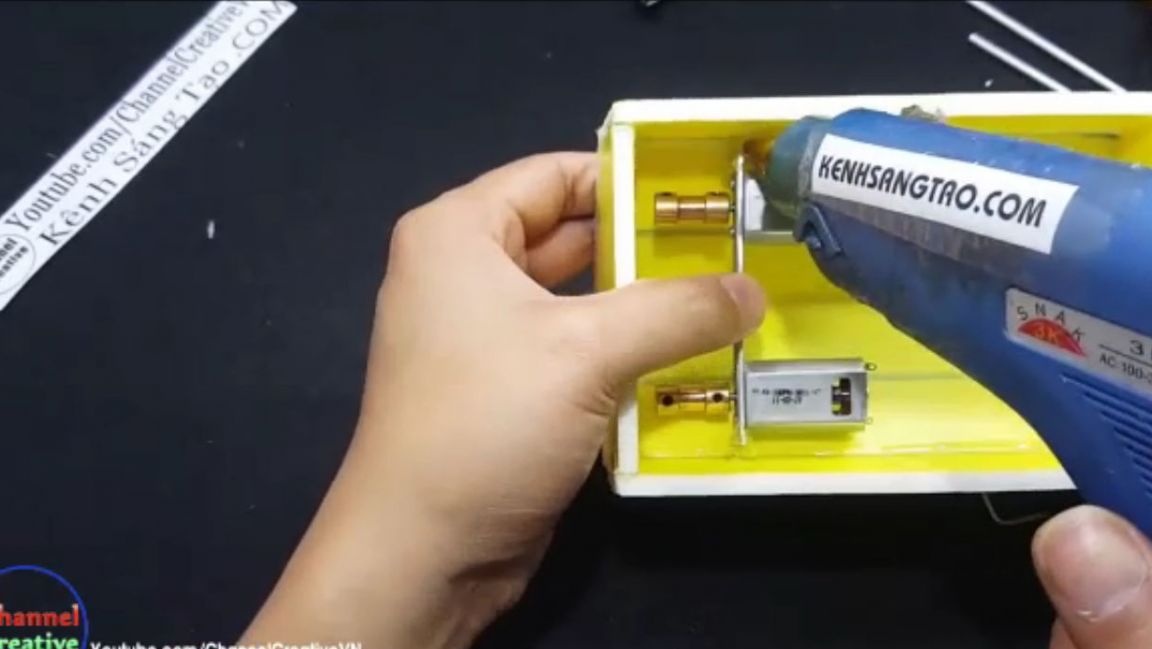
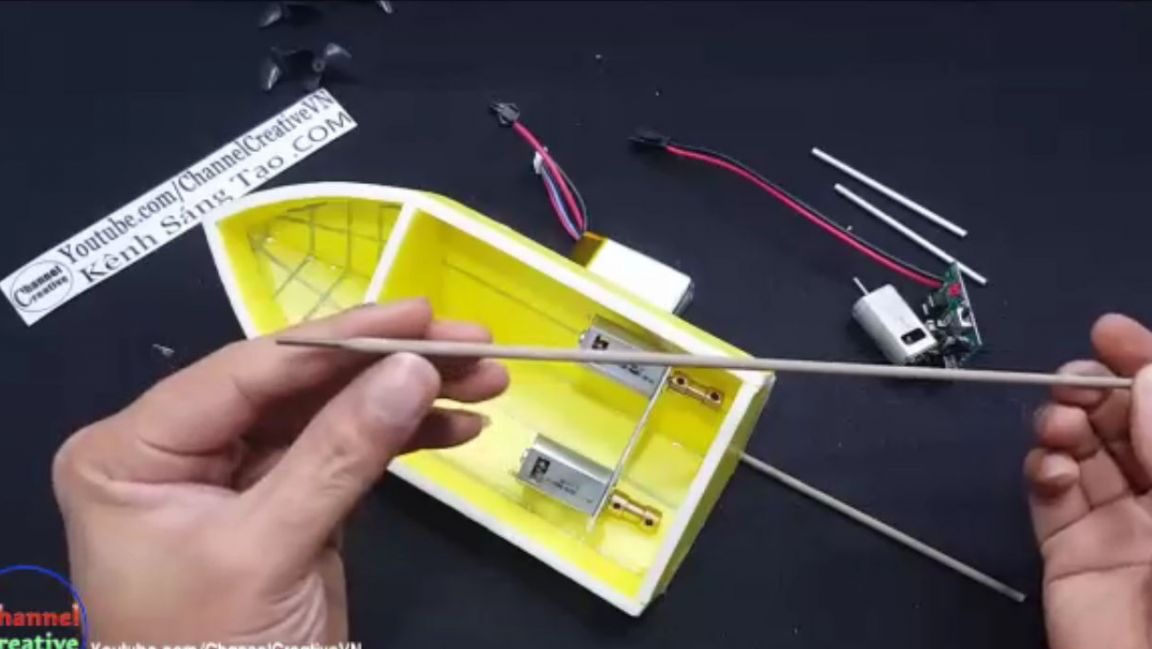
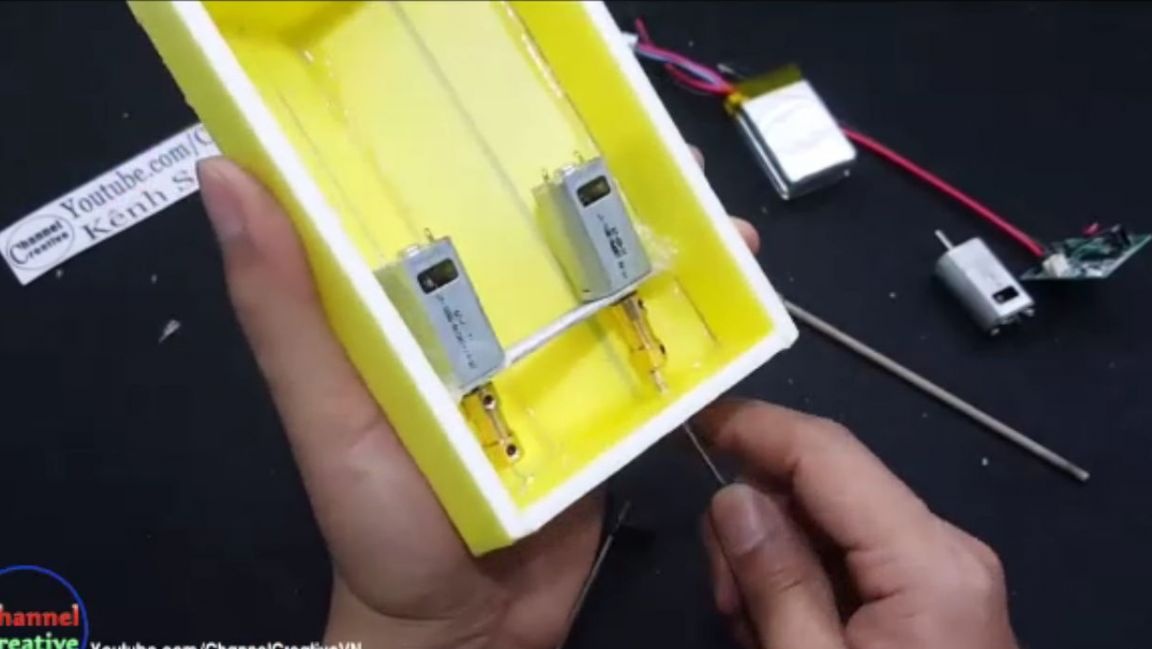
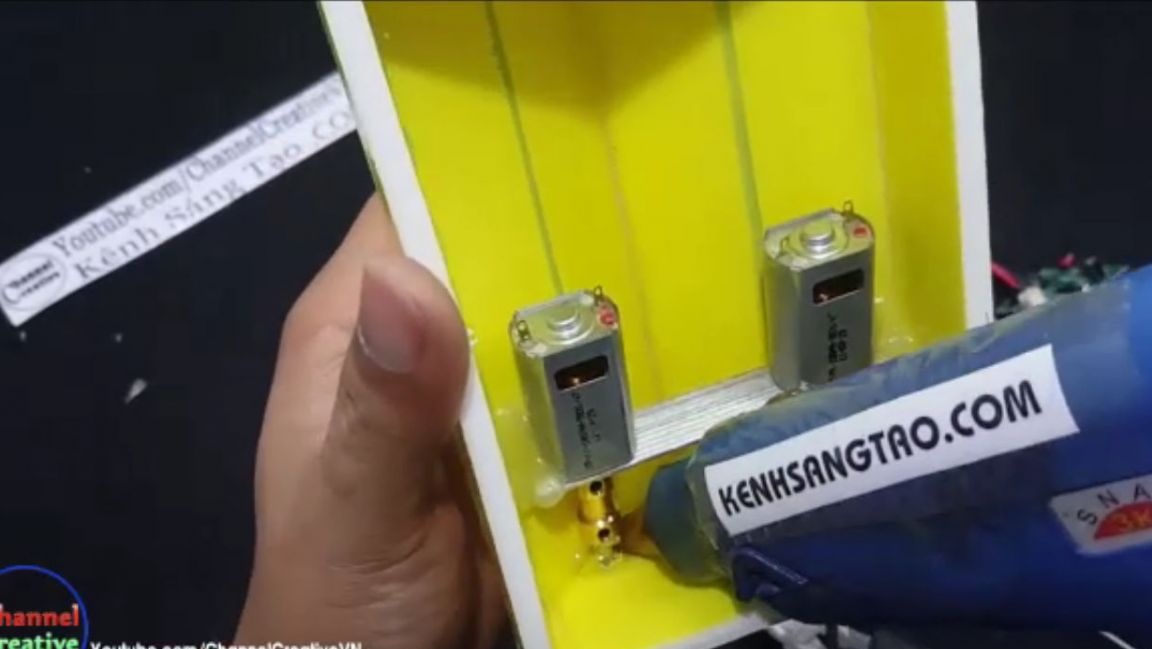
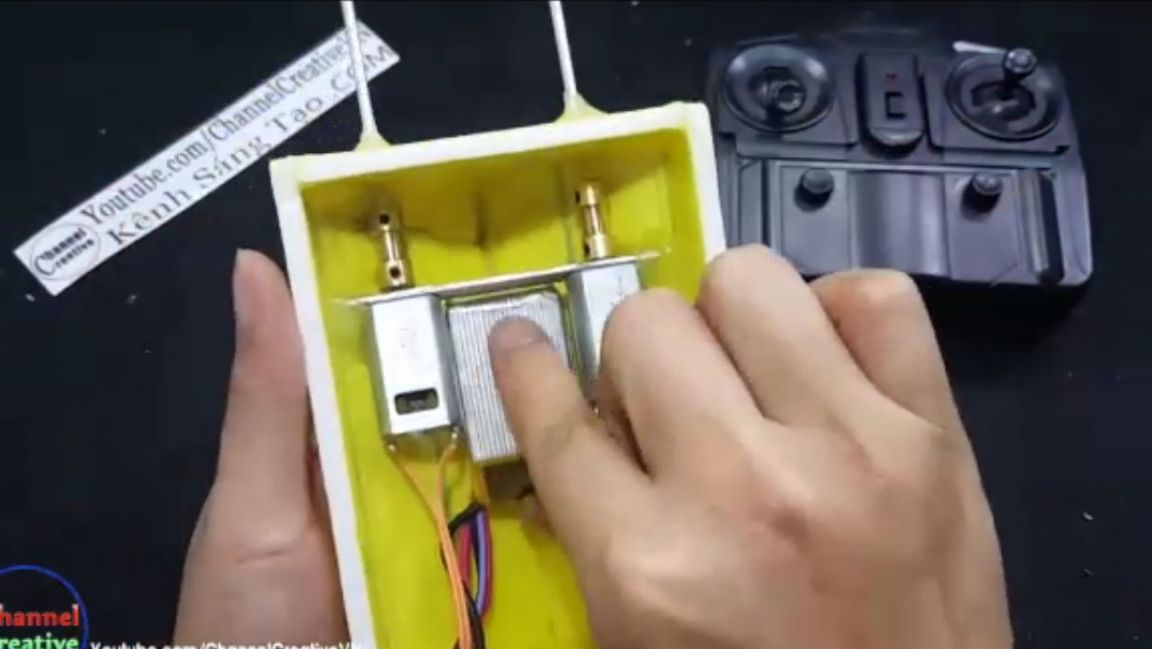
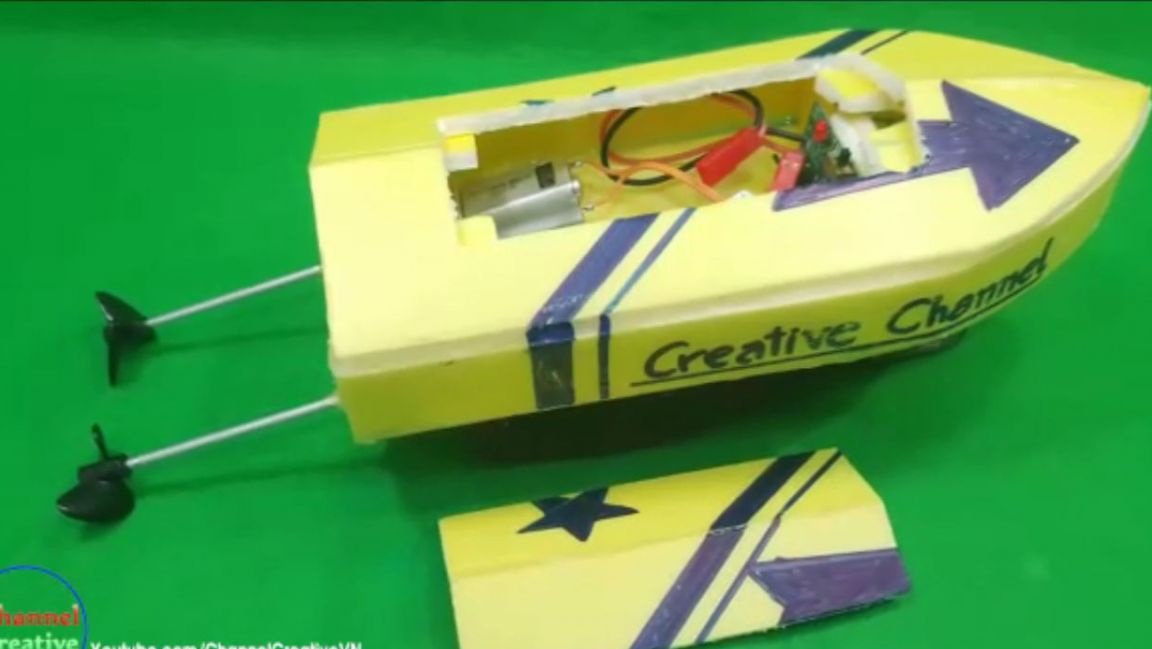
For the next step, we need to make some kind of “engine mount” on which electric motors will be mounted. For the engine mount we need some kind of metal plate, the author of the homemade product decided to cut it out of an aluminum profile. The plate should fit in the boat so that it does not hang there. On the aluminum plate itself, two large holes for the shafts of the electric motors and four small holes for attaching the electric motors should be drilled.
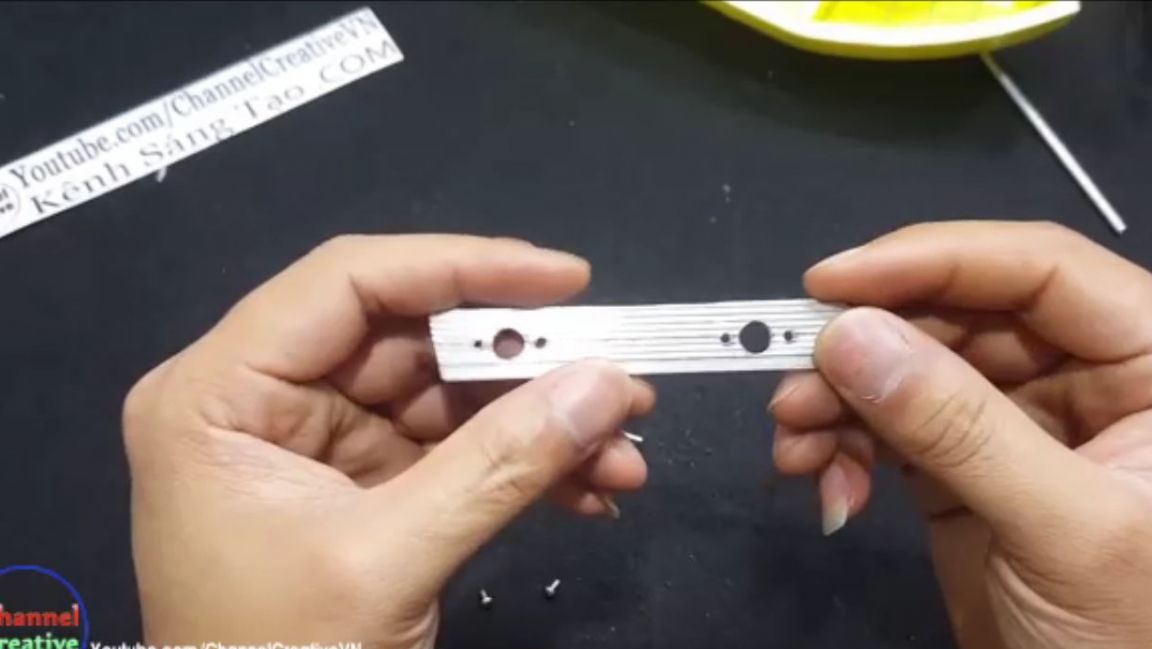
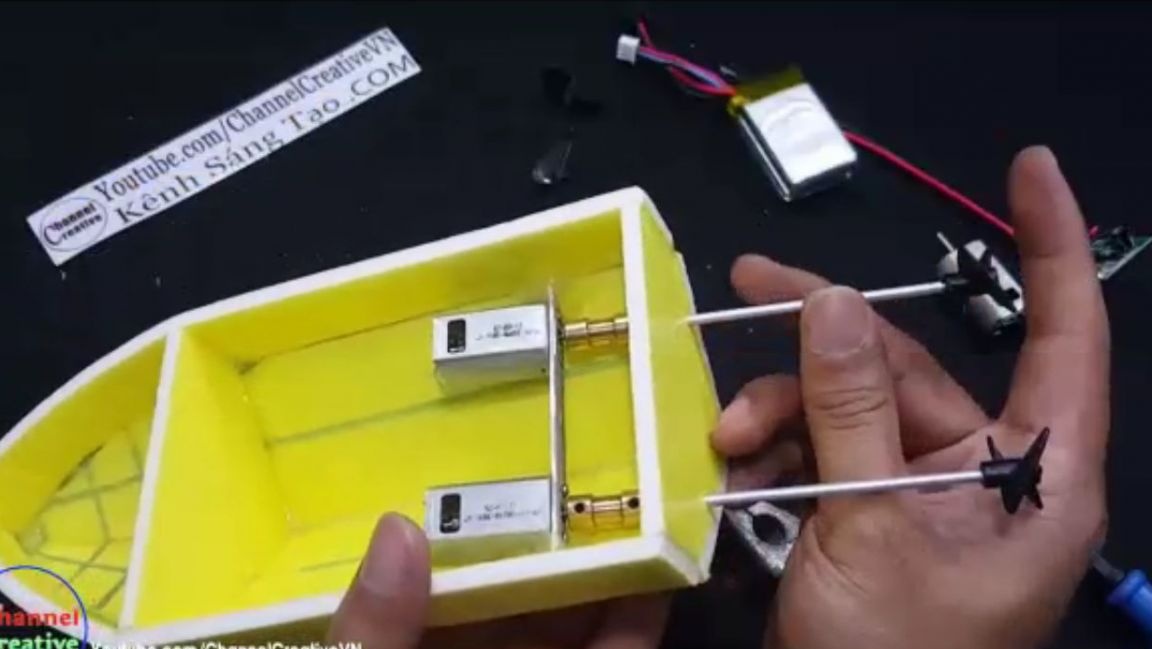
We fix the electric motors on the plate. Electric motors will be attached to the plate with a screw connection. Then we install adapters on the shafts of electric motors.
We take our engine mount with electric motors and glue it to the back of the boat so that the distance between the back wall and the adapter is 1-2 cm.
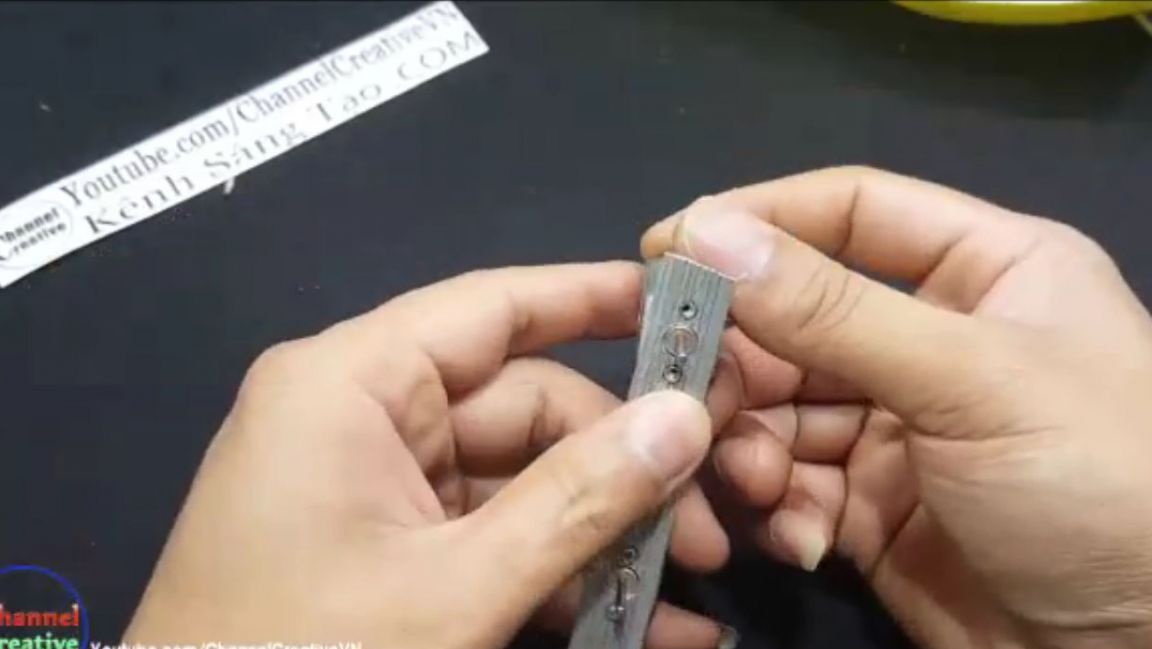
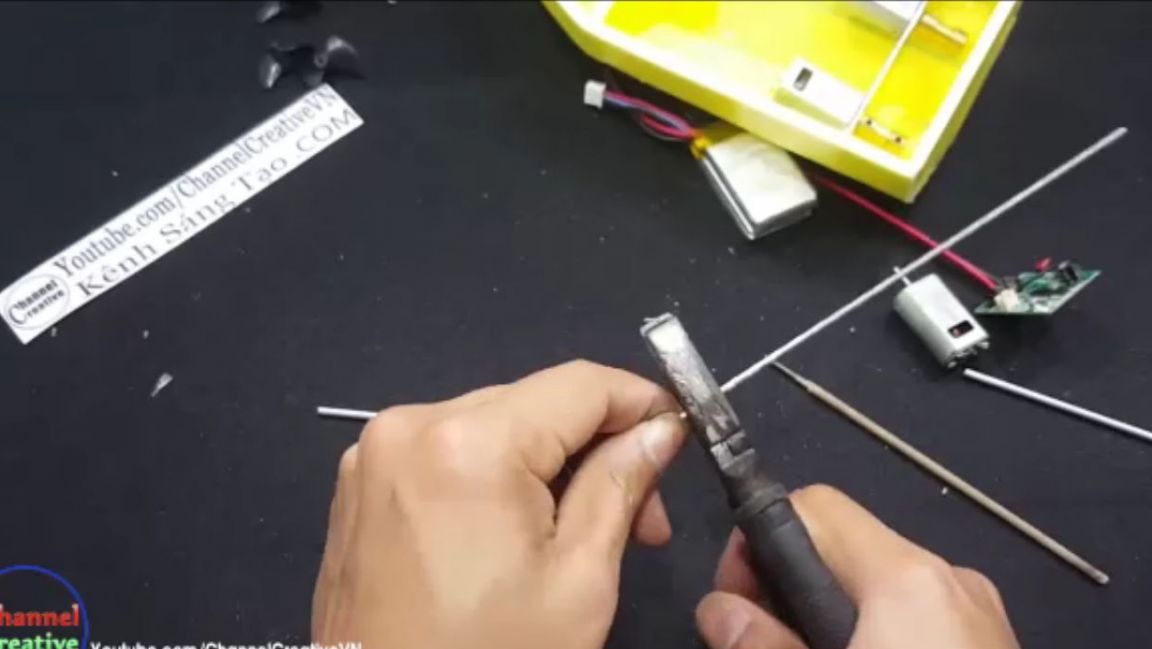
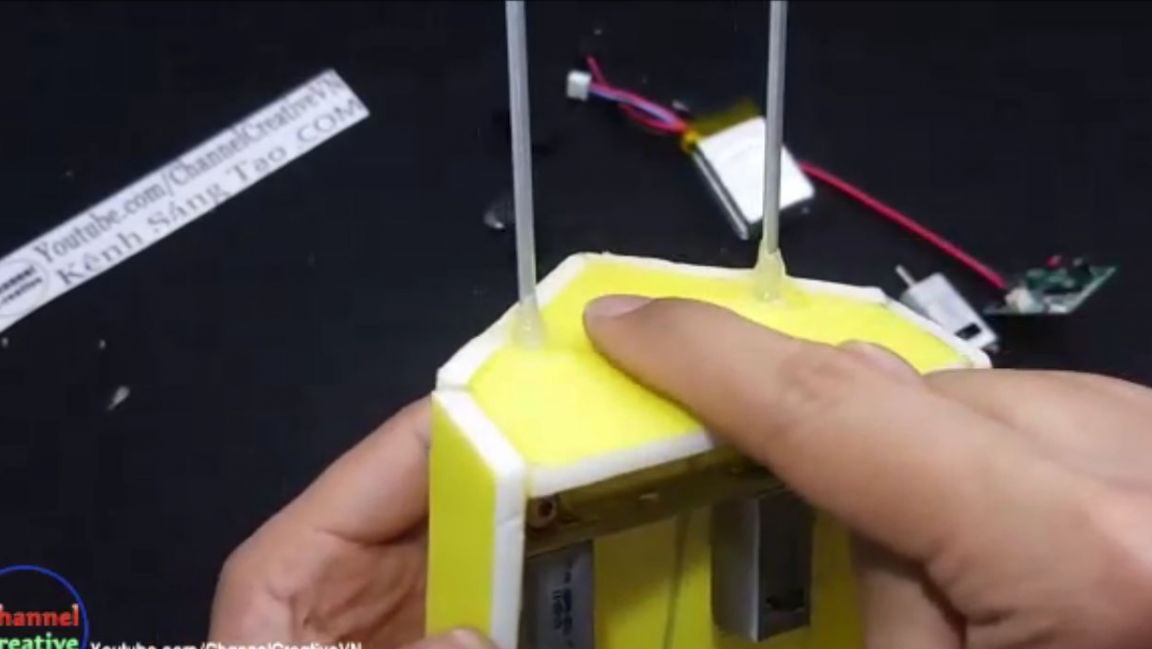
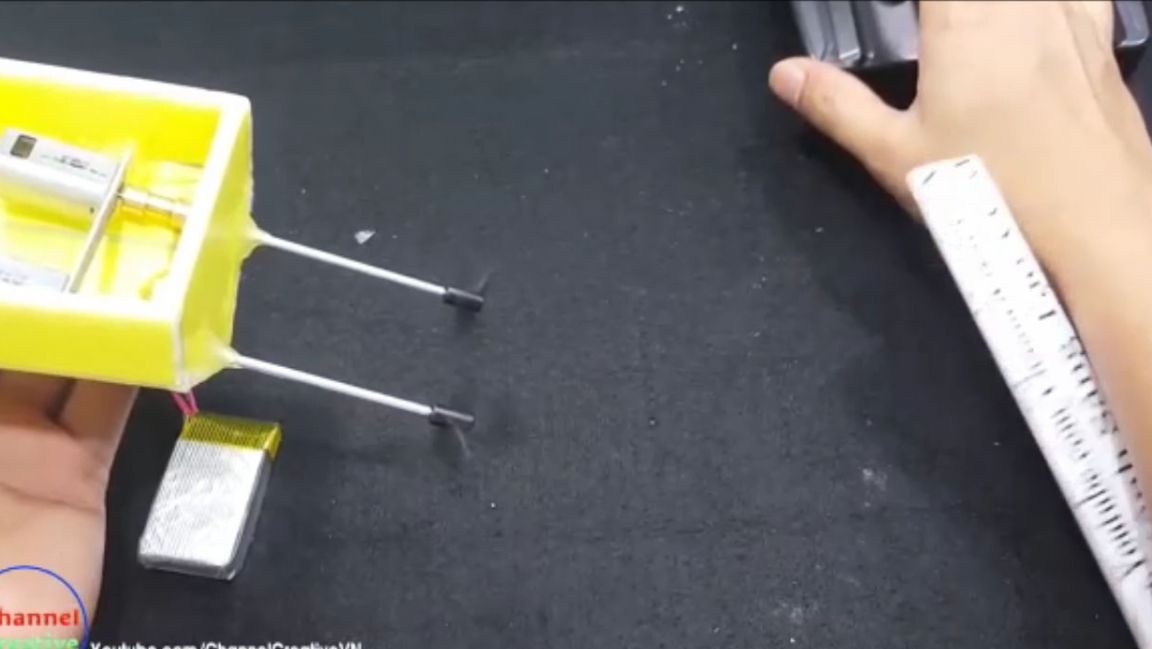
For the next step, we need an electrode. The electrode in this design will be the axis of the drive, for this we need to remove the insulation from the electrode. It is very convenient to remove insulation from the electrode with pliers. After removing the insulation from the electrode, you need to check whether it fits into the pre-prepared tube, if so, then continue.
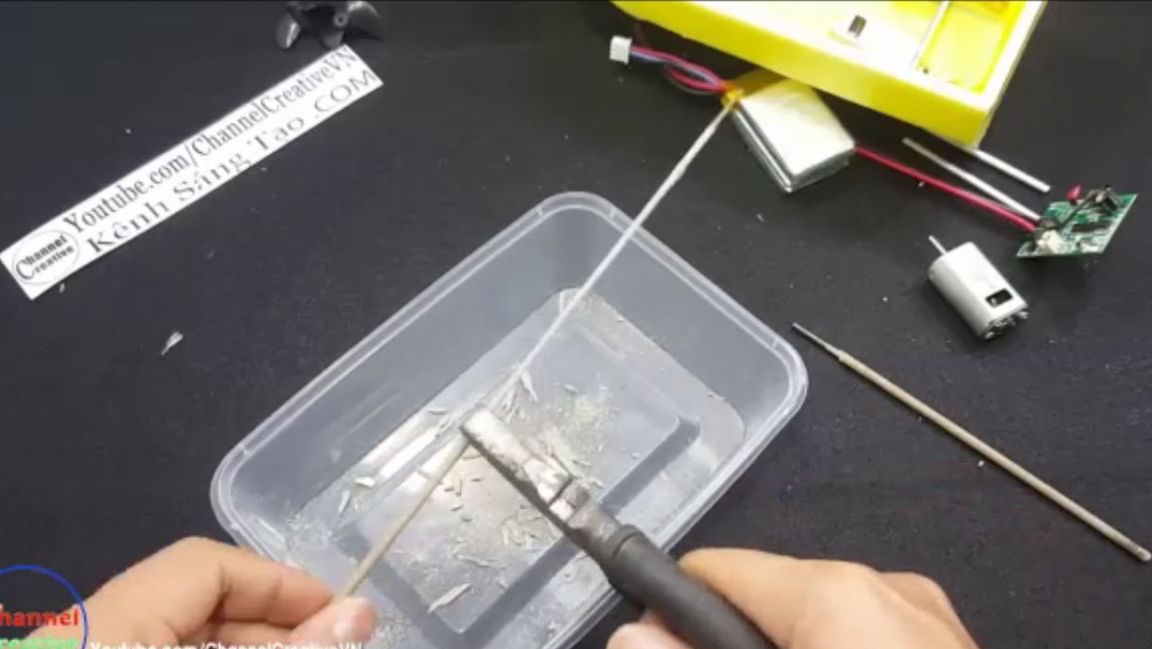
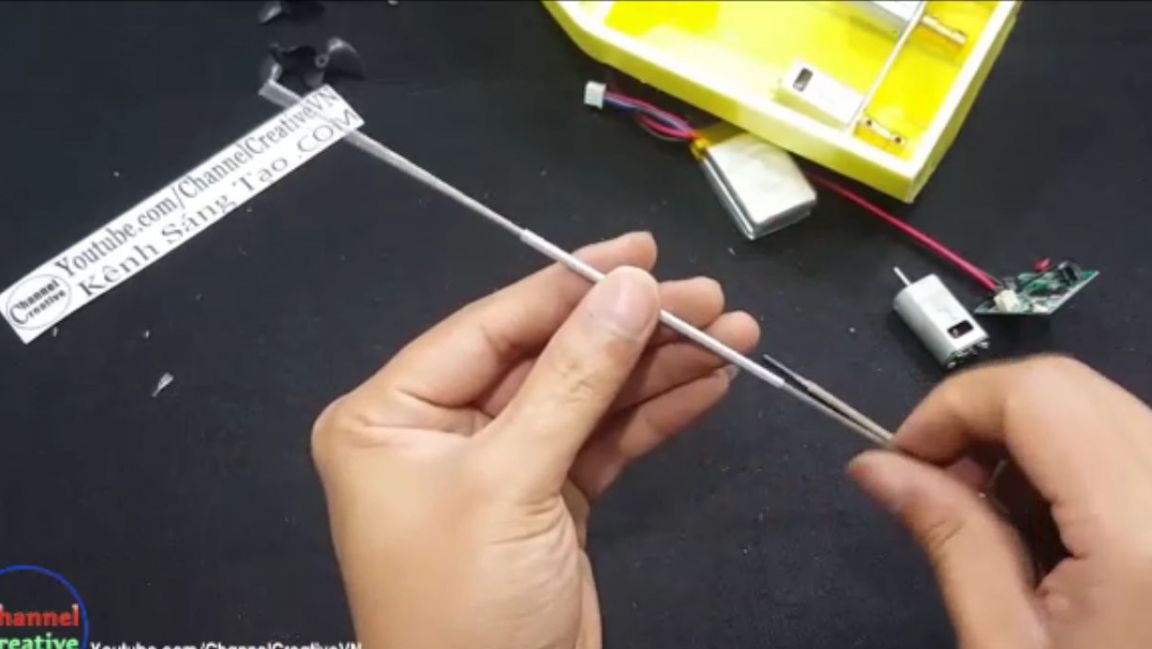
Taking the pliers, divide the electrode into two identical axes. The axles should be slightly longer than the tubes. Then we put the boat propellers on the axis so that they spin in different directions, and through the tubes we insert them into the boat. But before inserting the axles into the boat, two holes for them should be pierced in the rear wall.
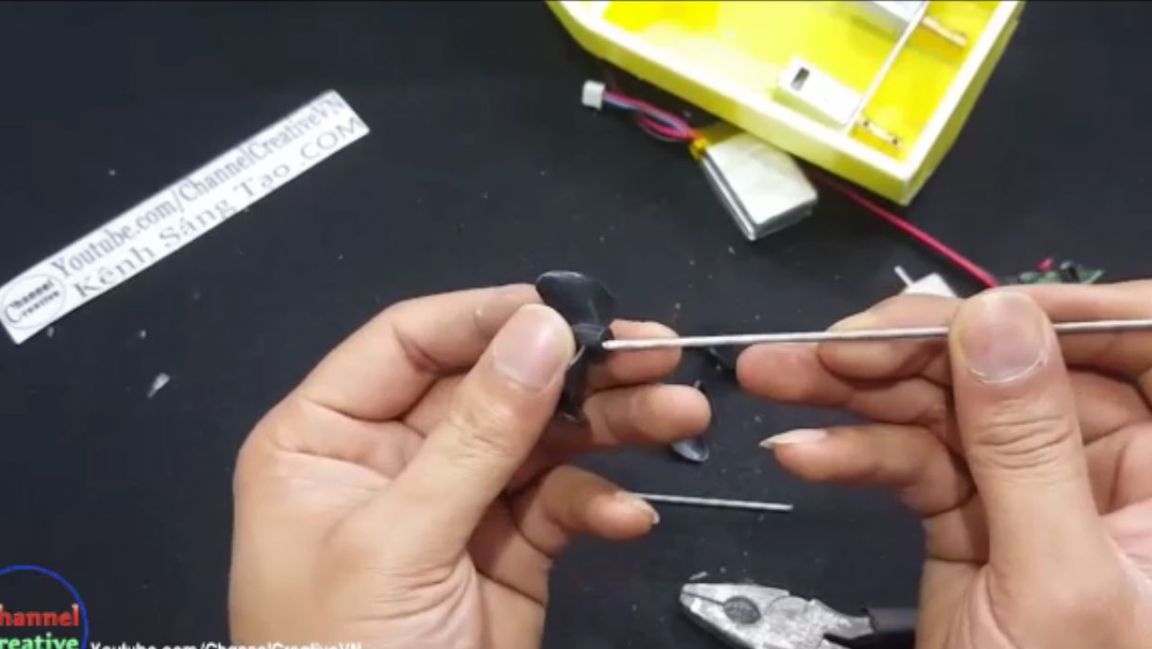
Places where holes were made and pipes were inserted should be sealed with glue so that water does not get there.
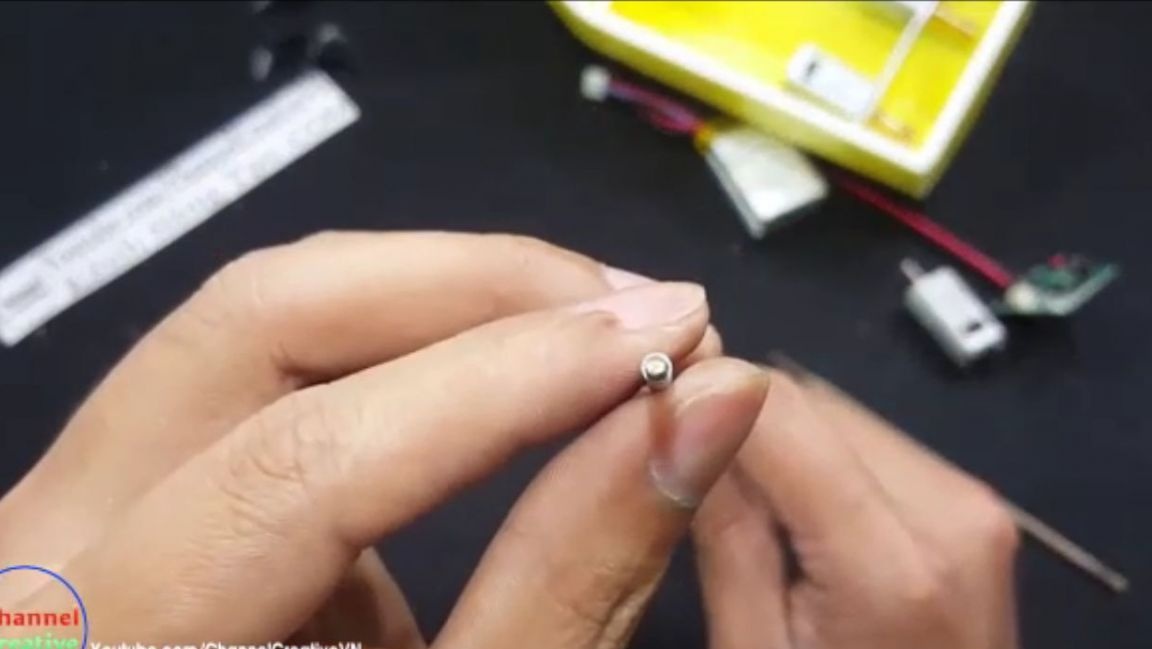
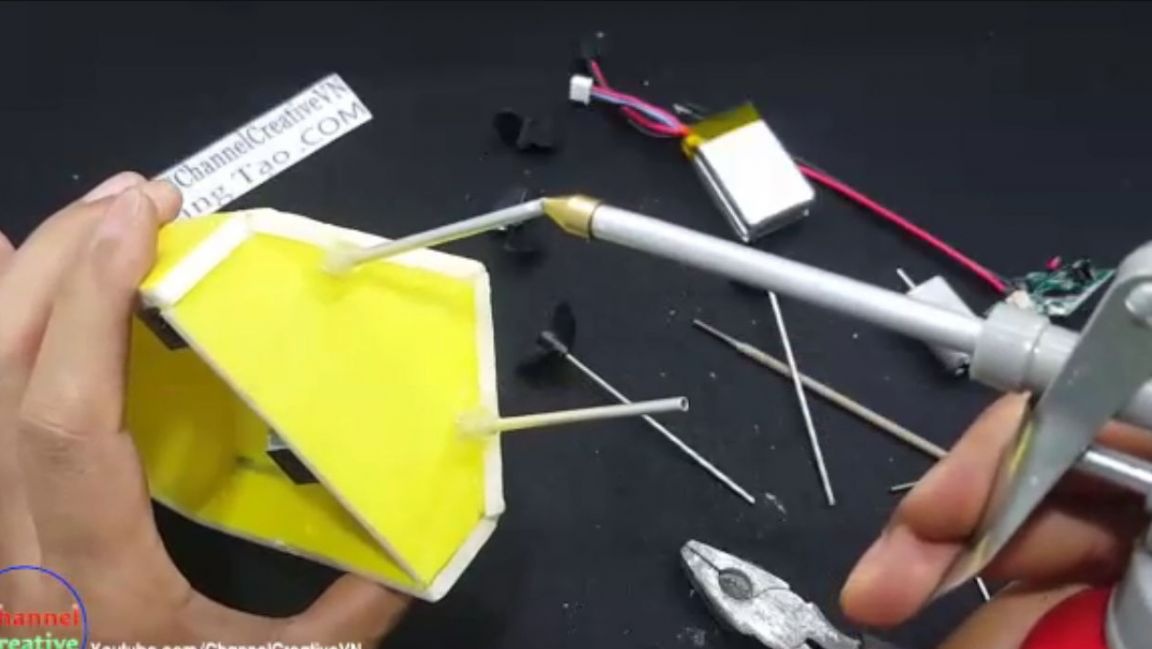
After removing the axles with the propellers, grease the tubes where they stand with any grease. If you do not lubricate, then in rubbing places there will be strong heating, which will lead to the expansion of metal, increase in resistance, which in turn can affect the load of the electronic system of the boat.
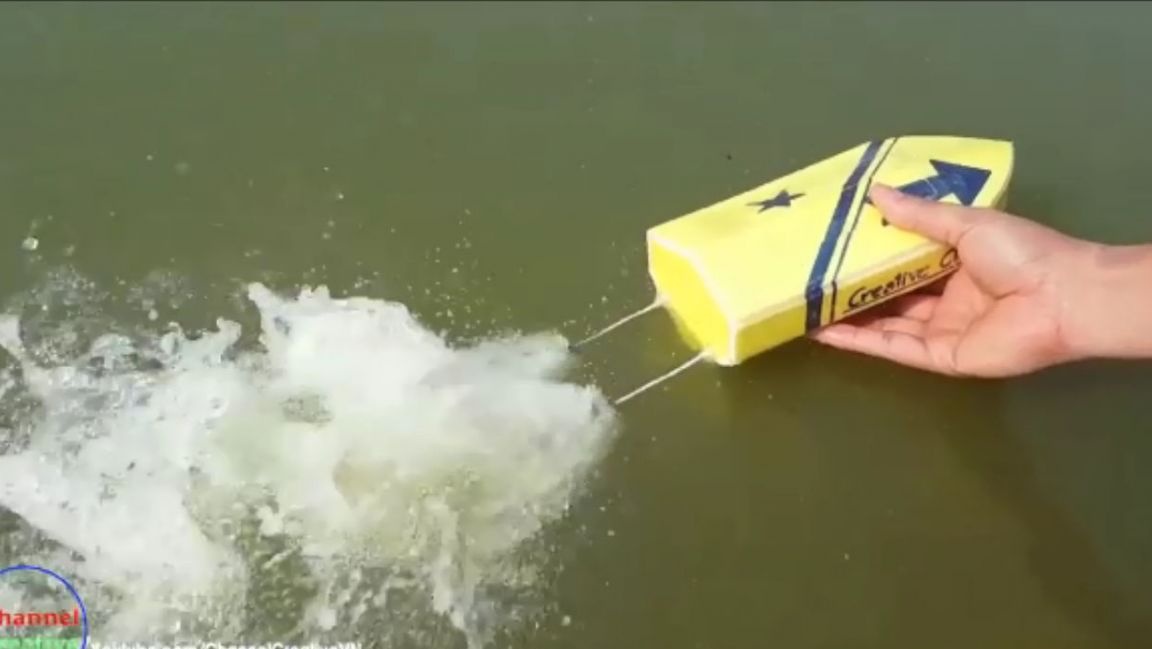
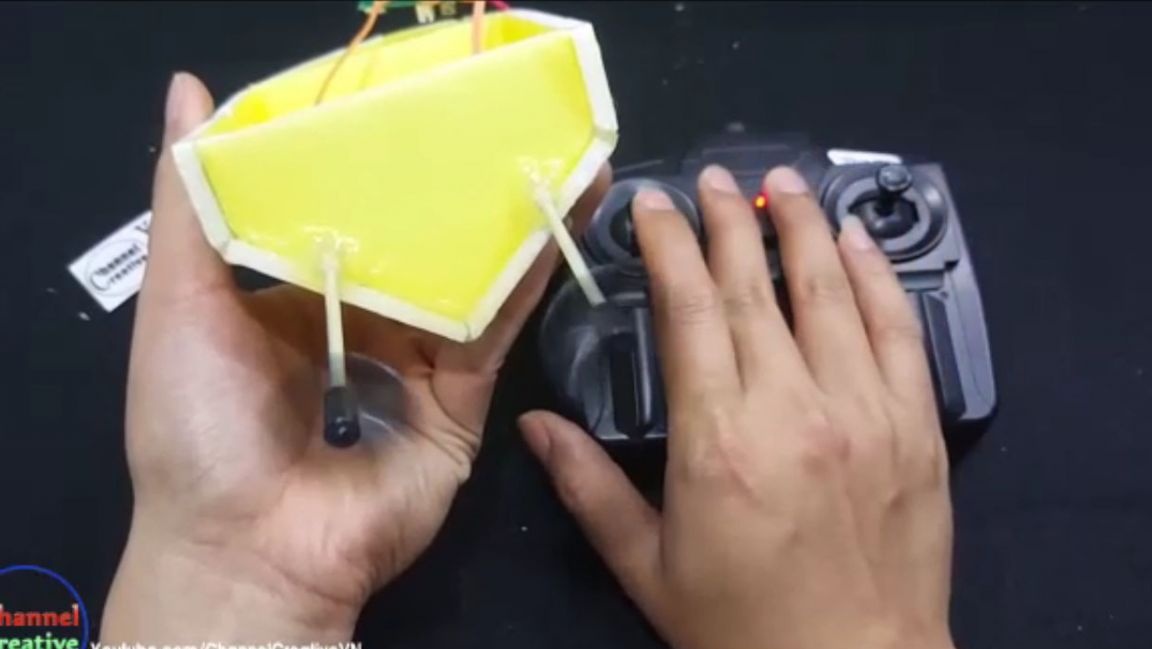
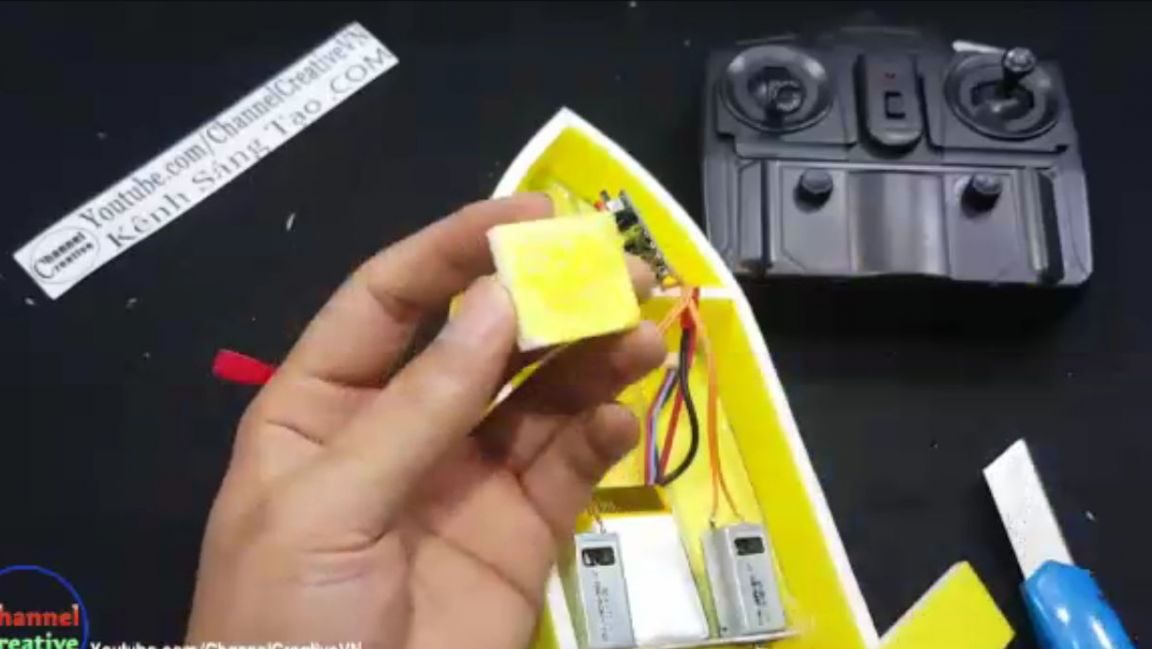
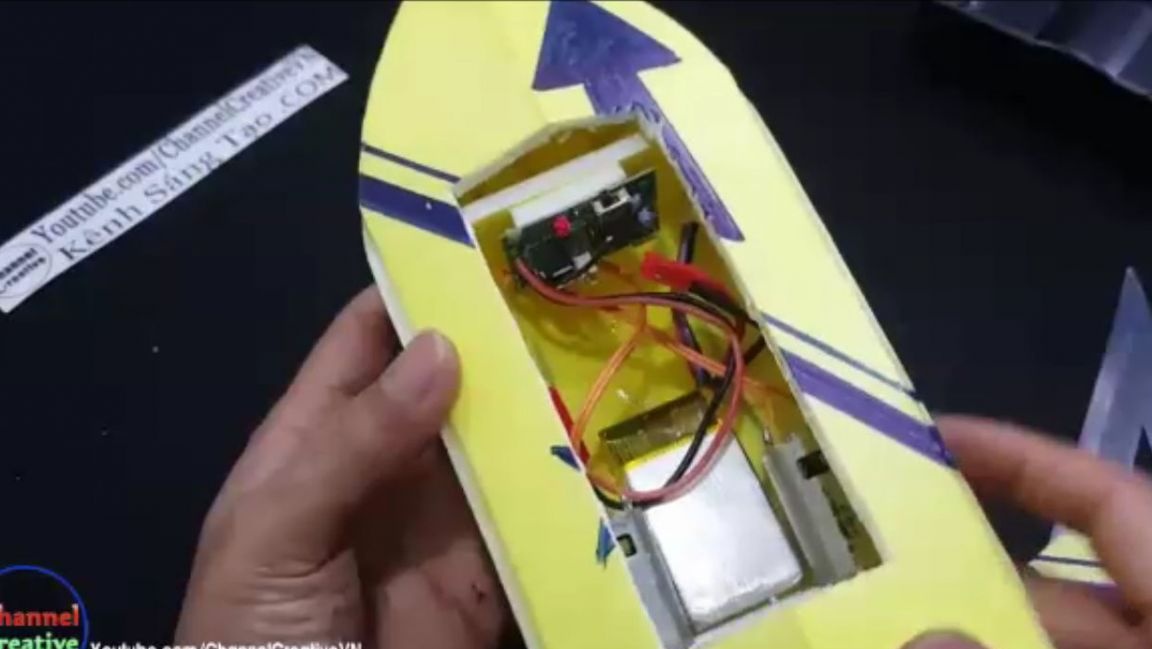
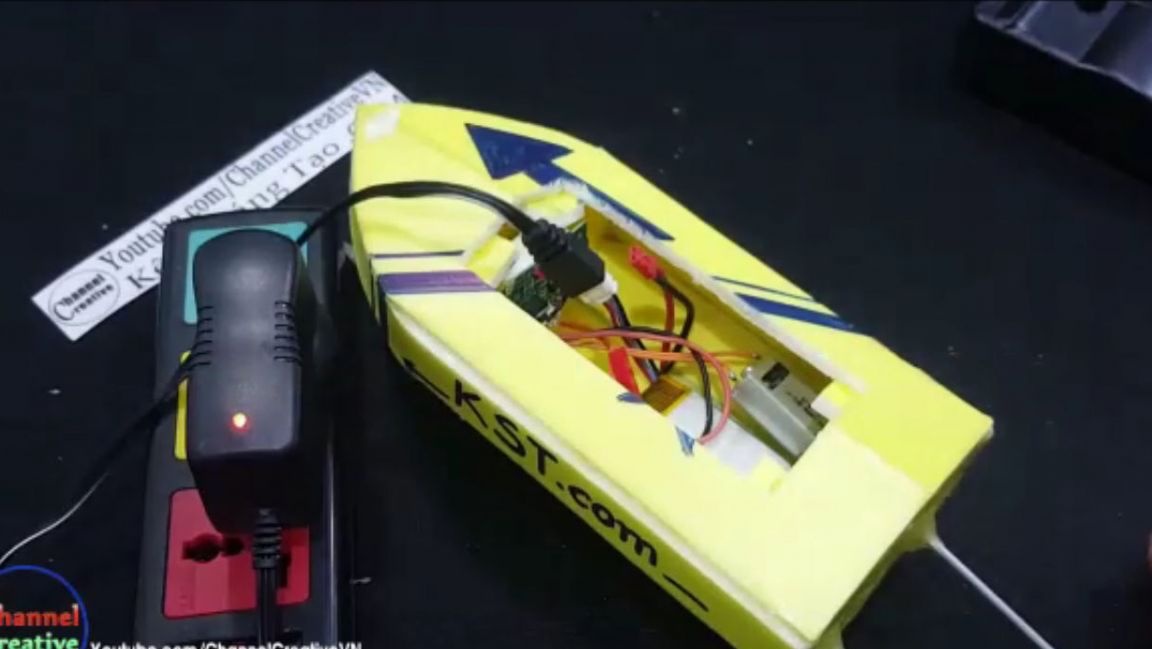
Solder the wires to the electric motors. And solder wires from electric motors to the helicopter control board, where the helicopter engines were soldered. There is nothing to say about polarity, it is selected using the poke method. The main thing is that after switching on when adding gas, the electric motors rotate in opposite directions, and the boat moves forward. And when turning to the right, the left engine added revs, and the left one slowed down.
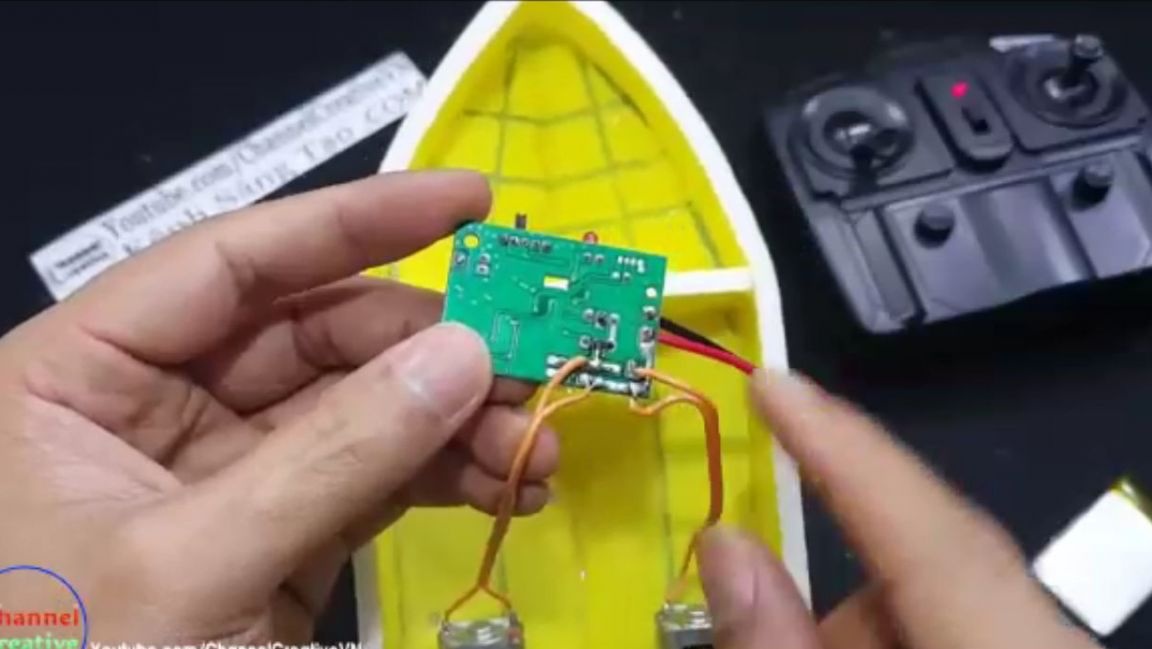

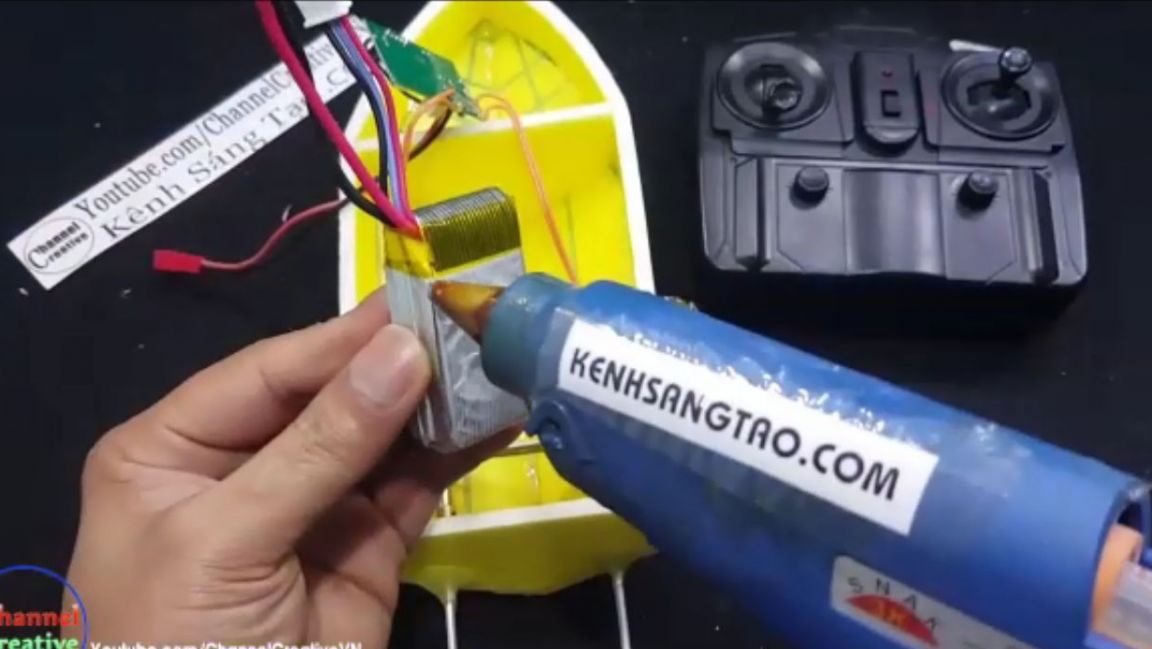
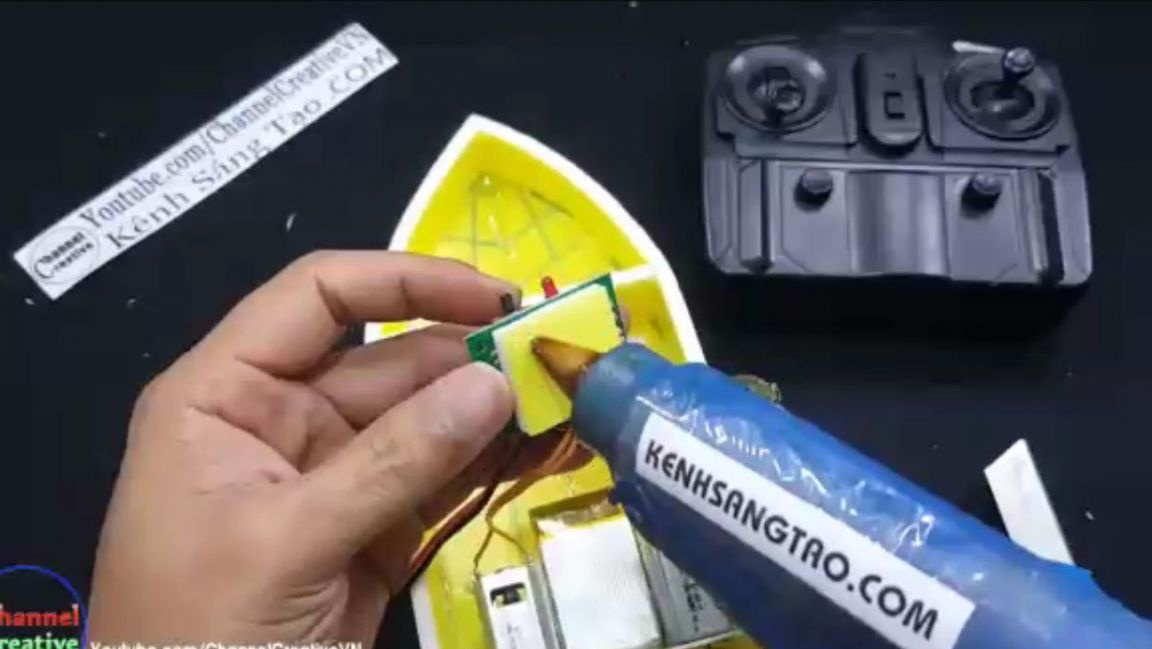
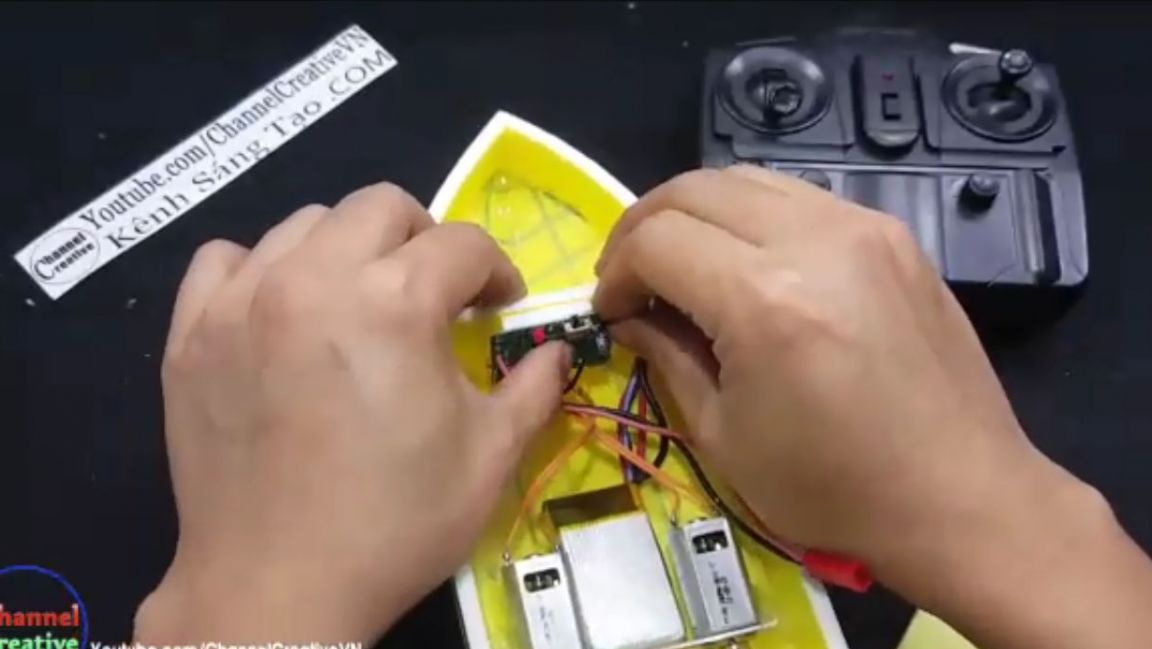
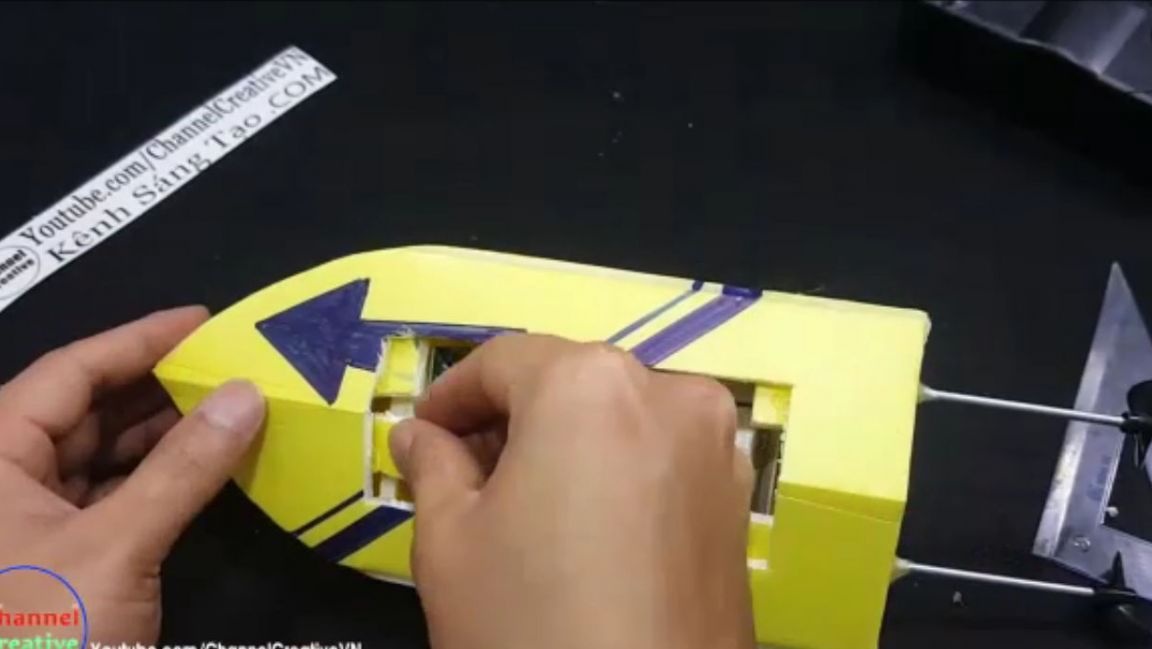
We glue the battery to the body of the glue. Having cut out a square from the material used, we glue it with the help of glue to the control board and this sandwich must also be glued to the body.
Let's make a roof for the boat, repeating the steps in a step-by-step photo. And decorate the boat with what you have.
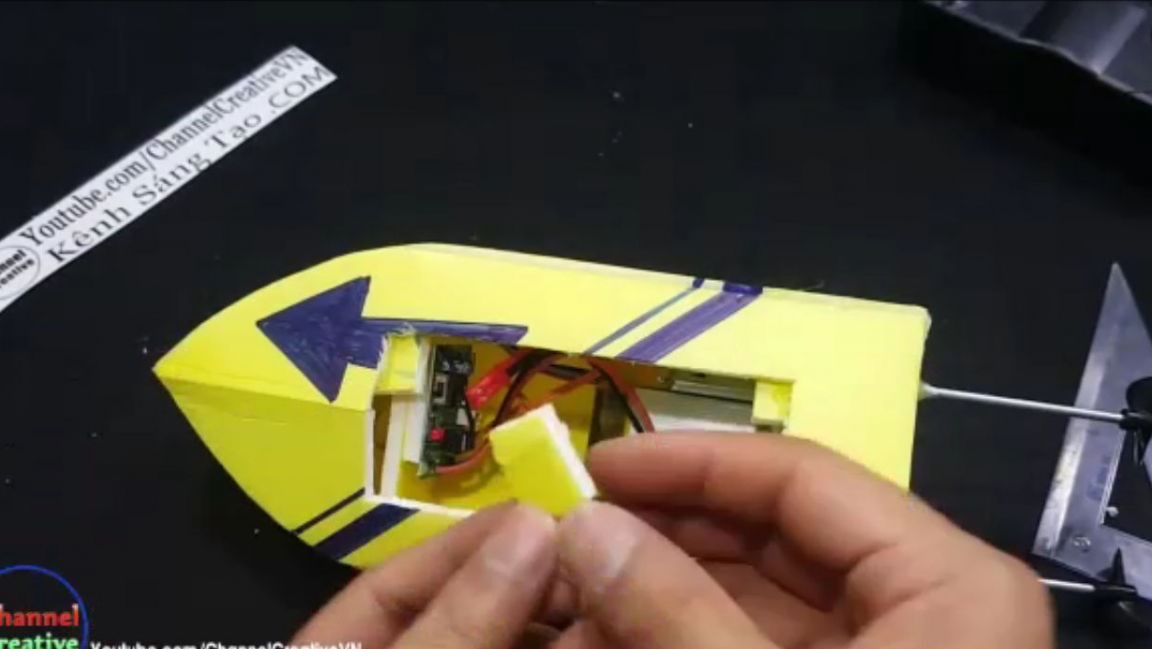
A rectangular opening should be made in the roof for charging and repair. And from the inside, not large squares should be glued so that the lid does not fall into the inside.

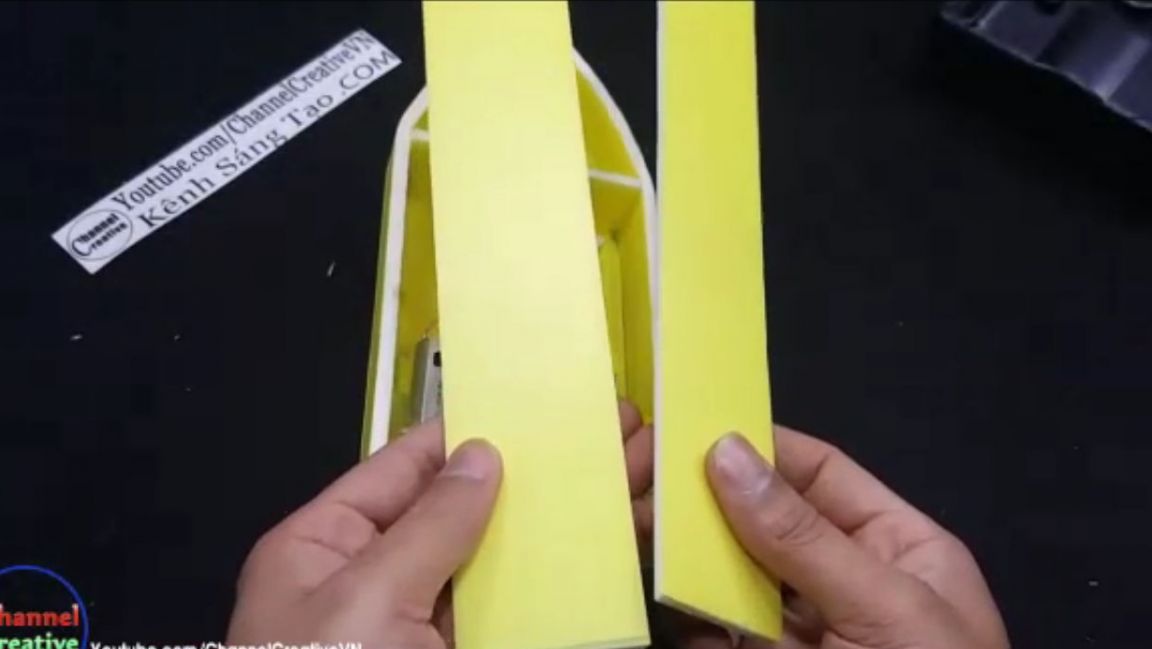
Runners should be cut from the material used for a more stable and more controlled movement. And glue them with a glue term.

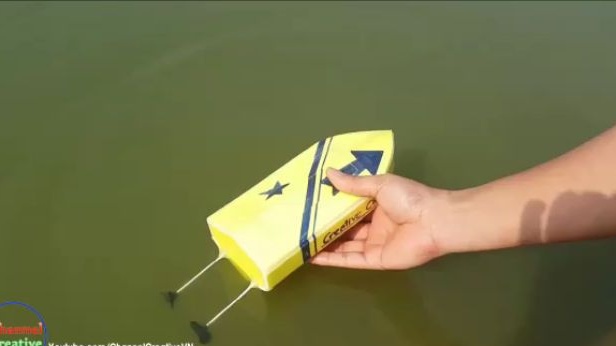
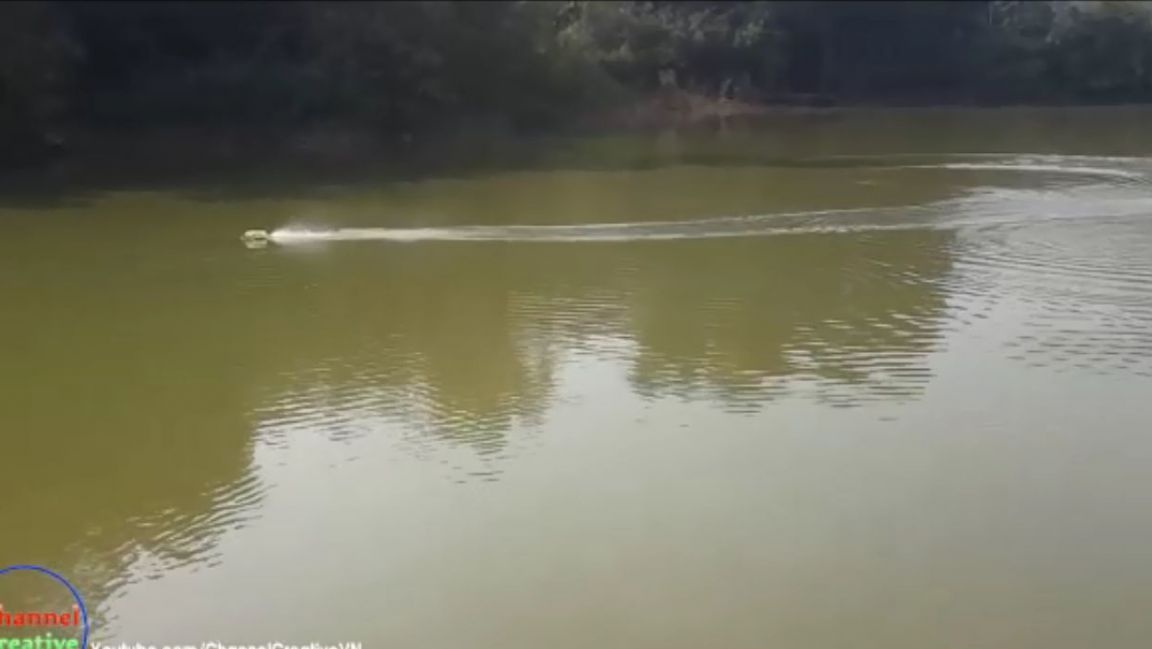
All is ready! As a result, we got a very interesting model of a radio-controlled boat. The boat turned out to be very fast and surprisingly maneuverable. This homemade product will surely appeal to many and many will definitely want to make the same boat for themselves.
Here is a detailed video from the author with the assembly and testing of this homemade product:
Well, thank you all for your attention and good luck in future projects, friends!