general description homemade
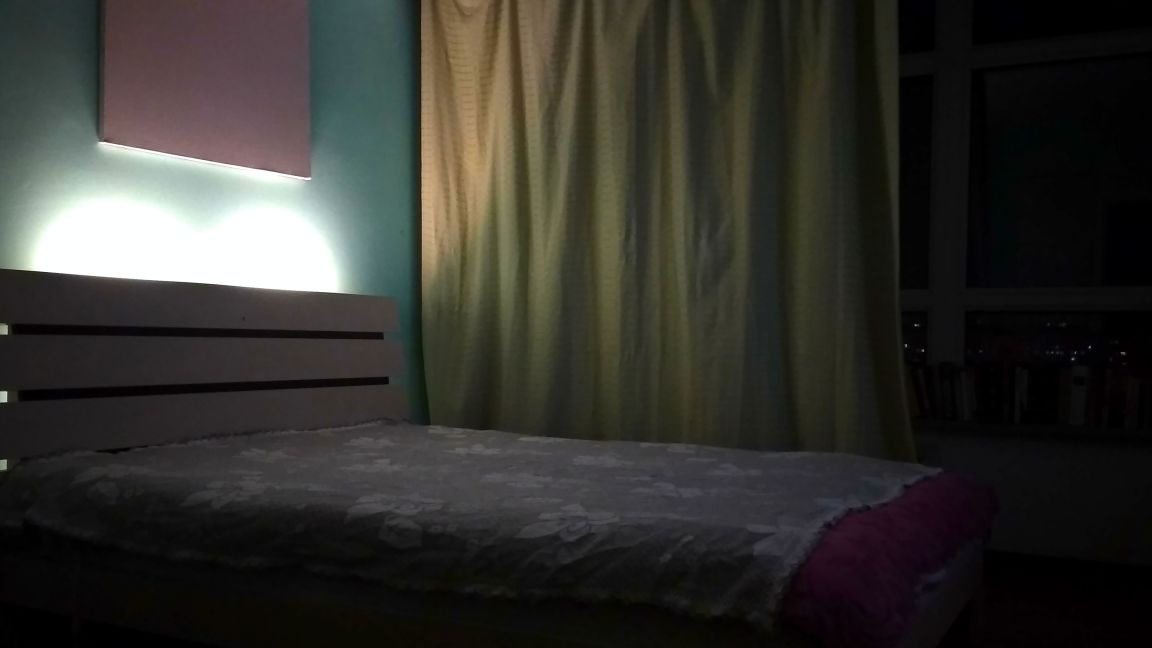
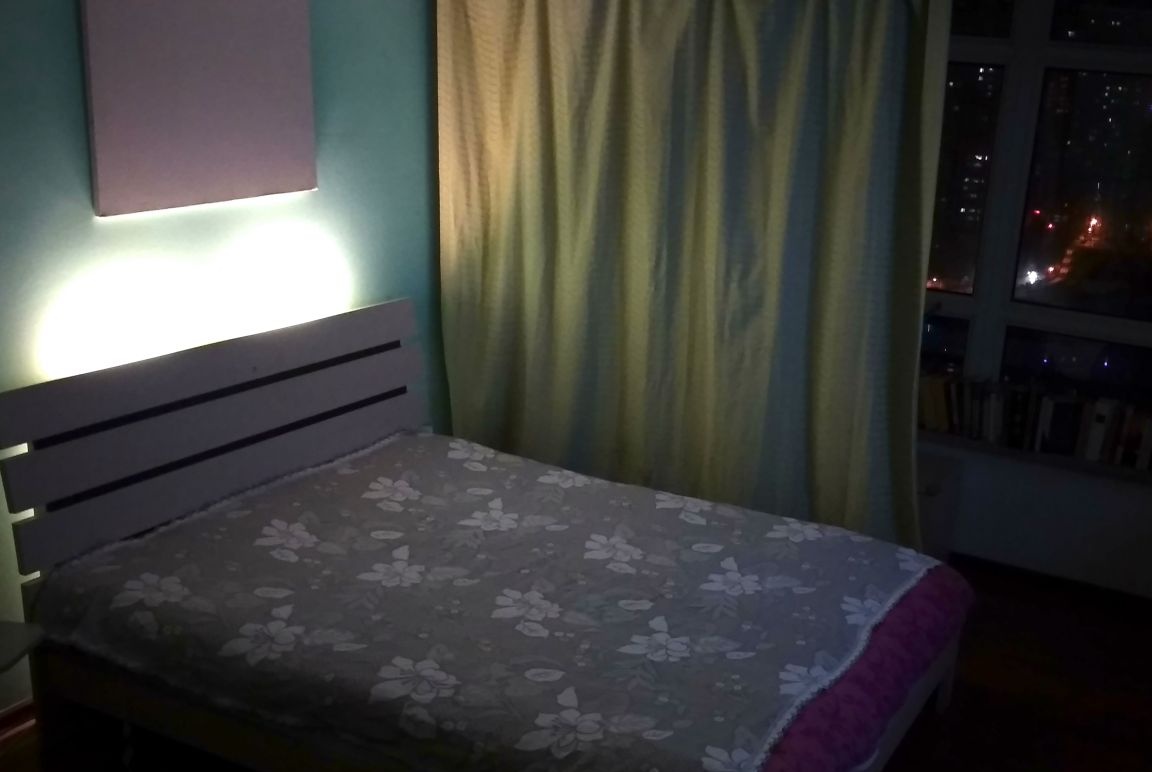
A night lamp integrated in the headrest. I always did not like bedside lamps, because they occupy a place on the bedside table and can be accidentally dropped, especially if the child is in the house. Yes, and mine home The beds had one drawback - the gap between the headrest and the wall. From my son’s point of view, it’s very fun and exciting to throw different things into this gap. And so I decided to eliminate the problem of an unstable night light and the constant movement of the bed (to get the remote control, phone, glasses, toys, clothes, etc.) and I wanted to do this as quickly and simply as possible. So the idea was born to make a small shelf between the headrest and the wall, and even embed the nightlight there.
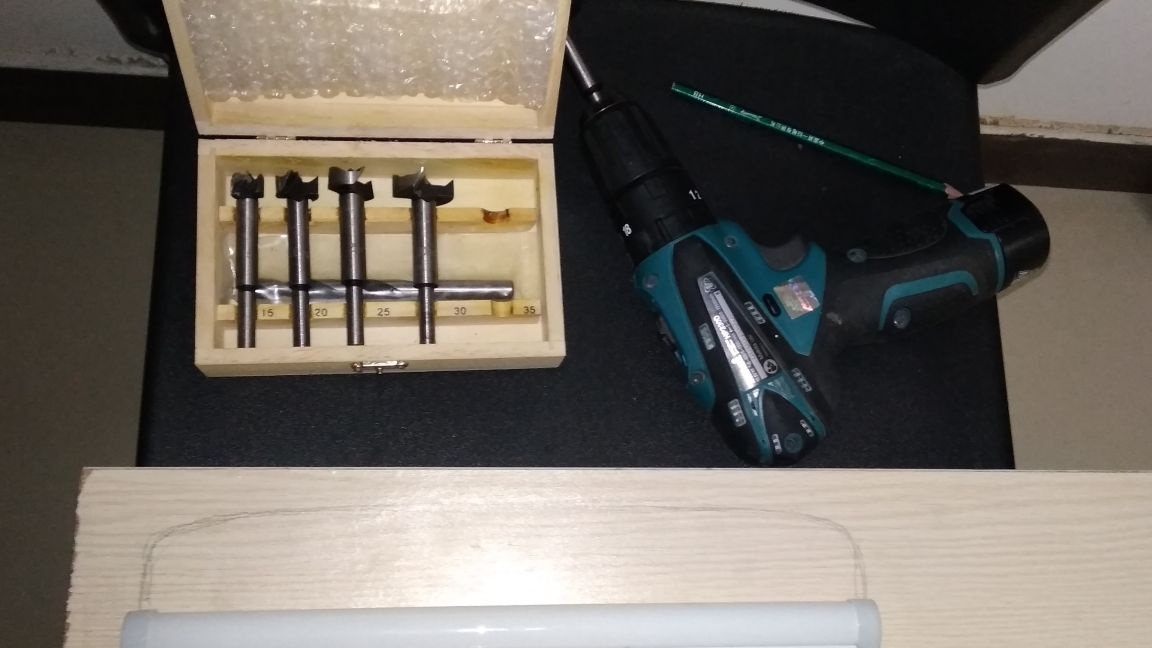
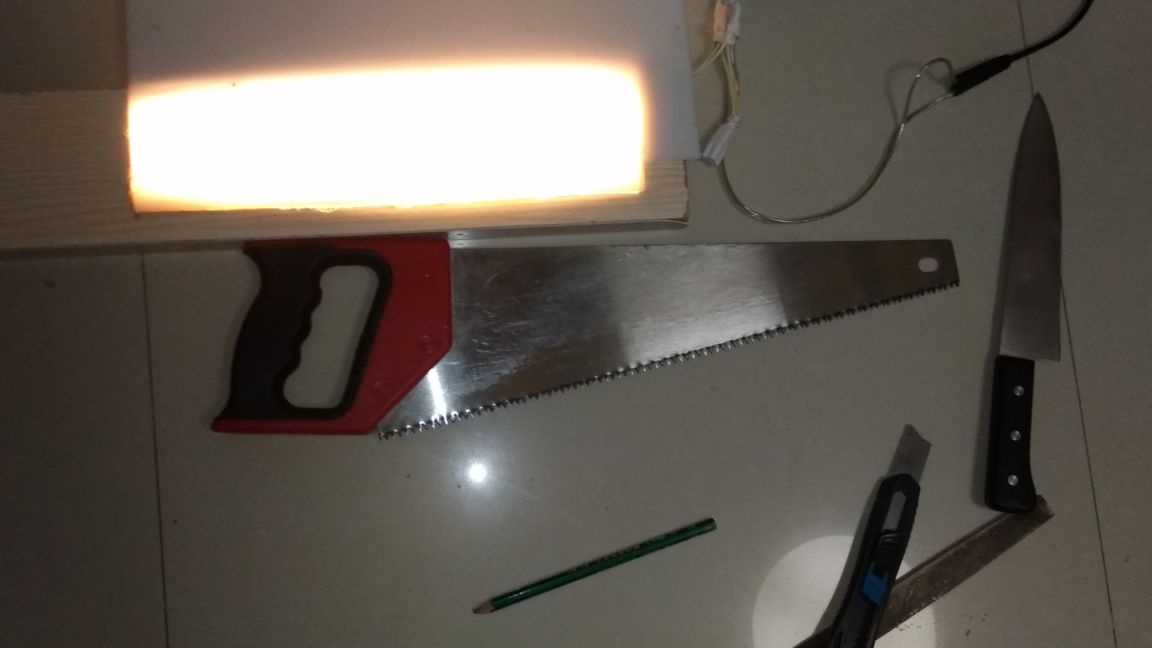
Materials and tools:
- Hot glue;
- chipboard;
- Screwdriver;
- Set of drills;
- Wooden block;
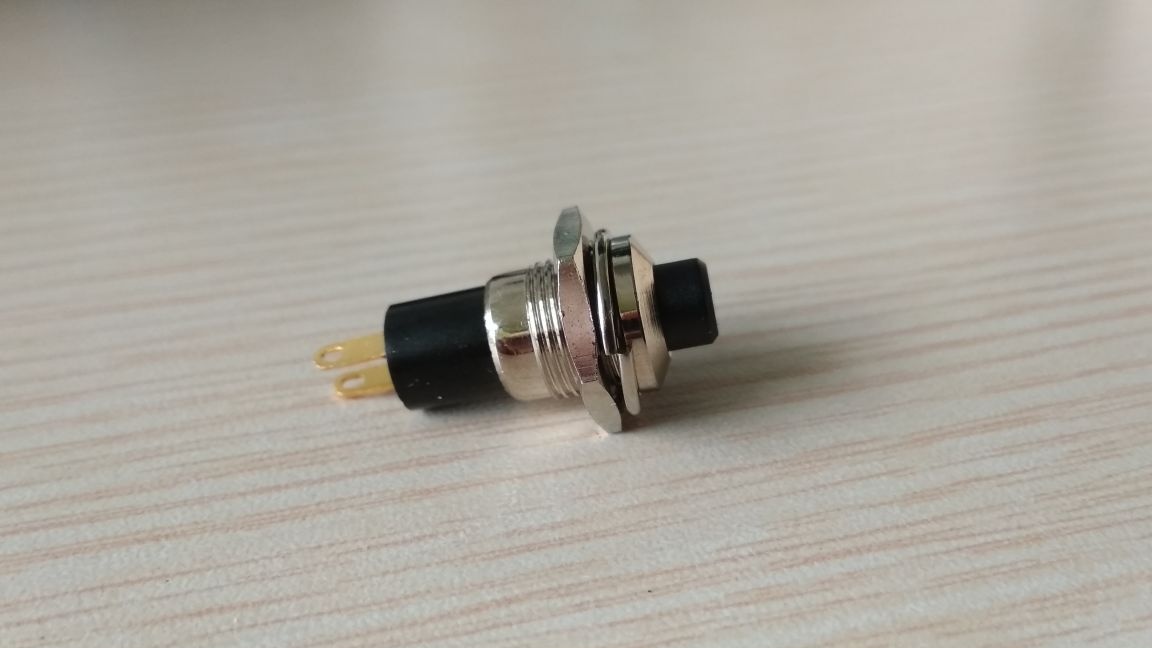
- On / Off Button ()
- A wire with a 220 V plug;
- A pair of lamps;
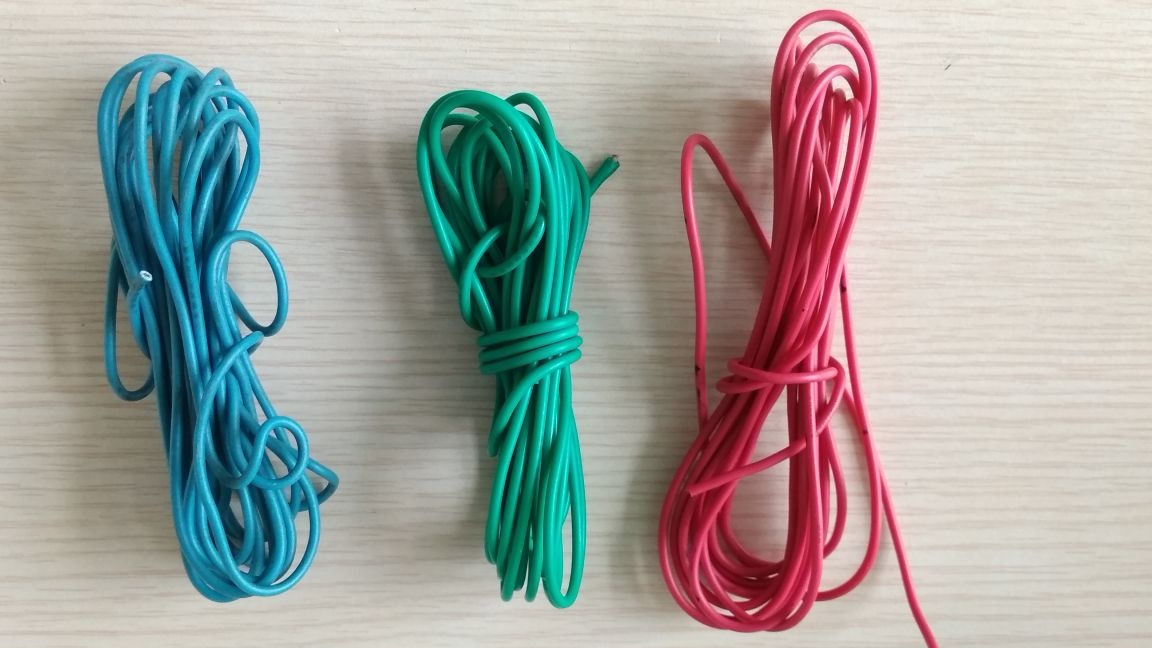
- Several colored wires;
- Pencil;
- Ruler;
- Roulette;
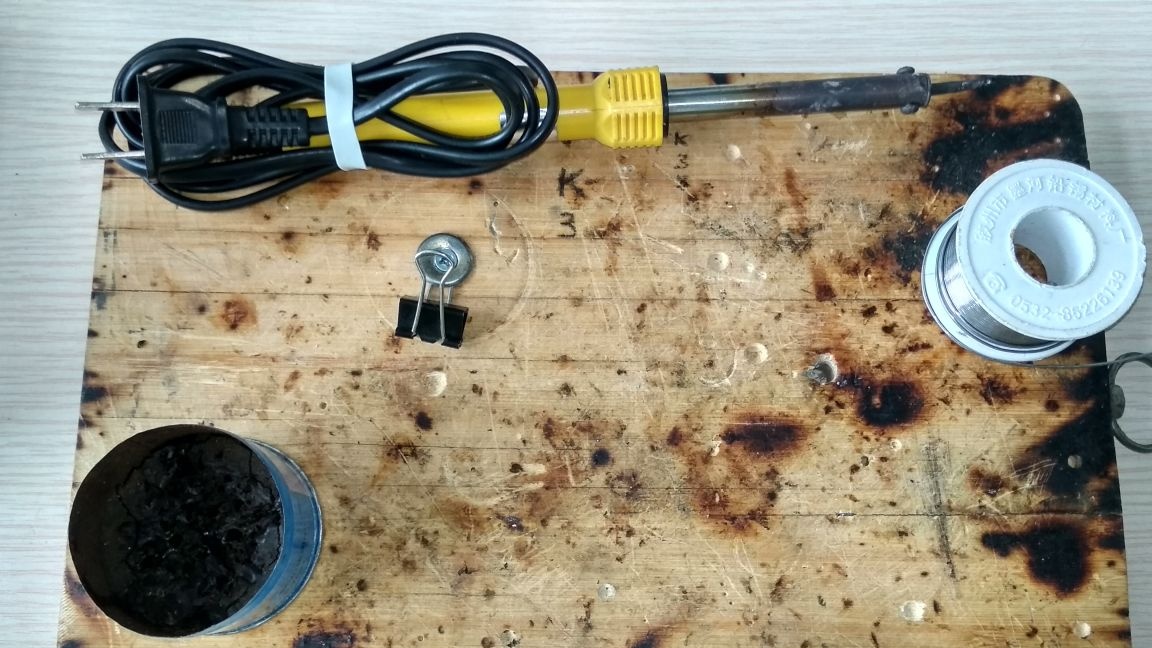
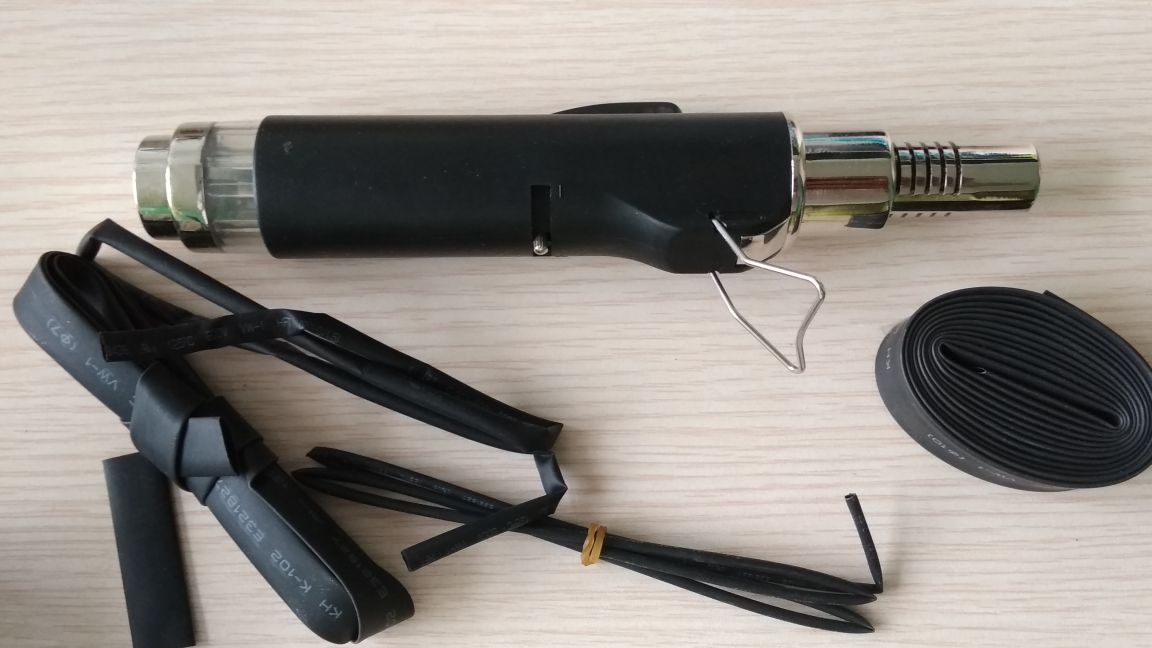
- Soldering iron;
- Solder;
- Heat shrink tube or electrical tape;
- Frosted plexiglass;
- Hacksaw for metal;
- Steel corners;
- Self-tapping screws;
- Acrylic paint.
Detailed manufacturing description:
Step 1: Measurements and selection of materials. Measure the length and width of the gap between the bed and the wall with a tape measure. The sizes in each case will be different, so I will not in vain indicate the numbers.
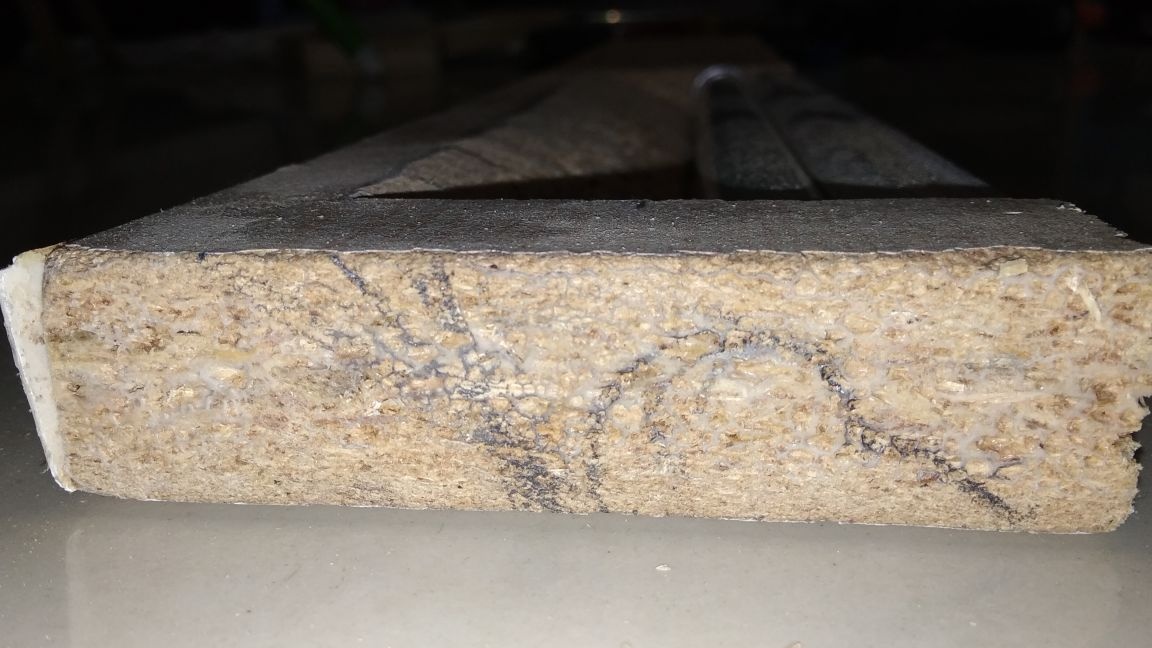
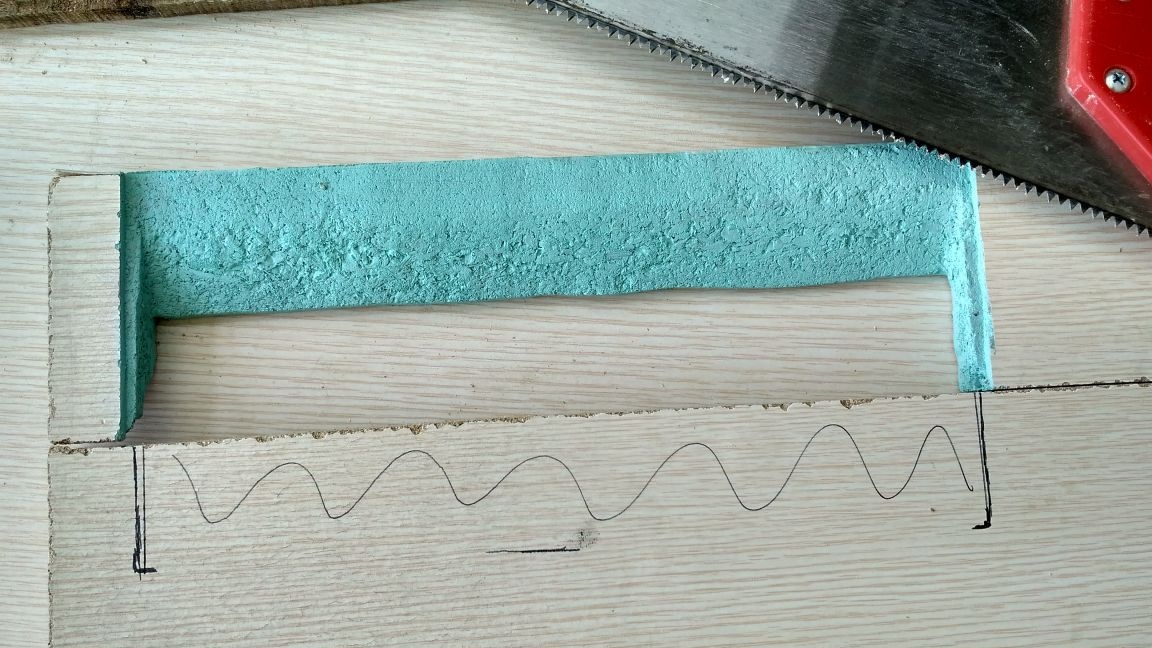
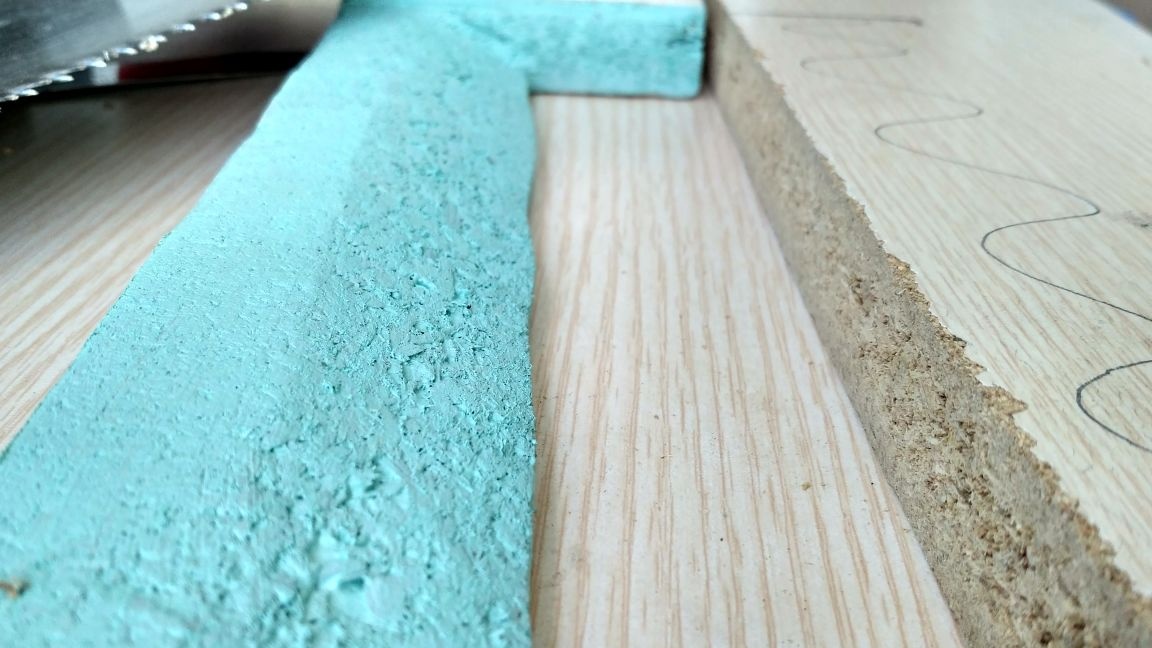
The material is best chosen by color, so that the shelf does not get out of the picture. In my case, there was a piece of chipboard that was absolutely identical with the bed in drawing and color. True, the size of this piece forced to make a shelf of three parts. Ideally, of course, use a solid piece of material so that there are no joints on the shelf.
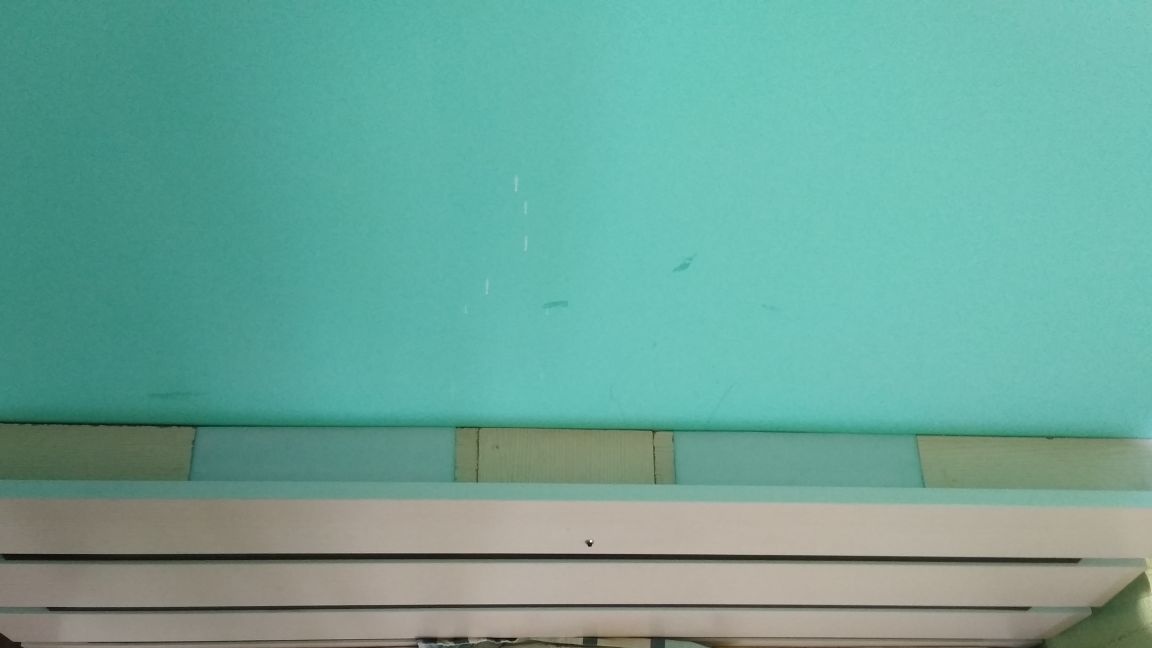
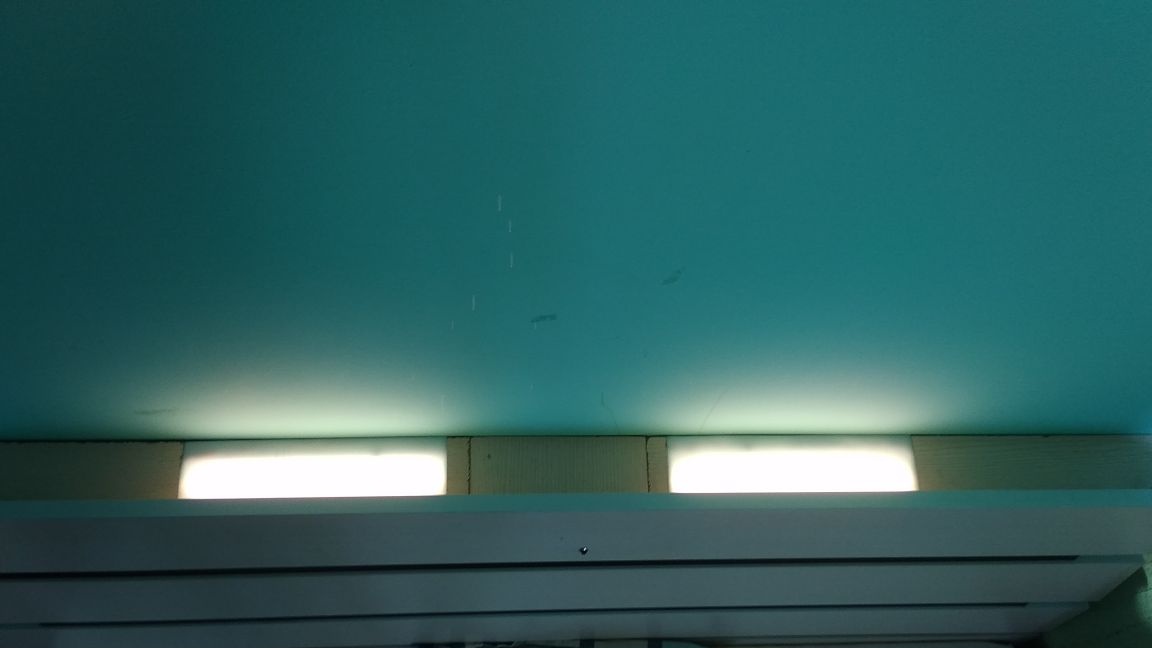
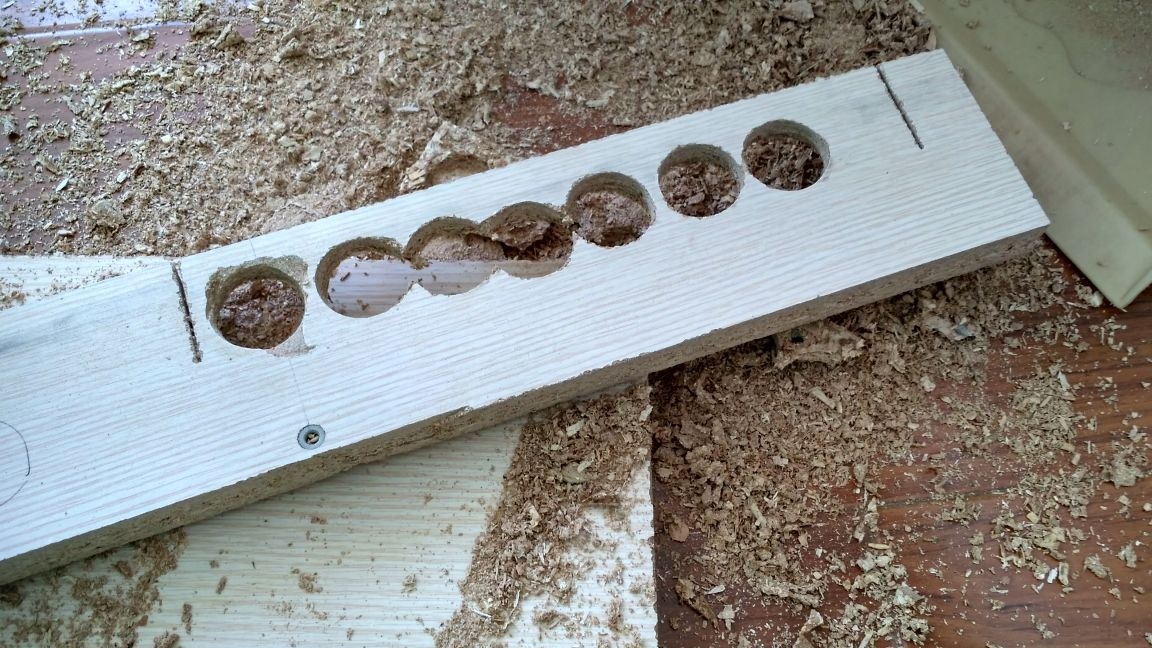
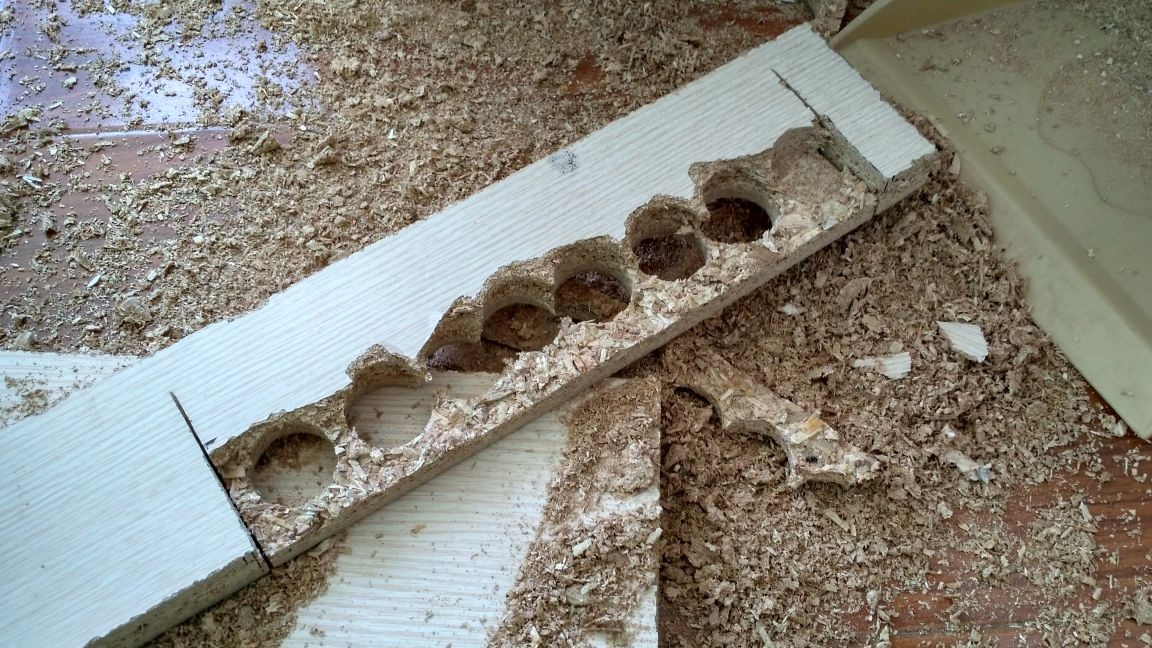
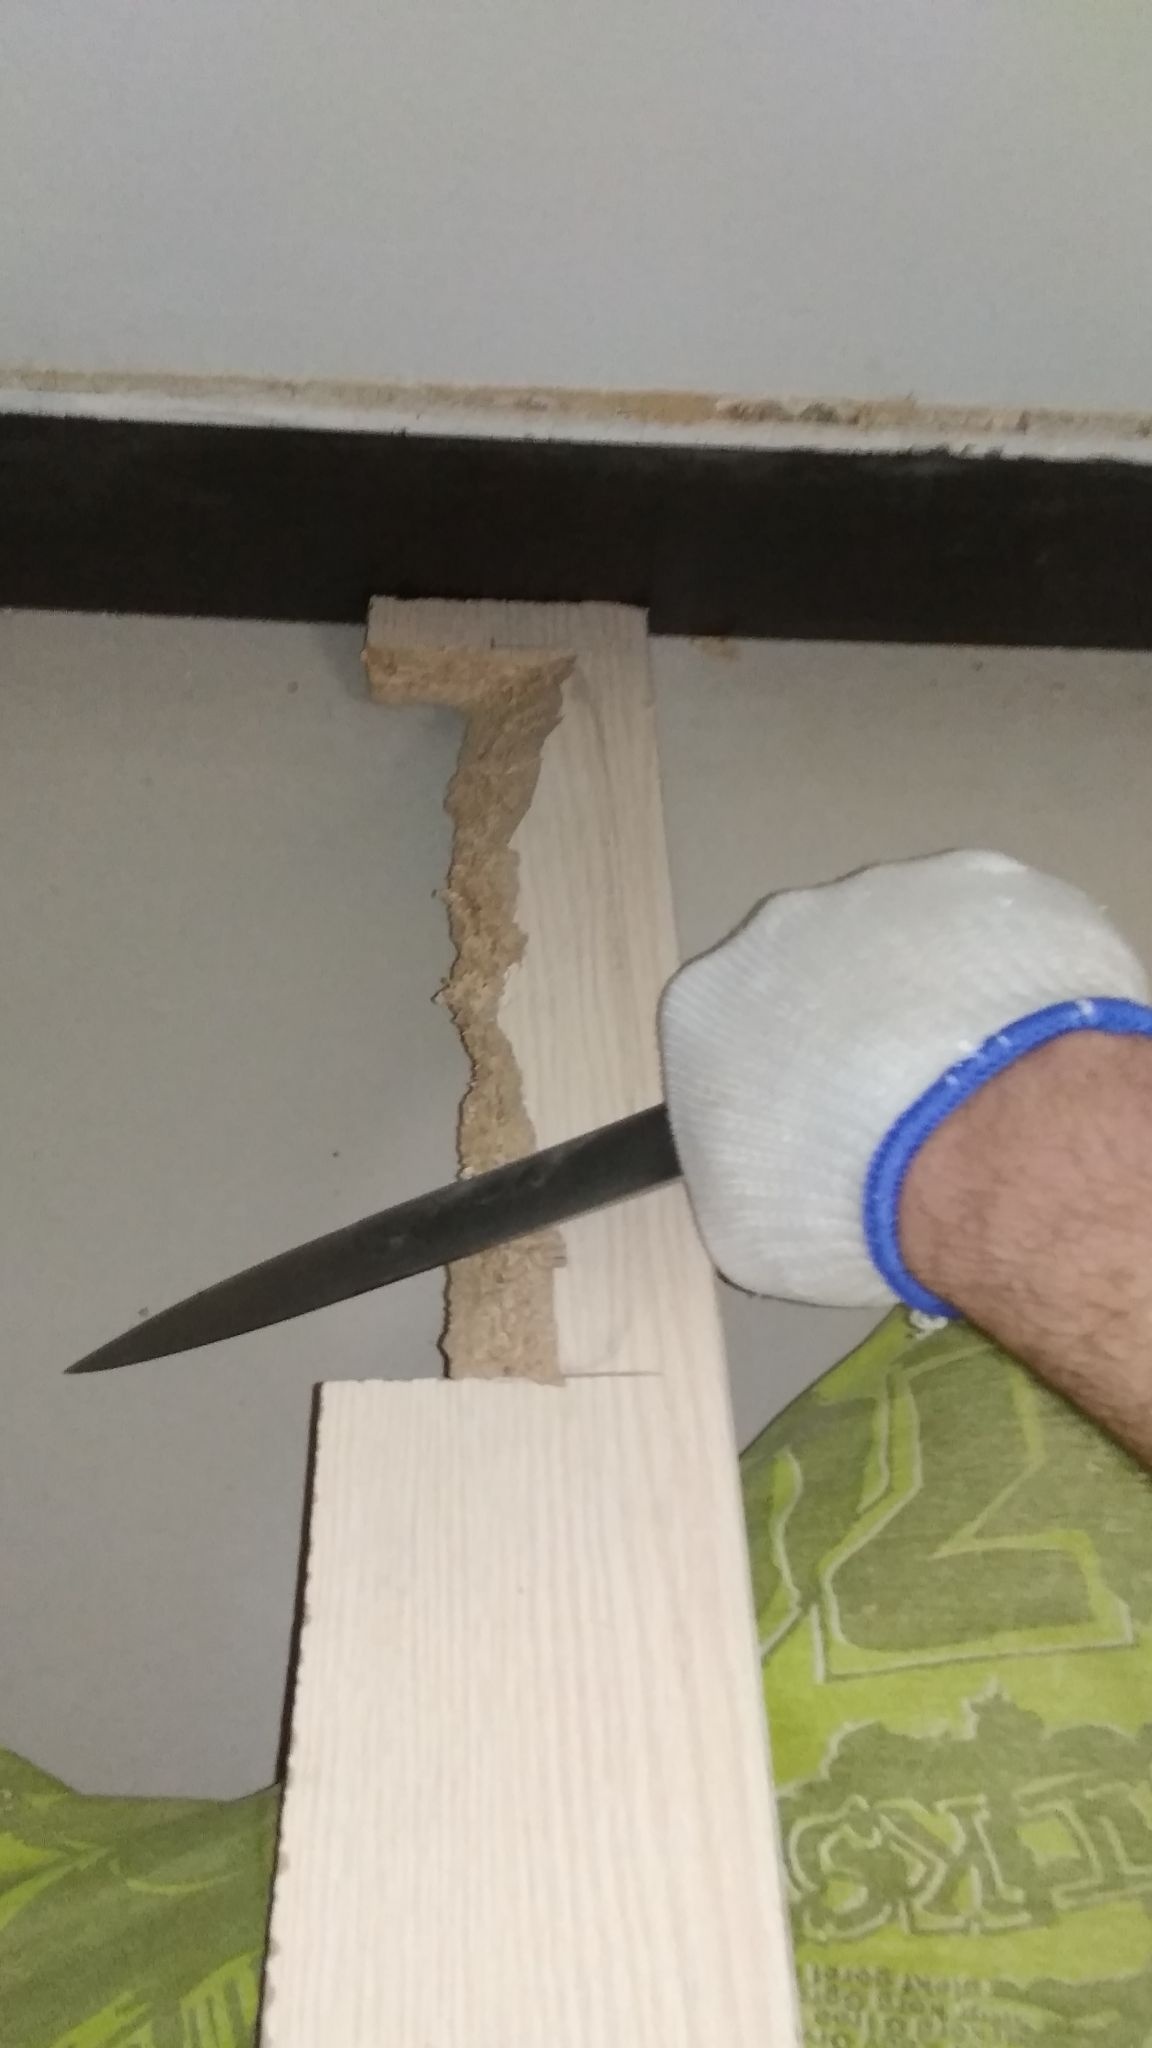
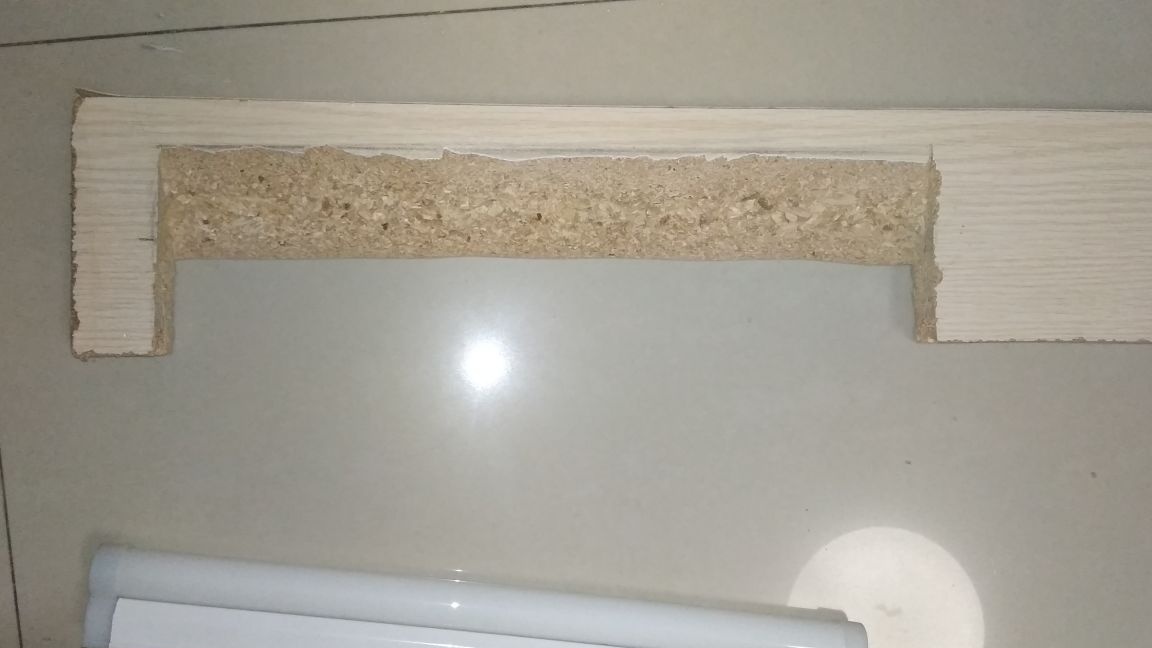
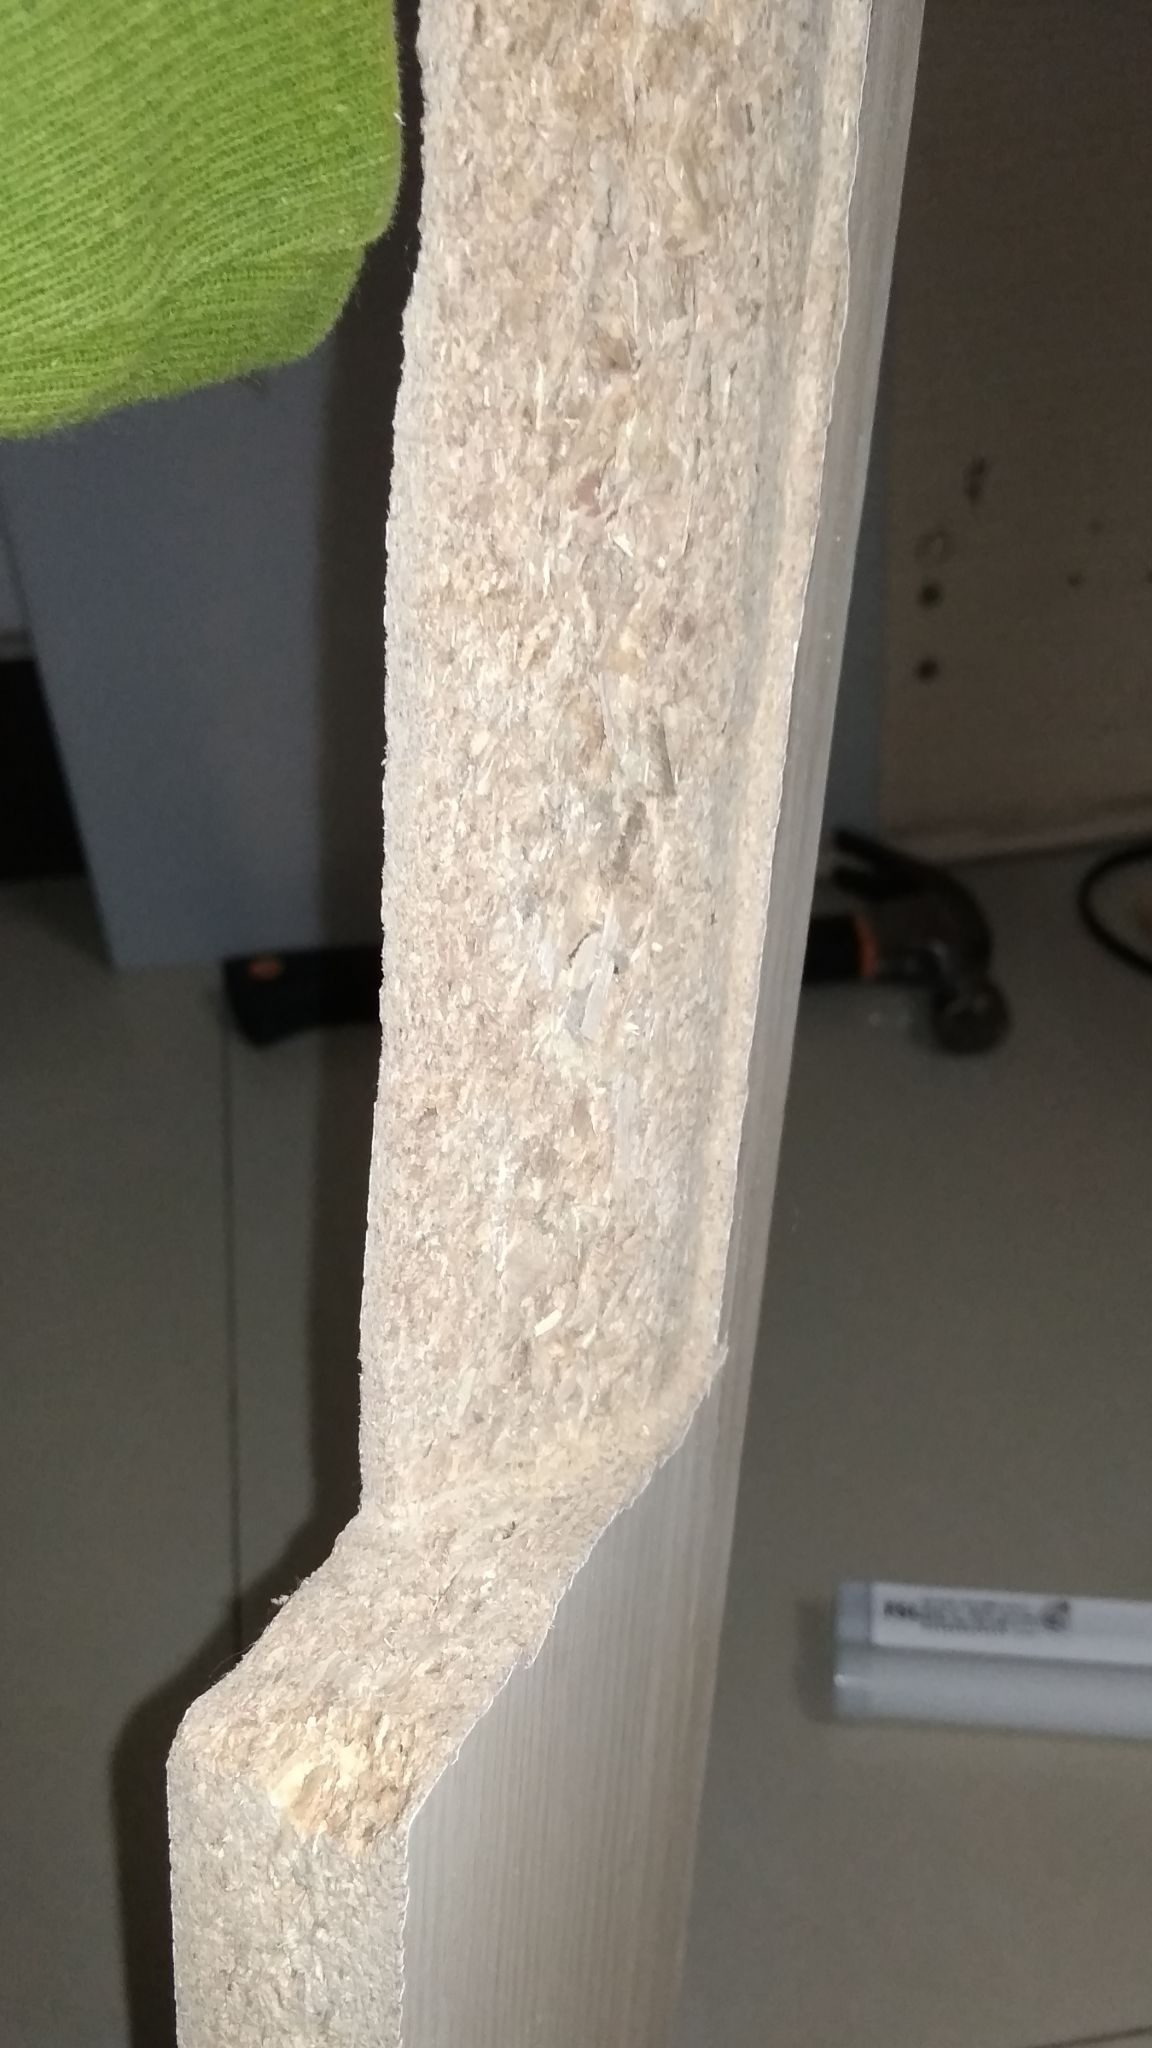
Step 2: Markup Roughing: I used two LED lamps, and since their beam of light has a rather specific direction, although it is scattered by a frosted glass tube, it was decided to fix them at an angle so that light reflects off the wall, leaving a light spot on it. The location of the lamps is determined by the fulcrum of the future shelf on the edges of the headboard. The last there are three pieces and lamps are located symmetrically between them.
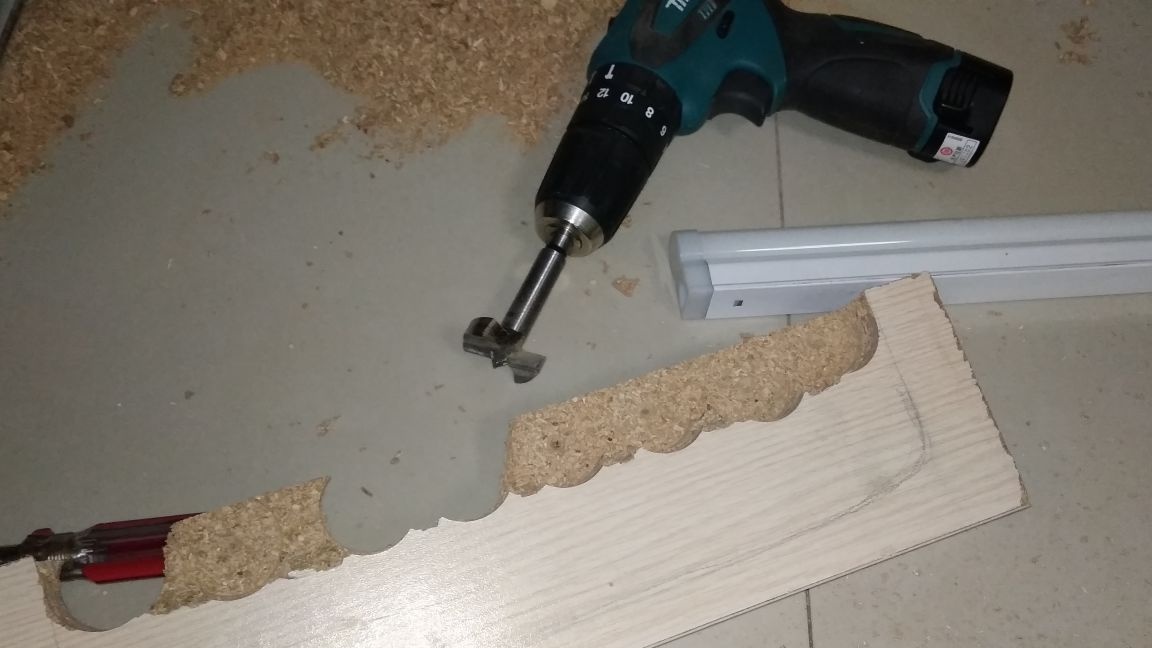
I made the seats for the fixtures using a Forstner drill and a kitchen knife, but it’s easier to do this with a jigsaw and a frieze, unless of course there is such a tool in the household. I selected the shape and depth of the holes empirically, trying on different options on the spot.

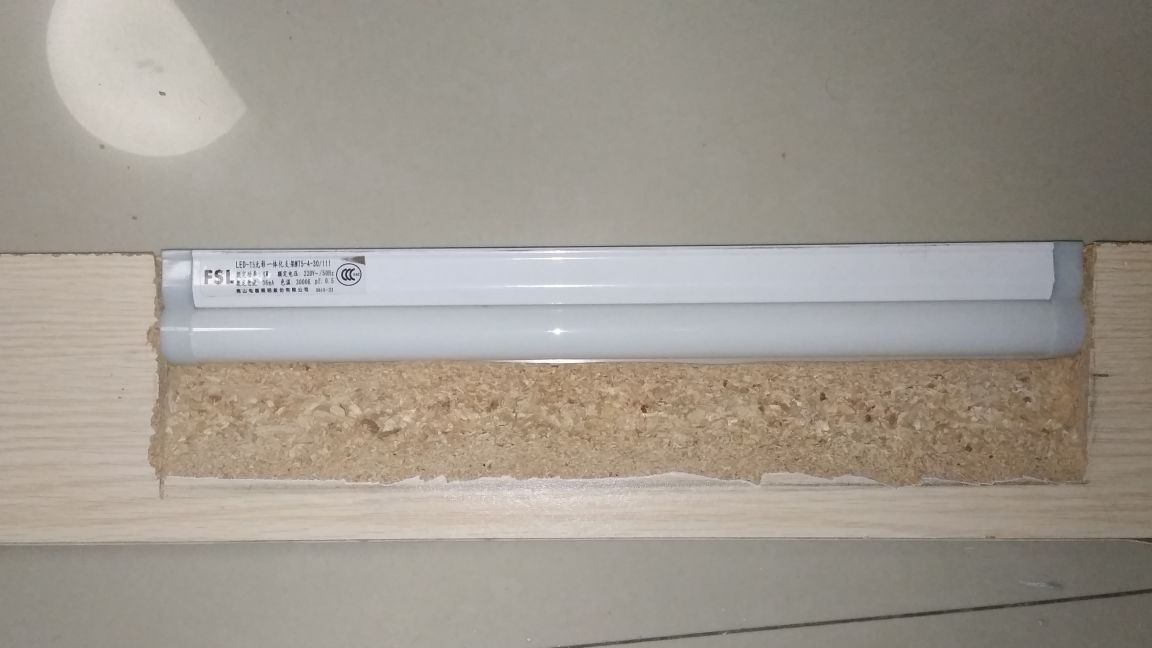
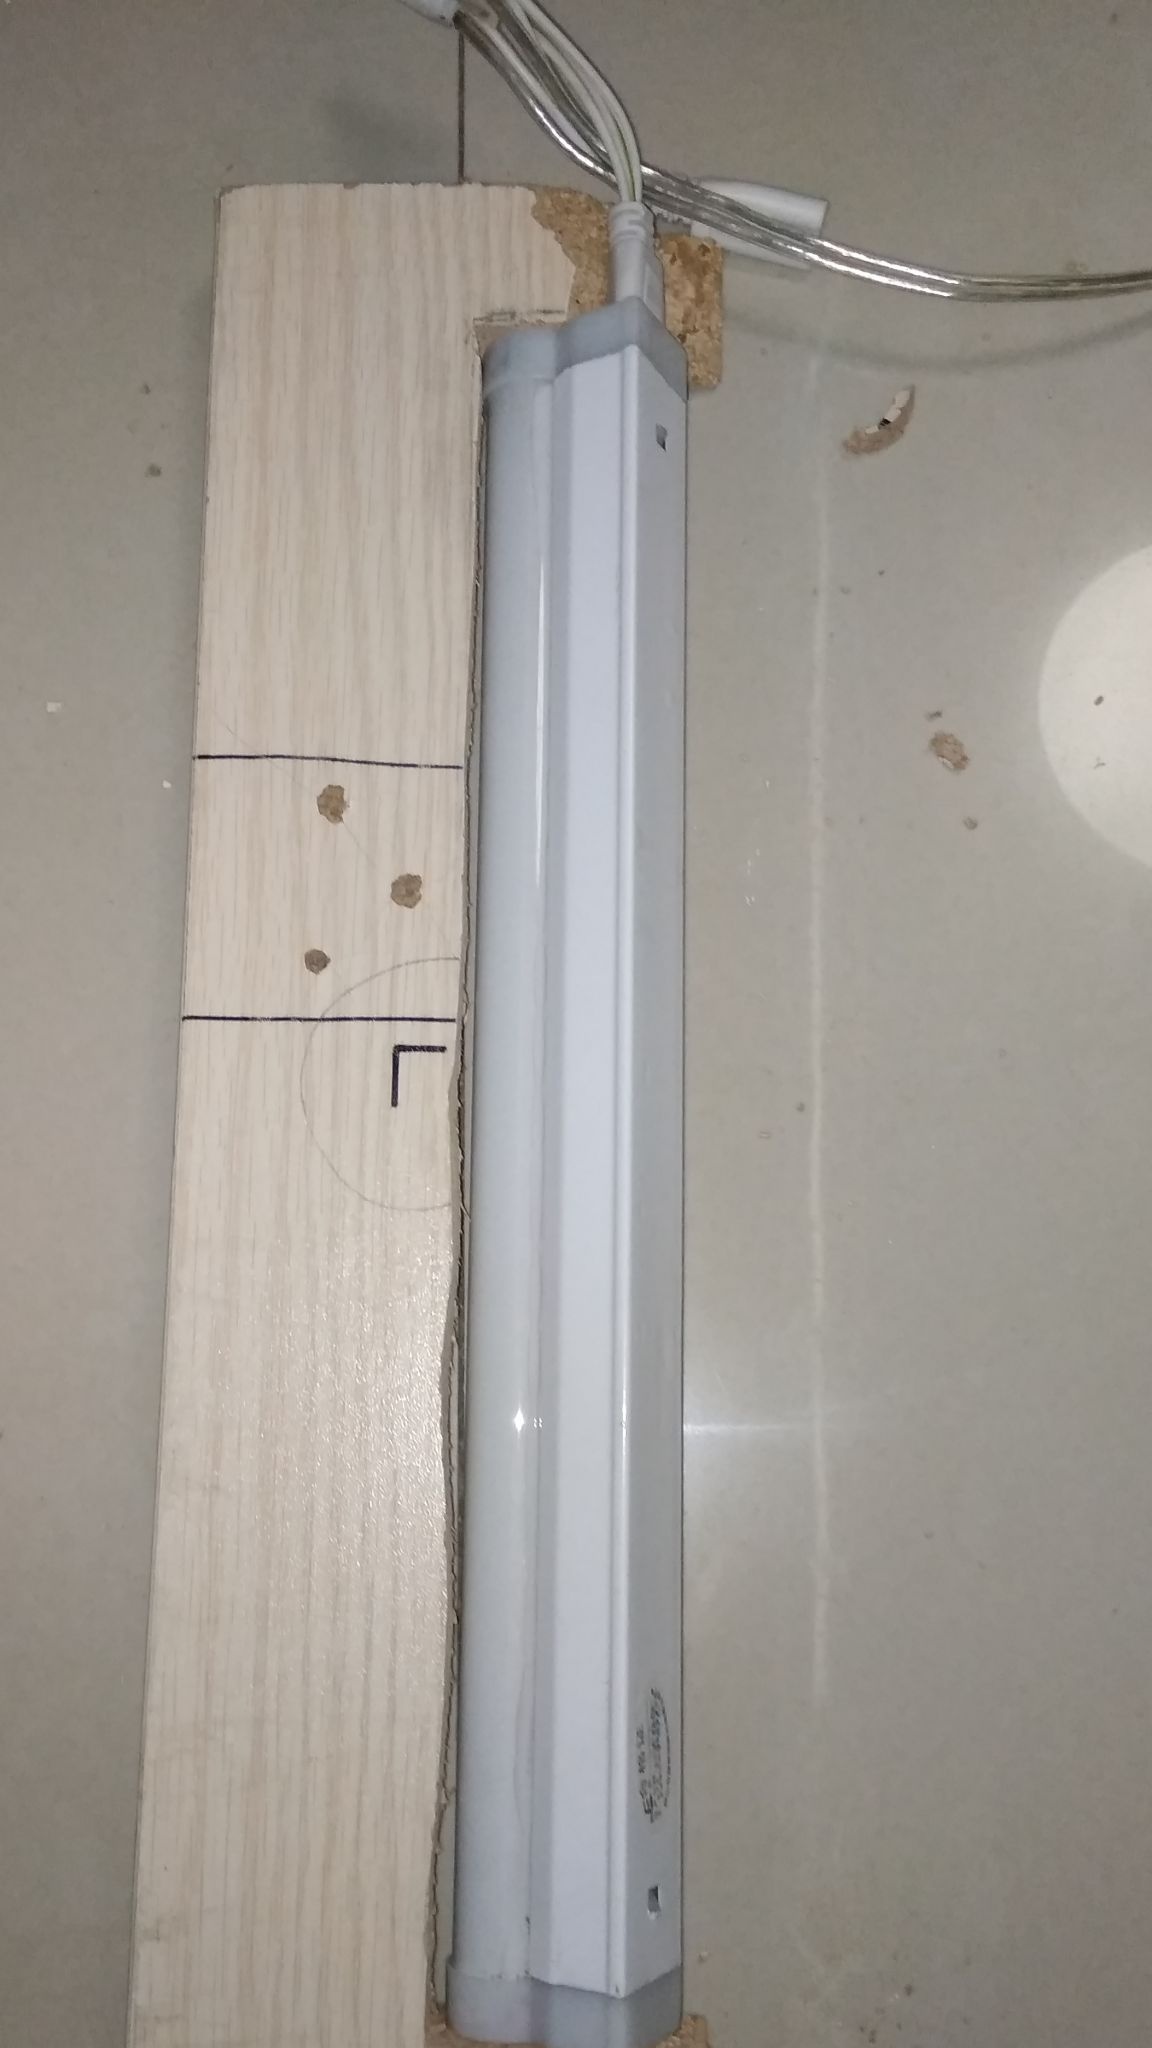
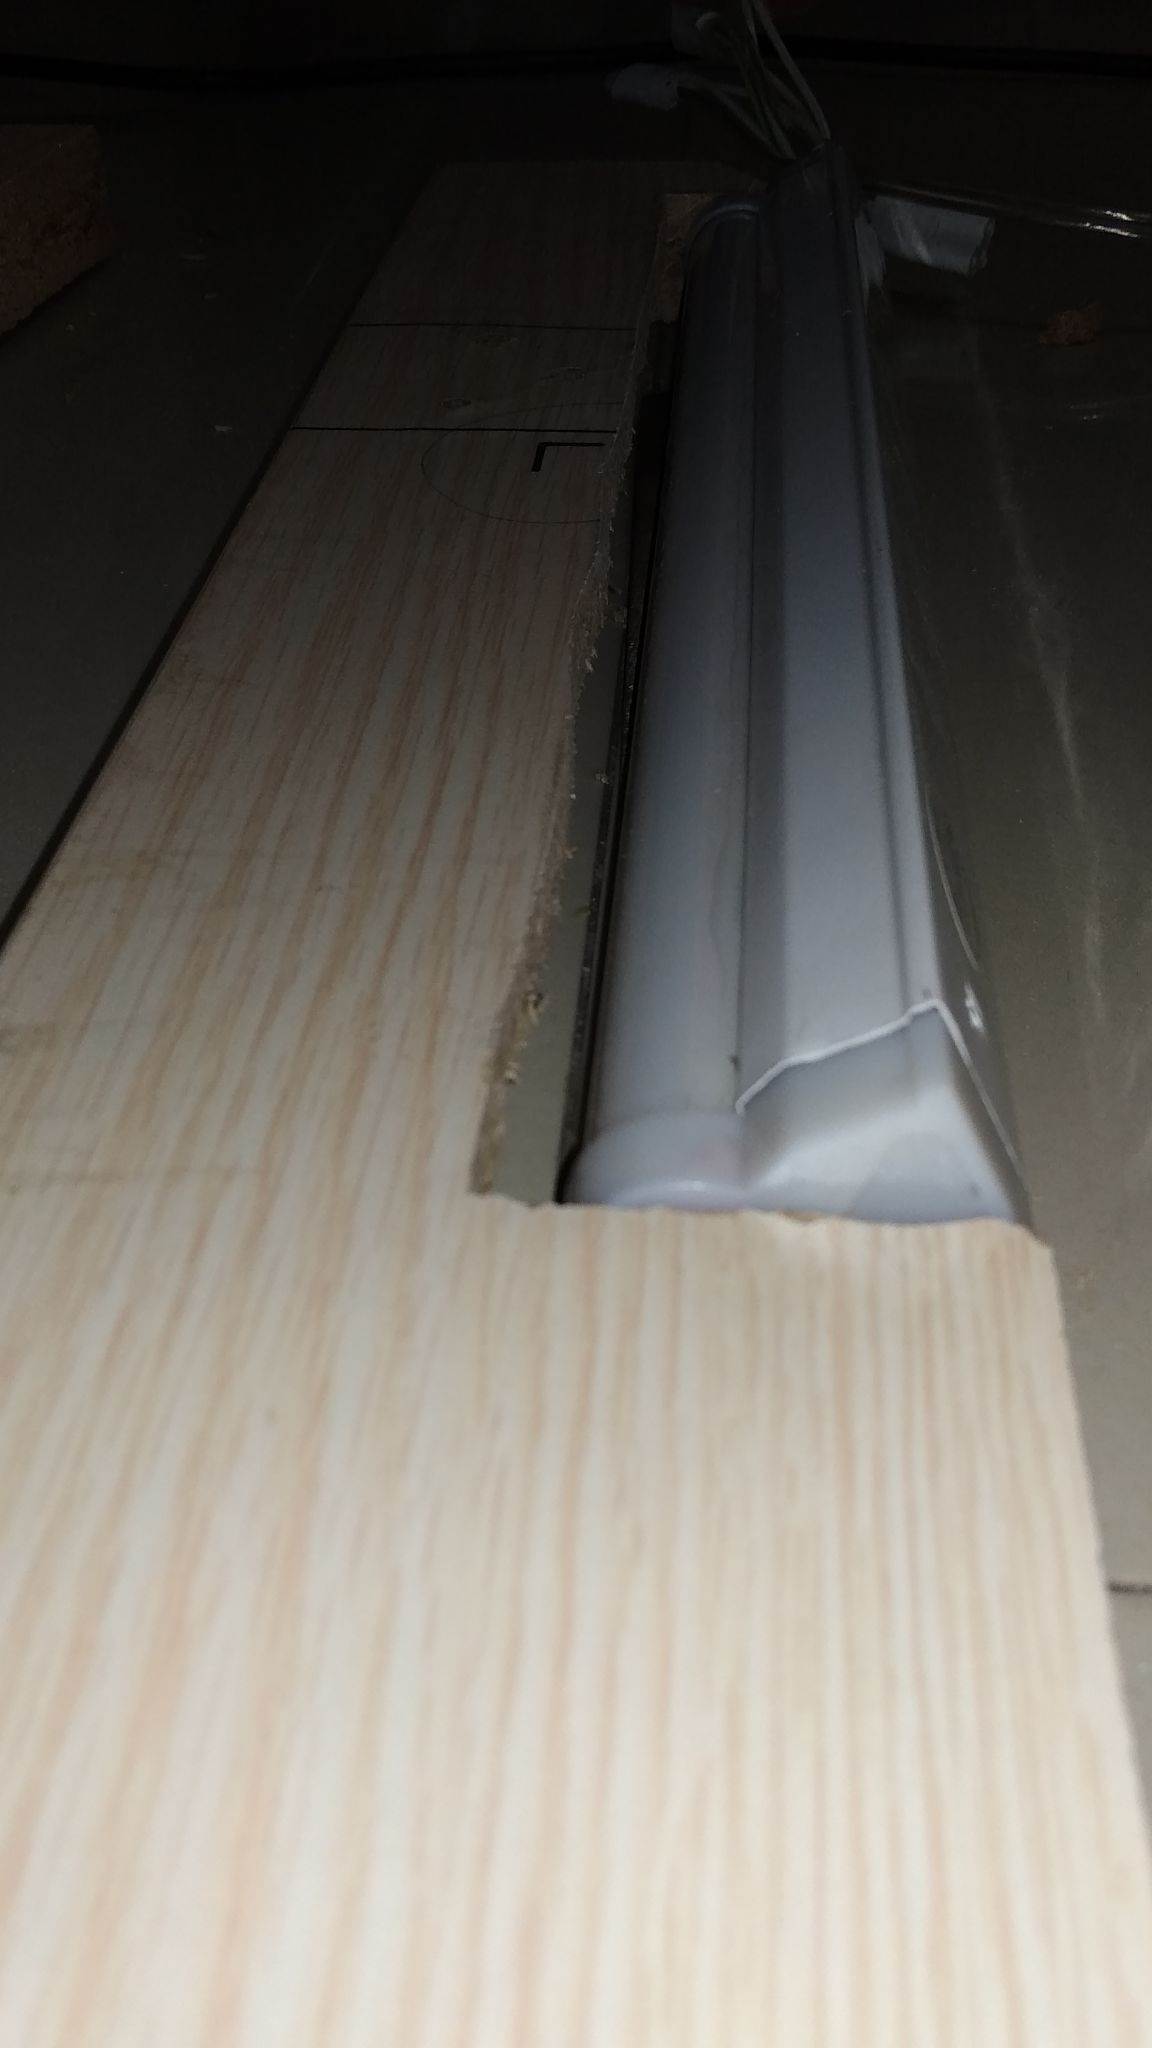
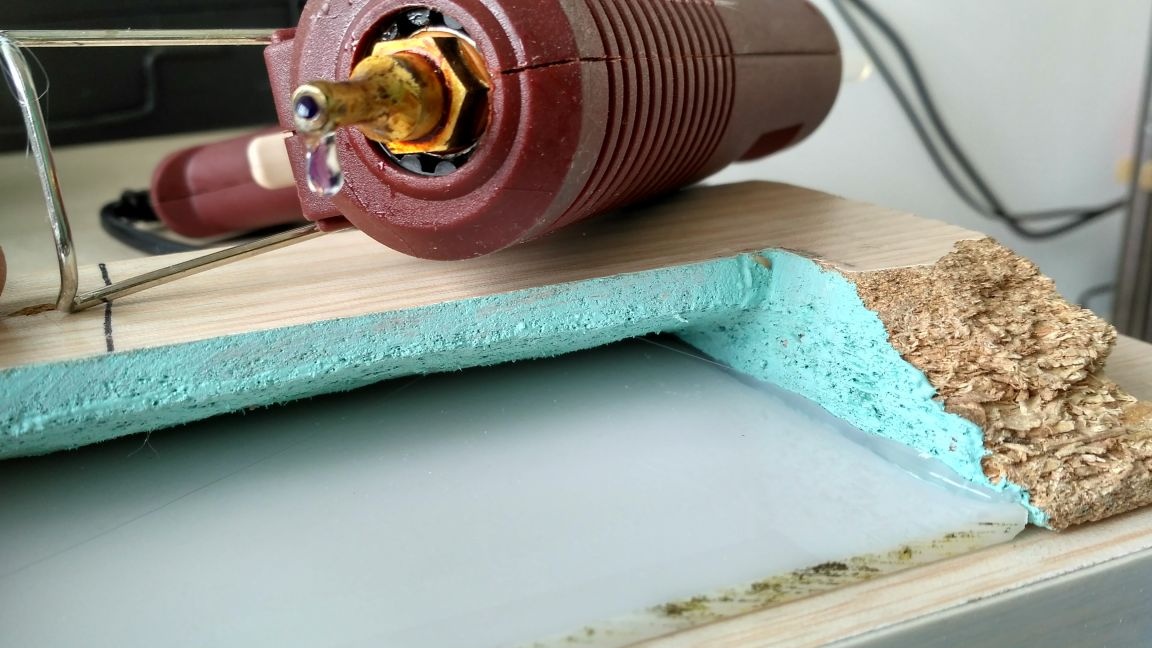
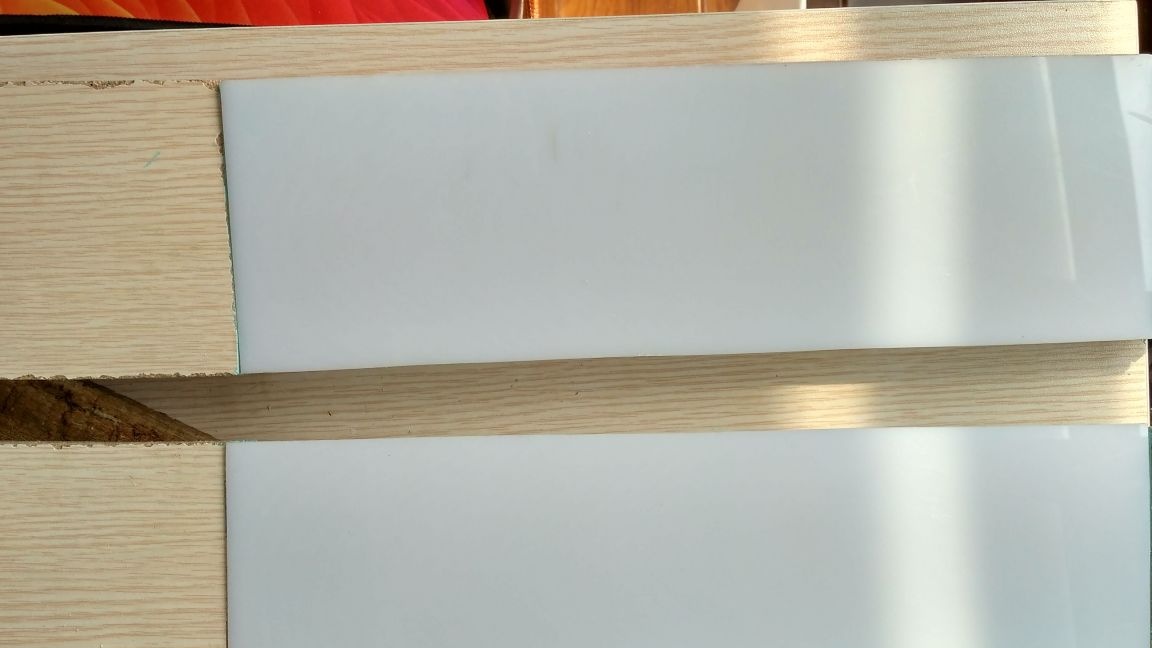
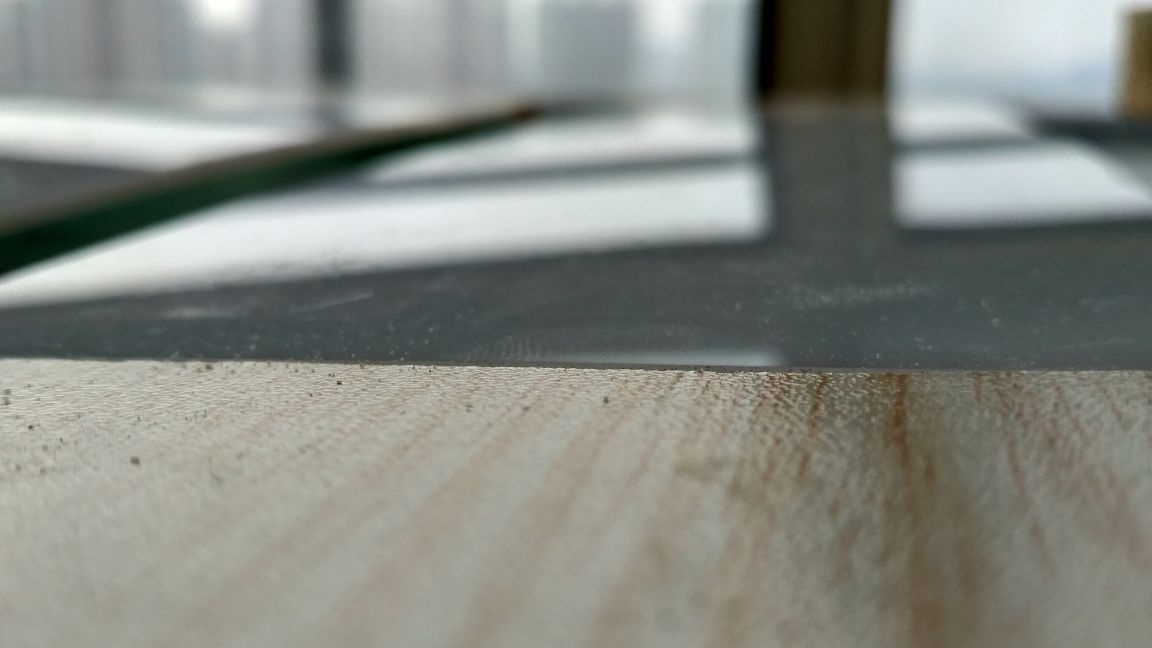
Step 3: Plexiglass and a shade of light: We cut out plexiglass and make a recess under it in the shelf itself, so that the plexus and particleboard create a flat surface, so to speak flush.
The lamps I used gave a clear yellow light, and I decided to paint the reflective surfaces blue to make the shade of light a little colder. Used acrylic paint.

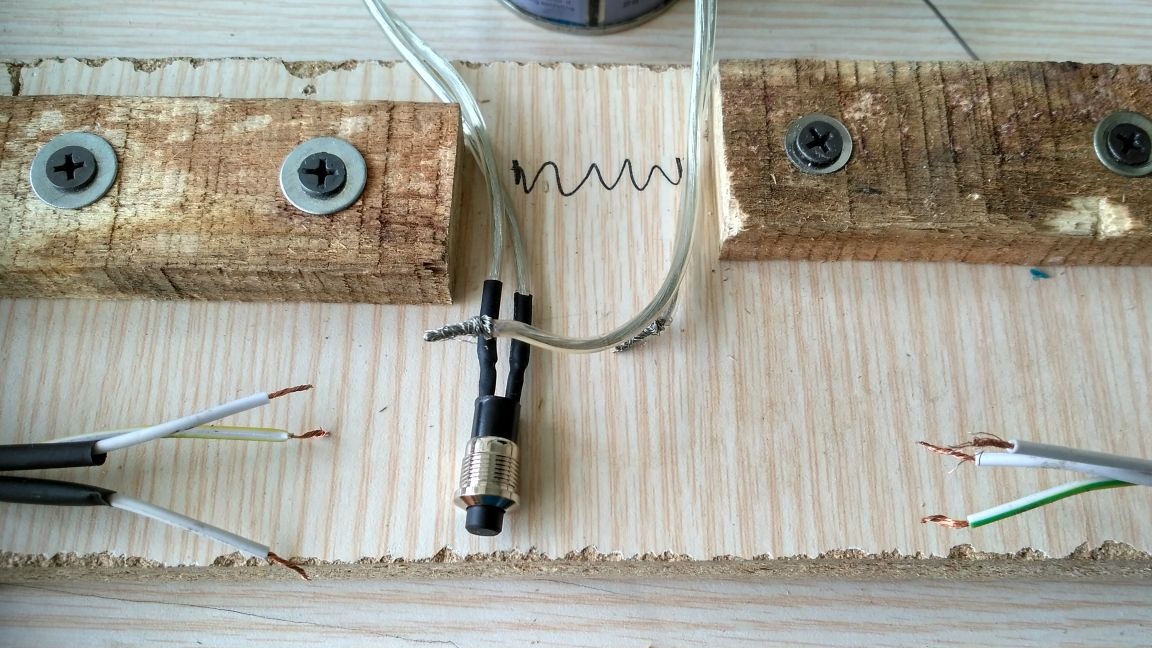
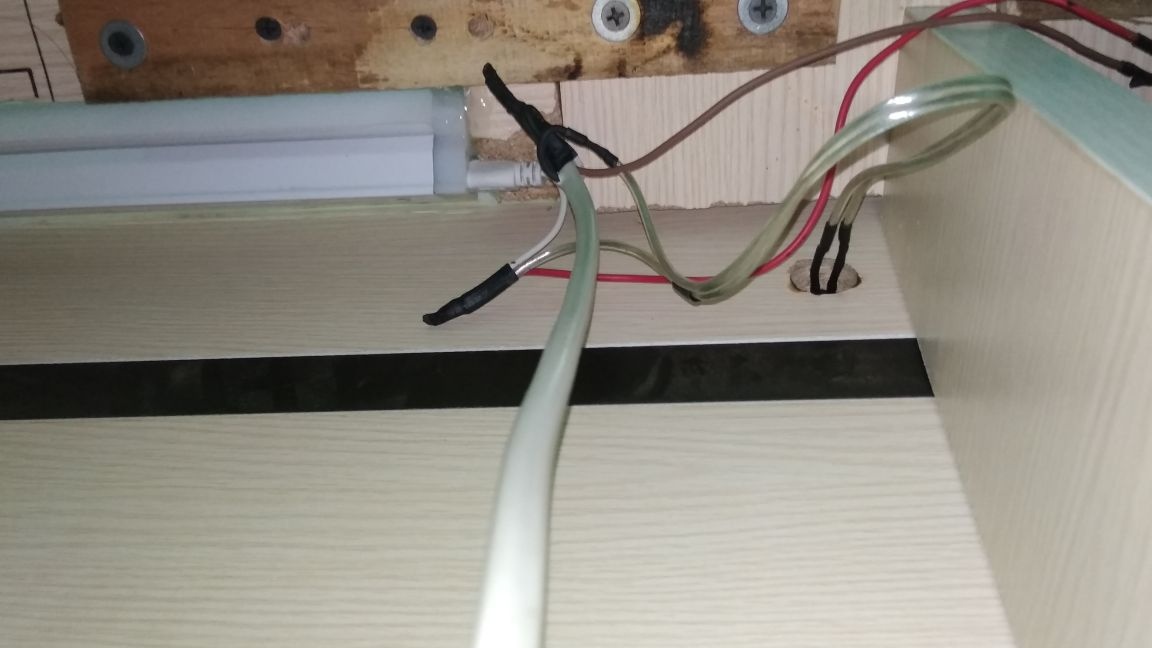
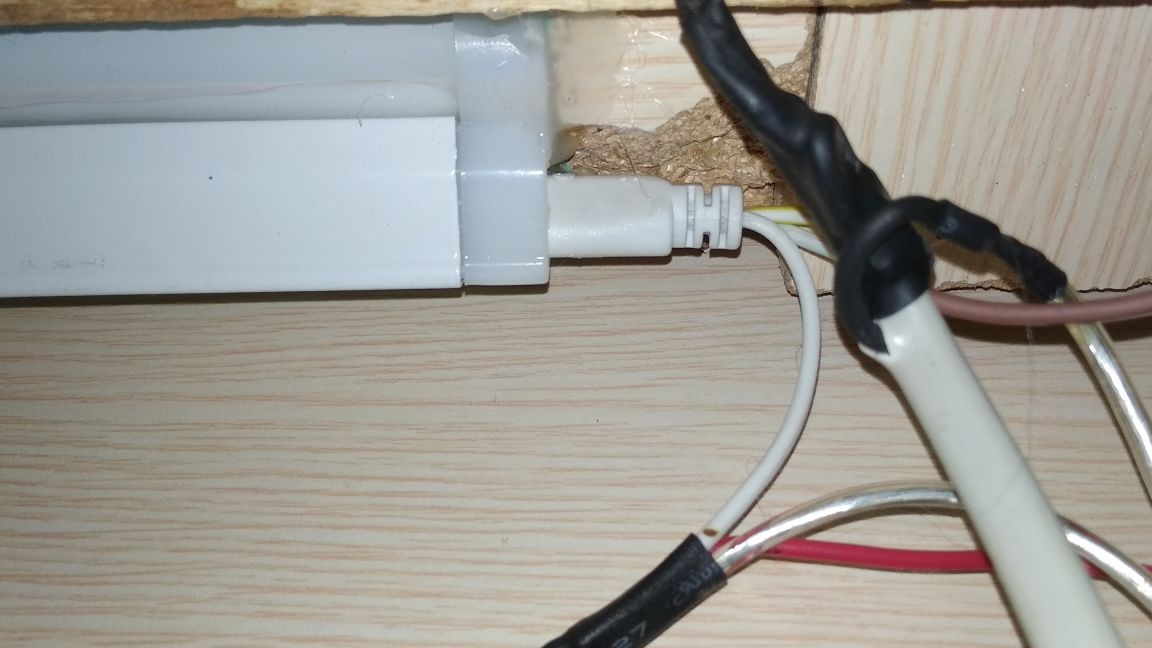
Step 4: Electrical and Installation: When the shelf itself is ready, proceed to connecting the electric power and installing the switch. I placed the switch button right in the center of the head of the bed, so that it was easy to reach it from either side of the bed. It is also worth placing the button higher so that you do not accidentally press it with a pillow. For safety reasons, it is better to solder all wire connections and insulate them reliably with electrical tape or heat-shrink tubing.
Next, we check the operability of the entire electrical part of our design and begin the final assembly.
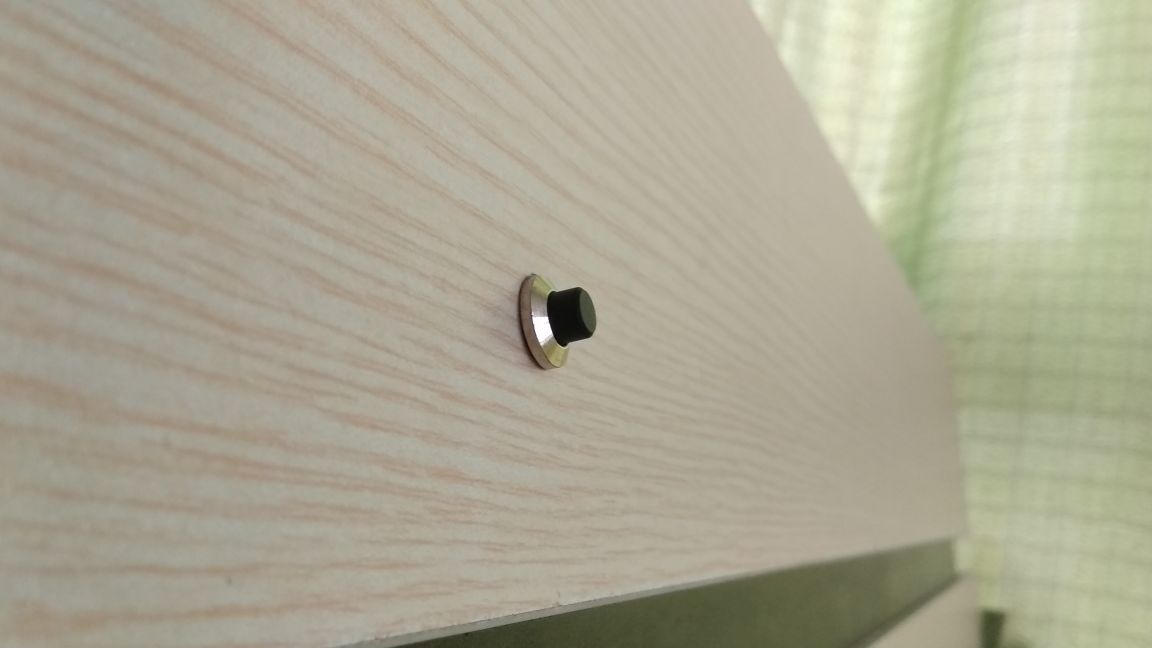
Lamps and plexiglas in the seats, glued with hot melt adhesive (perhaps the fastest and most reliable way). And for the switch, I drilled a hole in the headrest of the bed and installed a button there.
The entire resulting structure is attached to the bed with steel corners and self-tapping screws.

Conclusion: Probably the most important thing in home-made products for the home is that the result pleases the spouse. Even the shelf itself pleased me, even the presence of a night lamp in it became a cherry on the cake. The entire home-made took about three hours of time and 70 rubles of the family budget for the purchase of the button, the rest of the materials were called junk.
Thanks for attention!