
Materials:
Corrugated cardboard
Toothpicks
Wooden skewer
Stationery erasers and buttons
Plywood
Bearing
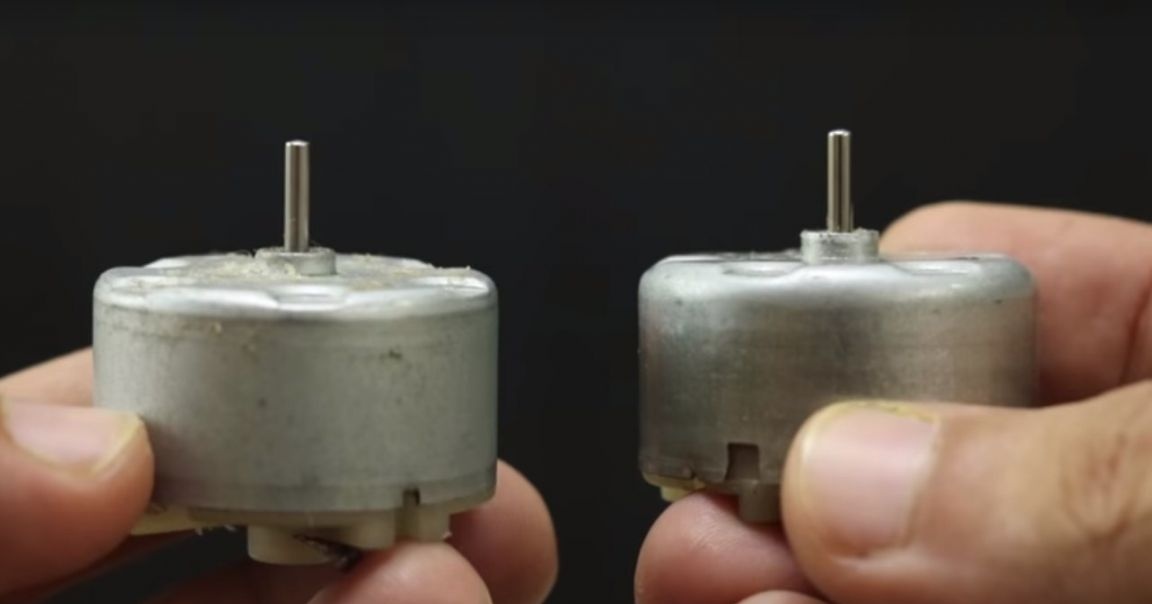
Motors
Wires
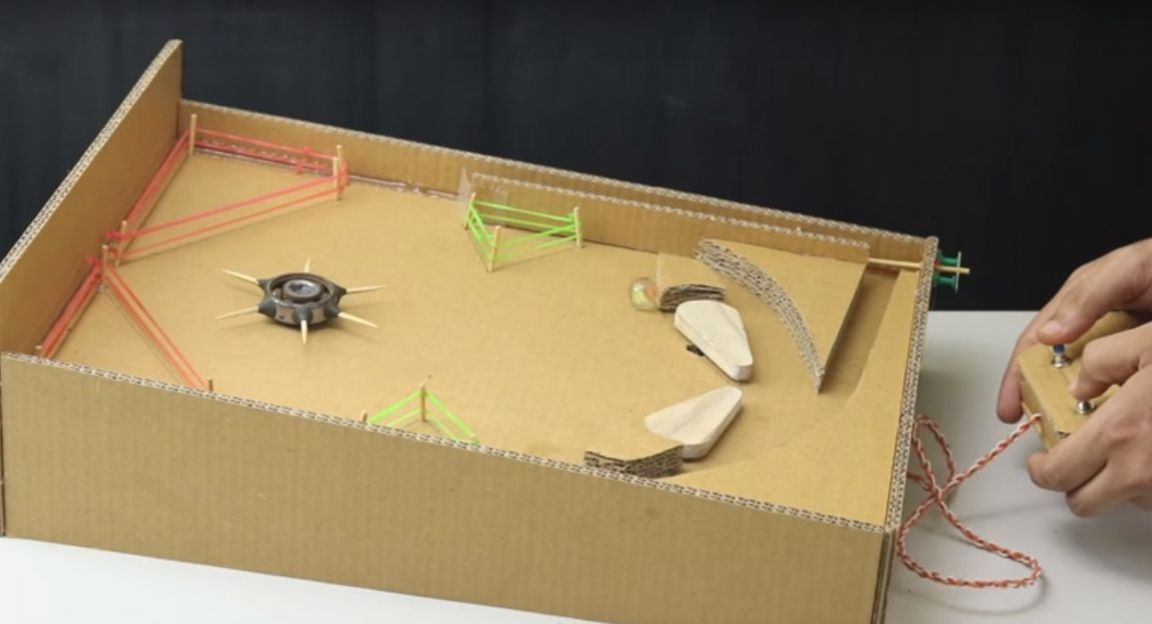
Electric digging without fixing.
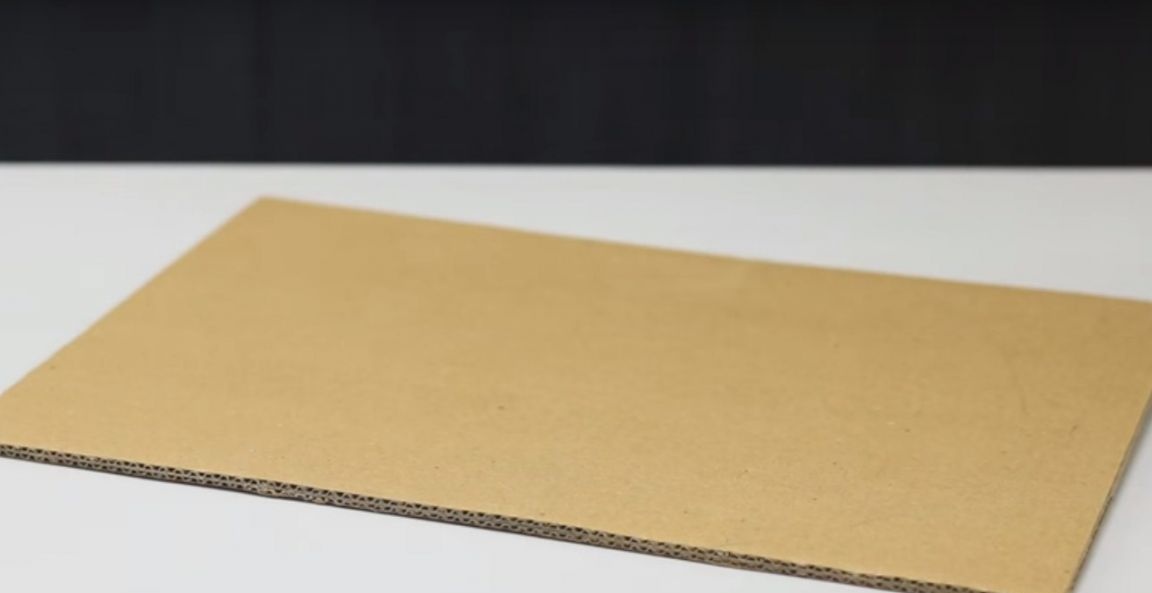
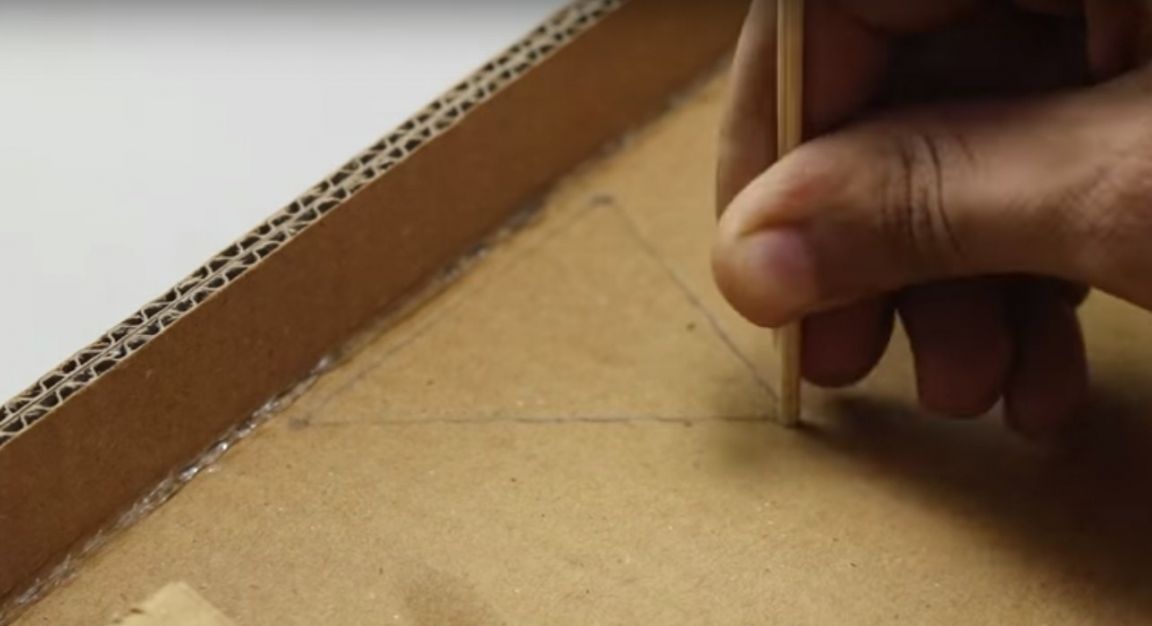
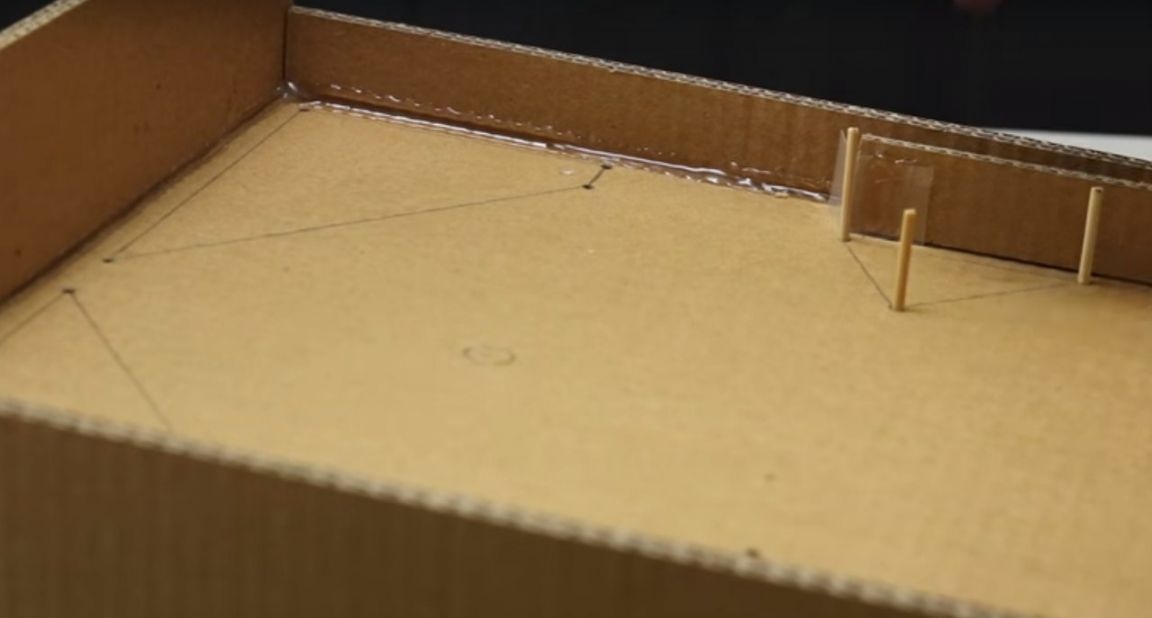
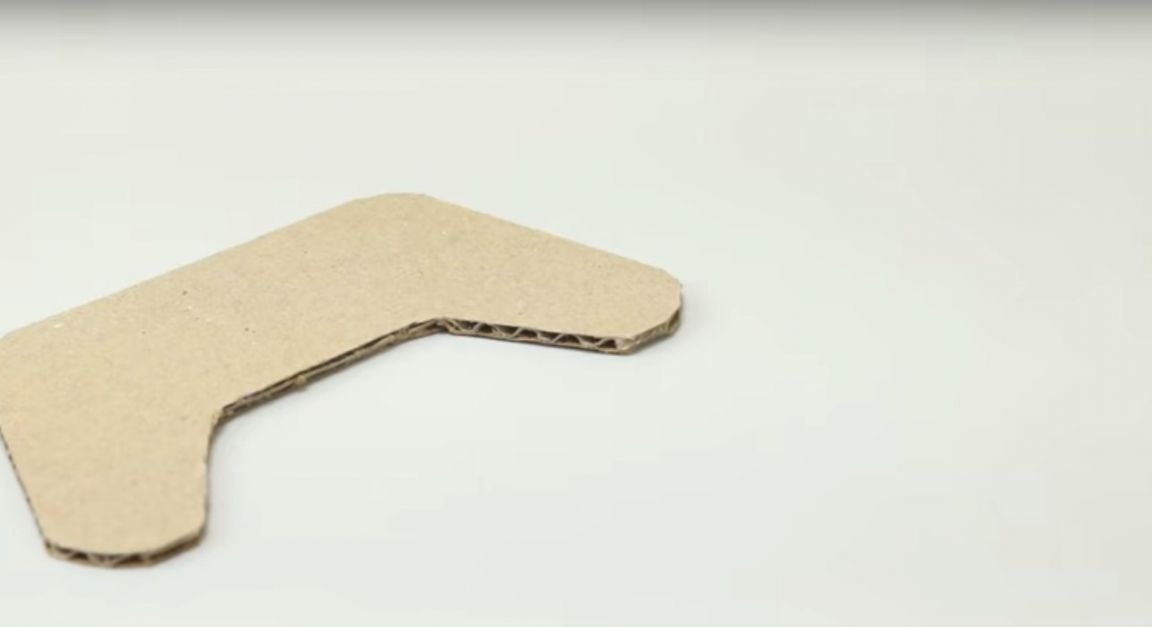
First, the author took a piece of cardboard.
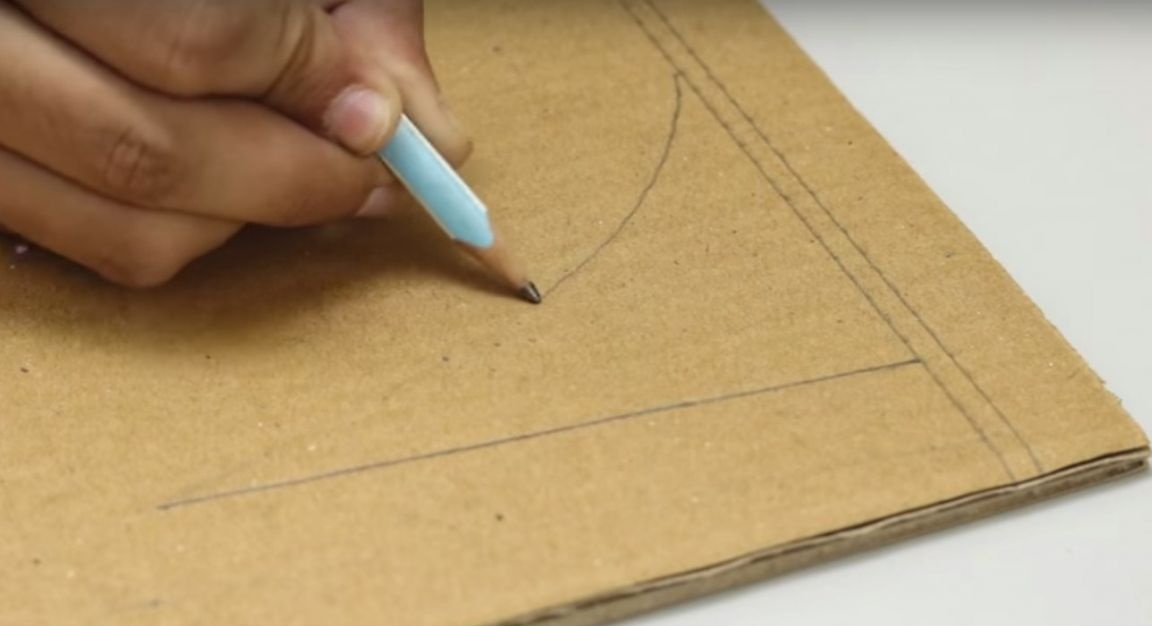
And he made a marking on it with a pencil.
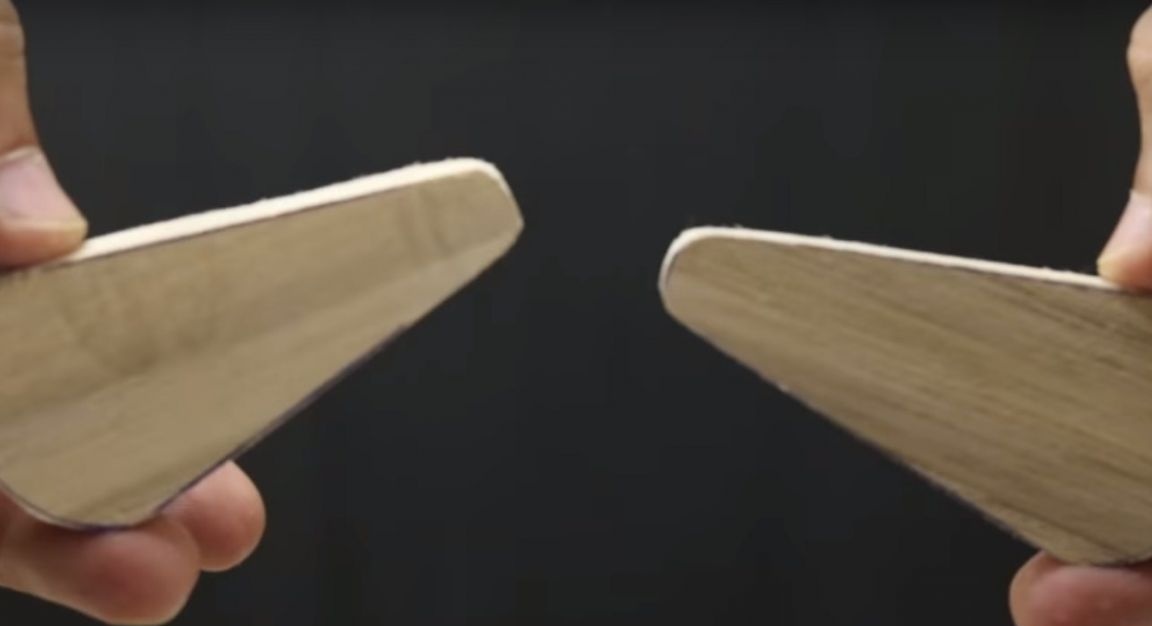
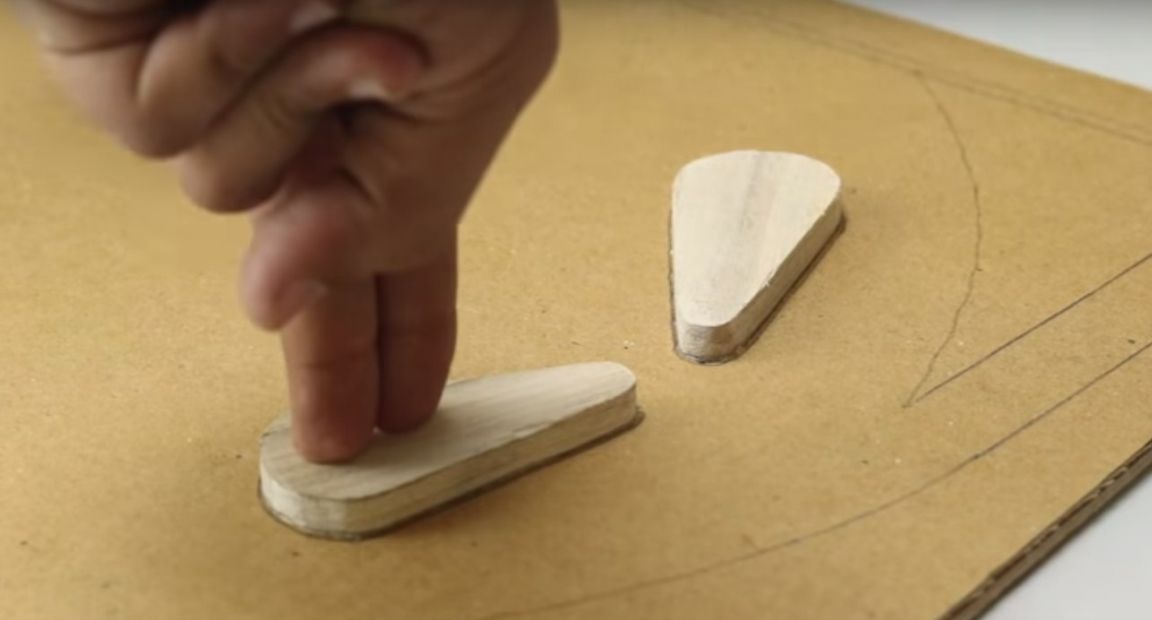
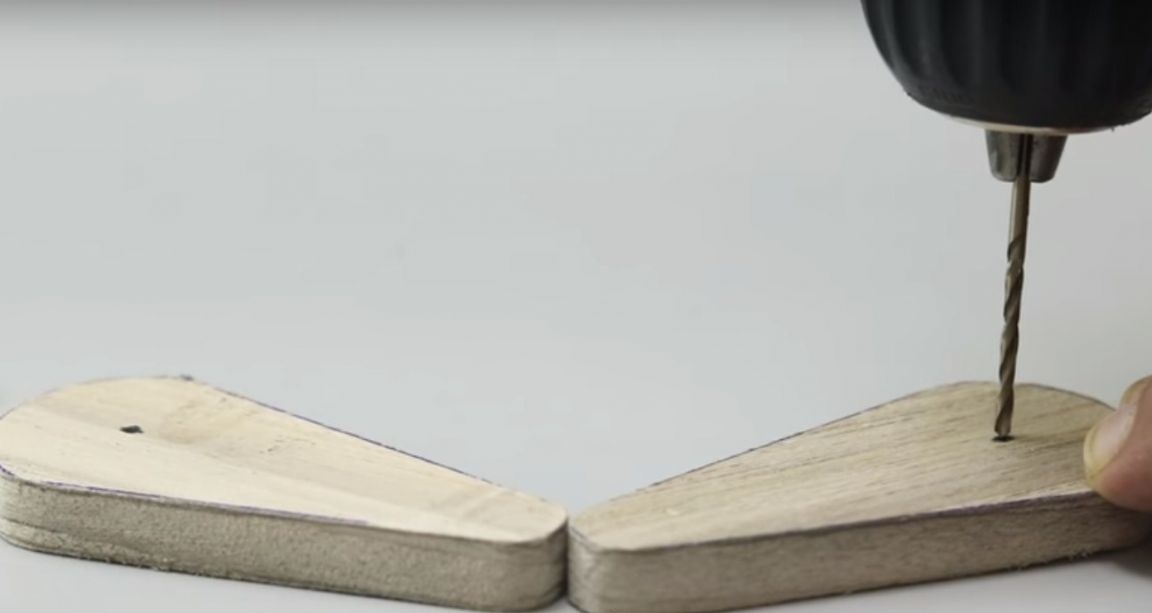
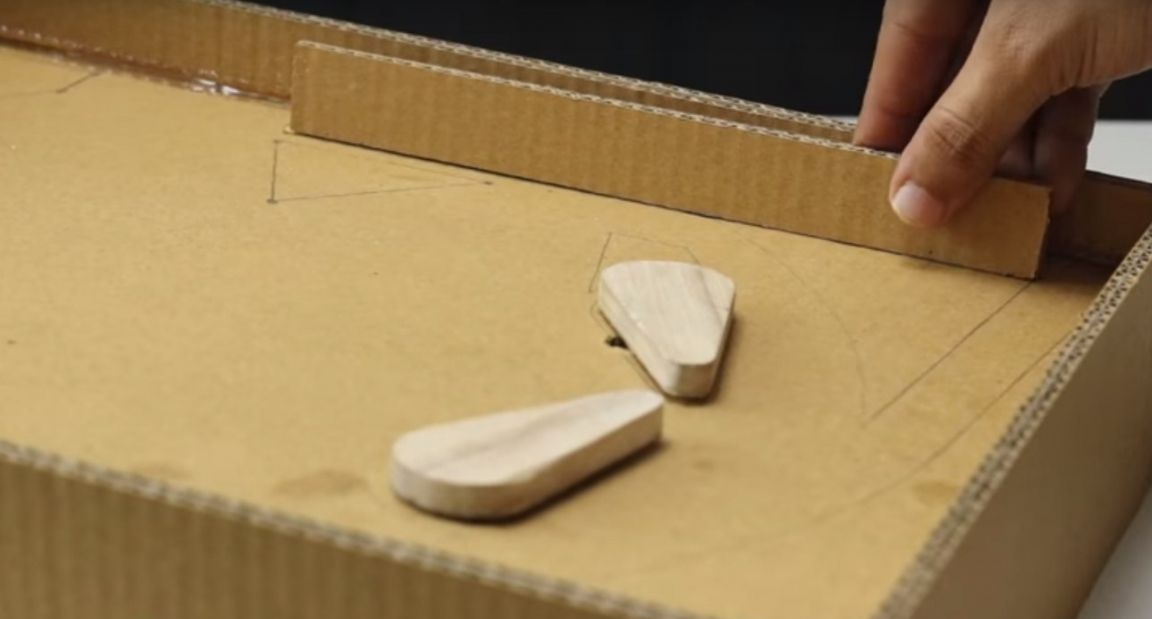
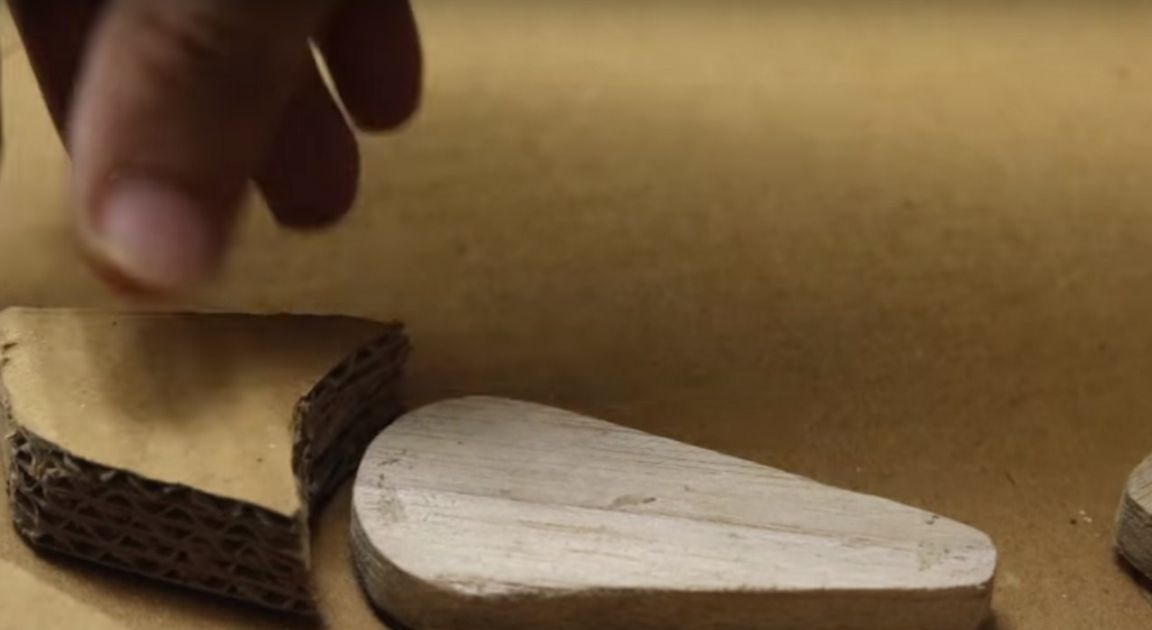
Then I cut two of plywood, these are such blanks.
He leaned them against the cardboard and circled them in pencil.
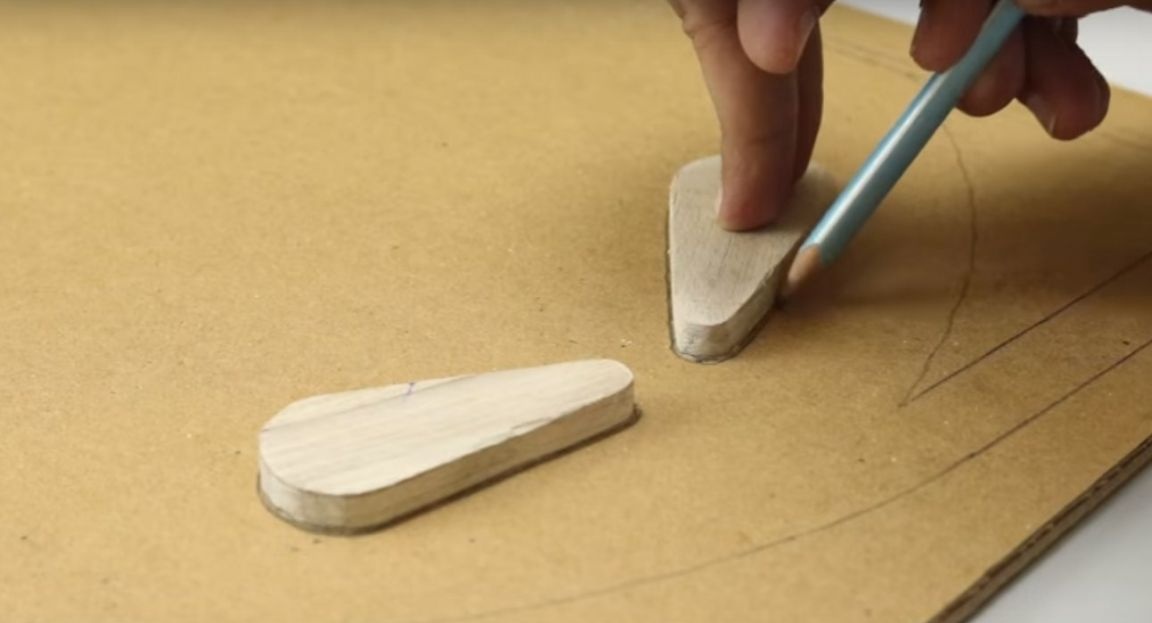

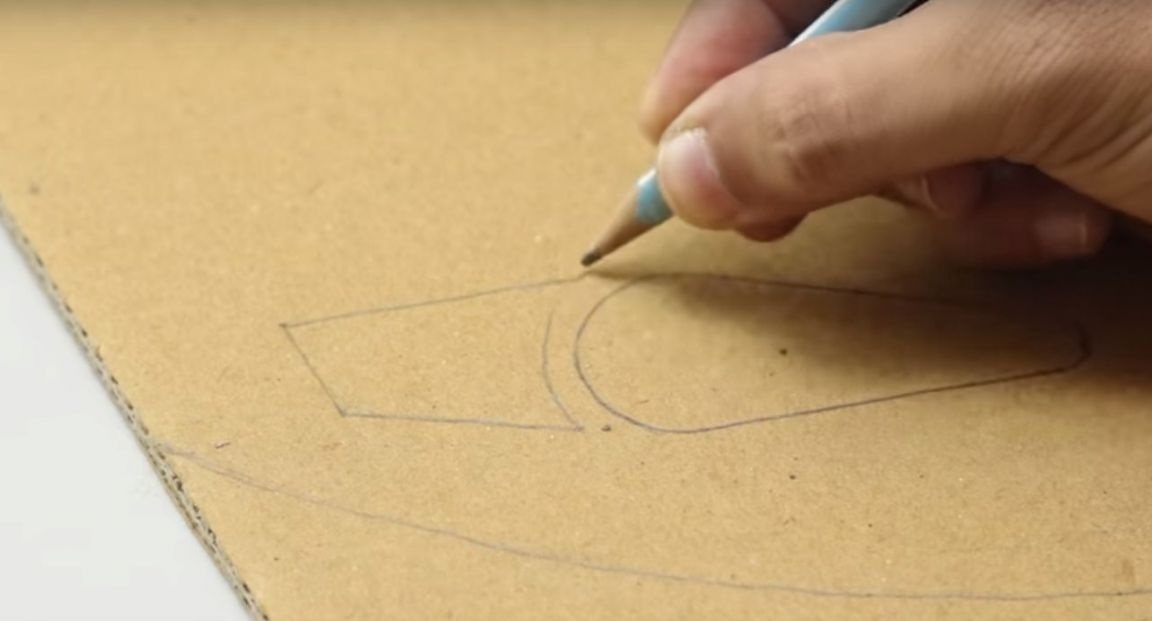
Then I drew a few more figures.
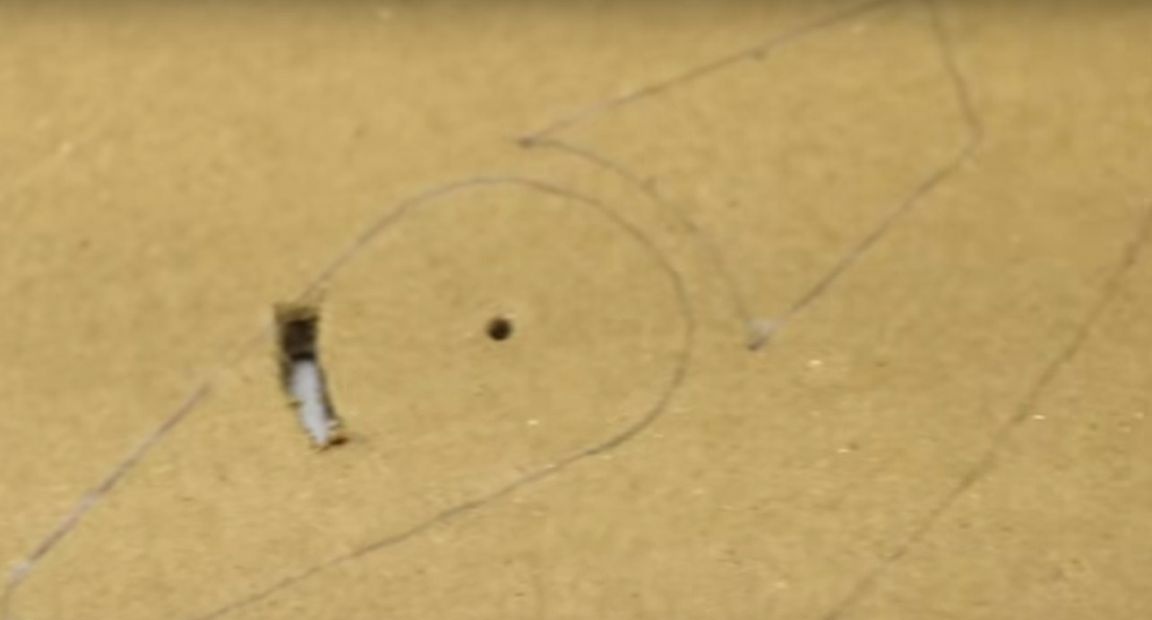
Then he made a hole and a small slot as in the photo.
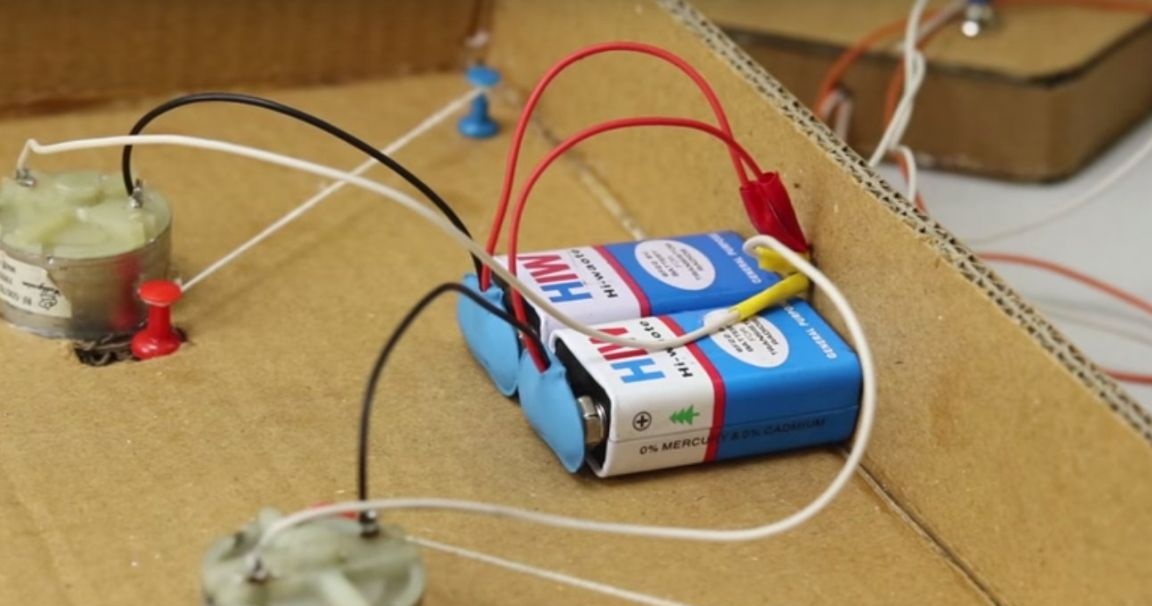
Then he took a couple of motors and stuck them on the back of the cardboard.
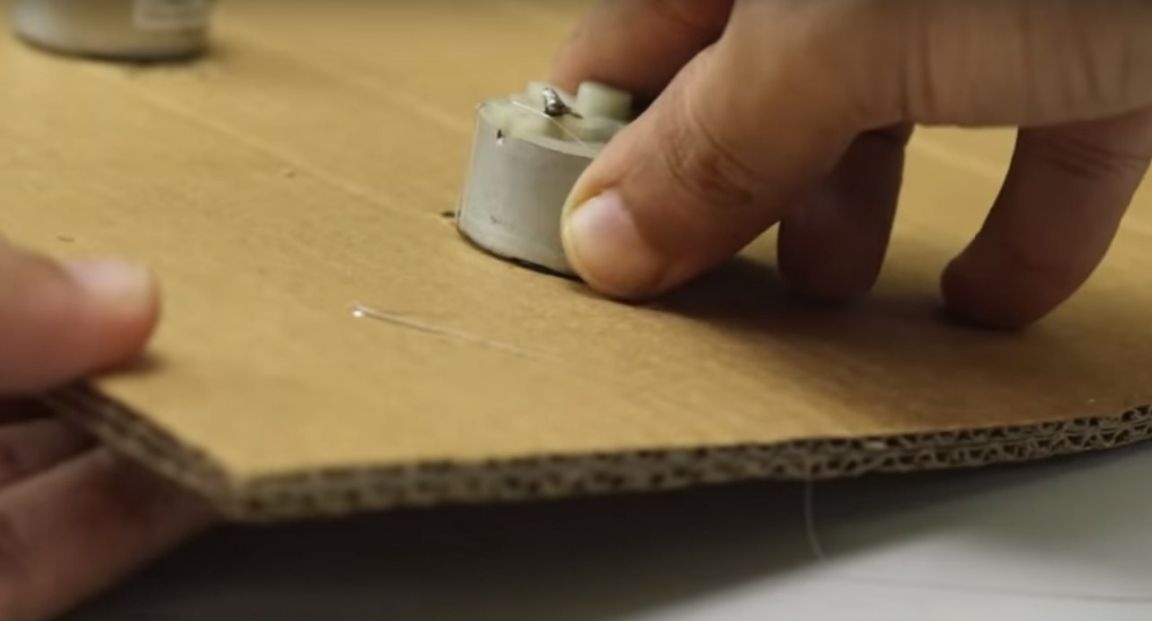
He made one hole in the plywood blanks.
And he put the blanks on the motor shaft.

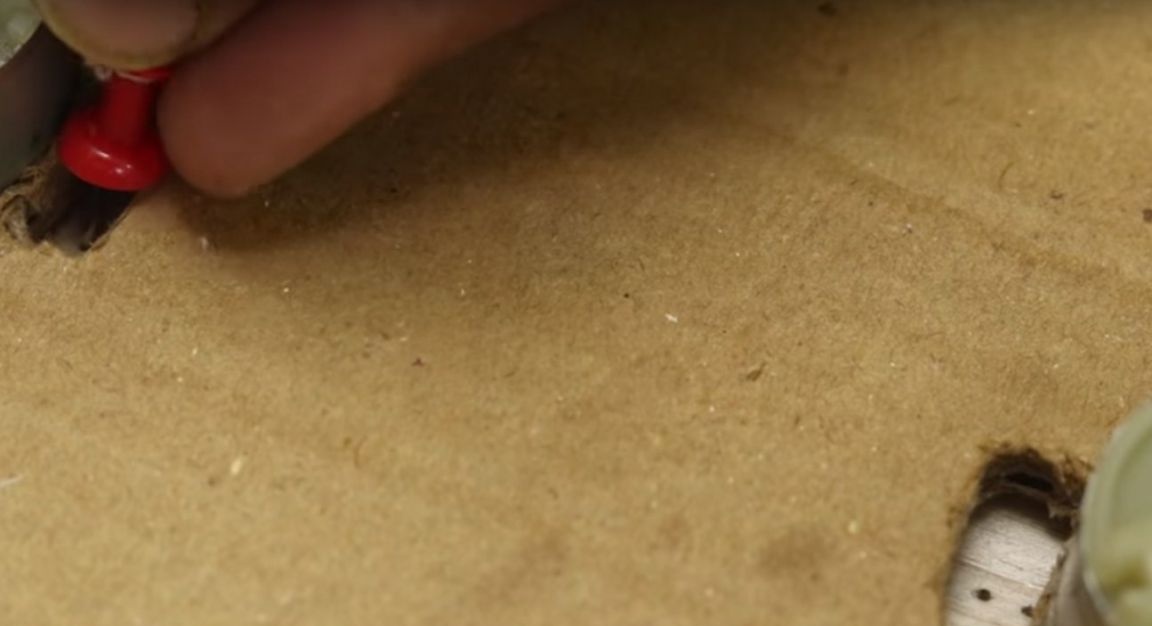
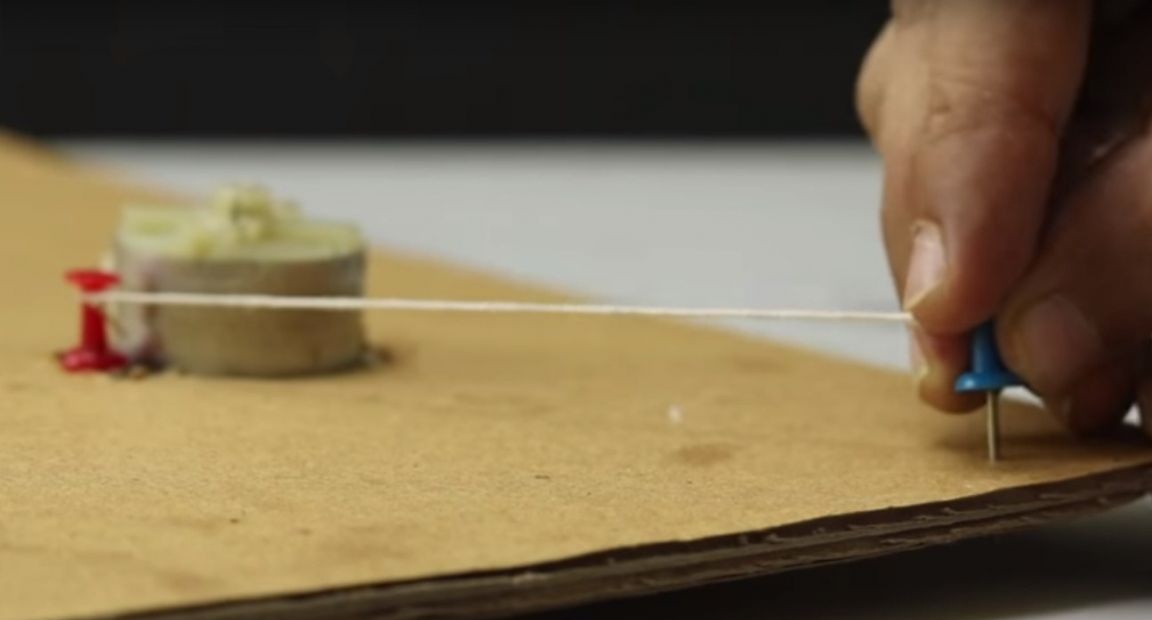
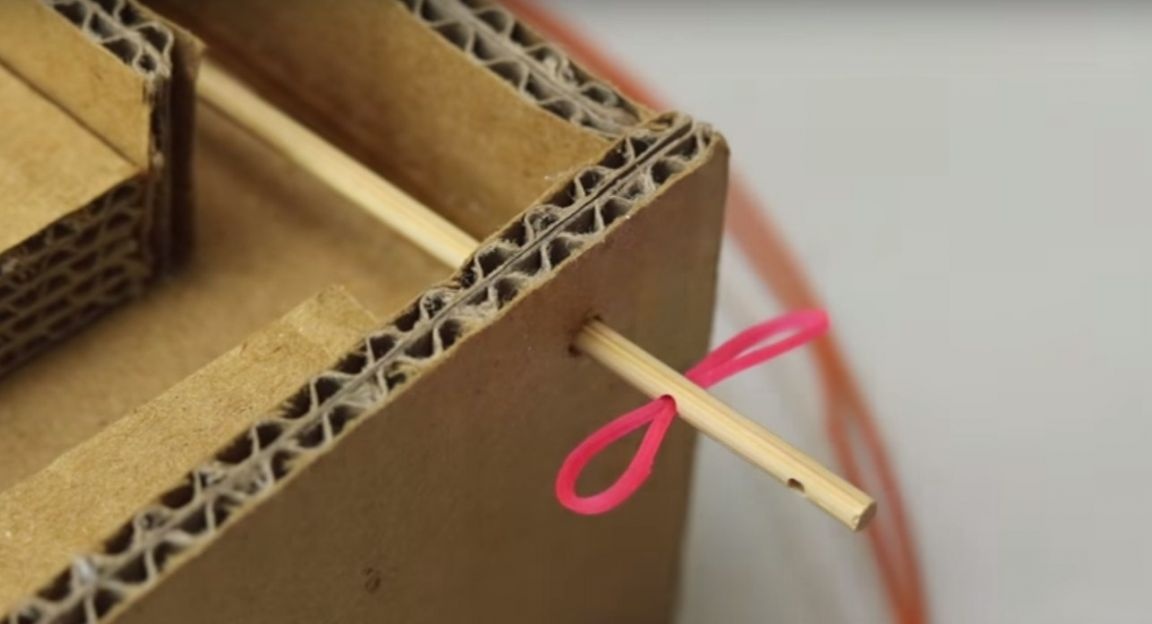
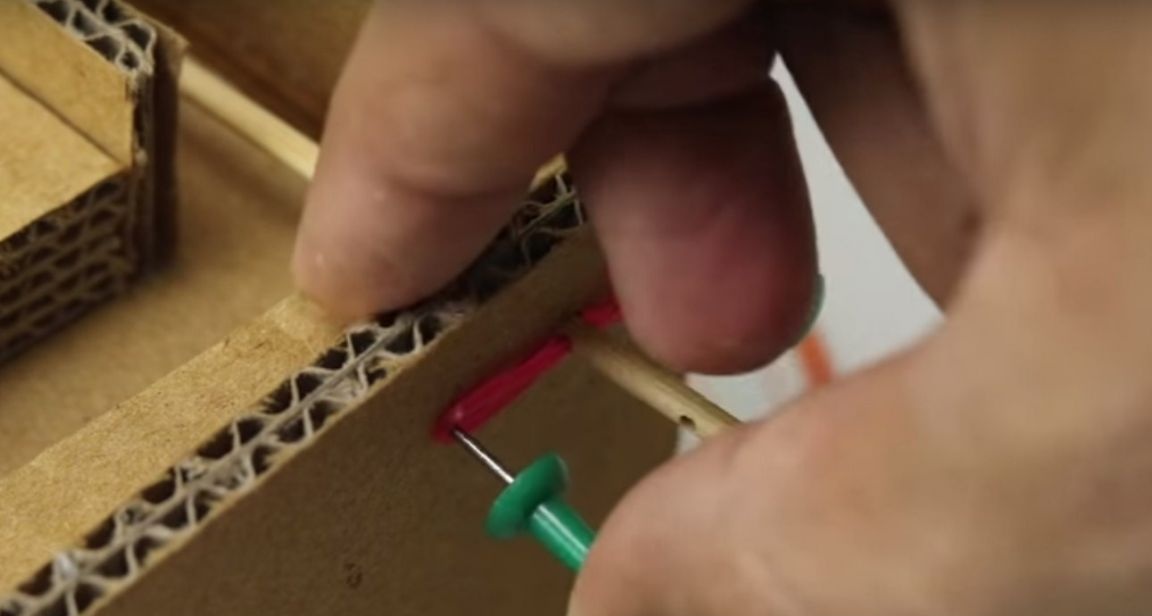
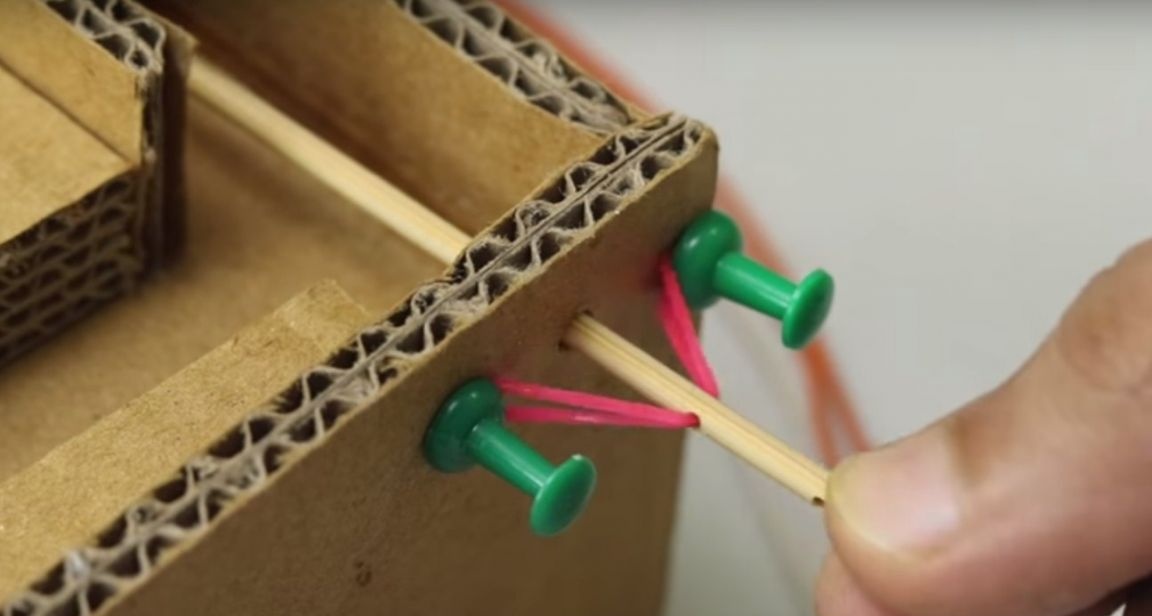
Then he took a piece of Hungarian and secured its edges on the stationery buttons. The author needs two pieces of such details.
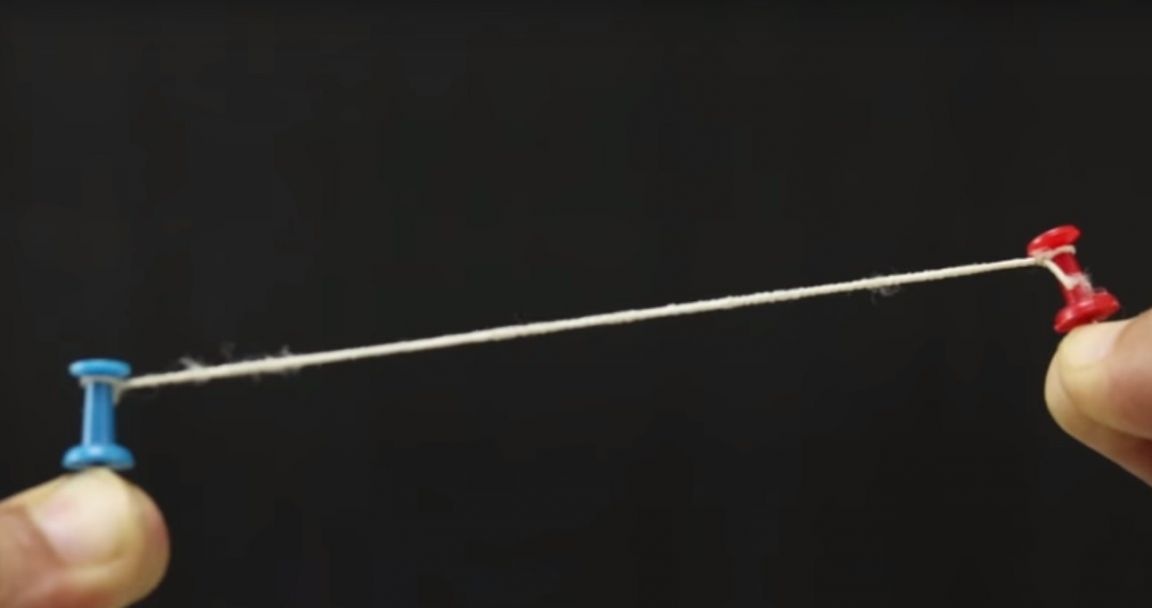
One button is fixed in the plywood blank from the wrong side of the cardboard through a slot near the motor, and the second in the cardboard is pulled a little by elastic.
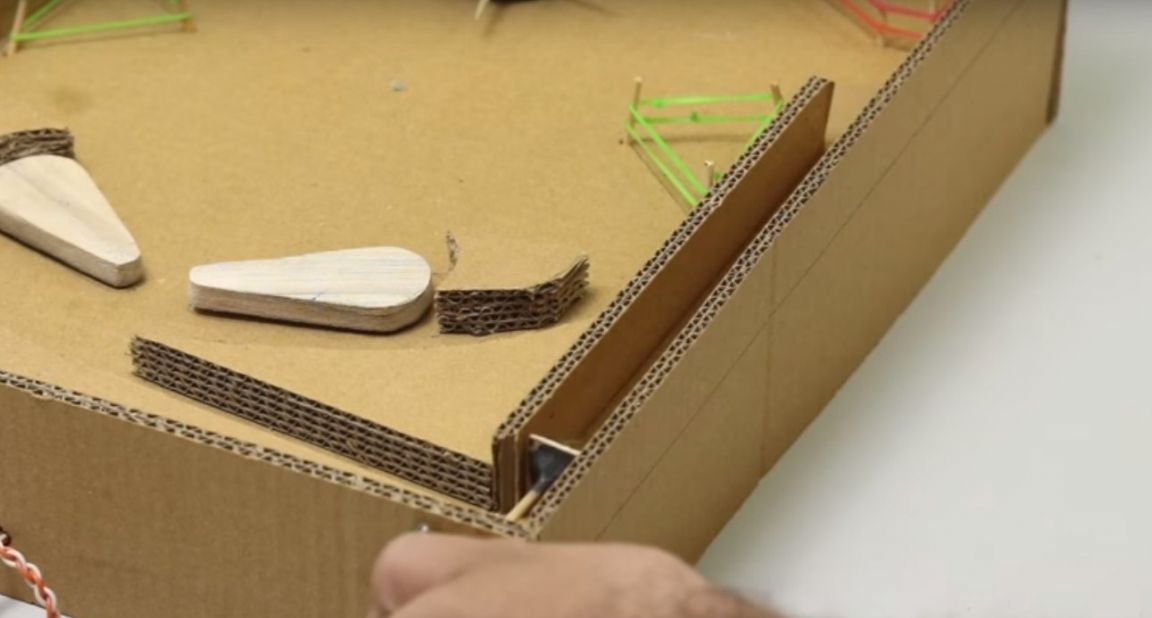
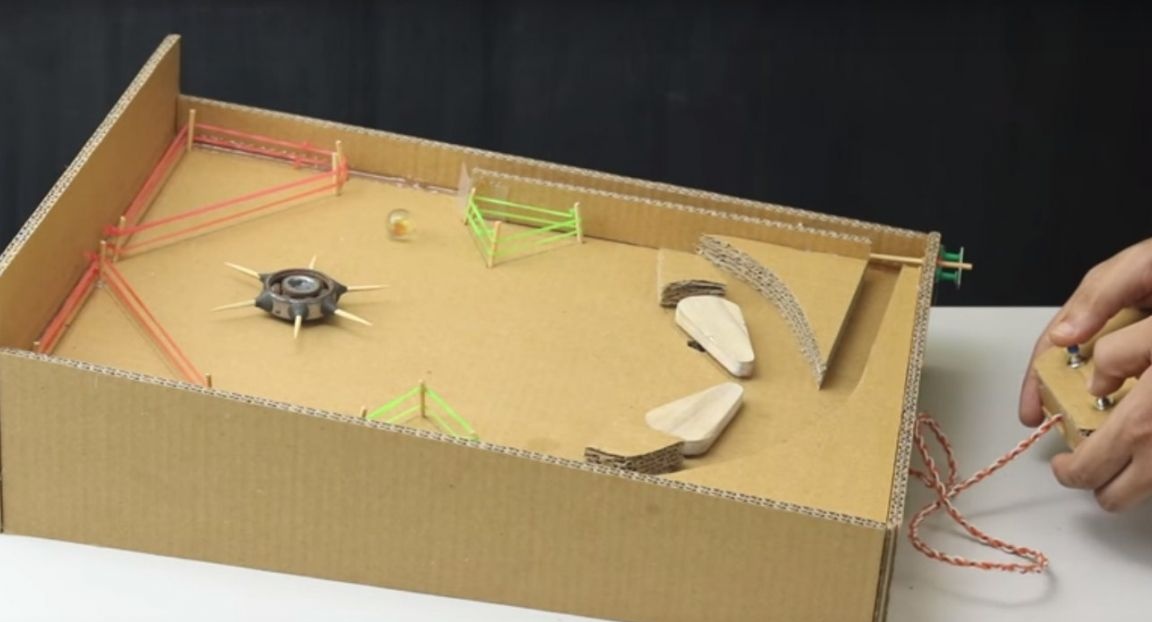
Further, from cardboard makes blanks for the sides and legs of the game.
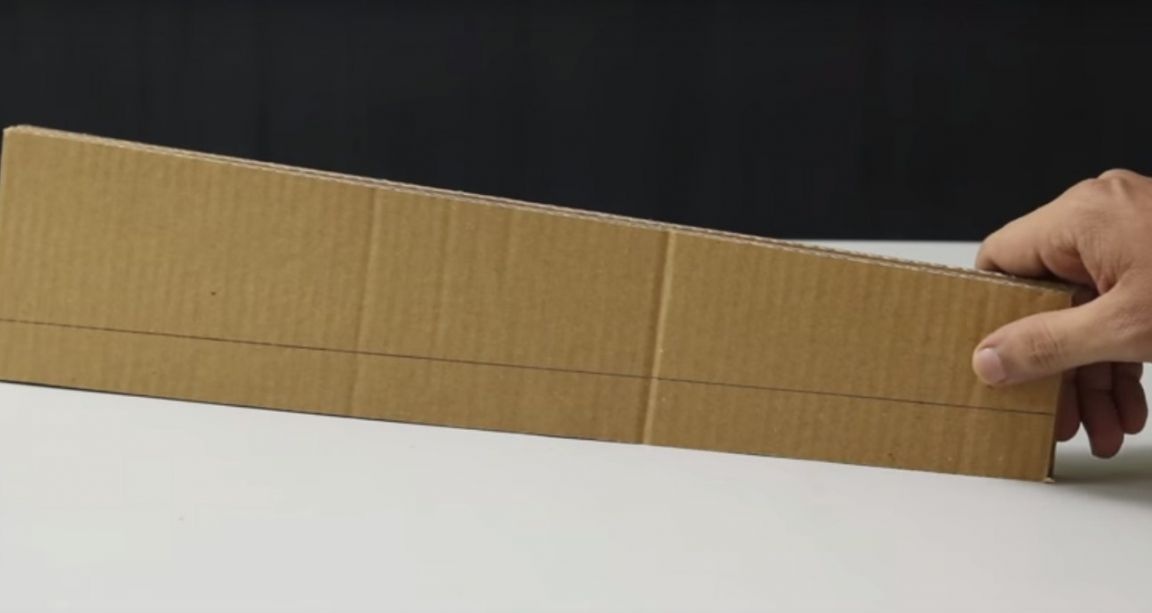
And glues them to the base.
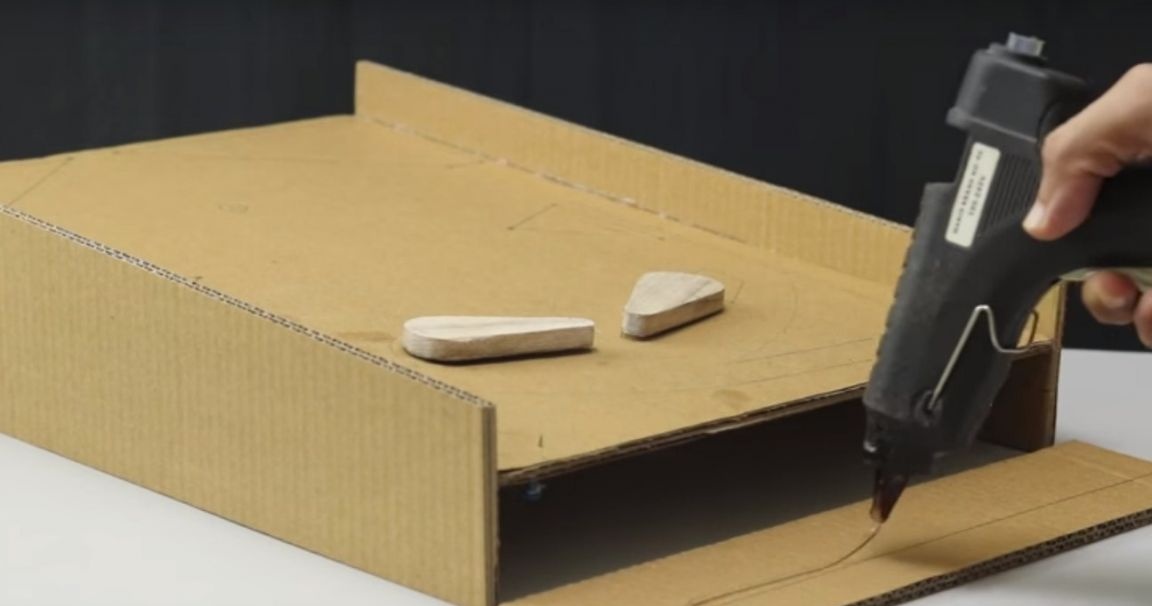
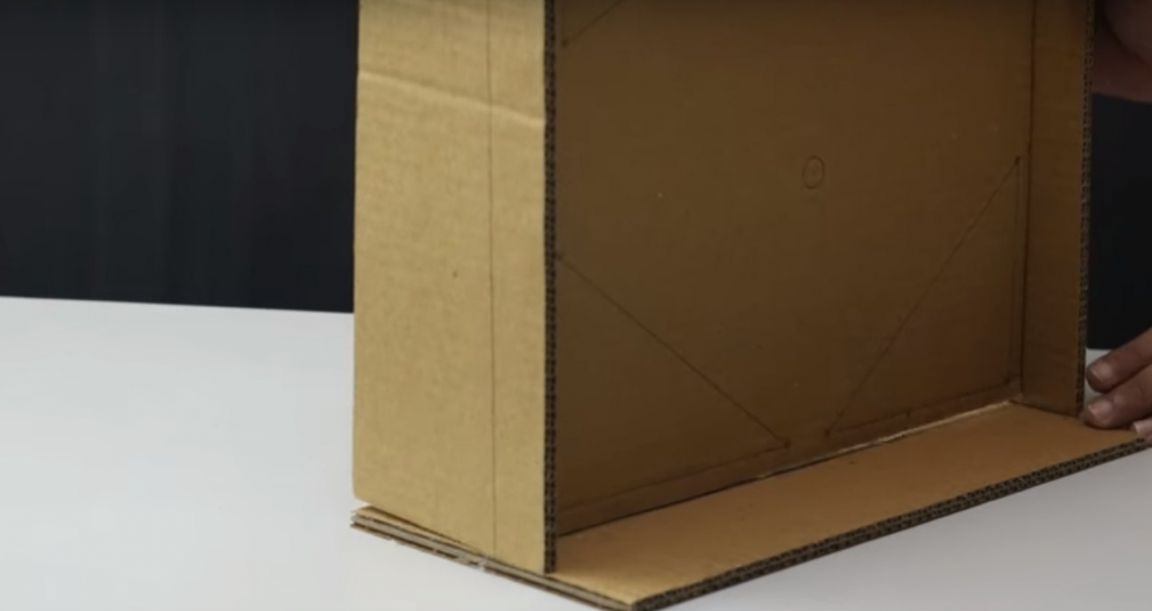
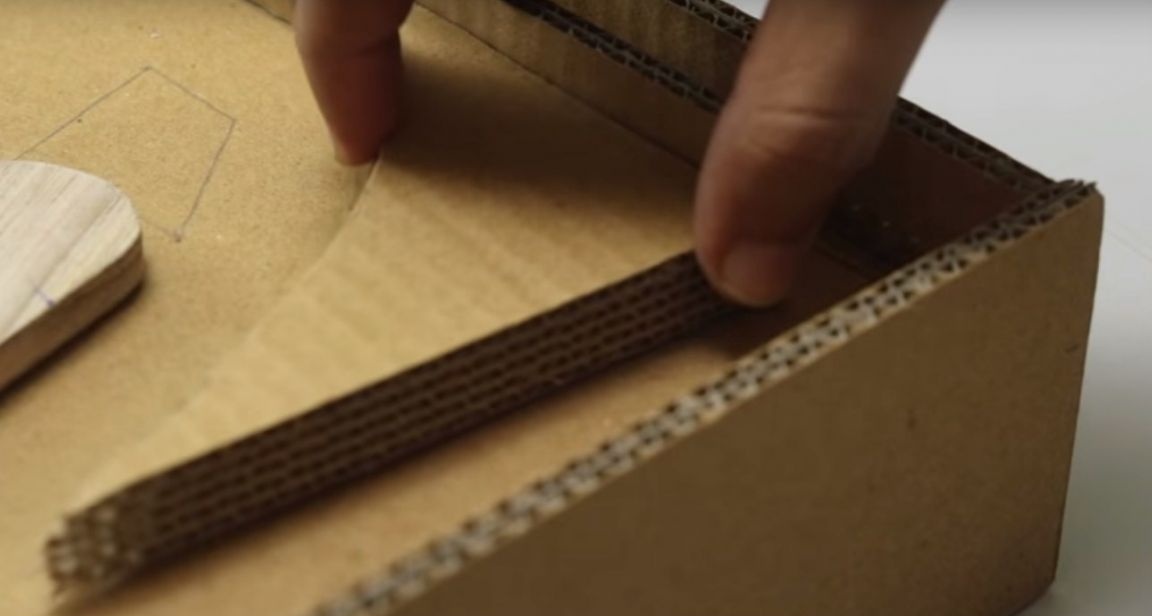
Then glues a strip of cardboard.
And carved figures on the markup at the bottom of the playing field.
Then, in the upper part, the author makes the holes with a toothpick, in previously marked places.
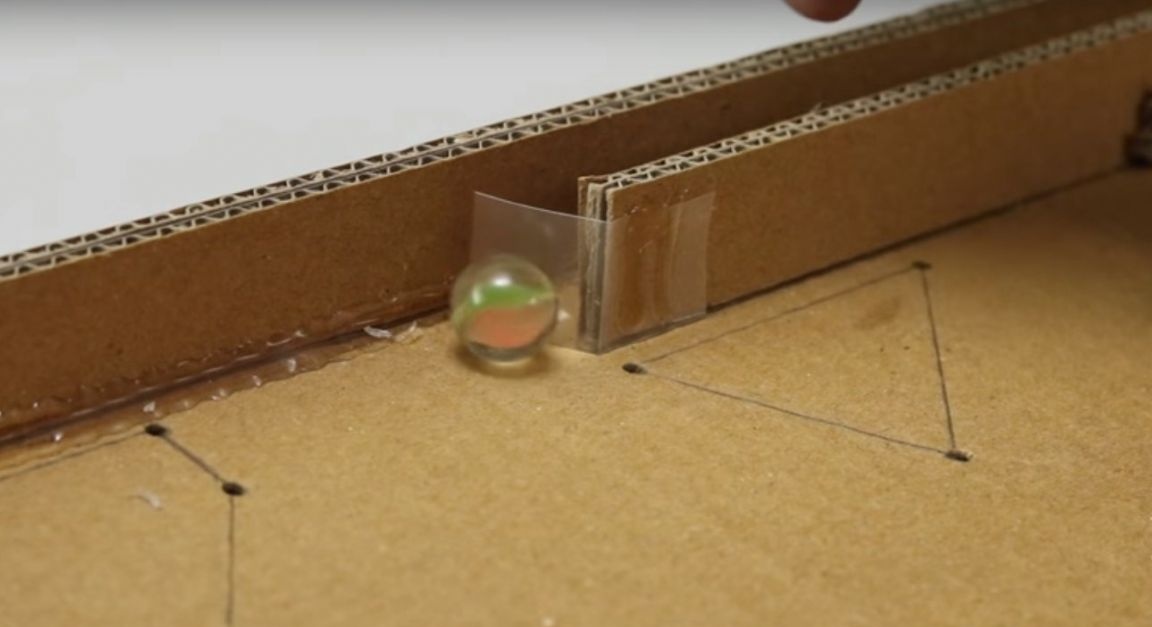
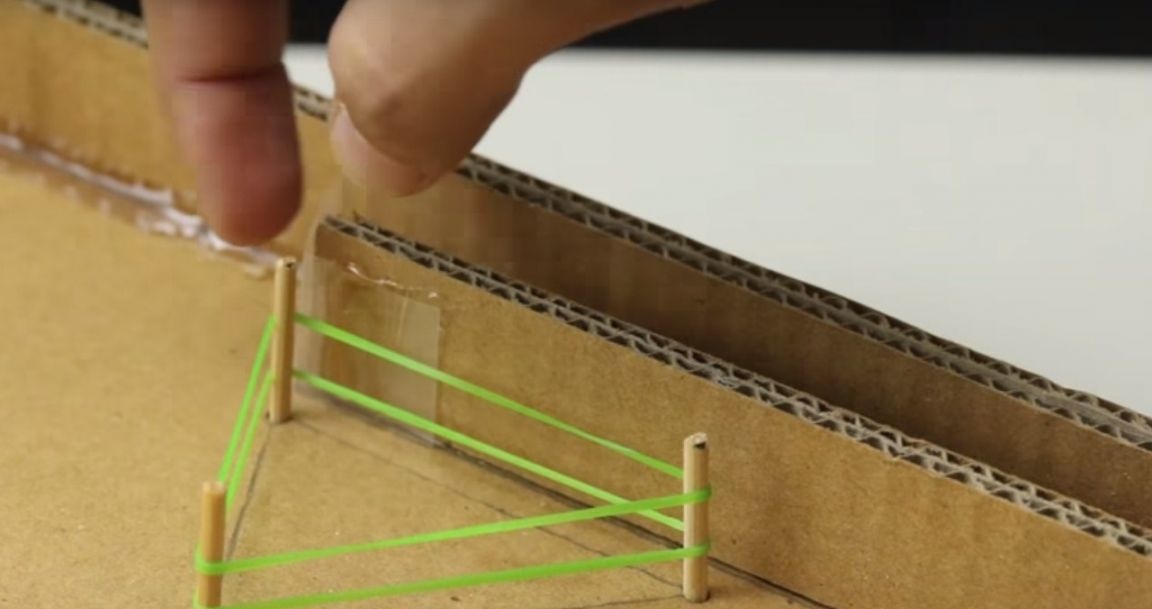
Glues a piece of thin plastic, which will act as a damper.
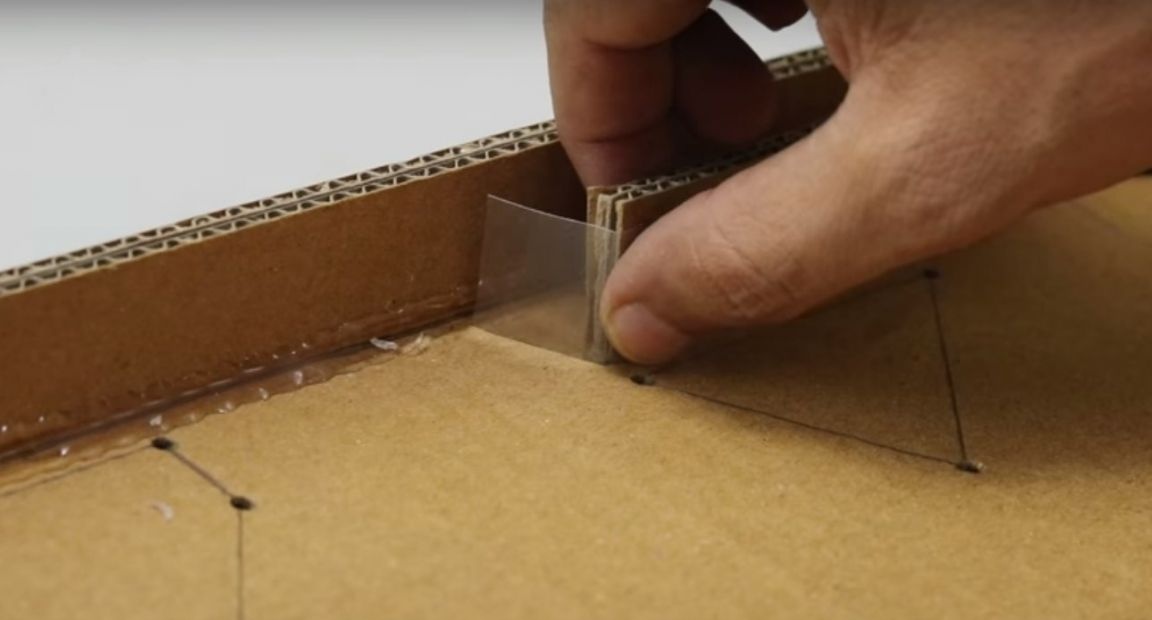
Releasing the ball on the playing field.
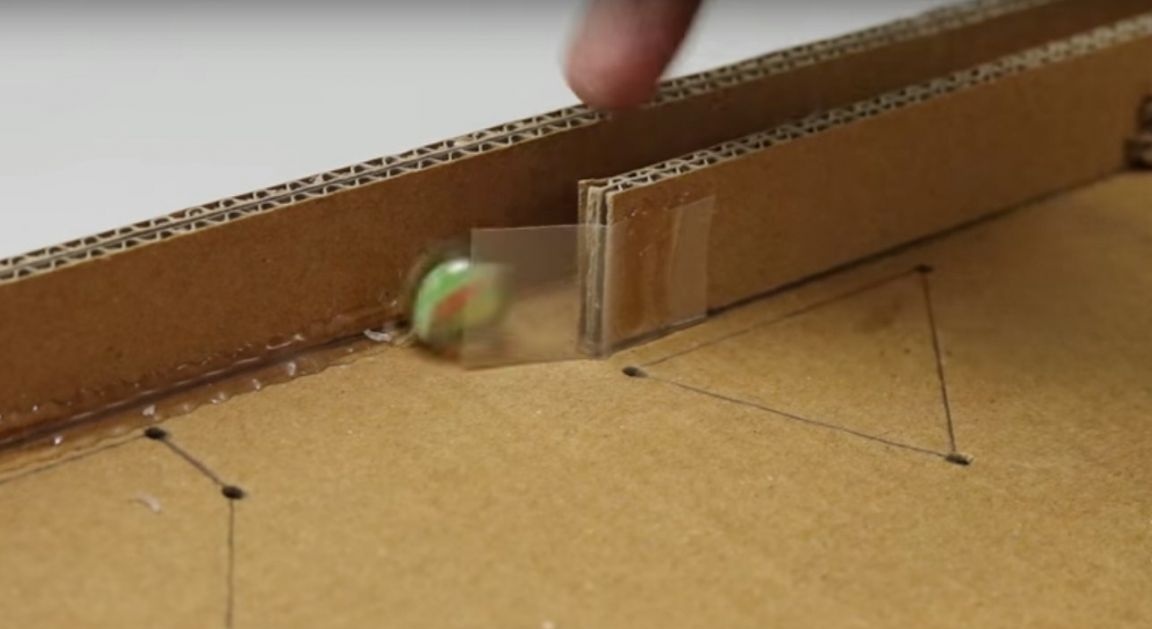
And not letting him back in.
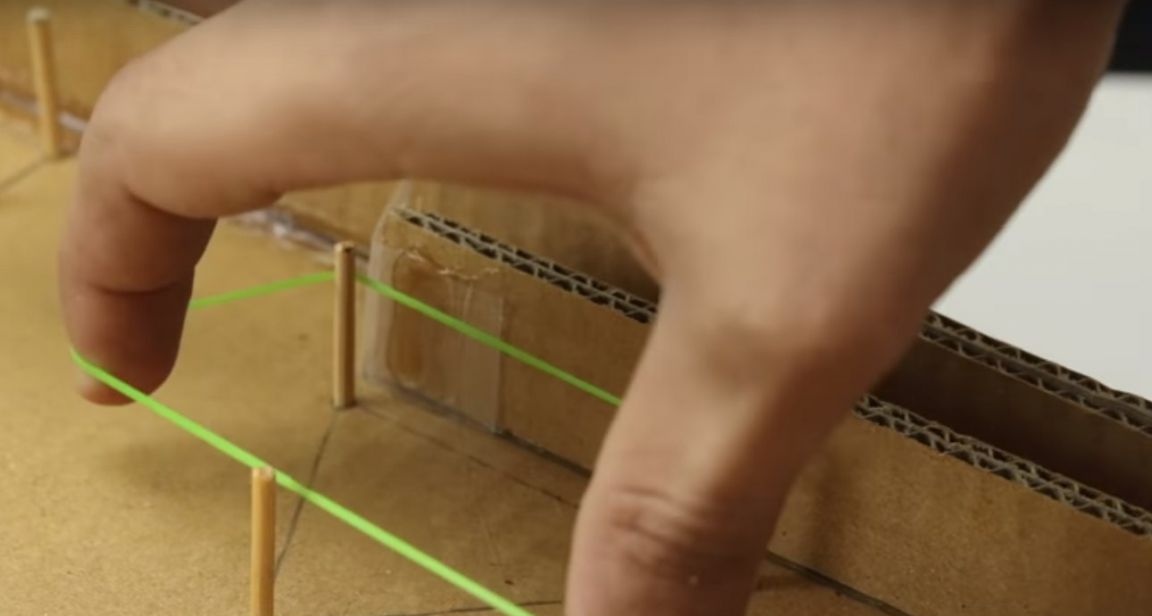
To the holes made earlier, inserts toothpicks cutting off sharp edges from them.
Next, put on a toothpick stationery gum suitable size.
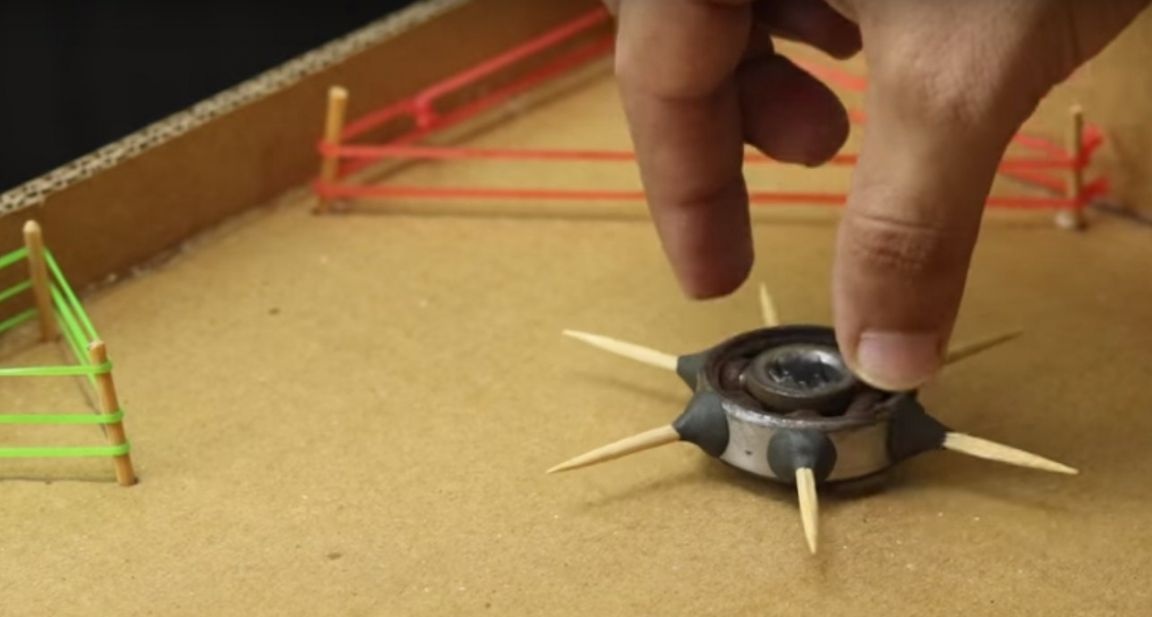
Also, as an obstacle, the author installs a bearing with glued toothpicks on the playing field.
The control panel will make the same out of cardboard. Cutting out the details and installing two buttons.
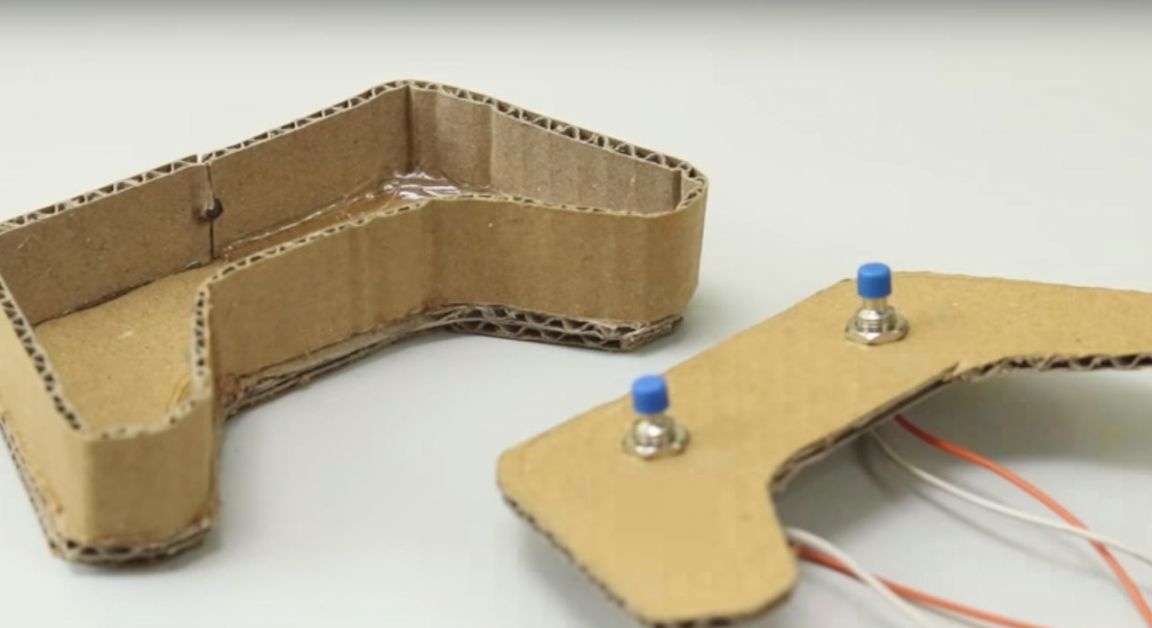
Soldered to the buttons of the wire.
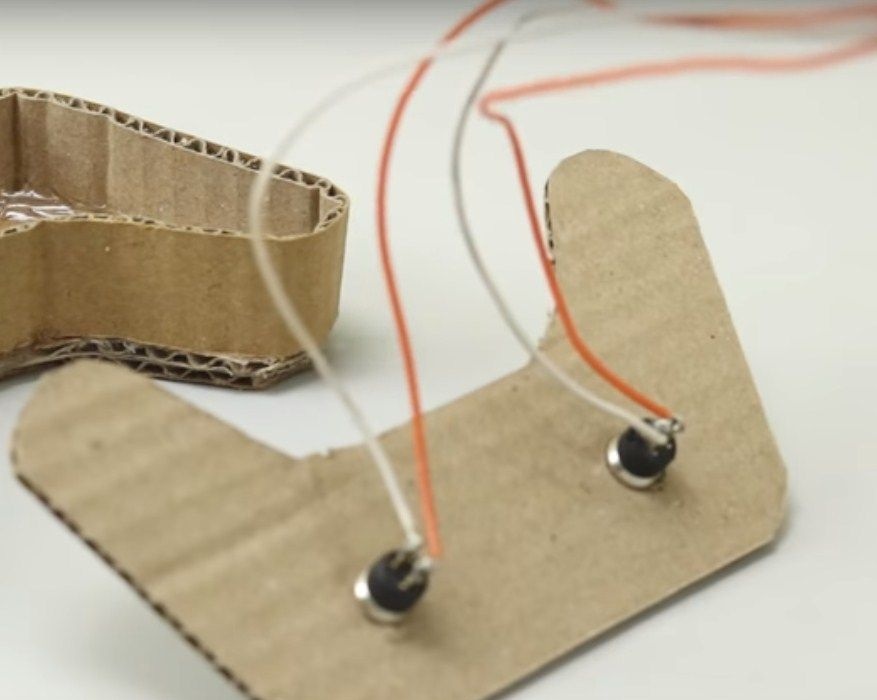
And glued the details.
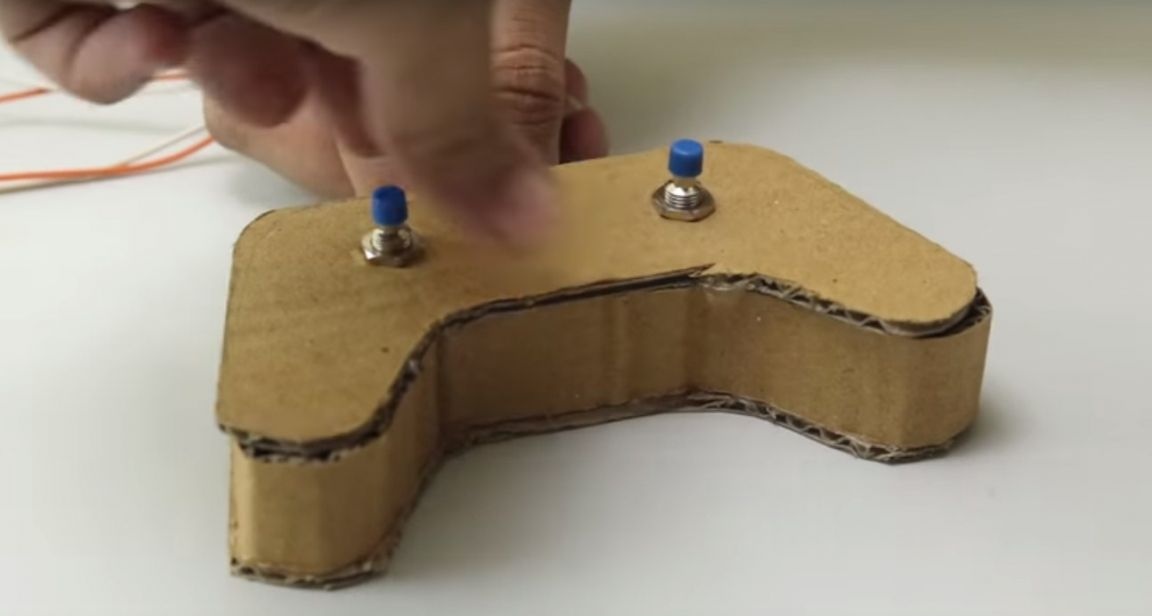
I made power, each motor has its own battery.
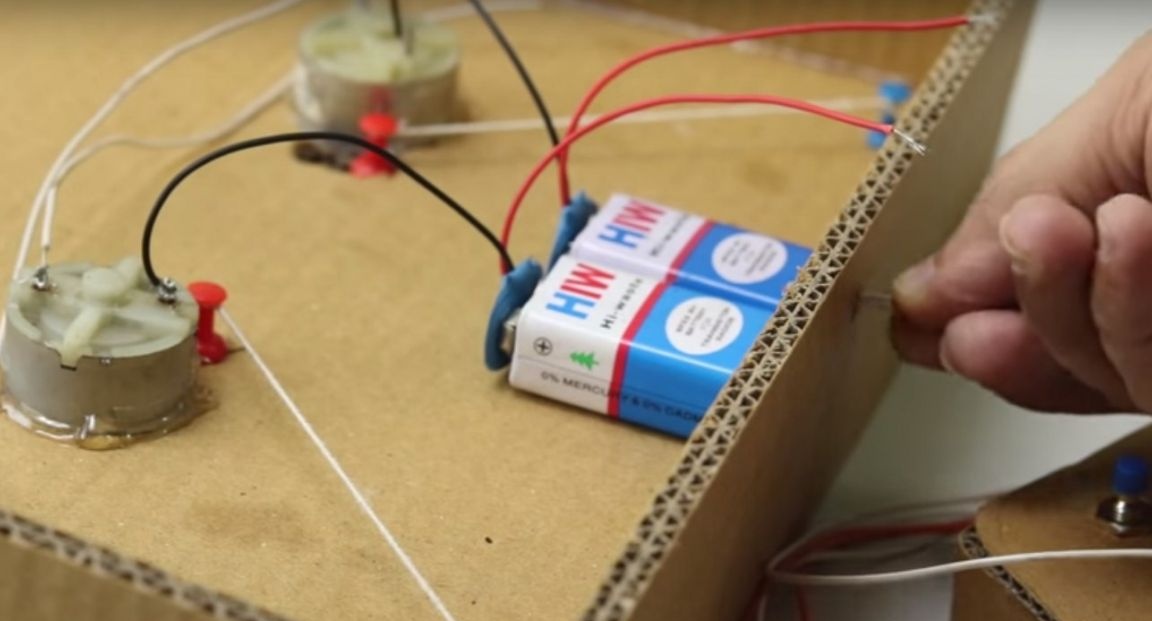
The minus wire of the motor is minus the batteries, and plus through the button.
Verification

And in conclusion, the author made a pusher to launch the ball on the playing field. Gluing a piece of cardboard onto a wooden skewer.
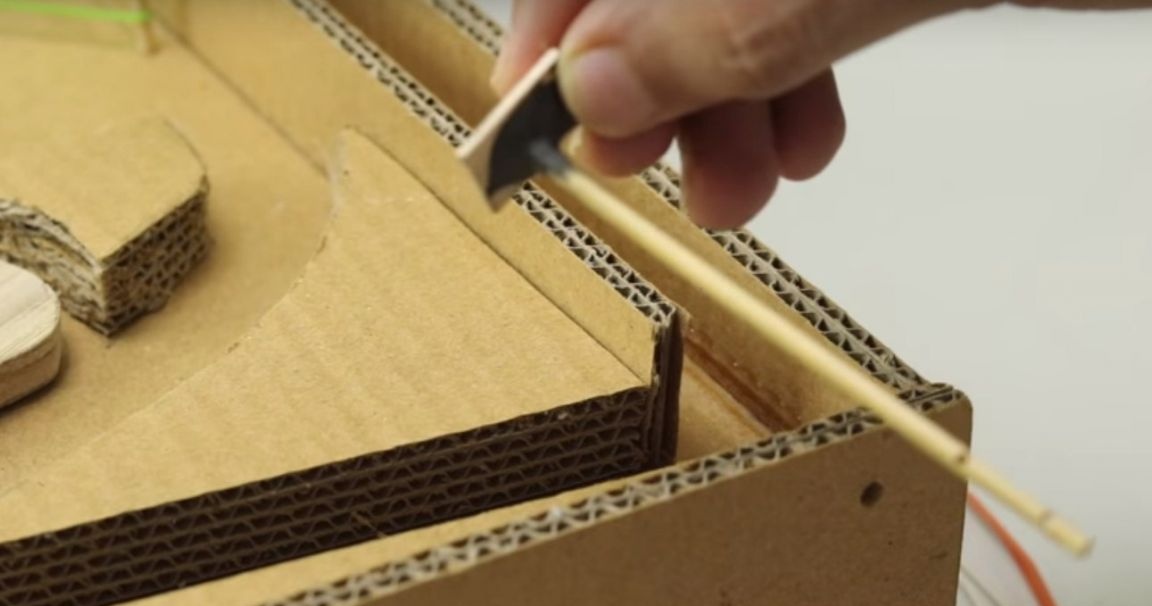
Set it in its place.
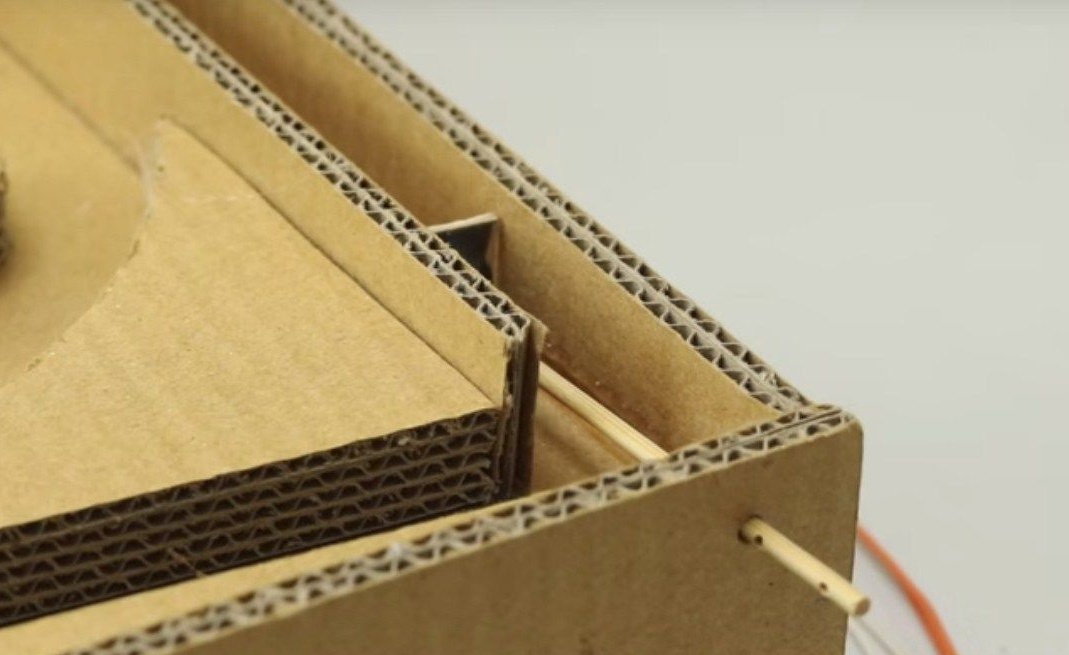
In a pre-made hole, I passed the gum.
And fixed it with buttons to the base.
Launches the ball and you can play.
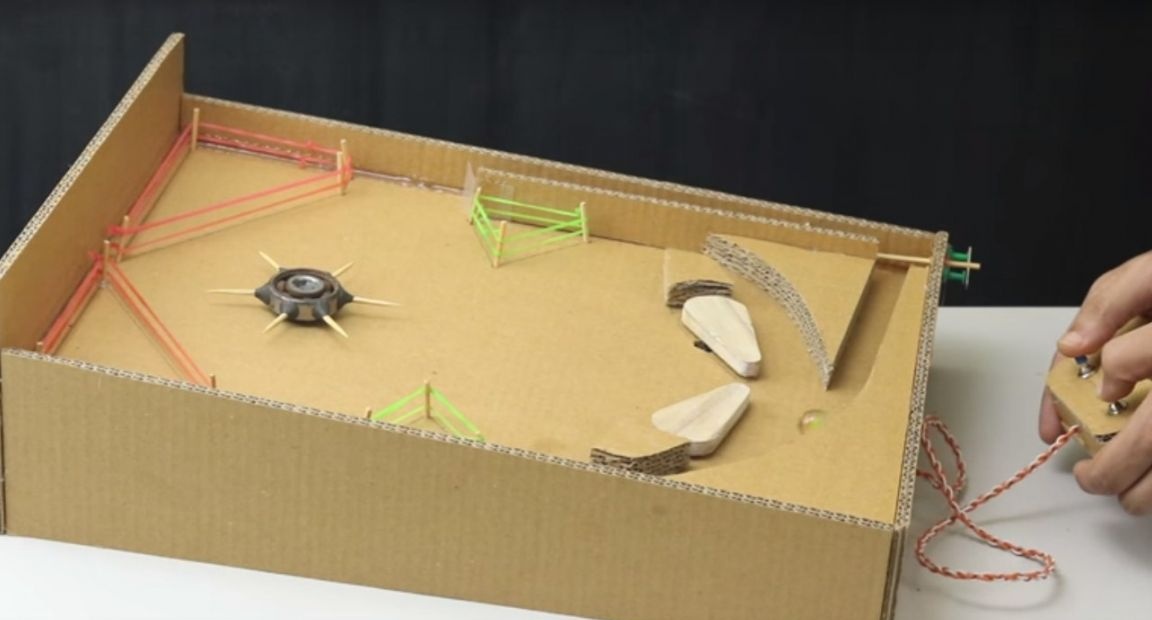
Thank you all and see you soon.