

Hello to all lovers homemade. In this article I will tell you how to make a motor revolution counter do it yourself, in the assembly of which the kit kit will help, a link to it will be at the end of the article. This kit kit will help in mastering radio electronics and gaining experience with a soldering iron and a soldering hair dryer, it will also be useful in assembling some home-made products, for example, a machine for rewinding coils of speakers or transformers, since this requires speed calculation.
Before you read the article, I suggest watching a video with a detailed process of assembling and checking the finished kit.
In order to make a do-it-yourself motor revolution counter, you will need:
* Soldering iron, flux, solder
* Tweezers
* Soldering hair dryer or homemade infrared soldering iron
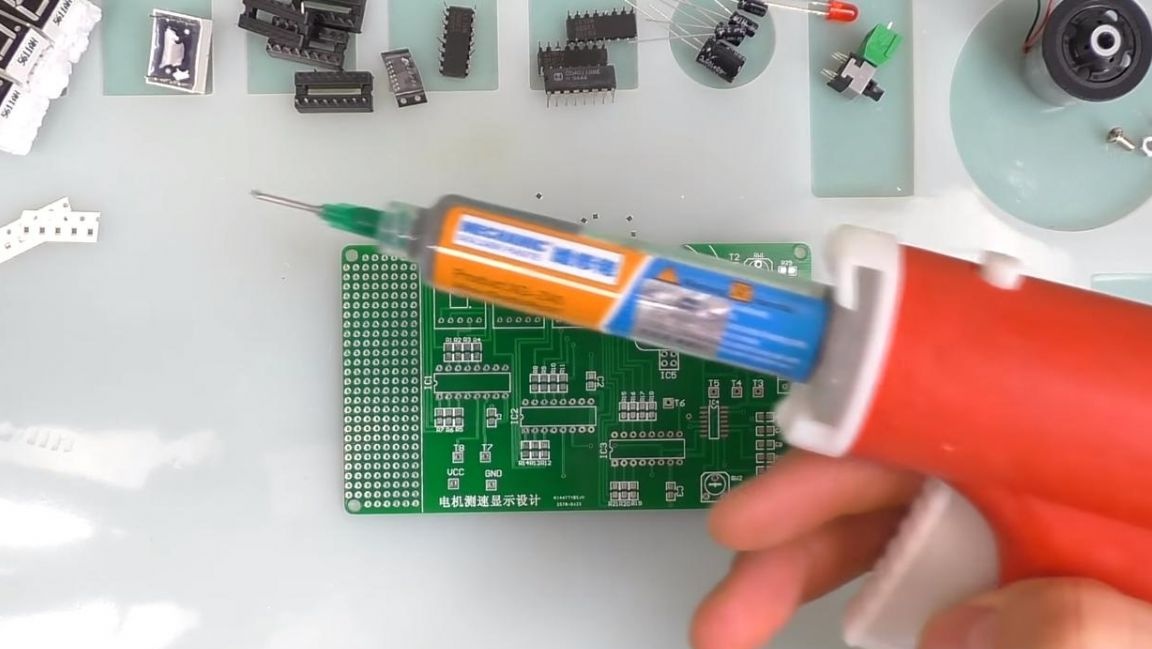
* Solder paste
* Device for soldering "third hand"
* Power supply with an output voltage of 5 V
* Crosshead screwdriver
Step one.
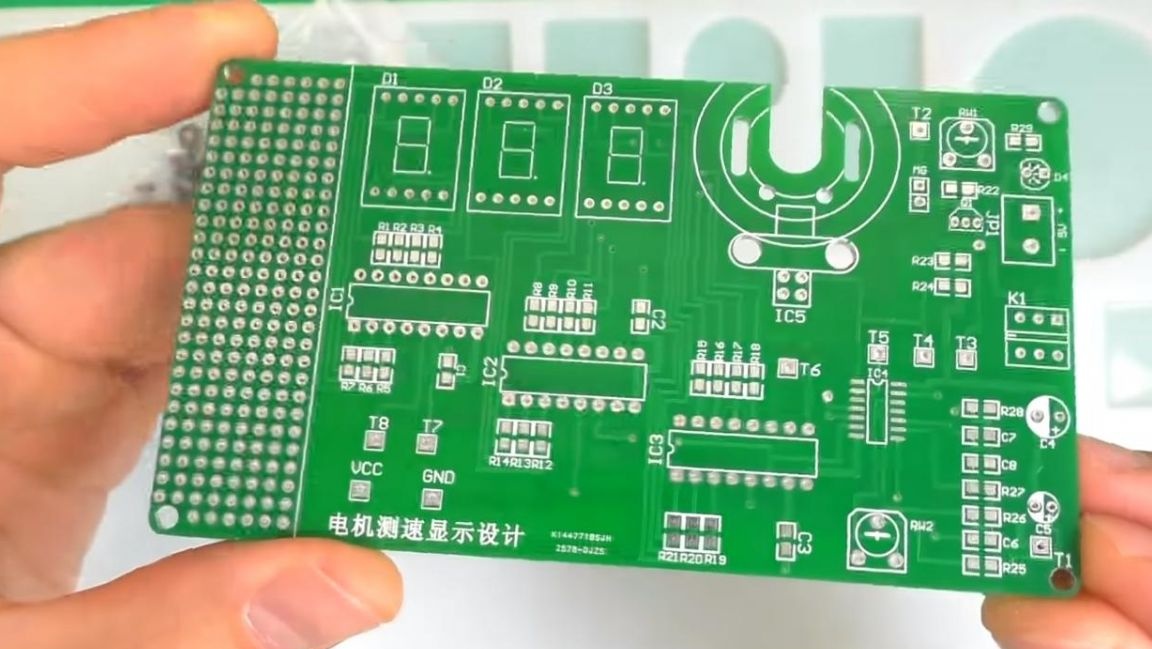
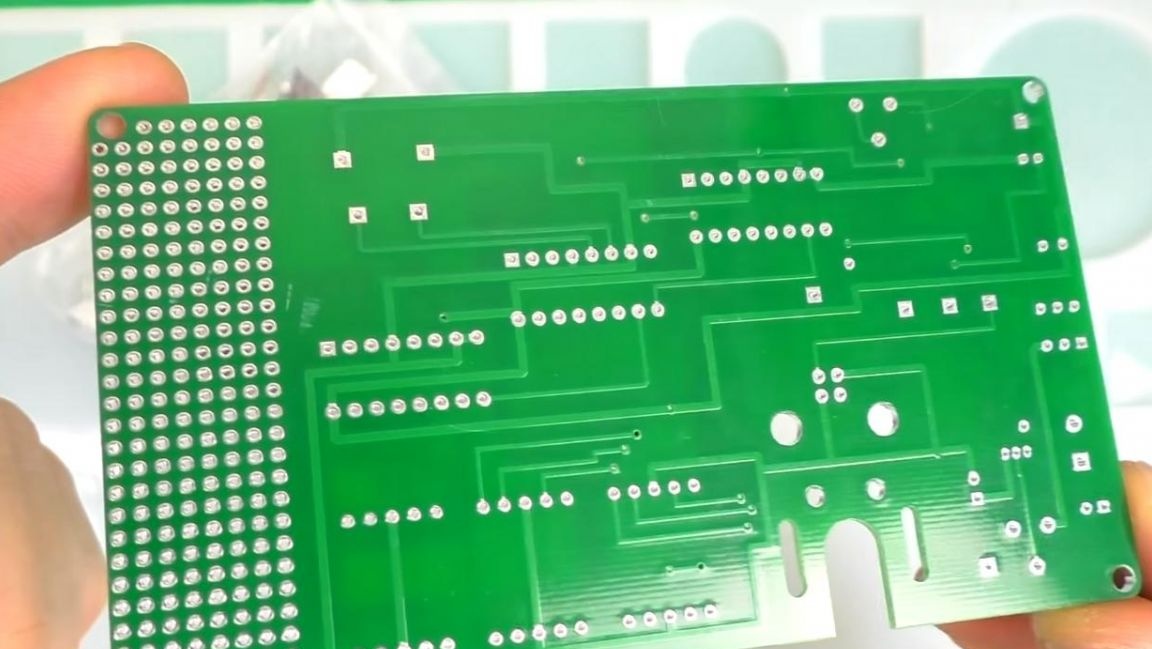
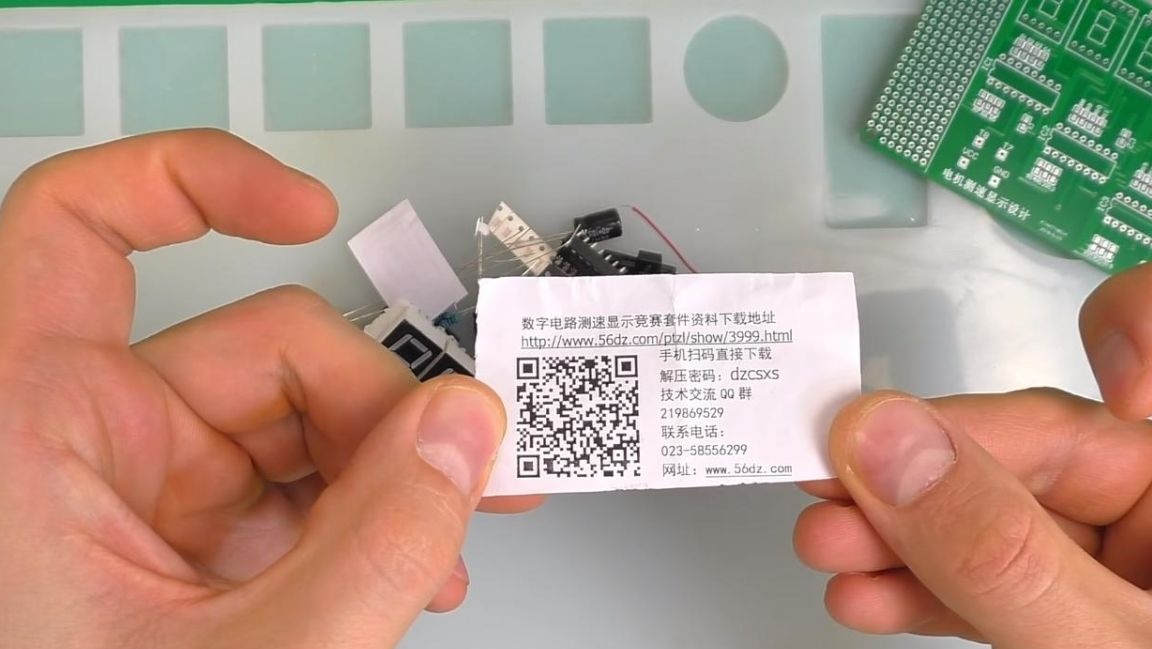
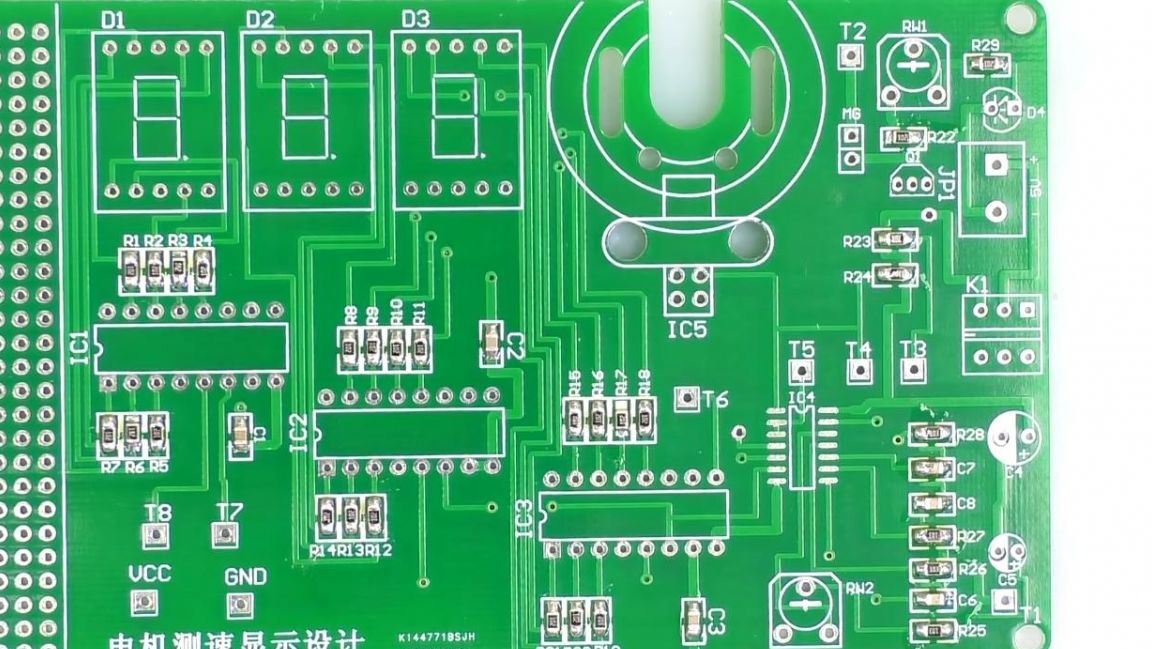
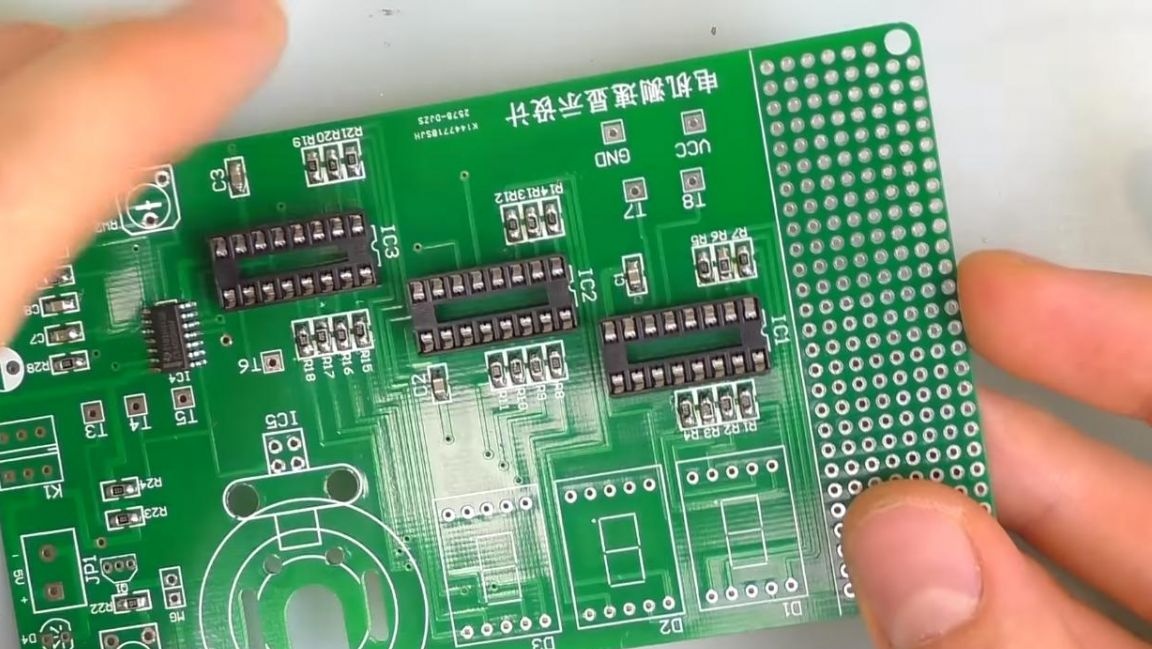
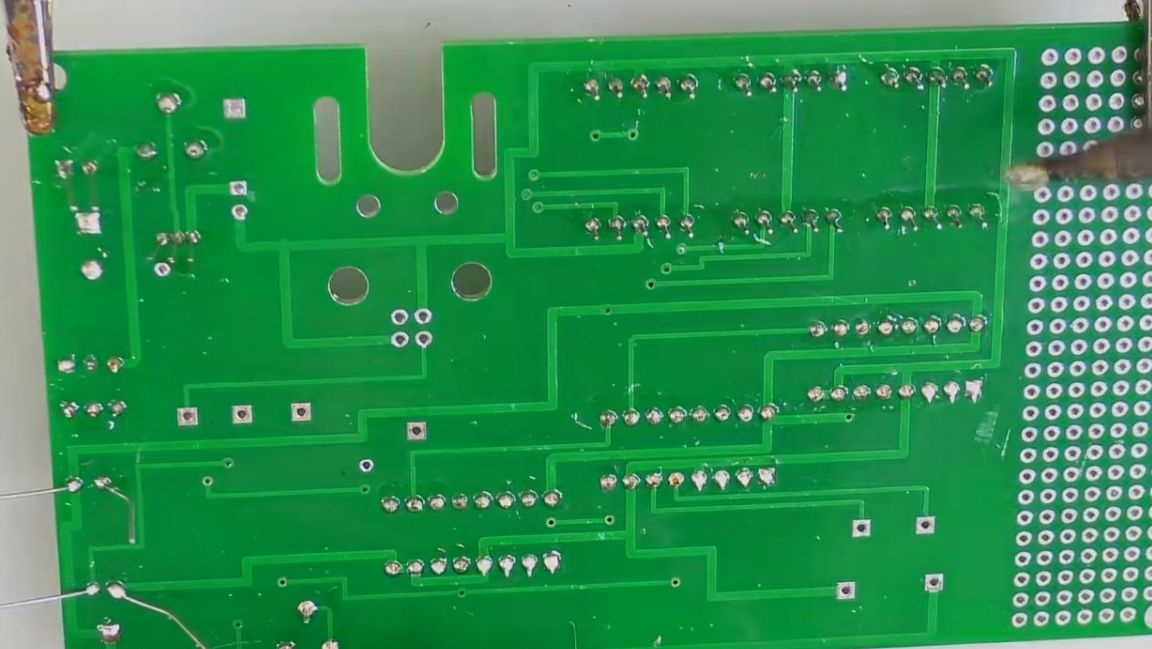
The kit kit includes a double-sided printed circuit board, the ratings are not indicated on it, but only the marking, therefore a leaflet with a QR code is provided, by scanning which you can download detailed assembly instructions and all the necessary ratings. The manufacturing quality of the board is quite high and has metallized holes.
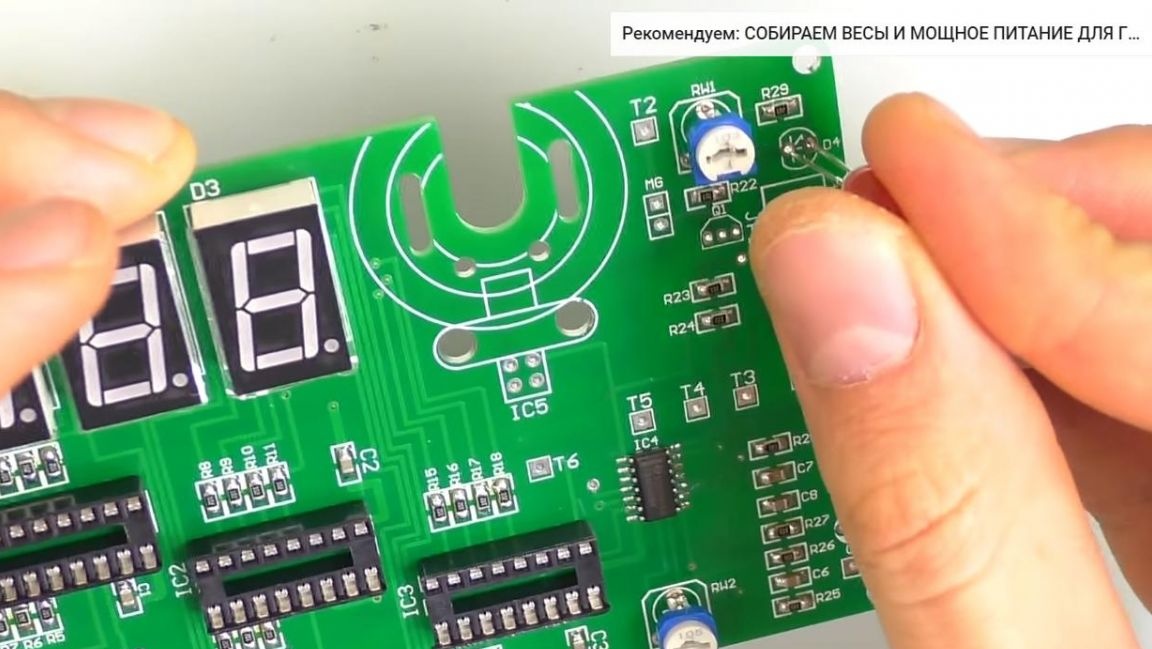
Now let's go directly to the assembly itself. First of all, we open the tape with 1kOhm SMD resistors.
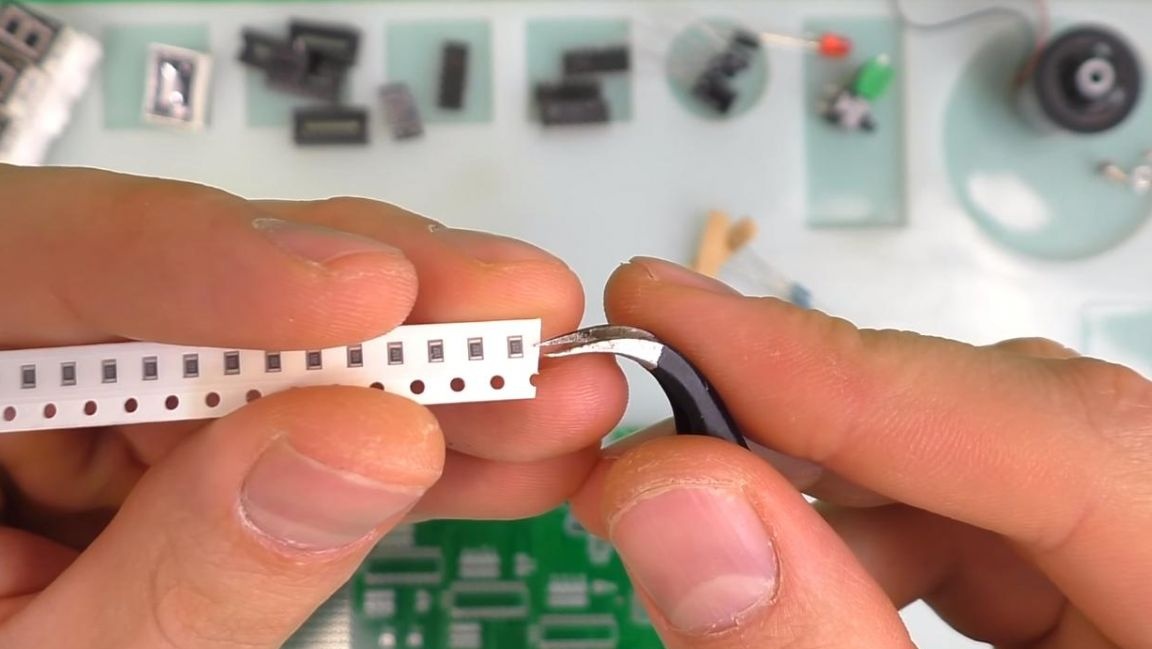
Next, we apply the solder paste in small portions to the board contacts, after which we use the tweezers to install the resistors in their places, according to the instructions, we also put the resistors at 10 kOhm from another tape.
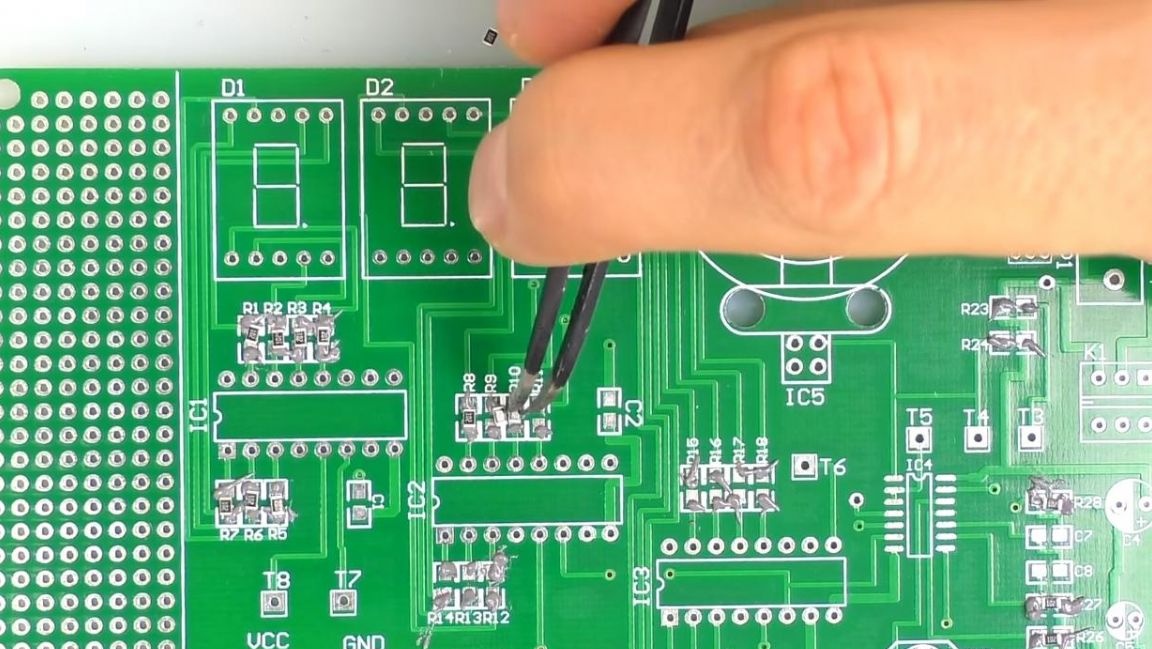
Having installed all the resistors, we begin to solder them with a homemade infrared soldering iron, which can be done in a few minutes.
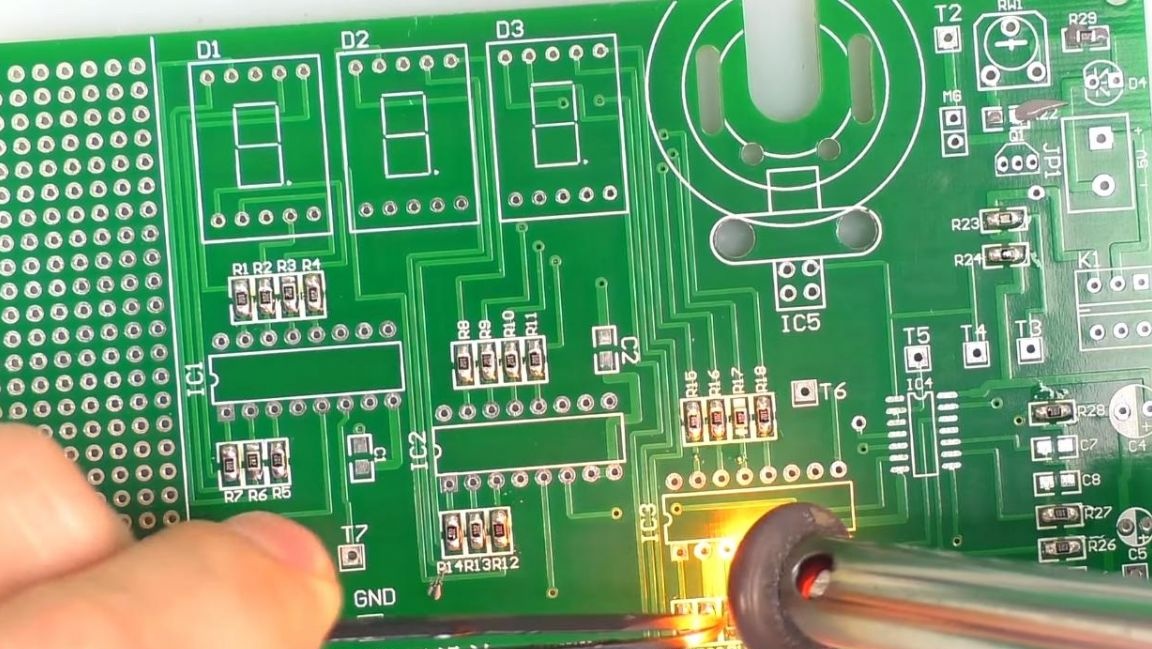
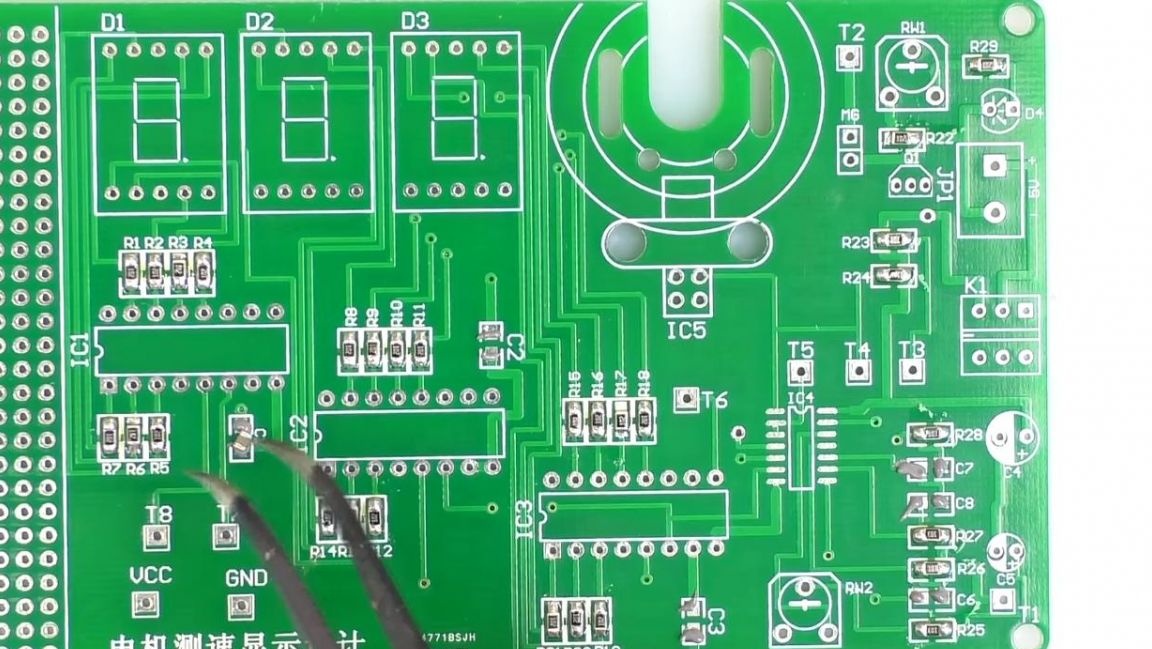
If you have a soldering iron, the soldering process will take less time. After the resistors, we install ceramic non-polar SMD capacitors on the board, their location is indicated on the board by the letter C with a serial number, after which we solder them similarly to the previous radio parts.
Step Two
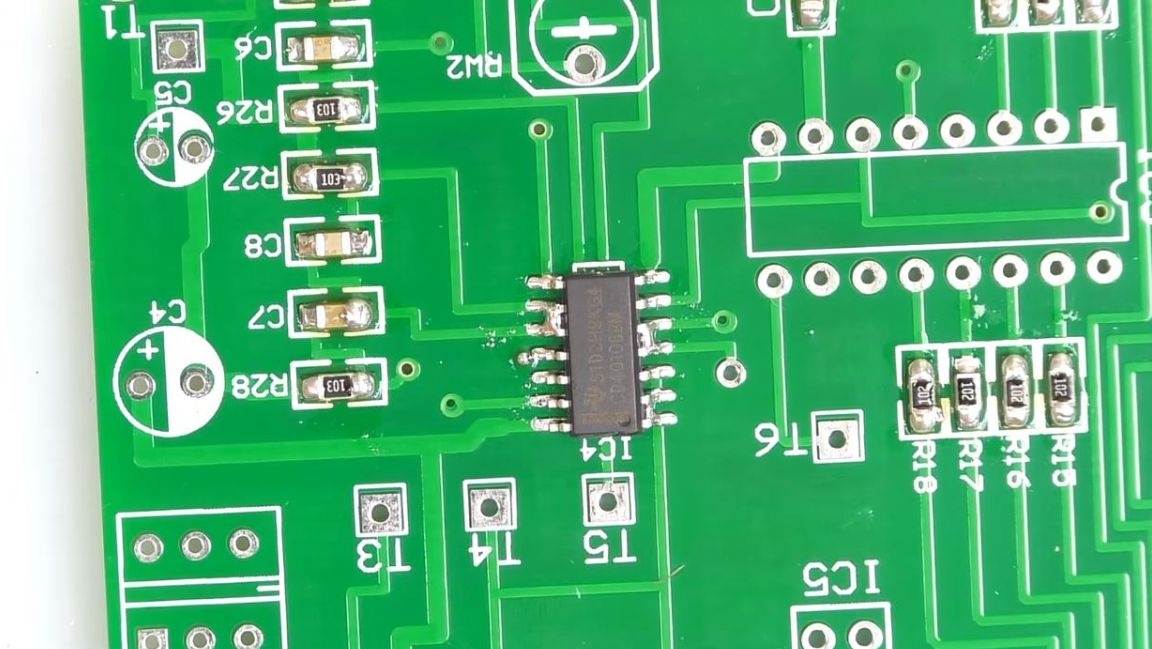
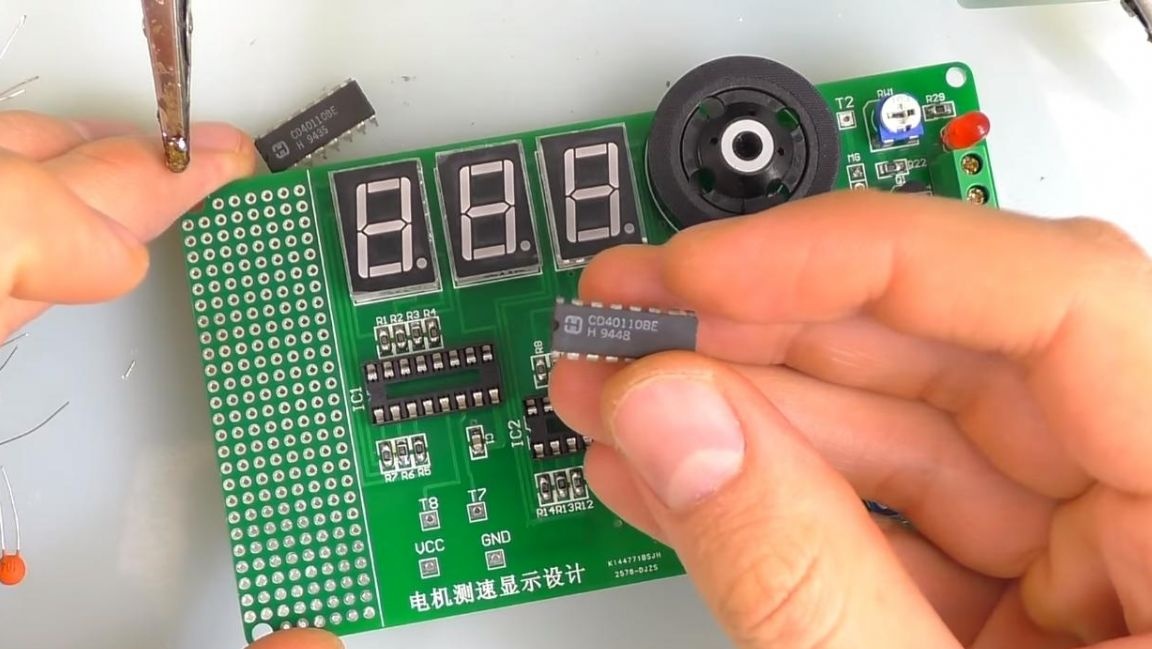
Now we put the solder paste on the contacts and install the microcircuit on the board, focusing on the key in the form of a strip on the case and on the marking of the board, there is also a dot on the side of the first contact on the microcircuit.
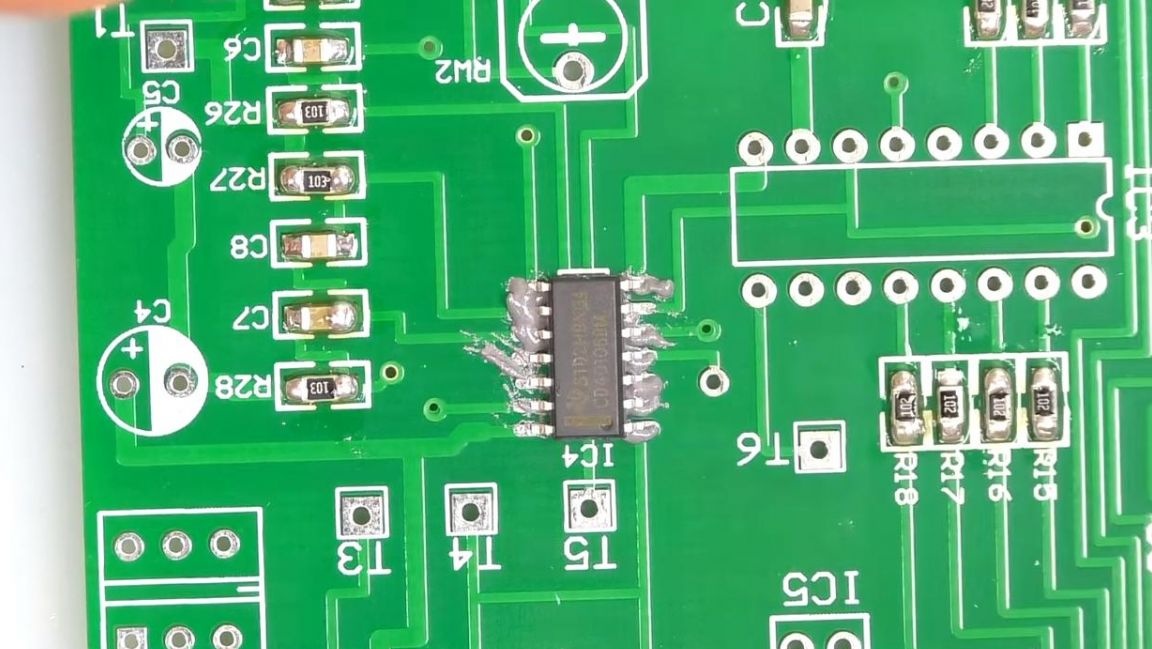
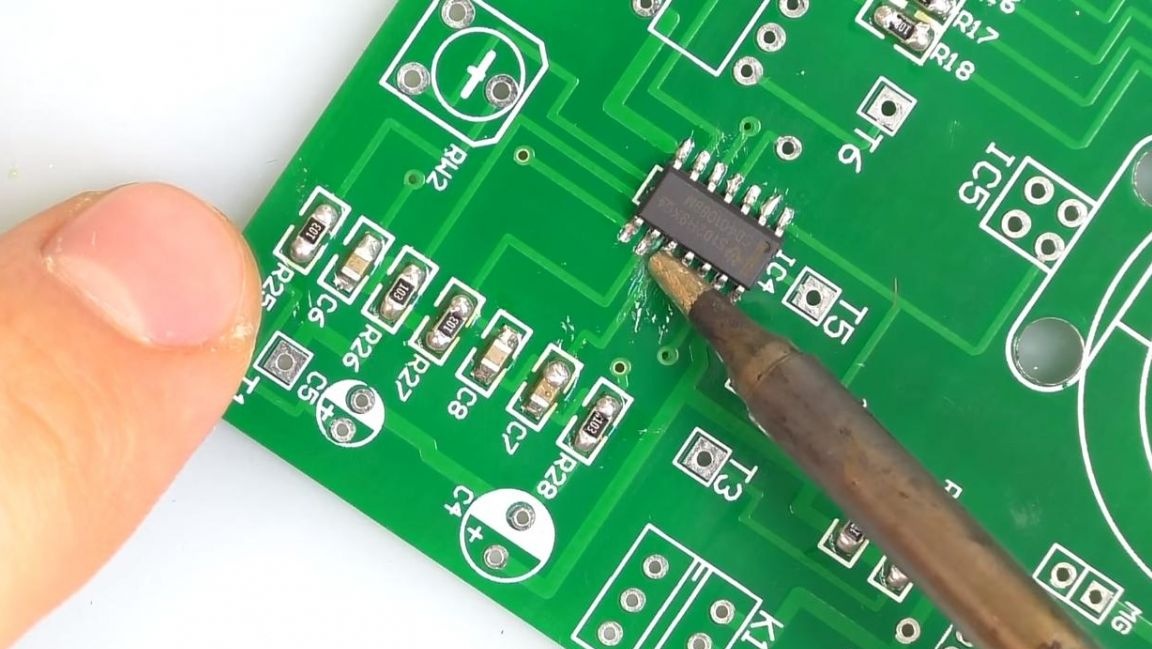
Next, we solder the microcircuit with an infrared soldering iron, after which we solder the contacts with a conventional soldering iron with a sting, if necessary, remove excess tin from the terminals to exclude a short circuit.
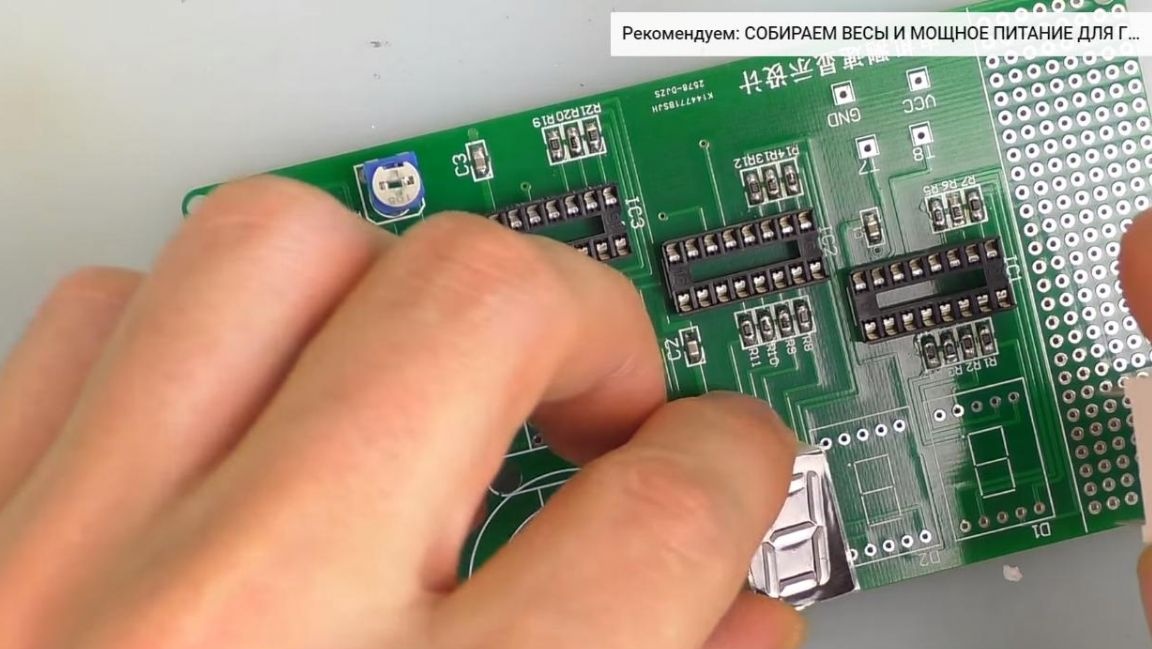
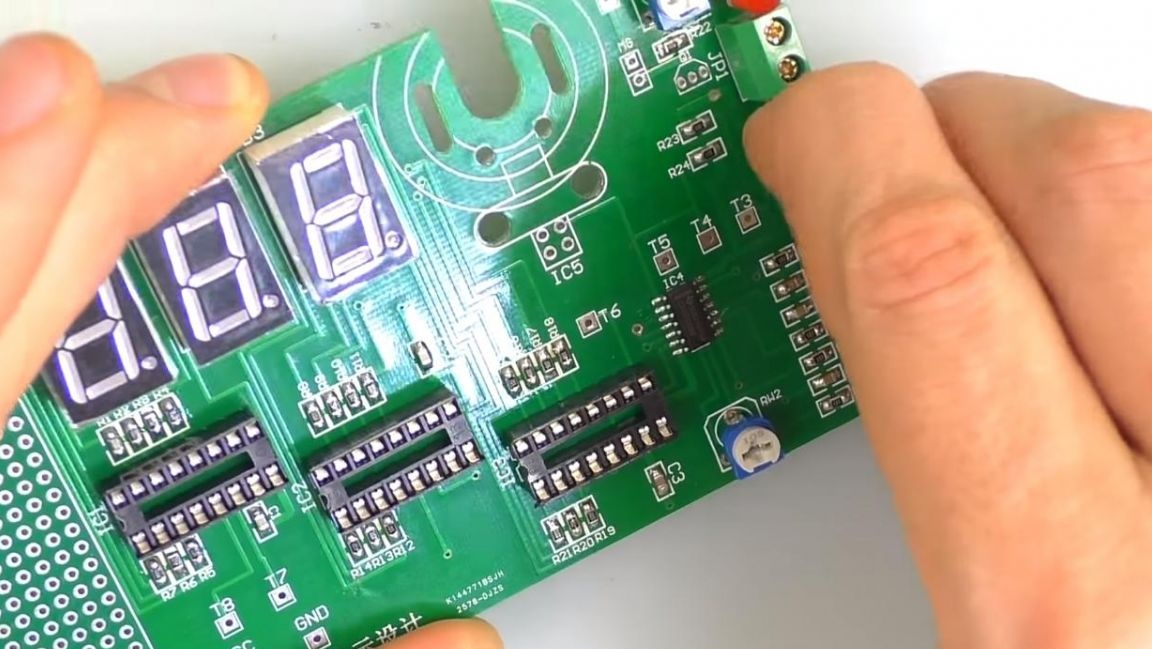
We insert three DIP-panels into the holes on the board for installing microcircuits in them, during installation we focus on the key on the case and the board, made in the form of a notch.
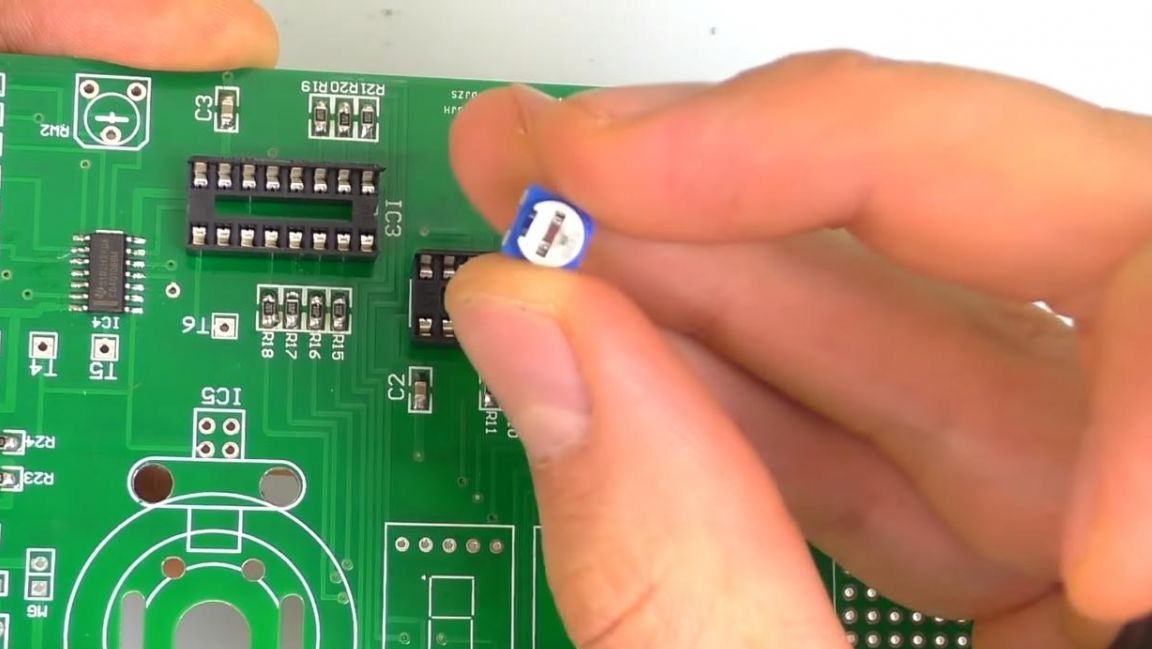
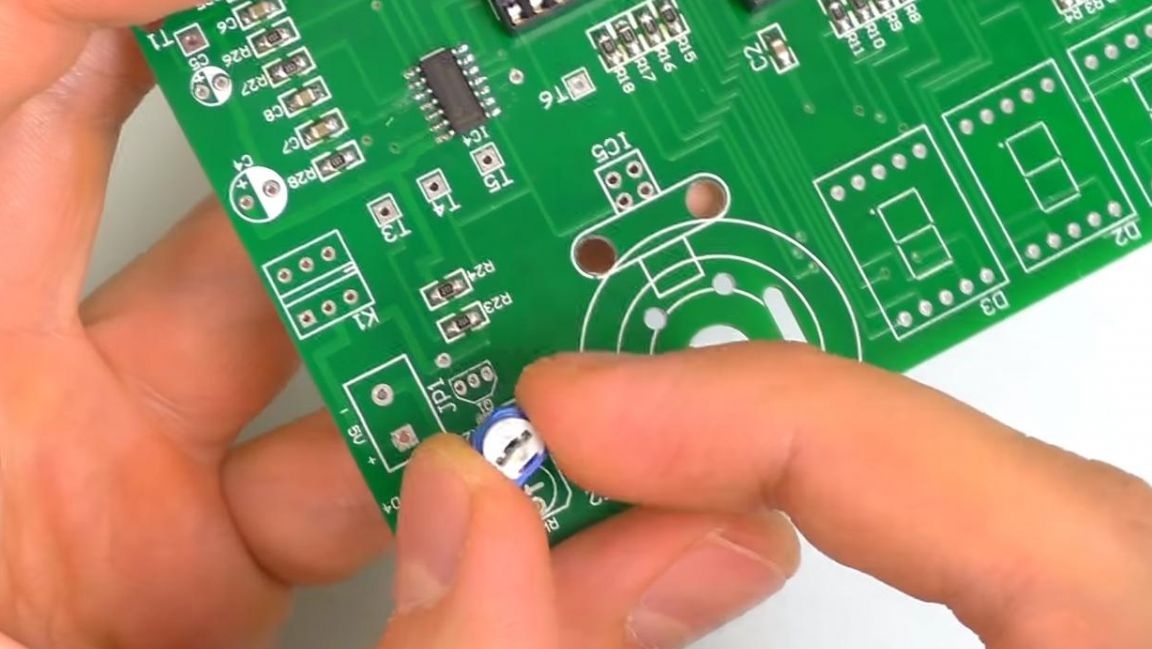
Then we install variable resistors, insert a resistor with the number 105 on the case into the holes on the board marked RW2, and with the number 103 in the RW1 connector.
Step Three
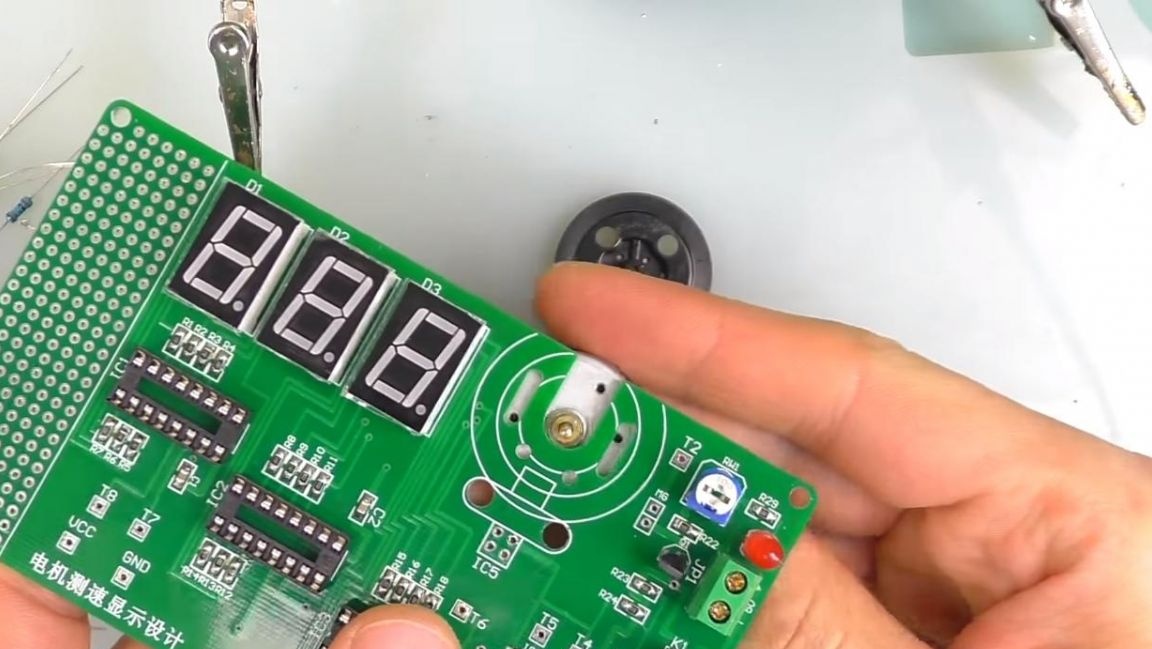
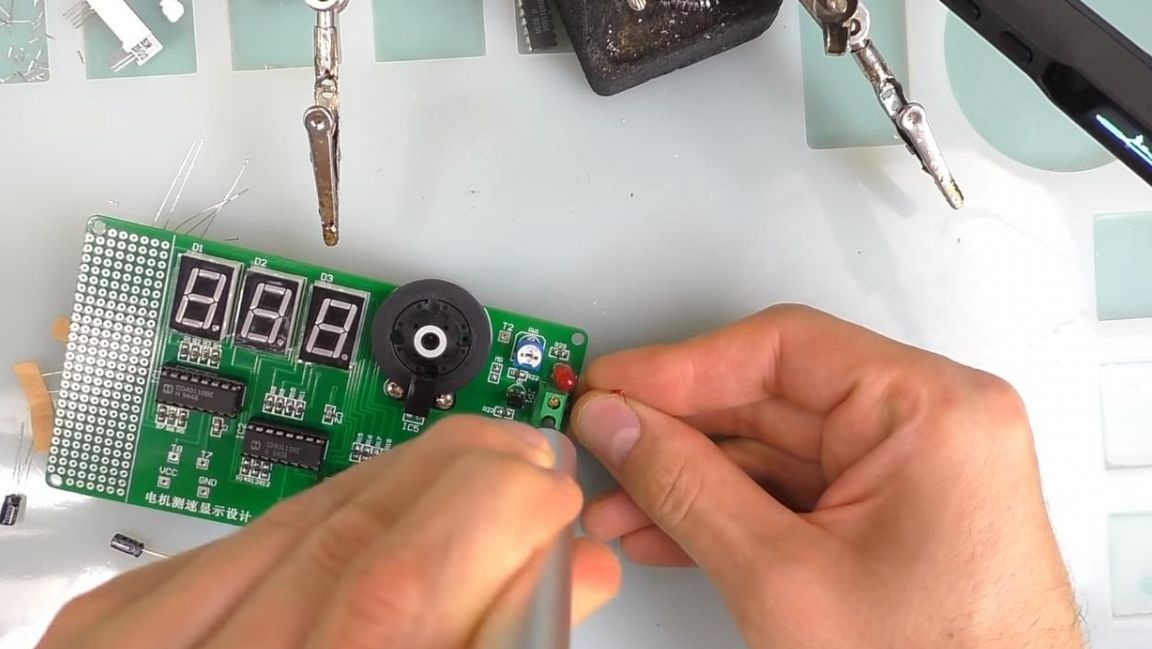
The number of calculated revolutions will be displayed on seven-segment indicators, there are three of them on the board, we insert them into the holes, combining the points on the board and the indicator, otherwise they will not work correctly.
To indicate operation, one red LED is provided, we install it, observing the polarity, the positive output is a long leg or triangle on the board and a minus-short leg of the LED and a strip on the board.
Next, we install the 5 volt power connector and the power button, according to the key on the case and board.
After, we insert the transistor into place, being guided by the bevel on the case and the marking shown on the board.
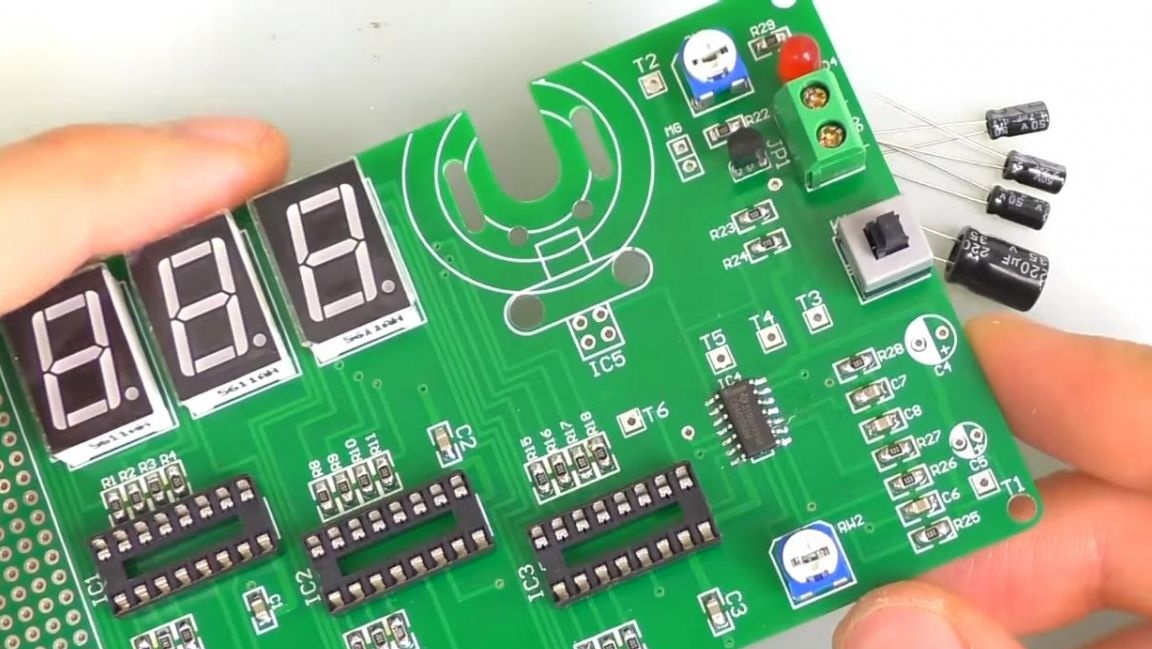
We install electrolytic capacitors according to the rating and marking, on the case a white strip is located on the negative output side, and the long leg is a plus, also the minus on the board is indicated by a shaded semicircle.
Step Four
To ensure that all installed radio components do not fall out during soldering, slightly bend their conclusions. Next, we turn the board over, fix it in the “third hand” soldering device and solder all the components with a soldering iron and solder, apply a flux for better soldering.
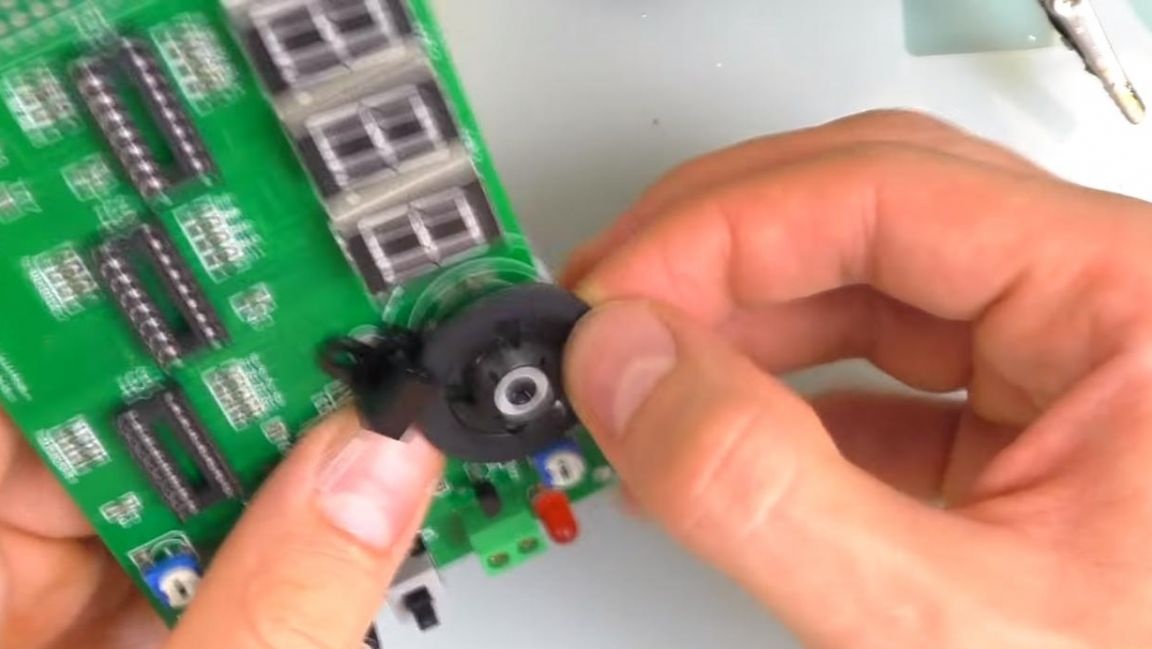
After soldering, we clean the board of flux residues with a solvent, for example, galosh gasoline. Then we install the electric motor on the board using two small screws and a Phillips screwdriver.
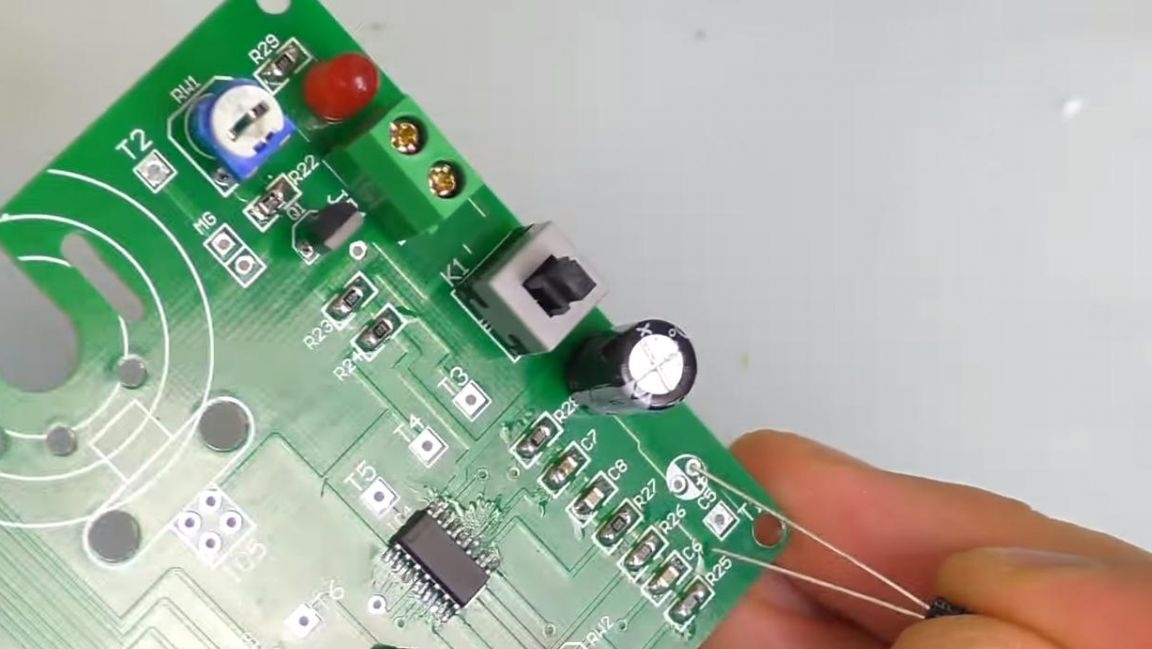
After installing the motor, we put the RPM sensor, having previously connected its conclusions to the board, it is attached to it with two bolts and nuts.
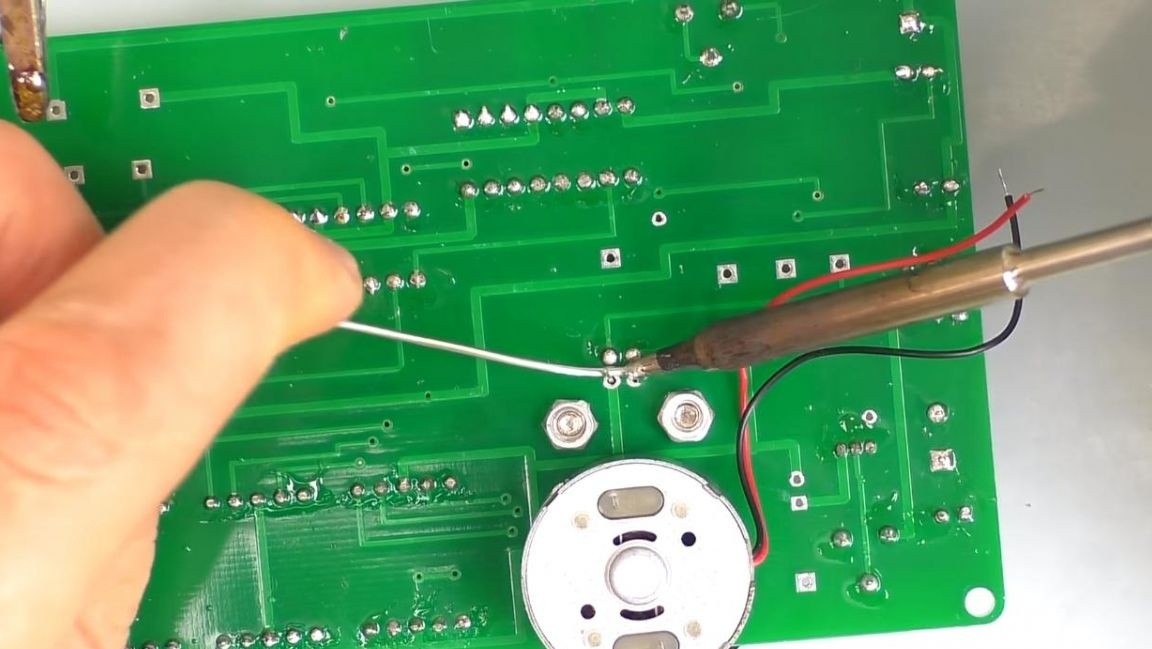
On the reverse side of the board, solder the sensor leads, as well as the wires from the electric motor.

Step Five
The final action is the installation of three microcircuits in special panels, we are guided by the key on the body and socket.
Next, you can check the kit in action. We connect the power supply to the pads on the board, observing the polarity, then we turn on the rev counter and use the button to turn the engine, and the number of revolutions is shown on seven-segment indicators.
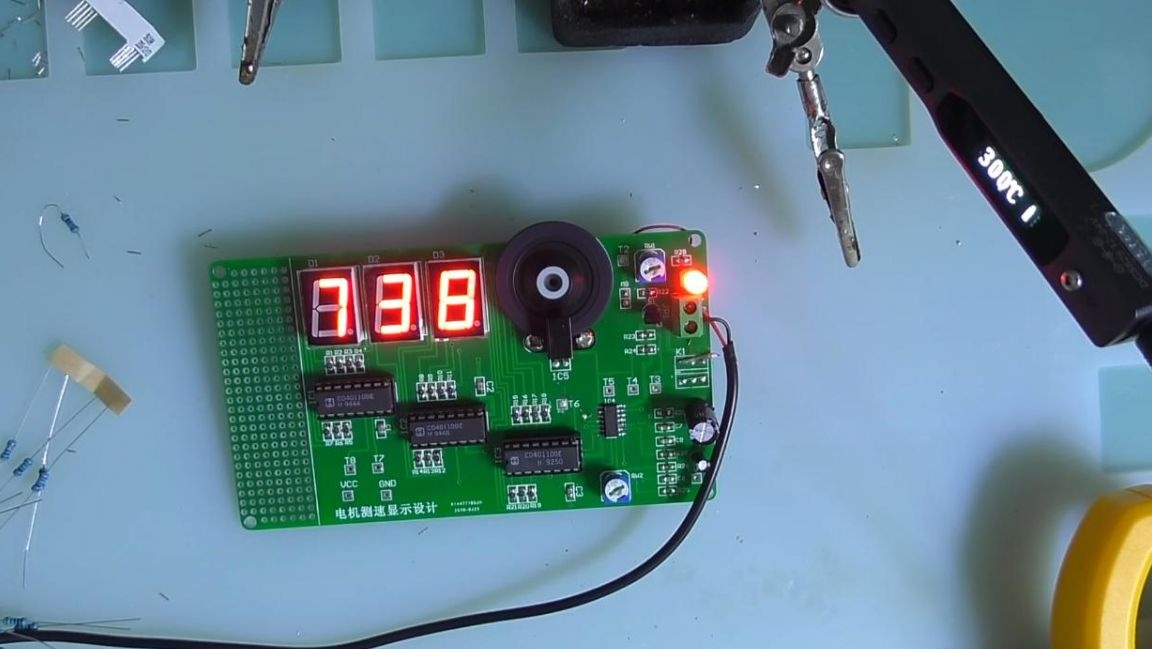
The upper variable resistor controls the speed of the electric motor, you can change it with a screwdriver by simple rotation in one direction or another. Such a kit can count up to 999 revolutions, if necessary, you can set a fourth indicator, which will increase the rev count to 9999, as shown in the instructions, which are available for download using the QR code from the kit. You can use this counter of revolutions of the electric motor in many home-made products, with some improvements it can be made into a winding machine for rewinding coils of speakers or transformers.
That's all for me, thank you all for your attention and creative success.