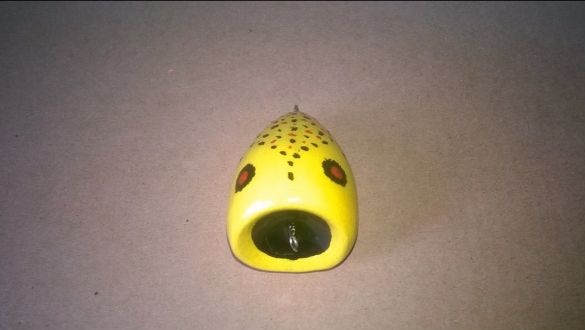
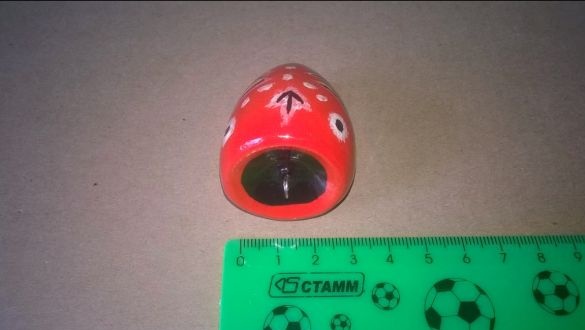
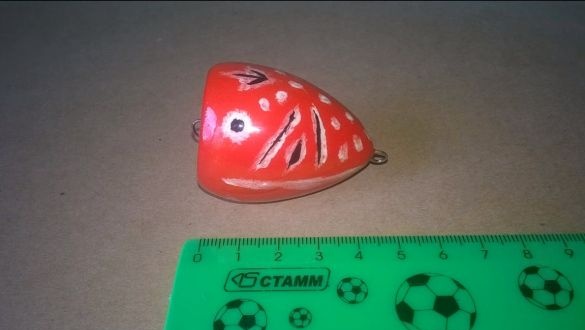
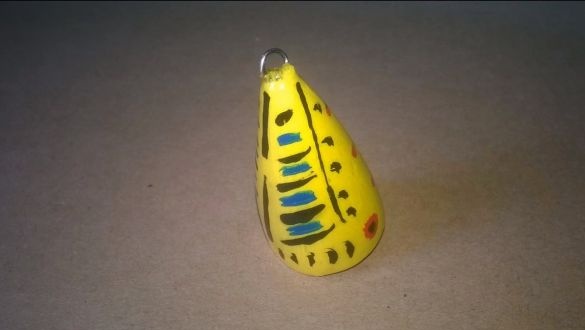
Spring is drawing to a close, which means that the fish have spawned and the bans for fishermen have been lifted. This time we will learn the strategy of catching rudd and other other fish using spinning. And we will use it, or rather. According to many fishermen, such weapons are number one when fishing for rudd, and this method of fishing is sporty and very interesting.
A pop-popper works much like a regular popper, only there are no hooks on it. The task of the tackle is to attract the attention of fish, which always goes out to bursts from a beetle that has fallen into the water, to feeding places of other fish, and so on. In any case, the fish always looks at the surface of the water if something happens there.
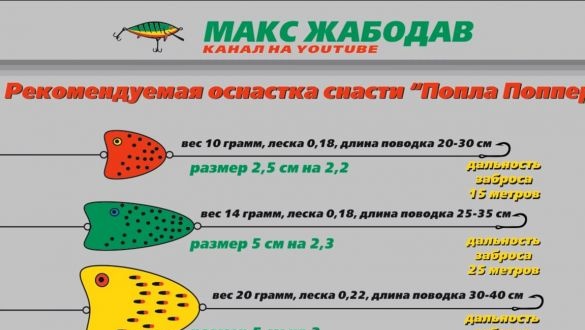
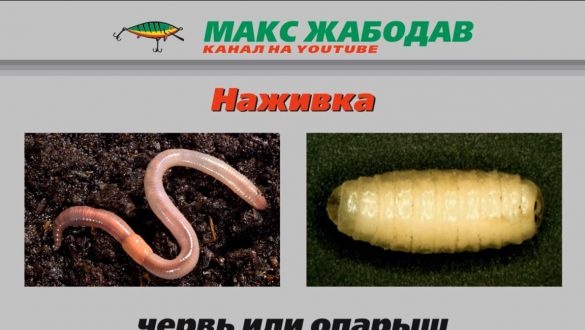
Together with the tees, a leash with a hook is installed on the pop-popper, and maggot, bloodworms, dough or the beloved worm are used as bait. When biting fish, the popper works like a float.
Advantages of catching floats:
- with the help of such tackle you can catch water lilies, nettles, in the windows among duckweed and other hard-to-reach areas in thickets;
- the pop-popper has a built-in weight, which makes it easy to throw tackle over long distances;
- you can easily catch such tackle on rivers with a moderate course;
- various fish pecks on such tackle, first of all, it is rudd, also bleak, scavengers, chub and many other fish.
The disadvantages of gear - they are not!
Materials and tools that the author needed to make a pop popper:
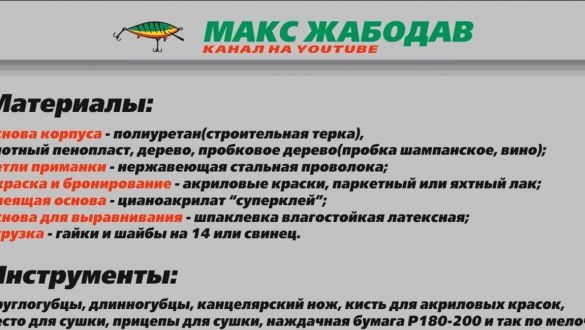
Material List:
- dense foam or other foam material (you can use wood);
- steel wire (preferably stainless) for the manufacture of loops;
- paint and varnish;
- Super glue;
- waterproof putty (or glue with sawdust / flour);
- lead, nuts or washers for loading.
Tool List:
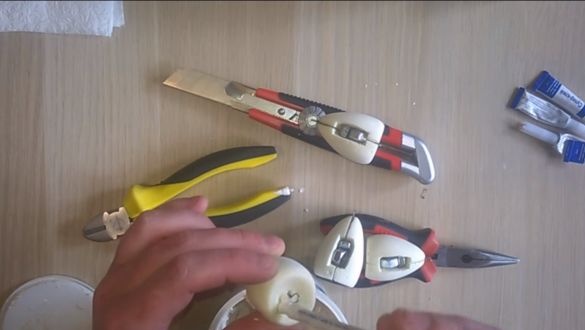
- pliers;
- long-nose pliers;
- stationery knife;
- brush;
- sandpaper and other little things.
Manufacturing process homemade:
Step one. Cut the main profile
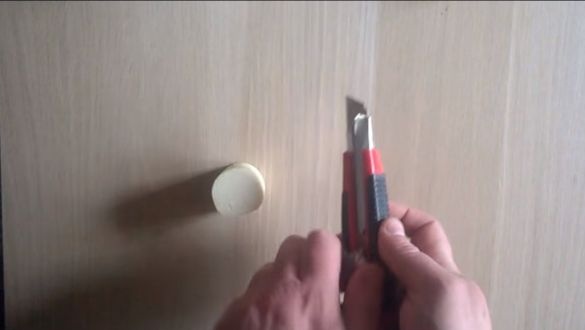
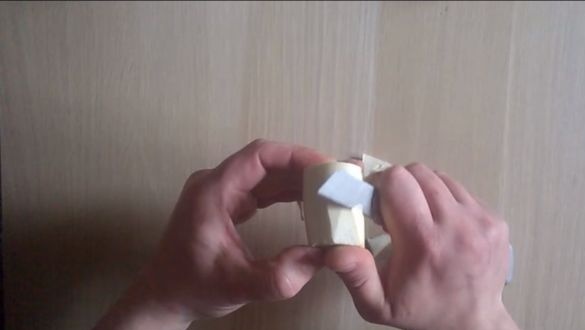
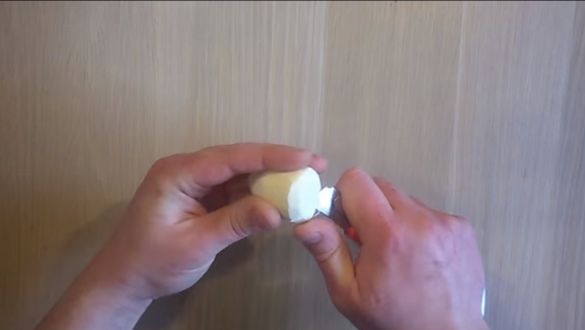
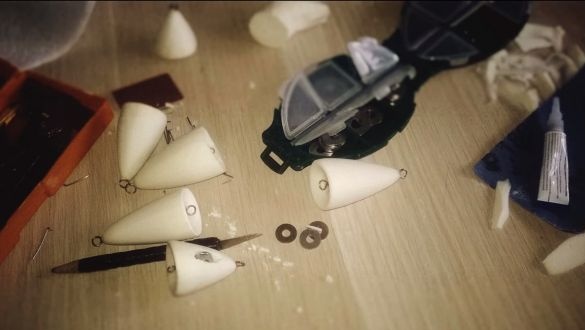
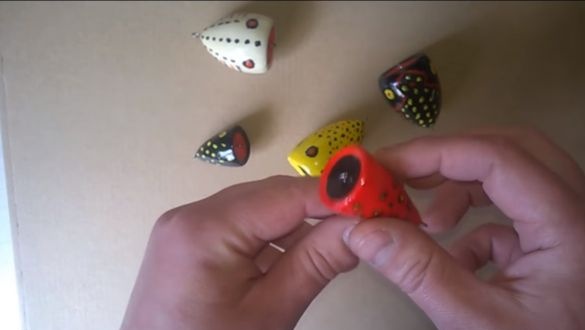
First of all, we need to roughly cut the main profile of the bait. In shape, it resembles a cone, that is, the front part is wider and the back is narrower. In the front part you need to cut a recess at the end. Due to this form, when squatting, “squelching” will be created on the water, which for a fish resembles the sound of feeding or something similar. We work at this stage with a knife if foam is used as the material.However, many types of soft wood can also be easily processed with a knife on wood. The advantage of wood is that this material is always and everywhere, and it is also durable.
Step Two Primary grinding
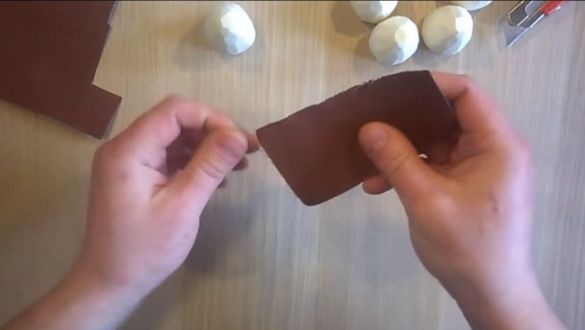
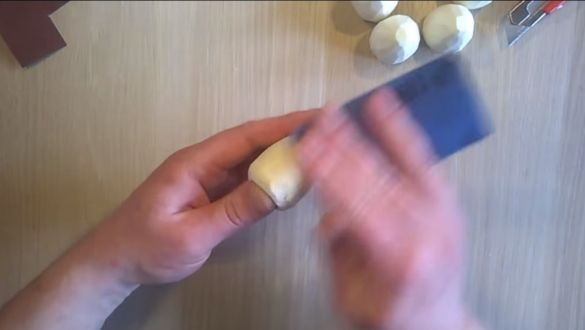
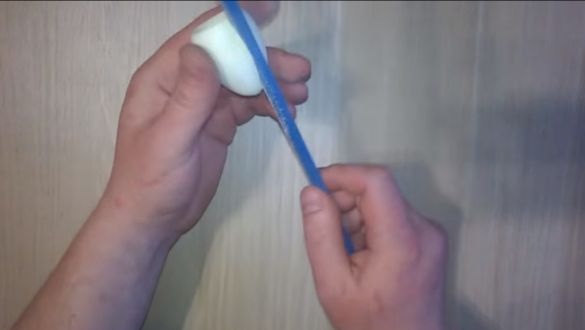
Next, take coarse sandpaper and use it to remove sharp edges and so on. By the way, this can also be done using the grinding wheel.
Step Three Grinding in a drill
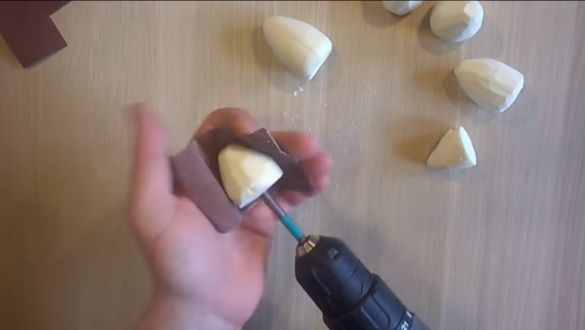
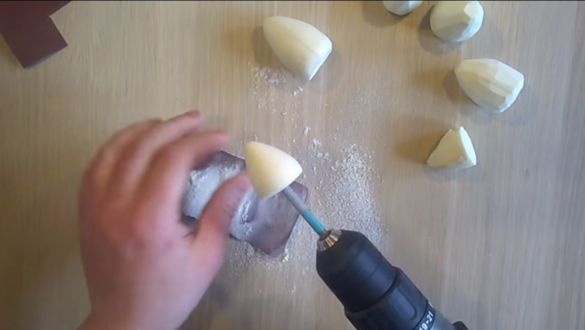
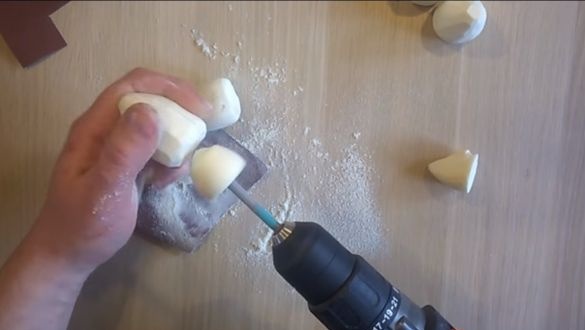
Now we start processing the product in a drill. Thanks to this, the part turns out to be symmetrical, smooth and quite high quality in general. Look for a screw, self-tapping screw, or something similar, on which you could fix the product. Well, then we clamp it into the drill chuck and get to work. As a working tool, the author used sandpaper.
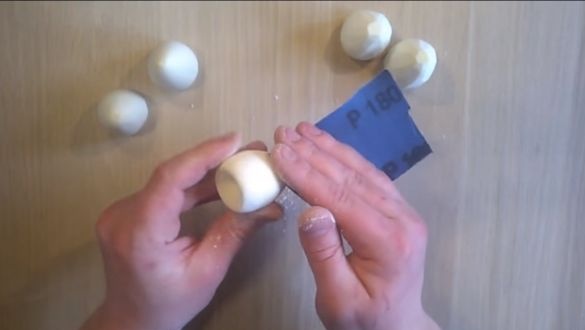
In the end, we go through the product manually using fine sandpaper to make it perfectly smooth.
Step Four Hinge installation
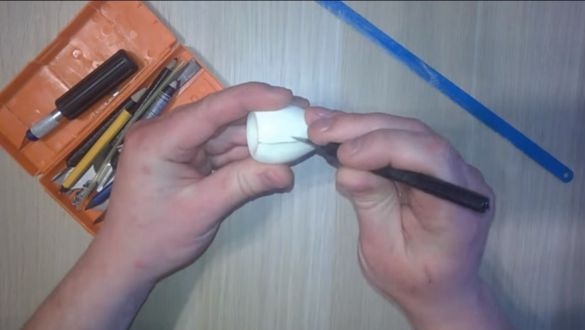
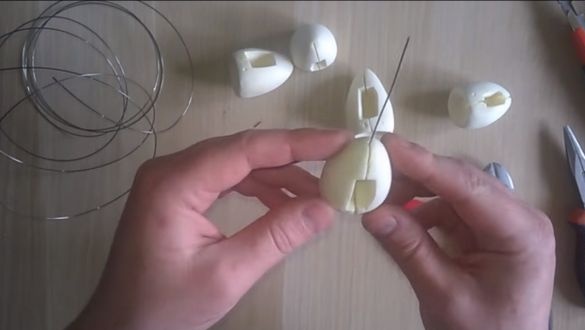
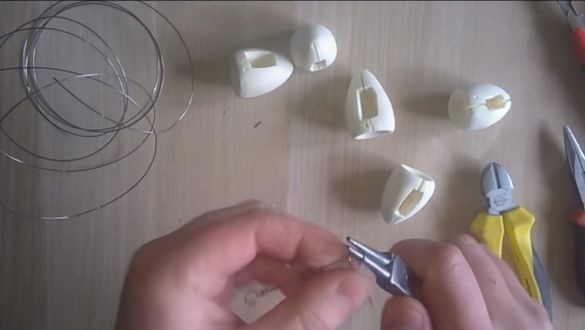
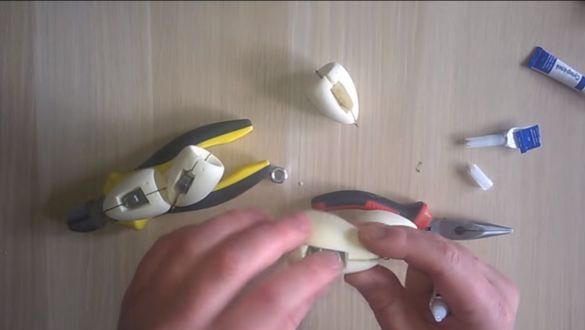
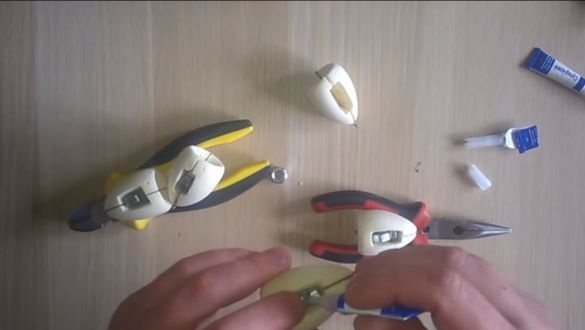
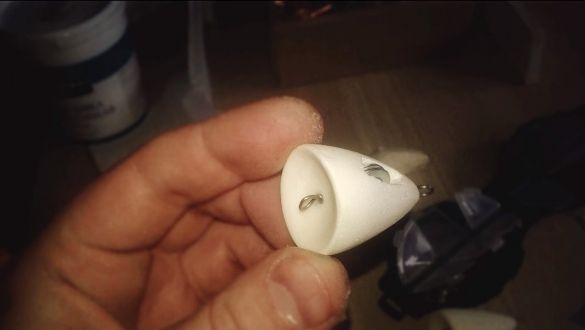
So that you can attach leashes to the popper and attach it to the main fishing line, we need to install the loops. For these purposes, stainless steel wire is best suited. You can use steel wire, just the hinges need to be painted. We take a piece of wire that is long and do it at the edges of the loop with the help of round-nose pliers. Next, to install this whole thing along the popper, make a cut and lay the wire.
Step Five Loading popper
To make it easy to throw tackle over long distances, it needs to be loaded. In addition, thanks to the weights, the popper will be slightly submerged, and make a croaking sound during wiring. Lead is suitable for loading, and if it was not found at hand, we use ordinary nuts, washers or a piece of bolt from which we cut off the head. In the belly of the bait, we make a cut for the weights and install them with superglue.
Step Six Putty
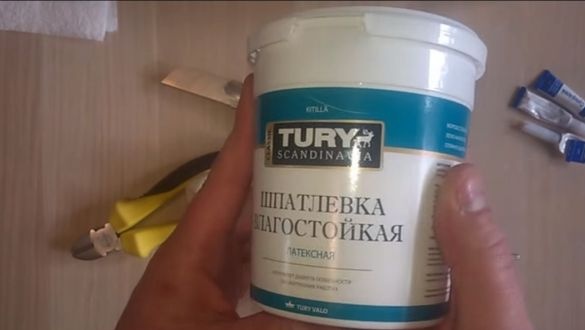
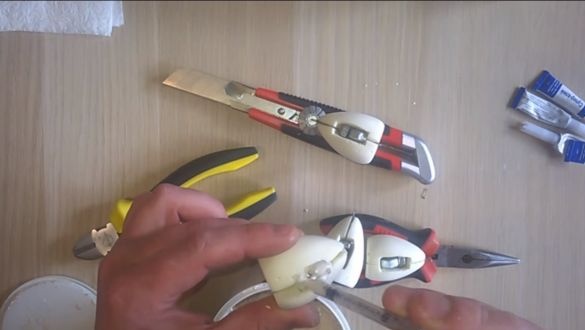
To mask the weights we need a water-resistant putty. You can also mix flour or fine sawdust with PVA glue and use a putty like putty. We cover up all the problem areas and let the putty dry.
Seventh step. Paintwork
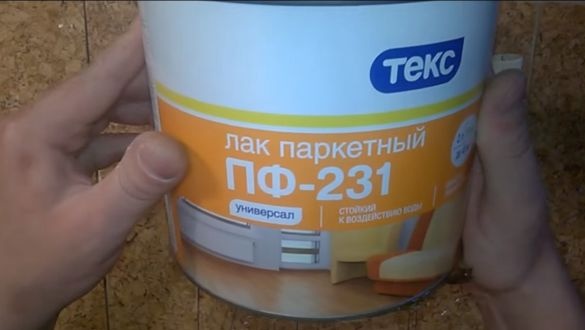
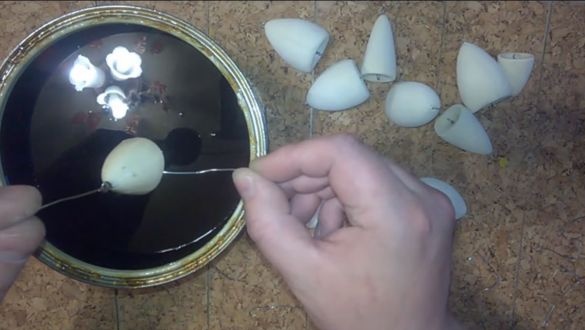
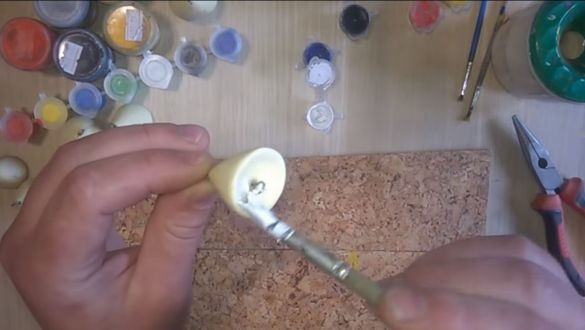
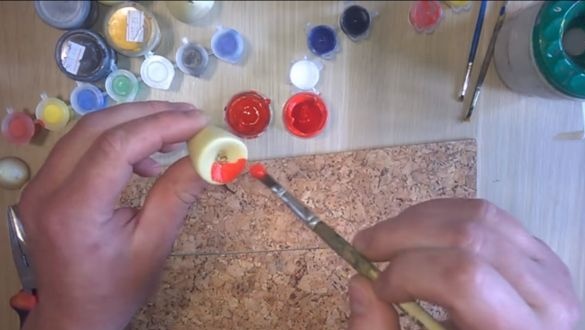
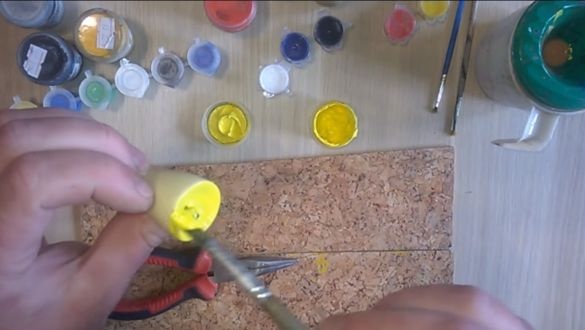
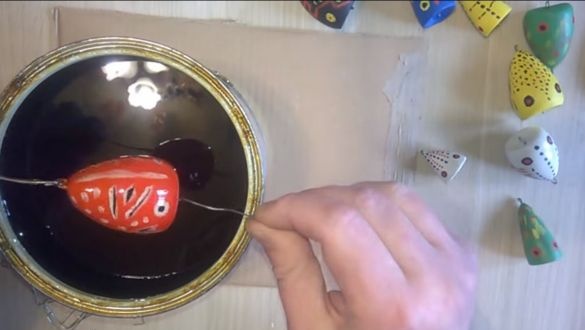
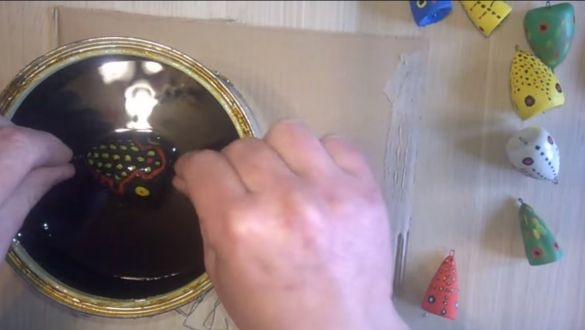
At this step, we need to color our poppers and varnish them. The varnish acts as a protection, it does not pass water, and also does not let the paint peel off. We take a popper and immerse in varnish, let it dry completely. Note that some types of varnish can corrode polystyrene, so it is better to test the varnish on the material first. Next, when the first layer dries, apply a drawing to it. We choose different colors so that you can easily distinguish gear by weight. Also experiment with carvings. You can try to portray a bug or a fish. For coloring, you can easily use markers.
Well, then again we dip the bait into the varnish and let it dry completely. That's all, now our pop-poppers are ready, you can start the tests.
Step Eight. How to fish?
Set the leash and hook on the popper according to its weight. As for the bait, white fish love animal baits best of all, it is maggot and ordinary worm. Some fishermen instead of a nozzle make a fly from a hook. Well, then we make a cast. The wiring should be sharp and short, it is easier to test yourself than to describe. It is important for you to ensure that the popper makes a croaking sound that attracts fish a lot. Well, then after each posting we follow the popper, when biting it will twitch like a float.
That's all, I hope you liked the project, and you found something new for yourself. Good luck and creative inspiration in the manufacture. Do not forget to tell if you managed to catch something in this way.

