Greetings to the fishermen, in this instruction we will consider a method of making a very unique tackle - homemade. These small animals are very popular food for many predators and not only. Mice willingly attack pike, and often from such hunters come across trophy specimens. A large chub, asp, and other rather large predator also hunt.
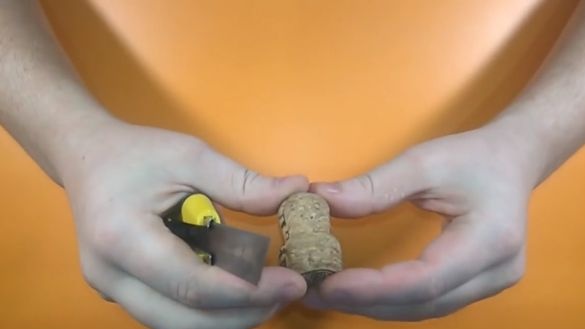
Of course, we will not catch live, we don’t need it, because we can do it do it yourself any number of mice that do not need to be fed. Wine corks, which have a narrow and wide part, can be used as material for the manufacture. Using them, it’s very easy to shape the shape of the mouse’s body, which is narrow in front and wide in back. Everything is done quite simply, you need few tools, and the tackle is interesting and catchy. Frogs, which are also actively attacked by fish, can be made on the same principle. In principle, you can simply paint the bait green, in appearance it also looks like a frog, like a mouse. So, we begin to manufacture.
Materials and tools used by the author:
Material List:
- wine cork;
- stainless wire;
- two tees and rings;
- lead for loading;
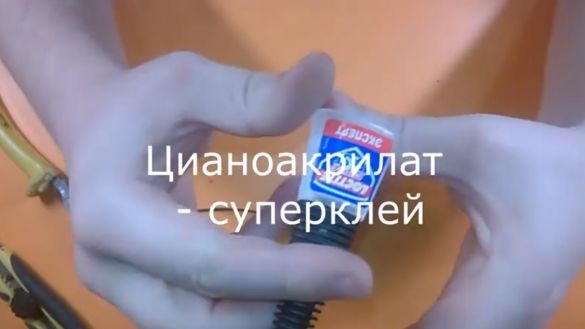
- Super glue;
- lace (for a ponytail);
- paint, varnish (or nail polish).
Tool List:
- stationery knife;
- sandpaper;
- pliers;
- nippers;
- scissors.
Manufacturing process homemade:
Step one. Cut the main profile
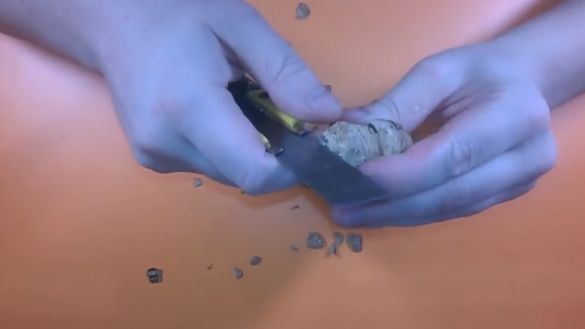
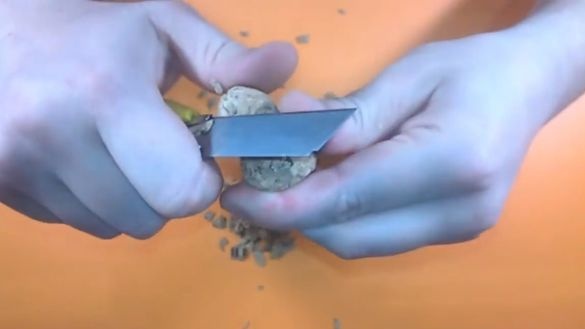
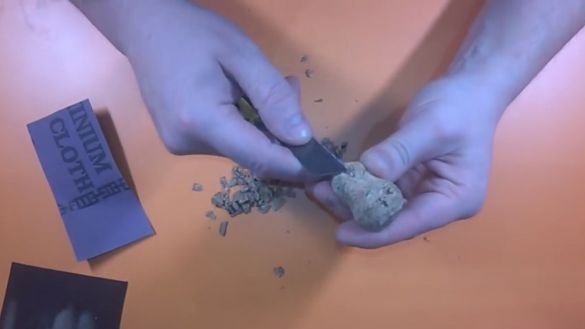
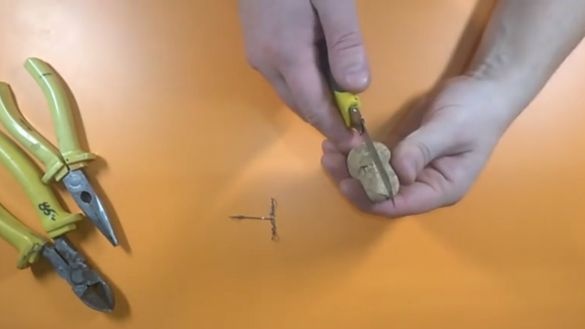
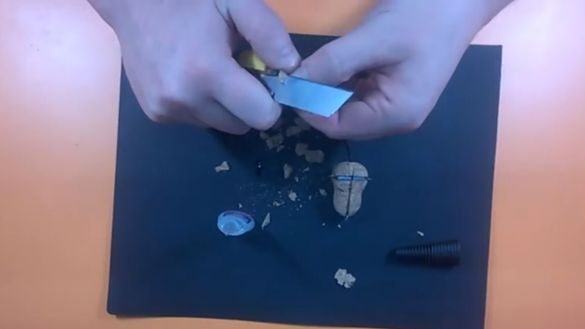
First, we’ll cut out the main profile of the bait, it’s important for us to imitate the shape of the mouse’s body. If you ever saw a mouse, you probably noticed that its front part is narrow, and the back is wider due to paws. Of course, the breeds of mice are different and ordinary terrestrial mice often do not know how to swim. Therefore, we would like to repeat the shape of the water mouse. Our cork already has a similar shape, we only need to finish it. We arm ourselves with a clerical knife and just cut off the excess. We work with the knife carefully, as the material is quite strong, and the knife is very sharp!
Do not forget to cut out something like ears at the bait, however, it is unlikely that a predator will look at it. The stomach of the mouse is a little flat.
Step Two Grinding
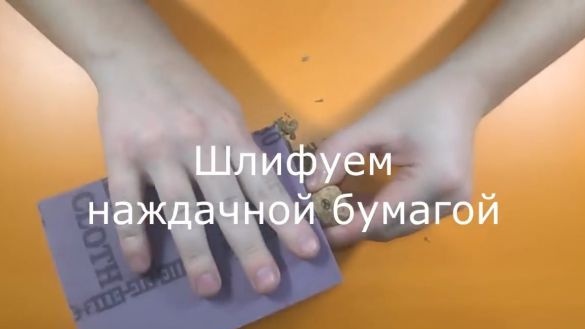
When the profile is cut, we proceed to grinding, this procedure is needed in order to grind rough edges and so on. The sandpaper is large.It is convenient to work on a small sharpener, if you have one. Actually, that’s all, with the gear profile at these steps we have to finish. It remains only to establish the hooks, loops and paint the mouse.
Step Three Install the frame
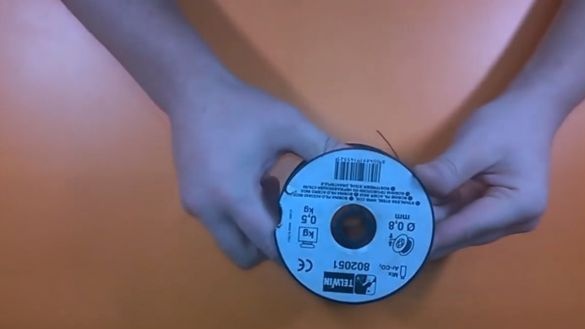
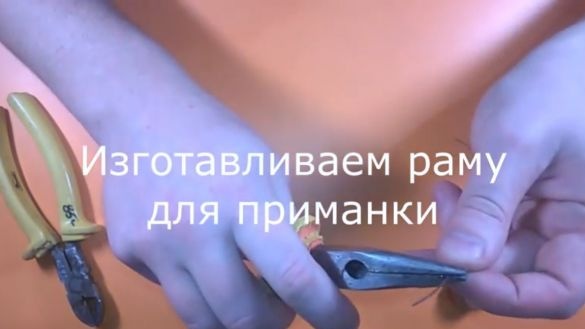
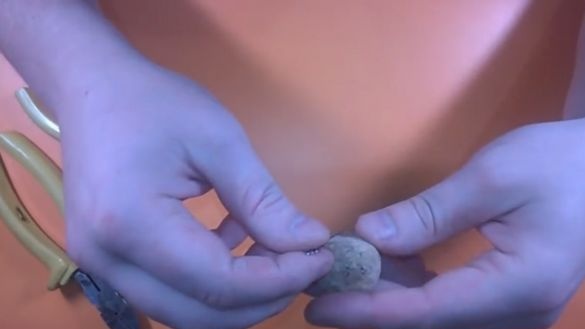
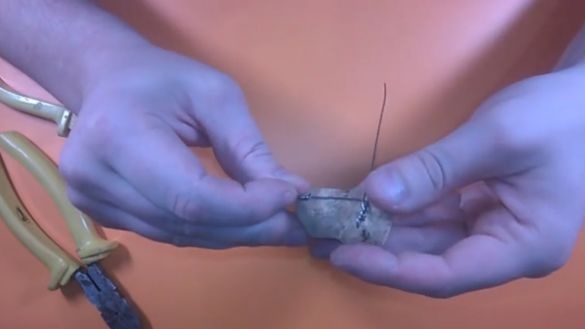
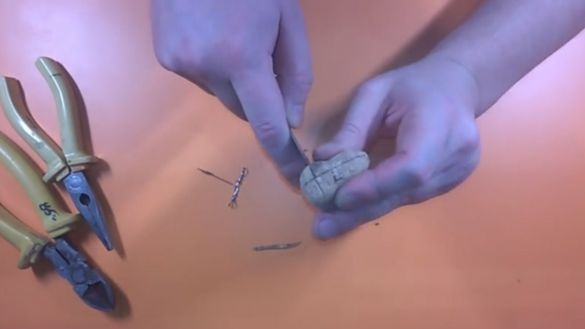
The frame is a kind of skeleton to which hooks are attached, and the main fishing line is also tied. Hooks here are located in the back of the sides, they imitate the paws. In addition, the location of the hooks is quite good for a good fish hook. The skeleton has the shape of the letter "T", we make it from steel, preferably stainless wire. However, you can use copper wire, but keep in mind that it is not so strong. The skeleton is solid, first we form a loop to which the fishing line is attached, and then one of the side ones for the hook, and then in the same way we make the third loop.
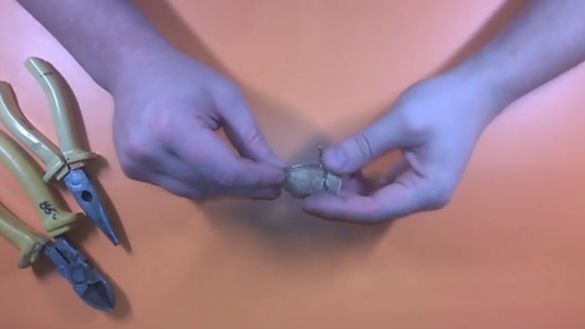
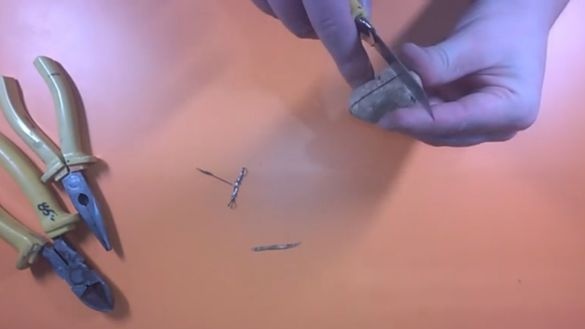
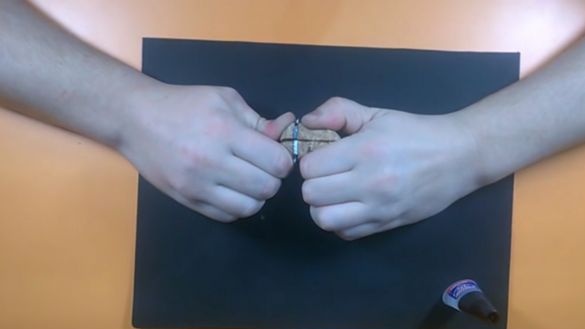
To install the skeleton inside the mouse, we cut it first along, cut the gap with the help of a clerical knife. This is best done by holding the workpiece in a vise, as there is a high probability that you will cut yourself if the knife comes off. First we make a longitudinal section, and then a transverse one. Do not throw out the cut parts, we will need them in the future. That's all, now carefully push the skeleton inward.
Step Four Loading and tail
The tail is a very important part of the bait, because it is thanks to it that the bait seems like a mouse, if you look at it from the depths. To make a ponytail, cut a suitable length of lace. Make a slit in the back for the tail and push its end in there.
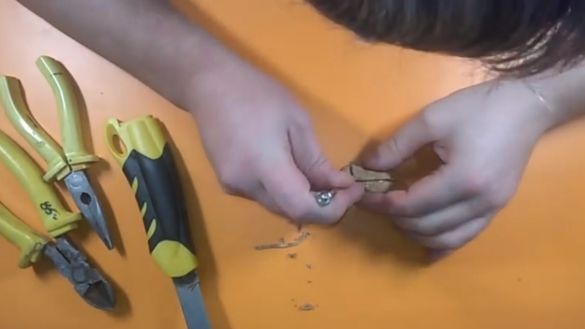
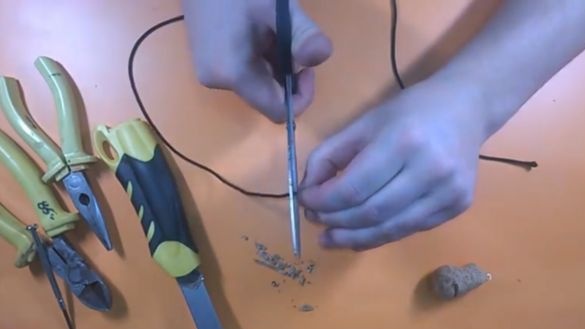
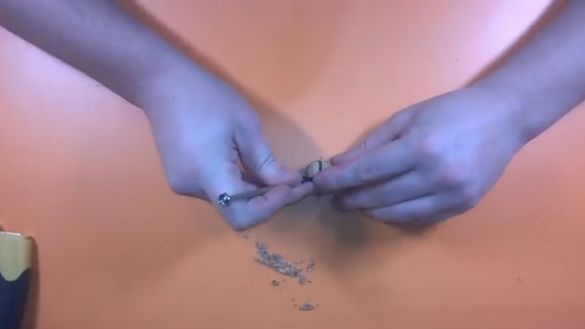
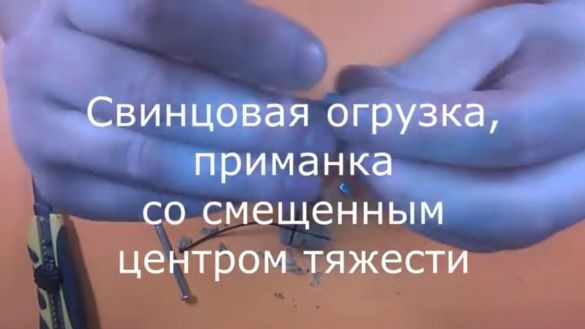
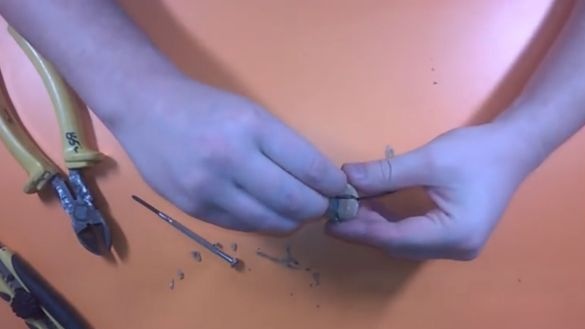
As for the weights, we will need them for easy casting of gear, as well as for the proper play of the bait. If you look at how the mice swim, then their back is a little submerged in water, and the front looks up. Similarly, we need to load the bait. Cut off the necessary pieces of lead and install in the transverse slots in the back. Instead of lead, you can use washers, metal plates, or something similar.
Now we need to fix this whole thing, for these purposes the author uses superglue. Thoroughly fill them with all our slots. And in order to keep everything better, we cut off and install in the cracks the very pieces that were cut from here. In the end, fill everything with glue and squeeze for a while.
Step Five Painting
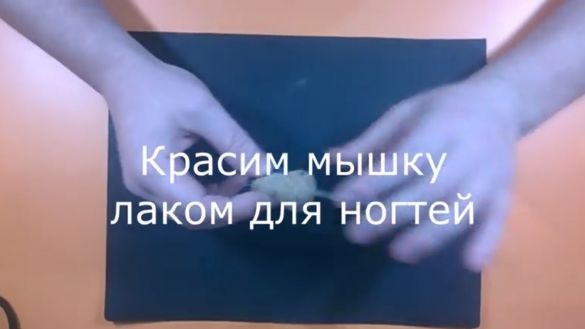
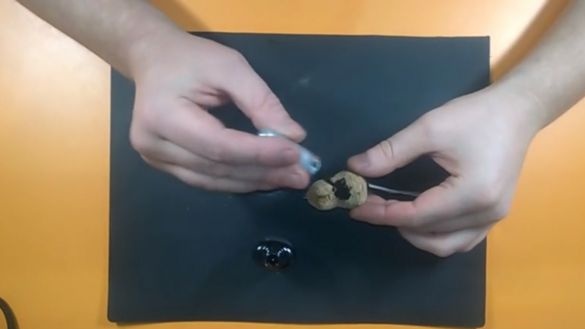
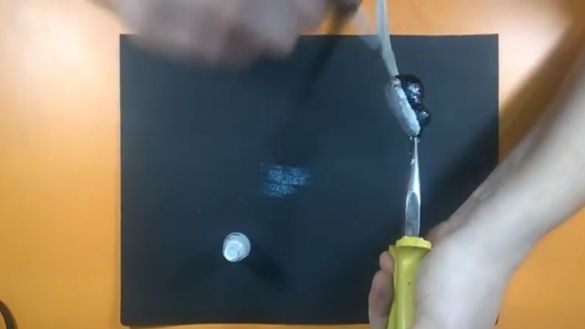
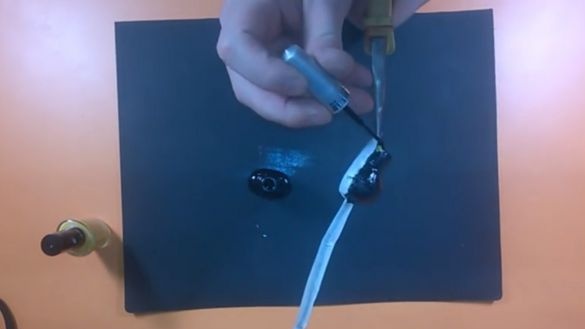
You can start painting. The abdomen of mice is often light, and the back is dark. For coloring, the author used nail polish. In principle, a cork cannot absorb water, but it’s best to completely dip the bait in varnish after painting. Be sure to draw the eyes of the bait, this is one of the main identifiers by which a predator recognizes a prey, as many fishermen believe.
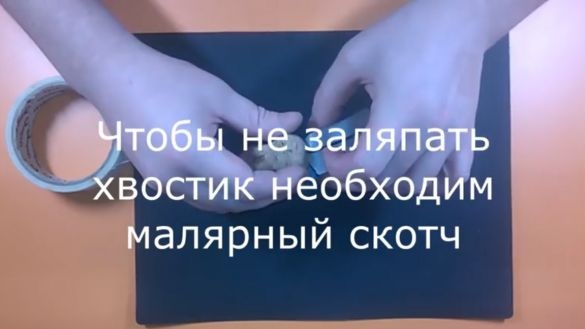
Before painting, the tail of the mouse is recommended to be wrapped with masking tape, so as not to accidentally paint over, but this is unlikely when using the brush.
Step Six Hook installation
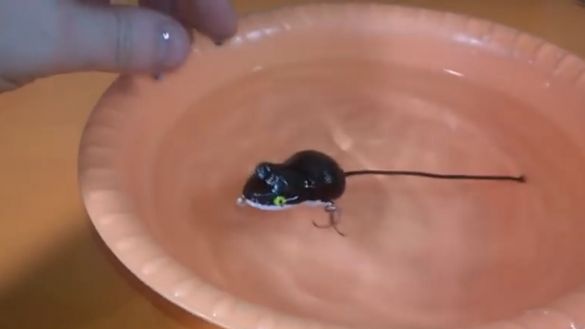
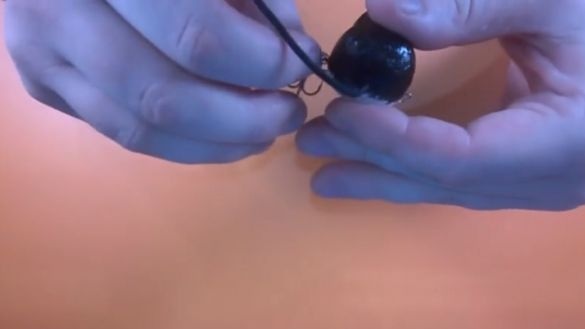
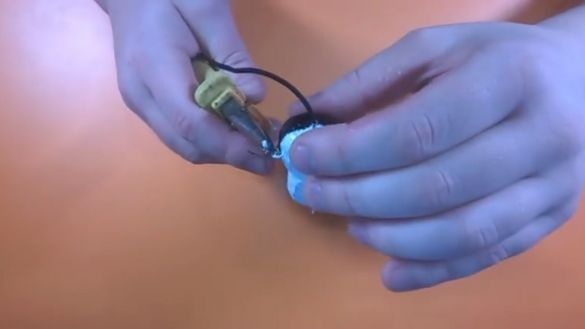
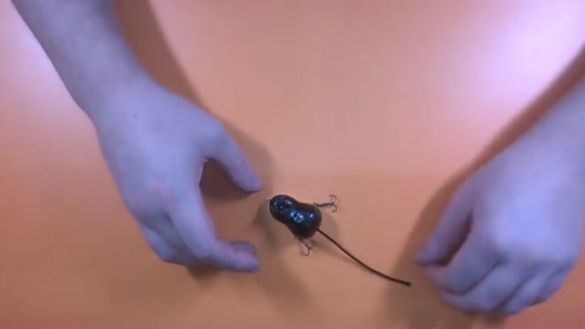
Our mouse is ready! Now set the hooks. Then doubles are suitable, and better tees for a more probable hook. For fastening hooks, you can use the clockwork rings, they are easy to use and reliable. But the author took the usual rings and bent them with pliers. This is not very reliable, as the hook can come off under heavy load. That's all, the tackle is ready, you can try it!
The most important thing when catching on such a mouse is the wiring. To understand how to behave the bait, you need to again look at how the mice behave. They do not swim fast, waves disperse around them, and they also tend to stop. Similar behavior must be achieved from the bait to us.
That's all, successful fishing, do not forget to share your impressions and results, if you decide to repeat such a bait! I hope you enjoyed the project, and you found something new for yourself. Good luck and creative inspiration in the manufacture!

