
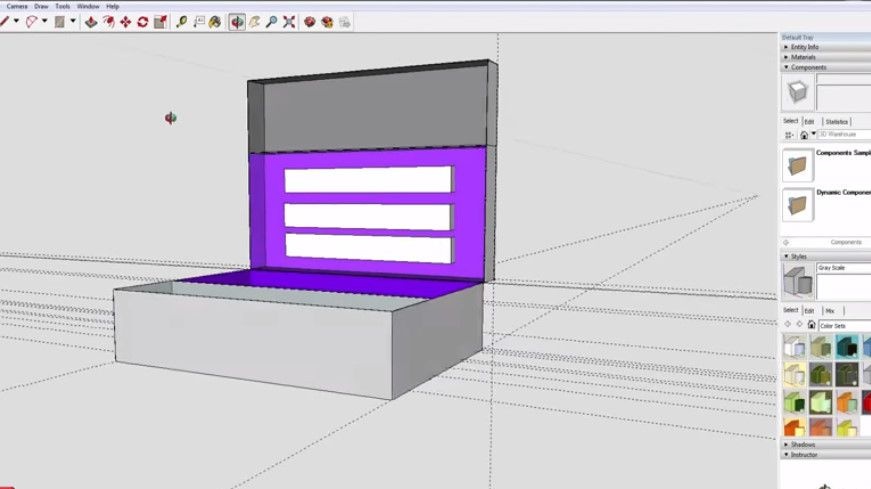
Like all serious Alpha Mods projects, at first it ponders the idea well, and often models it.
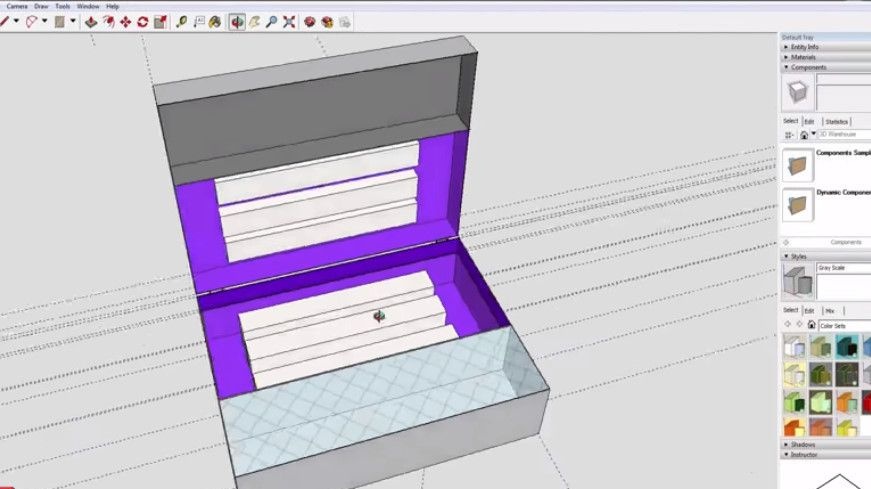
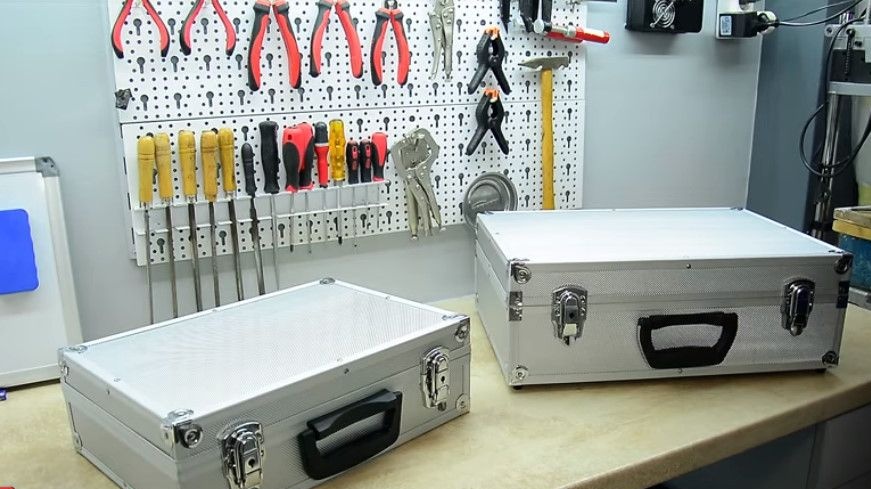
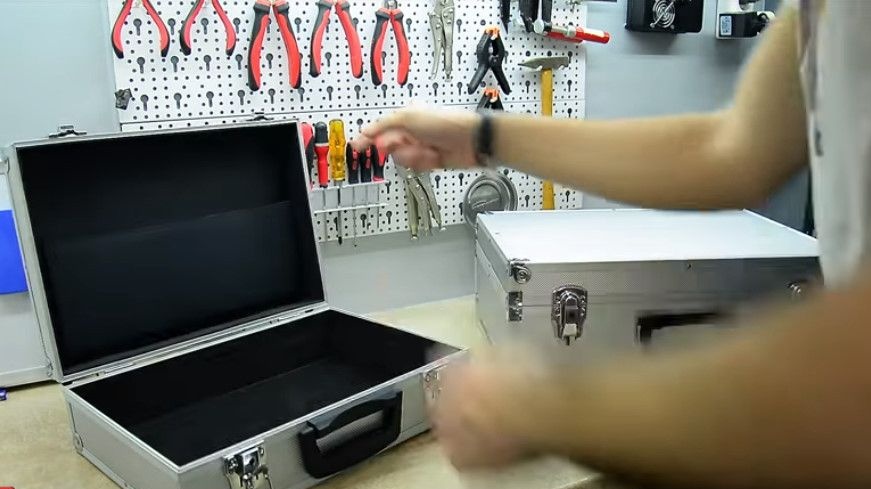
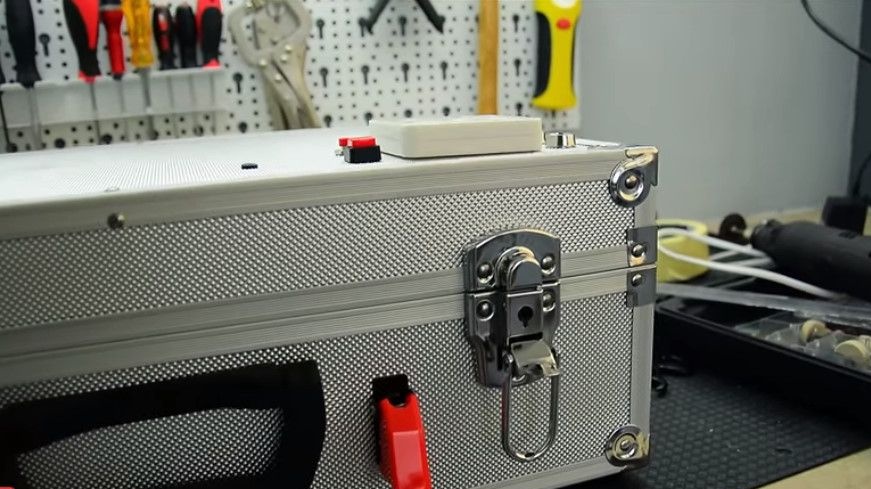
For today's project, Alpha Mods decided to use a metal case, a briefcase.
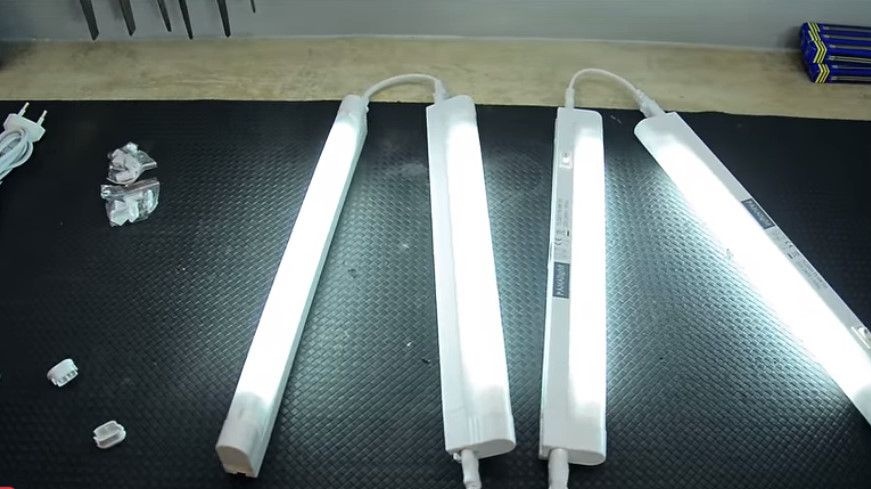
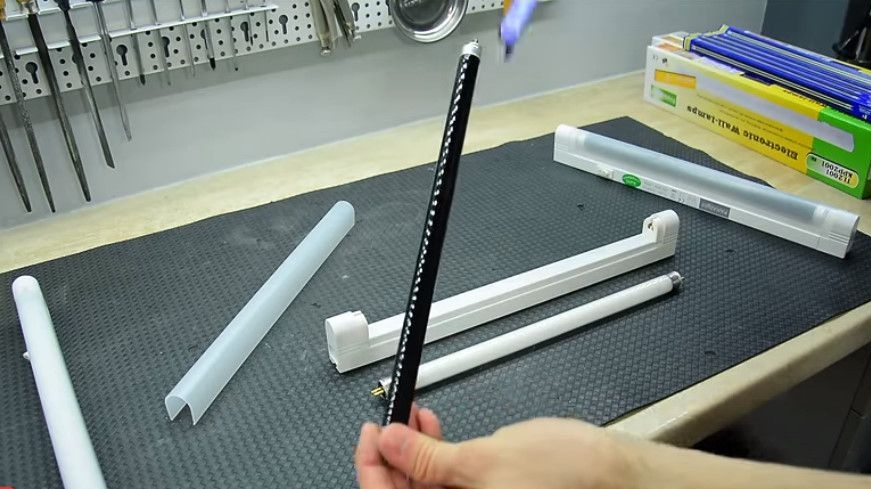
He also purchased electronic start gas lamps.
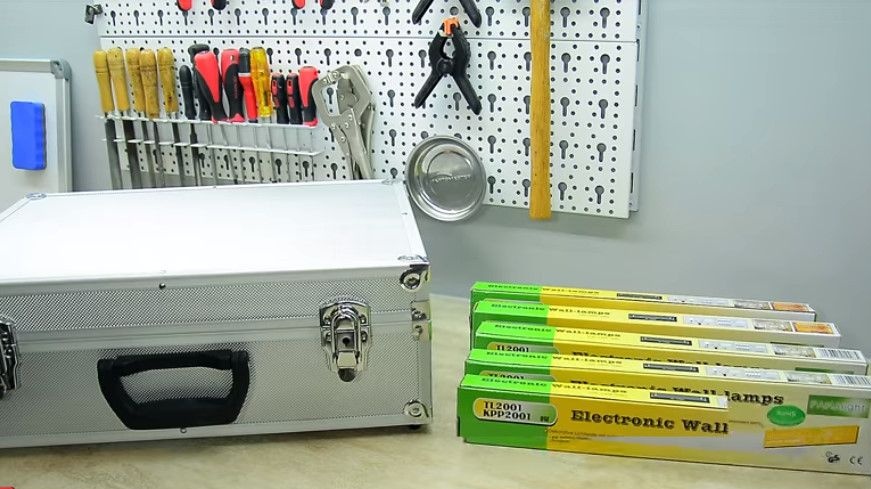
and ultraviolet UV lamps.
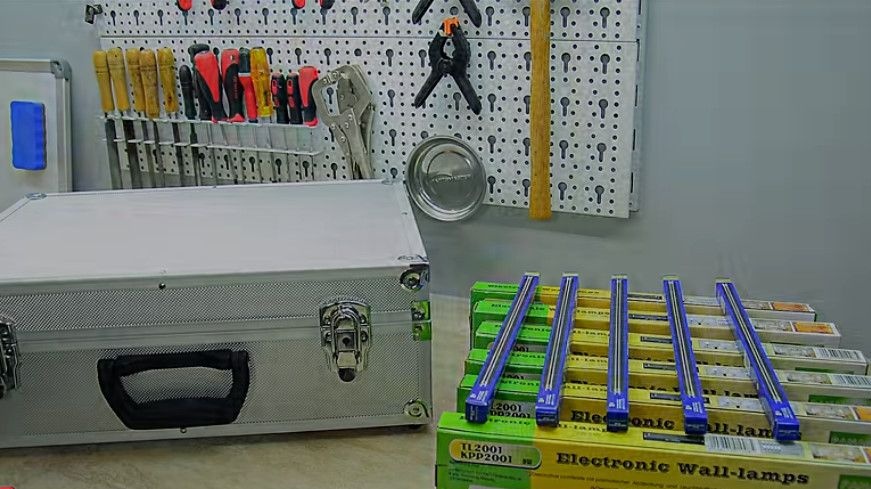
The peculiarity of these lamps is that they are connected in series, and are turned on independently of the circuit.

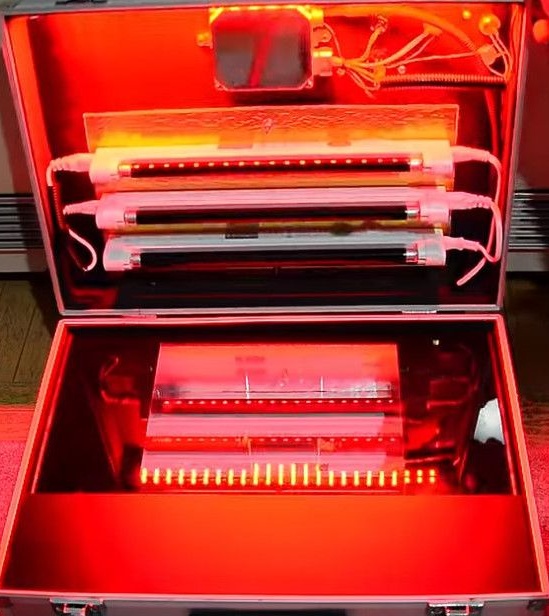
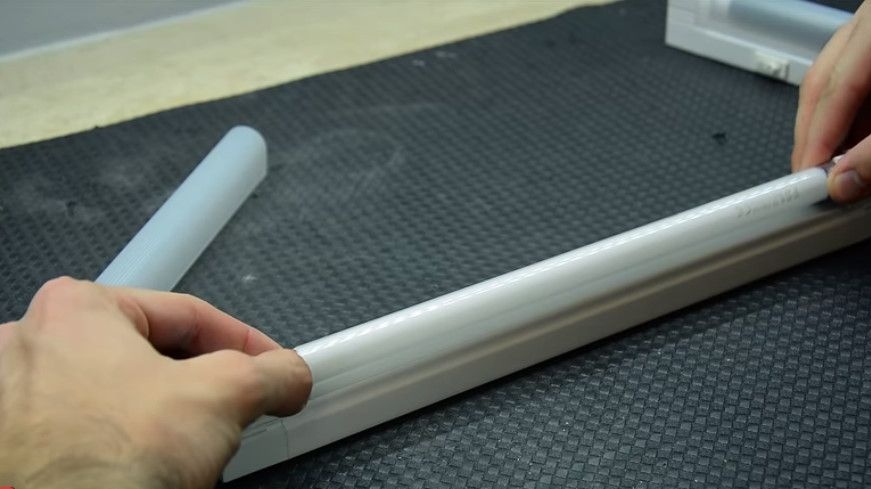
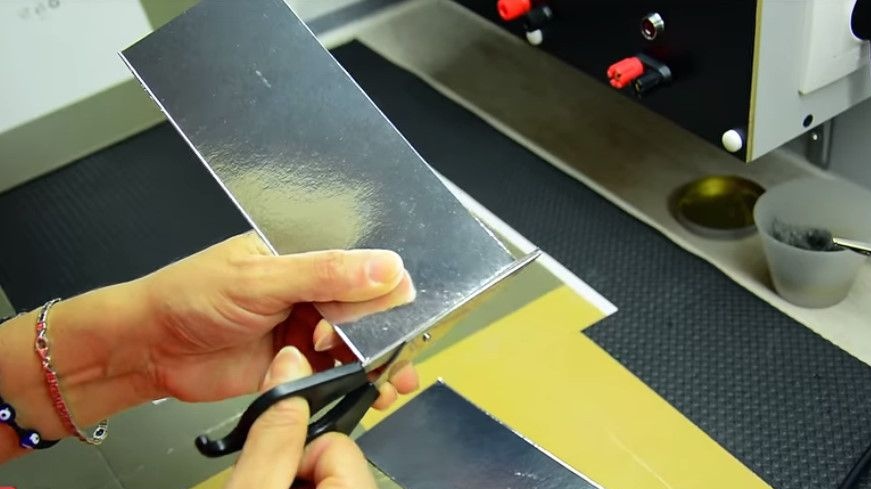
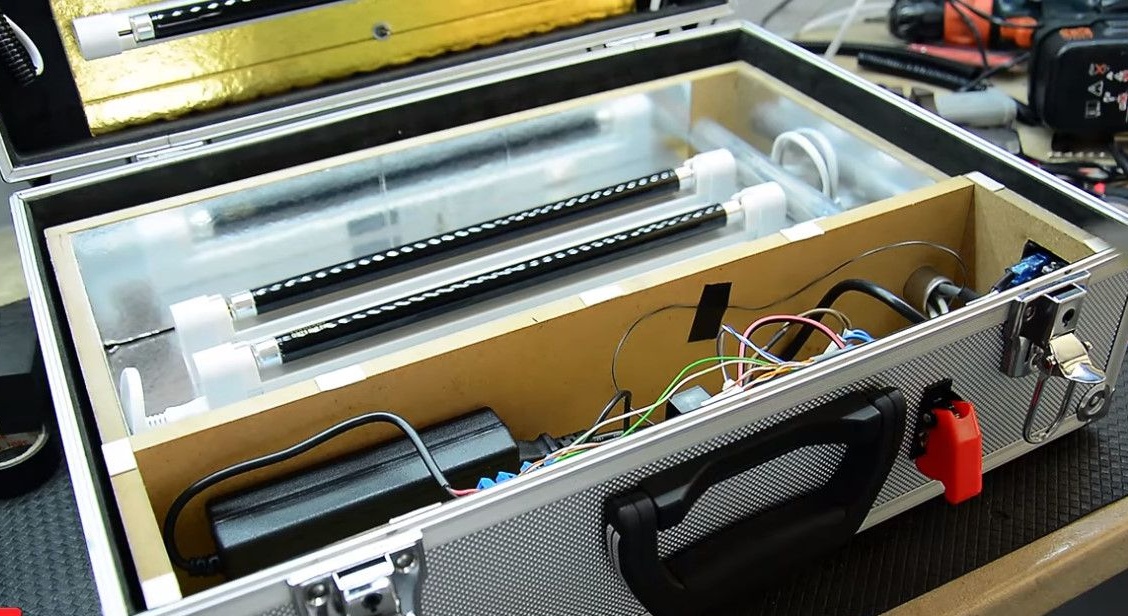
We turn to the lamps themselves. Their light is scattered, and Alpha Mods uses a mother’s cake tray as a reflector.
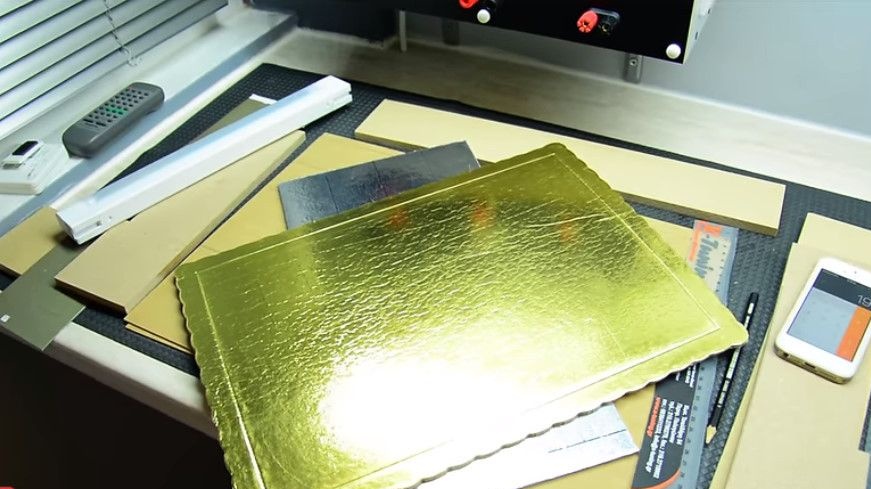
Cut the reflector to the right size,

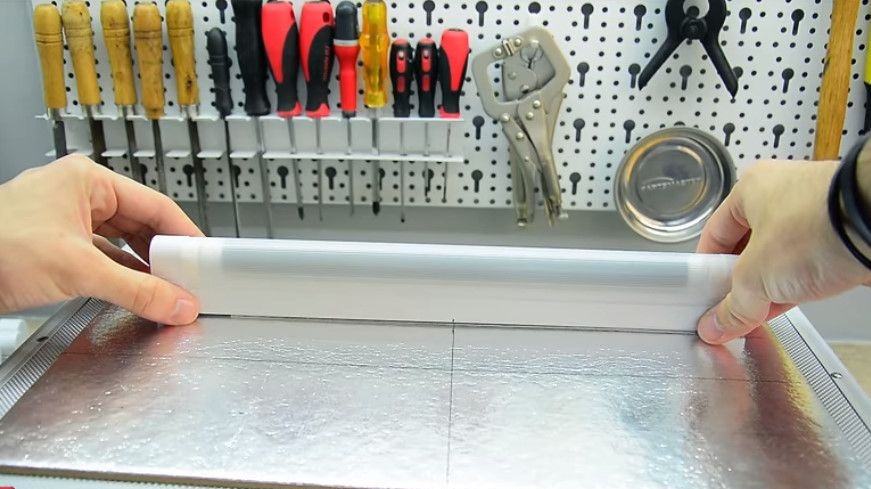
and the lamp is fixed directly to the reflector using double-sided tape.

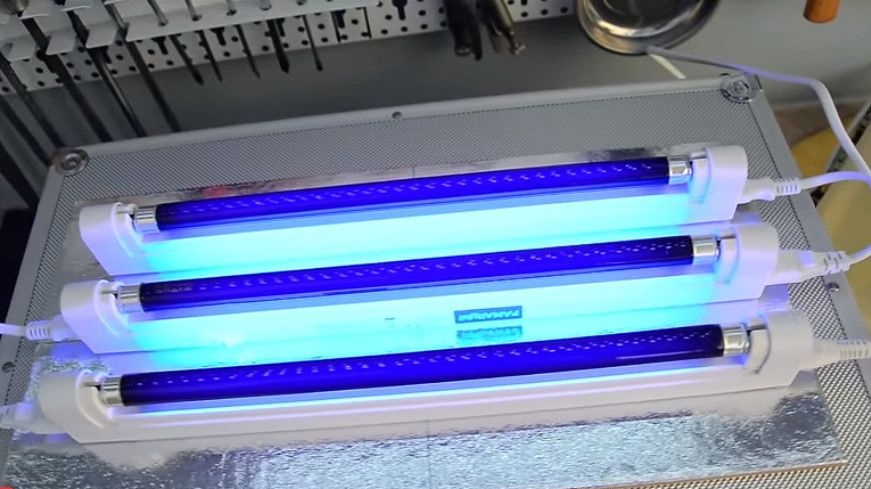
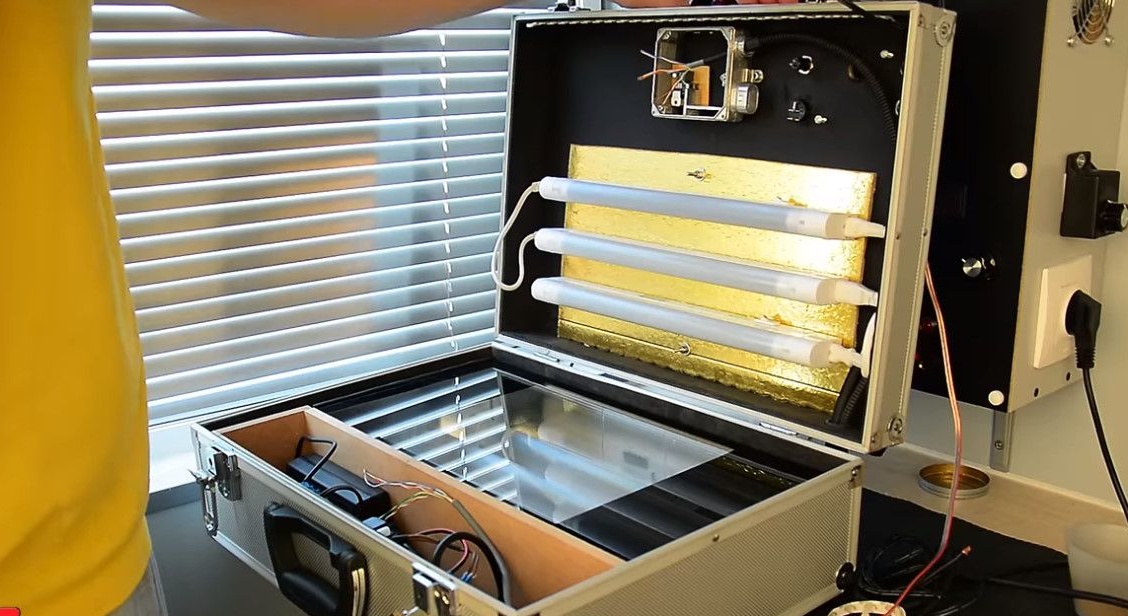
Alpha Mods decided to make the project beautiful
so that there will be not only a lot of lamps, but also they will be located both above and below. That is, if you want, you can immediately burn the bilateral board.
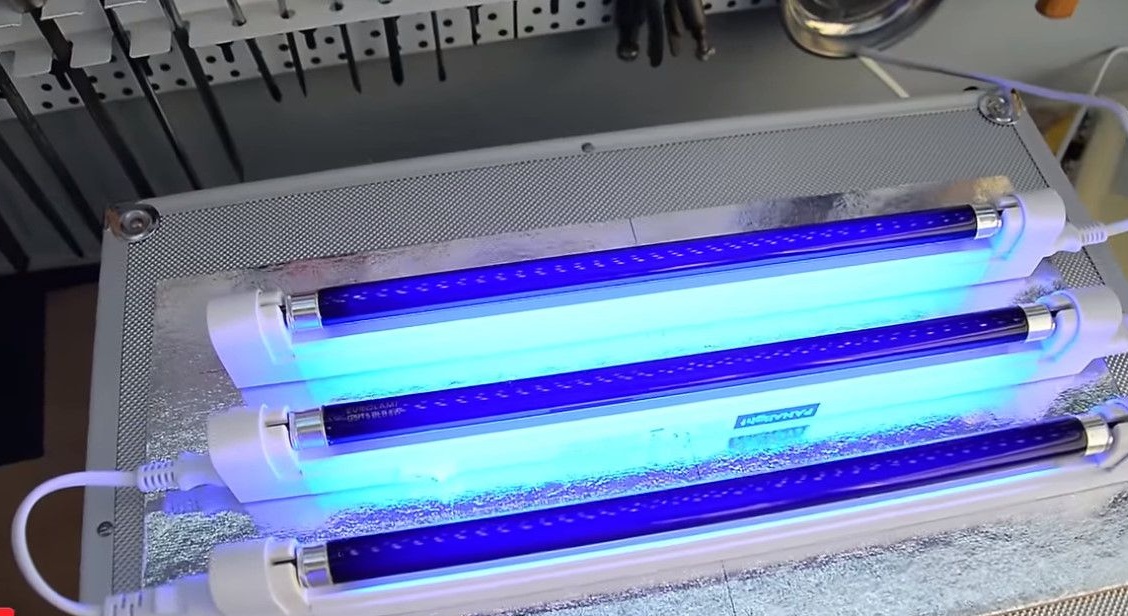
And now how will it all work. A photoresist needs a 360 nm light wave.

In practice, this is ultraviolet.
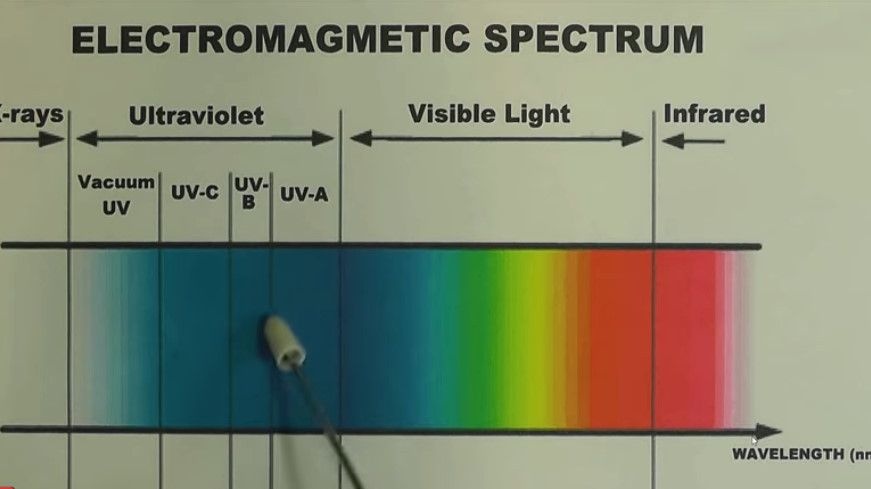
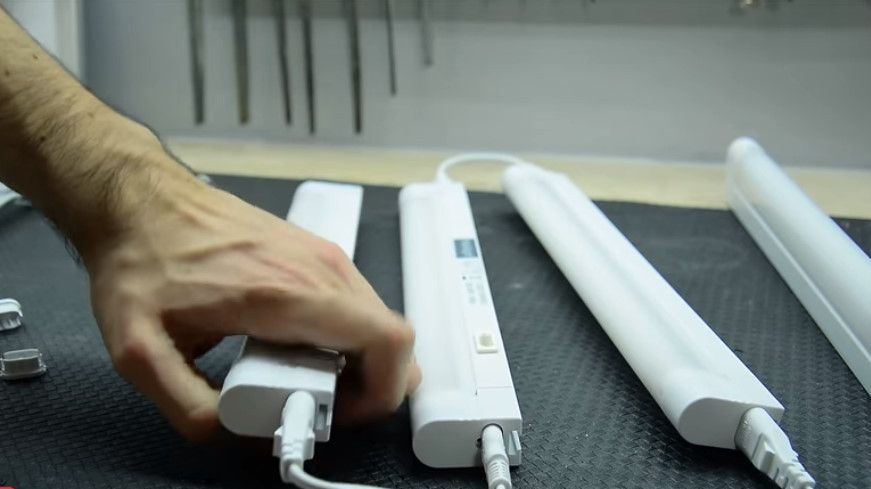
Therefore, he chose UV lamps. Only they must first be installed.
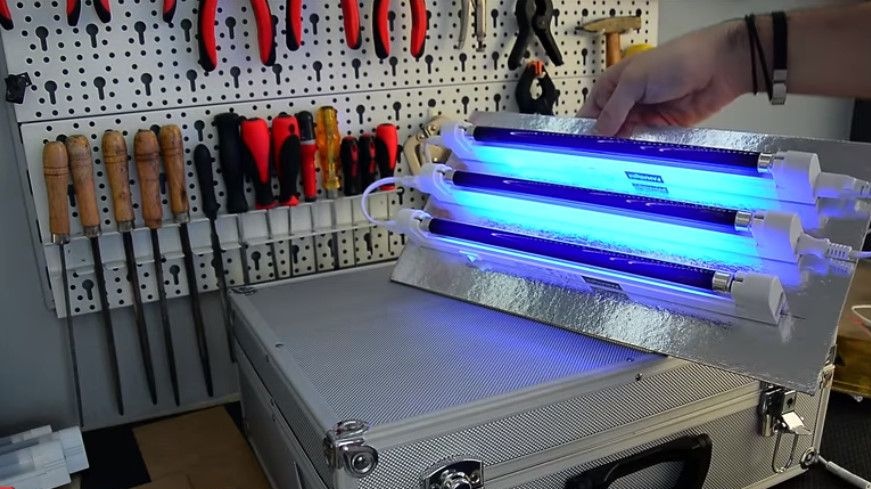
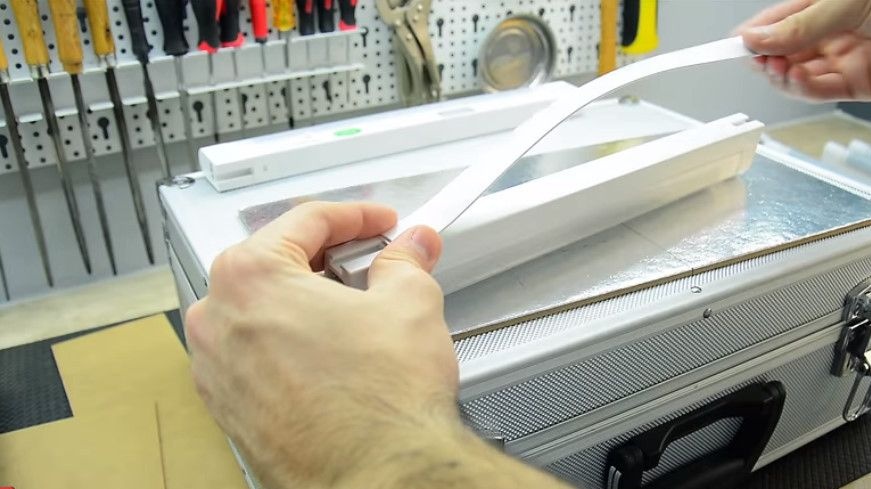
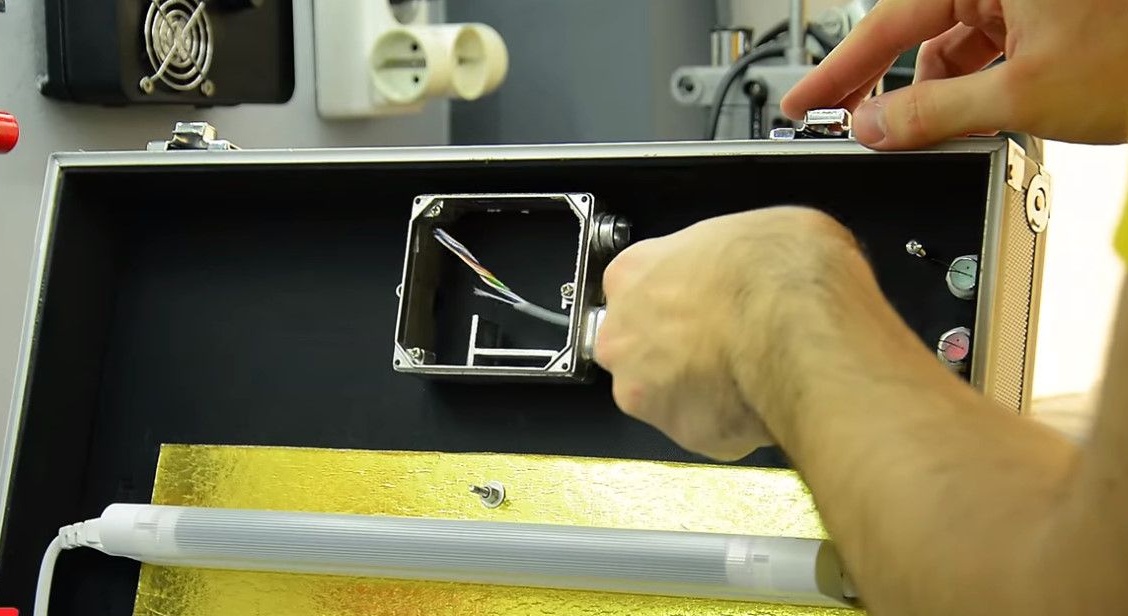
After all, in the lamps there were originally simple bulbs of warm glow. Alpha Mods replaces them with black light bulbs.
Nothing complicated there. The old lamp turns and is pulled out a little, and a new one falls into its place.
Everything is ready, includes and in the workshop Alpha Mods you can arrange dancing.
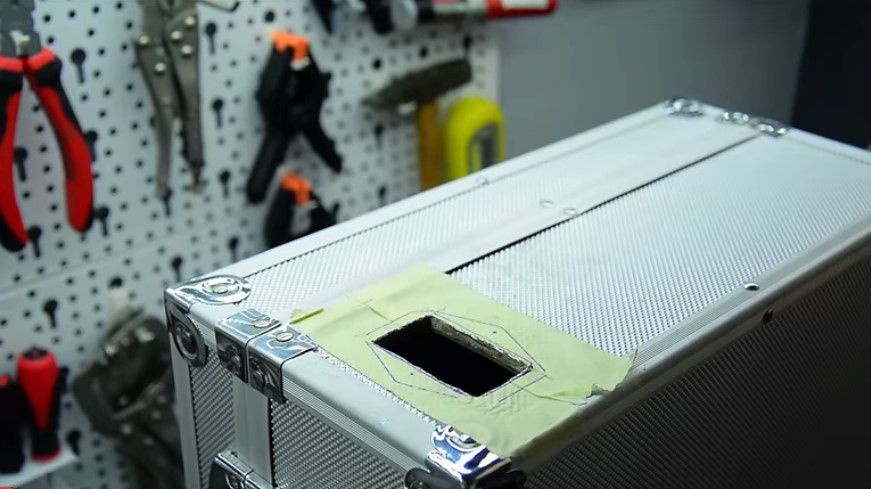
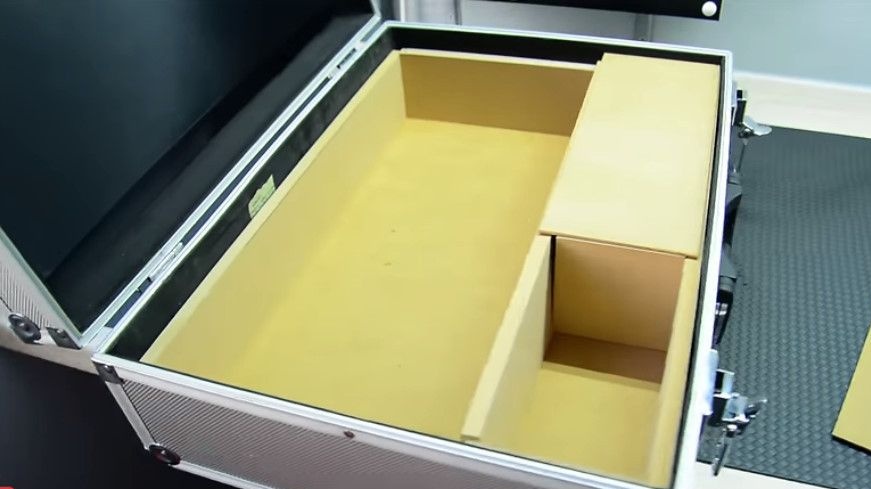
So, the case was intended for him ... it doesn’t matter what it is intended for. There is a pocket that Alpha Mods doesn’t.
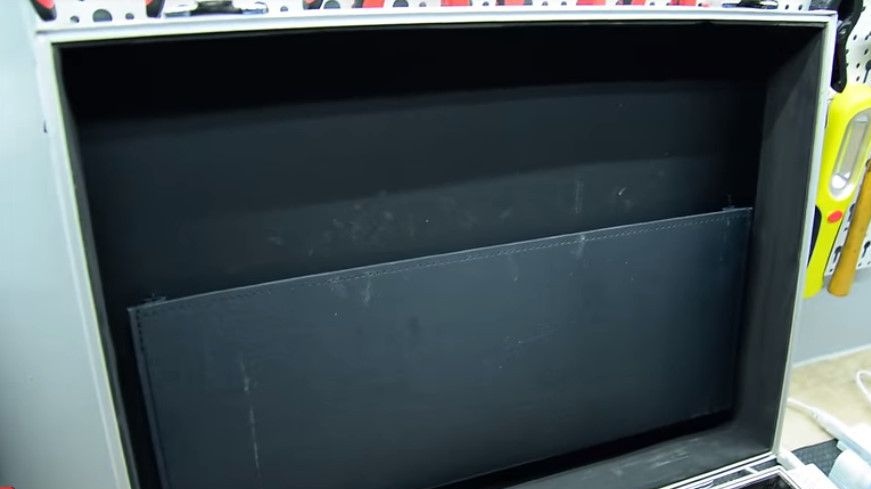
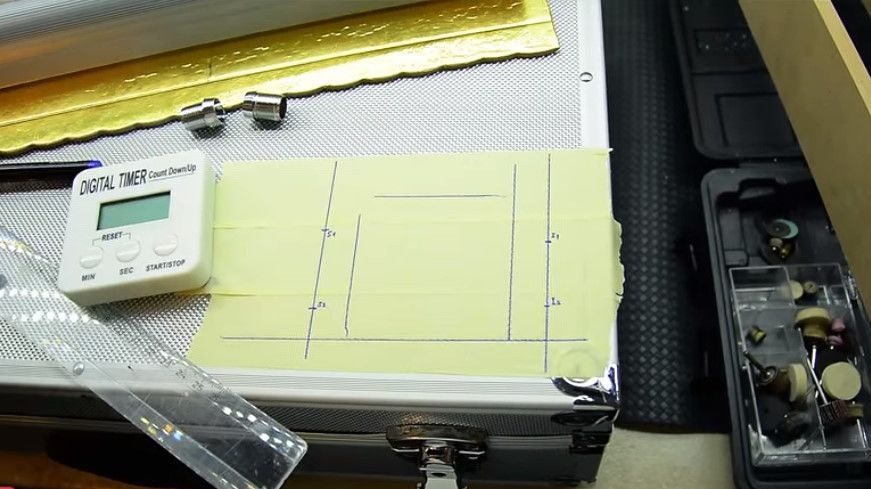
He cuts a pocket, and at the same time measures all distances and orders partitions from MDF.

The process is long, so Alpha Mods will talk about electronic part.
On board will be the simplest digital timer for a couple of bucks.
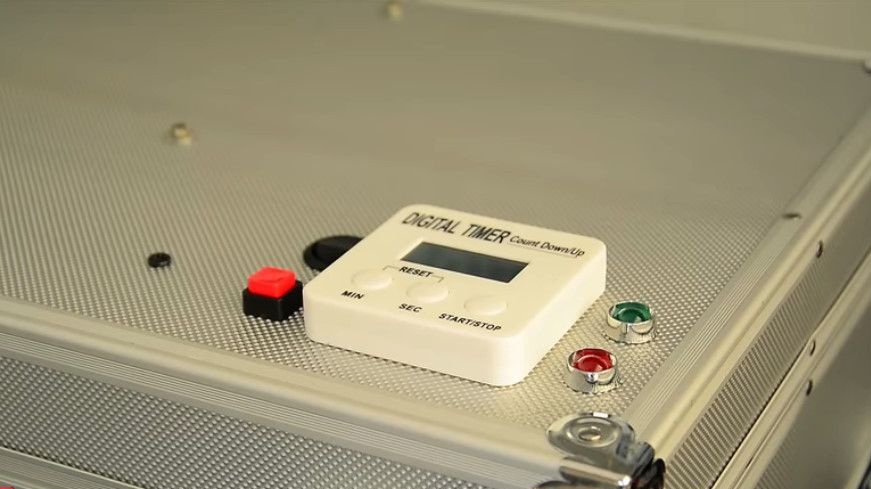
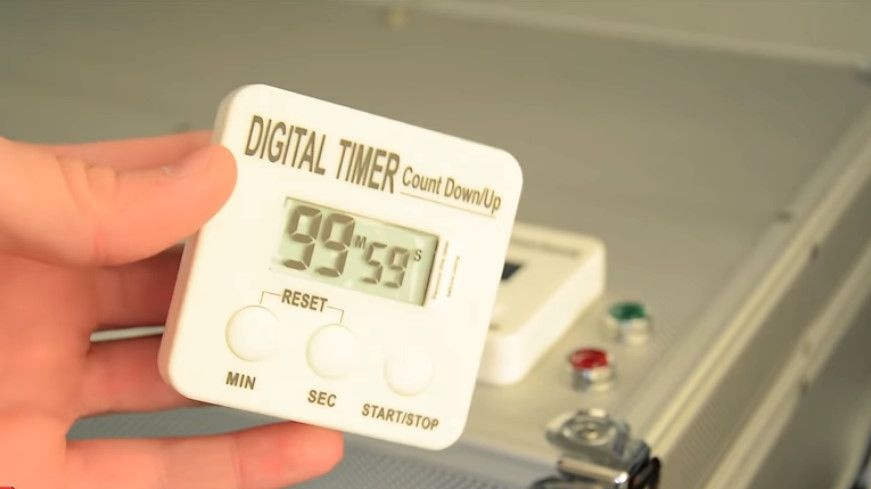
Alpha Mods need it so that the lamps turn off after a lapse of time.
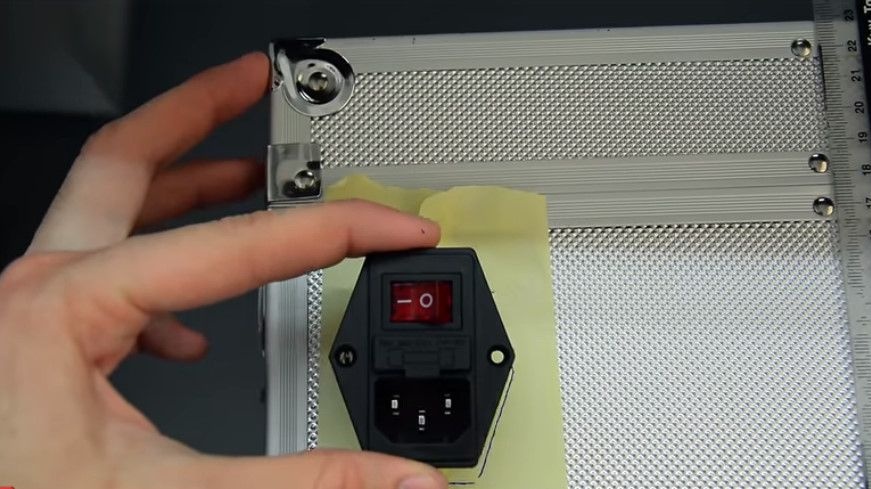
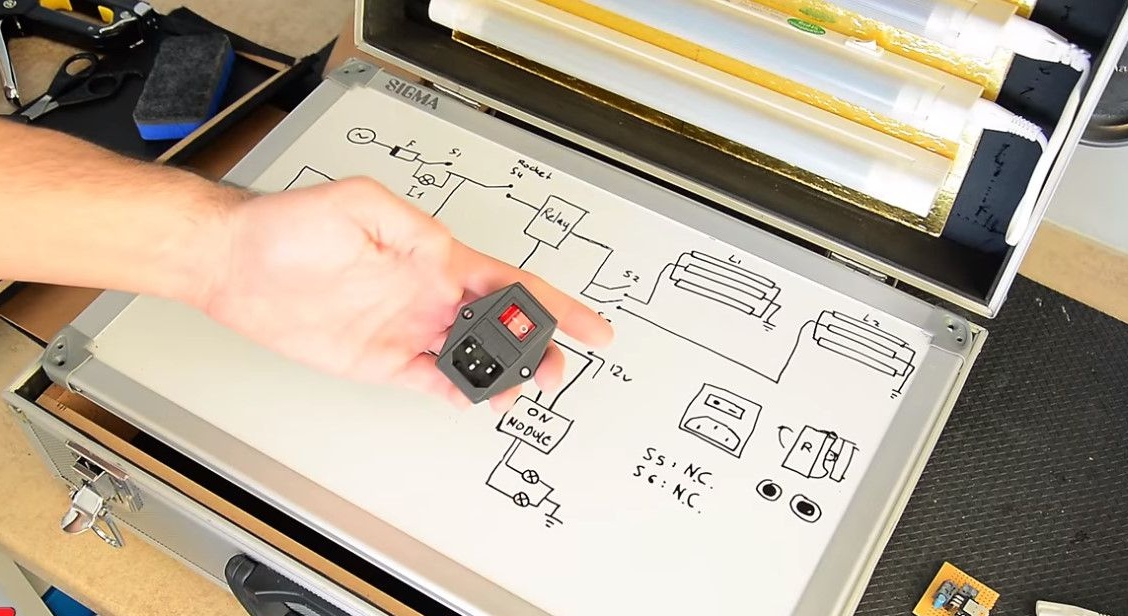
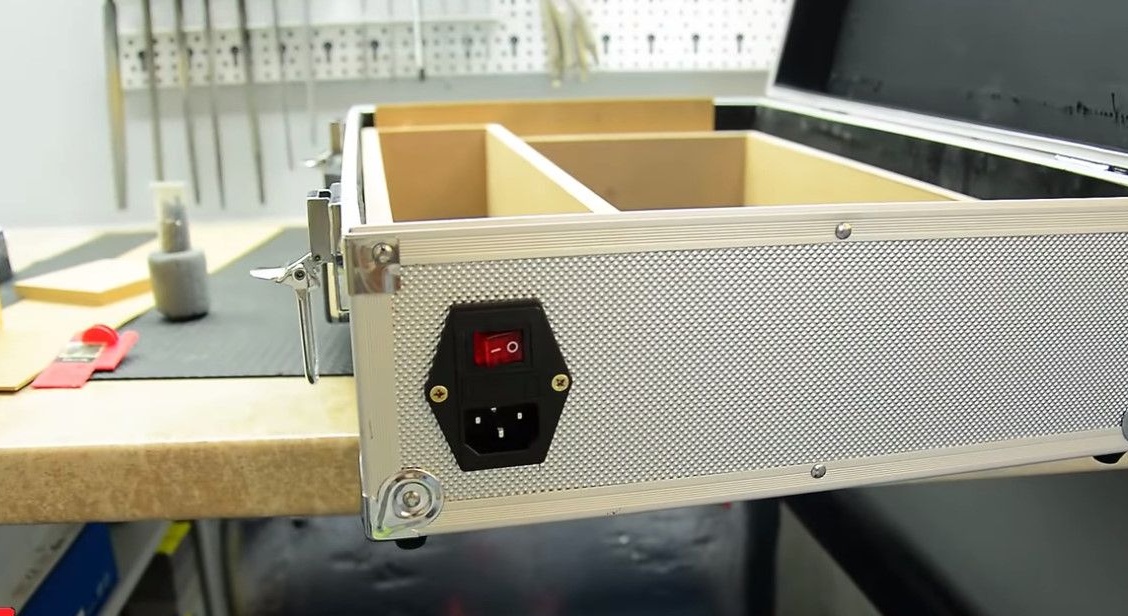
Installs a 220 volt connector with a switch and fuses in the housing.
After some time, the order for the wood was ready,
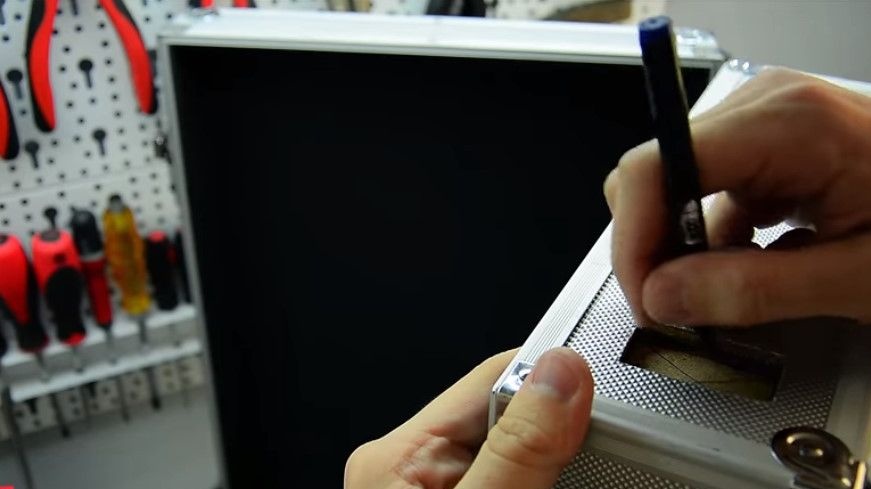
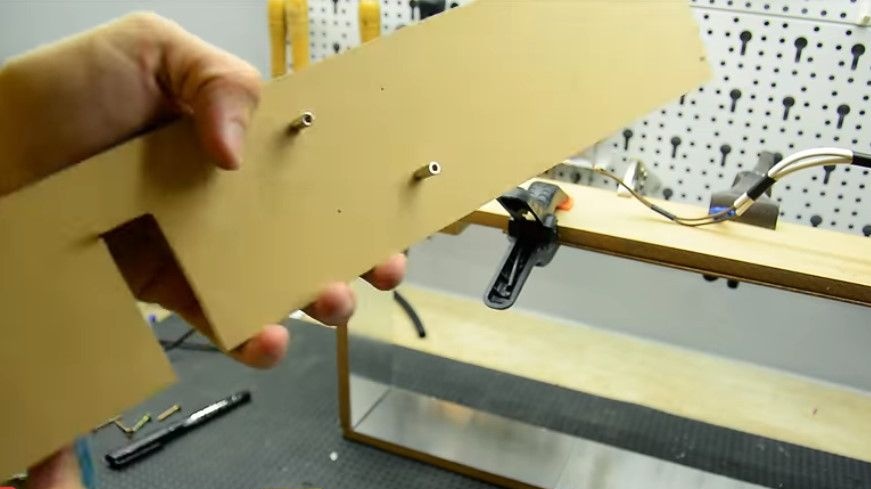
and any holes that I made in the case, it was necessary to make in the tree.
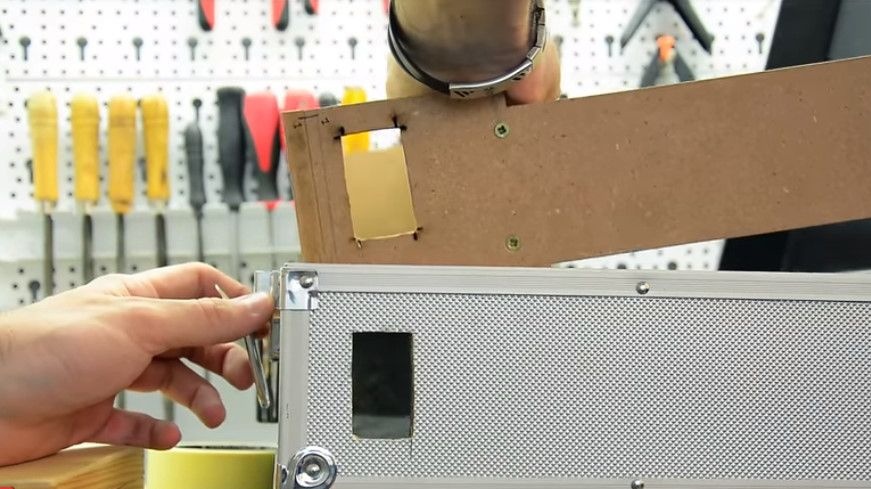
The tree is either 9 or 10 mm MDF and he, like a native, got into the case.
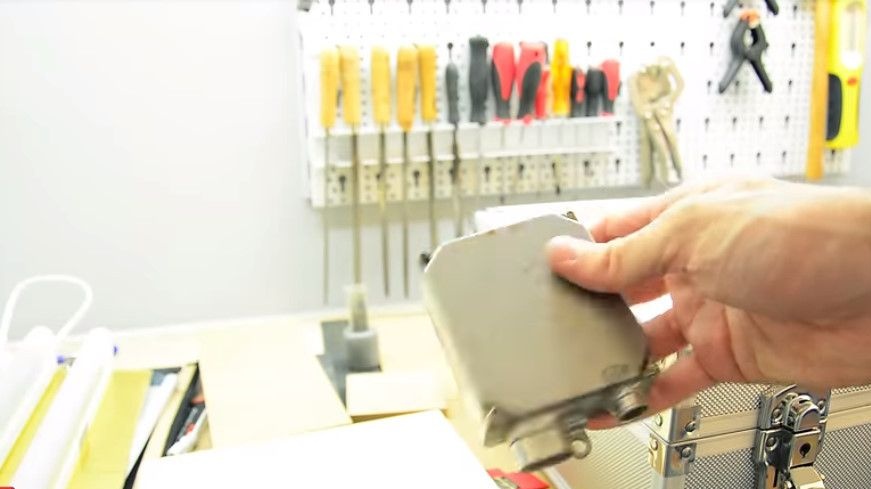
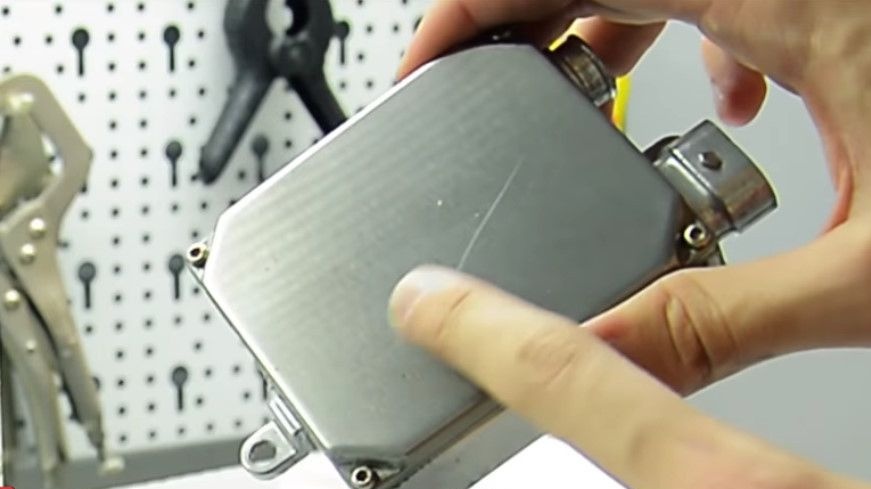
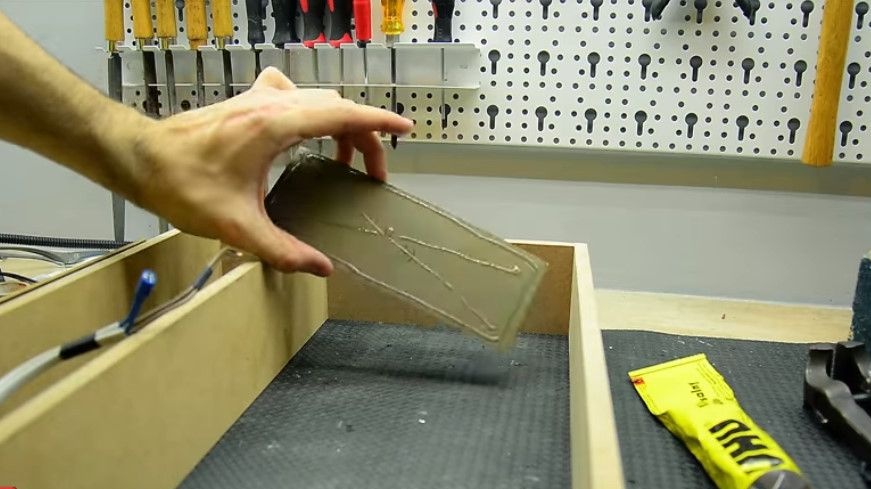
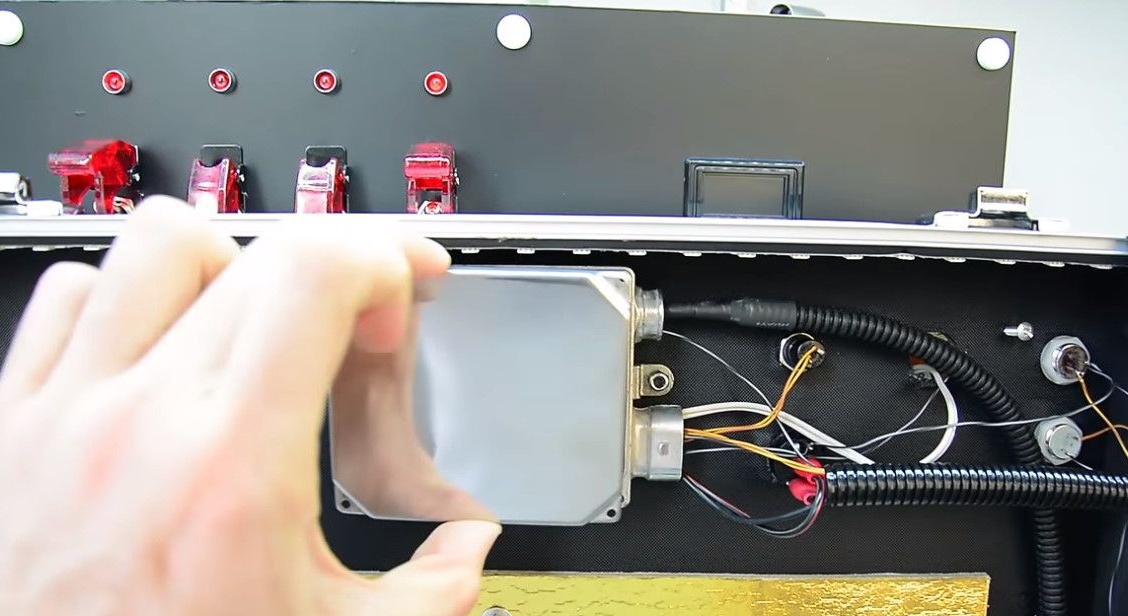
Also uses a burnt ballast housing for xenon lamps.
And this is indicated by a scratch in the shape of a cross.
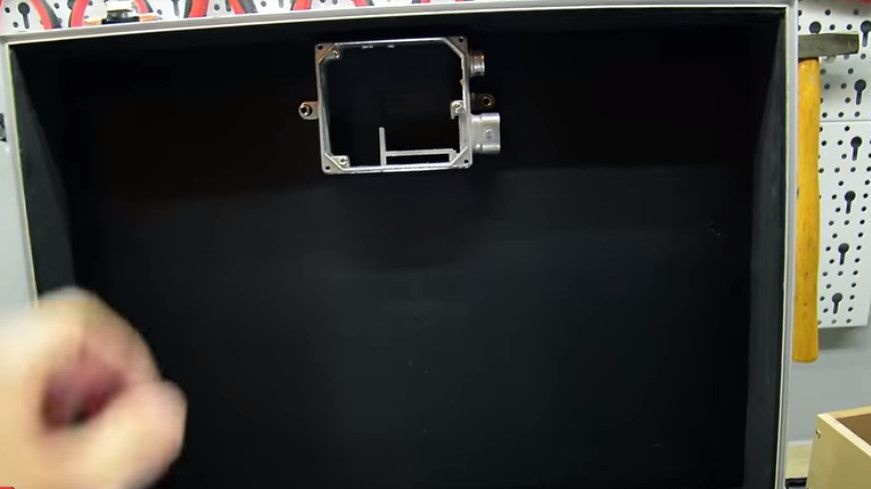
Then Alpha Mods and a 3d printer did not have - and he decided to use this case for electronics.
Installing it is quite simple - two bolts and you're done.
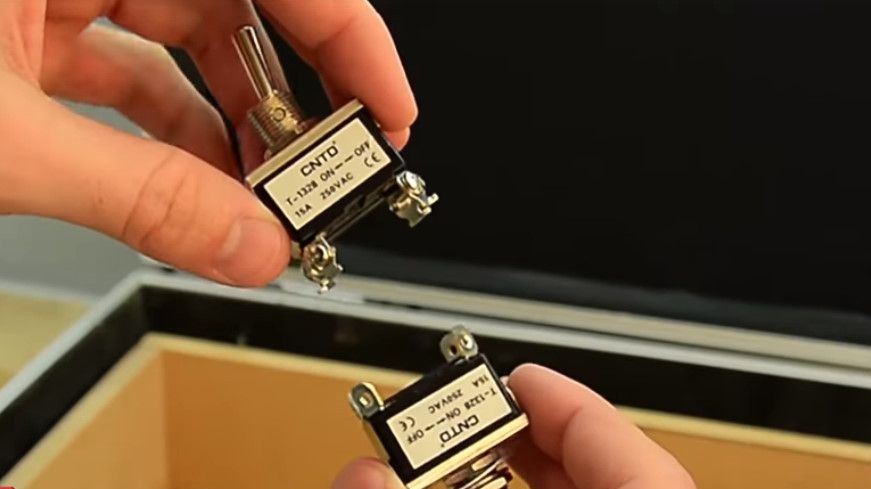
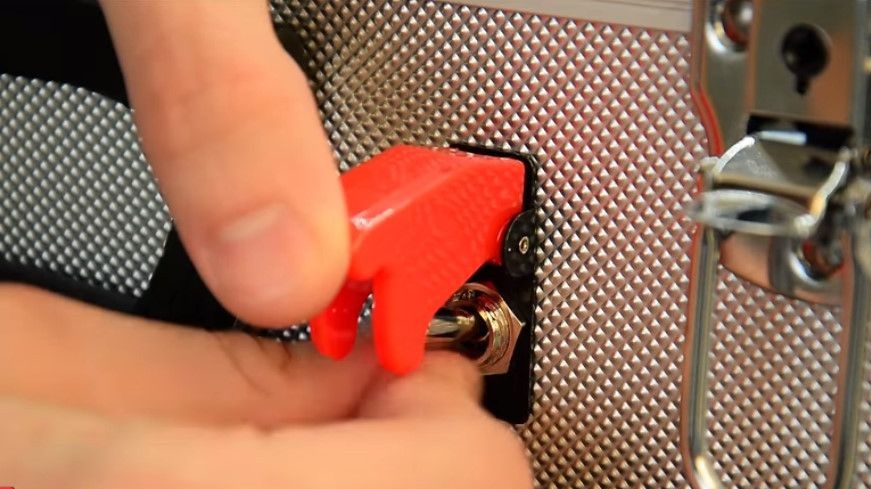
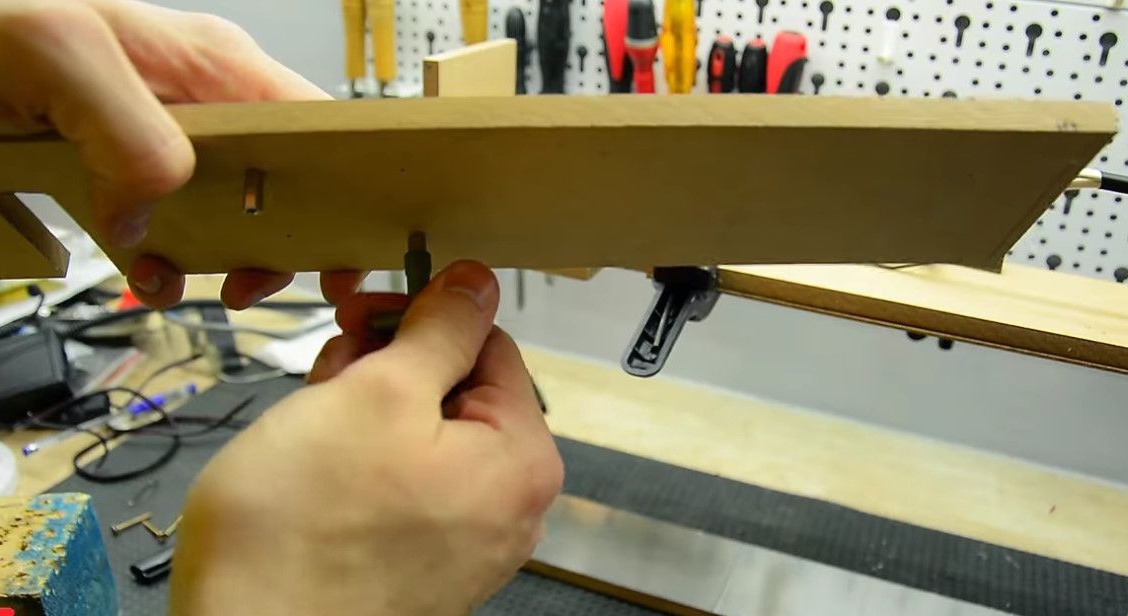
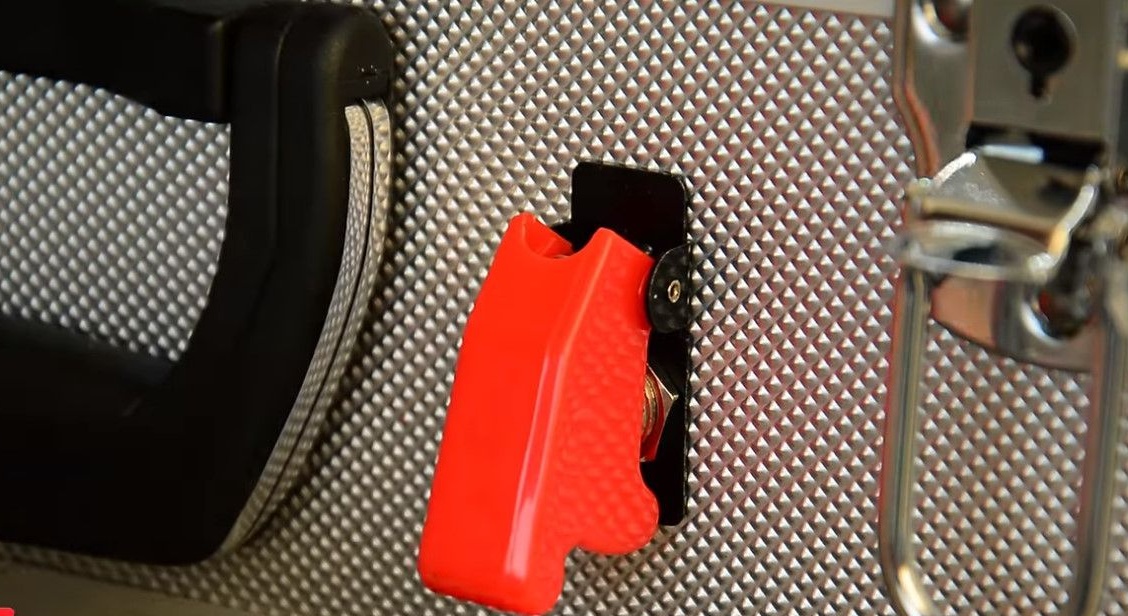
Admittedly, it was easier than connecting the main toggle switch.
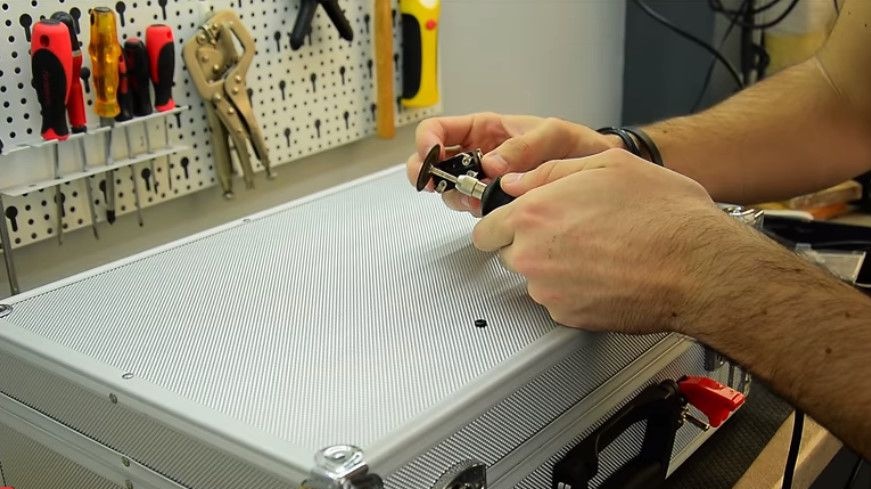
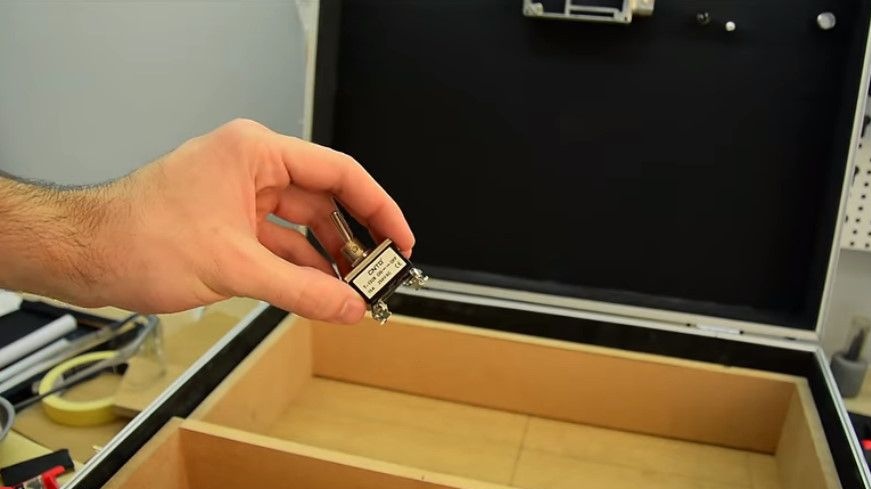
On it, at first, it was necessary to grind the ears on the pins so that the terminals were dressed on them.
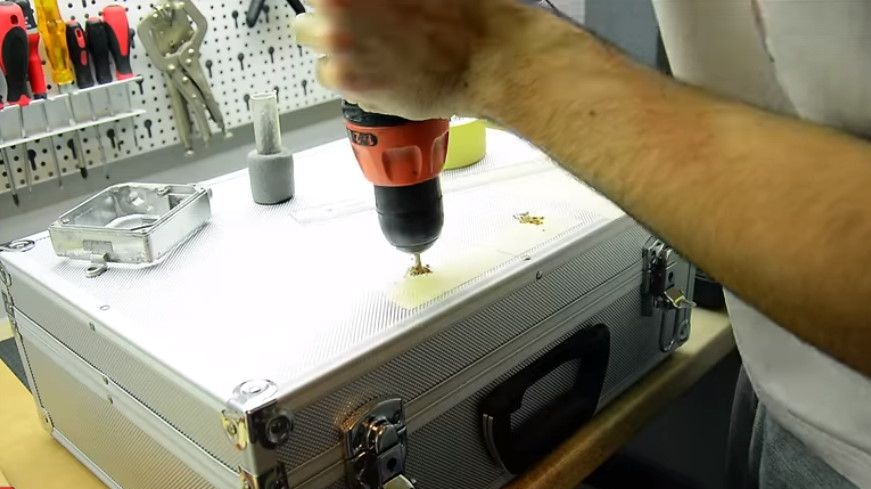
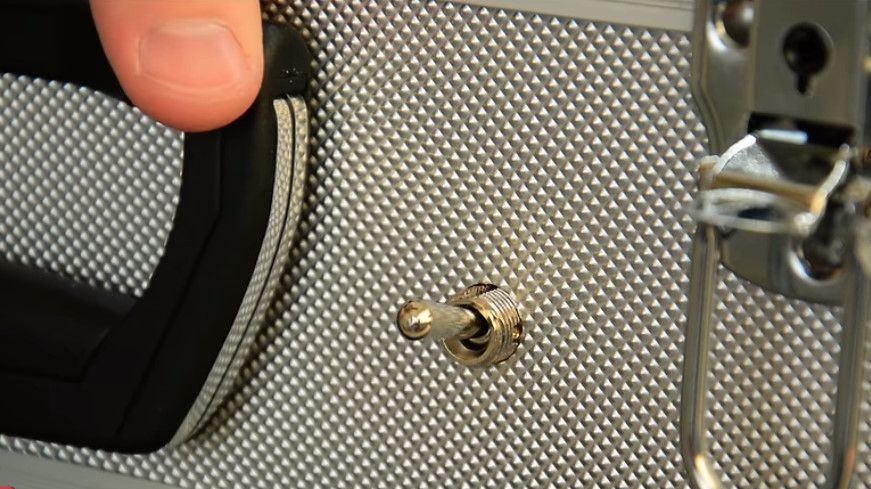
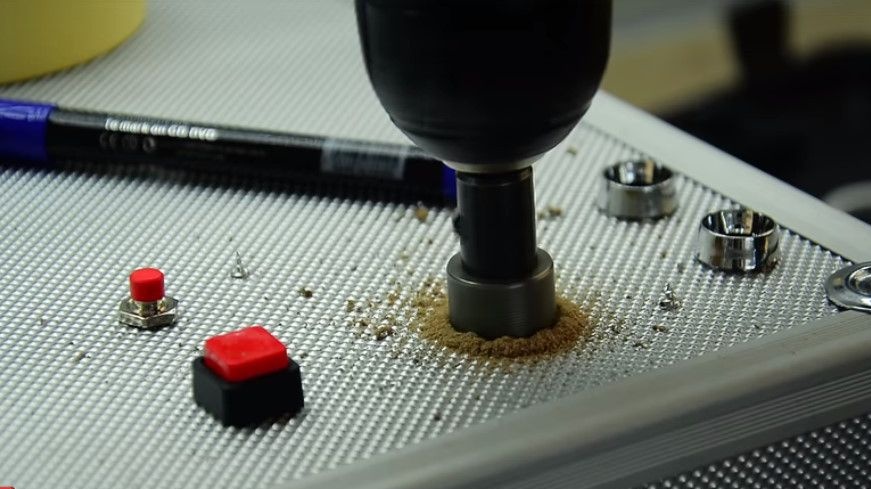
Then make a hole for it
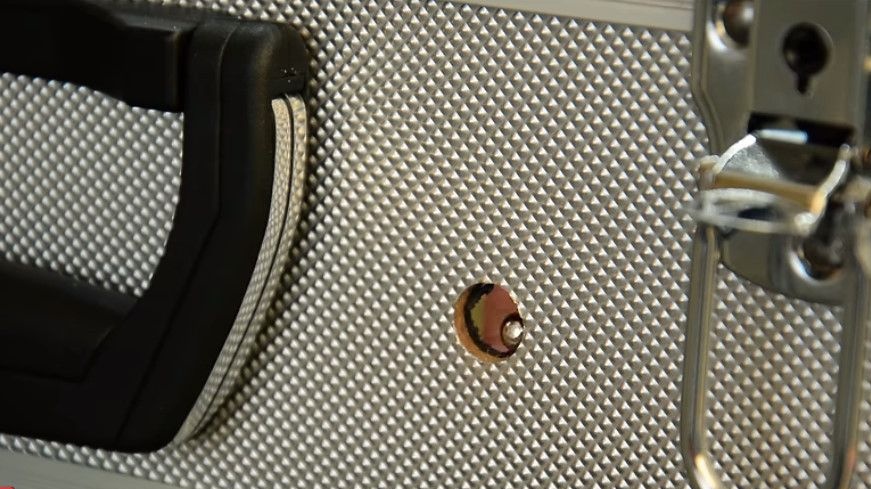
and screw it into place.
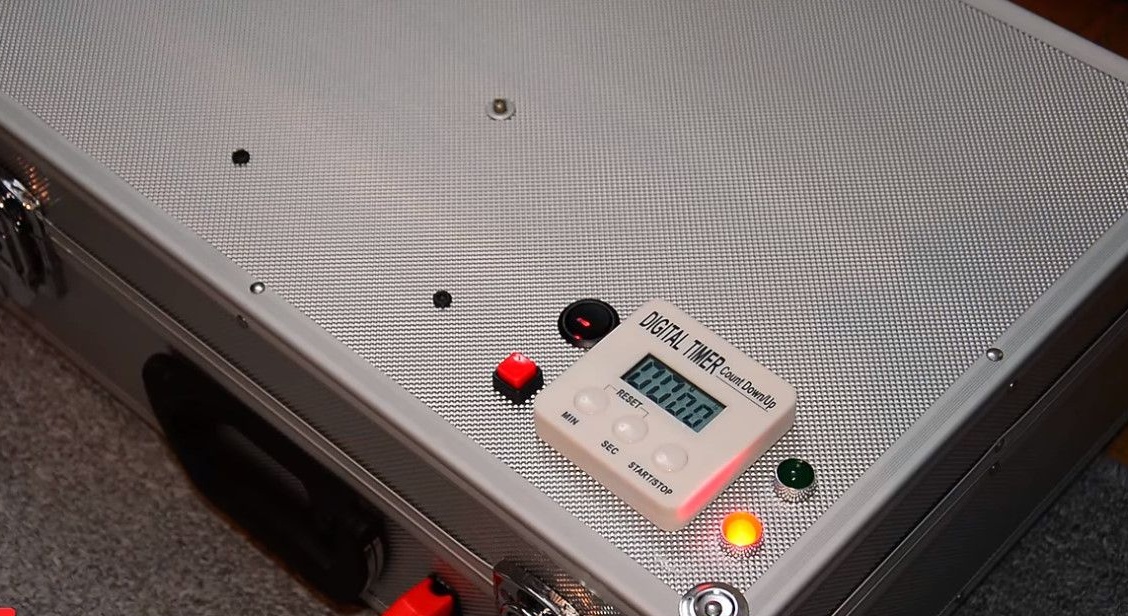
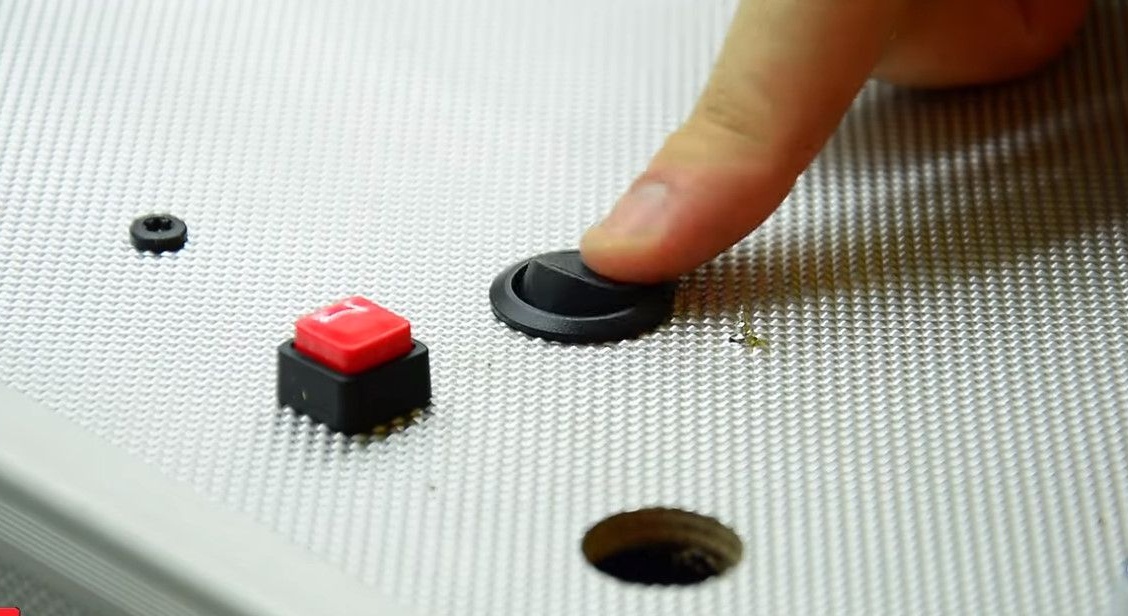
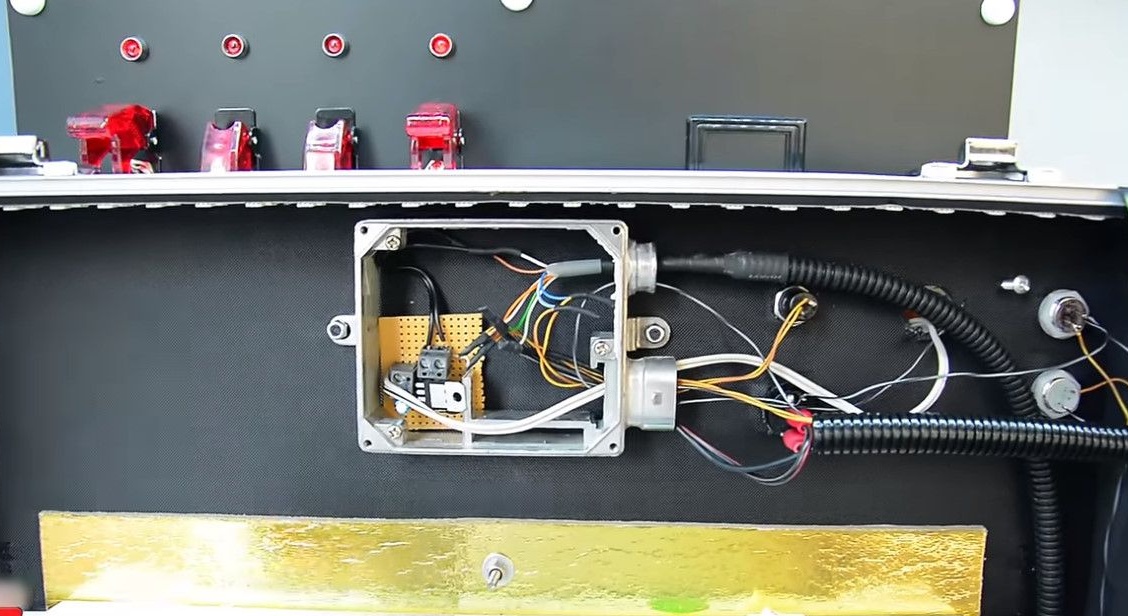
Also on the front of Alpha Mods brought a couple of indicators and a couple of buttons.
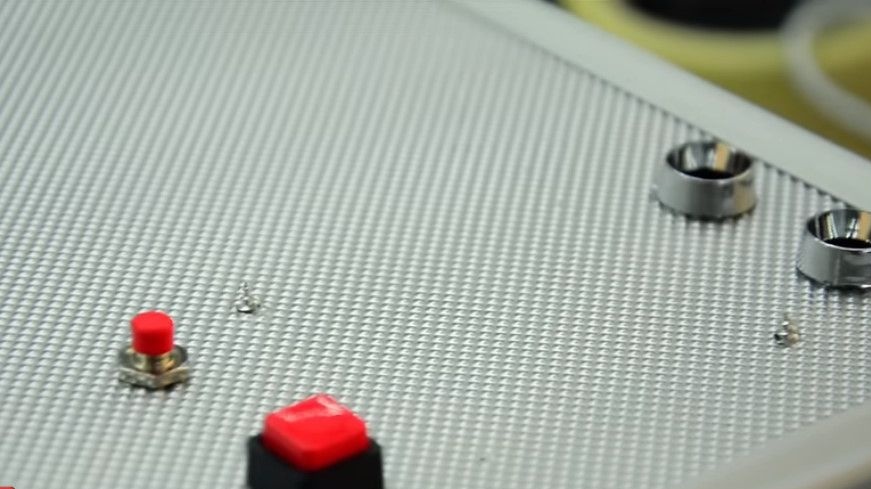
Next, set a timer that will not just beep, but really turn off the entire system.
So that makes a hole for the wires.
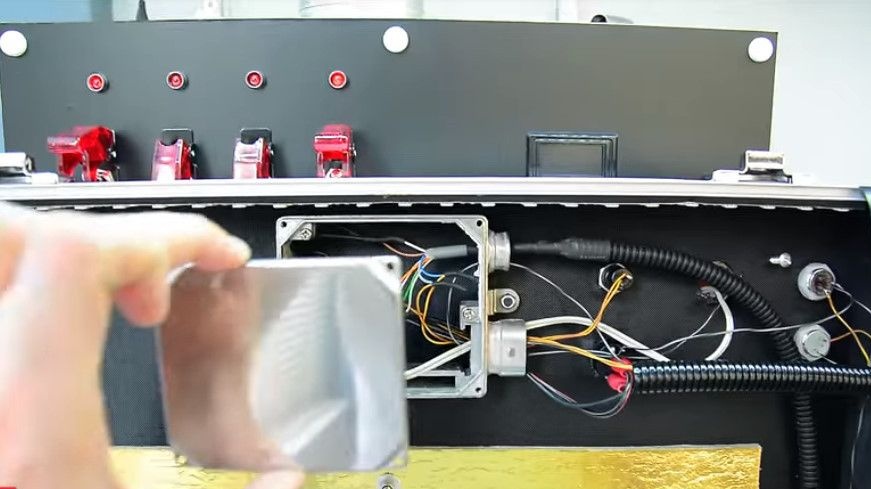
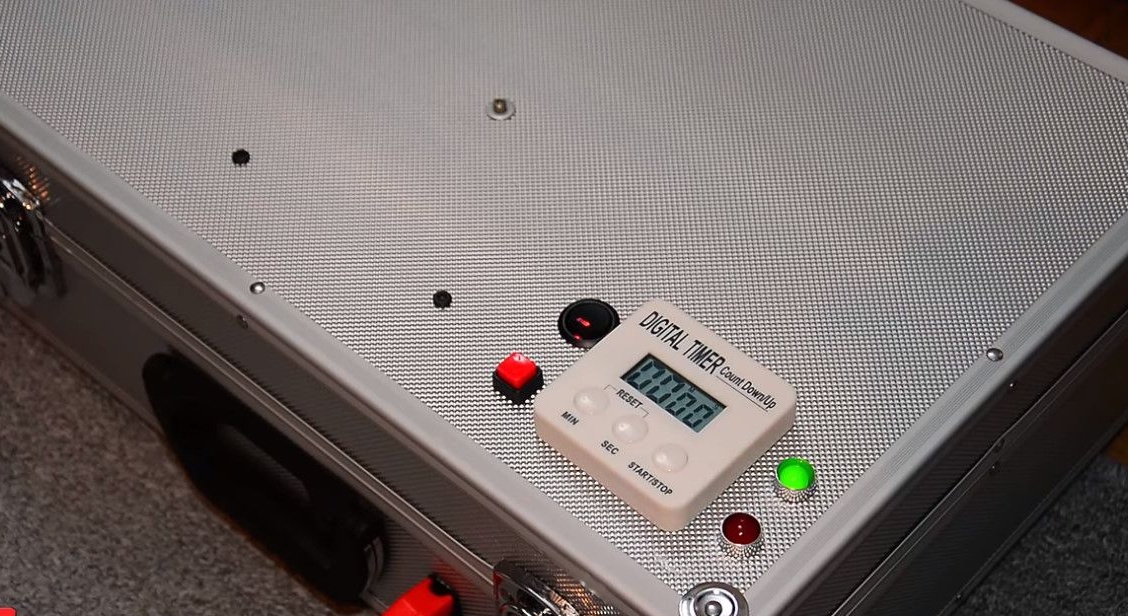
And here you are, by the way, a panel with indicators closer.
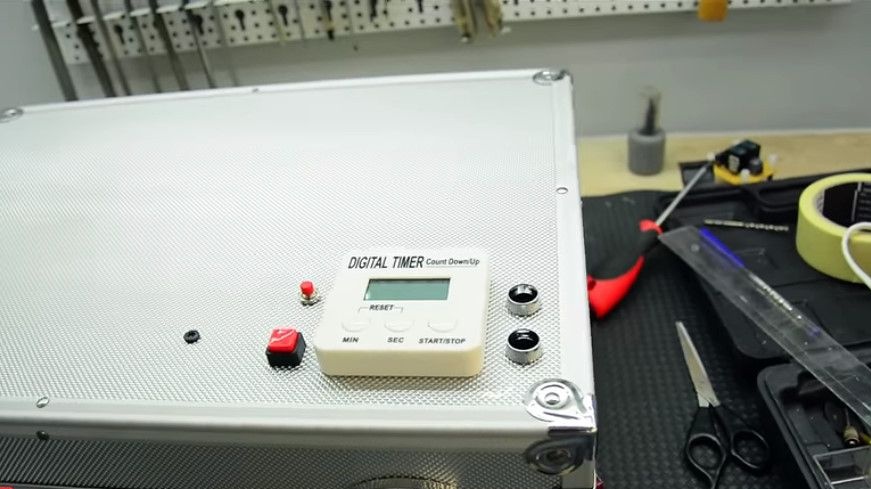
Well, from below the main toggle switch of an emergency shutdown.
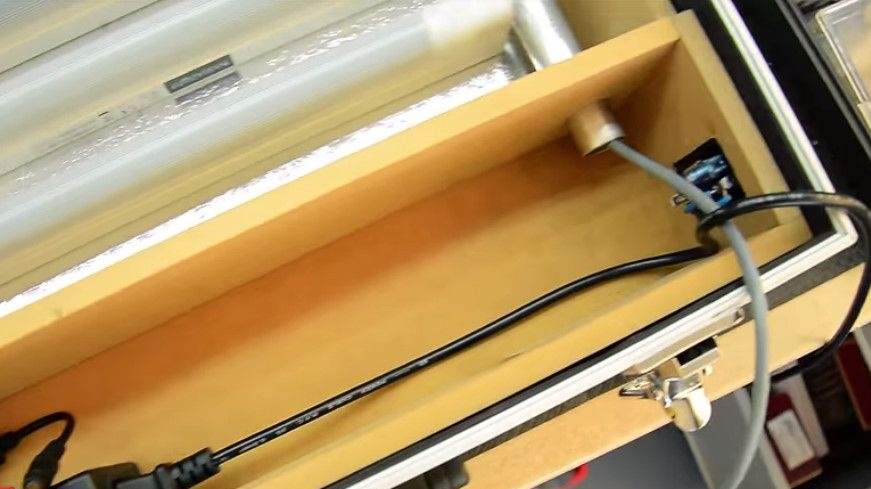
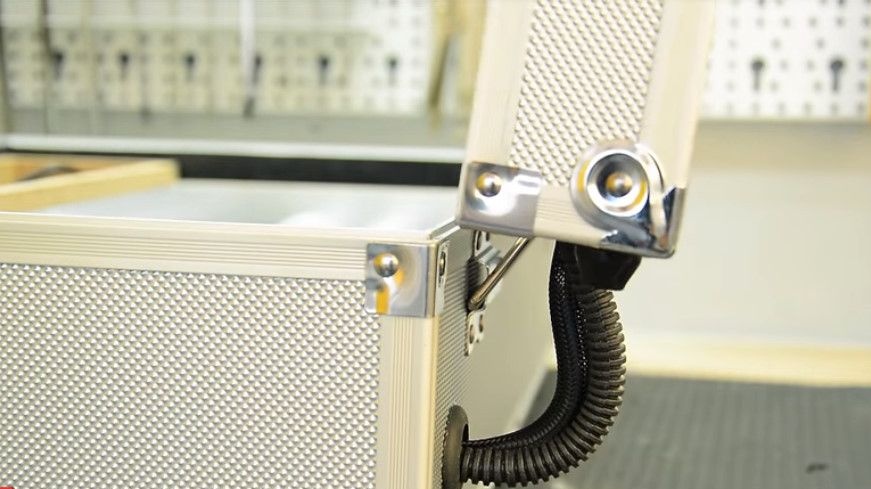
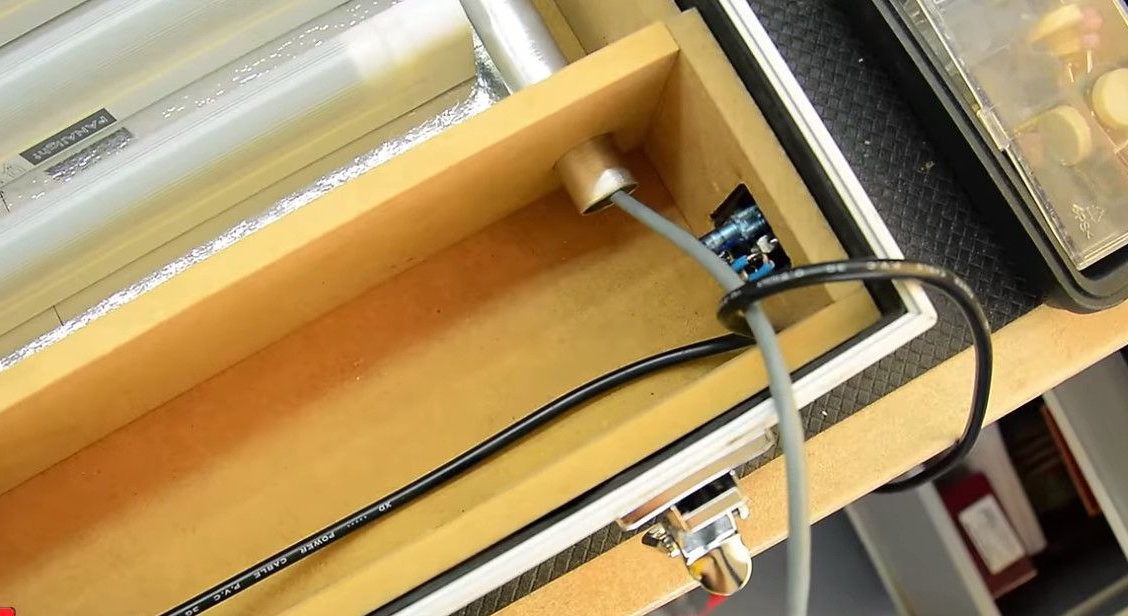
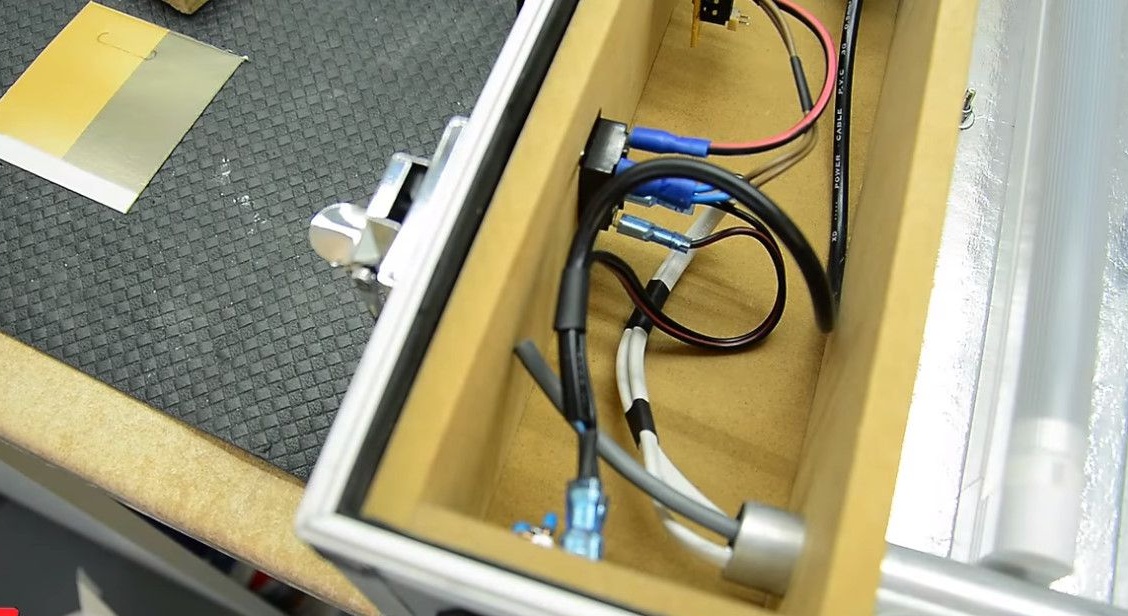
Since the electronics will be on the bottom side of the case, and the lamps will be on top, too, to get the wires there, it makes 2 holes on the back of the case.
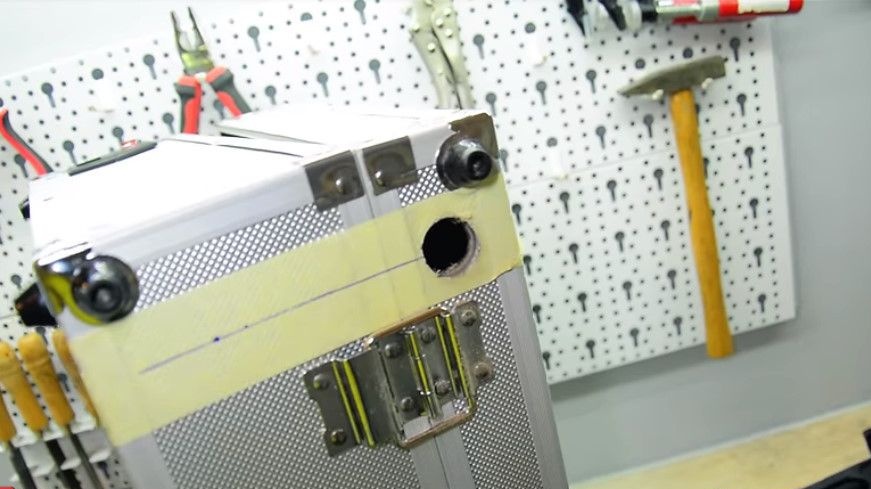
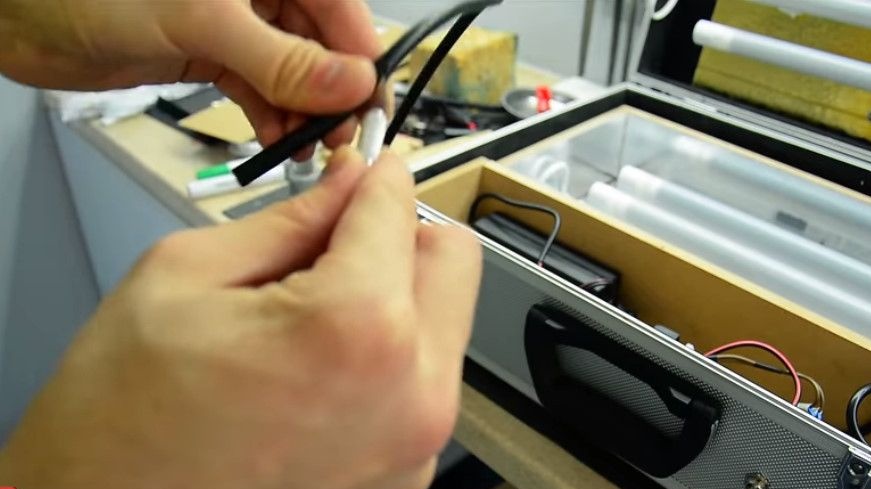
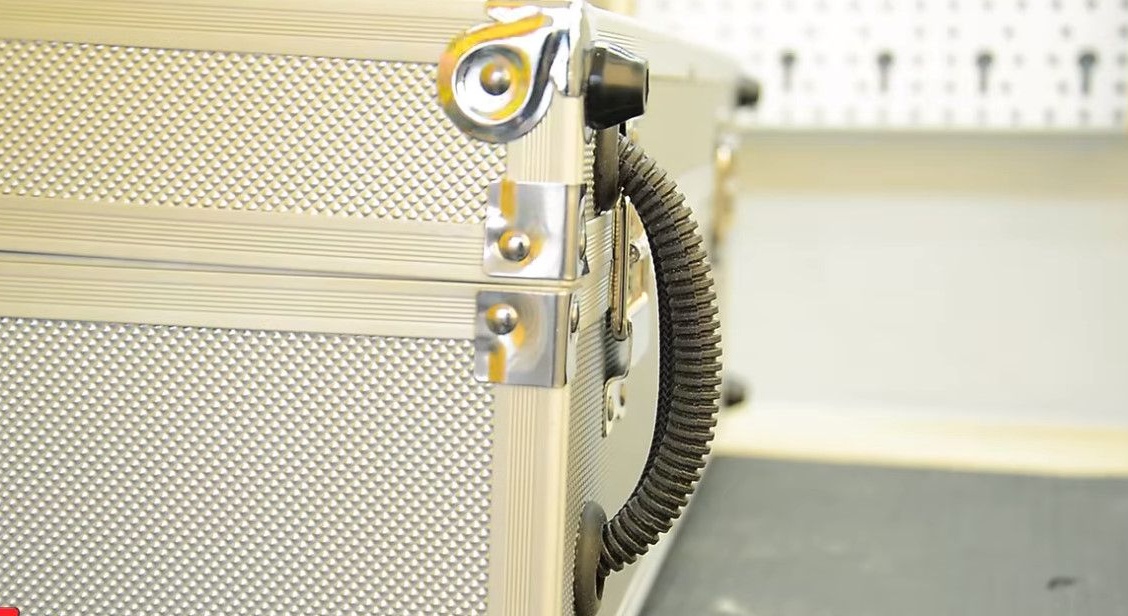
Since it is not known what would happen to the wires from exposure to ultraviolet radiation, Alpha Mods decided to pass them through a metal pipe.

And he made the pipe seats rubber.
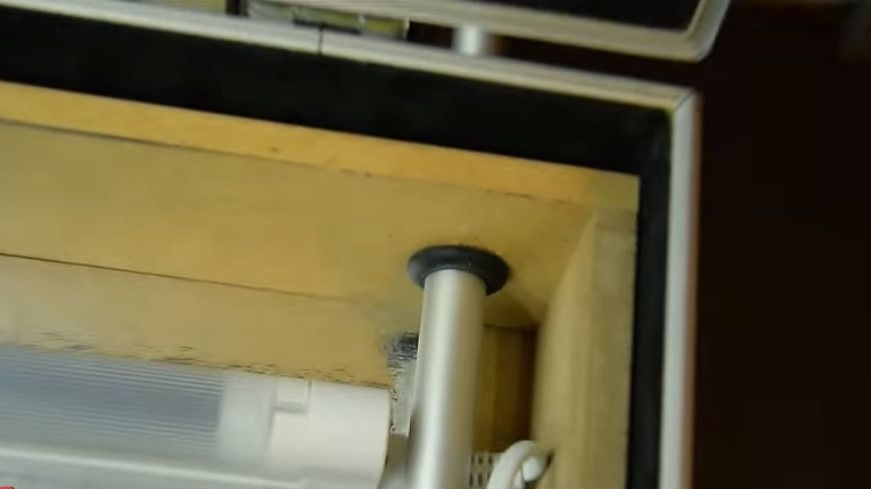
Now you can safely run the wires from top to bottom and vice versa.
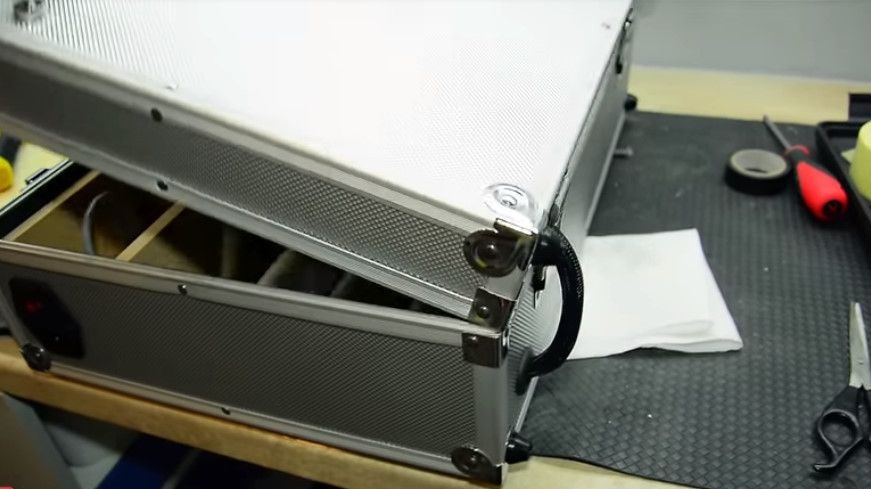
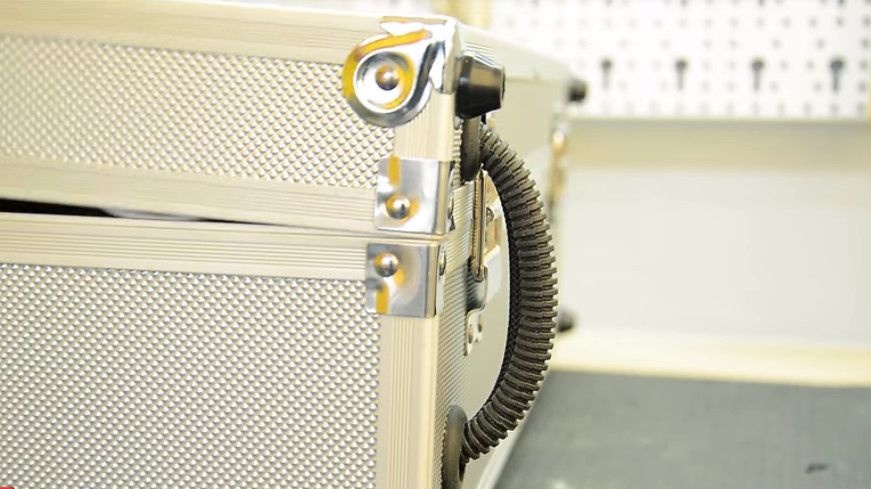
On the outside, he hid the wires in the channel, and added an additional rack to the structure so that the wires do not bend much.
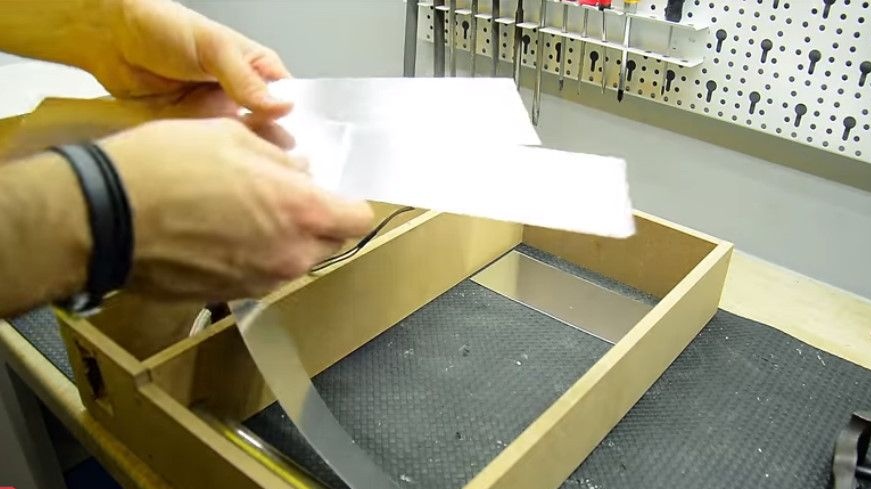
We continue, cuts out glossy paper and makes a wall reflector out of it.
For makeshift boards adds racks,
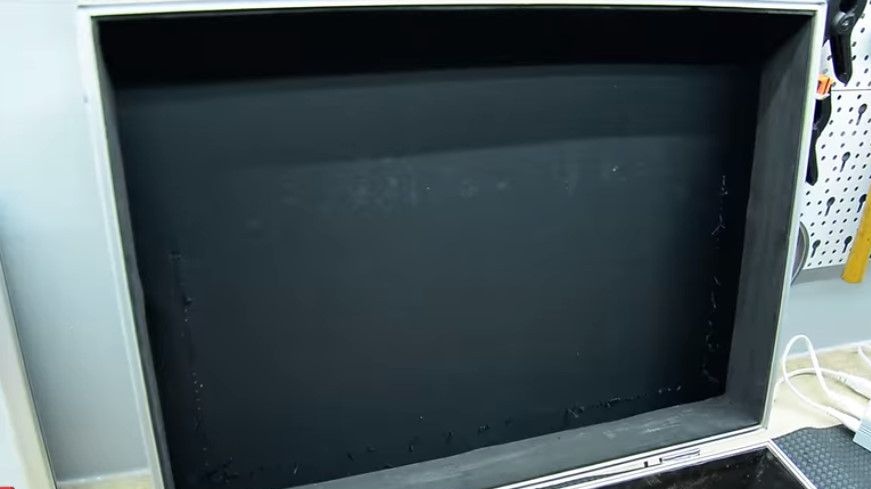
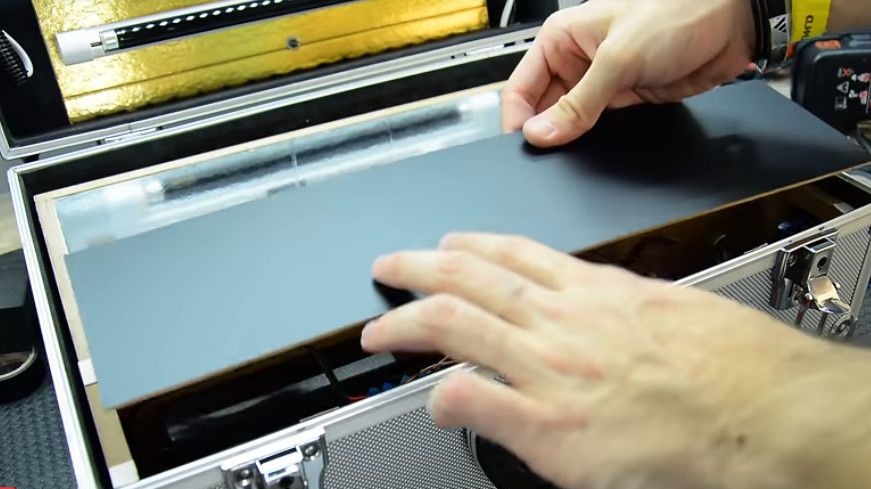
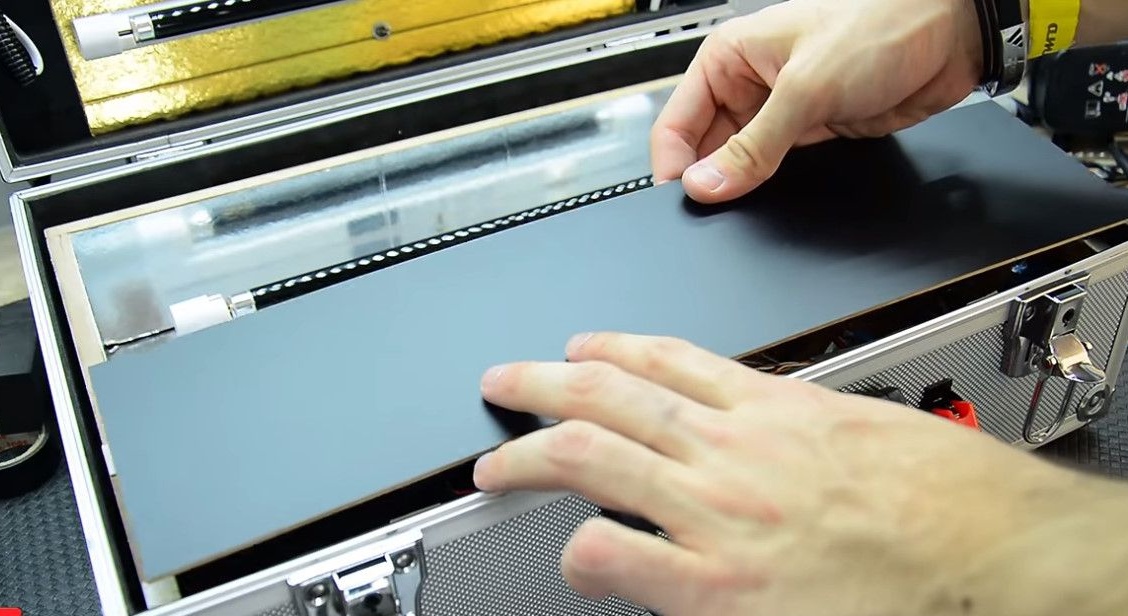
and the top panel is glued with a black sticker.
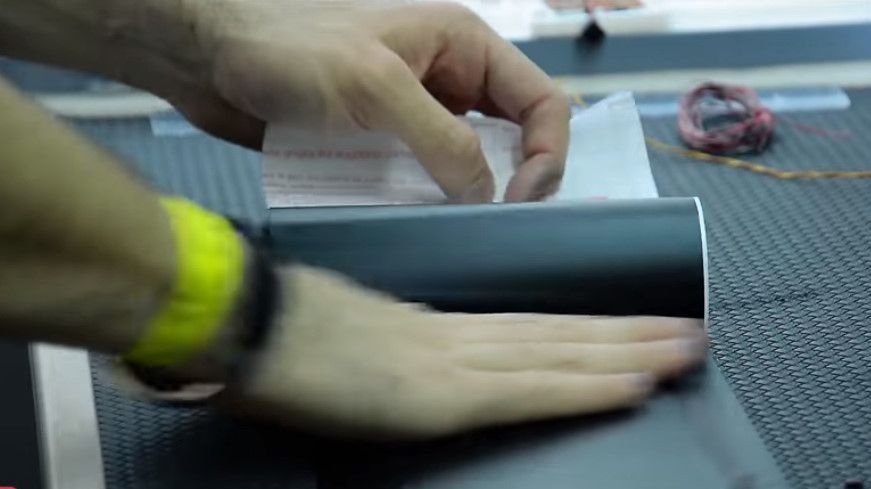
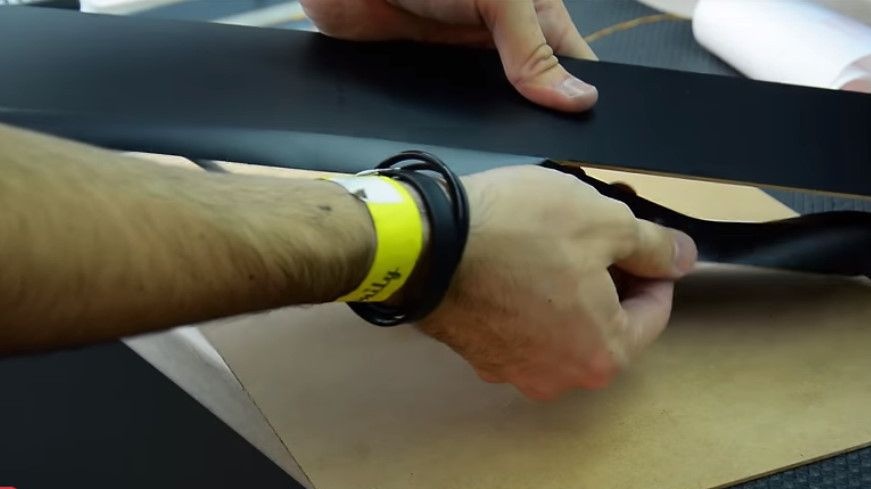
This black panel covers the power compartment.
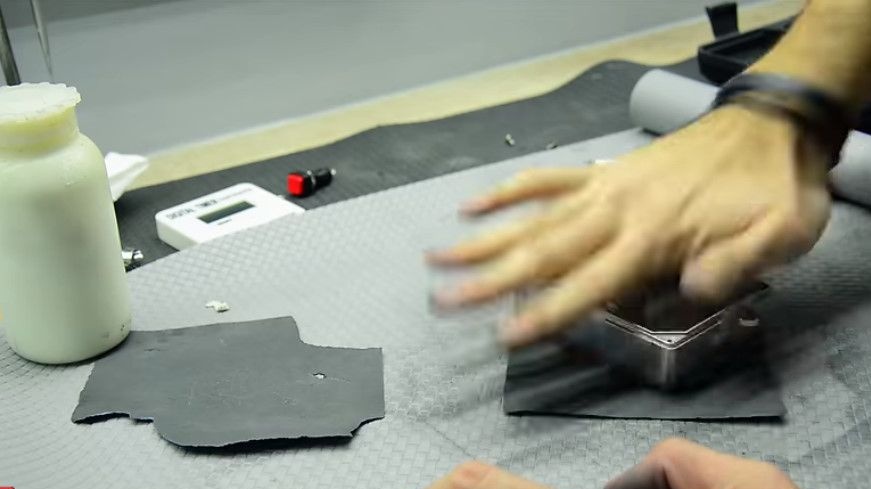
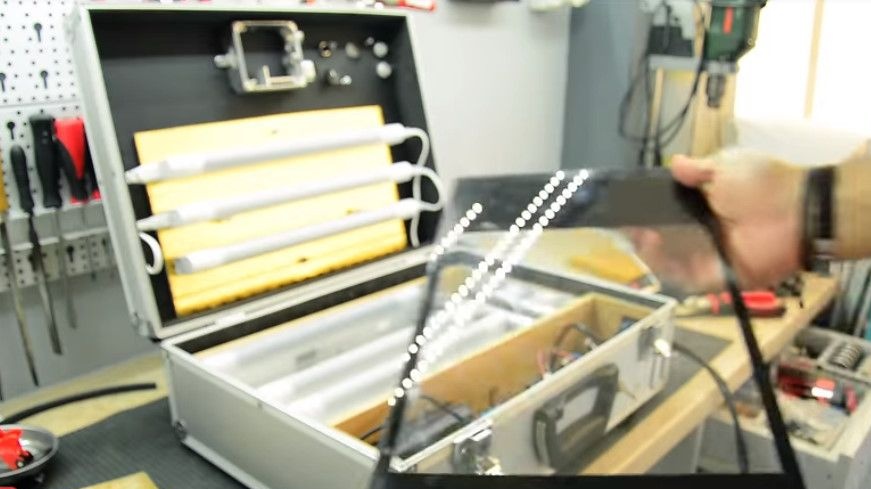
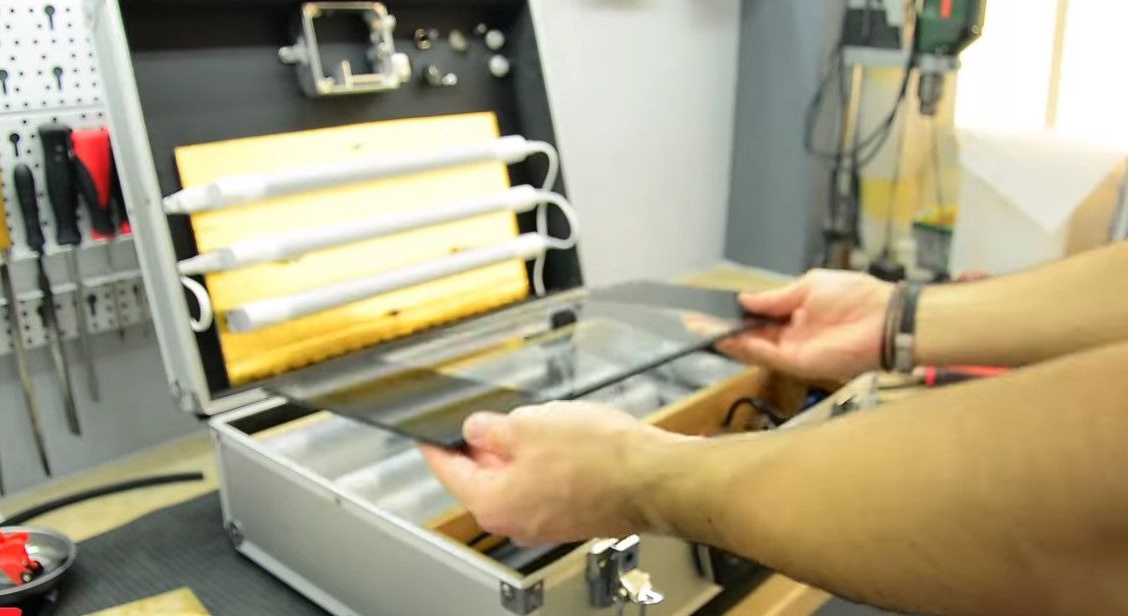
And for another compartment with lamps, by special order, they made glass.
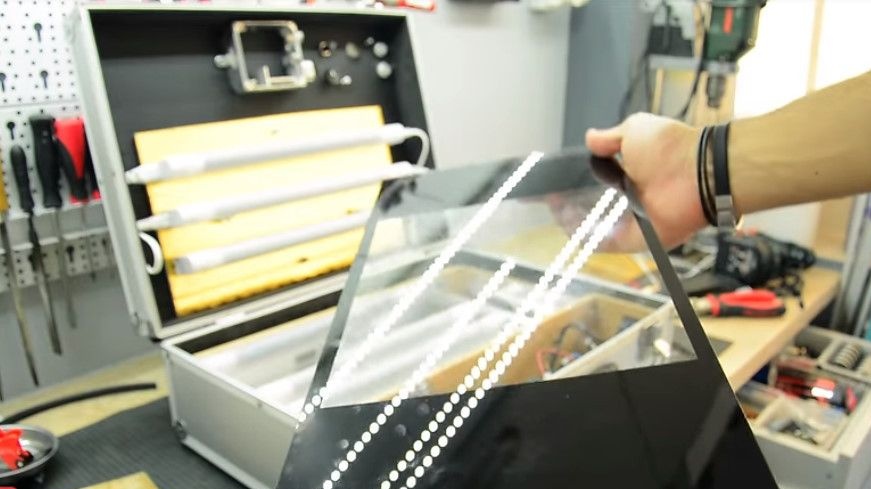
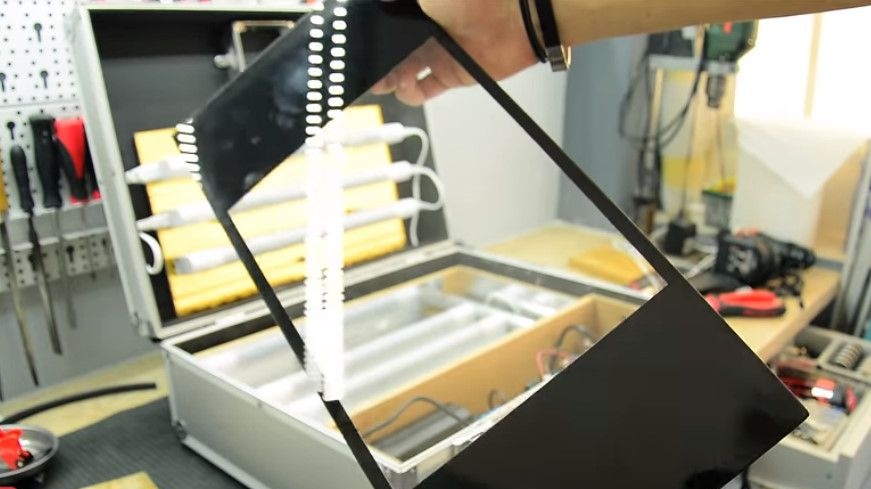
He took a vacuum hose for him, cut it lengthwise, and put it on the edges of the glass.

After which the window sat very tightly in its place.

Now the second stage.
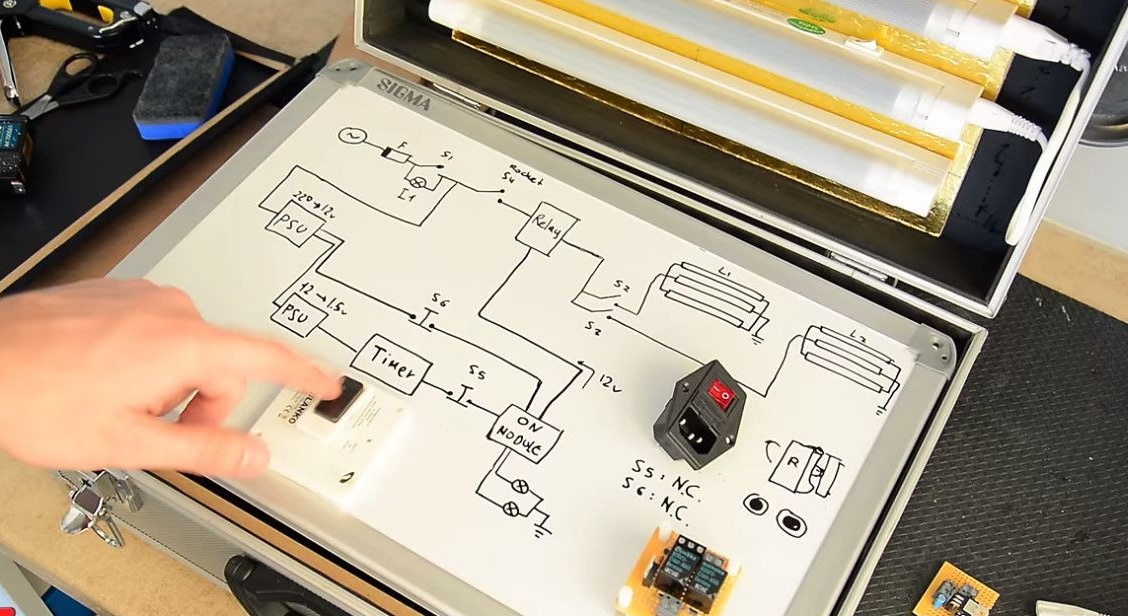
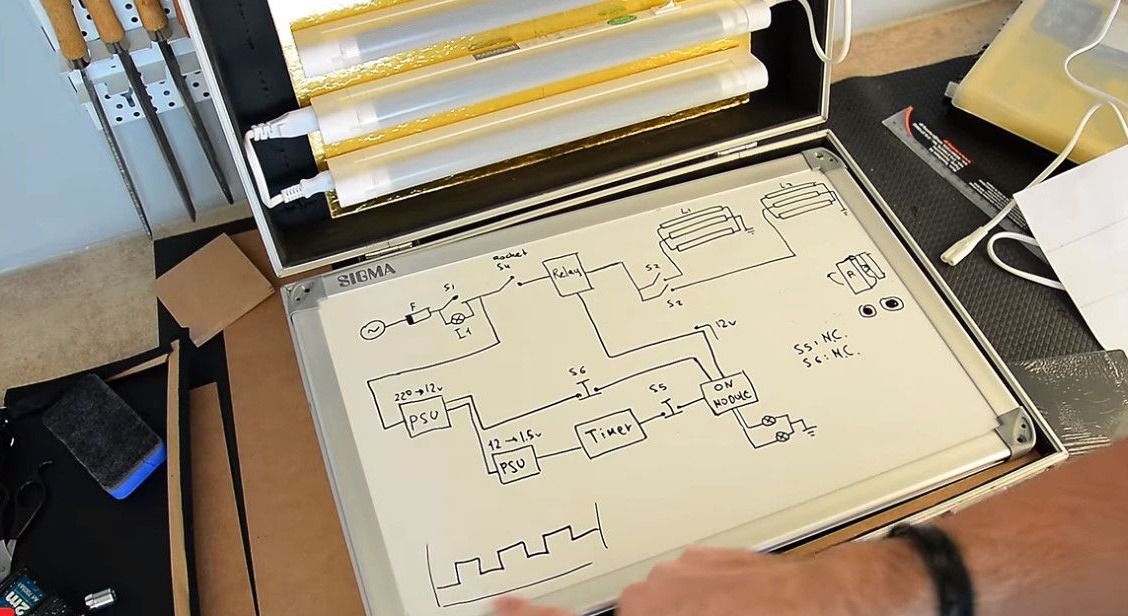
Alpha Mods will show the assembly diagram, talk about the principle of operation and make a circuit to disconnect 220 volts at the timer load.
And we will begin, as usual, with theory.
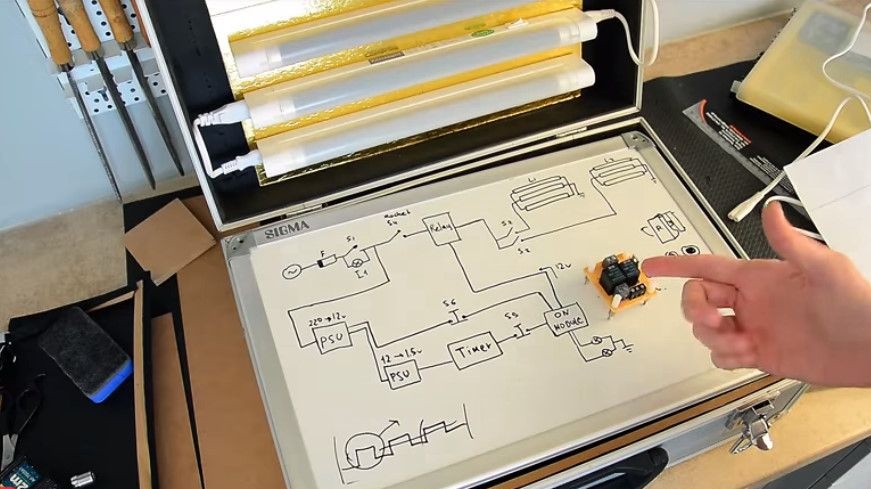
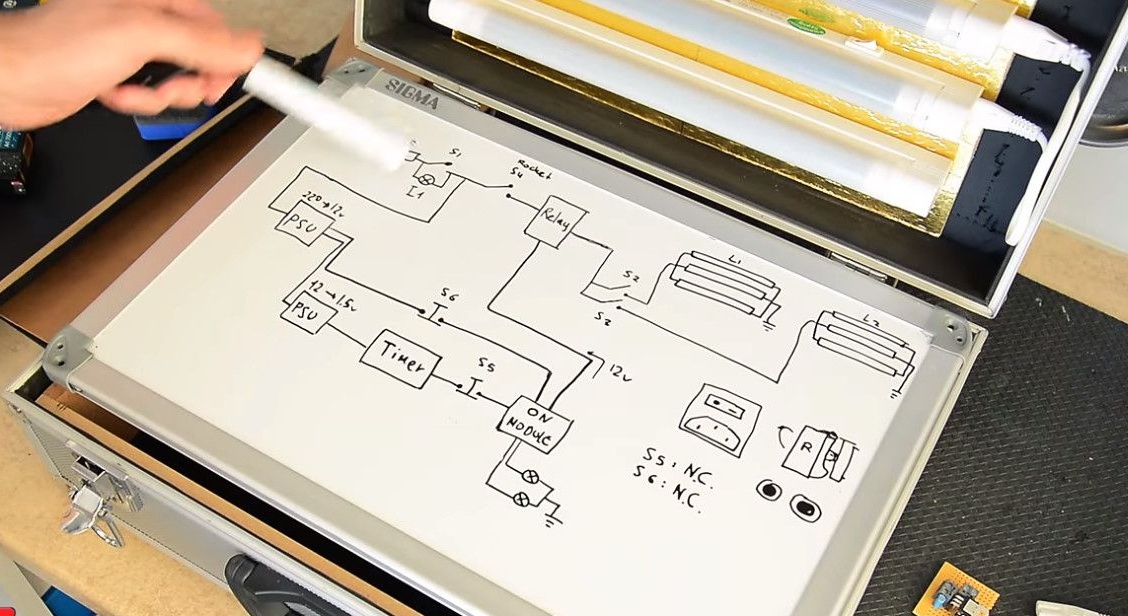
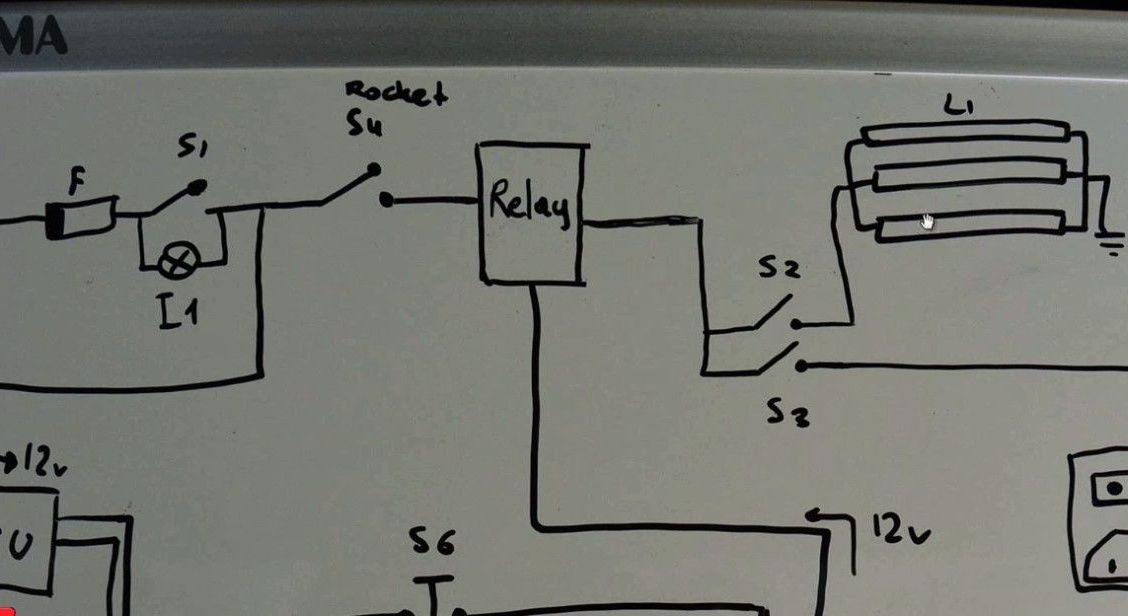
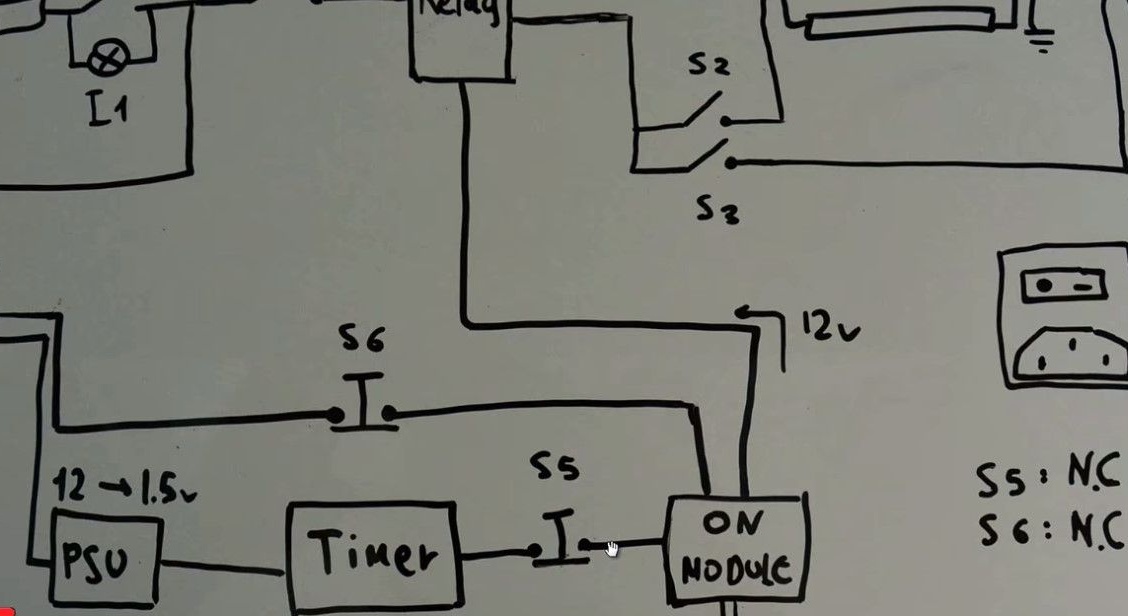
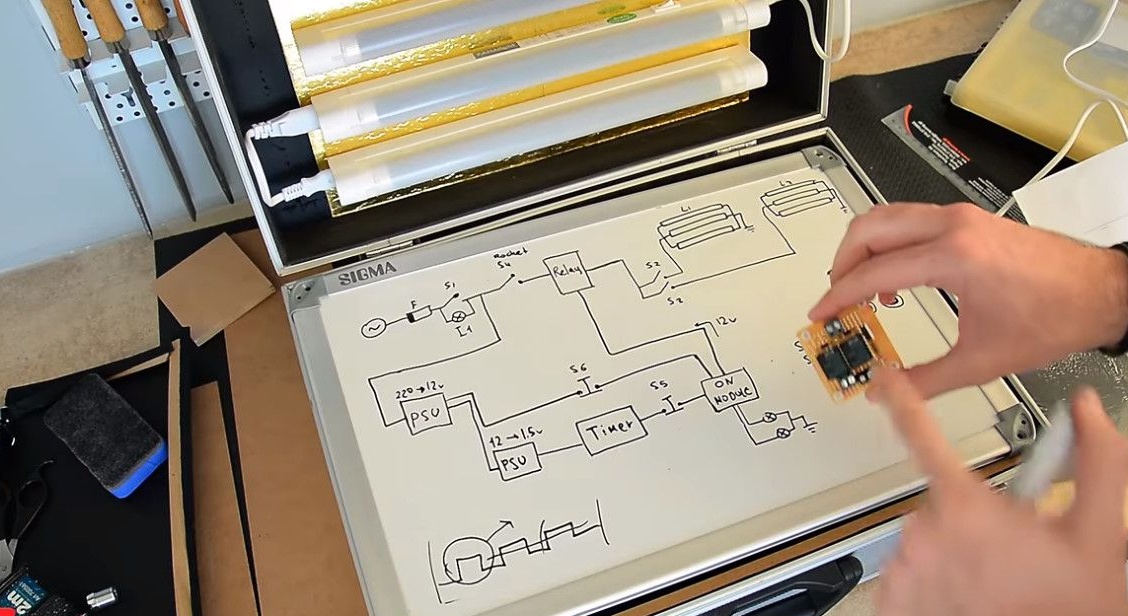
So - the project scheme.
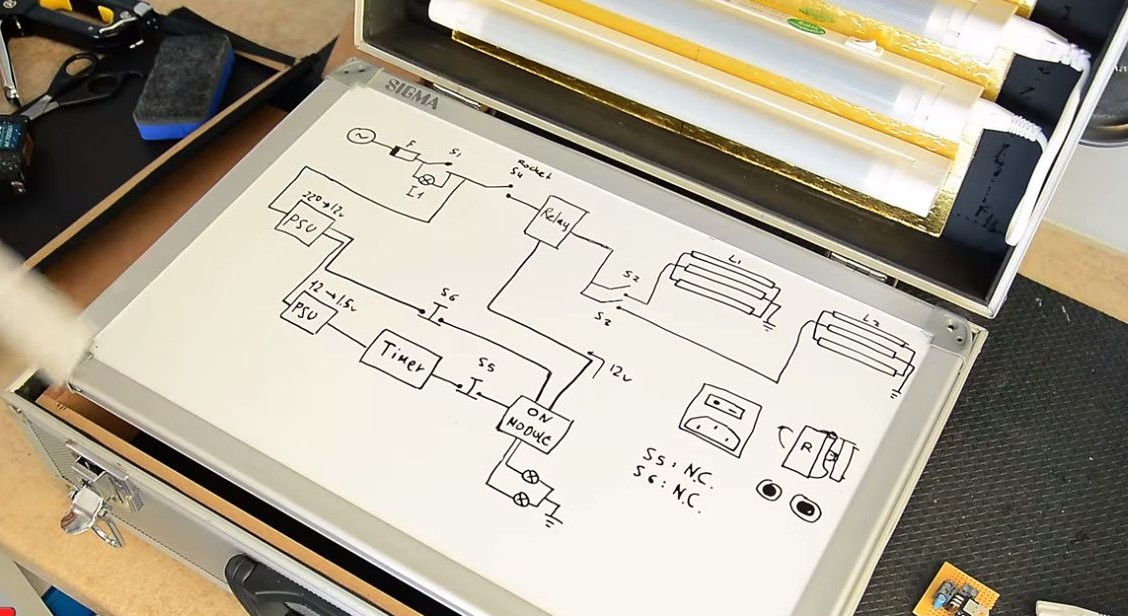
Input voltage 220V,
fuse, switch, indicator.
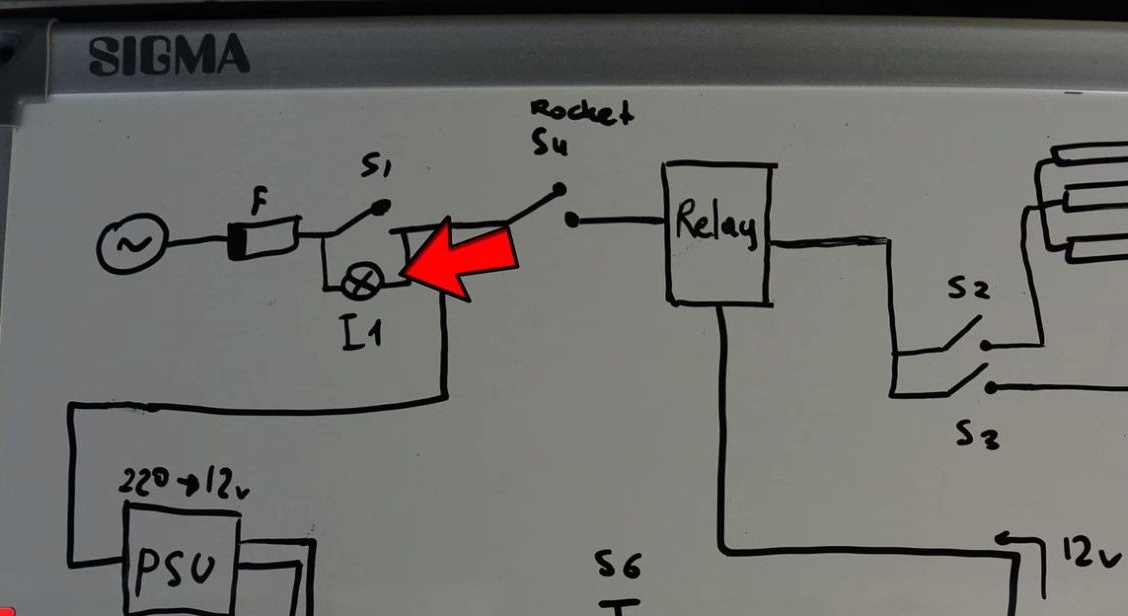
Plug and power button 220V.
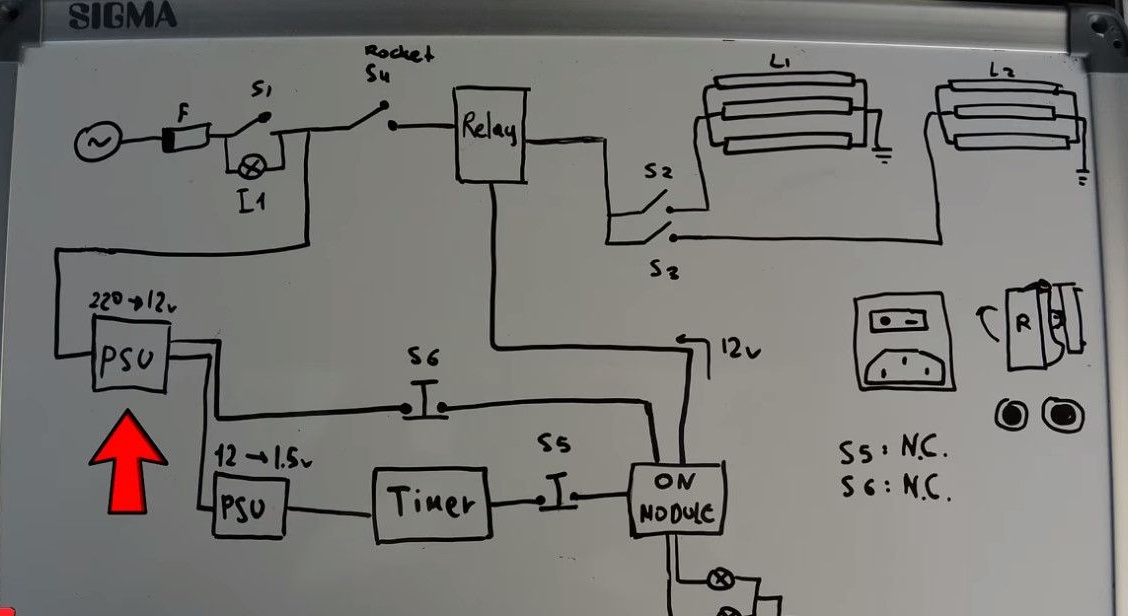
The voltage after it is immediately supplied to the power supply,
where it is converted from ~ 220V to 12V DC voltage.
These 12Vs already power the module, about which - in the end.
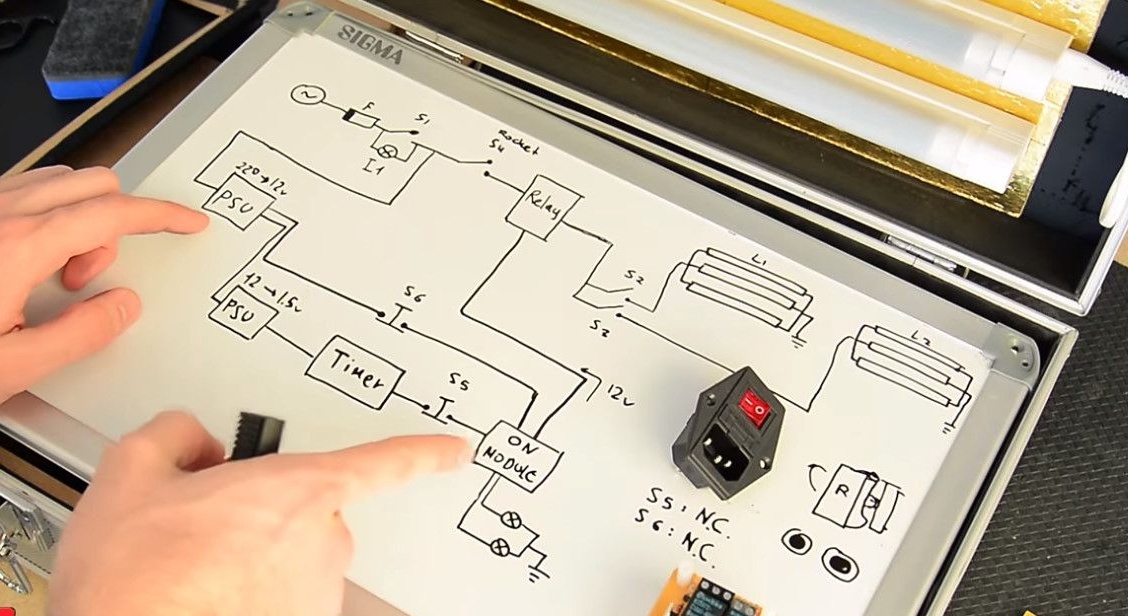
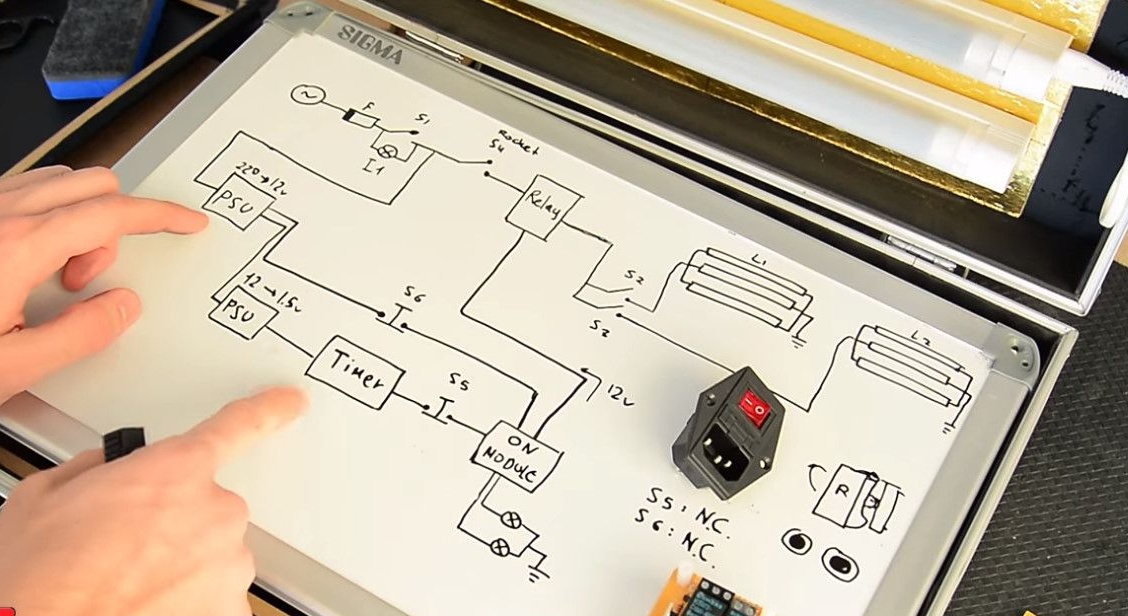
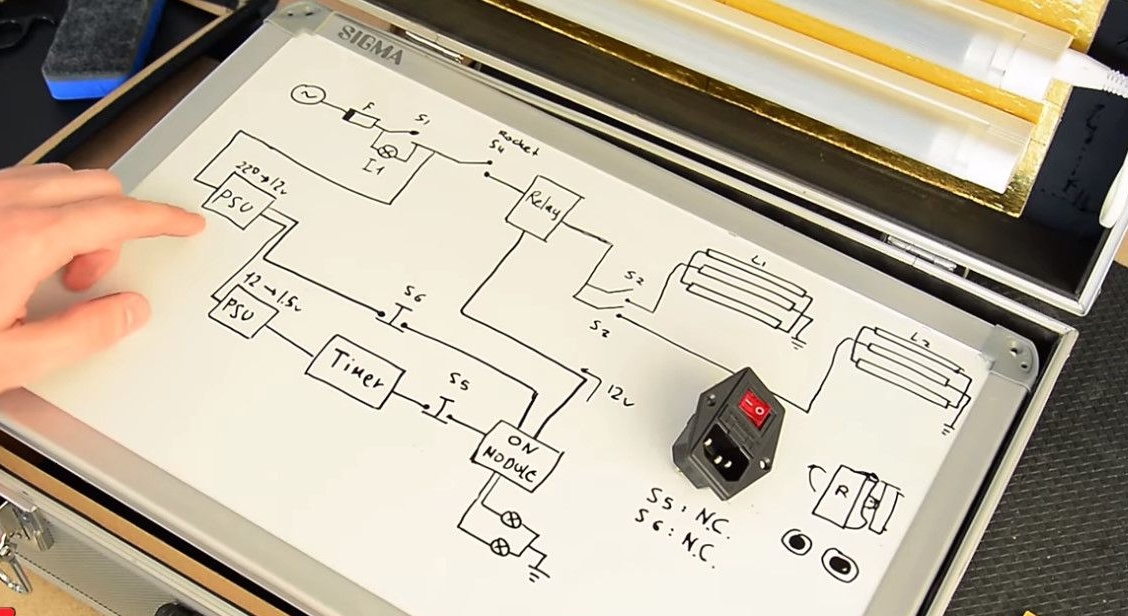
The lowering module converts 12 volts to one and a half,
necessary to power the timer, which is set further according to the scheme.
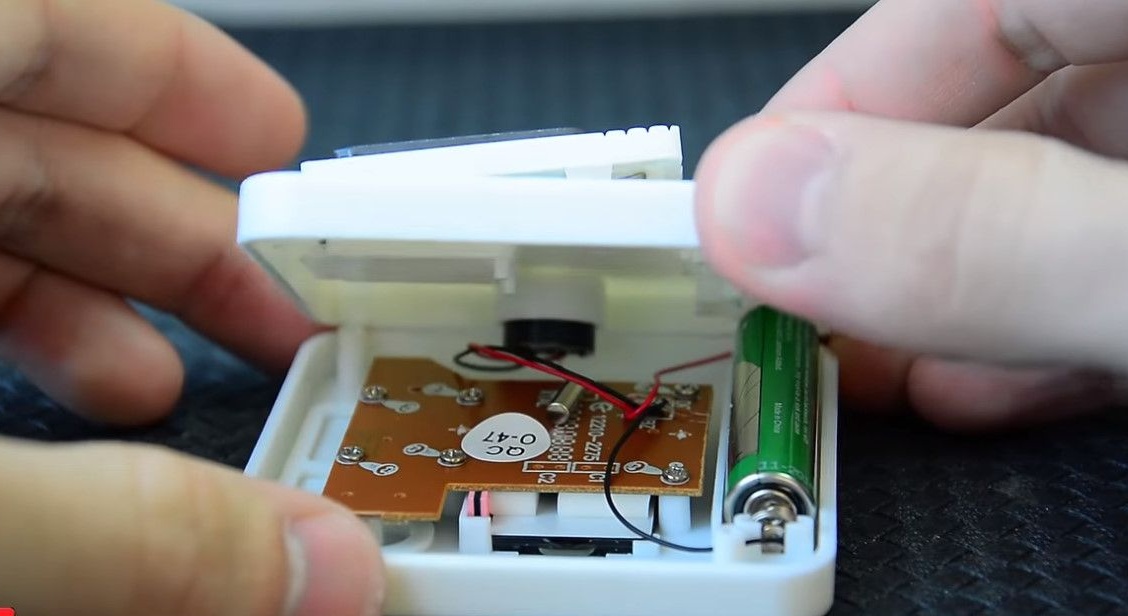
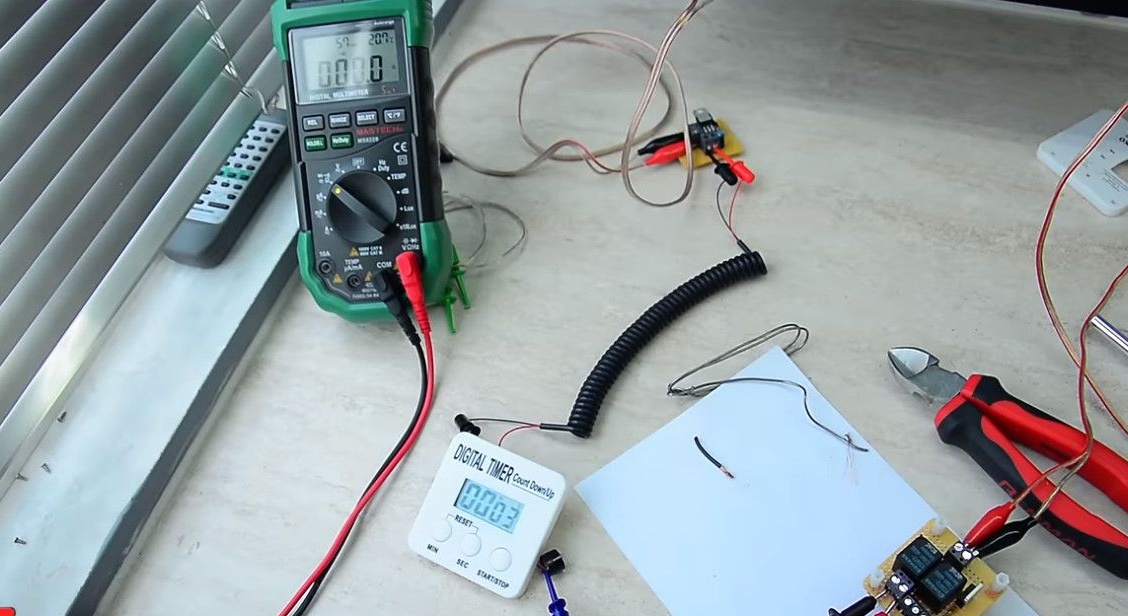
This timer is the simplest kitchen appliance that just squeaks over time. It works from one finger battery of one and a half volts.
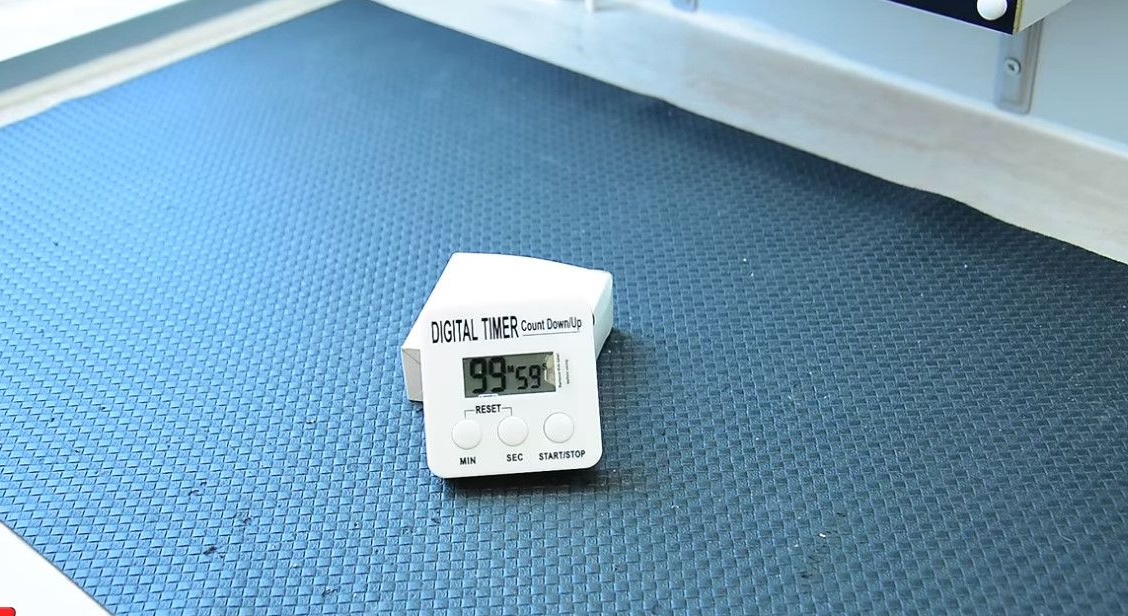
Alpha Mods used it to add to the unit the ability to turn off after a while.
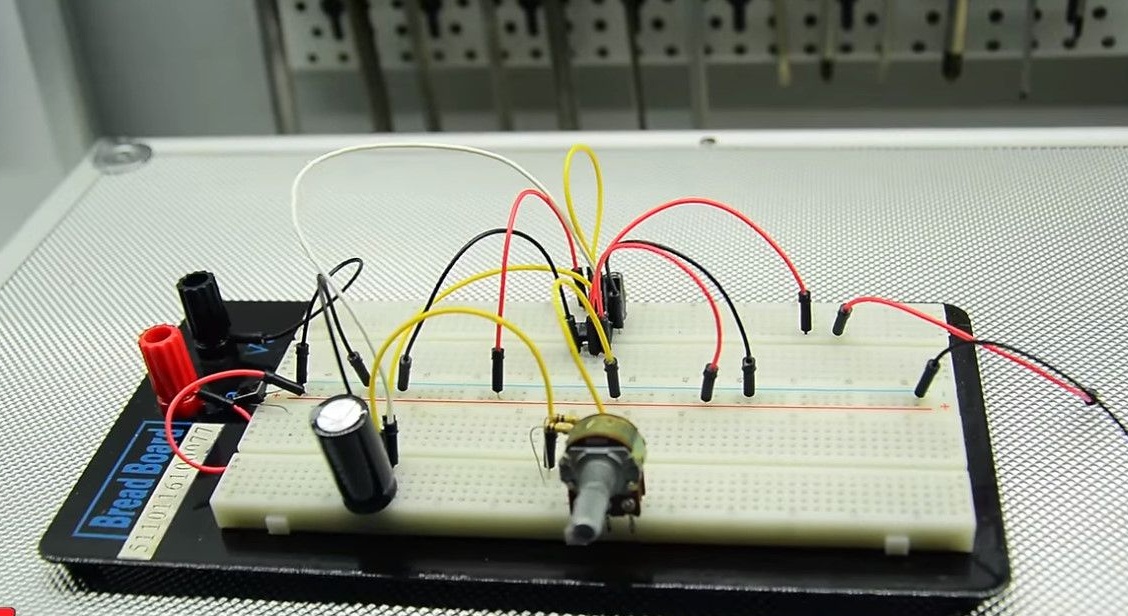
This, of course, can be done differently. For example, use a microcontroller or assemble a simple circuit based on a 555 timer.
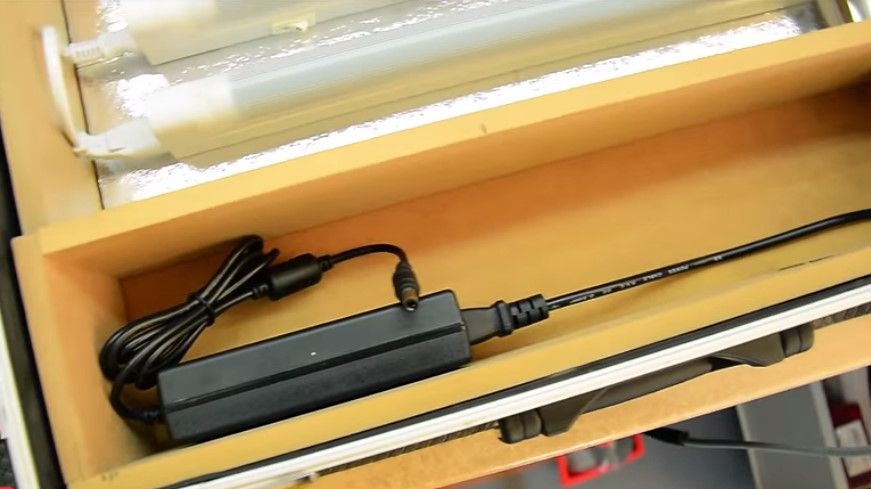
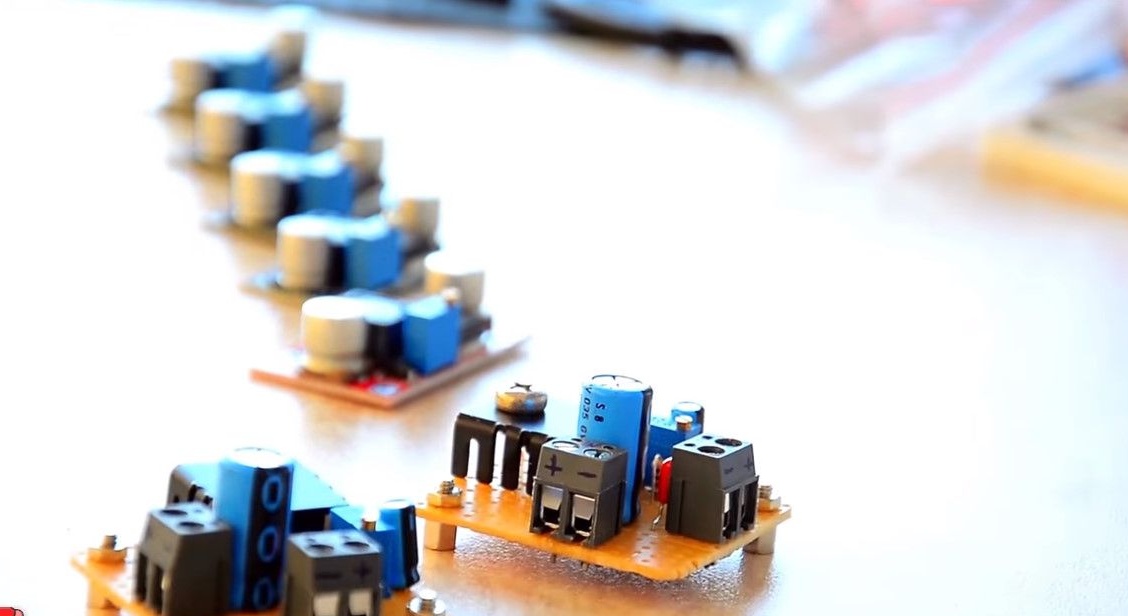
Here is a 12 volt power supply.
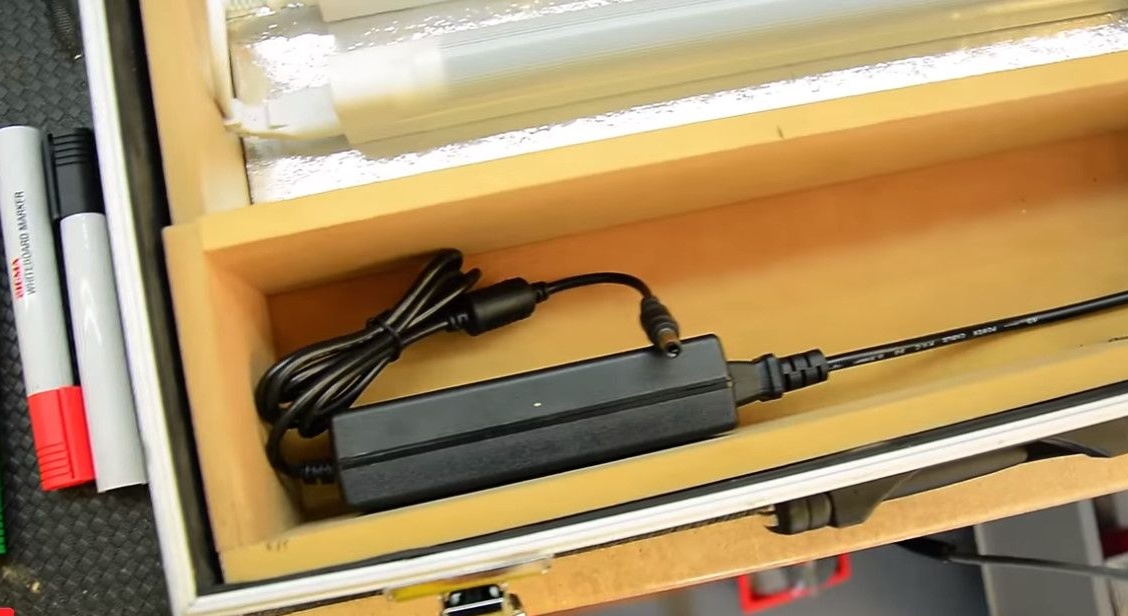
It places it somewhere in the case, cuts off the excess power wire, crimps the terminals.
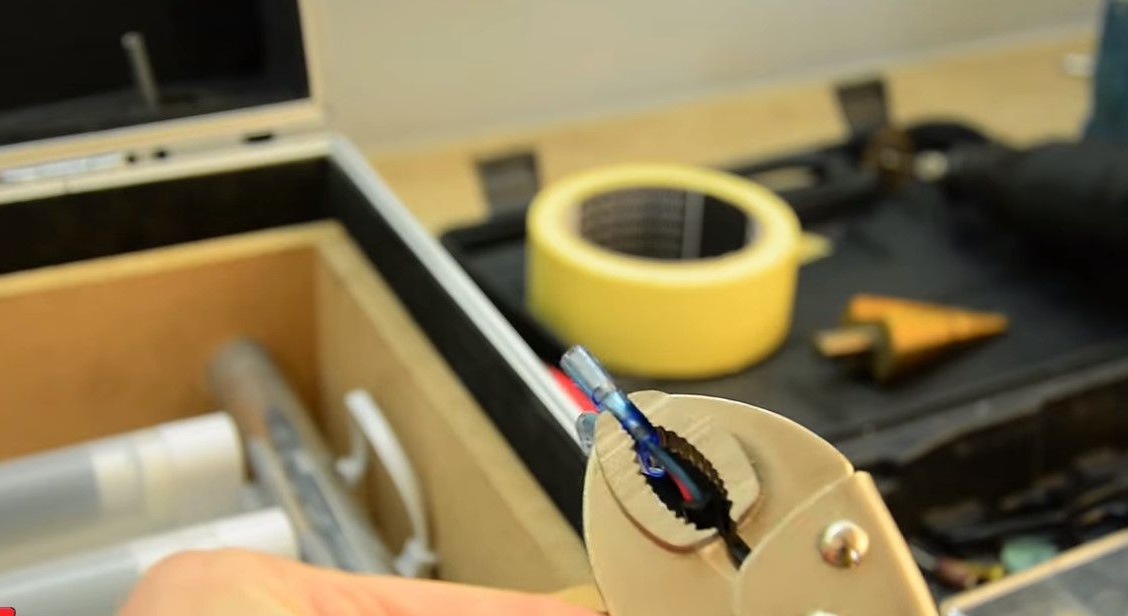
and connects it to the switch.
A 12-volt wire connects to the tee board.
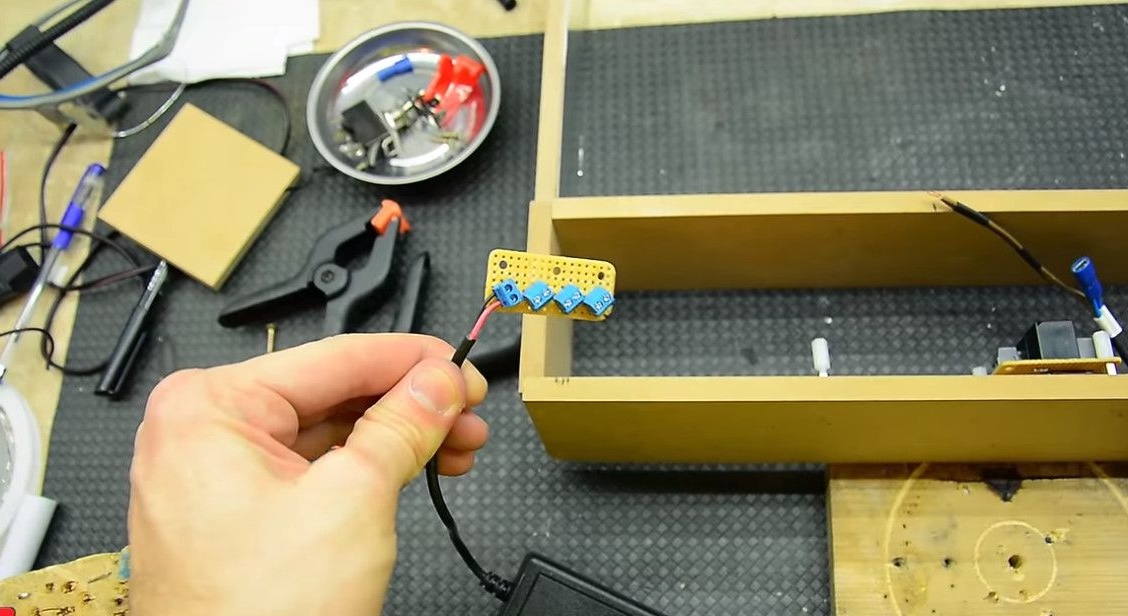
It is from this tee that the lamp control circuit is powered.
This board is mounted inside the chassis on racks.
Speaking of lamps. They are divided into two groups of three lamps.
Groups are included separately so that it is possible to choose which side of the board we will show.
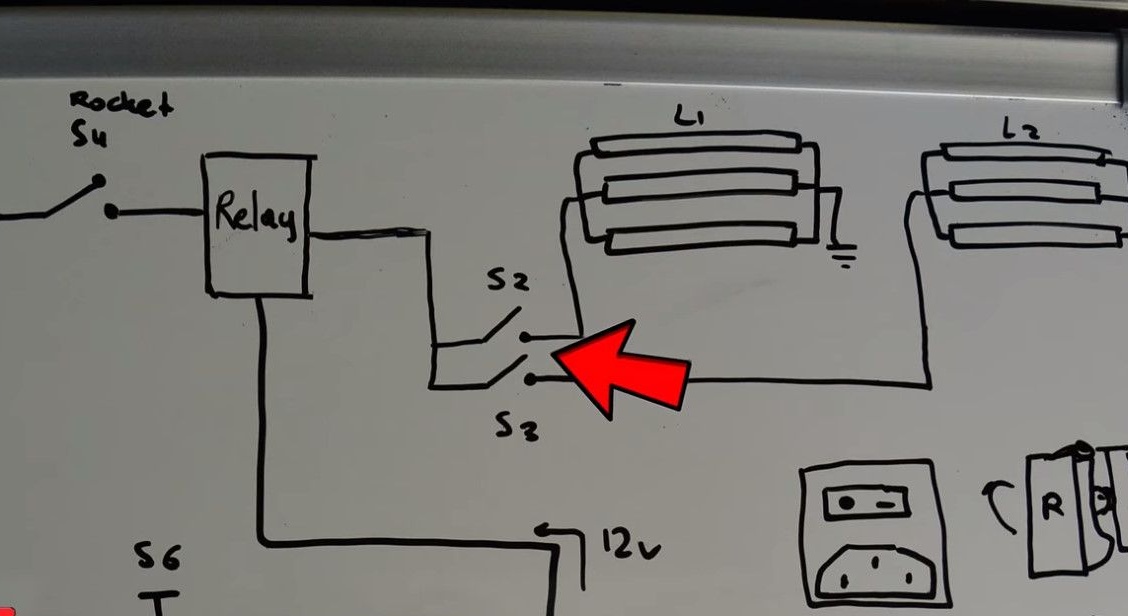
In addition to the timer and everything else, the power of both groups of lamps is displayed on separate switches.

In which case - the main switch can stop the manifestation of photoresist.
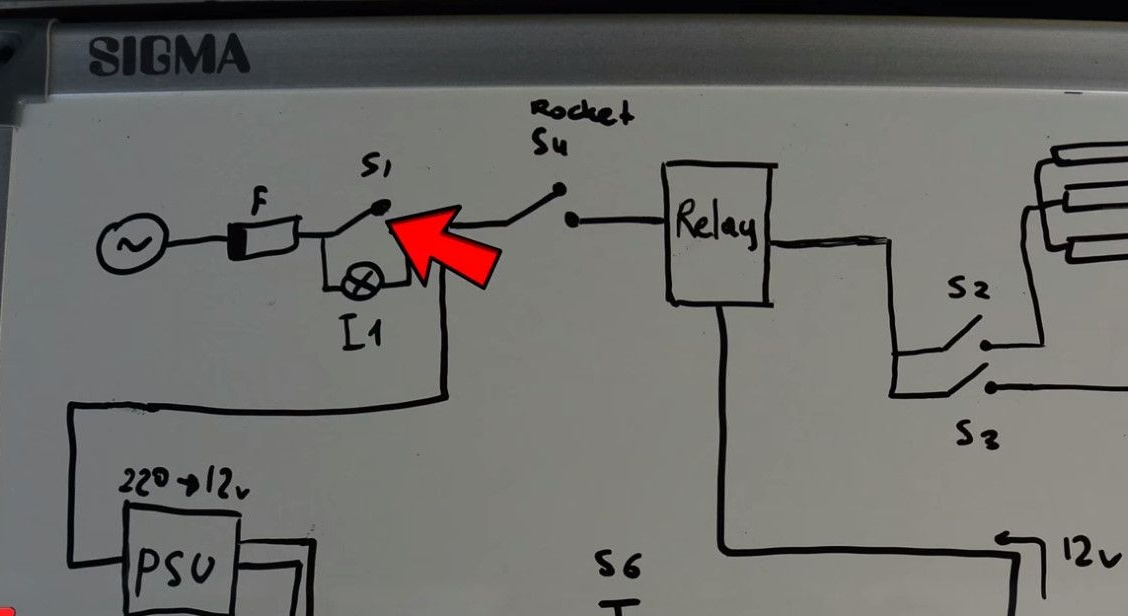
Looking further according to the scheme, it is clear that the voltage can not directly get on the lamp. Three things interfere with him.
The circuit breaker that Alpha Mods just installed.
Two more switches for the choice of the developing side.
And the relay controlling the switching module, which, in turn, is connected to a timer.
In general, let's take a closer look.
It was necessary to make the lamps turn off after a lapse of time.
So this scheme appeared.
The circuit is connected in parallel to the beep timer.
The voltage is supplied to the transformer, converted 220V to 12V.
From 12V converts to 1.5V
From one and a half volts, the timer and the module are powered immediately.
Once the time is up, the timer instructs the module.
The module turns on the relay, that is, it opens the contacts of the lamps and the lamps turn off successfully.
Here are the diagrams for this project.
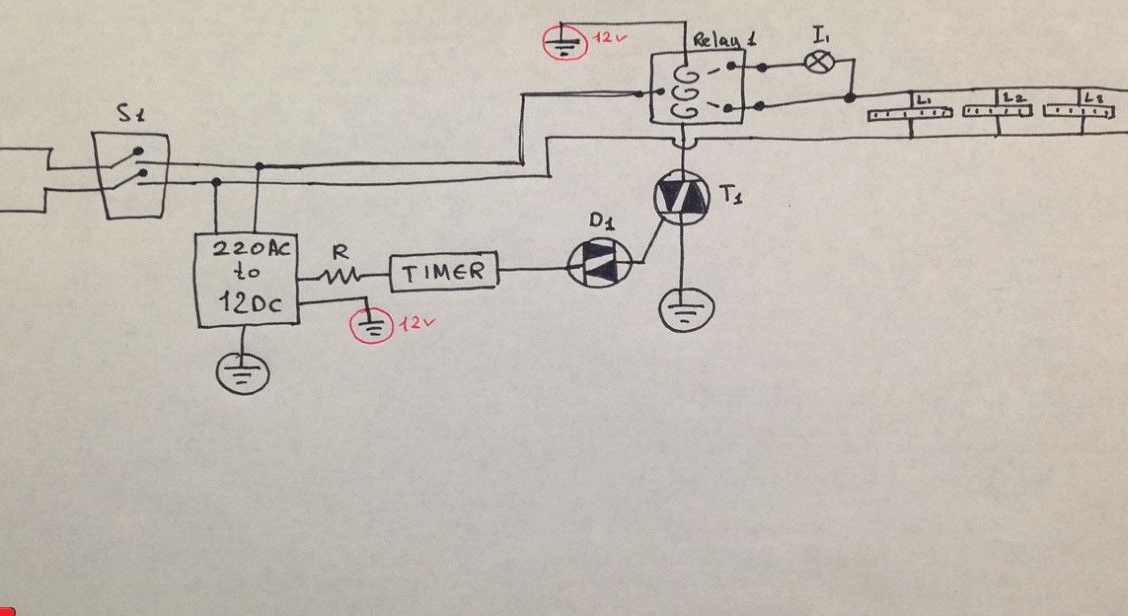
And also here is a diagram using a 555 timer to make the board “delay on” or “delay off”.
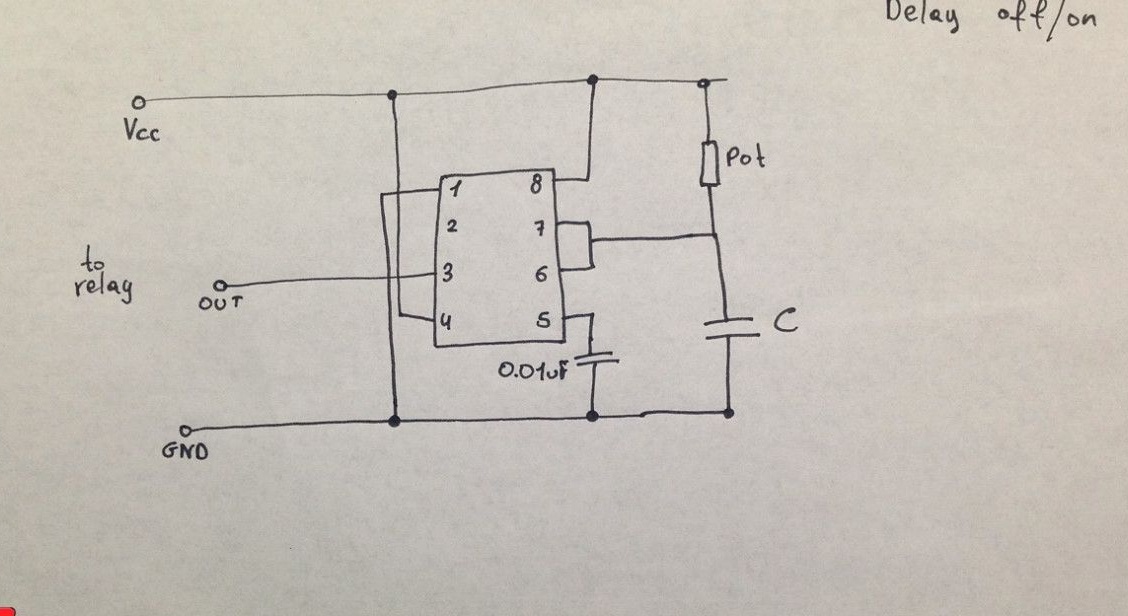
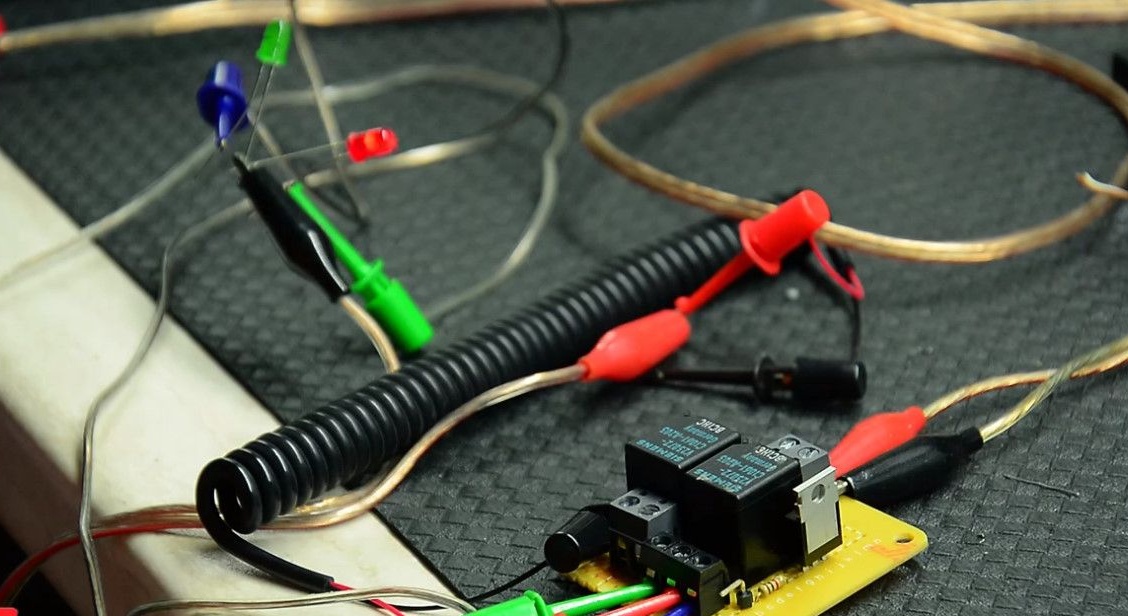
The working scheme of the control module.
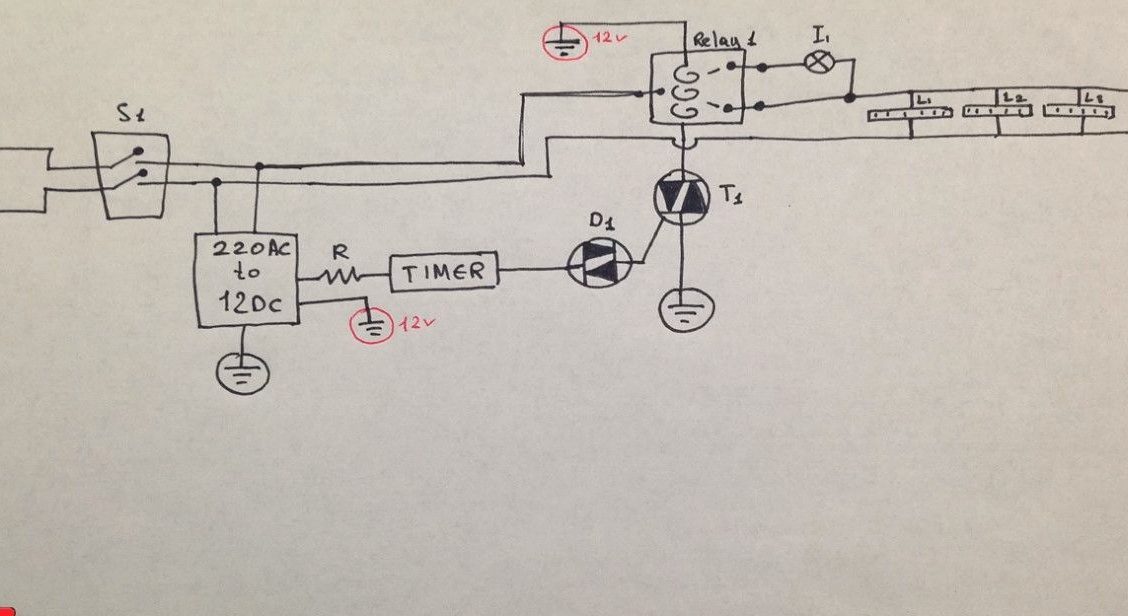
The relay is visible in the diagram.
If Alpha Mods connected them directly to the timer, then at the time the timer expired, the timer would beep intermittently, and the lamps would blink.
At the moment when the timer emits its signal, the output voltage is a "rectangle".
In order for the relay to switch along the first edge of the signal, it implements the SCR thyristor in the circuit, which at constant current has the ability auto retention.
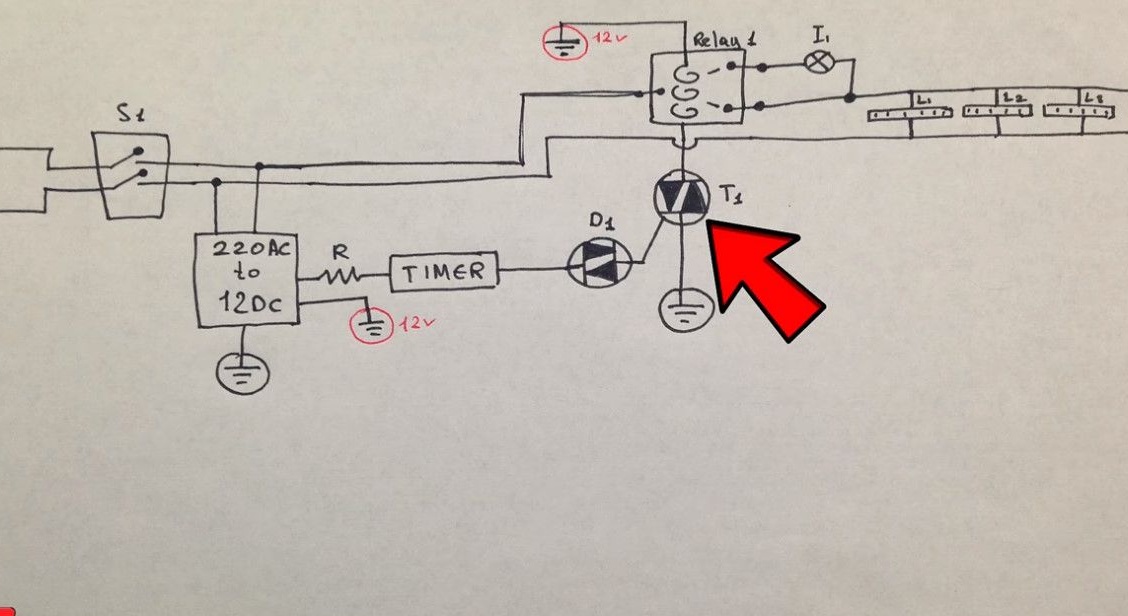
The thyristor takes the first edge of the signal from the timer and turns on.
He "does not pay attention" to all other signals, and continues to be turned on.
It gives a plus. Everything turns on. With a negative edge, it does not turn off anymore.
It turns off only when the power is turned off.
Thus, the lamps turn off permanently, and will be turned off until we remove the load from the thyristor.
But here is another problem. The timer, when you press any of its buttons, also beeps.
This would start the whole circuit every time and turn off the lamps. Therefore, the author interrupts the power of this entire module with a simple S5 button. Normally closed.

Since the timer, when any button is pressed, emits one beep signal at once, the module would consider that this is the relay activation signal.
And at any press of a button on the timer, the module would work, the relay would activate and the lamps would turn off.
It is for this that the signal is interrupted by the S5 button. When S5 is clamped, a timer is programmed, release the button.
The timer is programmed, the return report has begun.
As soon as the time is up - it sends a command to the module (ON Module).
The module turns on the relay (Relay) - opens the power contacts. And the lamps turn off successfully.
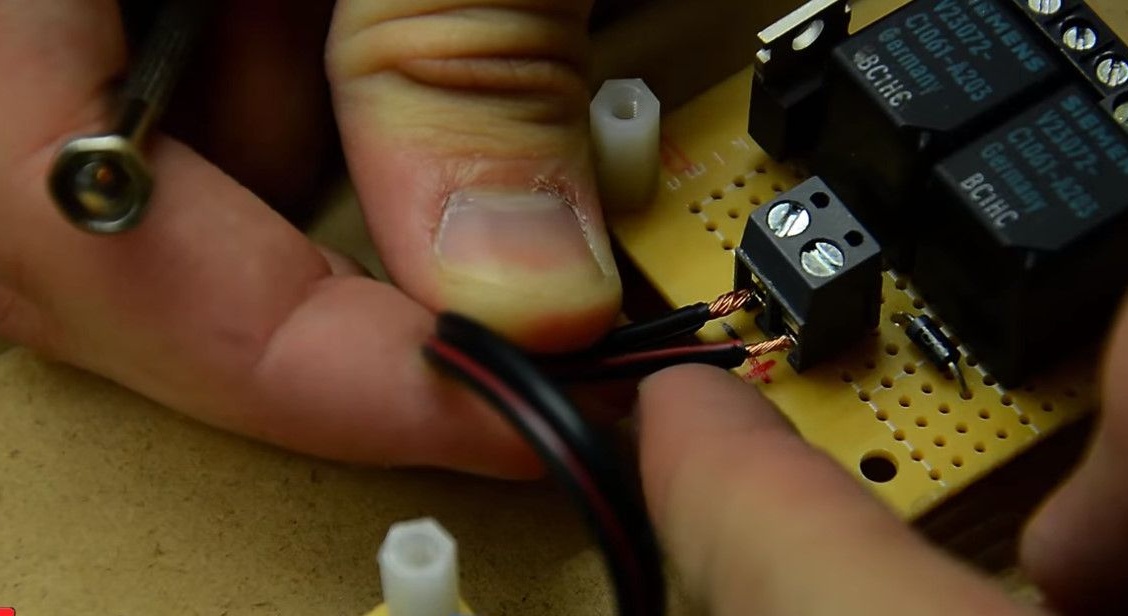
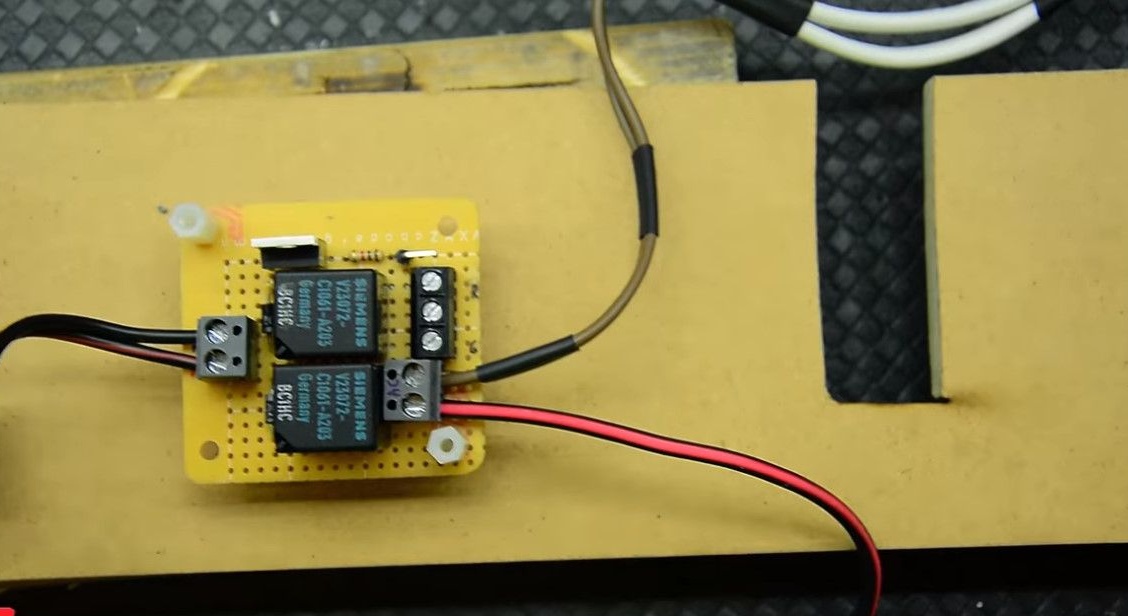
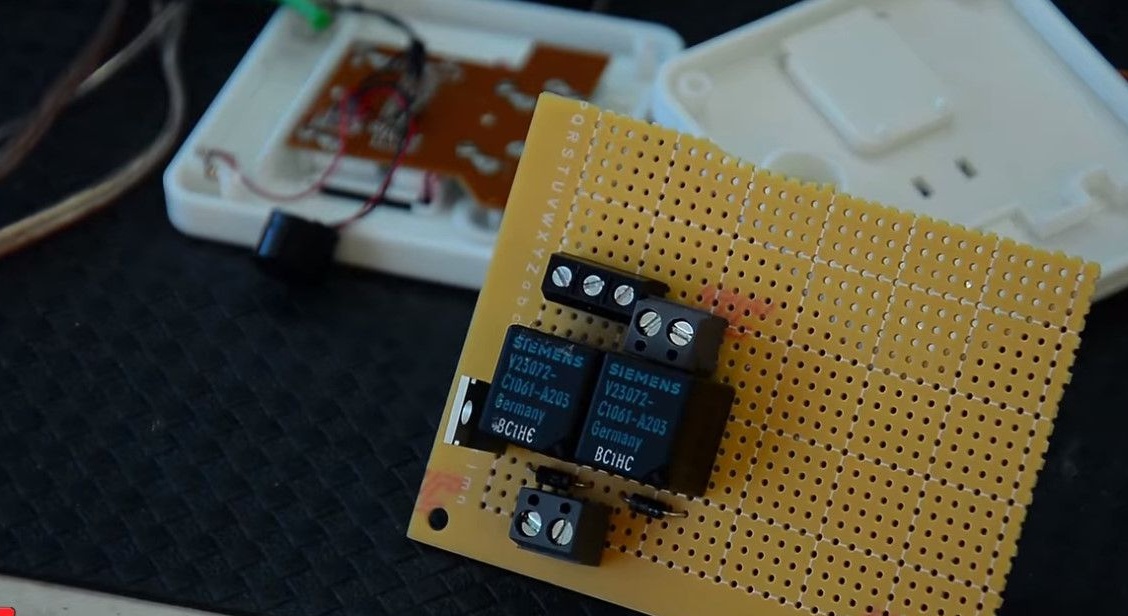
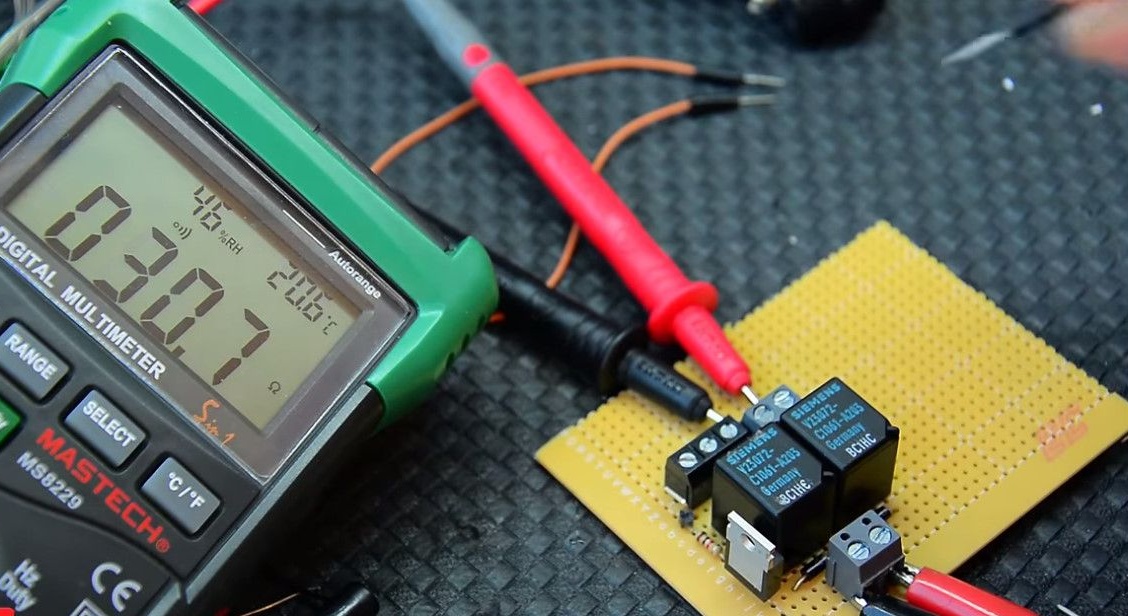
At installation 2 relays. The first controls the lamps, the second - LEDs.
Alpha Mods did not draw the second relay of the module to make the circuit simpler.
It includes two LEDs - either red (burn through the photoresist) or green (end mode).
Regarding the homemade timer.
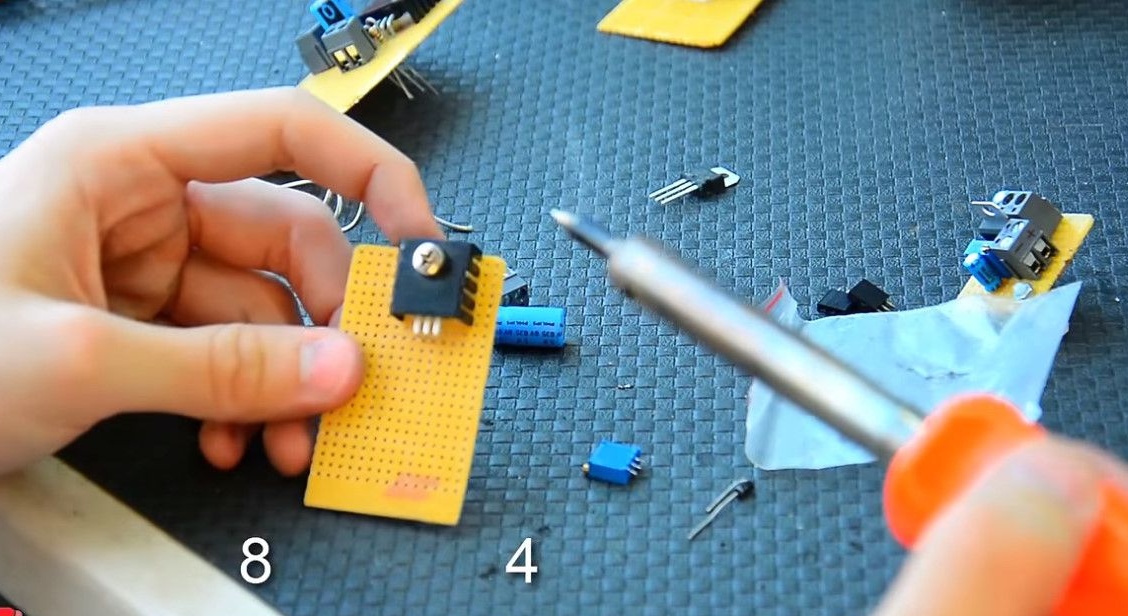
It can be assembled on timer 555. Here is a simple diagram. Power 12V.
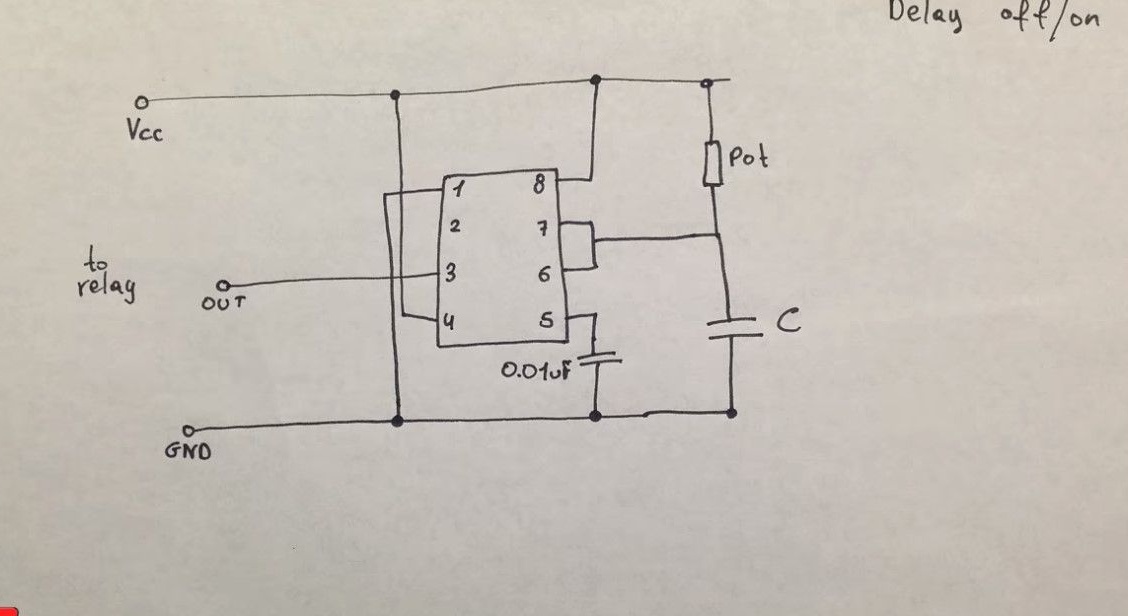
Here is the output, and the delay time is controlled by the capacitor and potentiometer.
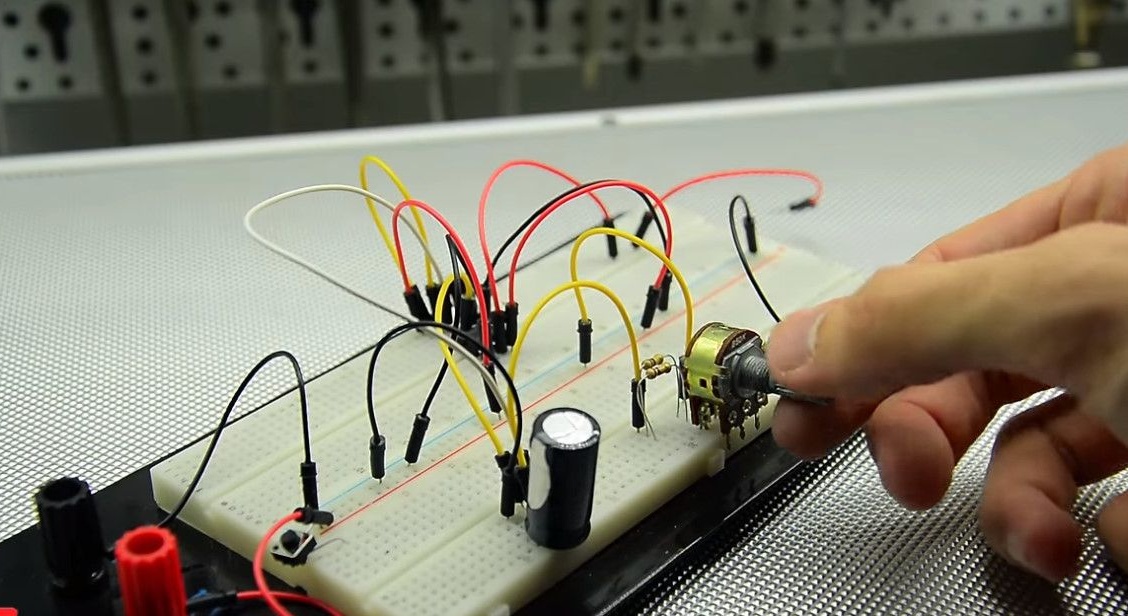
A small table over time, in order to save it for you.
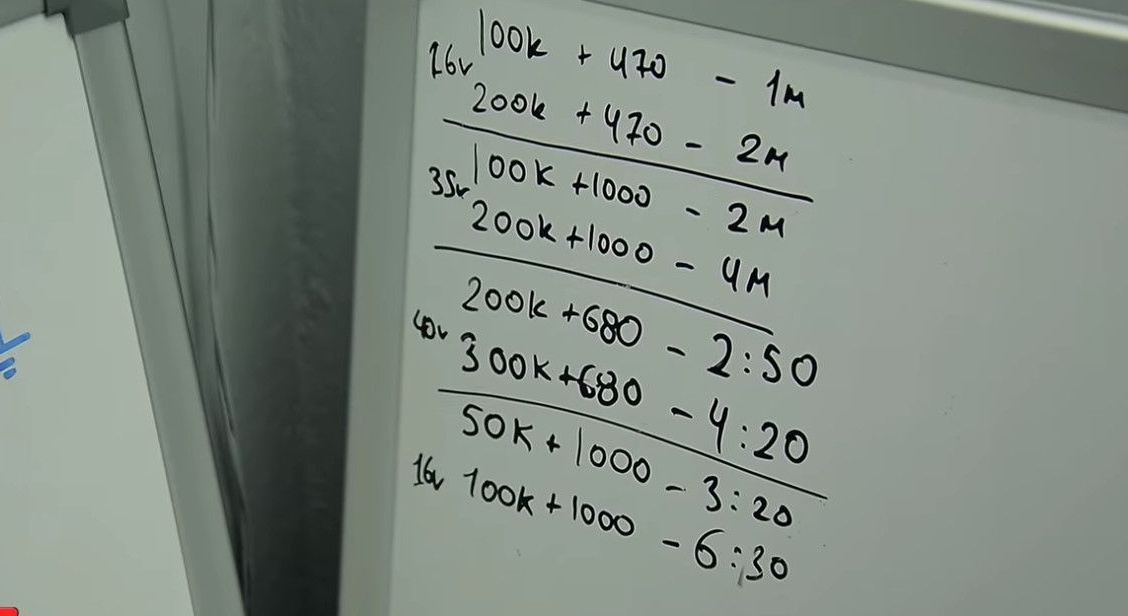
On the left is the value of the potentiometer, in the center is the capacitor, on the right is the response time.
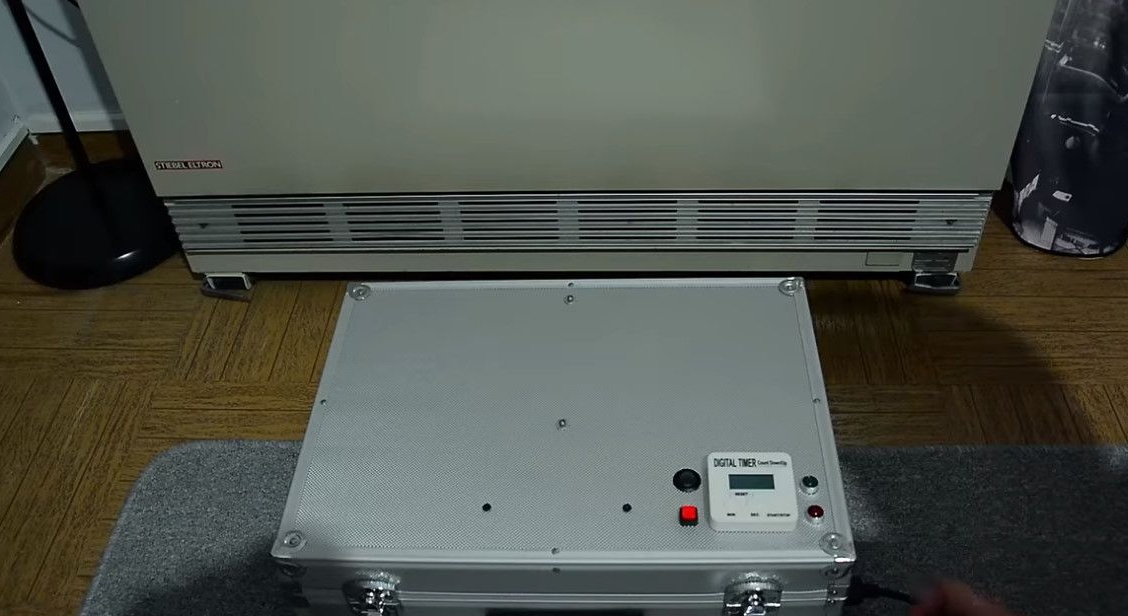
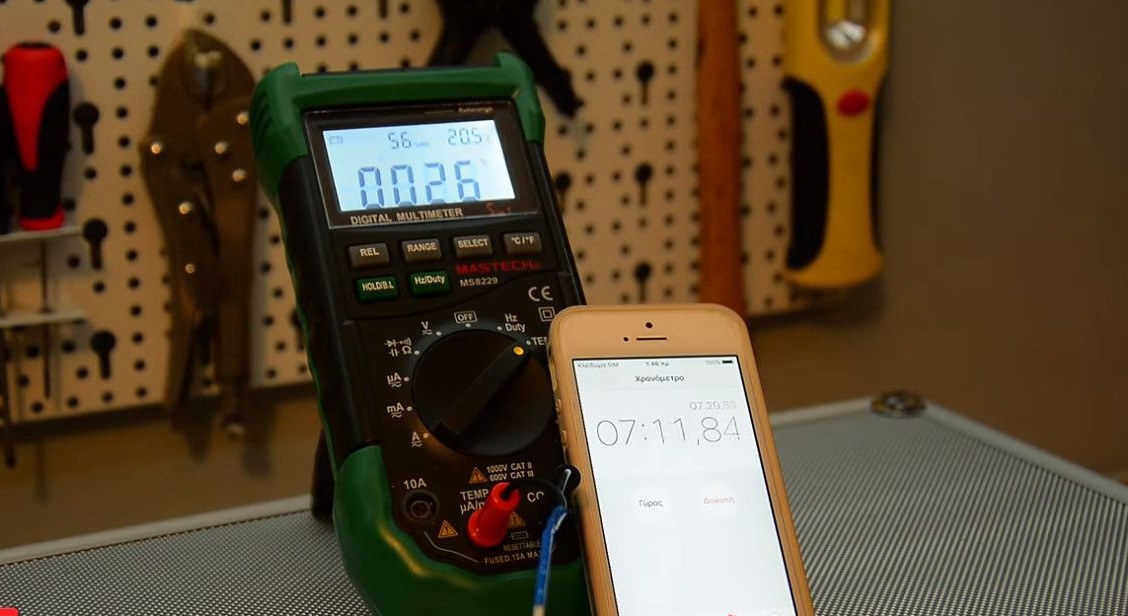
We return to the main project. The question arose, how 6 lamps can heat the inside of the case?
To do this, Alpha Mods launched a thermocouple into the housing, turned on all 6 lamps and a timer.
You won’t have to work on it for hours, the power is quite large and the photoresist appears quickly.
After 8 minutes of operation, the temperature rose by 6 degrees. With a short operating time, active cooling is not required.
To connect all of the above, twisted pair cable is used.
To connect both parts of the housing.
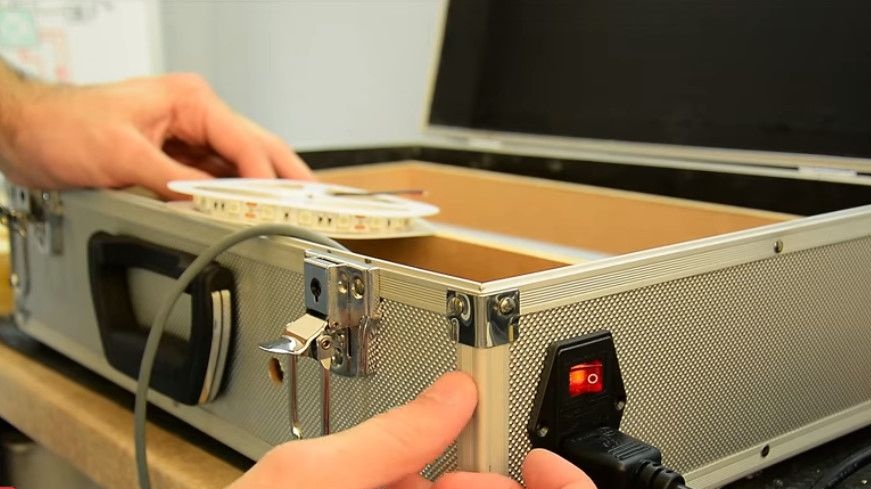
To exclude illumination, the photoresist will apply a red LED strip.
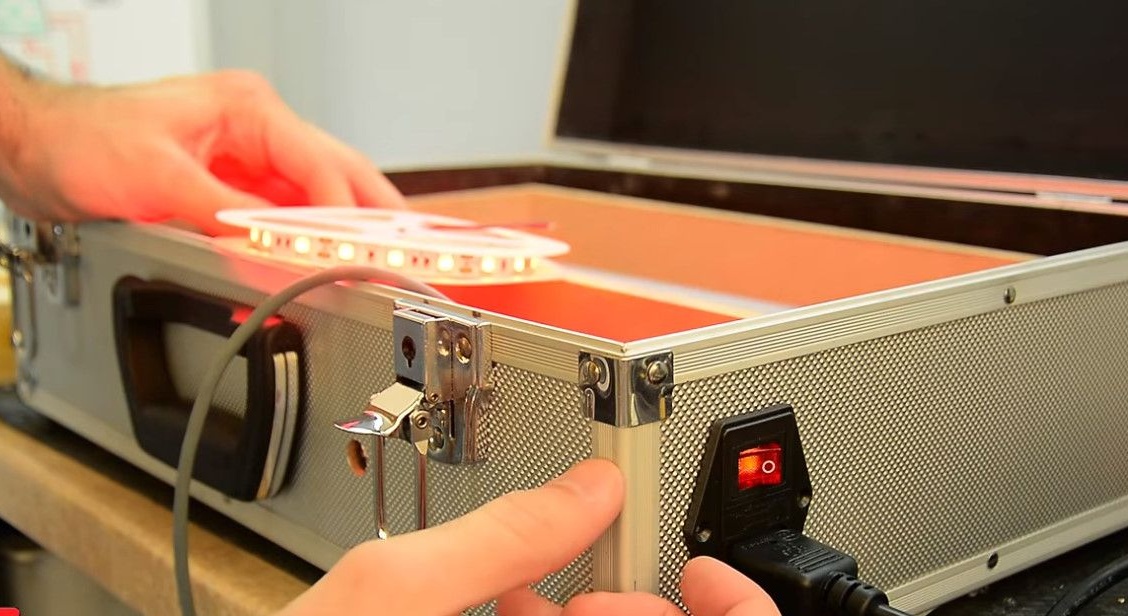
In the case I brought out for her a separate power button on the front.
I glued the LED strip under the top of the cover.
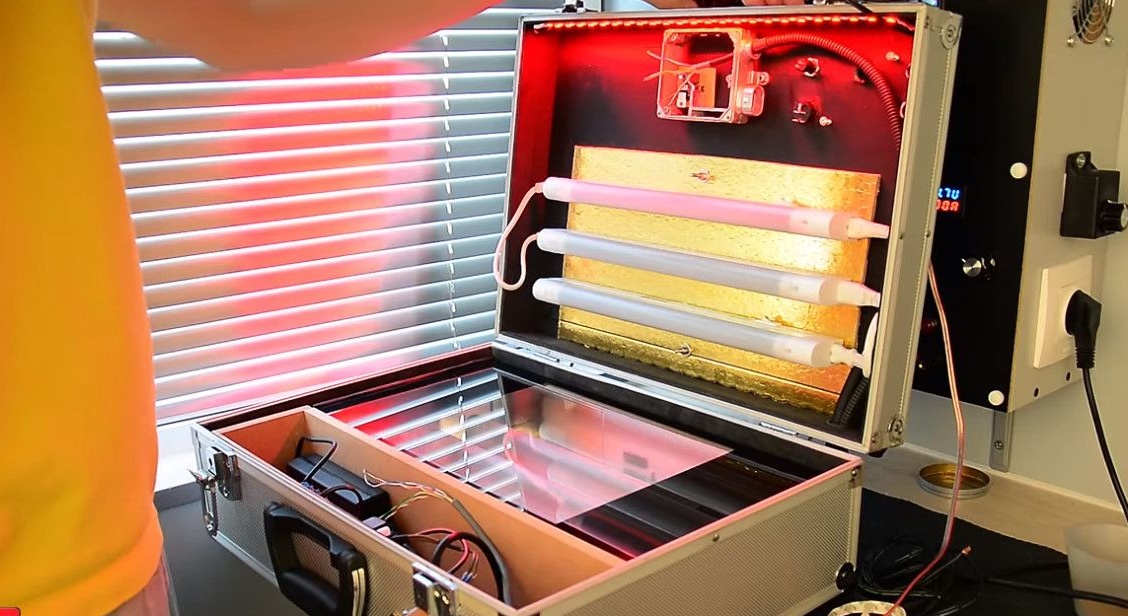
Now you can work in complete darkness, without fear of exposure to photoresist.


The drop module and all kinds of connections are hidden in the xenon ballast housing.
The main group of lamps was closed with glass.
And the box with the power supply, modules and so on was closed with plywood with a black sticker.
At this Alpha Mods completes the project.
Thank you all, bye everyone.
Videos