
Hello fishermen, the predator hunting season has begun! And this means that we will need. Of course, today the market offers a wide range of different fishing accessories, but they all cost money, and sometimes quite a lot. This is especially true of such baits as various wobblers and other baits that imitate some animals or birds that the predator hunts for. If you want to save money and make a unique and interesting bait, this instruction is just for you!
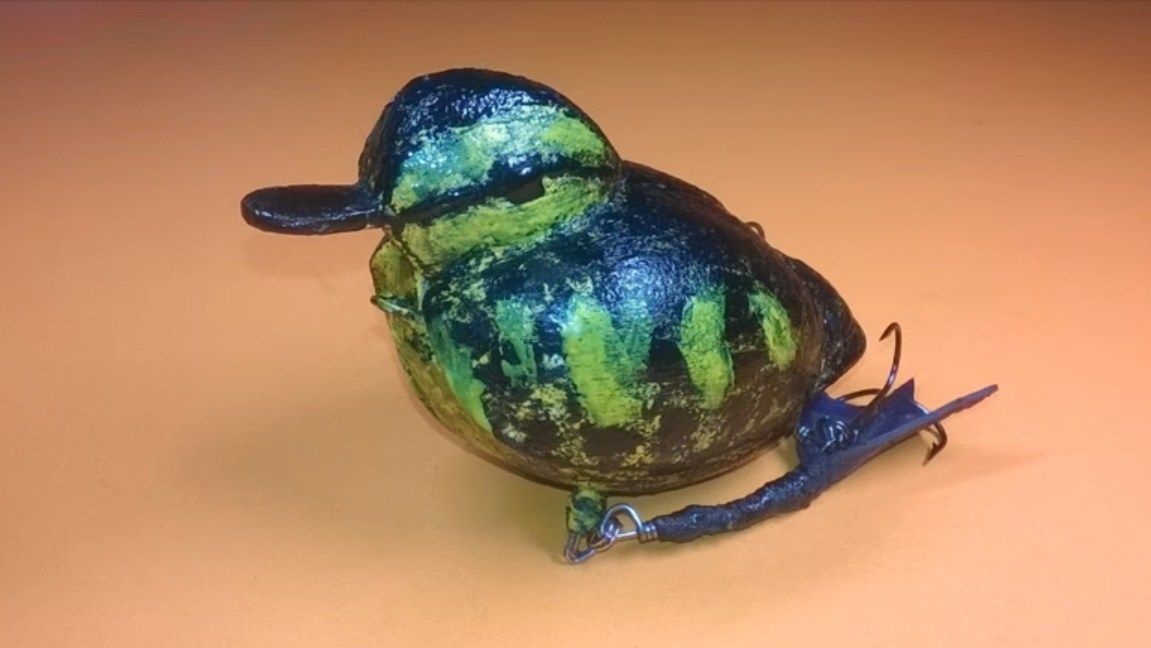
In this article, we will look at how to make a bait that mimics a duckling. Such a prey is almost always attacked only by a large predator, it can be a trophy pike, asp, chub or even catfish. Making a homemade duckling is very simple, and all this is done practically from waste material, and the quality of the product is not much different from the purchased one. As a basis for the manufacture, the author used plastic spoons that cost a penny and can also be obtained for free. And also it is such a gratuitous material as sawdust, they serve as a filler. If you wish, you can glue the bait with real feathers and then it will be almost one to one similar to a real duckling.
So, we will consider in more detail how to make one!
Materials and tools that were used by the author:
Material List:
- disposable;
- wood sawdust;
- superelkey;
- stainless steel 0.8 mm thick;
- two tees;
- rubber from a bicycle chamber for the manufacture of paws;
- lead for loading;
- nail polish (for coloring);
- matches;
- threads.
Tool List:
- pliers;
- pliers;
- stationery knife;
- sandpaper;
- file;
- drill;
- hacksaw blade.
The process of making duckling:
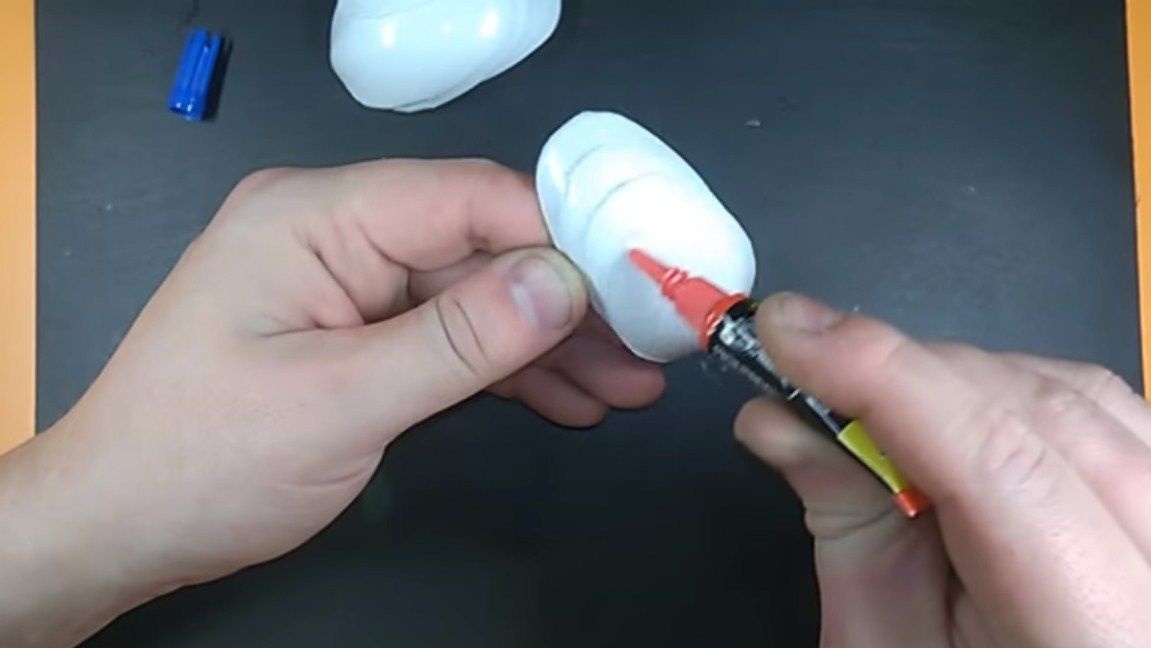
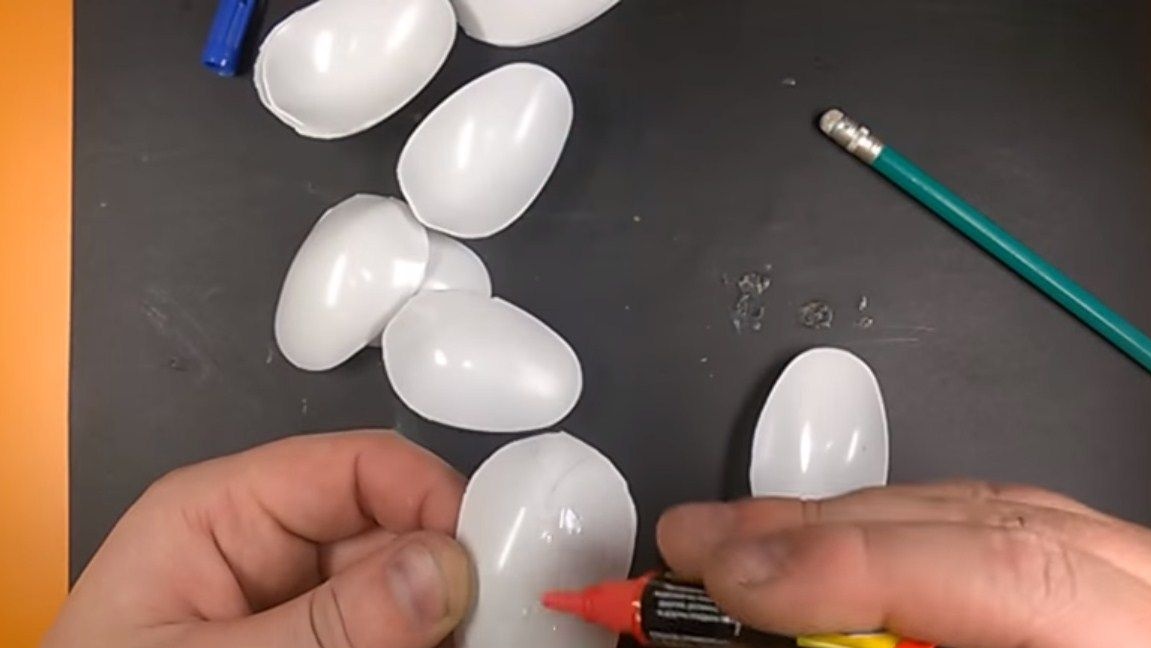
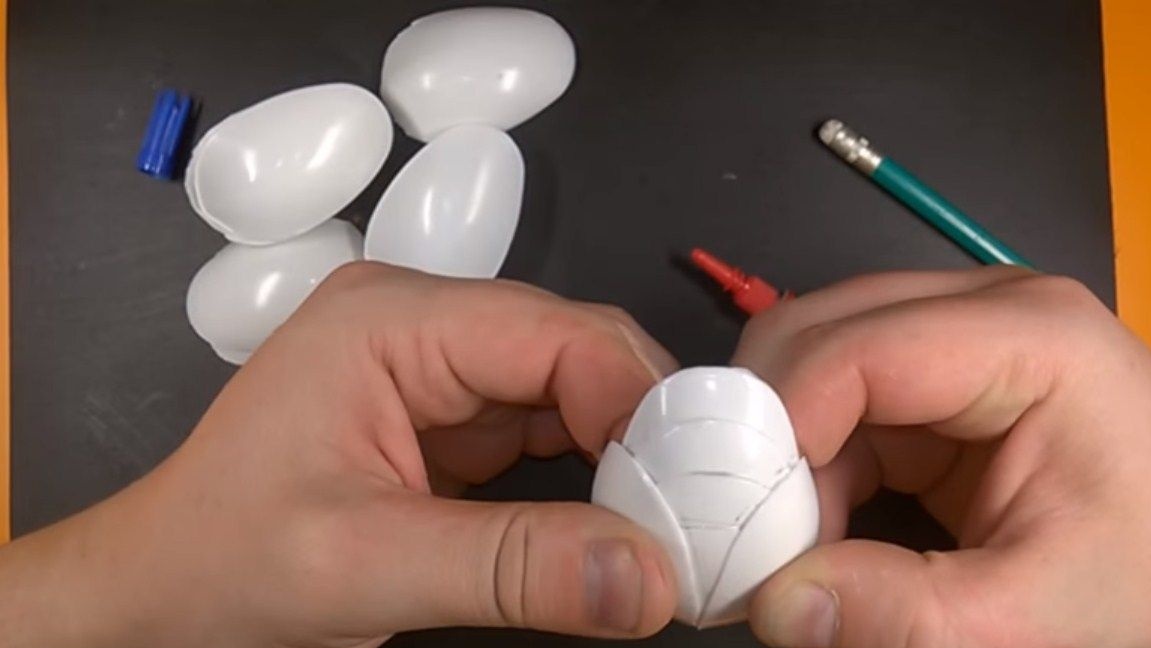
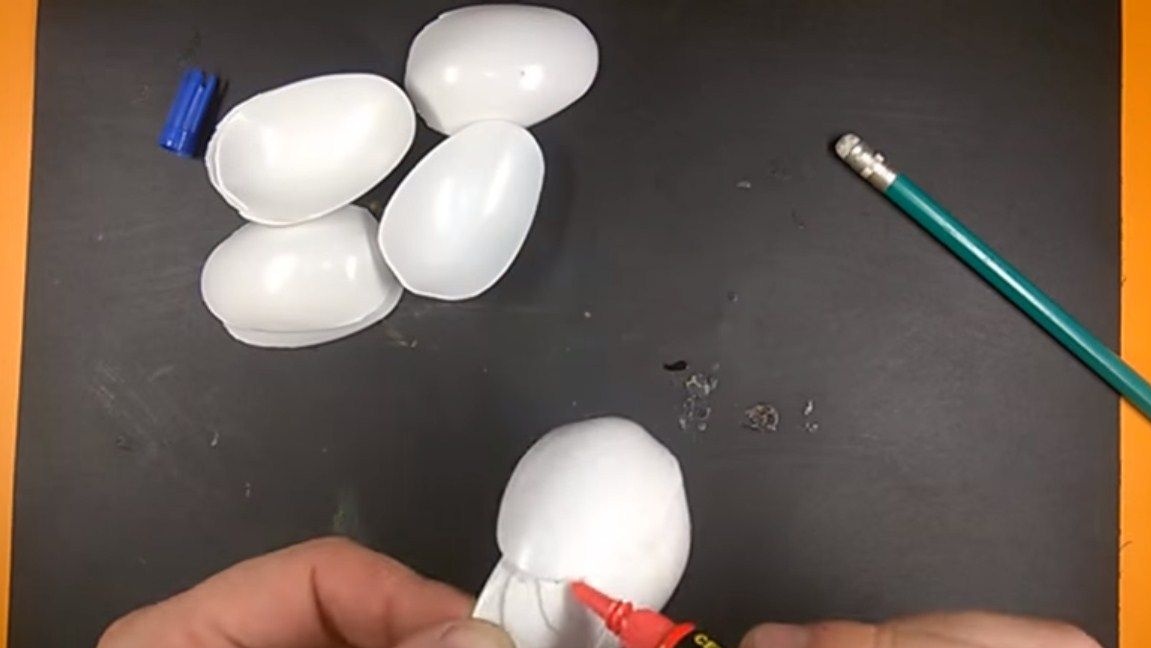
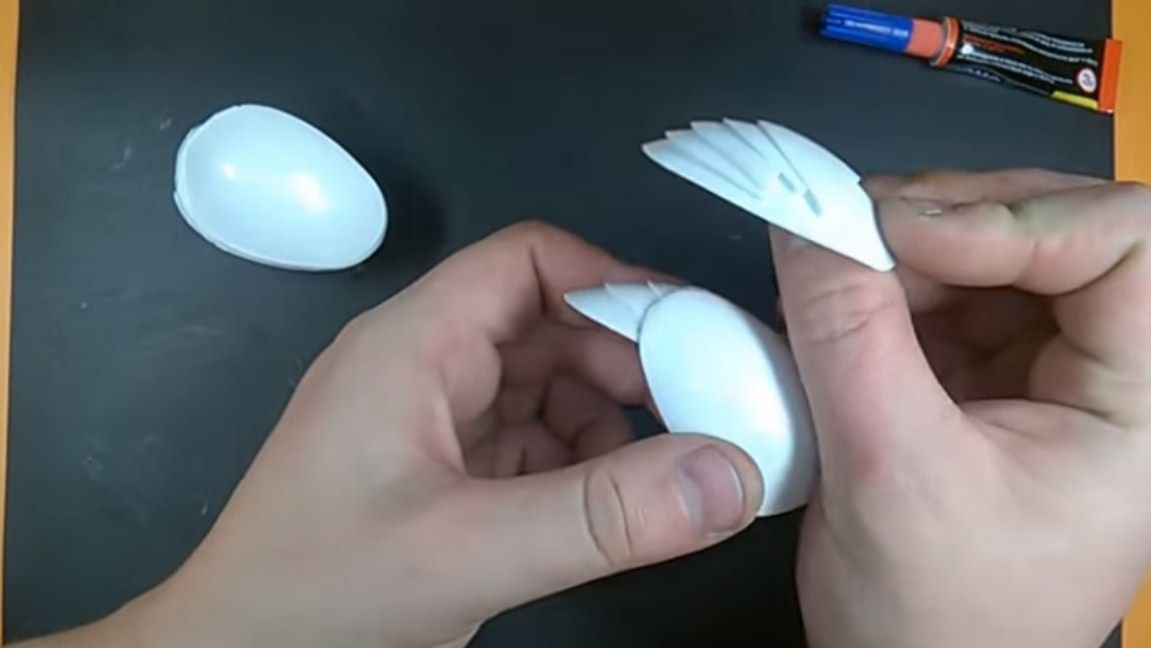
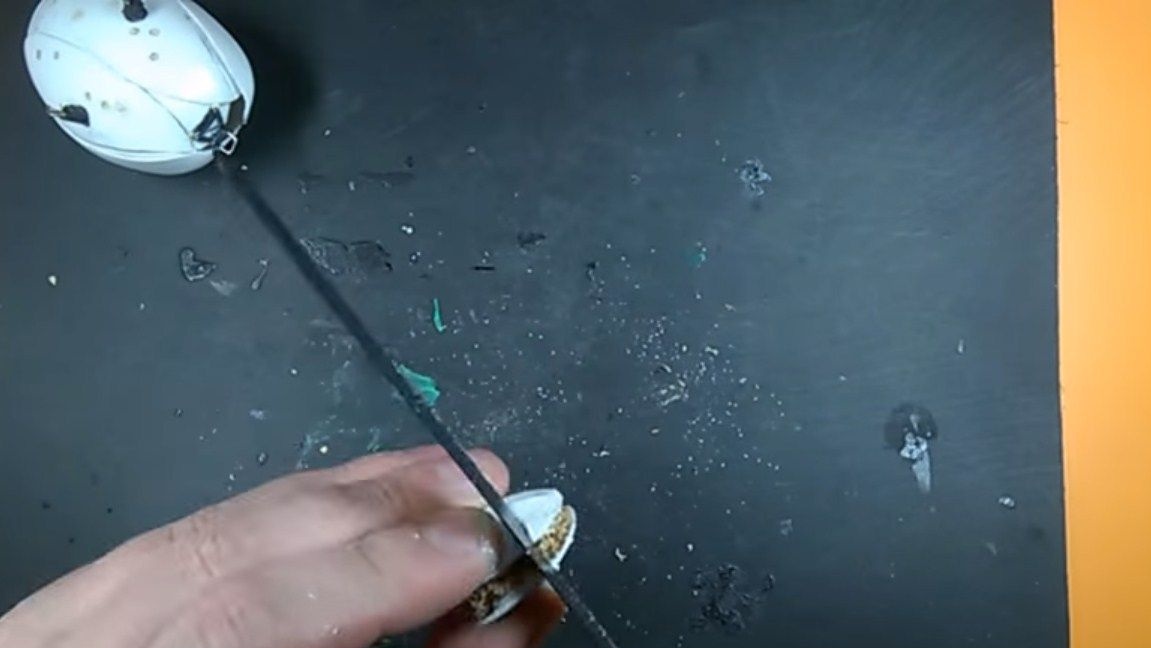
Step one. We make the basis
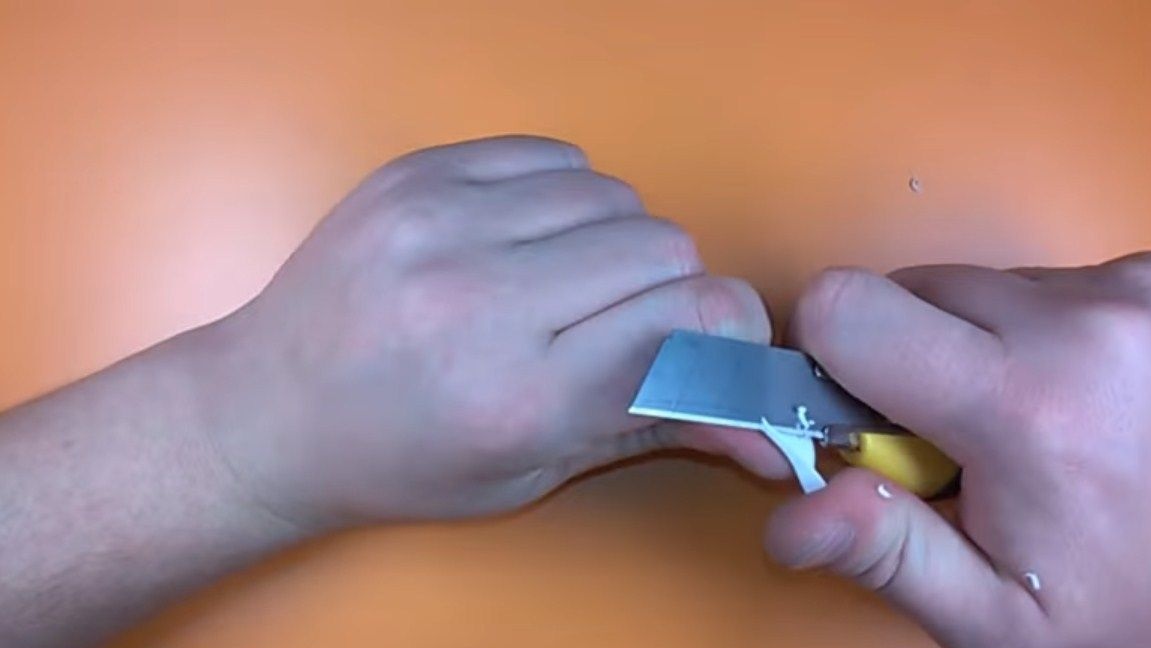
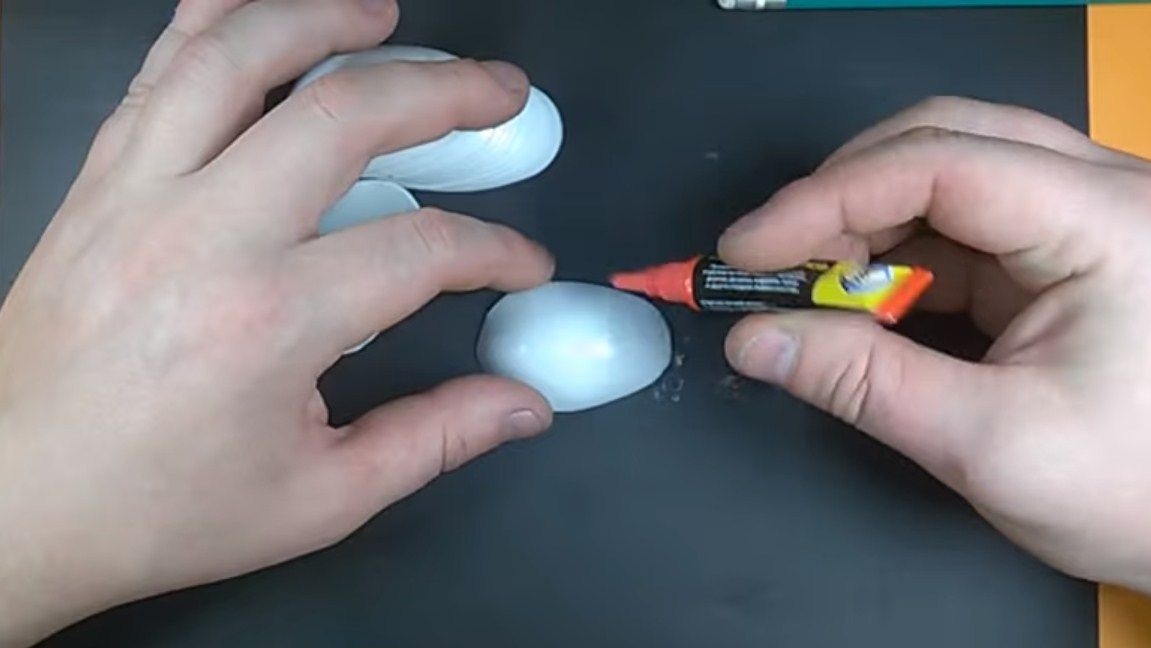
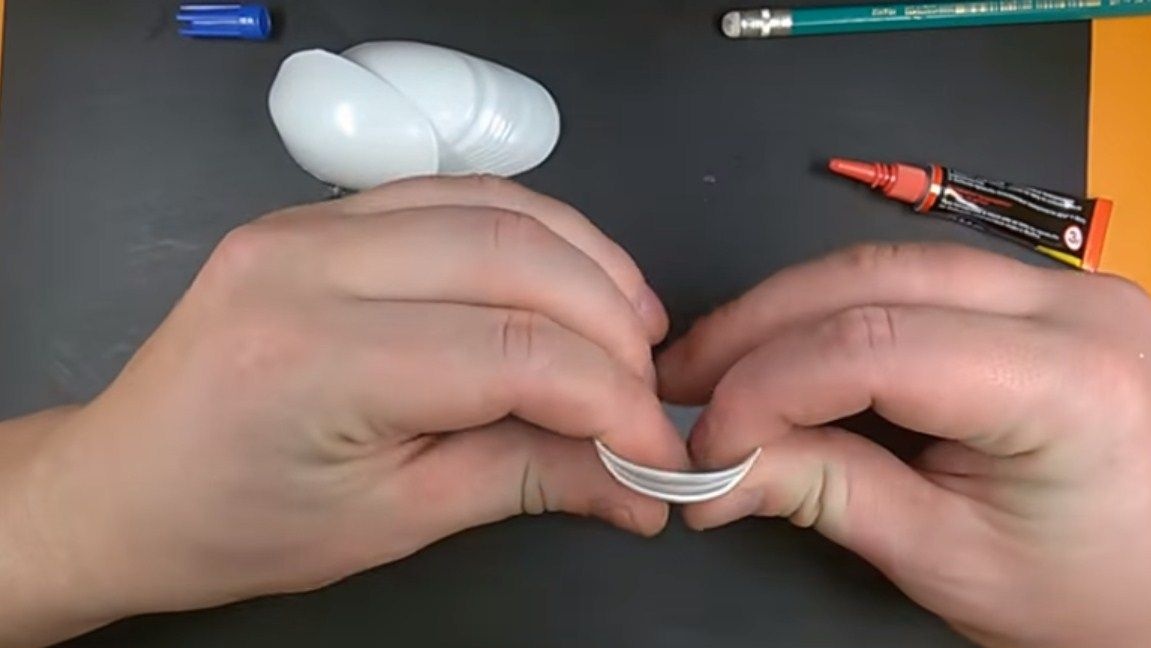
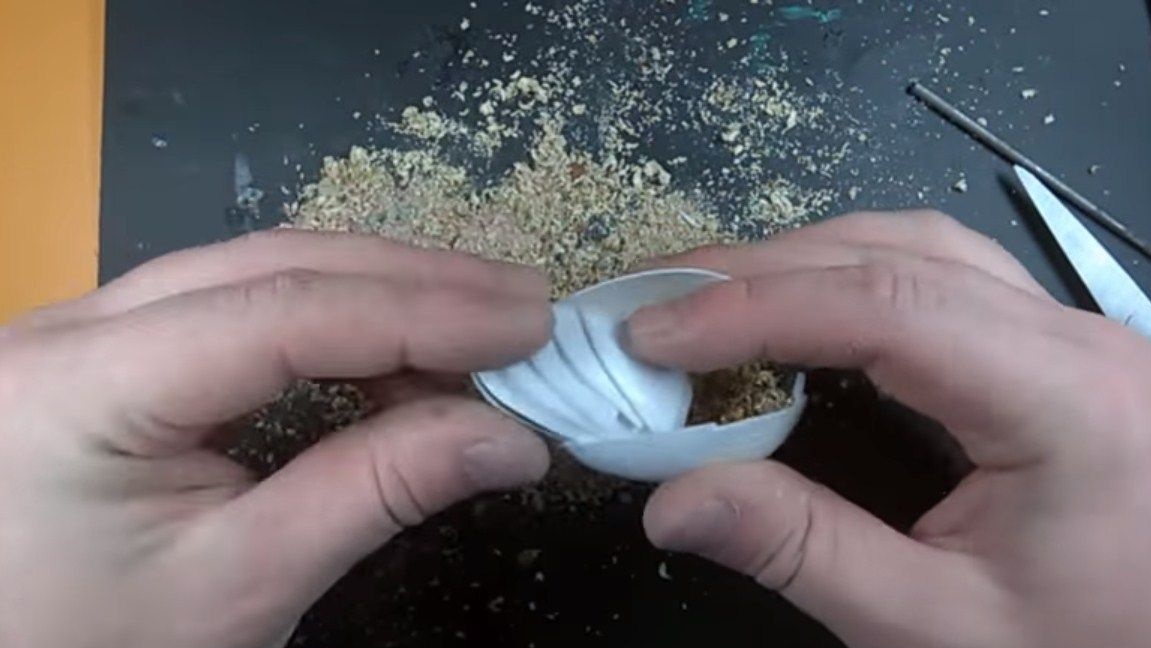
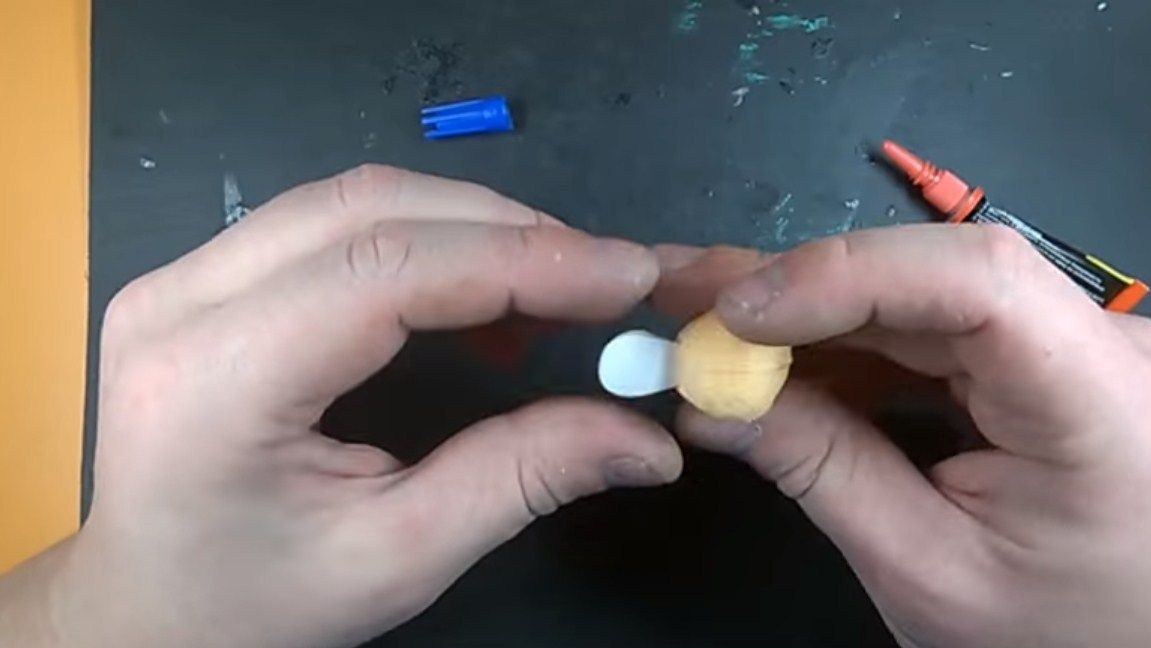
To make the basics, we first prepare the materials. Here you will need disposable plastic spoons. We cut off the handles from them and grind the excess with a file. Next, we glue these parts as the author in the photo, it can take 3-4 tablespoons to make the duck’s “belly", and then we attach the parts to this part on the side. The author used superglue as glue, later the construction is still strengthened with matches and glue. That's all, in such a simple way we made the lower part of the duckling, which the predator will see from the depths.
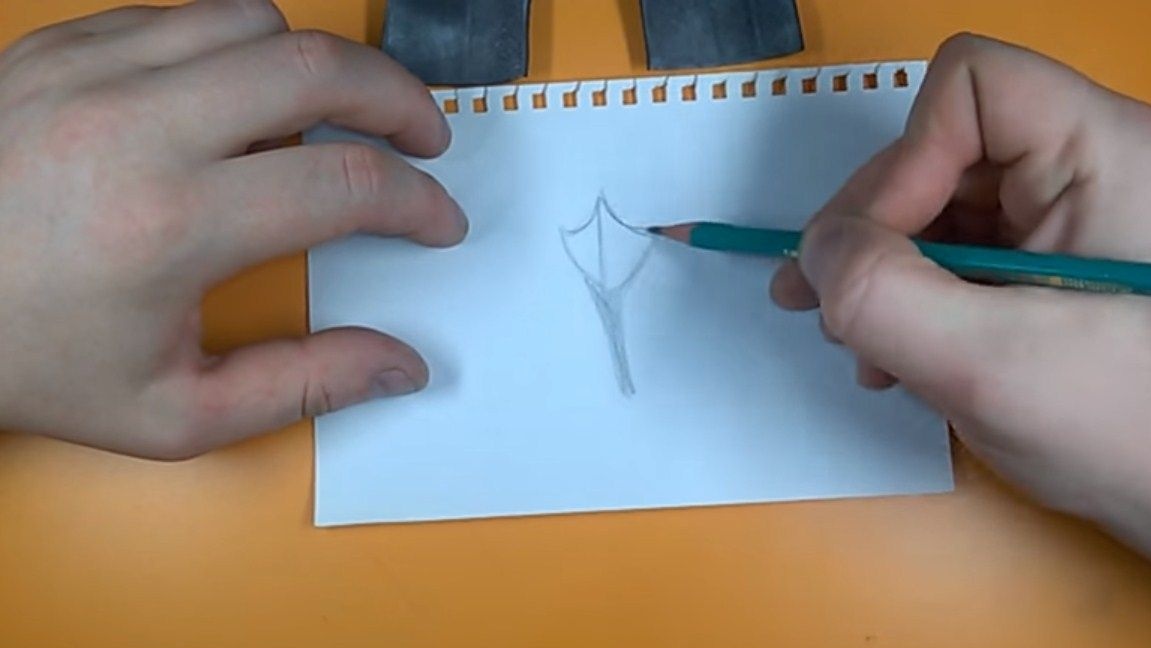
Step Two Making duckling paws
The duckling's paws are very important, this is one of the elements that is visible from the depths and which identifies the predator. To make paws, you will need rubber from a bicycle chamber. First, draw a foot on a piece of paper, and then cut out the template. Well, now, according to this template, it remains to cut two paws out of rubber.
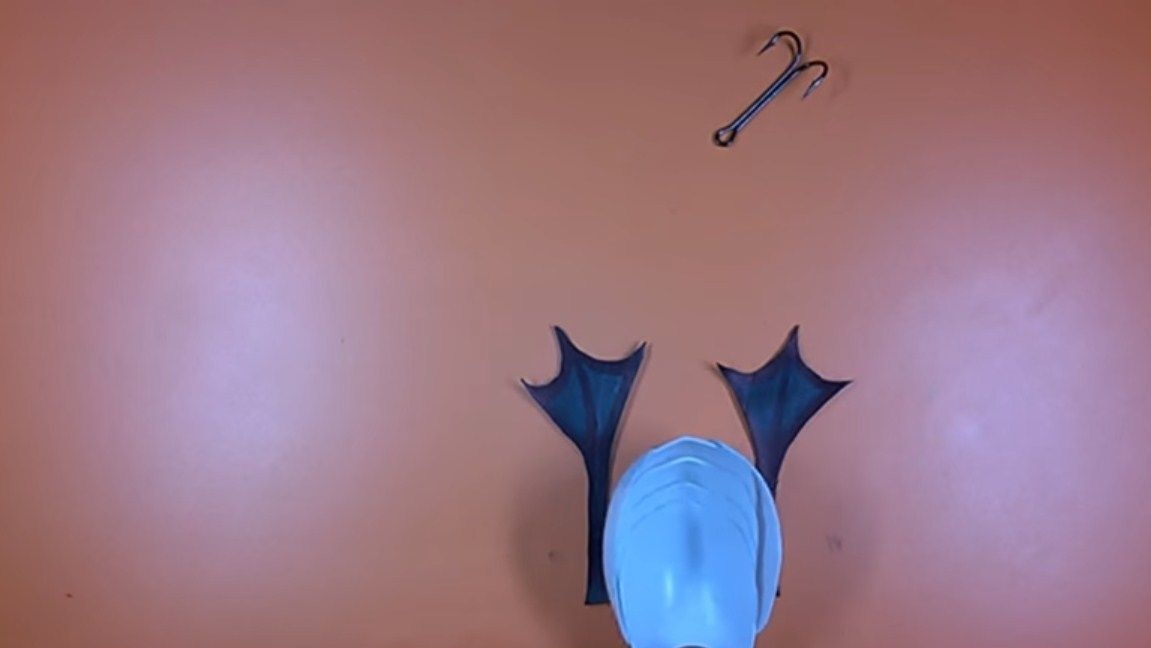
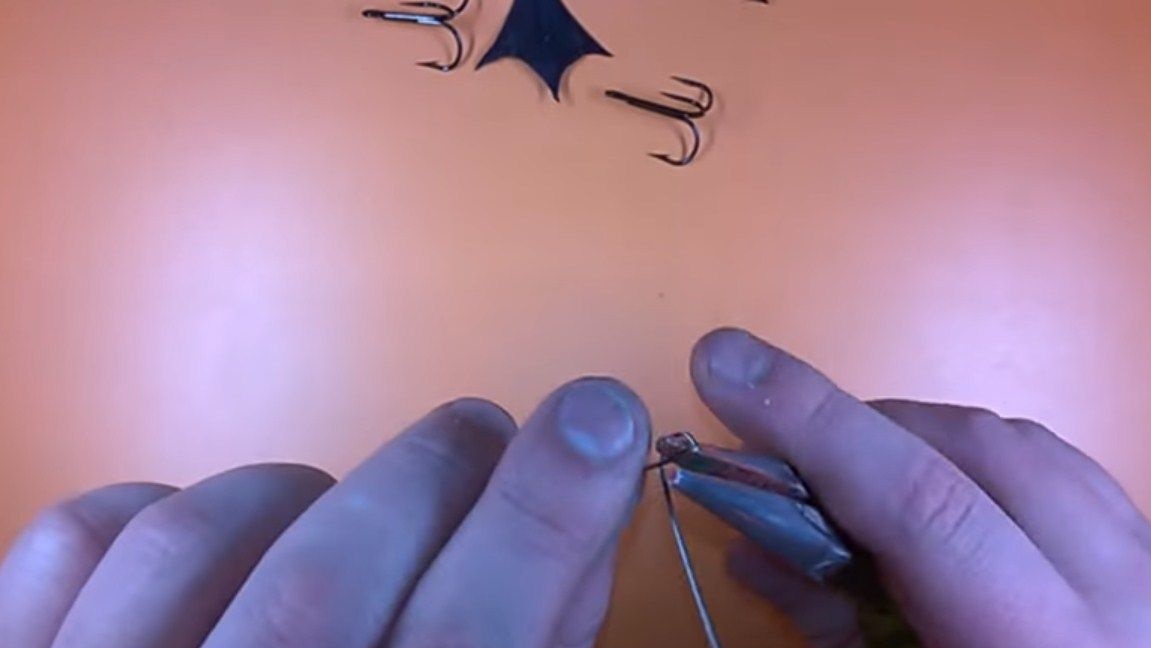
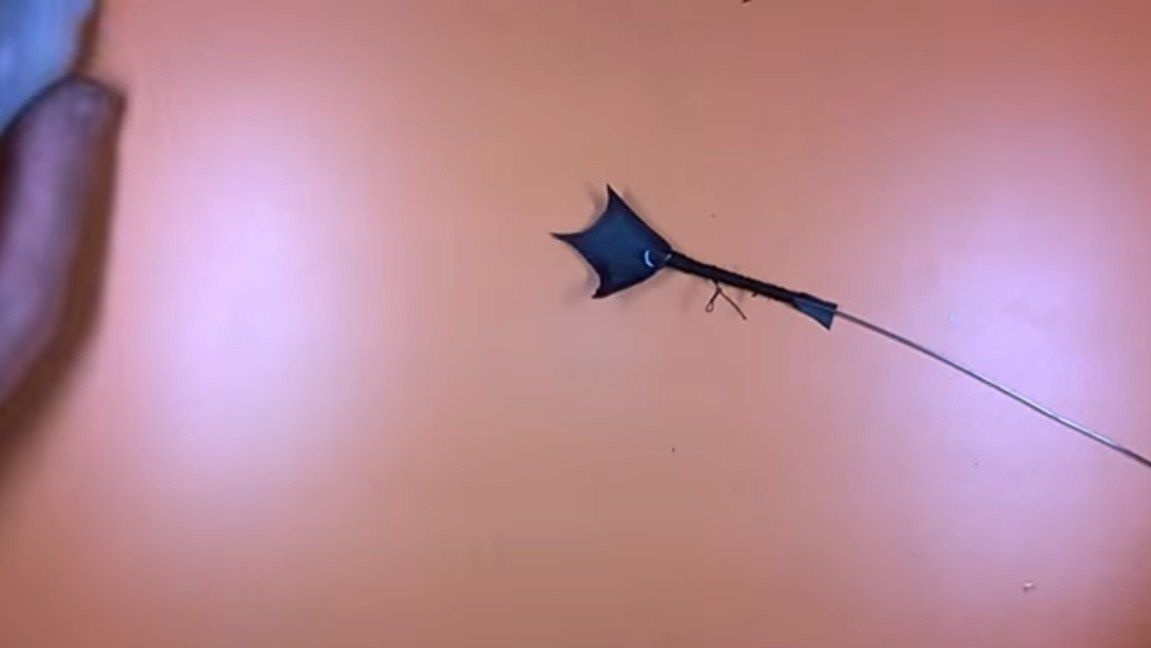
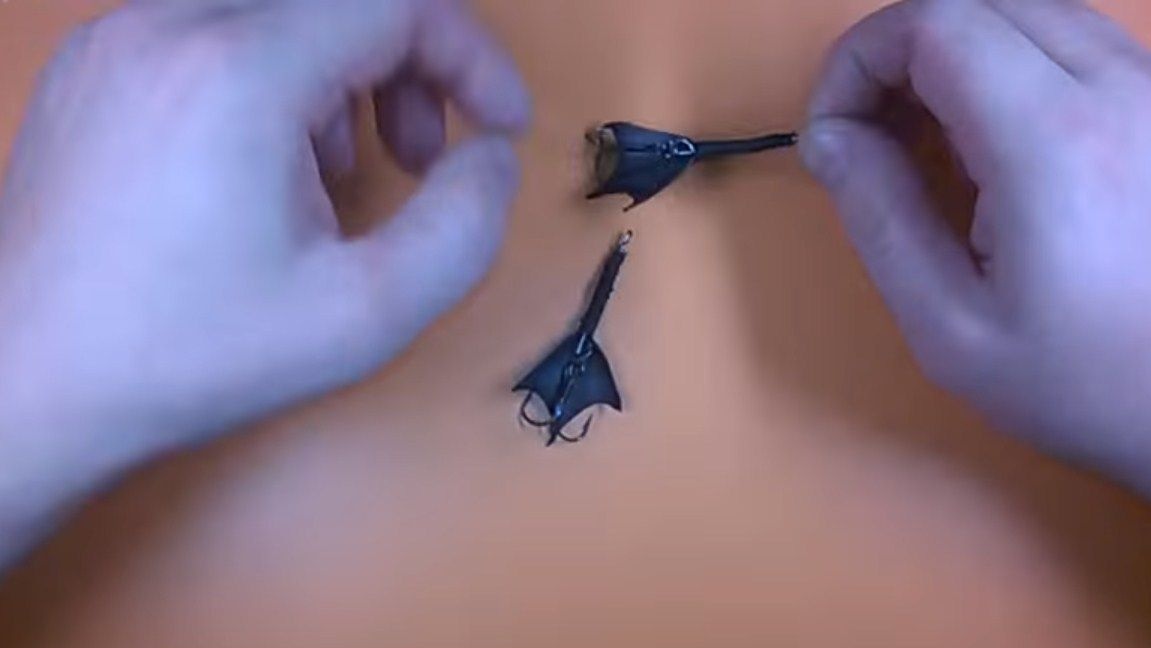
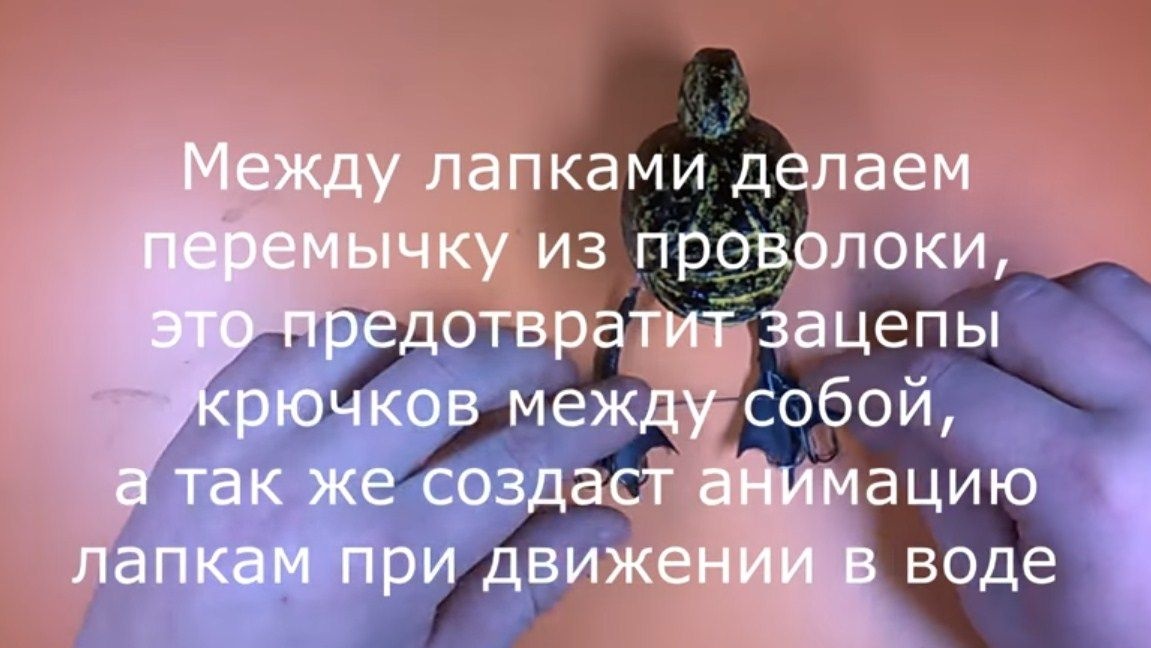
The paws are the part where we hide the hooks. For their fastening you will need a stainless wire, it is also used as a "skeleton" for paws. Cut off the necessary pieces and make at the ends of the loop. We fasten the paws to the "skeleton" with the help of black threads, using glue. Now the legs are even more like real ones! Place tees of the appropriate size on the paws, they must be of high quality, otherwise our trophy may go away.
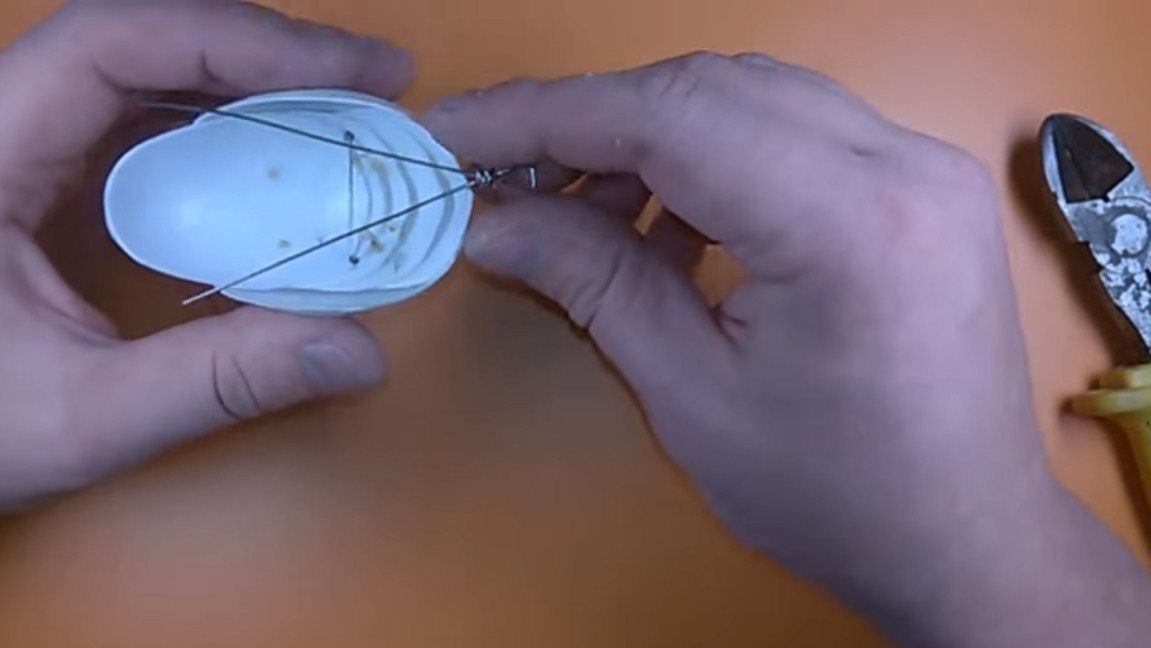
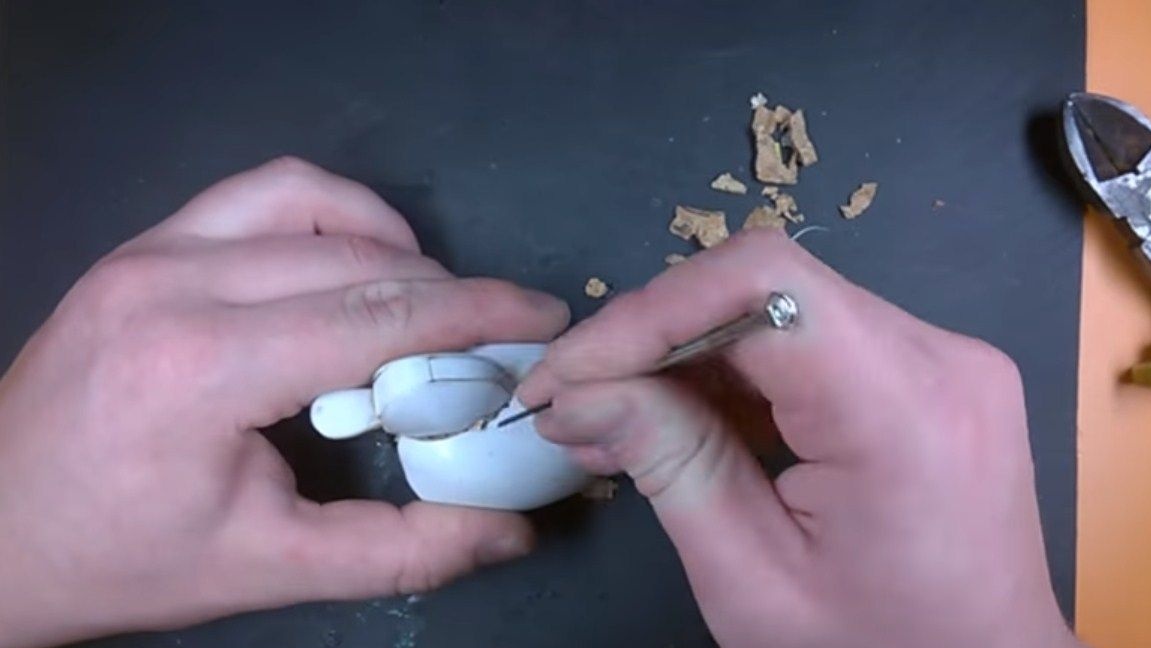
Step Three Installation of the "skeleton" inside the duckling
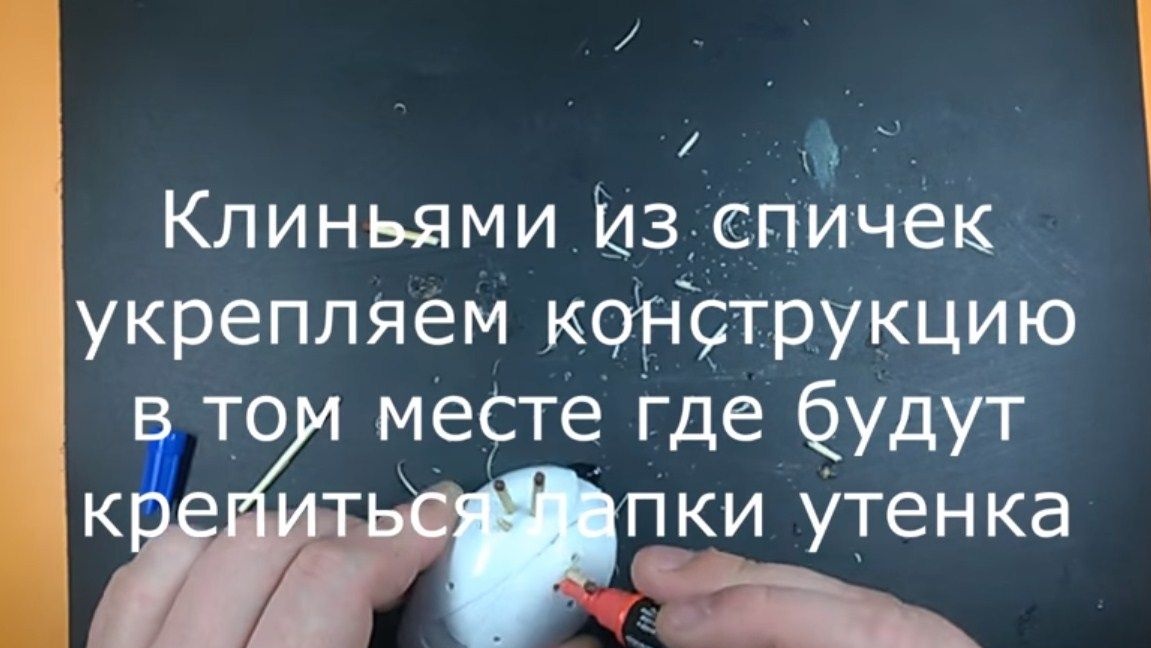
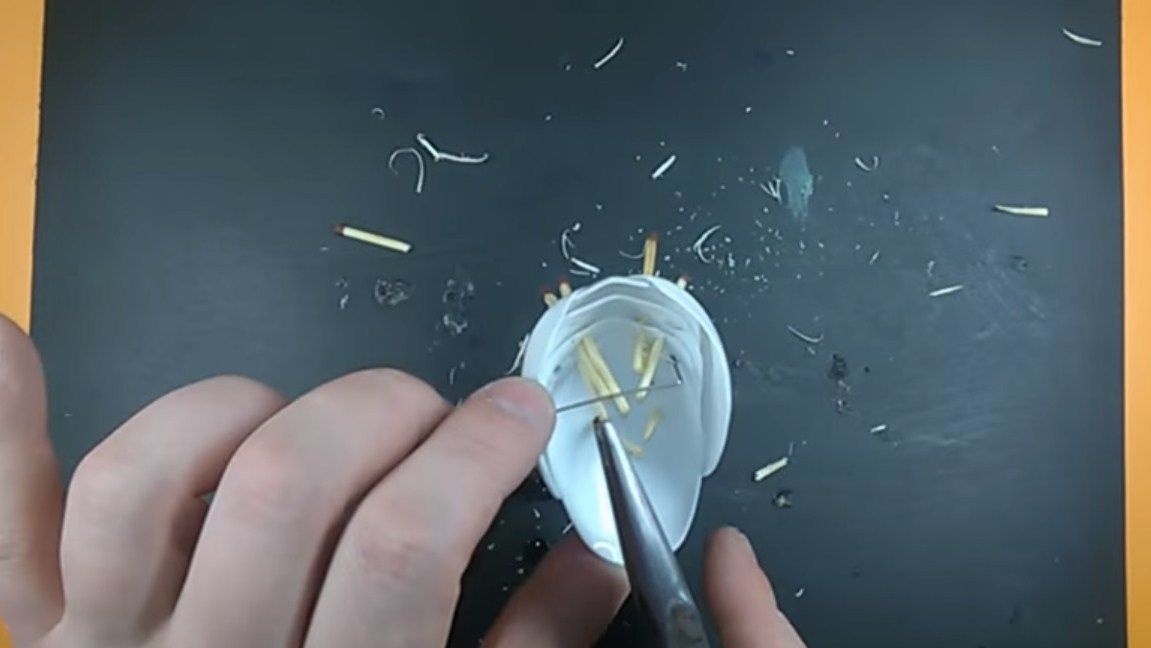
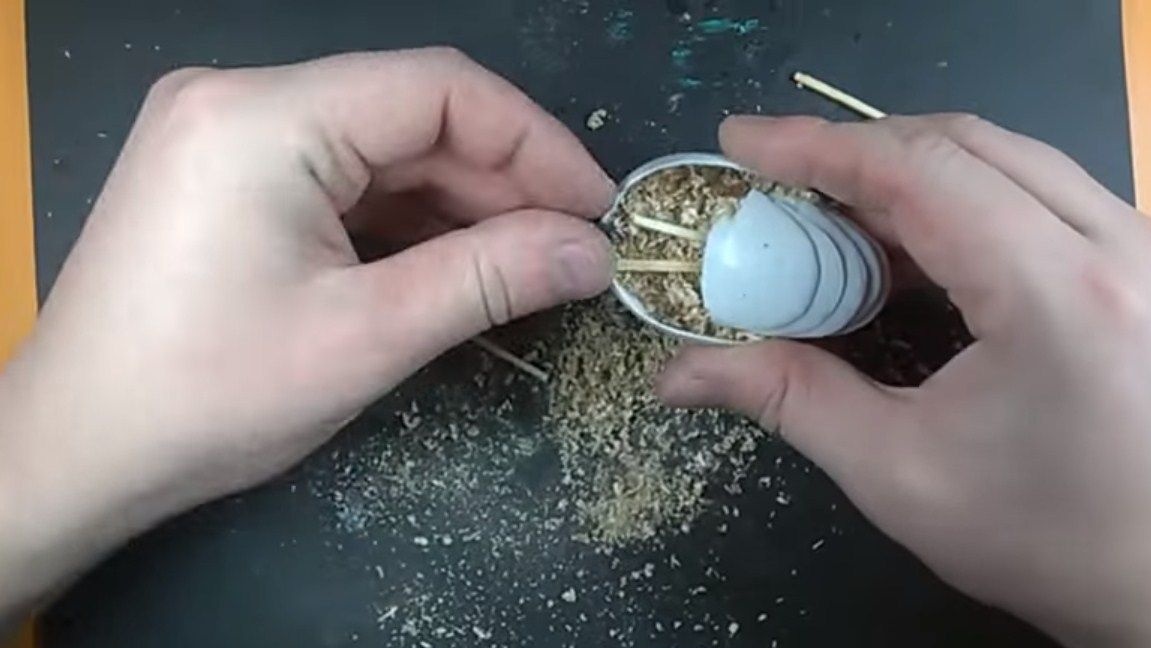
Inside the duckling you need to make a strong frame, it is needed so that you can set the legs with hooks. Here we will again need a stainless wire. The first detail that we will do should look like the letter "P". For this part, drill holes and install. Among other things, the author strengthens the foundation of the duckling with matches and glue. Just drill holes, set matches on the glue and cut off the excess.
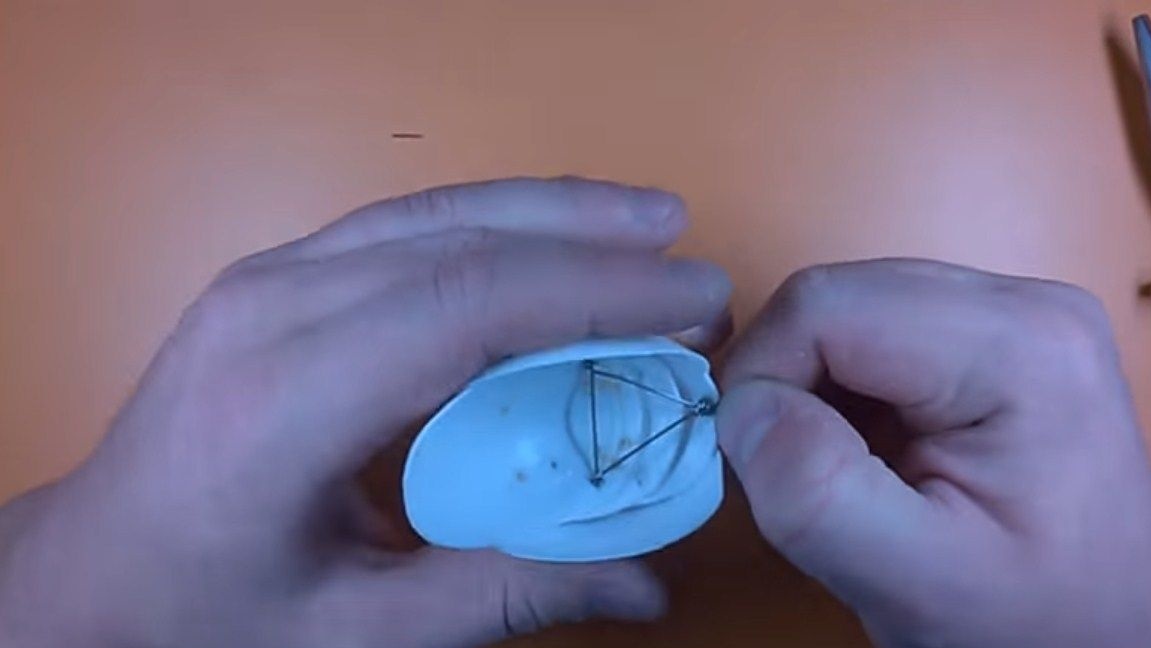
The second fastener resembles the letter "A", as a result, when connecting both parts, something should look like a triangle.
At the ends of the structure we form loops and mask them with black thread with glue. We attach our legs with hooks to these loops.


Step Four Shipment
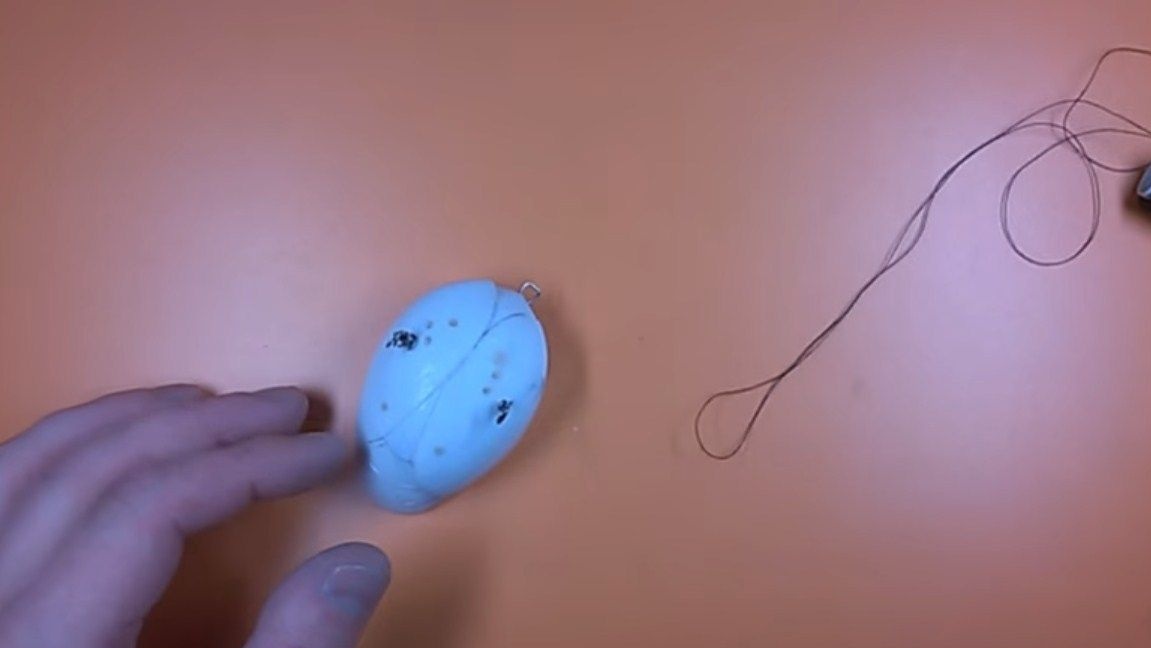
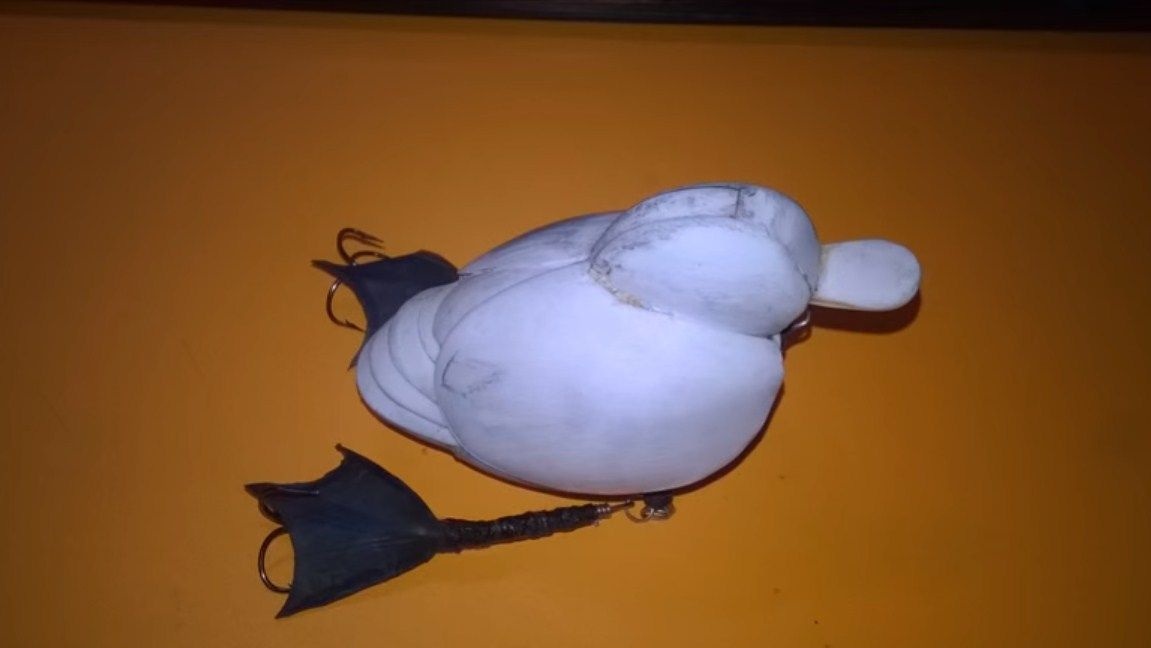
For such a bait, loading is extremely important so that the duckling, when hit by water, immediately takes the desired position. Weights are installed from the inside on the abdomen. He needs to slightly duck the duckling so that it swims as intended. Please note that there will still be sawdust inside, which also have weight. We fasten the weight using superglue. As a sinker, you can use nuts, bolts or the like.
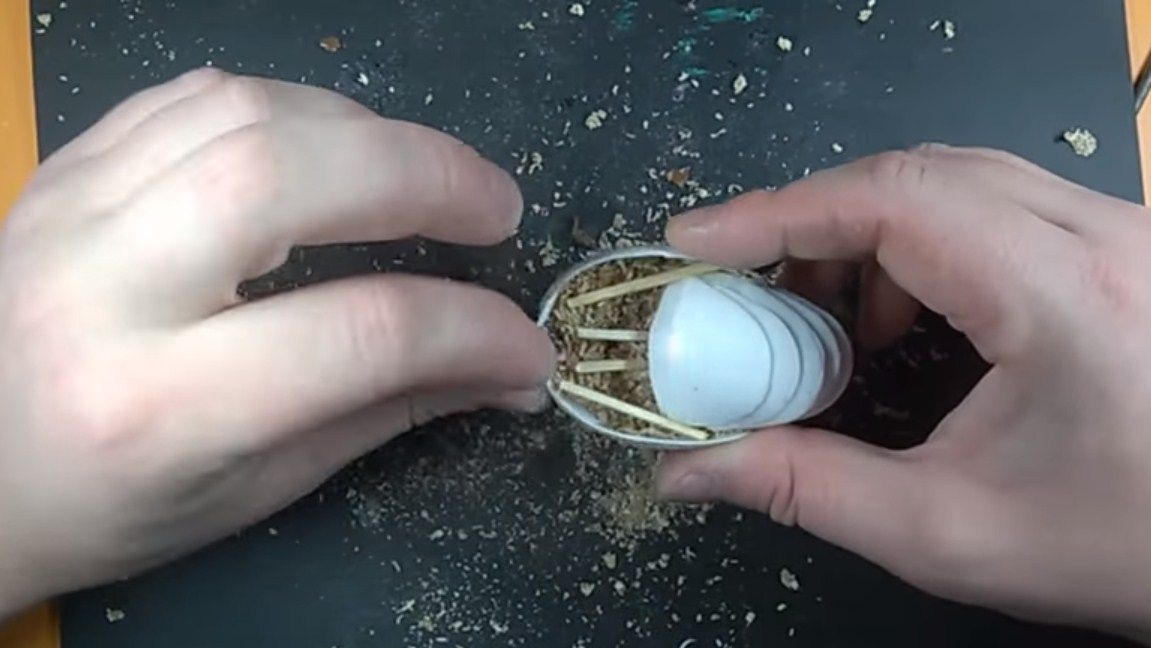
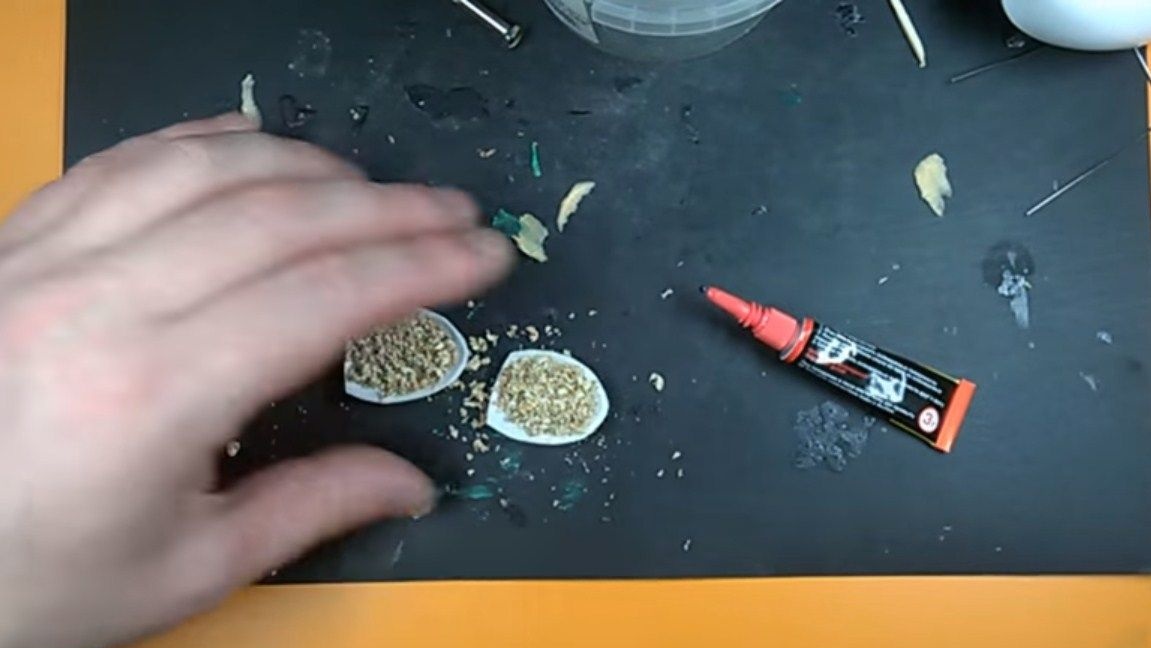
When the weight is installed, we fill the “skeleton” and the weight with sawdust from above, and then we impregnate with superglue. As a result, we get a filler that will not let moisture in, as well as a material that will further strengthen the structure.
Step Five Tail and sides
The tail and side parts are made in the same way - from spoons. Cut them and glue them. Then, inside the duckling, we fill in sawdust and saturate with glue, inside it should be filled with sawdust so that water does not enter there. Soak the sawdust well with glue, you can use PVA glue. Otherwise, the sawdust will absorb moisture and the duckling may begin to sink or swim crookedly.

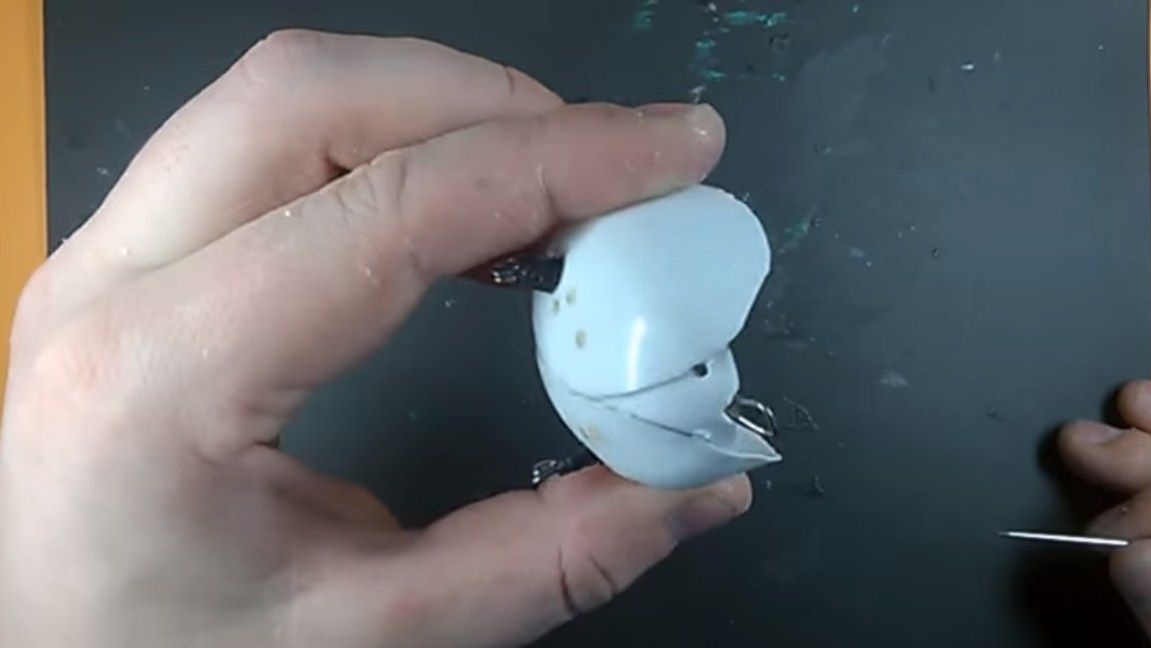
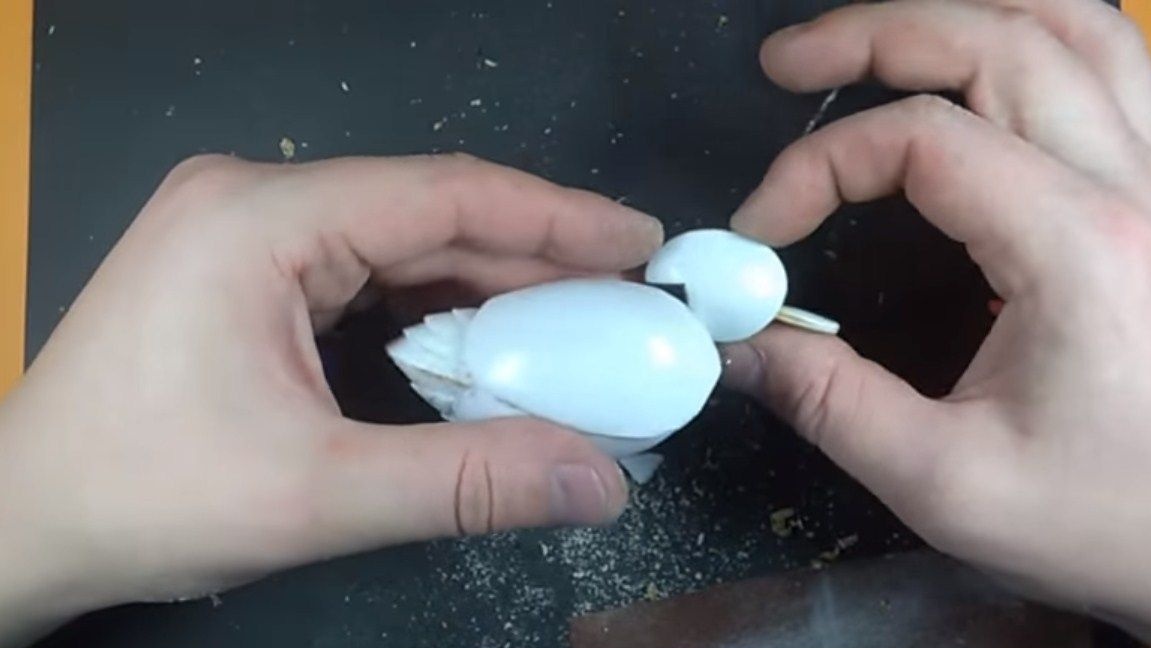
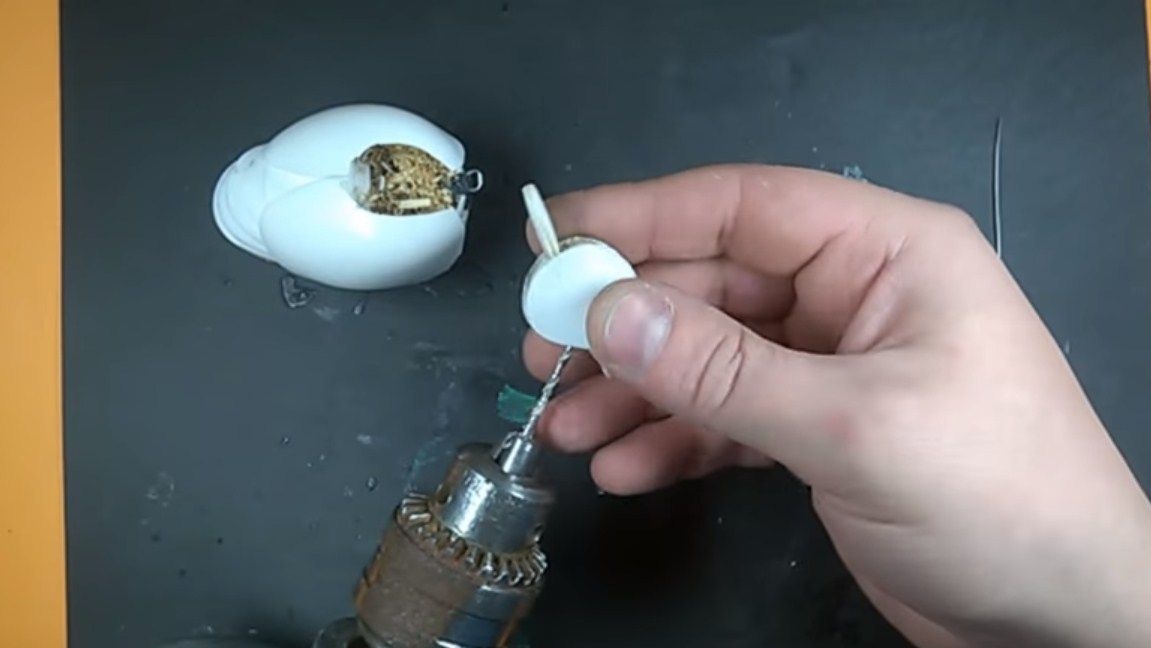
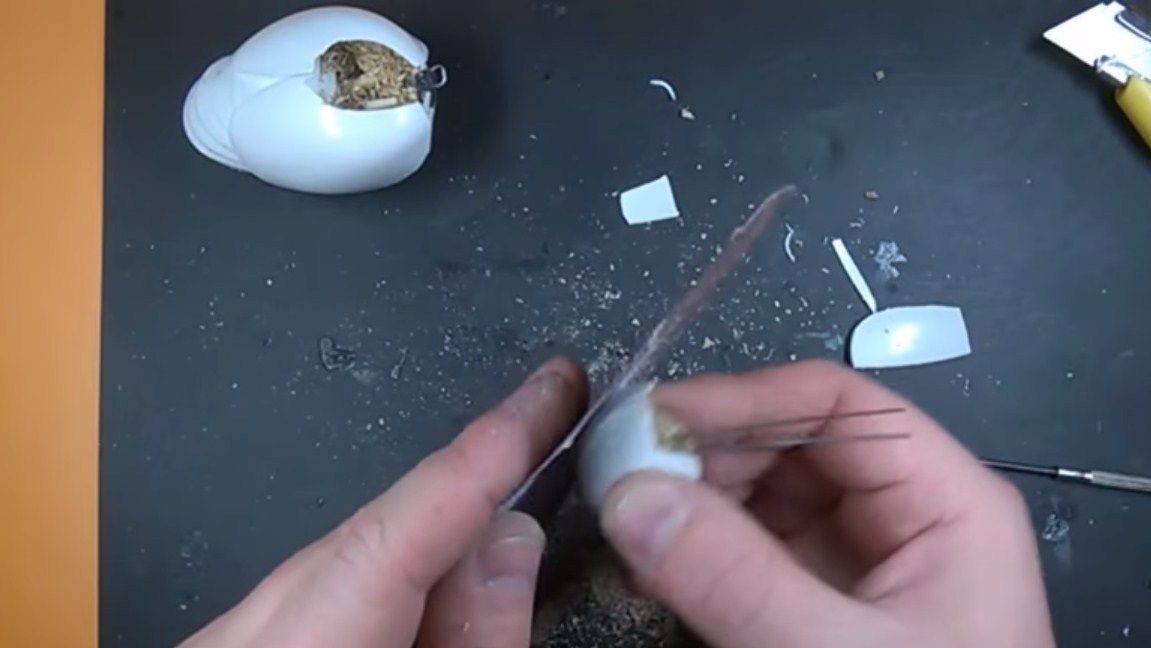
Step Six Making the head and beak
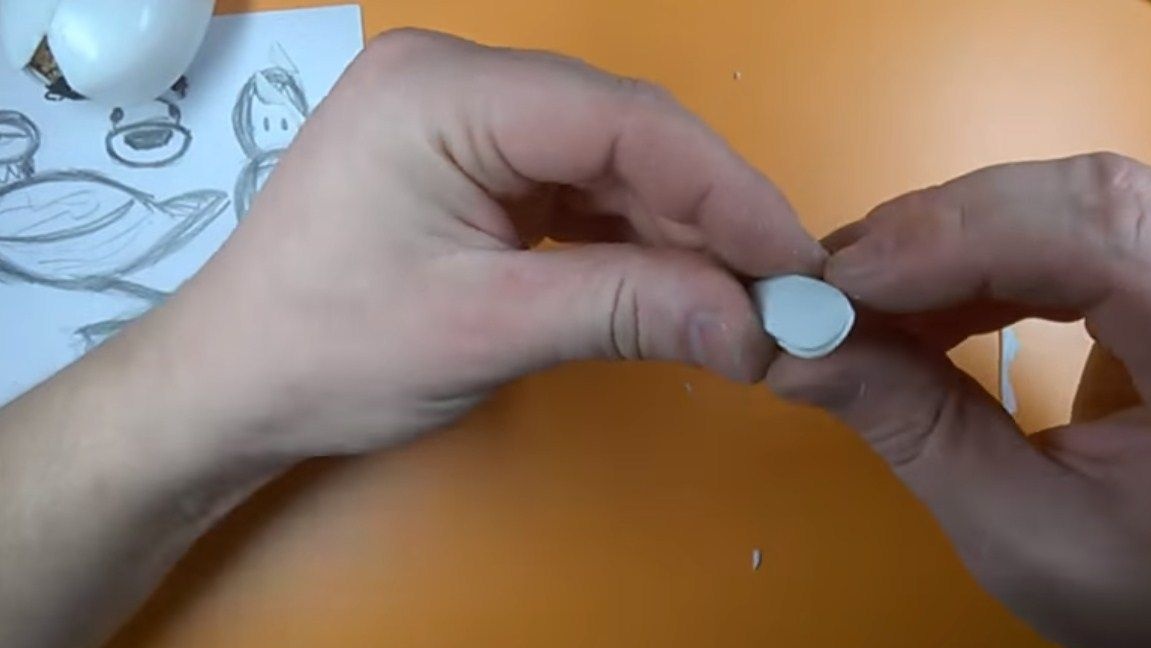
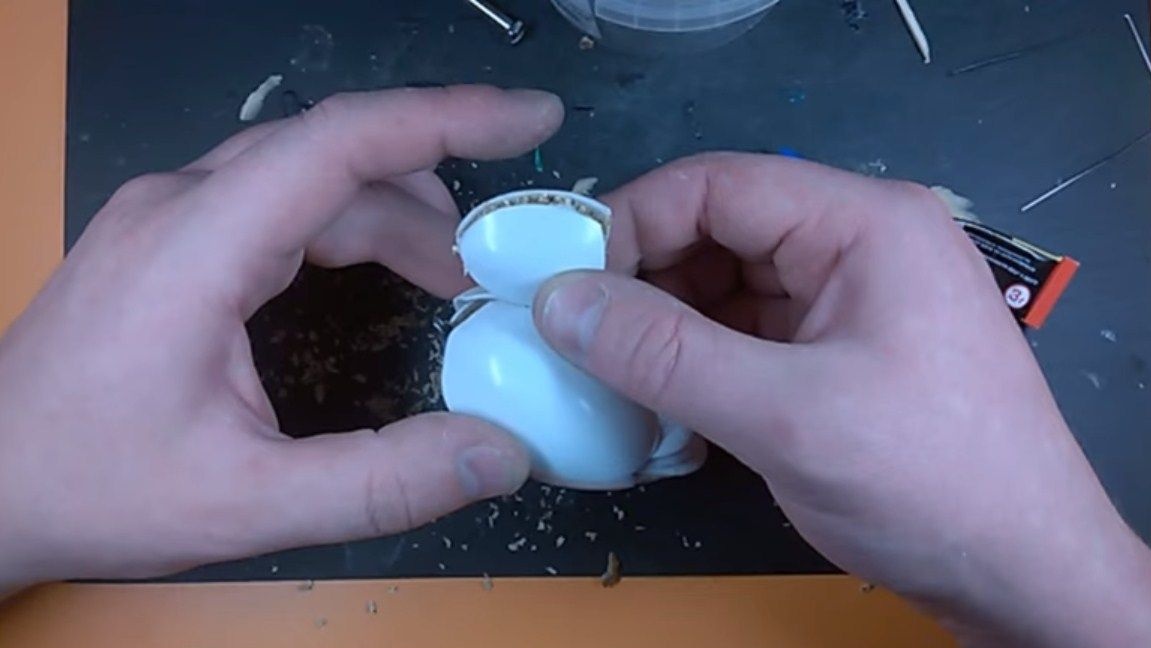
We make the head from two pieces of a spoon, inside the parts we fill up the sawdust and impregnate with glue. Well, then we glue both parts together. Similarly, the author makes a beak for a duckling. To securely attach the beak, use wire.
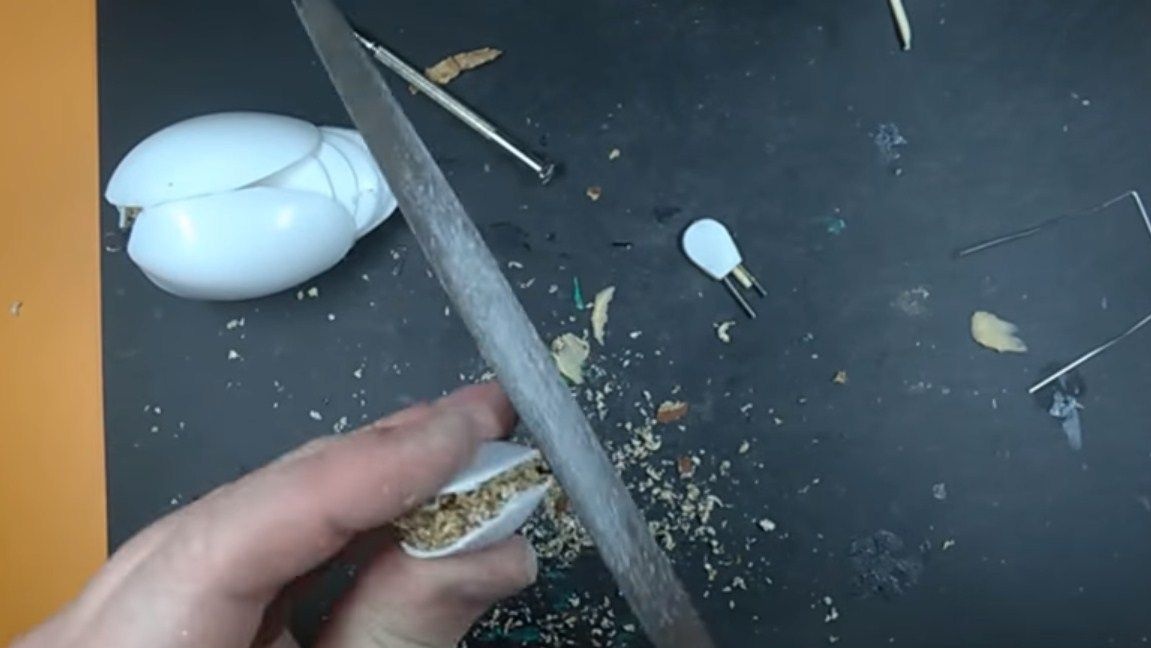
The head also needs to be fixed securely, since it is quite massive. We drill a hole in it, as well as another hole in the body. We use a metal rod on which we fix the head. Further between the head and the body there will be gaps. In these gaps you need to push the pieces of chips and soak with superglue. When the whole thing dries up, the head will be firmly fixed. All cracks must be carefully sealed with sawdust with glue, you can use small sawdust mixed with glue, you get something like putty. Well, then we leave the whole thing to dry well.

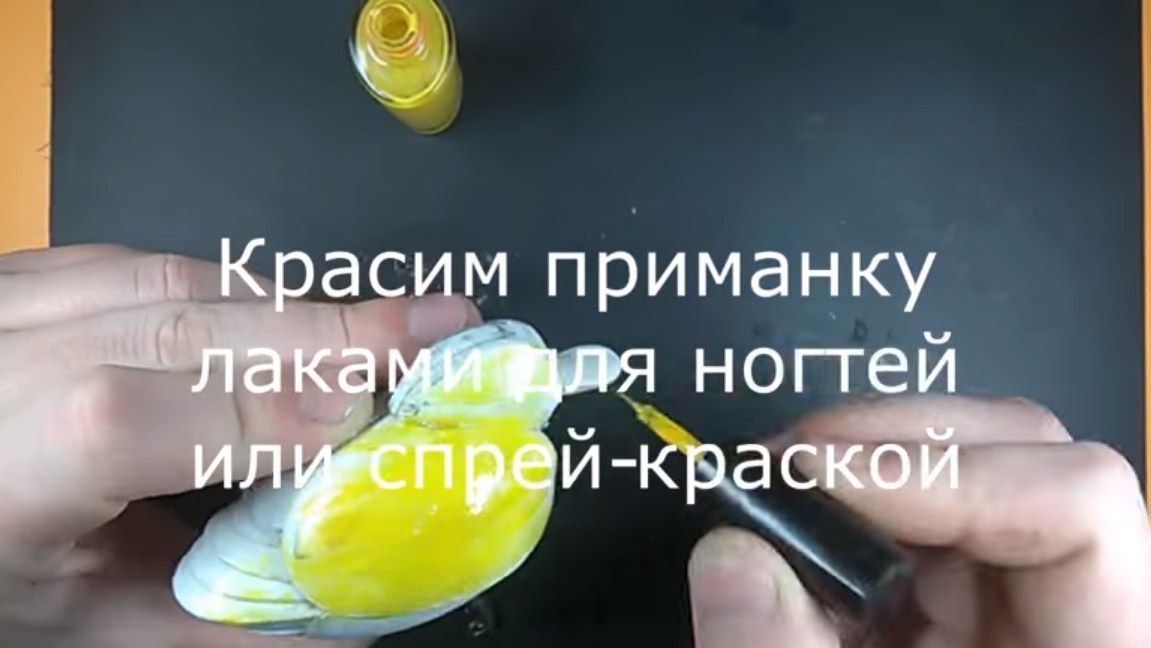
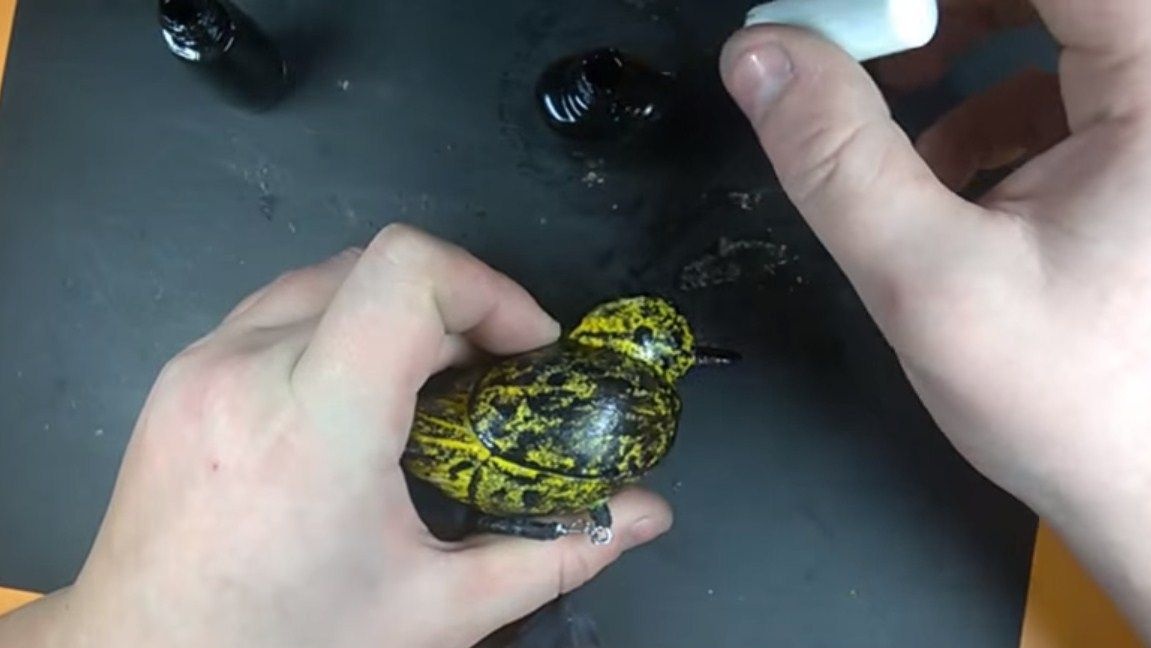
Seventh step. Coloring the duckling
The author paints the duckling using nail polish. You can use spray cans, markers, and so on. So that the paint does not wash for a long time, it would be nice to dip the duckling in the varnish. In addition, the varnish insulates the product well from water. The author uses yellow as the main color, because most ducklings and other birds look that way.You can also make blotches of black or brown. Be sure to draw a duckling eye.
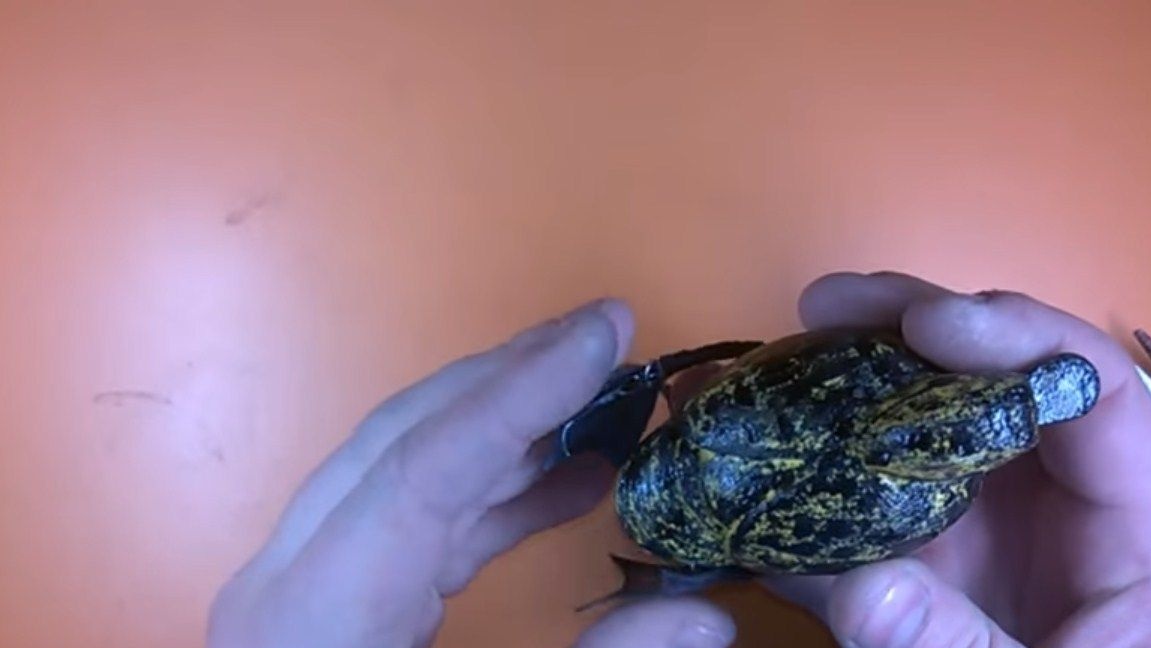
That's all, now ours homemade ready, you can experience it! Both rivers and lakes are suitable for fishing. It is important to find a place where a large predator feeds. Most often this is shallow water, still pike likes to live among snag or near thickets of reeds. Here she is waiting for her victim. As for the wiring, it should not be fast and even. When the duckling floats in the water, his legs will spontaneously move, he will be as much as possible like a real bird.
If desired, in the front part you can install a “steering wheel” like a wobbler, as a result, our duckling will “vibrate” in the water, the predator will be even more willing to respond to these vibrations! And if you glue the tackle with real feathers, not even every person will be able to distinguish it at a distance from the present.
That's all, the project is over, I hope you liked it. Good luck and creative inspiration if you want to repeat a similar product. Whoever succeeds, post a video on how the tackle behaves on the water and whether you managed to catch something on it. Good luck