

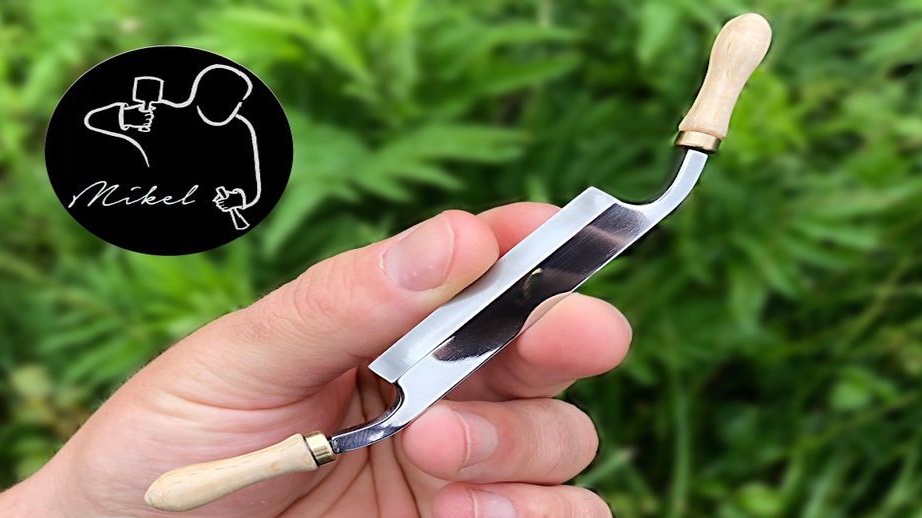
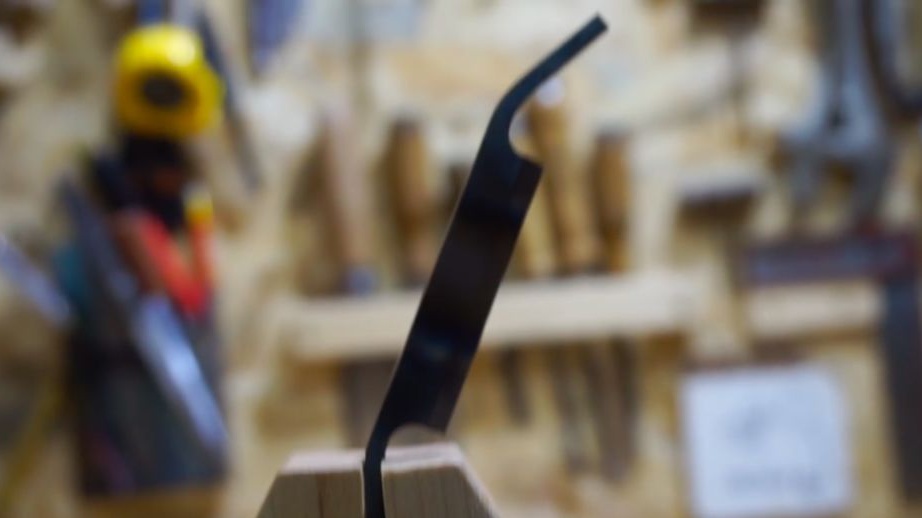
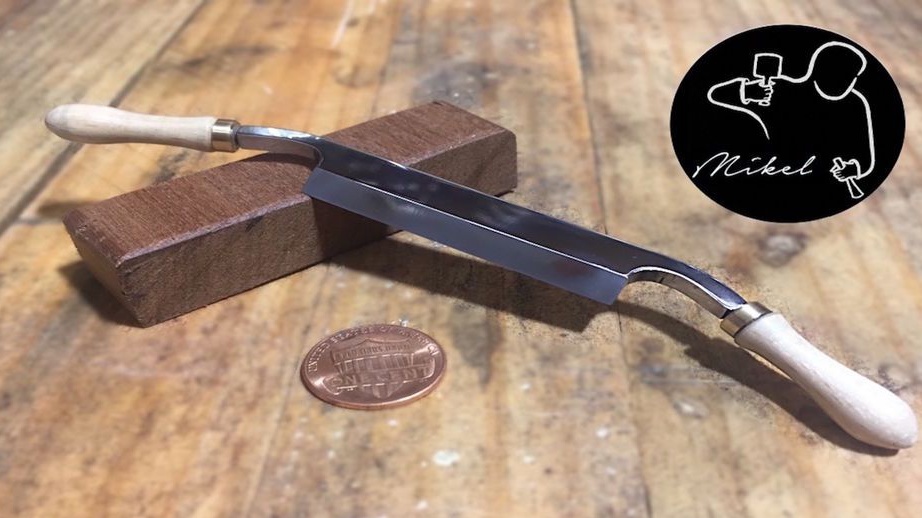
If you have a lot of old or even broken files, do not rush to throw them away. The metal of this tool is very durable and it can be used with another useful tool called a knife. And in this instruction we will analyze how exactly you can make a knife from a file. The knife that we will make is called a staple, it is needed for wood processing. The dimensions of the knife will be small, such a knife will come in handy if you make small parts from wood and so on.
To make a knife, a blacksmith's furnace will be needed, at least a burner will be needed. Steel we will need to bend, harden, and for this we need a source of heat. However, in a pinch, you can use an improvised charcoal stove. A knife is made not difficult, if you know how to handle a grinder, then you can cope with the main tasks with it. So, let's start making a knife!
Materials and tools used by the author:
Material List:
- old file;
- wood for pens;
- a rod made of brass or a piece of tube for handles.
Tool List:
- grinder;
- whetted;
- gas burners or forge;
- files;
- sandpaper;
- drill;
- oil for hardening;
- lathe.
The process of making a knife:
Step one. Metal tempering and rough forming
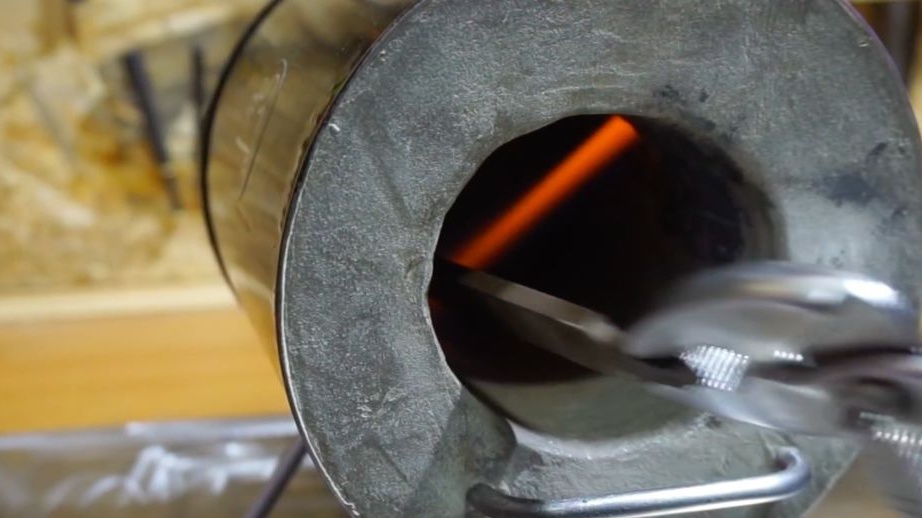
The metal file itself is hardened and very durable. Processing it in this state is very problematic. But there is a way to make steel softer, for this they produce a procedure called annealing. The bottom line is that the steel is heated to red, and then allowed to gradually cool in air or even in a furnace. After that, the metal becomes soft and ductile, it can be processed even with hand tools.
Here you will need a small home-made stove and burner, or you can carry out such a procedure in coals if you inflate them. For blowing, you can use a hairdryer, vacuum cleaner or any other device that can blow air.
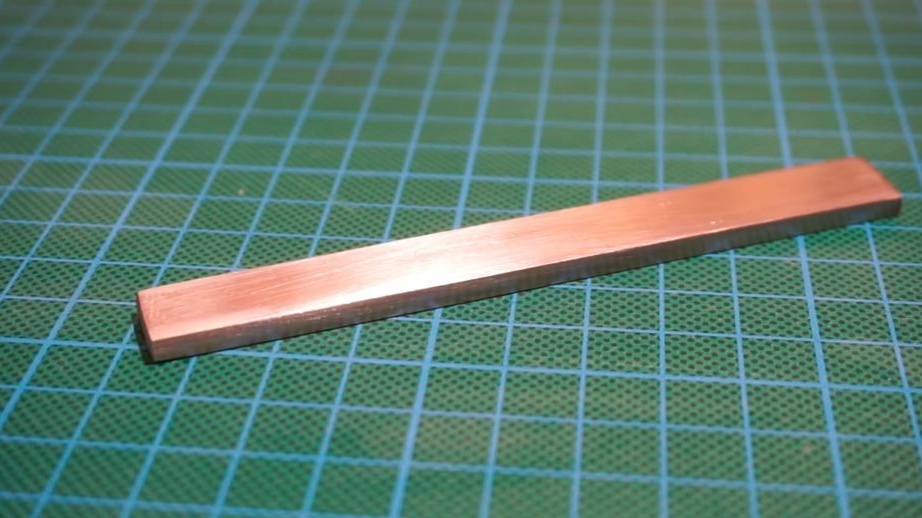
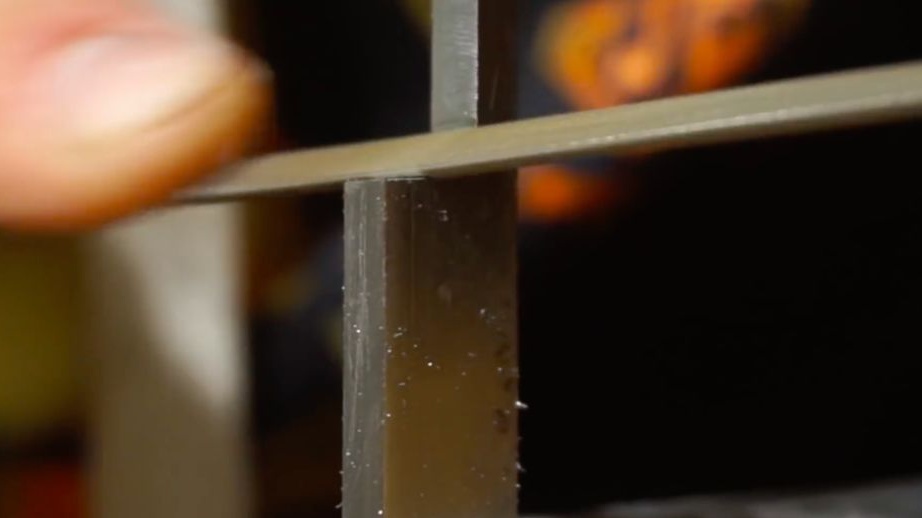
As soon as the metal is annealed, we proceed to the initial processing. We need to trim the excess and get the workpiece. We take the grinder and cut the file. As a result, the author obtained a piece measuring 111 mm x 12 mm x 0.4 mm.
Step Two Set the main profile
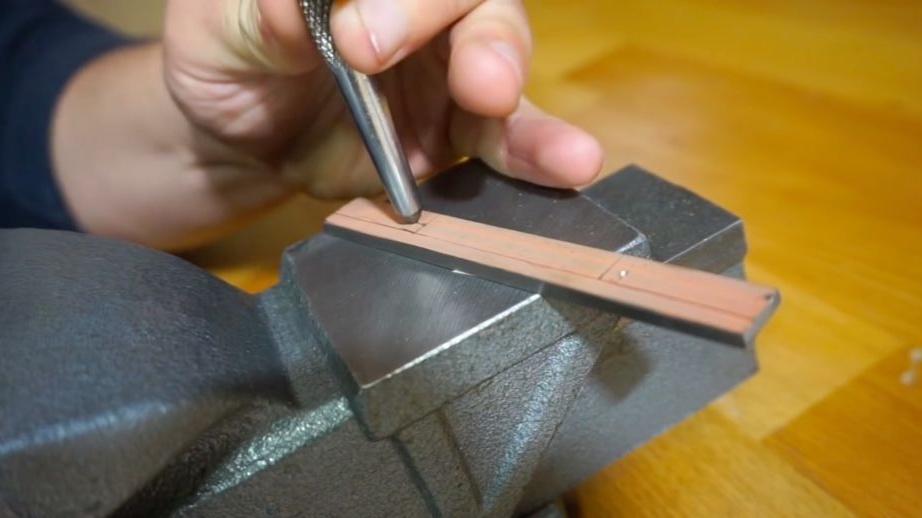
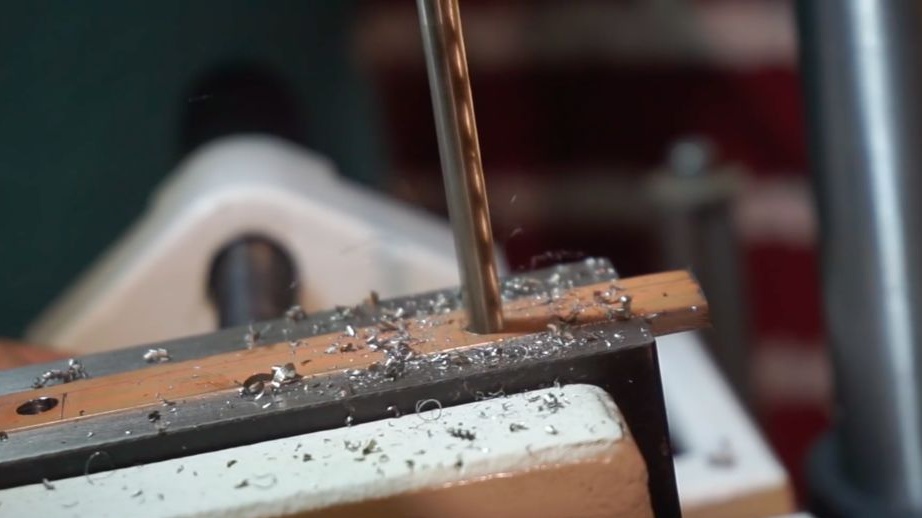
Next, we proceed to cutting the main profile of the knife-staple. To do this, first make the markup.We need to get narrow handles that will later be folded. Next, we drill holes in those places where the cut line will go to get beautiful angles. Well, later we cut off the excess pieces with a grinder or even a hand hacksaw. Now you can finally form the desired knife profile. For these purposes, you will need files, now the metal is soft and manual processing will become available.

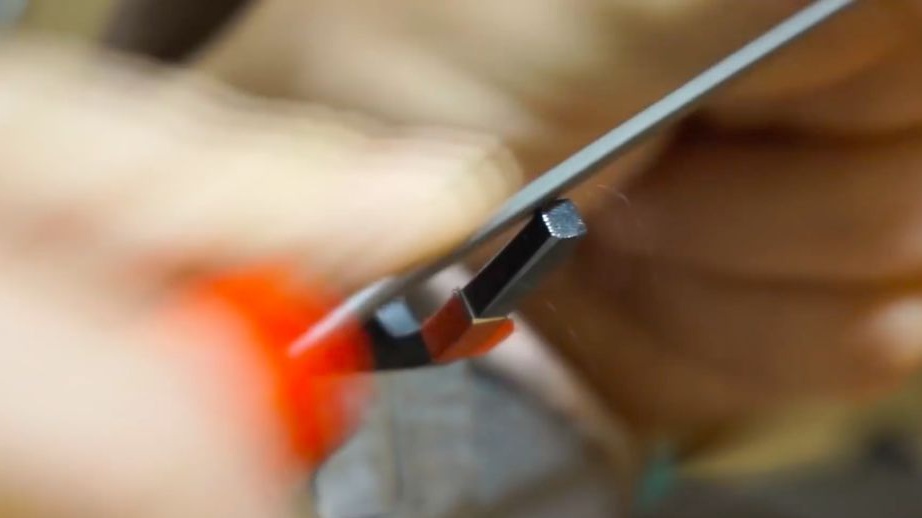
Step Three We form a blade profile
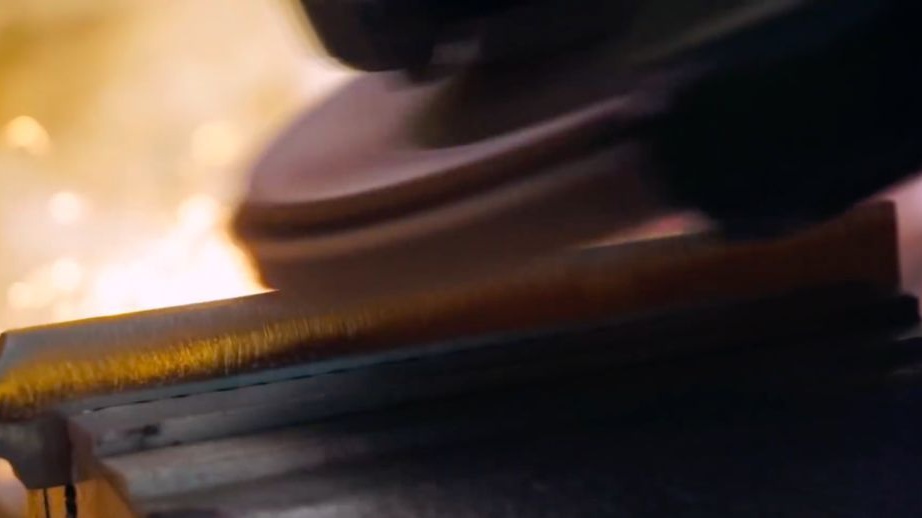
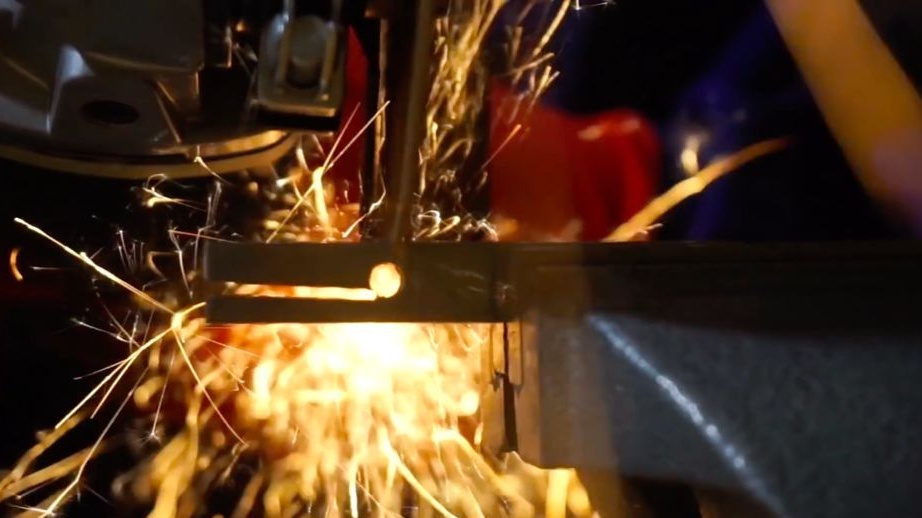
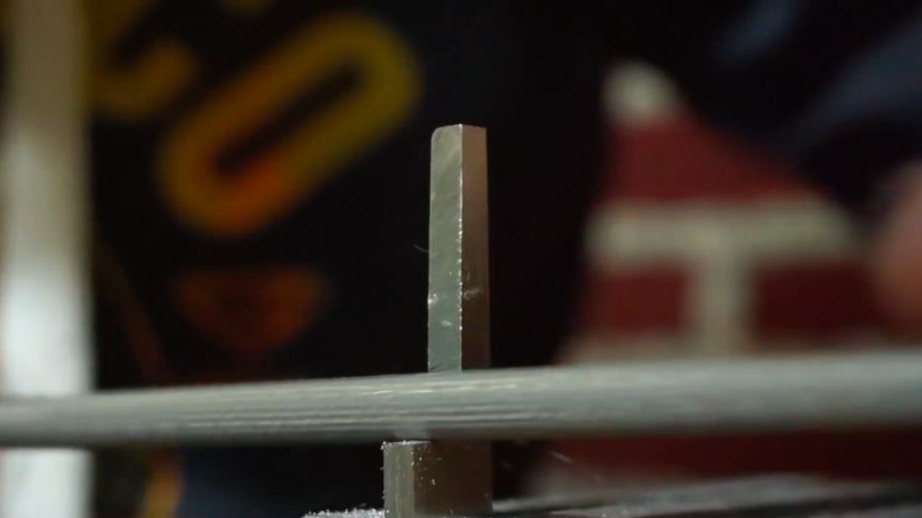
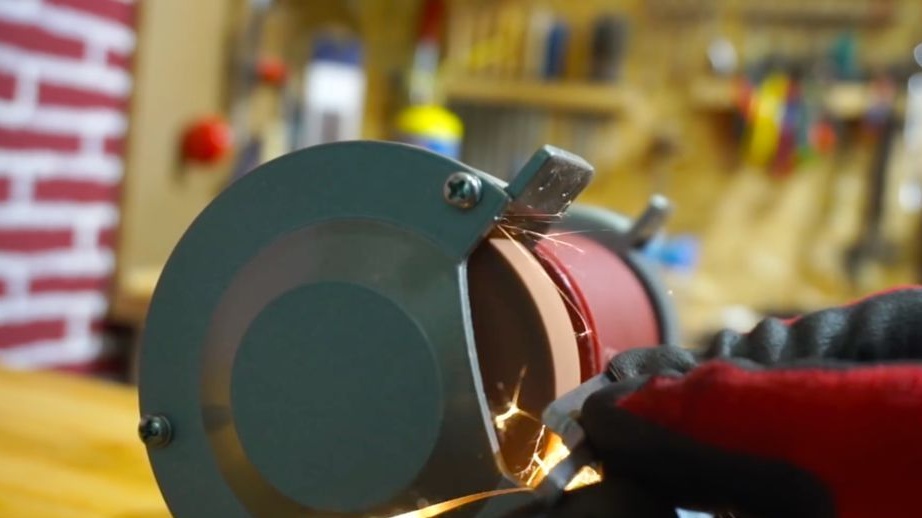
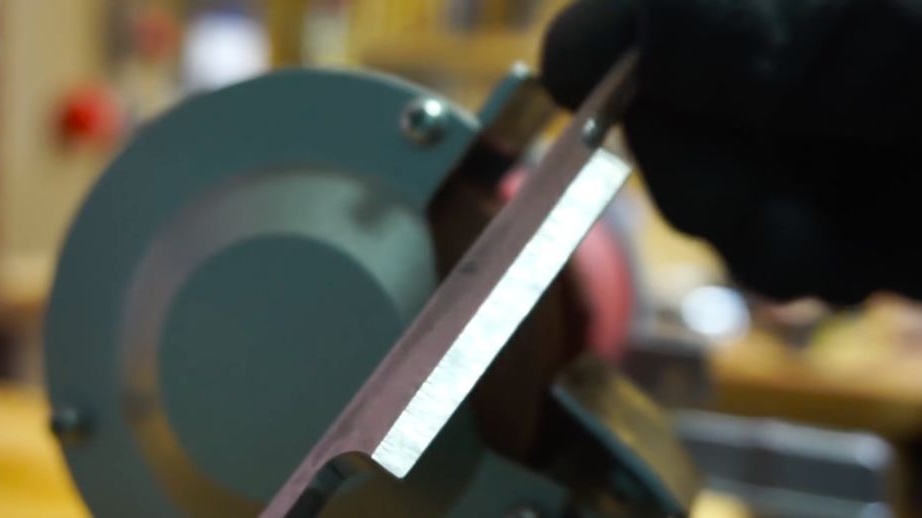
Next, we proceed to the formation of the profile of the blade, this is done quite simply. The author made the blade at an angle of 25 degrees. A chisel was used to form the bevels, the necessary diamond circles, the grain size of the sand should be 400-1000 units. There is no need to rush in this business, so as not to burn metal and not waste too much. The same job is conveniently performed on a belt sander.

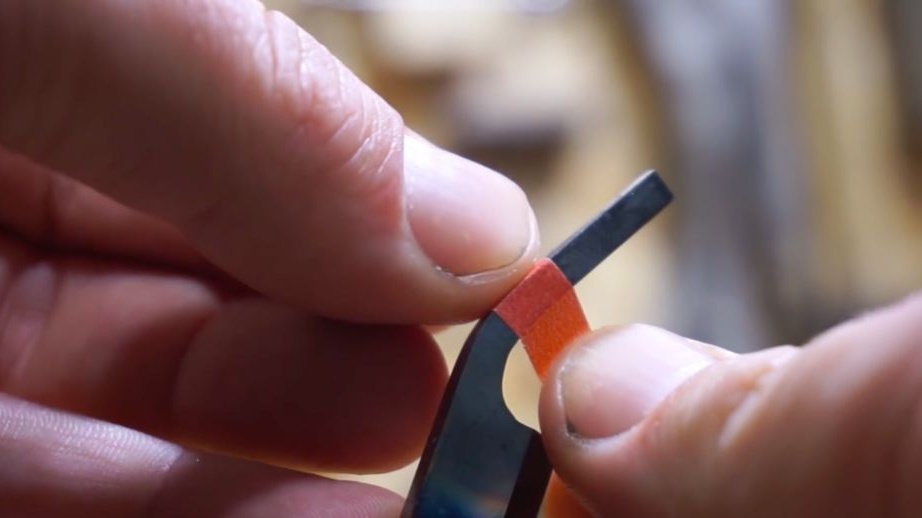
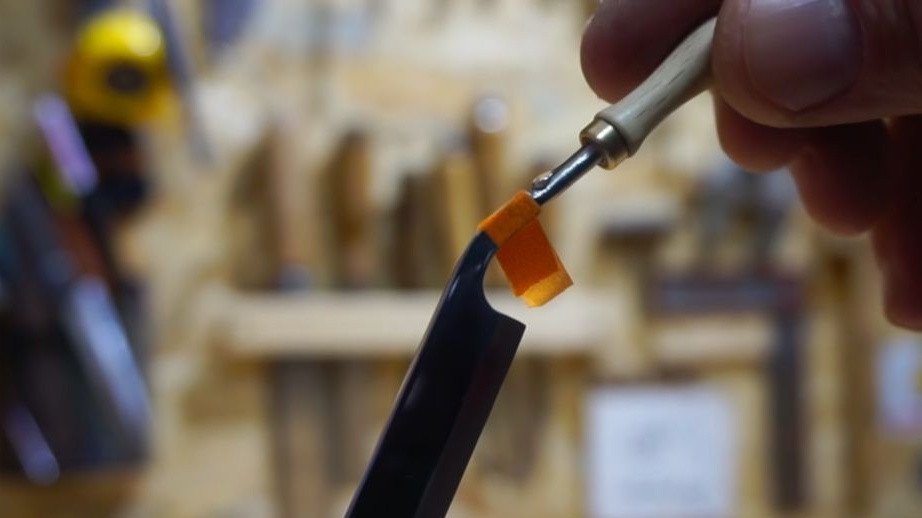
Step Four Bend the handles
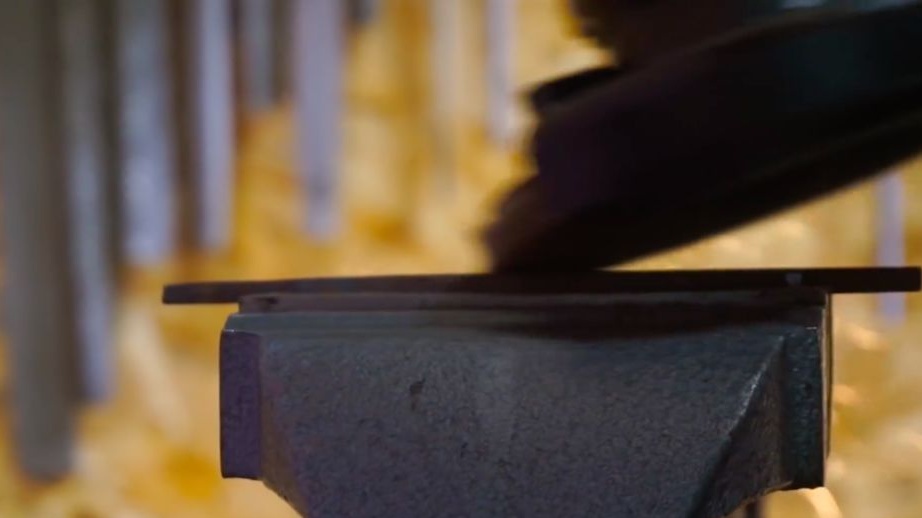
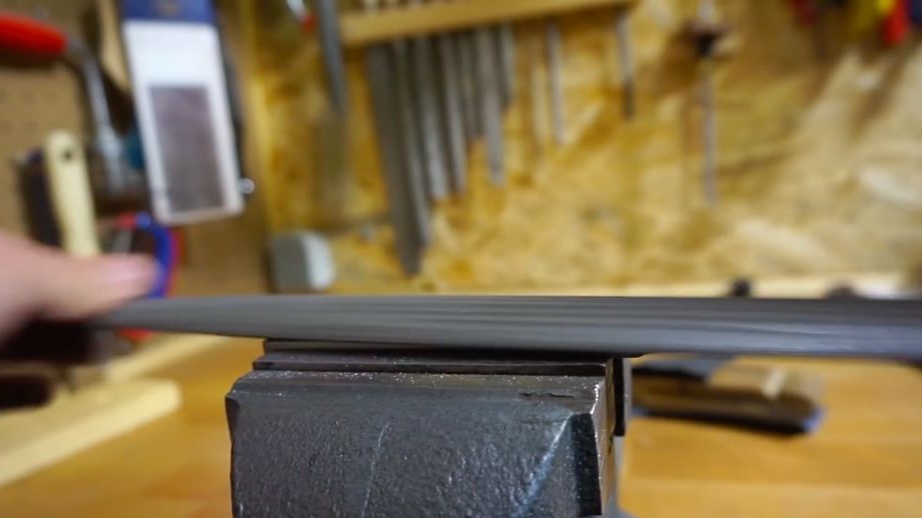
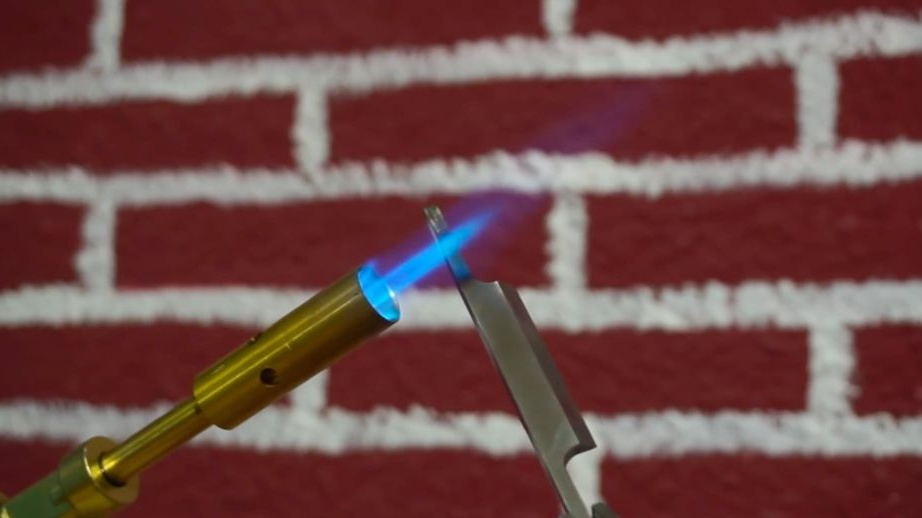
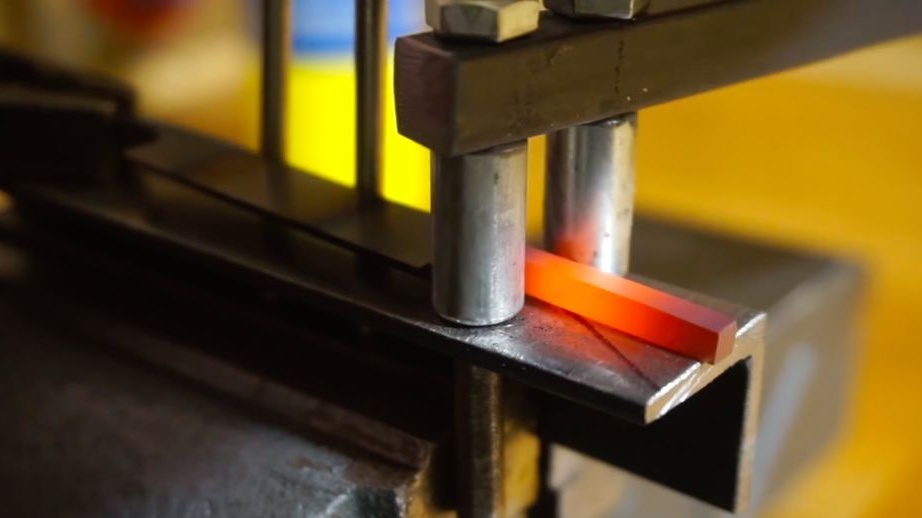
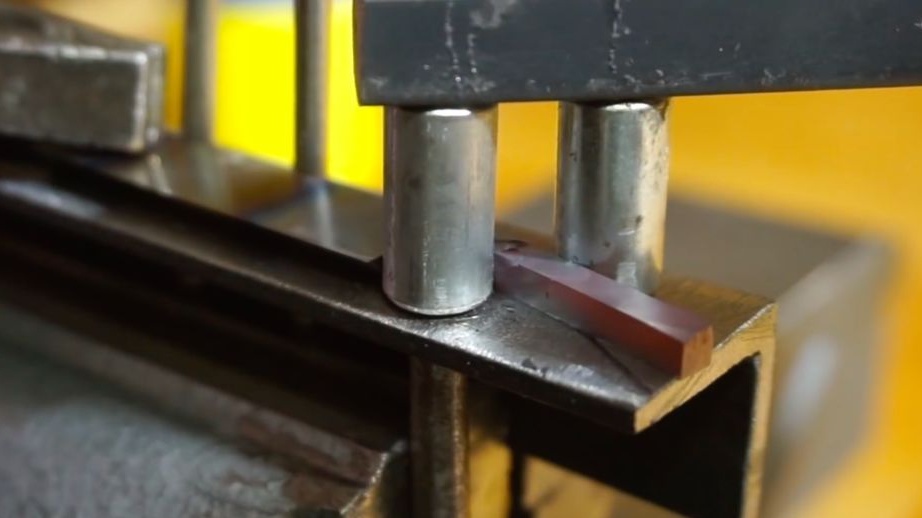
Now you need to set the desired shape for the pens. To make the metal easily bent and there is no internal stress, it is best to heat it with a burner. Well, then we bend the handle, the author has a special device for this. If this is not the case, you can simply insert the edge of the handle into the vise gap and bend it.
When the metal cools down, we go through the handles with a file to smooth out irregularities.
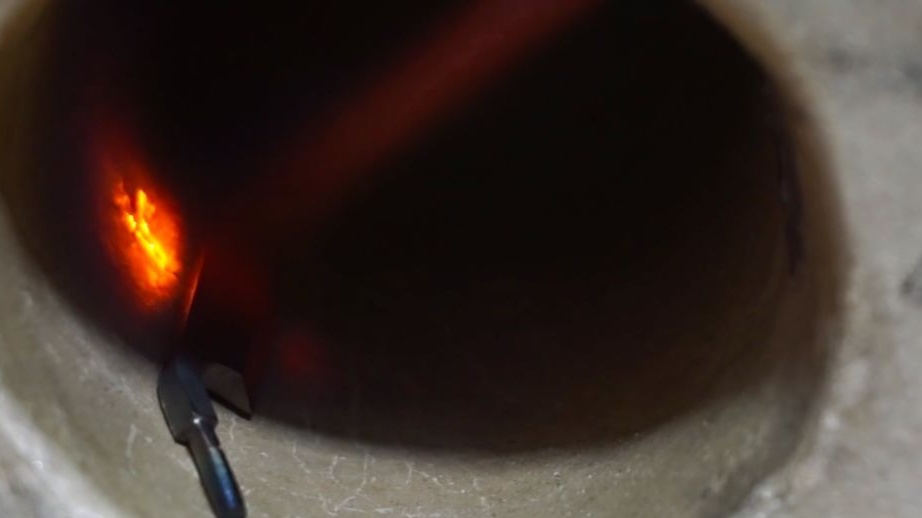
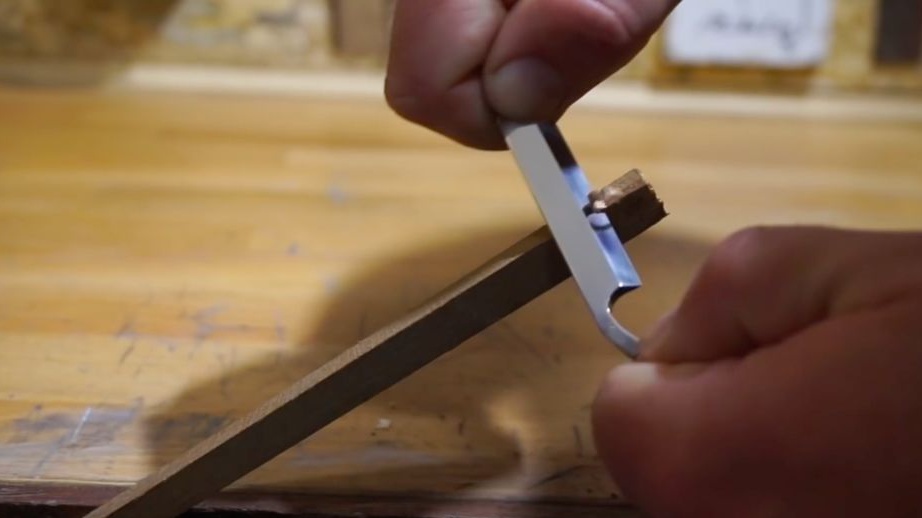
Step Five Heat treatment
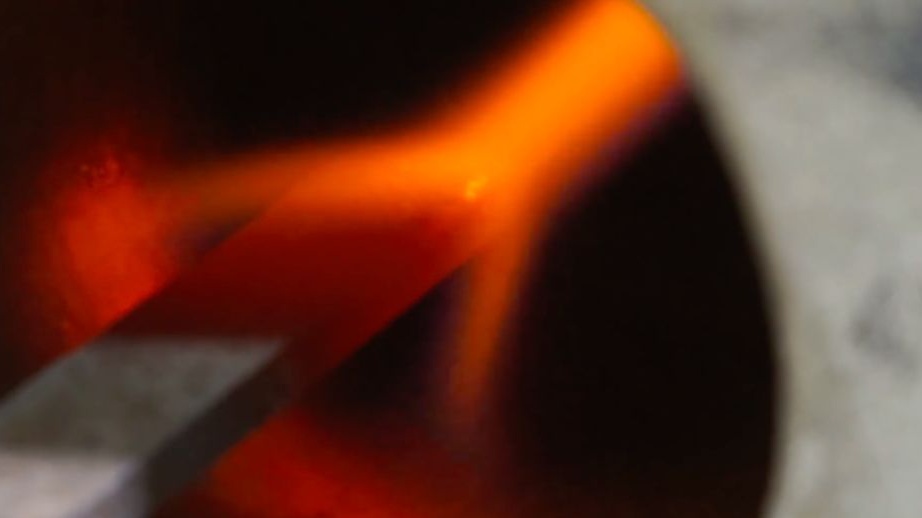
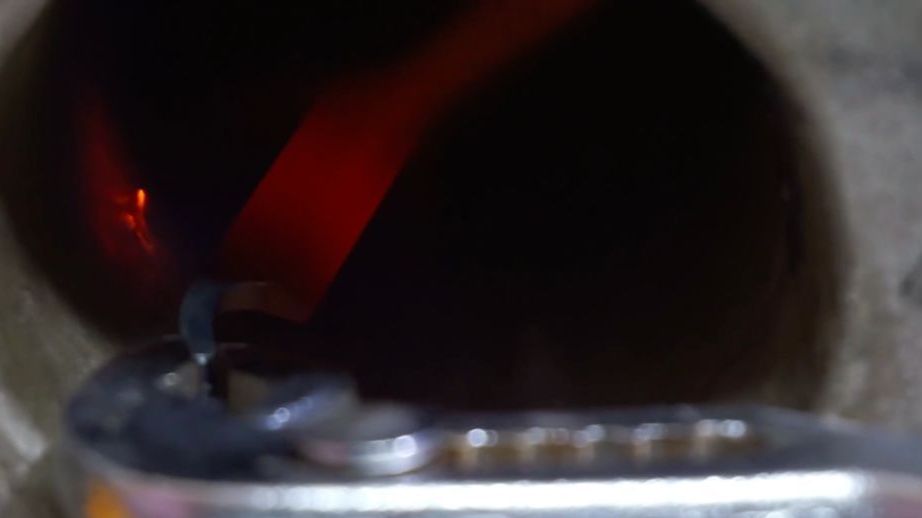
Now we need to return the metal to its former strength, which was the file. To do this, you need to carry out the hardening procedure, and then do the tempering of the metal. Quenching is as follows, we uniformly heat the billet red-hot, while steel should not be attracted by a permanent magnet. Many masters determine the desired heating by color, but for each metal the temperature regime is individual. Now that the steel is evenly warmed up, we cool it in oil. Mineral oil or vegetable is suitable. In oil, steel is not cooled as actively as in water, so there is less chance that the knife will crack or deform.
Be careful, as the oil ignites and smokes when immersing hot metal.
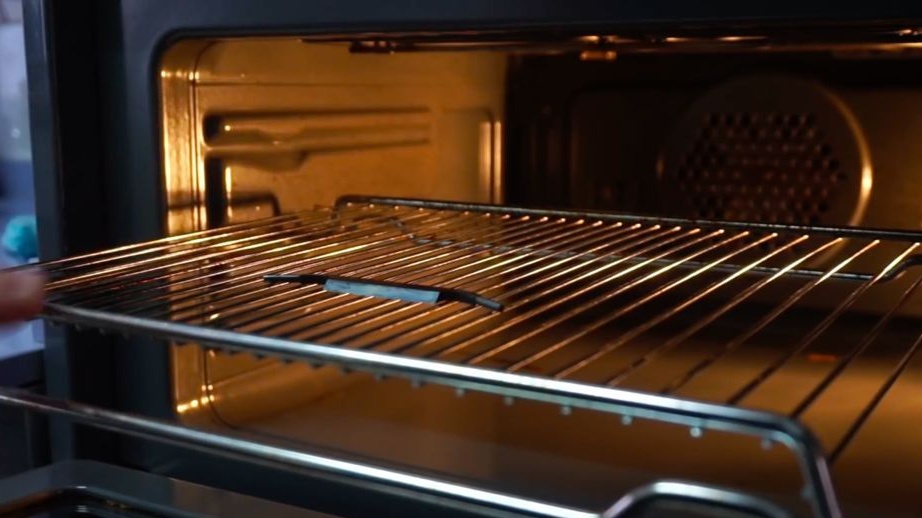
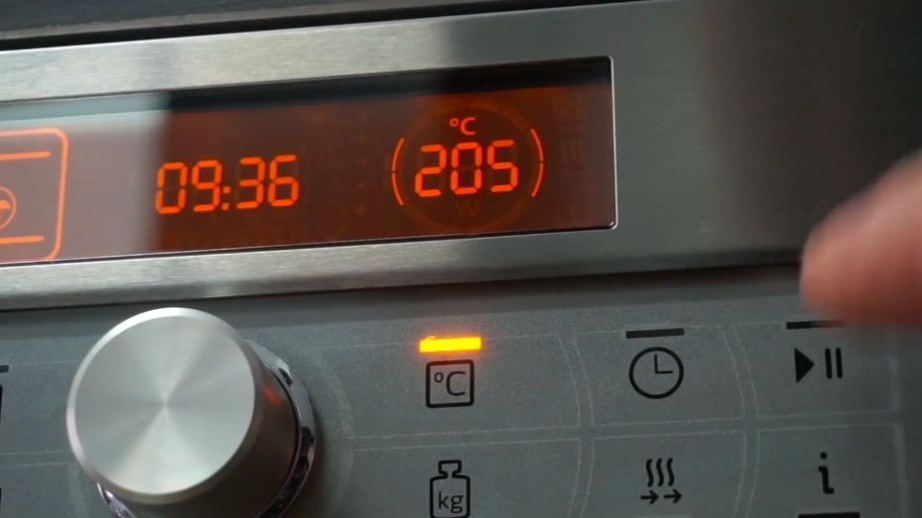
The next step is the release of metal. After hardening, steel became strong, but at the same time brittle. If you drop such a knife, it can easily shatter into pieces. To prevent this, we need to make the steel a little softer, while it will spring. Usually a domestic oven is used for this procedure. We heat the blade to a temperature of 200 ° C and heat the workpiece for about an hour. The author recommends warming up the steel in the calculation that it takes 10 minutes for every millimeter of thickness. That is, if the thickness of the blade is 3 mm, we need at least 30 minutes. After that, turn off the oven and let it cool in the closed state together with the knife.
When the knife cools down, it should be straw-colored. Such a color will indicate that the vacation was successful.
Step Six Make a pen
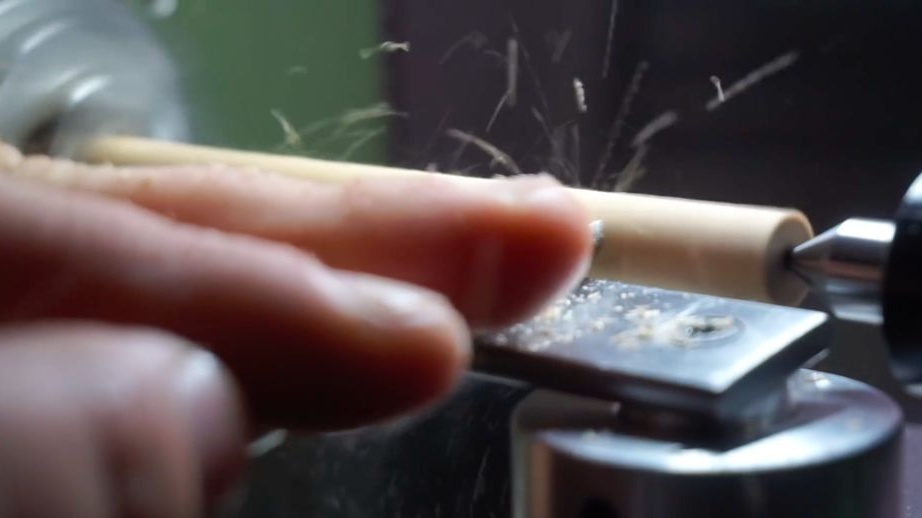
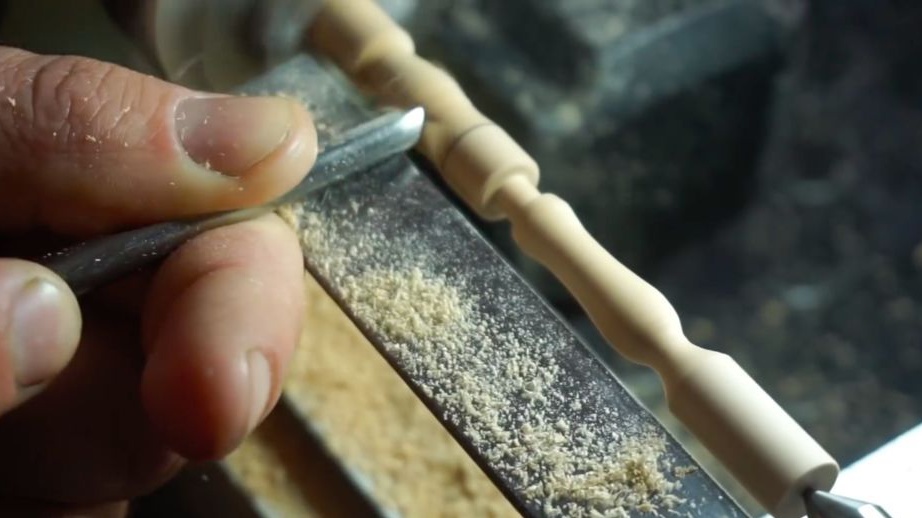
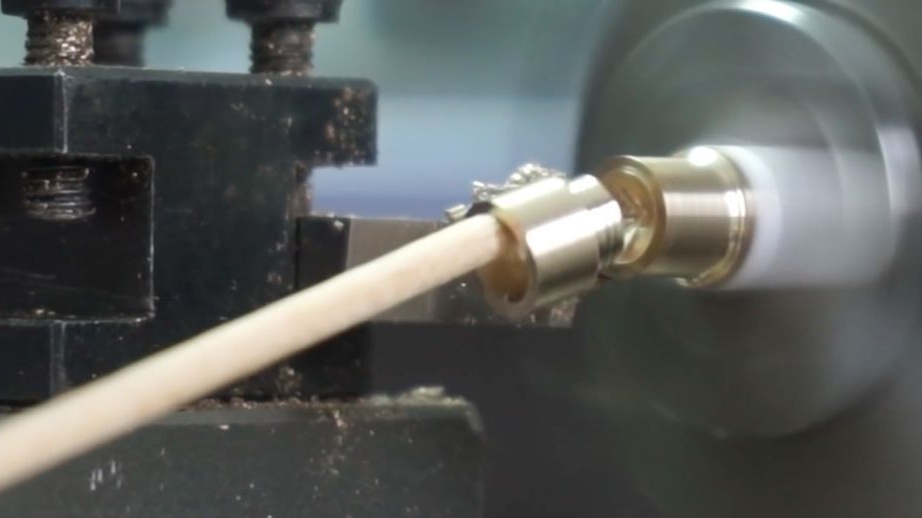
To make a pen you yourself will need a lathe. As for the material, the author used a rod from a broken wooden trempel. We clamp the workpiece into the machine and form the handles of the desired shape.
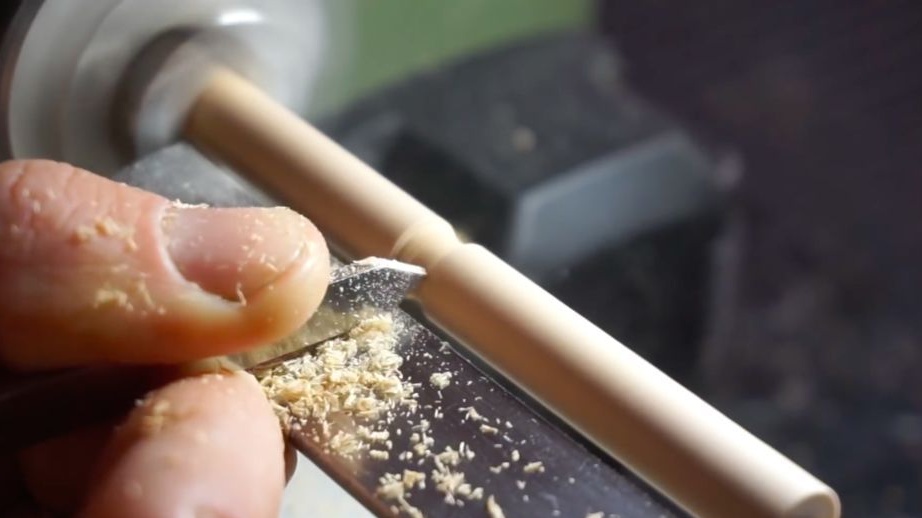
Next, you will need to make rings on the handles that will keep them from splitting. In addition, handles decorate such rings. Such rings can also be machined from a rod on a lathe, and brass is promising. You can also use brass tubes and so on.


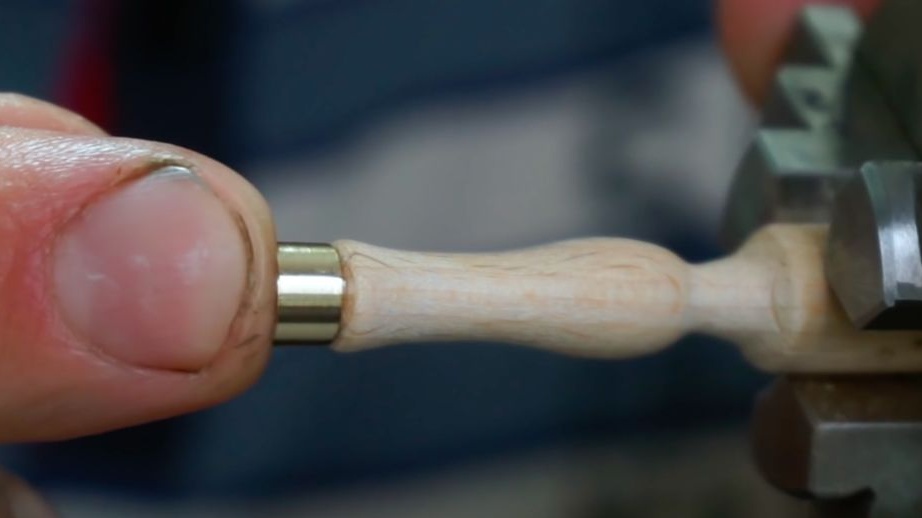
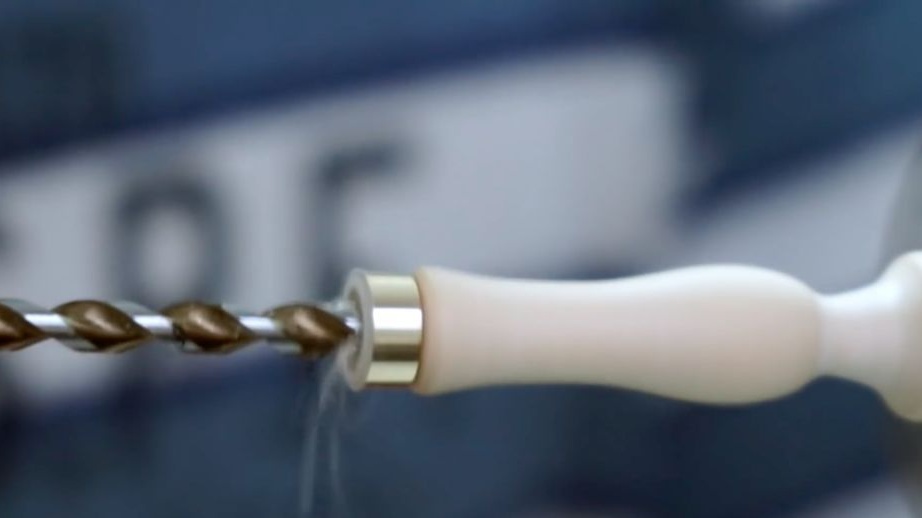
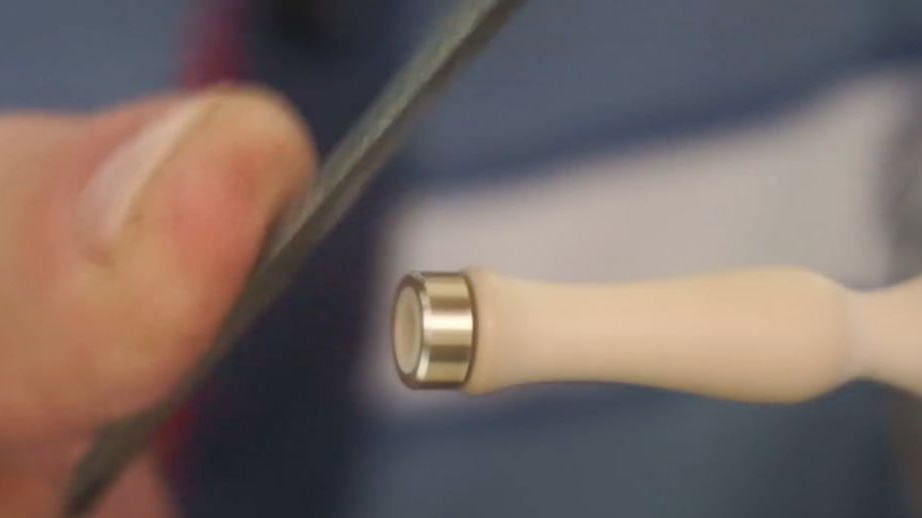
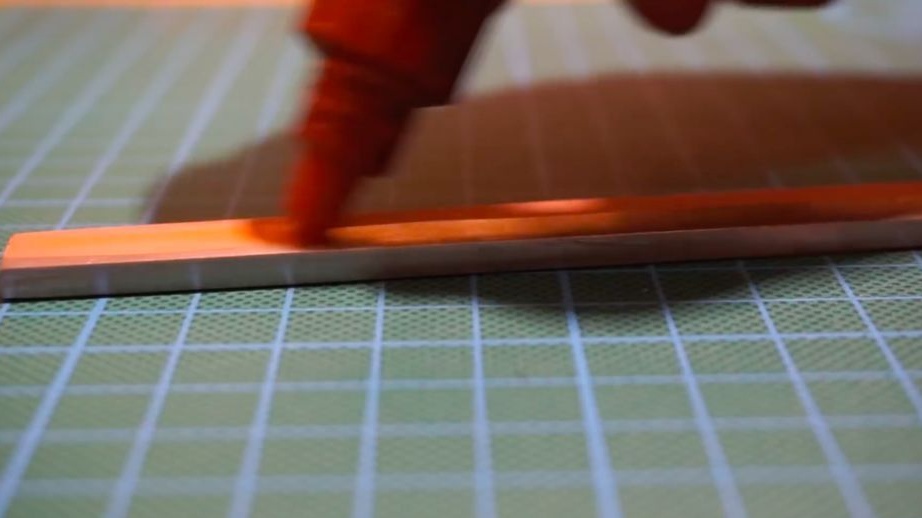
Next, we drill holes in the center of the handles and finish polishing. We use the smallest emery paper at the end to make the pens as smooth as possible. At the same step, the handles can be protected from water and dirt. Different craftsmen prefer different methods of wood impregnation. The most classic option can be considered the use of oil, in particular flaxseed. You can also use stains, varnishes or even glue. After varnishing, the handles can be polished on a lathe using wax.After that, they will look amazing.
Seventh step. Everything is ready for assembly!


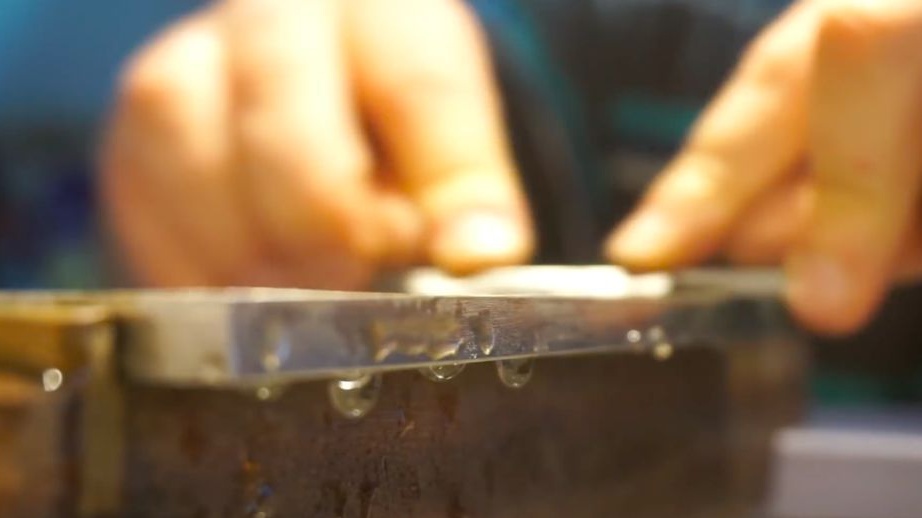
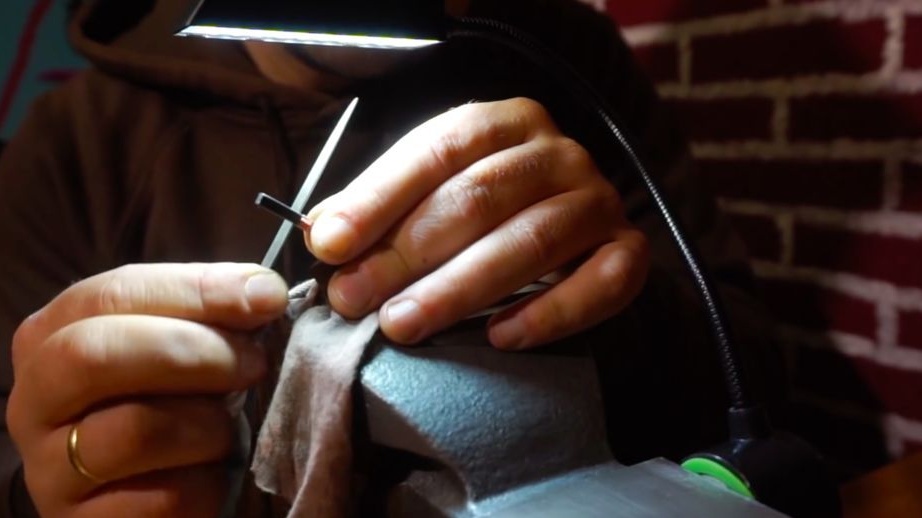
We have all the parts for assembling a knife. Before assembly, carefully grind and polish the knife. If desired, it can be brought to a state of mirror shine. But before installing the handles it’s better not to sharpen the knife yet.
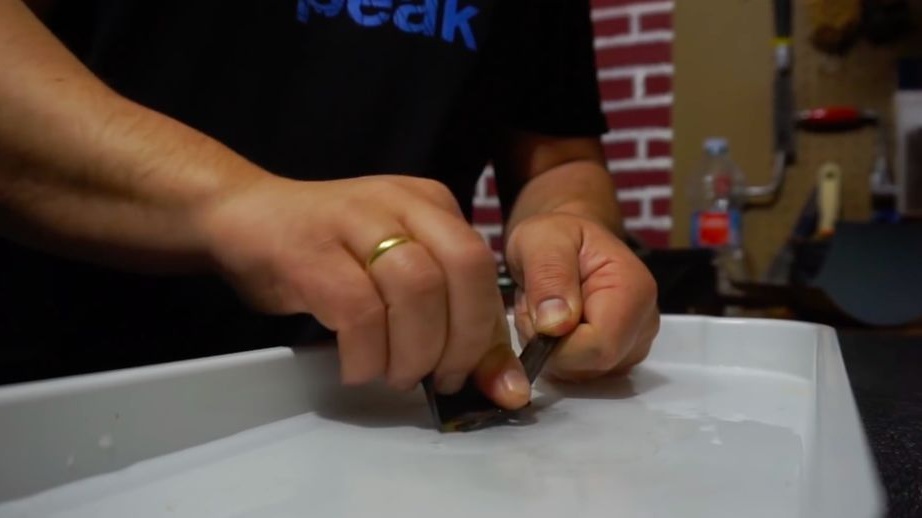
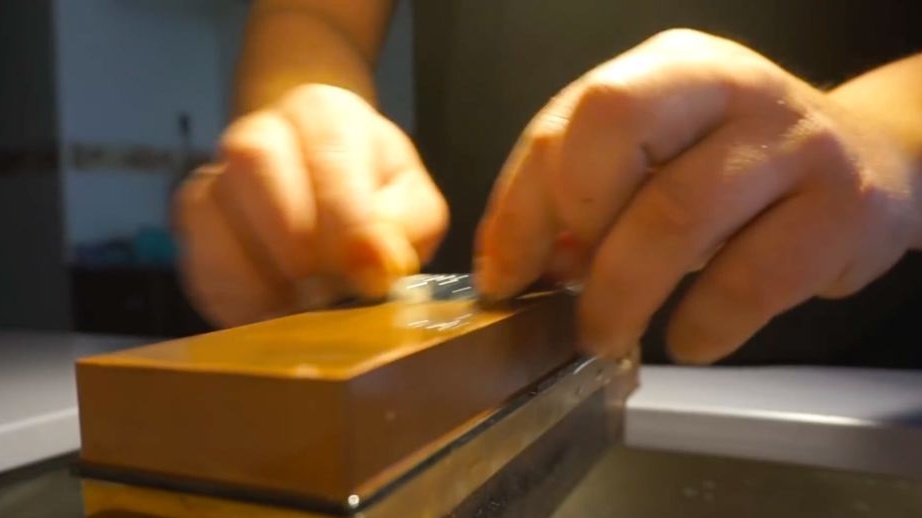
Next, we install the handles, it is optimal to use epoxy glue for this, it will securely fix the handles, and they can withstand heavy loads. When the glue dries, you can proceed to sharpen the knife. To do this, you can use a fine emery cloth dipped in water. Special ones are also suitable. fixtures for sharpening. It must be like a blade for the tool to work as expected.
That's all, we got a great, strong knife. And all this from the file that you wanted to throw away! That's all, the project is over, I hope you liked it. Good luck and creative inspiration, if you want to repeat this. Do not forget to share your best practices and ideas with us!