The fishing season has opened, the water is warming up slowly and the zhor begins at the predator. The main classic trophy of a fisherman can be considered a pike, and many anglers consider a wobbler to be the best tackle for a pike. This bait looks as much as possible in appearance and in the game it looks like a real fish and the pike actively attacks it. Also, zander, chub and other predatory fish bite well on a wobbler. It all depends on the place of fishing, the depth of the wiring and so on.
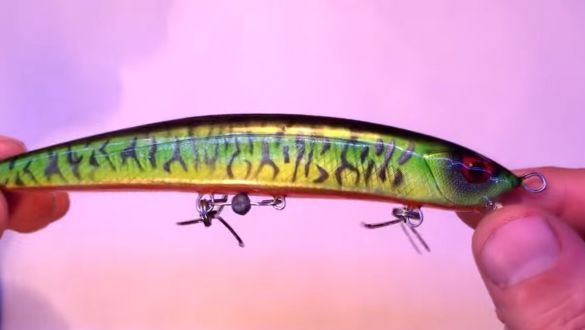
In this instruction, we will consider how you can simply make a wobbler do it yourself. The material for the manufacture will be wood. And as a decoration, the author used self-adhesive foil, due to which it turned out to make the fish as detailed as possible and similar to the real one. The peculiarity of this particular wobbler is that it is motorized. No, no, he does not swim himself, a vibration motor is installed inside it, which turns on under certain circumstances. As a result, the fish begins to vibrate underwater and the predator simply can not resist and does not taste it. So, let's take a closer look at how to make such a wonderful wobbler.
Materials and tools that were used by the author:
Material List:
- vibration motor;
- small battery;
- hooks tees;
- stainless wire;
- a piece of board as a material;
- self-adhesive foil;
- nail polish;
- epoxy adhesive;
- paint.
Tool List:
- jigsaw;
- sandpaper;
- a knife for woodcarving;
- soldering iron;
- nippers;
- pliers.
The manufacturing process of the vibration damper:
Step one. We get a vibration motor and a battery
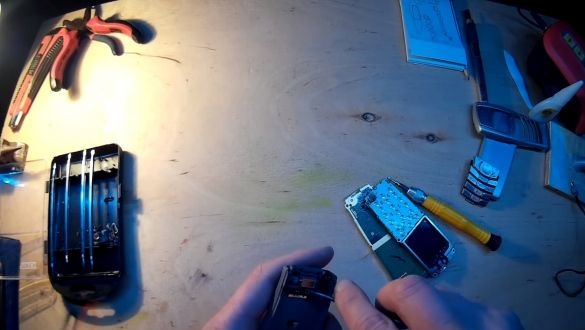
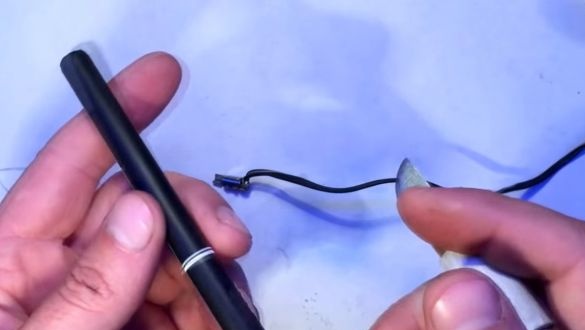
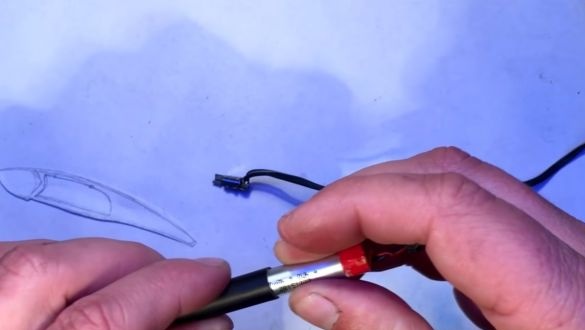
First we need to get a vibration motor, it will not be difficult to do this. Such a detail can be found in almost all old-style mobile phones. We disassemble the phone and carefully get the motor. Immediately you can solder the power wires to the motor contacts. This must be done very carefully, since when the engine overheats, it will immediately deteriorate, begin to wedge, and so on. The wires should be thin and soft so that they do not break off.
To power the motor, a battery will be needed, the operating voltage of such motors is about 3 volts. The author took out a small battery from e cigarettes. The battery must be sized to fit in the wobbler. It must be the battery itself, since it will not work to remove the battery for replacement.
Step Two Cut the base of the wobbler
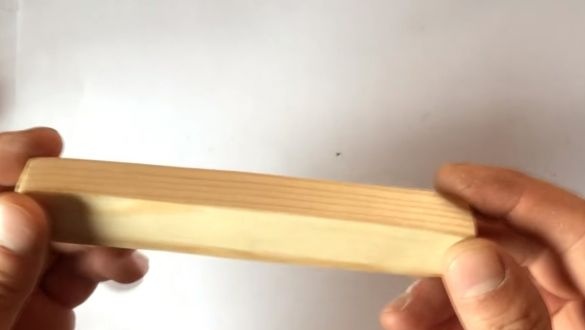
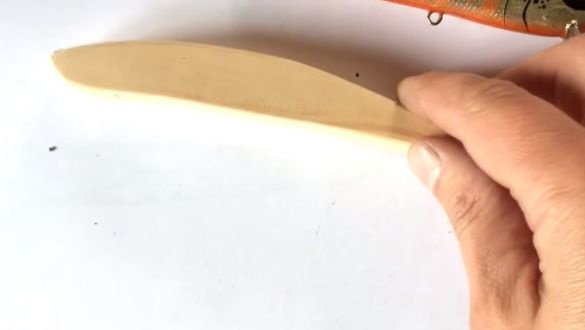
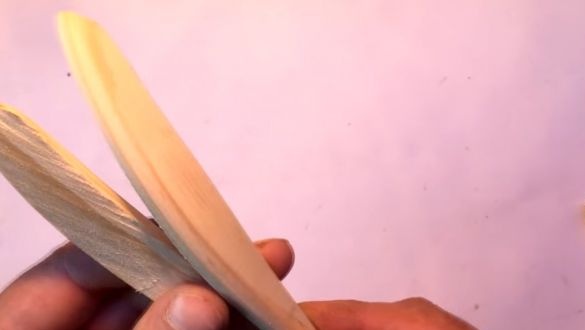
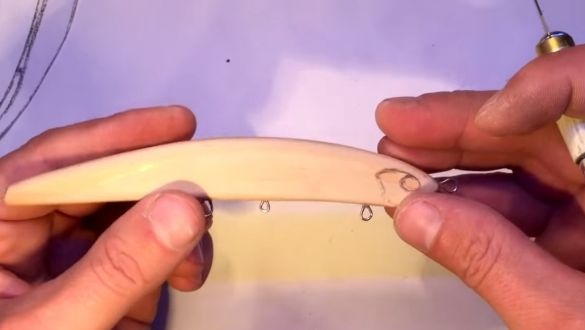
Wobbler can be made from a thick board. It is better to use soft woods, it is easier to work with them. First, cut out the main profile according to the template and process it with sandpaper. Well, then the workpiece is carefully cut along to get two halves.
Step Three Set the filling
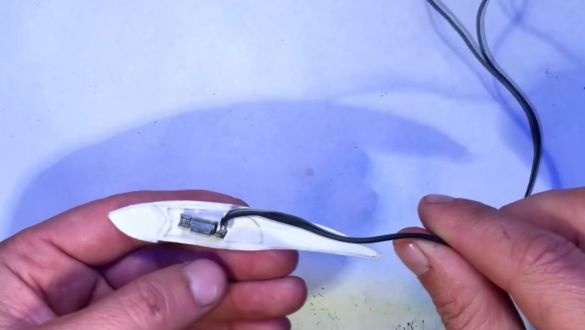
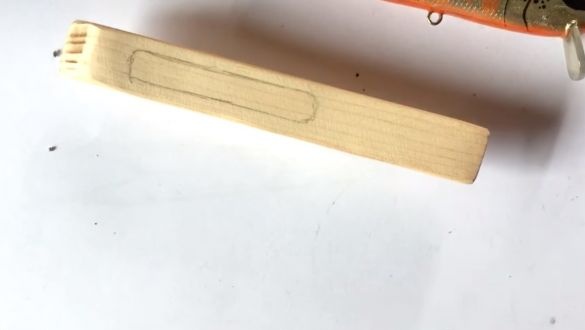
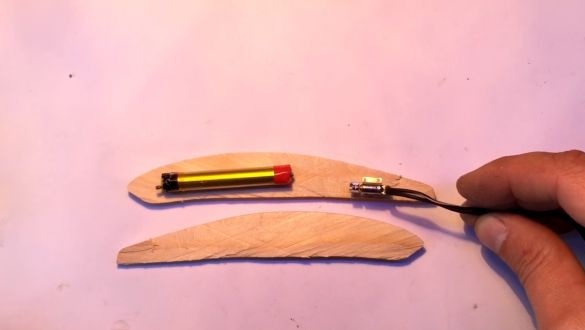
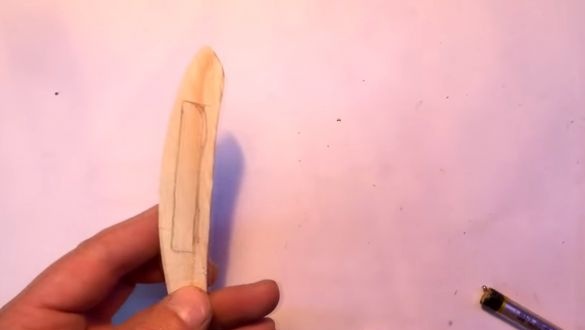
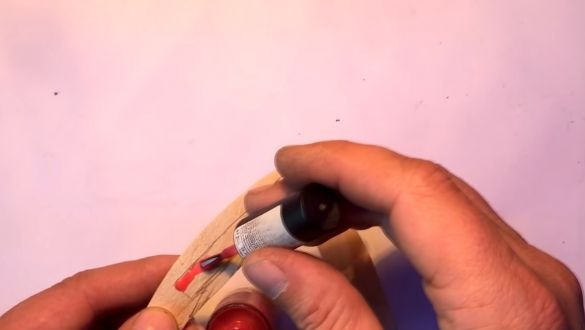
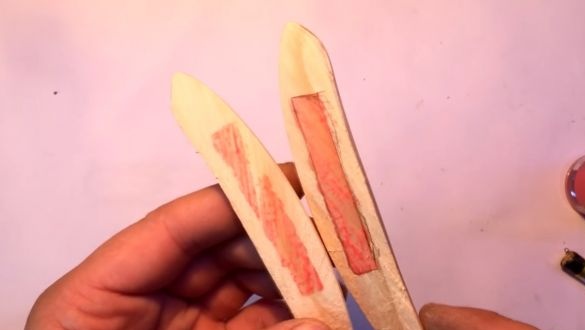
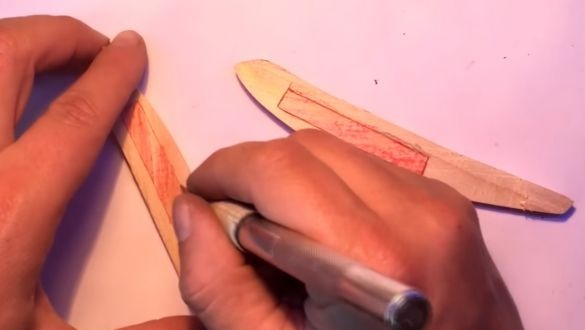
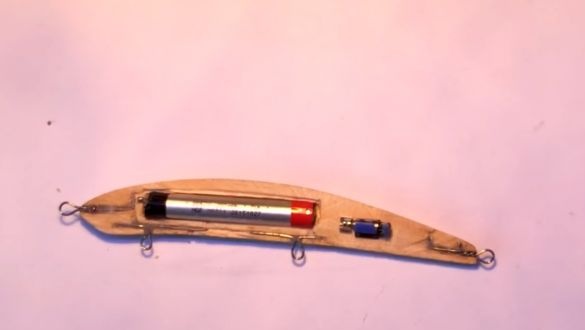
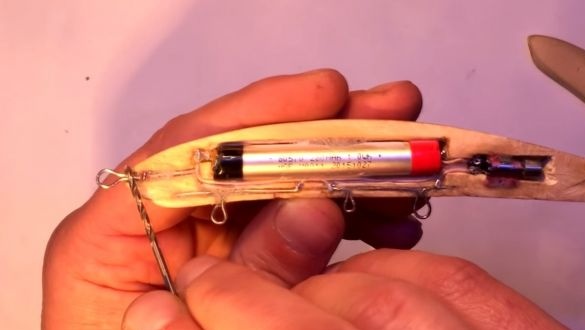
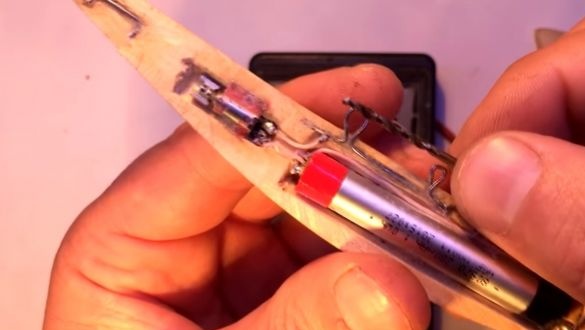
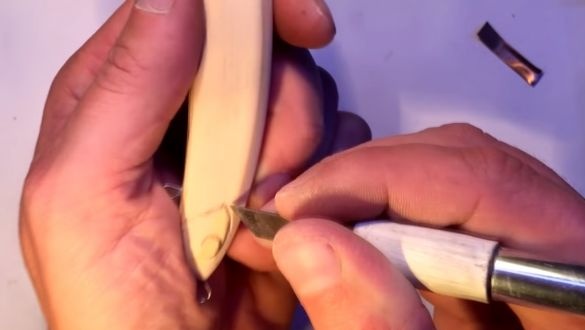
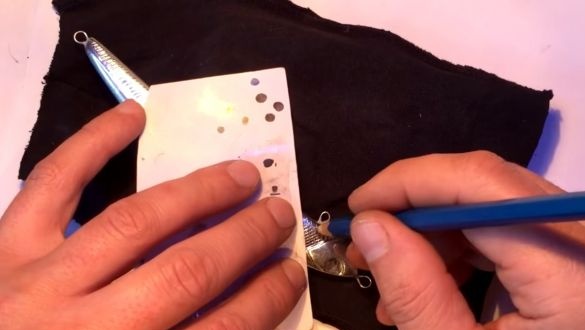
Inside the wobbler there will be a vibration motor and battery. Under these elements in the wobbler you need to make a niche. First, draw them on one half with a pencil, and then apply nail polish and press the other half. As a result, we get an imprint where we need to cut niches. Now we arm ourselves with a woodcarving knife and cut out niches in the tree. The vibromotor is installed in the rear part to simulate the trembling of the fish tail.
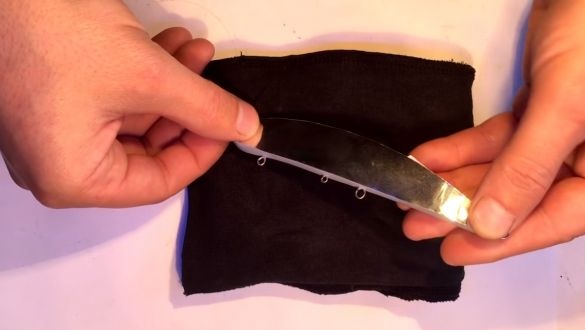
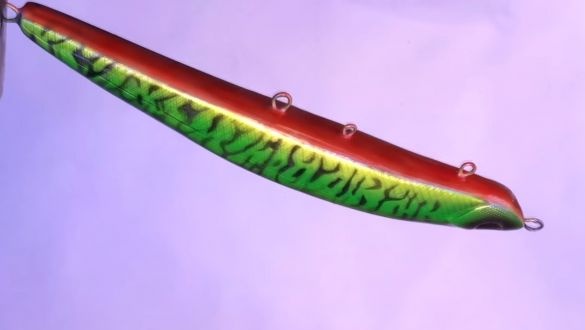
You also need to make niches for installing loops. In addition to attaching hooks, these loops have another purpose. So, for example, with the help of two front loops, the battery is charged. That is, here comes “+” and “-” from the battery.
And those two loops that are on the abdomen are needed in order to turn on the vibration motor by closing. Then the author sets a jumper to turn on the motor when needed. All contacts are reliably connected by soldering.
Step Four Fish finish
Next, we glue two halves, it is best to use epoxy as the glue. Apply glue evenly on two halves and squeeze them well. Be careful with the vibromotor, if glue gets here, it will not work. Everything must be done hermetically so that water does not enter.
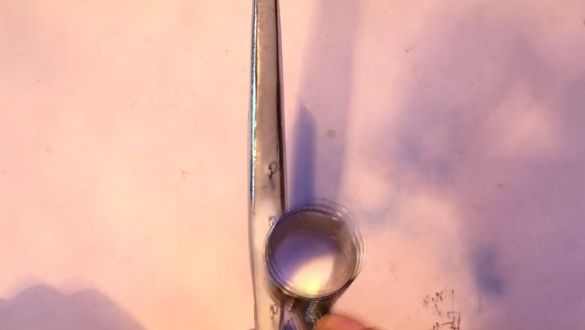
When the glue dries, apply the main coating to the fish. It will be needed in order to protect the wood from moisture and so on. It can be paint, soil or something similar, but the coating should be soft, as we will still apply a relief pattern. Before painting, do not forget to cut out the head of the fish, these are the eyes and gill covers.
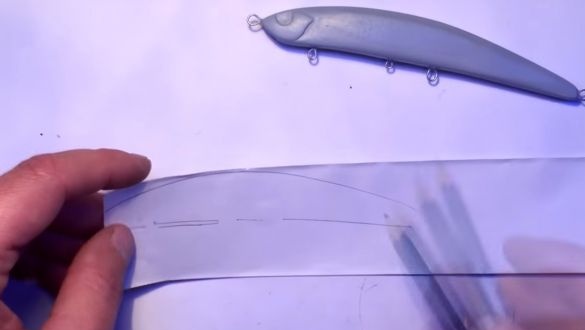
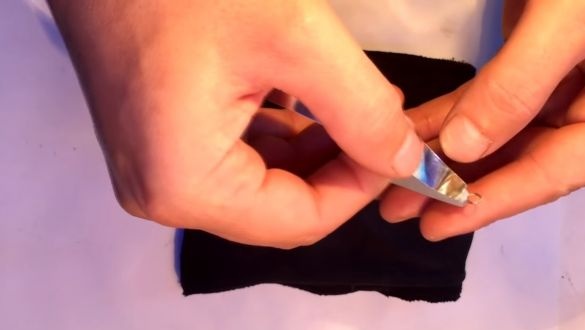
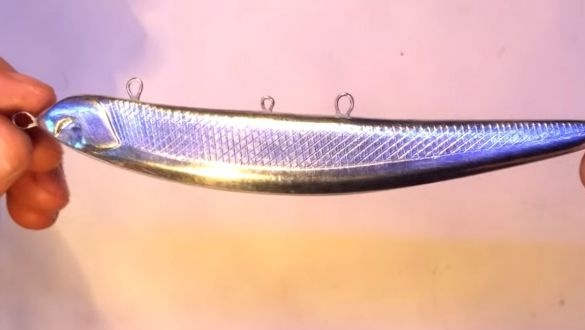
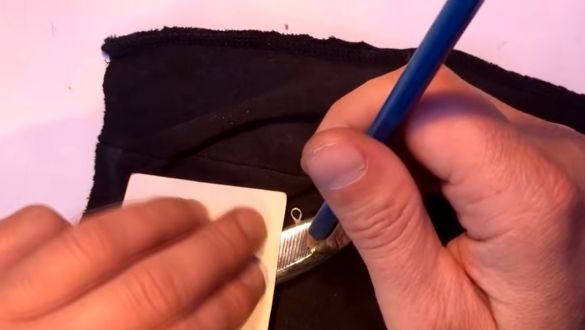
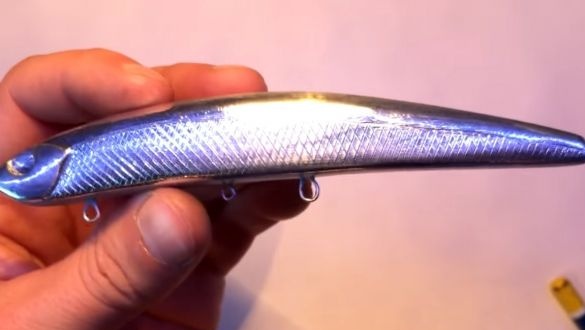
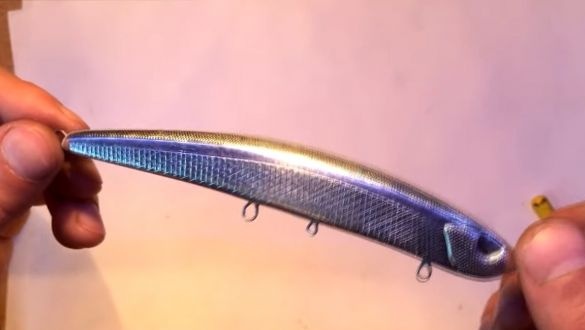
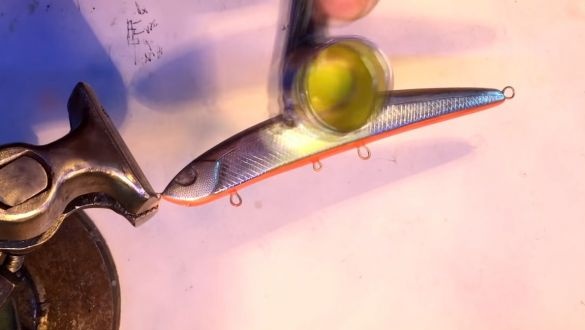
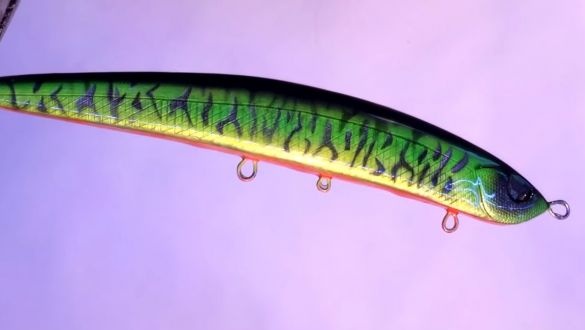
Now the fish needs to be glued with foil, the author used a self-adhesive foil. This material glitters and resembles fish scales as much as possible. Well, then we take a ruler and make a drawing of scales on the body of the bait. The author does this with a pencil.
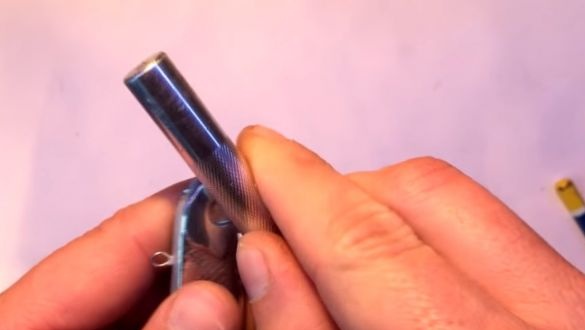
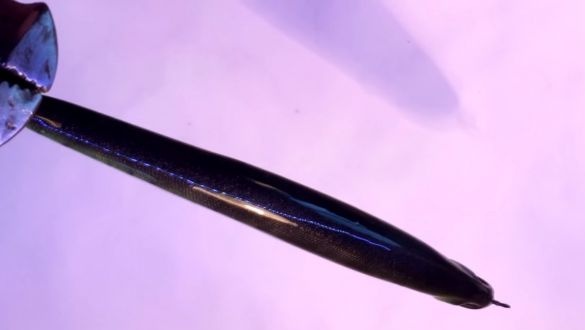
On the head and back, fish often have smaller scales. To form it, take a tool with a relief handle and roll in the right places. So simple we got a body very similar to a real fish.
Step Five Painting
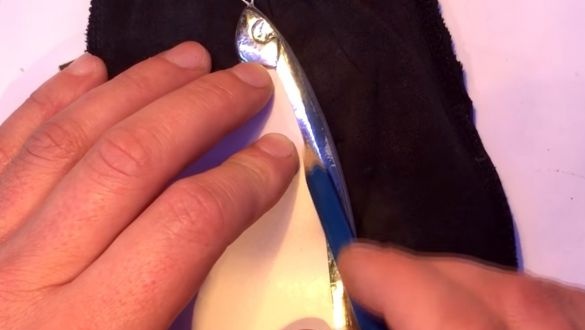
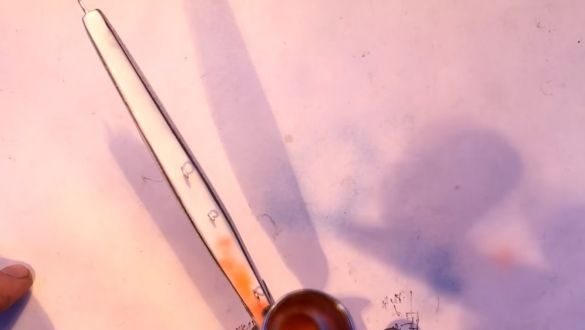
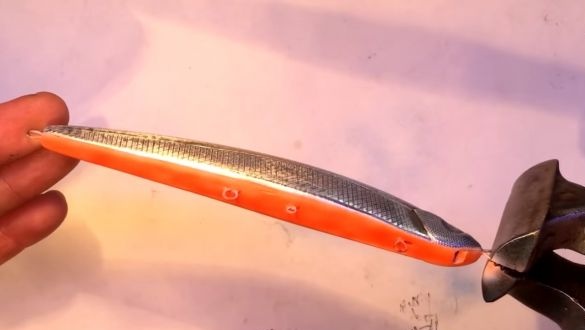
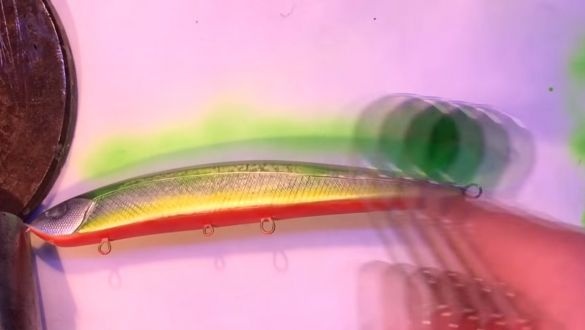
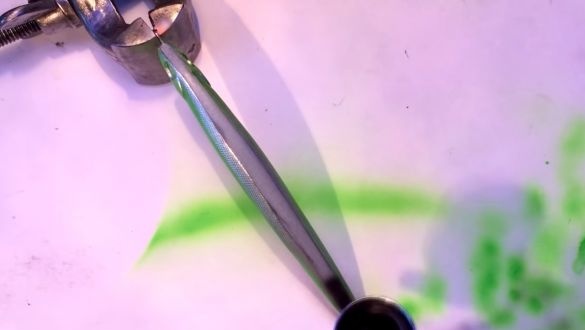
In principle, the fish already looks good, it is brilliant and similar to the real one. But the author also decided to paint his wobbler. The stomach was decided to be painted in a bright orange color. As for the sides, there can be yellow and green shades. Well, as for the back, then most fish have a dark color. The author also made a head of a dark color, and painted his eyes in red. As a result, the fish is like a rudd. By the way, many fishermen believe that it is the eyes that are the main identifier for a predator.
Step Six Assembly and testing
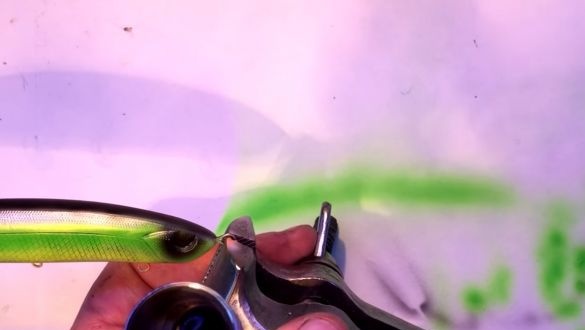
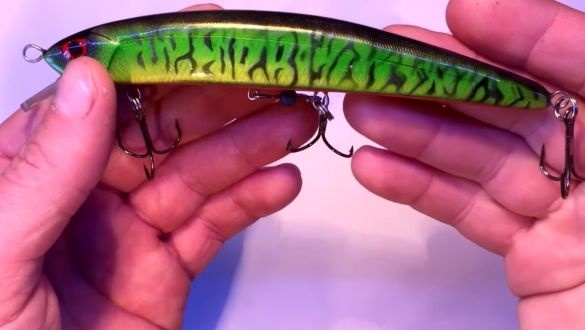
As a result, we got an excellent wobbler, which you can catch even without turning on the vibromotor. It is well-loaded thanks to the heavy battery. We install tees on the winding rings, and we fix the wobbler through a strong wiring, otherwise it will be annoying if the fish floats away with a vibrating wobbler in the mouth. She’s going crazy, take pity on the fish ...
Between the loops on the abdomen, the author installed a jumper, a small weight is installed on it. Thanks to this jumper, the vibrator is activated.But the contact here is not very good, so the motor will periodically work during wiring. This jumper is attached to the loop and, if desired, it can be installed so that it will close the contacts only when the wobbler touches the bottom. How it works, you can watch the video.
That's all, hopefully, the author got a catchy gear. I hope you enjoyed the project, and you gathered useful information for yourself. Good luck and creative inspiration, if you want to repeat this. Do not forget to share your best practices with us!

