
The calculation and winding of a pulse transformer is a relatively complex process, which many prefer not to mess with. However, many home-made products need a power source, but due to the complexity of the power supply circuits, hams often use iron transformers.
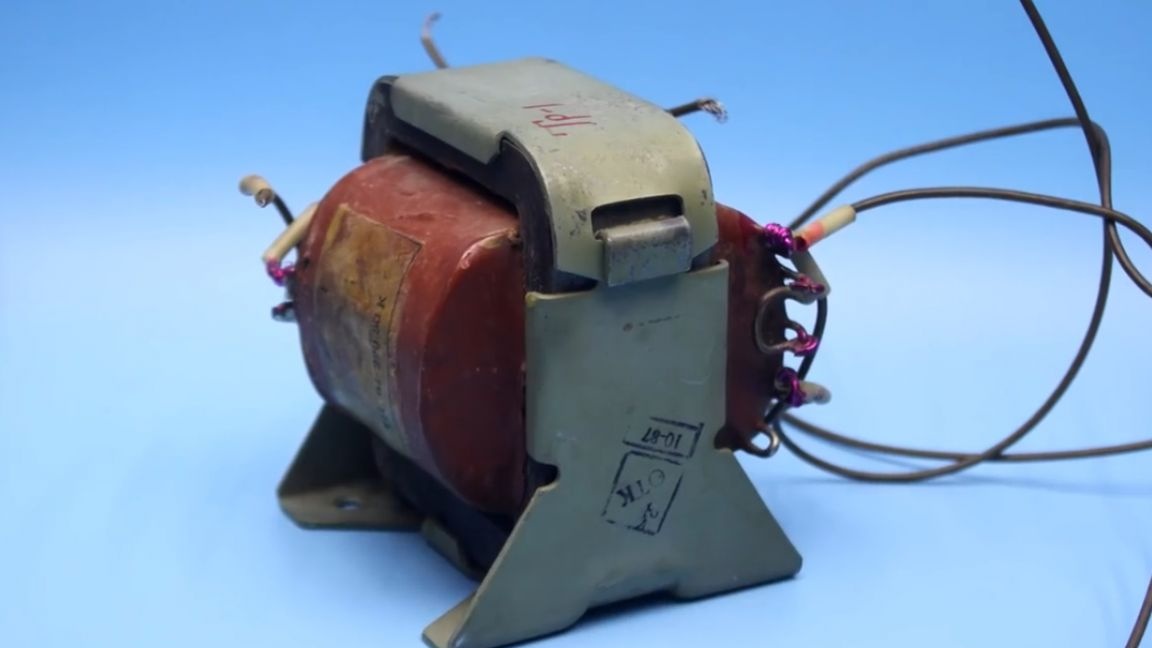
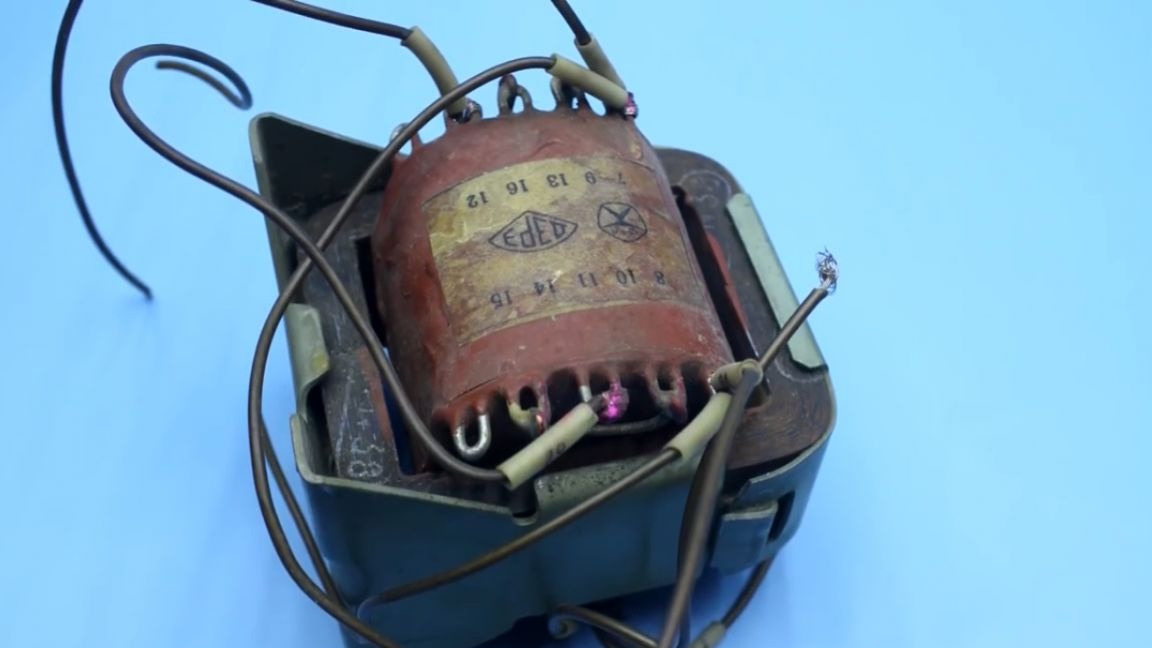
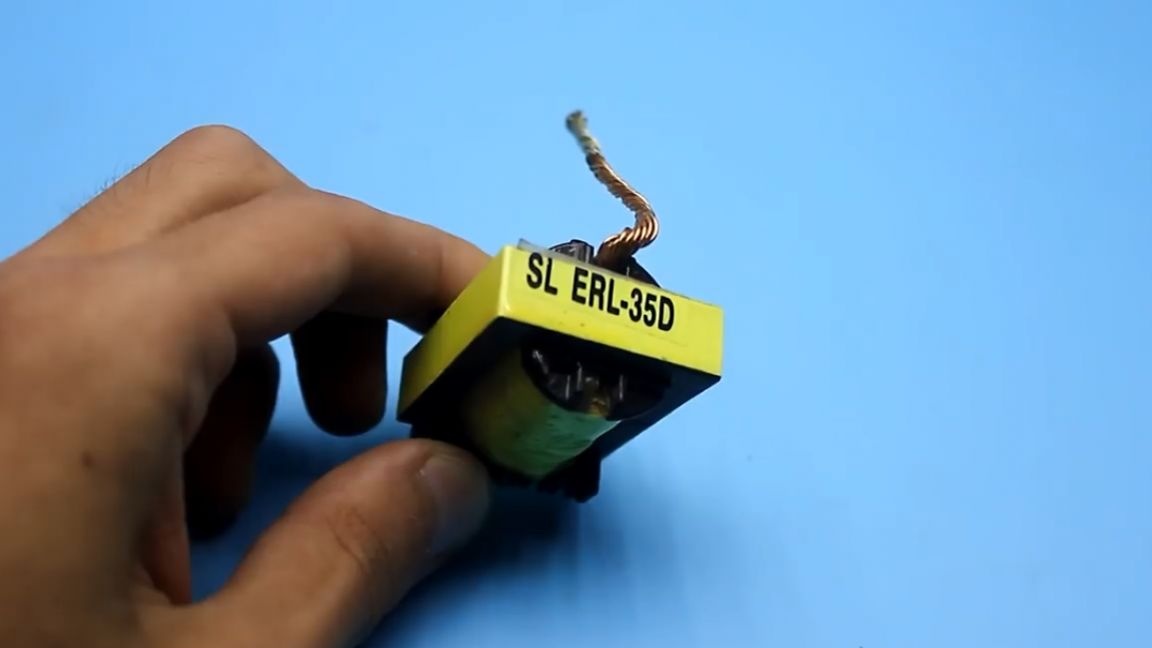
They are reliable, but when it comes to size and weight, they are inferior to switching power supplies. Here are 2 transformers in front of you.
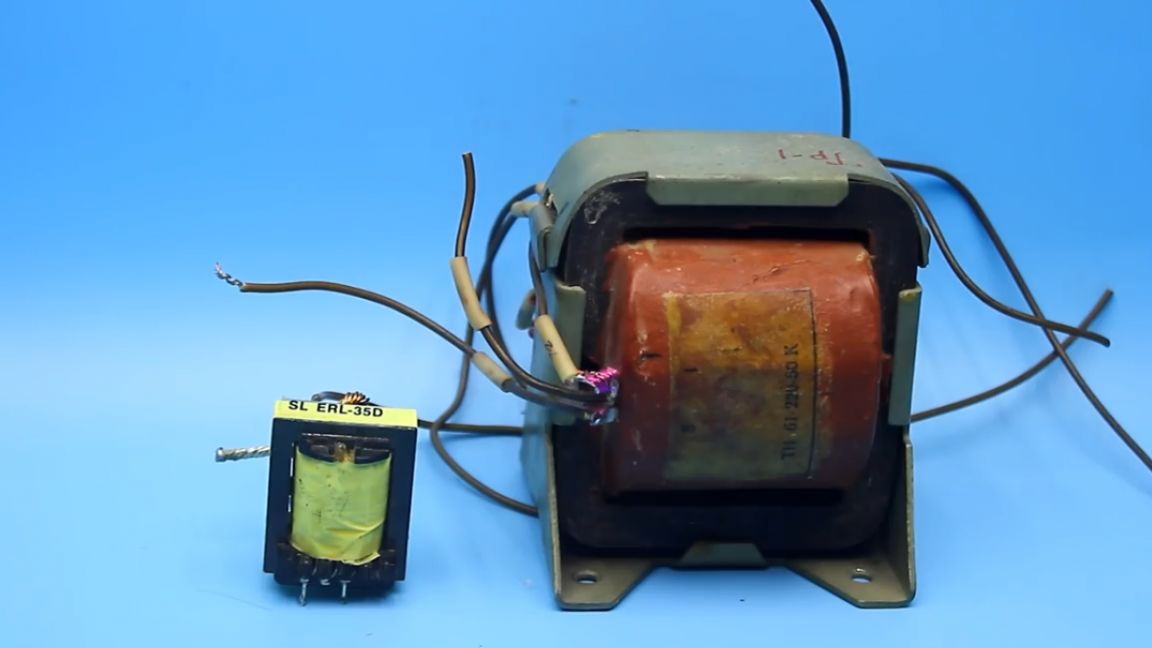
Both of them are somewhere at 300 watts. What is their difference, advantages and disadvantages, I think, and so it is clear. Today we will talk about winding a pulse transformer for a network switching power supply. From this article you can familiarize yourself directly with the process of preparing the transformer, calculation and winding.
First you need to decide on the transformer.

You can naturally buy the right core in the store, but I think everyone will find a non-working computer power supply.
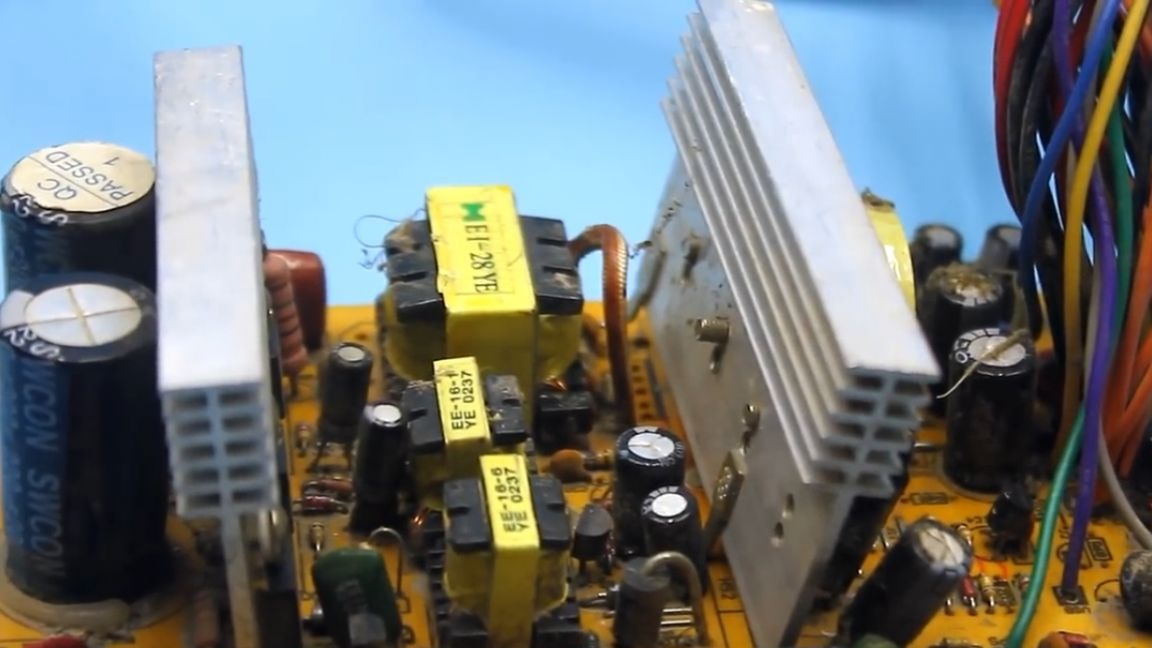
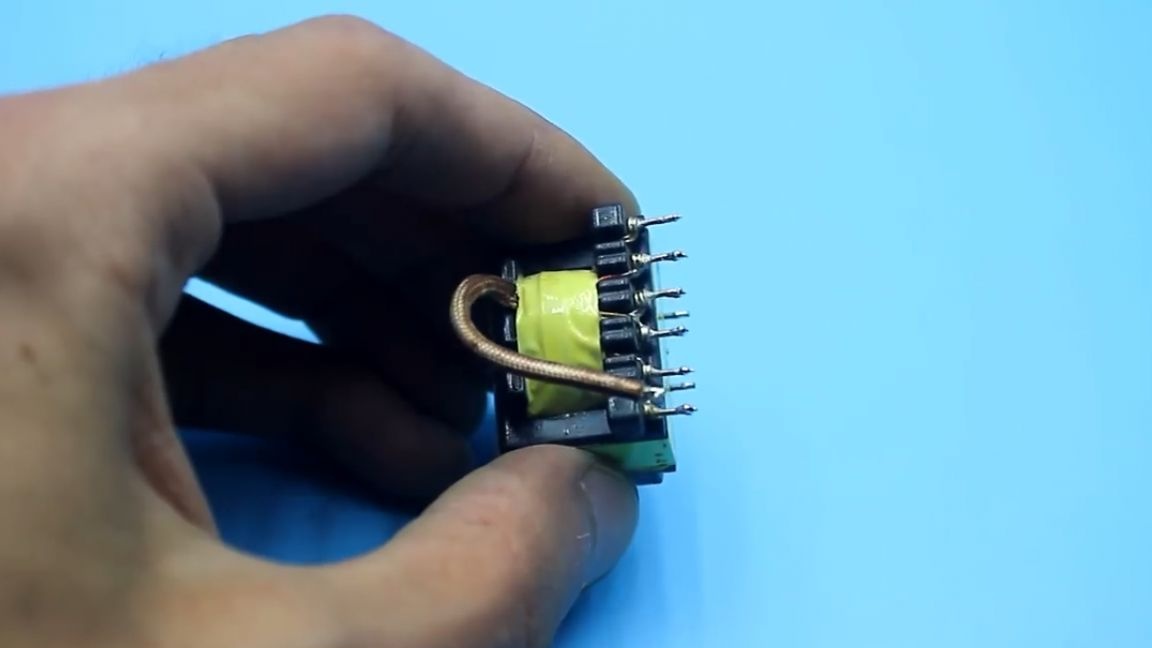
Indeed, in any power supply unit there is a transformer, more precisely as many as three: the transformer on duty, control and the main power.
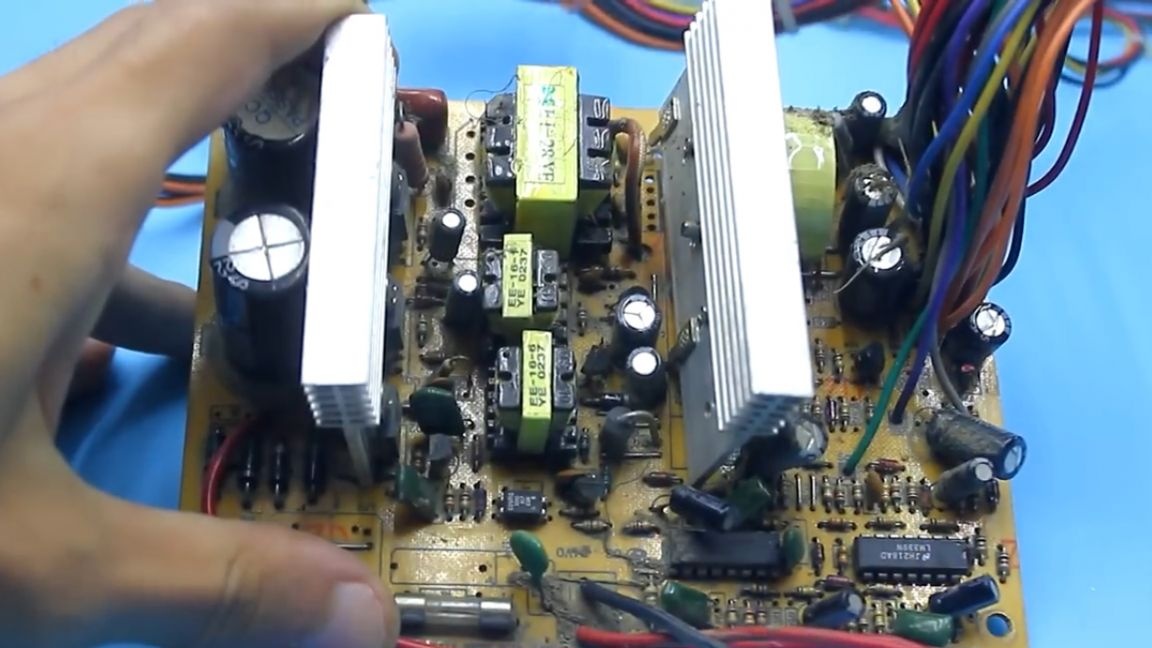
You cannot confuse a power transformer with anything, it is the largest.
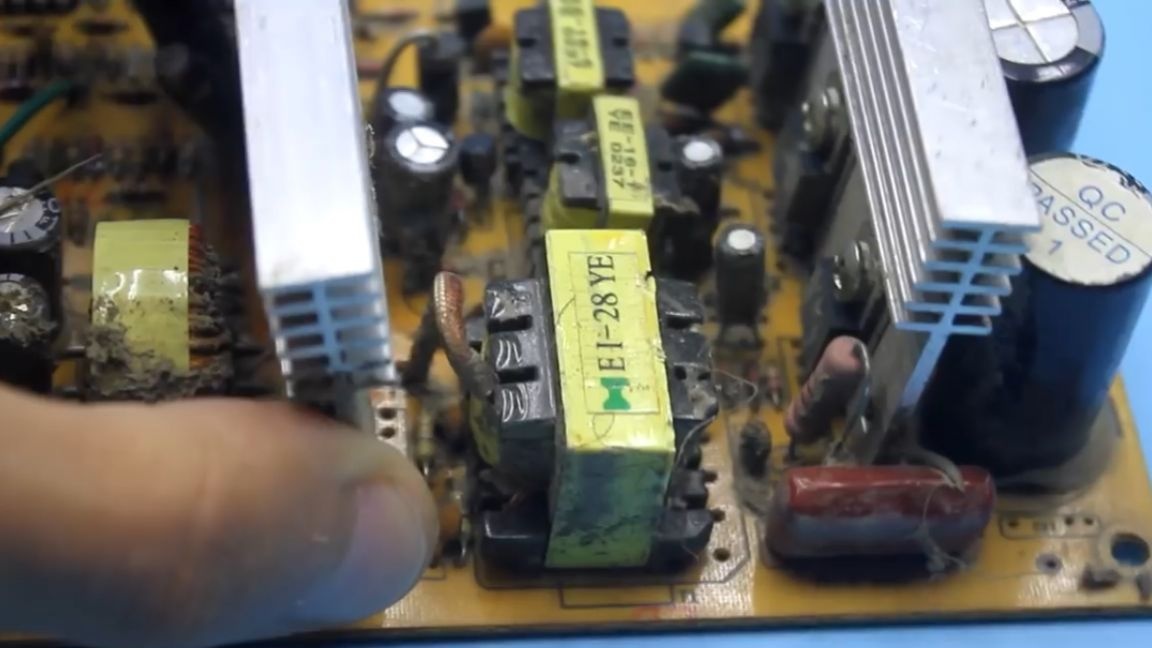
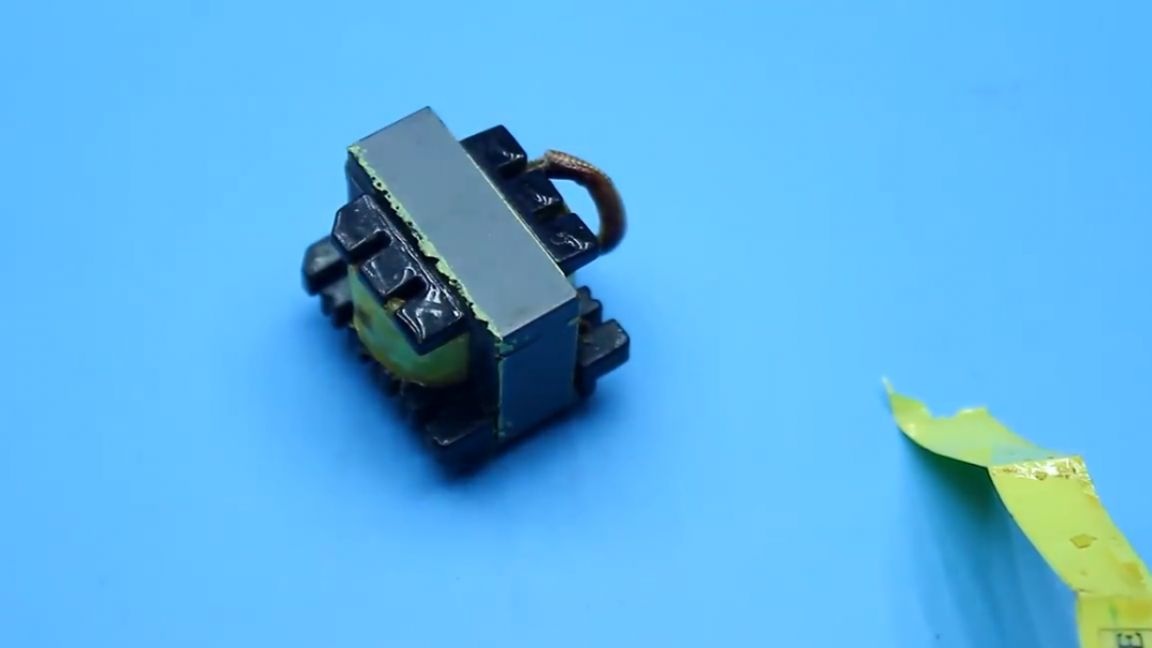
Gently solder it, and send the board back to the attic.
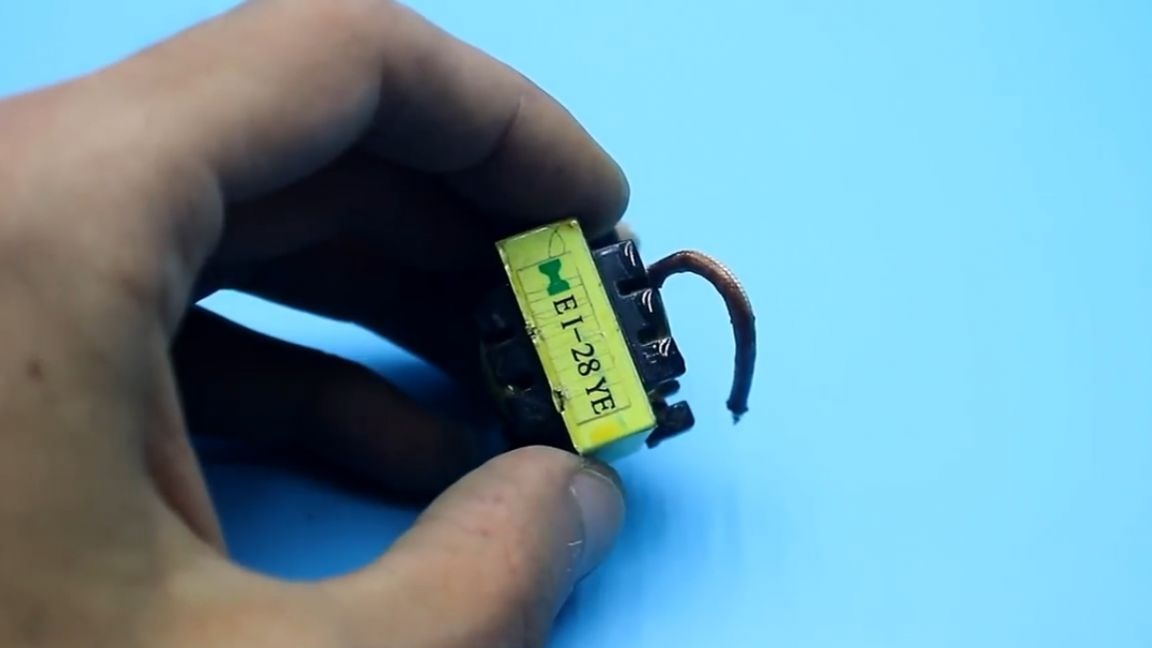
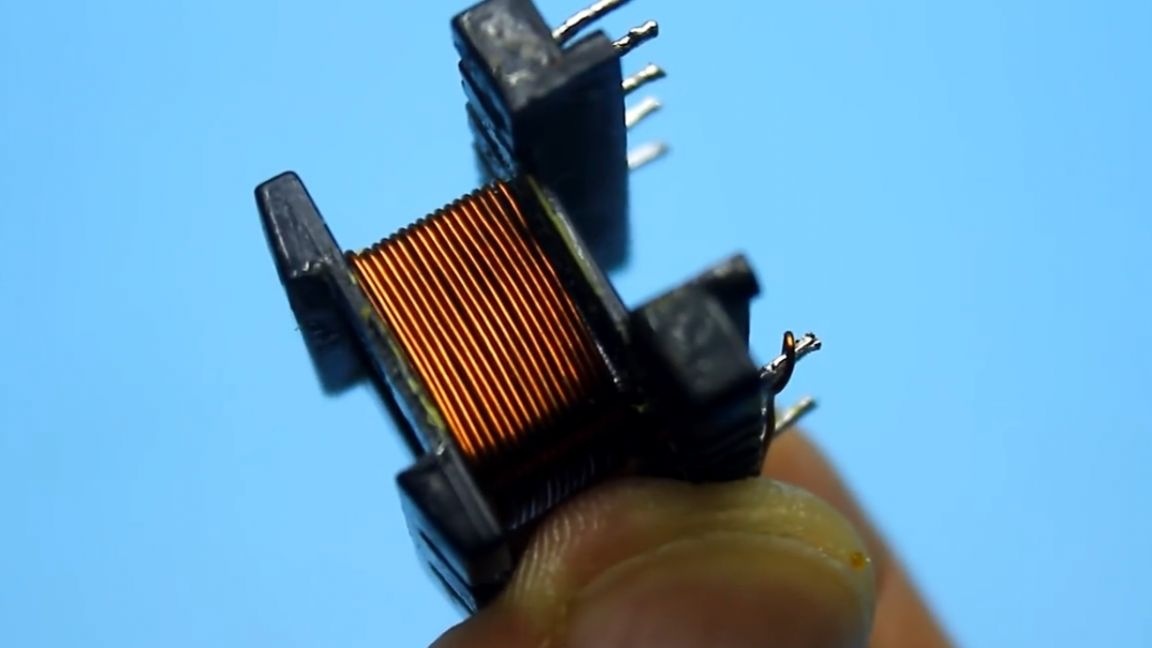
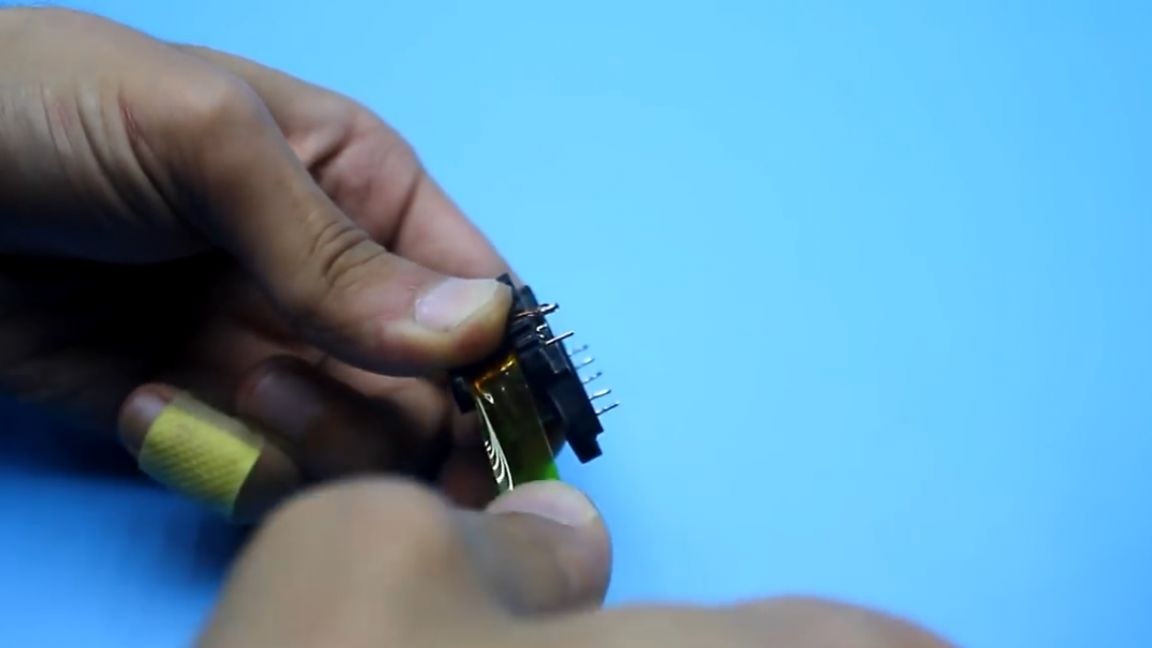
Next, fixing tape is removed from the transformer, the core itself needs to be heated, for example, with a soldering iron or a blow dryer, and you can also boil it in boiling water.
Ways of disassembling pulse transformers have repeatedly been shown in the author’s videos (anyone interested, the link will be in the description under the video).
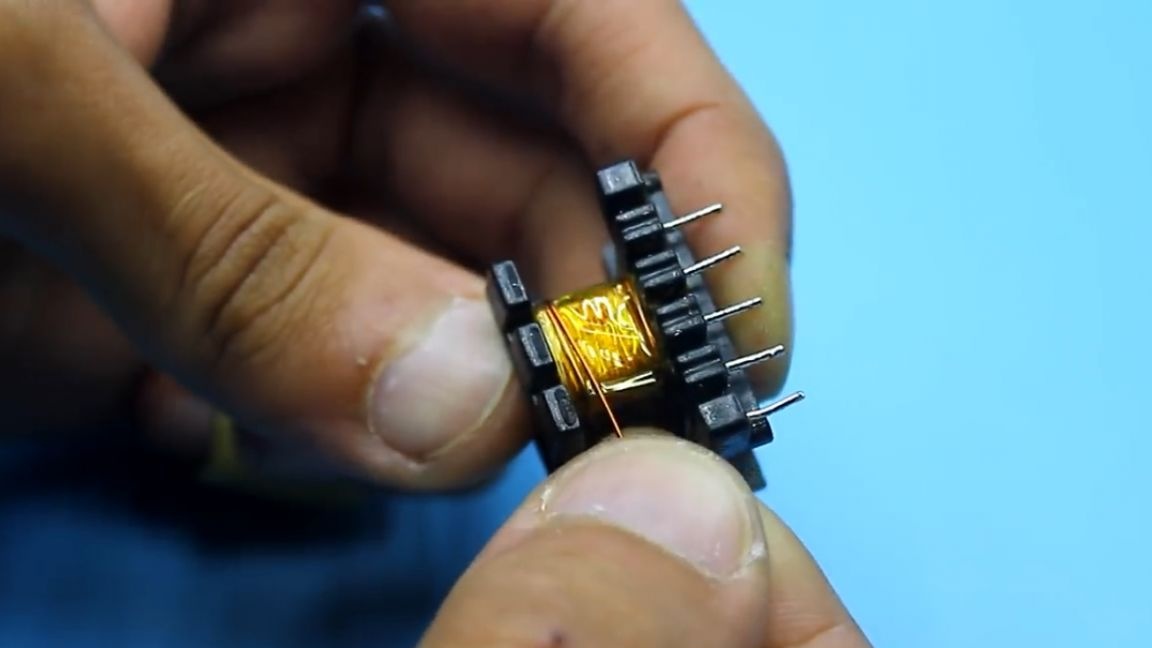
The transformer heats up to loosen the glue with which the core halves are glued. Next, carefully remove the halves of the core, then we begin the dismantling of the old windings. Here, any methods are good, since the wire from the old windings will no longer be useful to us.
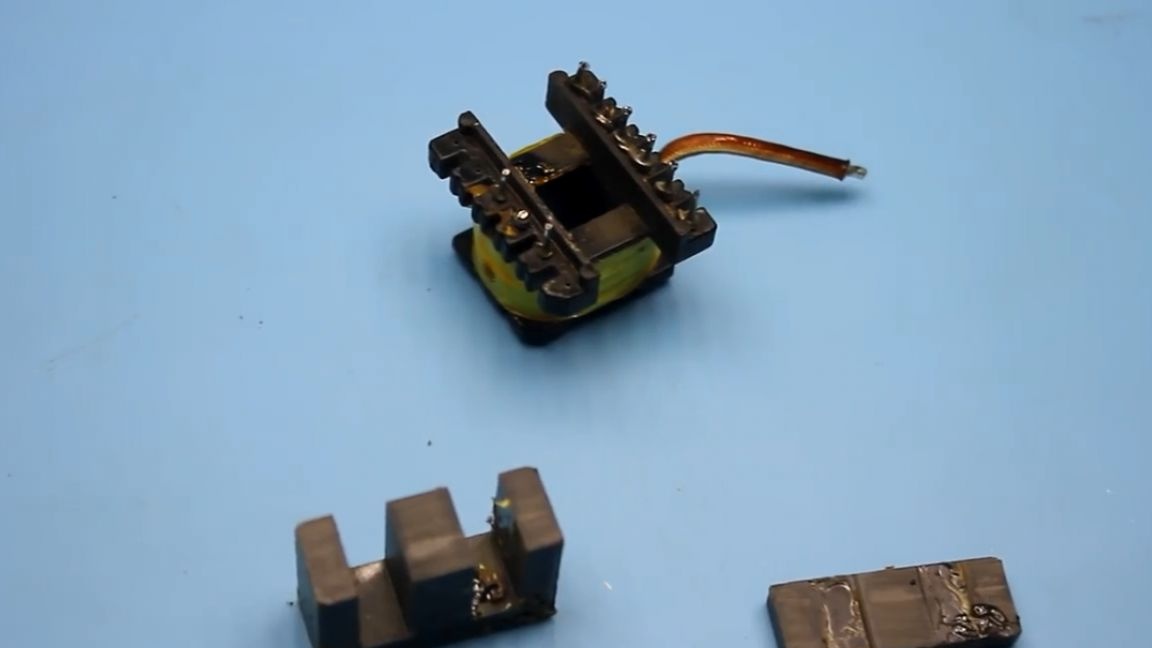
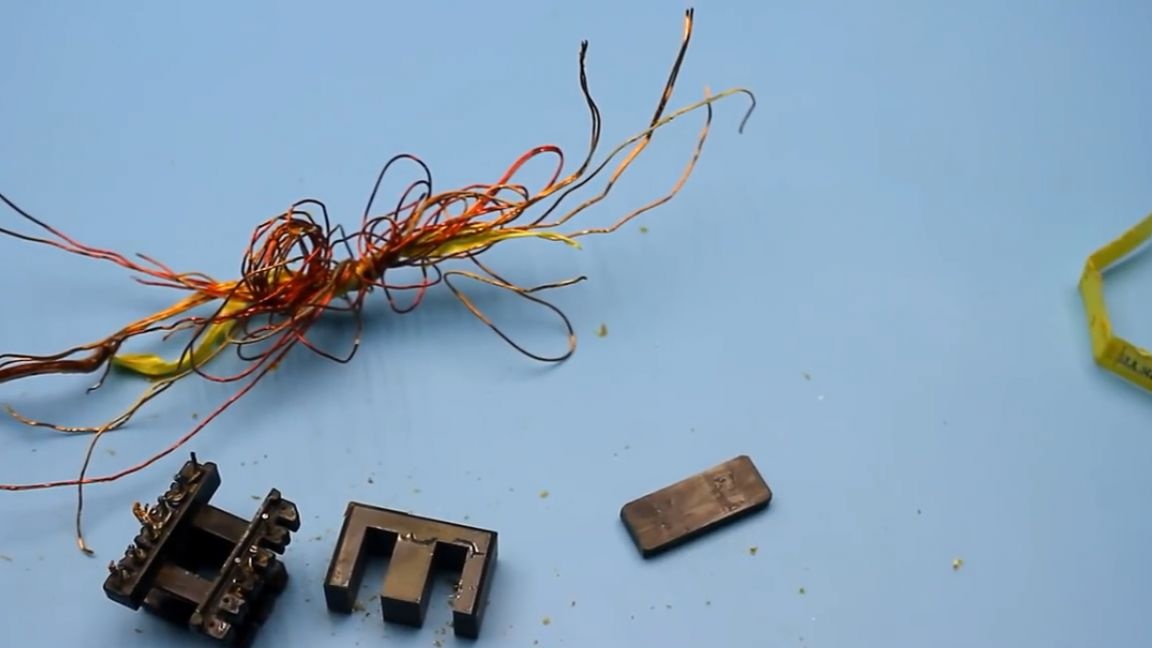
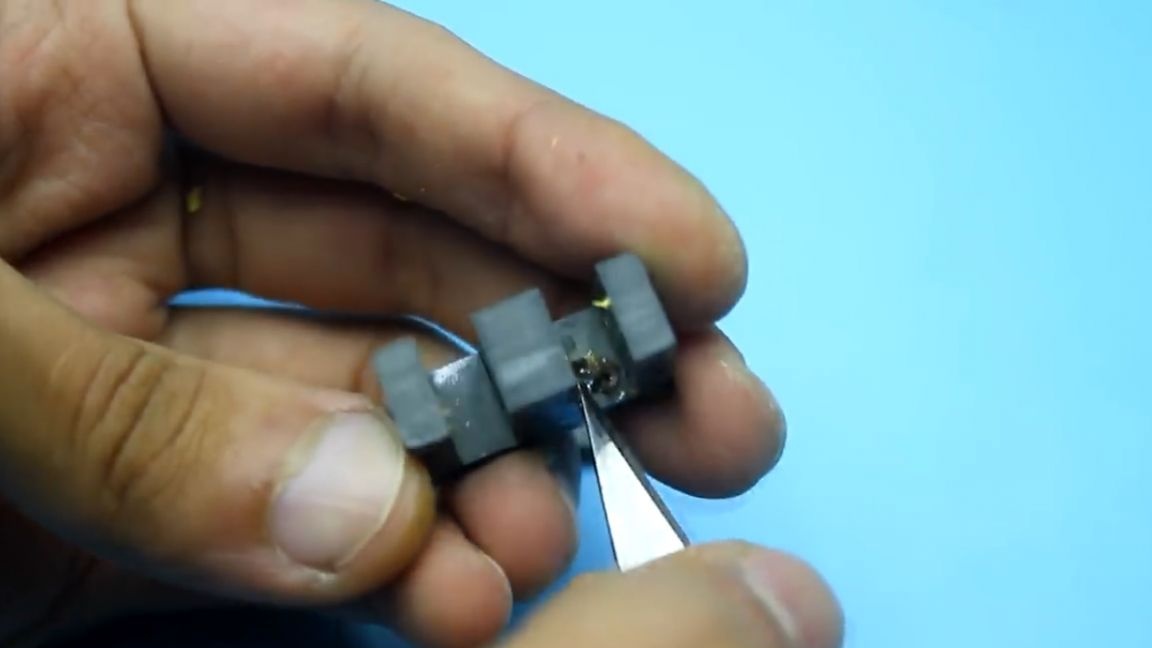
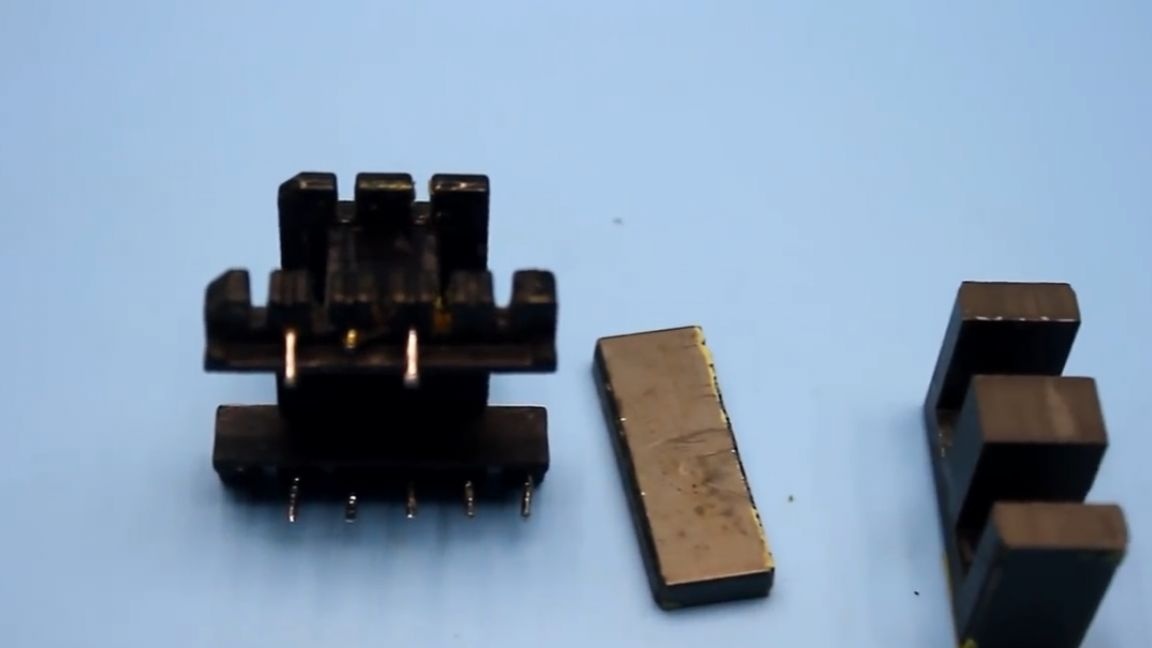
After carefully disassembling the transformer, both the frame and the halves of the core must be cleaned of old glue.

Everything seems to be ready, now the fun begins - the calculation of the transformer.You probably thought that there would be formulas and the like, but no, in fact I have great news for you. Currently, there are many applications for both a smartphone and computer operating systems. The author decided to analyze the calculation process using an example of such an application:

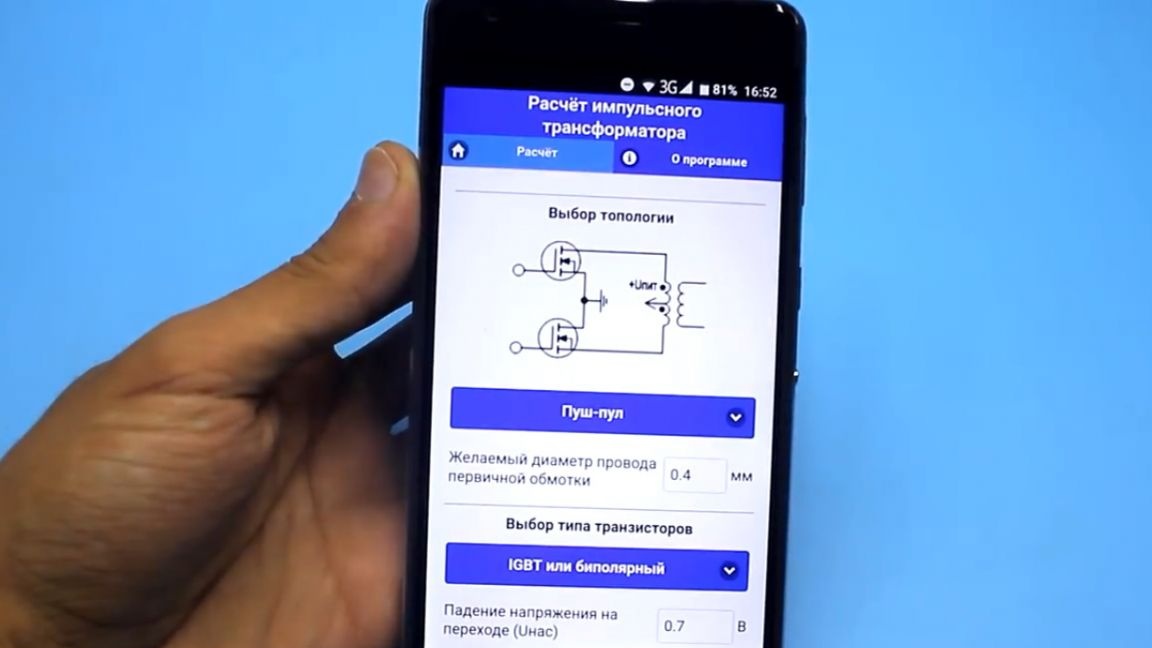
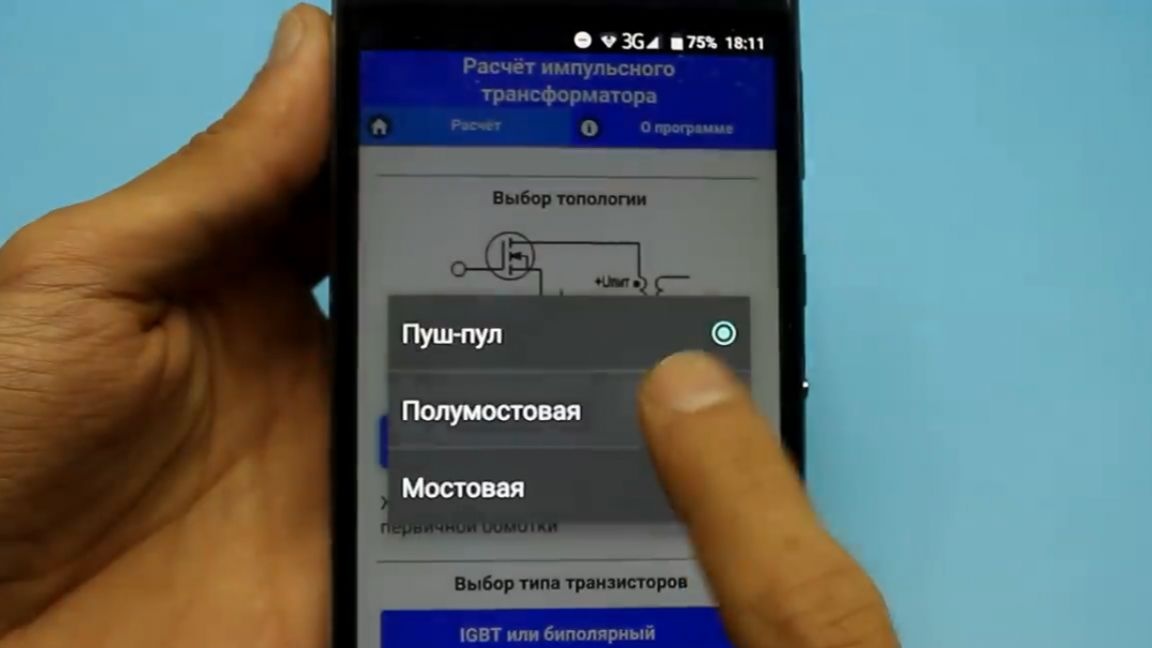
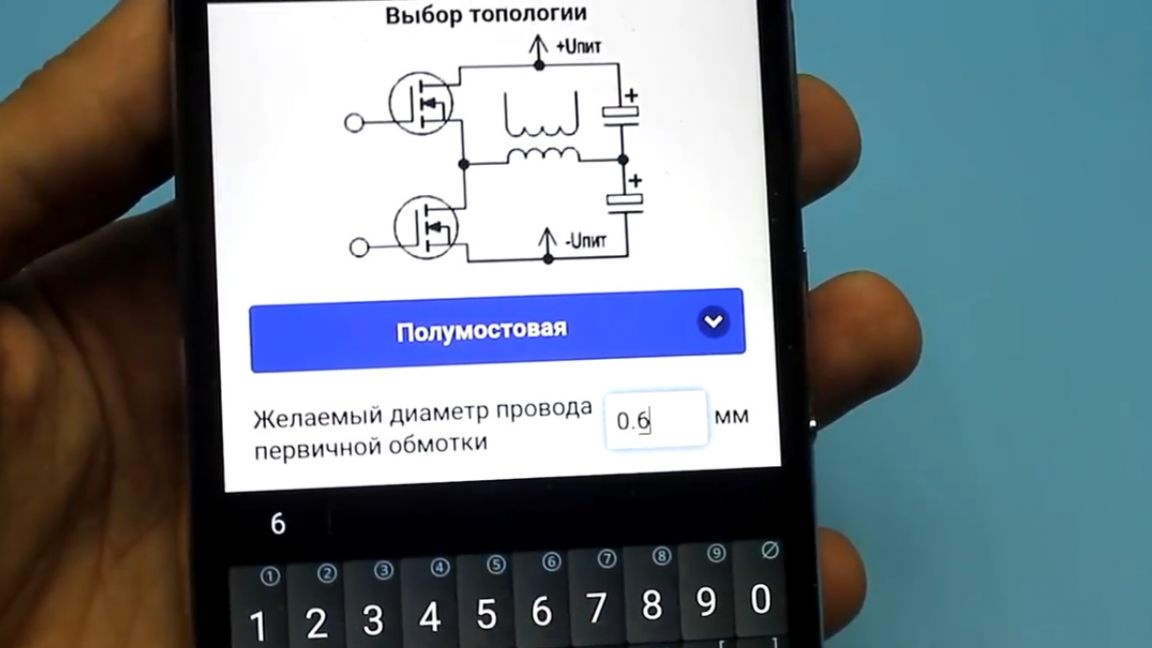
It will do everything for you. Open the application and select the converter topology, in this case it is a half-bridge.
After this, indicate the desired diameter of the primary wire.
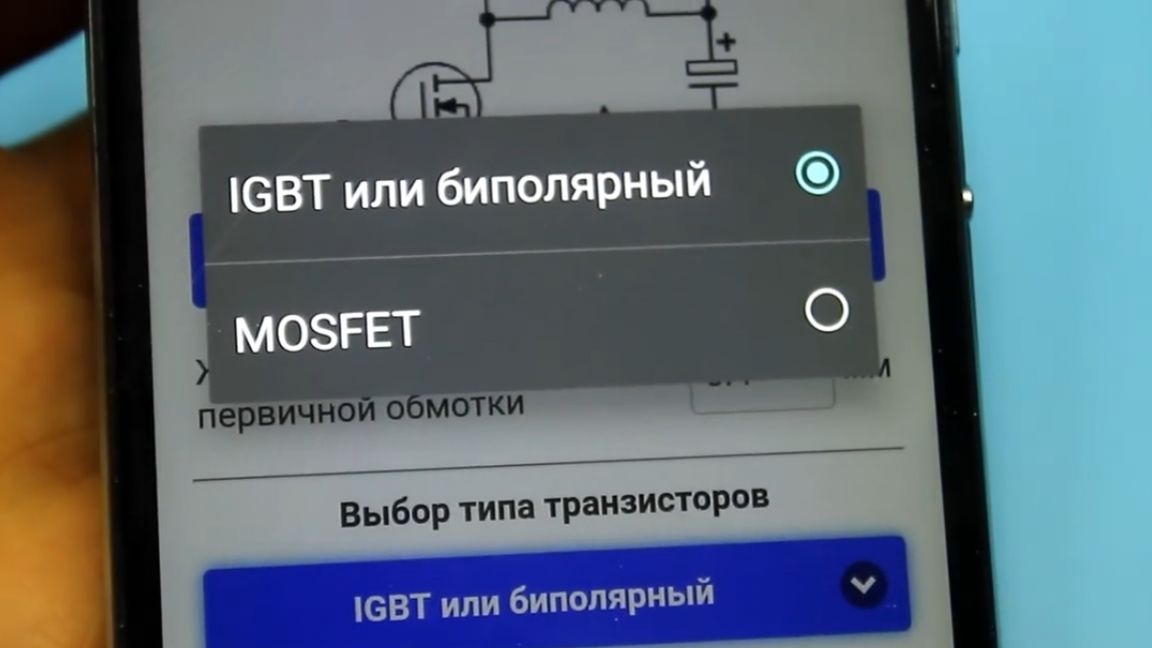
Next, we select the type of power transistors, we have field workers, so we choose MOSFET.
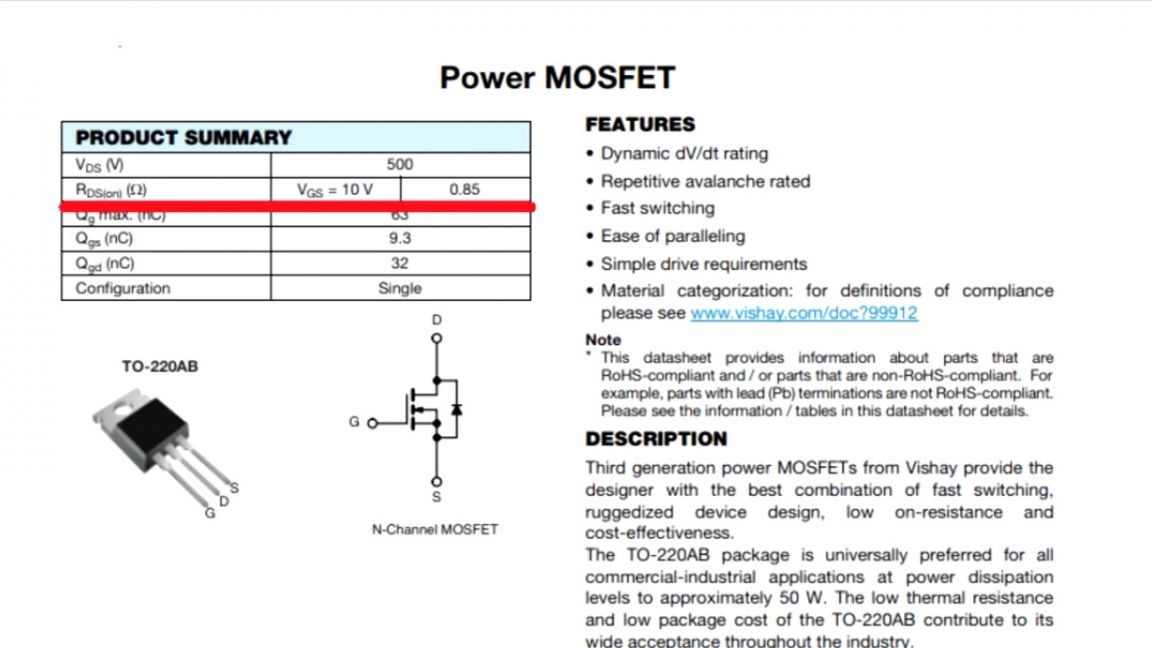
For the most accurate calculation, I advise you in the datasheet of the selected transistor to look at the point or resistance of the open channel highlighted in red in the figure below, and drive this parameter into the program.
Next, you need to specify the supply voltage. Choosing one of two points (network or constant), the program automatically selects the minimum rated and maximum voltage, but this data can be changed manually. By the way, the program can do the calculation of the transformer for both the step-down and step-up converter.
Next, select the core.
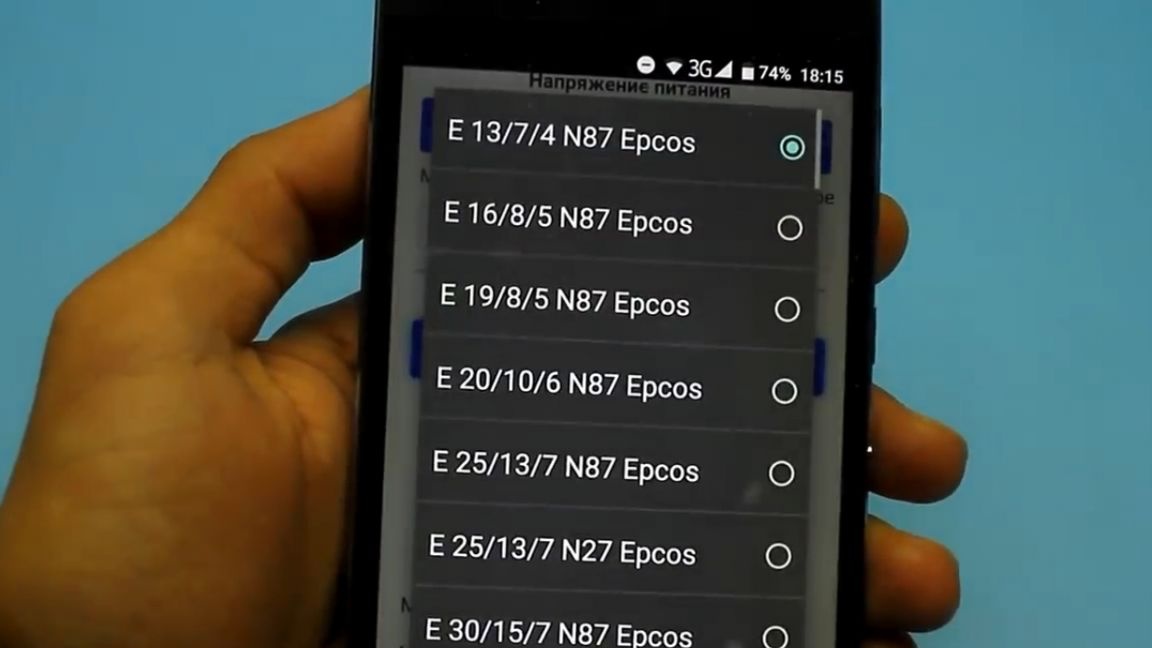
Everything is simple here, the caliper in hand and in a good way.
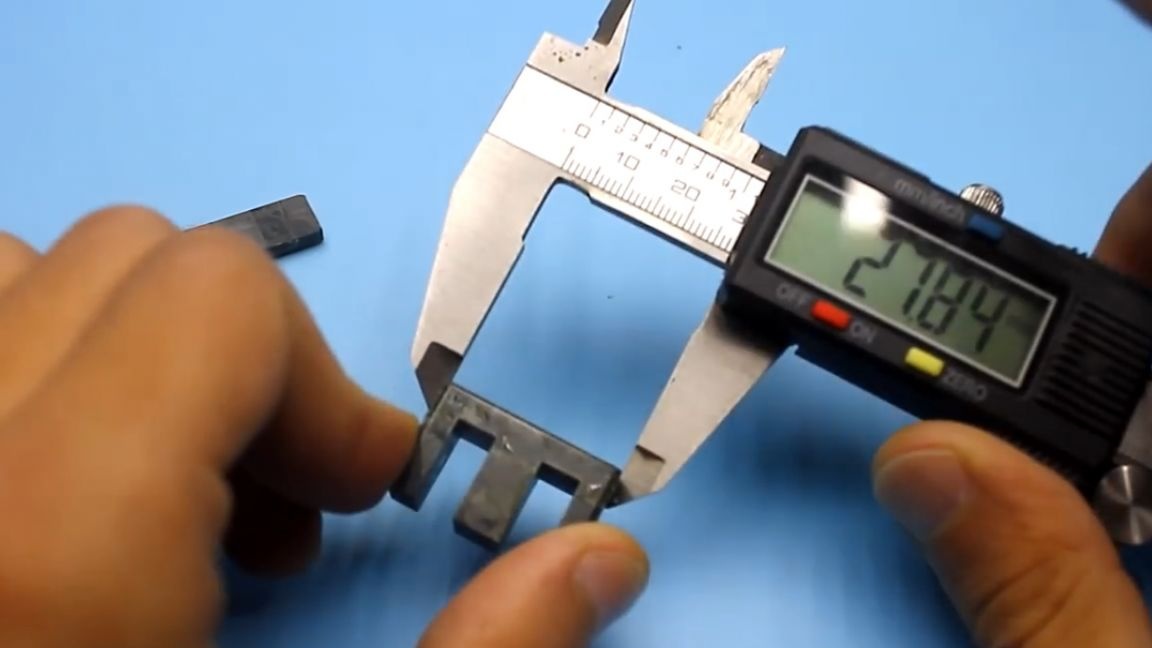
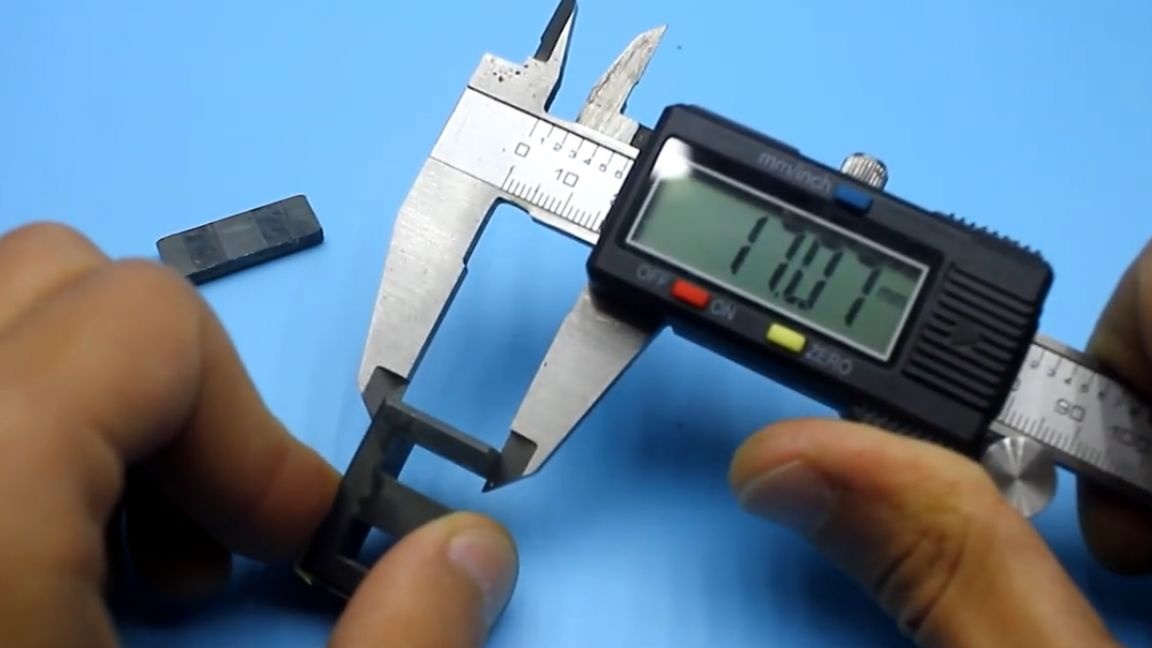
The application contains a huge database with the characteristics of popular cores: ring, W-shaped and even armored.

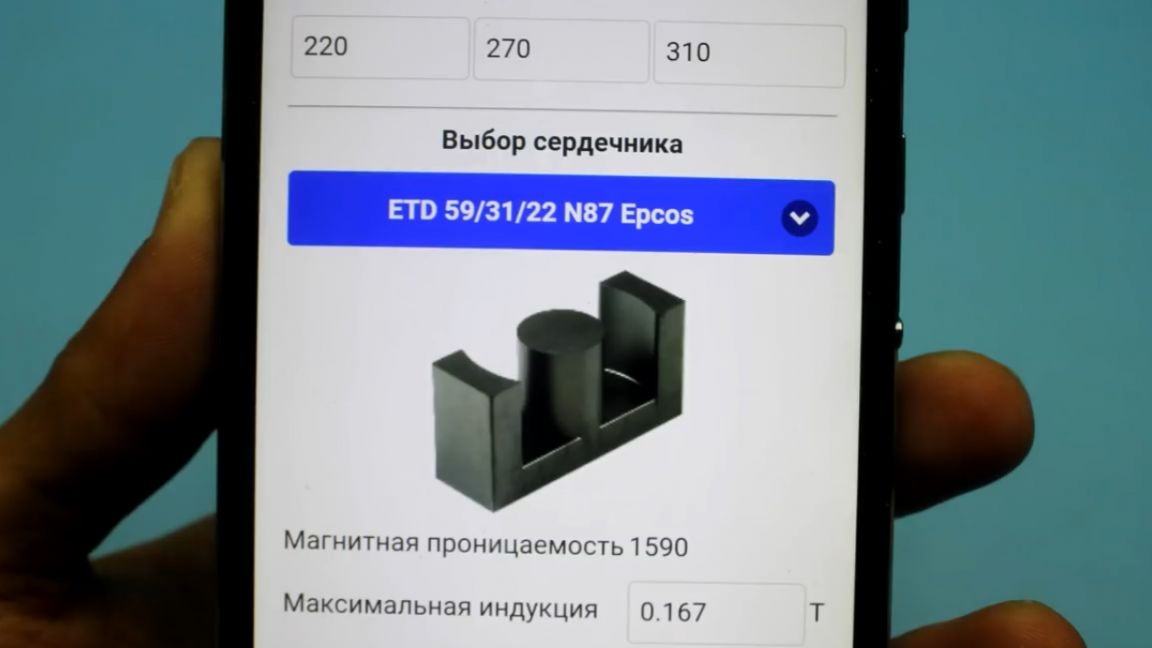

You will definitely find the core you need, well, or as similar as possible in parameters, the main thing is to look carefully. The core core parameters are not additionally displayed, it is hidden from the user's eyes in order to simplify the program. After we select the frequency of the converter in Hertz, in our case it is 50 kHz or 50 000 Hz.

Next, you need to specify the required output voltage, current and the desired diameter of the secondary wire.
Well, at the very end, choose the type of rectifier.
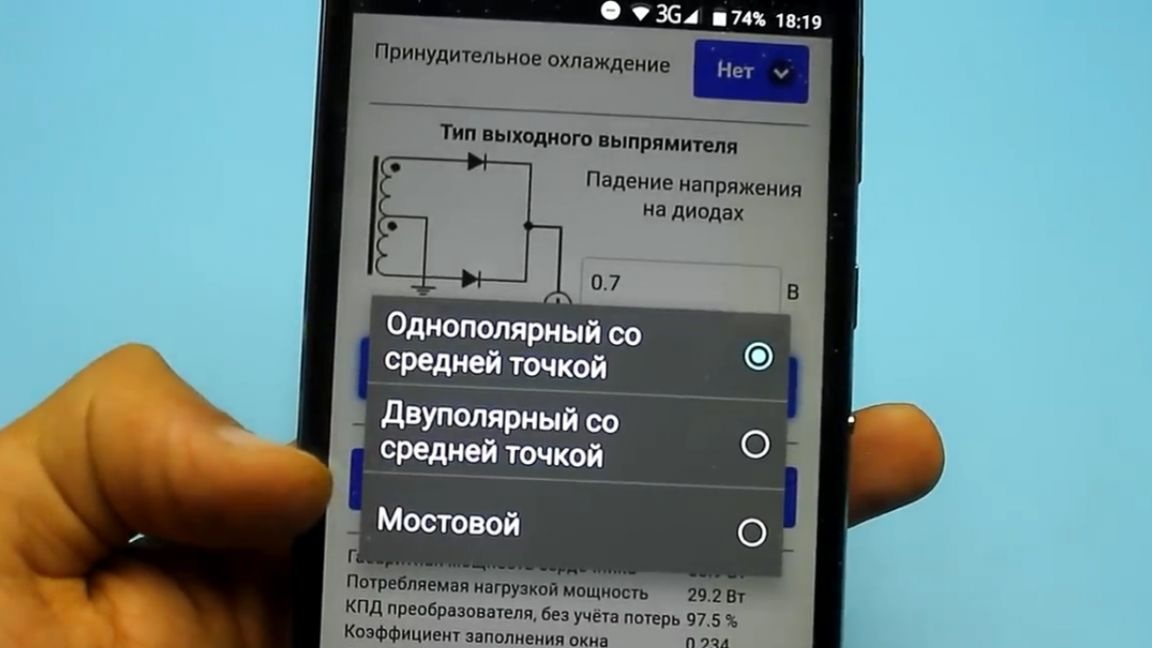
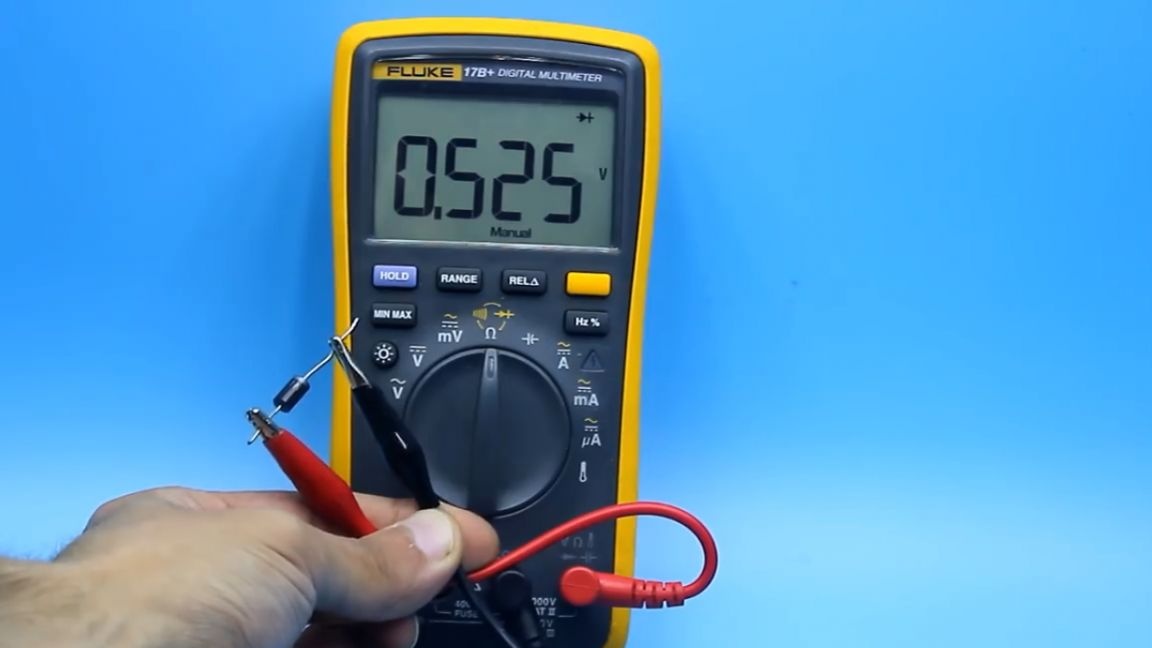
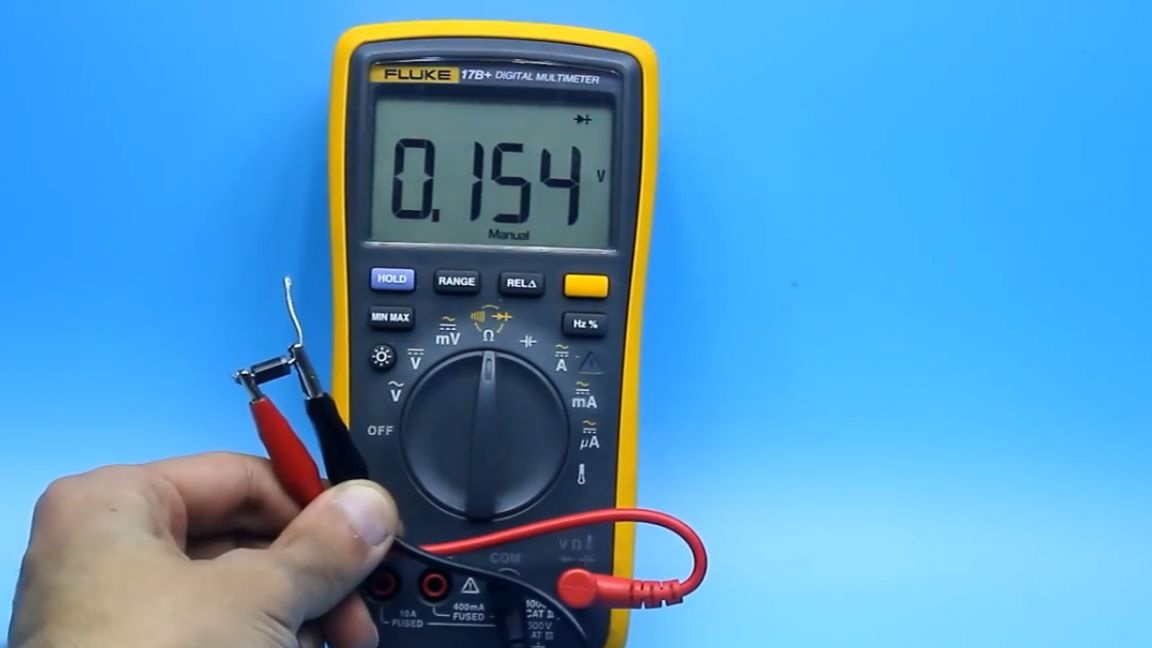
In our case, it is unipolar with a midpoint and a voltage drop across the diodes. In the case of conventional diodes, this is usually 0.5-0.7 V. And in the case of Schottky diodes - 0.15 - 0.3 V. These parameters can be easily checked with a multimeter.
It remains only to click on the button "Show result" and you're done. If something is wrong, then the program will display an error and say what needs to be changed.

At the very bottom, the main parameters that you need to know are displayed: the number of turns and the diameter of the wire of the primary and secondary winding, the minimum rated and maximum voltage on the secondary winding, but this is not all. The program will also calculate and display the overall power of the core, the power consumed by the load, the efficiency of the inverter and much more.
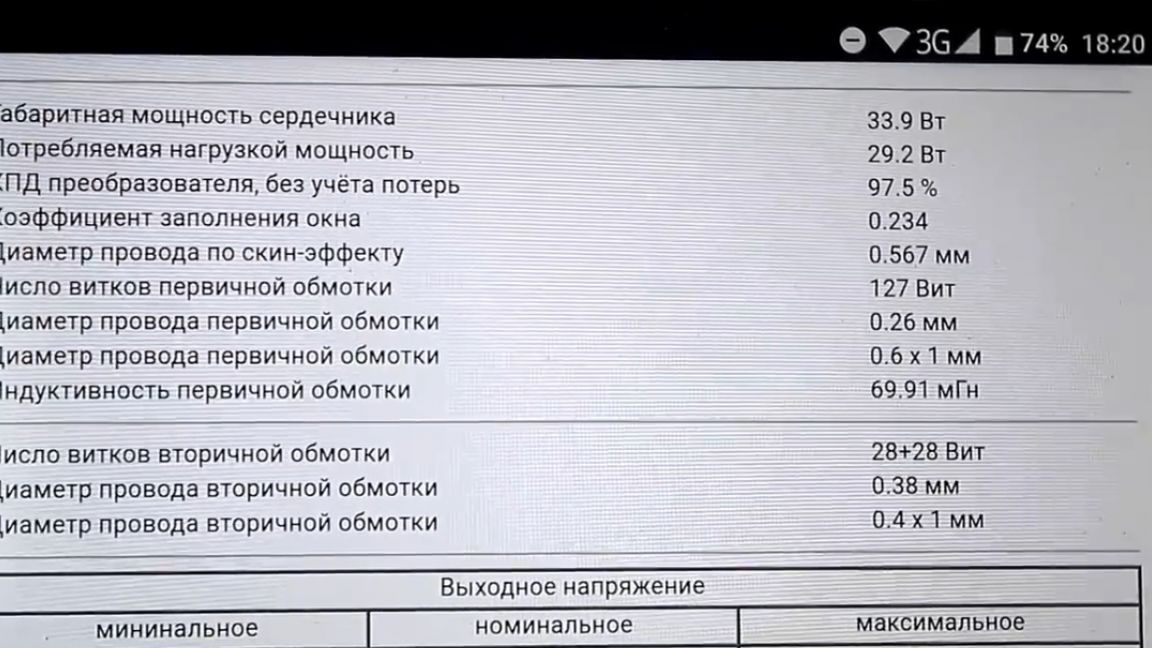
When calculating, it is important to indicate the presence of active cooling or a fan. If it is, then more power can be removed from the transformer. The program provides optimal data for winding, which naturally depend on the core itself, the operating frequency of the generator and the presence of active cooling. In our case, the overall power of the core is about 60W, despite the fact that it is from a computer power supply. Of course, you can remove more power, but this will not be the regular mode for such a core. At the moment, this application is available in two languages: Russian and English and only for users of the android operating system, but a version for apple connoisseurs will be released very soon. The application is paid, but you can use analogues. The author left a link to this application in the description below the video.
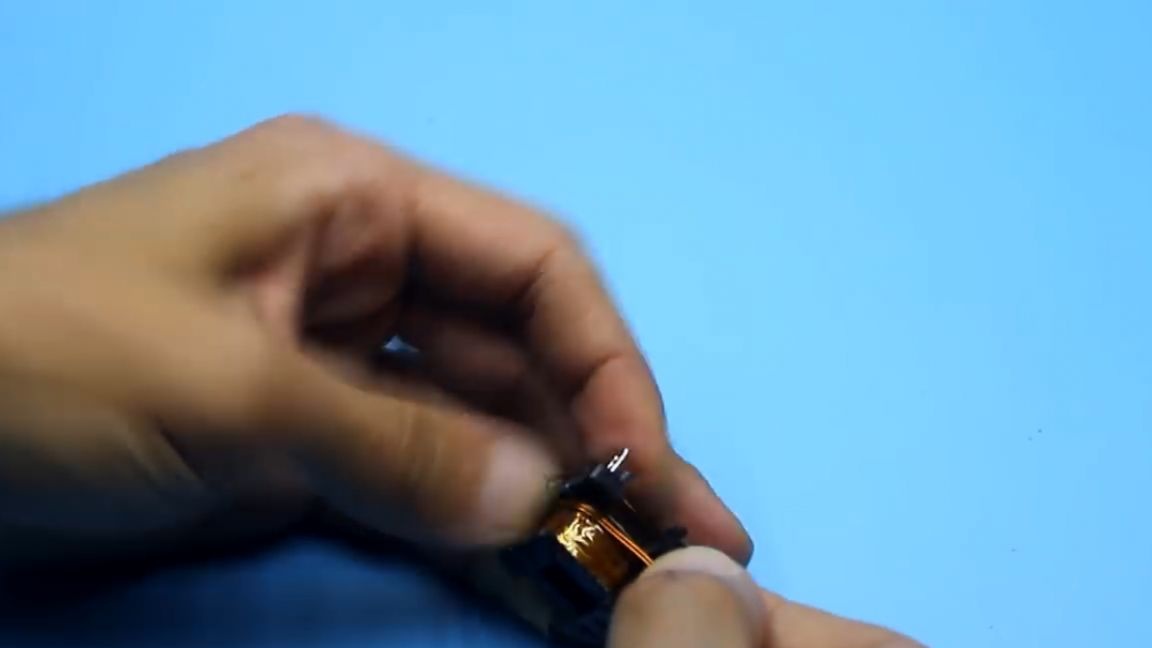
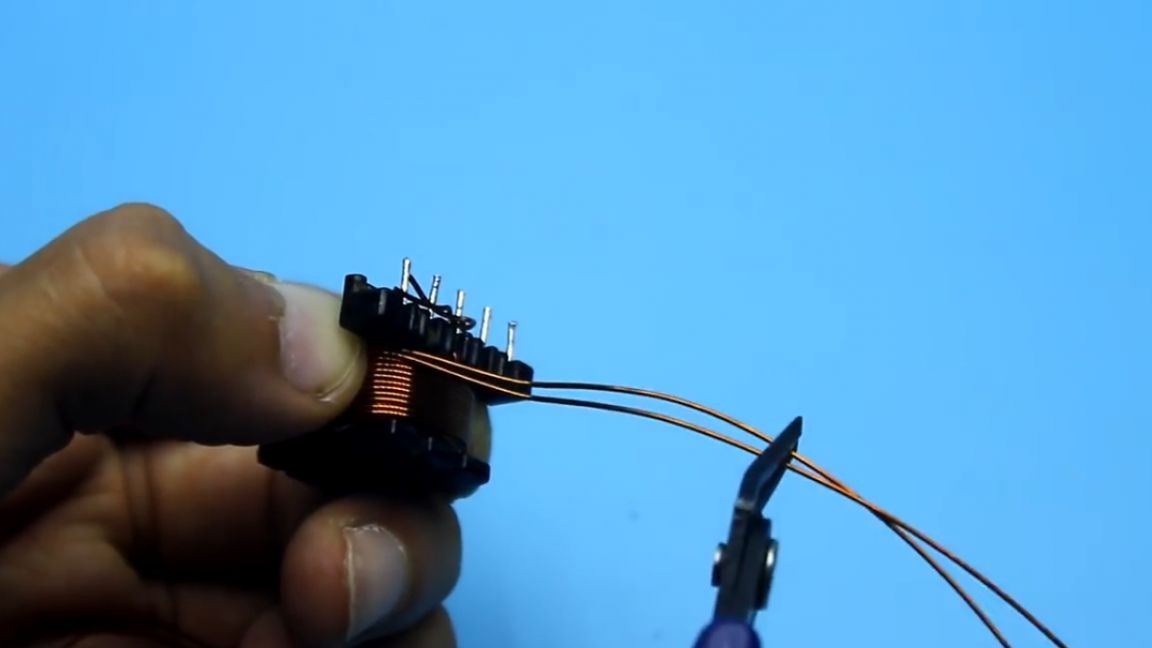
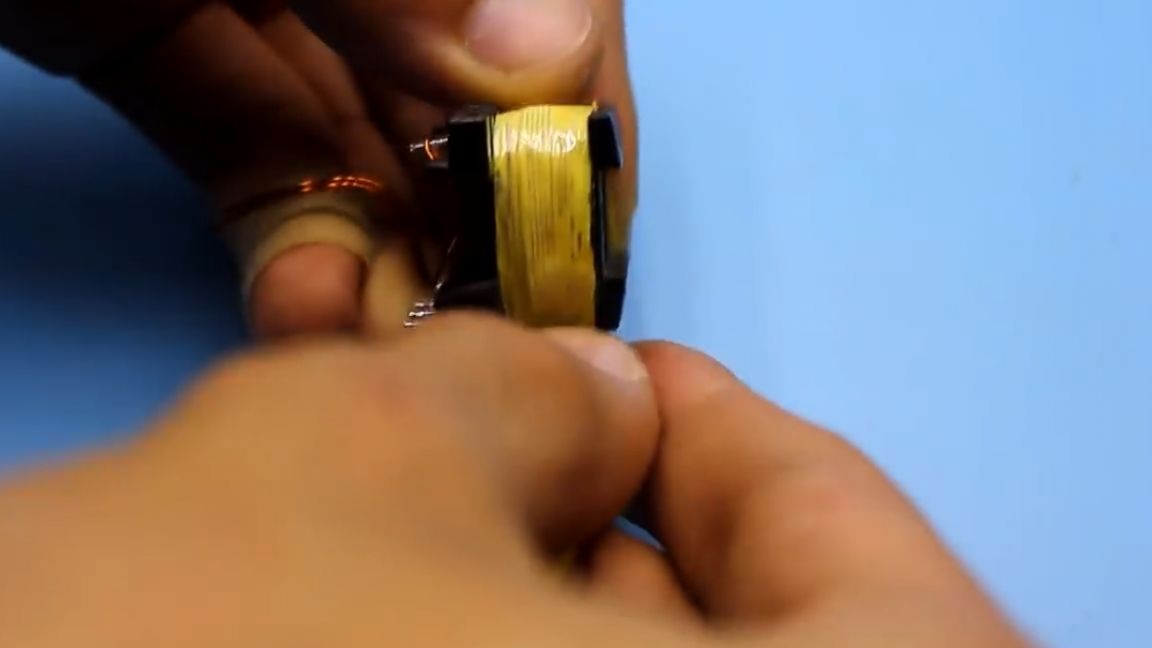
After calculation, knowing all the necessary parameters, we begin winding. It is very desirable to do the winding like this: first we wind half of the primary winding on the bare frame, then the whole secondary winding, and on top the second half of the primary (as is done in the transformer of computer power supplies).
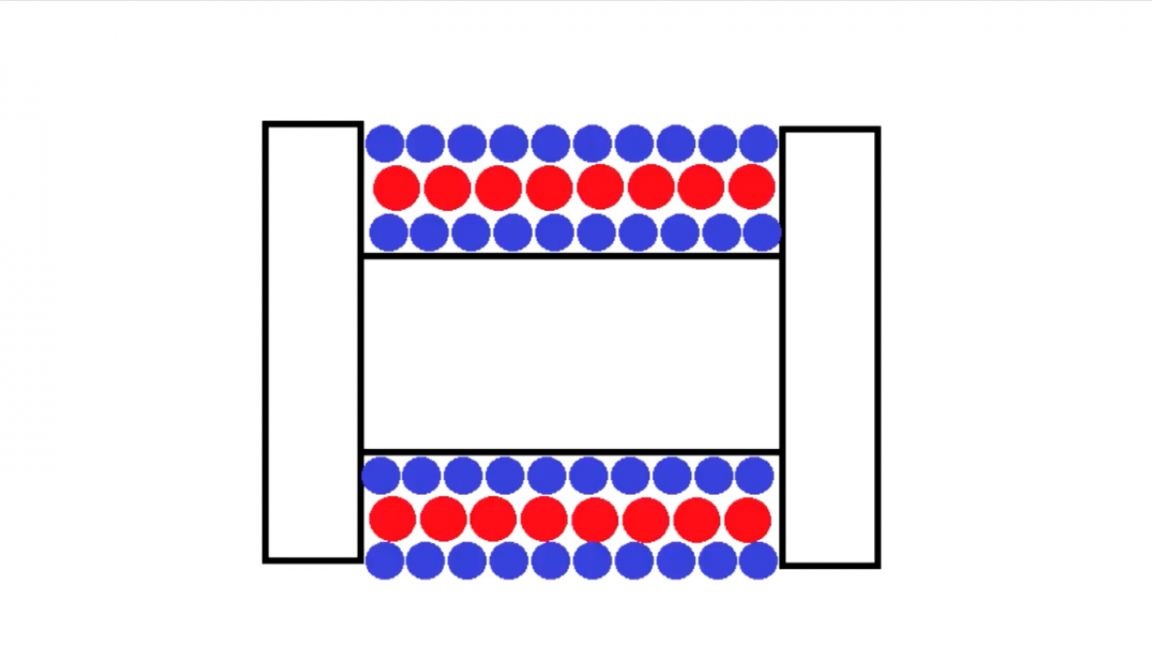
But you can not bother, so we wind the primary completely, and on top of the secondary winding. Do not forget to isolate each winding layer.
We wind as carefully as possible - turn to turn.
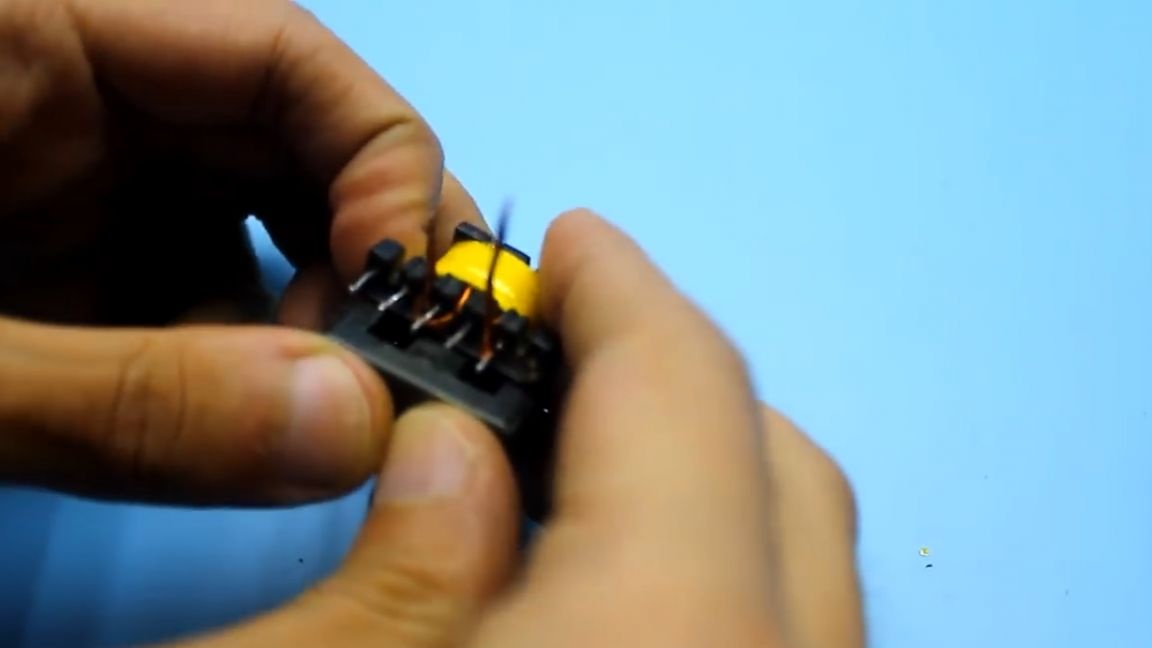
At the end, we wind the secondary winding. For convenience, we shake both shoulders immediately with a double wire.
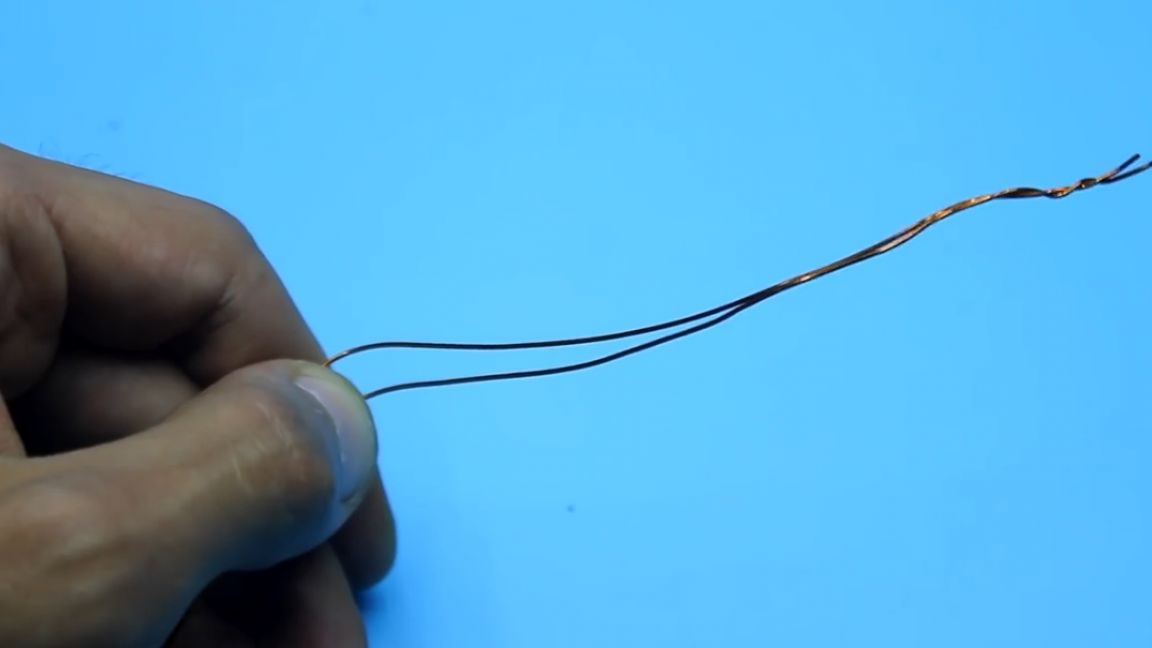
This winding is also wound in layers, it is desirable to isolate each layer. But if the low-voltage winding can not do this, but it is desirable.

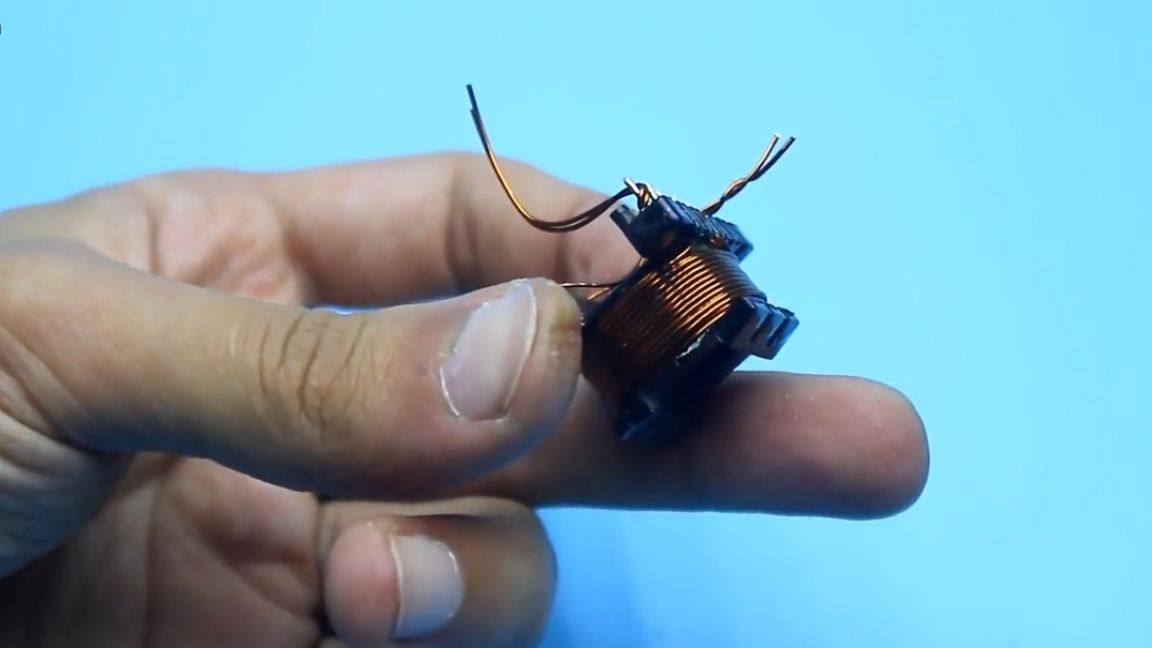
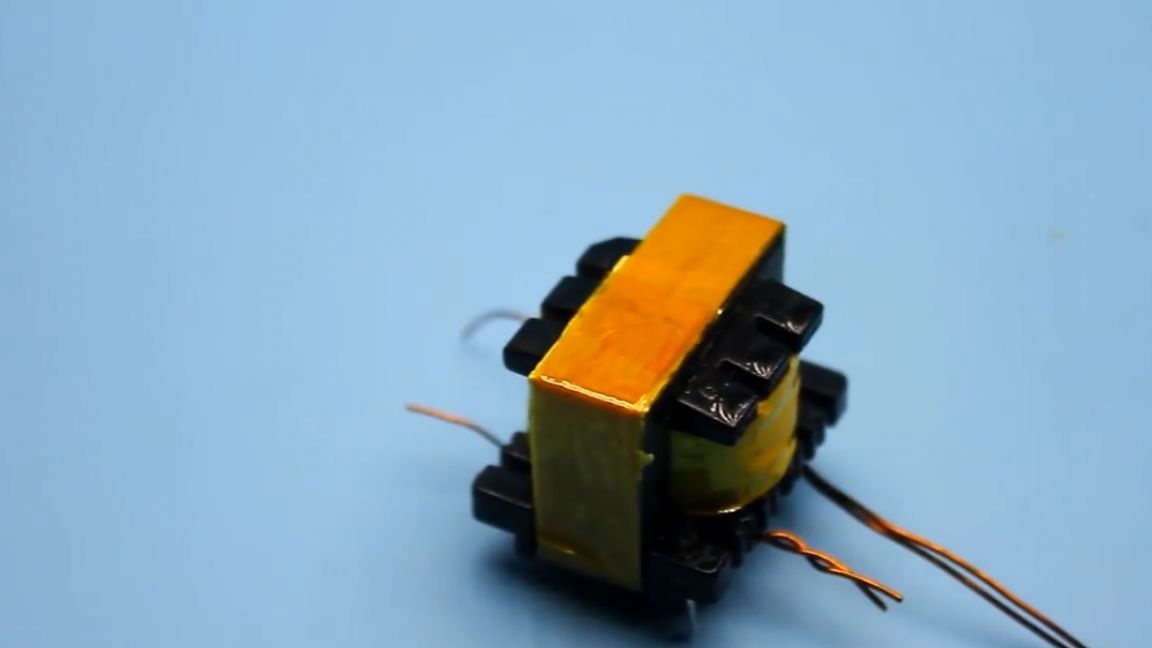
We assemble the finished transformer back. The core can be glued, or you can just pull it off with tape, or both.
Thank you for attention. See you soon!
Video: