

Hello to all lovers homemade. Each house has a wall clock that not only shows the time, but also decorates the interior, but the appearance of the clock does not always fit the style of the room, so it was decided to make the original clock do it yourself. In this article I will tell you how to make original wall clocks with your own hands that will delight guests with their appearance, since you definitely can’t buy such a clock in a store. To create a homemade product a lot of experience is not needed, the main thing is the availability of the tool and the ability to use them.
Before you read the article, I suggest watching a video, which shows in detail the entire assembly process of wall clocks.
In order to make the original wall clock with your own hands, you will need:
* Electric fret saw
* Self-tapping screws 32 mm long
* M6 hairpin about 1 m long
* Wooden worktop 200 mm wide
* Spray of black glossy paint and white craquelure
* Clear acrylic varnish
* Electric drill, wood drill with a diameter of 3.3, 5 and 9 mm
* Ruler, surface gage, pencil
* Sanding block with sandpaper
* Crosshead screwdriver
* Safety glasses, gloves, respirator
* Bench vise
* Vernier caliper
* Angle grinder and cutting wheel
* Masking tape
* Clockwork
* Pliers
* Chisel
Step one.
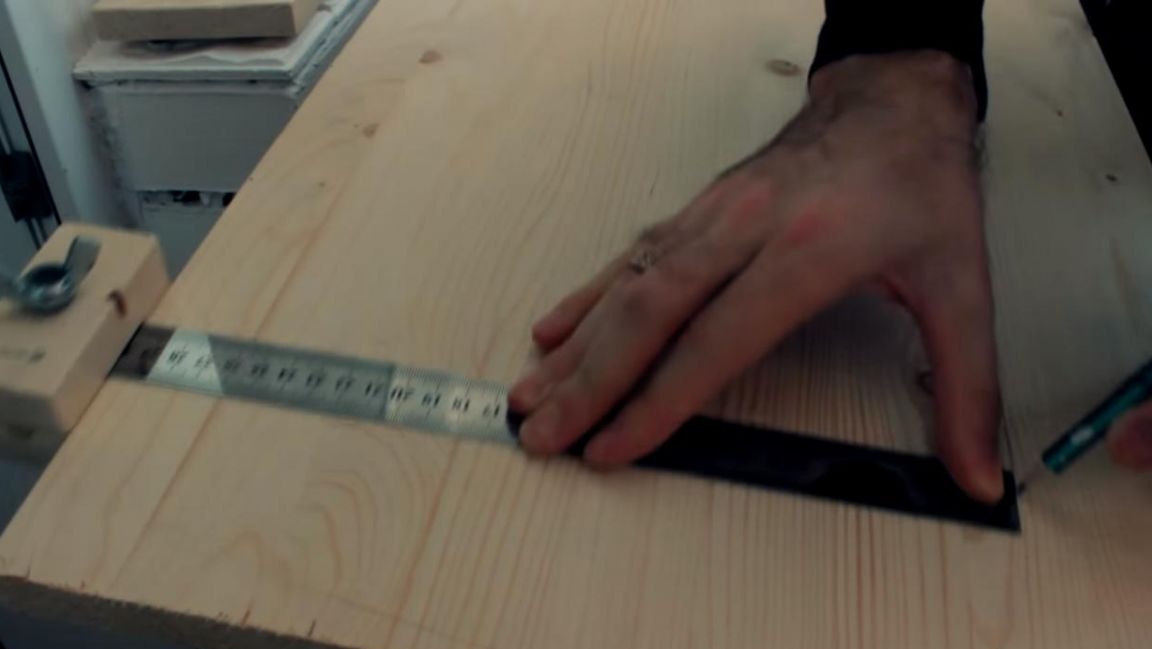
The first thing you need to do is the base, it will be made of wooden countertops, choose the material to your own taste.
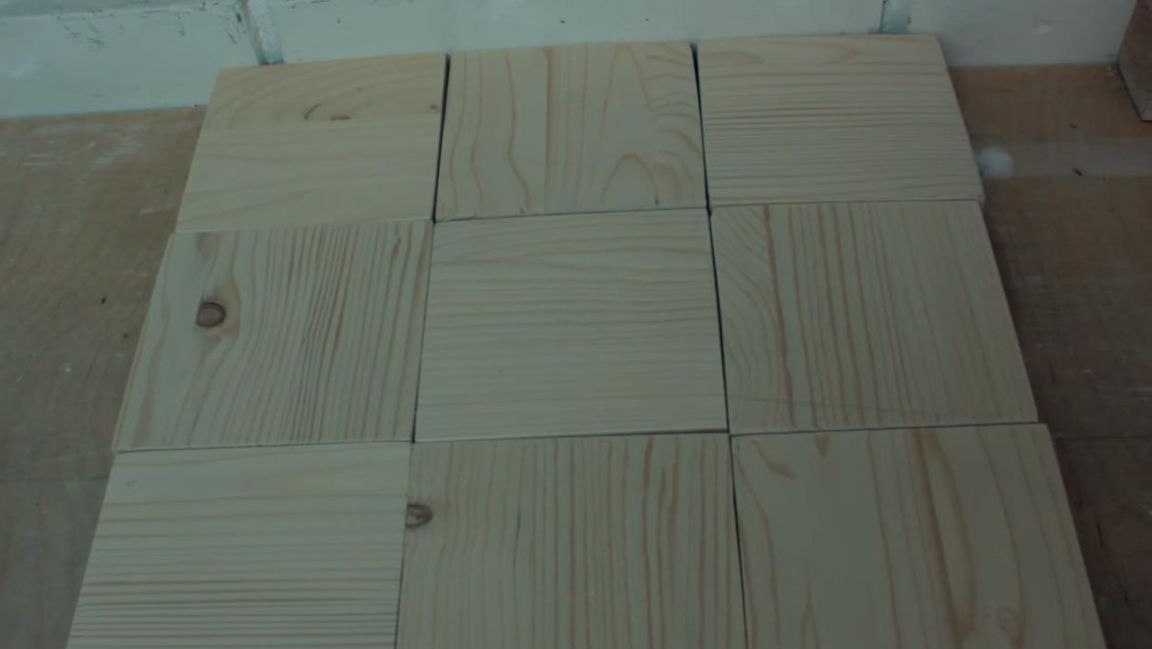
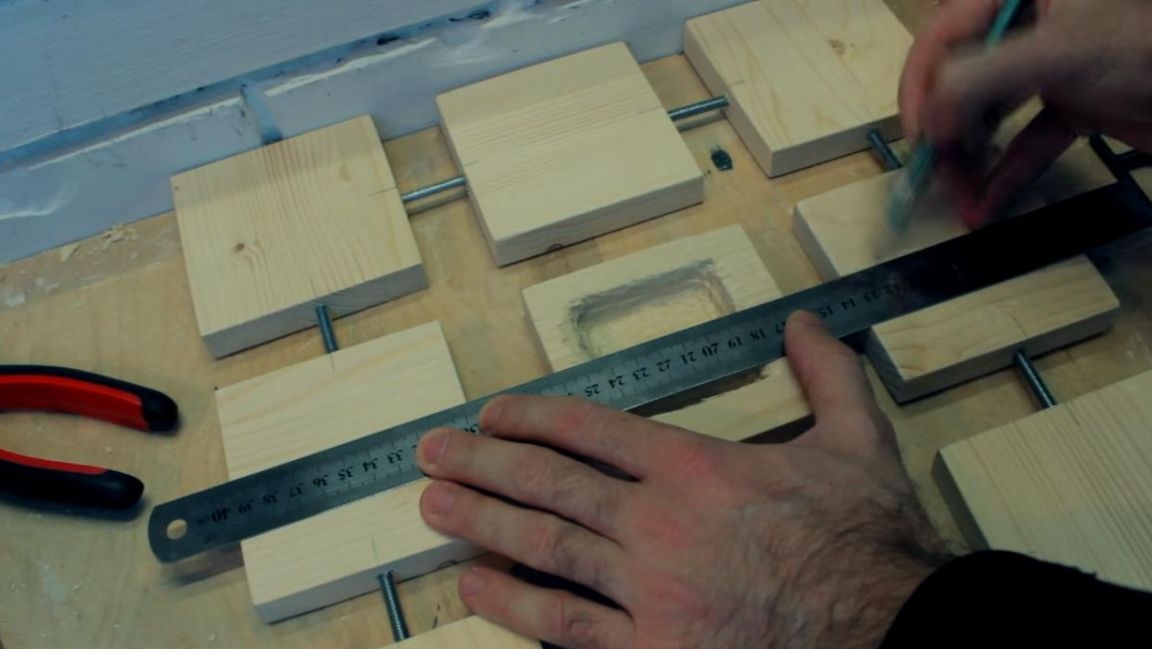
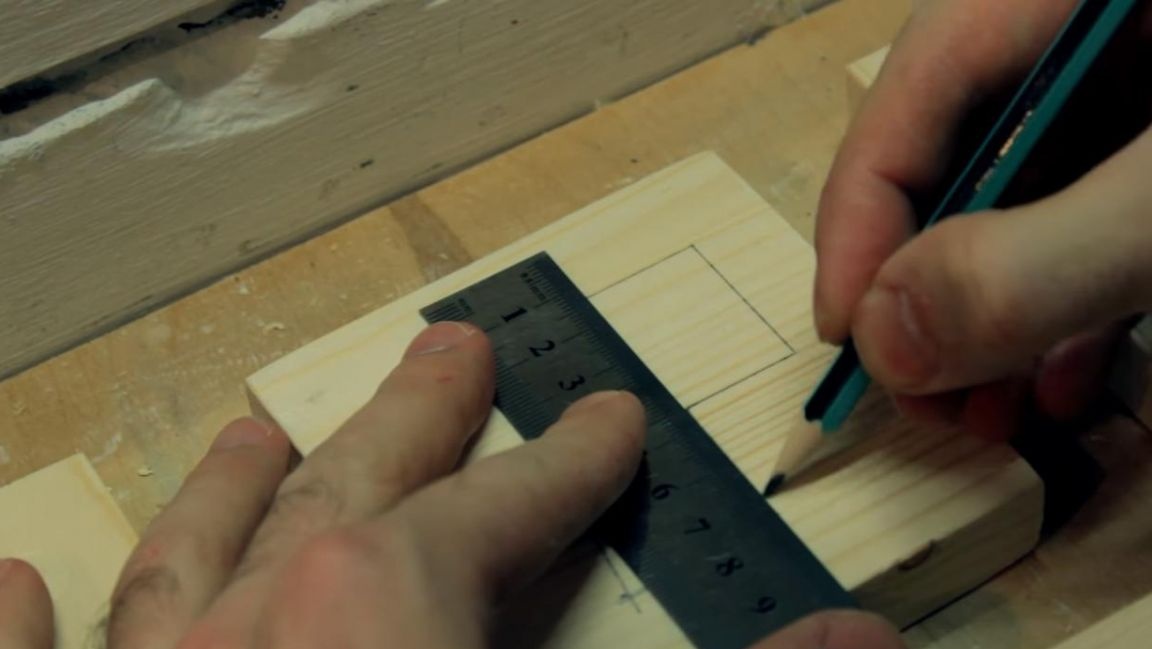
Using a ruler and a pencil, mark the countertop into a square with sides of 30 cm.
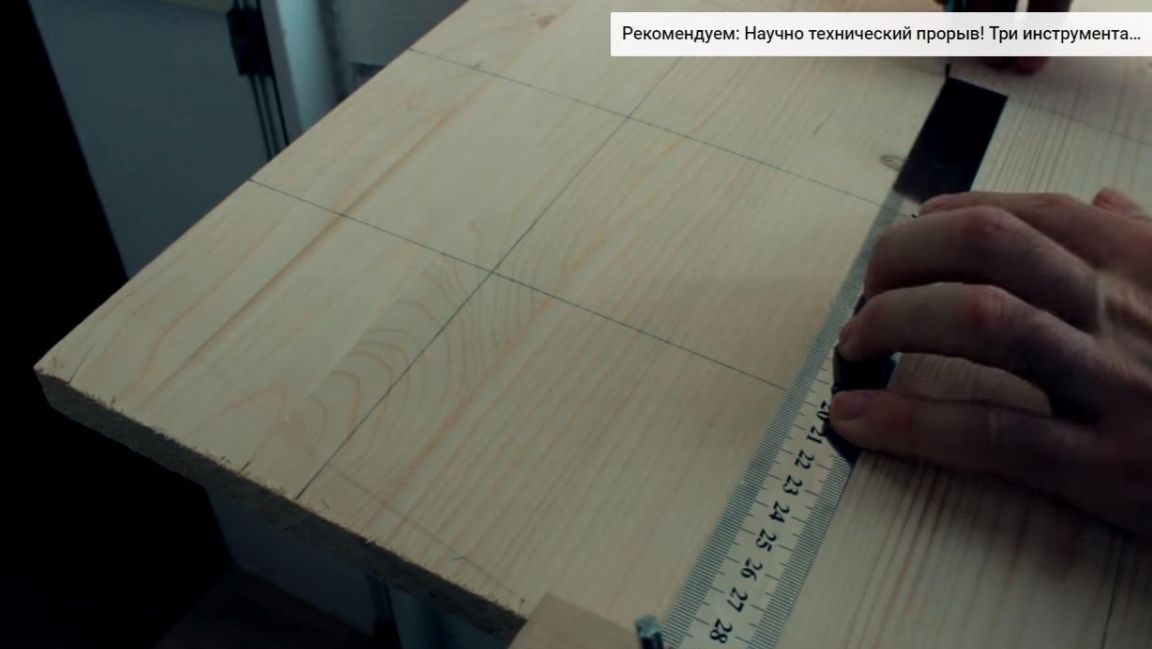
After that, we draw a square into smaller squares with sides of 10 cm, you can do this using the building corner or surface gage. As a result, the markup should be in the form of 9 identical squares.
Step Two
Next, you need to cut the countertop into 9 identical parts. For these purposes, an electric jigsaw is perfect, with it, we saw off the necessary workpieces. When working with a power tool, be careful and use safety glasses and gloves.
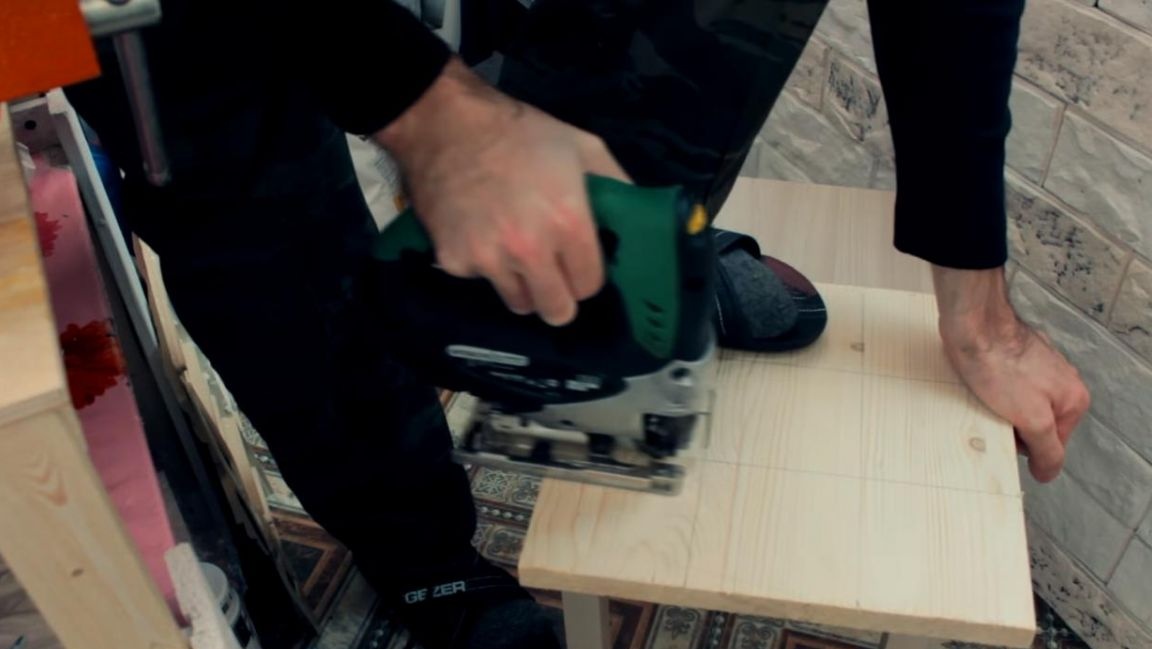
Of course, an ideal cut with this tool cannot be achieved, but you can always refine the part after.
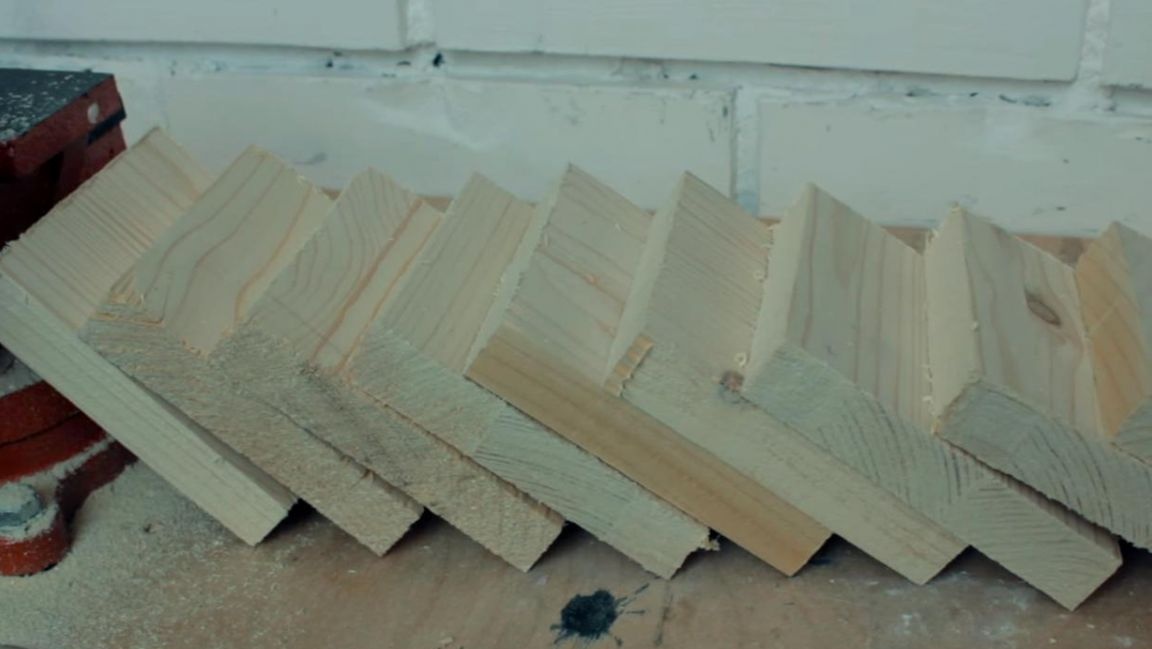
After 9 blanks are cut, we proceed to grinding them. We clamp the parts in a bench vise so that, for example, a piece of plywood can be placed under them in the dents from the lips of the vise.Then, using the grinding bar and sandpaper sandwiched into it, we begin to grind the surface of the part; as a result, you should get even sides without sharp edges, as well as burrs. The grinding process takes a lot of time, and a large amount of wood dust is released, so this procedure must be done in a respirator.
If you have a grinding machine, then this step will take you less time. After grinding, it turned out 9 such smooth billets, so far put them aside and move on to the next step.
Step Three
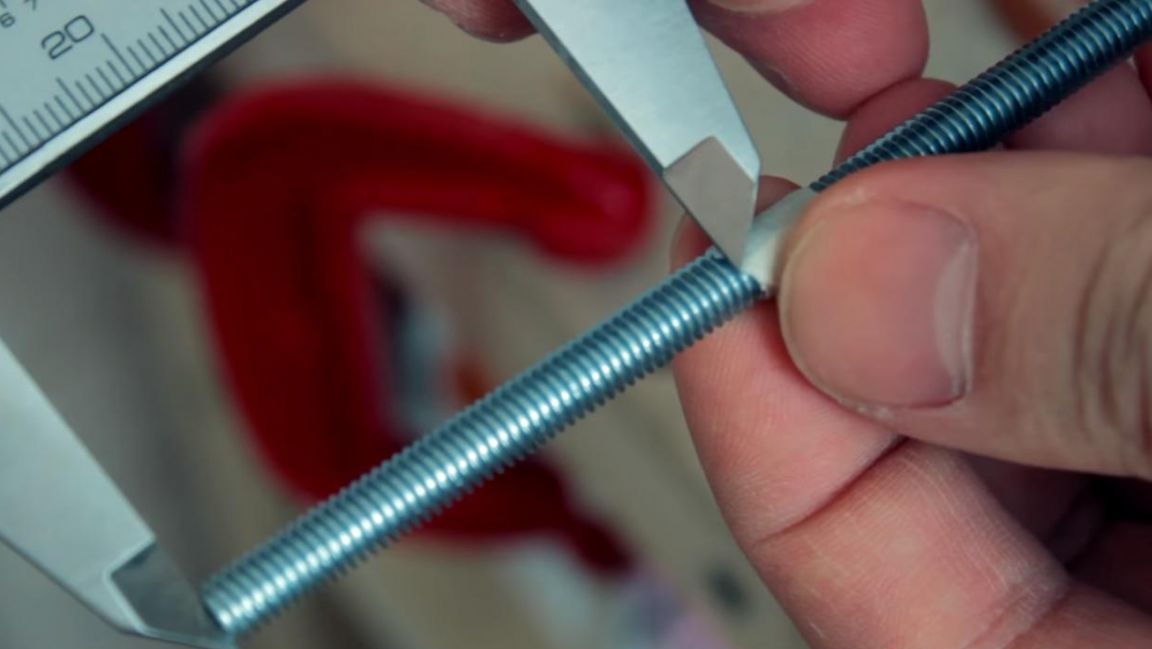
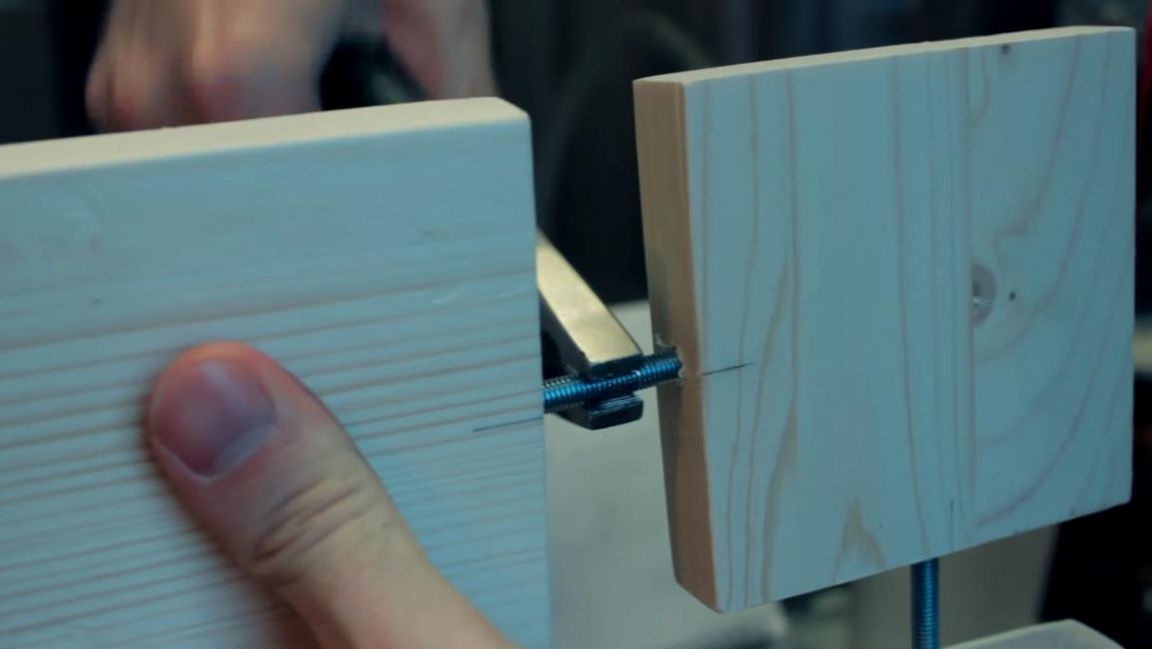
Since the wooden parts will be fastened together using segments of the studs, you need to saw it into identical parts. Clamp the hairpin in a vise and mark it every 5 cm with a caliper and masking tape.
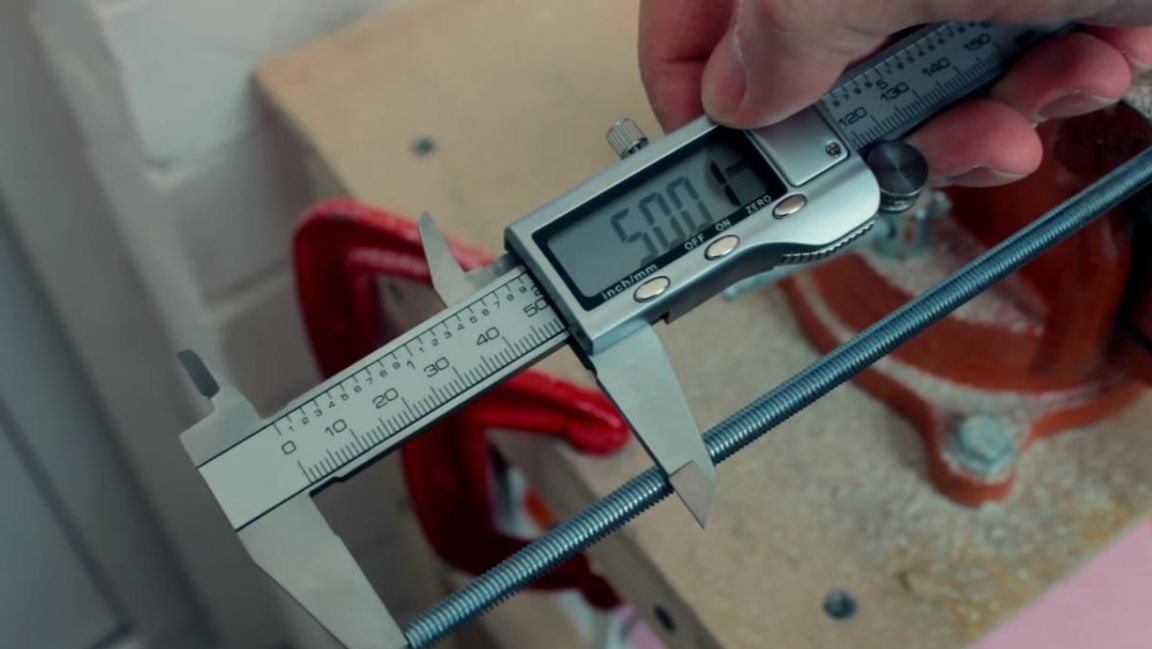
Next, using an angle grinder with a cutting wheel installed in it, we saw off the workpieces, they need exactly 12 pieces. When working with an angle grinder, be careful and use safety glasses and gloves, and also do not forget that the power tool must be held tight.
Step Four
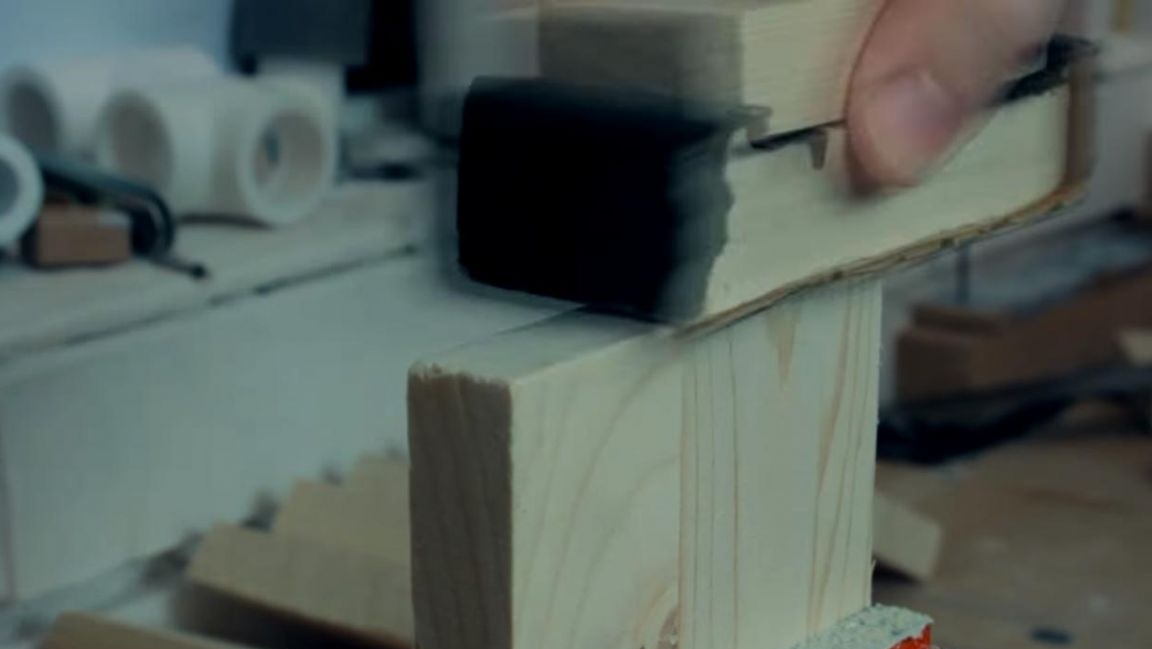
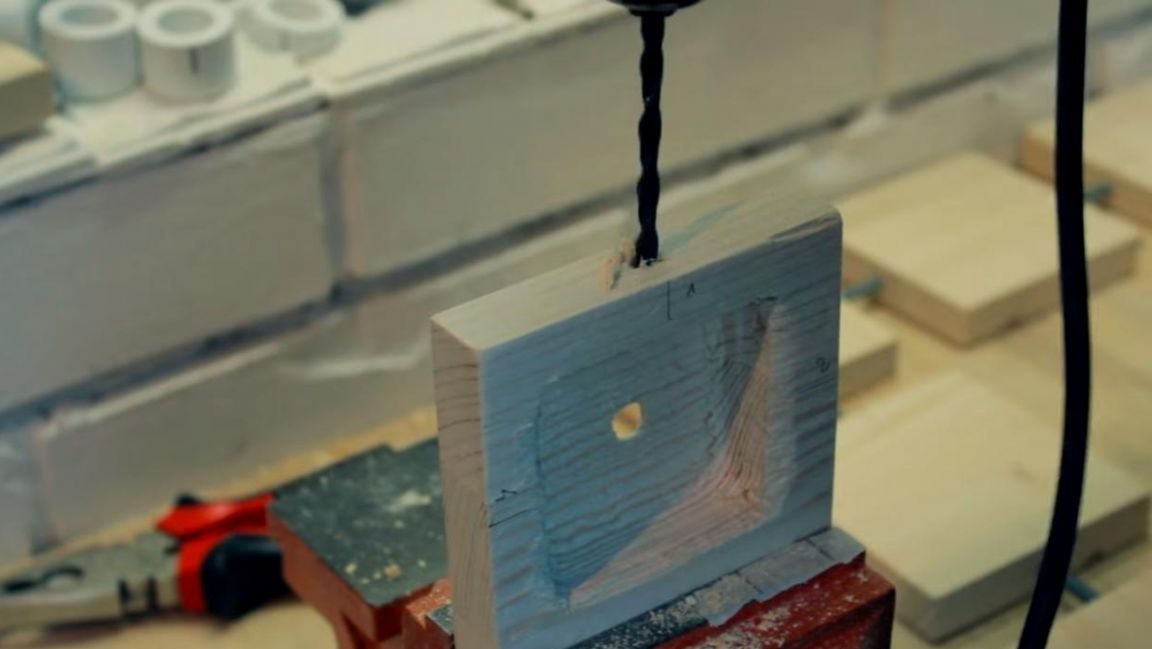
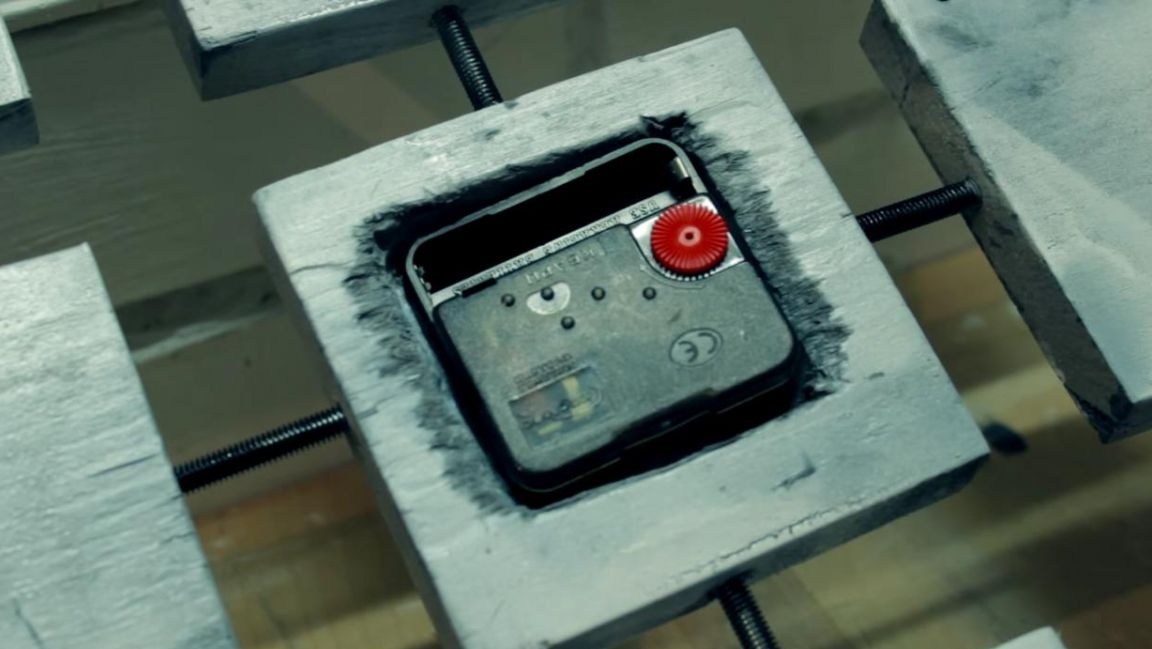
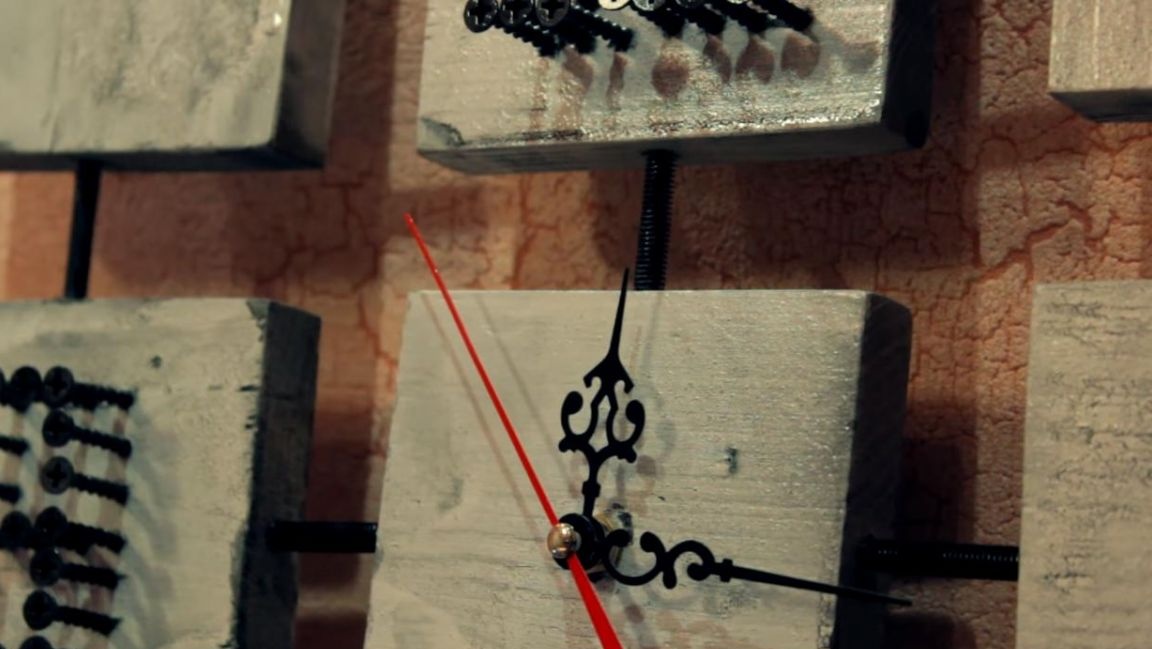
In one of the square parts, you need to make a recess with a chisel, it is necessary in order to install a clockwork in the future, which can be bought in a store or removed from unnecessary watches.
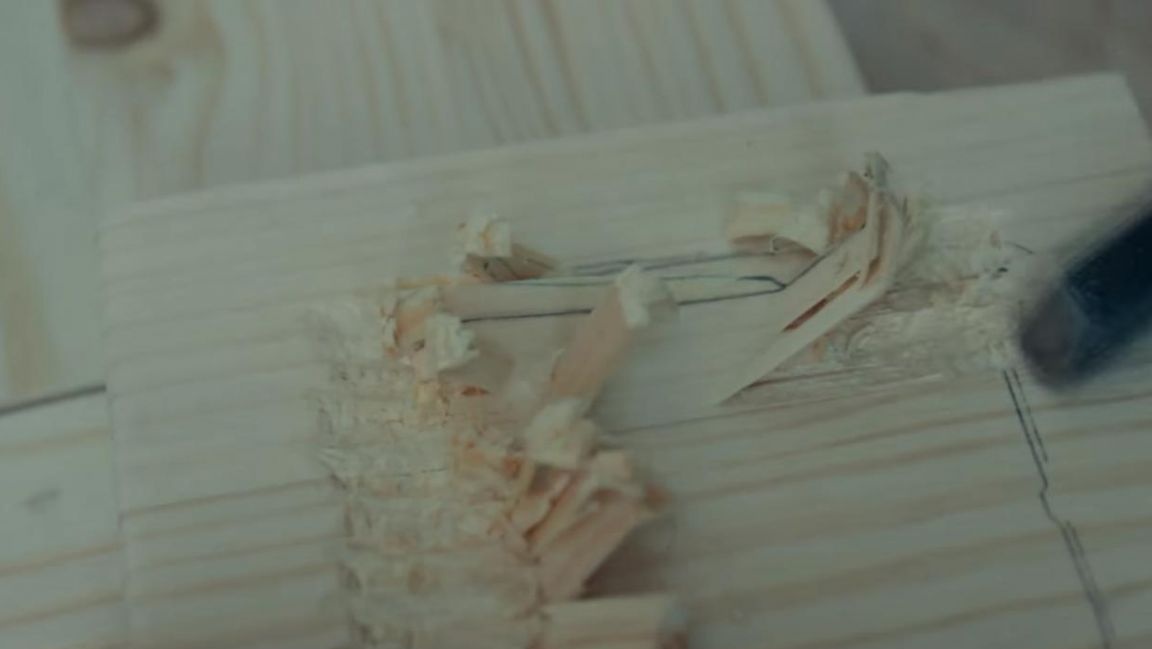
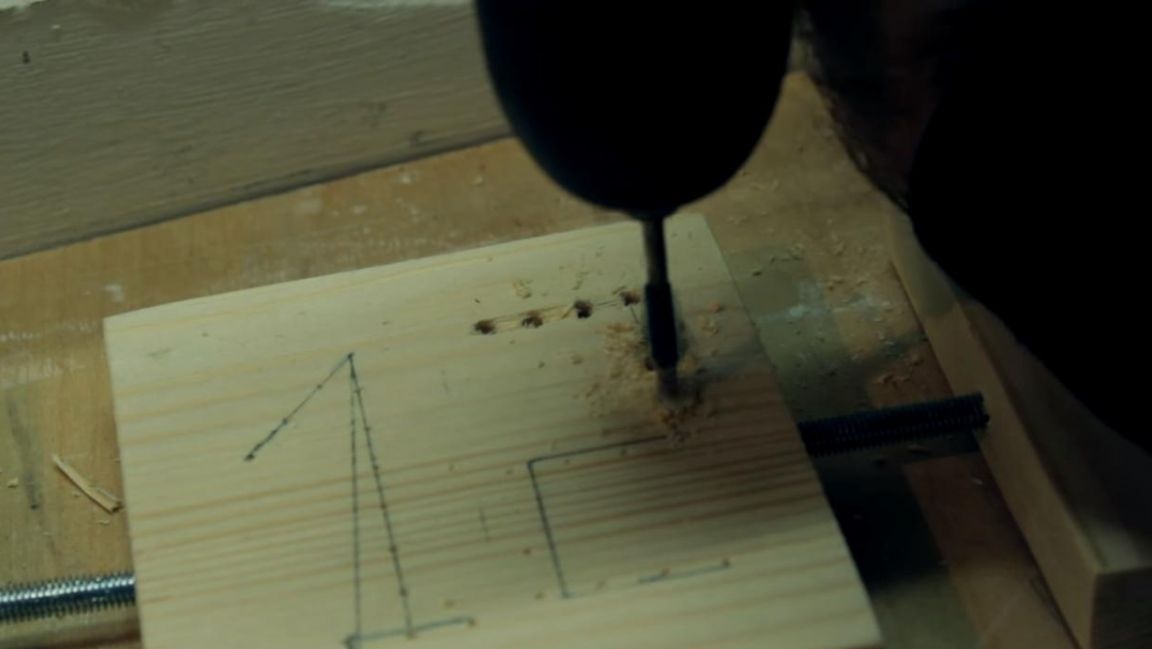
A milling cutter would be perfect for making a recess, but unfortunately it is not there, so we work with the tool we have. After that, in this square we drill a hole strictly in the middle using an electric drill, in the chuck of which a drill is installed on a tree with a diameter of 9 mm.

Step Five
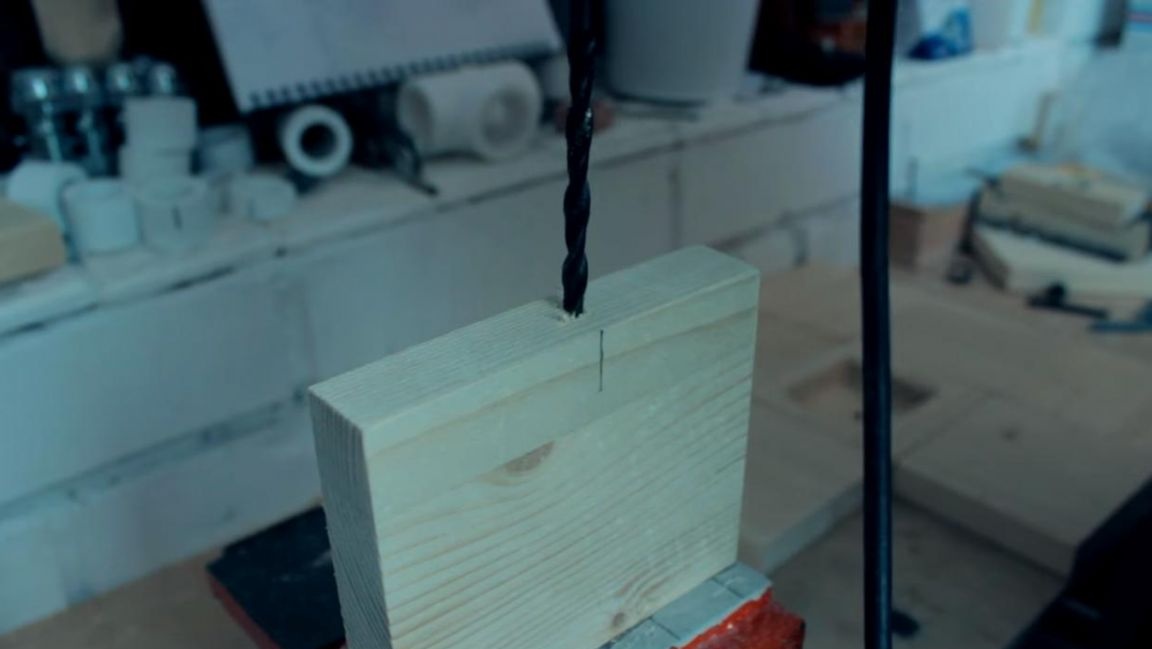
Using the thickness gauge, we make markings in the middle of the squares where the studs will be attached.

To connect the workpieces, we drill holes in them with a diameter of 5 mm in place of the marks using an electric drill.
Next, we screw the M6 studs into the drilled hole and collect all the workpieces in one piece.
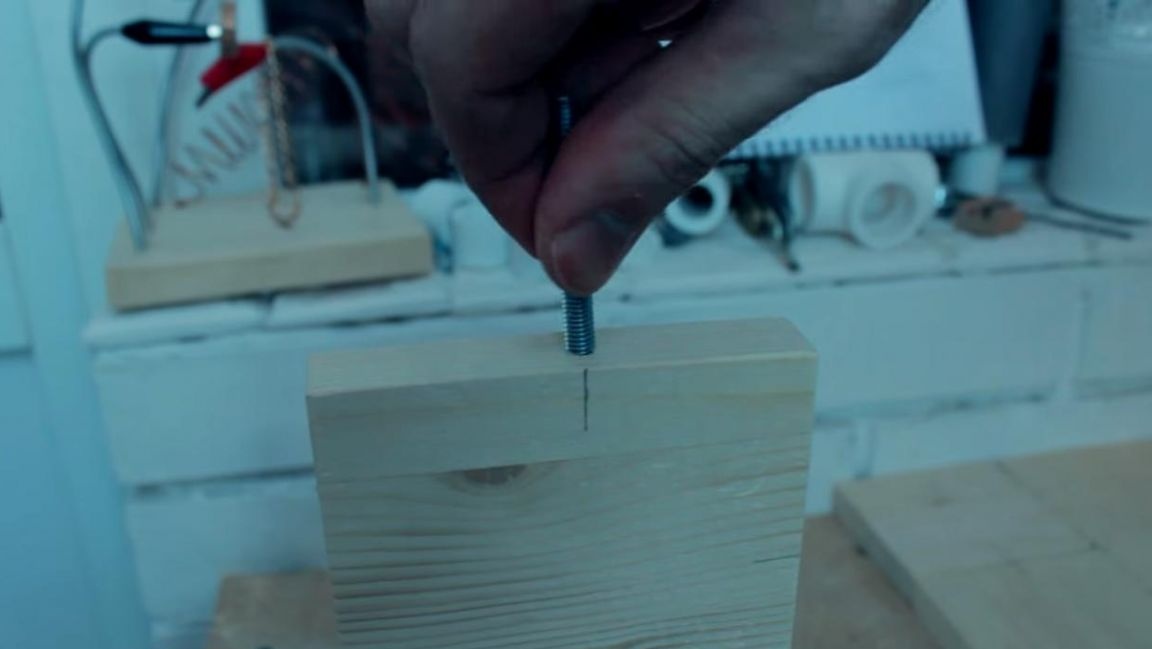
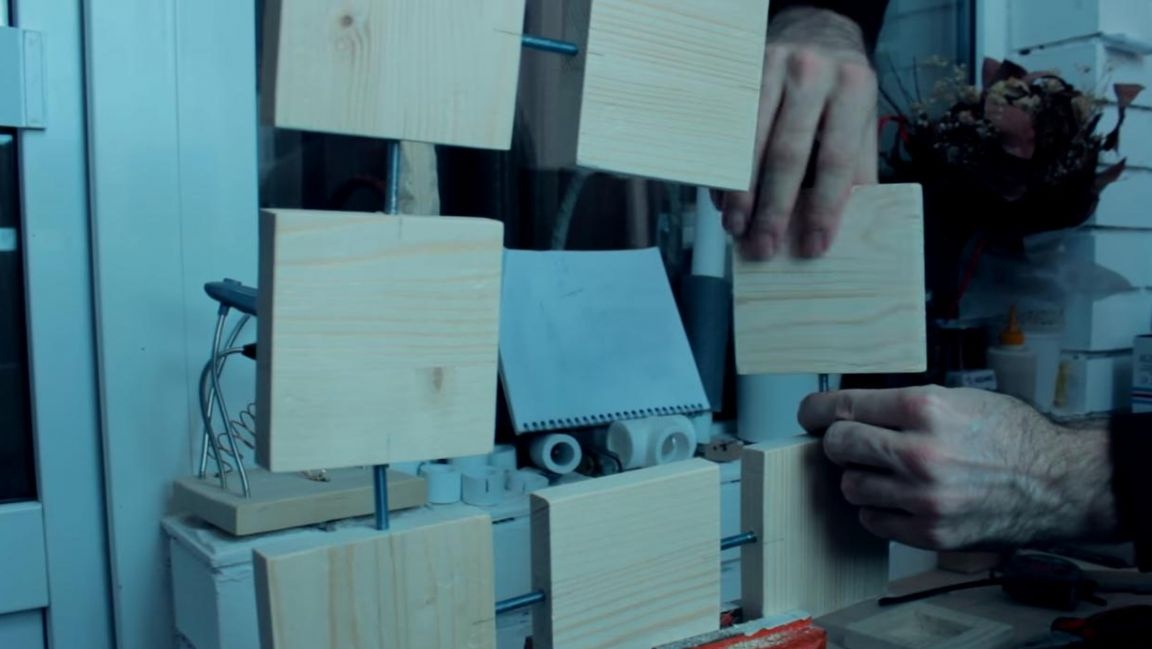
Since during the assembly process, the rigidity of the structure seemed insufficient, because the studs were screwed in only 1 cm, it was also necessary to mark and drill a hole in the central square, and then twist the studs there using pliers.

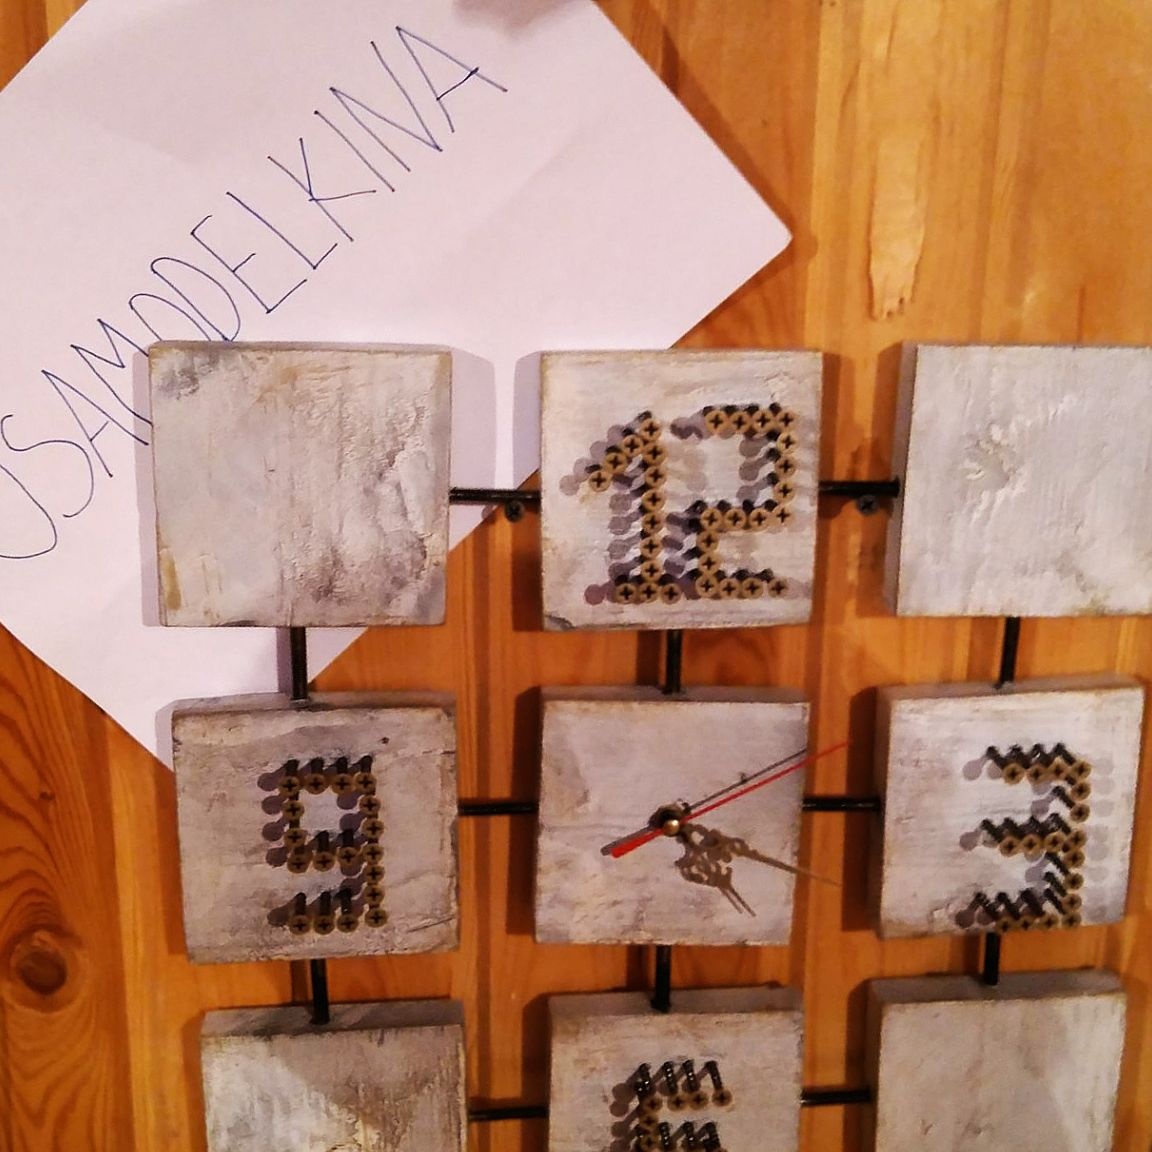
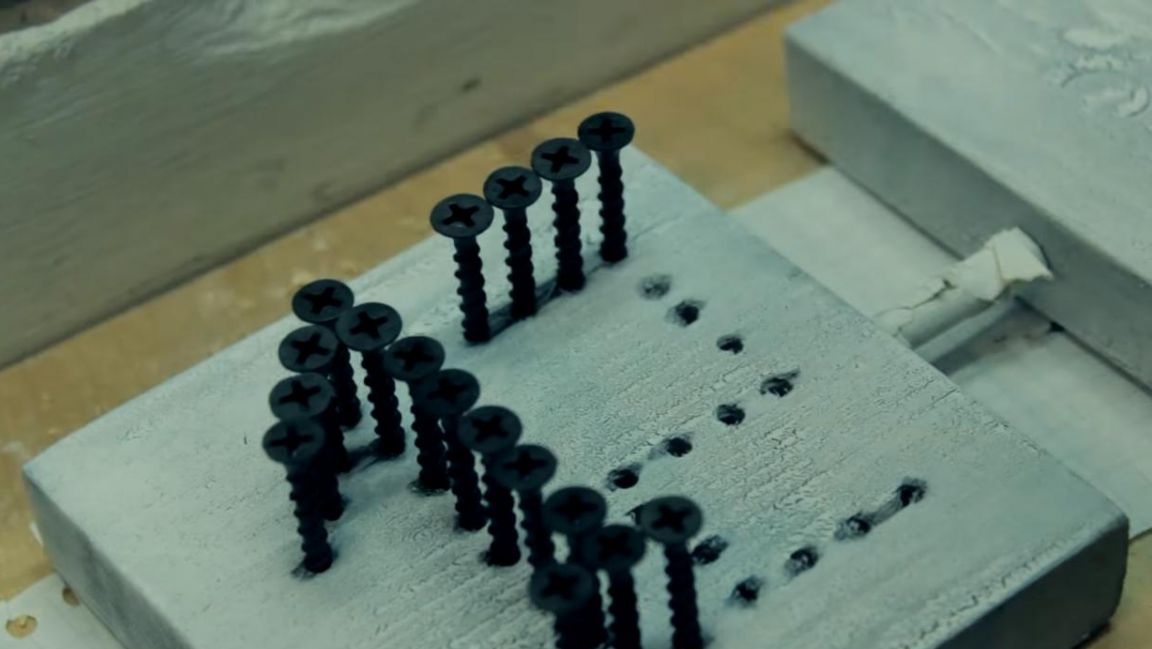
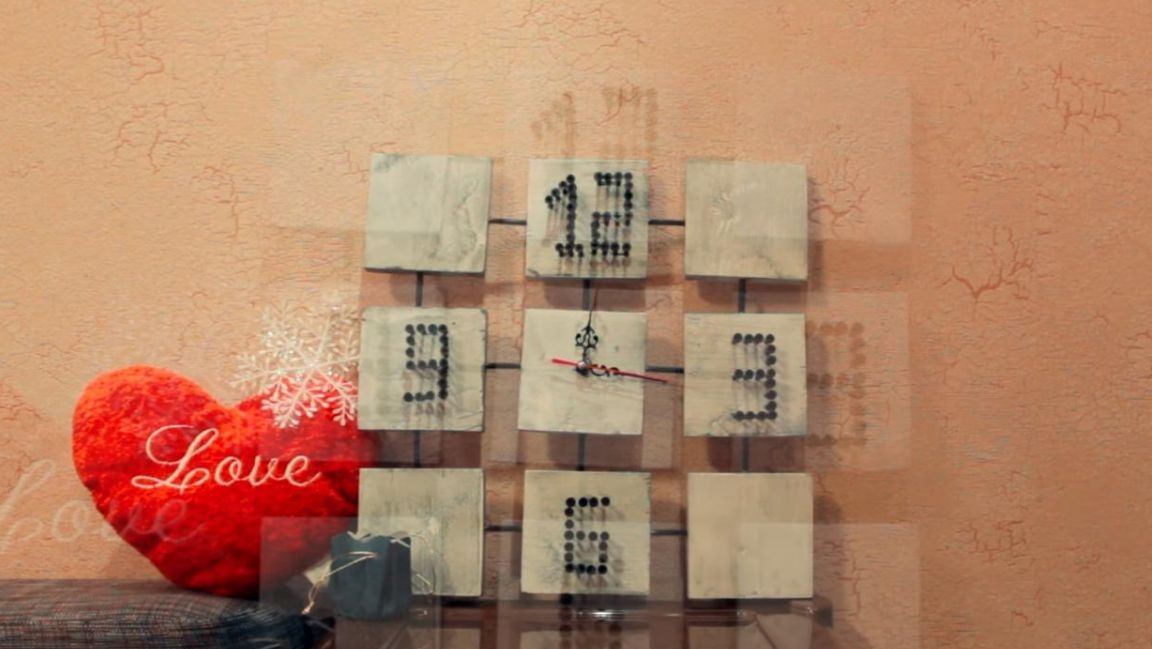
On four squares with a pencil mark the numbers 12, 9, 6 and 3, observing the location.
Then we measure the self-tapping screw head and set its size with a small margin of a couple of dozen on the vernier caliper, after which we make marks on the blanks in the form of numbers.
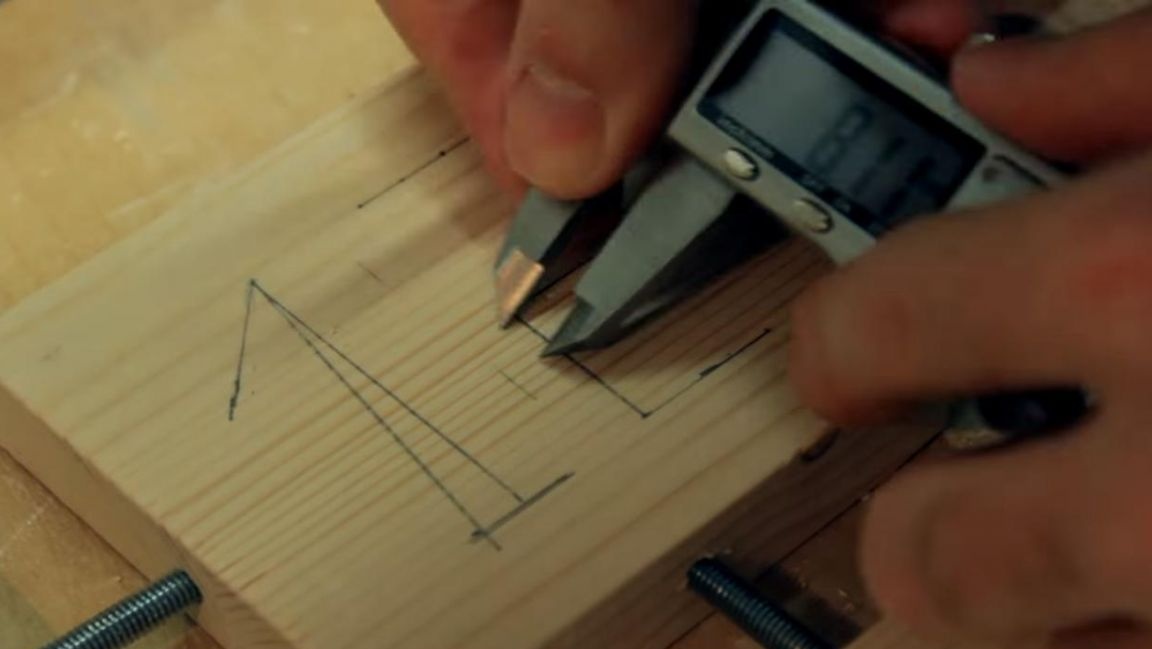
According to the marked marks, we make holes half the thickness of the part with a drill on a tree with a diameter of 3.3 mm.
Step Six
After drilling the holes, paint the base of the watch with black gloss paint from a spray can.
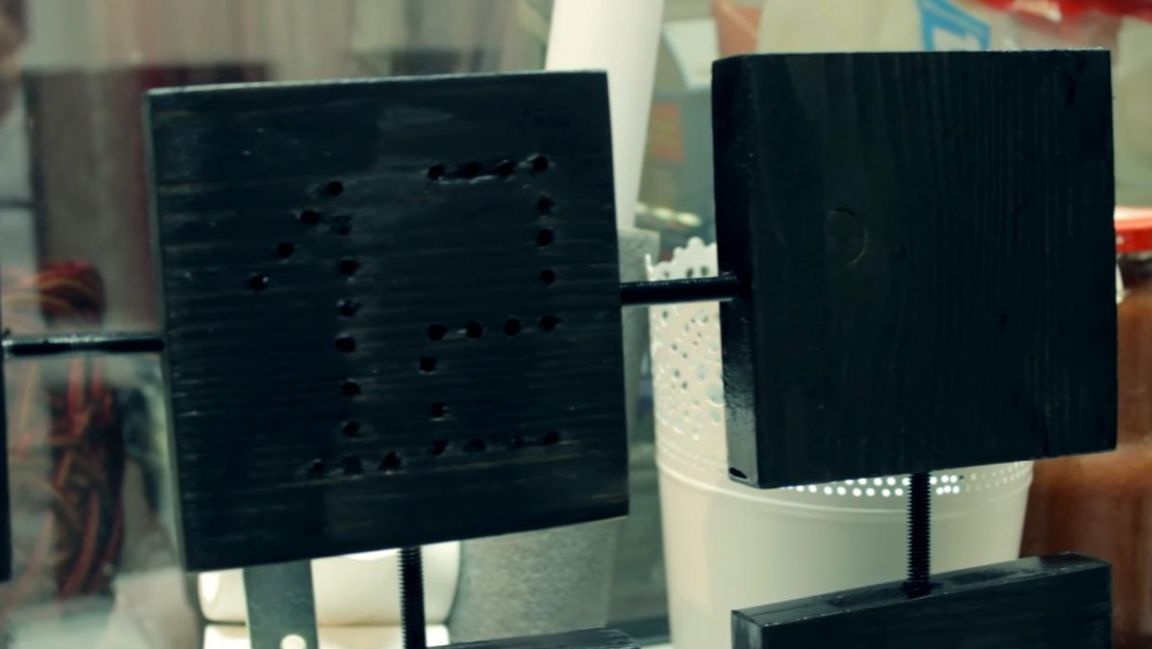
We protect the studs with masking tape, as it was decided to leave them in black to create a contrast.
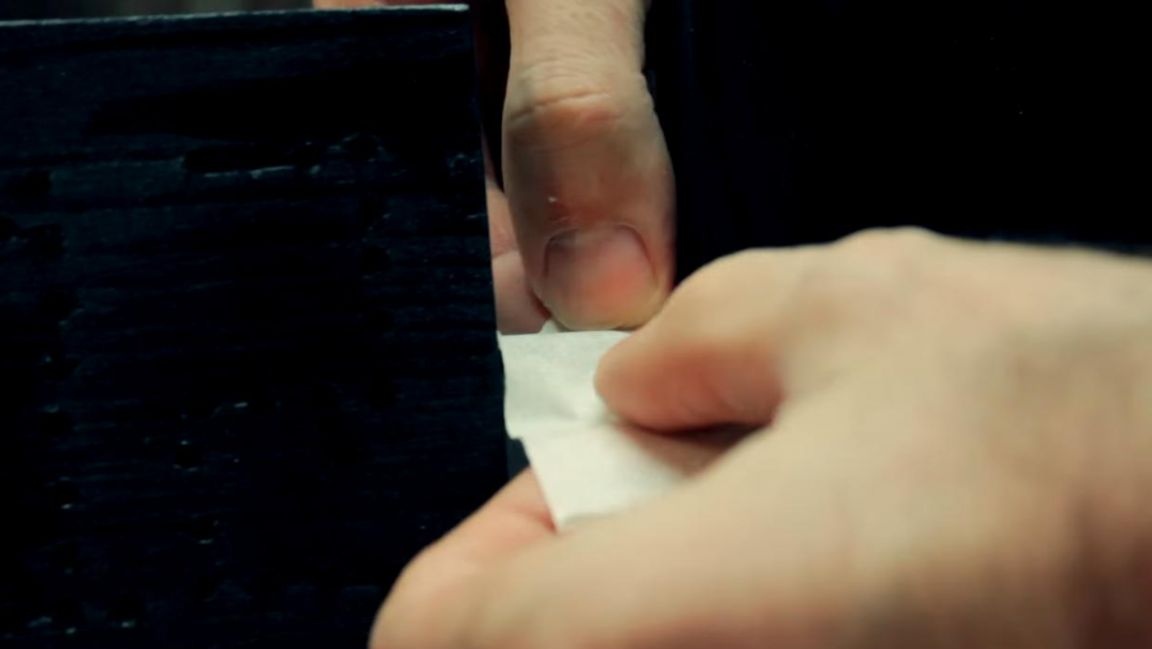
When the first layer of black paint has dried, we apply a white craquelure layer, which appeared a little differently than desired because of the insufficient number of layers of the base paint.

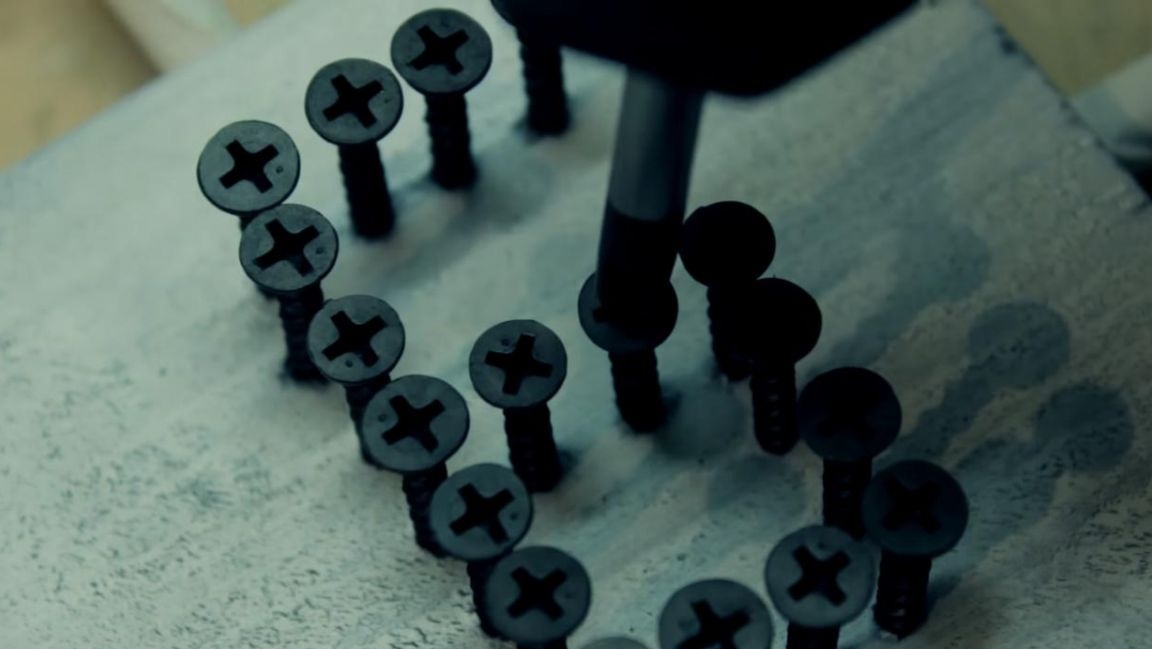
Next, using a Phillips screwdriver, screw the screws into the previously made holes.
When screwing in, we align the crosses of self-tapping screws for beauty.
The last layer is applied using a spray of acrylic varnish, which will protect the tree from external influences, such as moisture. At the end, install the clockwork in the central square, tighten the nut on the front side and put the arrows in place.
As a result, we obtained quite creative and original watches made by our own hands, they will decorate your interior and give a kind of a peculiar loft style.
That's all for me, thank you all for your attention and creative success.