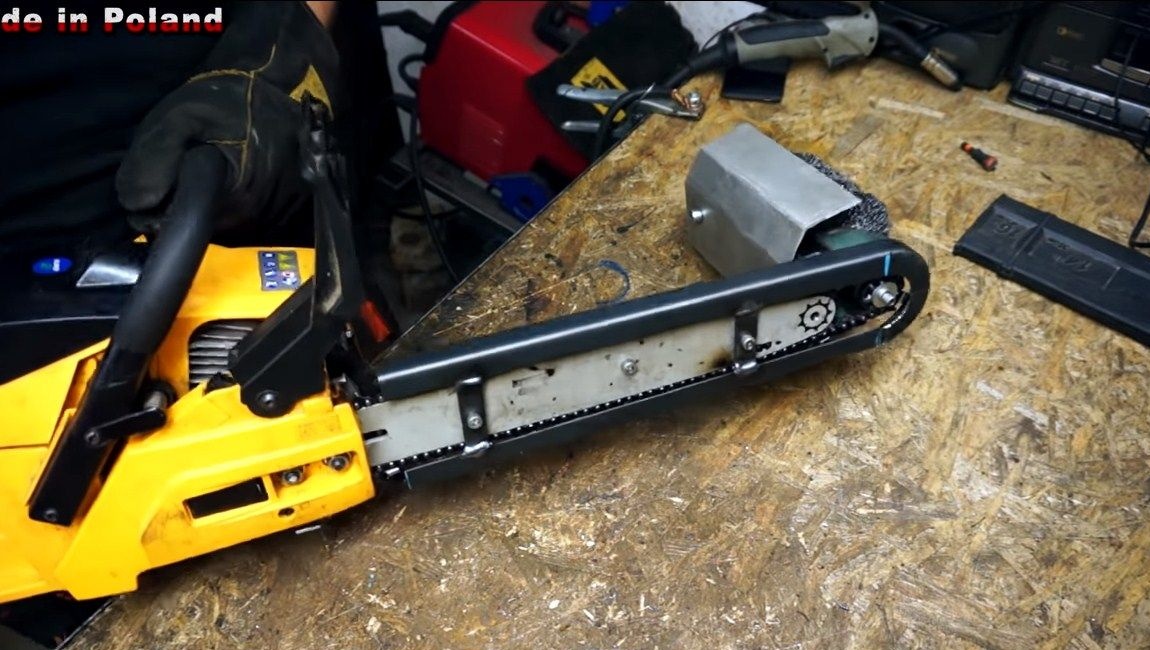
Hello everyone, I present to your attention another original homemade authors from Poland. This time we will consider a nozzle for a chainsaw, which will allow you to easily and quickly clean various surfaces. With the help of this fixtures you can easily process metal from rust, remove old paint and so on. In addition, the tool copes with the processing of a wooden surface. After this treatment, the material becomes smooth as after grinding.
The tool turned out to be easy to use, safe, and it is quite simple to assemble. The main plus of homemade work is that you do not need to redo the chainsaw, you can continue to use it for its intended purpose by putting a standard tire with a chain. Our grinding head is based on an old tire and chain. The most important tool for making a nozzle is a lathe, but you can simply order the necessary part with a turner. So, we will consider in more detail how to assemble such a nozzle!
Materials and tools used by the author:
Material List:
- brushes from a metal wire for the grinder;
- square steel pipes;
- two bearings with brackets;
- bolts, screws, nuts, etc .;
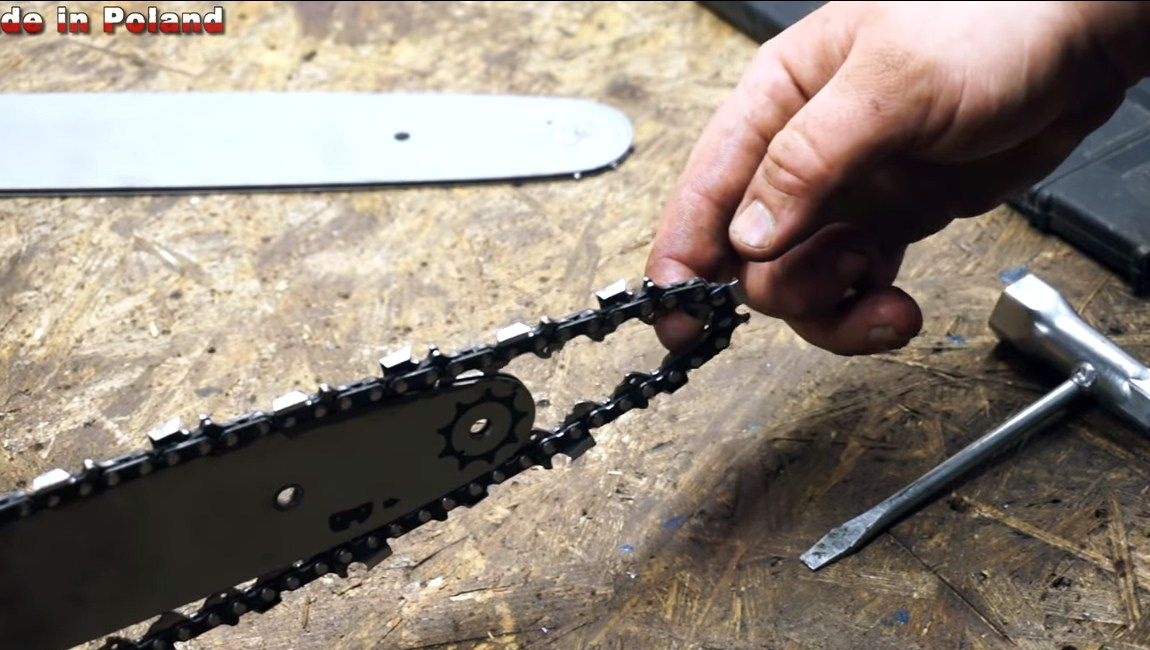
- An old tire from a chainsaw and a chain;
- an asterisk for a chainsaw;
- Sheet steel;
- sheet aluminum (to make a shield);
- corner.
Tool List:
- ;
- ;
- vise;
- ;
- spanners;
- marker, ruler;
- tap for threading;
- grinder;
- belt sander (optional).
Homemade manufacturing process:
Step one. Production of a working shaft
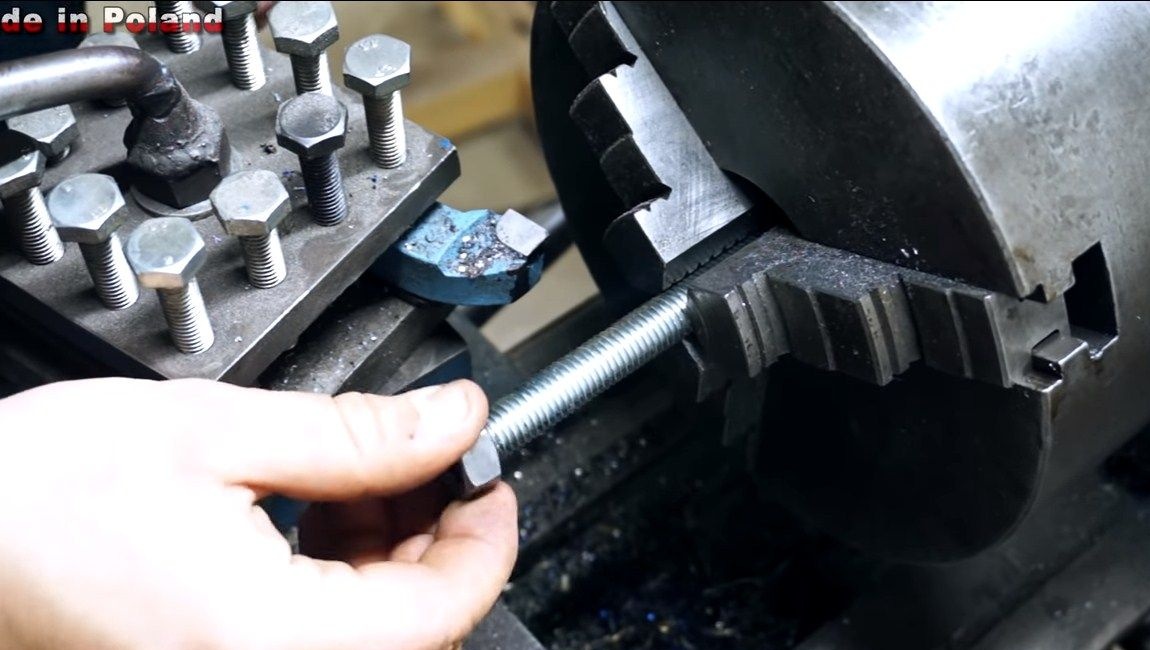
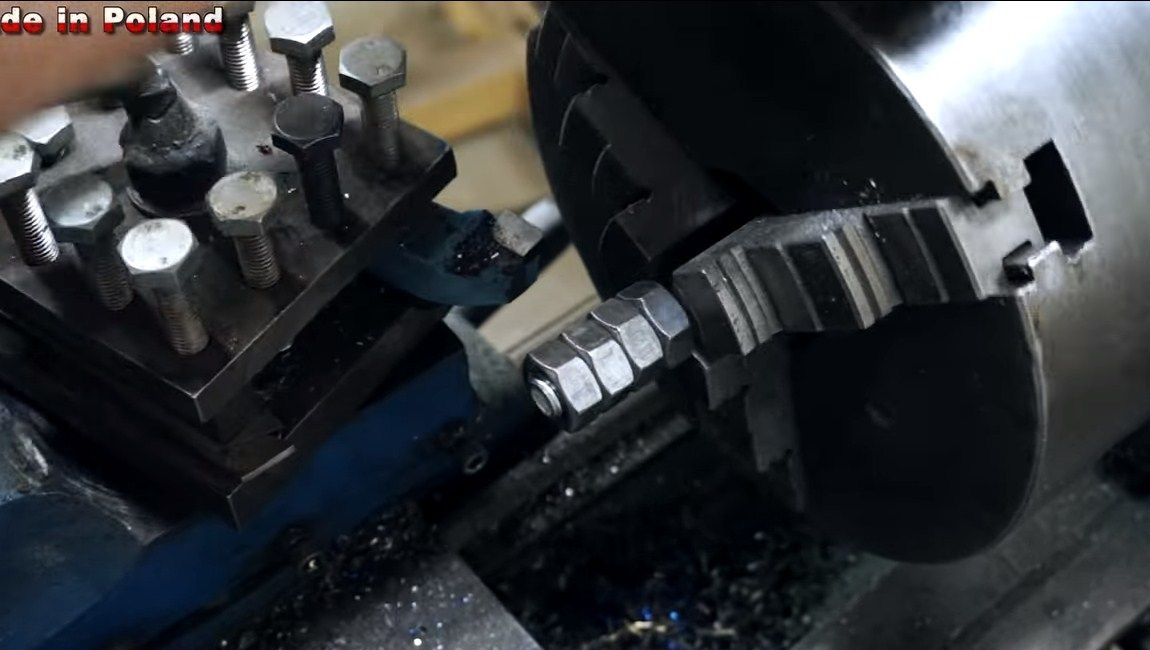
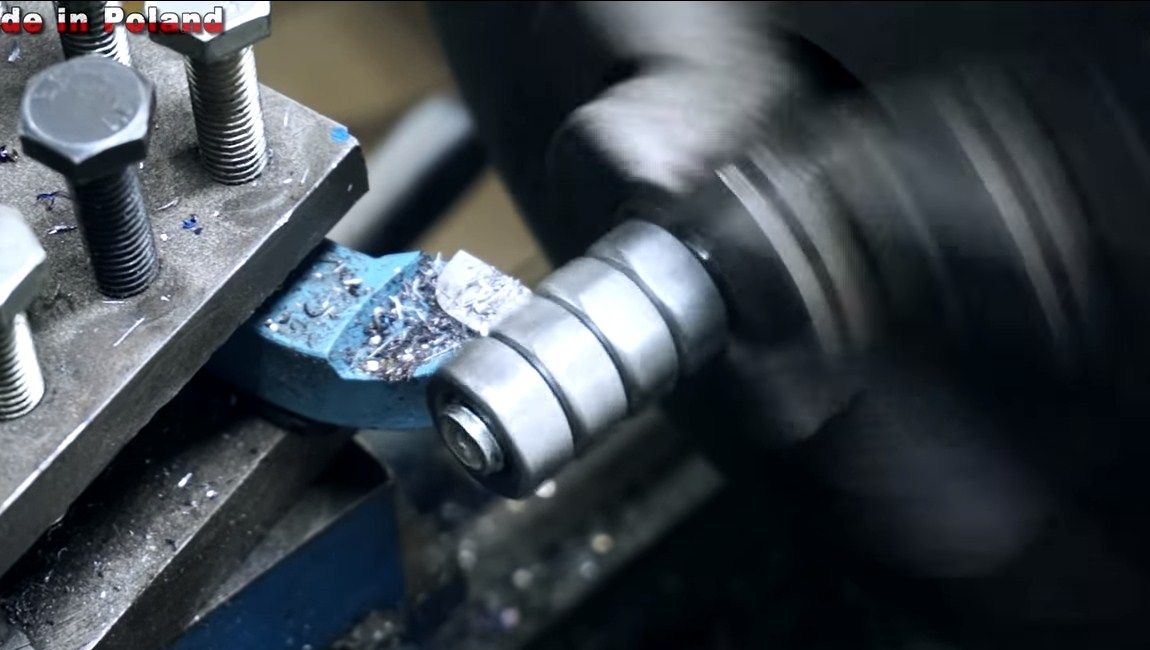
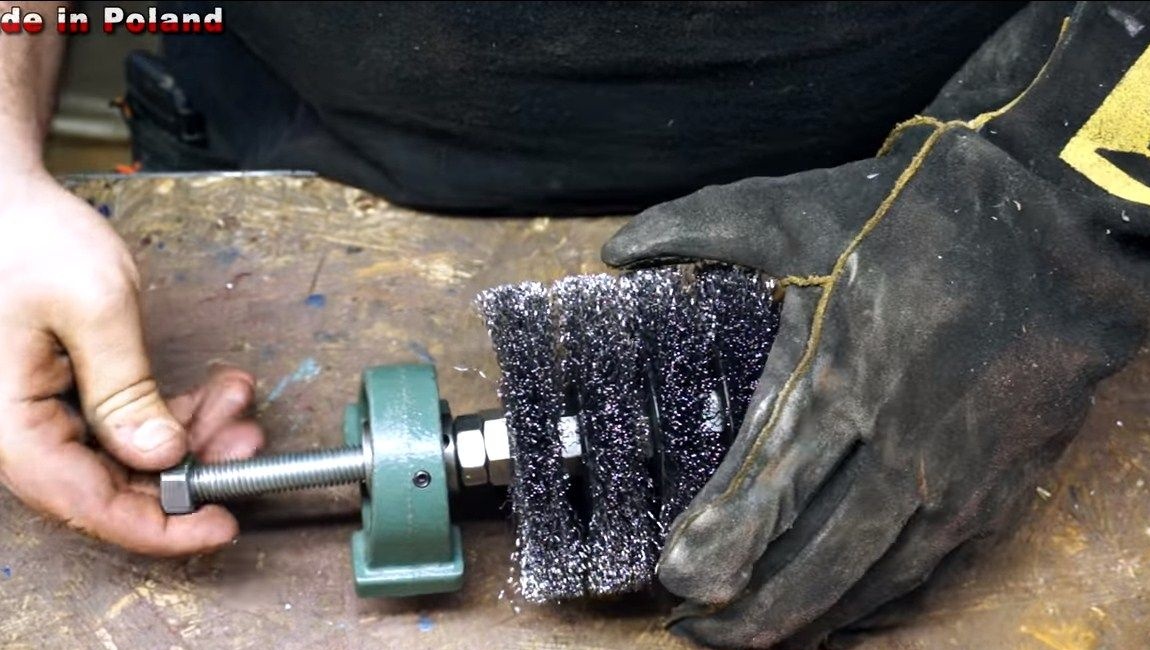
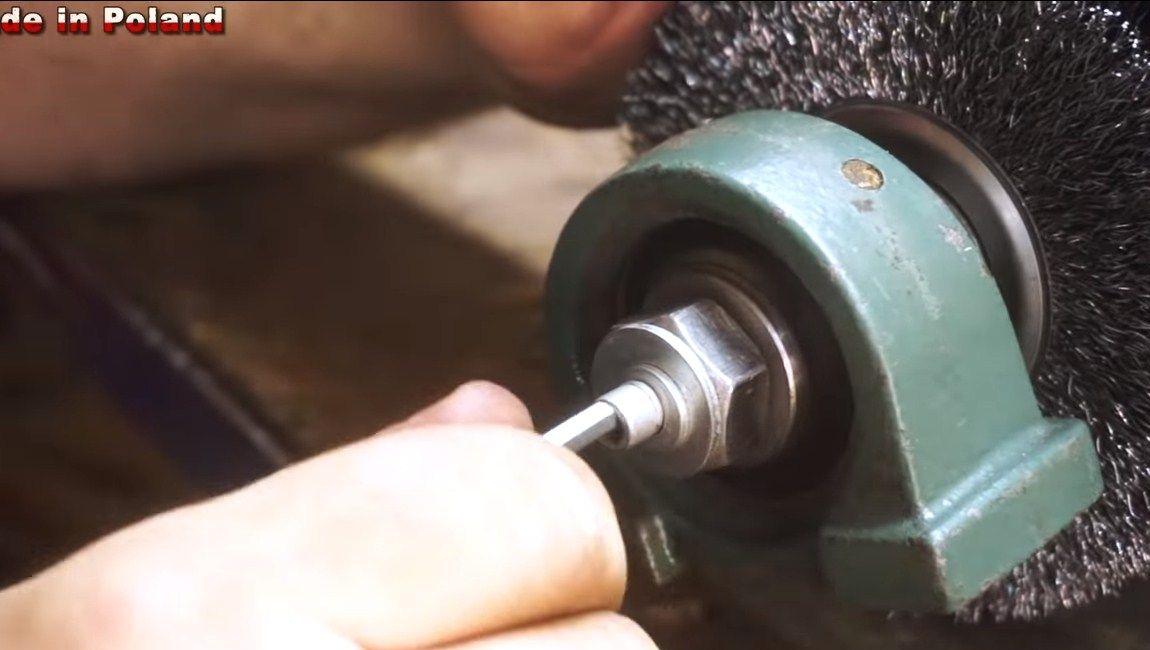
To make the working shaft, we need a long threaded bolt or just a threaded rod. Thanks to the thread, we will install the brush discs on the shaft. But in order to fix the bearings on the shaft, we will need to make sure that the bearing fits tightly on the shaft and does not hang out. To do this, the author tightens the nuts on the threaded rod and then grinds their outer diameter on a lathe so that the desired shaft diameter is obtained.
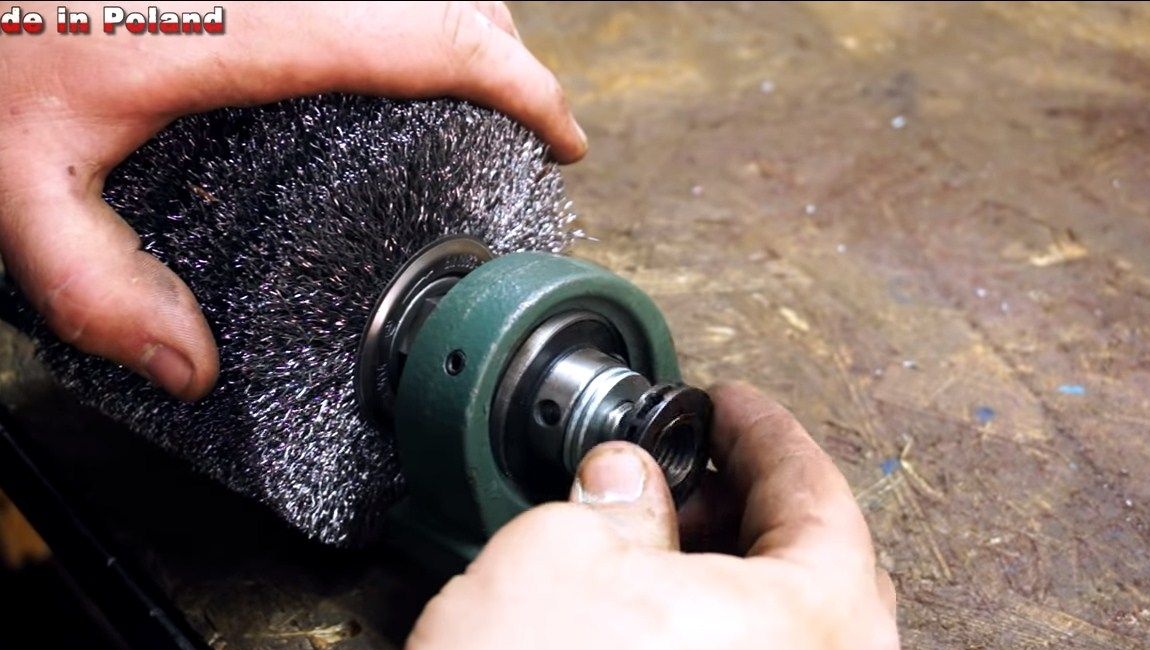
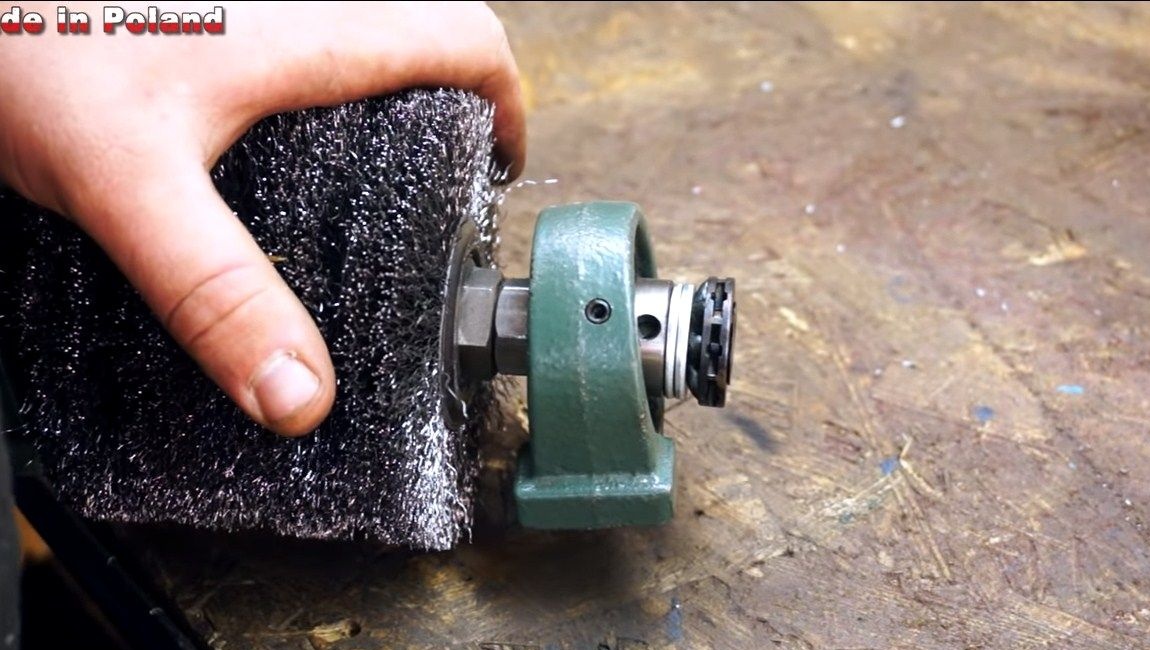
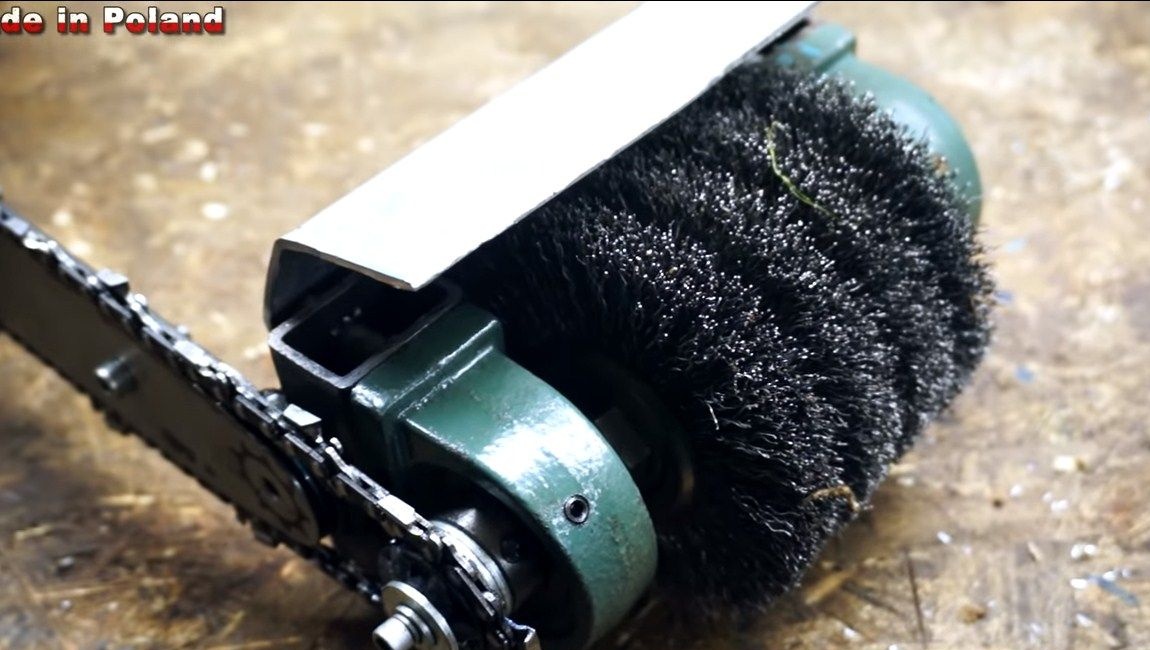
Step Two Installing brushes on the shaft
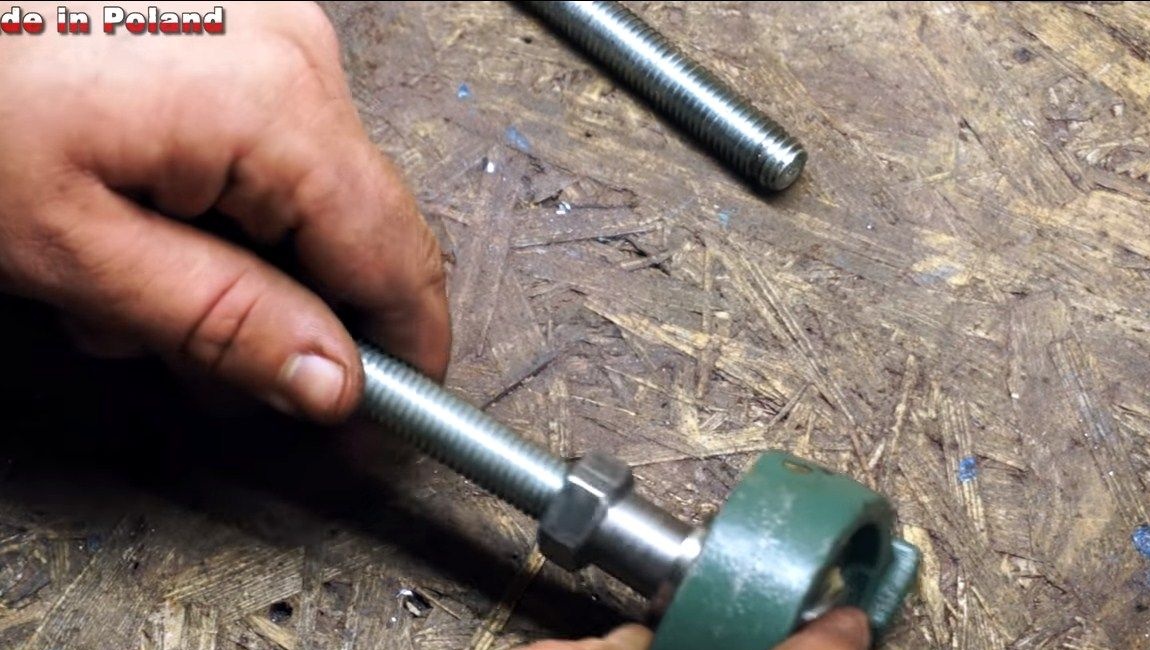
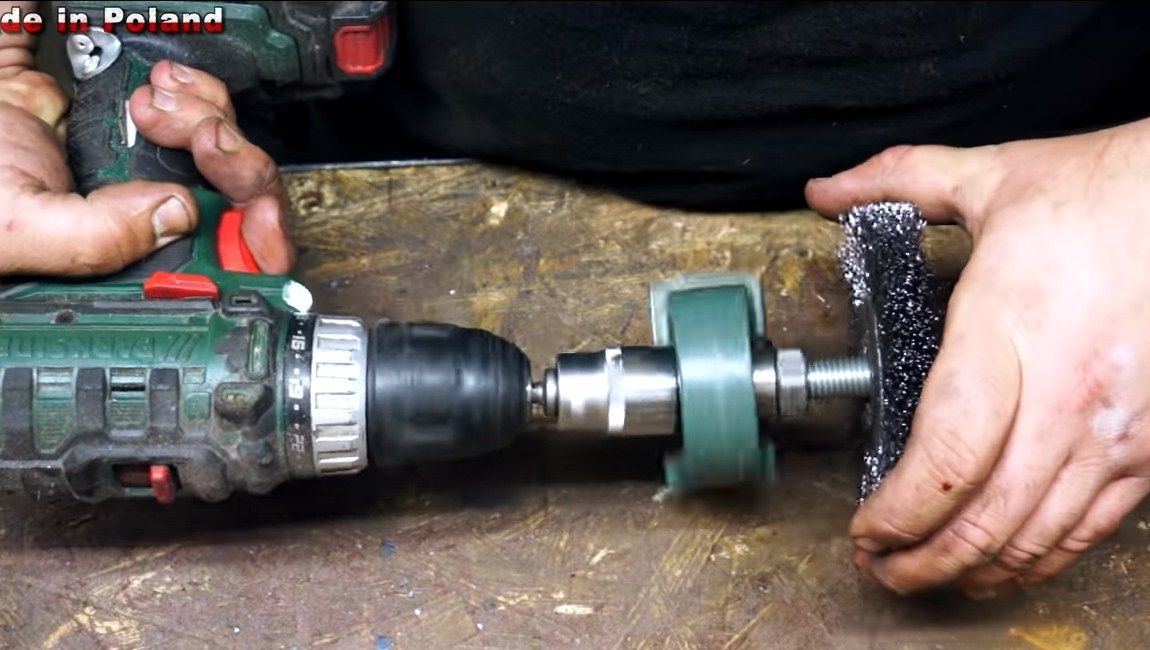
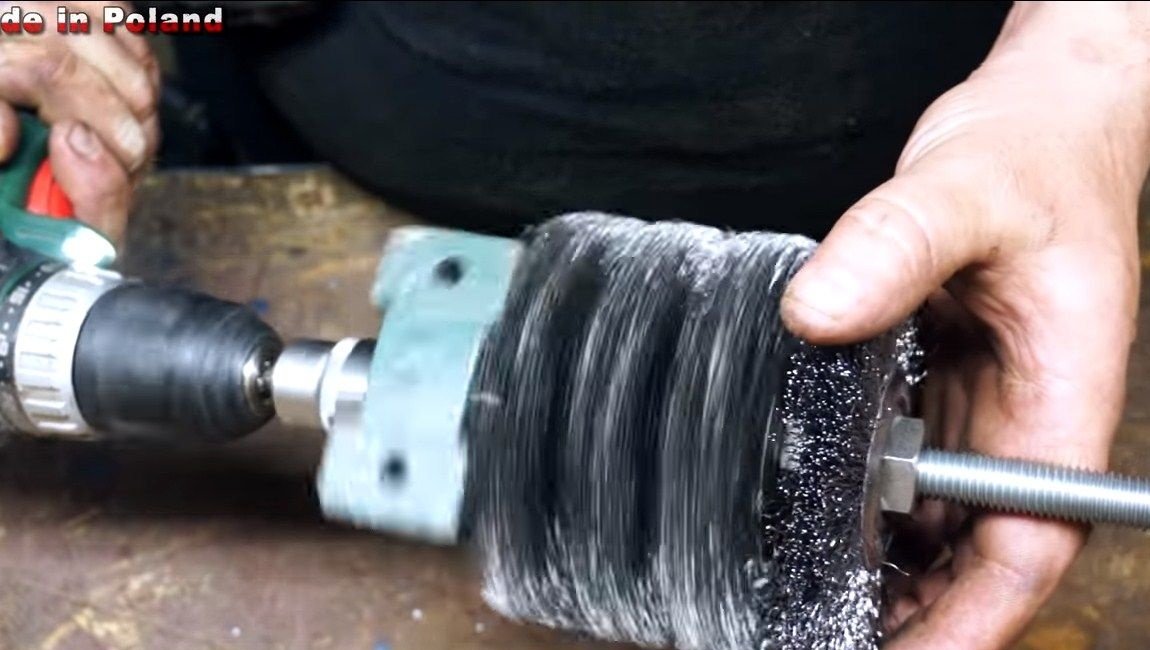
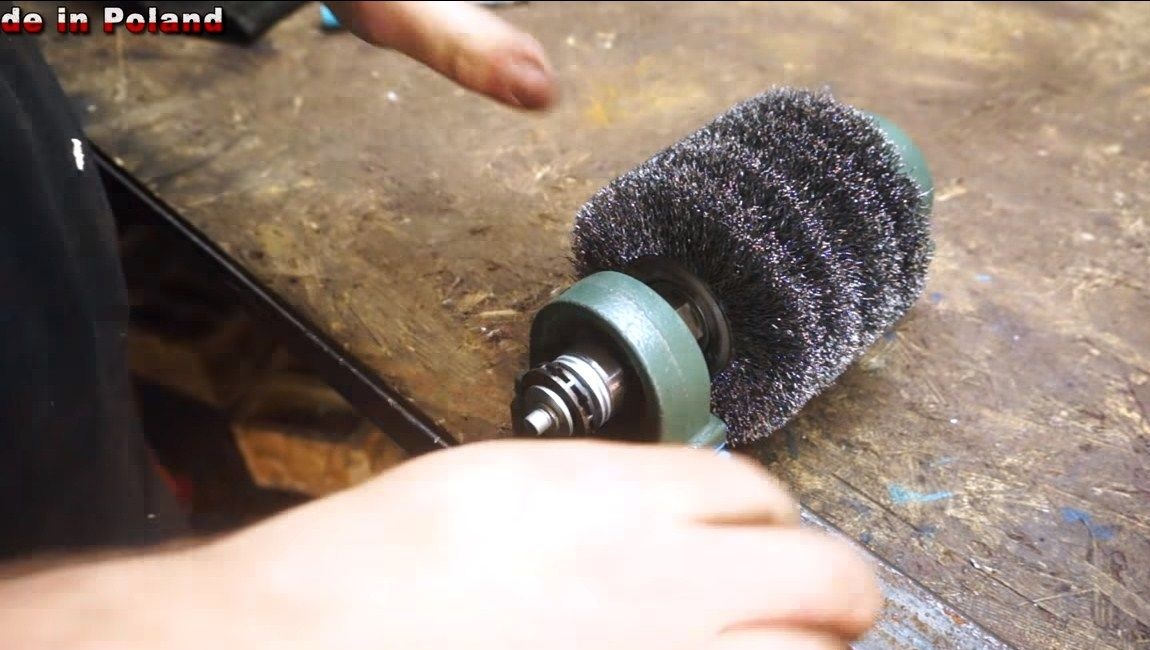
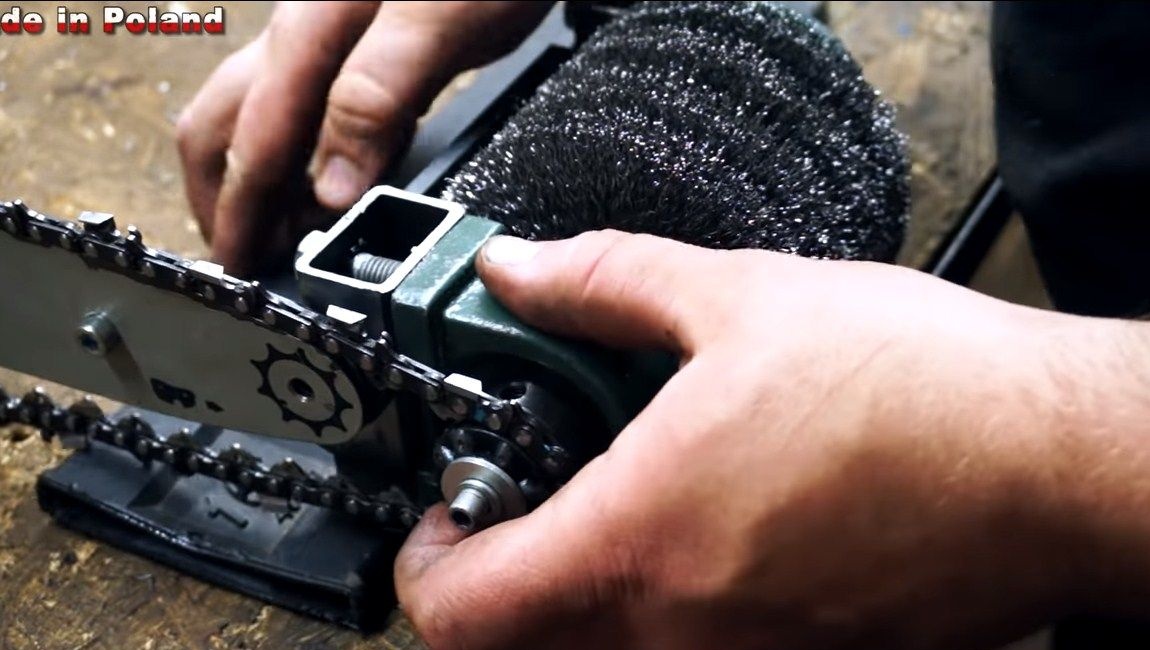
First, we install a bearing on one end of the shaft; it is fixed with a nut. Further, brushes can be wound onto the threaded rod. The author uses a screwdriver for speed of assembly. Then, similarly, on the other hand, we install the bearing.

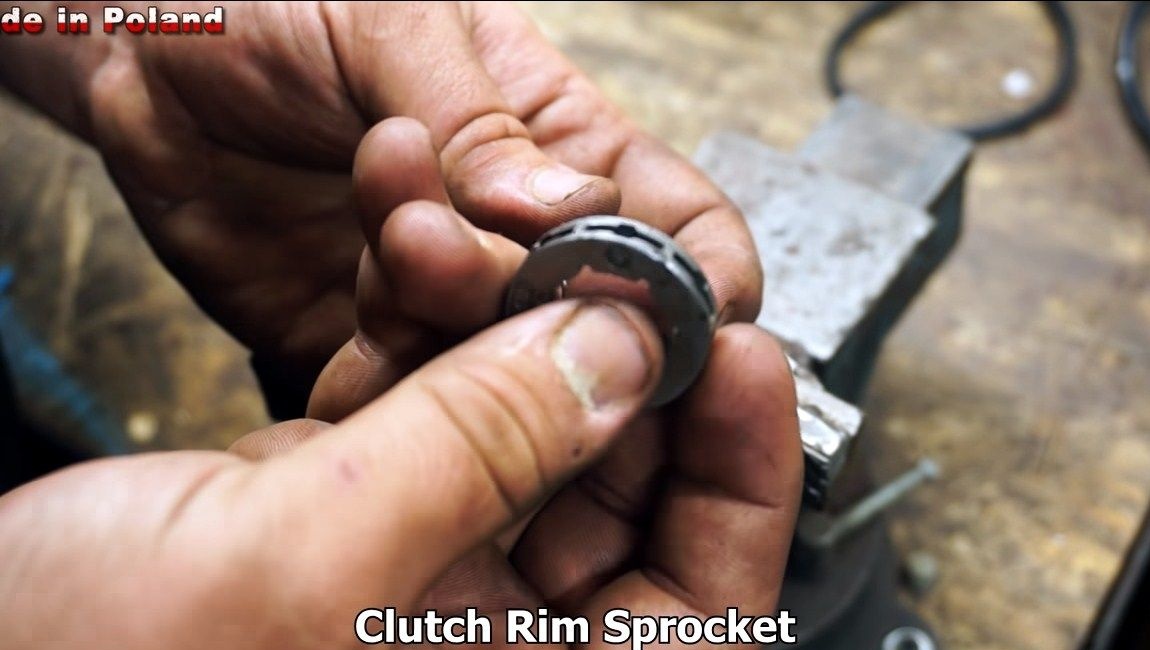
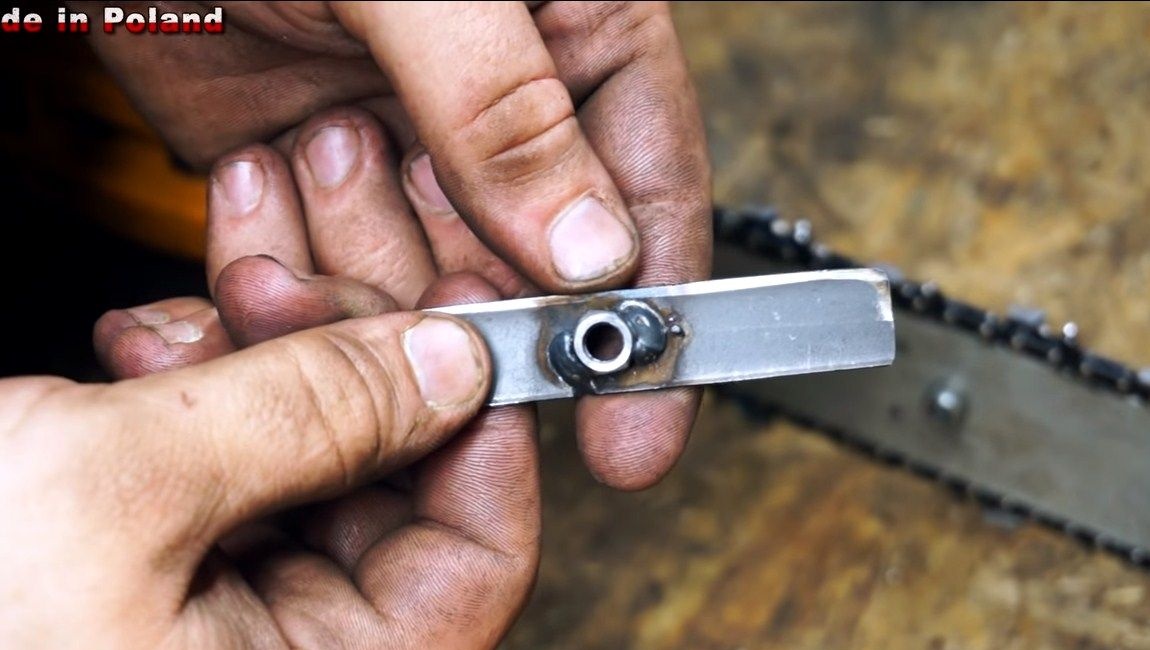
Step ThreeProduction and installation of a driven sprocket
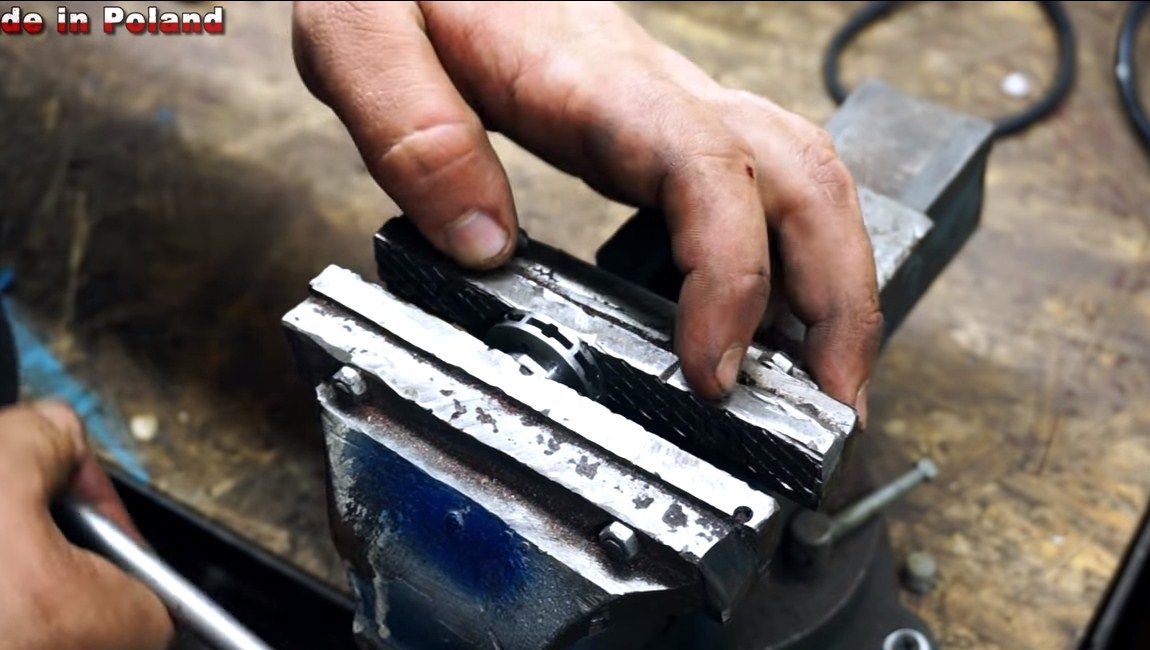
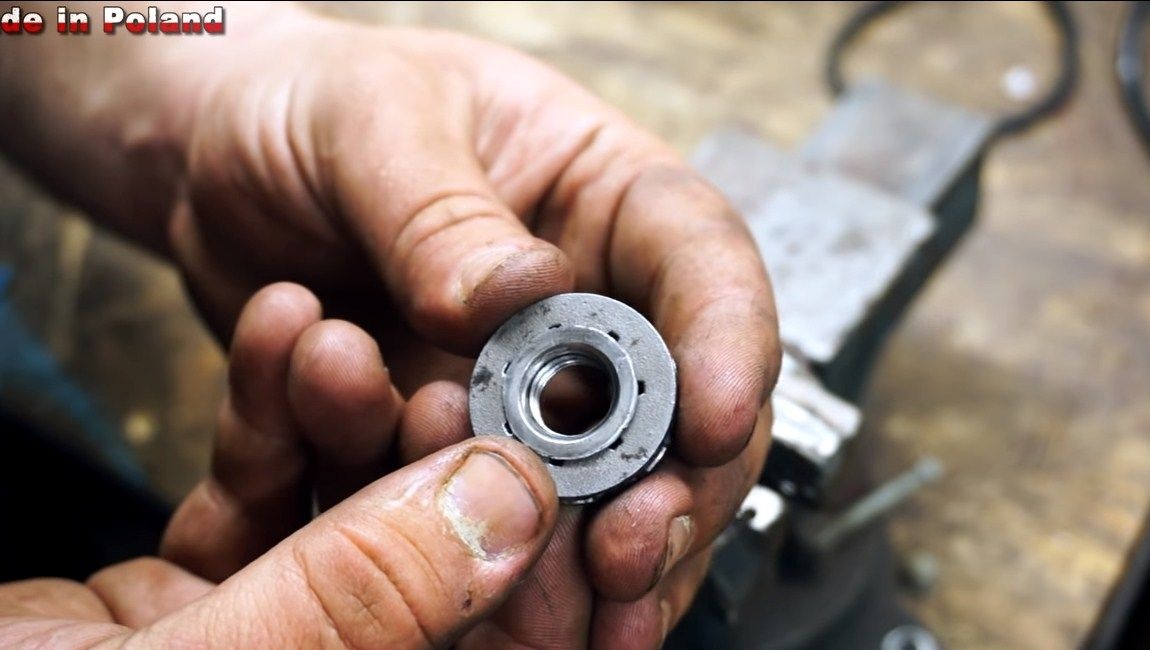
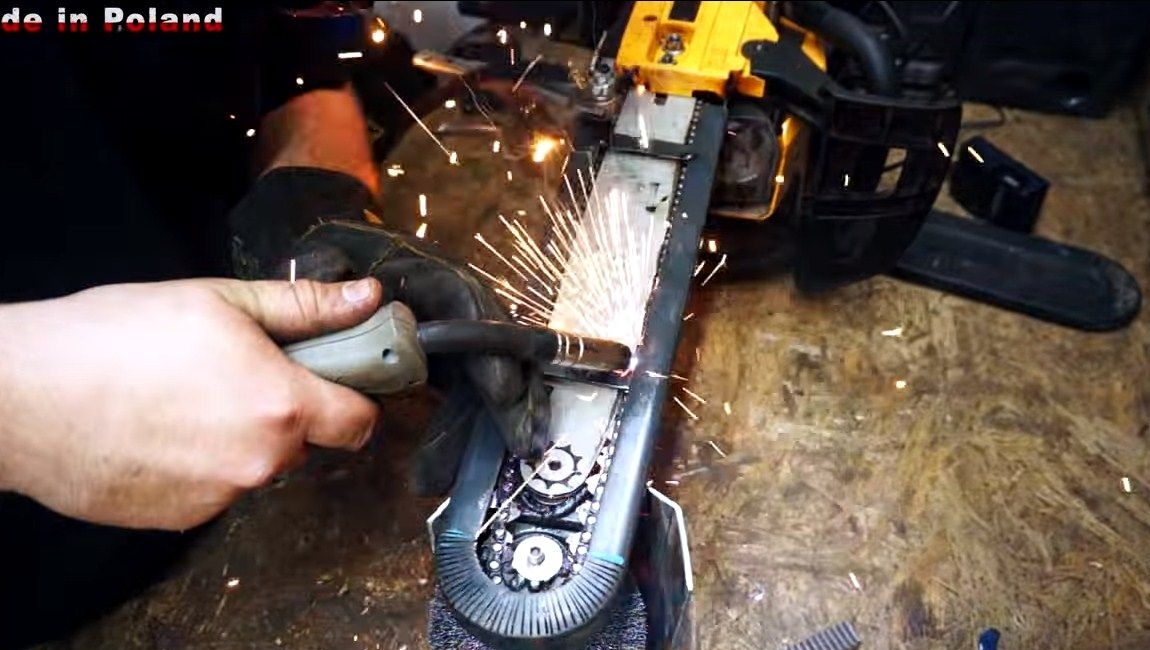
A driven sprocket is bought ready-made, this is an asterisk for a chainsaw. Under it, we need to make an adapter that will fix it on the working shaft. To grind it, you will need a nut, as well as a lathe. We grind an adapter of such a diameter so that it fits tightly inside the sprocket. Next, the author presses the sleeve inside the sprocket with a vise. After that, weld the sprocket to the adapter.
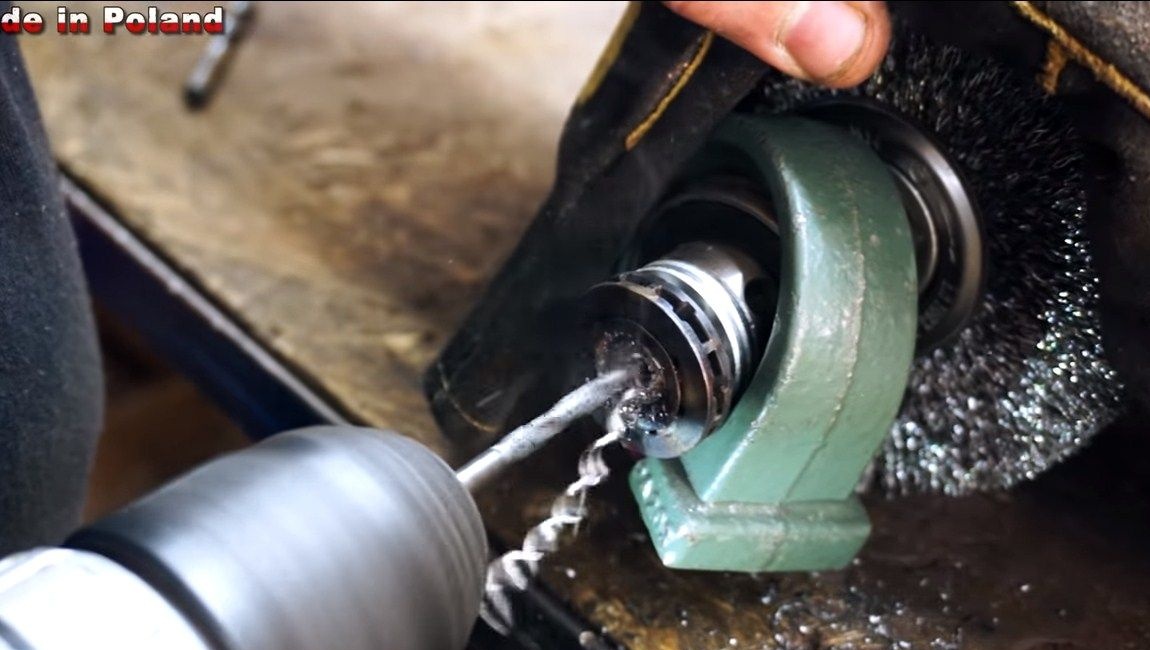
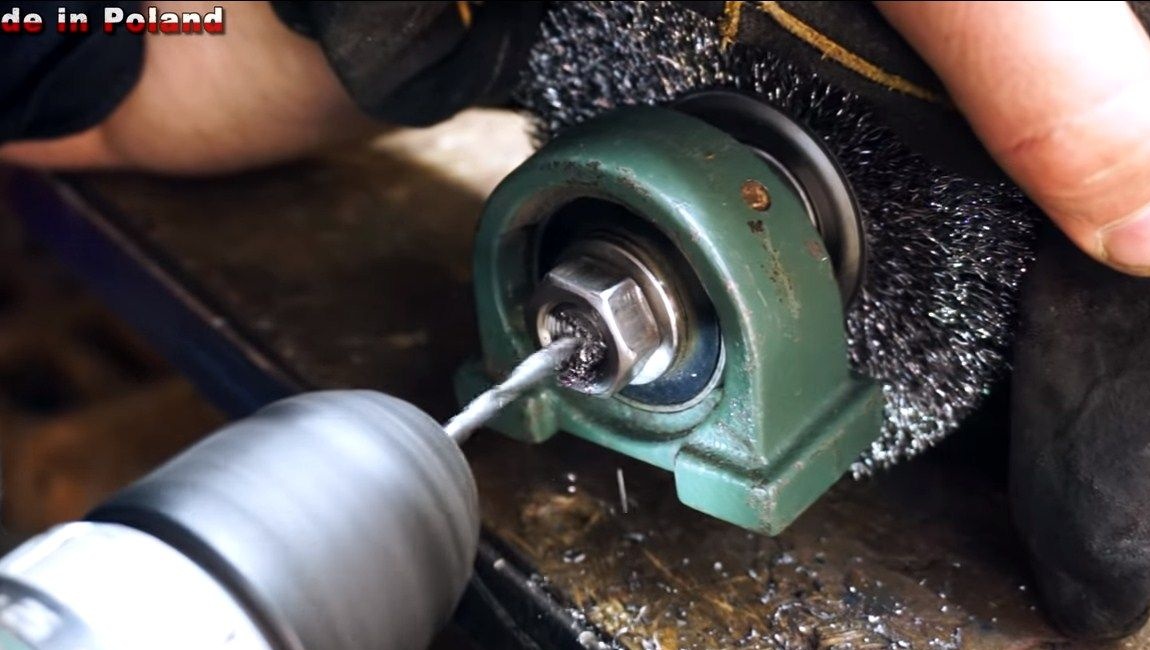
That’s all, it remains for us to wind an asterisk on the working shaft. Further, for additional fixation, the author drills holes in the axes and cuts the thread. We turn the screws there, putting on a few wide washers.
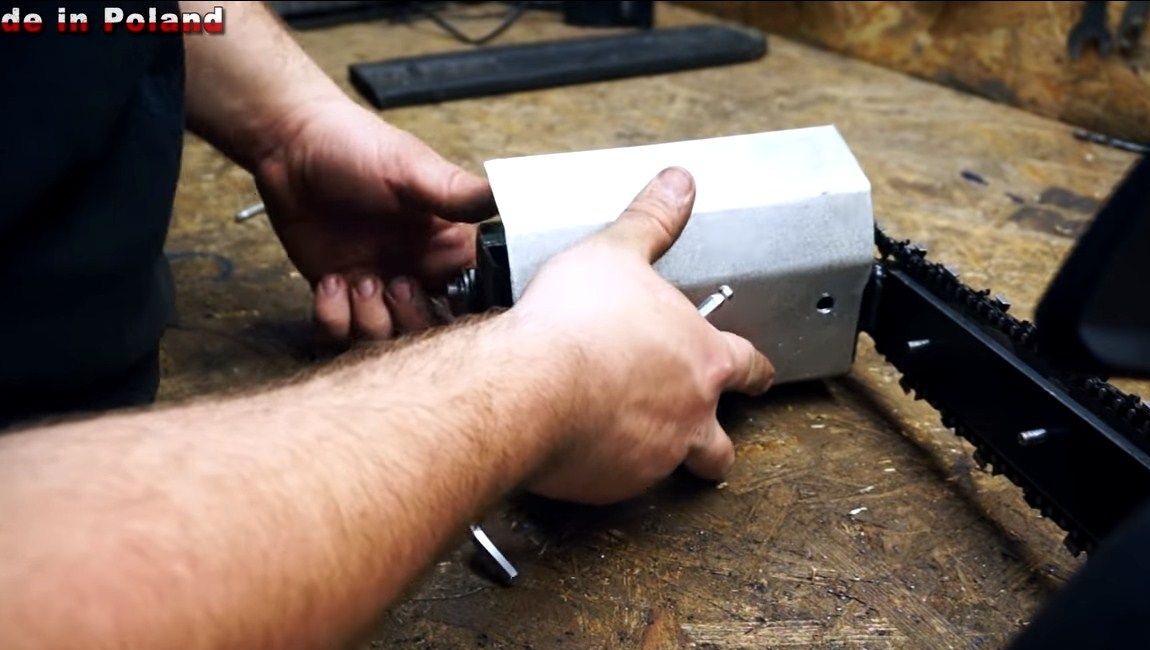
Step Four Base for nozzle
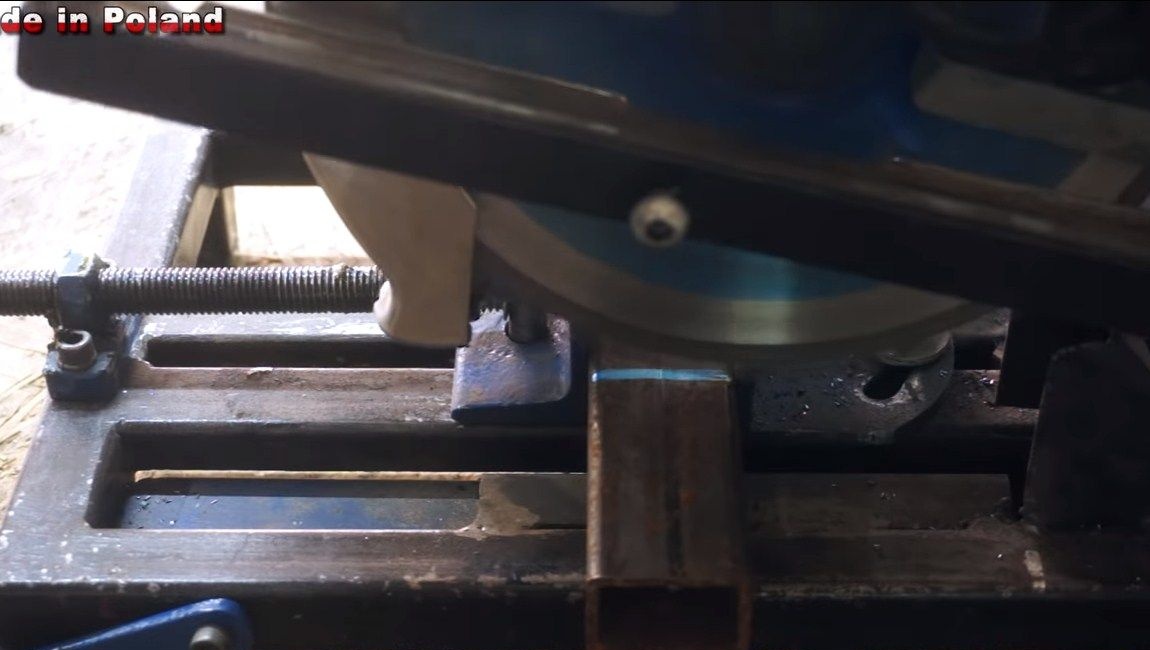
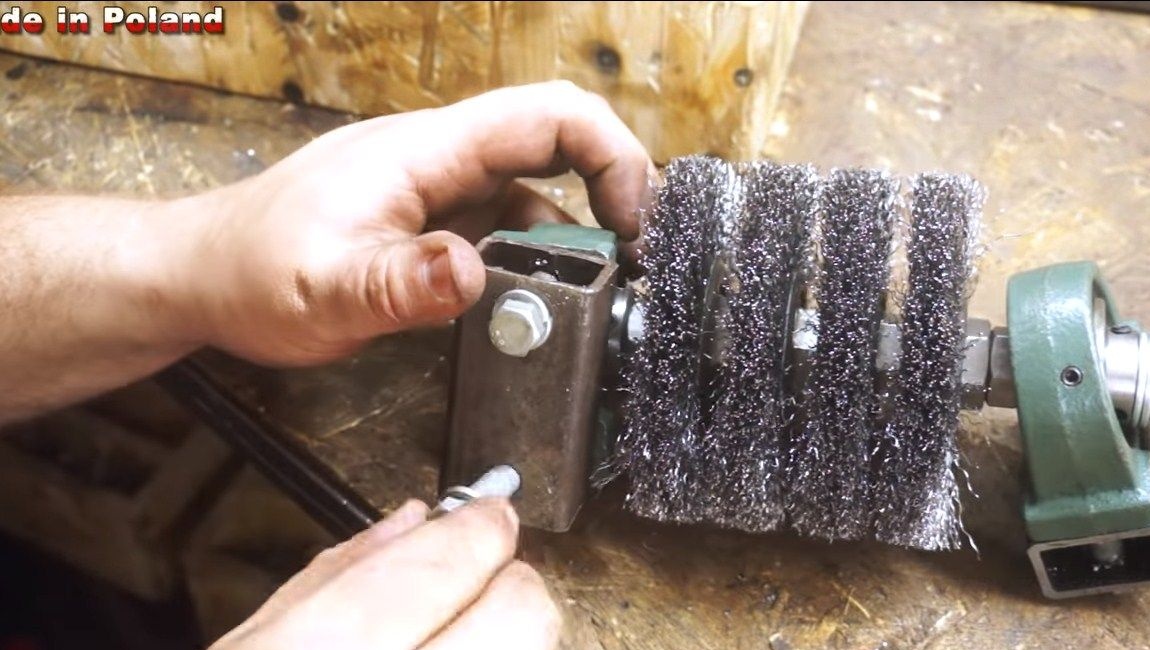
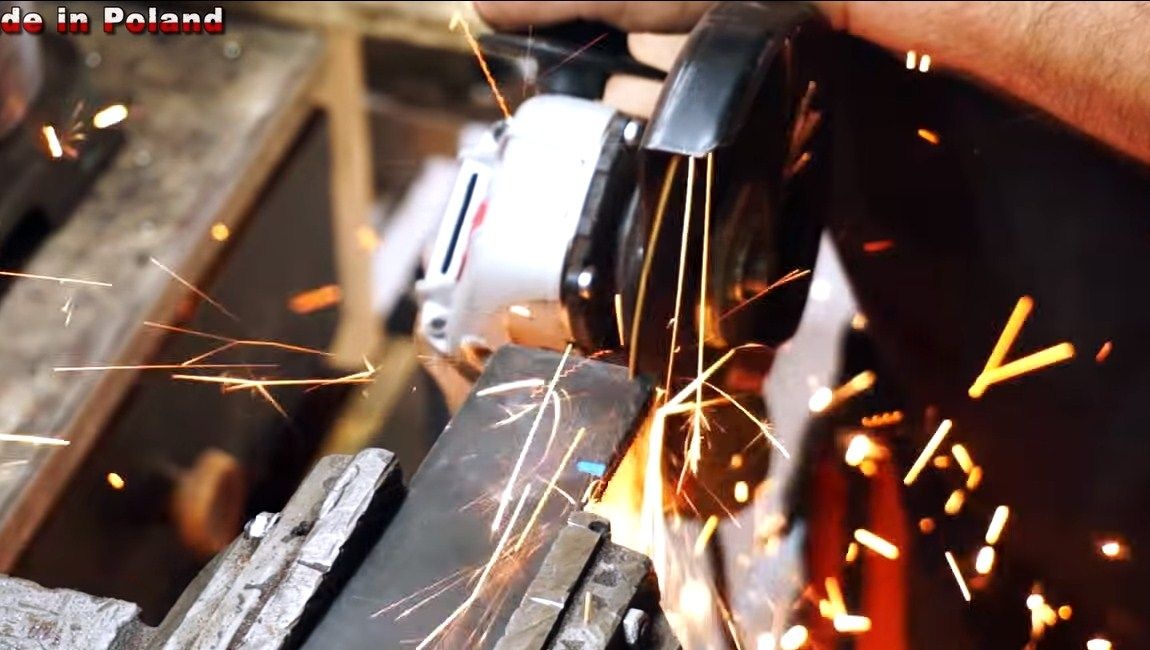
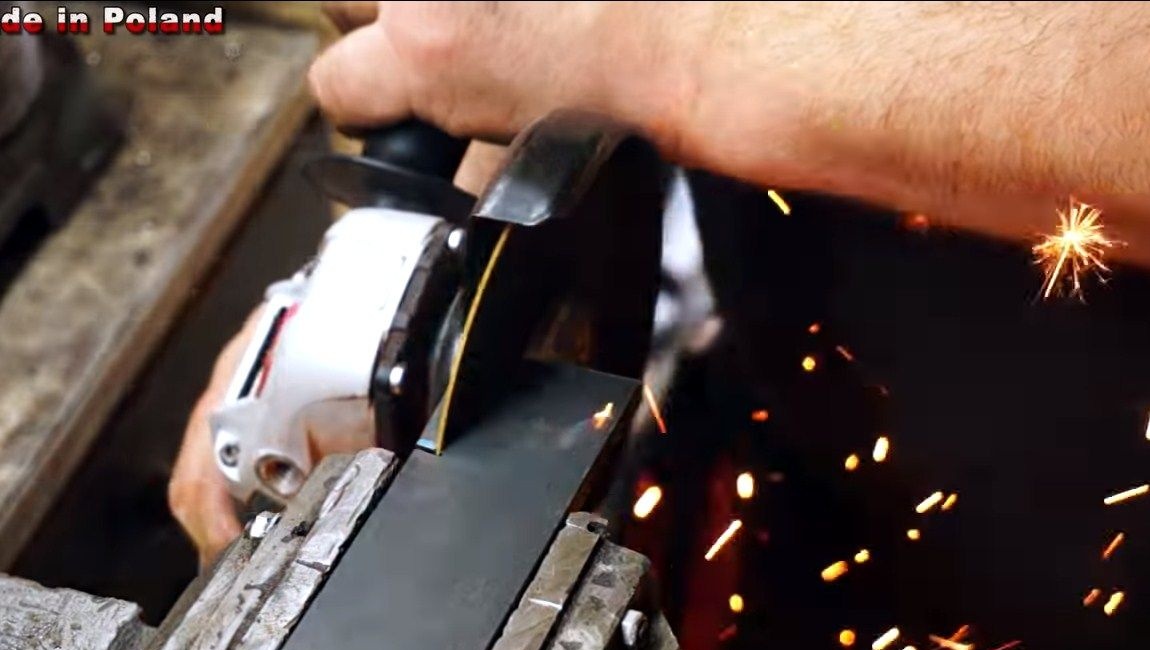
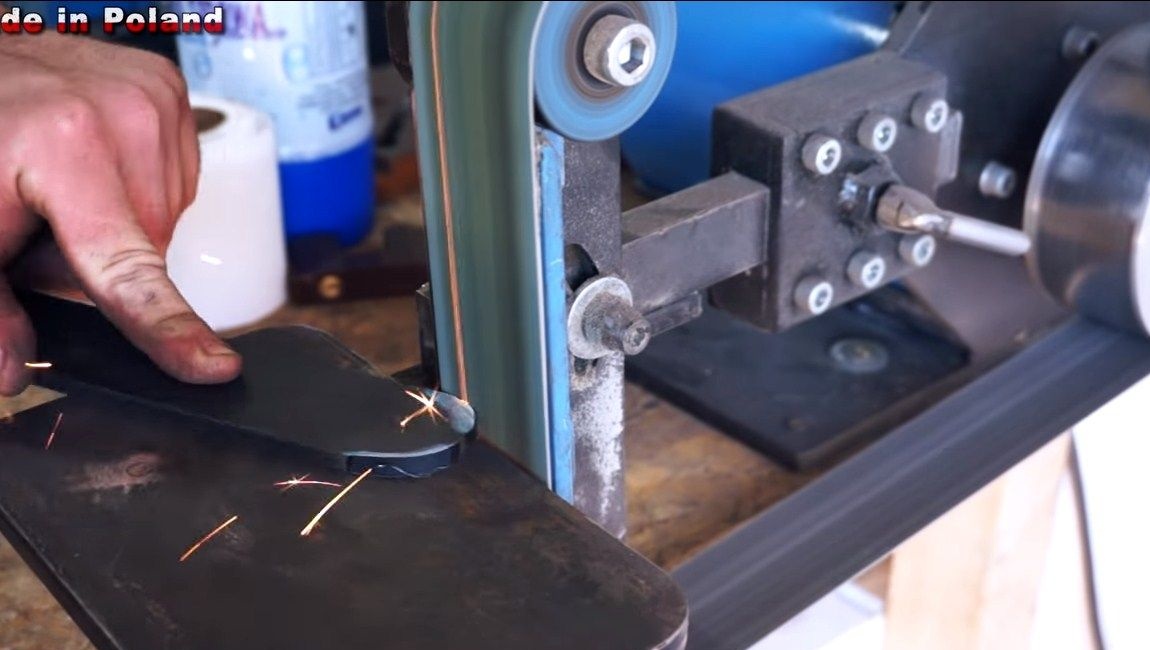
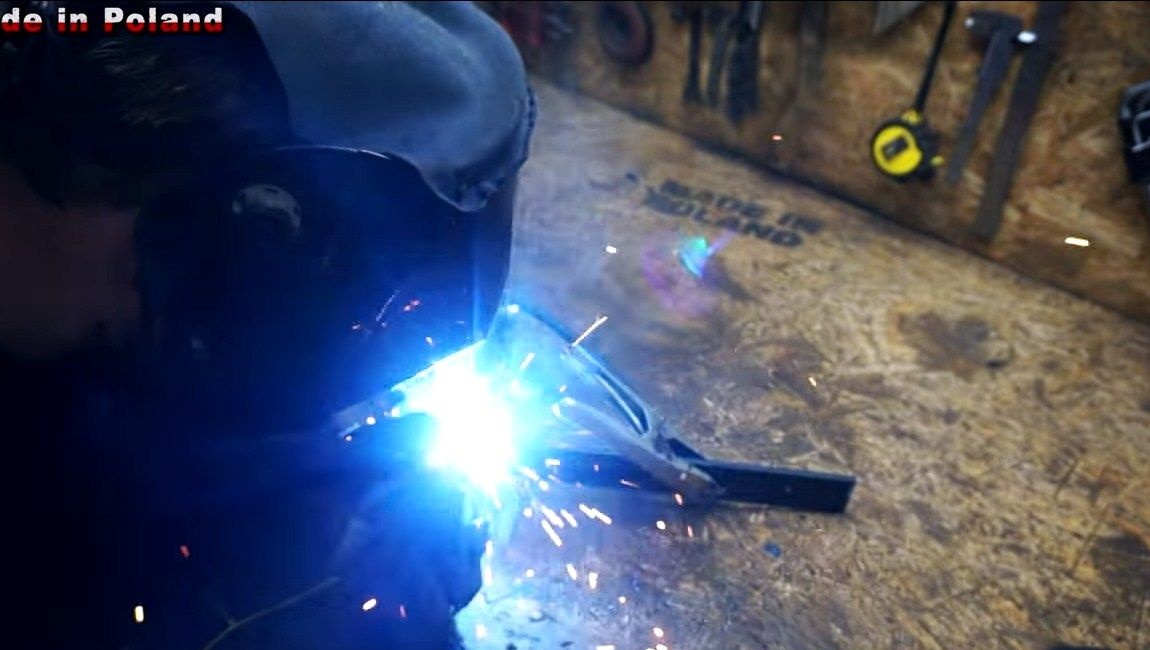
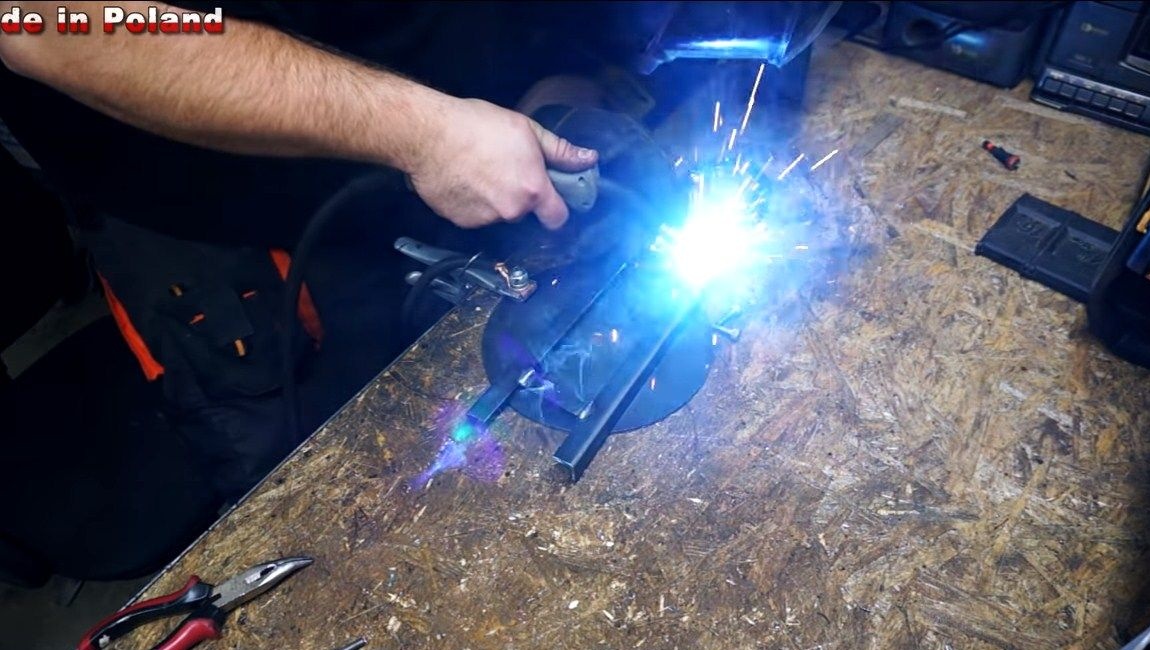
Now the bearings need to be mounted on a reliable frame. First, cut two pieces of the square pipe and screw these parts to the bearings using bolts and nuts. Well, then we need a part that connect everything together. For these purposes, the author used sheet steel. Well, then cut off the desired piece and weld everything together. As a result, the design should take on a shape similar to the letter “H”. We clean the welds, the author does this on a tape machine, but there are enough grinders with grinding disks.

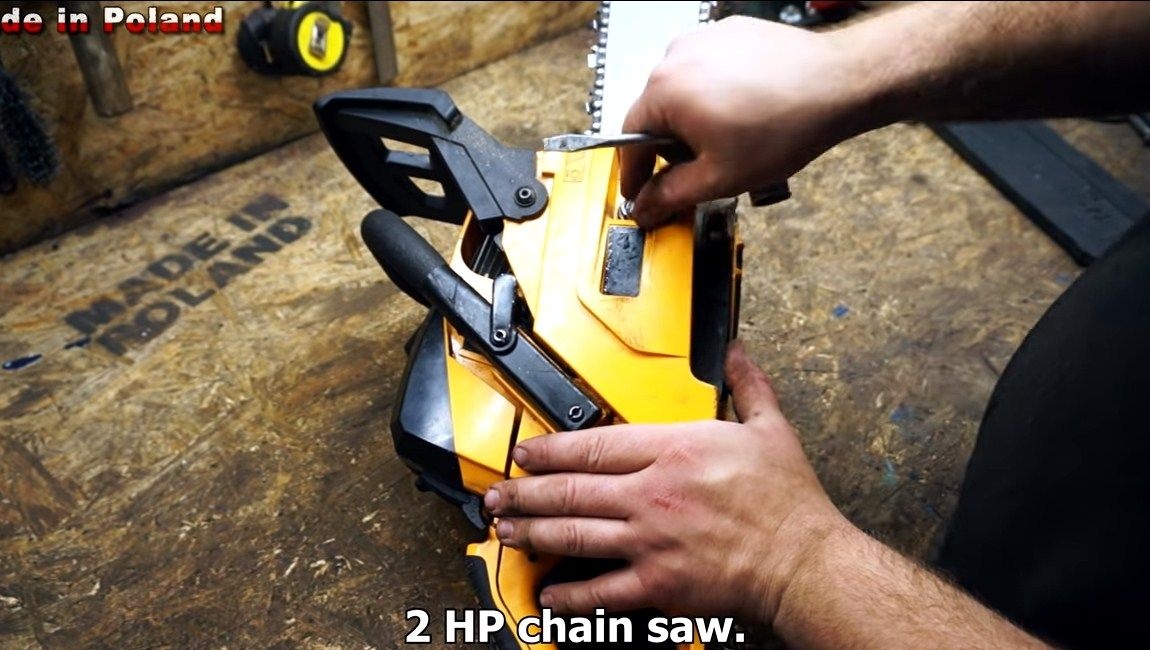
Step Five Chainsaw preparation and nozzle installation
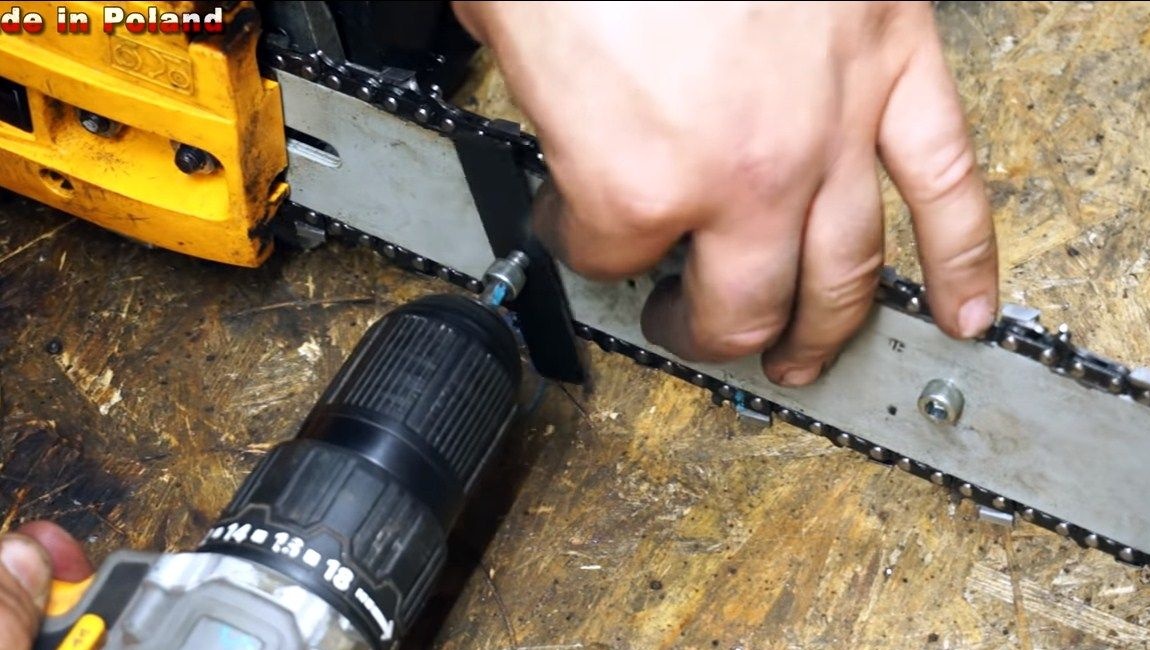
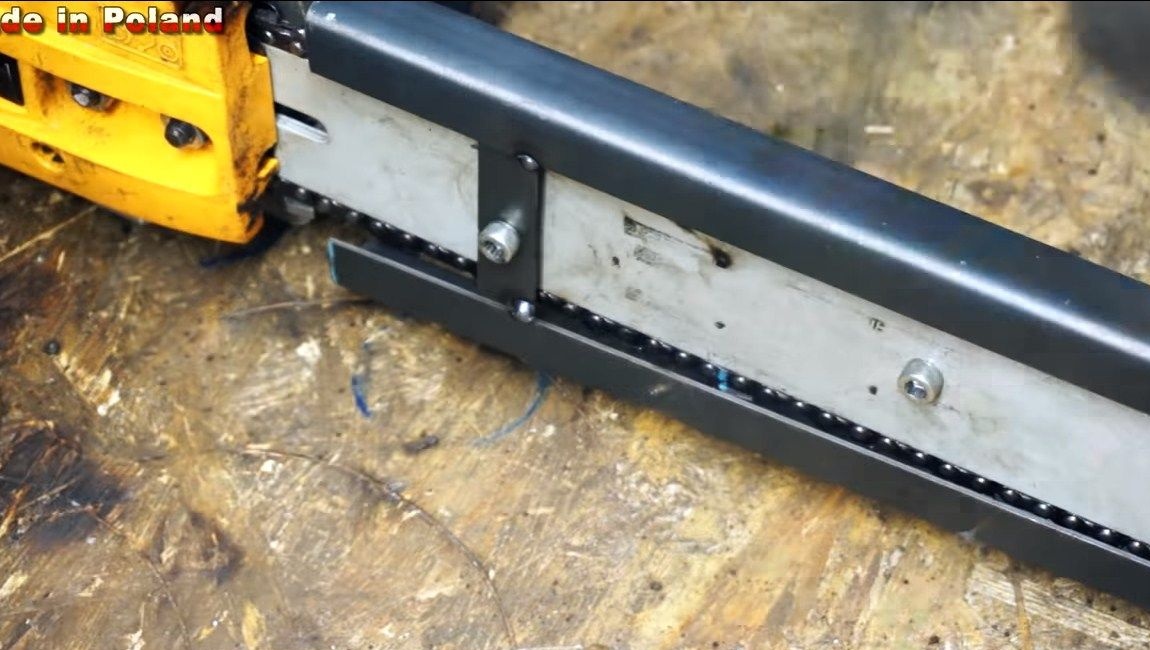
Now we take a chainsaw, structurally we do not need to change anything in it. Just remove the cover that holds the tire. Now we need a chain and a tire. The bottom line is that the tire is a little shorter than the chain. If you cannot find such an assembly, you can simply cut off a piece from the tire.
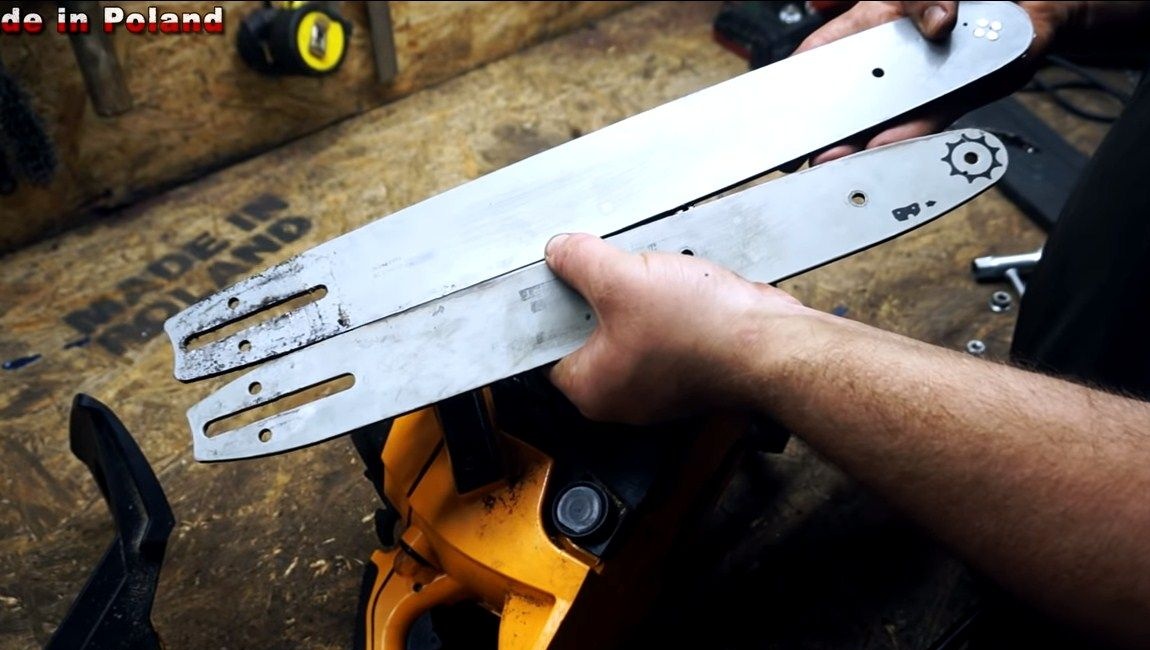
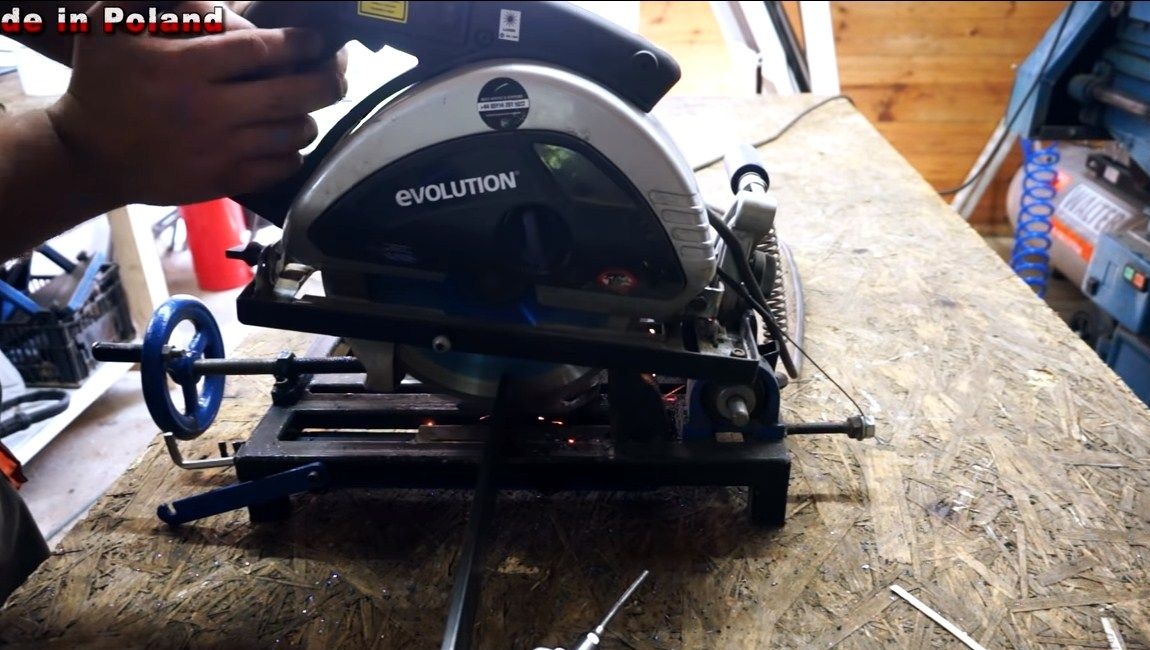
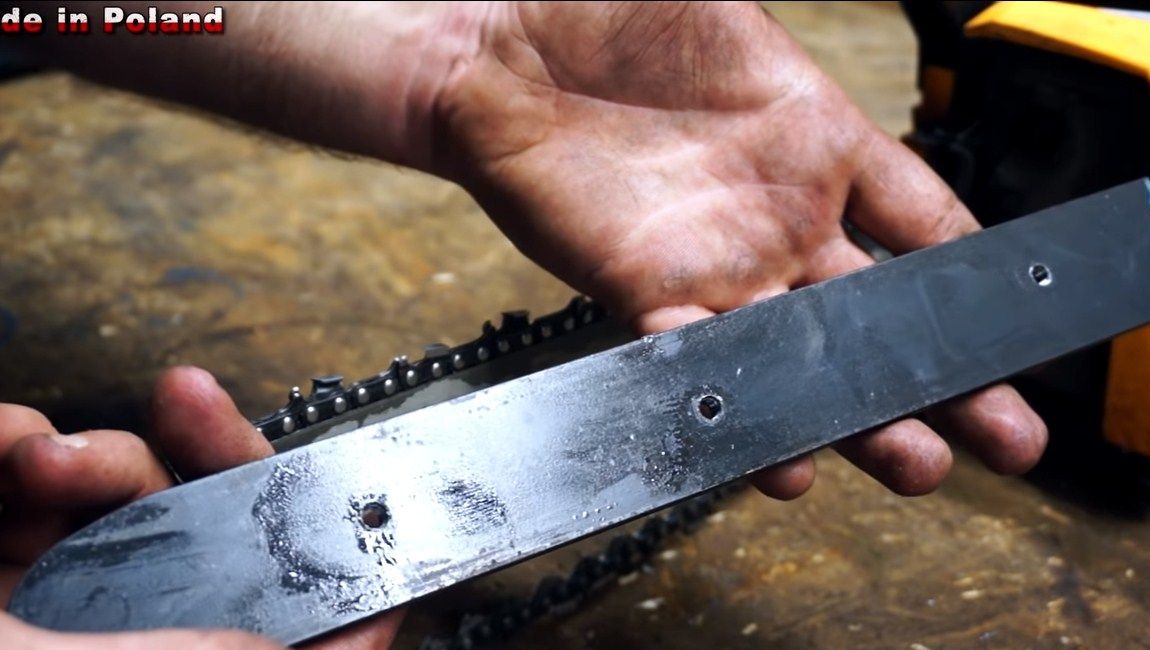

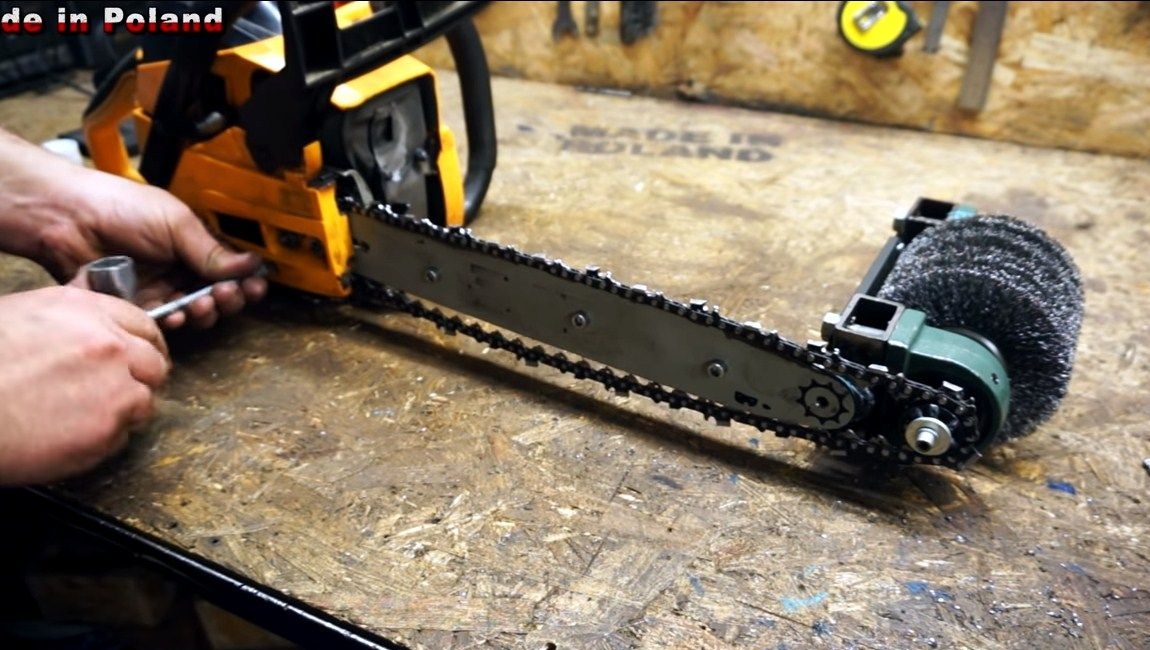
Next, the tire needs to be strengthened so that it does not spring and withstand high loads. The author imposes one more part on it, cutting it out of thick sheet steel. We drill holes in it and cut the threads, we also drill holes in the tire. Well, then we twist this whole thing with the help of screws.
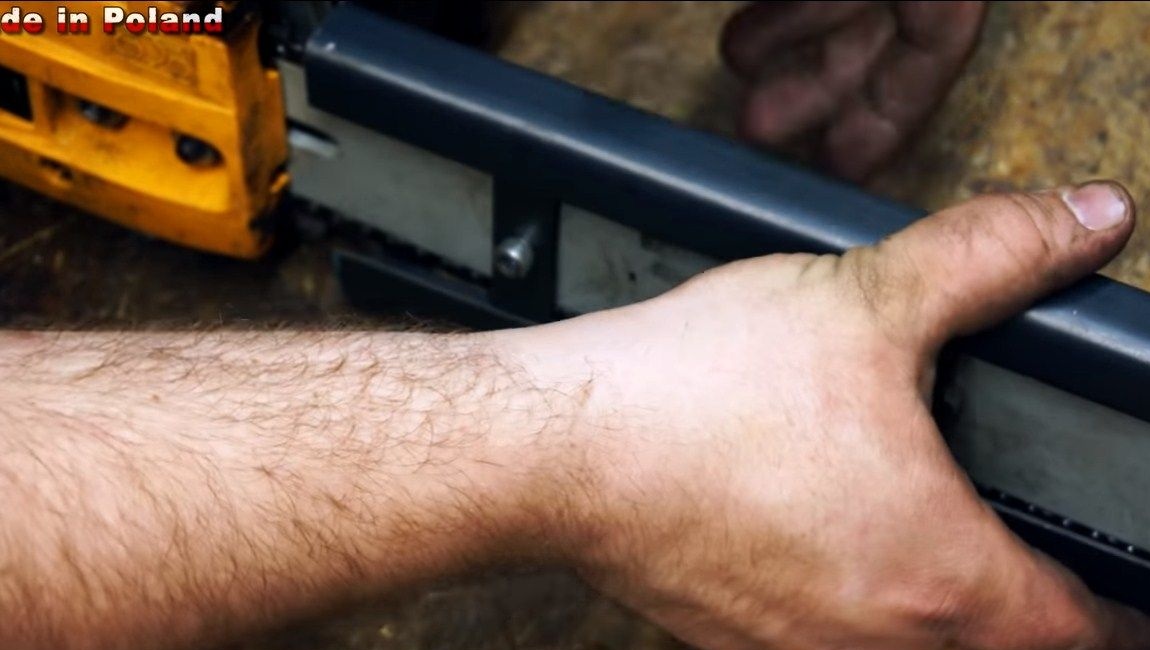
That's all, after that it remains to install our nozzle. It is simply welded to the tire in the desired part. In this case, take into account the tension of the chain, it should not sag too much, otherwise you will not be able to pull it with the adjustment screw on the saw.
Step Six Brush guard
For brushes, it is necessary to make a protective wing, otherwise all rubbish from the product to be cleaned will fly at you. To make such a shield, you will need either thin sheet steel or sheet aluminum. Cut off the desired piece, bend the desired profile, and then fasten it to the frame with a few screws.
Seventh step. Tire guard
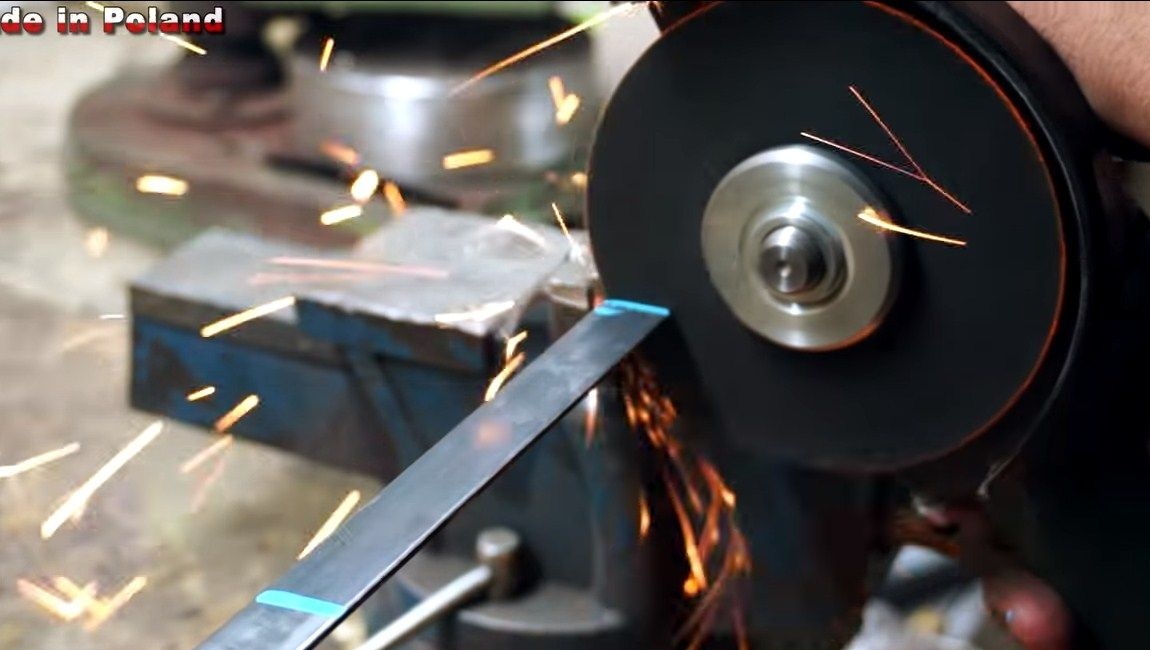
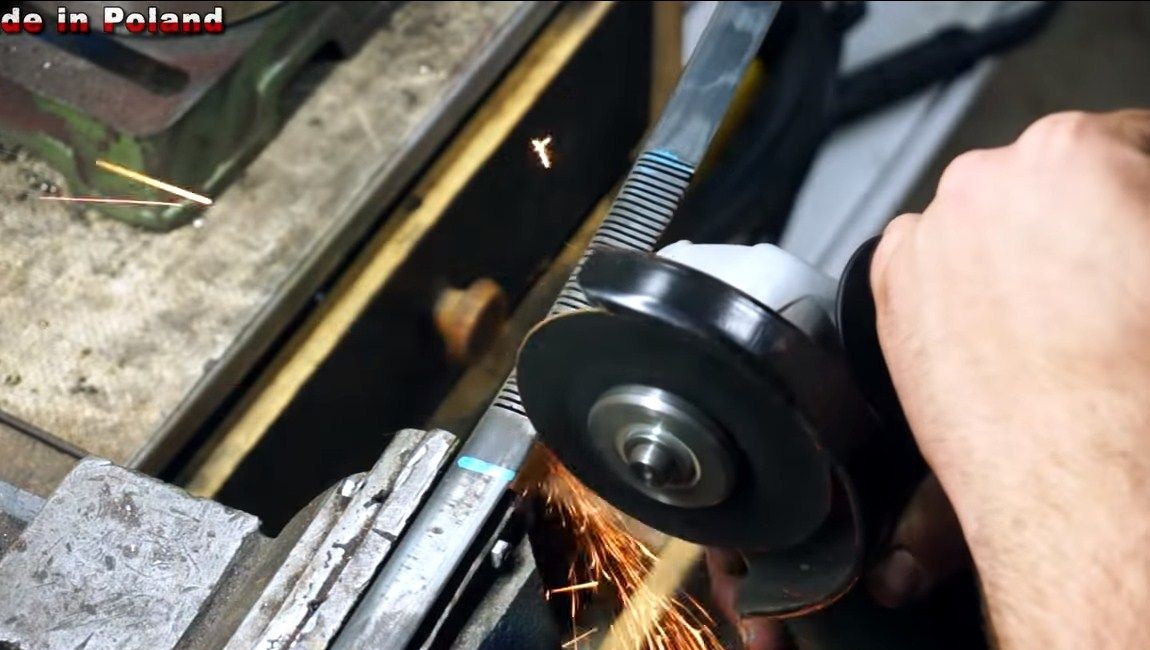
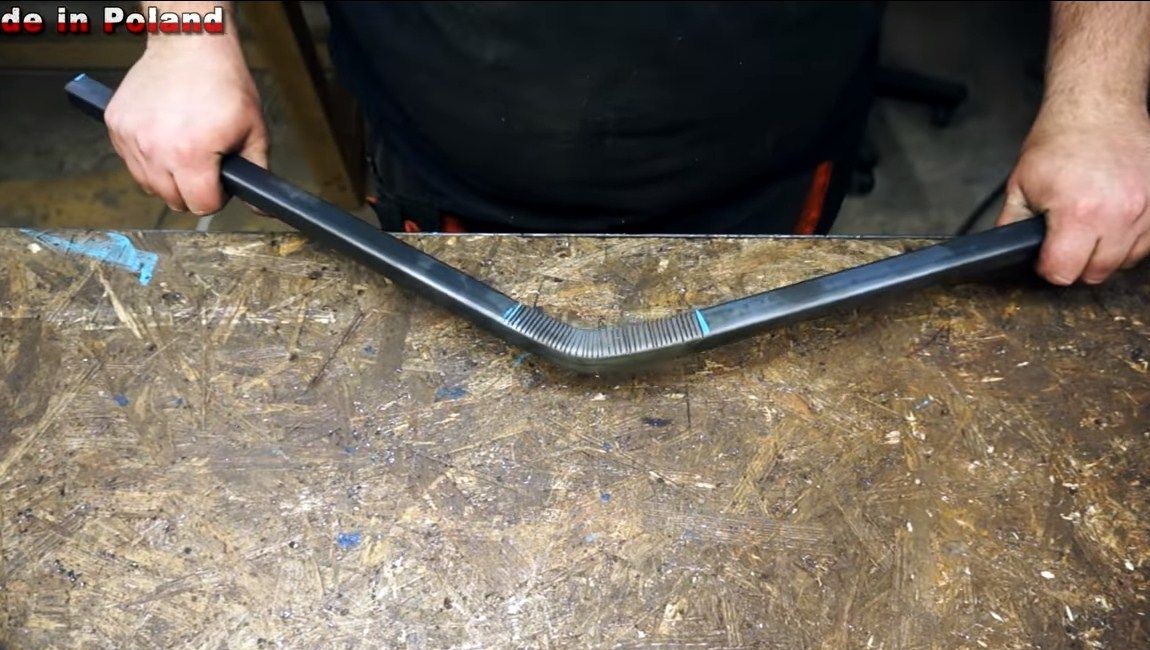
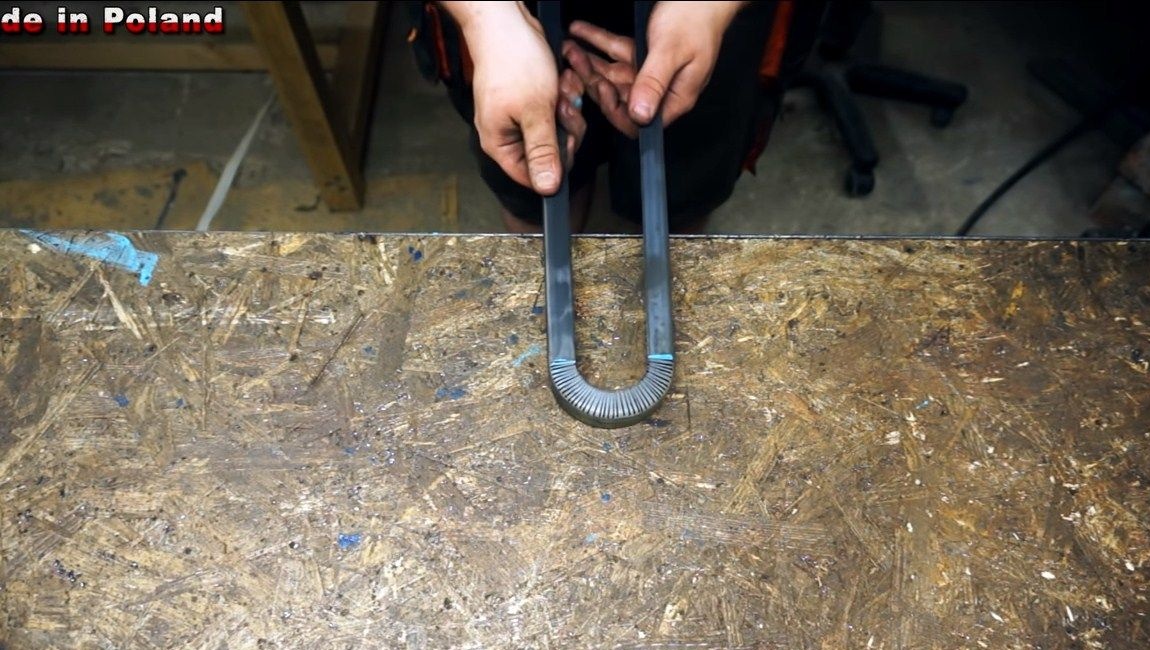
It is extremely important to make a guard for the chain, as it can cause serious injuries. To make such a shield, you will need a steel corner, the length of which should be two times the closable surface of the tire. In the middle of this corner, the author makes a lot of cuts, as can be seen in the photo. Now you can simply bend the corner to the desired profile, as a result we get a high-quality made shield.
To fix this shield, we need two plates with holes. We fasten these plates vertically to the tire, and then grab the shield to them by welding. Well, then remove the shield and finally weld the product by welding. We clean welds so that everything looks neat. That's all, now the shield is completely ready for installation in its place! It turned out beautiful, neat and strong.
Step Eight. Homemade tests!
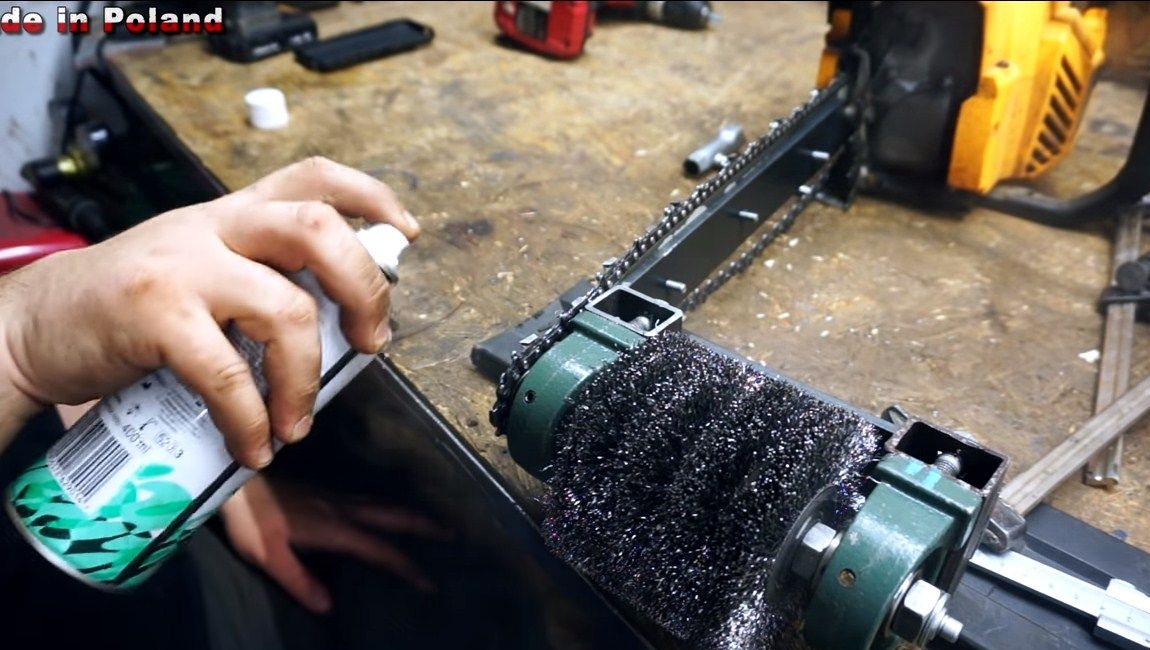
Our device can be tested! First, we need to add grease to the saw’s oil tank, as the tire needs it. However, lubrication is not so important here, since we will not cut wood with a chain. That is, very little oil is needed, the chain can be lubricated occasionally manually. Well, then we start the saw and warm it up, you can start experiments!
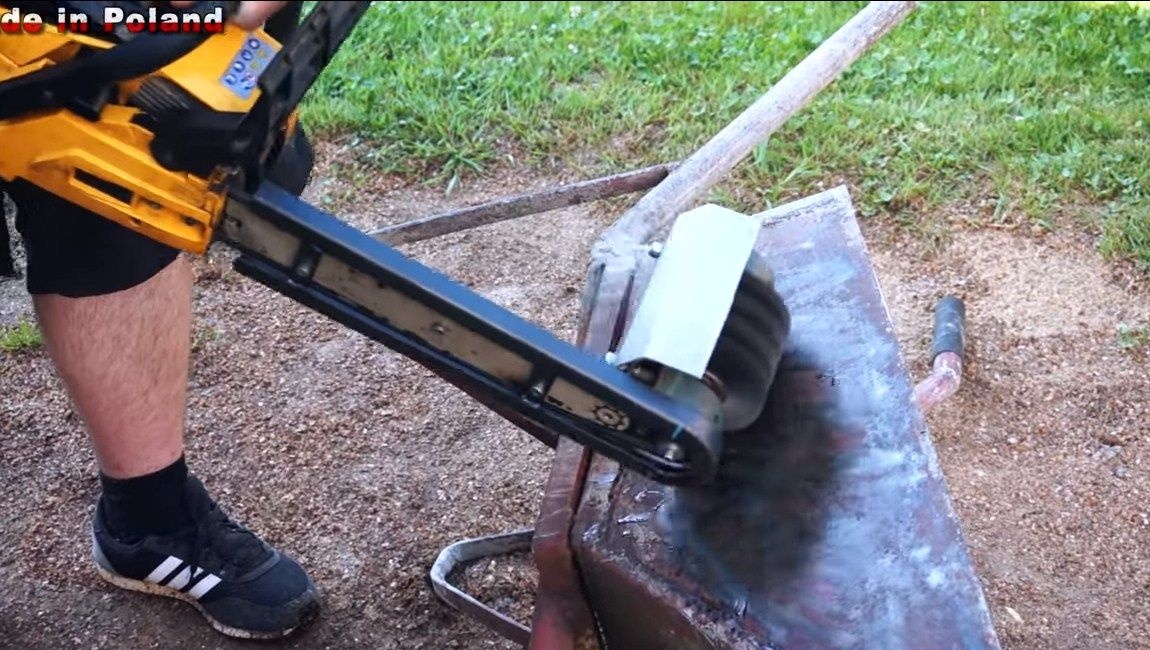
To begin with, the author decided to clean the steel square tour from rust, he did it perfectly, the metal began to shine.
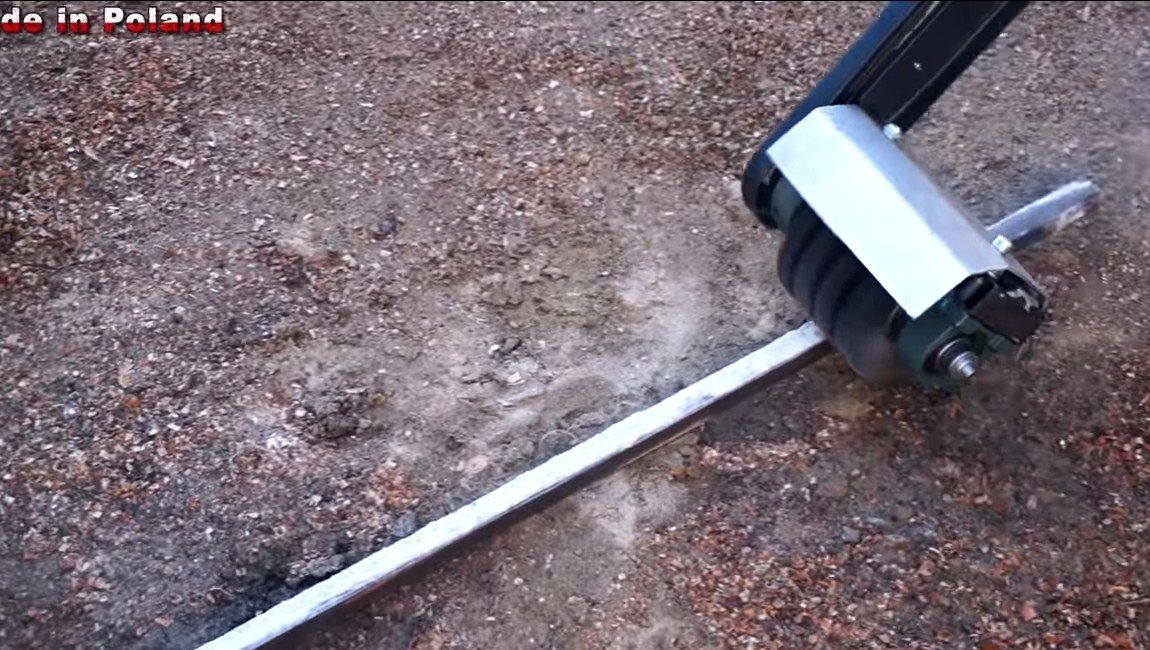
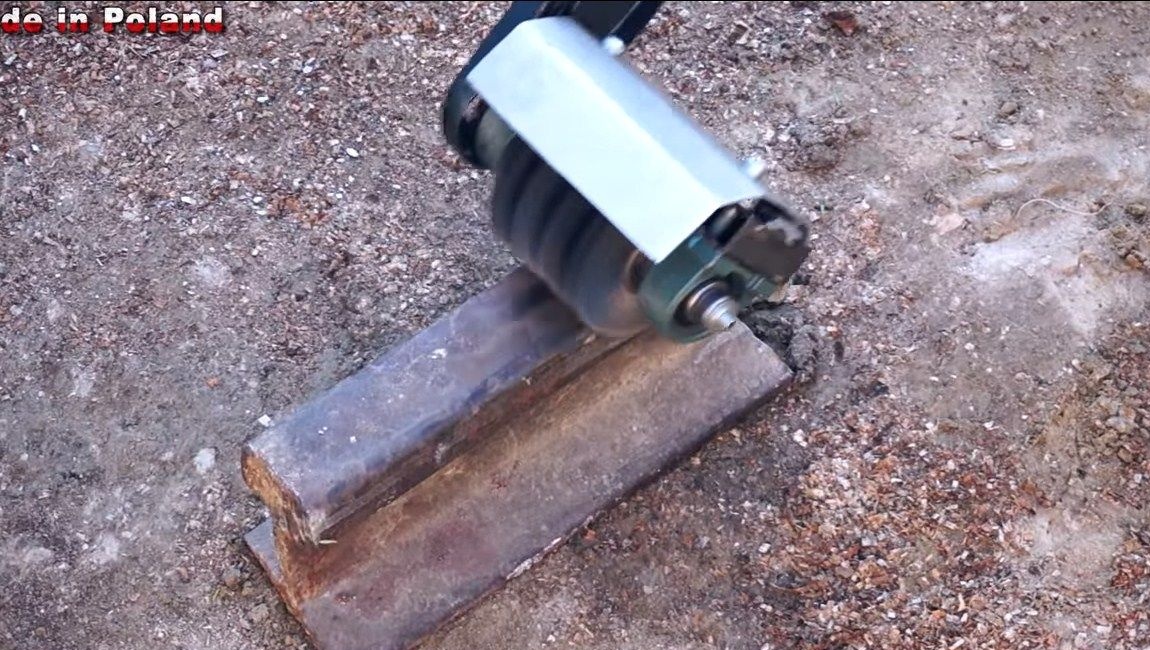
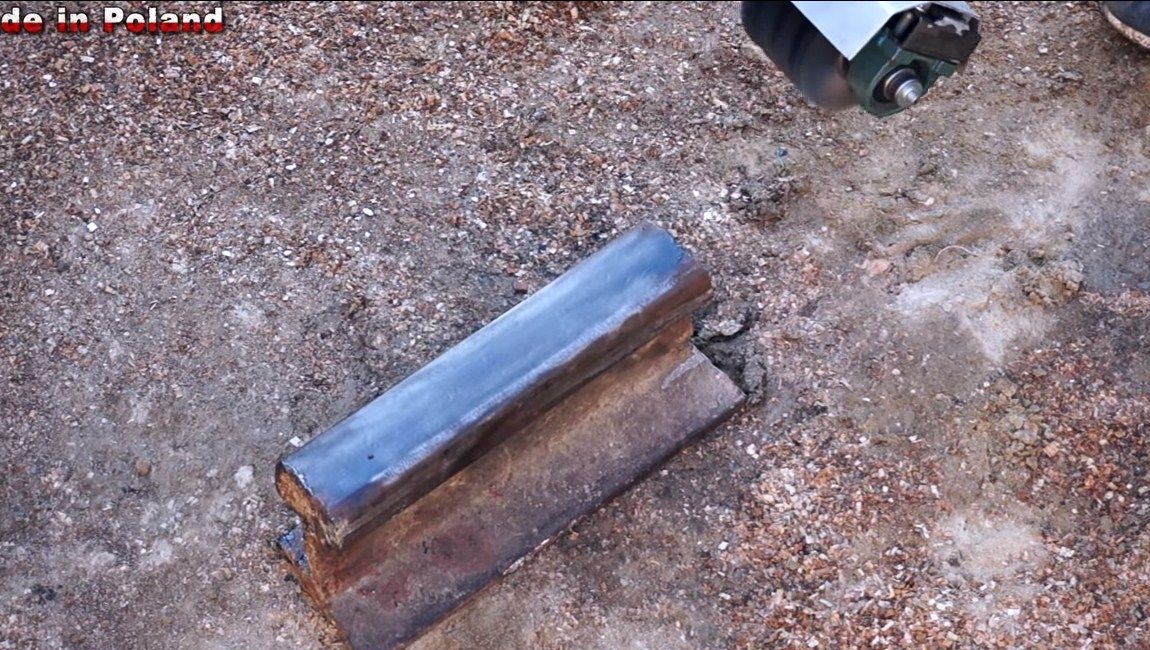
The next test was a piece of rail covered with rust. And the machine coped with this task without difficulty!
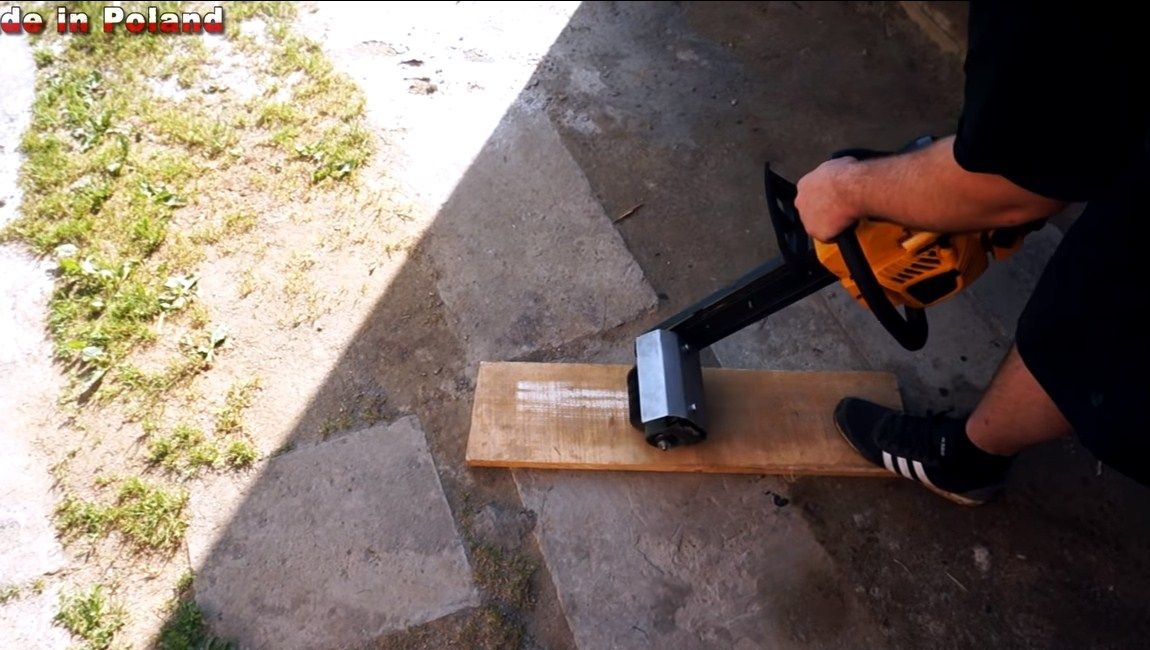
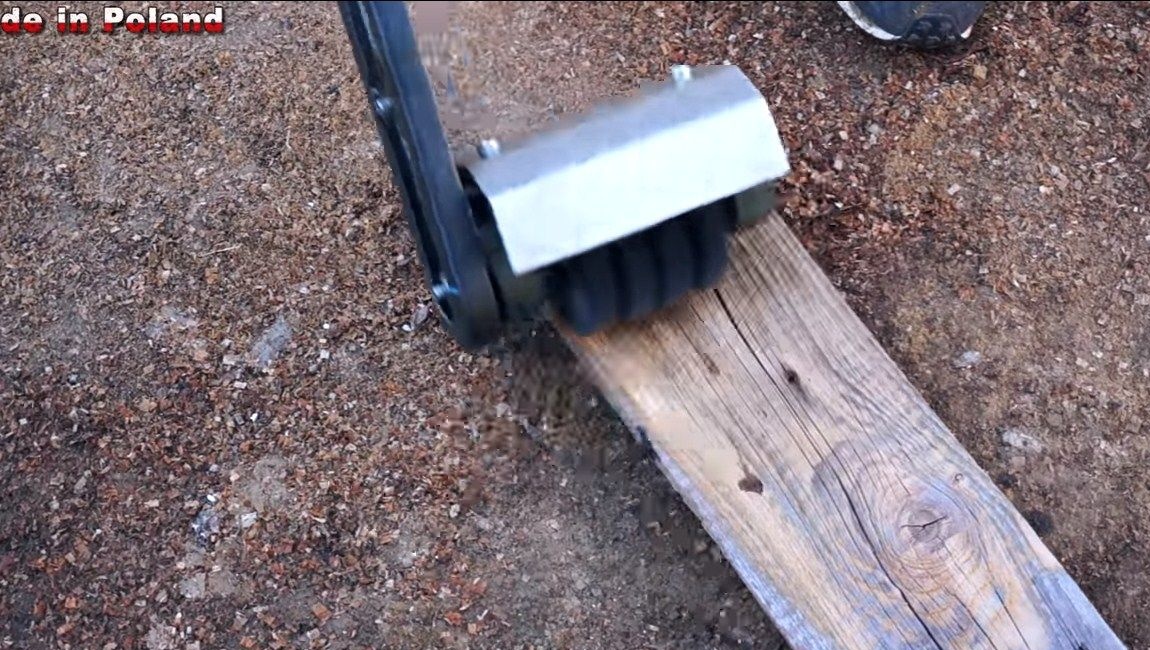
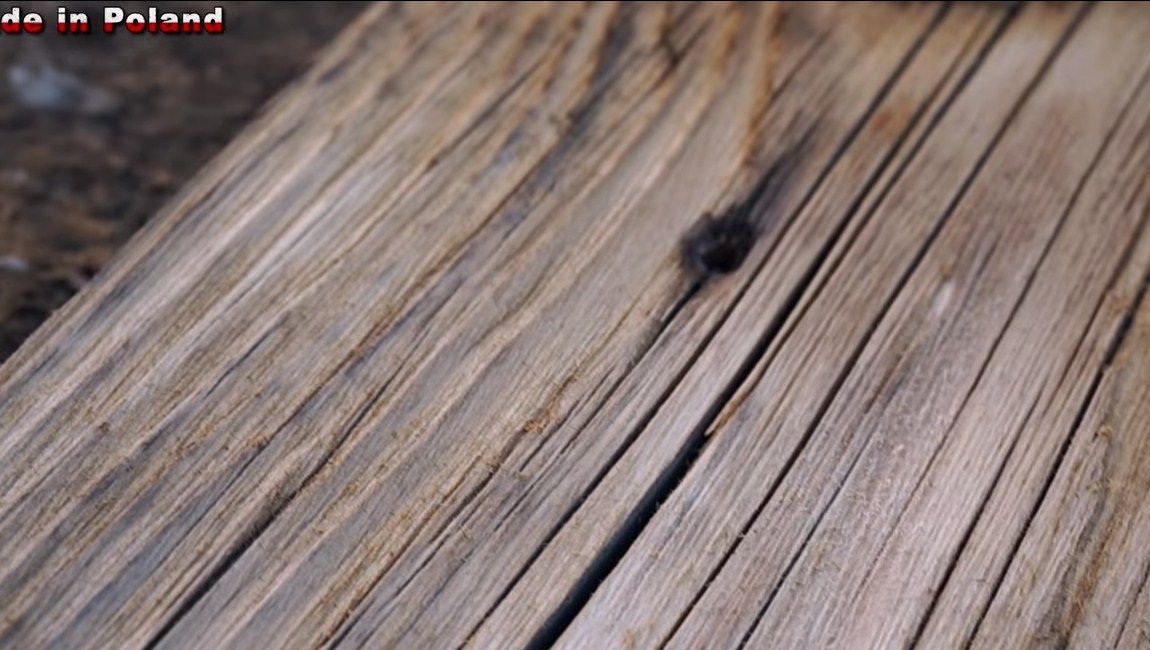
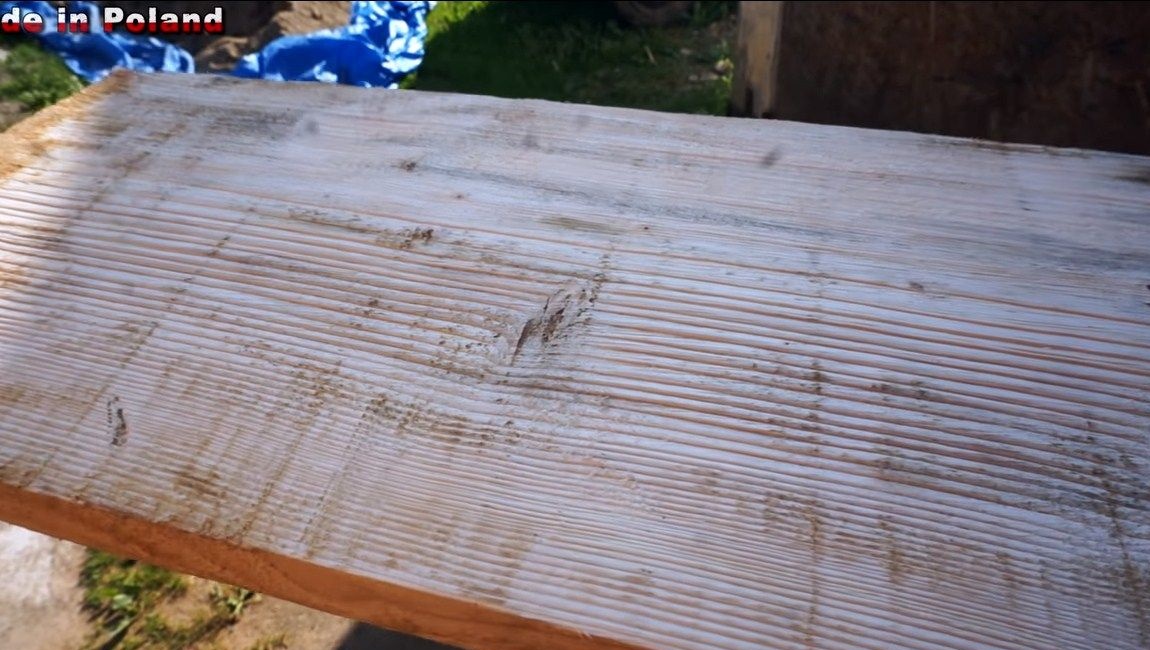
Now the author decided to test the device on a tree. The brush cleans it very high quality, while the tree becomes smooth, as after grinding. That is, not only dirt is cleaned, but also the top layer of wood is removed.
As for other types of contaminants, this machine also easily cleans a construction trolley that is contaminated with cement and other contaminants. And the homemade product was tested on a neighboring car, experience has shown that the nozzle perfectly cleans even the paint! But do not invent to repeat this experiment with your neighbor!
On this, the project and tests are completed, and everything is completed quite successfully and efficiently. Homemade is going to be very simple, but there are a lot of ways to use it. Homemade mobile, you can take the car with you wherever you go. Materials for the manufacture are inexpensive. I hope you enjoyed the project, and you found valuable information for yourself in the article. Good luck and creative inspiration, if you suddenly want to repeat this!