

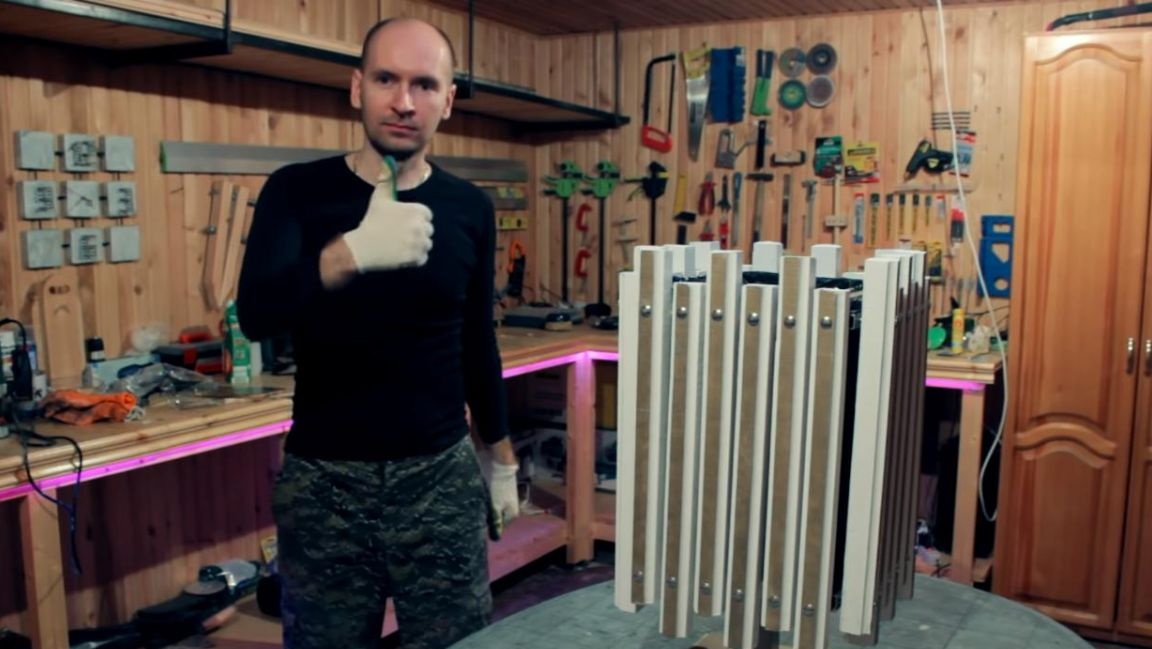
Hello to all lovers homemade. In this article, I will talk about assembling a homemade product that will change your attitude towards garbage and help keep it clean. It is in this article that the beautiful urn will be made, which will look great, despite its purpose. There are not many details and tools needed to create a homemade product, and I think that everyone will find them.
Before reading the article, I suggest watching a video with a detailed process for assembling a beautiful urn.
To make a beautiful urn do it yourself, you will need:
* Profile metal pipe 20 * 20 mm, 40 * 40 mm and 15 * 15 mm
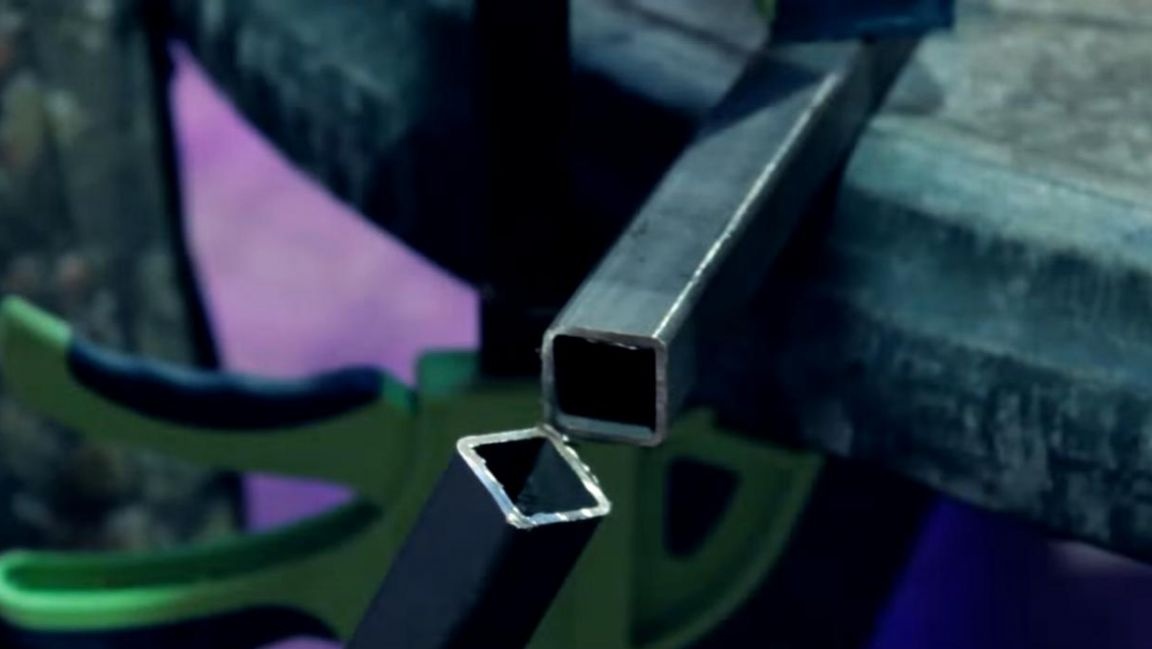
* Angle grinder and cutting disc
* Safety glasses, gloves, earphones
* Welding machine
* Keyless clamps
* Welding mask, gaiters
* Roulette, pencil
* Metal brush for drill
* Electric drill
* Metal corner with 25 mm sides
* Two square metal sheets 3 mm thick with sides 300 * 300 mm
* Building corner
* Manual milling cutter
* Reysmus
* Respirator
* Hammer effect gold paint
* White acrylic latex paint
* Sanding block with sandpaper
* Electric fret saw
* Furniture bolts M6 70 mm long and nuts for them
* 6 mm metal drill
* Wooden block with dimensions 40 * 40 mm
Step one.
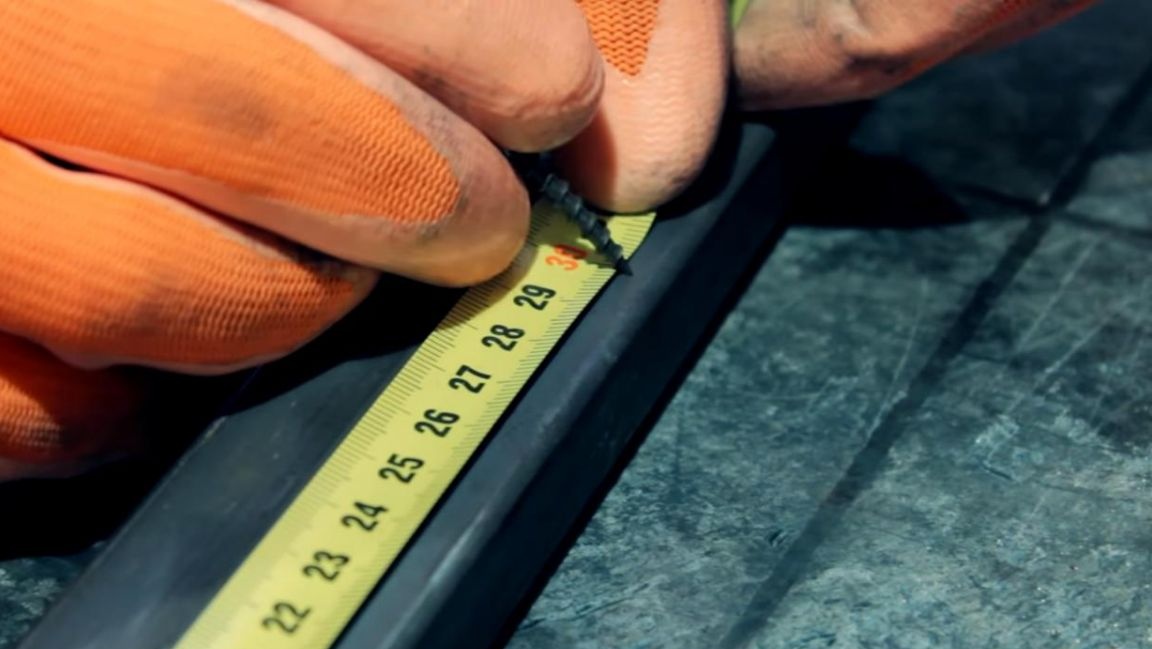
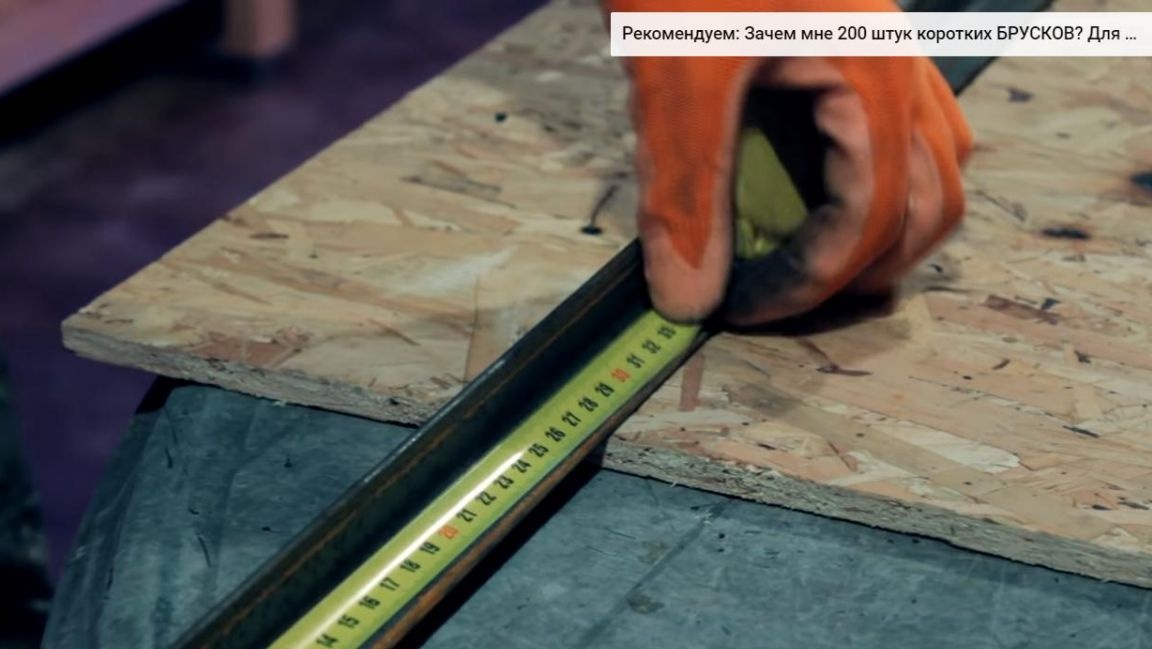
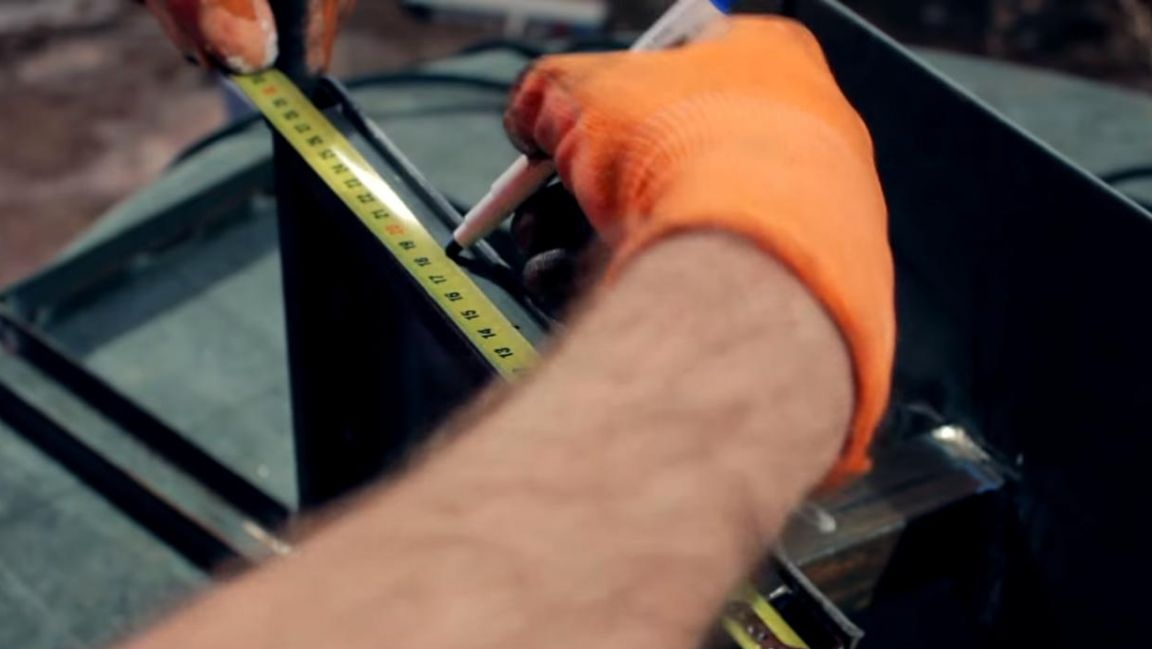
The first step is to make the frame of the urn. On a profile pipe 20 * 20 mm, we measure four segments 300 mm long and cut it off using an angle grinder with a cutting wheel installed. For safety, we fix the profile pipe to the table with quick-clamping clamps. When working with the angle grinder, be careful and use safety glasses, gloves and earphones.
Next, we measure four segments 260 mm long and also saw off using angle grinders. To make the marking more even we use a building corner.
Step Two
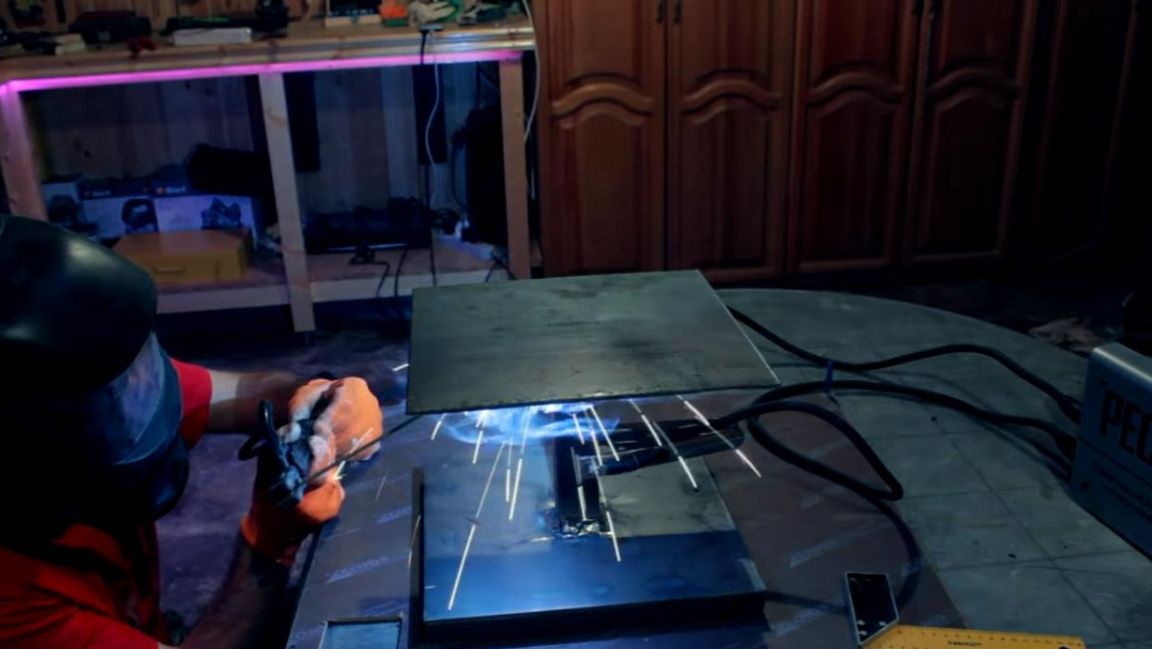
We take a sheet of metal with a thickness of 3 mm with dimensions of 300 * 300 mm, on top of it we lay the blanks from the profile pipe.
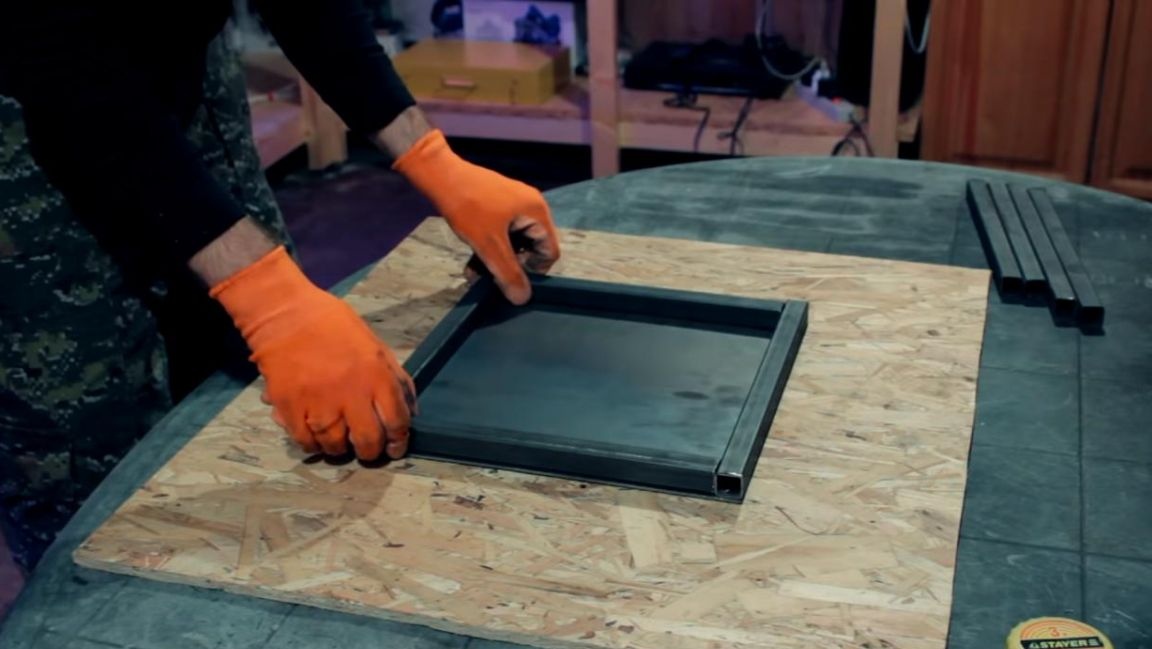
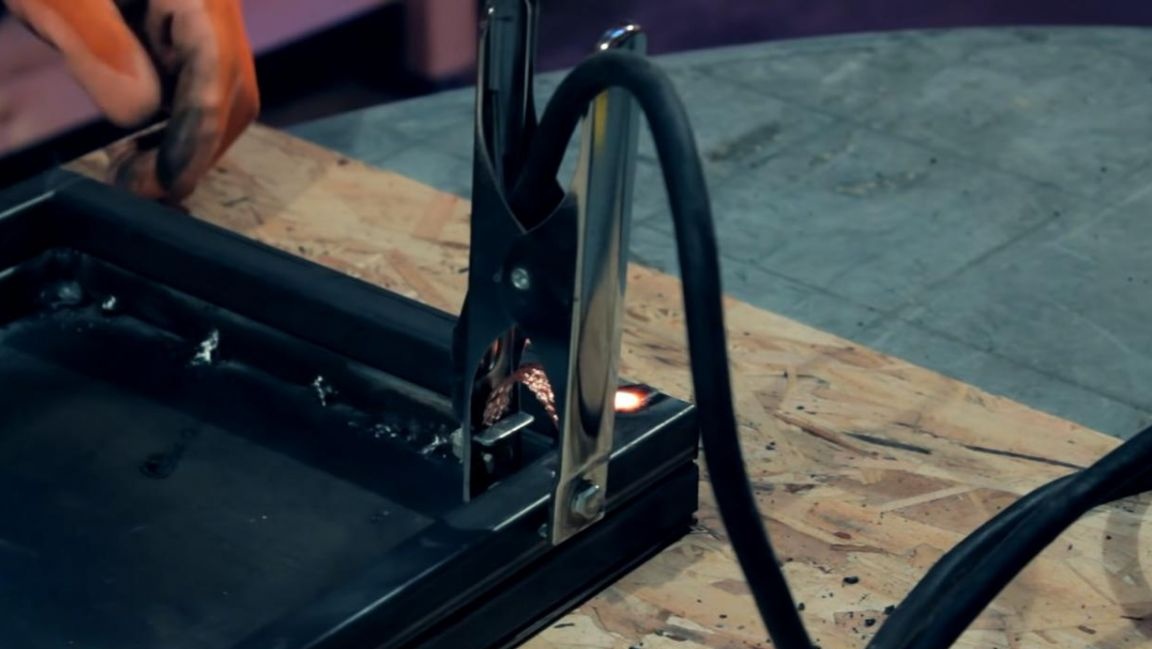
Next, we weld the workpieces to the metal sheet using a welding machine, it is not necessary to cook with a solid seam here, since there will be no heavy loads. When working with the welding machine, be careful and use a welding mask and gaiters.
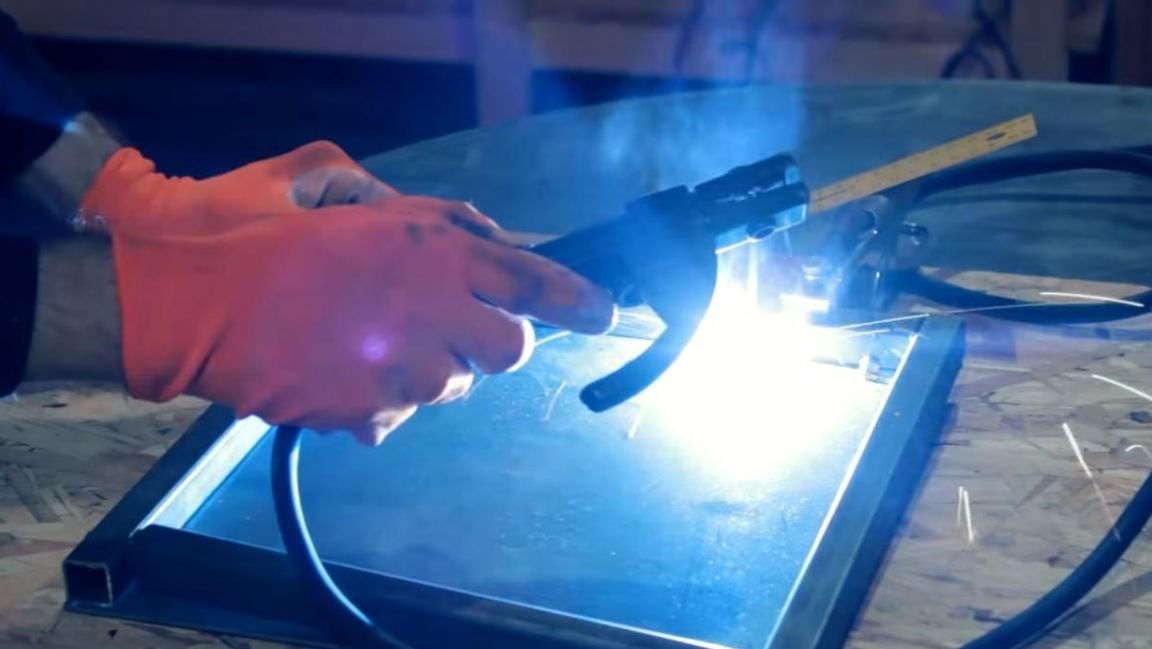
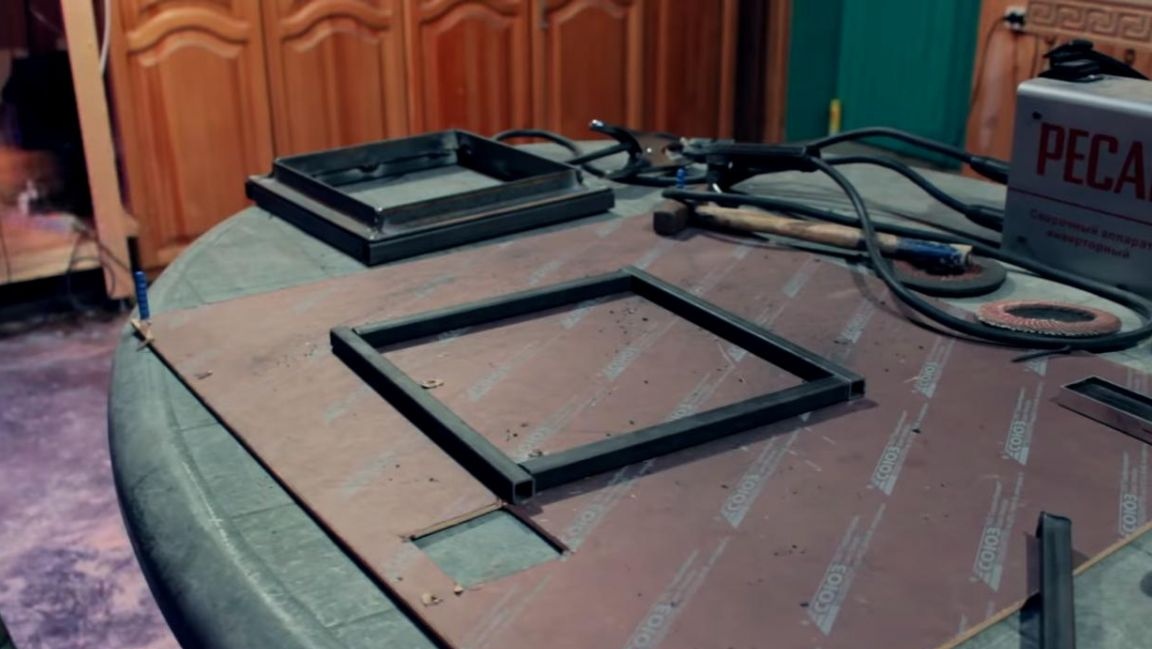
In terms of the size of the welded square, we weld one more.
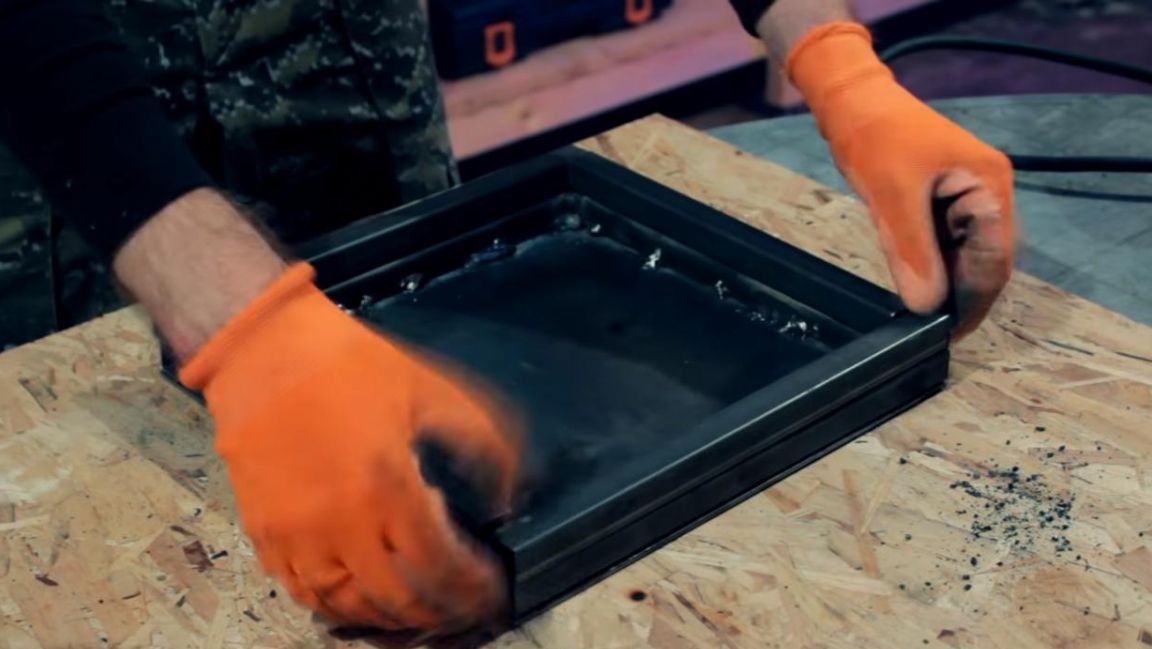
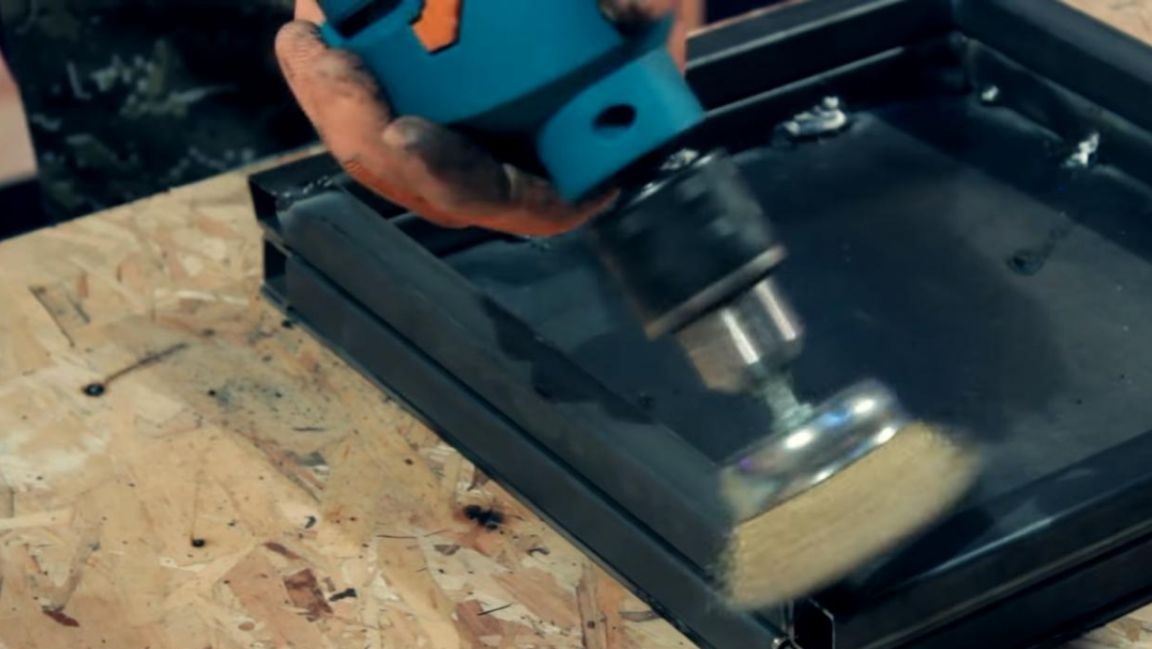
We remove the slag from the welds with a metal brush installed in the drill.
We postpone the resulting details and proceed to the next step.
Step Three
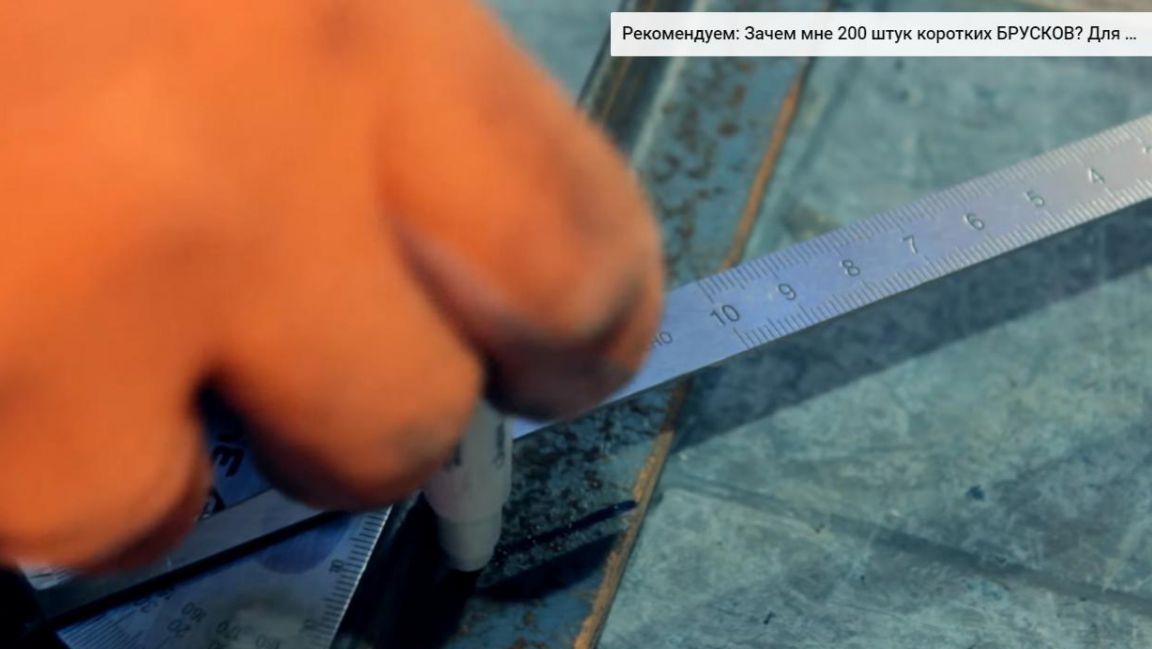
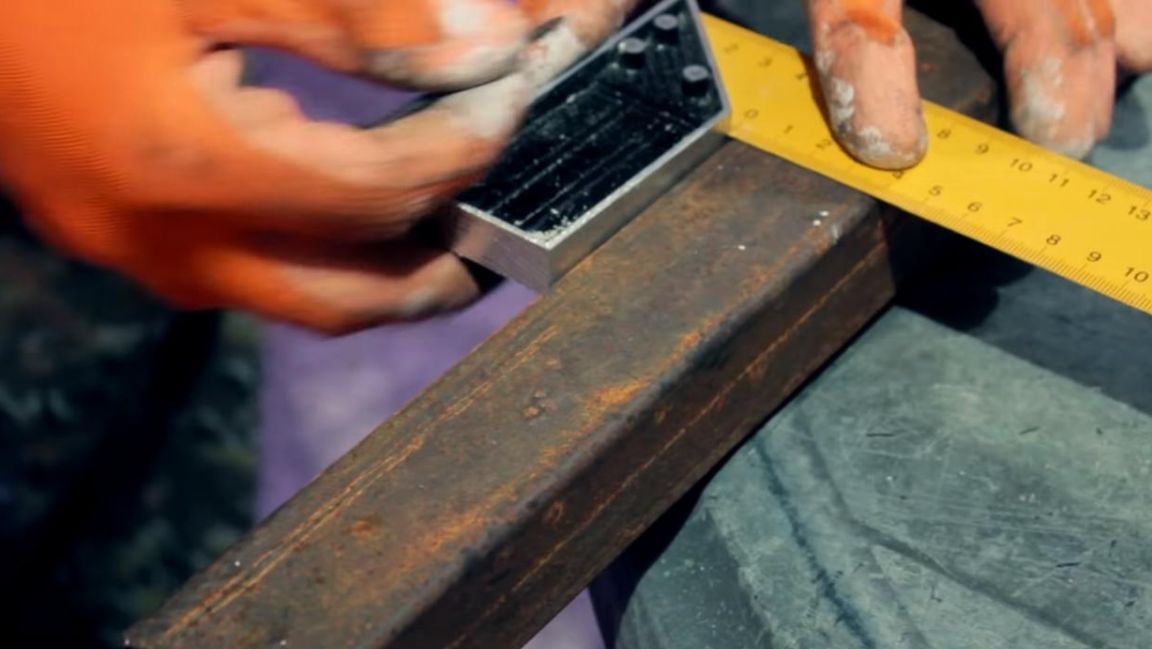
We take a metal corner with sides of 25 mm and measure four segments of 300 mm on it, apply marks at an angle of 45 degrees in order to further connect these parts.
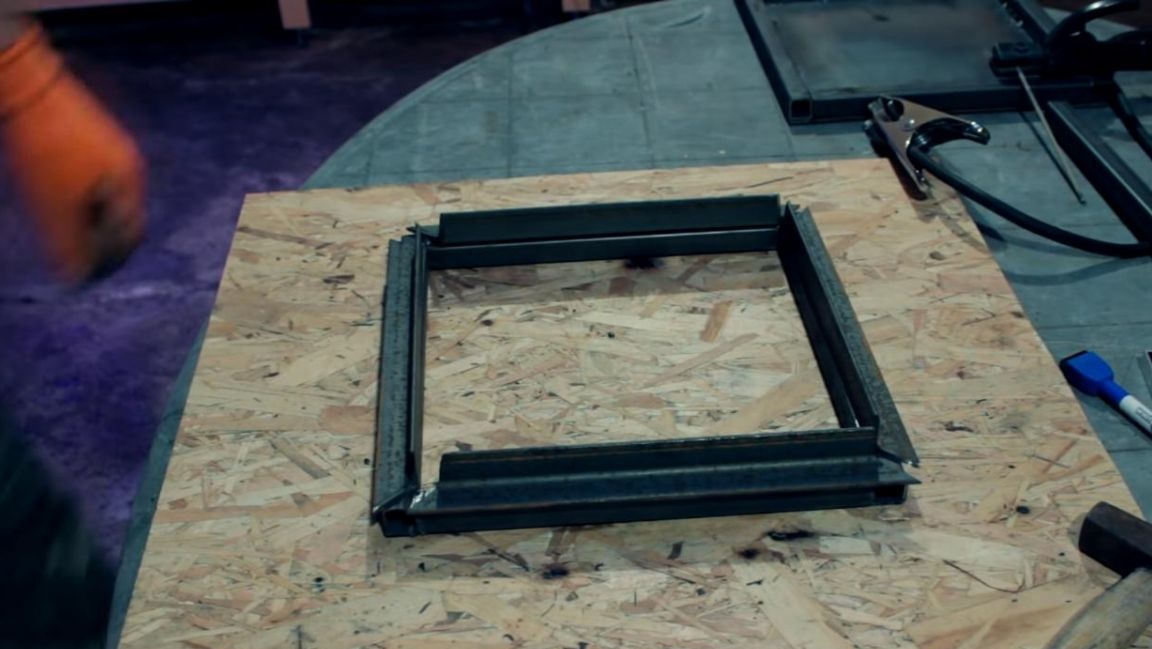
We saw off the corner using an angle grinder, and then we collect the parts together, as a result, we get a square that needs to be welded at the joints at the welder. Slag from the seams is also removed using a metal brush installed in the drill chuck.
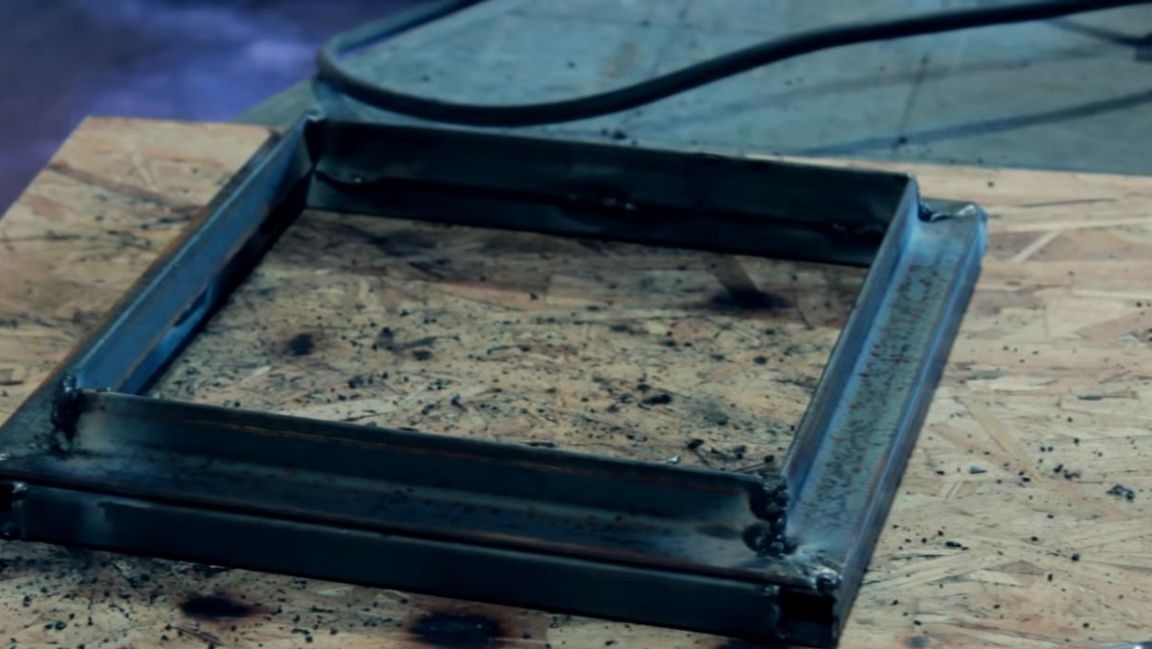
Step Four
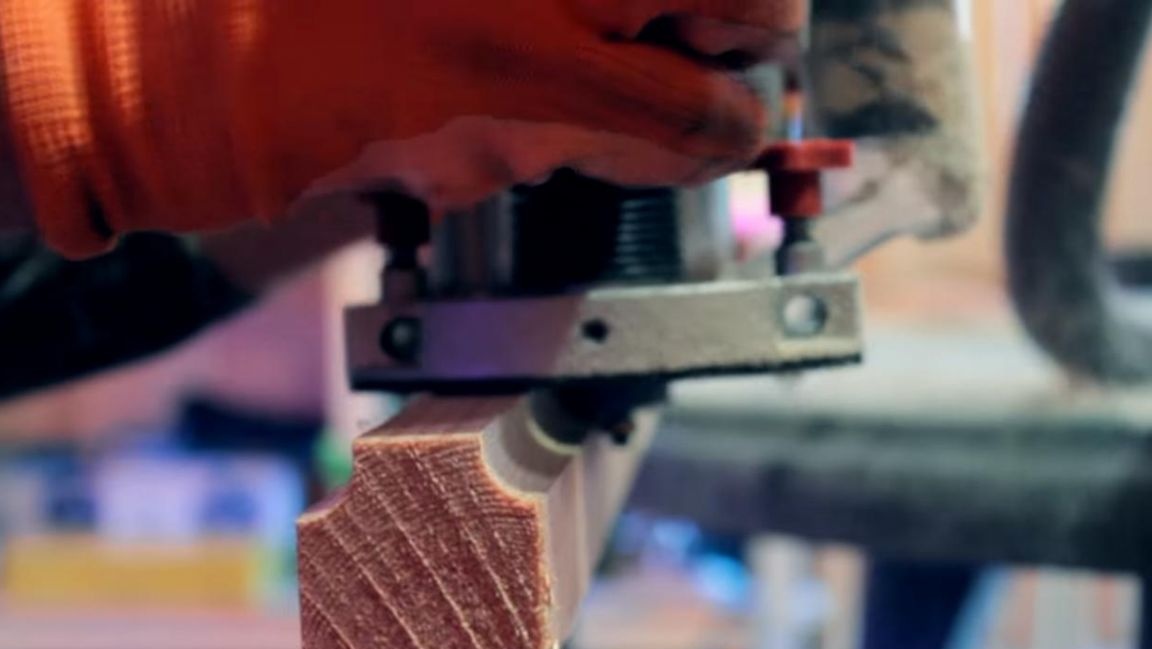
We press a wooden block of 40 * 40 mm to the workbench using quick-clamping clamps.
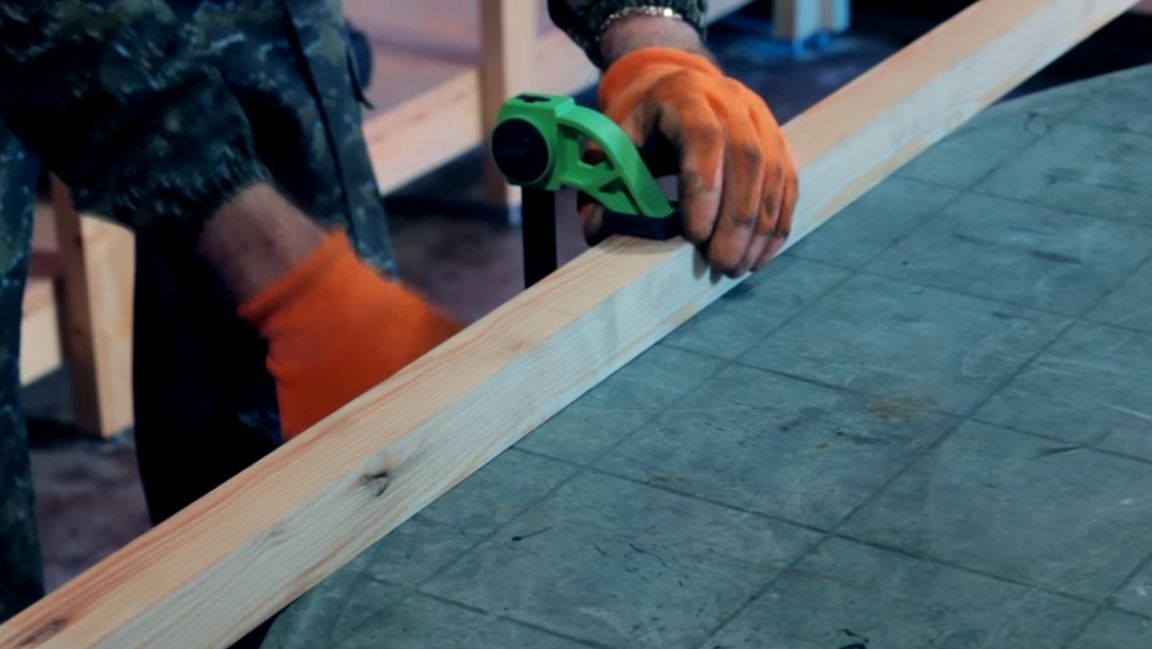
Using a manual milling cutter, we pass a block from two sides, after which we grind the surface with a sanding block with emery paper, we also remove the burrs that formed during the milling process.
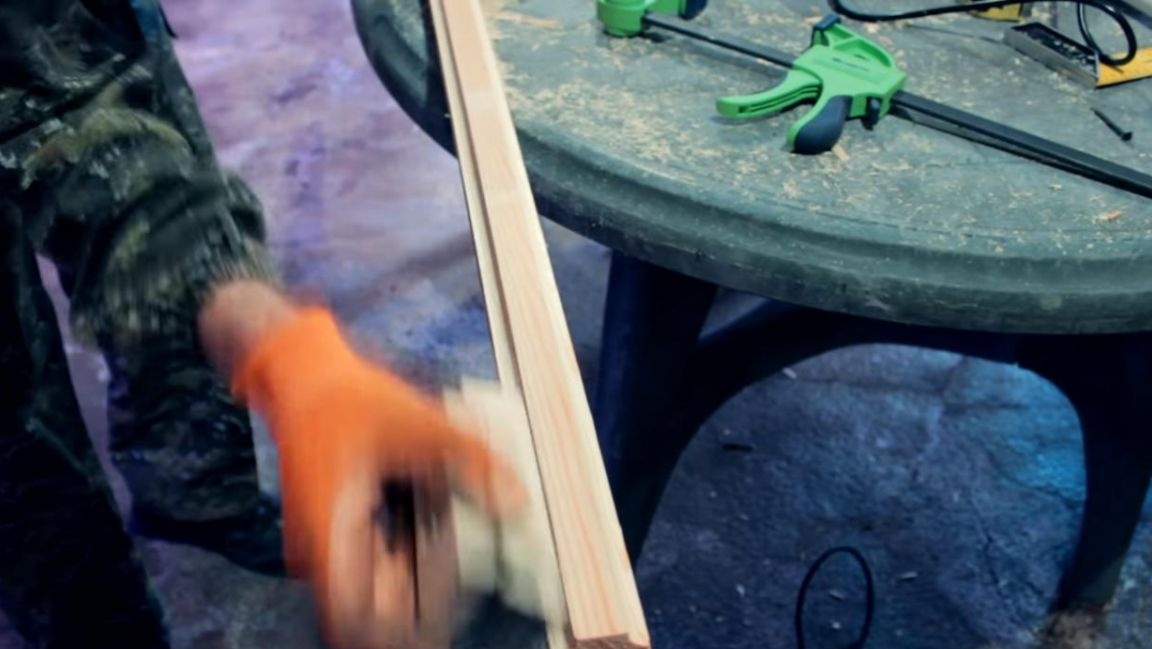
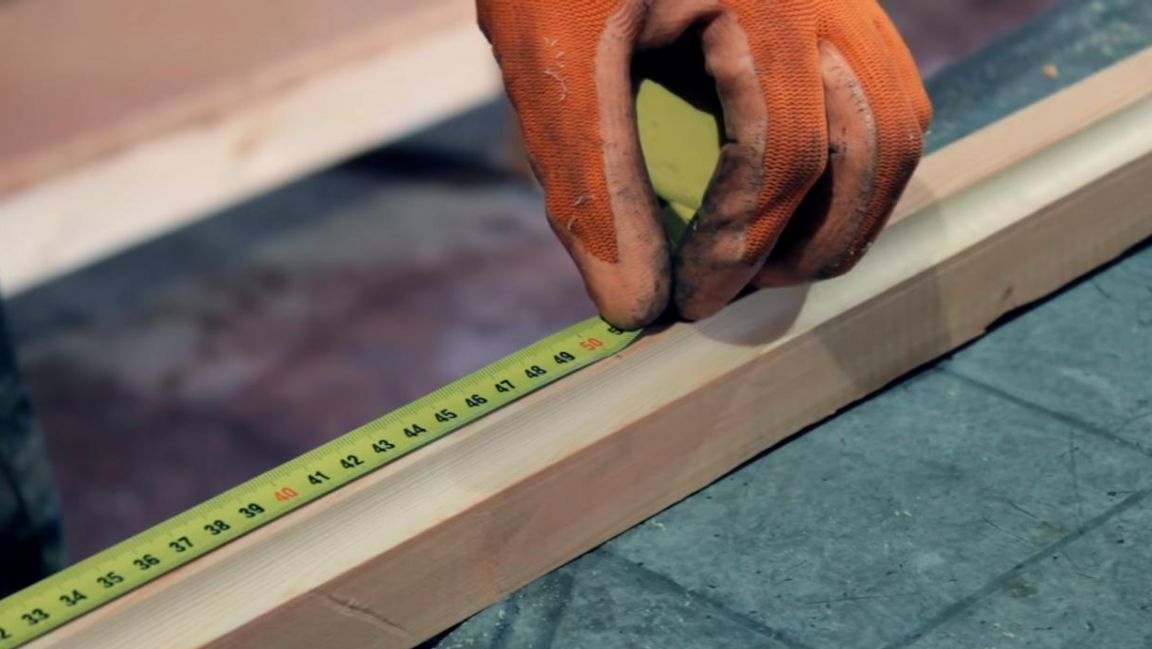
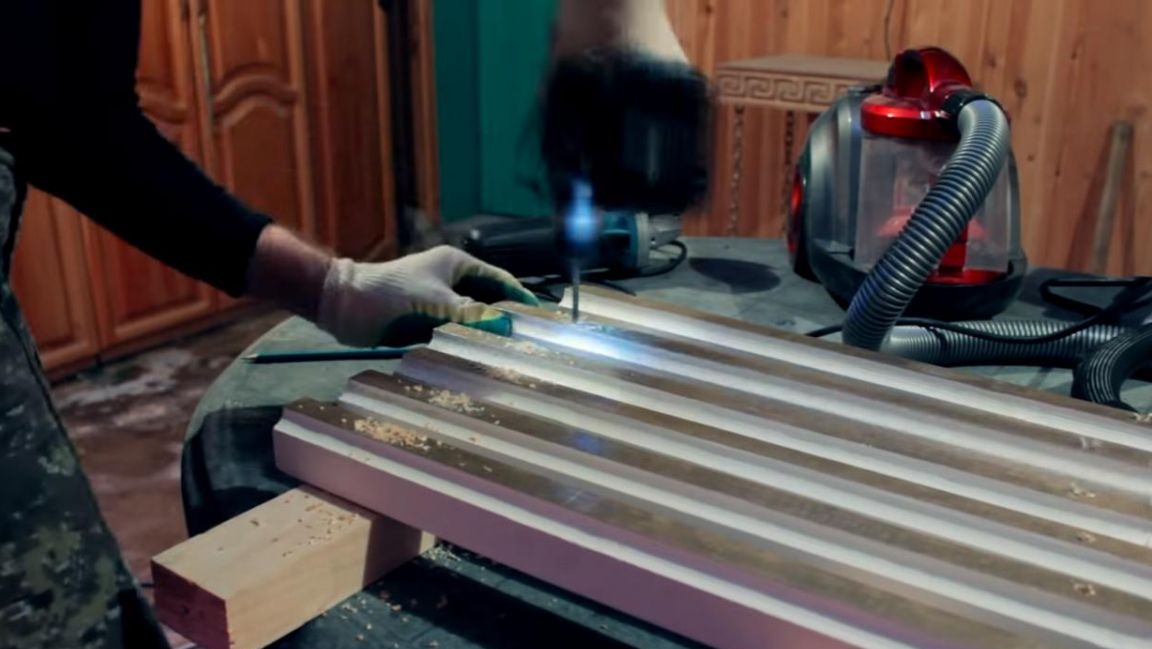
On a bar we measure out 24 segments 500 mm long and saw them off with a jigsaw according to the marks.
When working with an electric jigsaw, be careful, also wood dust is released during the sawing process, so use a respirator.
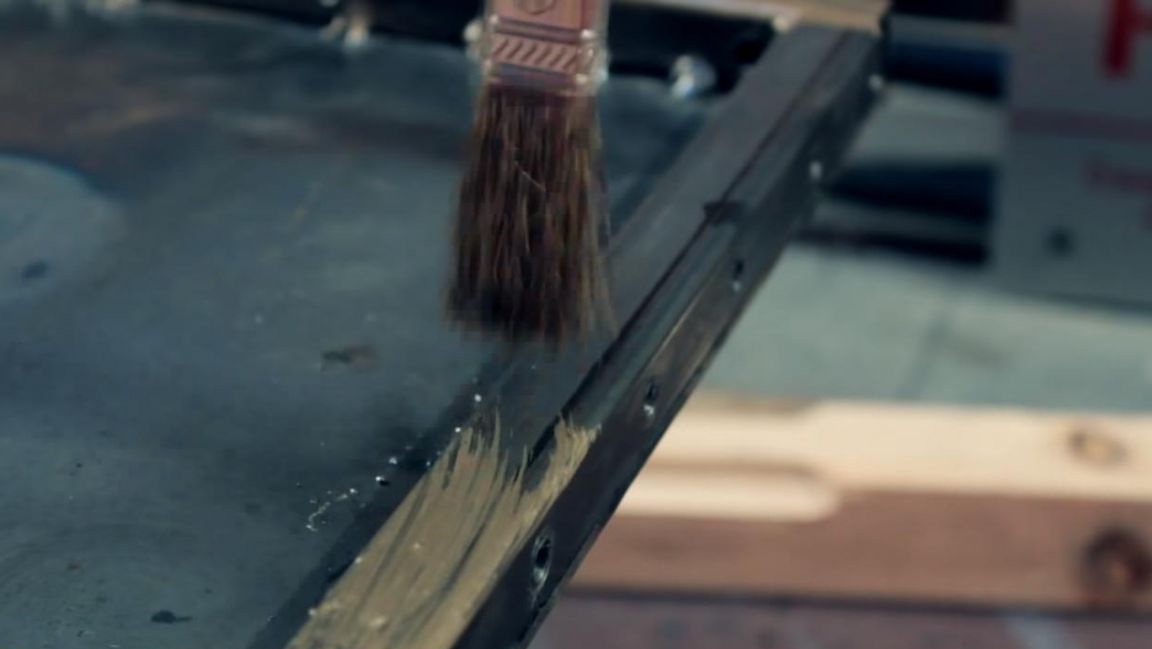
After all the parts are ready, they need to be painted, we do this with a brush and white acrylic latex paint, designed for outdoor use.
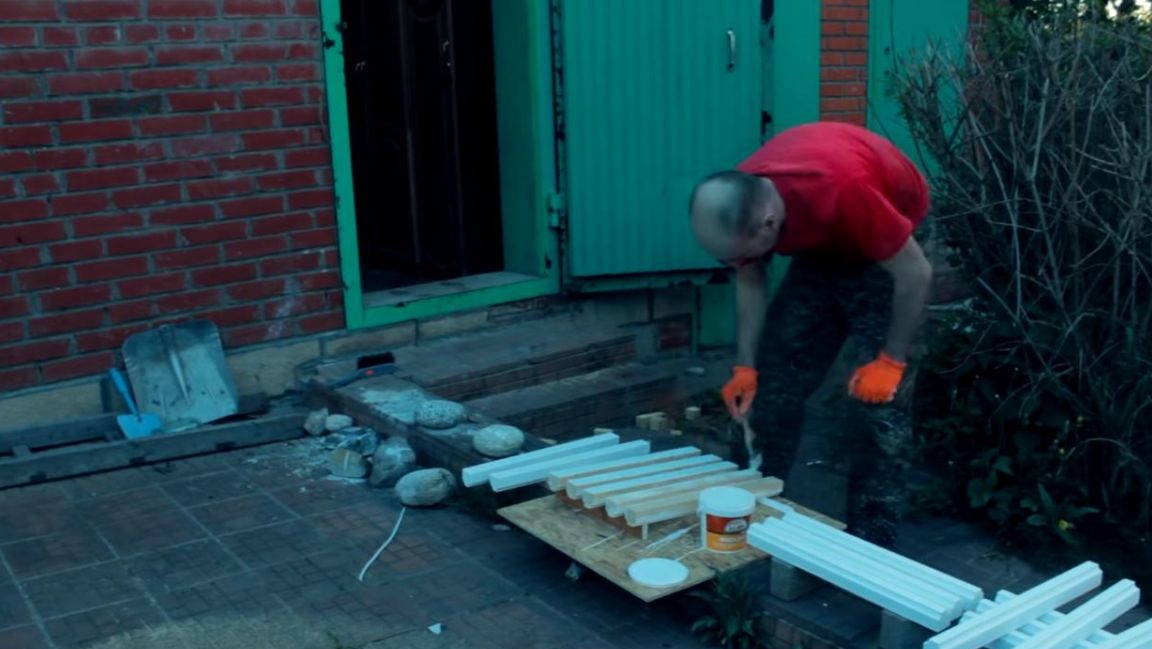
In the meantime, the paint will dry out, go to the assembly of the rack.
Step Five
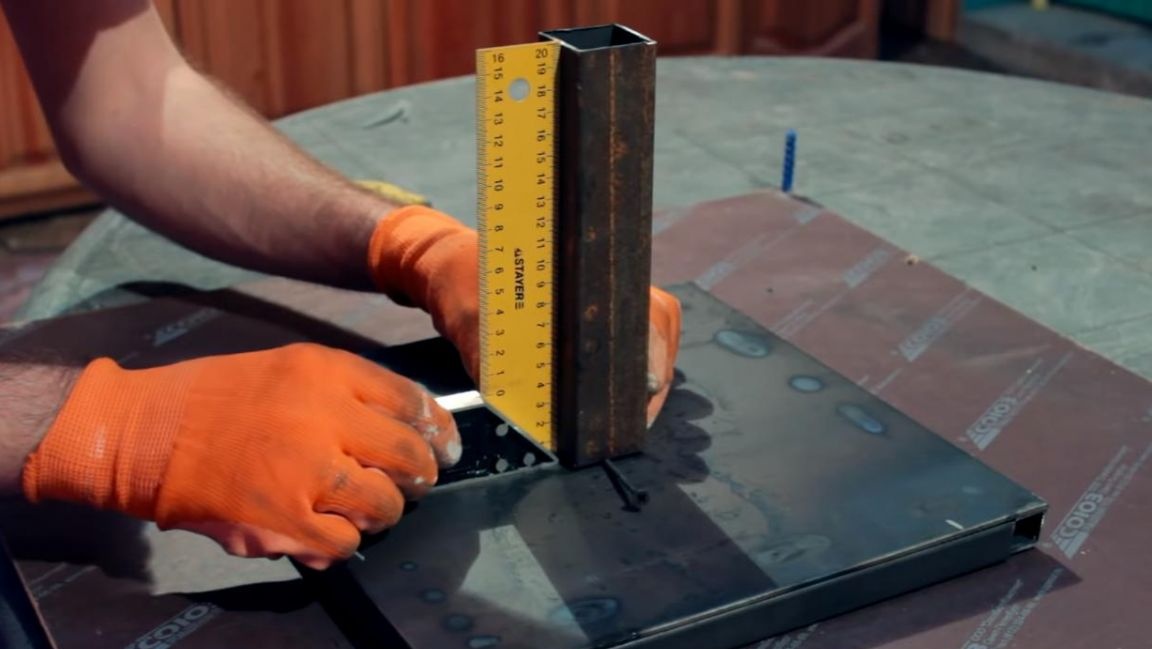
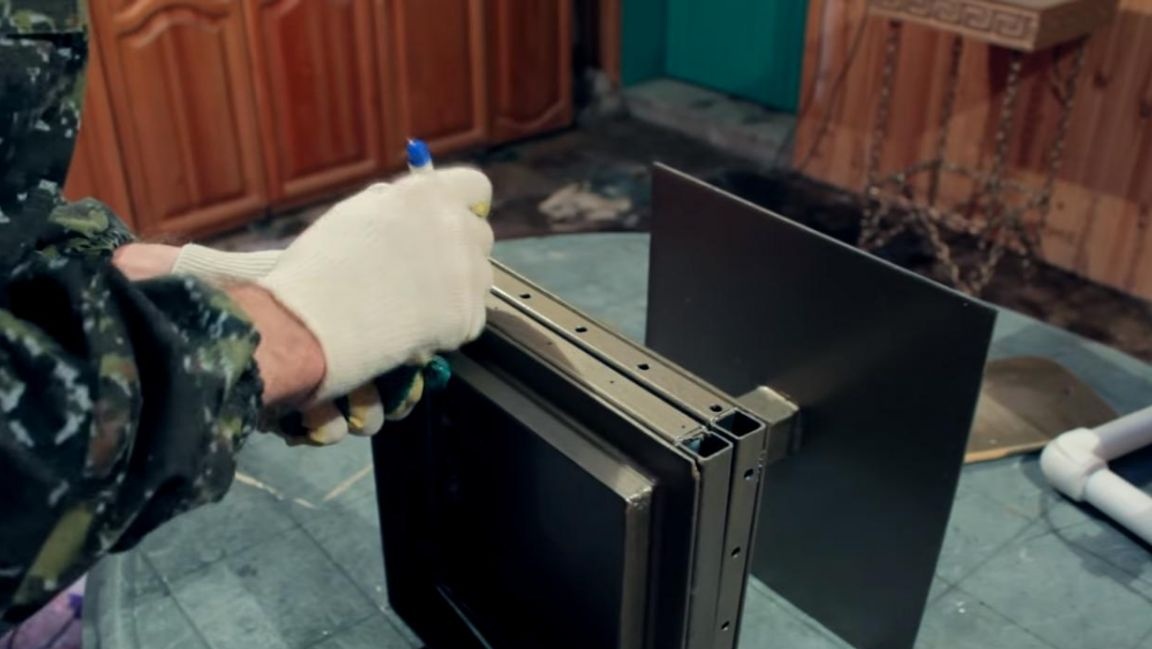
We take a square to which a sheet of metal was previously welded and from a profile pipe 40 * 40 mm, saw off a 200 mm length using an angle grinder.
Next, we put the cut part of the pipe exactly in the middle of a square sheet of metal and use a building angle to maintain an even angle, after which we make a couple of tacks with a welding machine and then completely weld the joint at a circle.
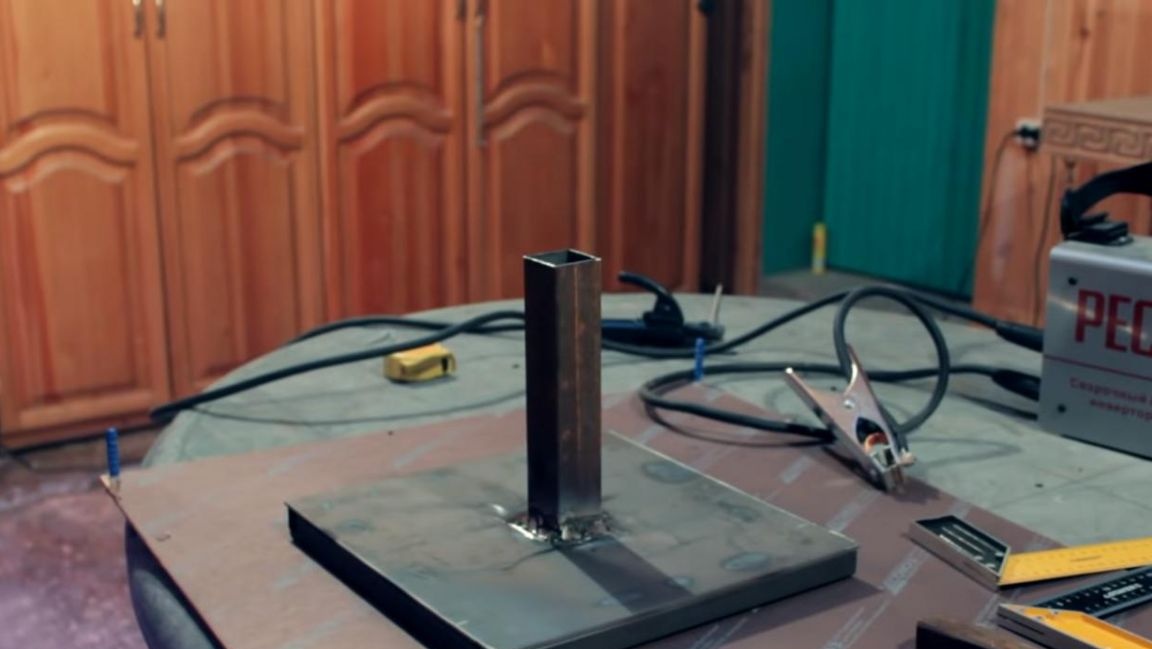
We also install another square of metal with dimensions of 300 * 300 mm on the welded profile pipe in the center, and then weld to the pipe.
Step Six
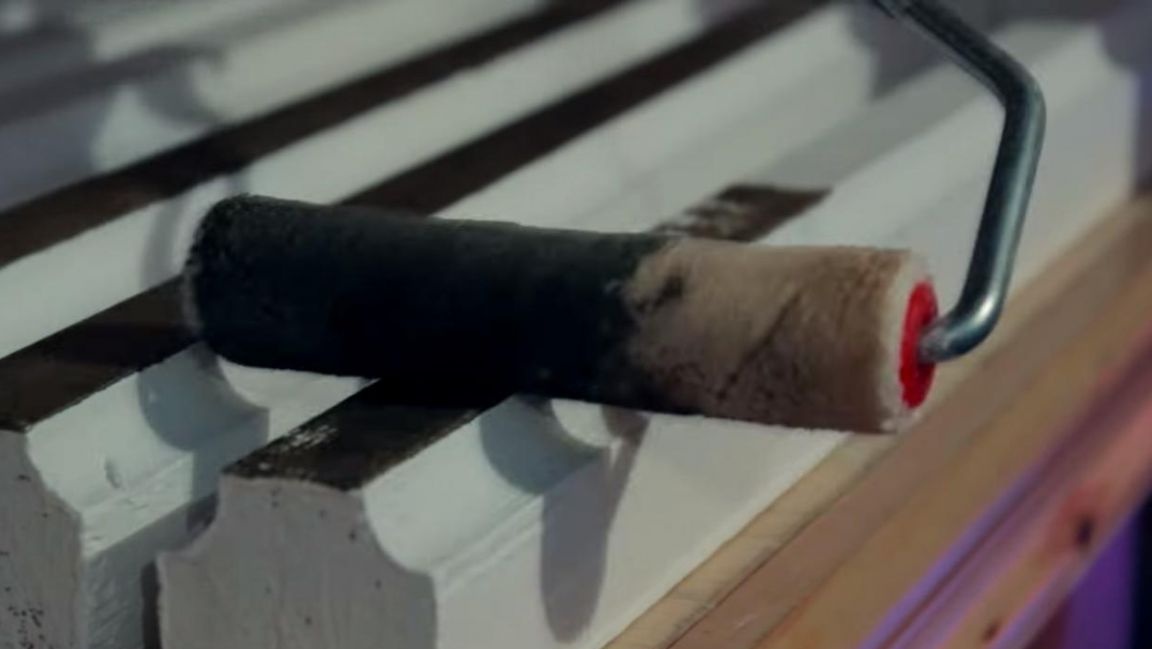
So the paint has dried up, which means you can go to the next layer. We apply a gold paint with a hammer effect to the milled ends of the wooden parts with a roller, and then let it dry for a couple of hours.
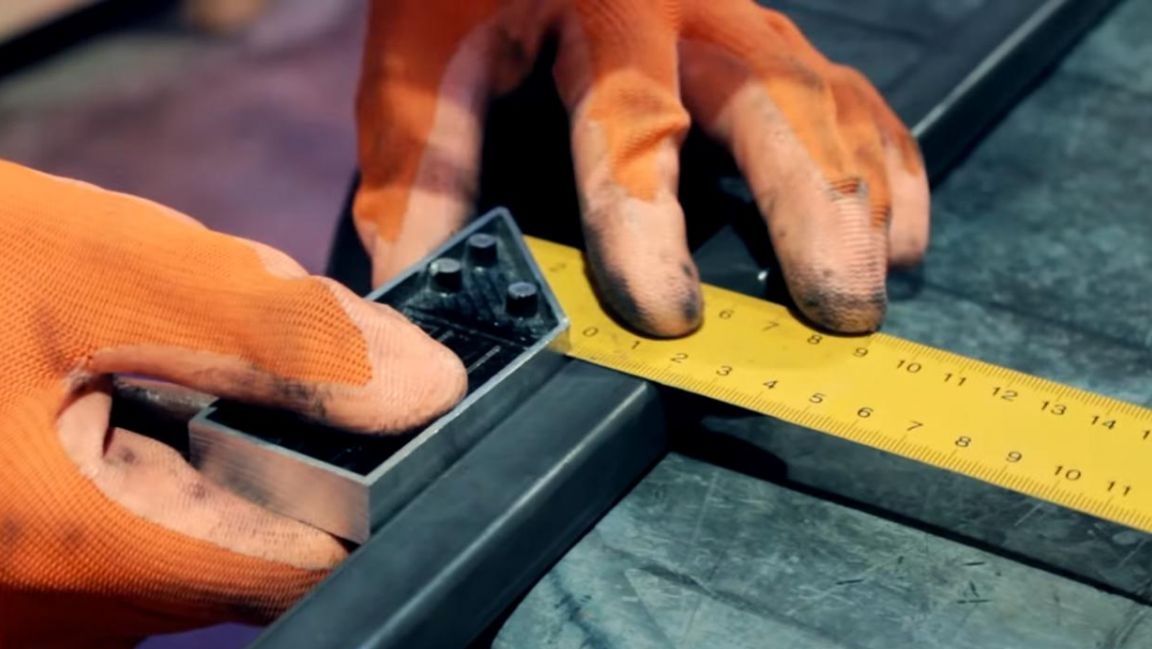
In the meantime, the paint dries, saw off from the profile pipe 15 * 15 mm two segments 290 mm long and two others 260 mm each.
From the resulting segments we collect a single whole and weld similarly to the first square.
Seventh step.
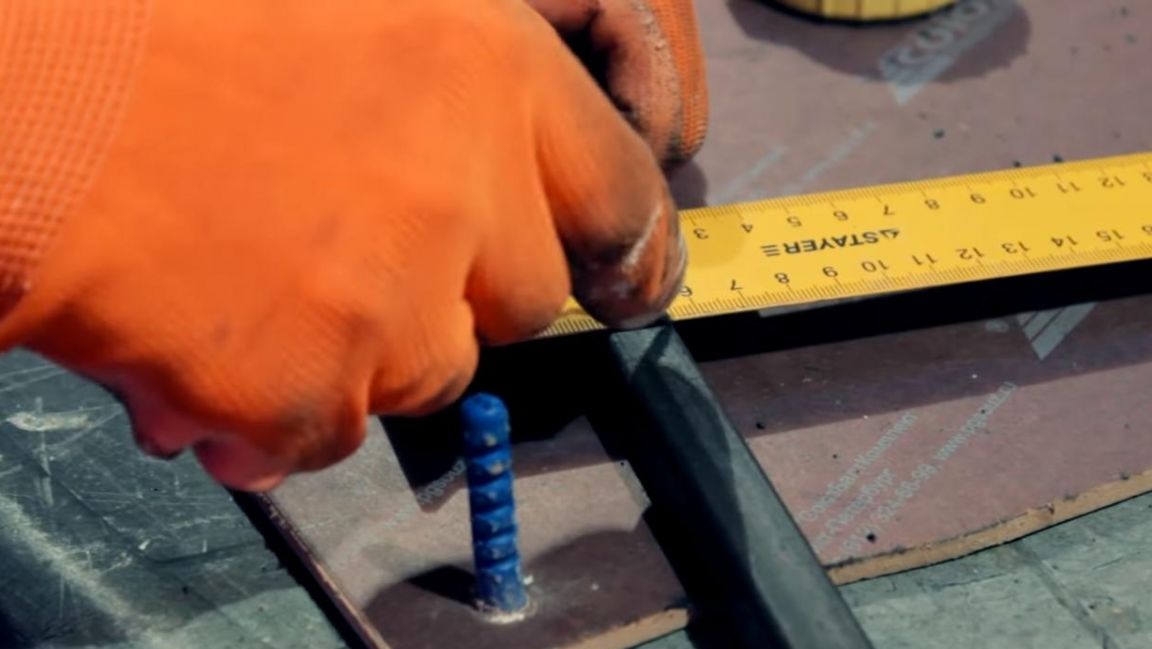
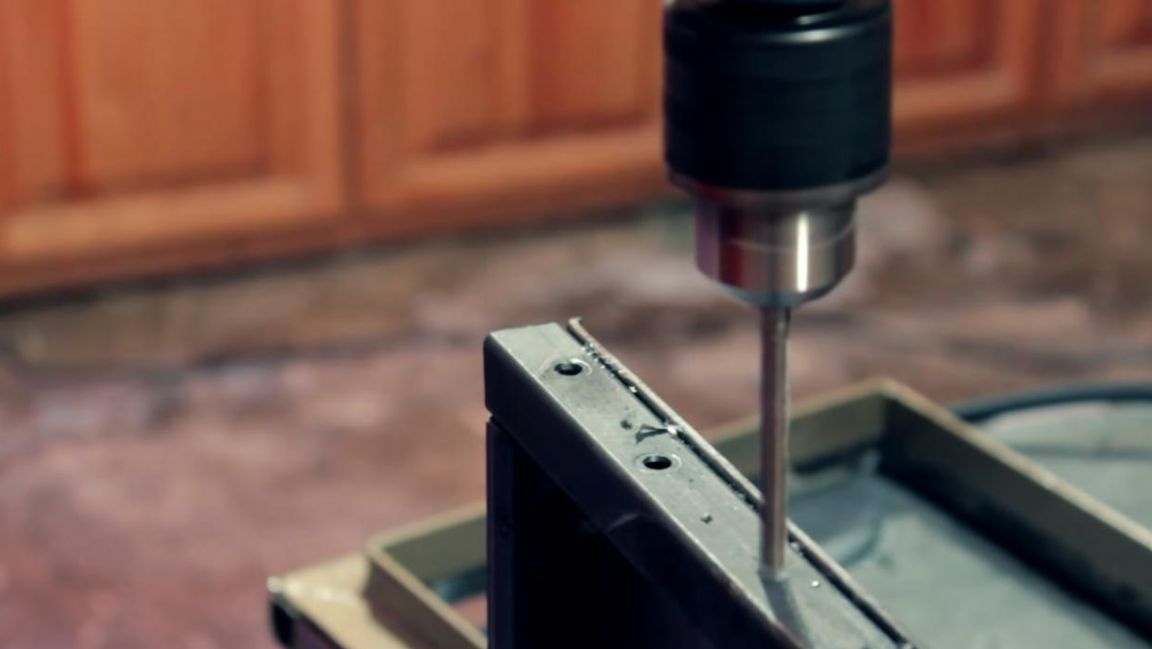
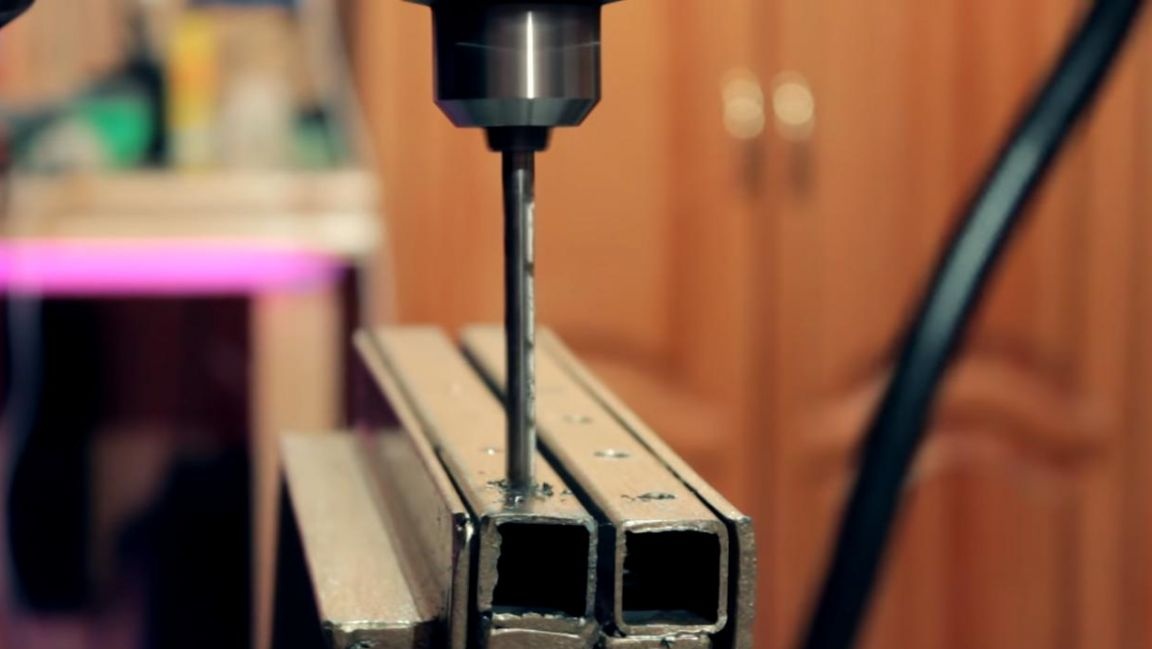
On the bottom square to which the profile pipe is welded, mark with a marker 6 points every 50 mm on each of the four sides, after which we drill holes at the place of marks with a 6 mm drill.
Then paint the rack with gold paint with a brush.
For parts with metal corners, we do the same, labels can be transferred from already made holes.
Before drilling, we apply one drop of technical oil one mark to reduce the load on the cutting edge of the drill, and this will also extend its service life.
Step Eight.
Now we prepare the wooden blocks for future assembly.
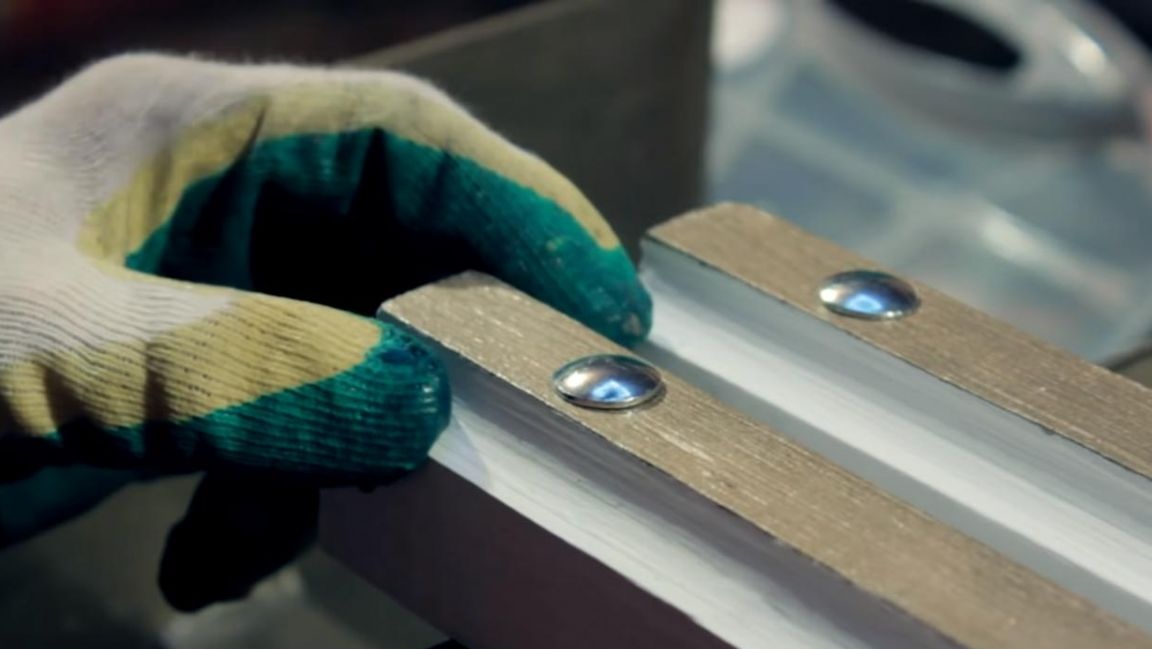
To do this, we use a thickness gauge, mark the center of the bar at a distance of 40 mm with a pencil and drill holes in the marks with a 6 mm drill, do this with all the bars.
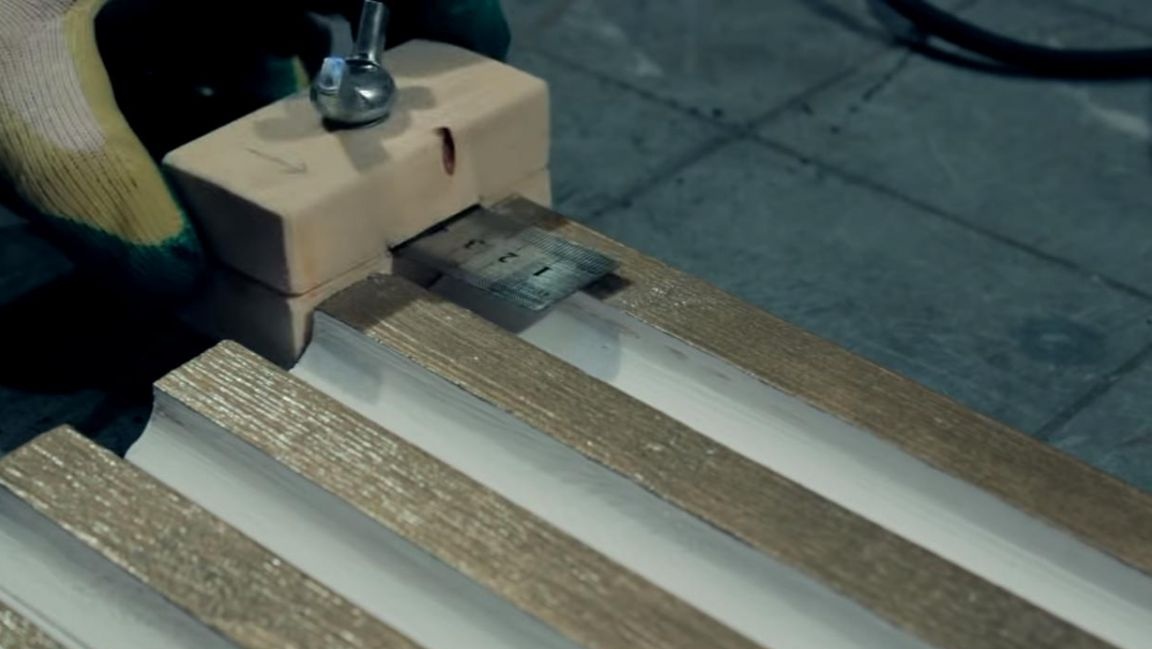
On the other hand, we make the same marks, but at a distance of 80 mm and also drill with a drill. After drilling, remove the chips with a vacuum cleaner so that it does not interfere with the assembly process. Then we insert furniture bolts M6 with a length of 70 mm into the holes and install the bars on metal squares, tighten the nuts from the inside, and then attract them with a wrench.
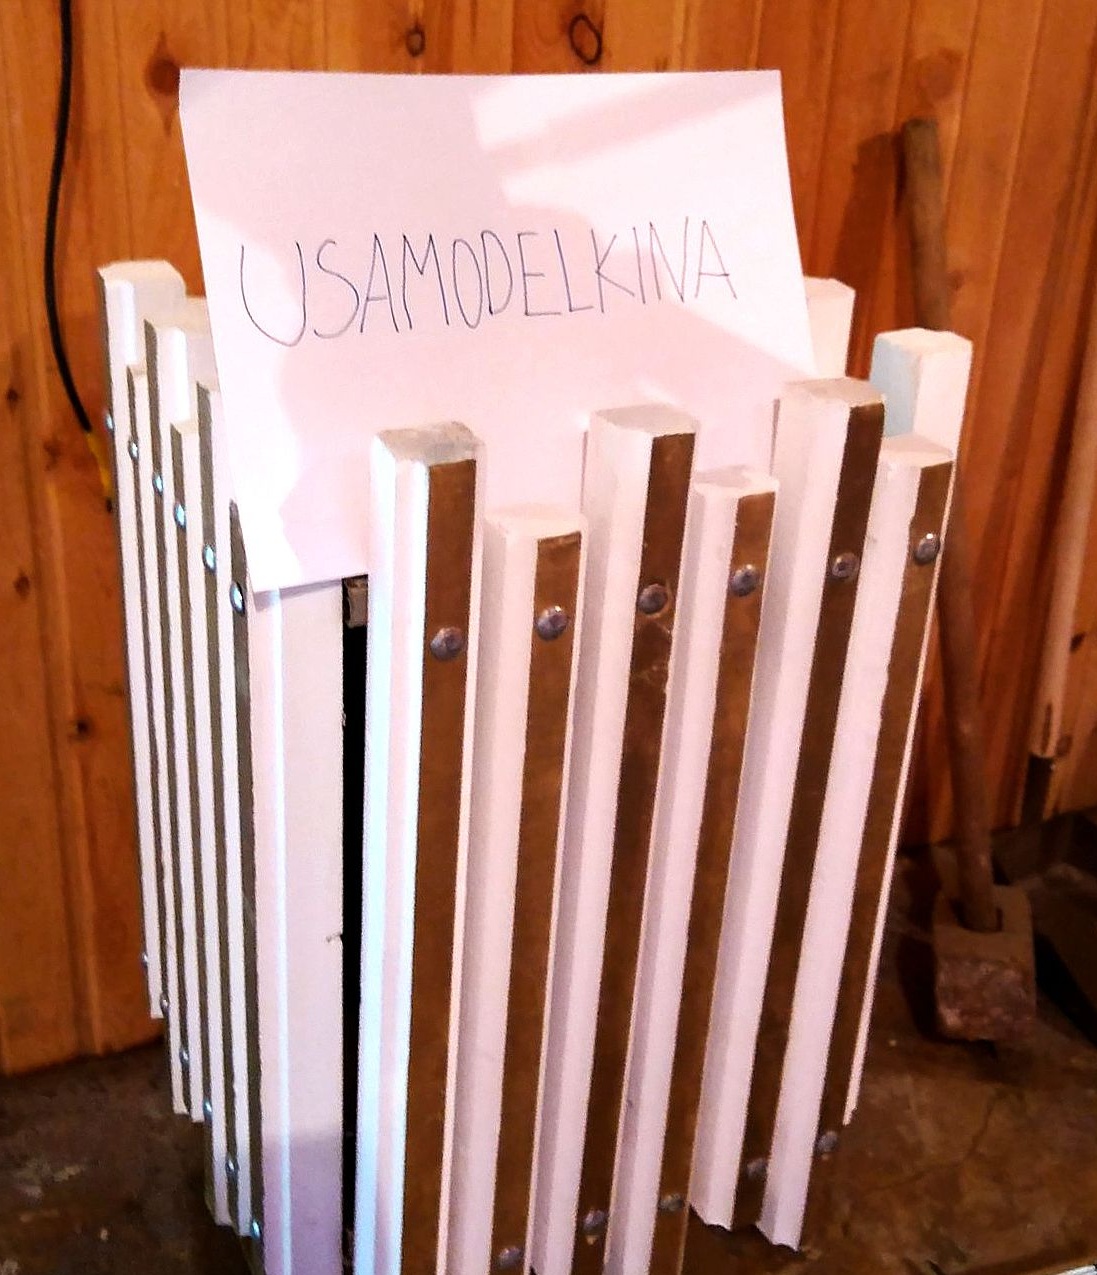
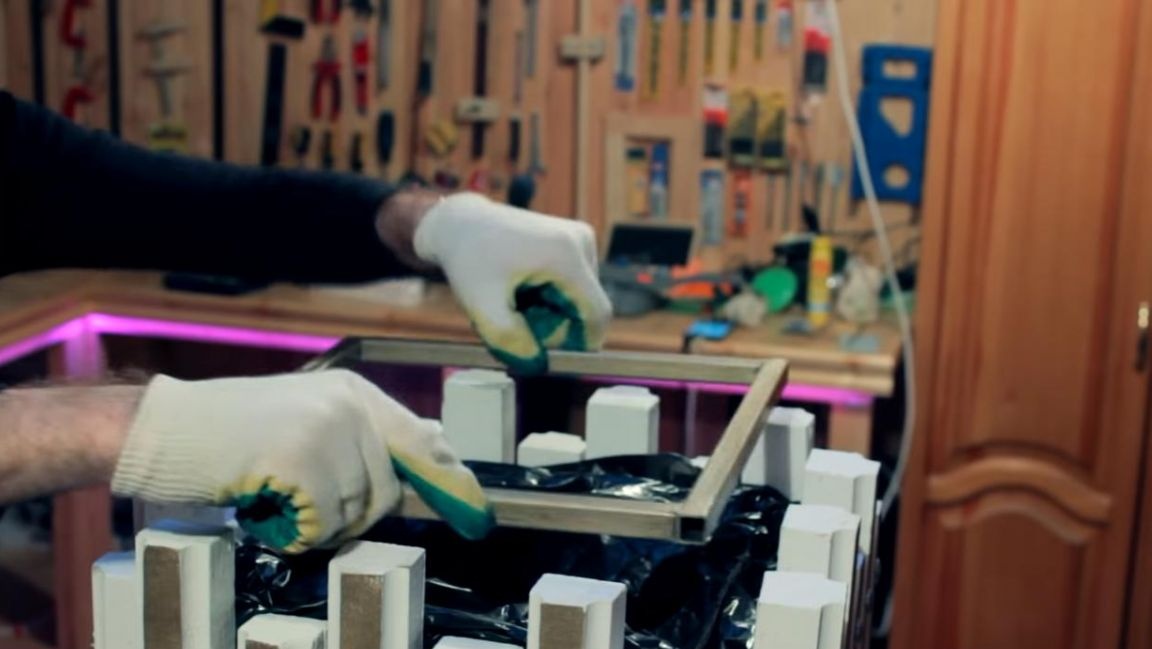
At this stage, the assembly of a homemade beautiful urn is over. We install the garbage bag in the urn, throw its edges onto the structure from the metal corner, then we put a square from the profile on top that will hold the bag and the homemade product is ready for use.
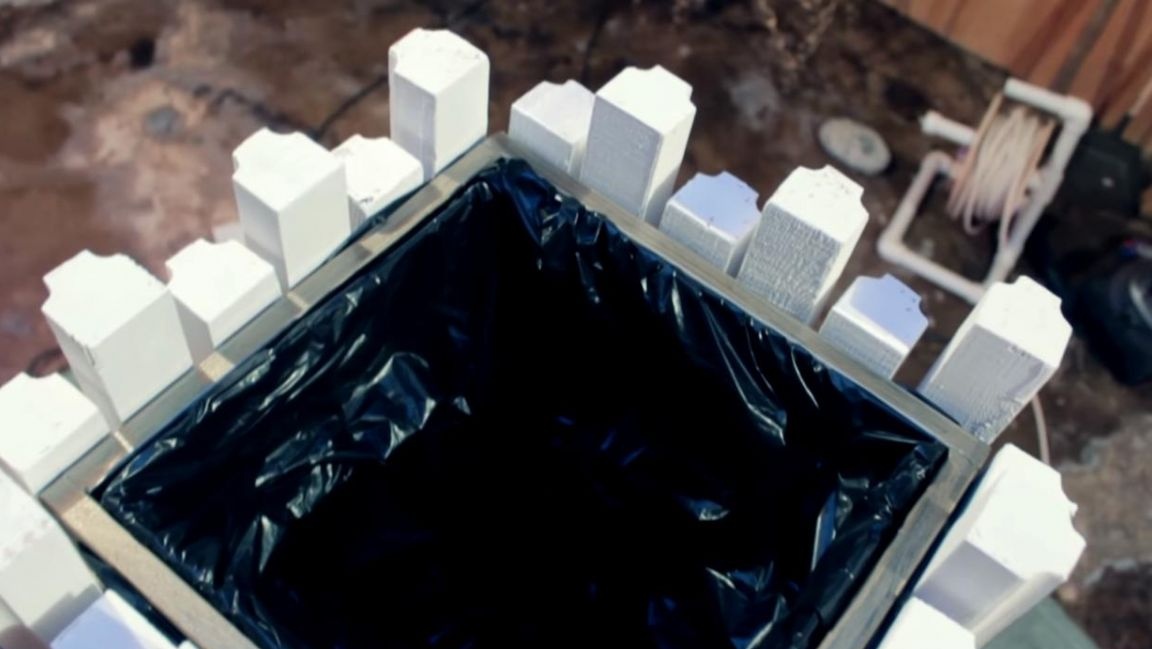
After the garbage bag is full, pull out the square, throw out the garbage and install a new bag.
Thank you all for your attention and creative success.