
Want to learn how to make knives do it yourself? Then this instruction is for you. Today we will discuss how to make a simple and high-quality knife with our own hands. No forging will be used here, so the work process will not be too heavy. An angle grinder is needed from the minimum tools, with it you can cut a profile, grind it and so on. Of course, it would be nice to have a belt grinder, even a small manual one.
Unfortunately, the author did not indicate the grade of steel that was used by him in the manufacture. But you can use your steel, and consider the manufacturing process itself as an example. There are many good blanks for knives, for example, old files. Strong steel is also found in hand saws, circular saw blades, and so on. The most important thing is that the steel can be hardened, then the blade will keep sharpening for a long time. So, we will consider in more detail how you can make a simple knife with your own hands.
Materials and tools that were used by the author:
Material List:
- wood for the manufacture of pens;
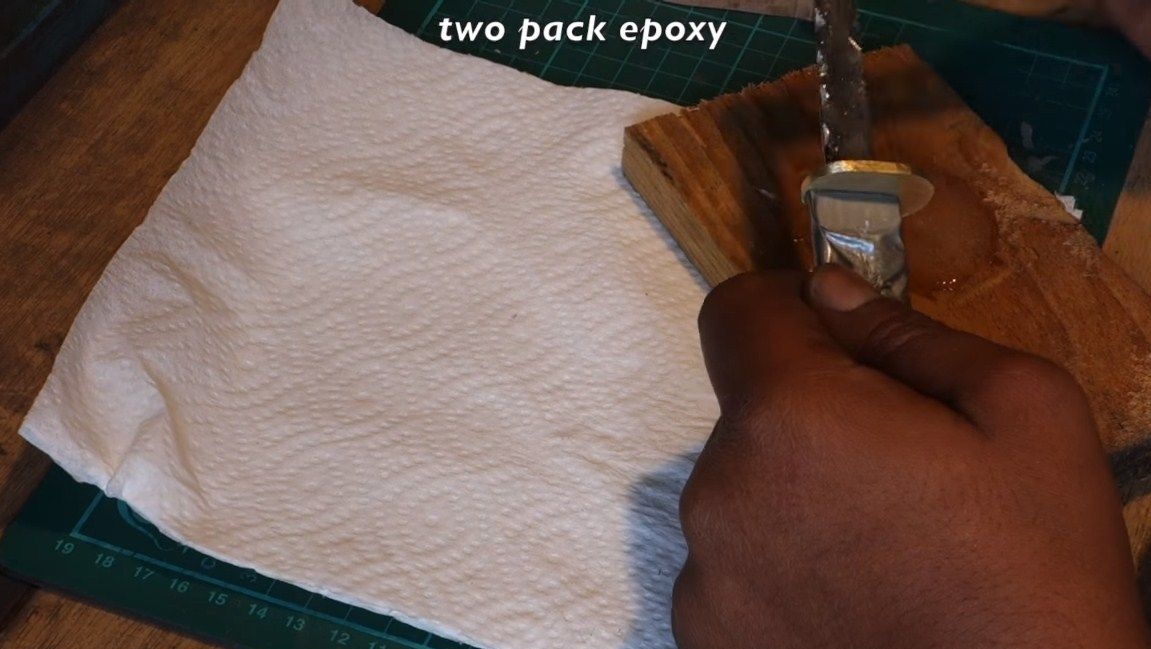
- PVA glue (or better epoxy);
- brass plate;
- a piece of strong metal for a blade;
- oil for impregnation of the handle.
Tool List:
- sandpaper;
- jigsaw machine;
- belt sander;
- a chisel;
- vise;
- grinder;
- blacksmith's furnace or a good bonfire;
- anvil and hammer;
- grinder;
- marker and drawing accessories;
- a set of files;
- oil for hardening the blade;
- household oven (for blade vacation).
The process of making a knife:
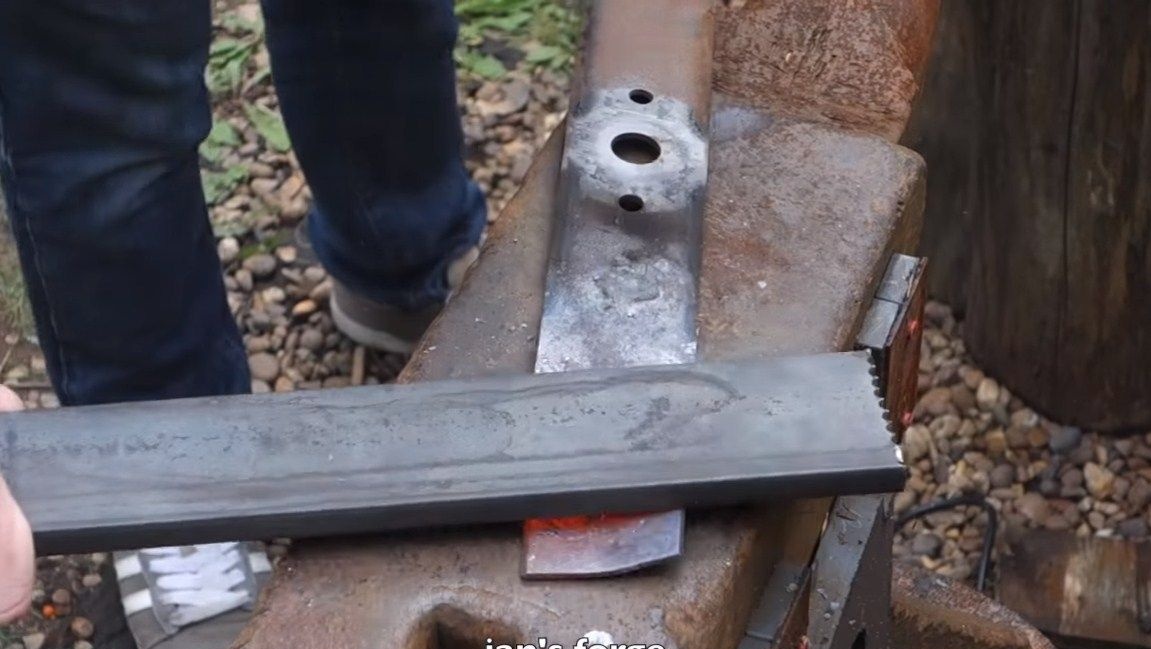
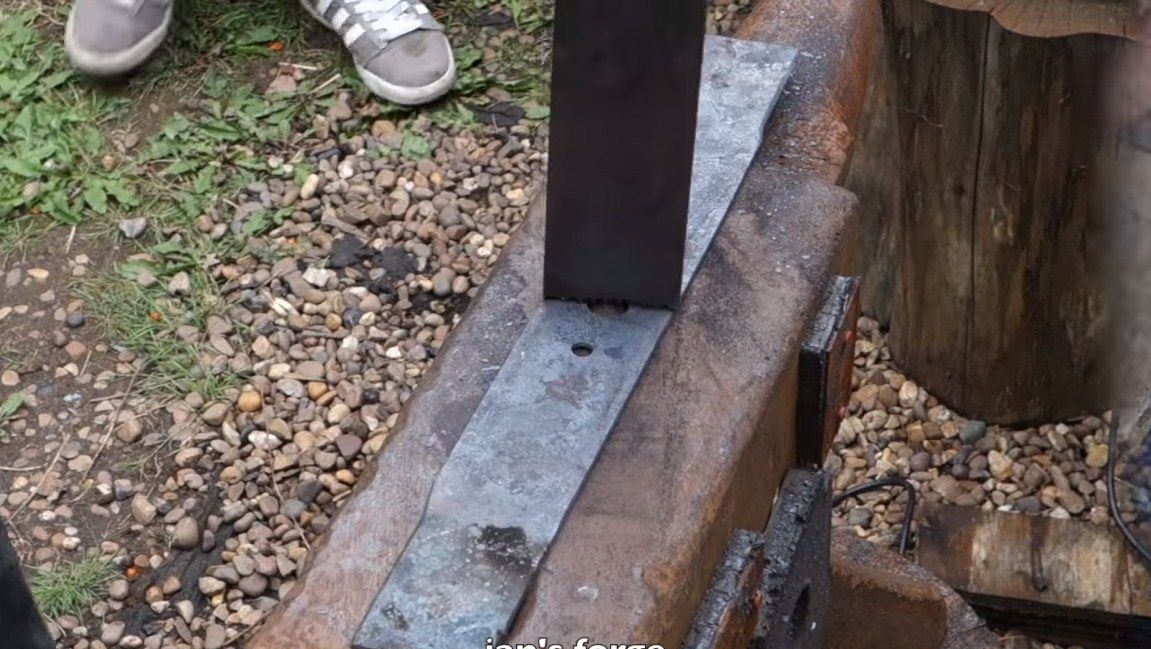
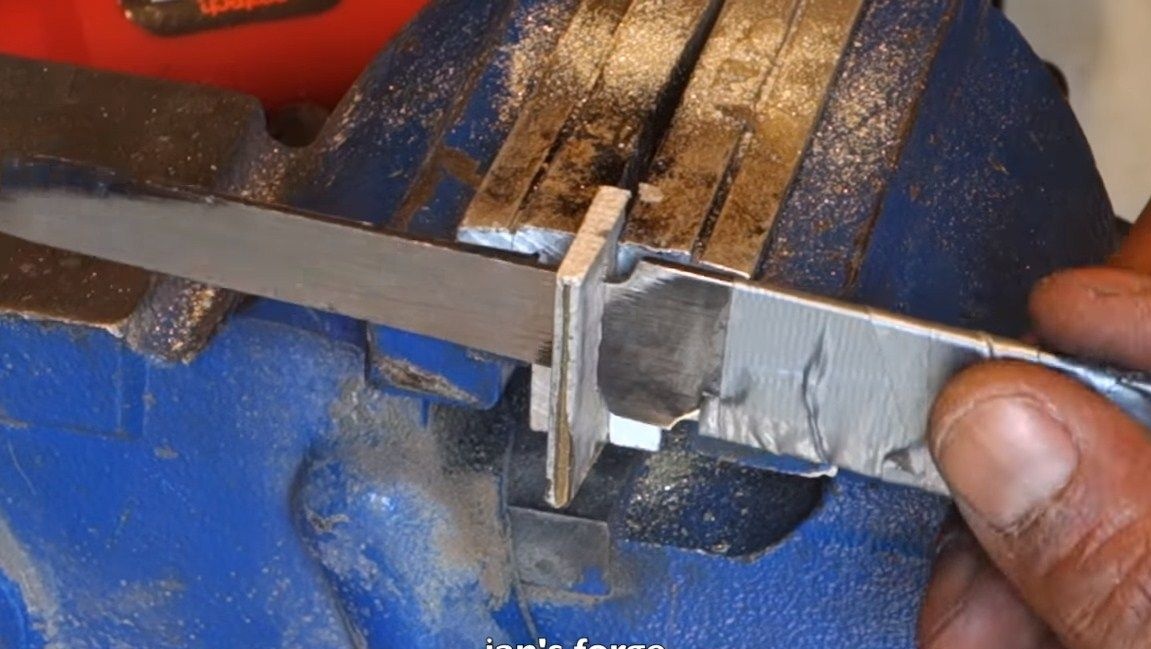
Step one. Prepare the metal
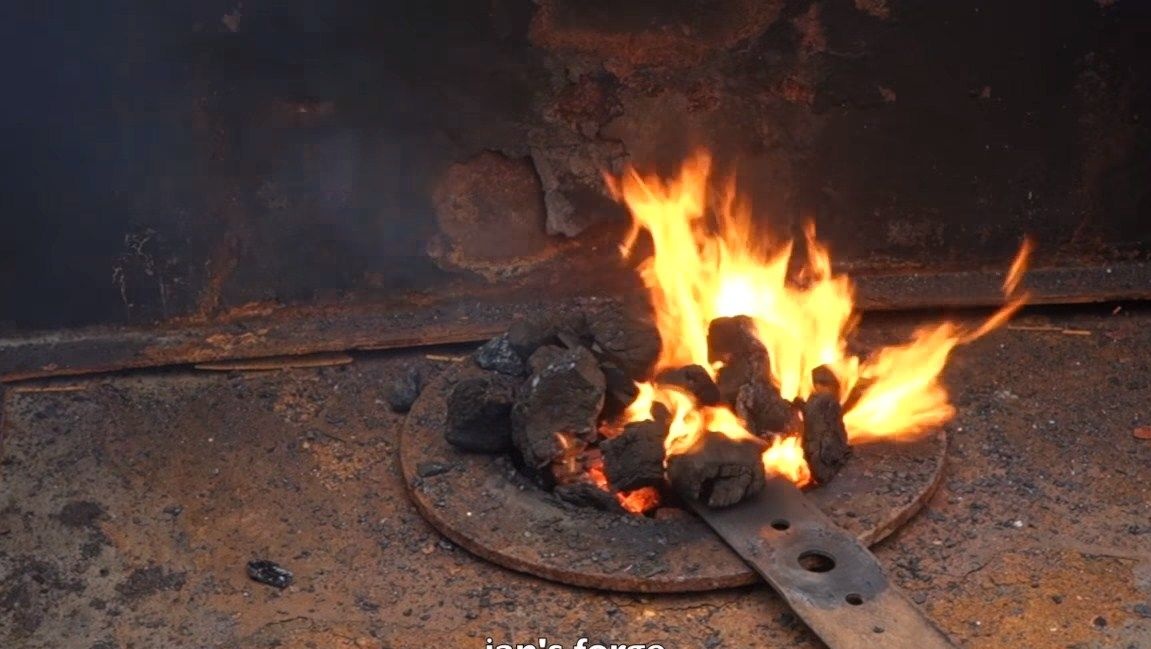
If the selected metal has a curvature, this is not a problem, it can be leveled. To do this, you need to heat the workpiece red hot and then work with a hammer. In addition, you can make metal tempering so that it is soft and easy to process with tools. To do this, throw the billet into coals or a furnace and heat red-hot. Then the steel should cool smoothly, the slower it cools, the softer the metal will be. Many craftsmen simply leave the billets to cool along with the furnace.
Step Two Testing steel
In order not to waste time and energy, you can immediately check the steel. We cut off a small piece of metal, and then we redden it. Well, then we lower the metal into oil or water, and hardening should occur. If hardening is successful, the metal should not be taken with files.If it is not possible to harden steel, it means that it is not suitable for making a knife or the hardening mode was chosen incorrectly.
Step Three Cut the main knife profile
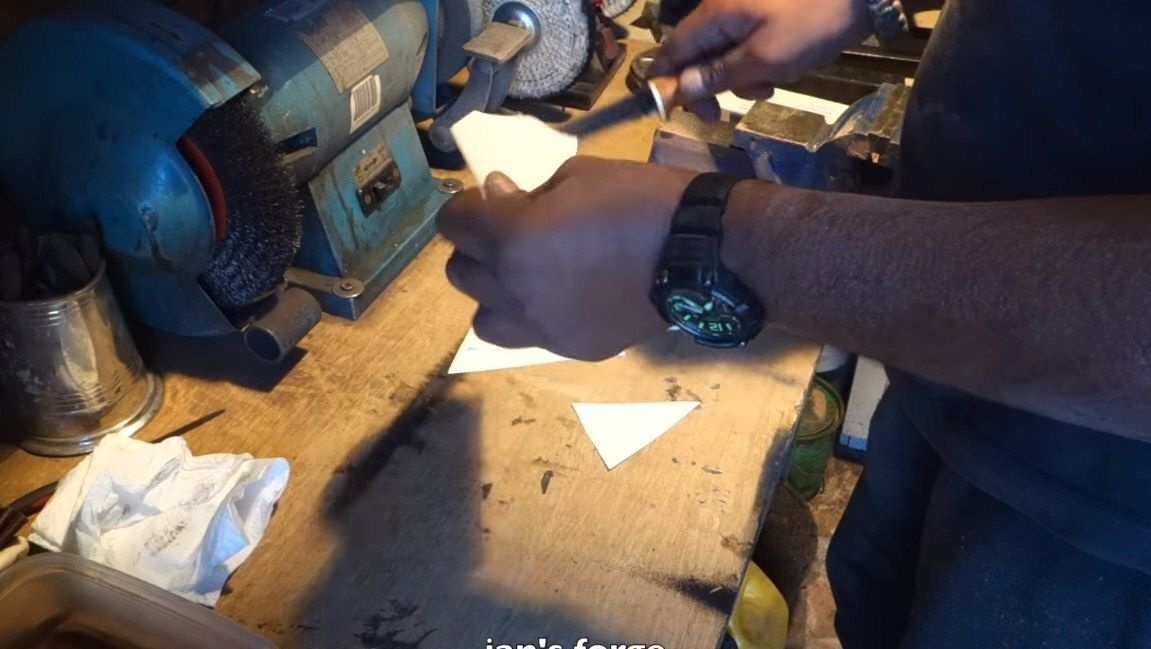
Next, you can cut the profile of the knife. It can be done in advance on paper, and then cut with scissors. Another option is to find a profile on the Internet and simply print it to a printer. If you wish, you can change the finished version of the knife. Many craftsmen recommend cutting a profile from thick cardboard. In this case, it will be possible to hold the knife in your hands and understand whether it will be convenient.
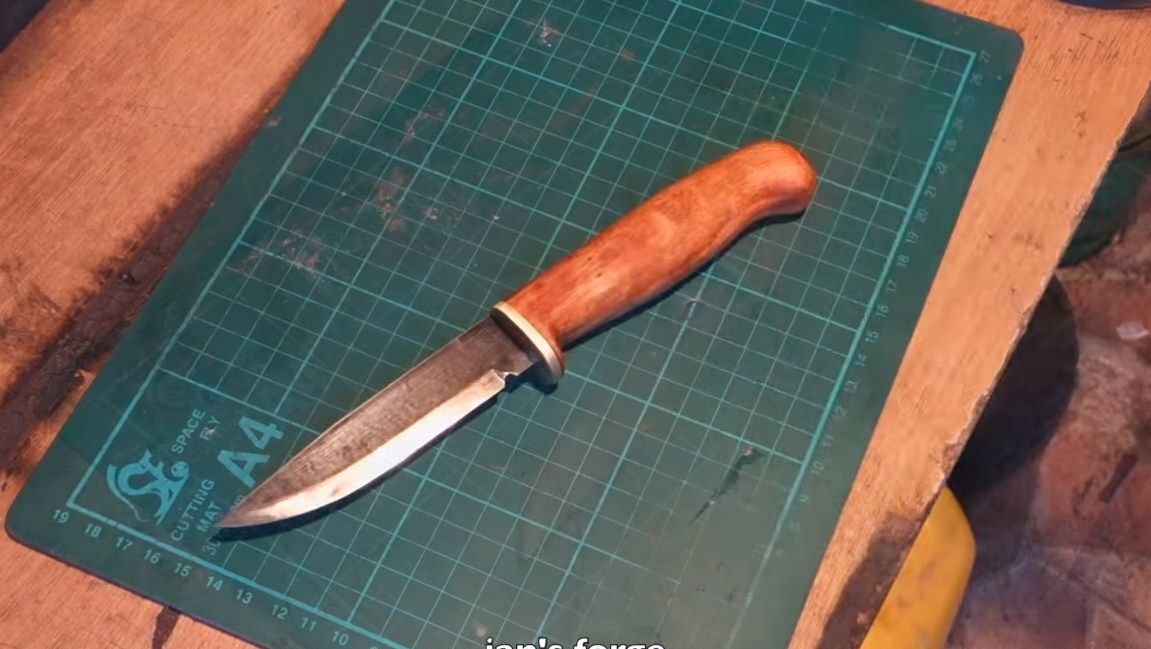
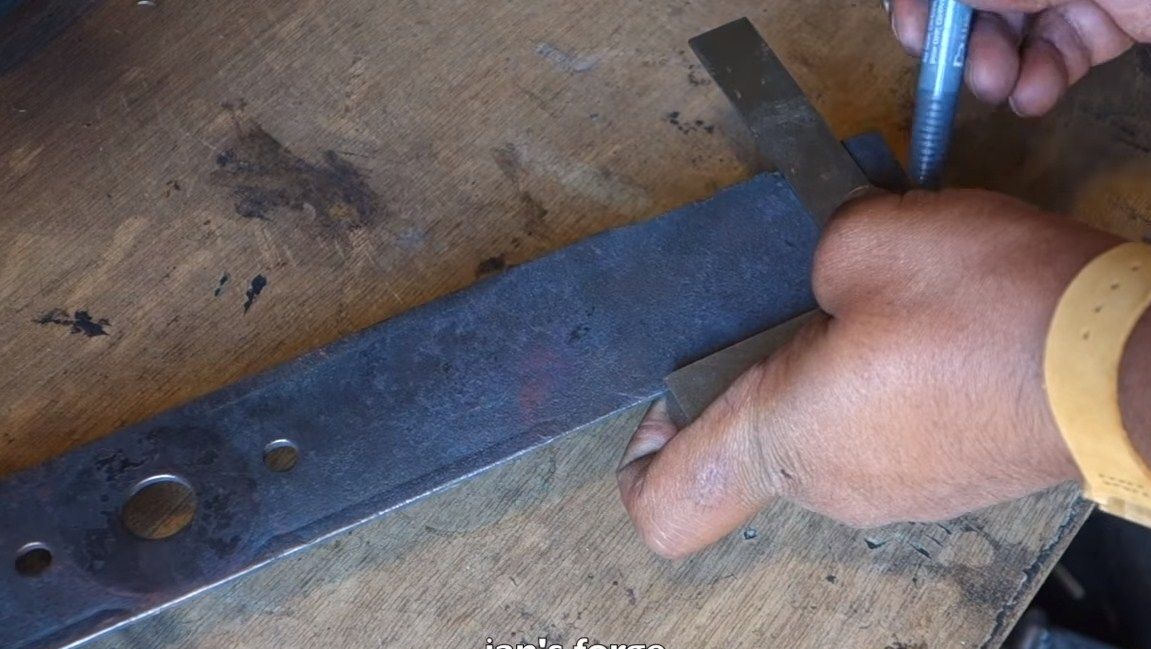
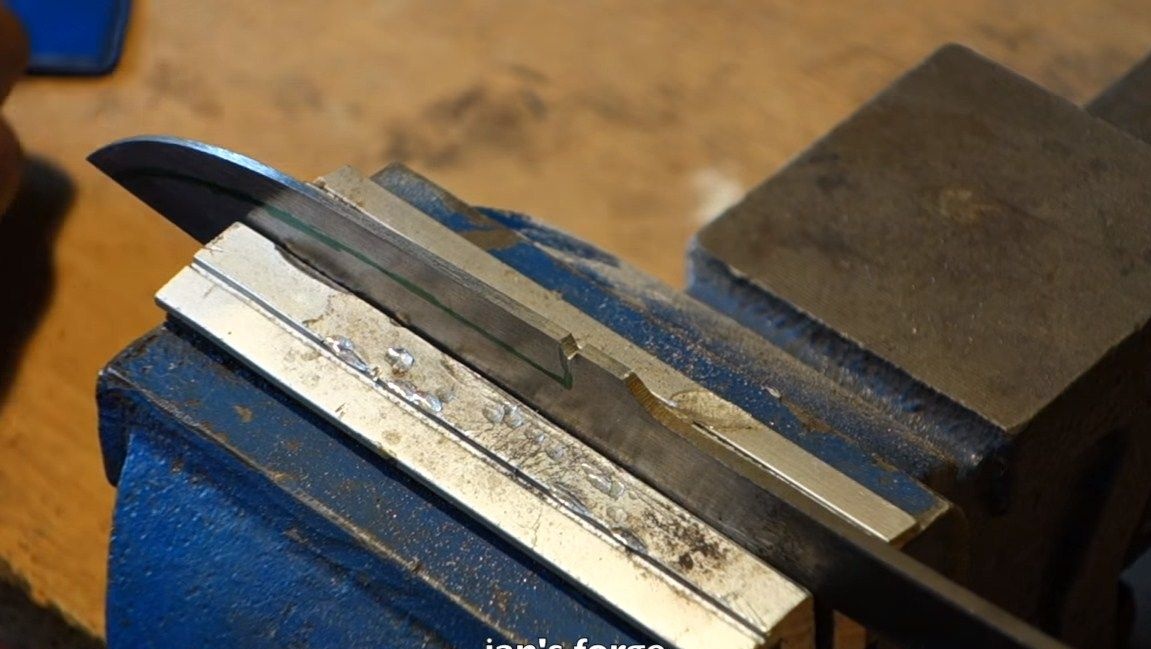
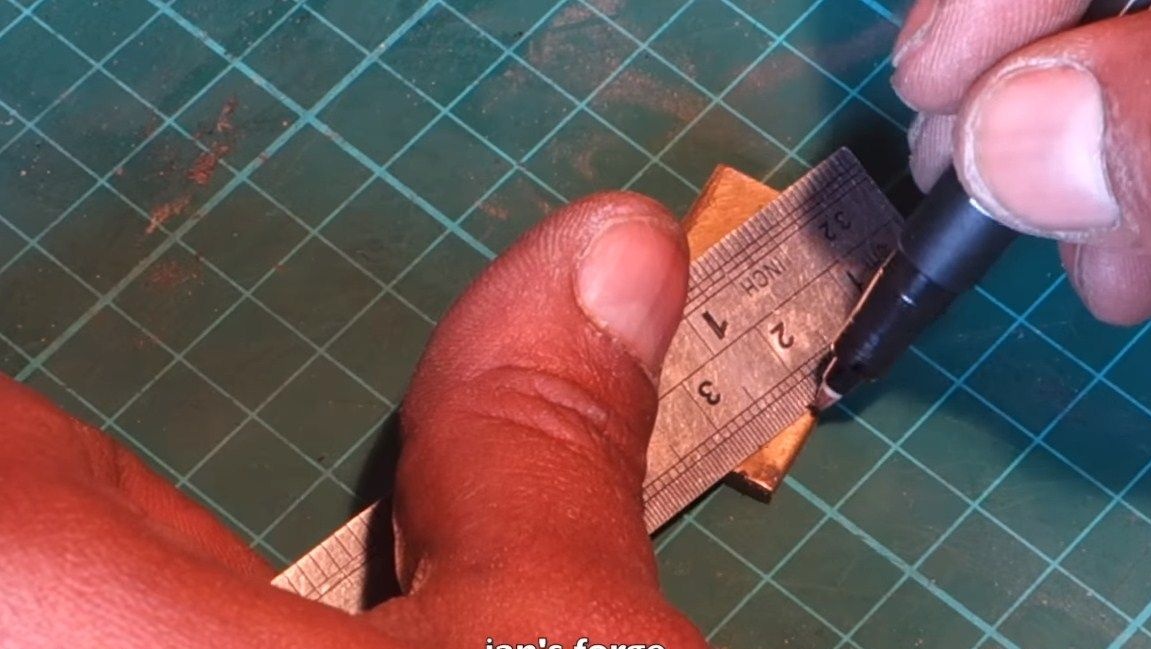
The author decided to use a ready-made blade as a template, but with the difference that the handle will be a slightly different design.
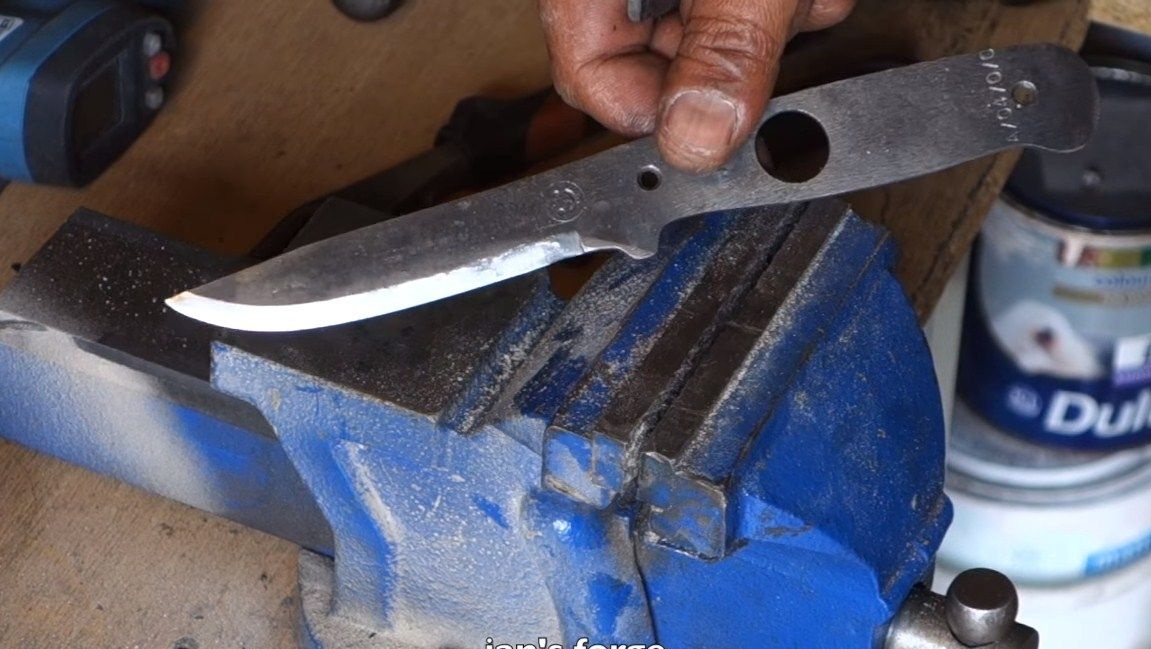
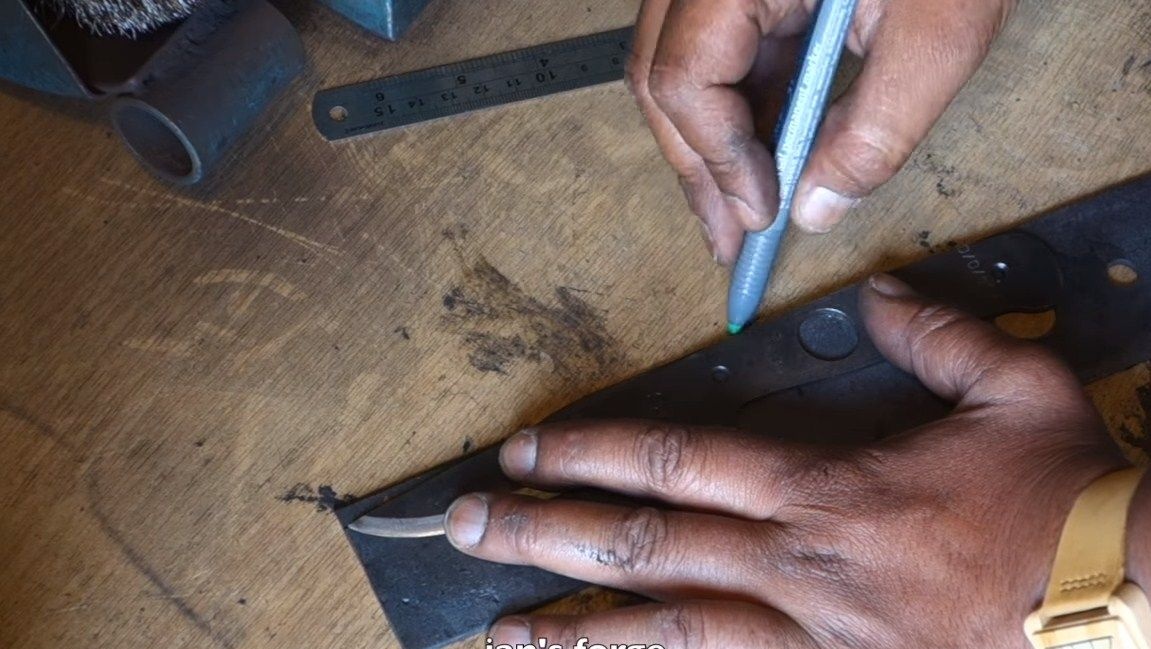
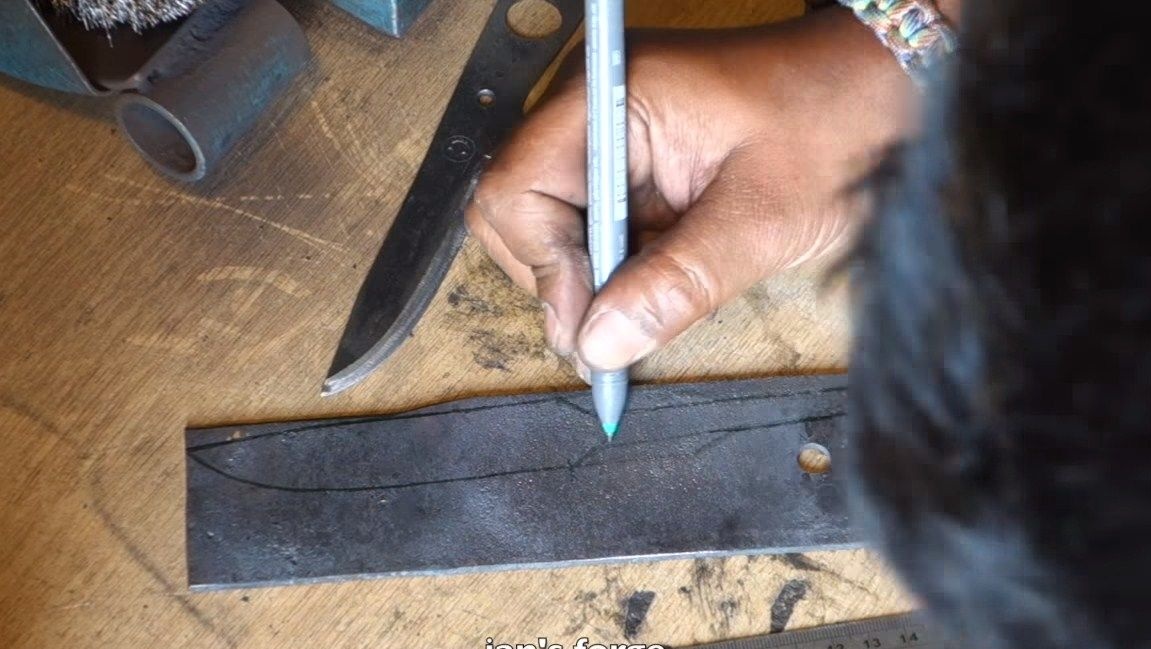
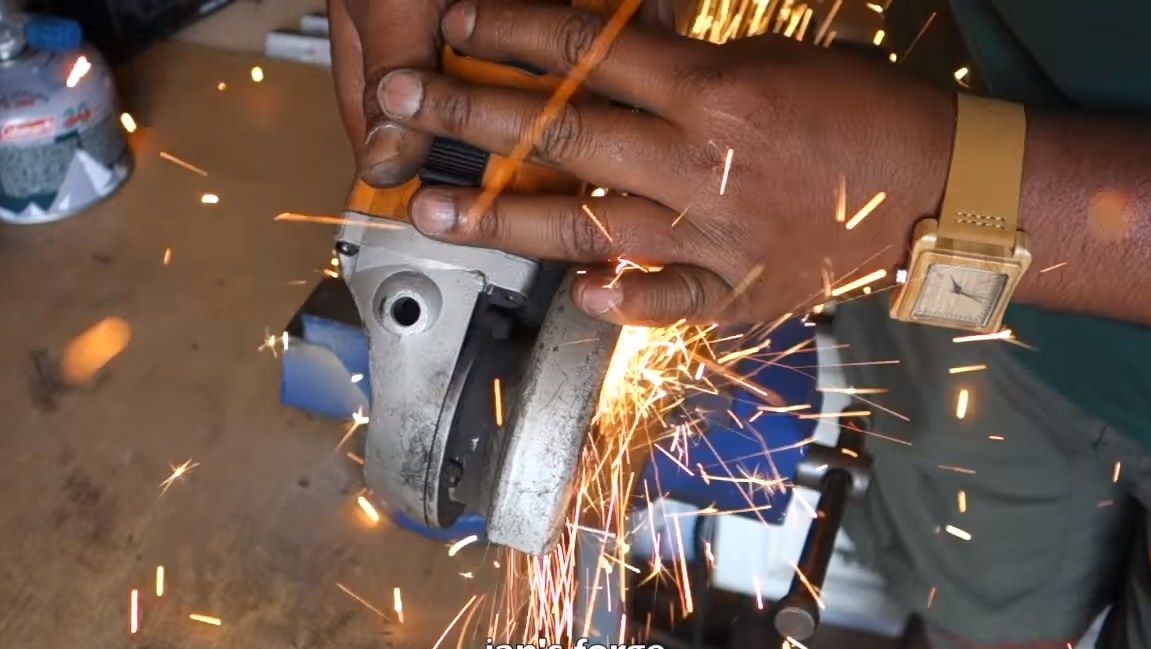
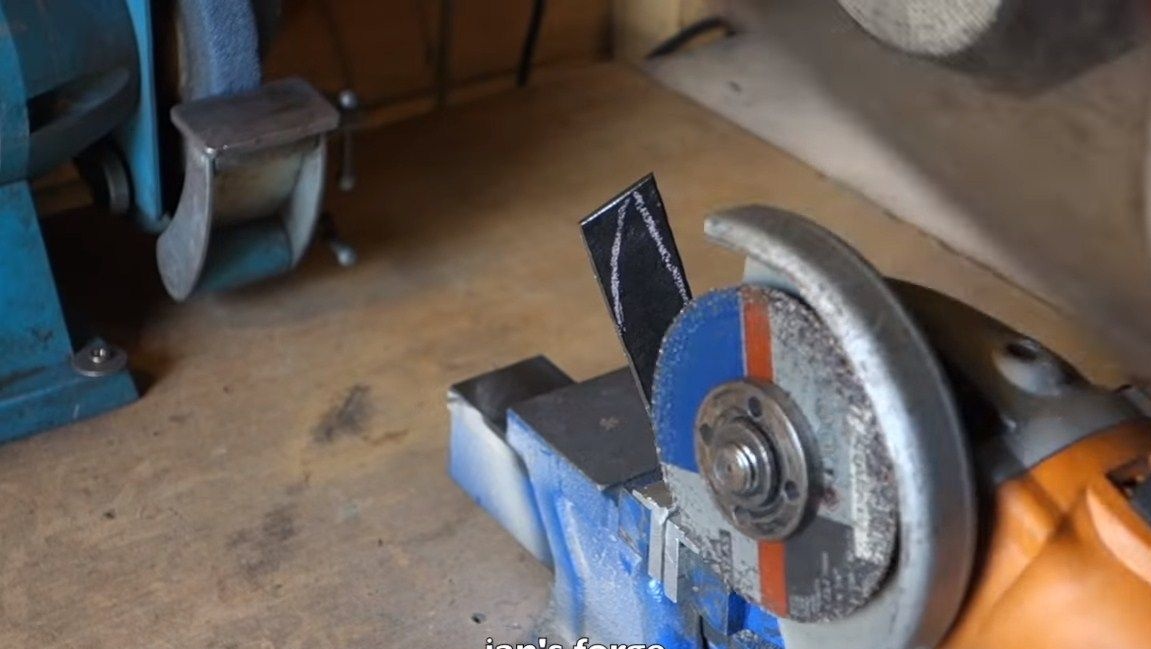
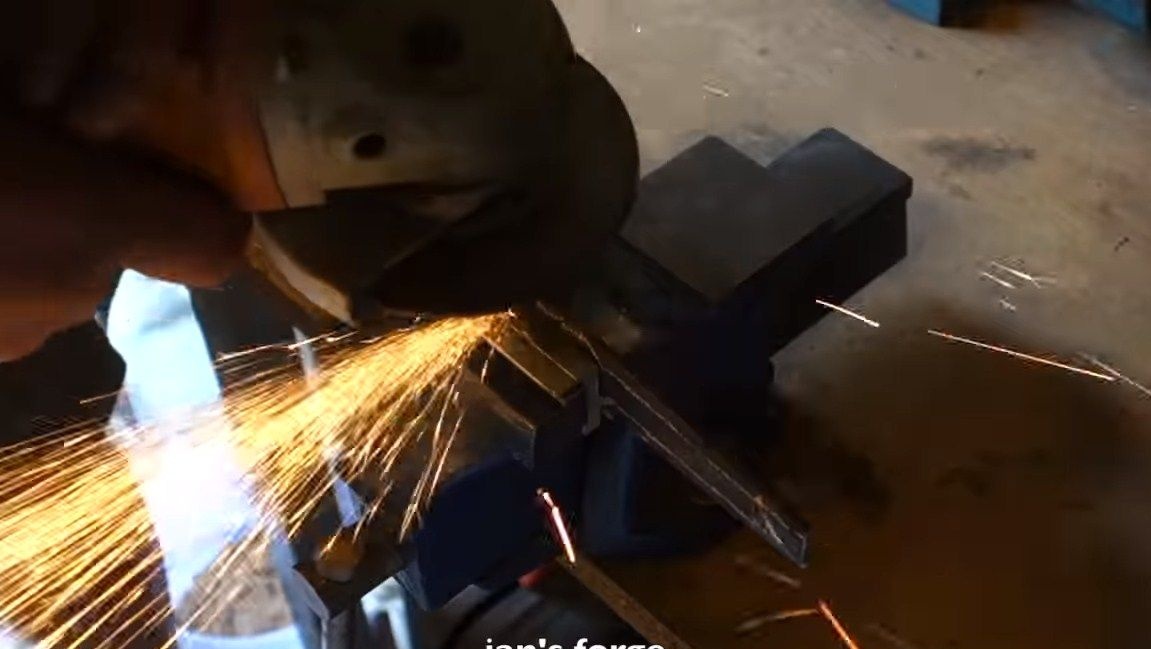
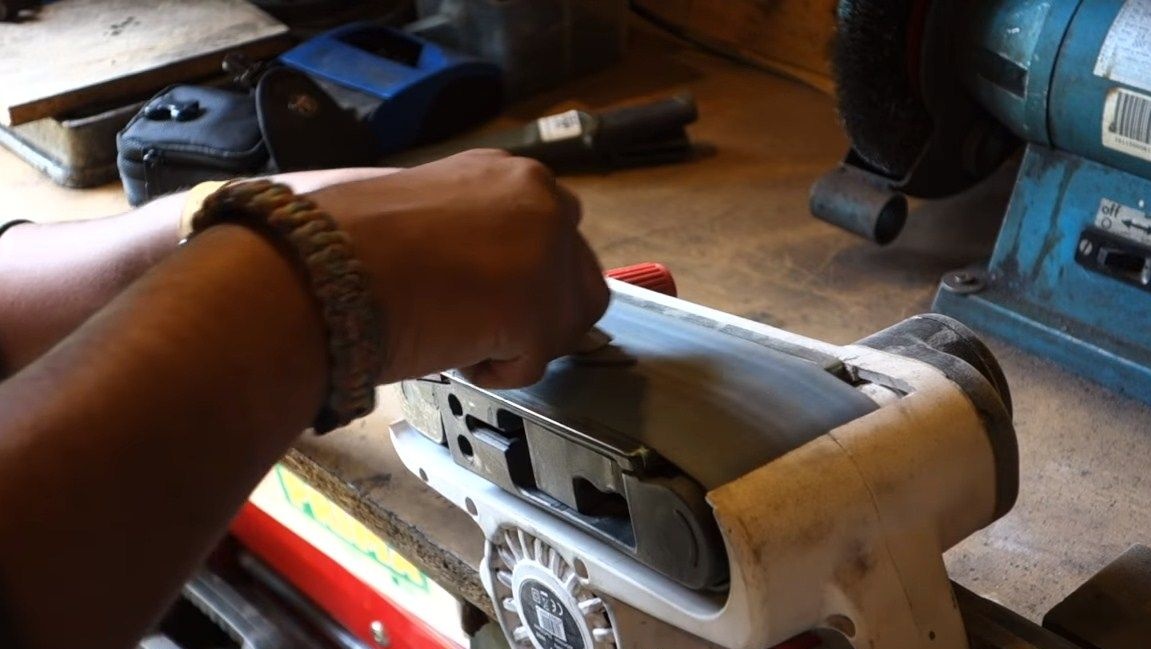
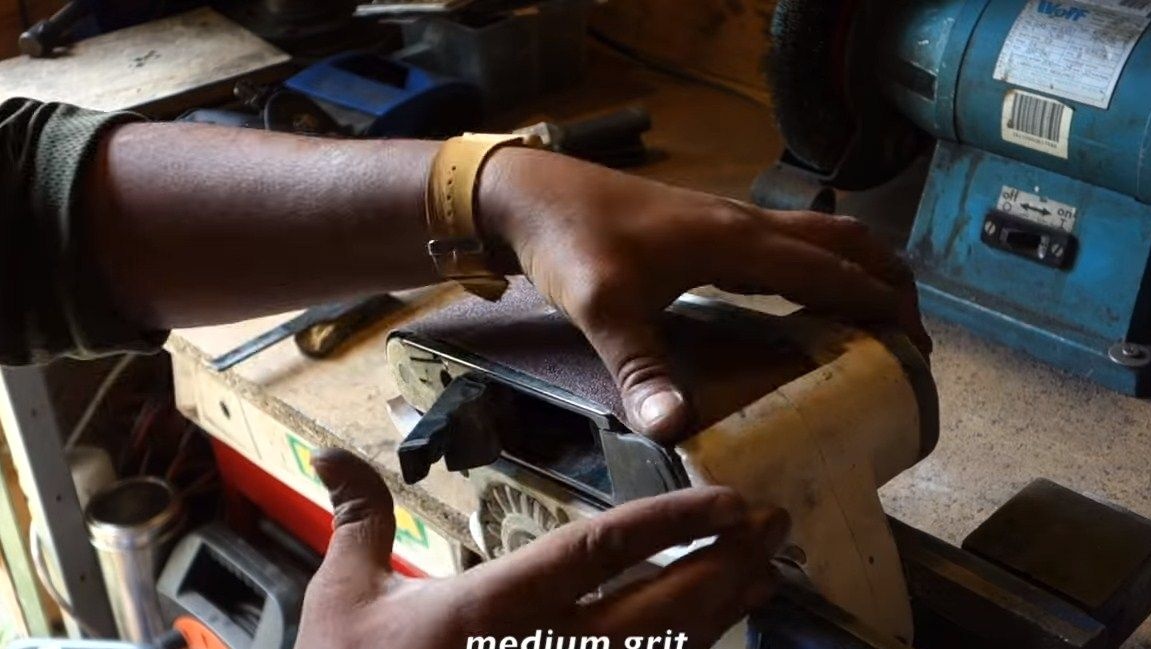
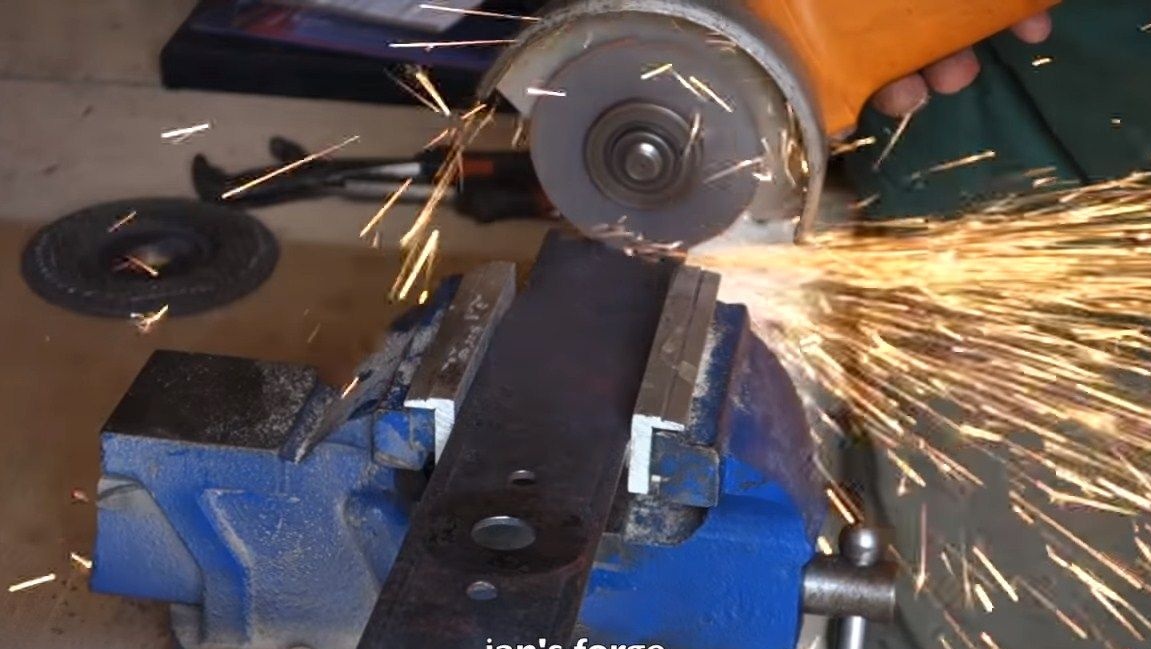
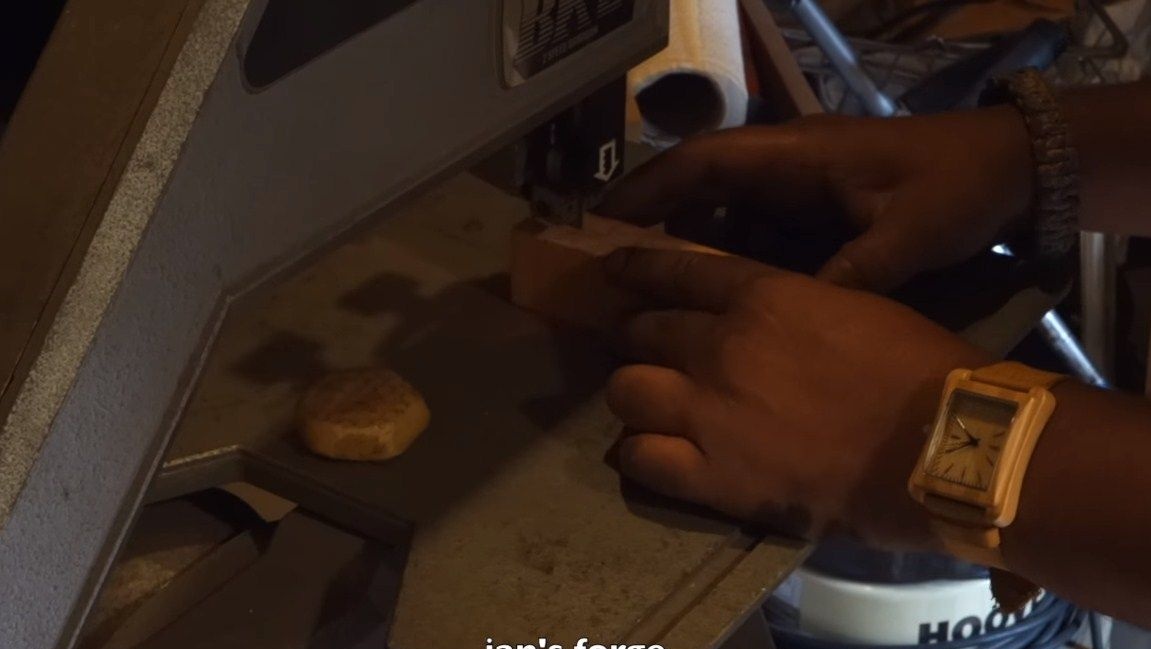
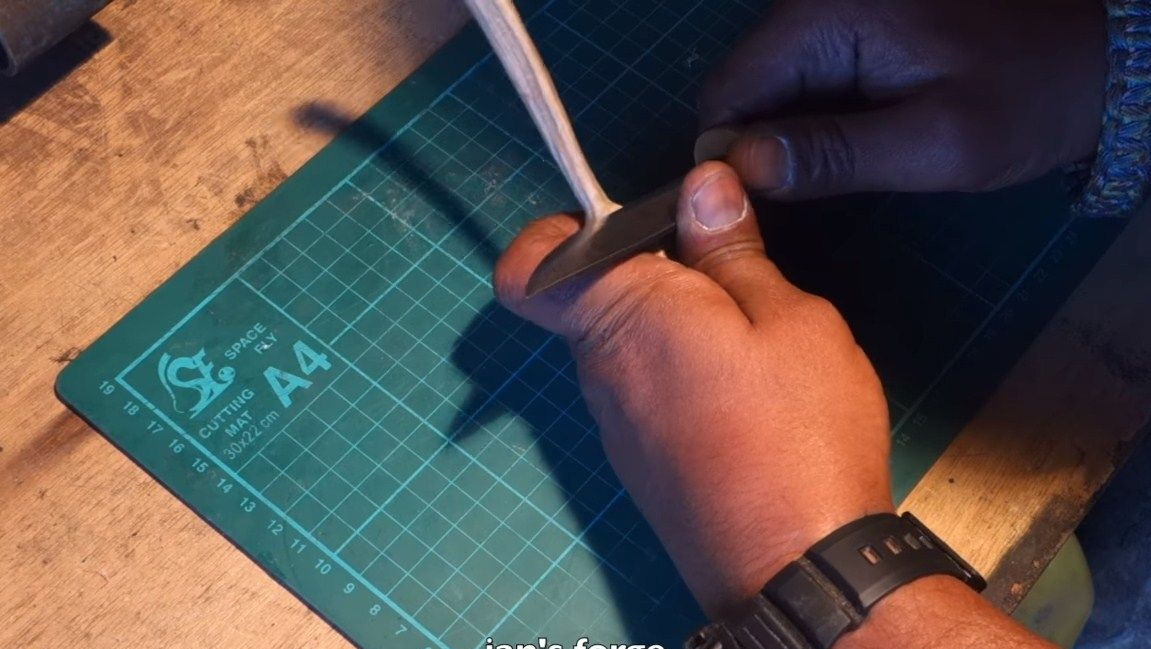
We circle the template on the metal with a marker, and then proceed to cutting. You can cut this whole thing out on a jigsaw machine or even with an ordinary grinder. After rough cutting we grind the blade along the contour. To do this, you can use a grinder or grinder with grinding discs. You also need to carefully polish the plane, then the author decided to use a manual grinding machine, fixing it on the table. By the way, many of these machines have all the necessary fixtures for fixing. First we put a belt with large sandpaper, and then with a finer one. We clean all defects from the metal.
Step Four We form the bevels on the blade
Slopes, they are also slopes, are a very important parameter in the knife. The cutting data will depend on the angle of sharpening of the blade. So, for example, if you need a knife as sharp as possible, which will need to be cut, not chopped, the bevels should be as smooth as possible, that is, the blade will be thin. But the disadvantage of such a blade is that it is quite fragile and cannot be cut with such a knife.
And so that we can safely chop with a knife, we make the bevels sharper.
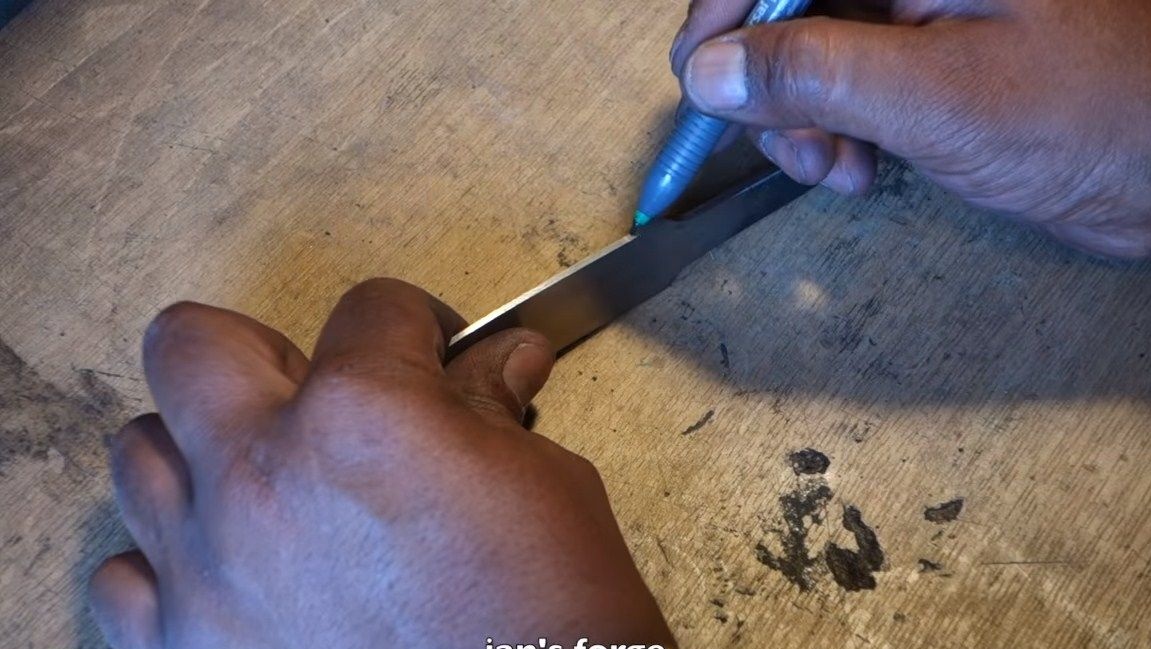
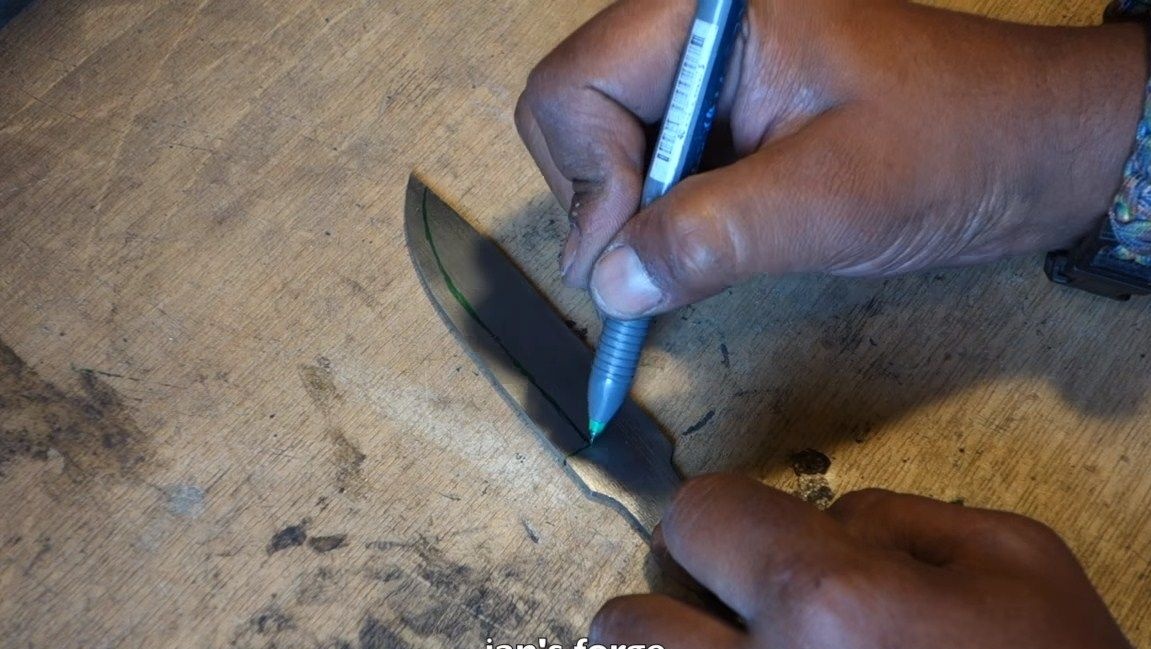
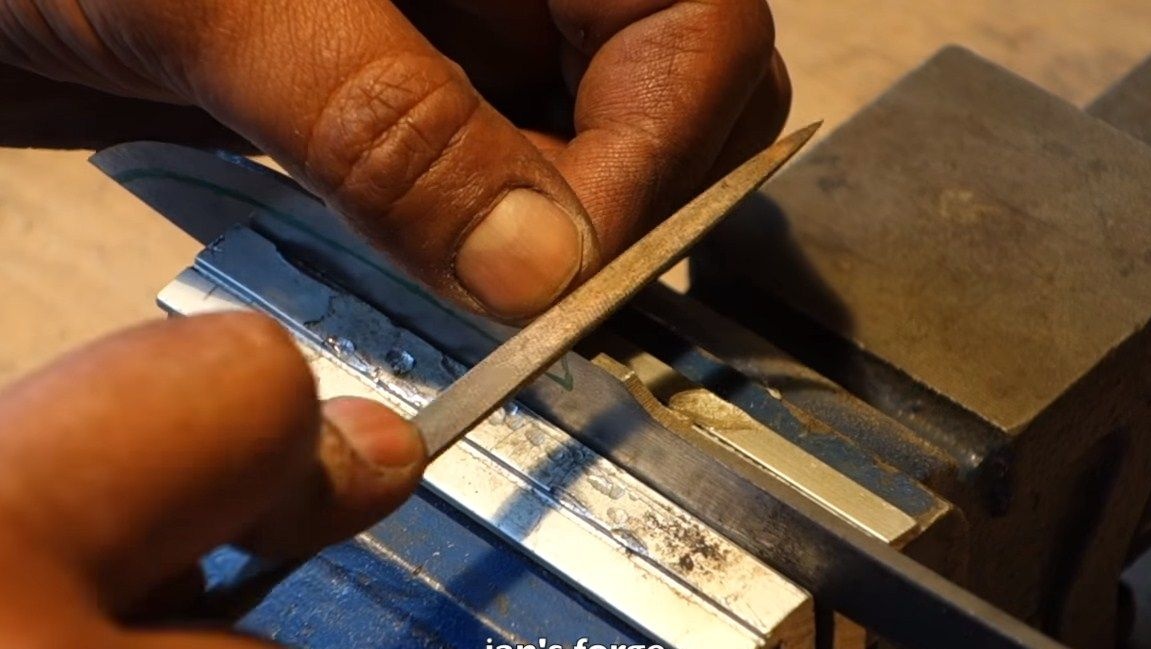
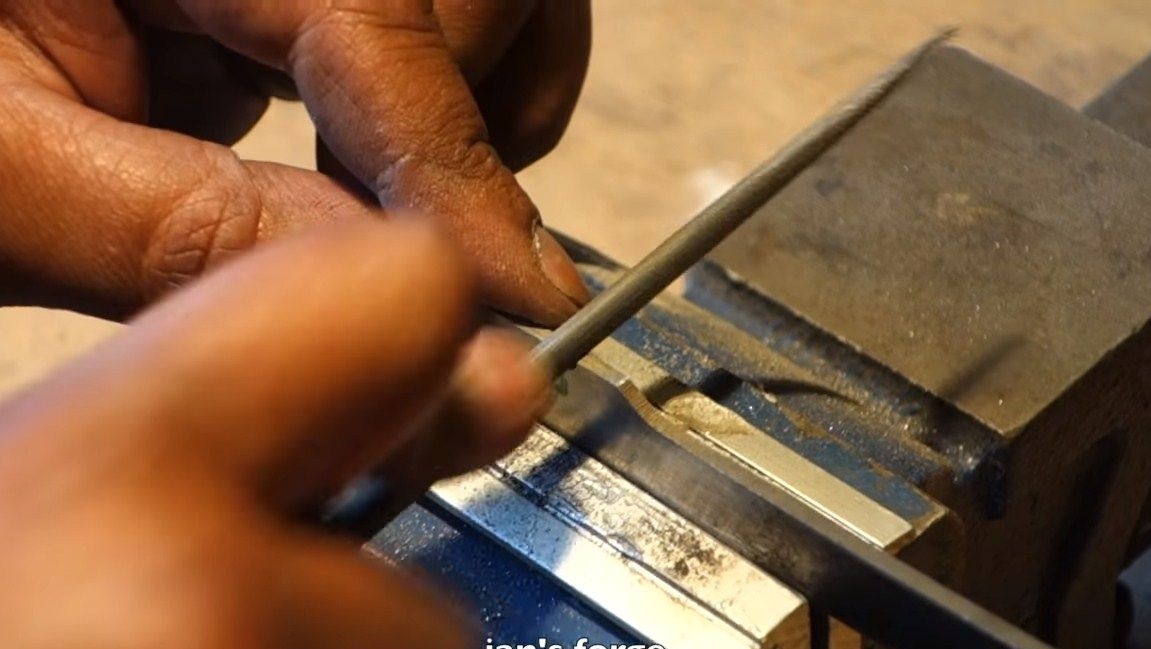

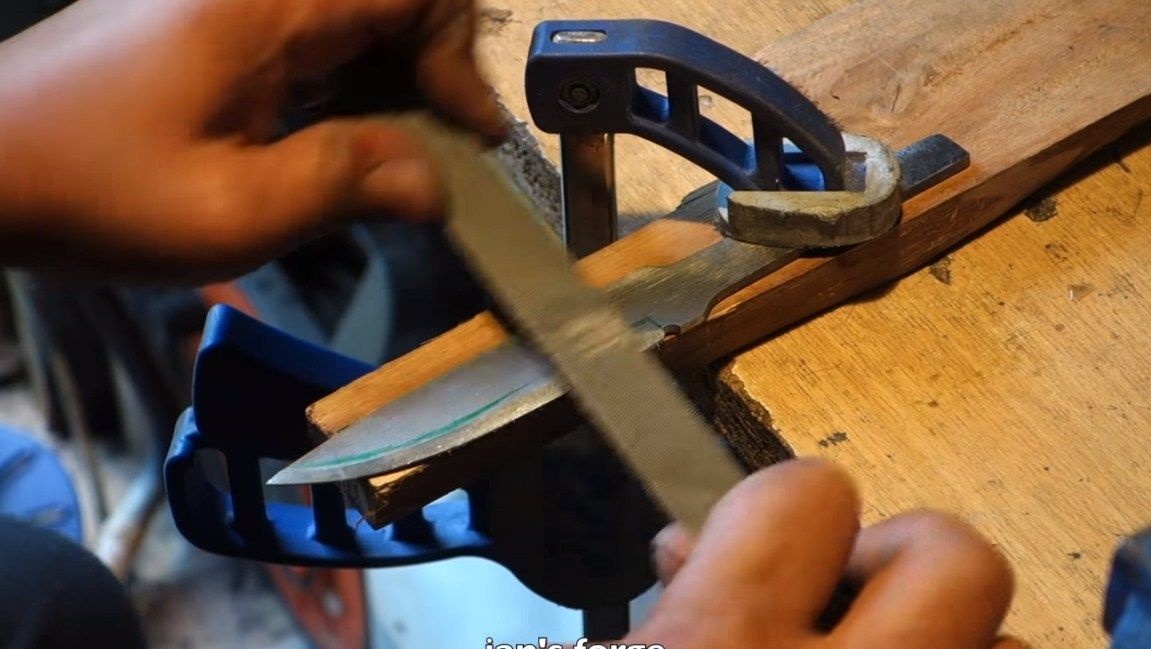
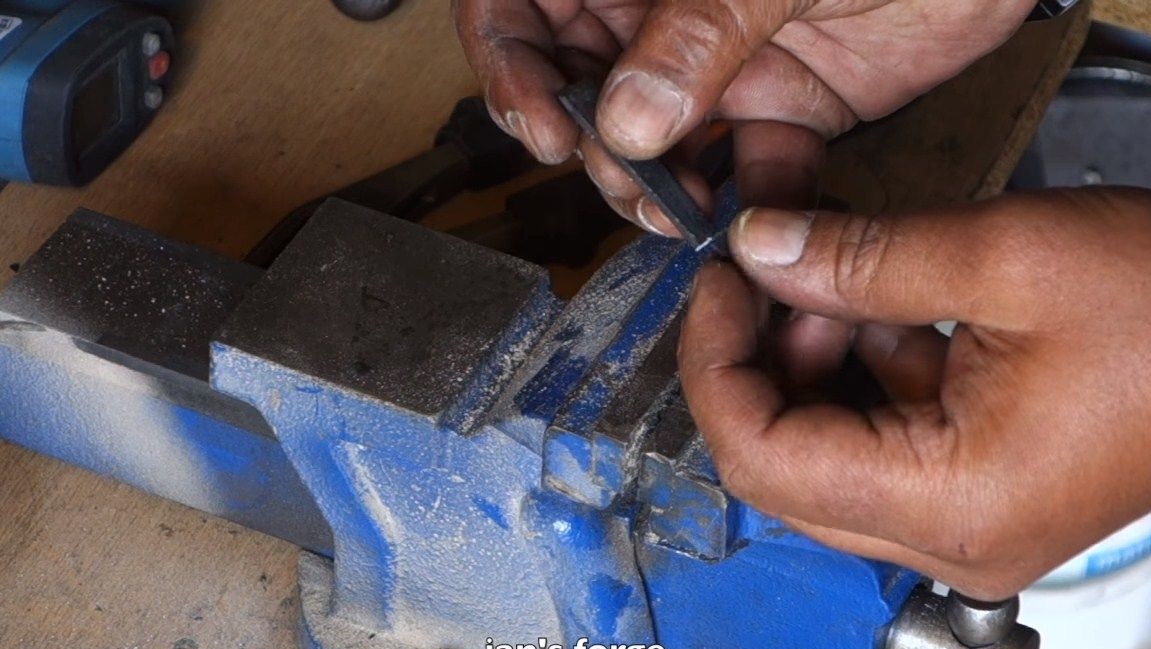
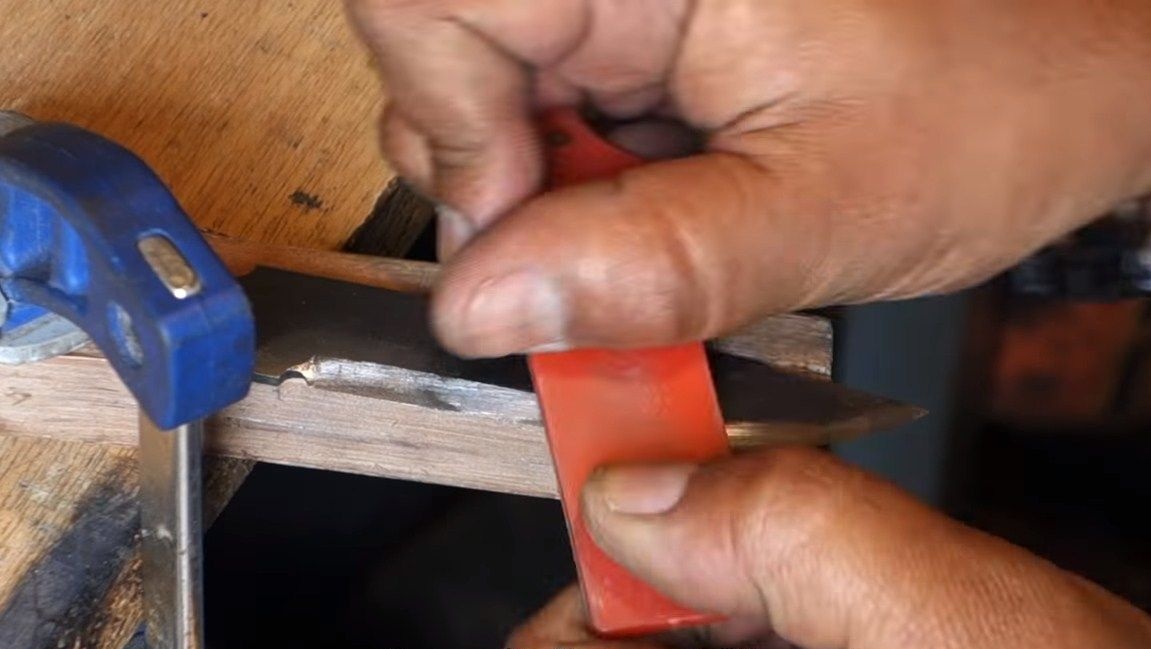
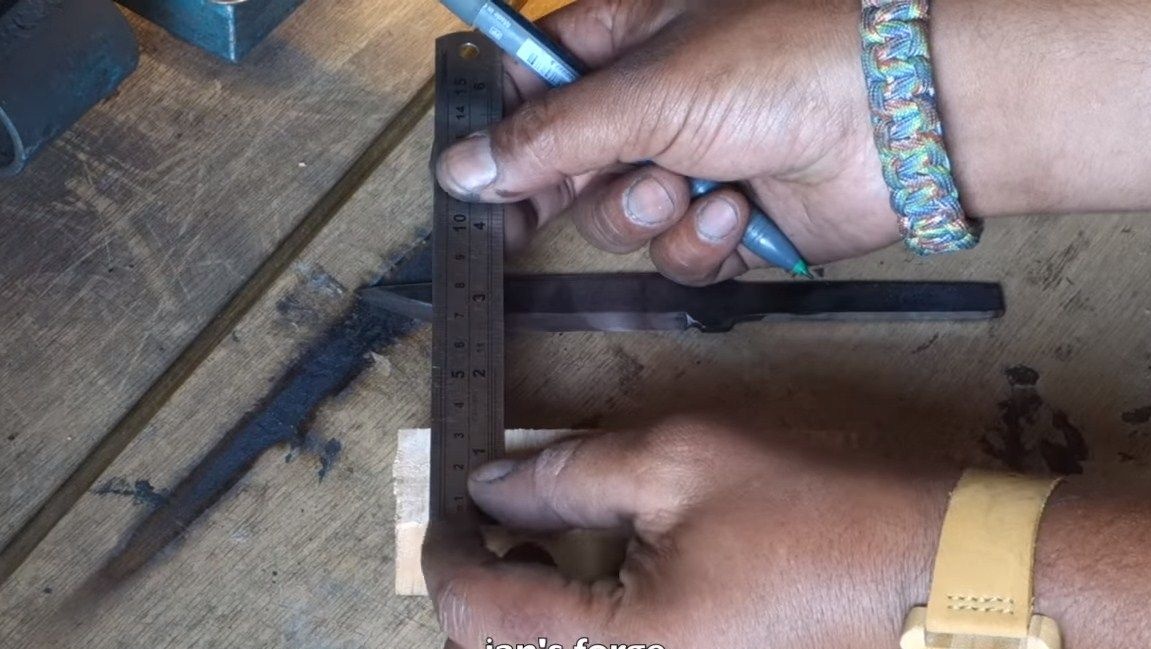
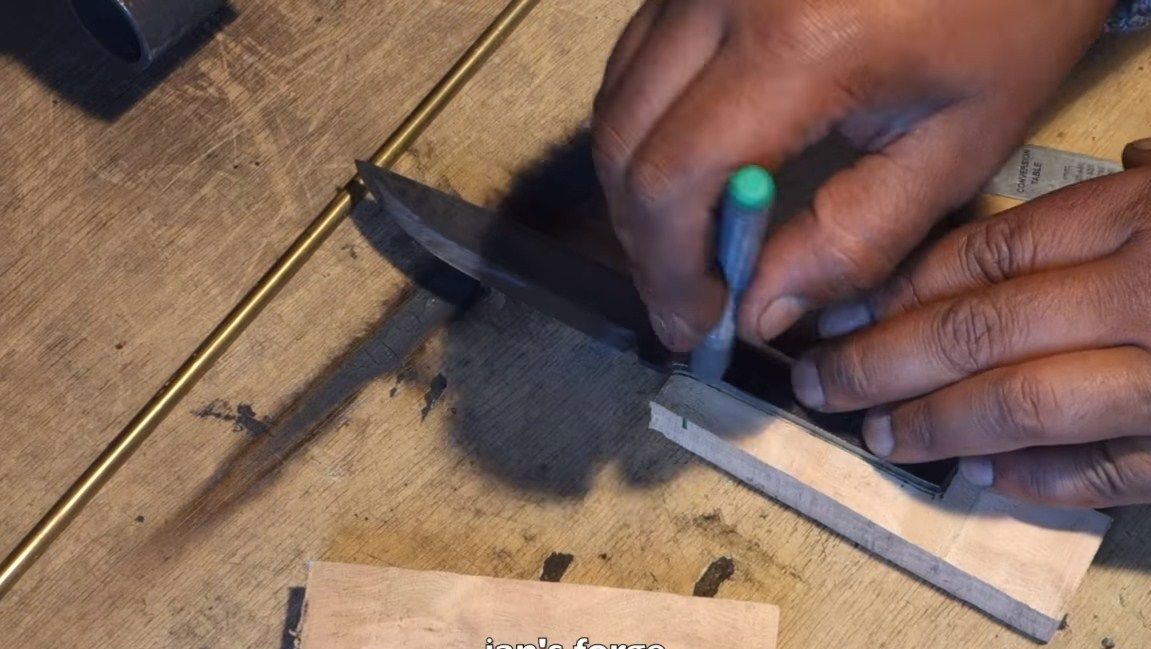
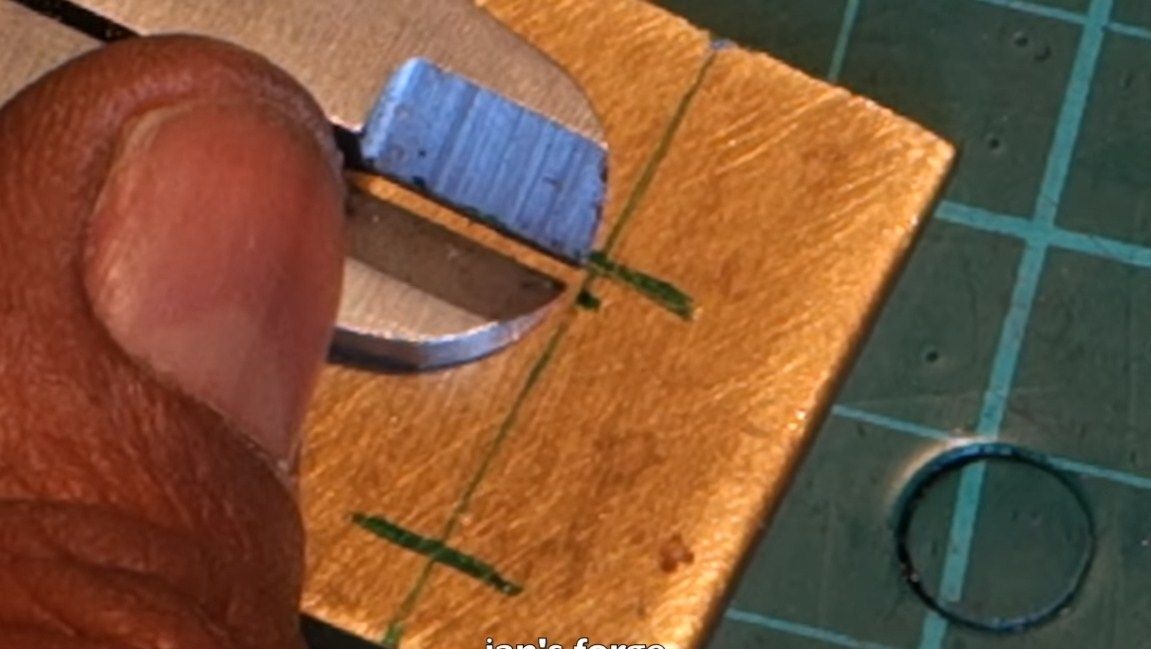
First you need to mark everything on the blade with a marker. We draw the desired shape and width of the bevels. You also need to divide the future blade into two parts. To do this, we take the blade exactly the same diameter as the thickness of the blade. If you want to make a notch on the blade, you need to start with this. The author makes it with the help of files. First we make a groove with a triangular file, and then we refine it with round files.
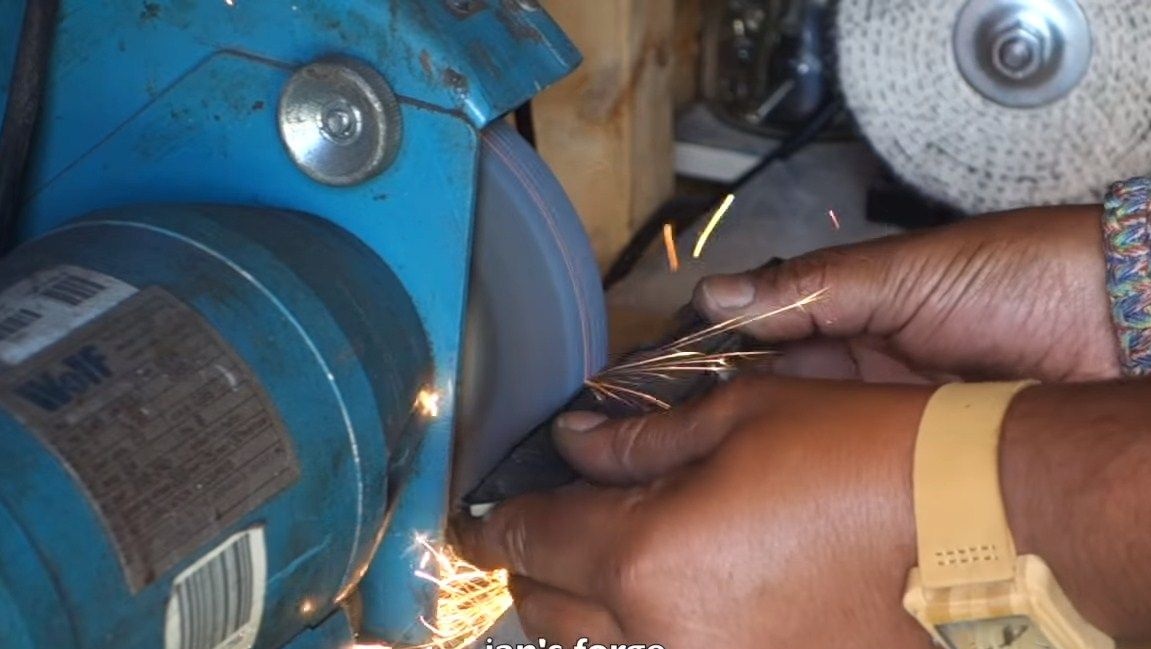
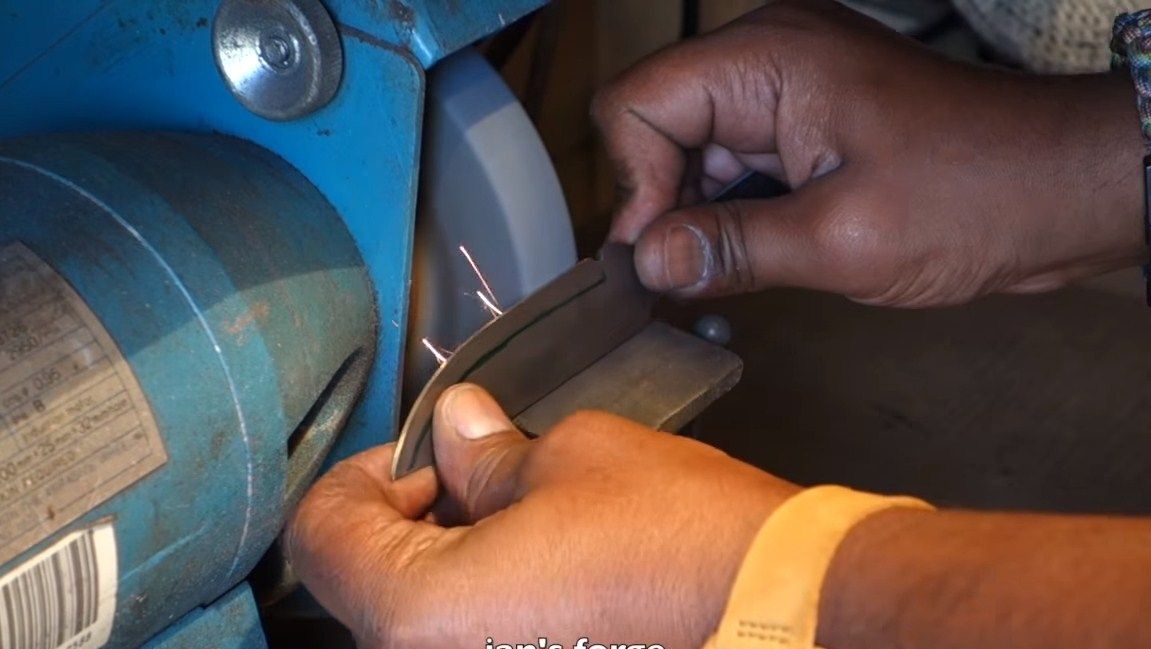
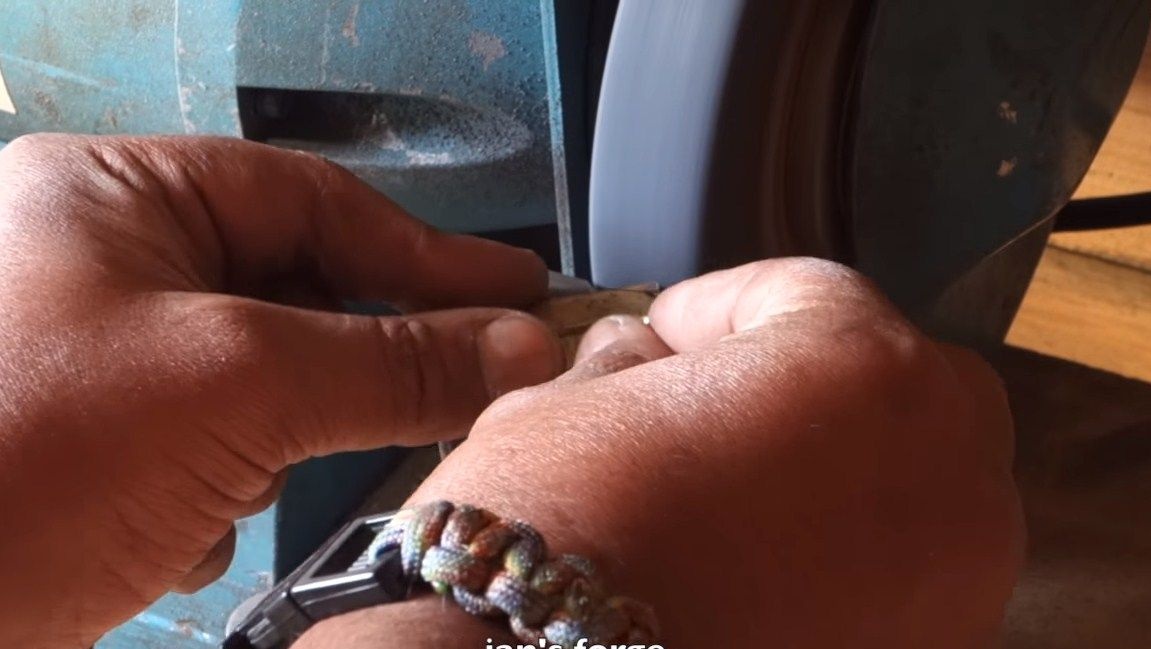
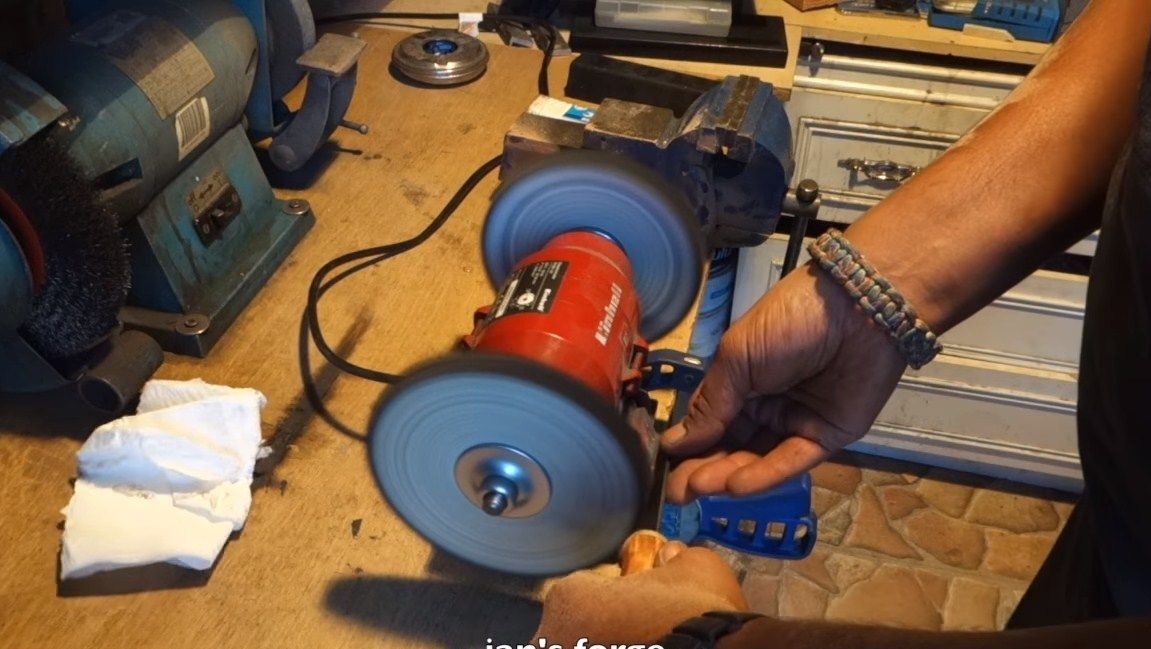
Well, now you can start the formation of bevels, the author does it on a grinder. Traditionally, it is customary to do this on a belt grinder. First, we form the main profile, and then proceed to manual processing. The author works with files and sandpaper. Do not sharpen the blade at this step, it should not be thinner than 1 mm. Otherwise, there may be deformation and cracks during hardening.
Step Five Quenching
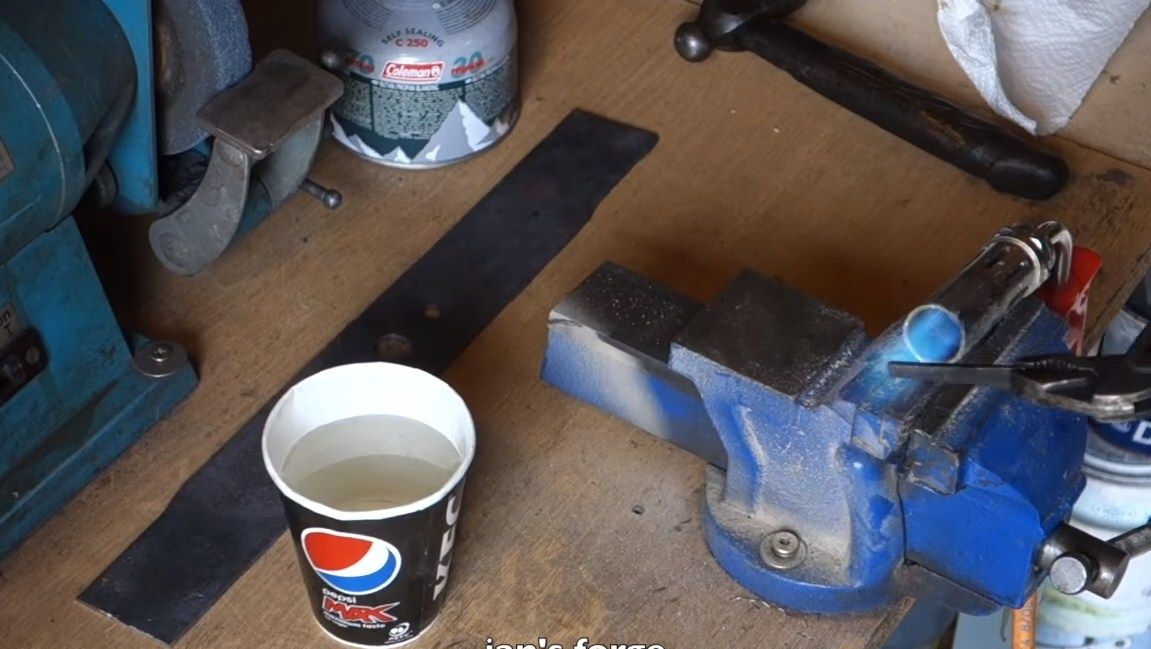
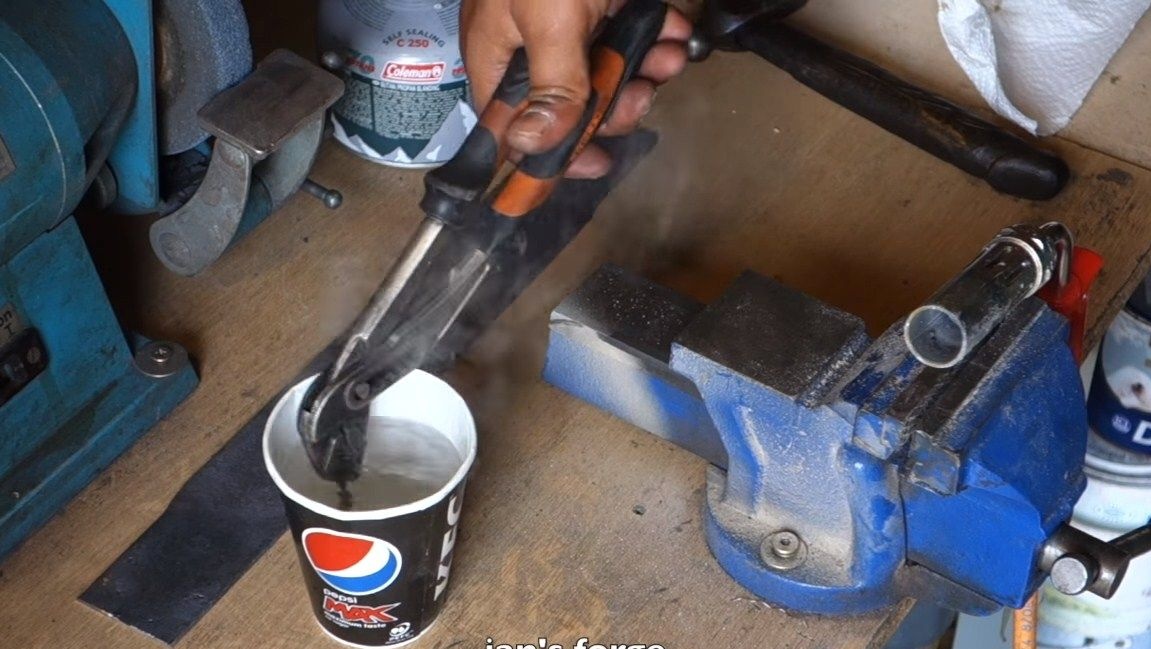
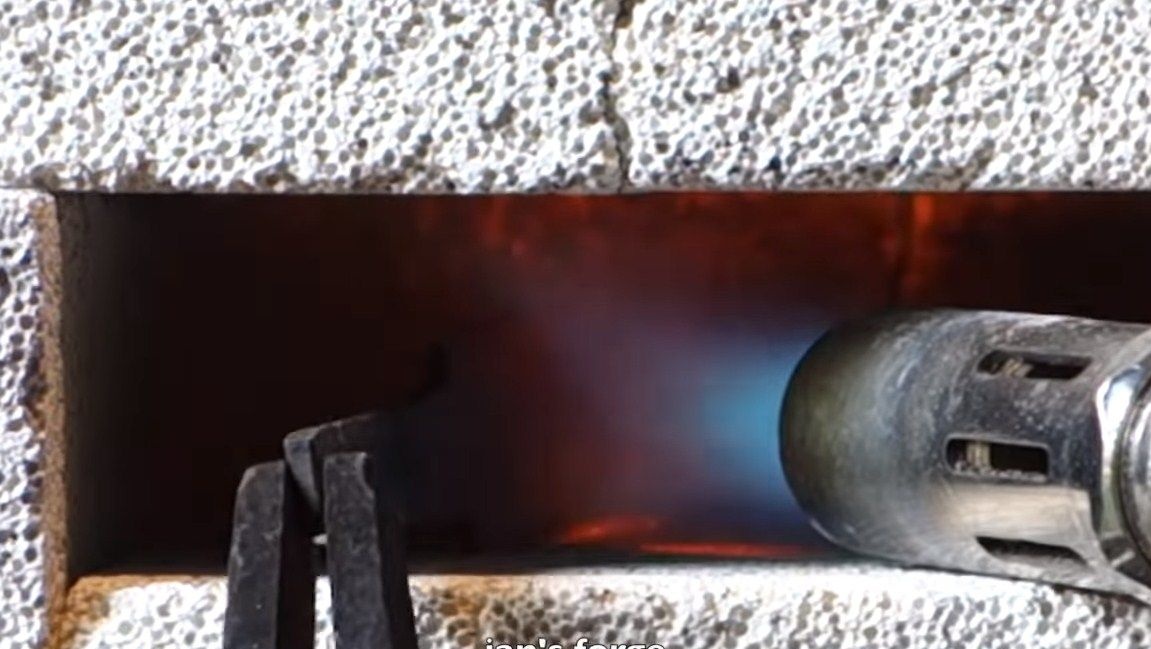
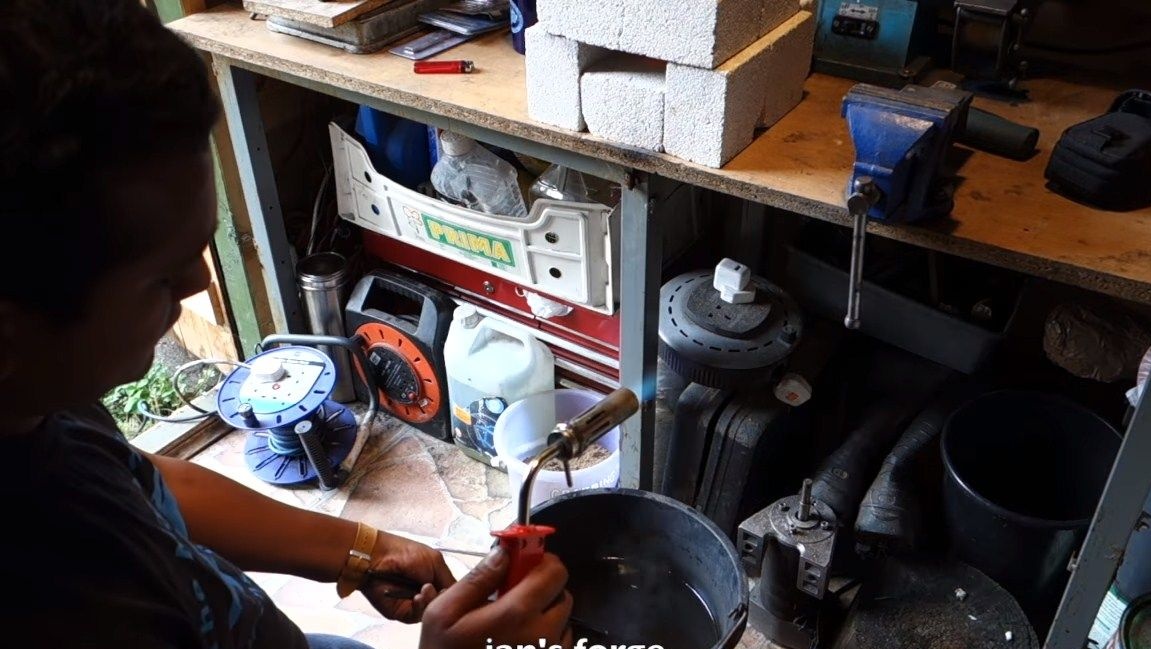
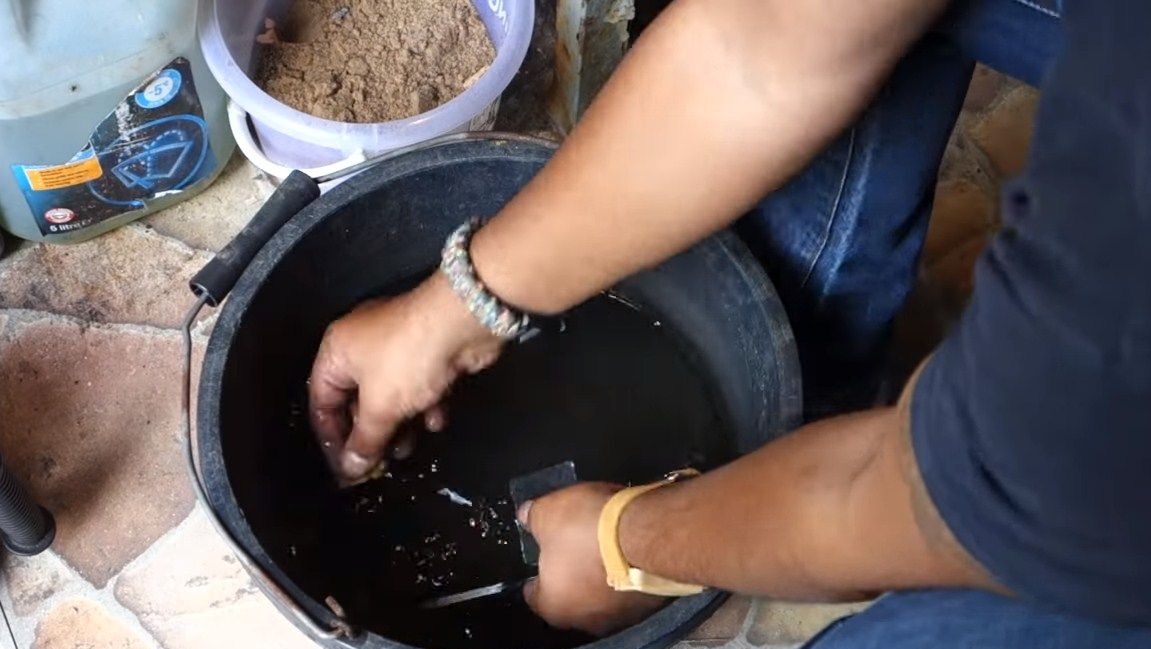
Now the blade can be hardened, for this the author uses a gas burner and a makeshift furnace made of refractory bricks. The hardening temperature for each steel is individual, usually it is determined by the color of the metal. Most metal grades normally harden if heated to a bright red glow. As a liquid for cooling, the author used water. This is a time-tested method, but it may not be suitable for some modern steel grades. The fact is that the water cools the steel too quickly and the blade may crack. It is best to use oil for these purposes, automotive or even vegetable is suitable.
After hardening, check the blade, trying to scratch it with a file, if there are no traces or almost none, then the hardening was successful.
After hardening, the metal is usually released, since the steel becomes too brittle and the blade can be easily broken. We make a vacation in a domestic oven, heat it up to a temperature of about 200 degrees Celsius and fry the blade for about an hour and a half. Then allow the oven to cool with the blade closed.That's all, now we have an excellent blade that holds sharpening well and springy.
Step Six Cleaning
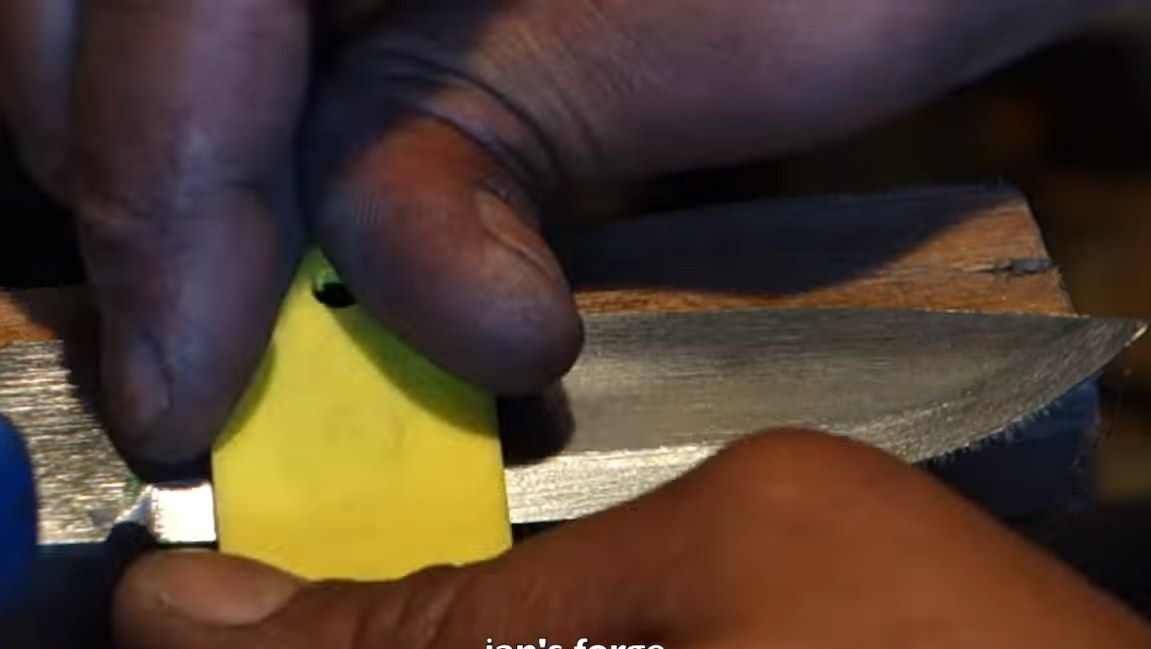
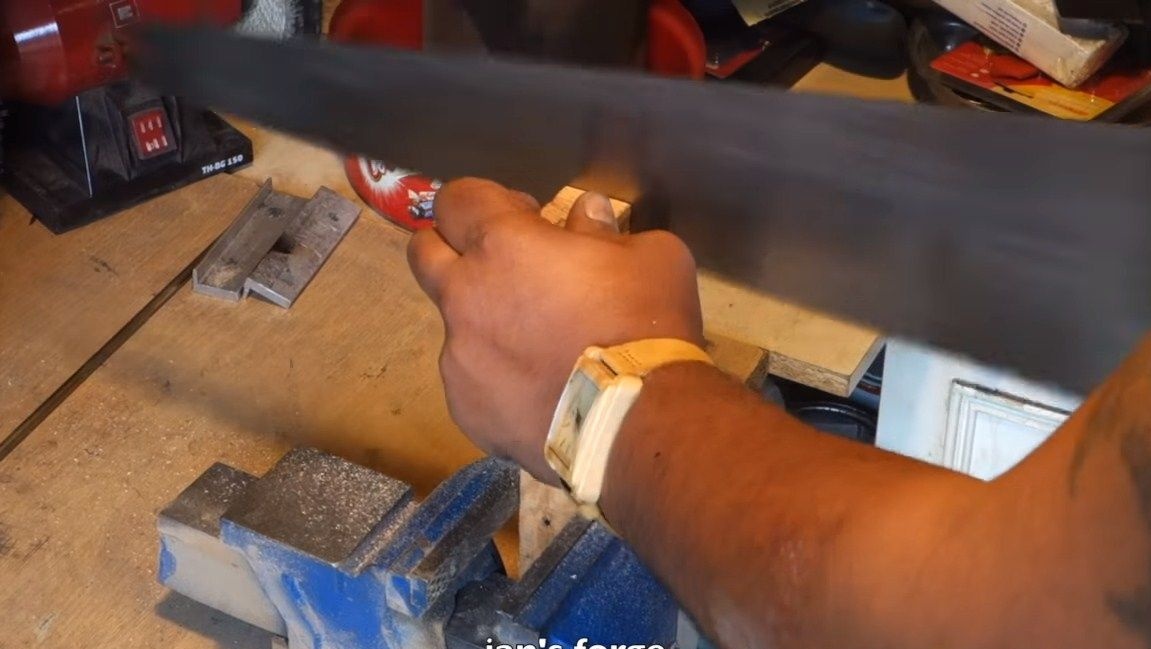
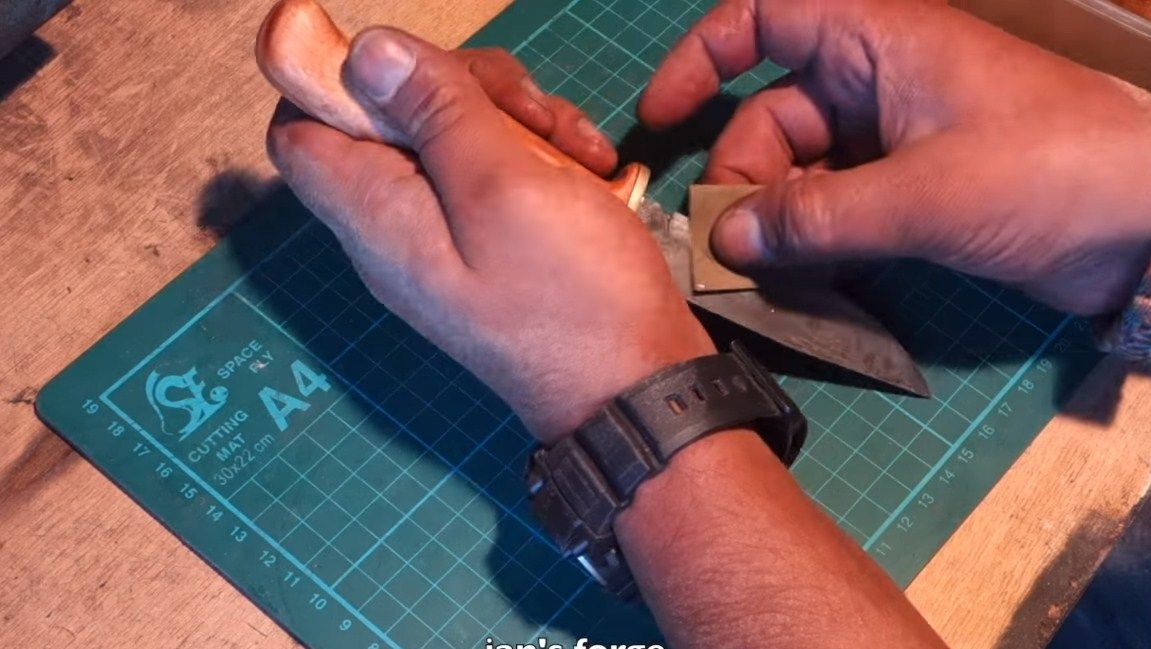
After hardening, there will be scale on the blade, it needs to be cleaned. Use sandpaper dipped in water. If desired, the blade can be brought to shine.
Seventh step. Pen making
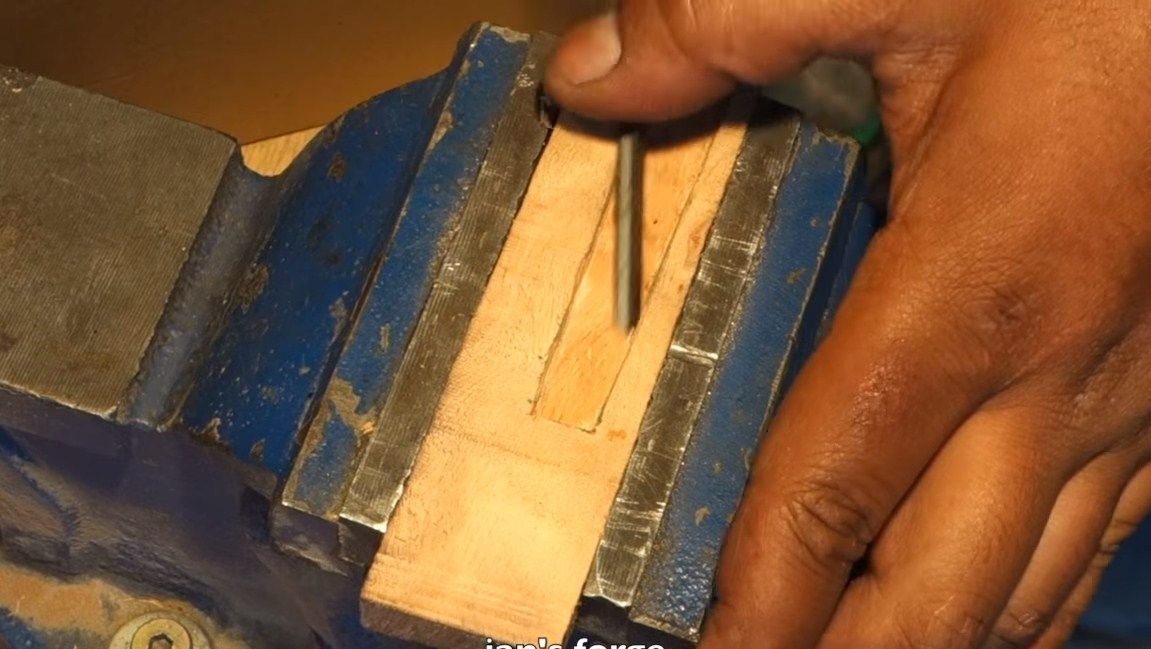
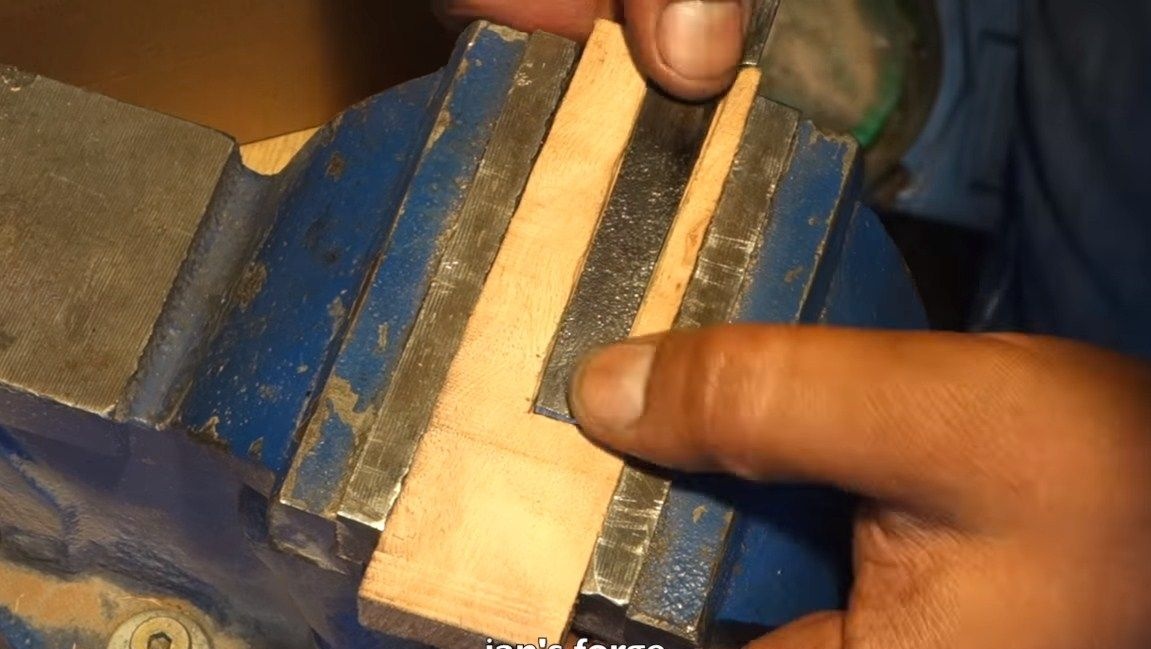
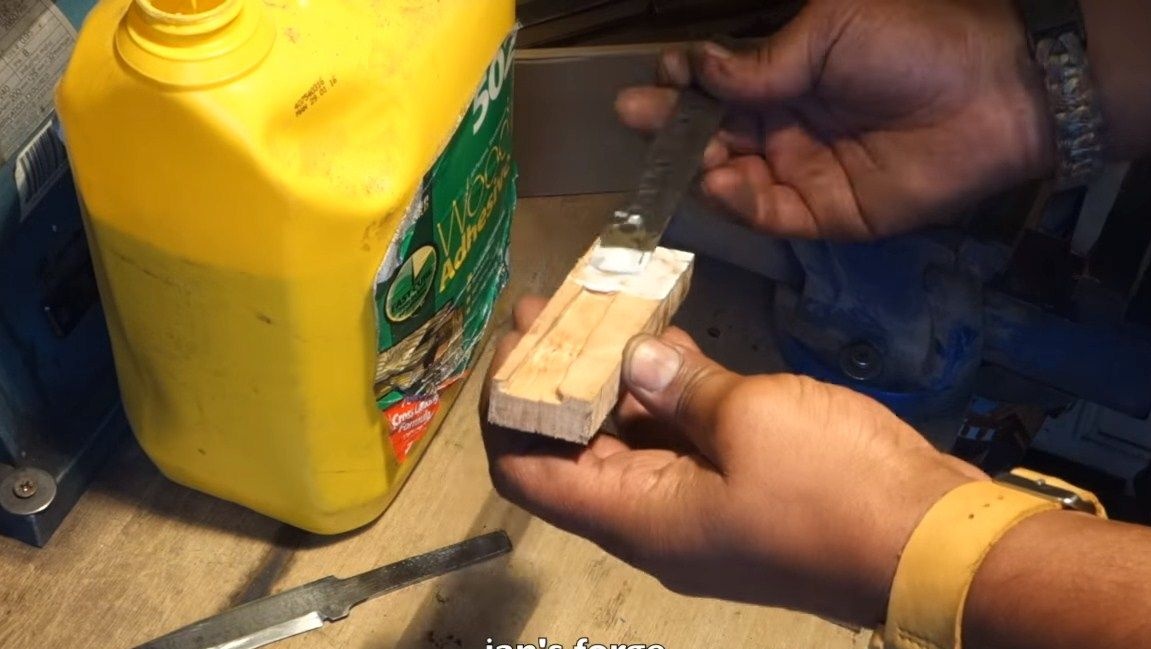
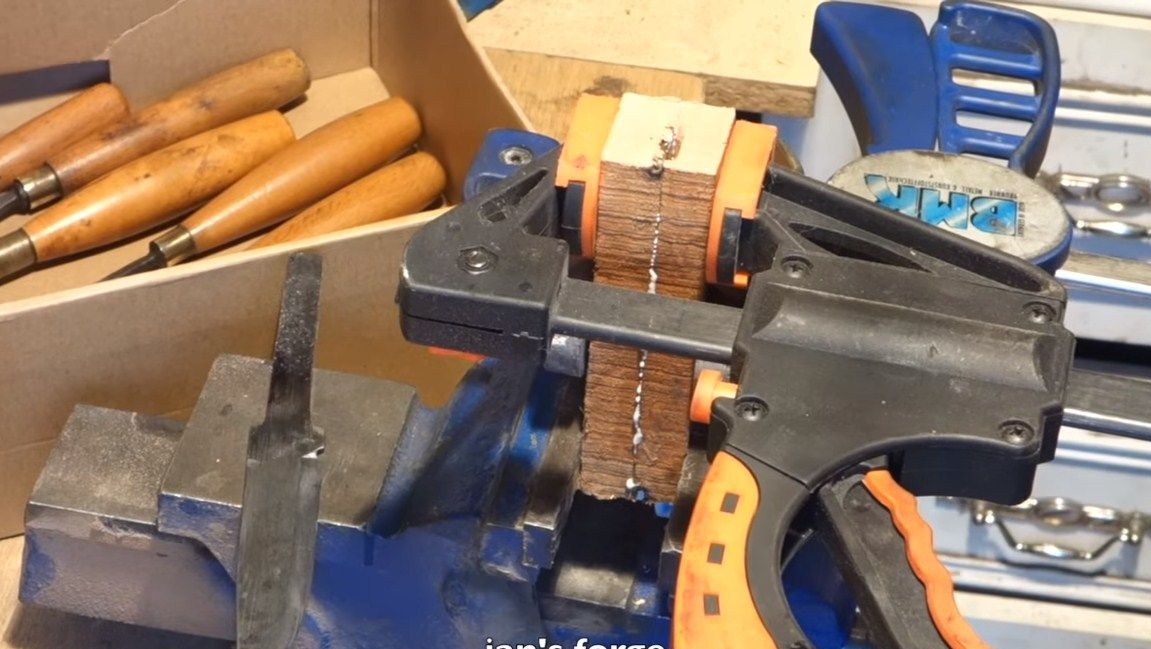
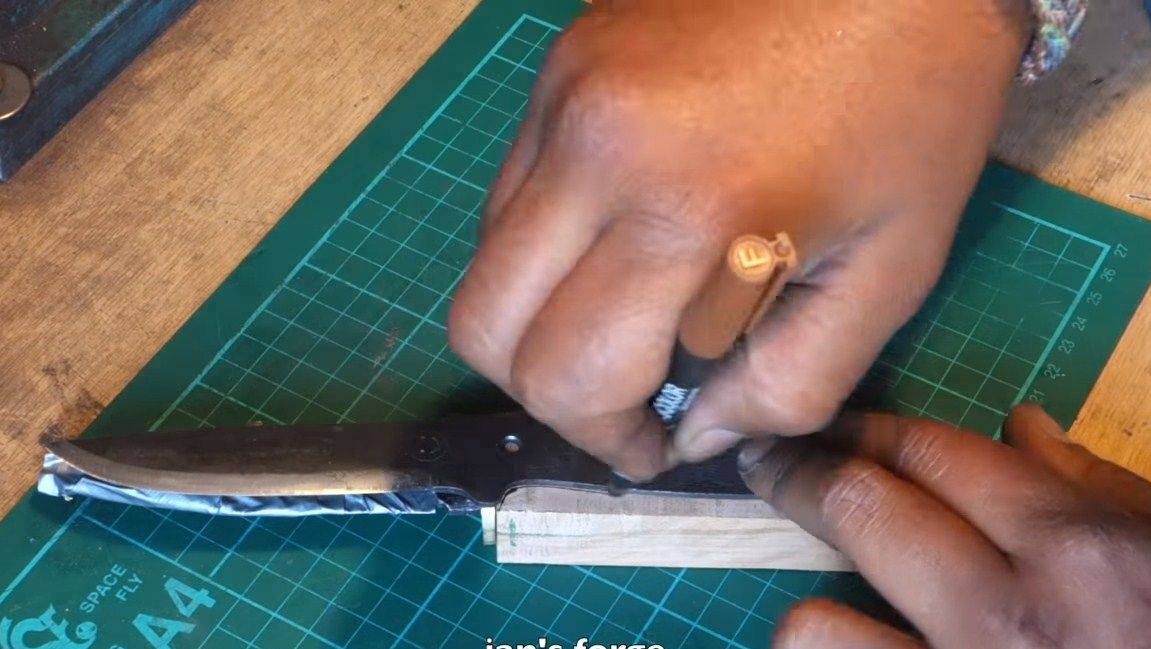
The author’s pen consists of two halves, for this we select the necessary block or thickness for thickness and cut it into two parts using a jigsaw machine. Then in these halves we cut out the chisel grooves under the knife shank. Well, now just glue these two parts together. The author uses PVA glue for this.
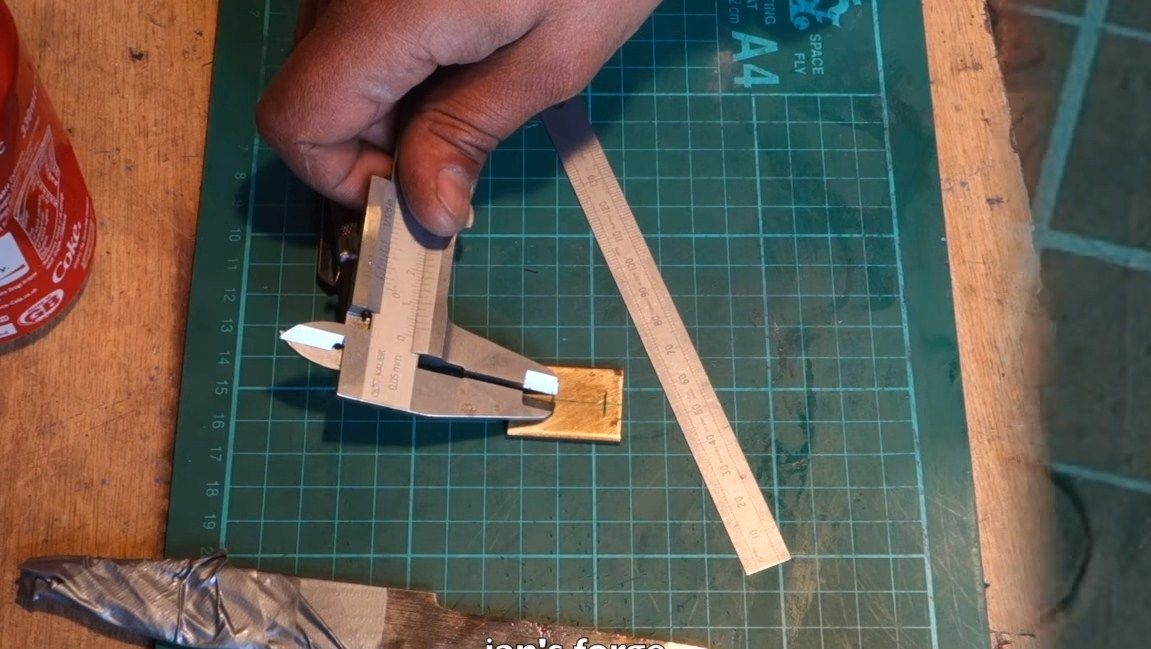
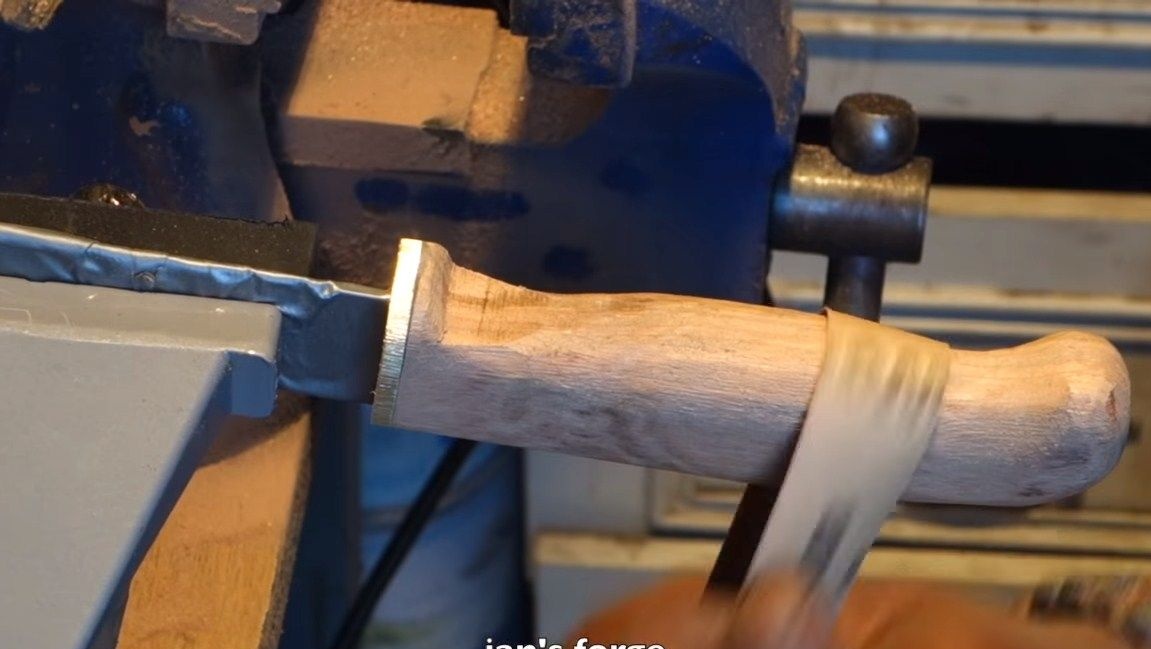
There is also a brass insert in front of the handle. We grind it out of a brass sheet and make a cut under the tail of the knife.

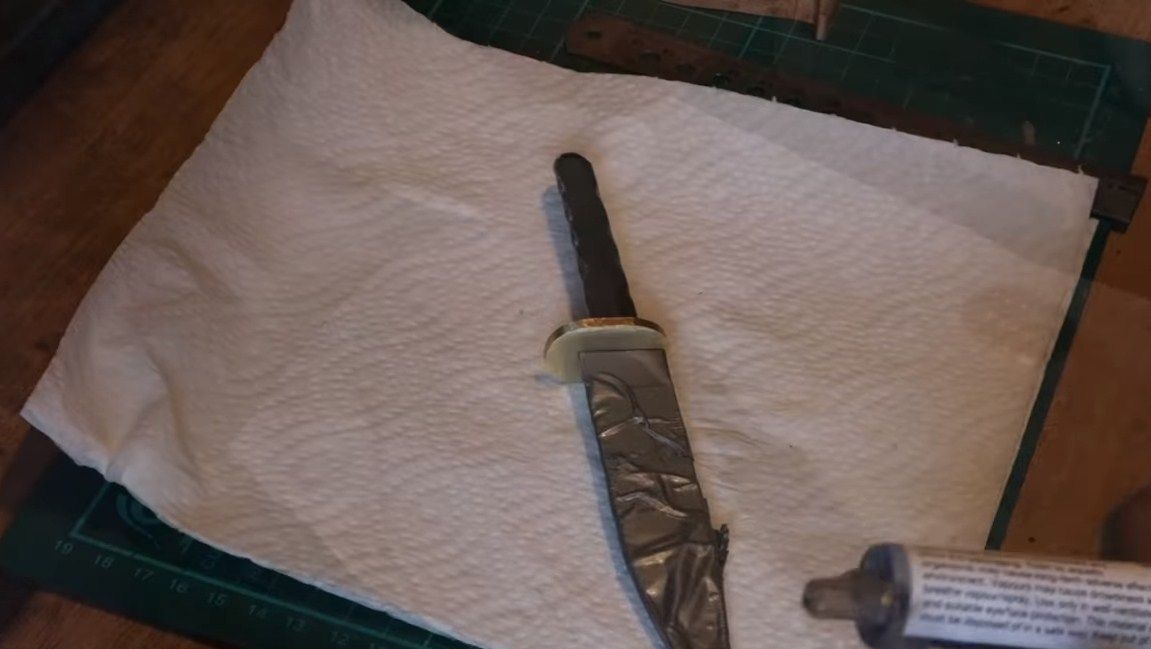
Step Eight. Finishing the knife
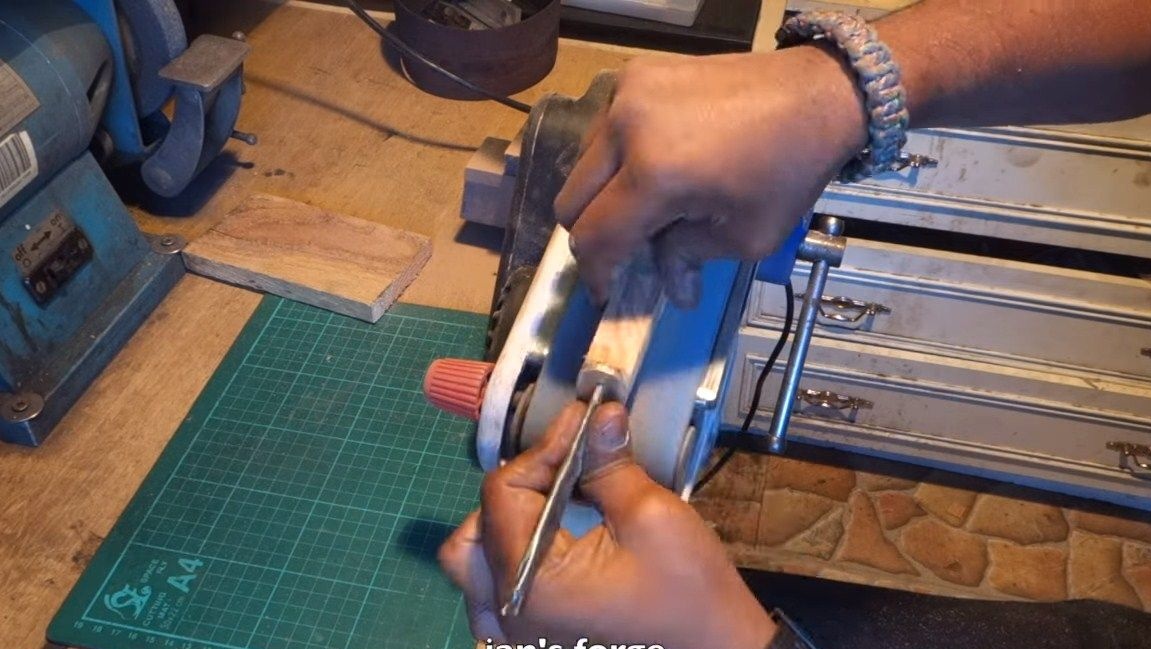
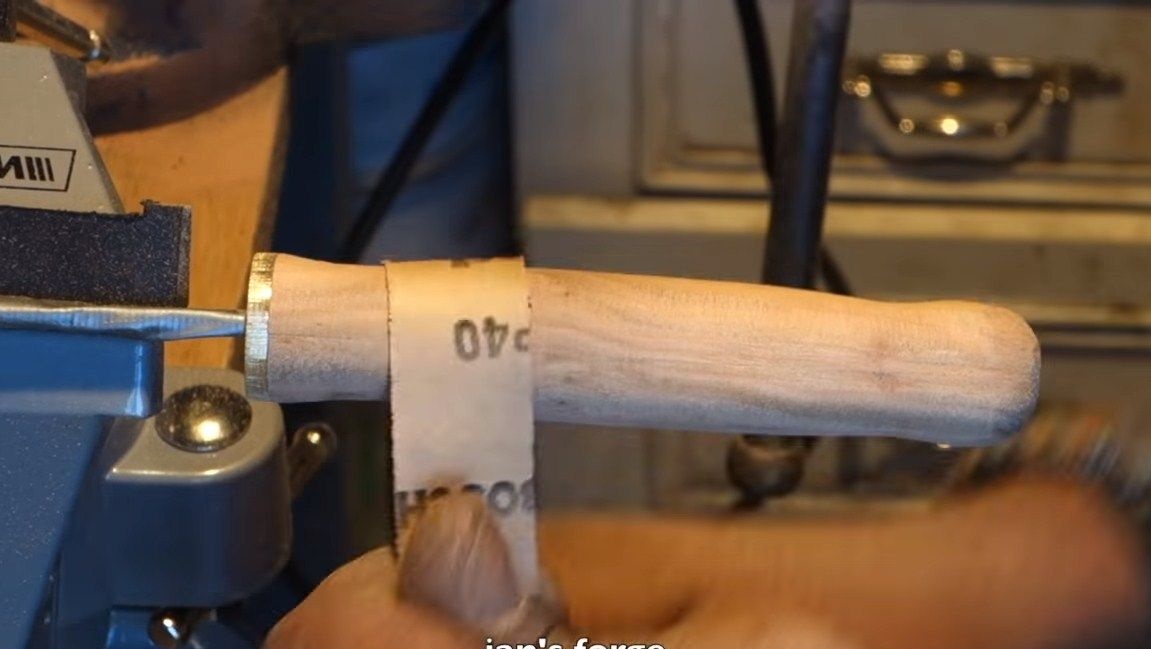
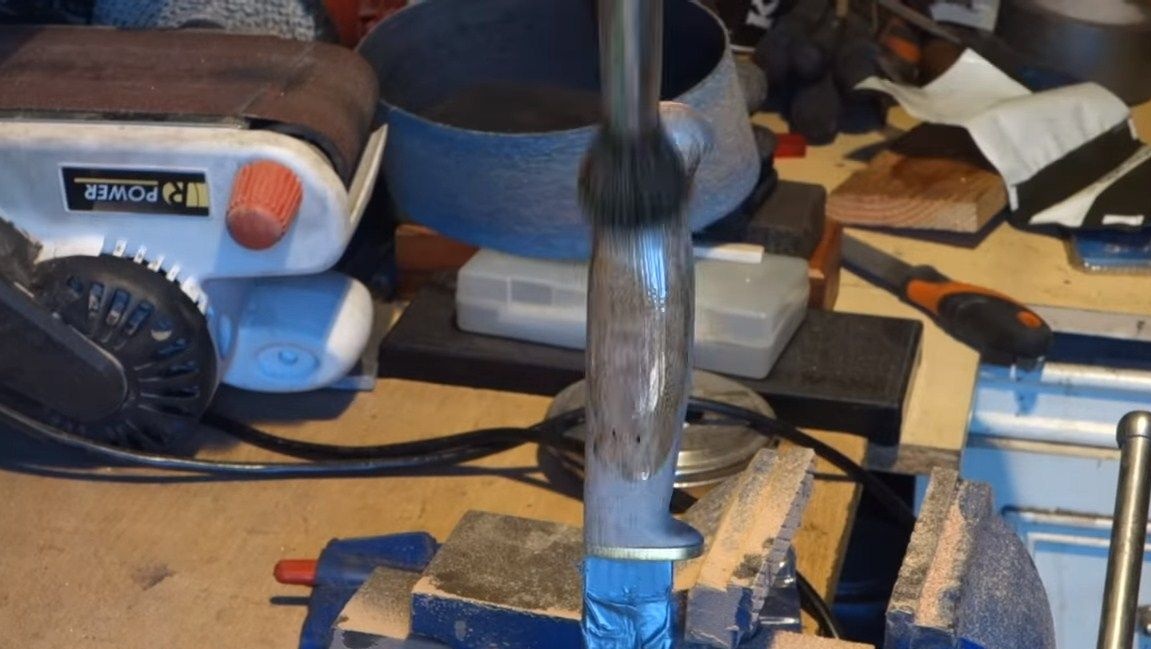
The knife is almost ready, we just have to install the handle and finish its processing. We install the handle on epoxy glue. Well, when the glue dries, we grind the handle on a belt grinder. Also here you will need to work manually with sandpaper and files.
When the handle is finished, soak it with oil or apply varnish to protect it from water and dirt. Under such a coating, the pen will look much more beautiful.
The knife is ready! Polish the blade and sharpen it! The author’s knife easily cuts paper. As for more complex tasks, the blade easily cuts a tree. That's all, good luck in manufacturing!