

Hello to all lovers homemade. In this article I will tell you how to make a massive mirror do it yourself, it will decorate your interior with its appearance and powerful design, it will also be original, as it will be done independently. Materials for this homemade product are readily available, so there should not be any difficulties with this.
Before reading the article, I suggest watching a video that shows the entire detailed process of assembling the mirror.
In order to make a massive mirror with your own hands, you will need:
* Wooden blocks 40 * 40 mm
* Manual frezer
* Electric fret saw
* Self-tapping screws
* Wood drill 9 mm
* Electric drill
* Joiner glue
* Sanding block with sandpaper
* Mirror
* Airbrush
* Transparent glue "titanium"
* Water stain with mahogany color
* Keyless clamps
* Building rule
* Construction square and protractor
* Angle grinder and sanding pad
* Safety glasses, gloves, respirator
Step one.
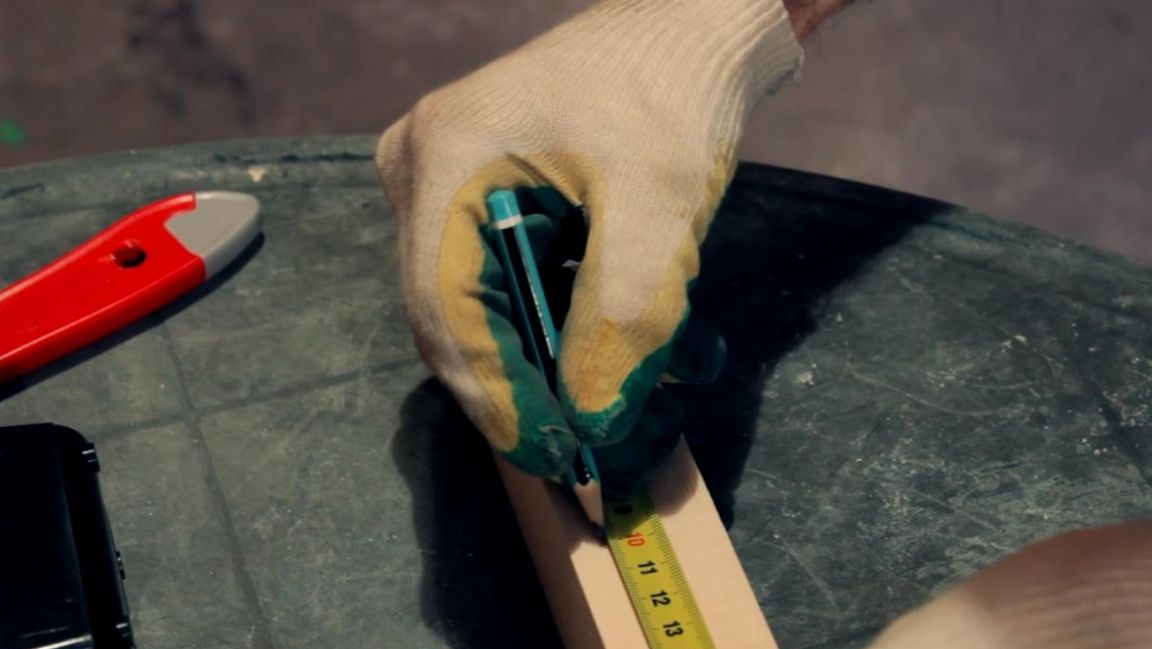
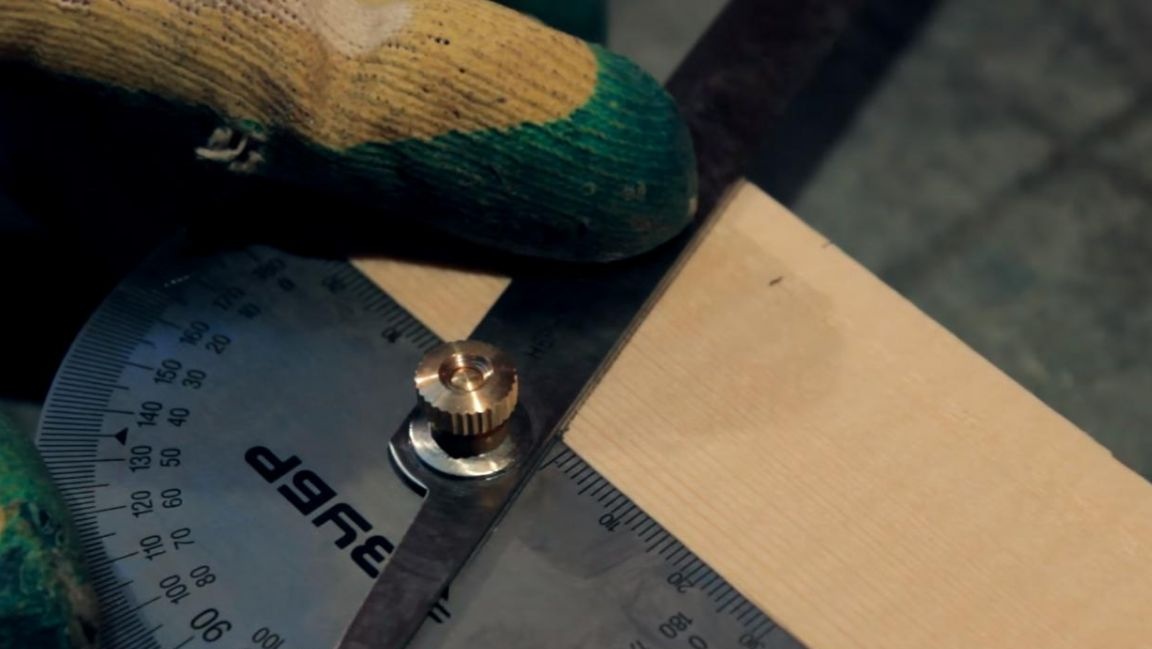
The first step is to prepare pieces of wooden bars, their length should be 100 mm, while one end should be cut at an angle of 90 degrees, and the opposite at an angle of 70 degrees. For marking, we use a pencil, a construction corner and a protractor, alternating them depending on the desired angle. This is done to get a kind of drawing.
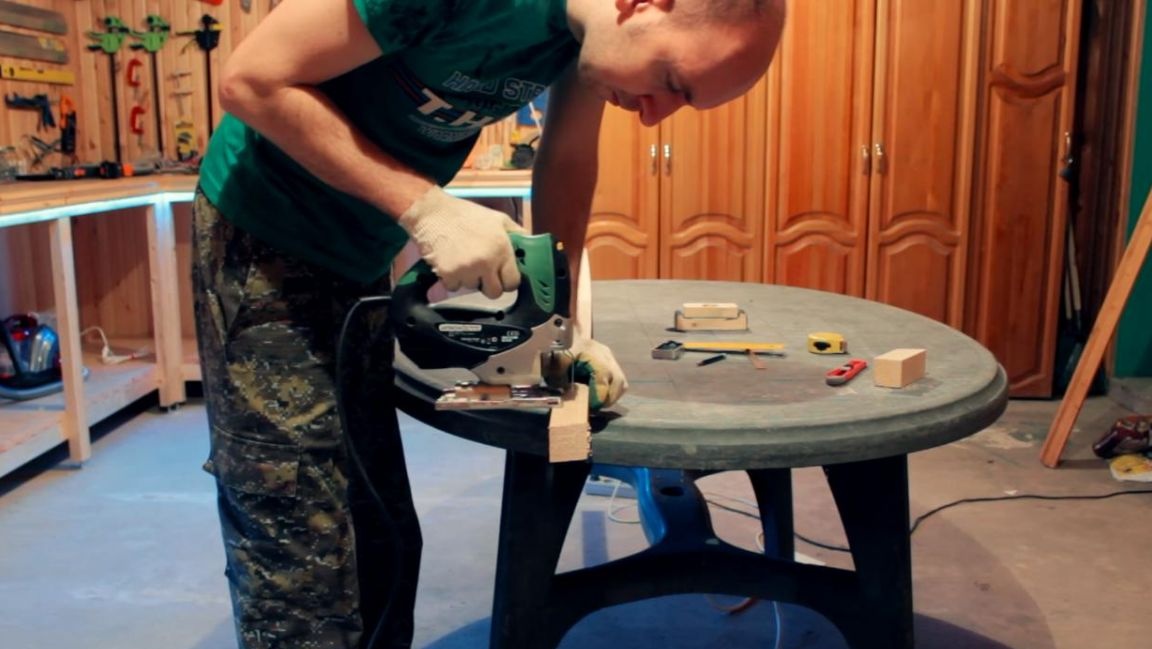
According to the marks, we file the workpieces with an electric jigsaw. When working with a jigsaw, observe safety precautions, use safety glasses, gloves and a respirator, as sawing creates a lot of wood dust.
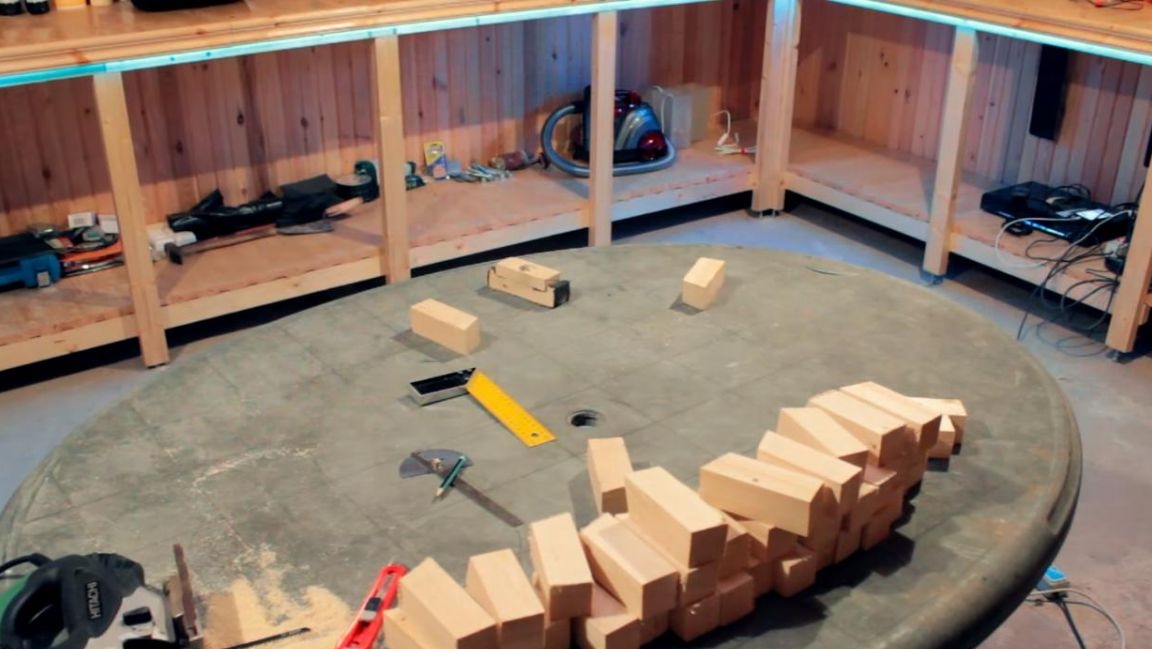
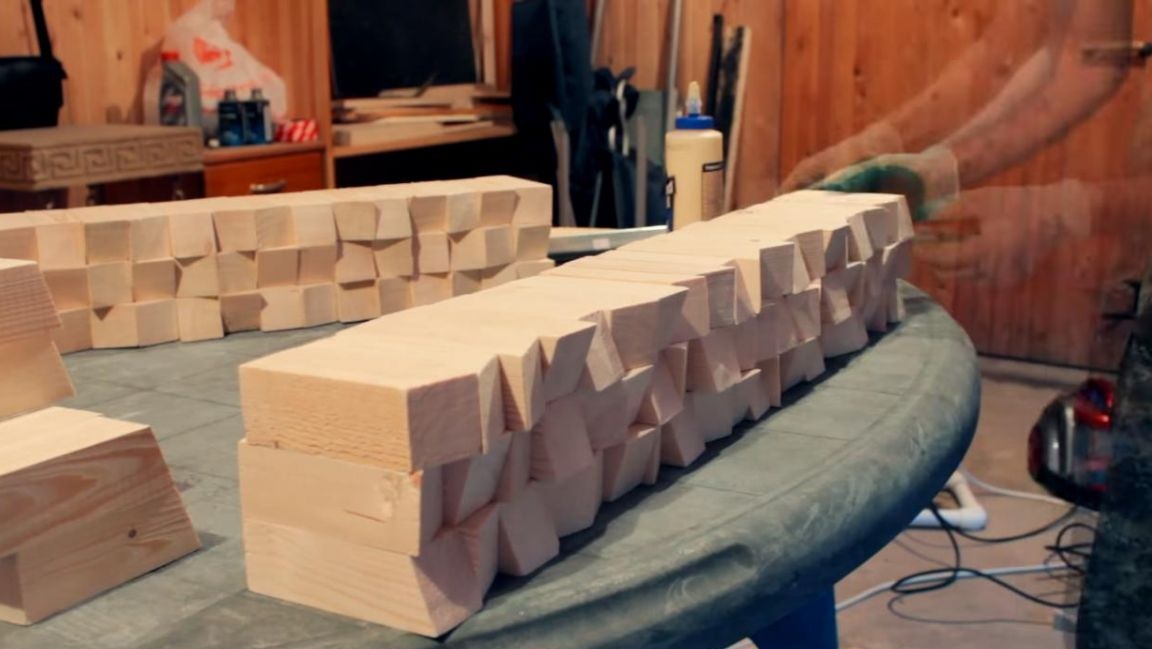
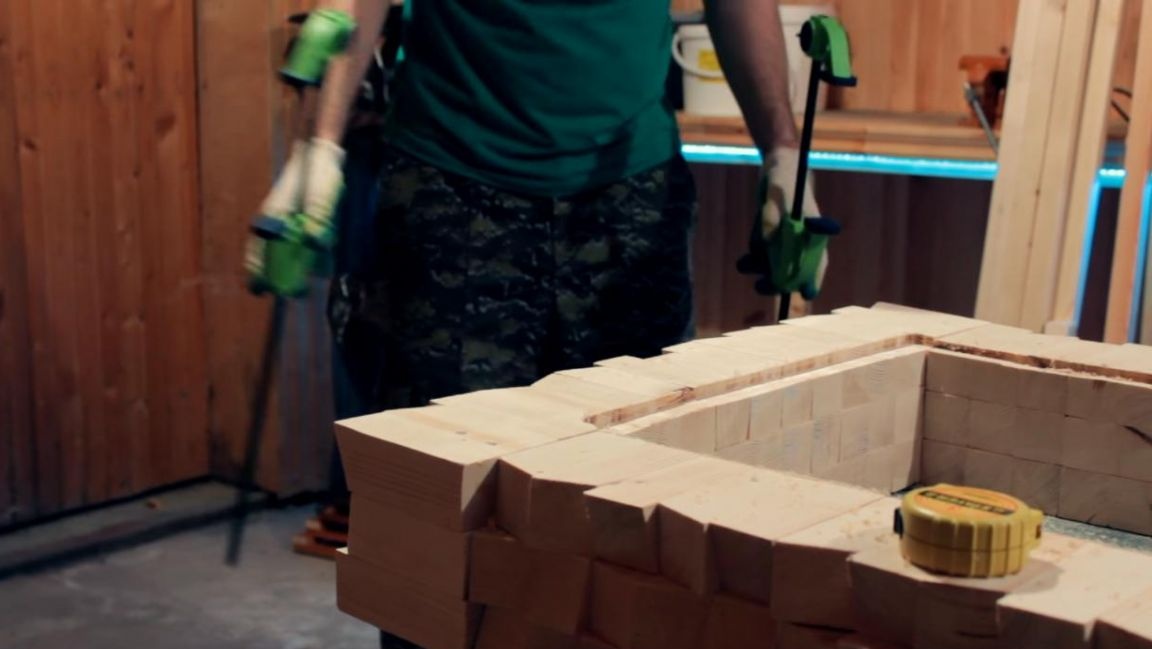
In order to assemble a rectangle from these bars, 64 pieces are needed, but since one row seemed not enough, it was decided to make three, as a result of which the number of bars increased to 192, so creating blanks is not an easy task when it comes to such a quantity.
Step Two
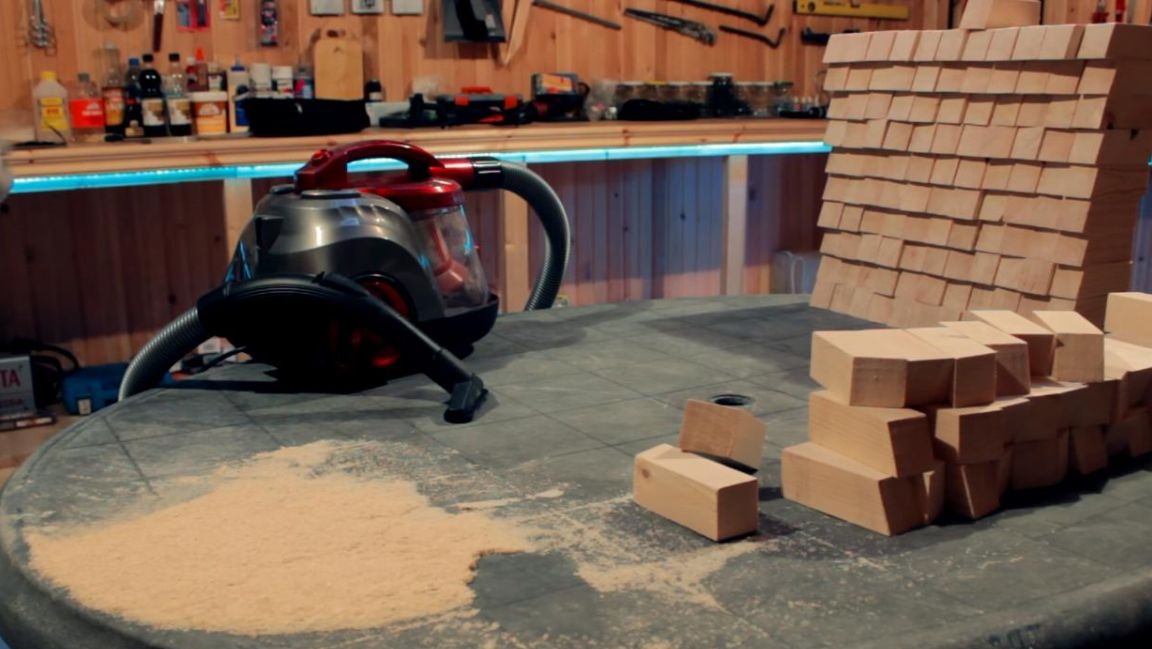
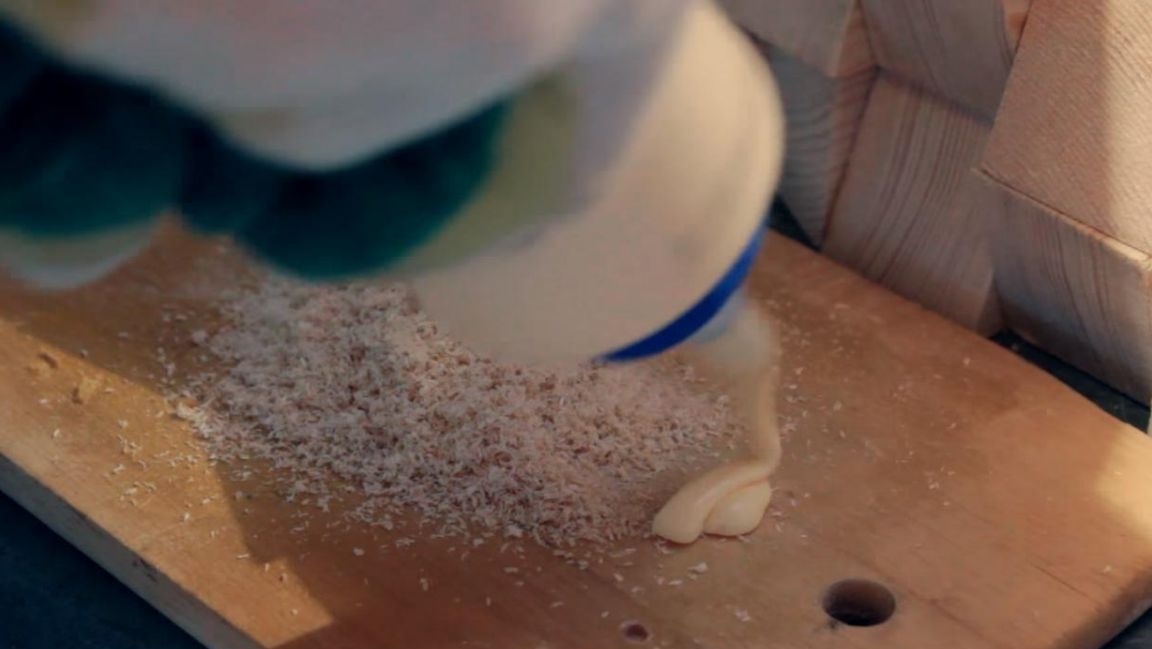
After sawing, we remove the resulting burrs from the workpieces using a sanding bar with medium-sized sandpaper.
In order not to breed garbage at the workplace, we remove the sawdust with a vacuum cleaner, working on a clean workbench is much more pleasant.
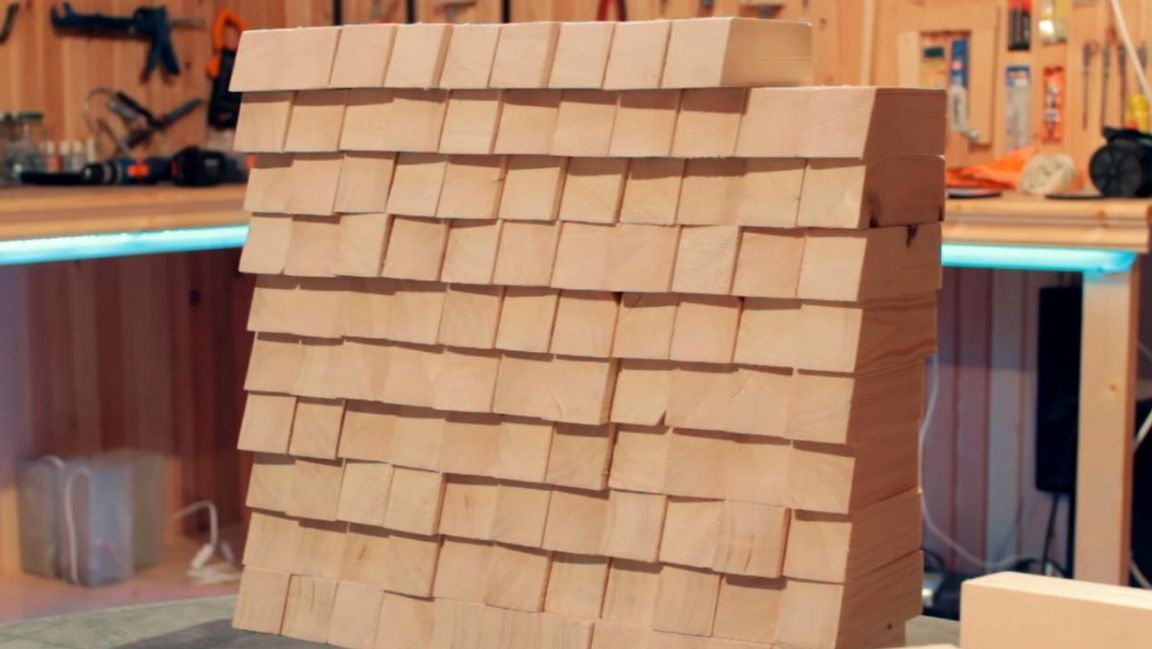
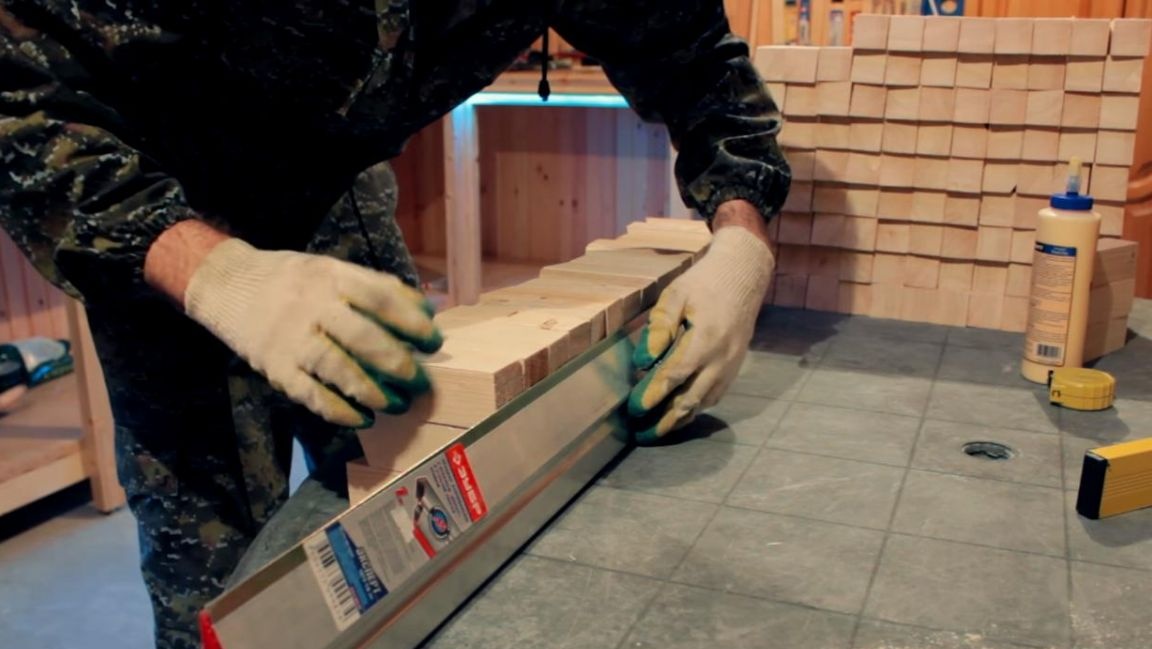
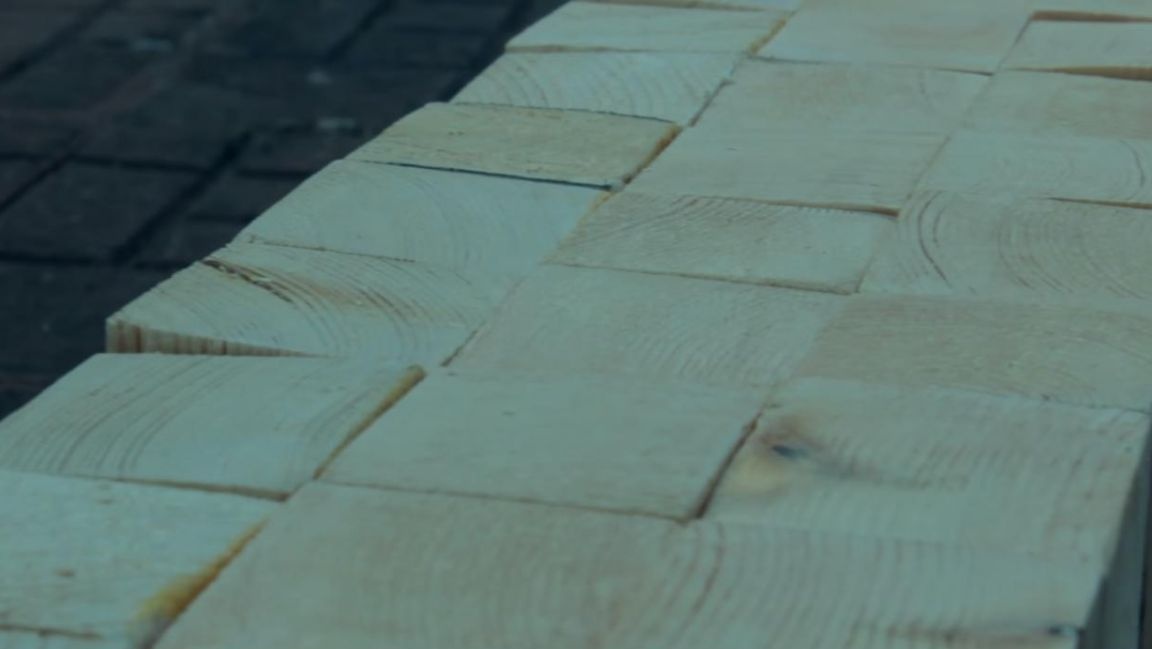
Next, we assemble the sawn and processed workpieces of the bars into separate parts, before fastening we lay them on a flat surface, at the same time we form the front panel with cuts with an angle of 70 degrees, after the pattern is formed, remove the two upper rows and begin to glue the first row.
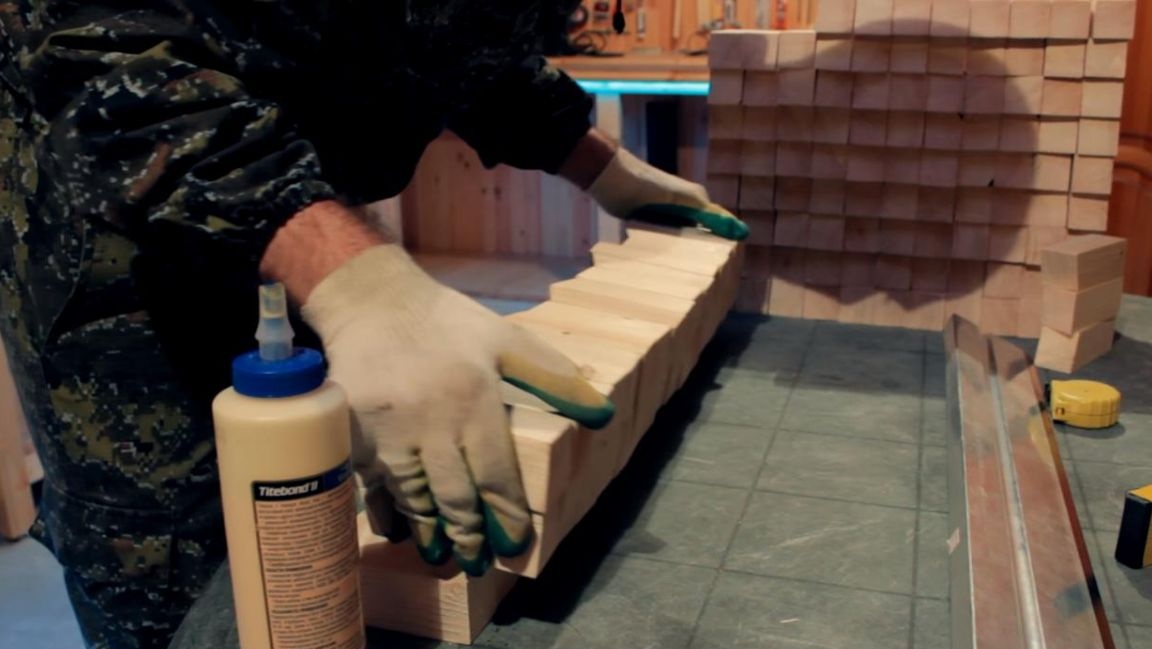
We apply glue from the ends to glue the blanks together, then we level the row using the building rule and apply a layer of glue to the top of the blanks to fasten the remaining rows, we also straighten the rows using the rule so that there are no bumps on the back side.
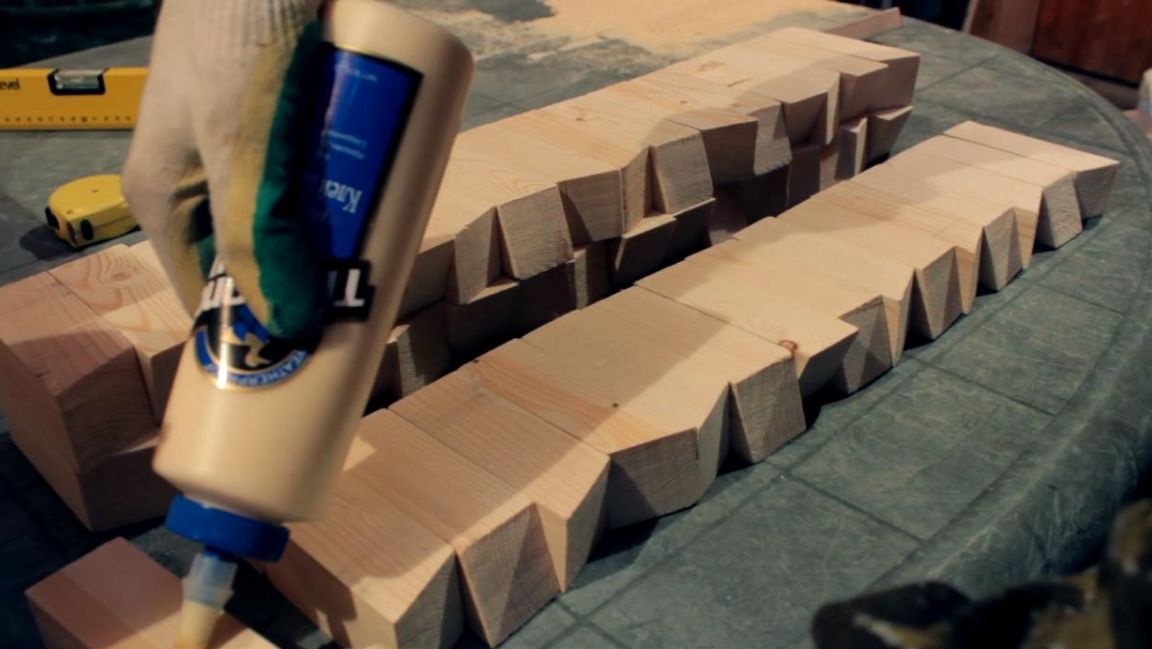
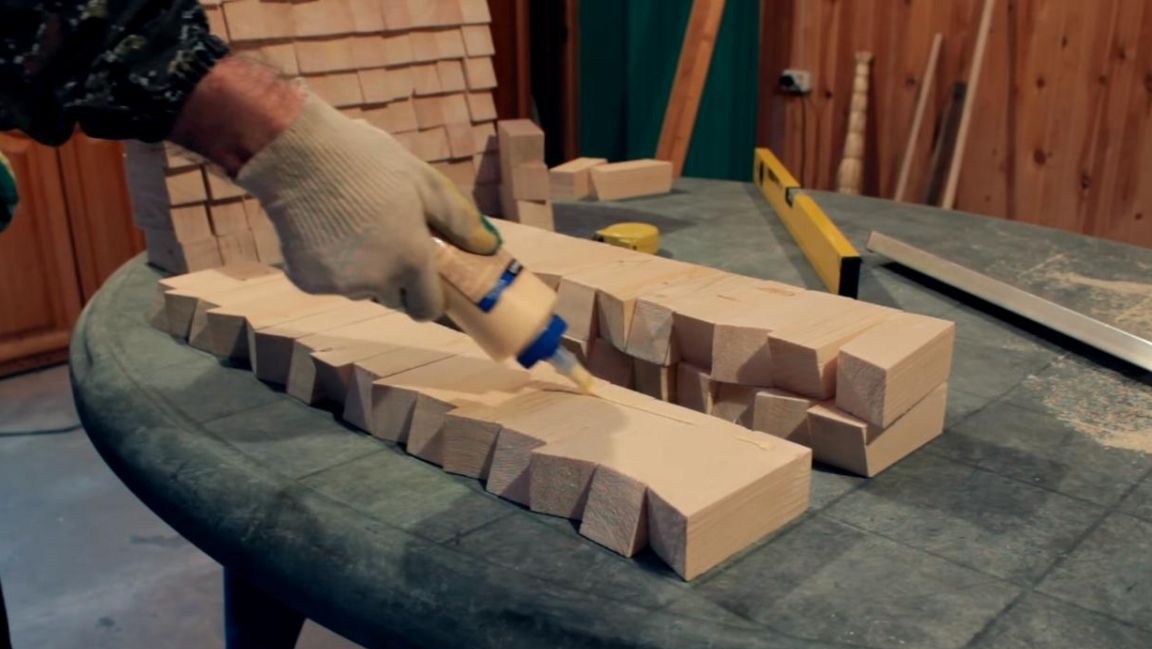
The remaining three parts are assembled similarly, after which we leave them for one day until the glue completely dries.
Step Three
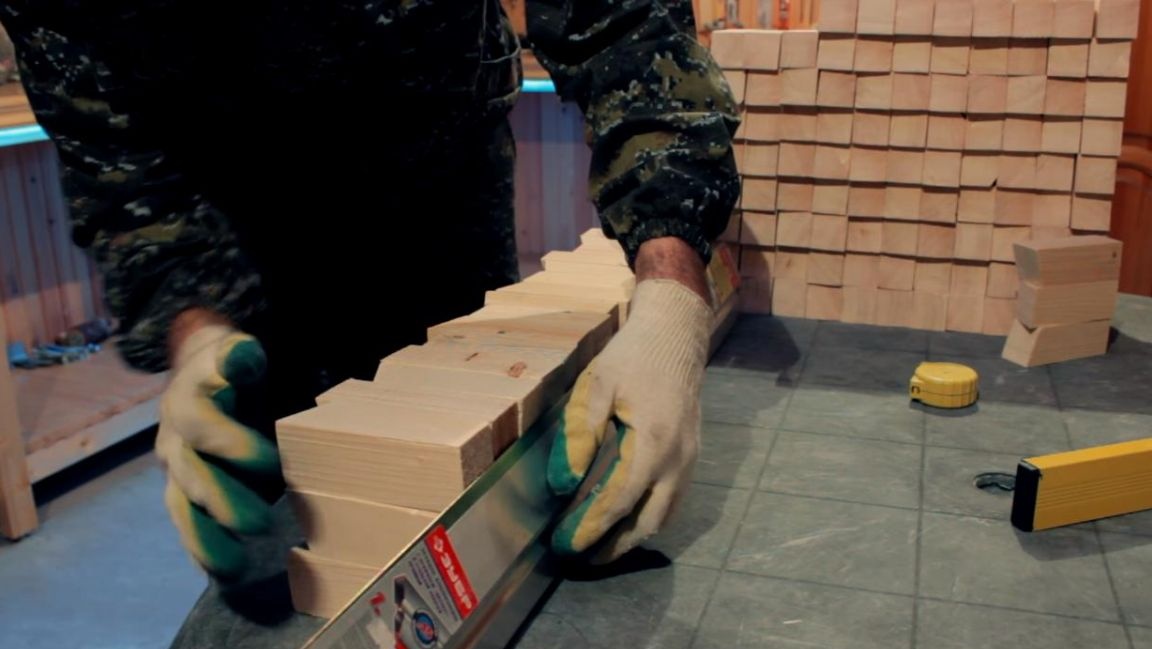
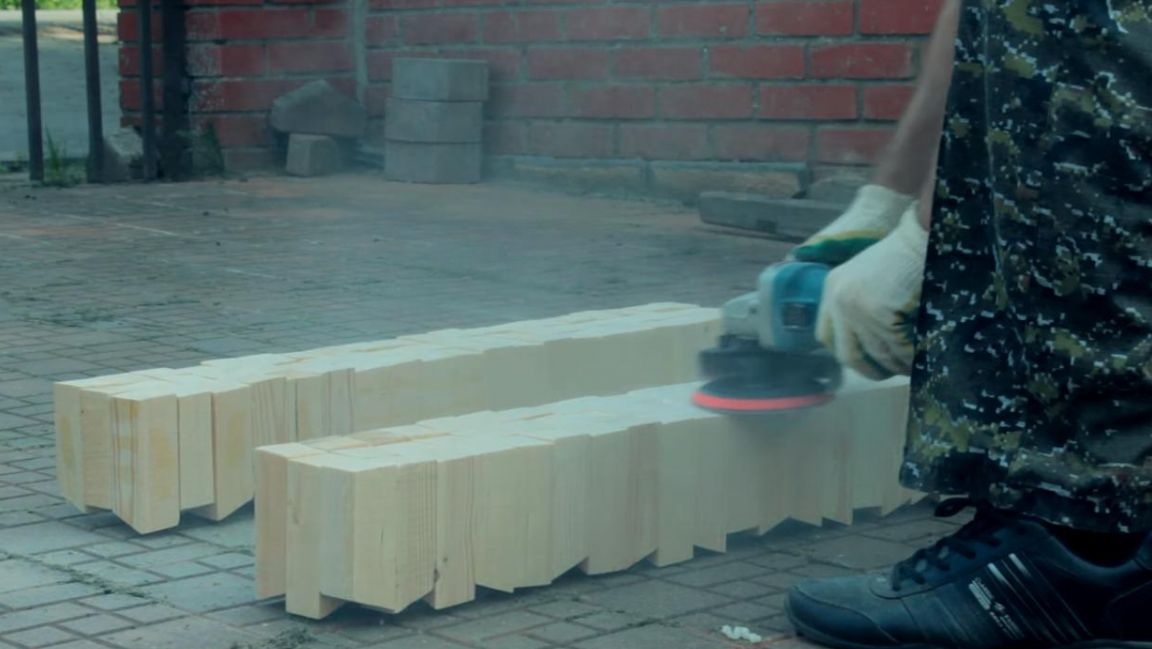
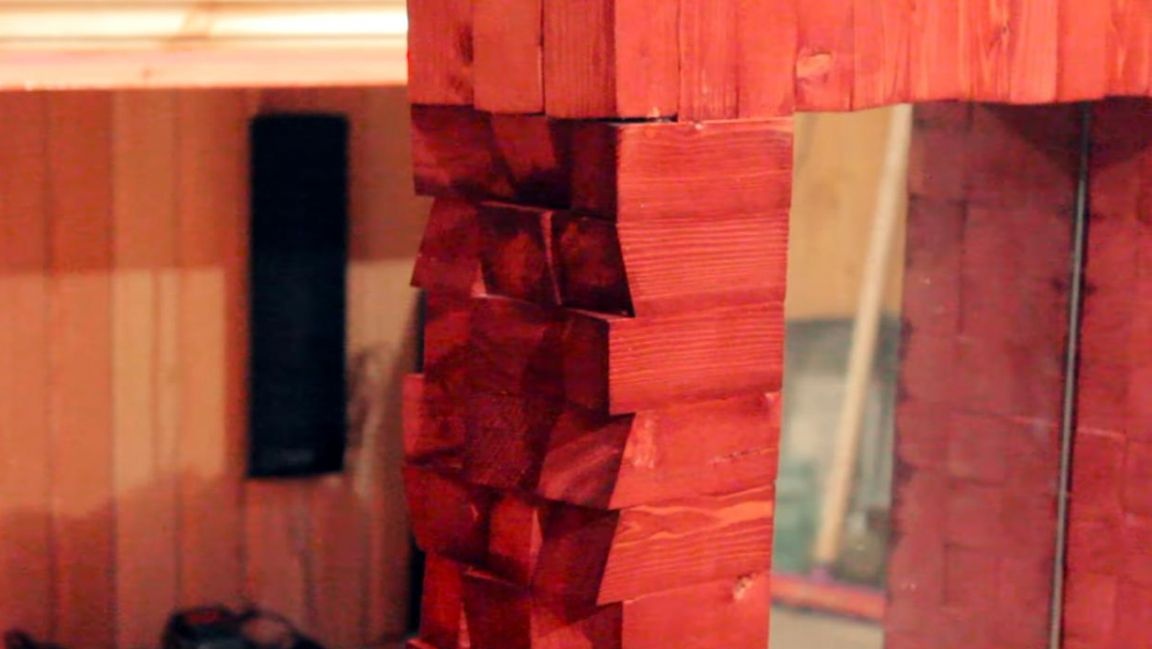
After gluing, the resulting surface irregularities, which were formed when sawing with a jigsaw, need to be sanded and a plane should be made.
To do this, install a grinding wheel with sandpaper on the angle grinder and grind the part, so you need to do this with each of the four. During the grinding process, a lot of wood dust is generated, so use a respirator, as well as safety glasses and gloves.
After grinding, we put four blanks on a workbench to make a rectangle.
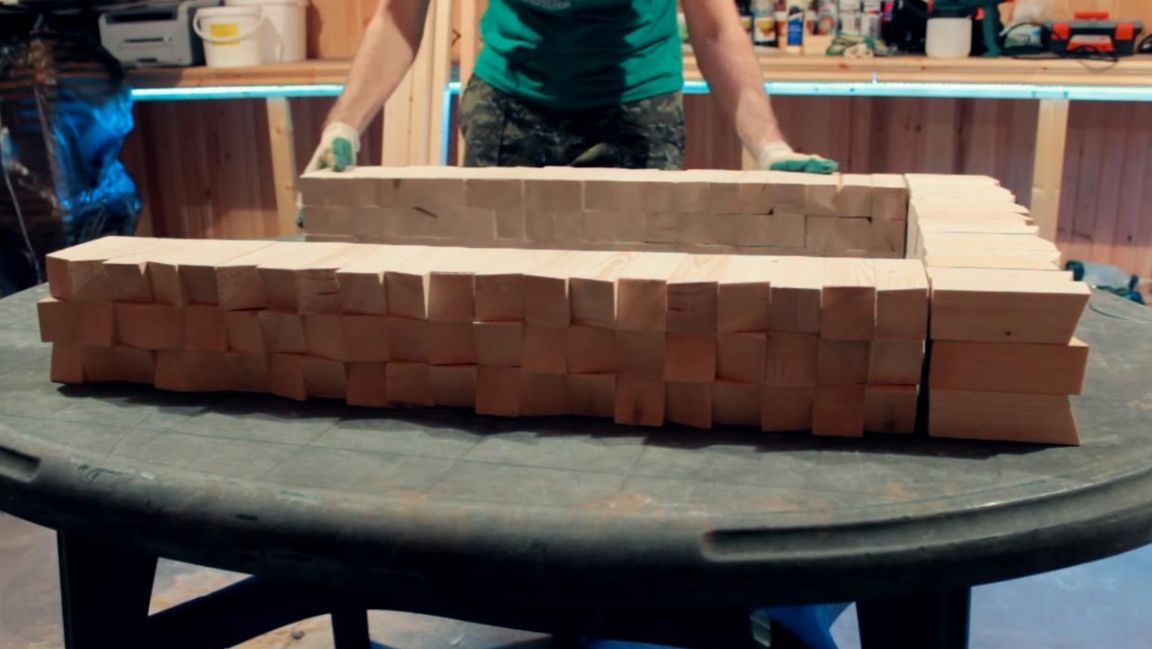
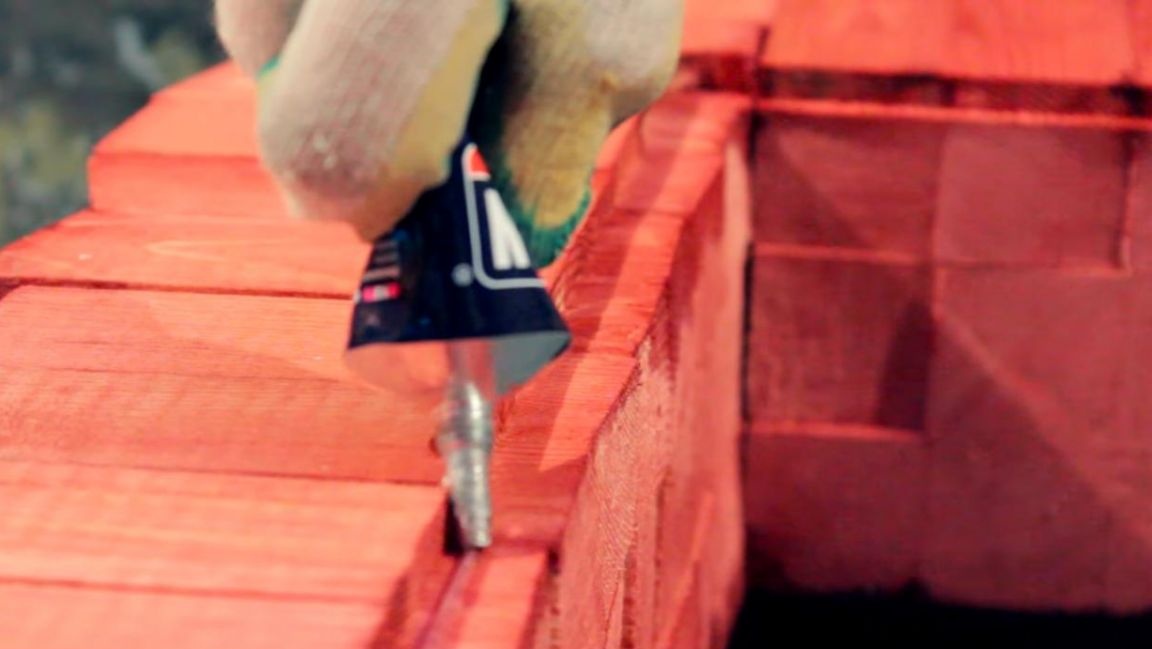
Connecting such heavy parts with glue is a risky business, so we drill two holes 80 mm long at the edges with a 9 mm drill installed in the drill, and then apply glue to the parts to be fastened and fasten with two screws.
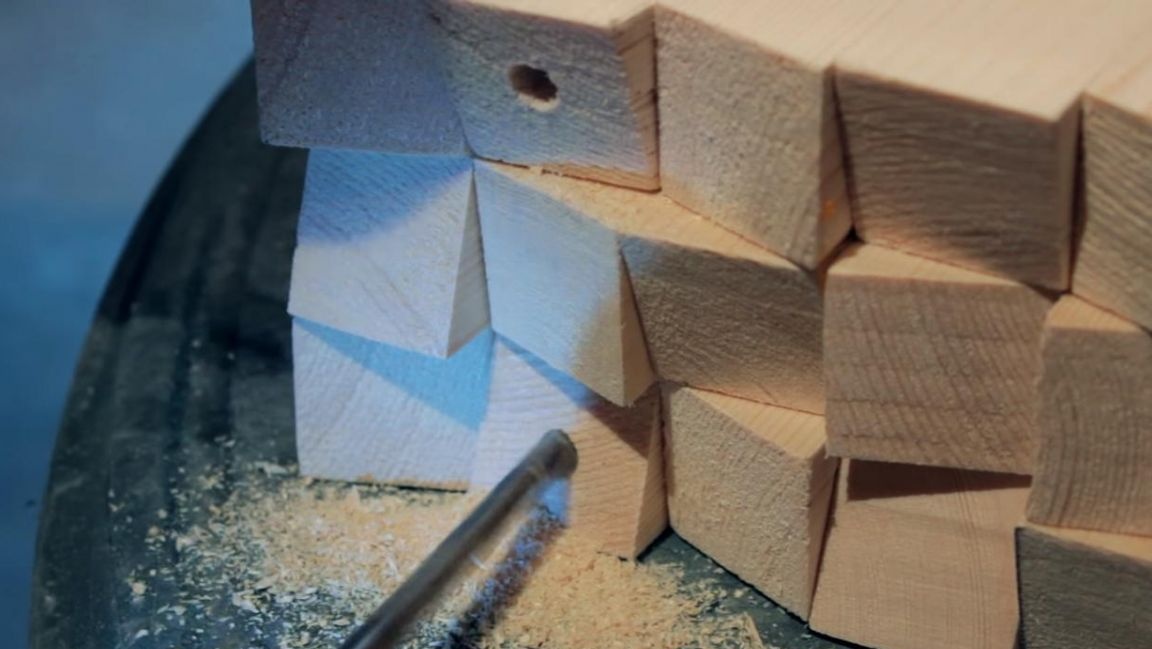
Hammer the resulting holes with sawdust mixed with wood glue.
Step Four
Now you need to use a manual router to select a groove along the inner perimeter of a previously made rectangle. The guideline in this case will be the construction rule, which is pressed to the rectangle using quick-clamping clamps.
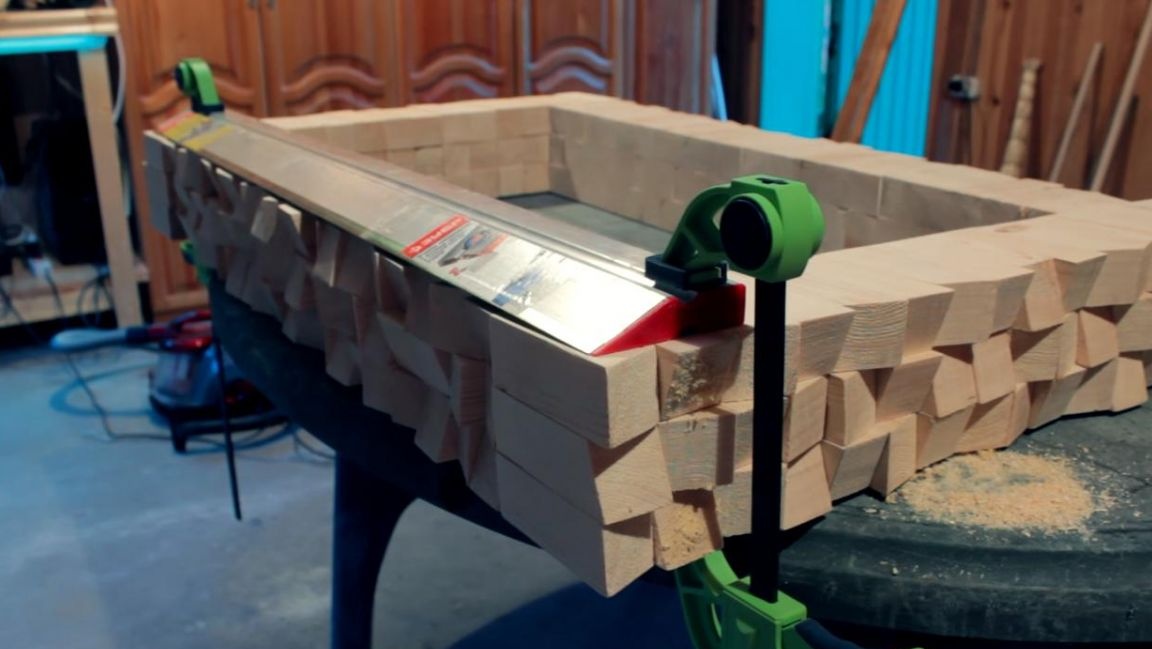
In order to avoid a lot of dust, we connect a vacuum cleaner to the milling cutter and smoothly drive the milling cutter, choosing a groove.
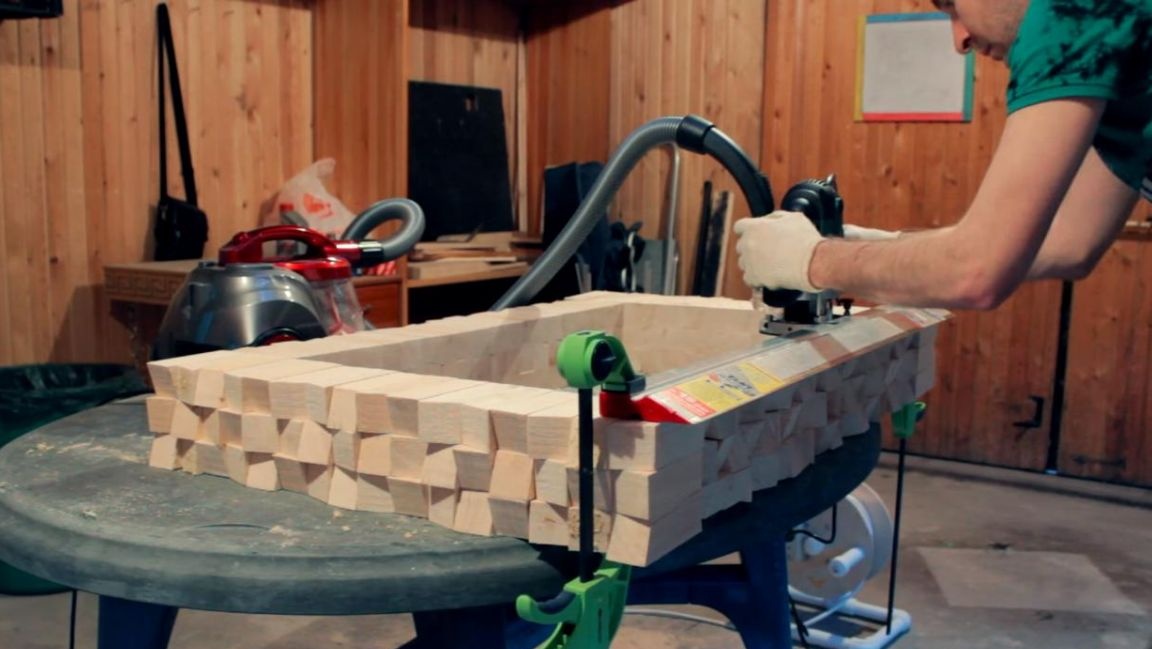
After that, we remove the rule and squeeze the clamps, since there are burrs from the mill in the groove where they need to be sanded with a block of sandpaper.
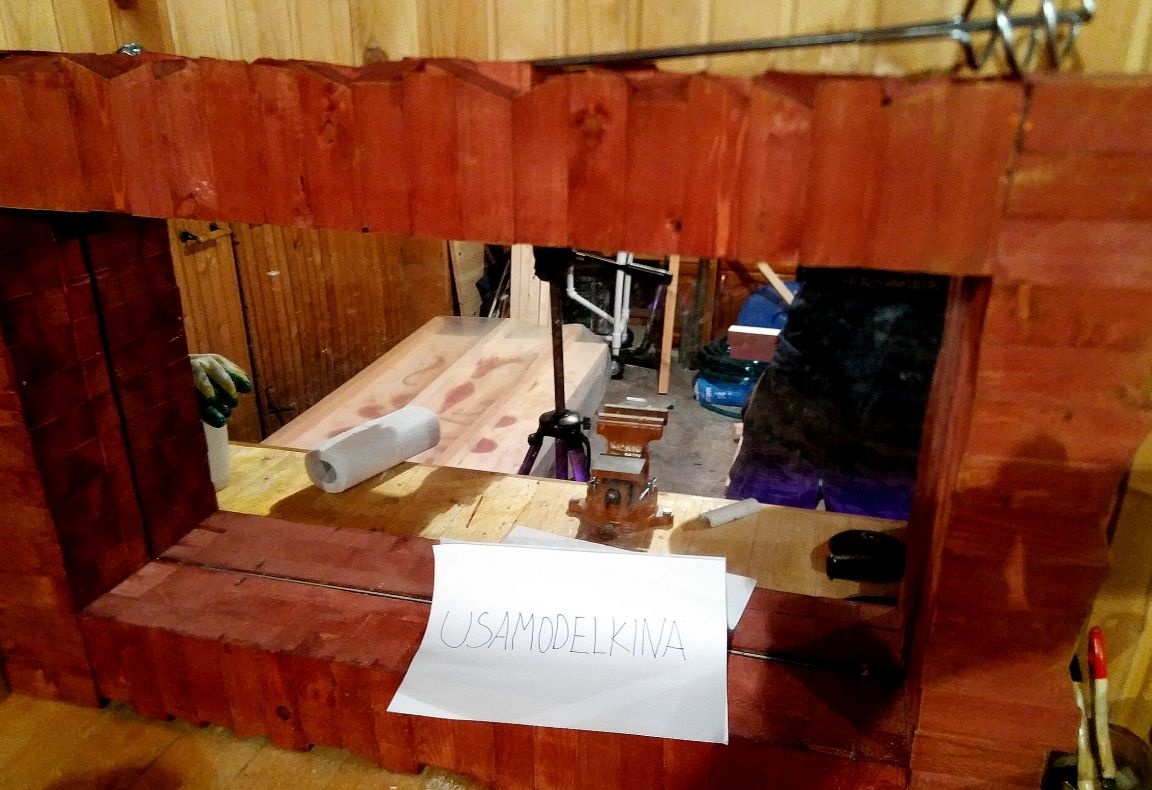
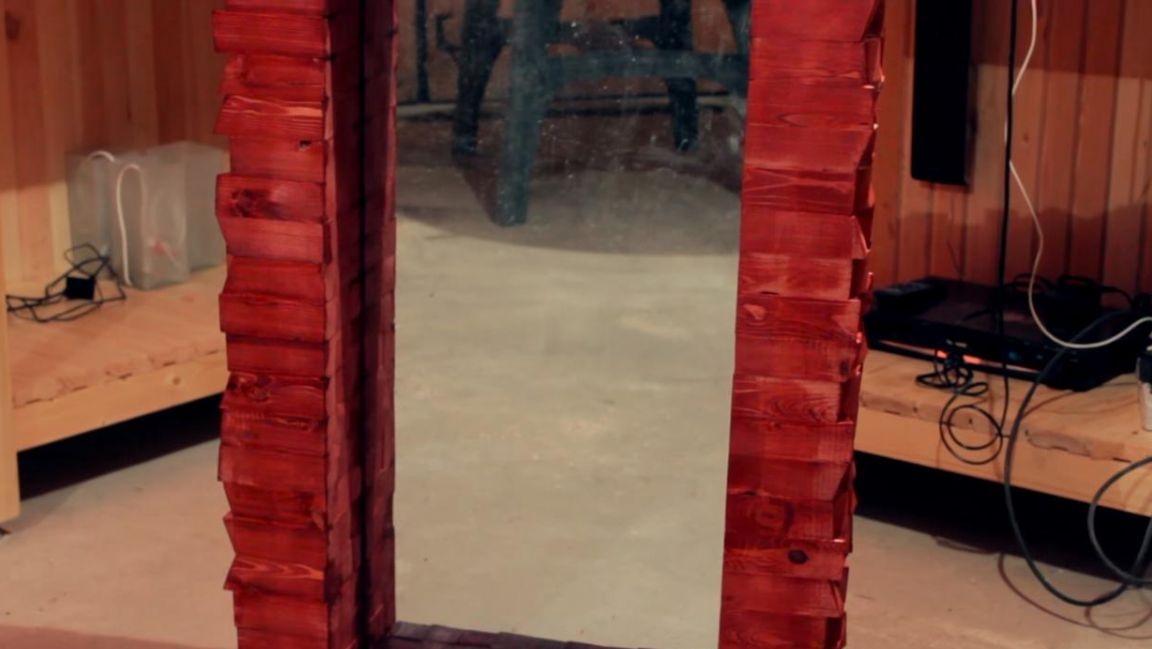
We add a mahogany color to the spray gun container and paint our homemade product from all sides. Next, we glue the mirror onto a transparent glue "titanium", which fixes the parts quite firmly. After the glue dries, the mirror is completely ready.
This mirror is very massive, it can be placed in a house or workshop, which will give originality, as it is done with your own hands, before installation you need to take care of the reliability of the mount, because the mass of the homemade product is rather big.
That's all for me, thank you all for your attention and creative success.