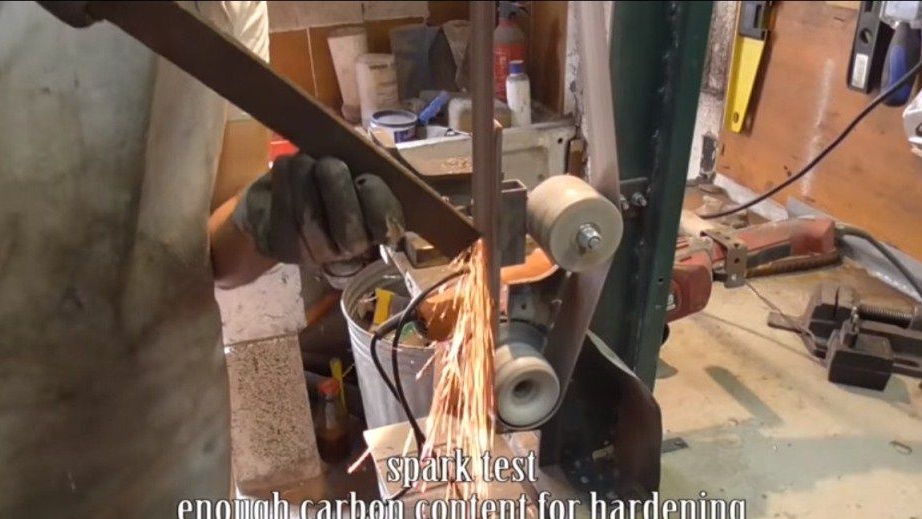
Here is a variant of an interesting sword in the apocalyptic style. Made by homemade quite reliably, such a sword can be used for its intended purpose - to kill zombies. Of course, in addition to this, they can chop or sharpen sticks, chop vegetables, chop thin sticks and so on. The reliability and durability of the sword will depend on what material you make it from. A tool like this requires pure high carbon steel. Such raw materials can be hardened and the blade will keep sharpening for a long time.
To make such a sword, you will need a blacksmith furnace, since the author forms its profile precisely by forging. As a result, the metal is very durable. But in general, the manufacturing process is not complicated, it will take a lot of grinding work. But to bring everything to the ideal is not necessary, because it is an apocalyptic sword and it should look stern. As an addition to the handle, the author welded a piece of gear from a car or similar equipment. So, let’s take a closer look at how you can make such a sword!
Materials and tools used by the author:
Material List:
- a piece of carbon steel;
- brass rods (for pins);
- wood for linings;
- a piece of gear from vehicles.
Tool List:
- belt sander;
- drill;
- grinder;
- vise;
- forging furnace, anvil and other blacksmithing accessories;
- oil for hardening;
- files;
- a marker or piece of chalk;
- clamps;
- jigsaw machine (to cut the lining);
- welding machine;
- a knife for planing works.
The process of making a knife:
Step one. We form the main profile
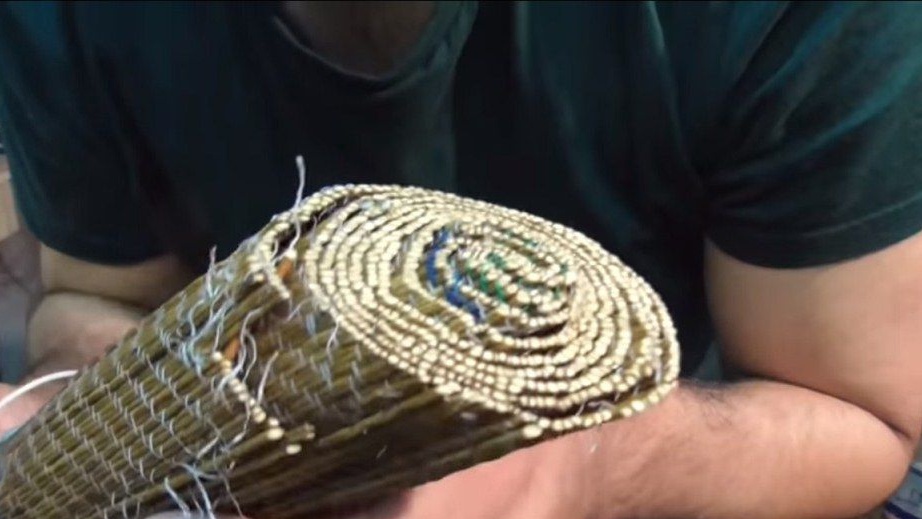
To get started, look for a piece of suitable metal. As an option, if you have ever been to a village, you have seen hinges on the gates. It uses good steel, and its length and size is enough to make a solid sword. Tool steel or one that is used for the manufacture of various knives, springs and other things is well suited for this matter. As an example, you can even use a car spring.
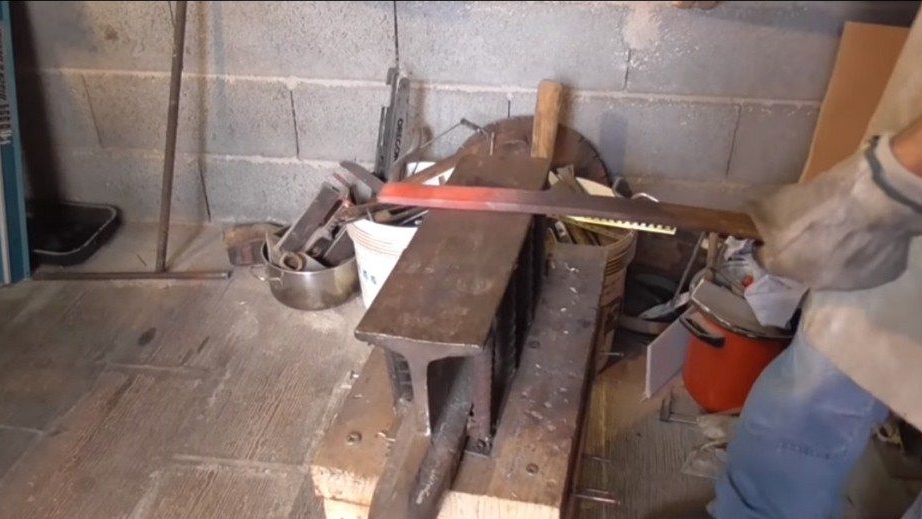
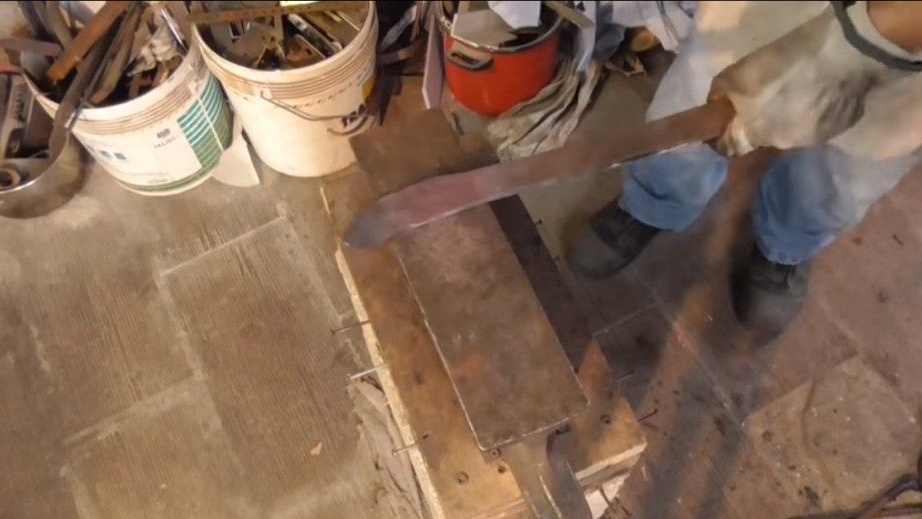
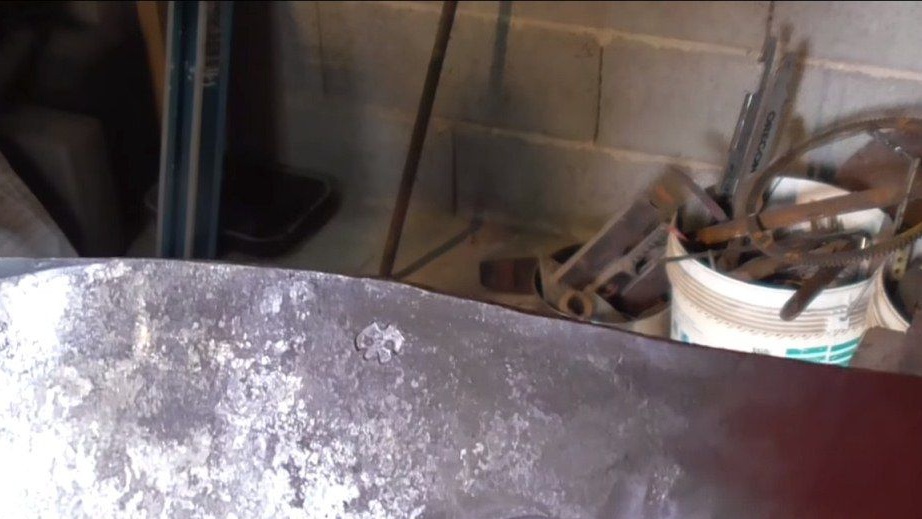

Grind the workpiece, clean it of rust, cut off excess. Well, then we warm the metal to red and proceed to forging. If you approach the process more professionally, then for each steel there is an individual forging temperature. Slowly, step by step, we form the profile of the sword. The process is long, difficult, the workpiece will have to be heated dozens of times. In general, the task is feasible.In conclusion, the author also decided to put an original brand on his sword.
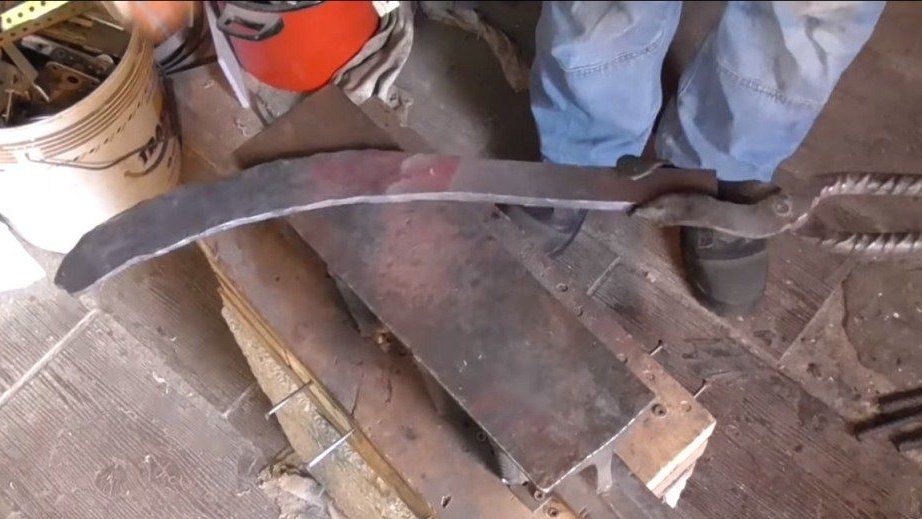
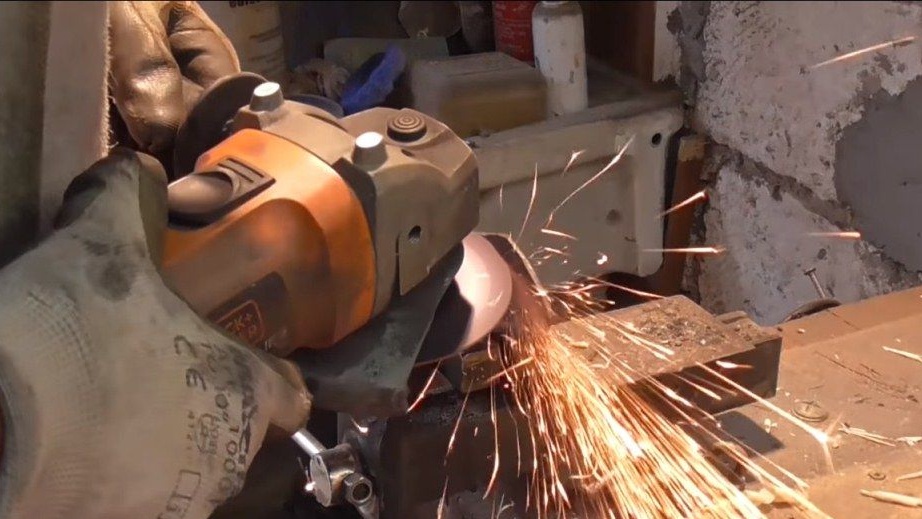
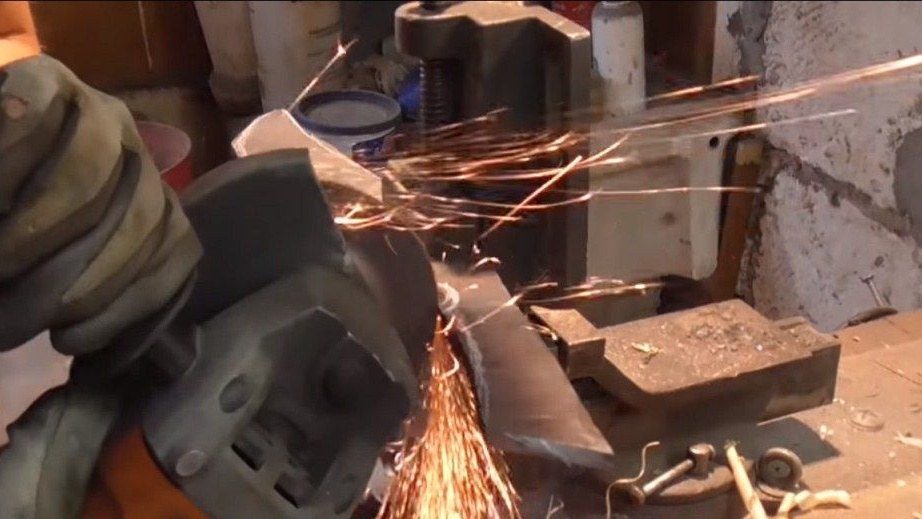
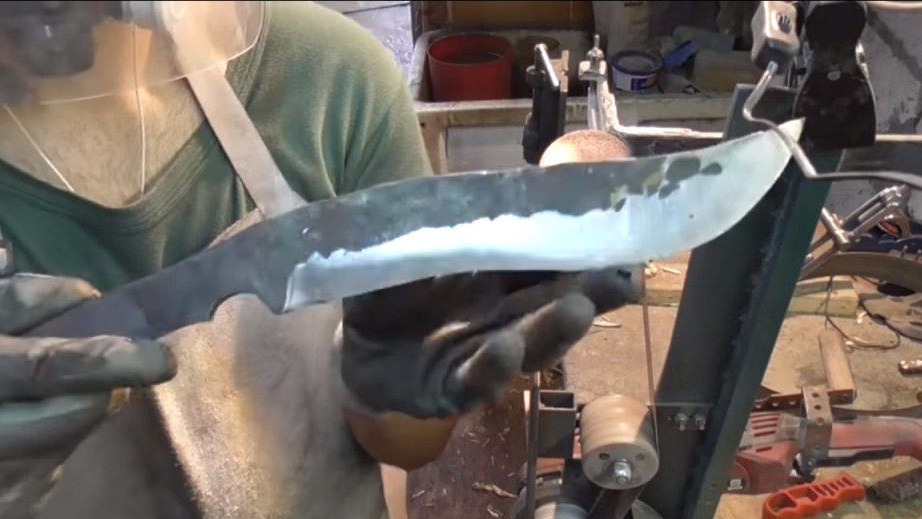
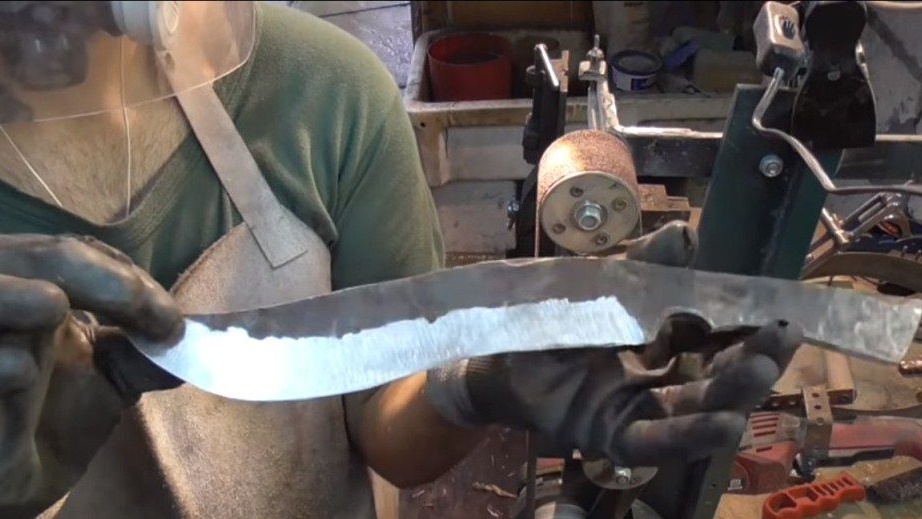
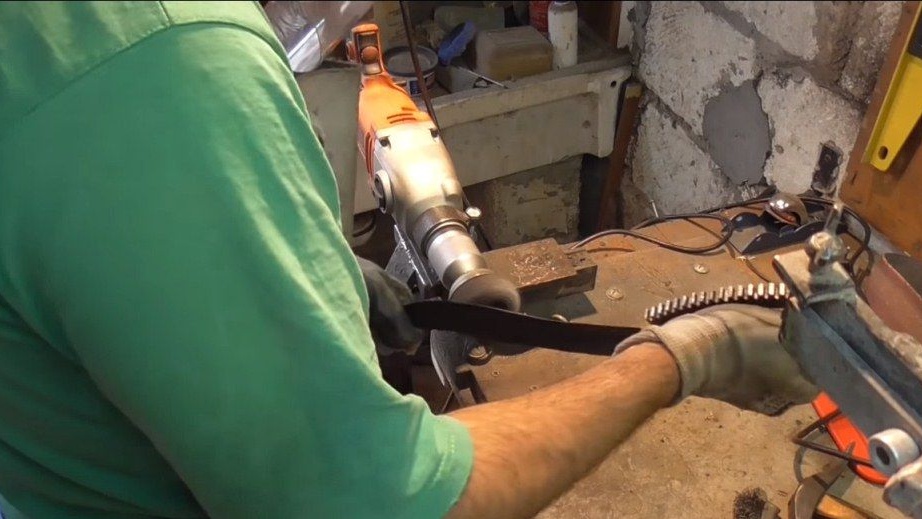
Step Two Coarse grinding
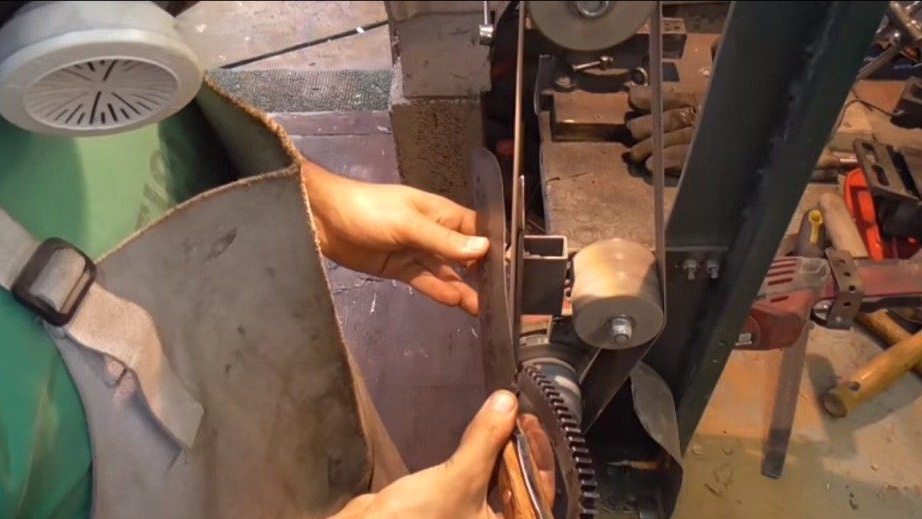
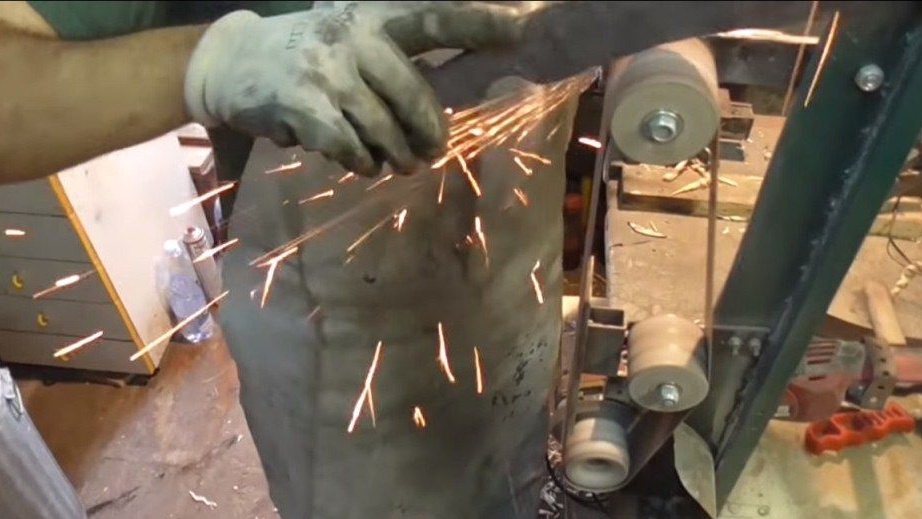
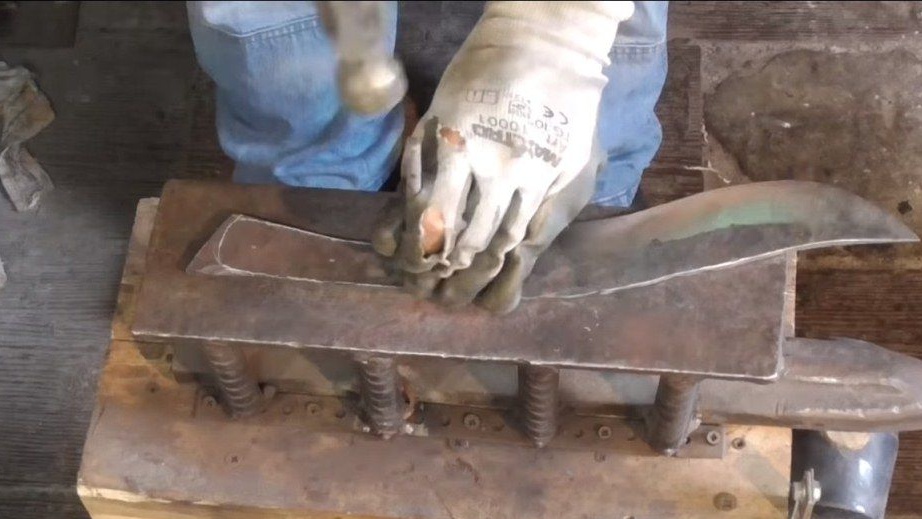
As soon as we have finished with forging, we proceed to grinding. To begin with, we mark with chalk those parts that need to be removed. Cut them with a grinder. Well, then proceed to the grinding work. The best friend in this business will be a belt sander. With it, you can quickly and efficiently form a bevel. We grind the blade along the contour and form the angle of the blade. At this stage, it is too early to sharpen the sword, if the metal is made thin, the blade may become deformed during hardening or even crack.

Step Three Manual grinding
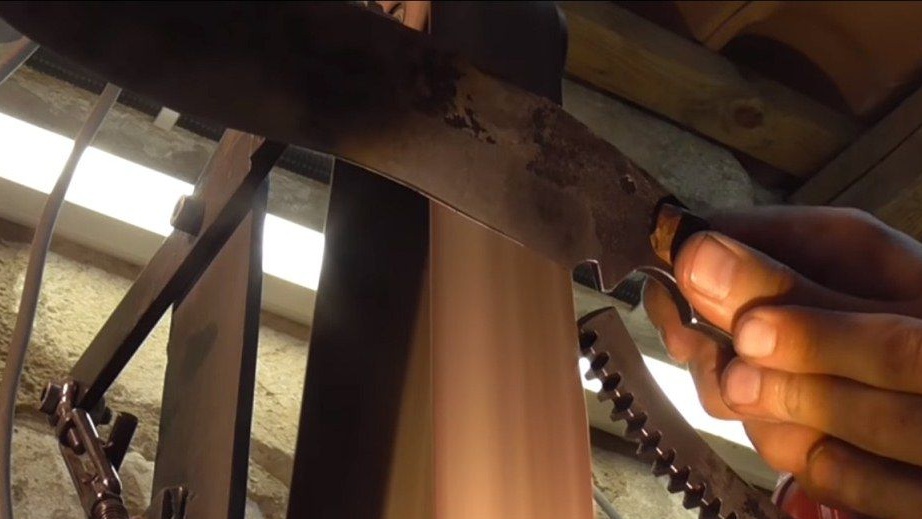
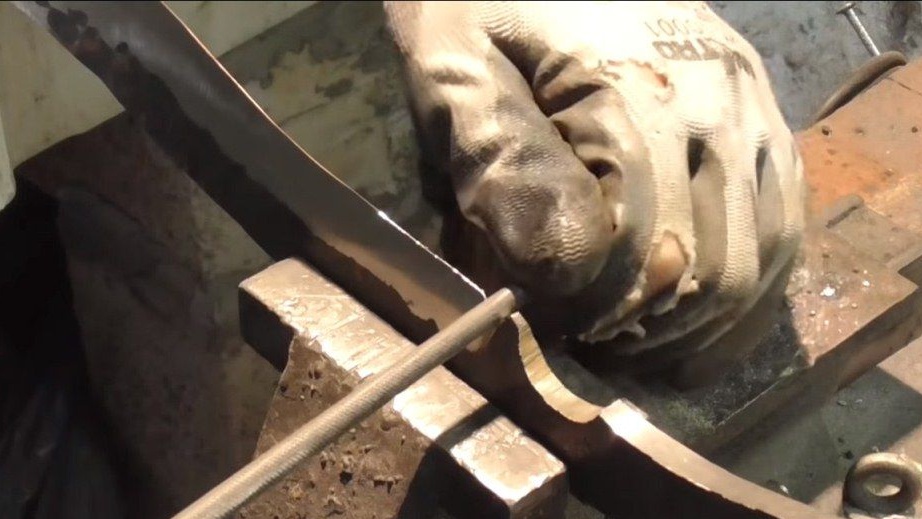
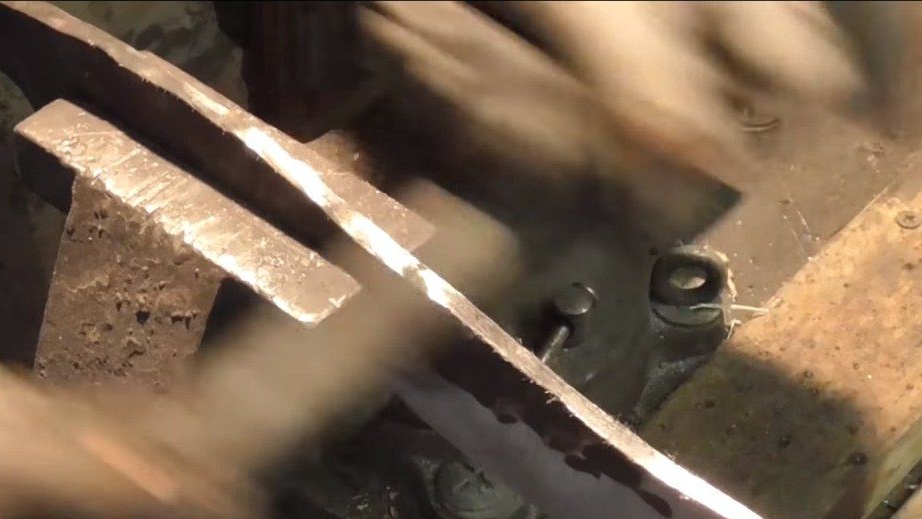
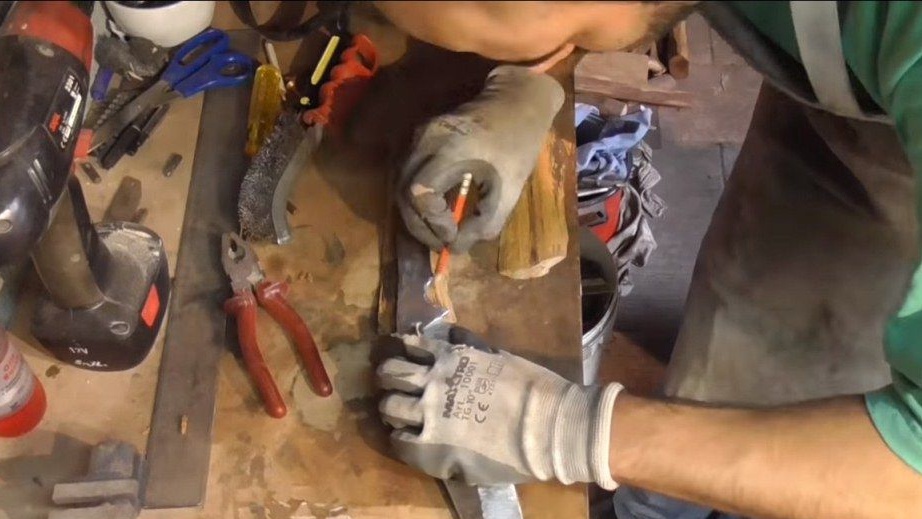
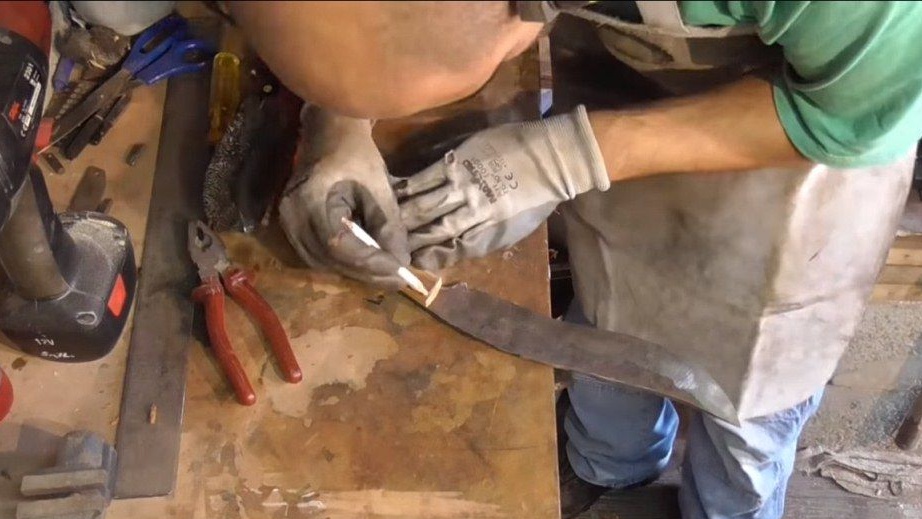
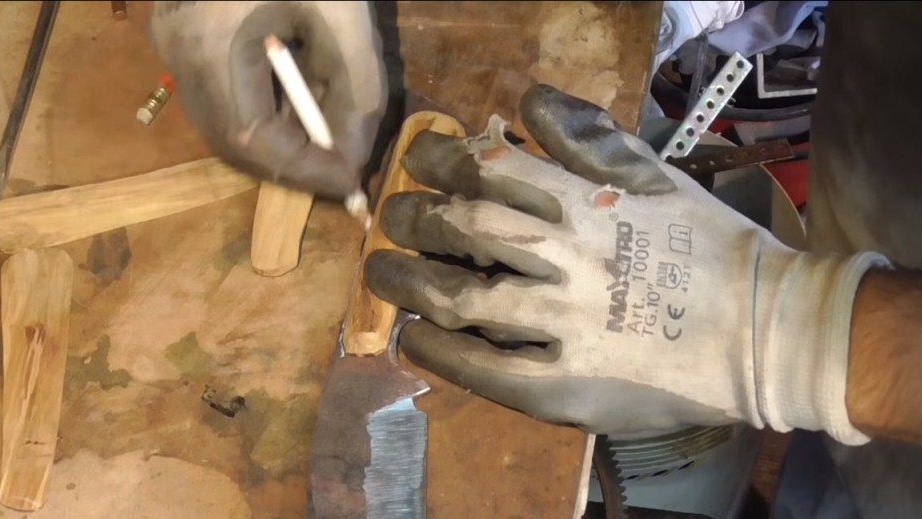
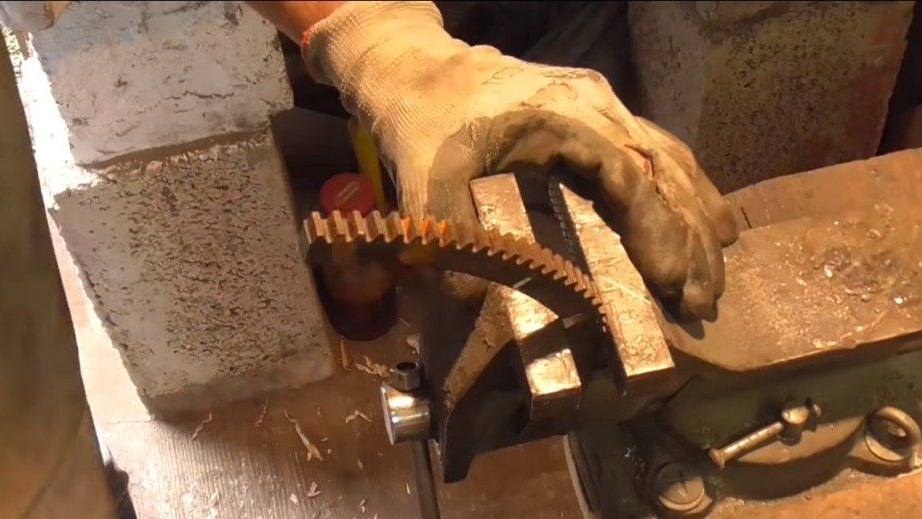
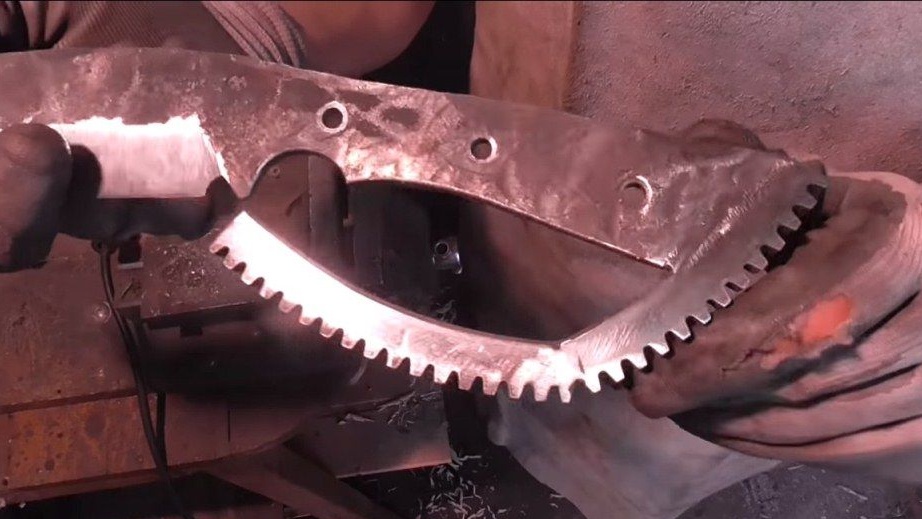
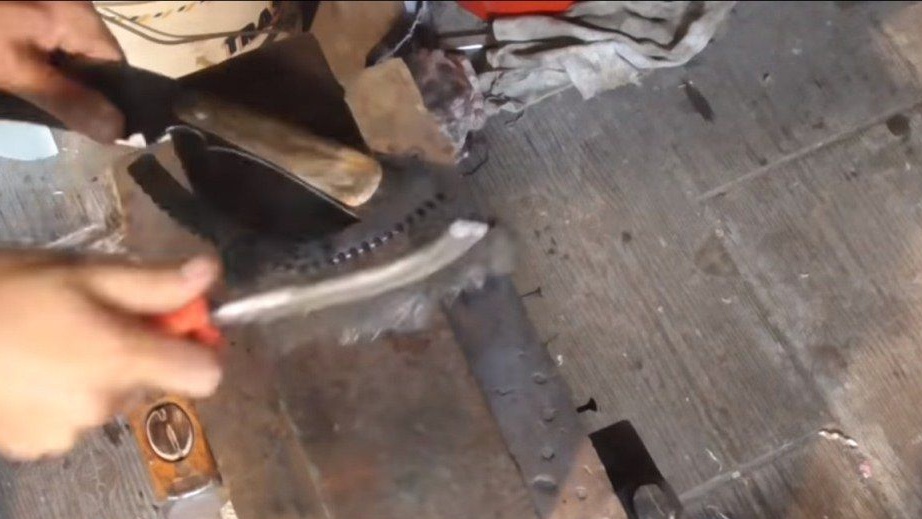
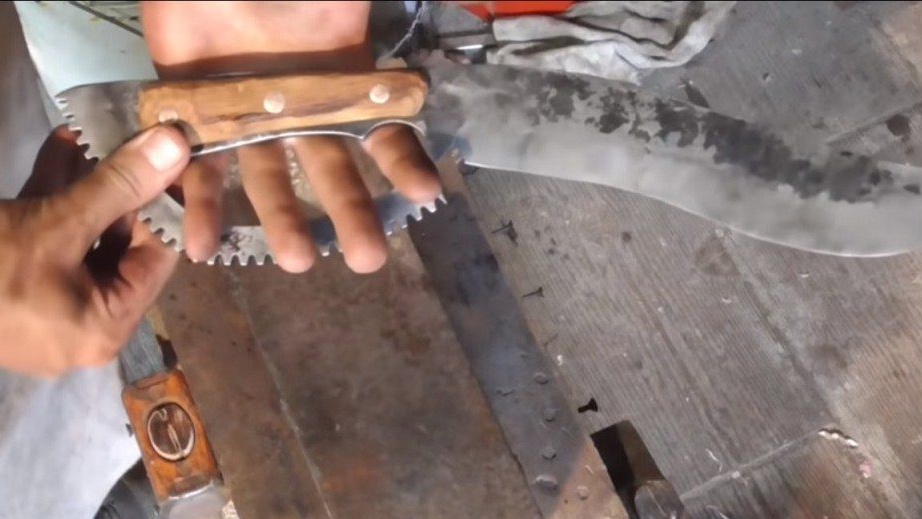
On the blade, many craftsmen make a special recess, which acts as a brake. This stopper is needed so that you do not hurt your hands when you cut something. The blade just reaches this undercut and stops. The author forms this part with files. First we make a groove with a triangular file, and then we refine it round.
In addition, the author also processed the sword along the contour using metal files.


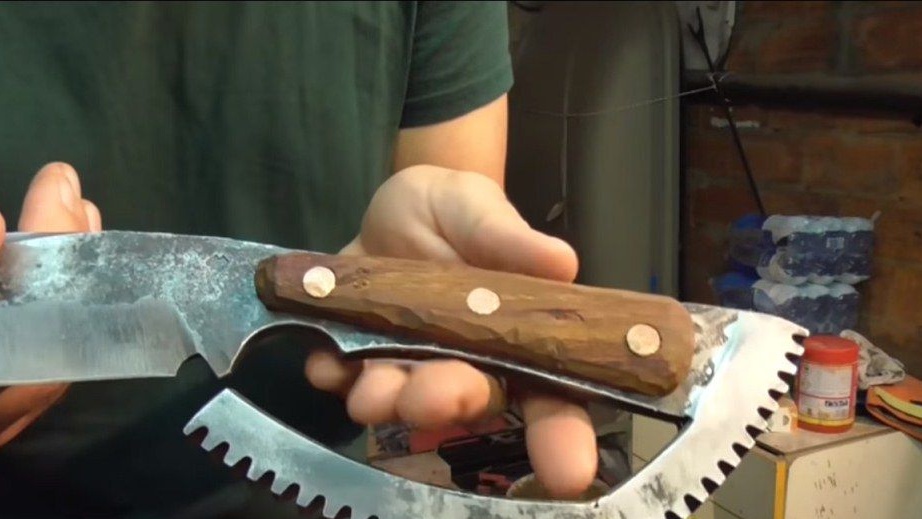
Step Four Handle pads
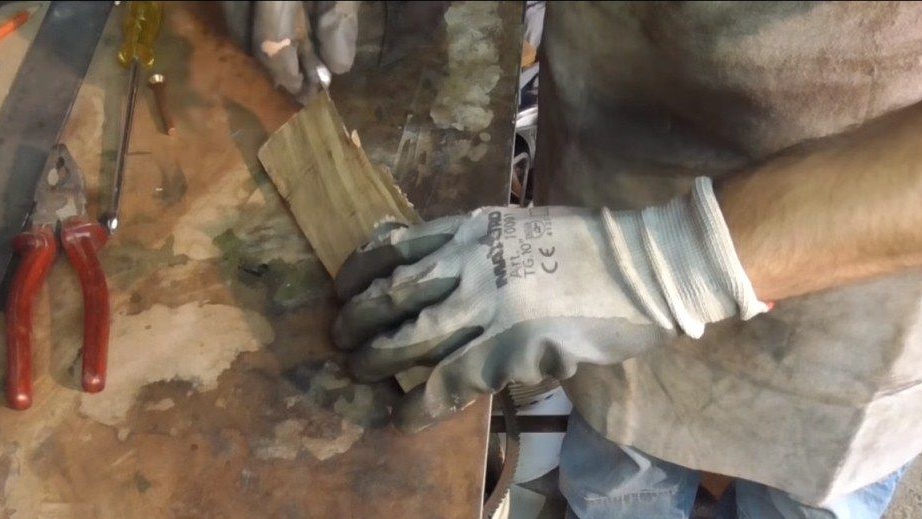
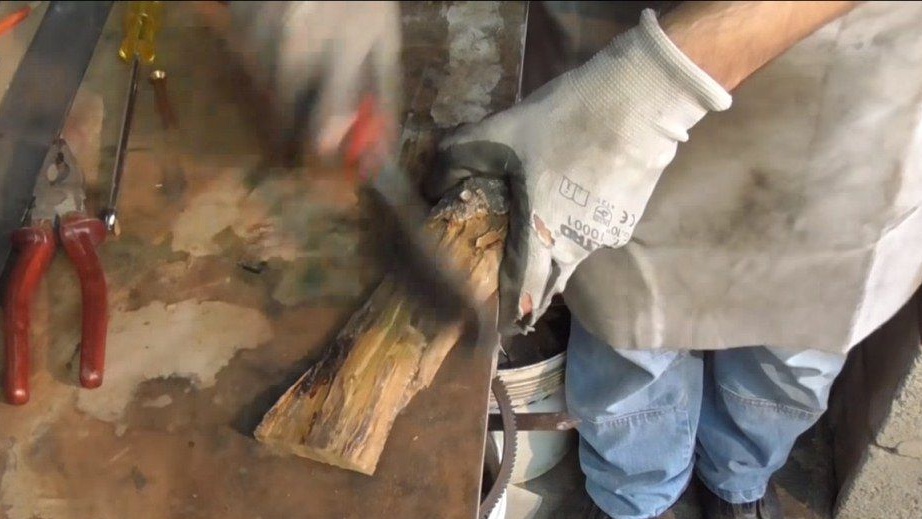
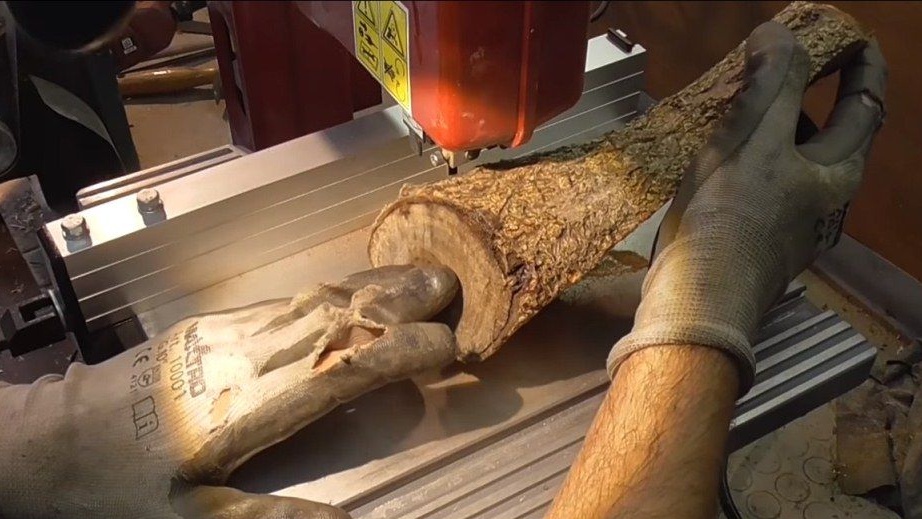
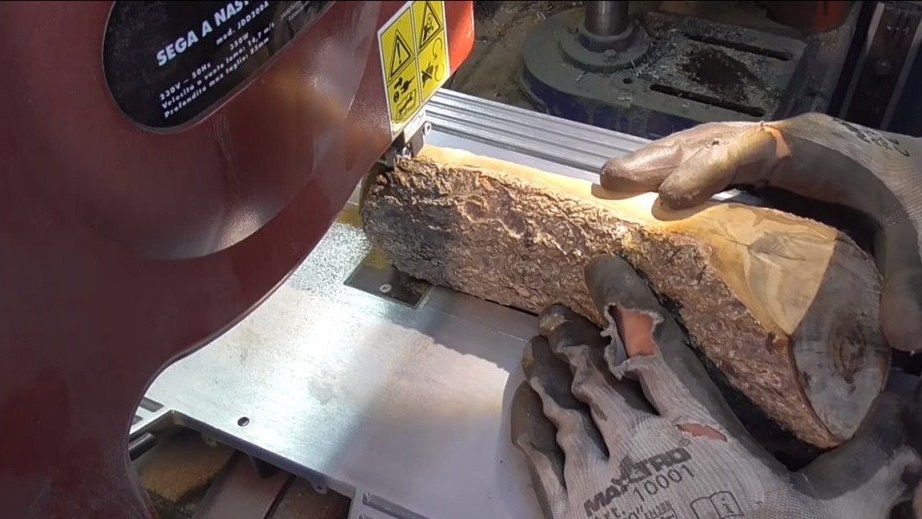
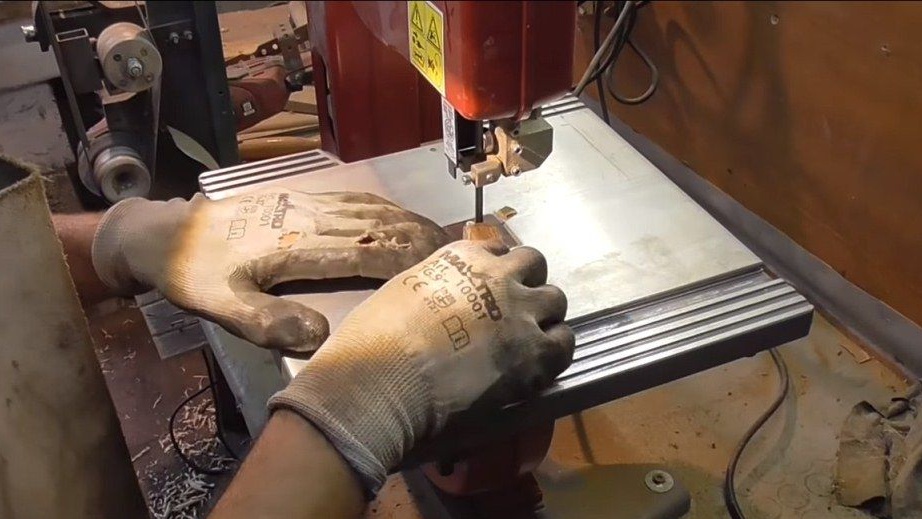
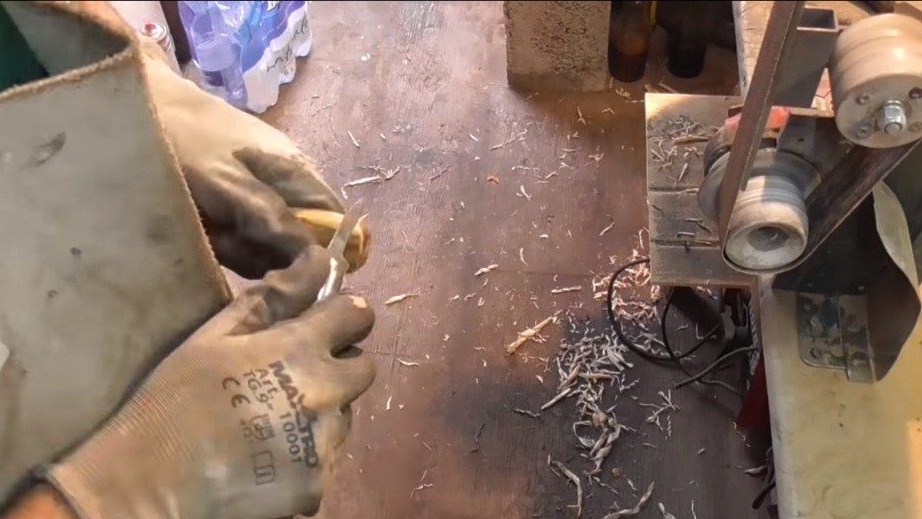
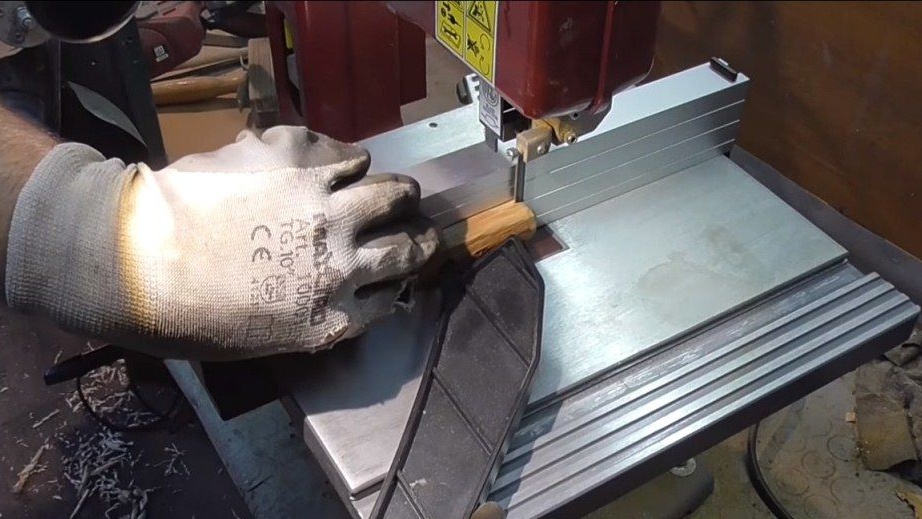
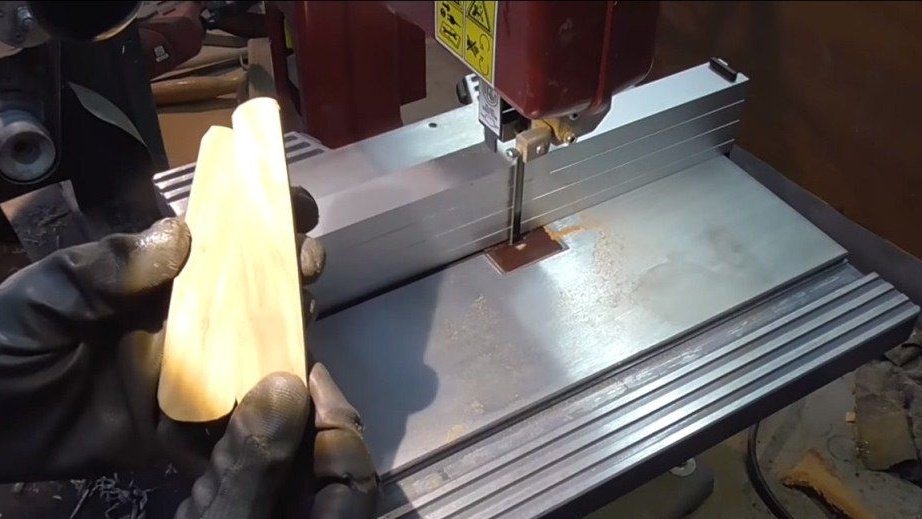
For the manufacture of linings you will need a piece of wood. The author chose a piece of tree trunk, which was cut on a tape machine. As a result, you should get a little extra on the size of the handle. It should be noted that the pads, the author decided to make the size a little smaller than the handle itself. As a result, the handle turns out to be stronger, however, this is not so important.
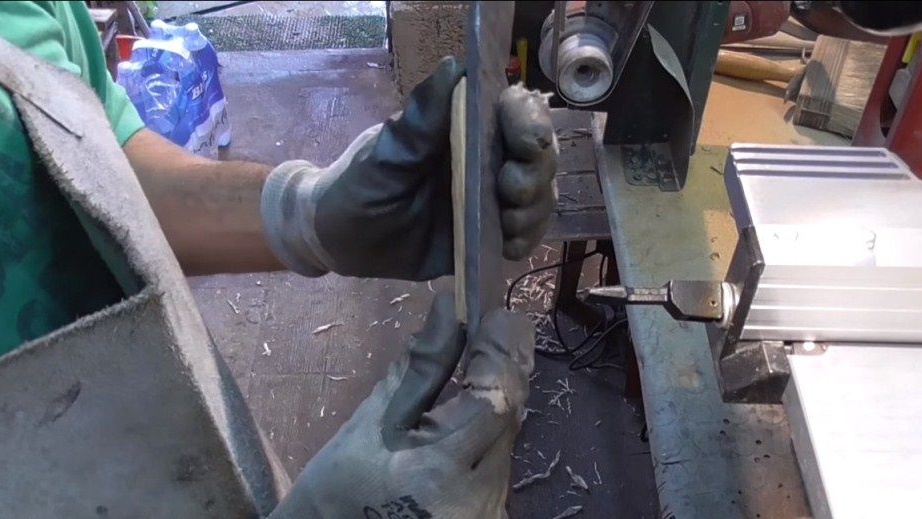
First, we make the desired profile of the handle, take measurements, cut, planing and so on. Well, then gently cut this handle into two halves on a jigsaw machine.

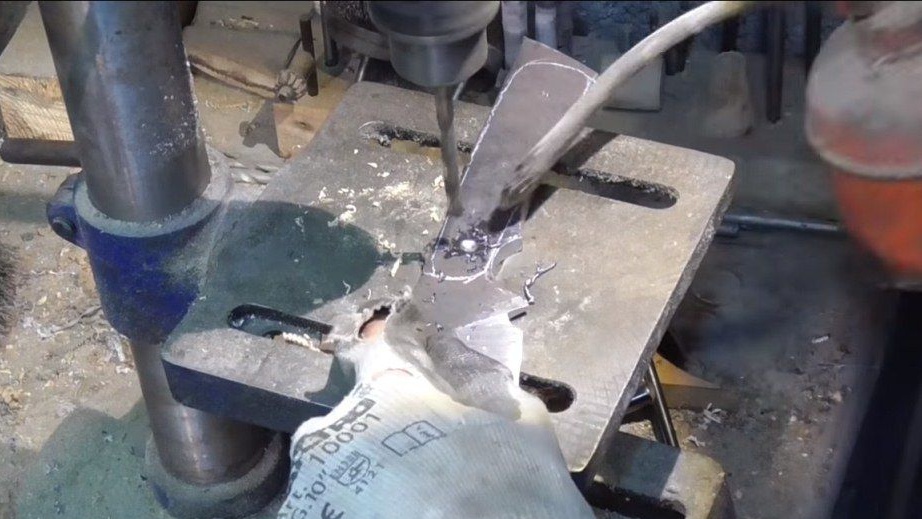
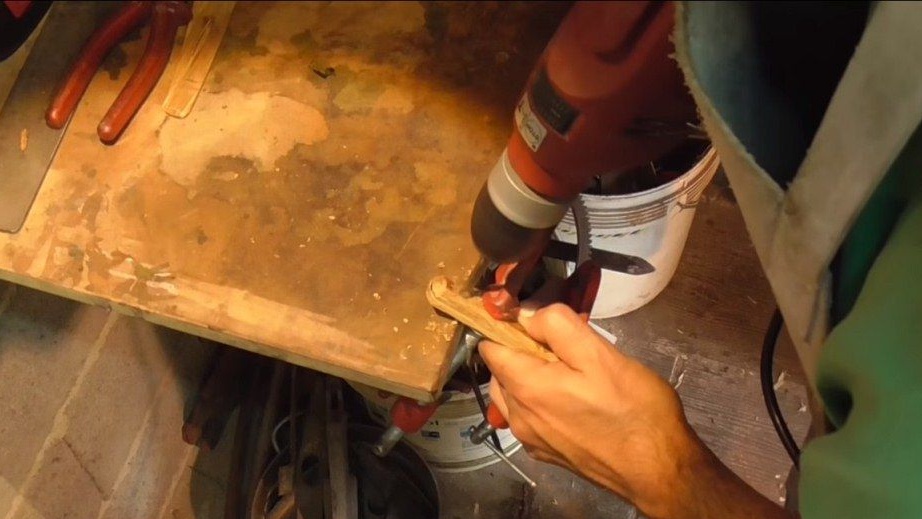
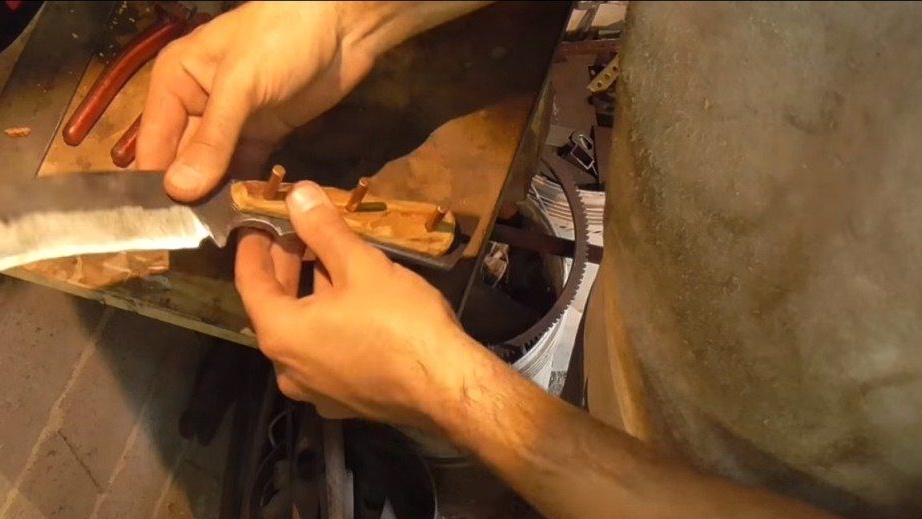

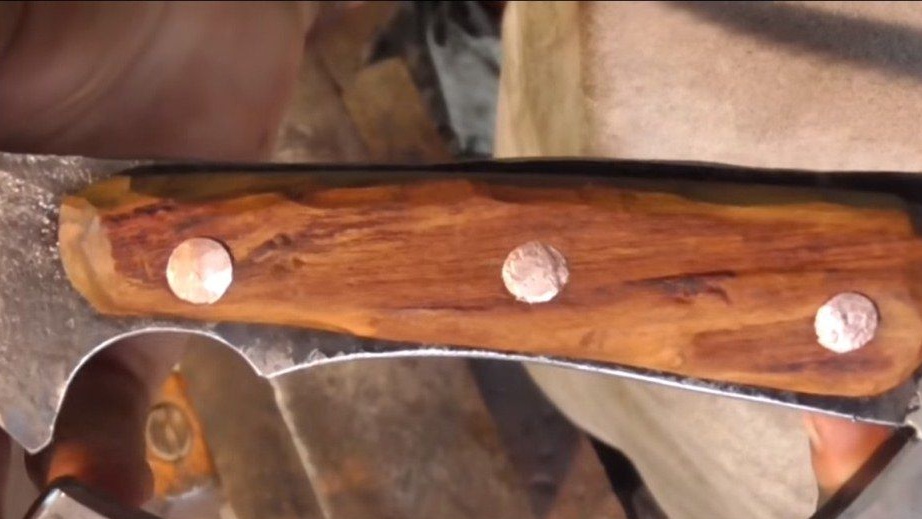
Now we need to prepare everything for installing the pins. The pins will fit copper, brass or even steel, all to your taste. We make the necessary measurements and drill holes in the handle. The author decided to install three pins. We are trying to assemble a pen. If everything is going smoothly and perfectly, then we go further.
Step Five Refinement of the metal part of the handle
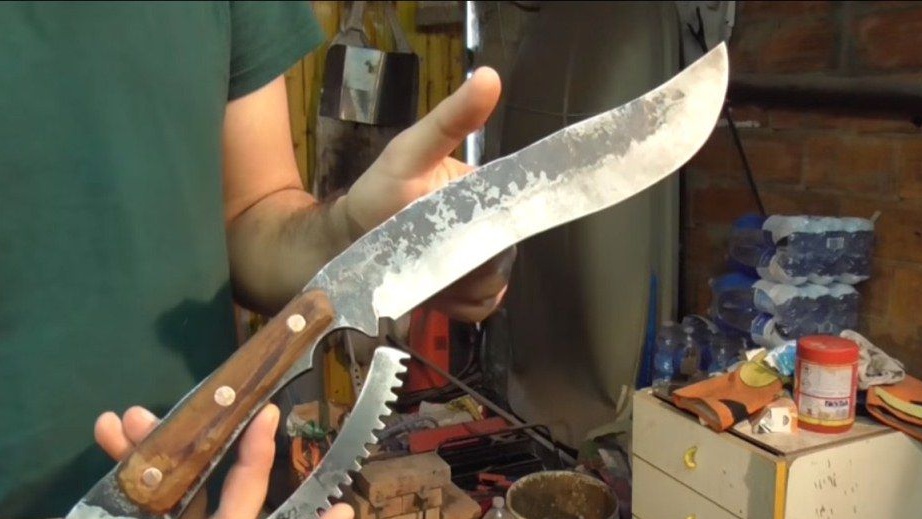
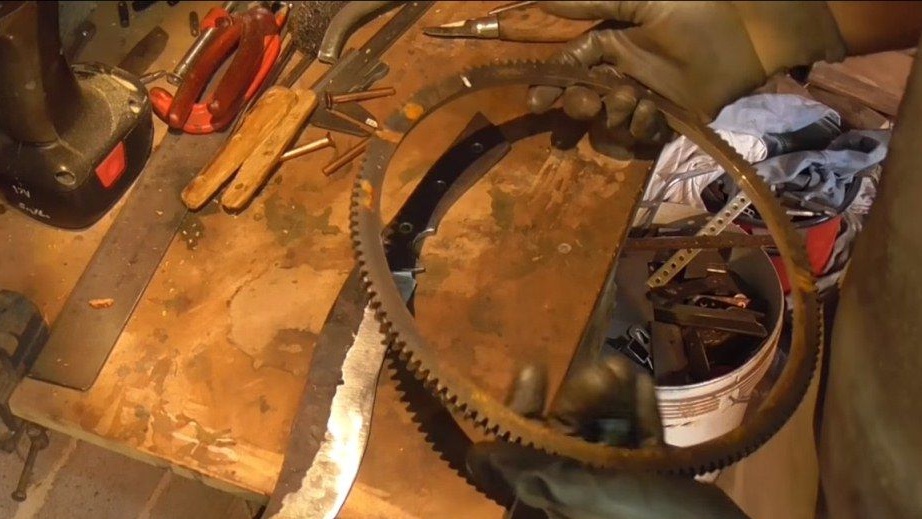
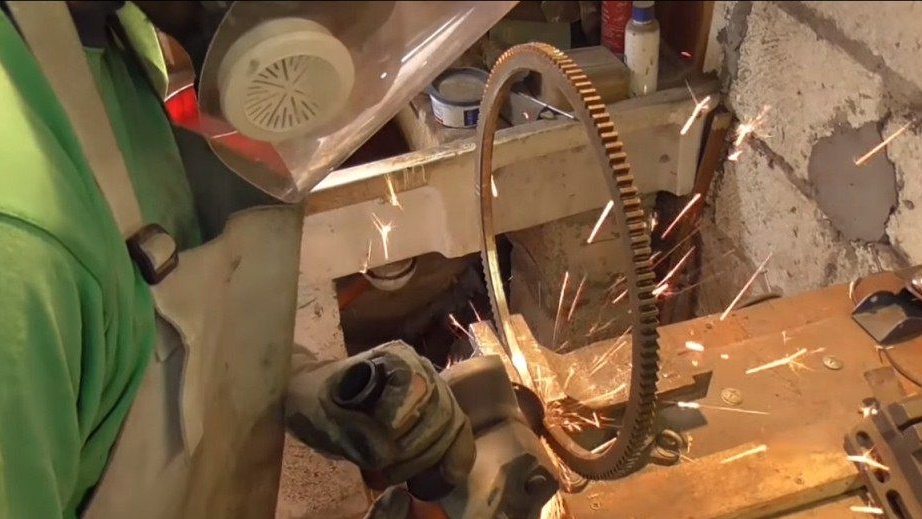
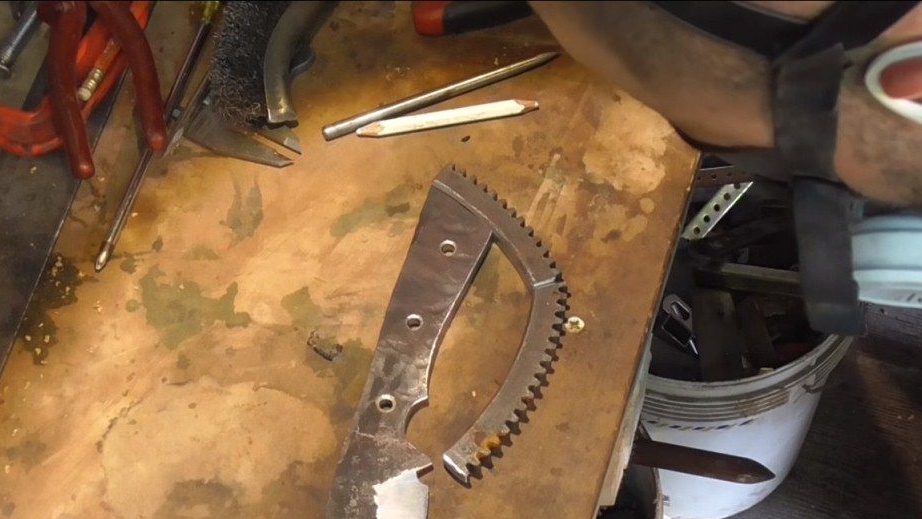
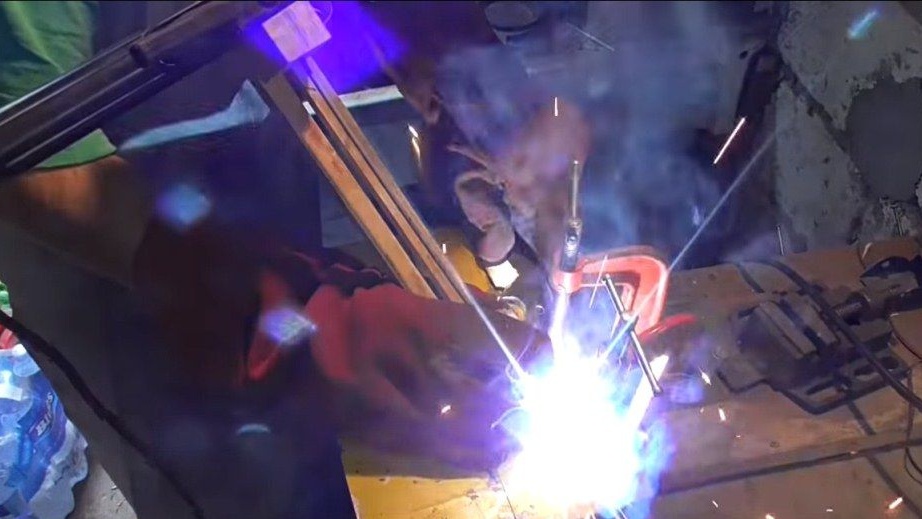
The author decided to weld part of the gear from some technique to the handle. This makes the sword more brutal, and this element also protects the hand from injury. Take the gear and cut off the desired piece. Further, the author makes a file in the center and bends the part in the shape of a handle. Well, in the end, just weld this part to the handle.
When everything is ready, carefully grind the welds. As a result, the entire product should be monolithic.
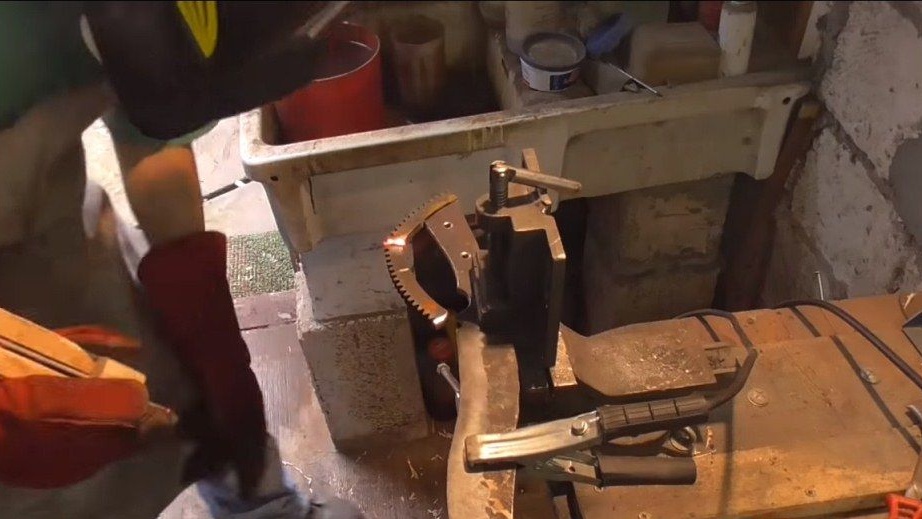
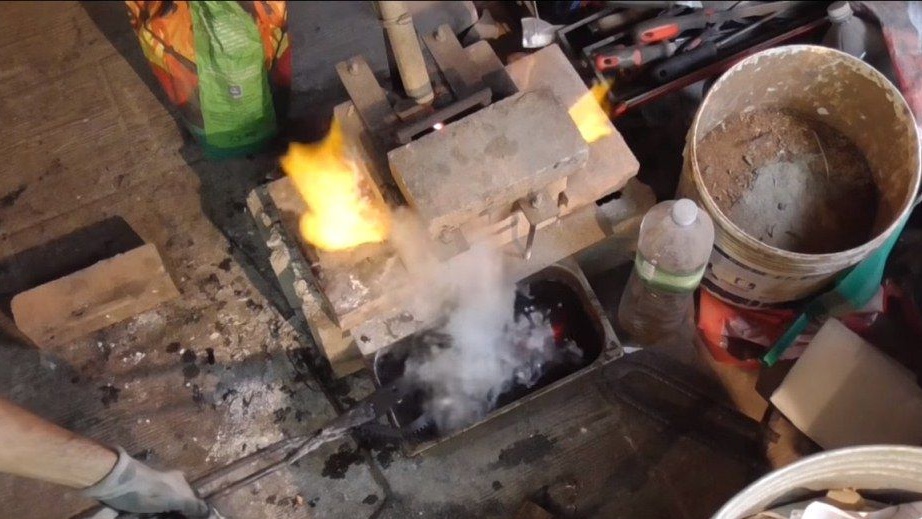
Step Six Blade hardening
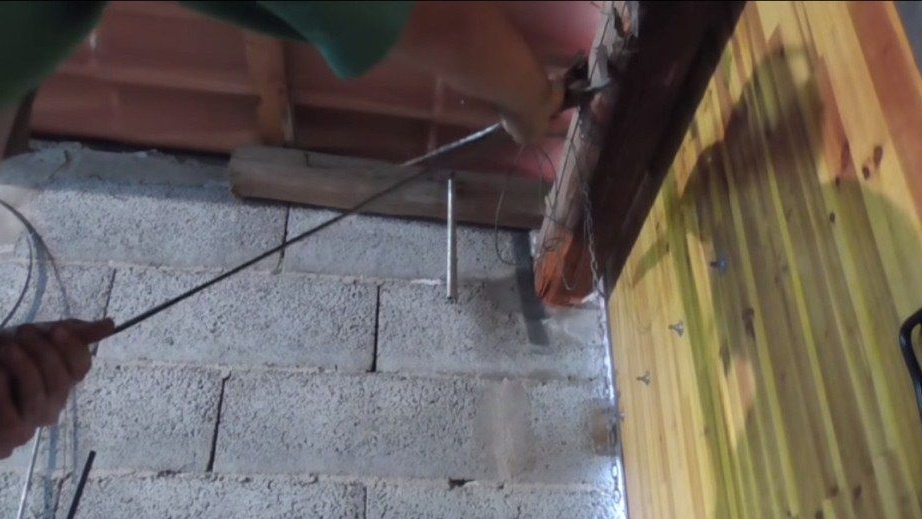
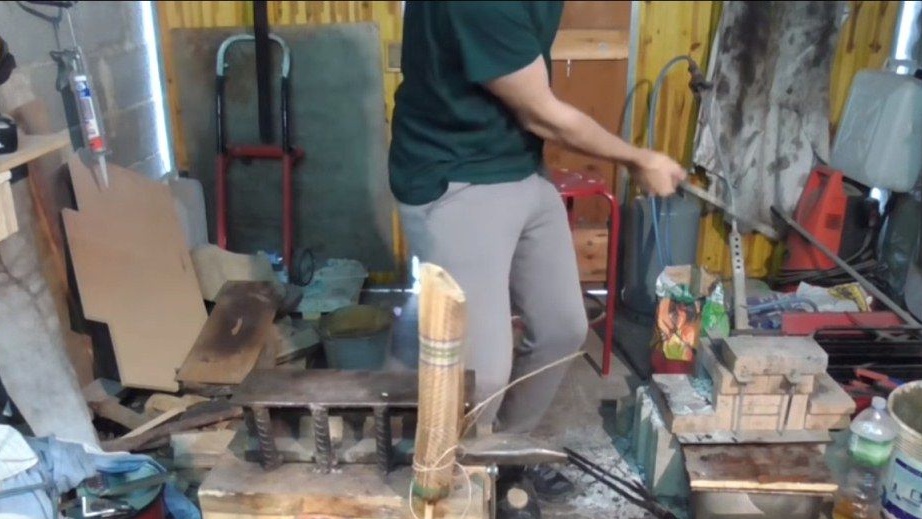
In order for the blade to hold the sharpener for a long time, the sword must be hardened, and only the blade itself can be hardened, without a handle. To do this, heat it to a yellow glow and dip in oil. This is the safest option for many steel grades. Well, in general, you always need to know what steel you are using, and choose the hardening technique for it.
Check the metal after hardening; it should not be taken with a file. In addition to hardening, producing such a procedure as metal tempering. Otherwise, the metal may become brittle, and the blade will crack or notch when cutting hard objects. Vacation can be done in a domestic oven or with a gas burner. The metal needs to be heated for about 1-2 hours at a temperature of about 200 degrees Celsius and allowed to cool smoothly. Typically, the steel on vacation becomes a straw color. As a result, we get a strong blade that will spring under high loads and will not break.

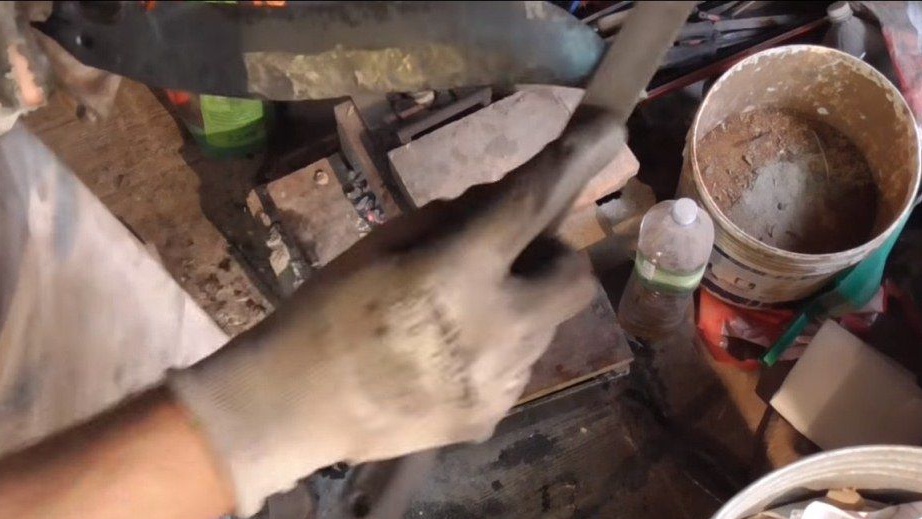
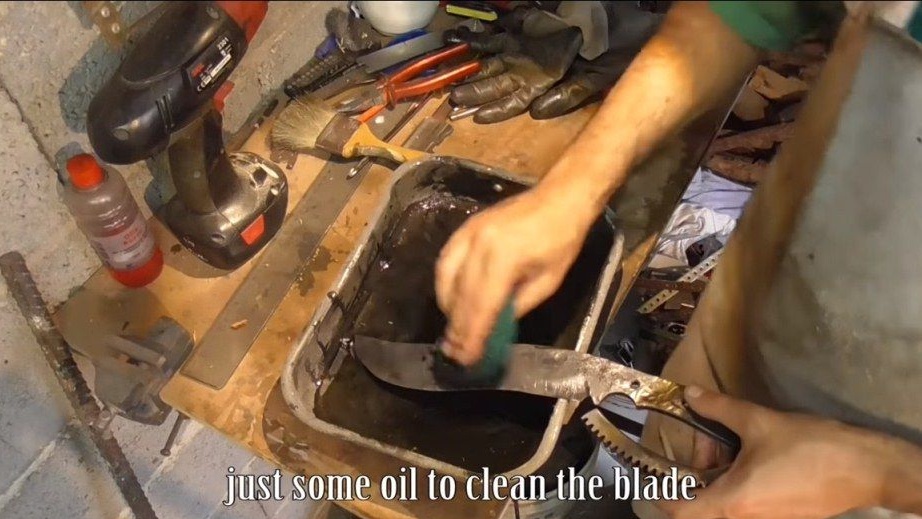
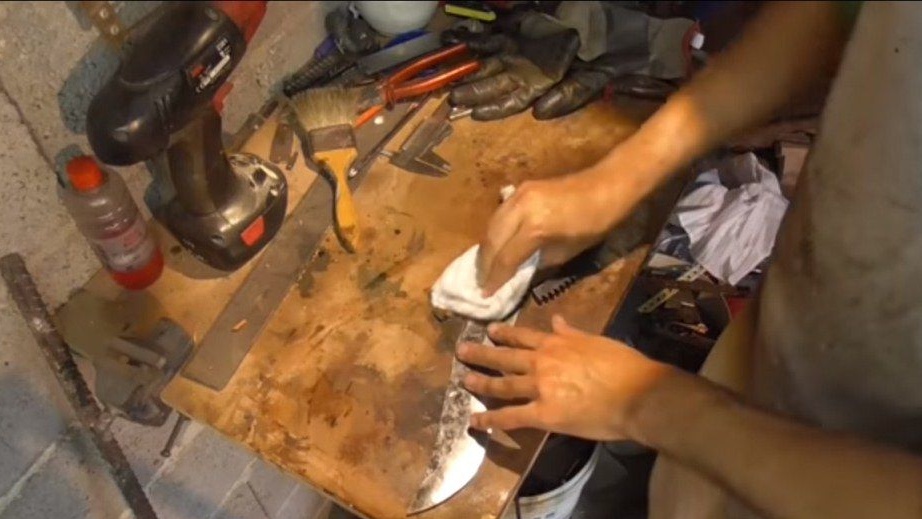
Seventh step. Cleaning
After hardening, the blade will need to be cleaned of oil. To do this, you can use various chemicals, a detergent is also suitable. For guaranteed cleaning, wipe everything with a cloth with acetone.
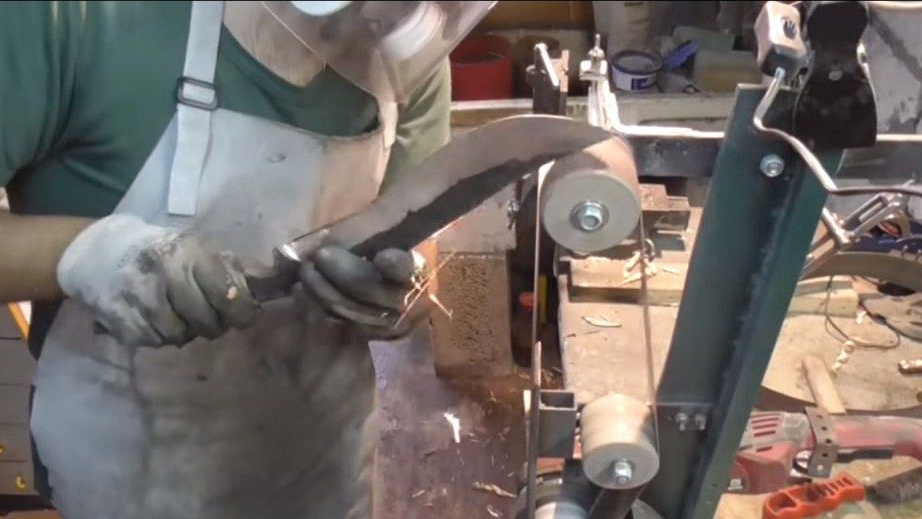
Now you can also sharpen our sword! Here you can use a belt sander. For finer sharpening, use sandpaper and other tools.If desired, the sword can be made so that it cuts like a blade. This is the effect the author achieved.
Step Eight. Collect the pen
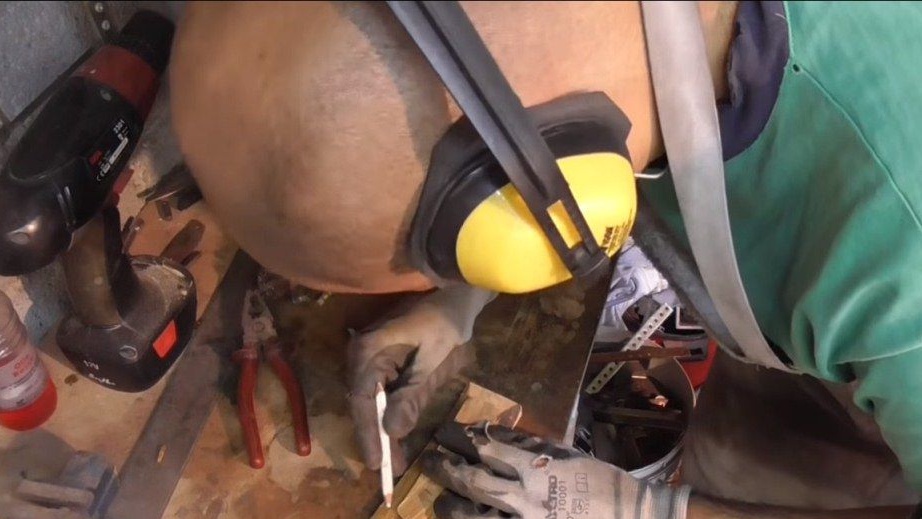
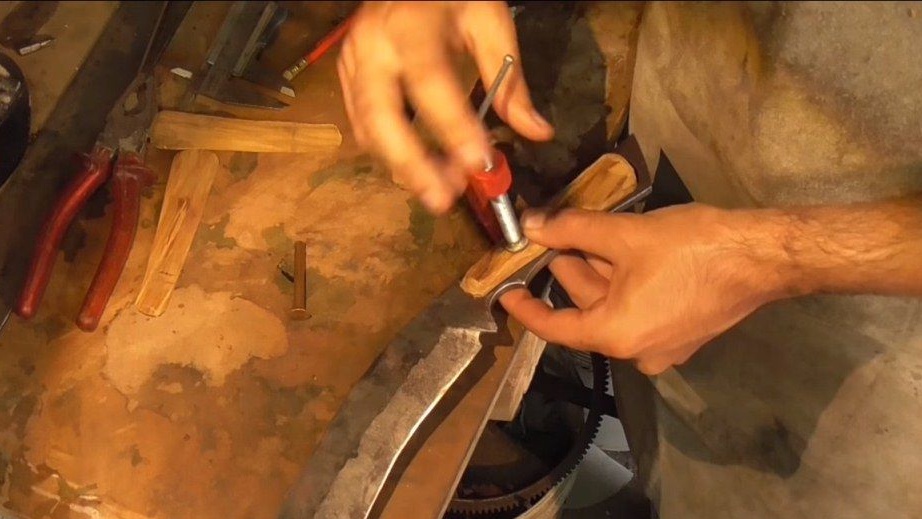
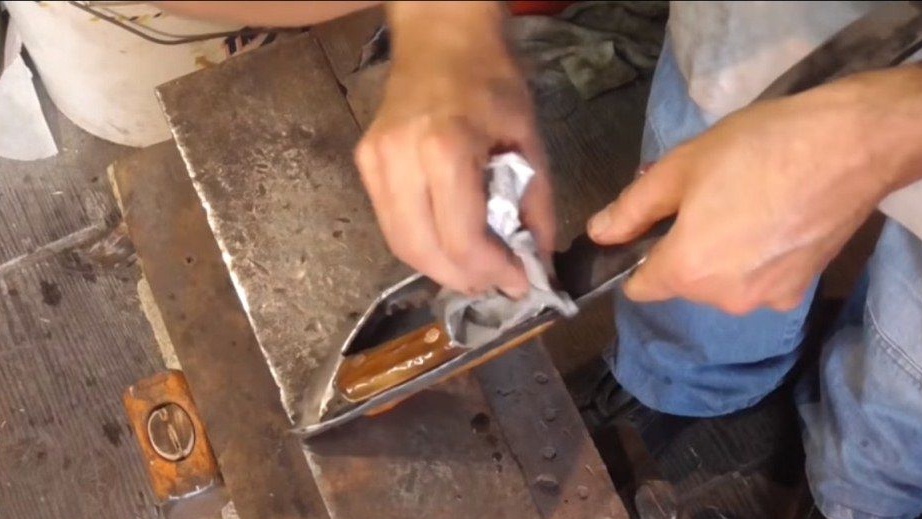
The author collects the pen dry, that is, no glue is used here. But for reliability, the lining can be planted on an epoxy. Just cut the pins to the desired size, and then gently rivet them. This approach is not very good in that you can split the linings very easily and simply when riveting, and you will need to do everything all over again.
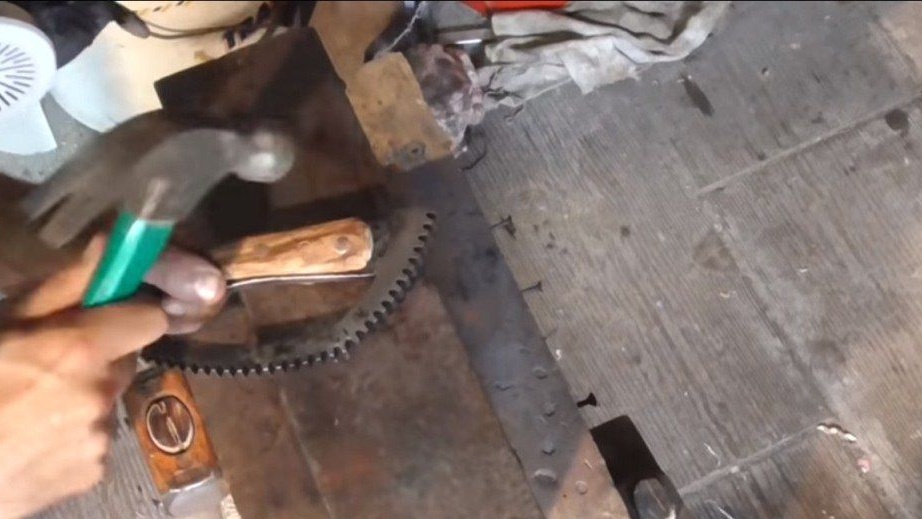
At the end, sand the handle with sandpaper. The author does not make it smooth, he leaves rough edges, since the style of the sword is peculiar to us. Be sure to soak the tree with oil, this will protect it from moisture, and it will not be smeared. And for long-term storage, cover the sword itself with oil.
That's all, our liquidator of zombies is completely finished, now the end of the world is not terrible for you. I hope you enjoyed the project and found useful information for yourself. Good luck and creative inspiration, if you want to repeat it! Do not forget to share your best practices with us!