
Over time, the teeth of the hacksaw become dull and wear out. If the saw is quite new, then you can restore its efficiency by sharpening the teeth and making a "divorce". If the saw is old and the teeth are grind off, then you can try to cut through them again. This is best done with a machine. It was such a machine that the Master made.
For the manufacture of the machine, the master used the following
Tools and materials:
-Wood of various species of wood;
-Wax;
-Epoxy adhesive;
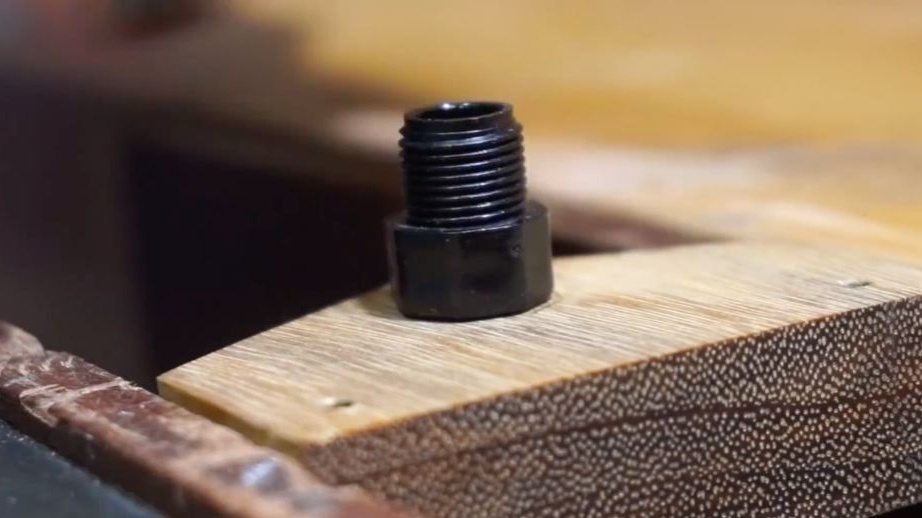
-Threaded inserts;
- Screw with double thread (4 mm);
-Threaded screw;
-File handle;
- Brass loop;
-File;
-Bolts, nuts;
-Gon;
-Hacksaw;
-Plane;
-Compass;
-Calipers;
-Rule;
-Knife;
- Hacksaw for metal;
-Metal strip;
-File;
-Drilling machine;
-Double sided tape;
-Screwdriver;
-Nails;
-Hammer;
-Paper;
-Metal core;
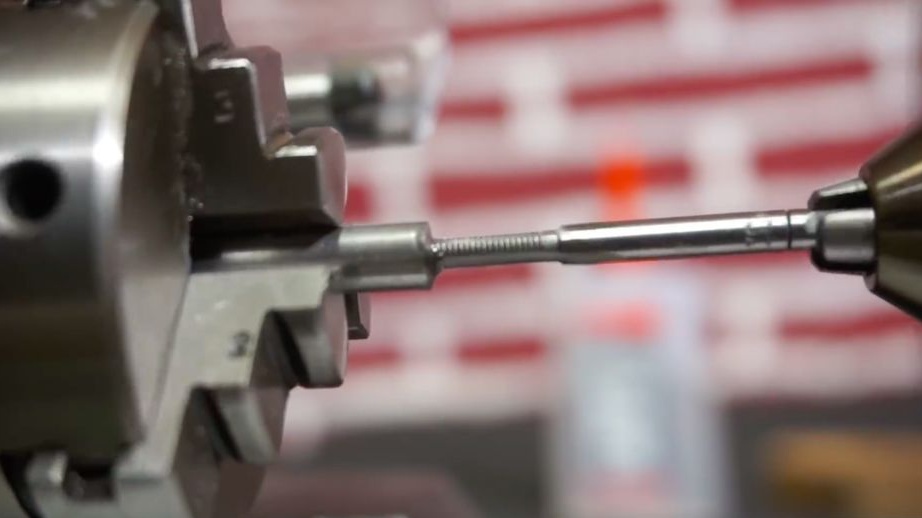
- Lathe for metal;
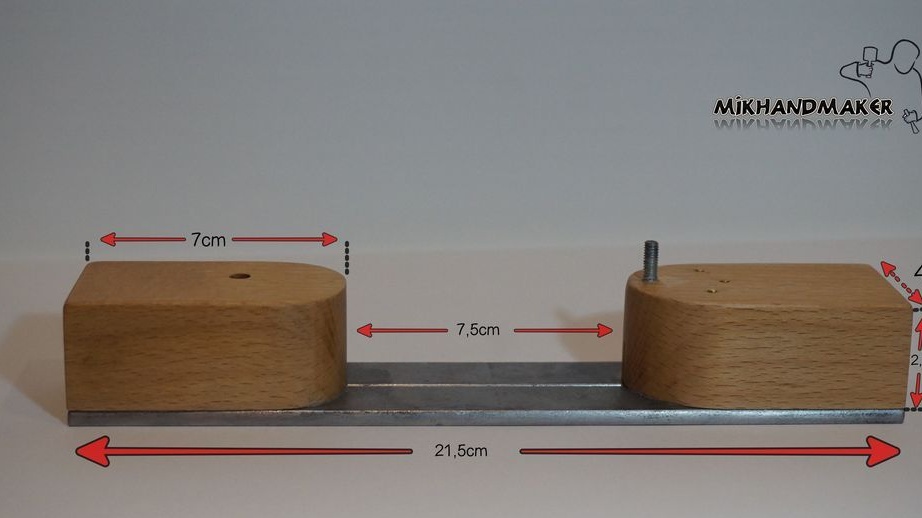
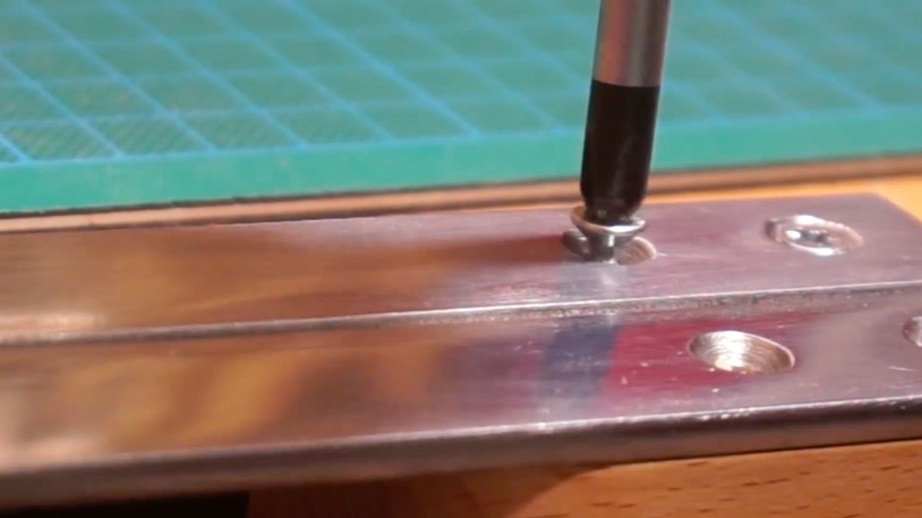
Step One: Guide
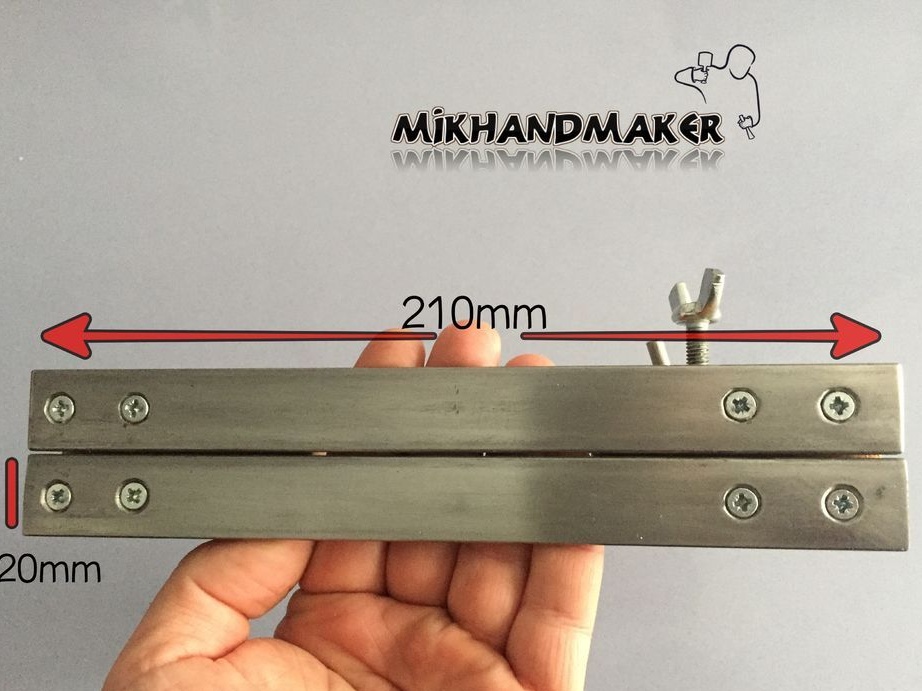
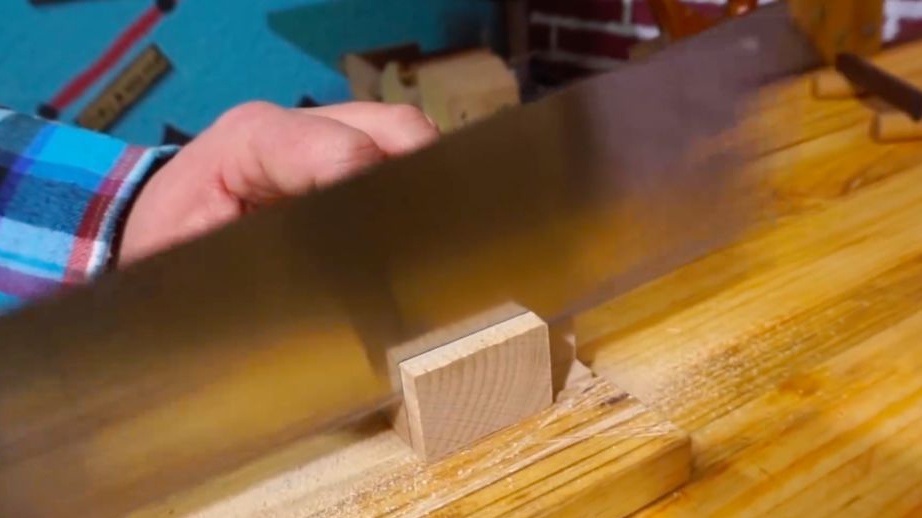
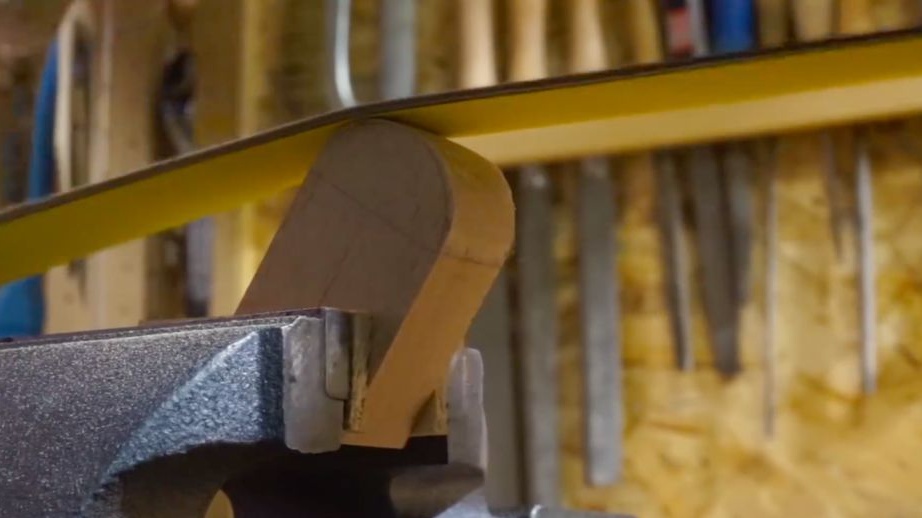
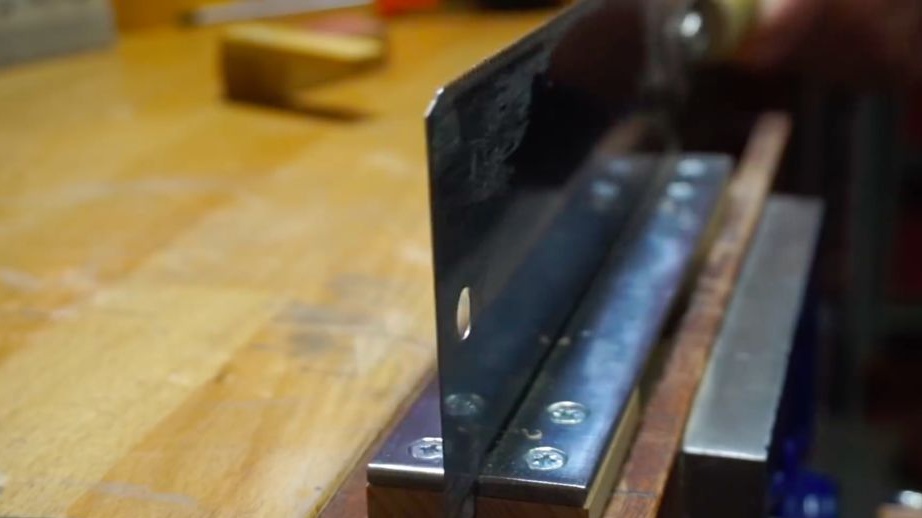
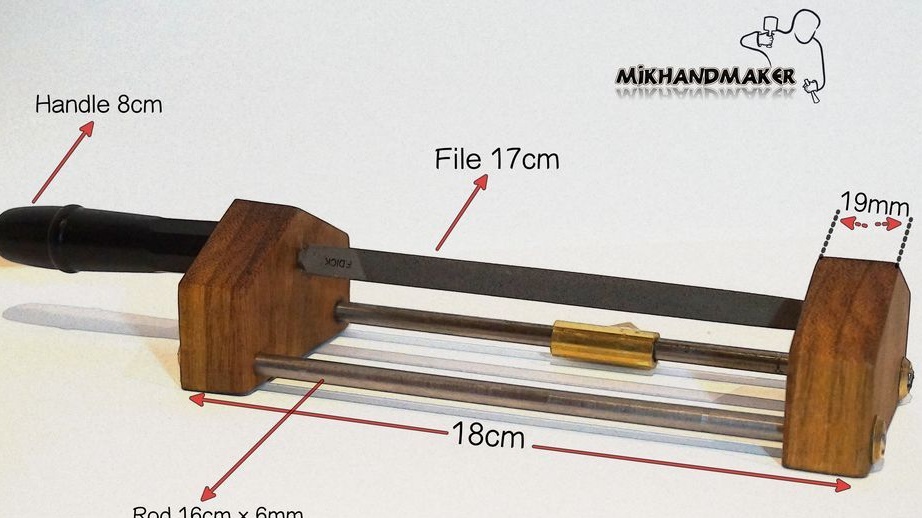
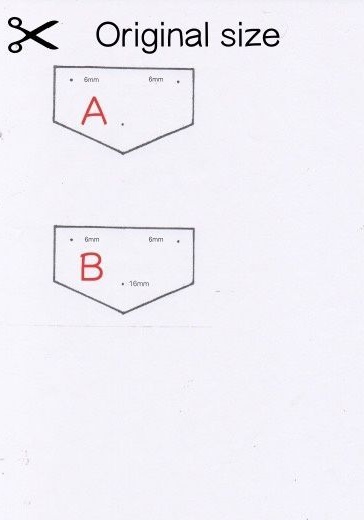
The first step is the master makes a guide for the saw blade. All sizes, the master pointed to the photo. The guide consists of two metal plates and two wooden blocks of a semicircular shape bolted to them. First, the master made two bars. Cut off two metal plates. I drilled holes for fastening in the plates. I glued one plate to the bars on a double-sided tape. I attached a hacksaw blade to the plate. Glued the second plate. I screwed the plates with screws to the bars. Thus, between the plates, a groove was obtained for the thickness of the hacksaw blade. Then the master made a drink in the bars.
For the groove, the master took a hacksaw with the thickest blade. This makes it possible to sharpen saws of different thicknesses.
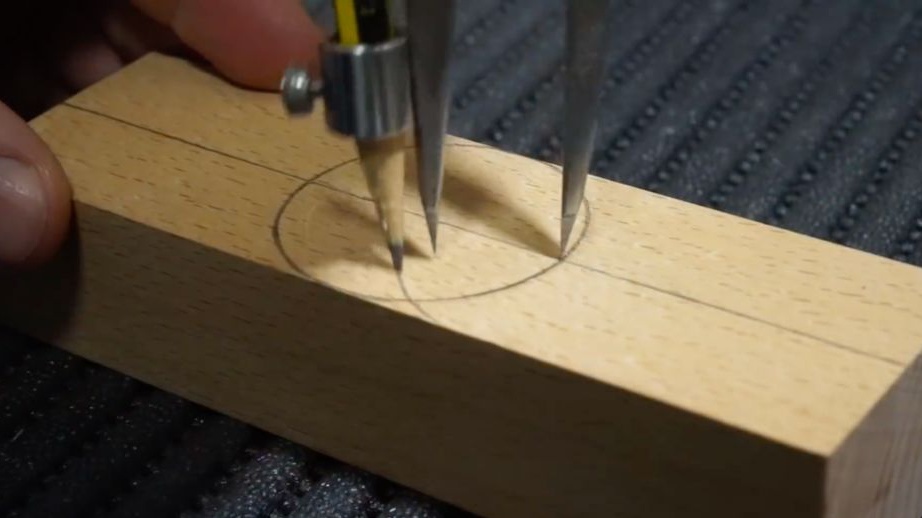
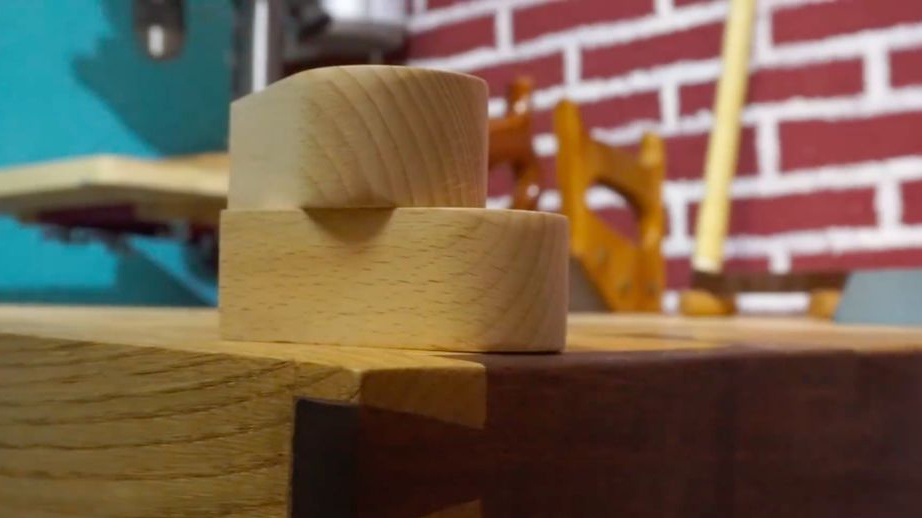


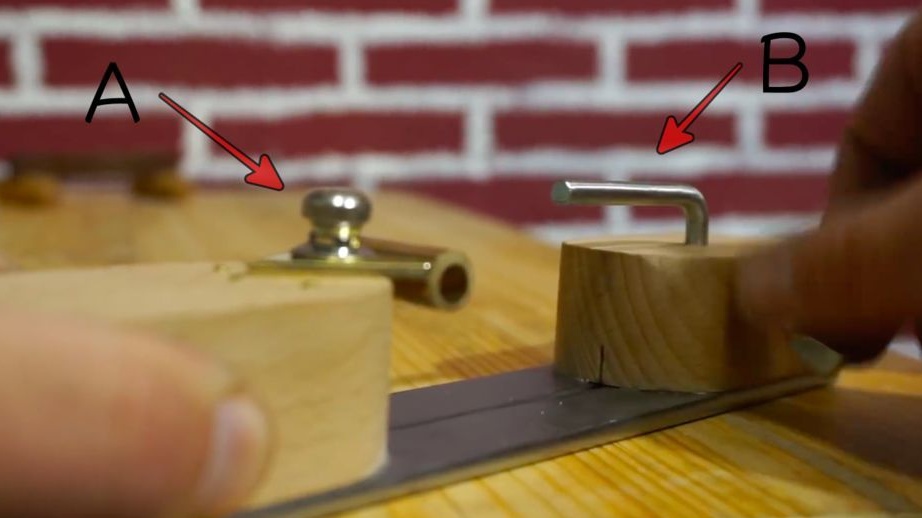
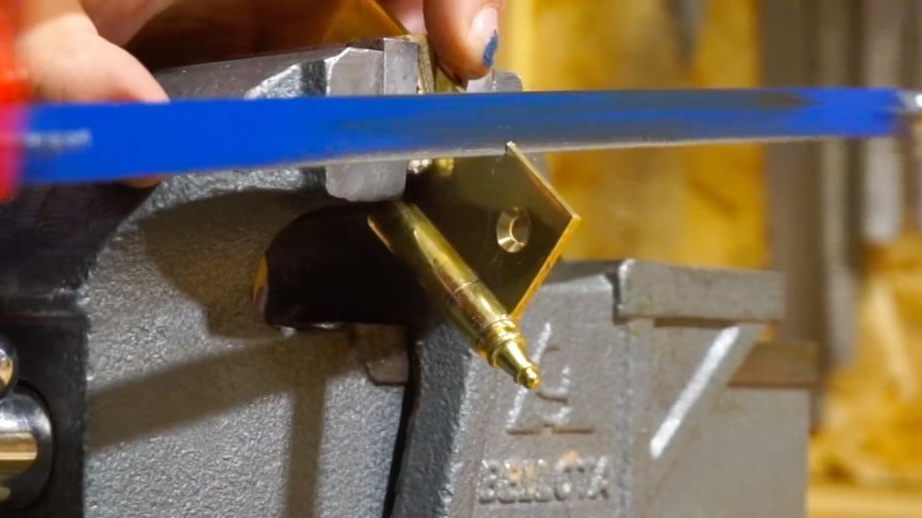
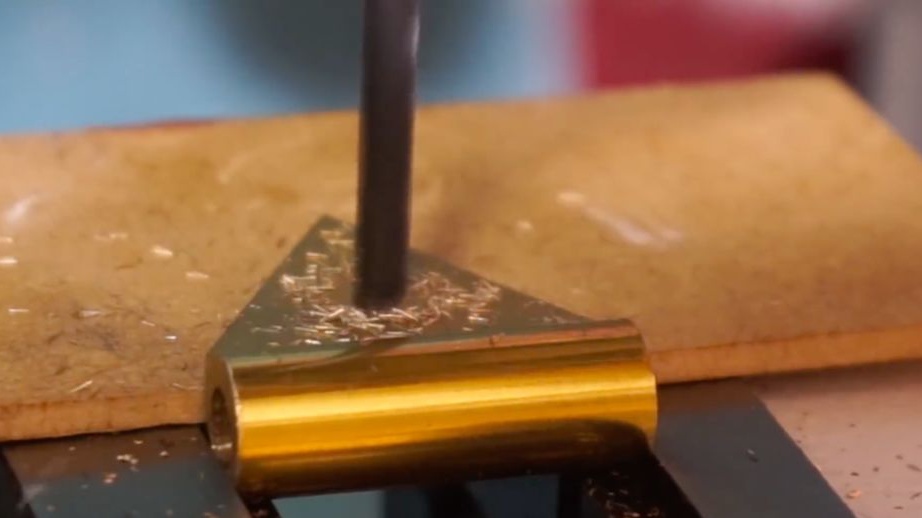
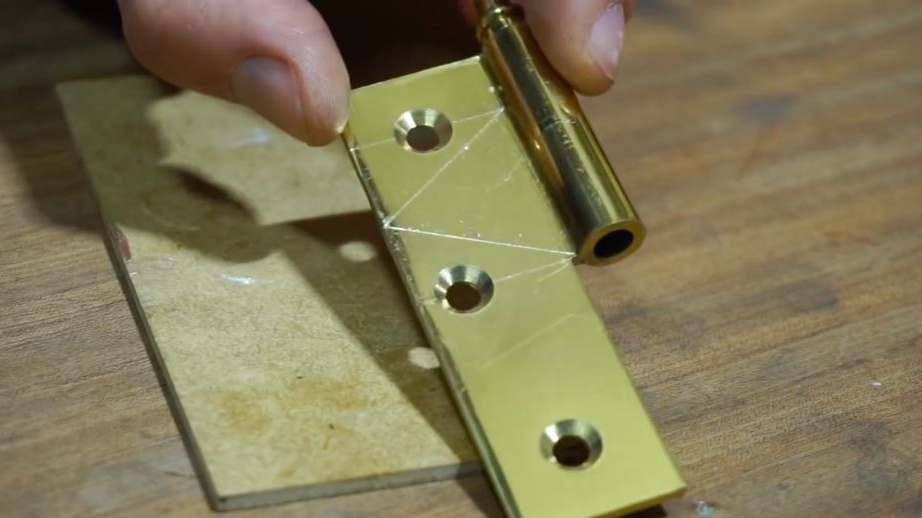
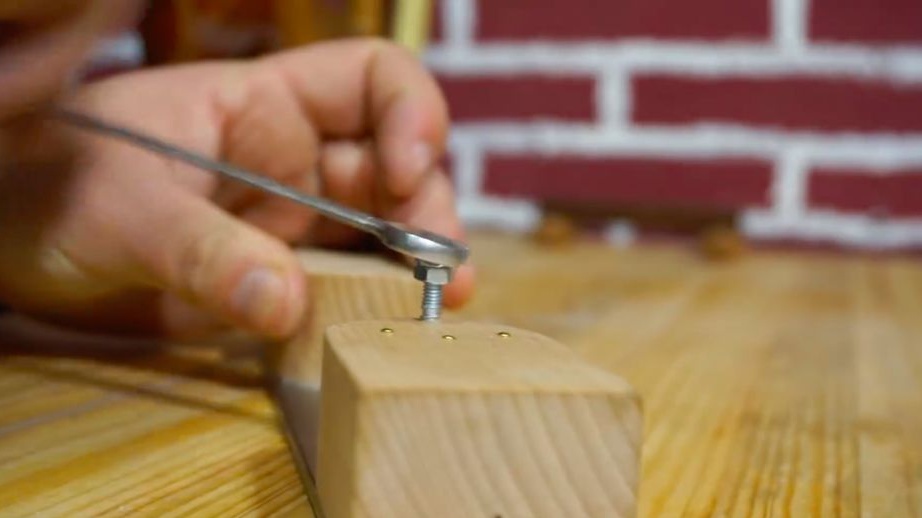
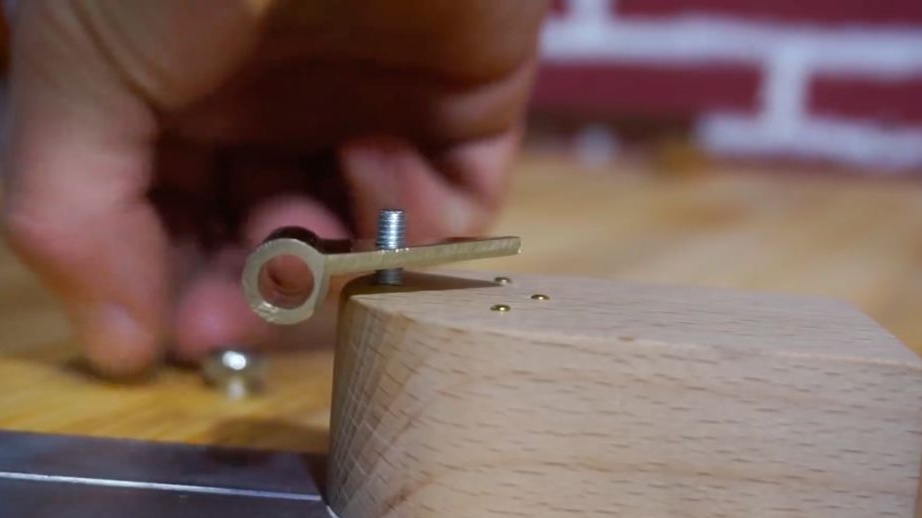
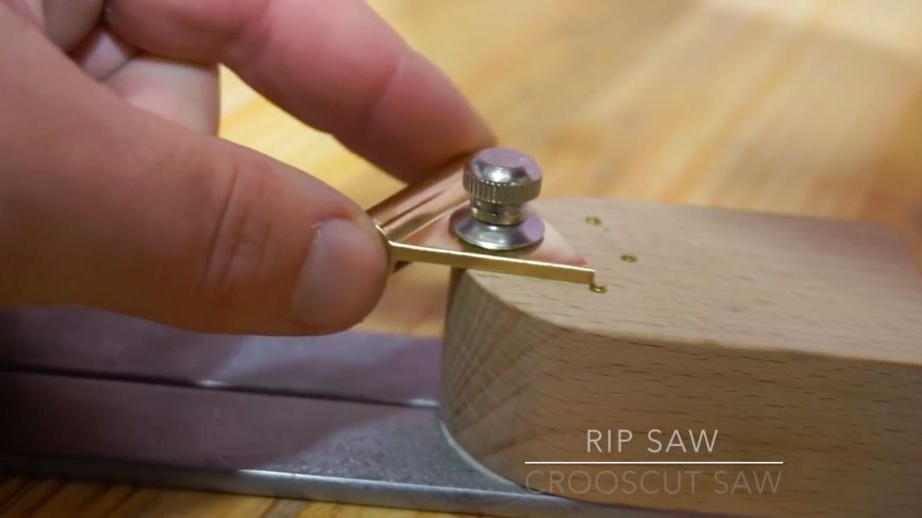
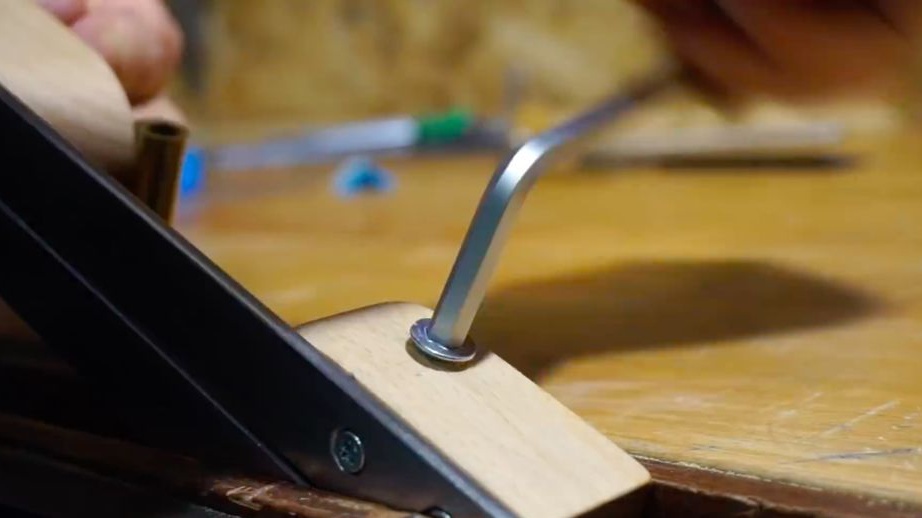
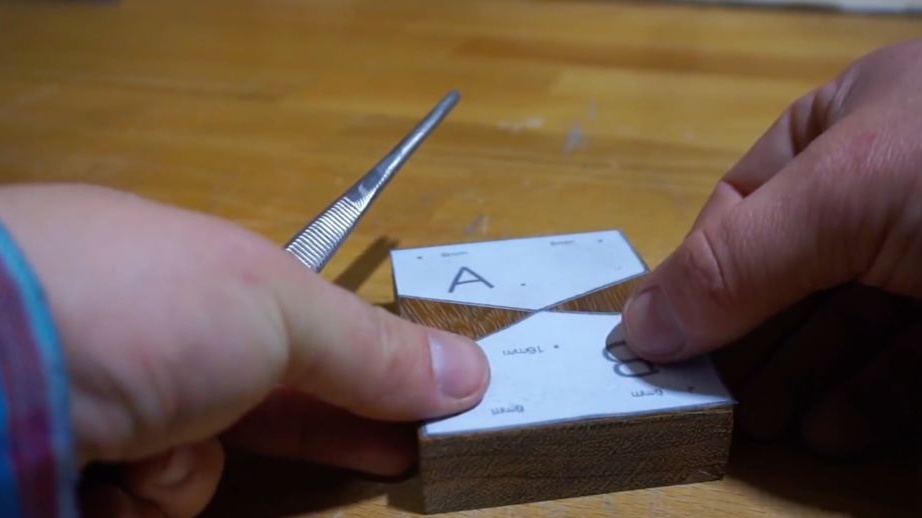
Step Two: Supports
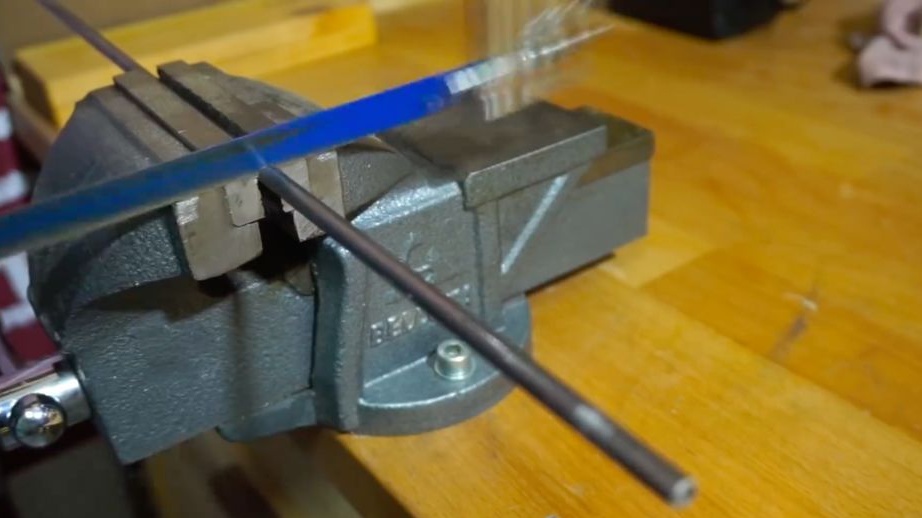
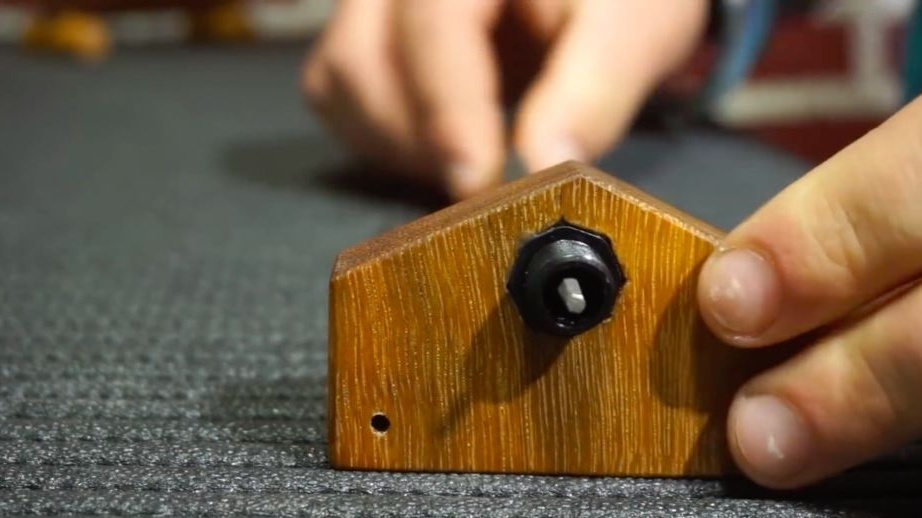
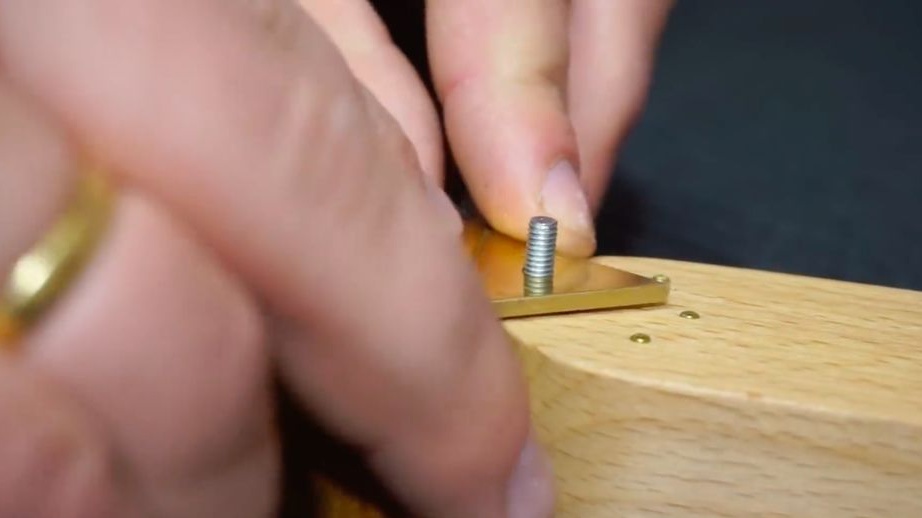
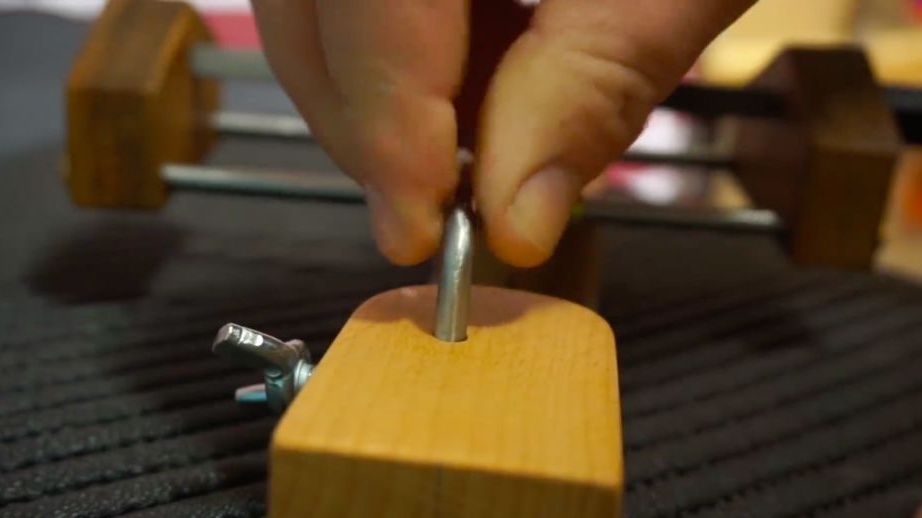
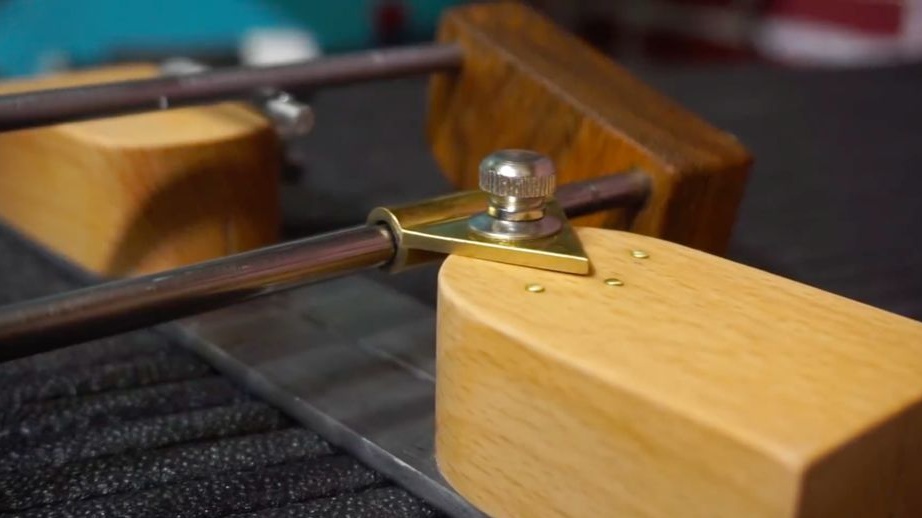
Further, the master makes two supports. One support is made of brass hinge. The master makes a triangle from a loop. The tube will be worn on the rod of the movable part of the machine. The flat part will be screwed to the guide bar. The second support is a metal rod bent by the letter G. The rod, with its long part, is inserted into the hole in the bar and locked with a screw.
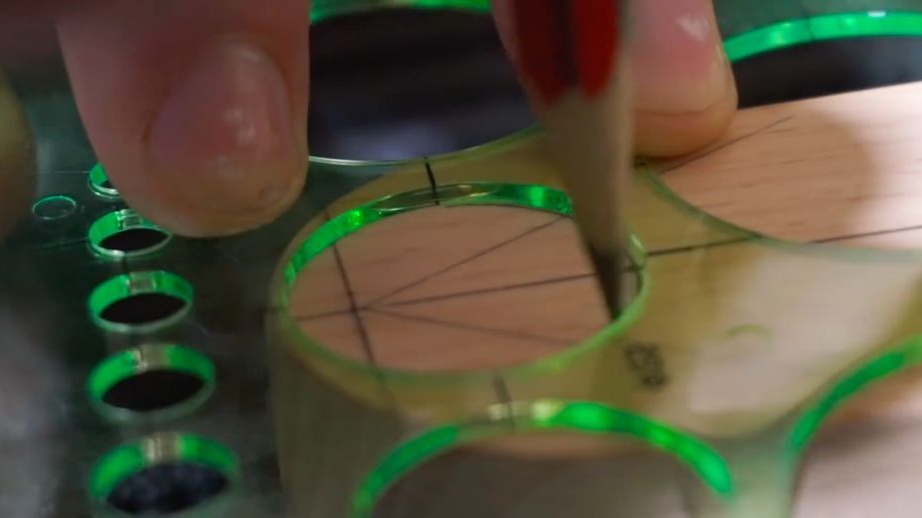
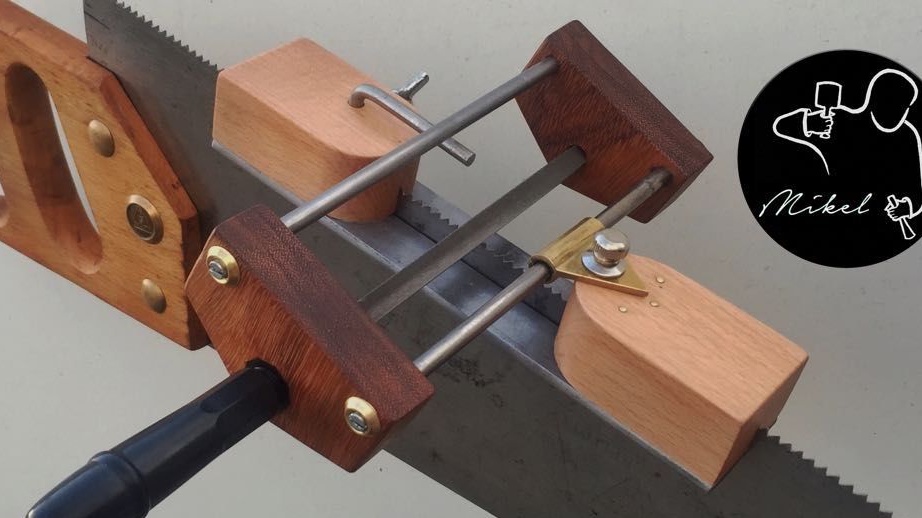
Step Three: The Moving Part
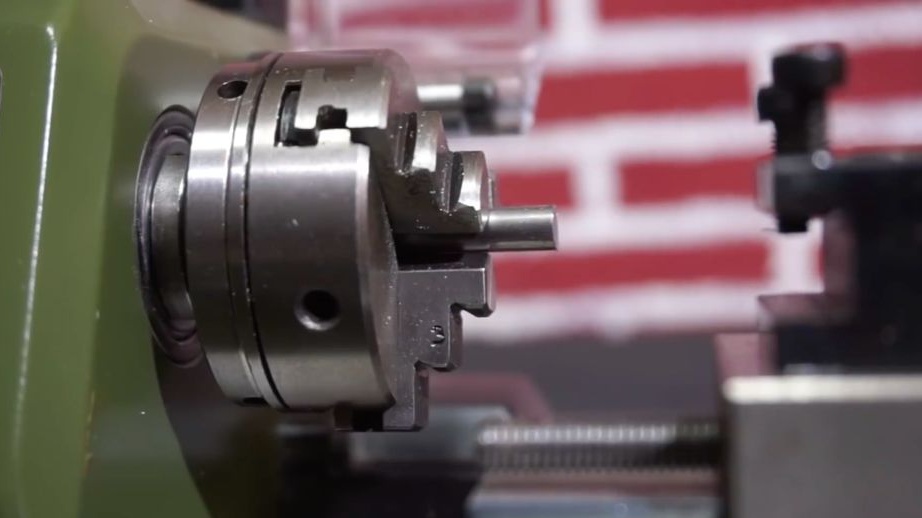
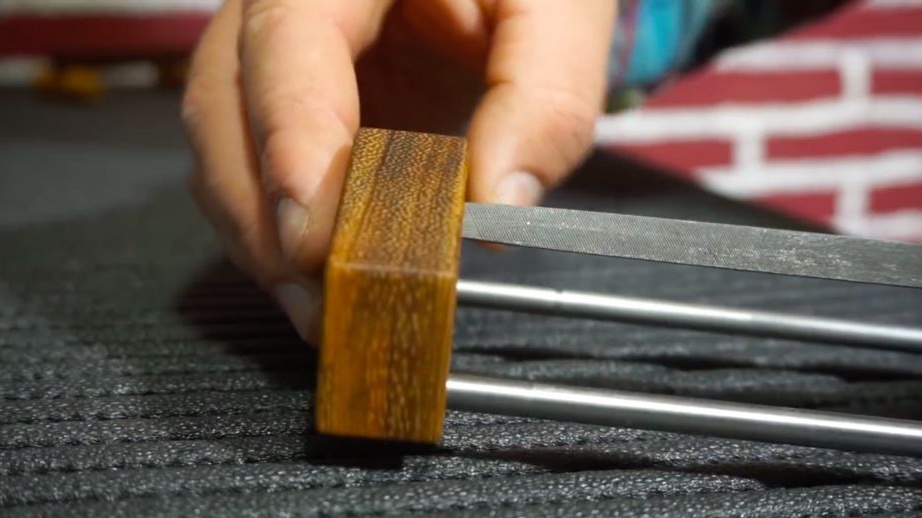
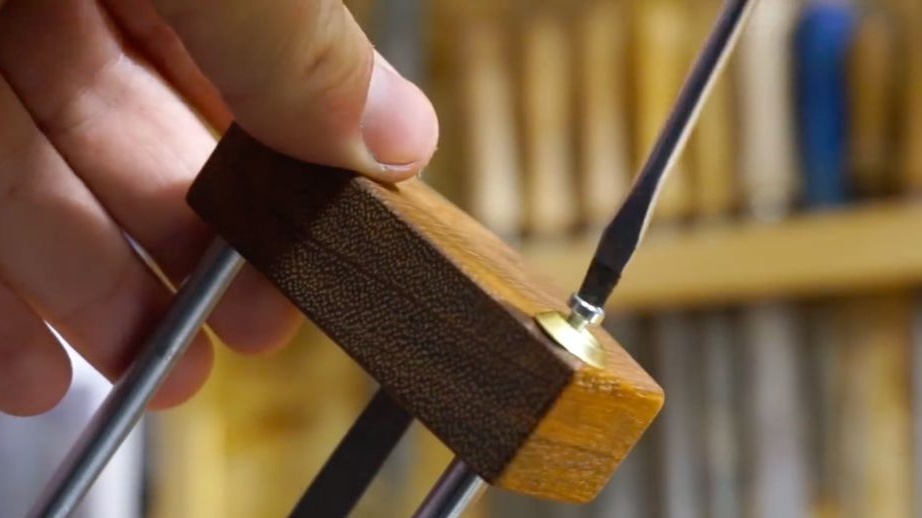
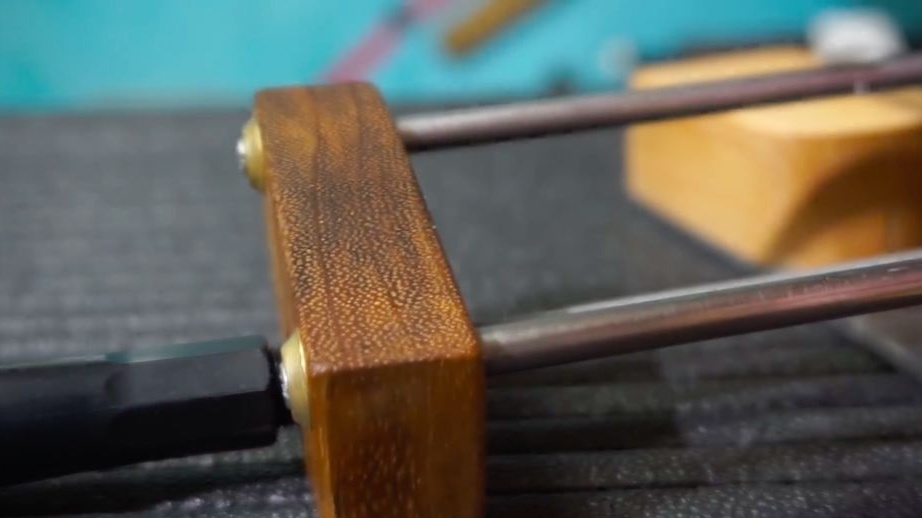
The moving part consists of two triangular bars, two steel rods and a loop support mounted on one rod. The whole structure is connected using steel rods. To do this, the master drilled holes in their ends and cut the thread. A file is installed at the top of the bars.


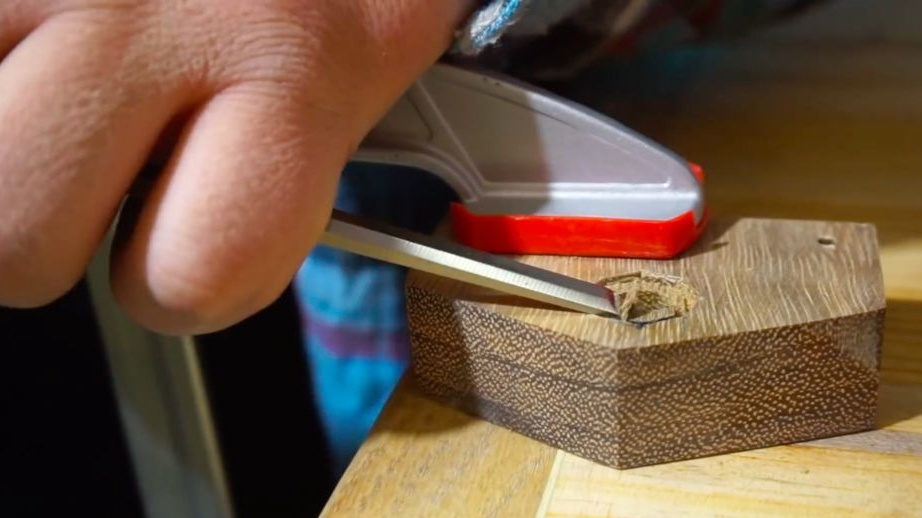
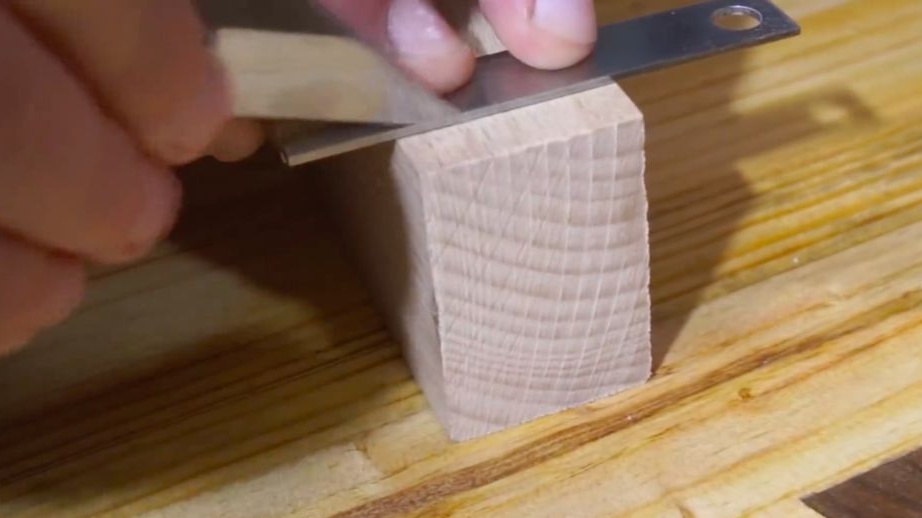
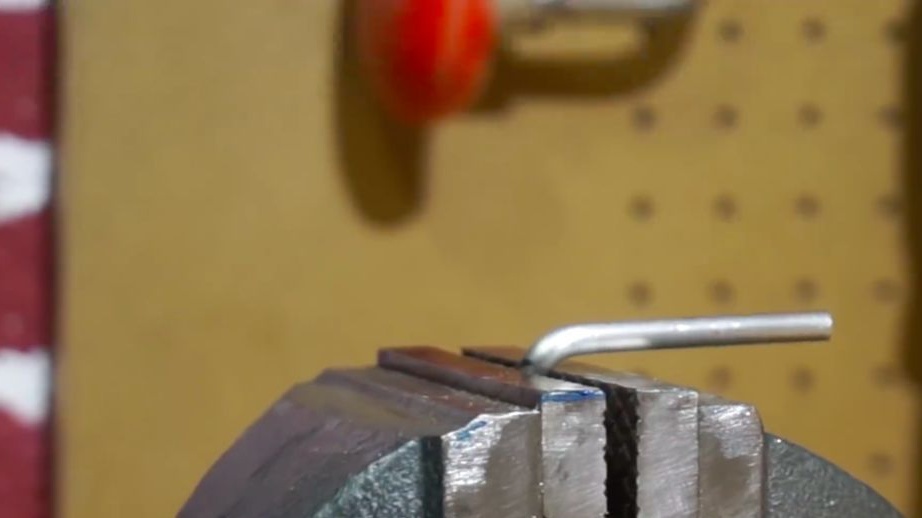
Step Four: Build and Use
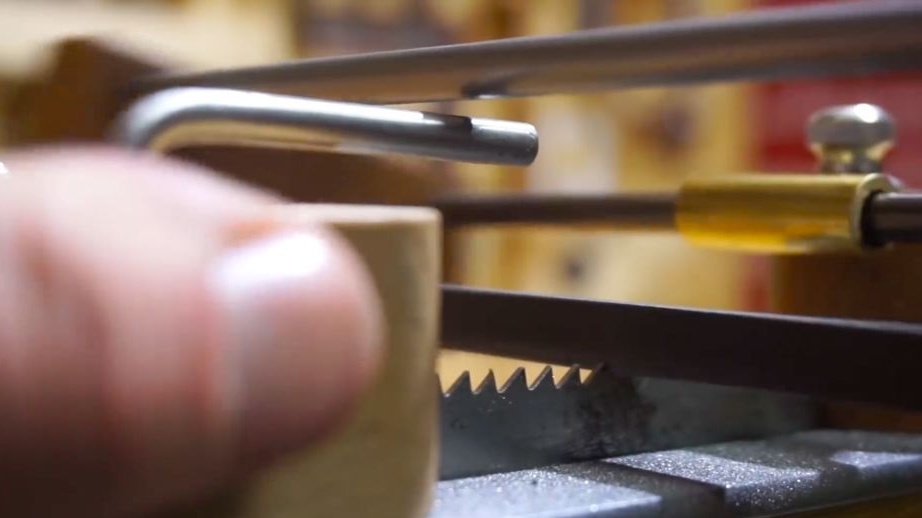
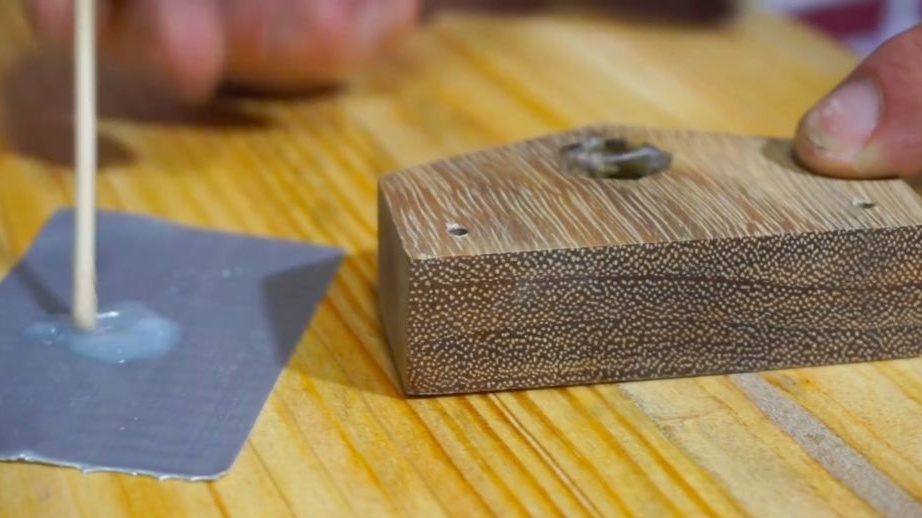
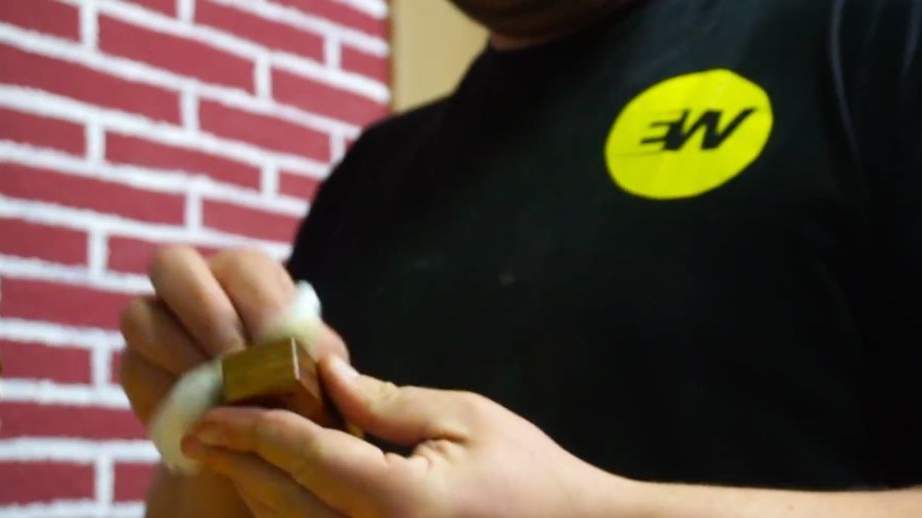
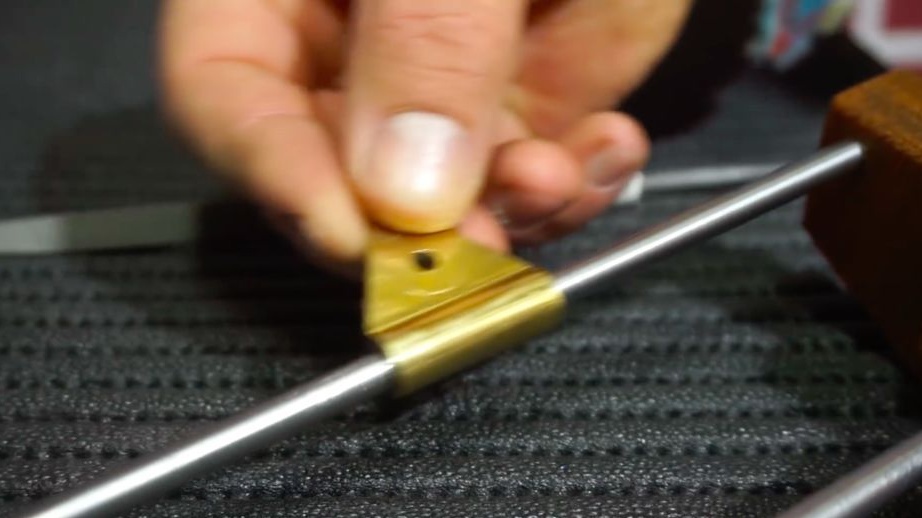
The master covers the wooden parts with wax. Screws the loop to the guide rail. Sets the file. Then the master parses the hacksaw, removes the handle. Hammer smooths the teeth in one plane. Clamps the web between the two bars with the teeth up. Flatten the top of the teeth. Sets up the machine and cuts new teeth. Next you need to sharpen the teeth. For sharpening, you need to change the angle of the file relative to the blade. Unscrews the support loop. Turns the movable part so that the top of the loop looks at one of the brass nails. Sharpen one side. Then he turns the loop with the top towards the other nail and sharpen the other side of the teeth.
After sharpening, you must not forget to "part" the saw.
Details on the manufacture of a grinding machine can be seen in the video.