

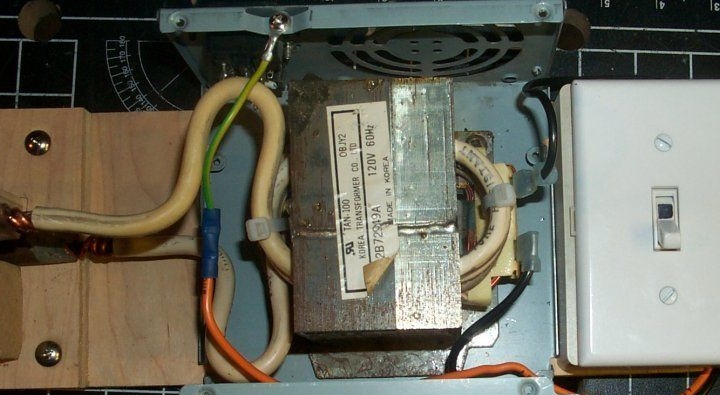
Step 1: Transformer

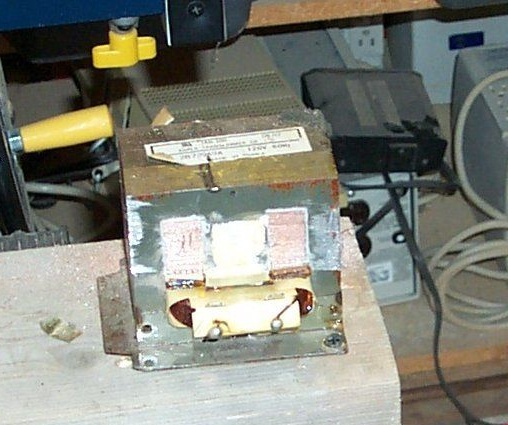
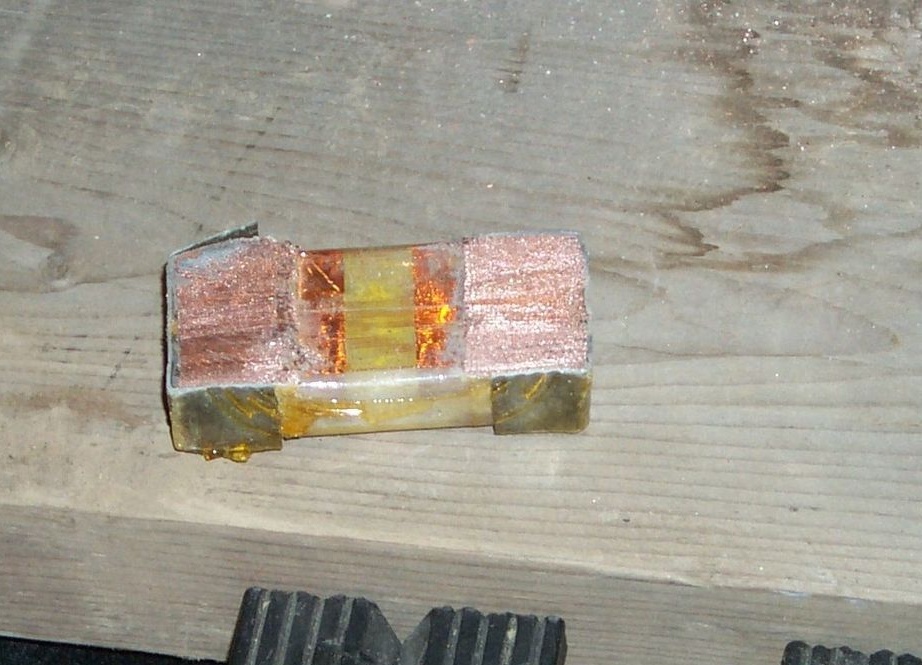
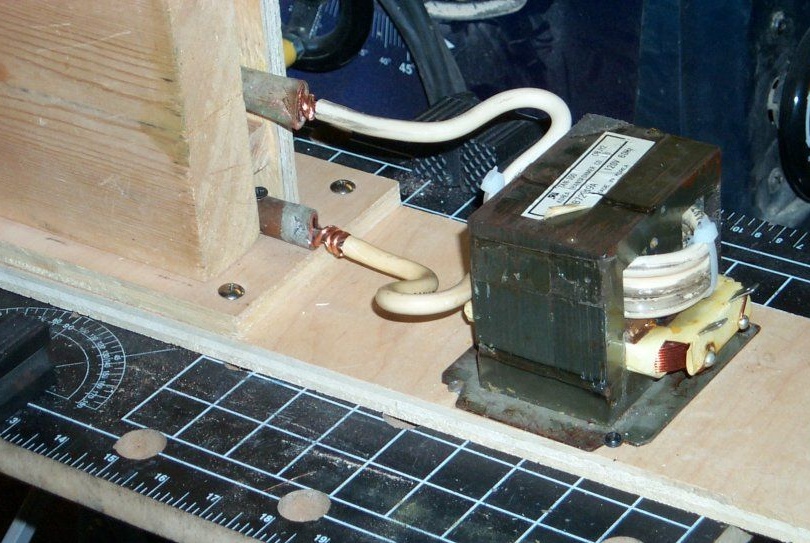
The ILO (microwave transformer) was involved in this project. The primary winding is made of a relatively thick copper wire (in the photo it is located below). The secondary winding consists of a large number of turns of a thinner wire. It needs to be removed. To do this, you can cut the protruding part with a hacksaw for metal. Be careful not to damage the primary winding! Then, using a hammer and a thin metal rod, it is necessary to knock out the remains of the secondary winding from the core, leaving only the primary on the transformer.
Step 2: Transformer (new secondary)
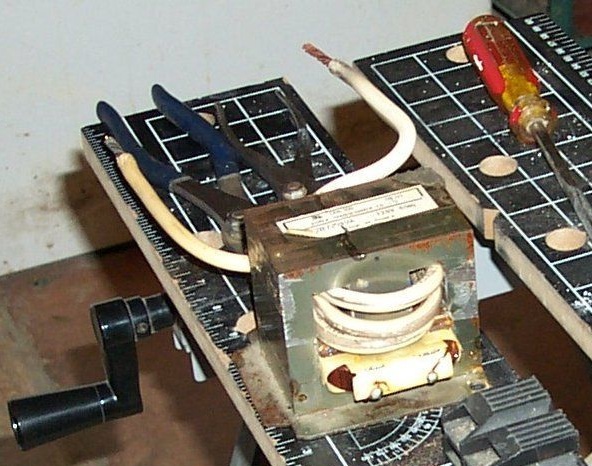
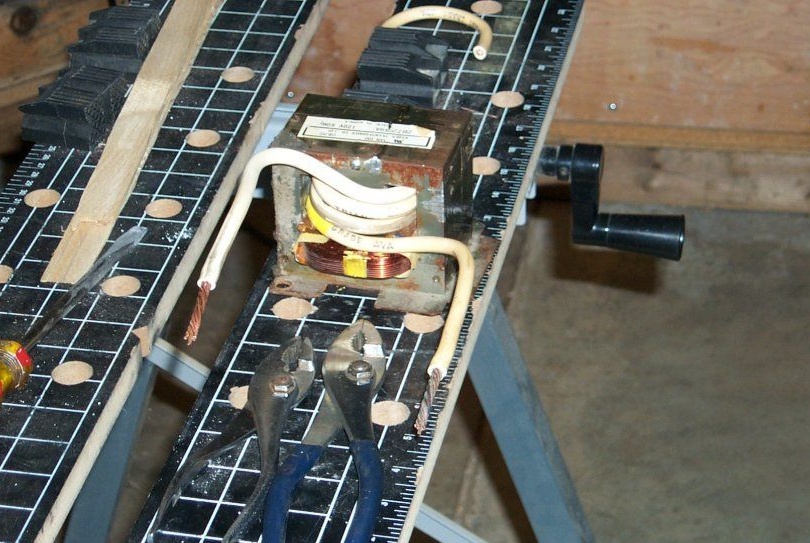
Now you need to find a thick insulated copper wire. The thicker the better. It must be threaded into the frame in place of the old secondary winding and make at least two turns. In fact, with a sufficiently thick wire, more than two turns can not be made, this will be enough. To make it easier to wind the wire, it must first be bent in the shape of the letter U and pass through the free ends. The output is a voltage of 2-3 volts and a current of several hundred amperes, which is why it is necessary to use the most thick wire to prevent overheating of the secondary winding and violation of the integrity of the insulation.
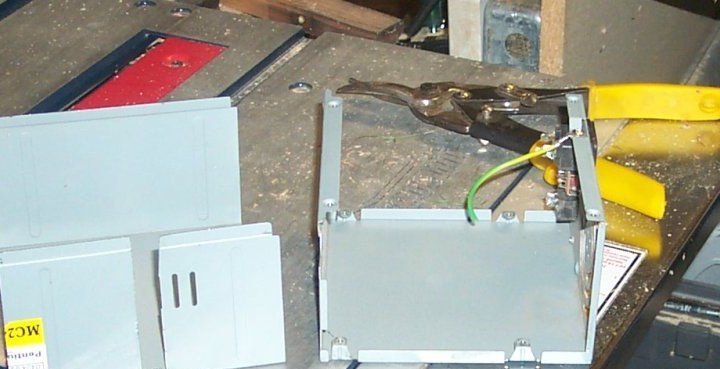
Step 3: Clips
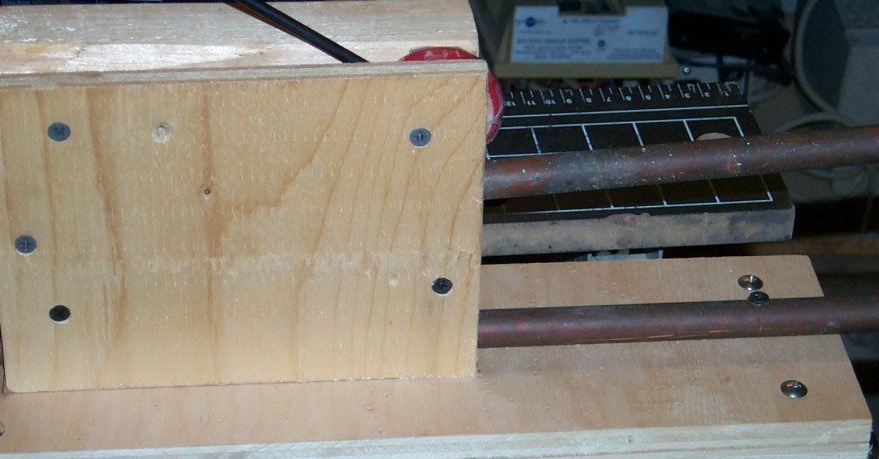
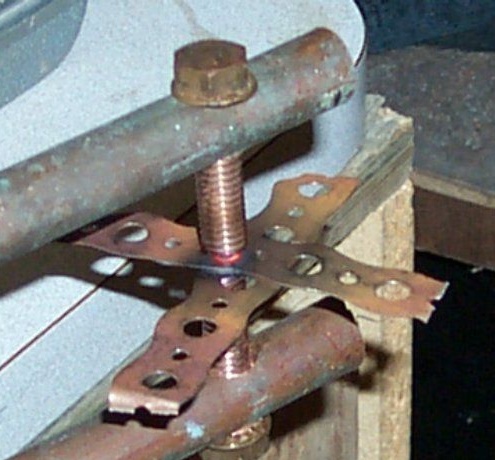
Copper tubes with a rather large wall thickness were used as contact clamps. You can also use thick copper bars, rods, or even the wires themselves. At one end of the contacts, you need to drill a small hole and, using the bolt and nut, having previously placed the washer, fix the leads of the secondary winding. A hole is also drilled at the other end and a thread is cut into which the bolt is screwed. It is desirable that he, too, be copper. If desired, the bolts can be sharpened a little to reduce the area of contact with the welded surface. Important: the ends of the bolts must be directed strictly opposite each other and tightly, without distortion, in contact with the surface. The quality of welding directly depends on this. Instead of bolts, you can also use thick copper wire, on which you also have to apply threads.
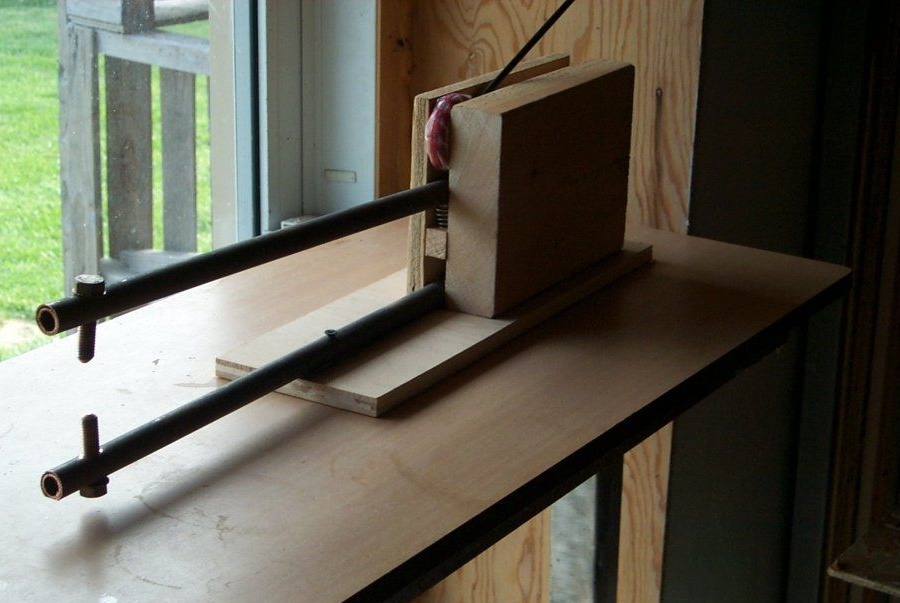
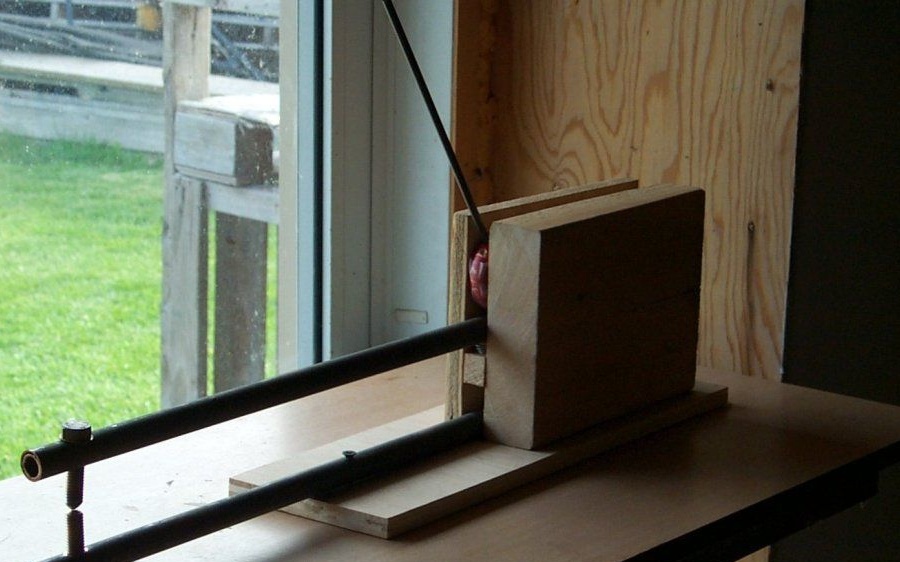
One of the obtained clamps must be rigidly fixed on a horizontal stand, where later the other components of the device will be placed. The second clamp electrode must be made movable.To do this, it is enough to drill a hole at the end and pass a long bolt through it and the vertical holder.
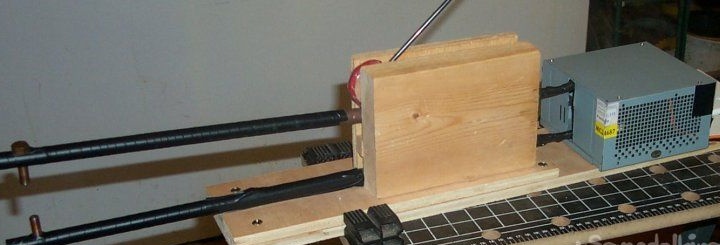
Step 4: Build
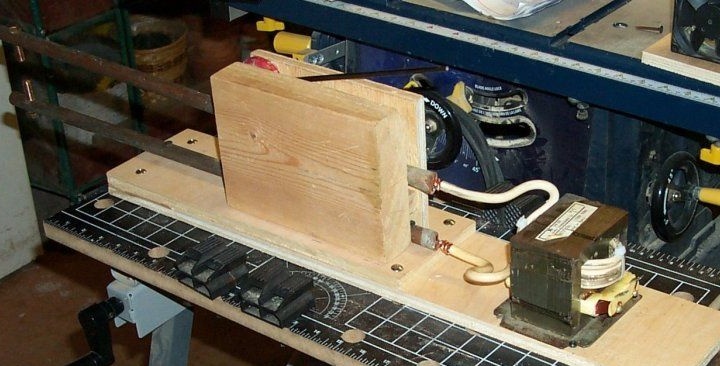

The transformer is glued or screwed to a horizontal stand. The wires of the output winding are clamped to the ends of the tubes or secured with bolts, as described in the previous paragraph.
Step 5: Build e parts
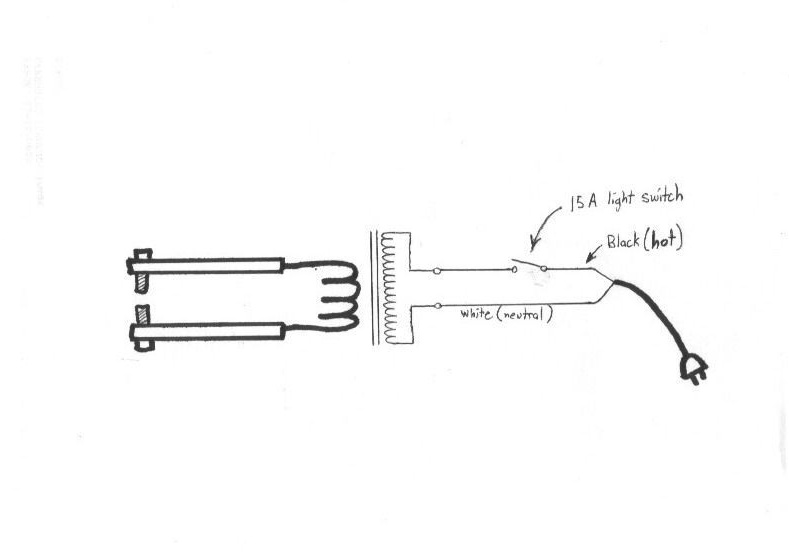
Everything is extremely simple here, but you should pay attention to one small detail. You need to take a switch with a current of at least 5 amperes and install it on the side of the mains! Otherwise, it will melt at the first start-up. In this regard, it is worth thinking about reliable insulation of the contacts of the switch so as not to be affected by electric current.
Step 6: Test
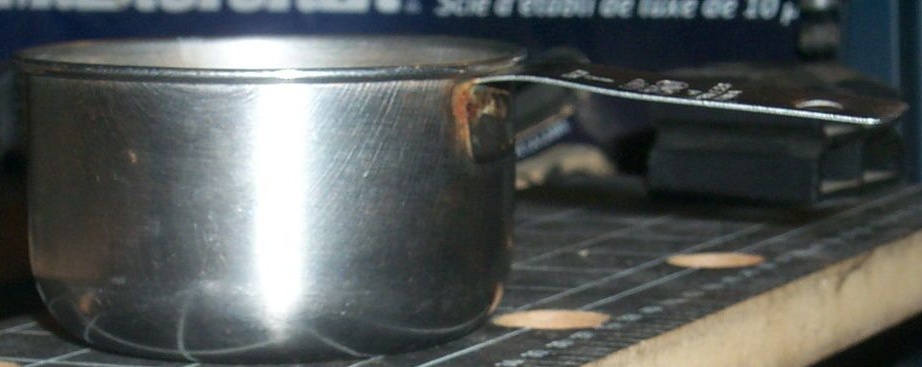
This device firmly solders in two seconds two thin metal surfaces. You should not expect more from him: he is too weak.
Step 7: Additional safety measures and improving the aesthetic appearance of the device.

The device is powered by a 220 volt network, so you need to minimize the risk of electric shock. To do this, it is proposed to cover the transformer with a protective casing. In this case, a case from a computer power supply is used. The author also suggests connecting a wire from the transformer case to it for use as grounding.
Clips can be wrapped with electrical tape. This is of no practical importance, since the voltage at the terminals is very small and does not pose any danger to human life and health.
Surely everyone will find their application to this simple device. If desired, the idea can be modified to a more advanced device. Have a nice build!