

Today I want to tell you about my next homemade product.
Summer has come, and with it the hot weather! Because of this, you often feel thirsty!
By the nature of my activity, I spend a lot of time in car. Since I travel mainly around the city, there is no problem buying a bottle of water. But I’d just like not to buy a small bottle “to drink once”, but to buy one and a half, or two-liter at once. But the problem is that the interior of the car, standing in the sun, heats up very much. And a bottle of cool water left in the cabin turns into a hot water bottle in just an hour!

You can, of course, get an auto-refrigerator or a thermobox, but this unit is large enough if we want a standard two-liter PET bottle to fit there! After all, it has a sufficiently large length! Again, an auto-refrigerator of such sizes will consume a large amount of energy, and in long-term parking it is capable of fully casing the battery. A thermal box will be effective only if it is completely filled with bottles of cool water! After all, if you put one there, then a lot of cold is spent on cooling the air in the container !!!
So I decided to make a thermal box for one single bottle. So that the bottle entered it tightly, and there was almost no warm air left there. In addition, it will not have large external dimensions, and it can be carried not in the trunk, but in the passenger compartment.
Looking ahead, I will say that I succeeded.
To make the thermal box, I needed the following materials:
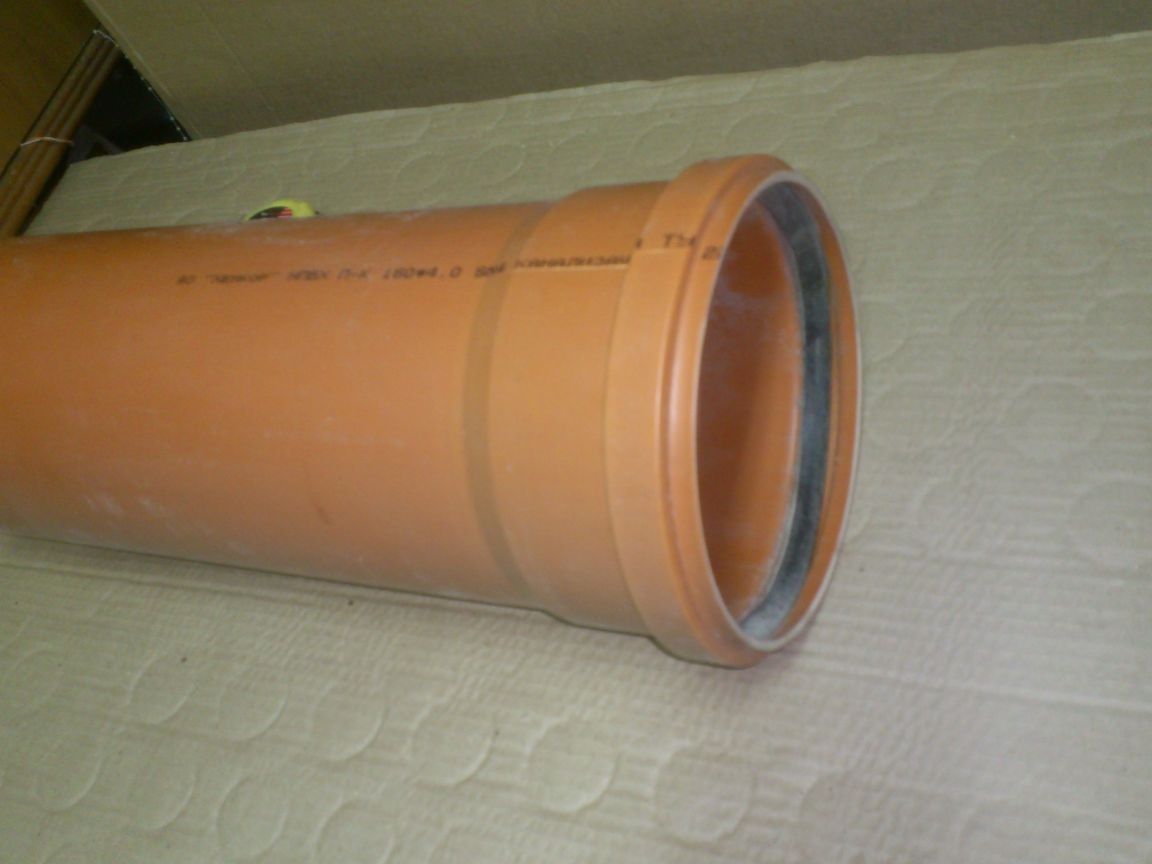
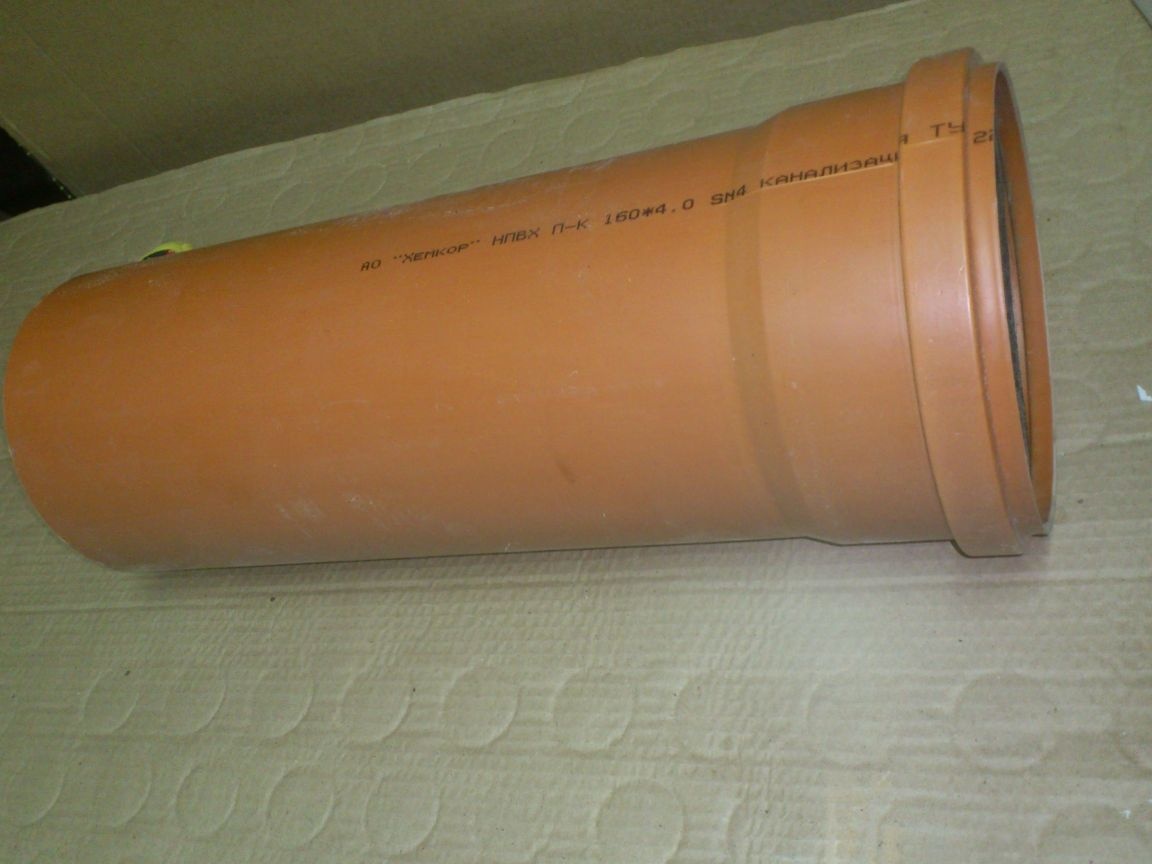
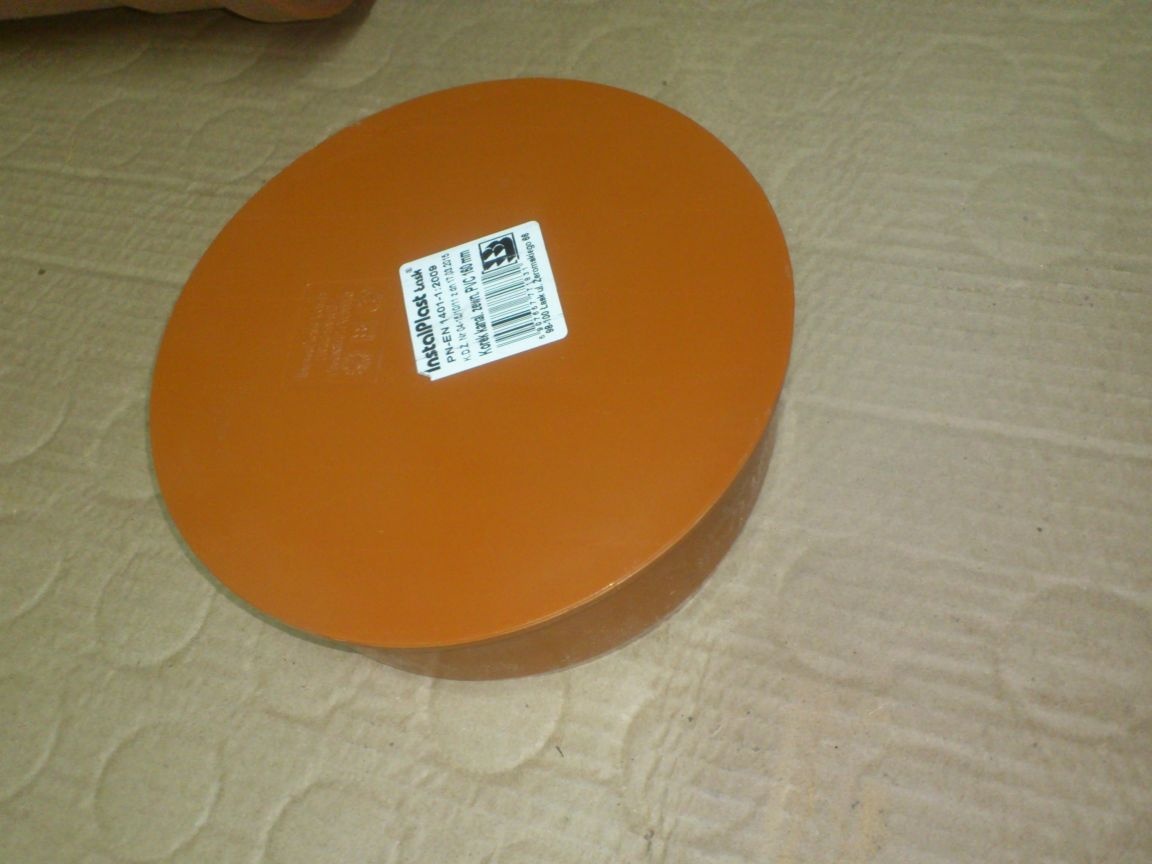
1. A piece of PVC sewer pipe with a diameter of 150 mm with a bell.
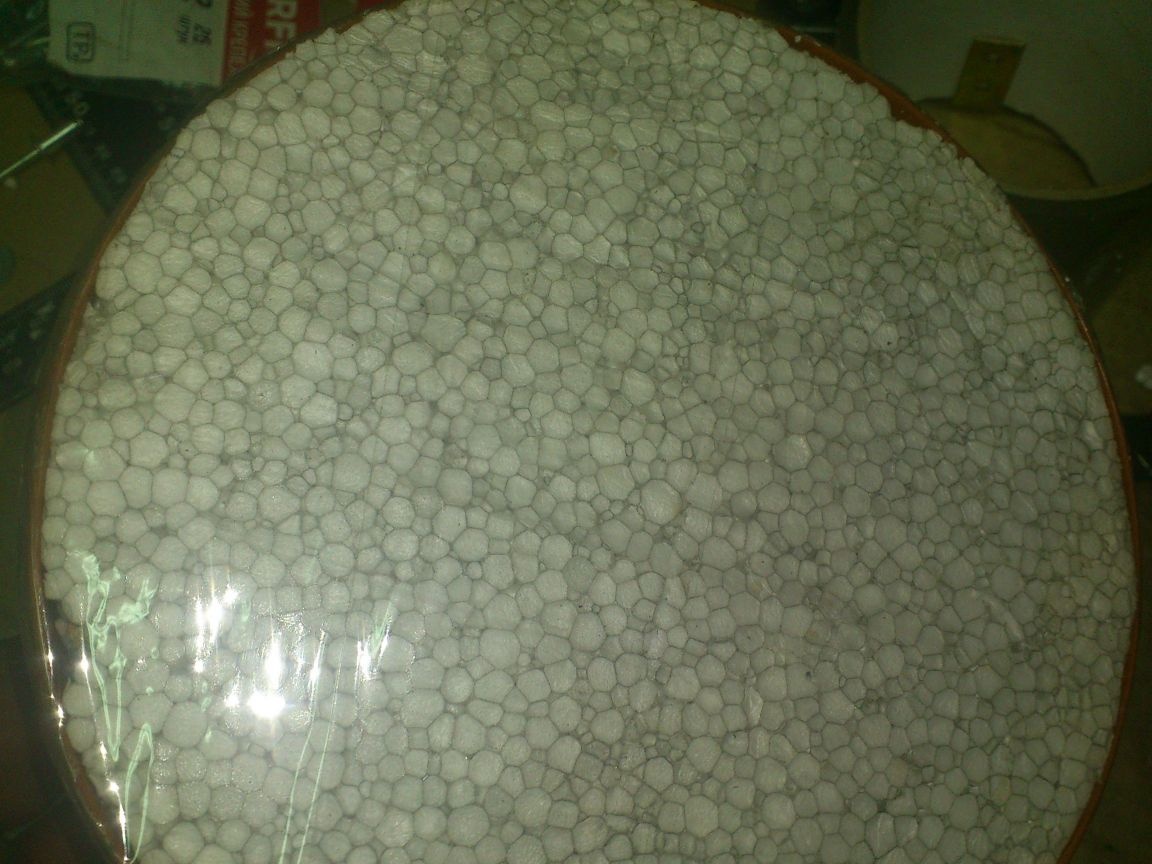
2. Polyfoam sheet PPT15 50 mm thick (trim).
3. Foam.
4. Old plastic canister (only its side wall).
5. Plug to pipe 150 mm.
6. Aluminum self-adhesive tape.
7. A piece of sewer pipe with a diameter of 110 mm. (For the template. It will stay)
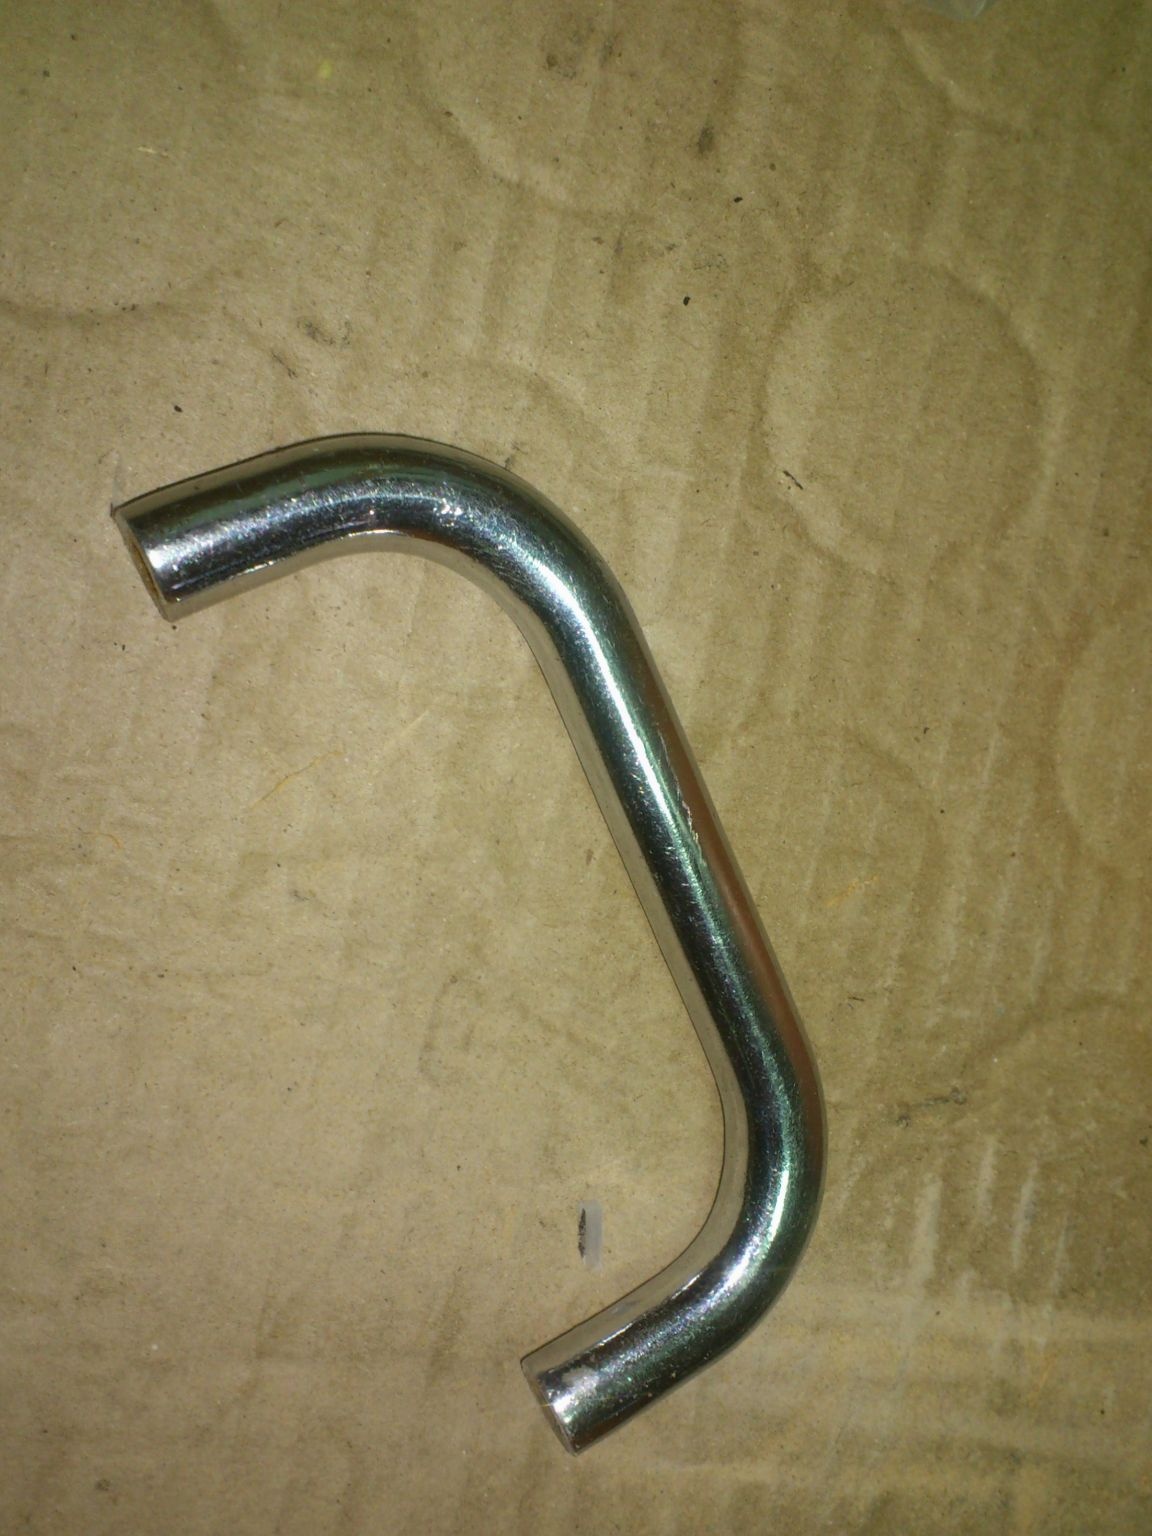
8. Handle from a modular radio station (I just had it! Any door or furniture handle will do).
9. Silicone sanitary.
10. Extraction rivets.
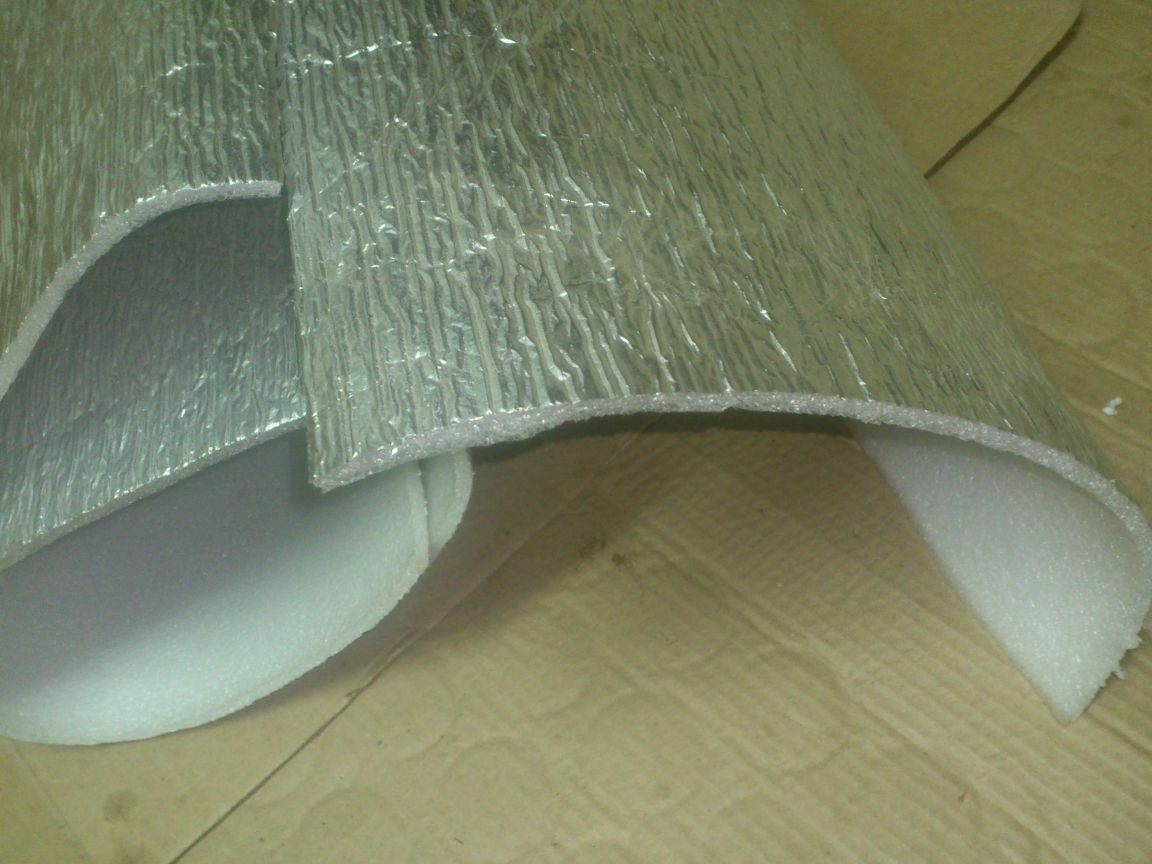
11. Foil foamed polyethylene, or any other similar foil heat and sound insulating material.
The prototype was a foam container for baby food bottles, which are now used by young mothers, going on a long walk with a stroller. The bottle fits snugly in polystyrene foam and remains warm for a long time even in winter!
I have decided on the concept itself. I decided to take the technological scheme the same as I had already done thermal box container
But then I used food grade technical buckets. Now I need a much smaller diameter.
Having rummaged in the stocks of "necessary rubbish", I came to the conclusion that trimming sewer plastic pipes would be most suitable for my purpose. After all, my container will not have direct contact with food, so plastic should not necessarily be food.
For the outer casing, I decided to use a piece of sewer pipe for the external sewer, which has a diameter of 150 mm.
For the inside - a pipe with a diameter of 110 mm.
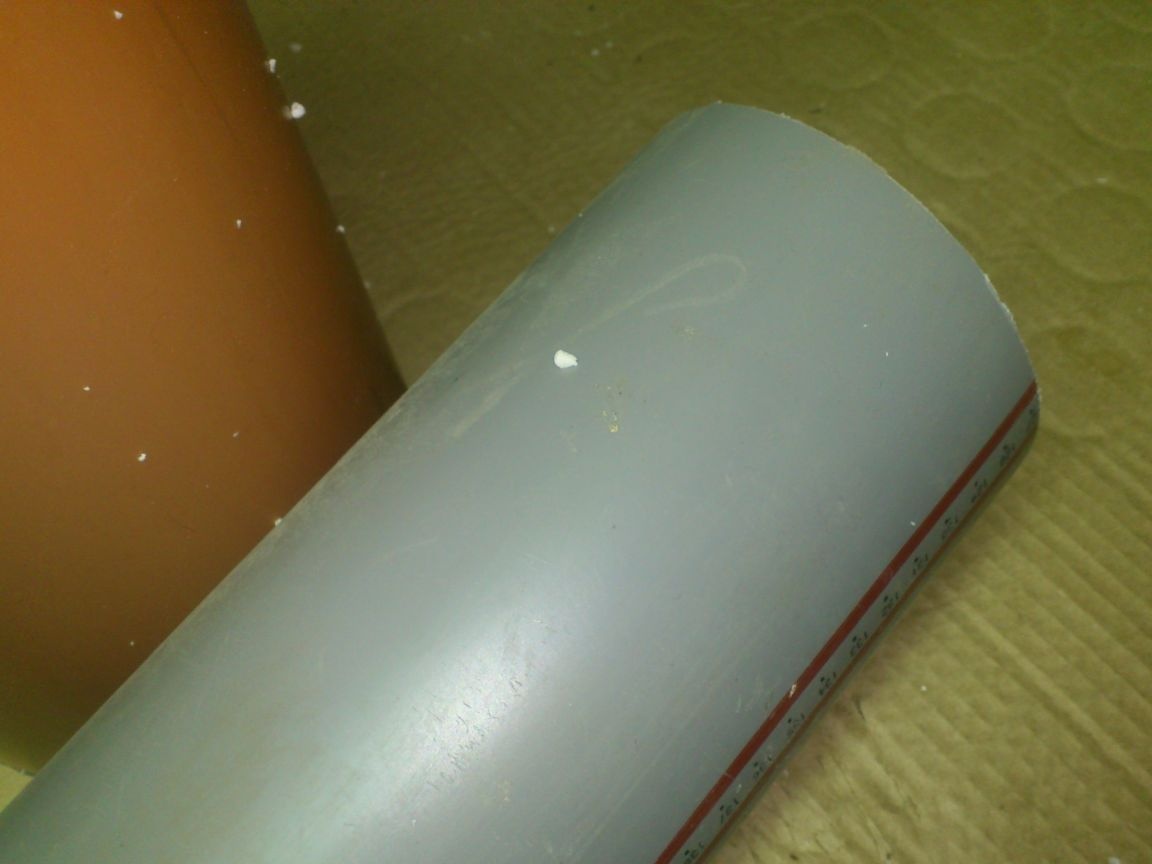
But, experimenting with various two-liter PET bottles, I came to the conclusion that its diameter is not enough! Most of these bottles have a diameter of just about 110 mm, and therefore, they do not fit inside the pipe !!! If you make an inner glass from this pipe, then in the future you will have to be content with storing only one and a half liter bottles in it, which, by the way, will hang out a bit there.)))).
I would like to have a more versatile thermal box, so after a little thought, I decided to just use this pipe as a template, and abandon the hard plastic inner cup altogether !!!
From a pipe with a bell I cut a piece equal in length to the length of a two-liter bottle (the longest of those found), adding 10 cm to this size:
A cap will be used as a cover (I had to buy it))))
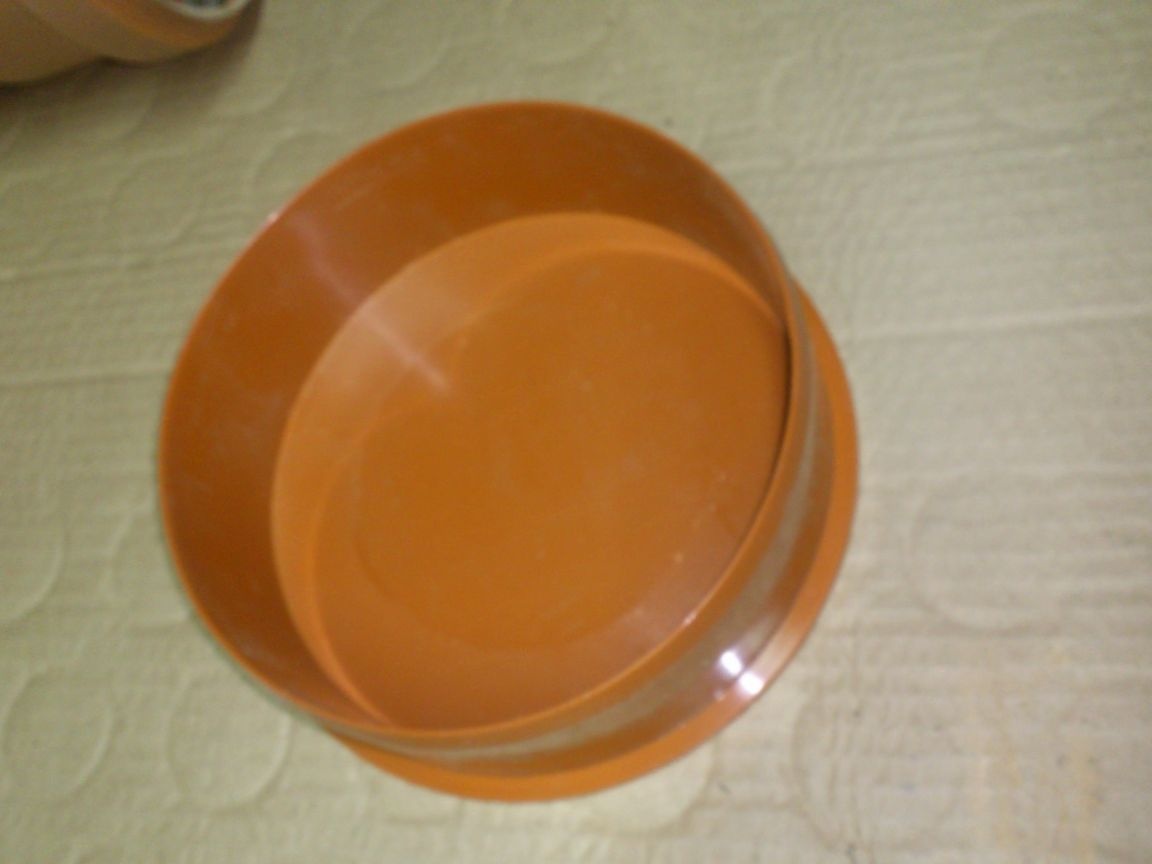
If you get a rubber sealing cuff from the bell, this plug easily "enters and exits."))))
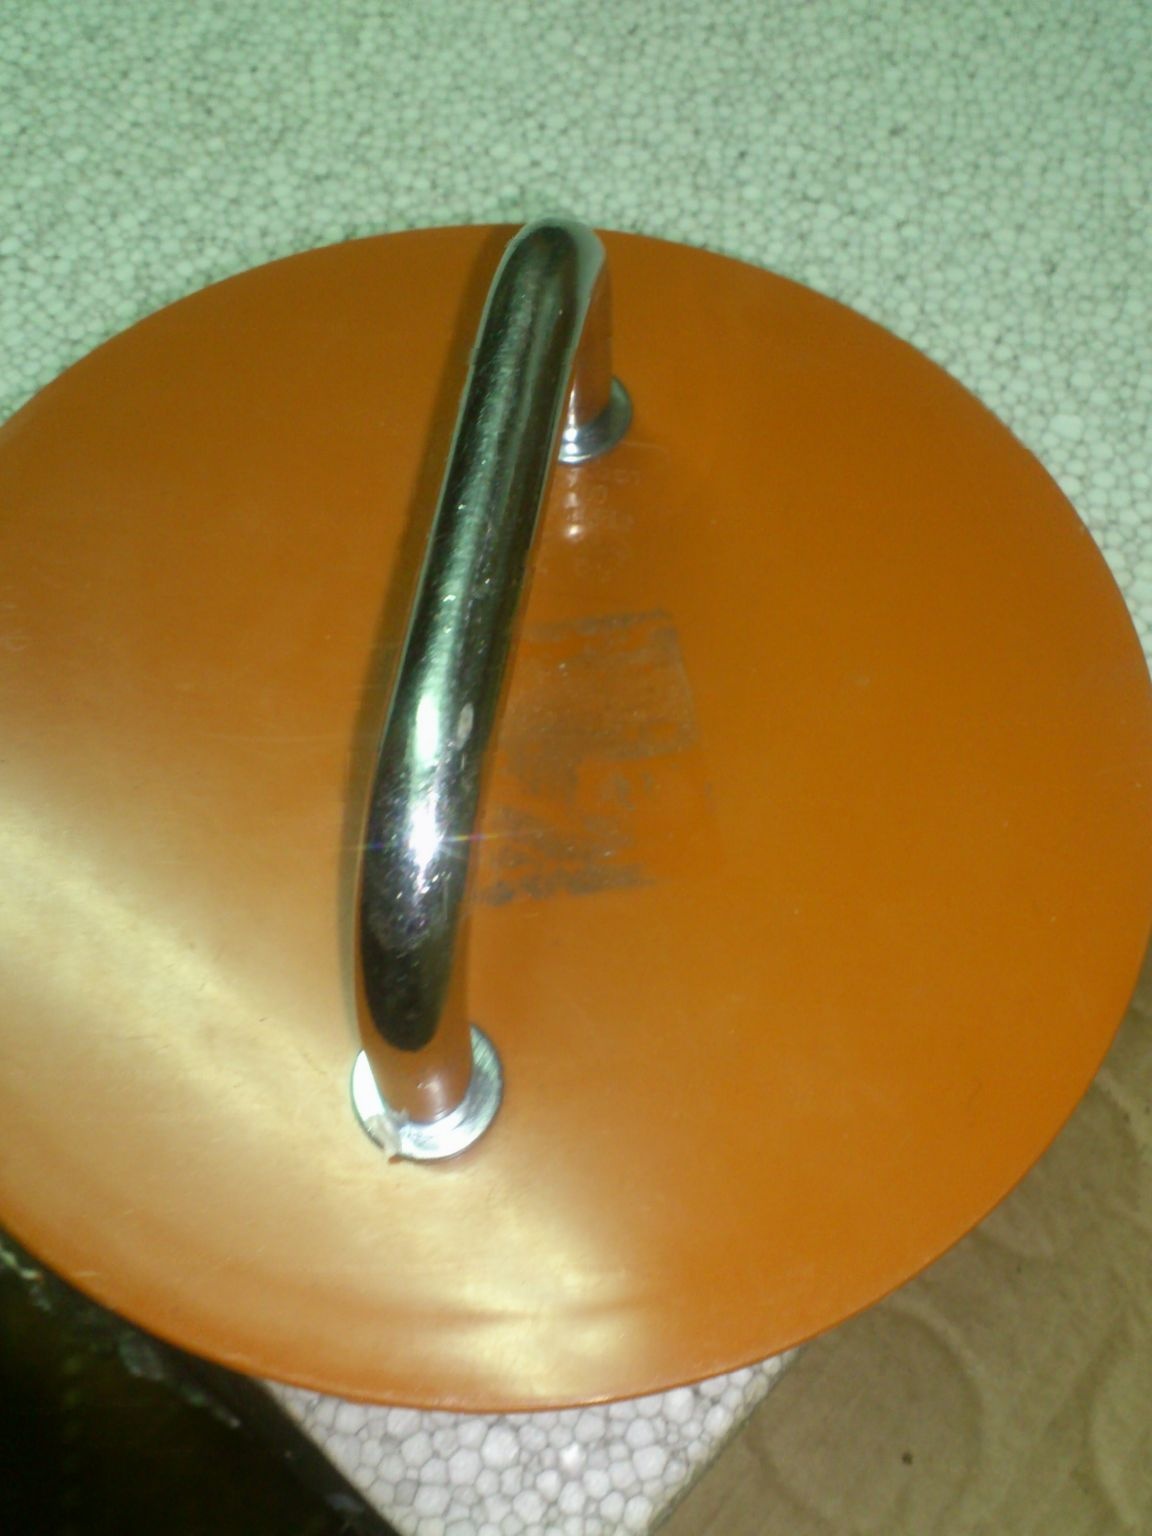
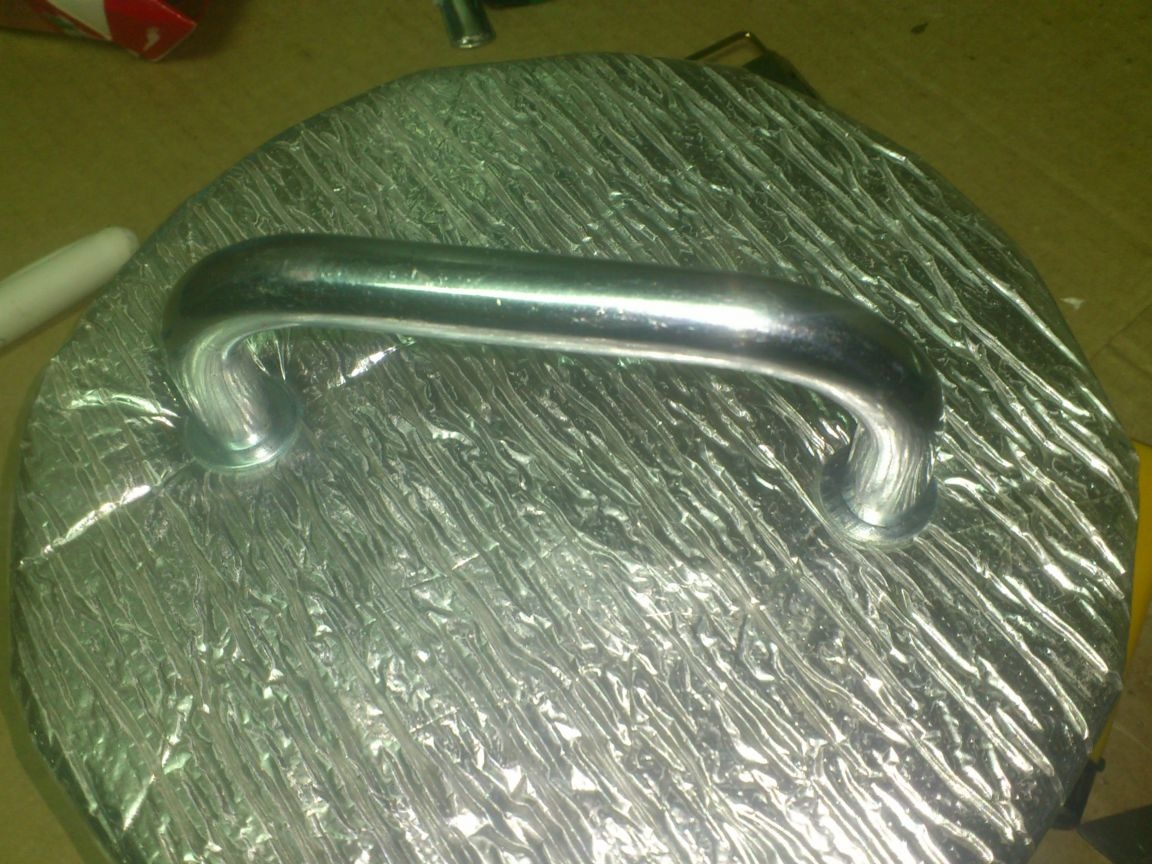
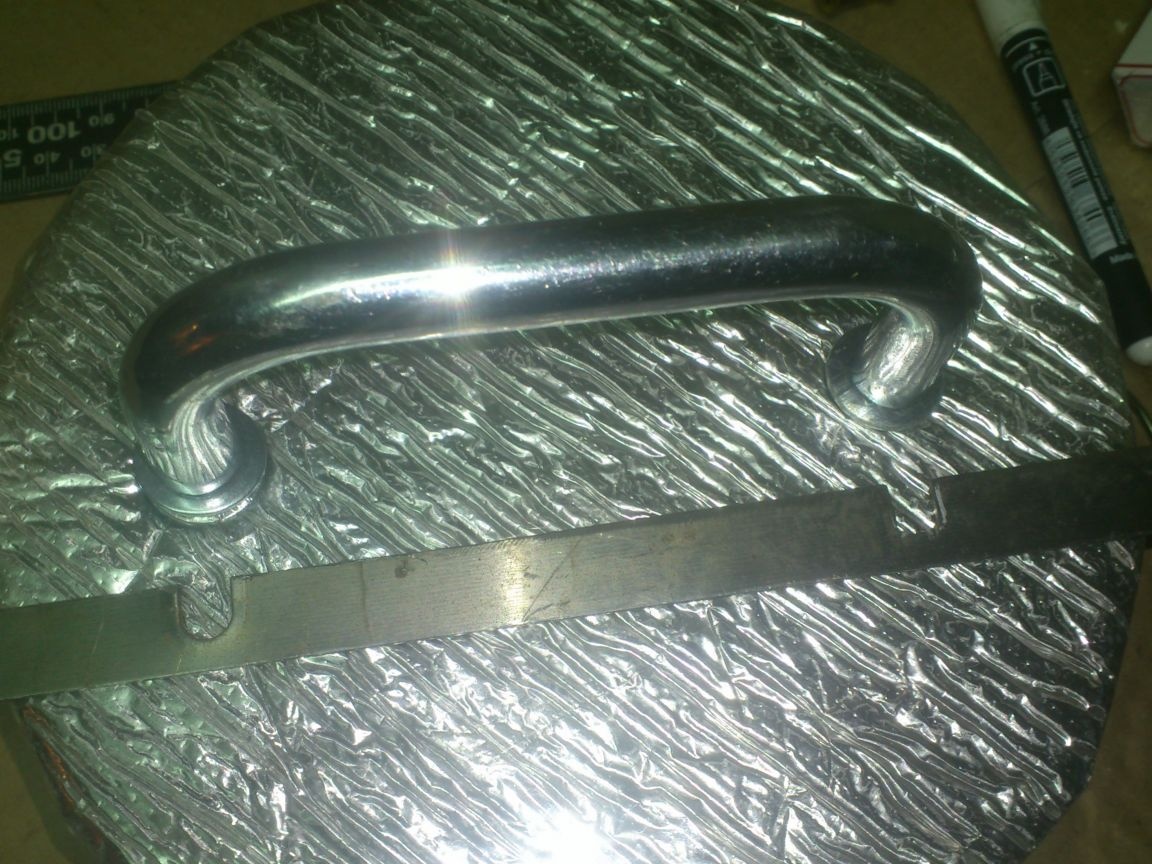
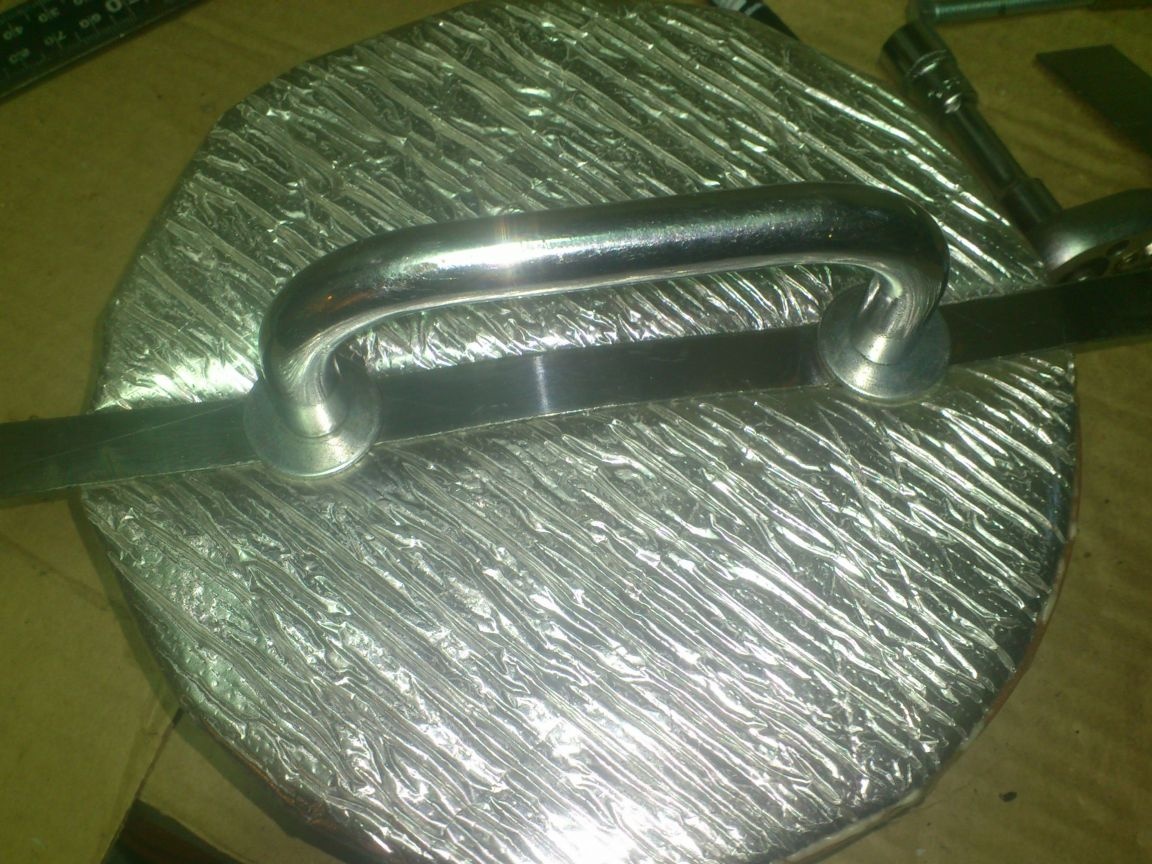
You just need to decide on the handle. In the same rubble of "necessary rubbish" there was such a bracket-handle from a military modular radio station:
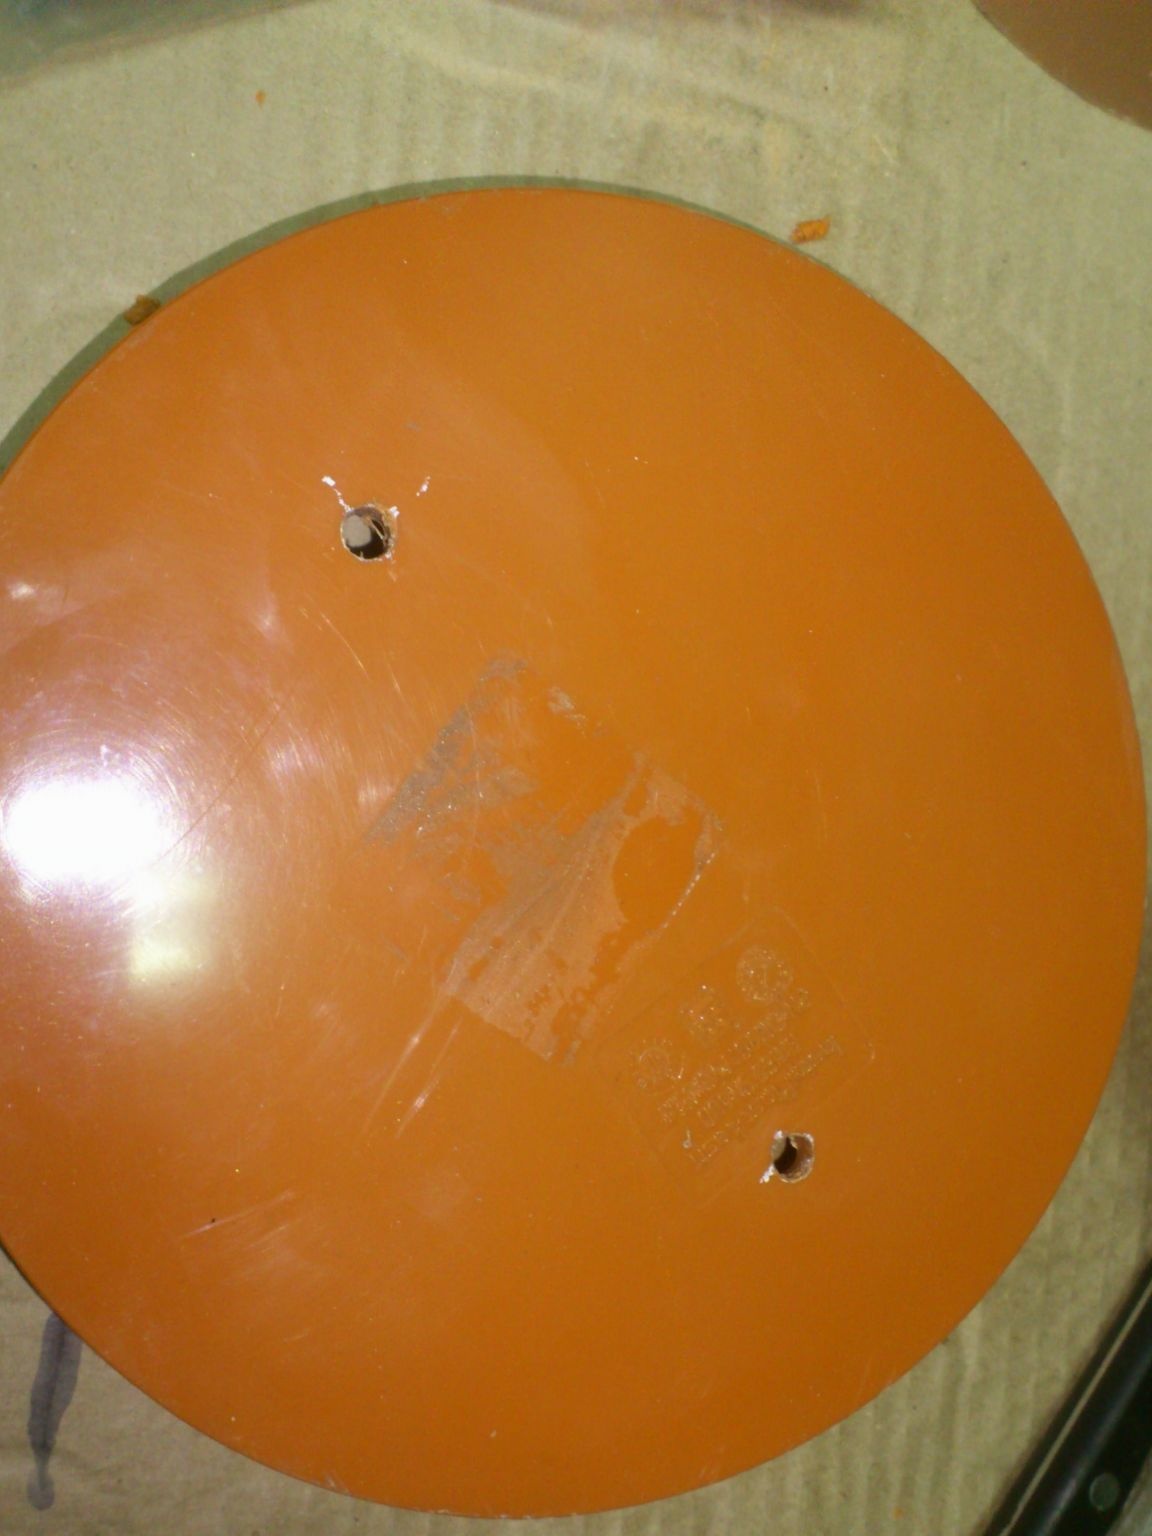
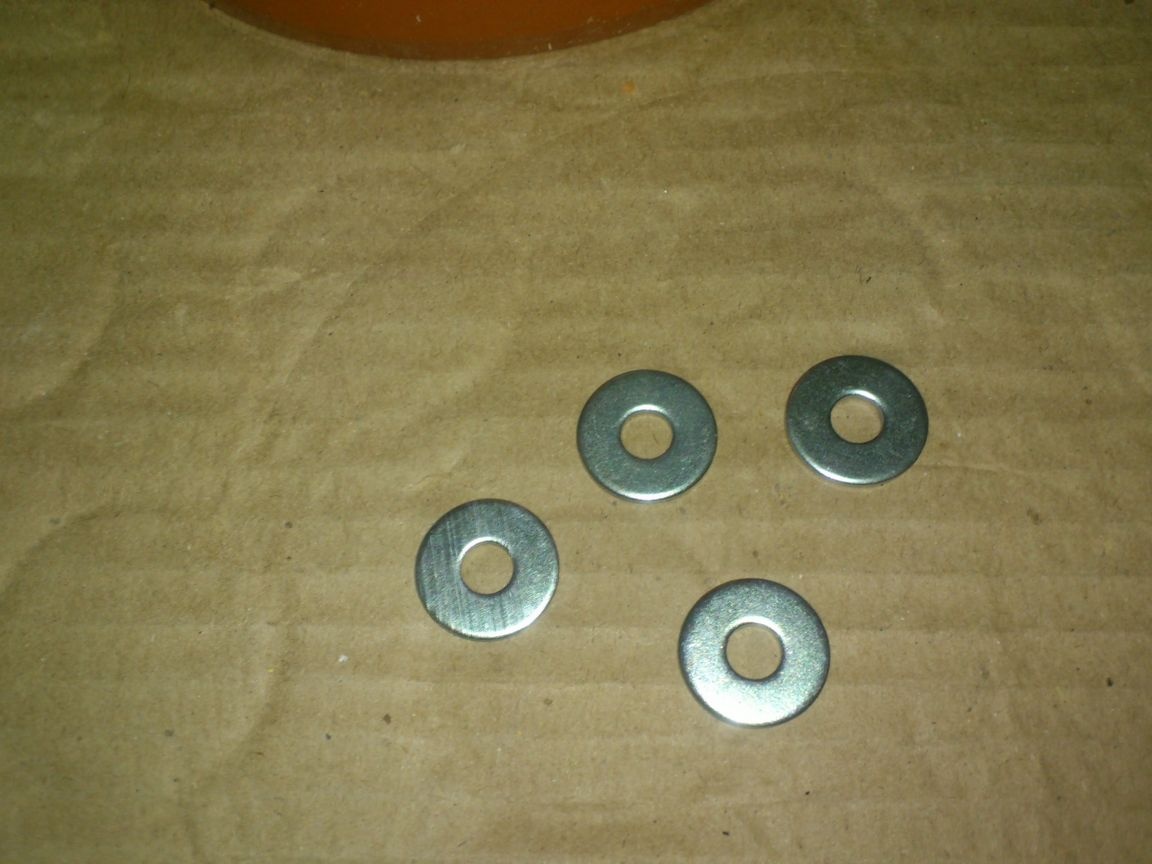
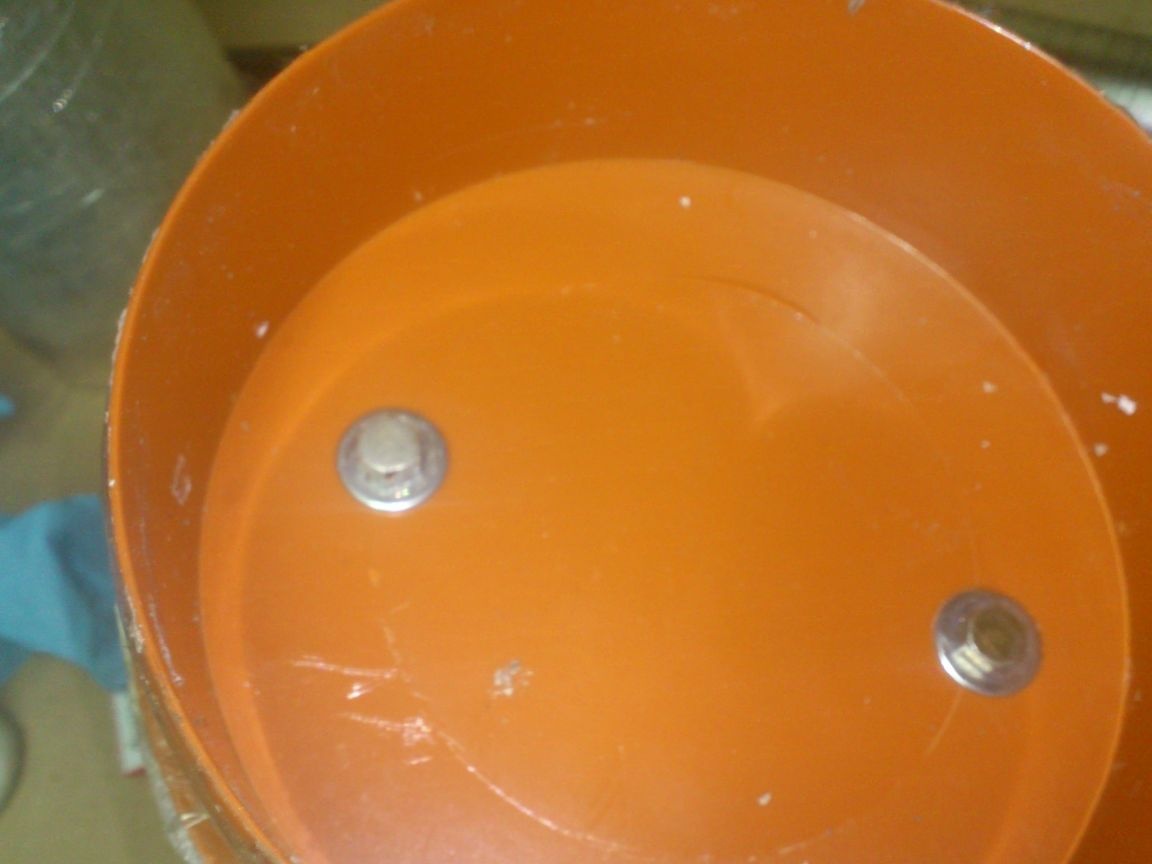
I fixed it on the cap, drilling two holes in it, and using two bolts with enlarged washers ... I put the washers on both sides of the cap:

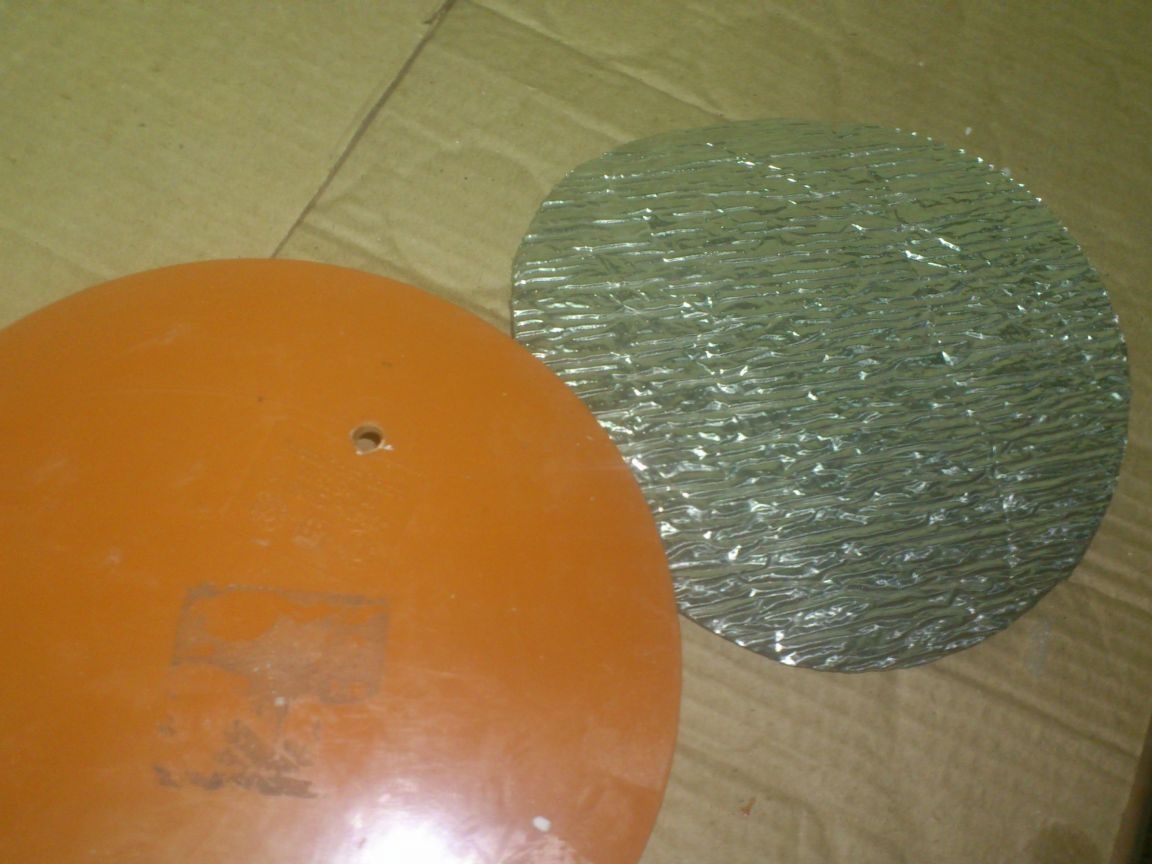
The cover must be thermally insulated. I decided to do this by placing inside the foam, 50 mm thick. (It is precisely this depth that the cavity forms its walls). And pasted it with a reflective layer. In its quality, I decided to use foil foamed polyethylene, a scrap of which was also found in my stocks:
I cut a circle to fit the top of the dummy cover:
Now it needs to be glued. On my own (and not only
 ) I know from experience that trying to stick this material is a very thankless job! )))) These materials do not want to stick with ordinary glue. Therefore, I decided to use mounting foam as glue. It has the very same unsurpassed adhesion! On sale now there are already mounting adhesives based on it, which are the same foam, only without the addition of a foaming agent. But I was not going to go buy something! ))) I just put on the lid a little ordinary mounting foam:
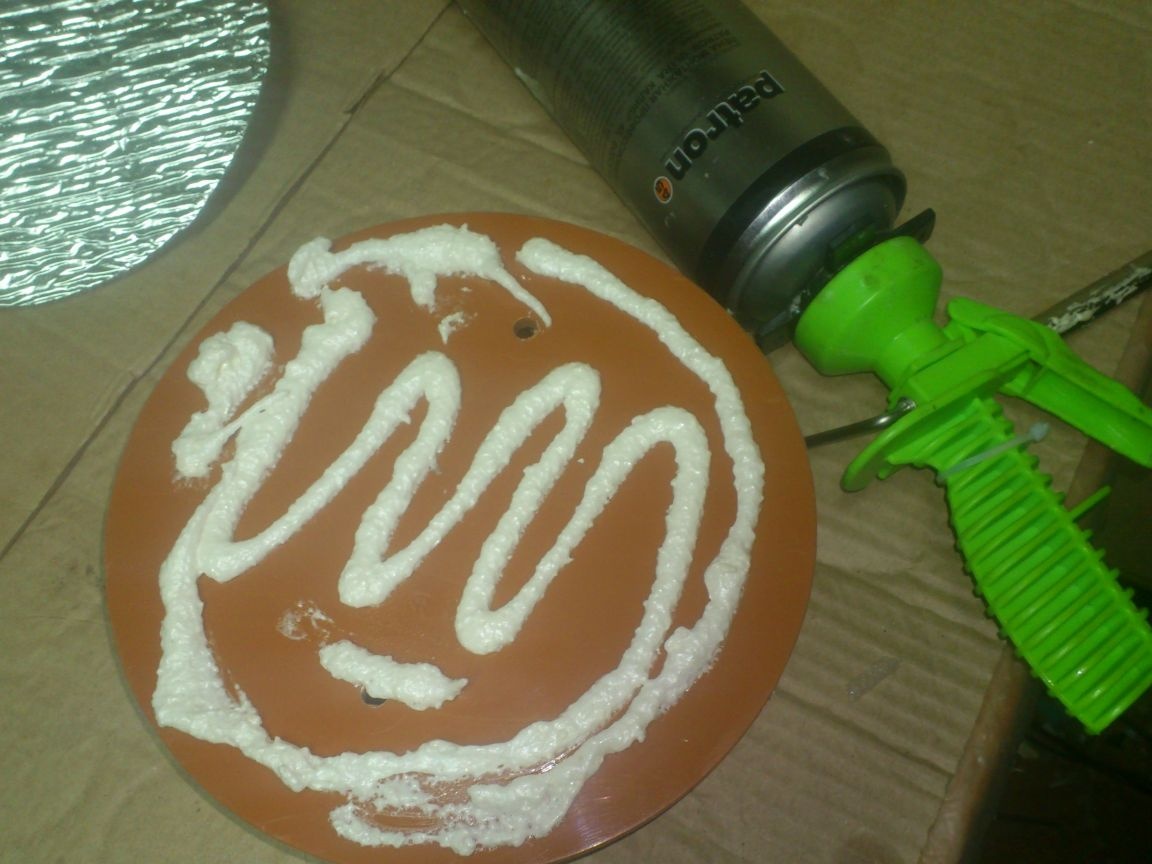
He let her grow up, having waited a little, and then smeared it on the surface. I know from experience that after this, its growth stops.
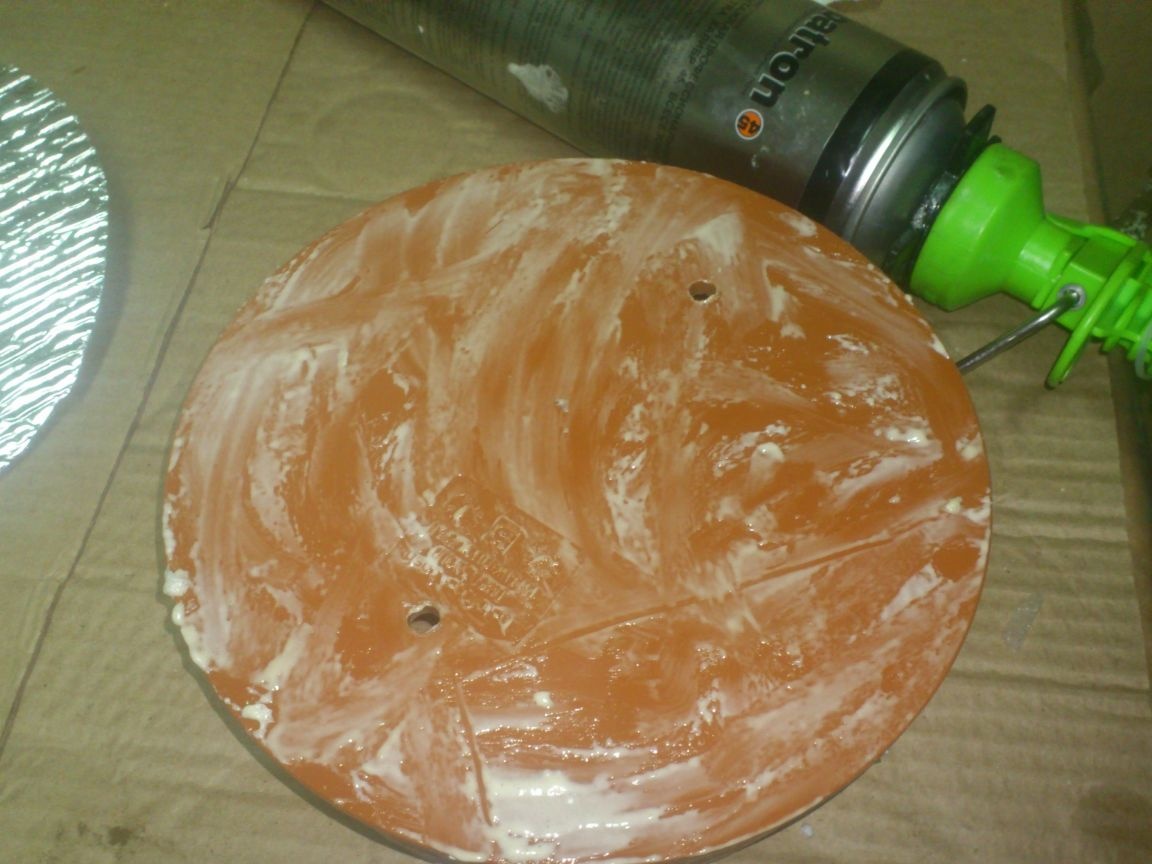
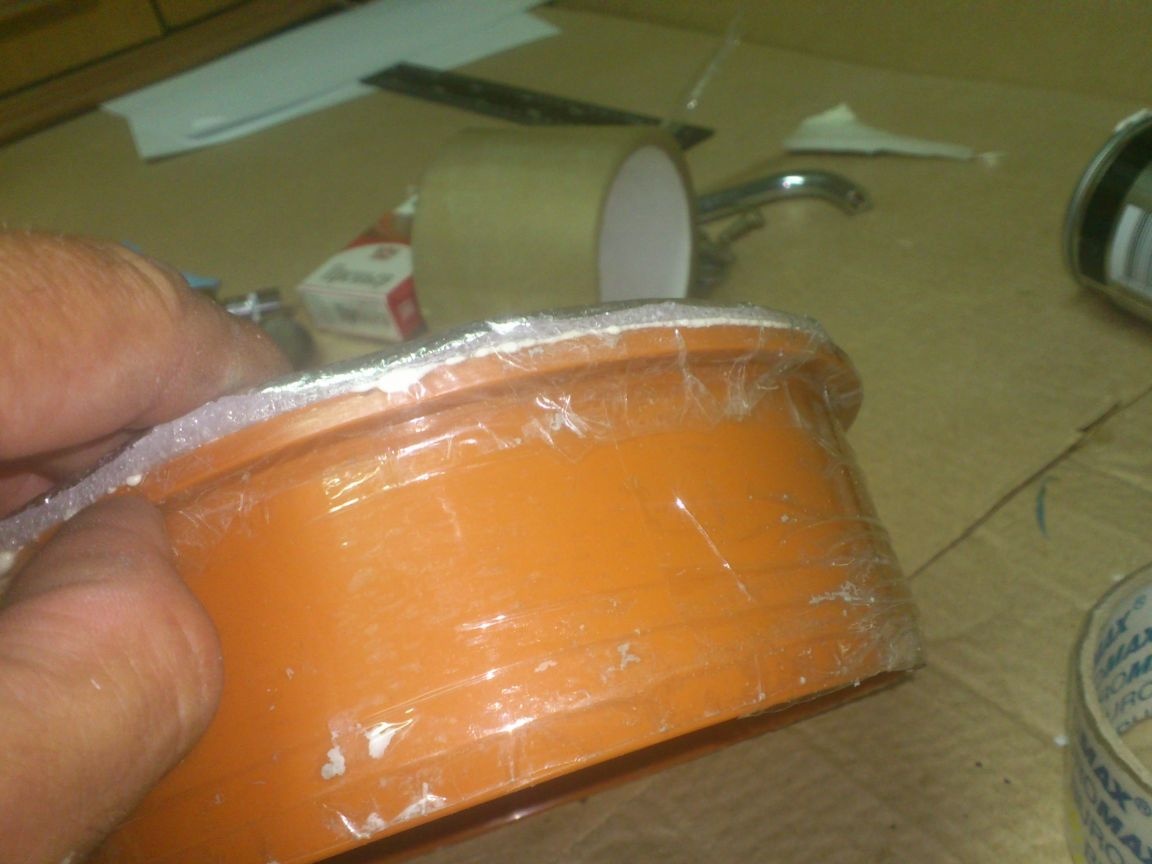
Putting the parts to be glued together, I left them under the yoke for a while, and then assembled the lid. Since the foil layer is rather weak, I glued the lid on top with a wide adhesive tape, and then secured the handle back:
Now we’ll deal with a more substantial “warming” with foam.
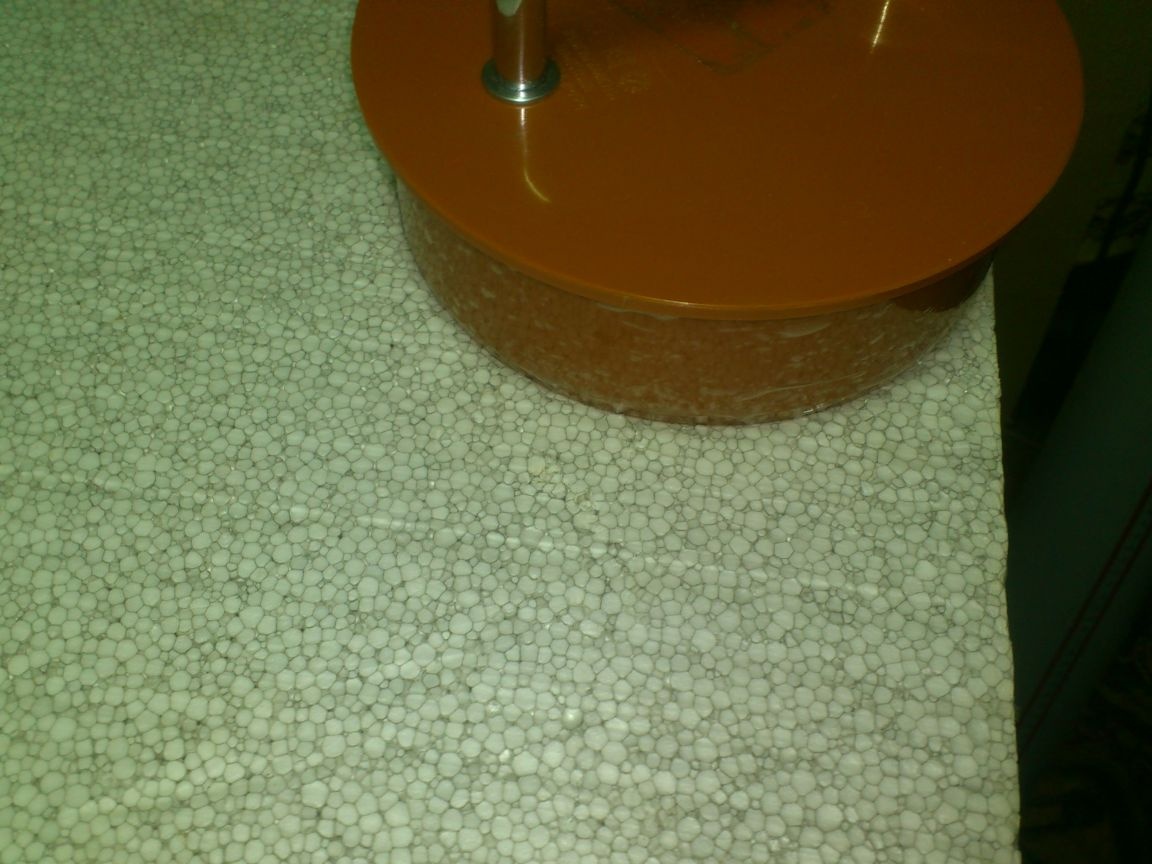
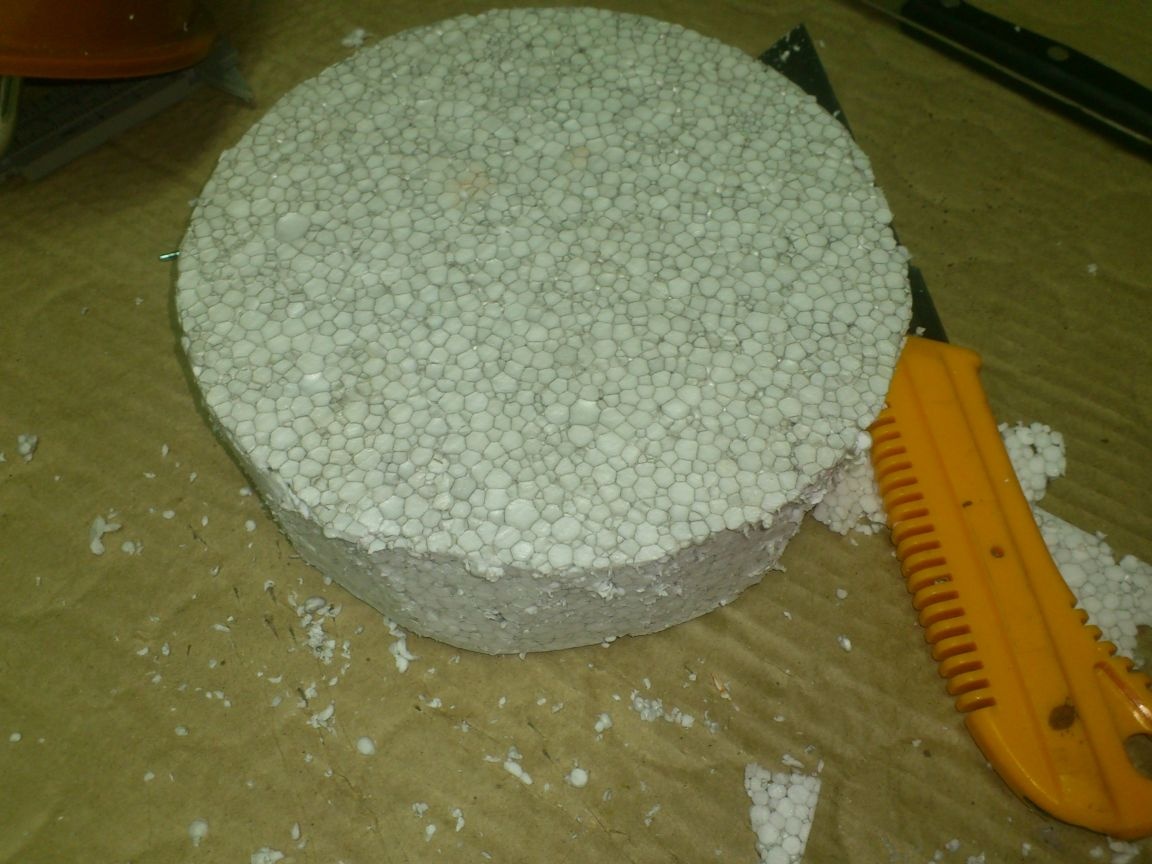
Putting the lid on a sheet of polystyrene foam, I pressed hard on it, and cut out a printed circle with a technical knife. I repeated this operation twice, cutting out two such circles.
I set aside one of them so far, the other was tightly threaded into the plug, and glued the surface of the foam with wide adhesive tape. Pulling it, I taped the tape on the side walls.
We’ll postpone the lid ... Let’s take care of the container itself ...
We need to make a bottom. The plug in this case does not fit - on the other hand there is no socket under it.
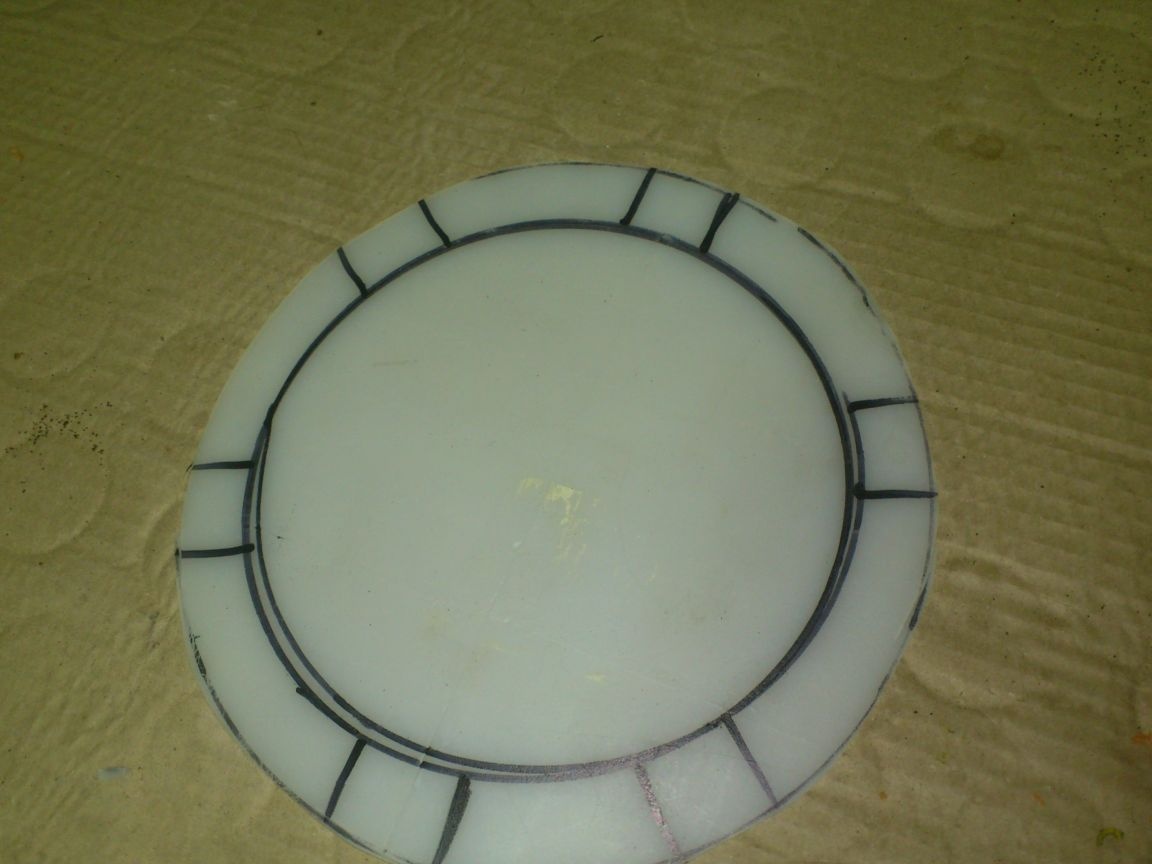
Poking around in the “right rubbish” again, I found a circle that I had once cut from the side wall of a plastic canister ..(I needed to insert a fan into the canister ...!)))). I cut out such a circle, but my hand did not rise to throw it away ... Sheet polyethylene, about three millimeters thick, can be useful to the master ... Well, that came in handy!))))
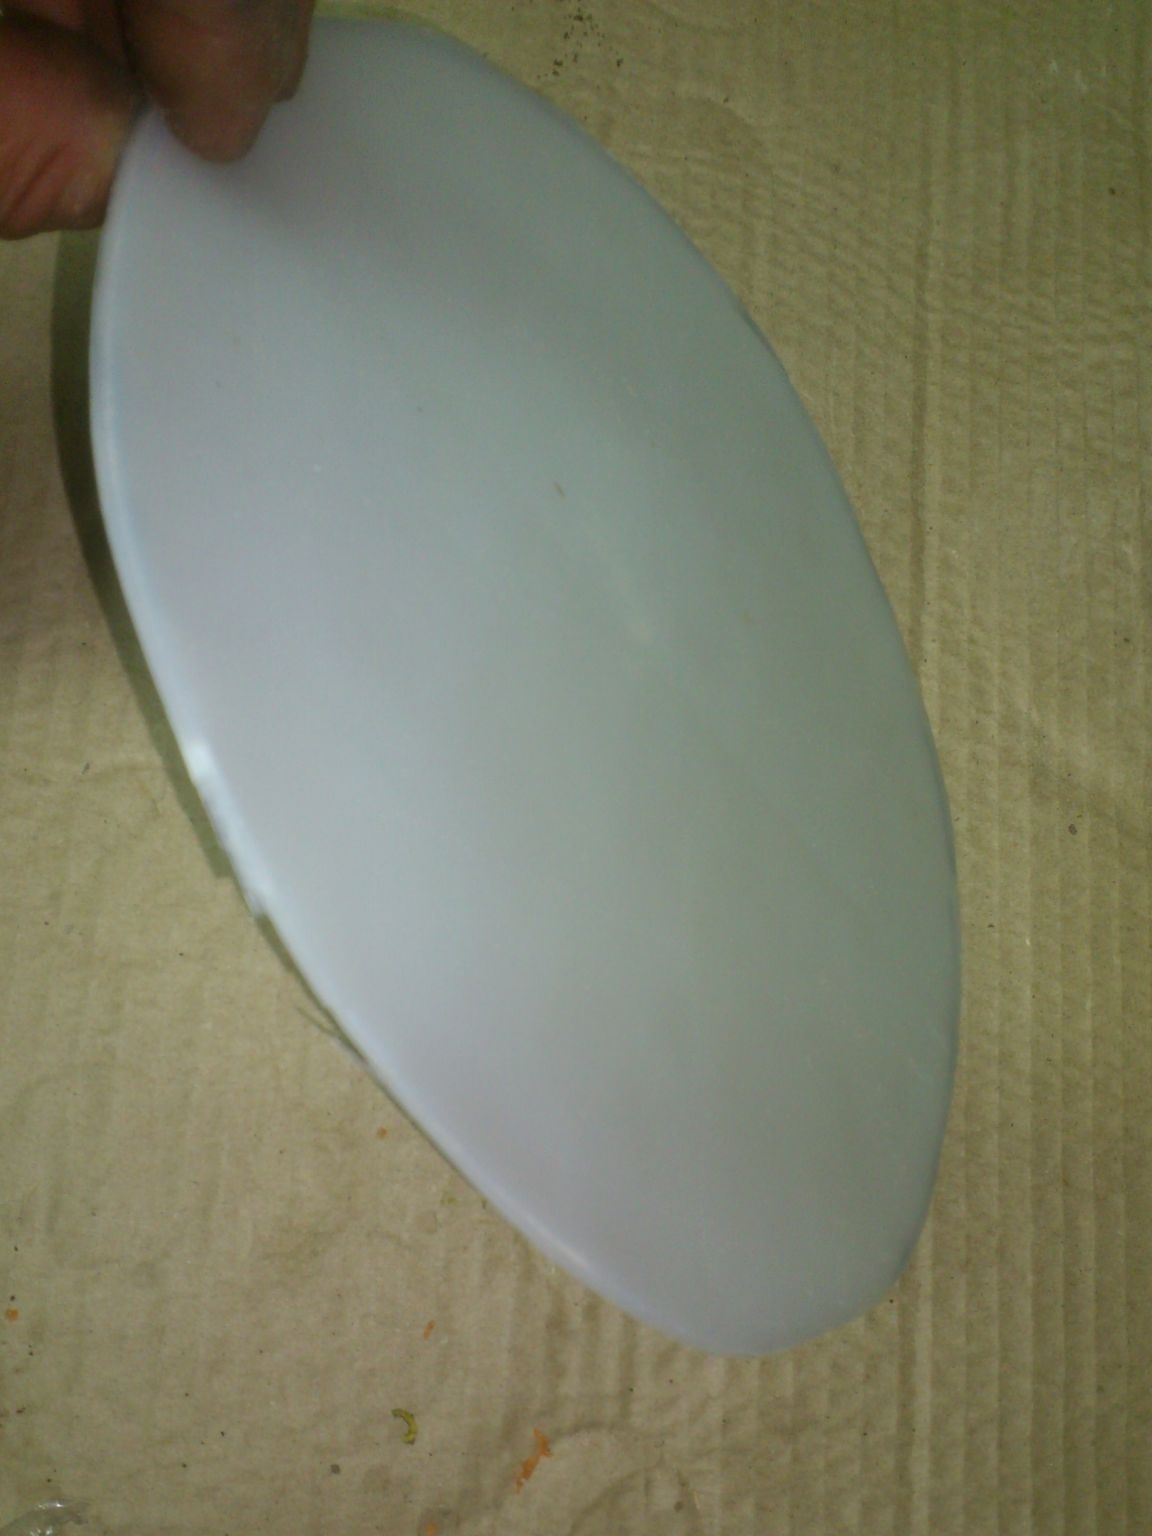
The diameter just came up to me ... I didn’t have to cut another canister)))
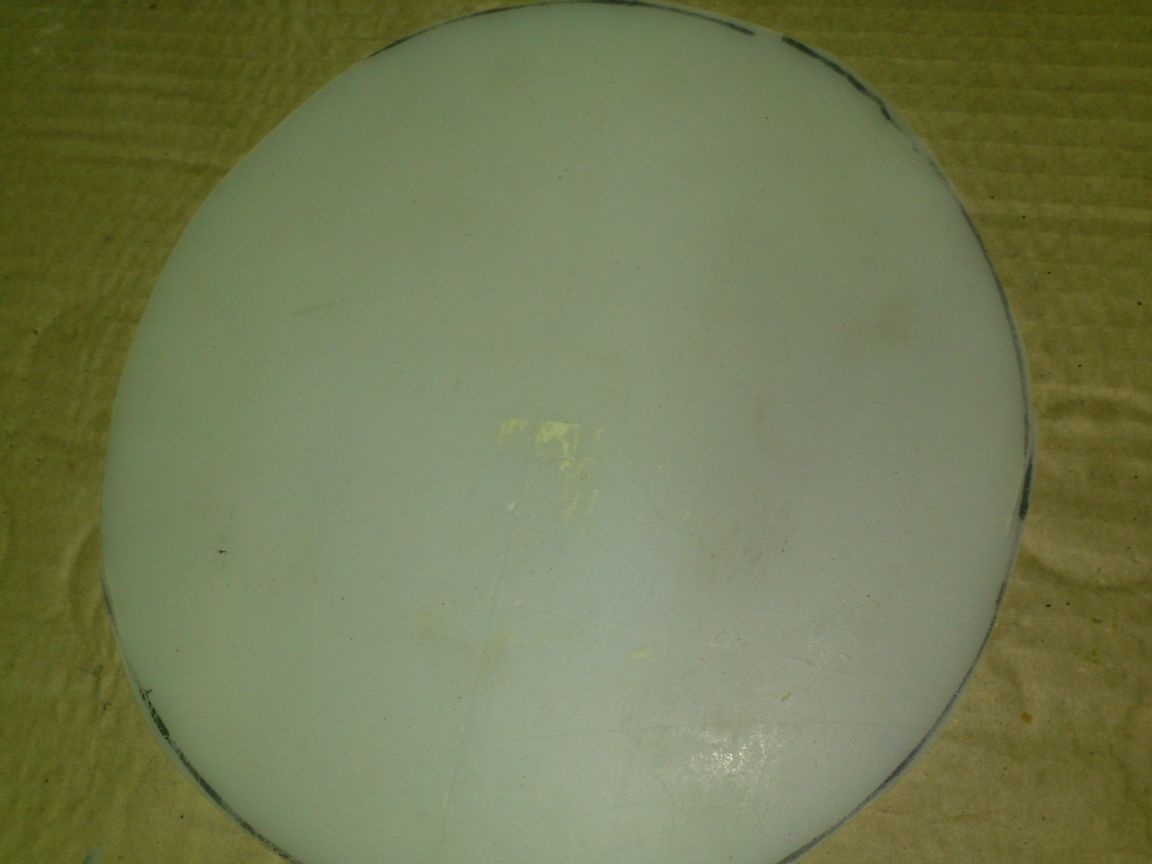
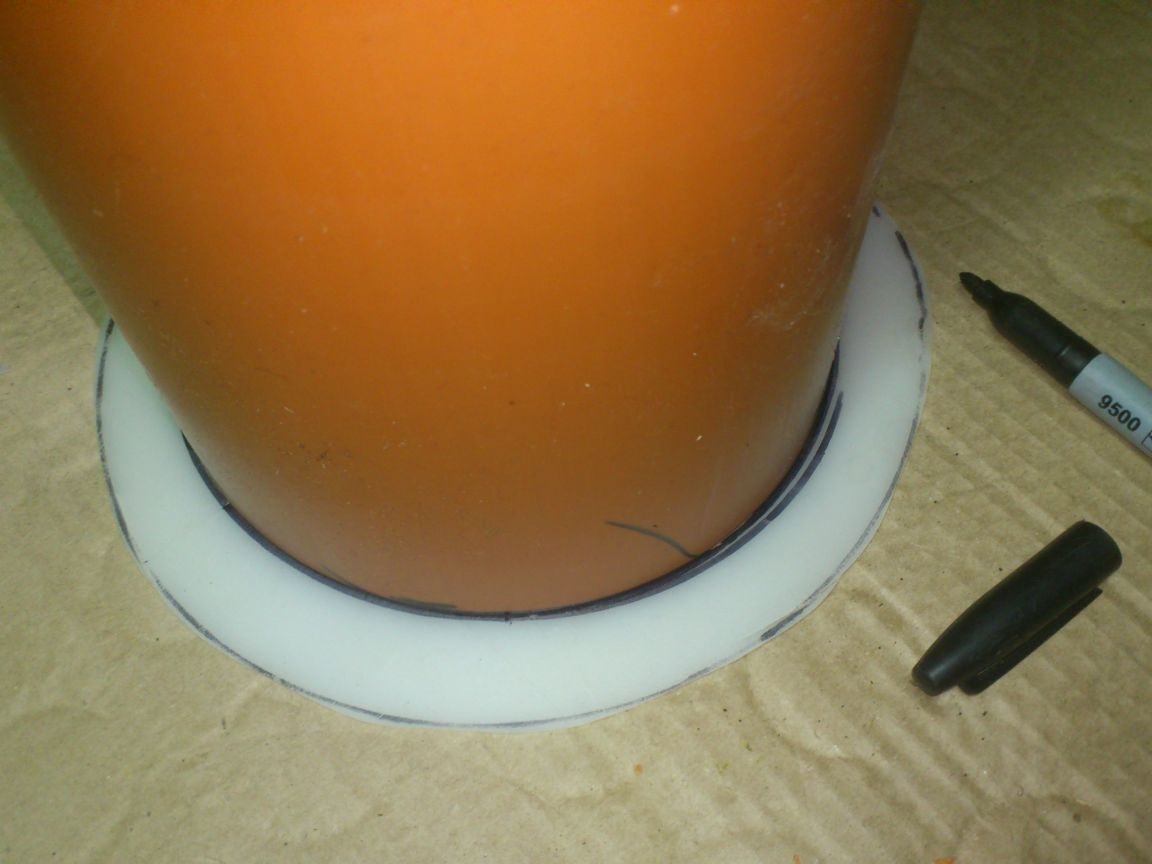
Having placed the end of the pipe approximately in the center, I drew a marker around its outline.
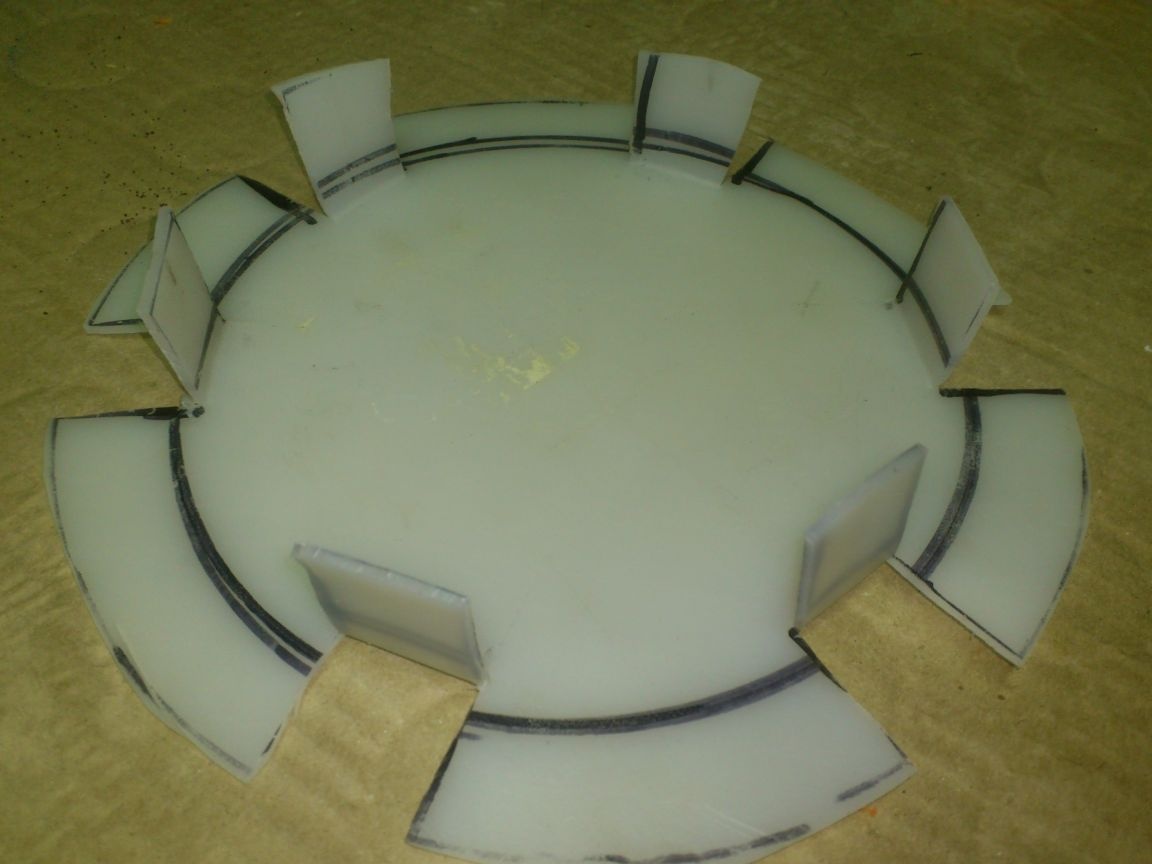
Then I marked six “ears”, cut them and bent up:
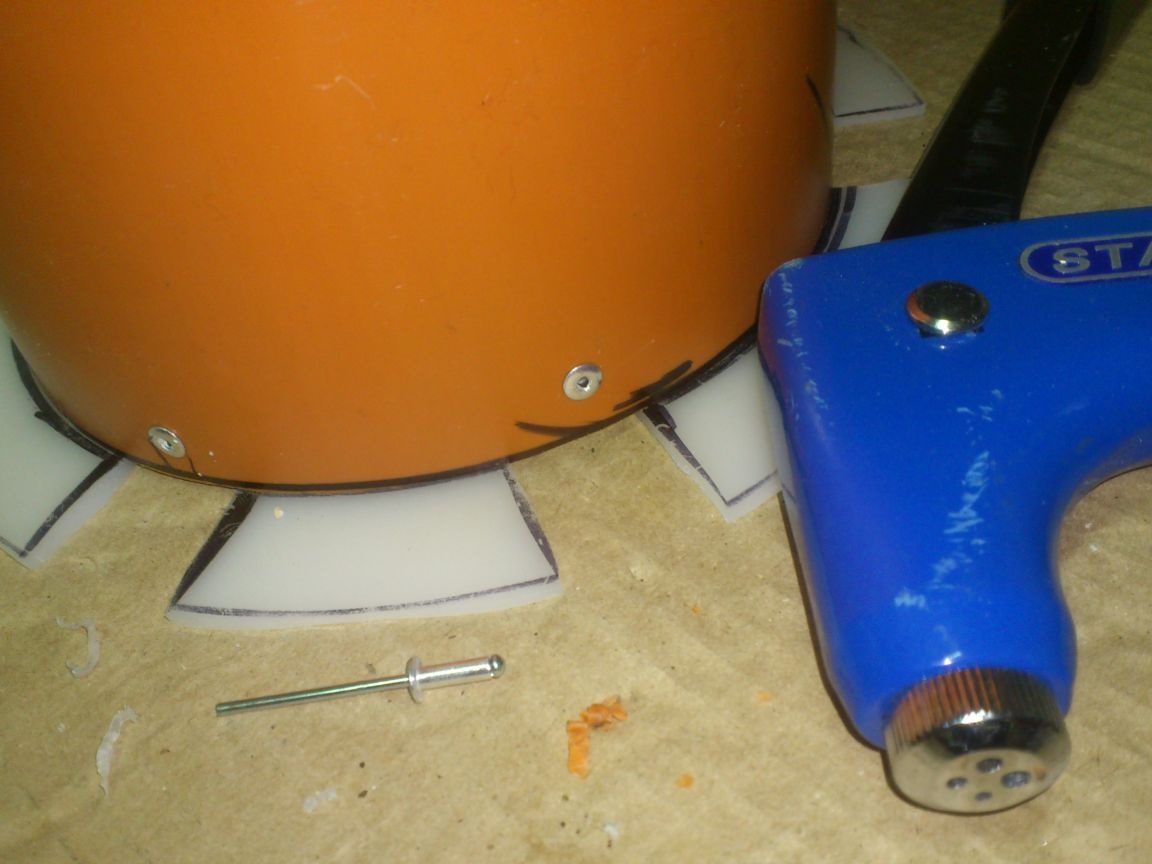
I inserted the resulting plug "with ears into the pipe, and riveted them with exhaust rivets:
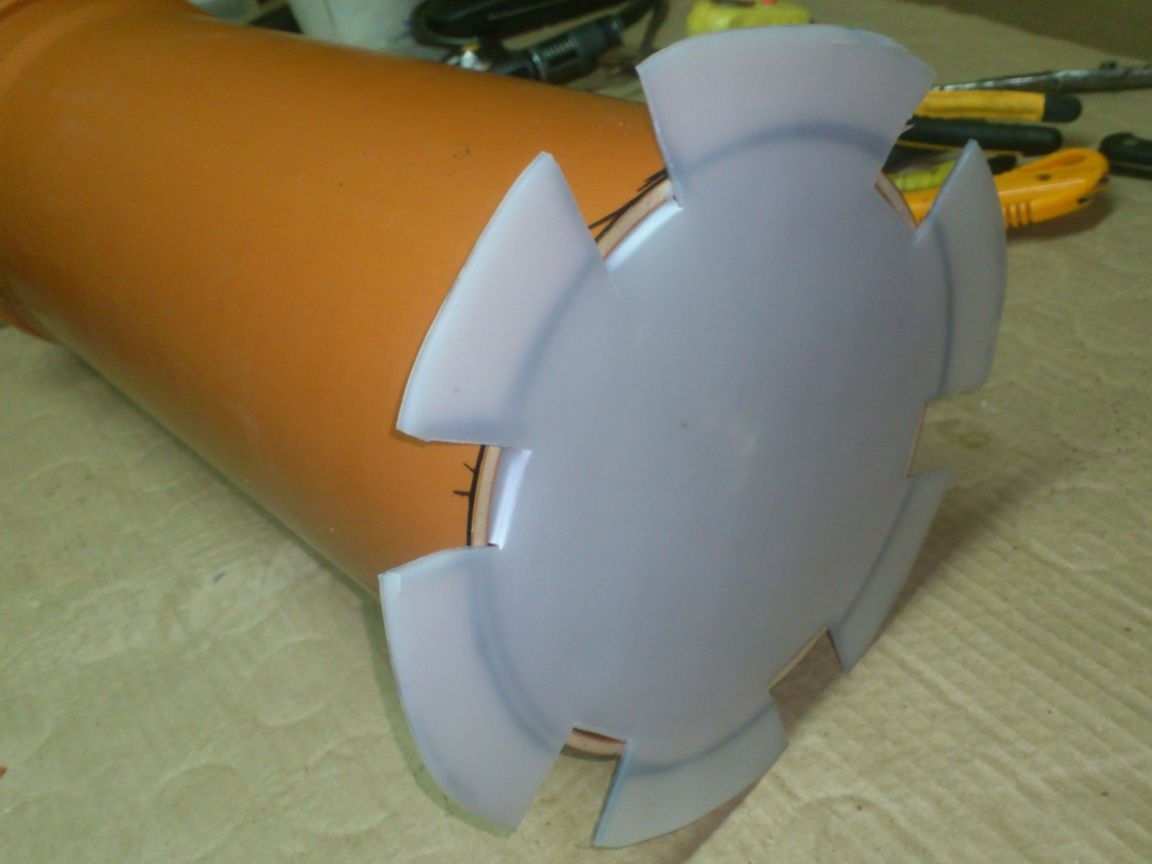
It remains to trim with a knife all the excess:
The bottom is ready. We will deal with thermal insulation. At the bottom of the container, I tightly hammered the second circle of foam:

I decided to wrap a smaller diameter pipe, which will serve as a formwork for me when foaming, with an aluminum self-adhesive tape, which was also in my stock:
But I wrapped it not quite usual. I wrapped the other way around - sticky side out !!
At the same time, I also greased the pipe with a liquid dishwashing liquid. The idea is to put the pipe so wrapped in the center of the container and fill the space around it with foam. And when the foam dries, get a pipe.
Before starting, I sealed the center of the bottom with the same aluminum tape:
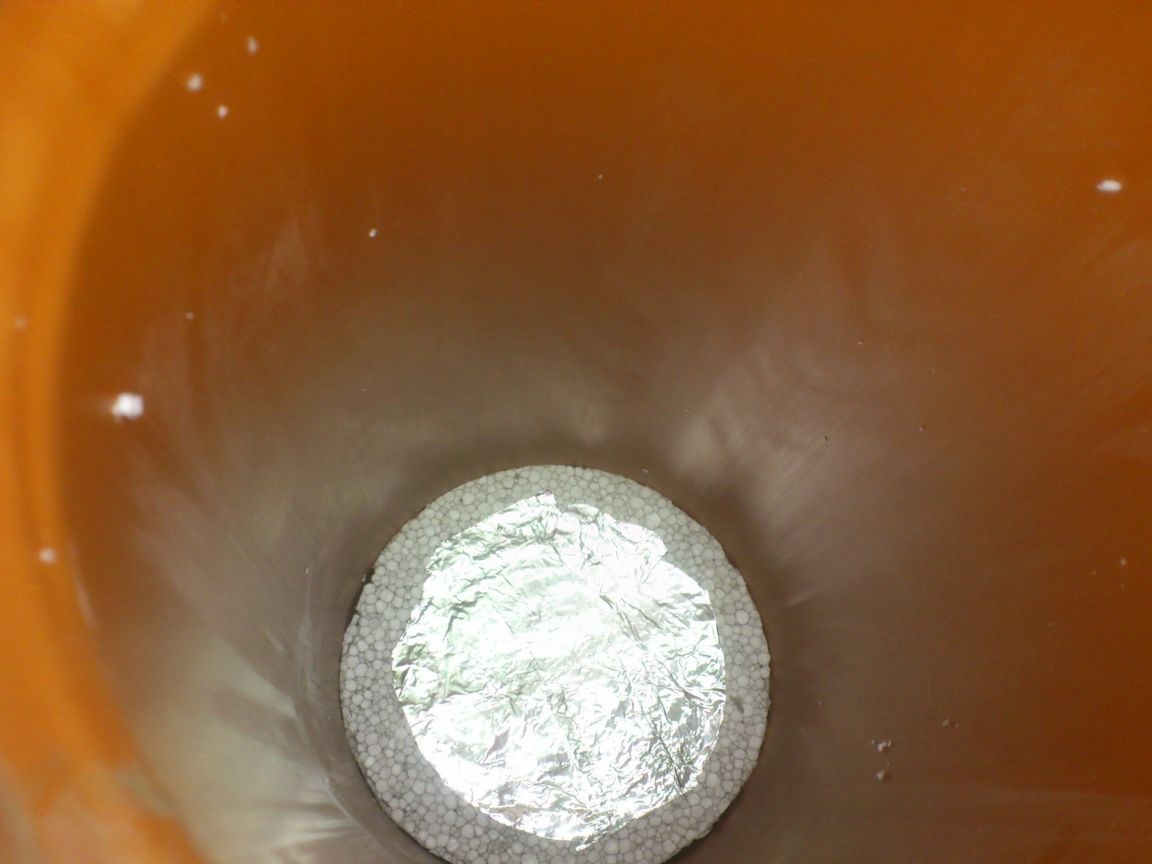
If someone will repeat, then do not repeat my mistake - stick aluminum onto the foam before inserting the foam into the container! ))))
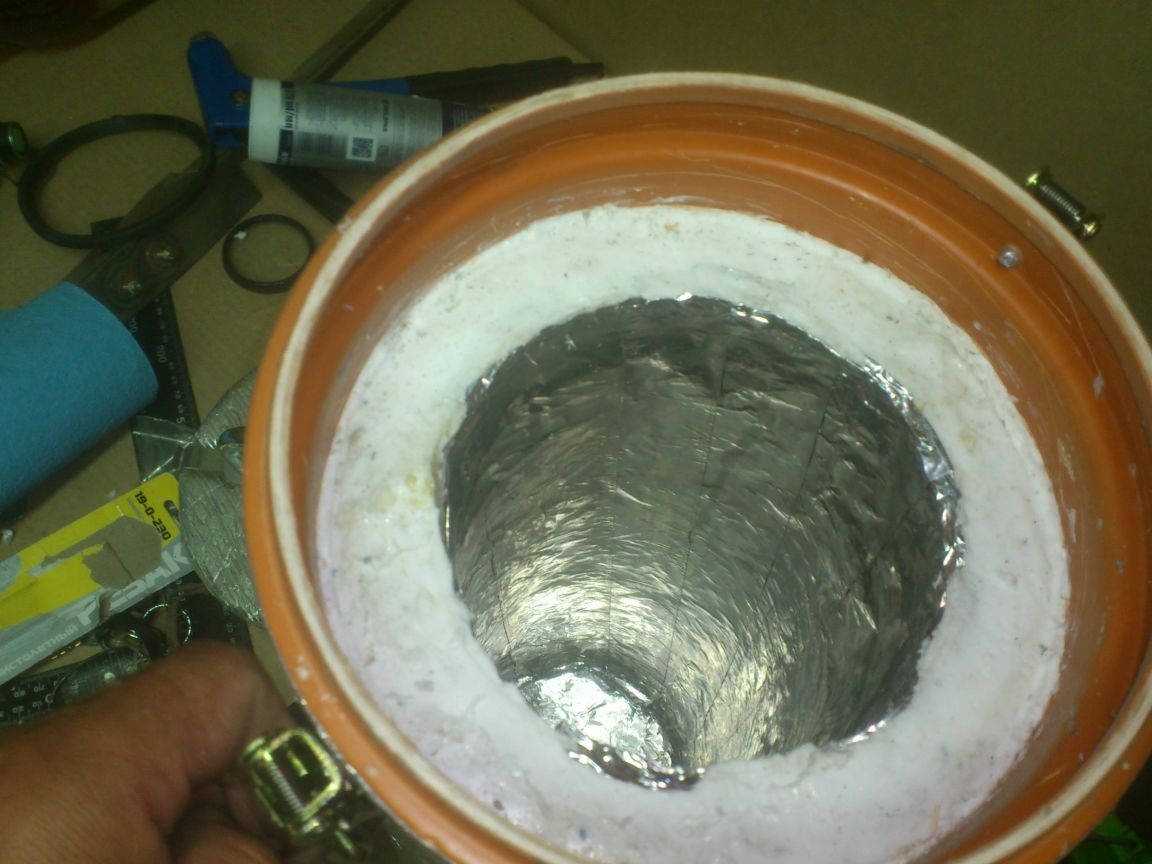
Everything turned out as I intended. I inserted the pipe into the pipe and replaced:
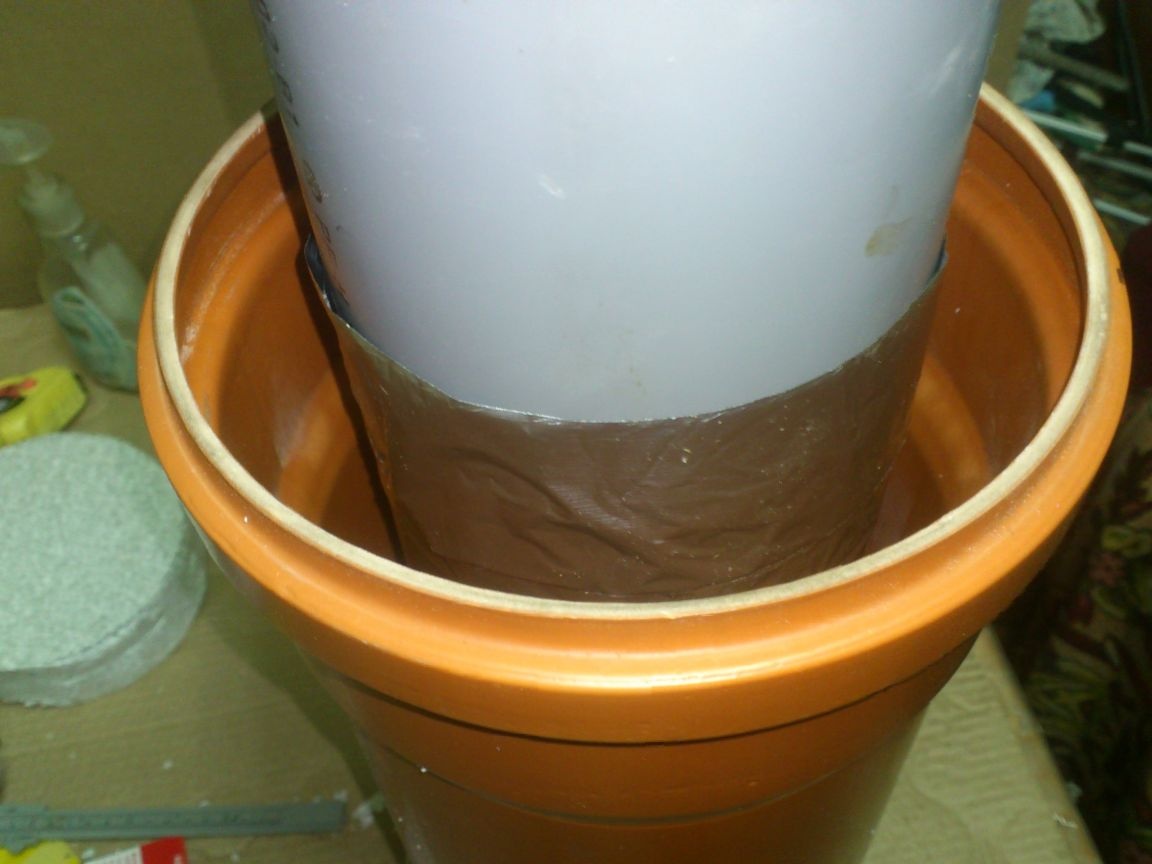
The gun lengthened by putting on a hose of a suitable diameter. Foamed a few days! The fact is that polyurethane foam in almost hermetically sealed spaces does not grow and does not freeze! Therefore, you need to do this in several passes with complete drying!
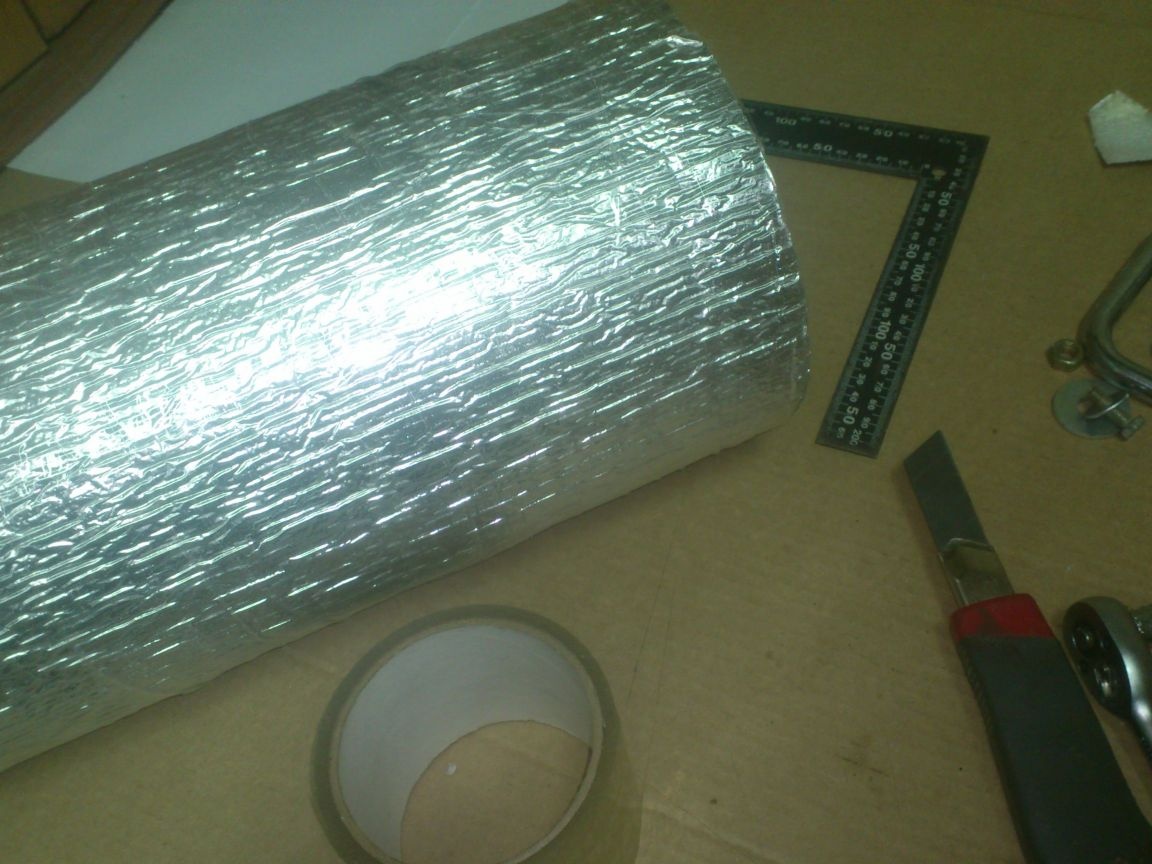
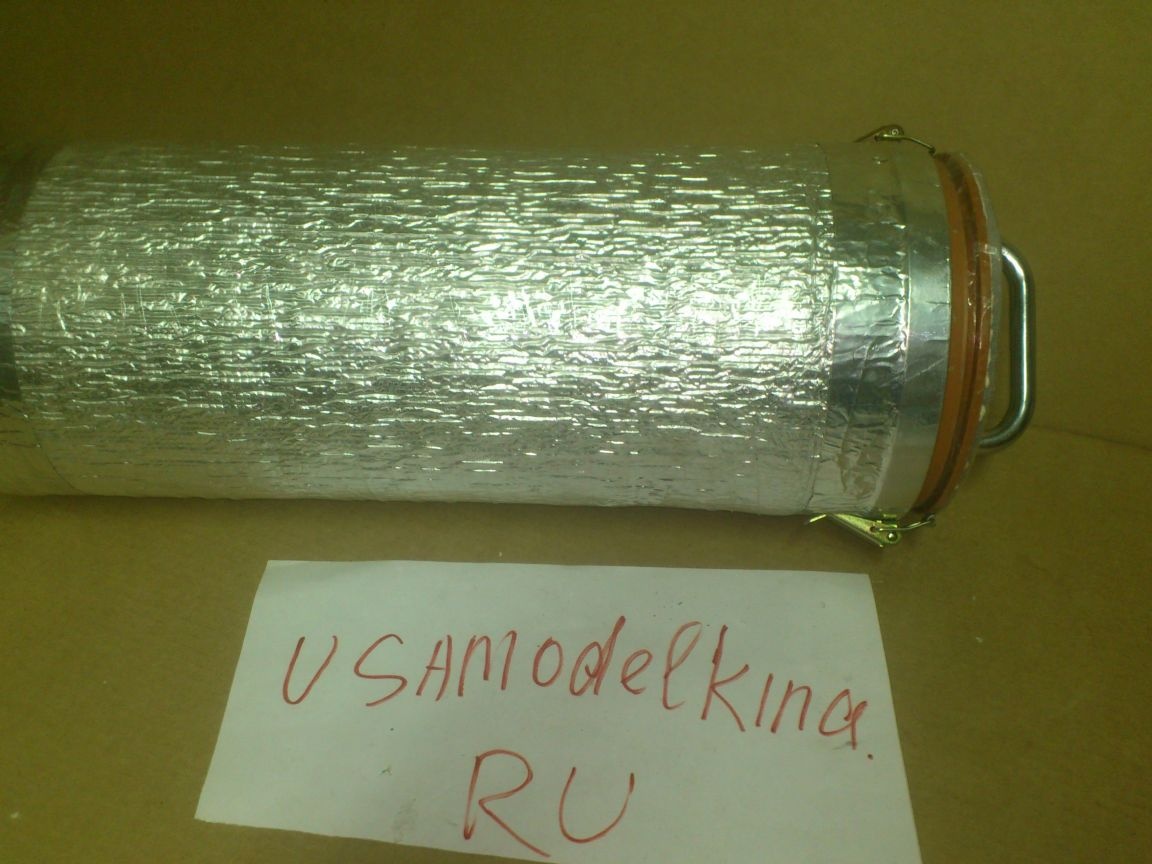
During this time, I wrapped the entire container with foil polyethylene. This time I did not glue it on the “quenched” foam, but simply, having cut out the exact dimensions, wrapped it and wrapped it tightly with tape:
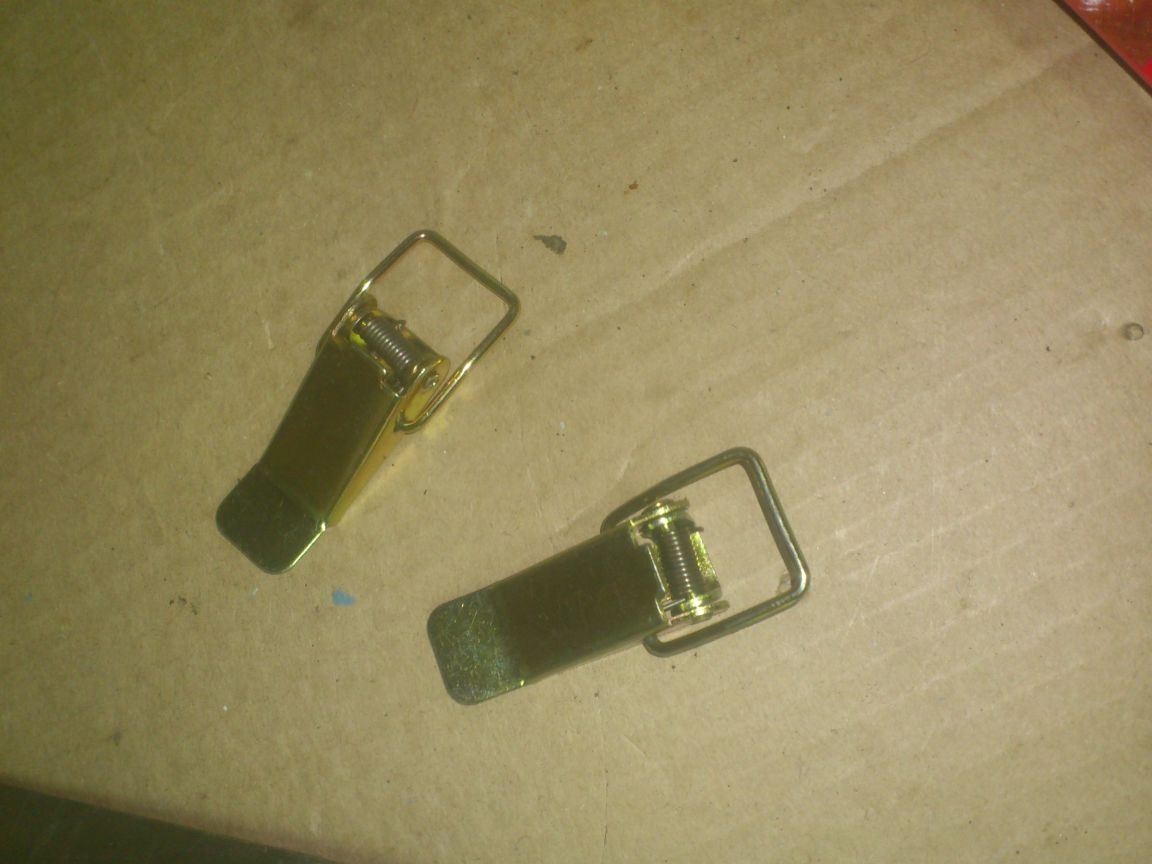
It was necessary to make some fasteners on the cover. I decided to use furniture fasteners again, which I’m not using in my first homemade work, and which I always have in stock. Only now, this time I found only the fasteners themselves, and the hooks from them sank into the water:
No problem! From manufacturing kitchen utensils I still have scraps of stainless steel. I decided to use one of them:
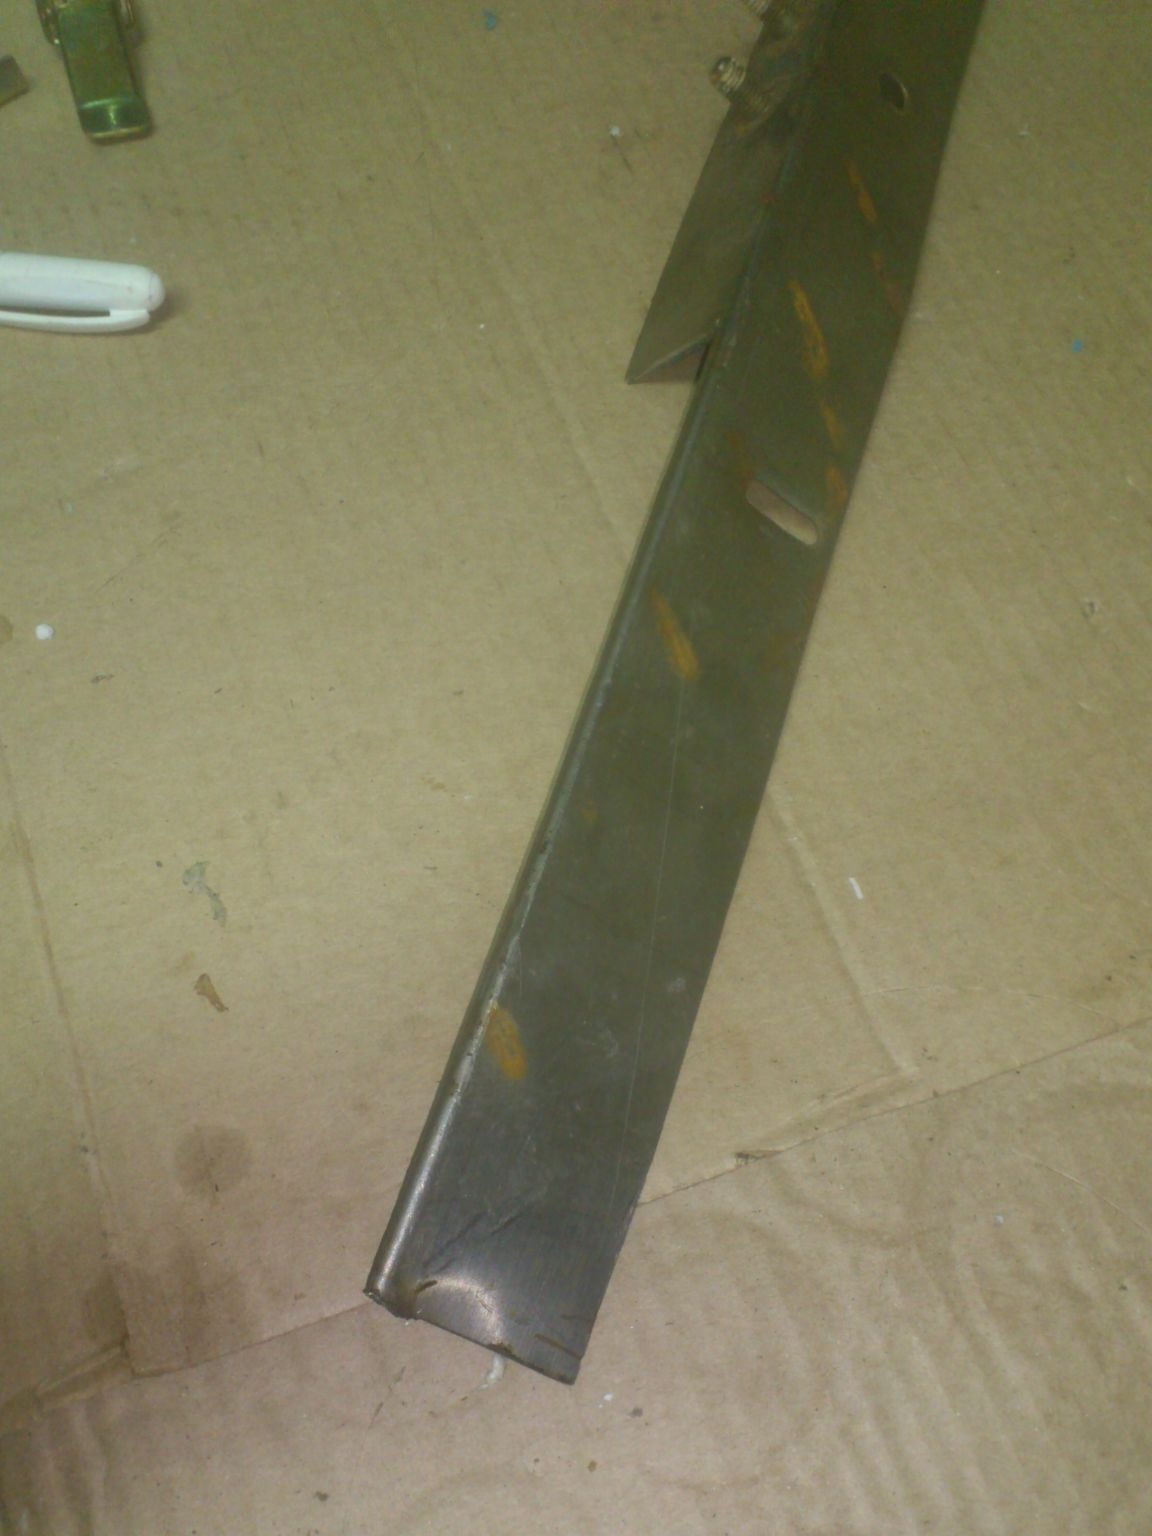
Cut a strip out of it:
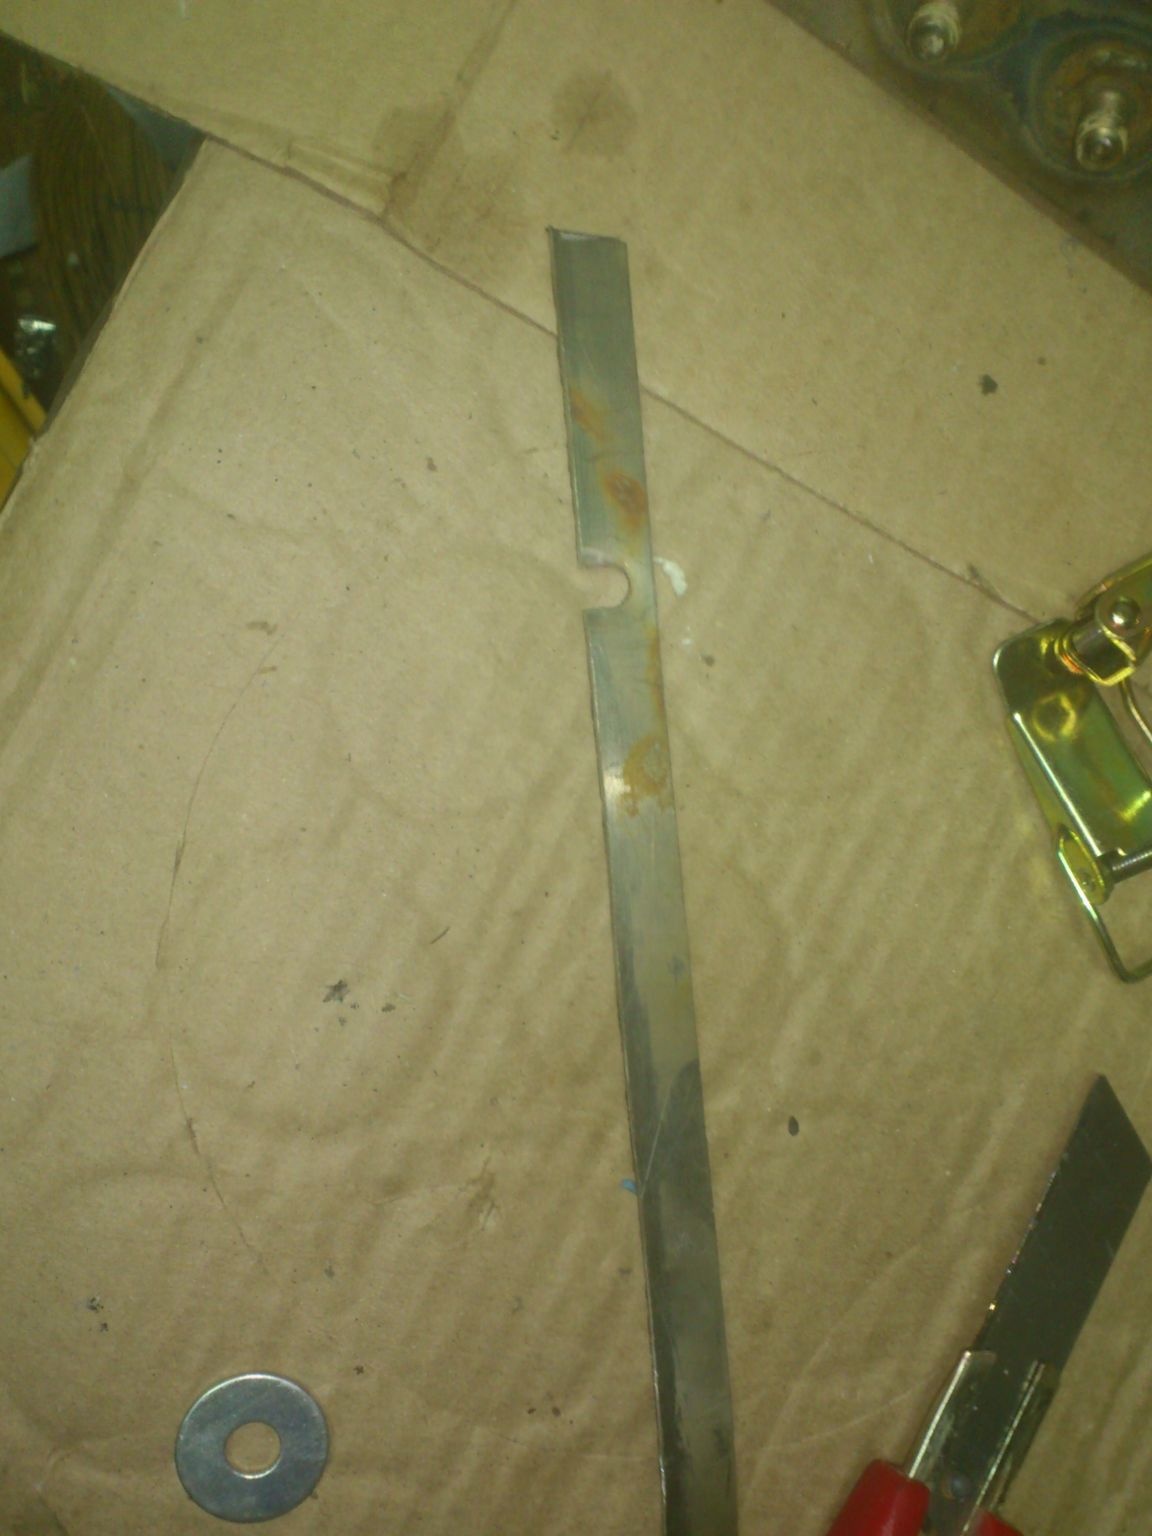
Drilling was laziness.))) (After all, drilling a stainless steel with a drill is something else!)))). So I just made two cutouts with the “grinder”:
Loosen the grip bolts, put a strip and tightened the bolts again:
With the help of pliers he gave the desired shape:
I cut the excess.
I fastened the fasteners themselves on the body with the help of a riveter and exhaust rivets:
 [/ center
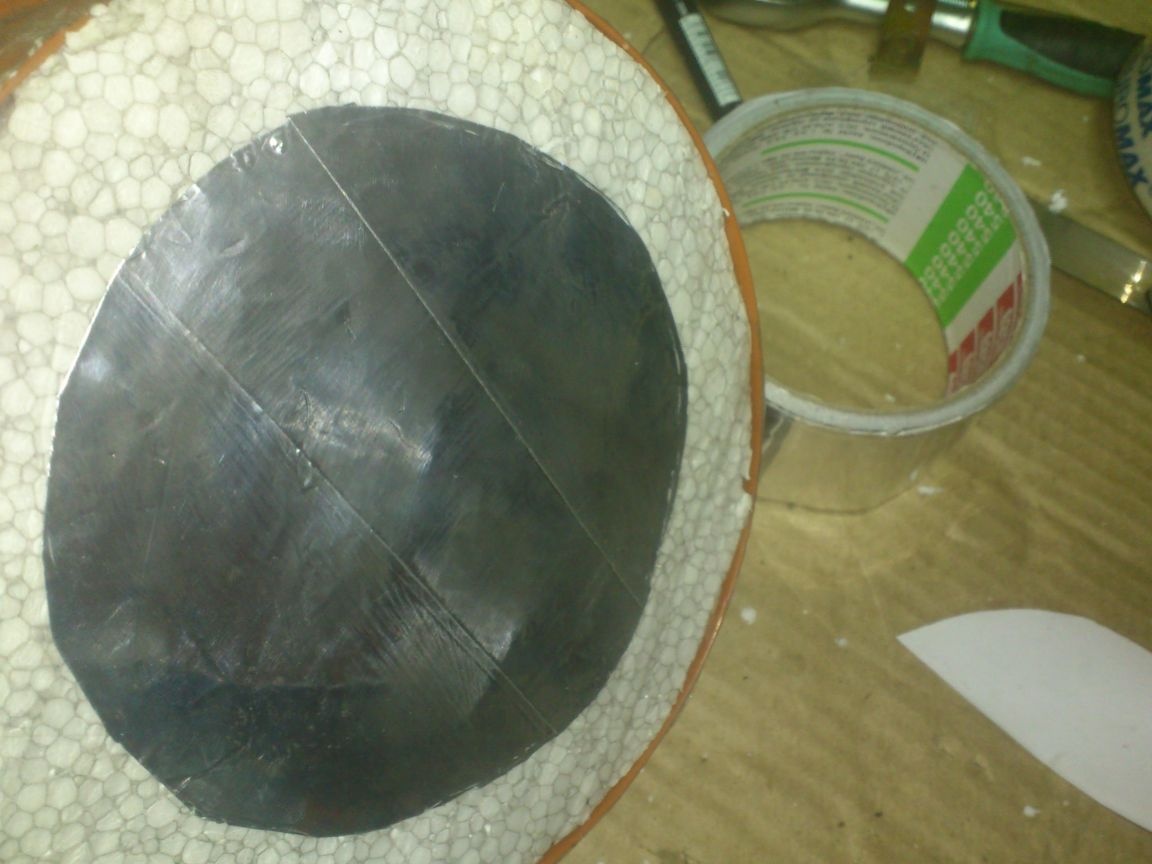
By this time, the last portion of foam was frozen. I took out the "opal-shaped" pipe. (Not without difficulty - the expanded foam squeezed it very tightly. But, having loosened a little, I managed to remove it!).
With a knife, I cut off the excess foam with a knife and freed 5cm from it from above. (It is at such a depth that the cap-cap is immersed in the bell)
After that, I applied a rather thick layer of silicone sealant to the trimmed edge:
[center]
I smeared the bottom of the lid with liquid dishwashing liquid and inserted the lid into the pipe without tightening it with clasps. After waiting about an hour, he took out the lid. On the surface of the silicone, as expected, a plane formed:
I cut off the excess with a knife:
As a result, I got an elastic "rubber" layer of silicone, to which the lid is pressed tightly. As I said before, shaping it, I did not pull the lid with clasps, and it hardened in that position. And now, when the lid is fastened, it is attracted a few millimeters lower, snuggling snugly against the "impromptu cuff".
I also closed the center of the foam bottom of the lid with aluminum tape:
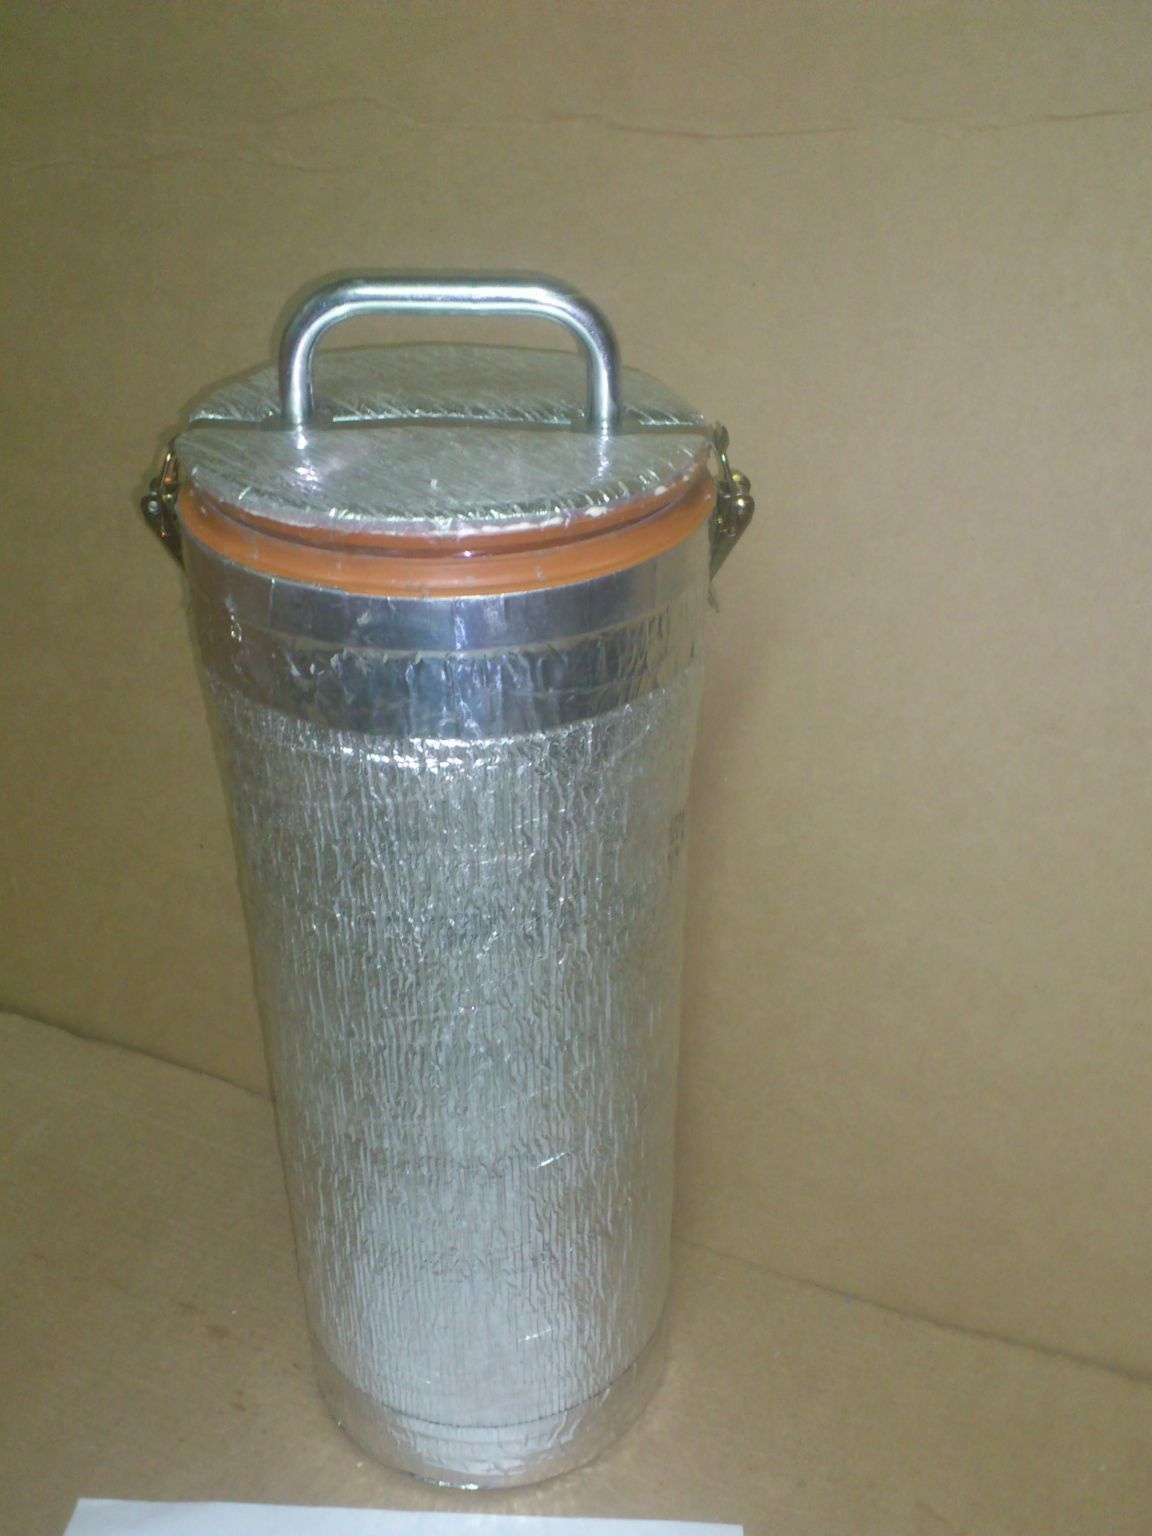
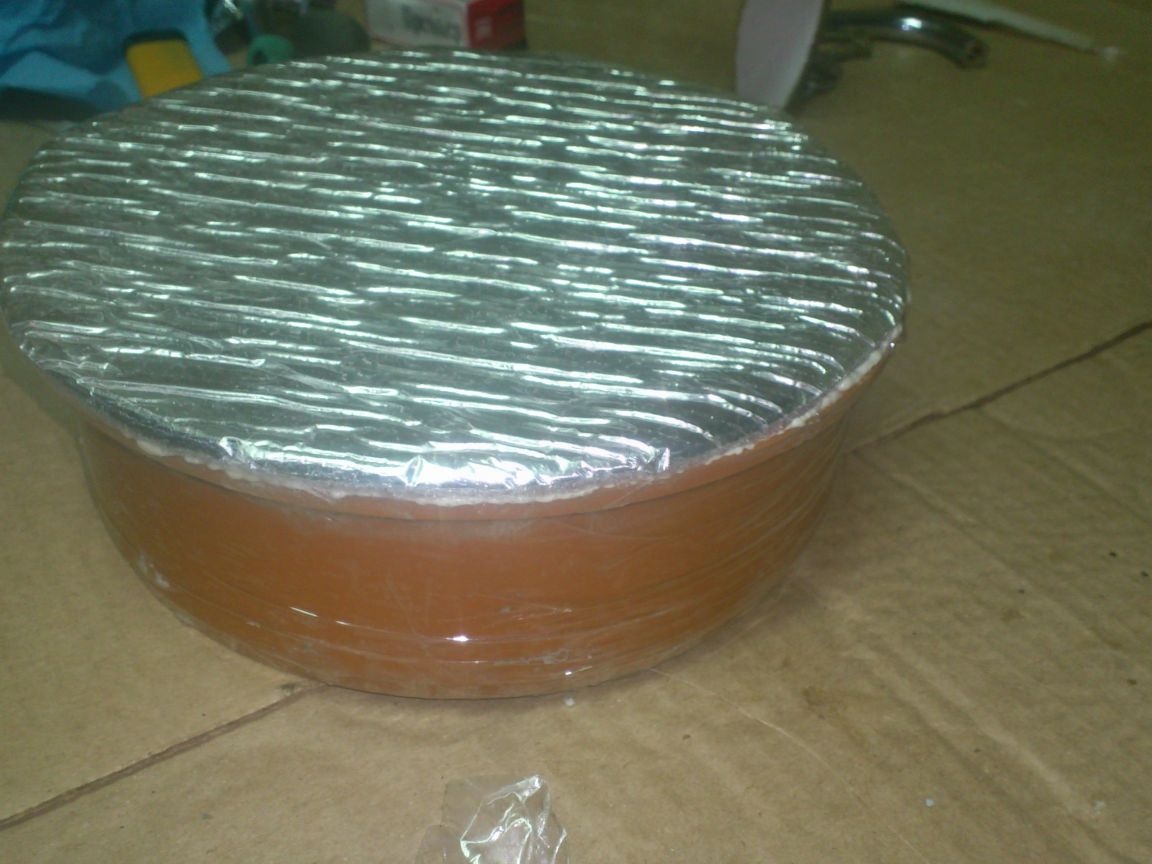
That's all! Our container is ready!
It is quite massive, but, nevertheless, it is not necessary to carry it in the trunk.
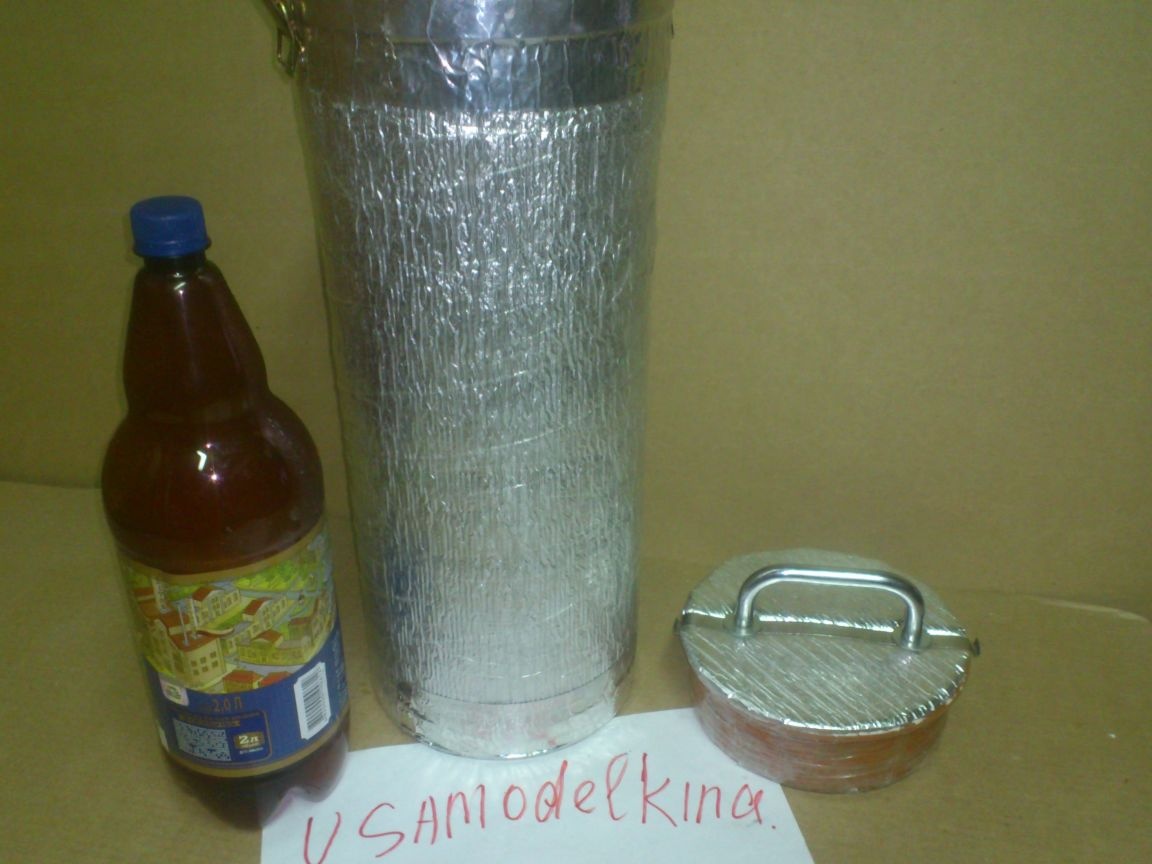
And it is very convenient to carry it by the handle:
A two-liter bottle enters it quite tightly, pushing almost all the air out from under it ... And this is good - you won’t have to cool it!)))
For testing, I put a two-liter bottle of water in the refrigerator in the evening, and in the morning I put it in a container and took it with me to the car. That day was very hot - about thirty degrees! Before lunch, it so happened that I did not have to drive, and the car stood in the sun. Before noon, before the trip I aired the "hell" of the cabin, and remembered the water. Opening the lid, took out a bottle - it instantly misted up !! The water in it seemed icy to me !! (Although it was cooled in the refrigerator, not in the freezer))). After drinking a little, I put the bottle back and fastened the lid tightly. During the rest of the day, I took out the bottle several more times. And, despite this, and the fact that it was empty by more than half, by the evening the water remaining in it remained cool !!
So the container performs its function very well! And in it you can bring, for example, ice cream in any heat!
And the beer also does not have to be cooled for a long time if you bring it from the store in this thermal box ..))))
