
Today we will continue the topic of the secondary use of hard drives and try to make an emery with you for sharpening soft glands.
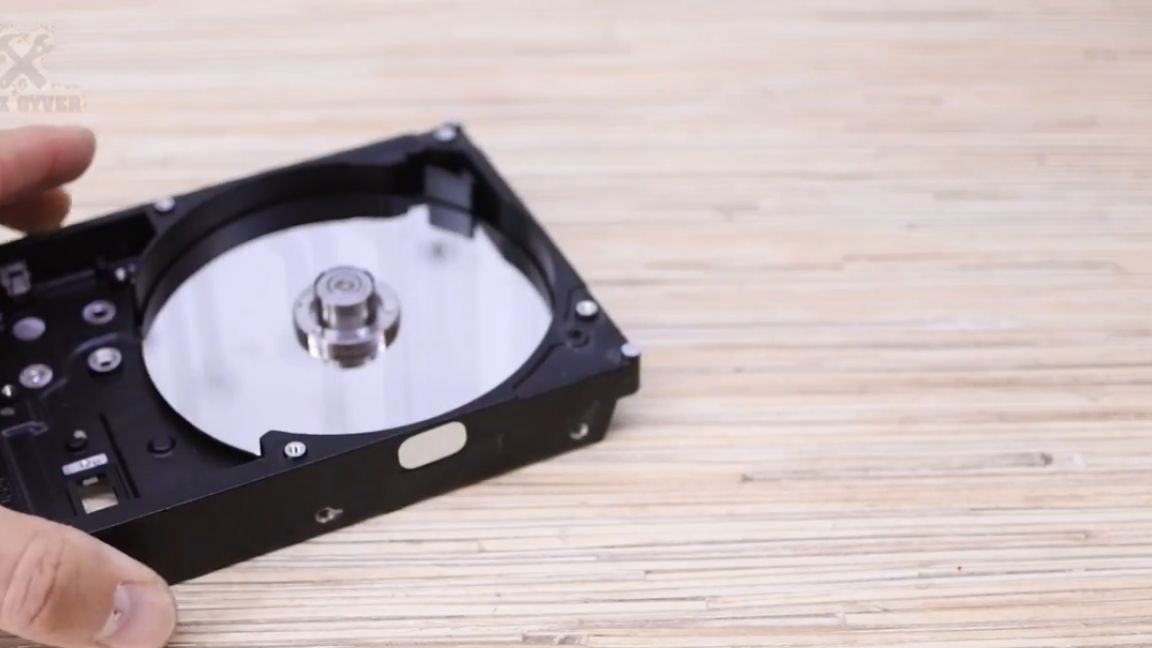
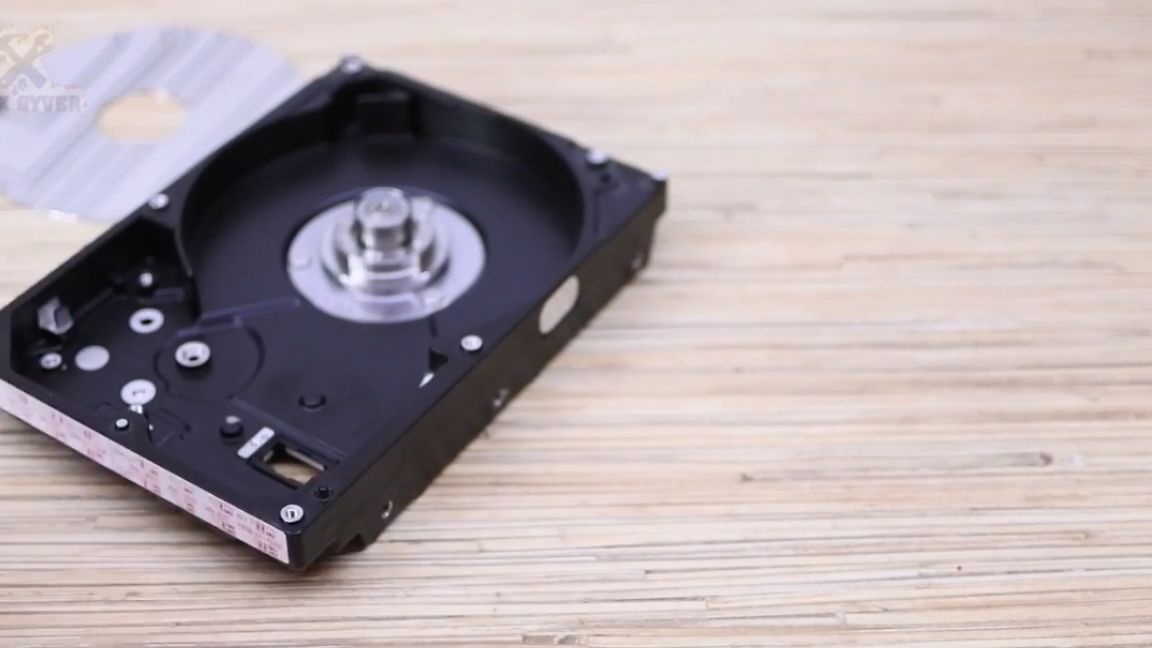
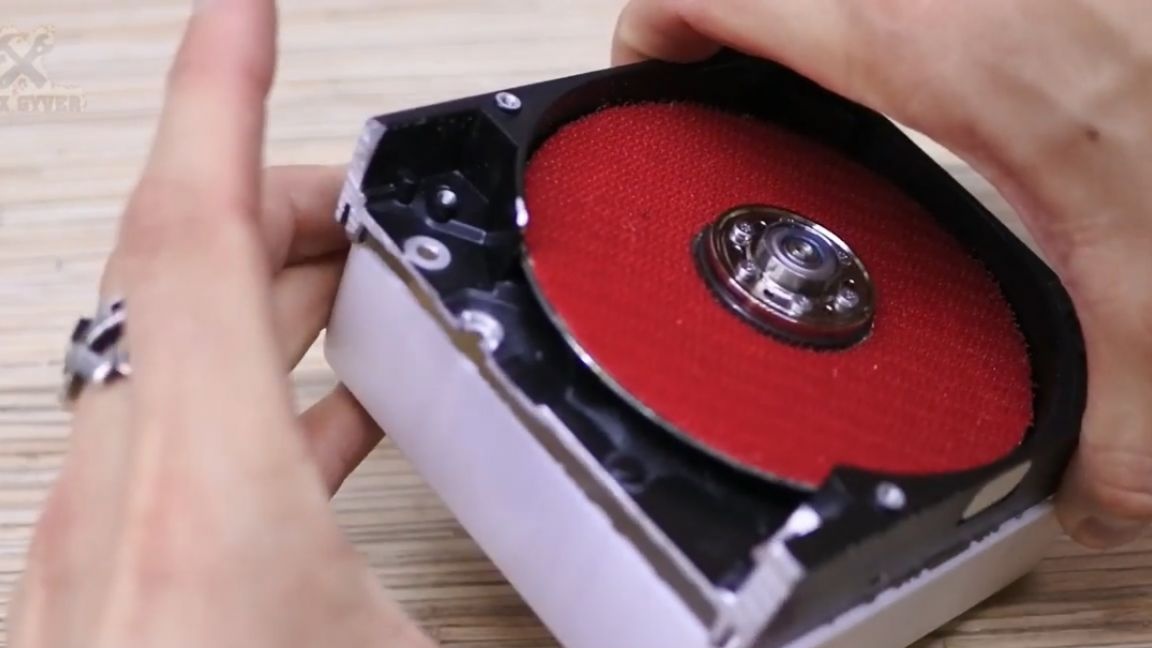
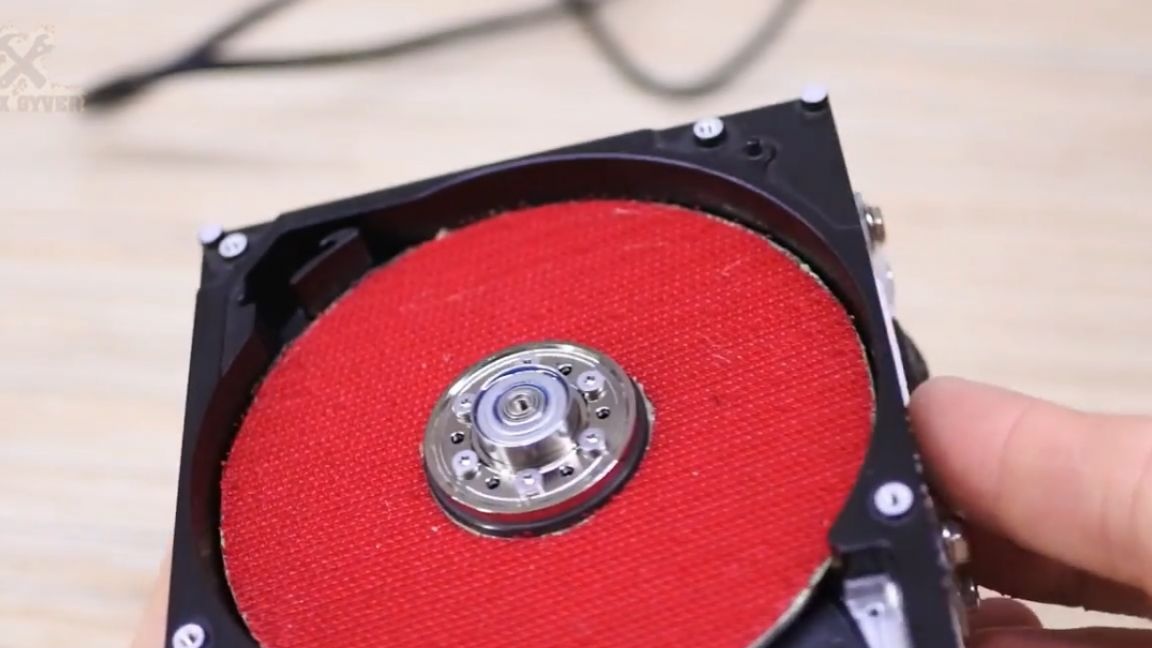
We quickly disassemble the hard drive, we leave only the motor mounted on the body.
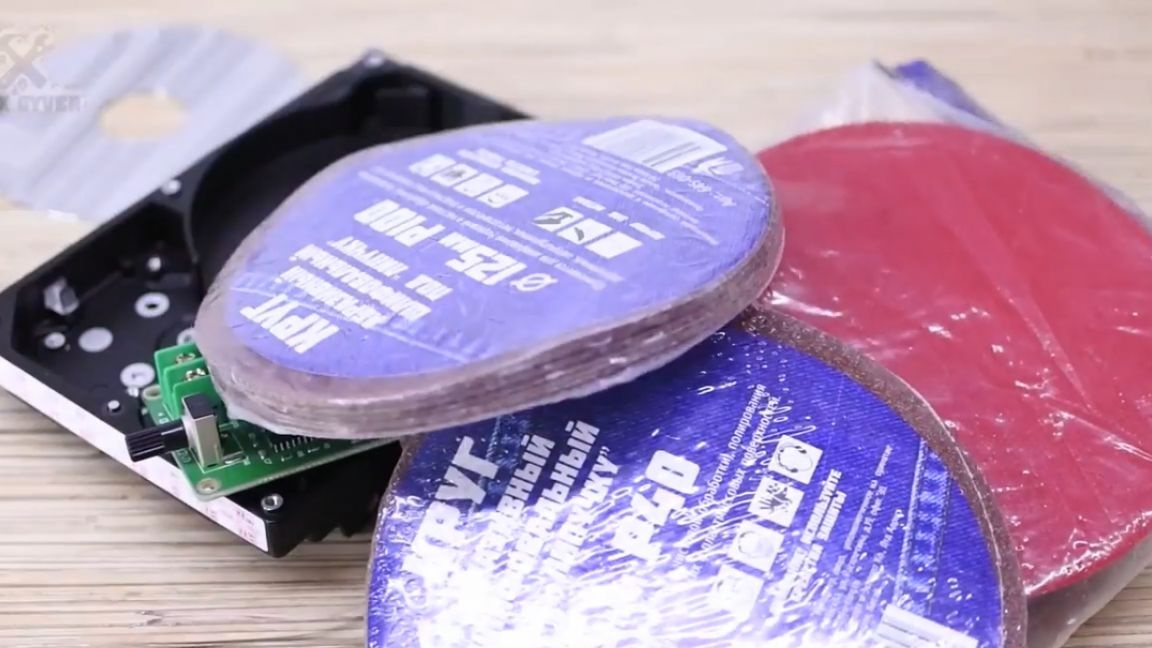
Next, we need the cheapest control board, such are sold on aliexpress (the link can be found in the description under the author’s video).
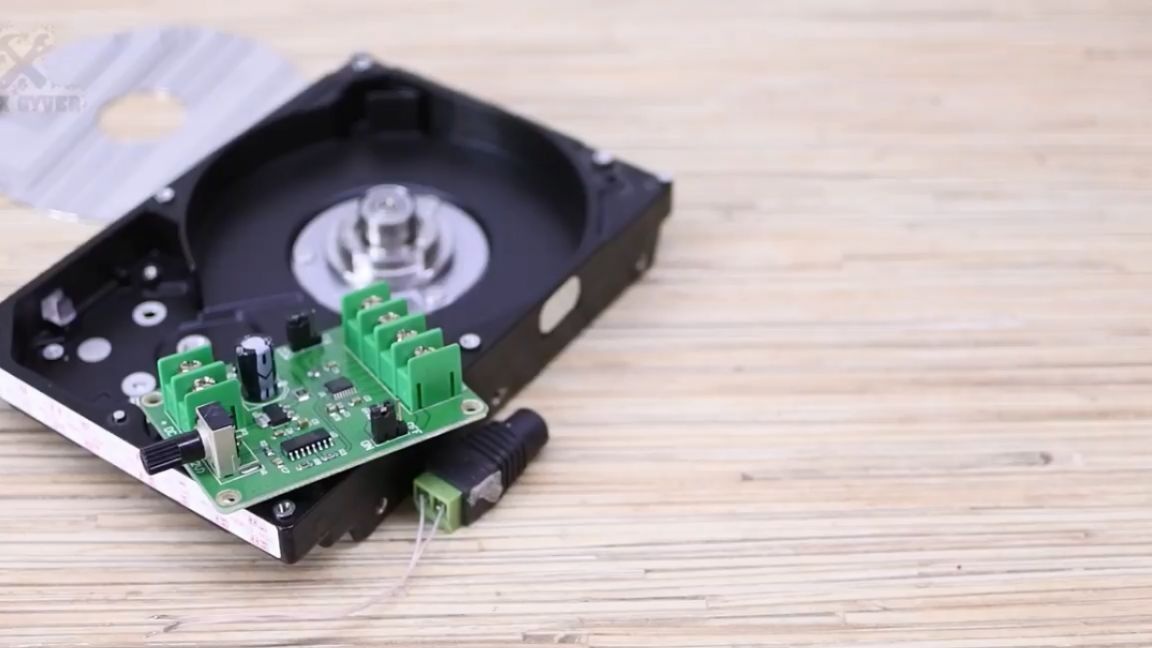
There are more compact models, but I stupidly burned the one that I had. To fasten sandpaper, we buy in a hardware store a grinding nozzle for a drill with Velcro, and of sandpaper itself with a Velcro mate.
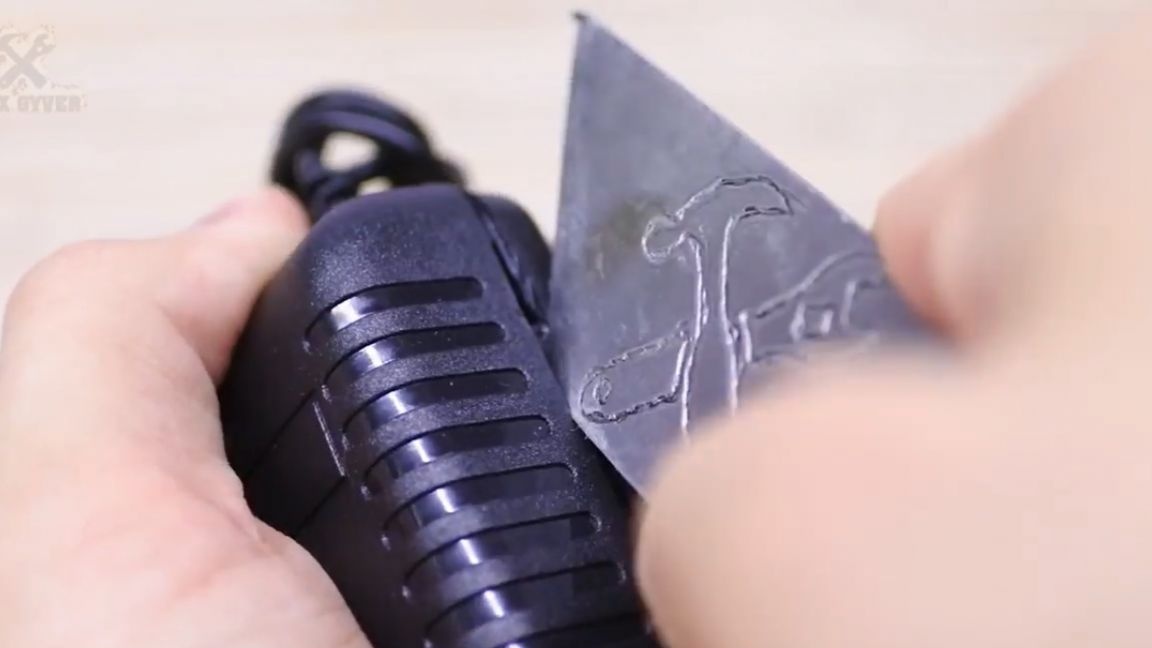
Then it is necessary to tear off the canvas with hooks from the nozzle. To do this, pick up the edge with a knife and tear off.
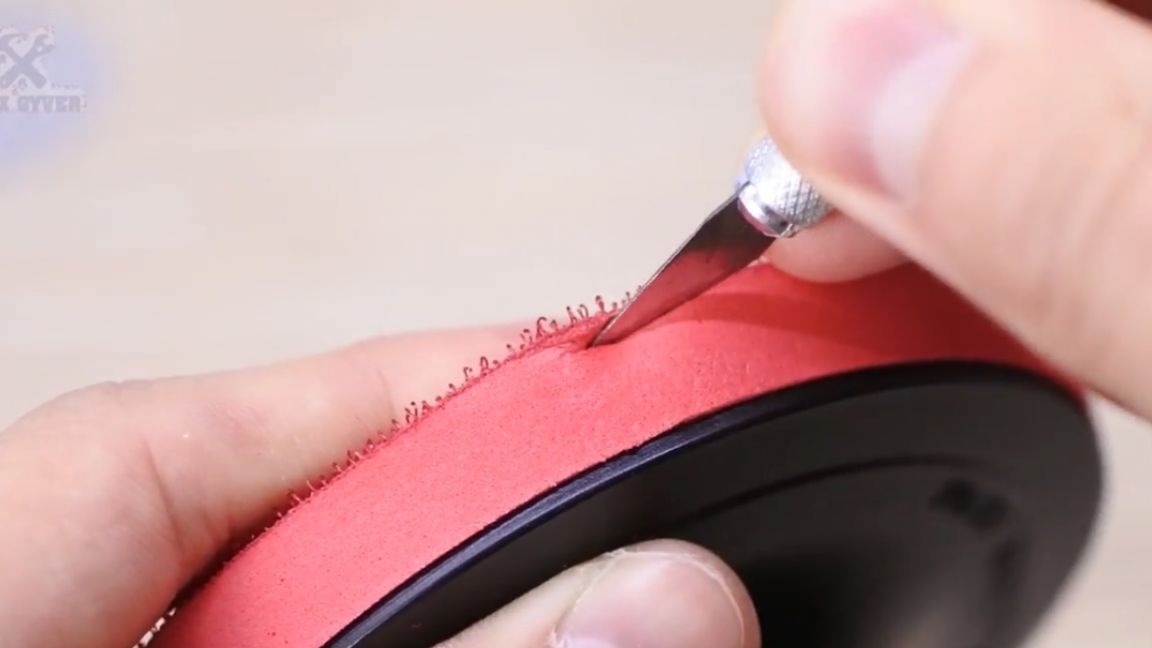
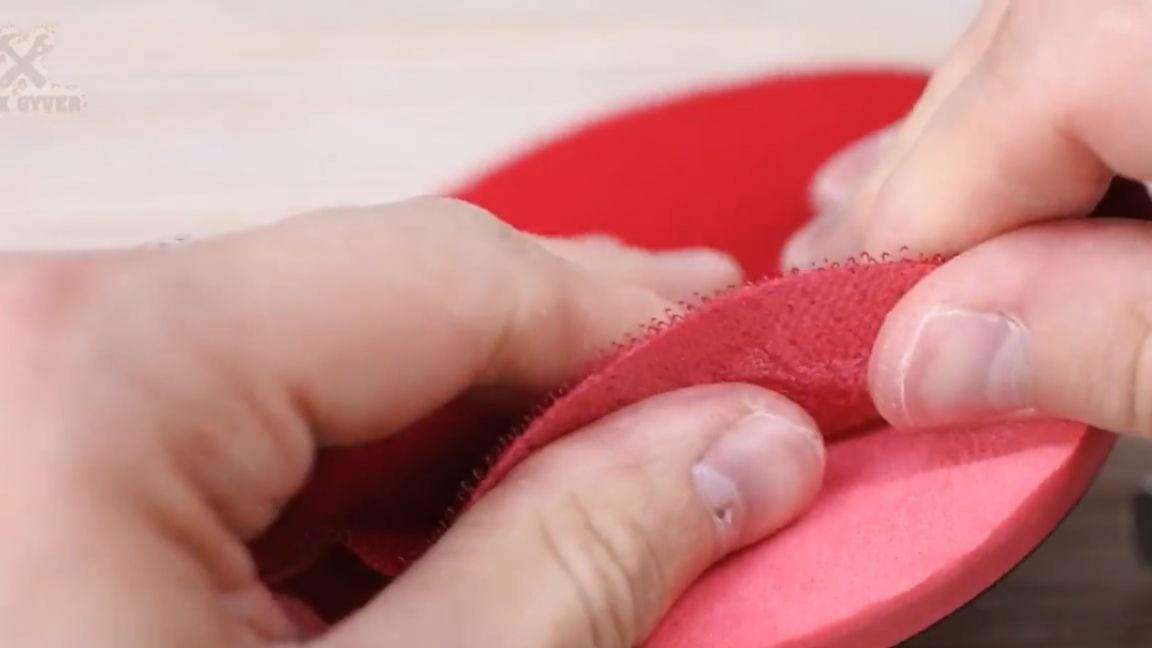
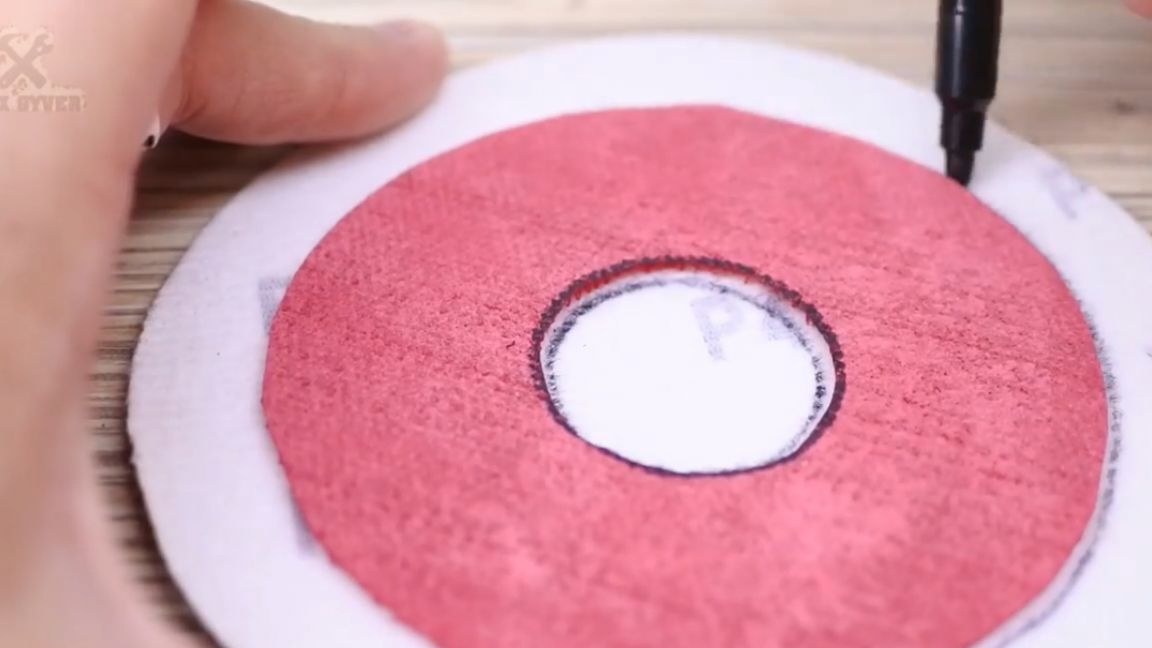
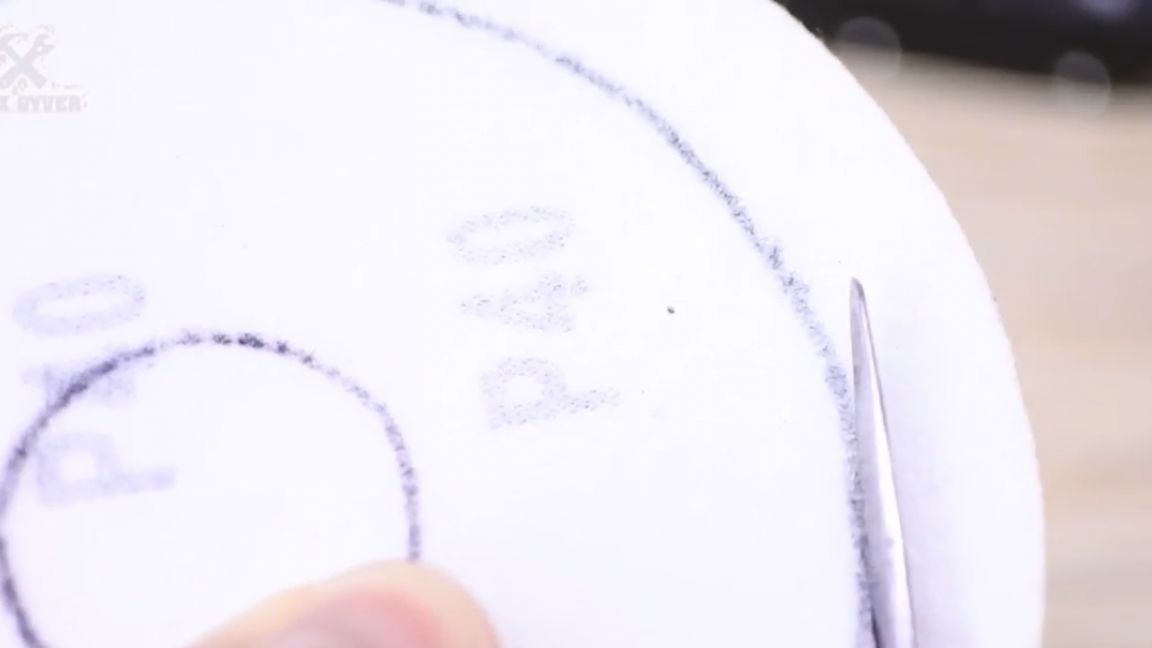
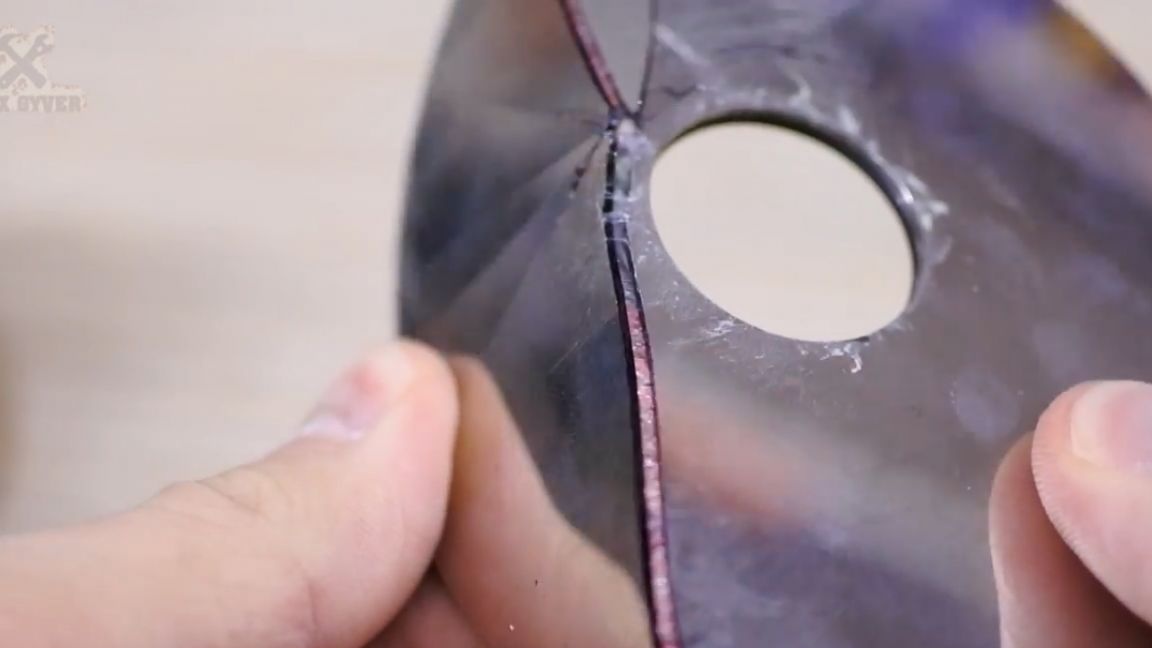
I think this topic works here - the cheaper the nozzle for a drill, the easier it will be to peel Velcro. Next, circle the disk in order to cut out the Velcro as accurately as possible.
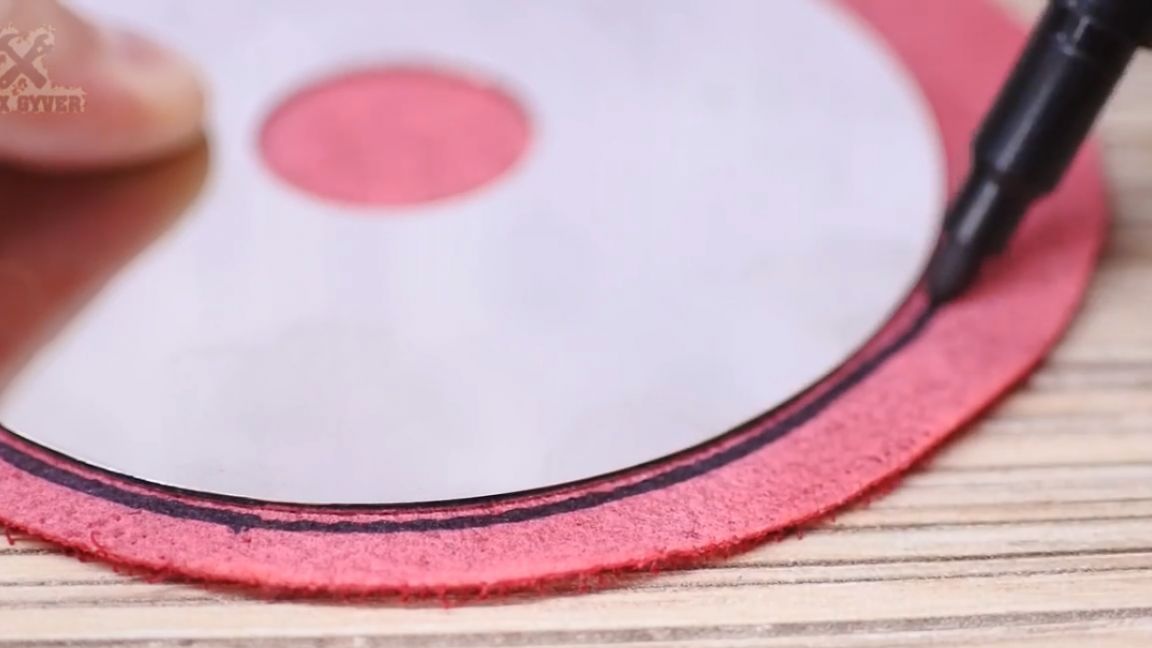
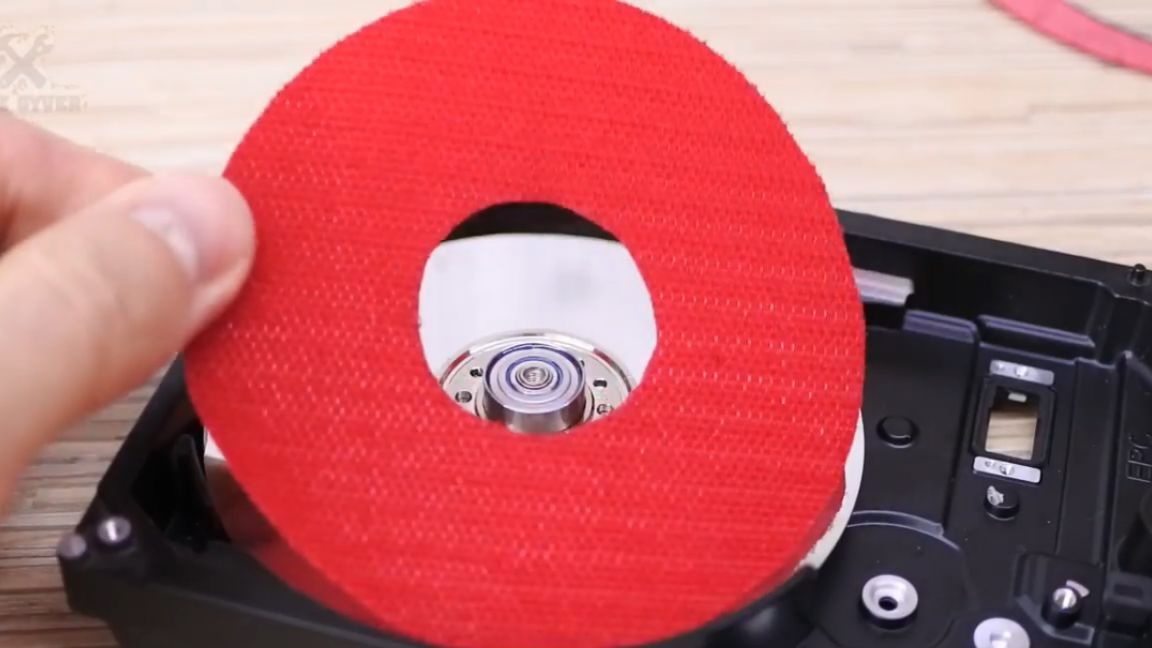
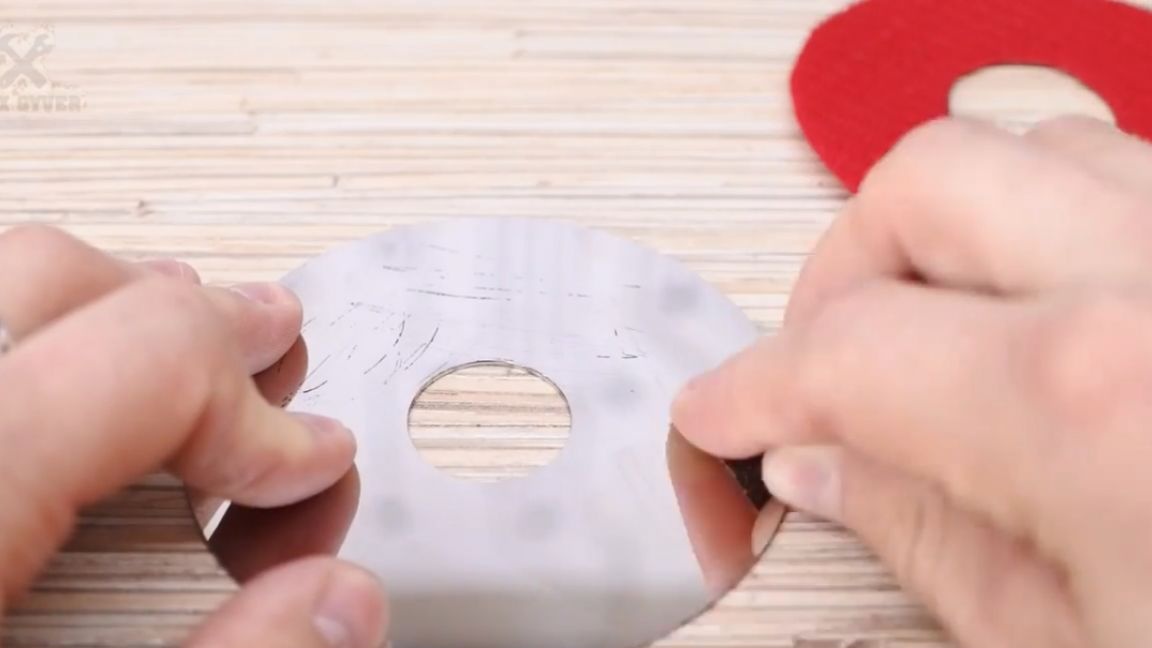
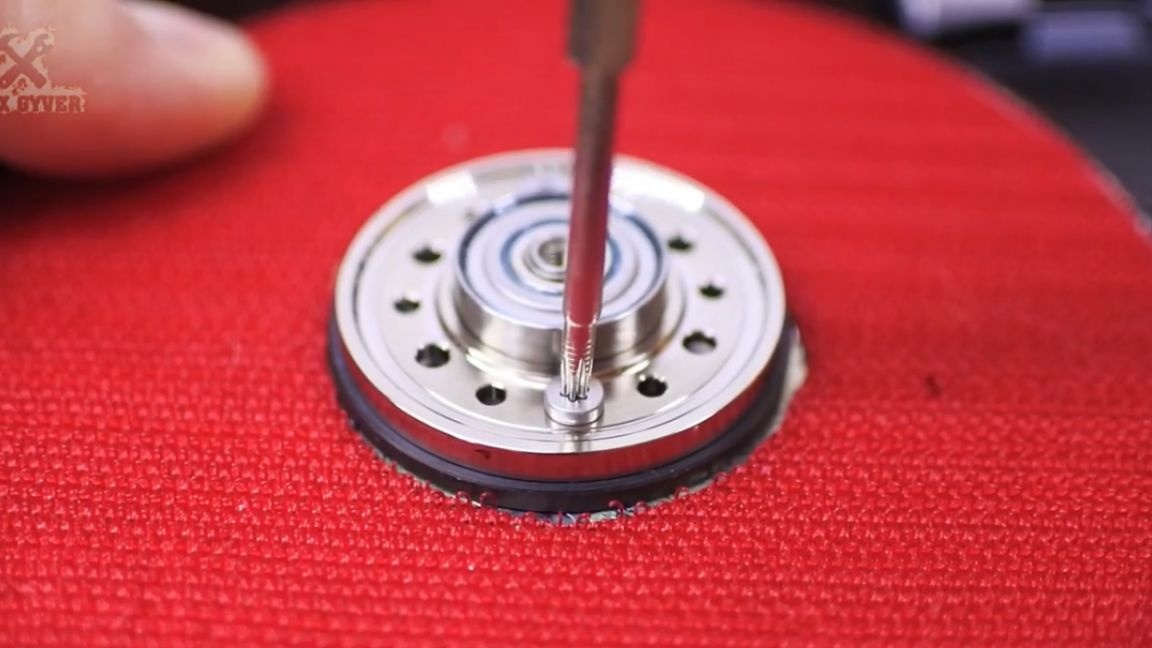
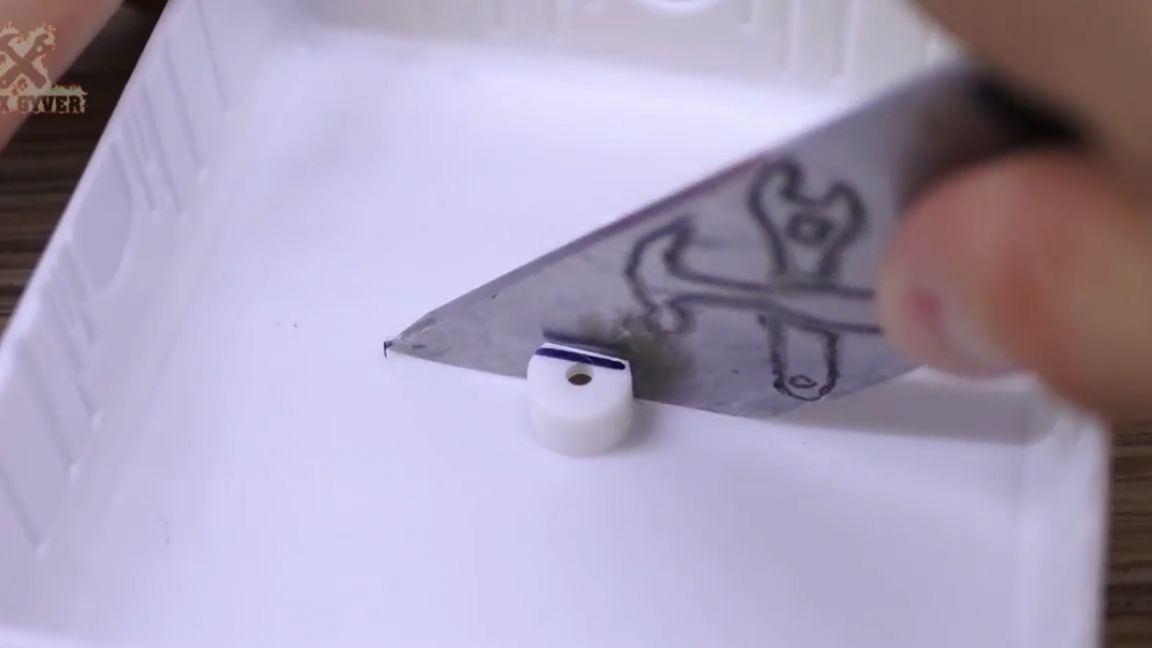
I think it makes no sense to press sandpaper with a pressure ring, so we expand the hole.

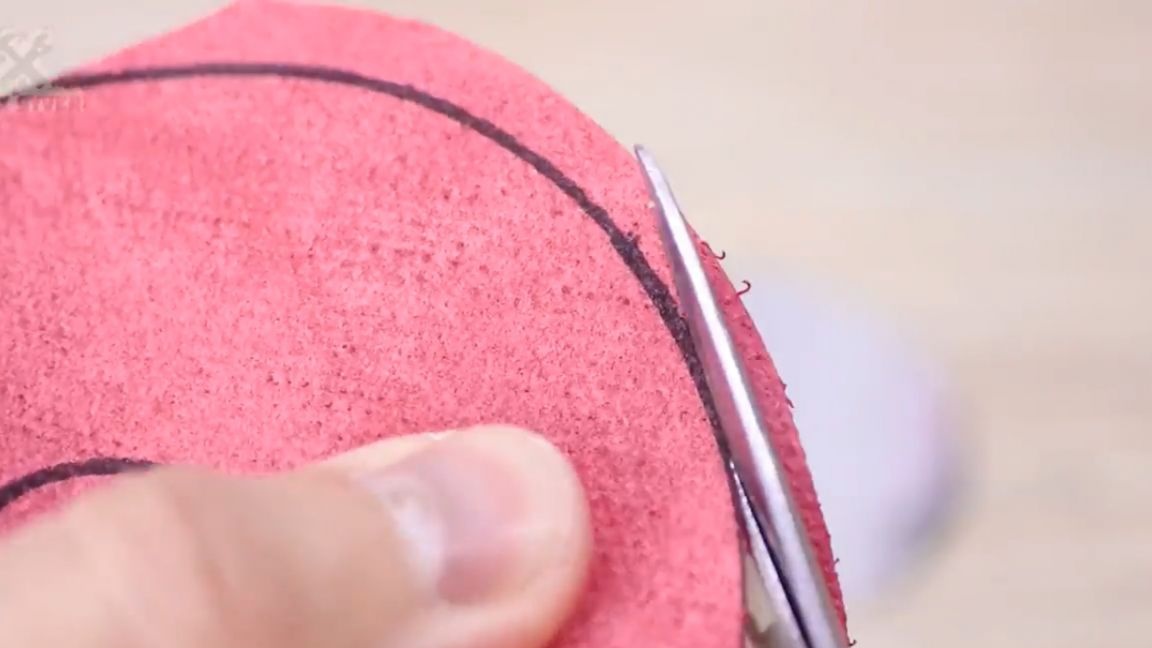
Wonderful! Now we prepare the sandpaper circles on the same principle.
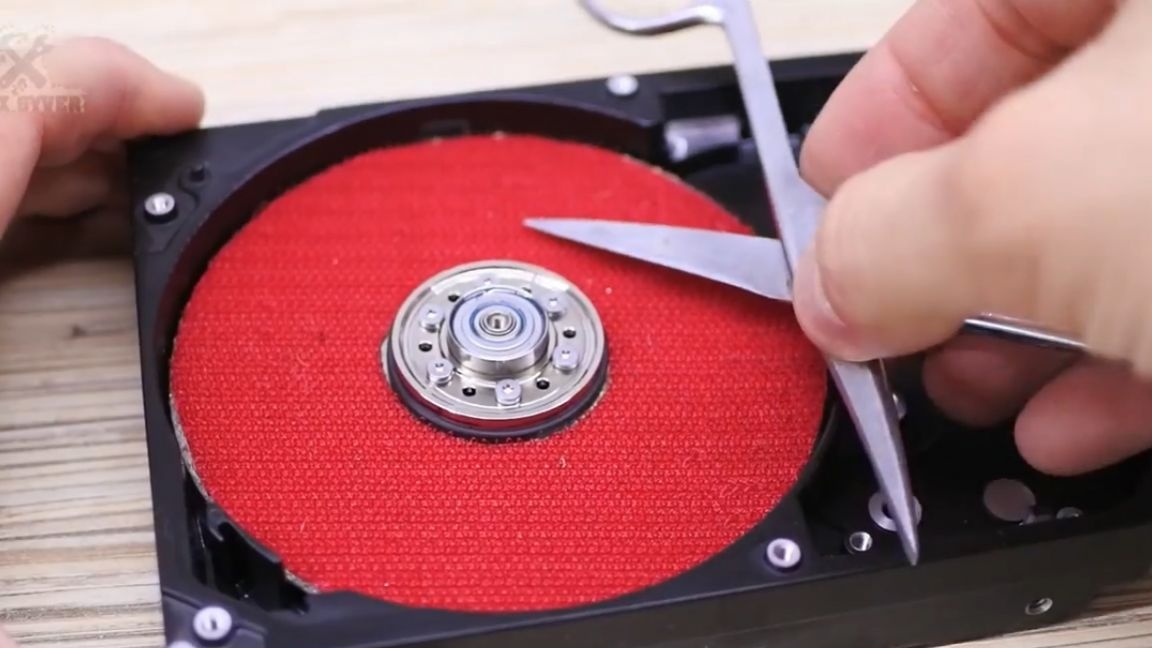
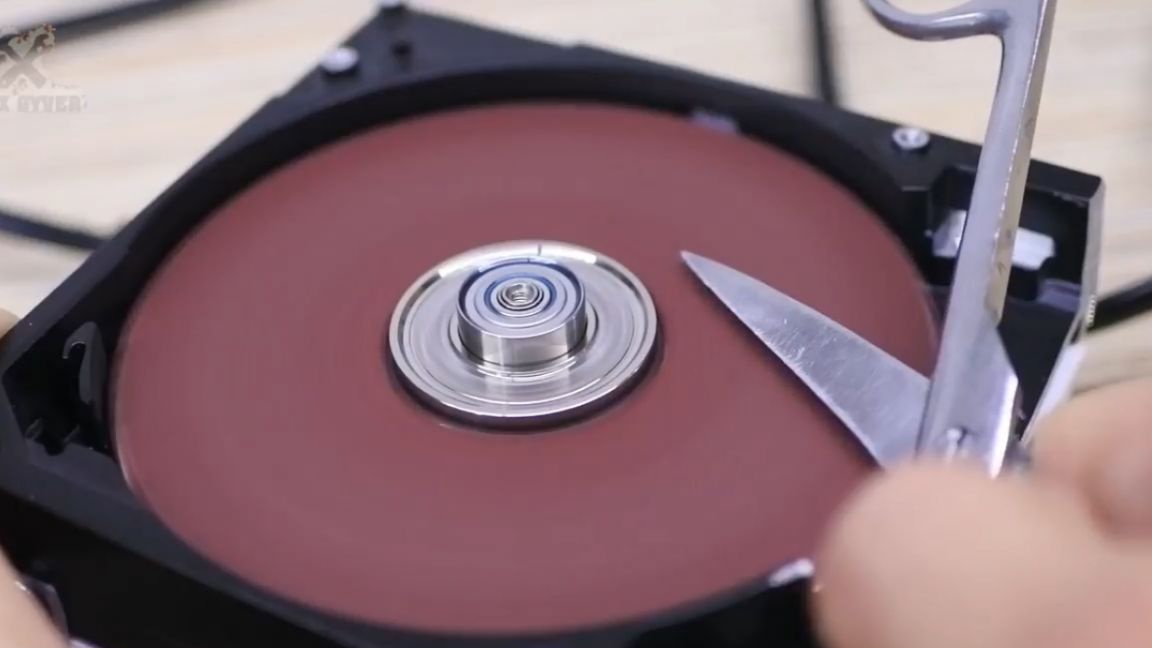
By the way, one of the relatives told me that you can sharpen scissors by cutting sandpaper with them. Do you think this is true or bullshit?
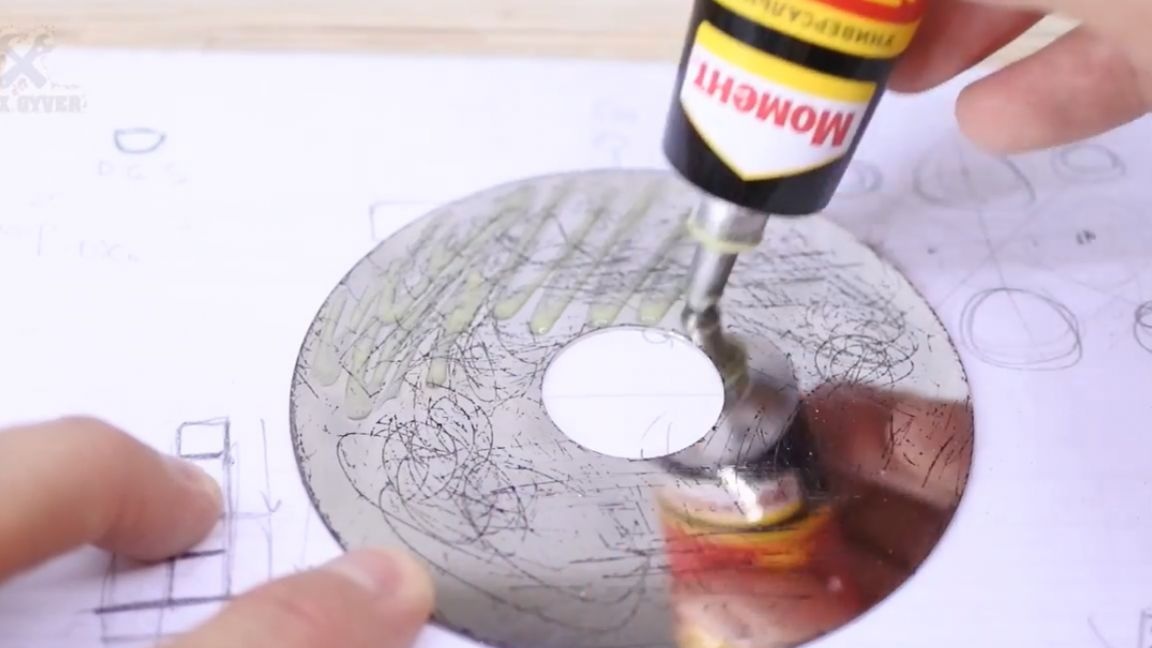
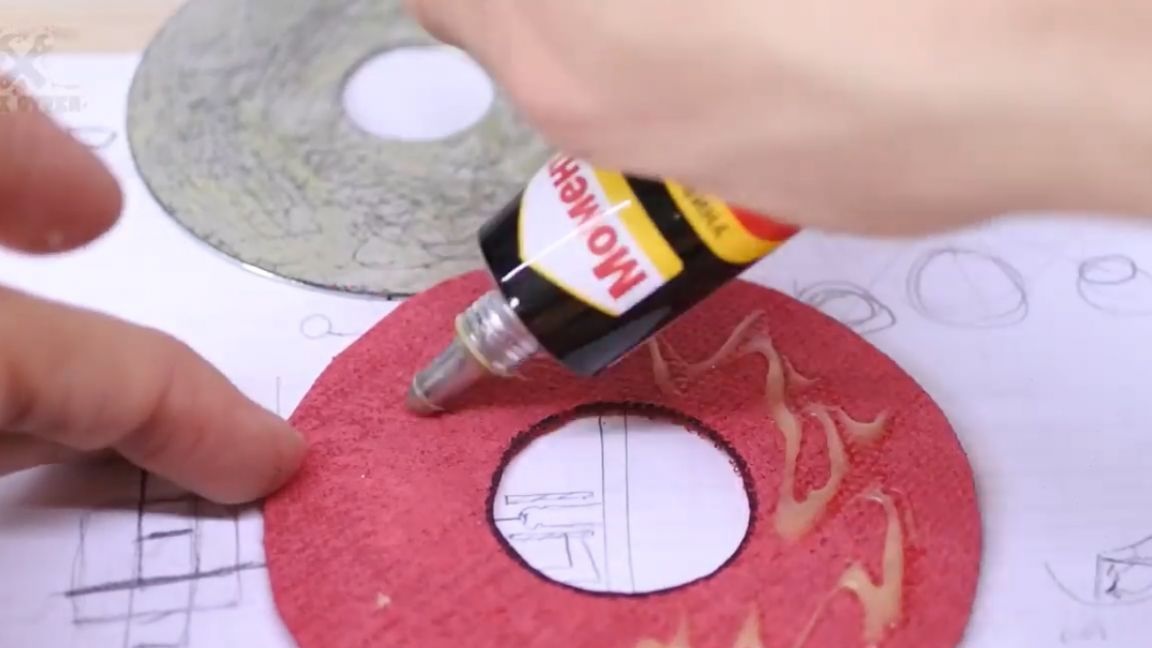
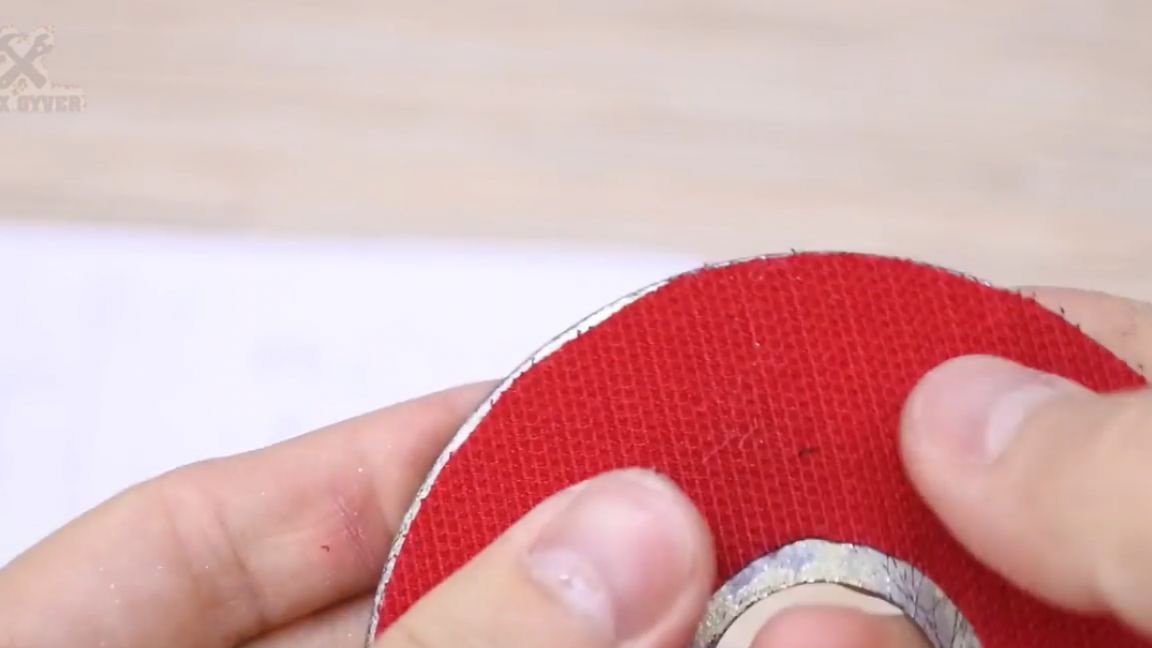
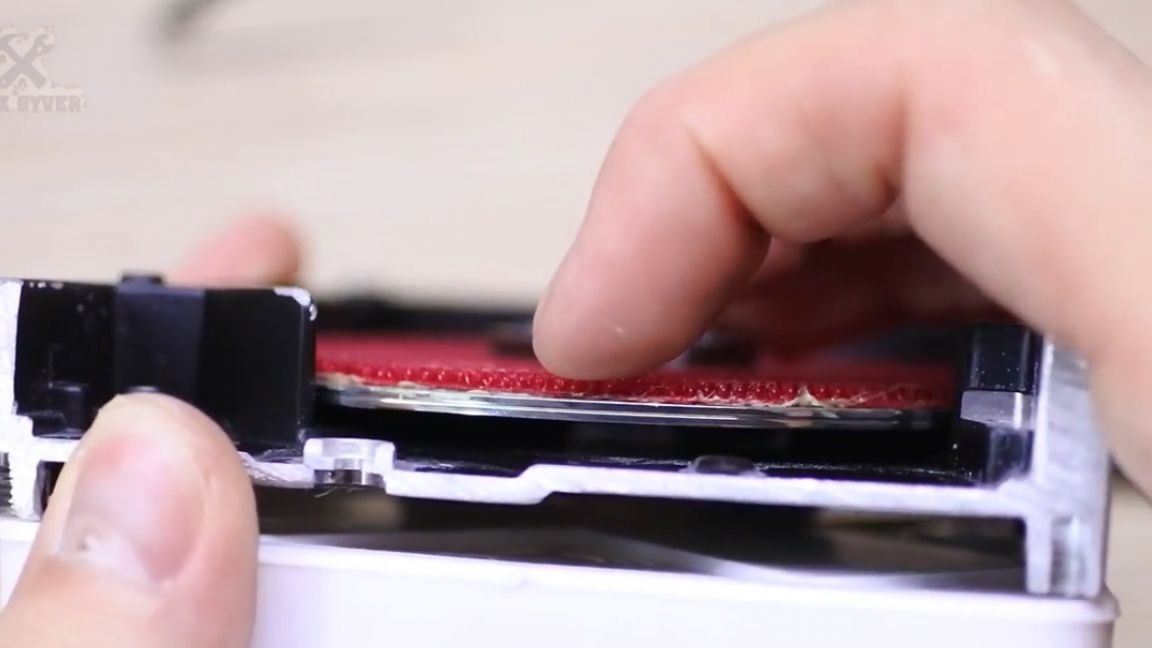
Now you need to fasten the Velcro to the disk. I will glue “Moment” glue, so let's sand and grind the surface as much as possible on a smooth and hard disk. Then we apply glue on the surface, well, and glue the parts together, firmly pressing them against each other for a while.
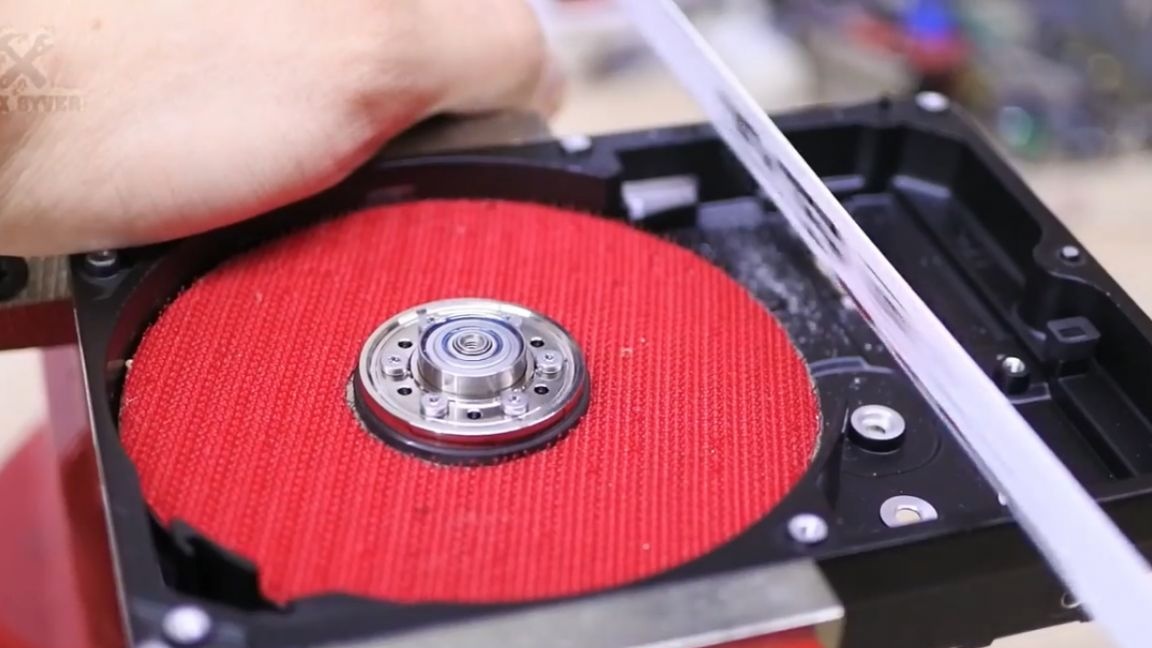
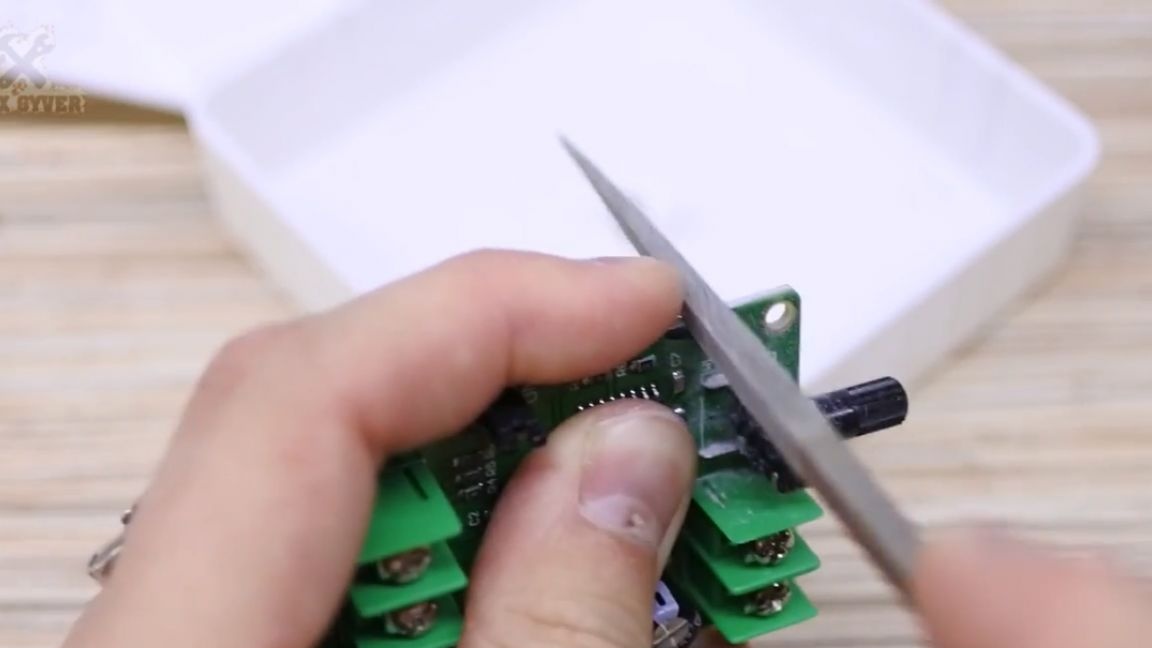
Depending on the design of the disk, we collect everything so that the pancake is pressed. Well, actually here - we immediately see the problem, the case makes it difficult to sharpen, for example, scissors.
Let's saw him off. As a result, we get an even square with a side of 10 cm. The case is aluminum, it is very easy to saw using a regular hacksaw.
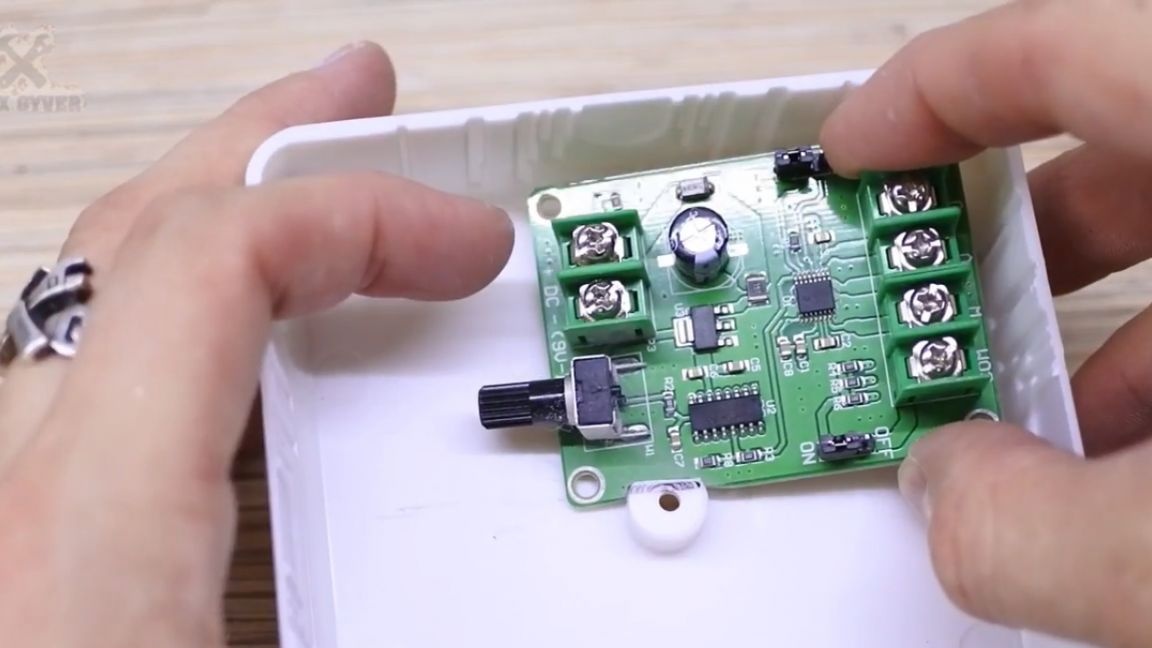
I think it will be cool to add a body for all this disgrace. A 10 by 10 cm junction box came up very well - just perfect.
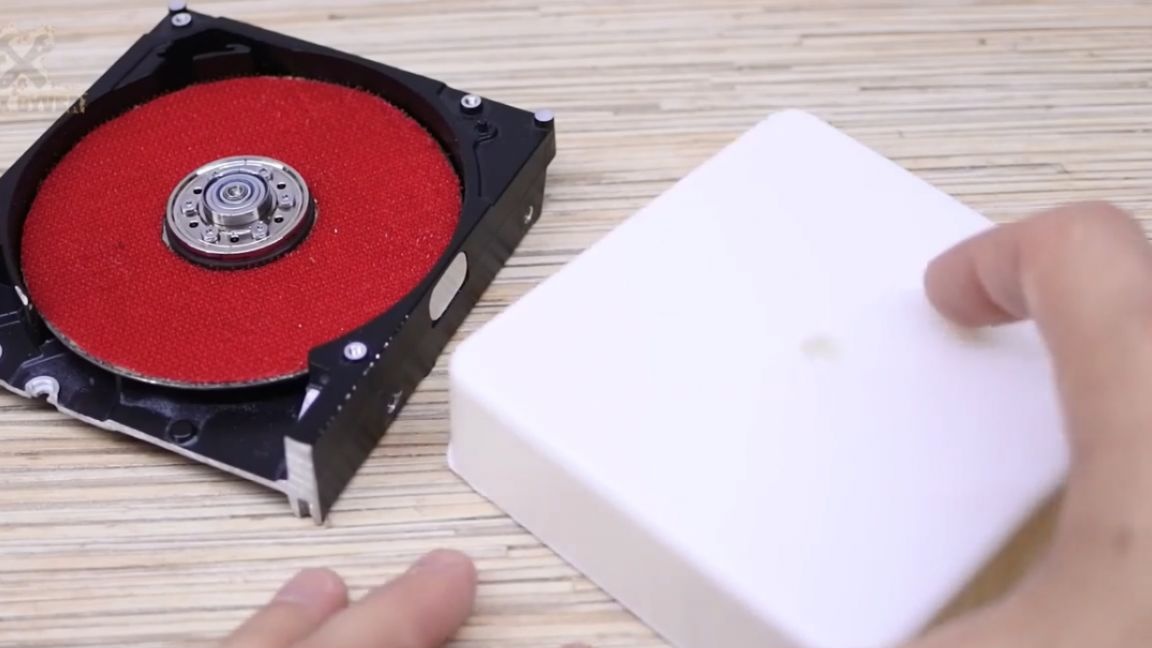
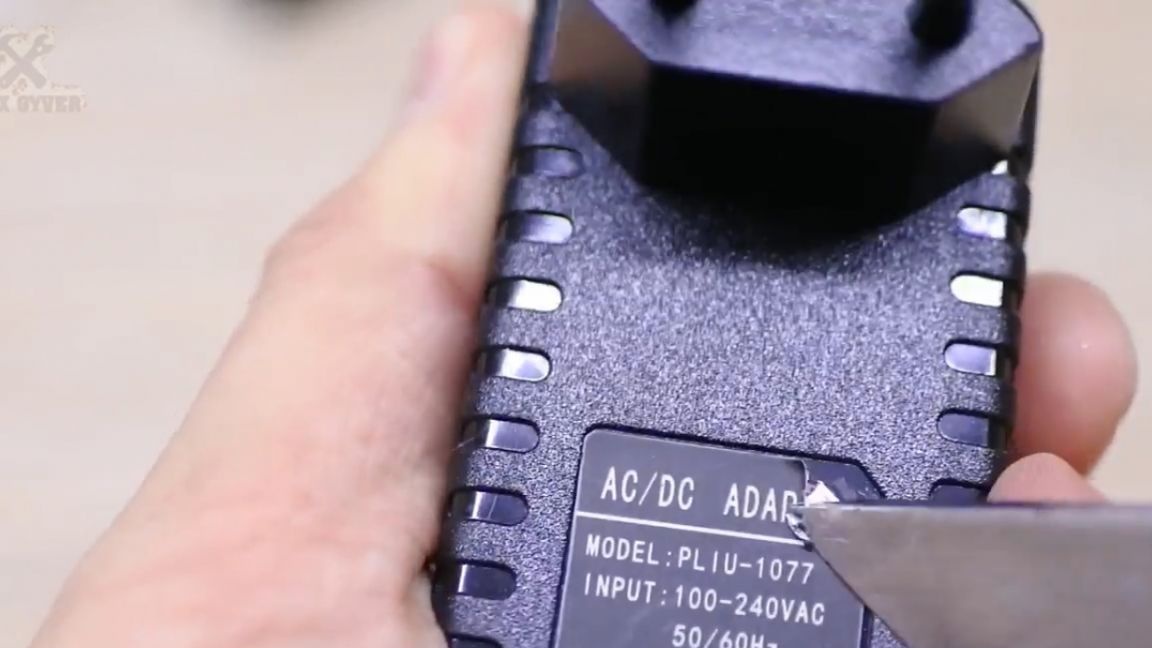
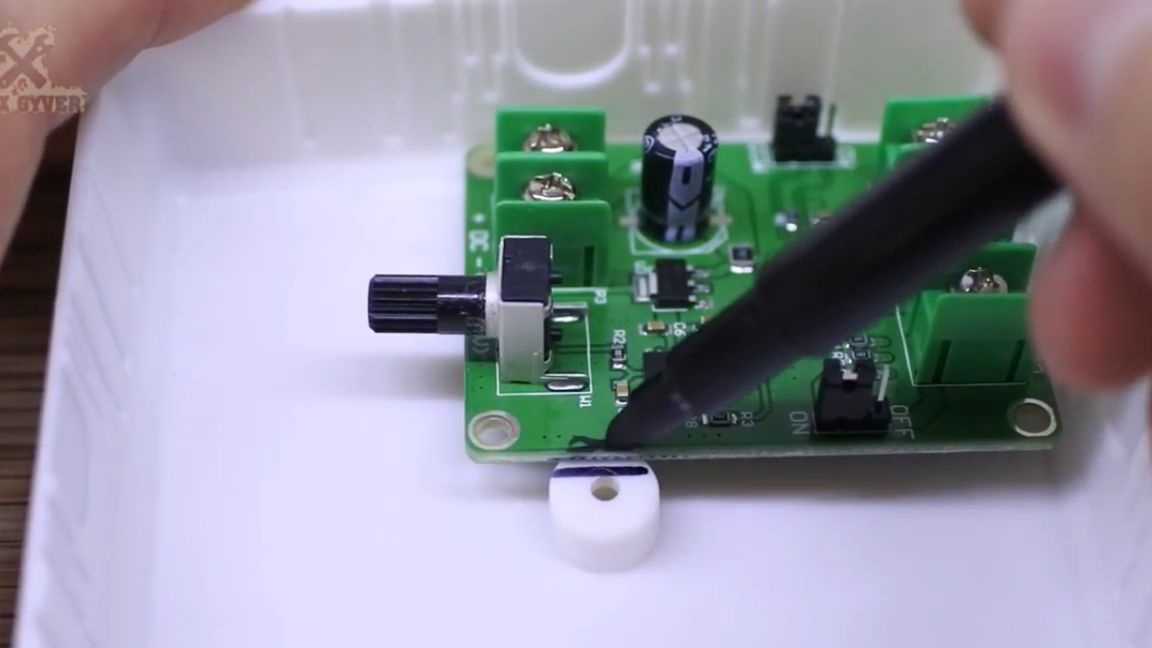
Junction boxes are flatter, but I unfortunately have run out of them. The controller board almost fits in the case and there is room for a 12 volt power supply. More precisely for its filling.
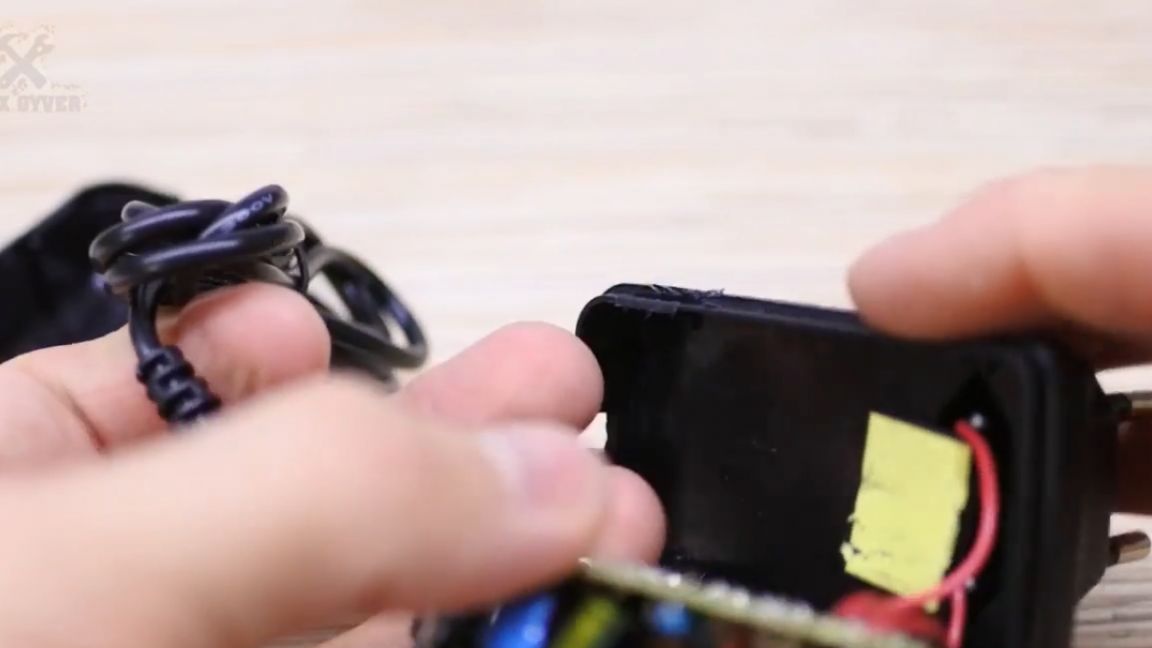
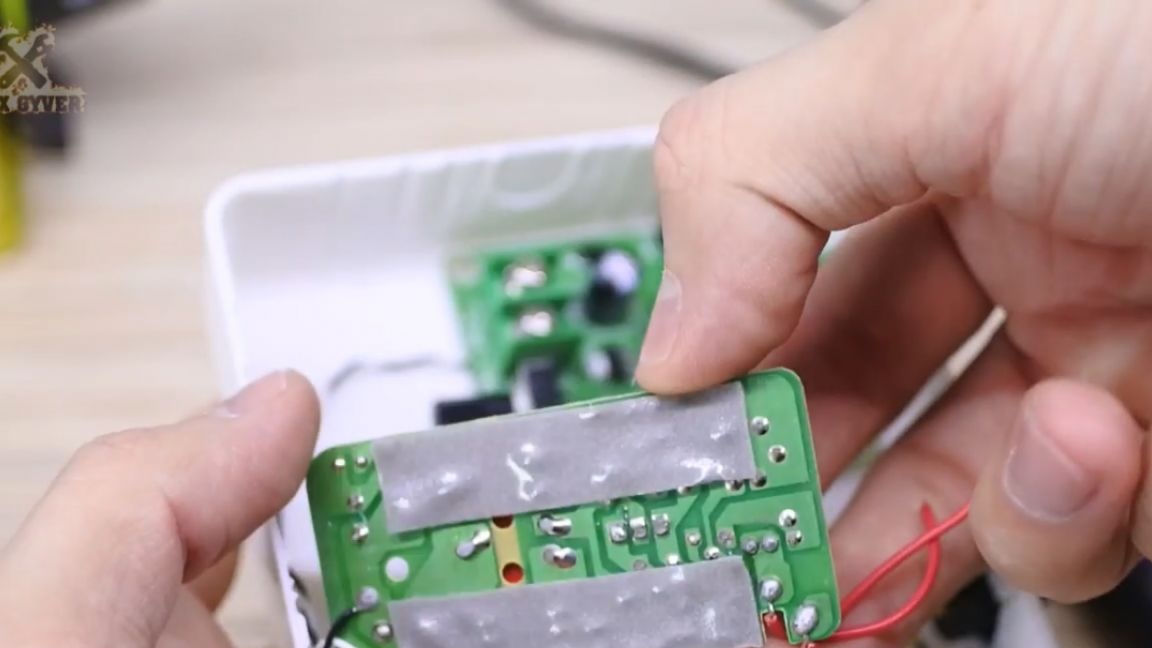
We disassemble the power supply housing. Probably, the cunning Chinese hid a screw under the sticker.
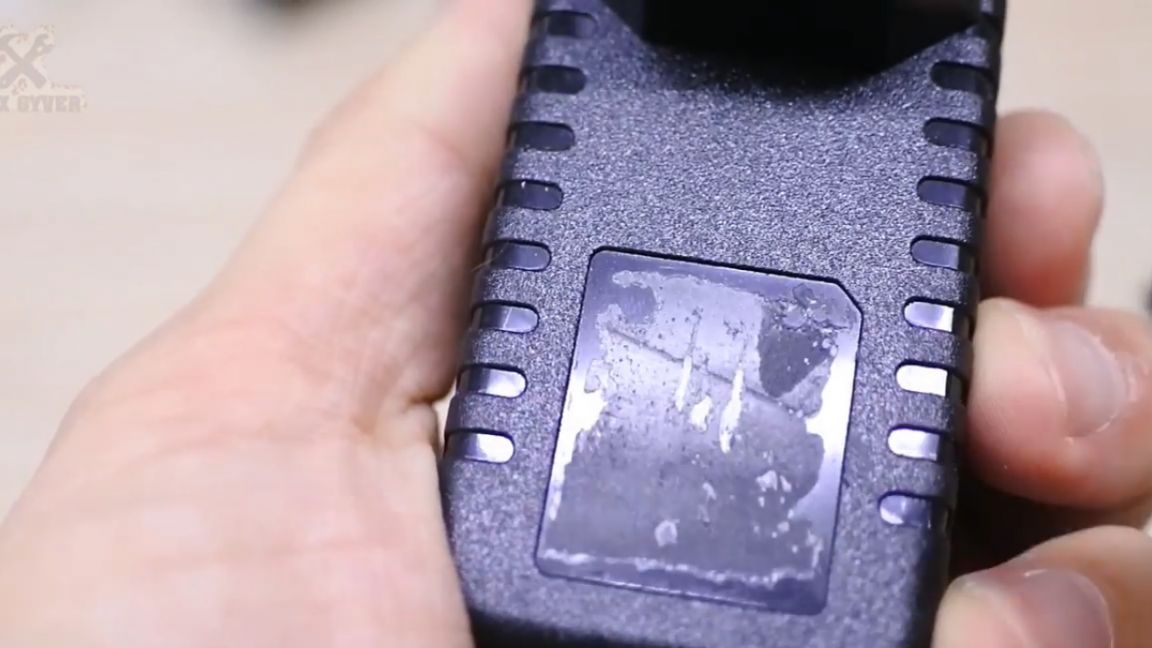
But no - well, it means latches.
Wow! Look, the Chinese "glued" the board to a double-sided tape:

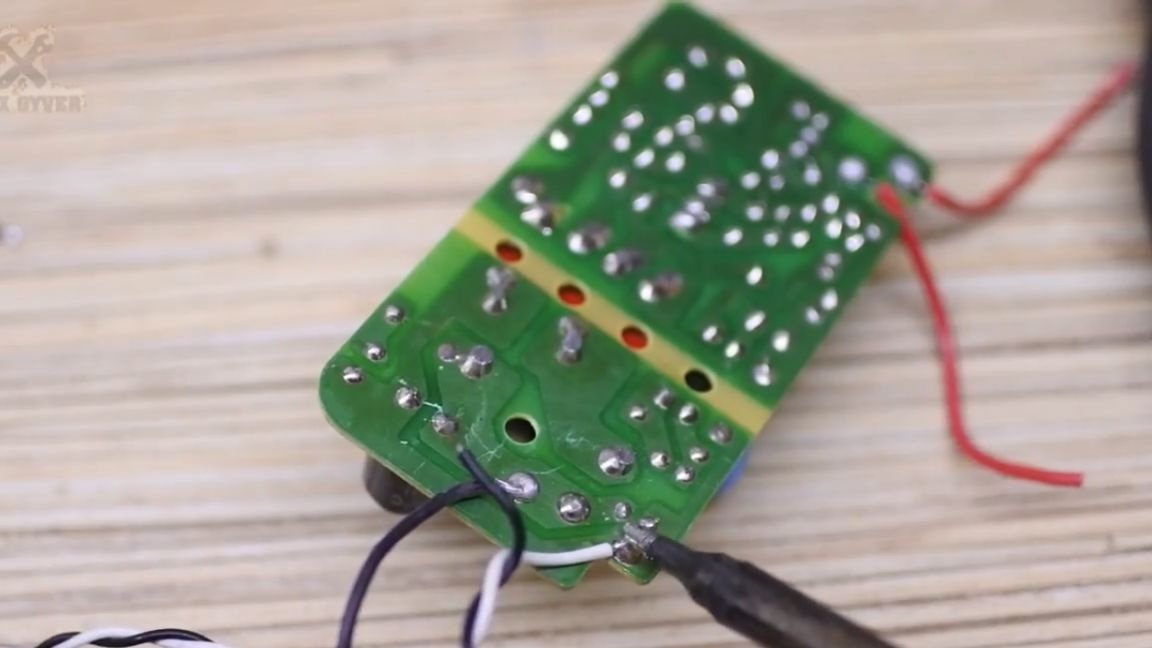
I want to do everything cool, so we cut it out clearly here and a bit more here:
Well, in this place there are no tracks on the board, such a cut is completely safe.
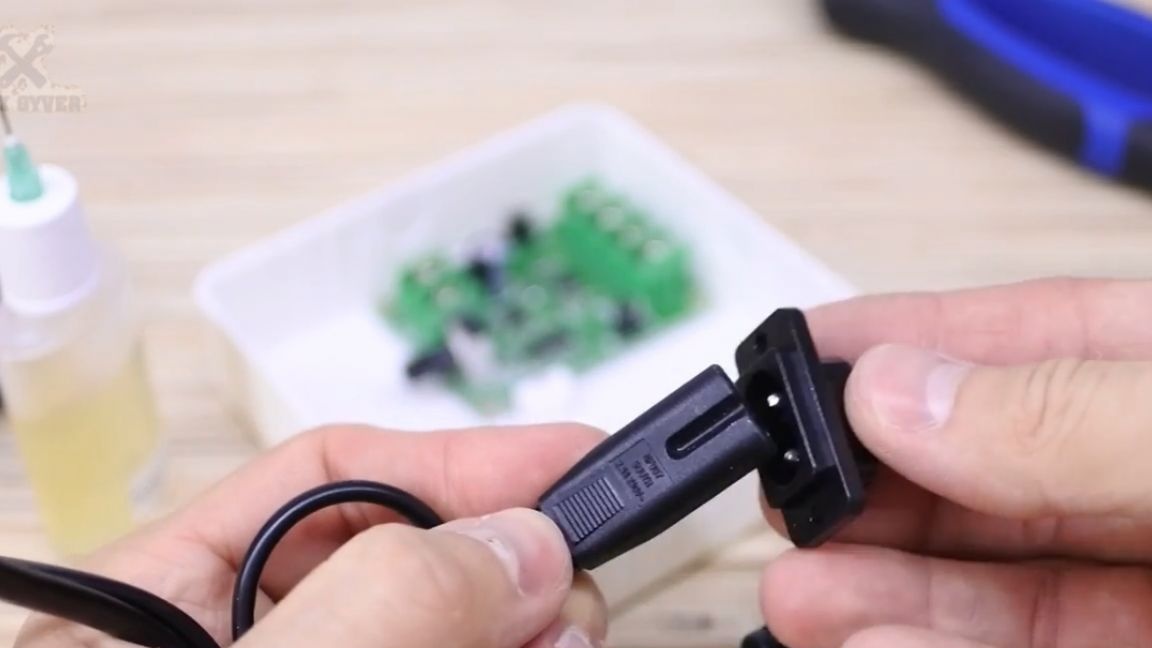
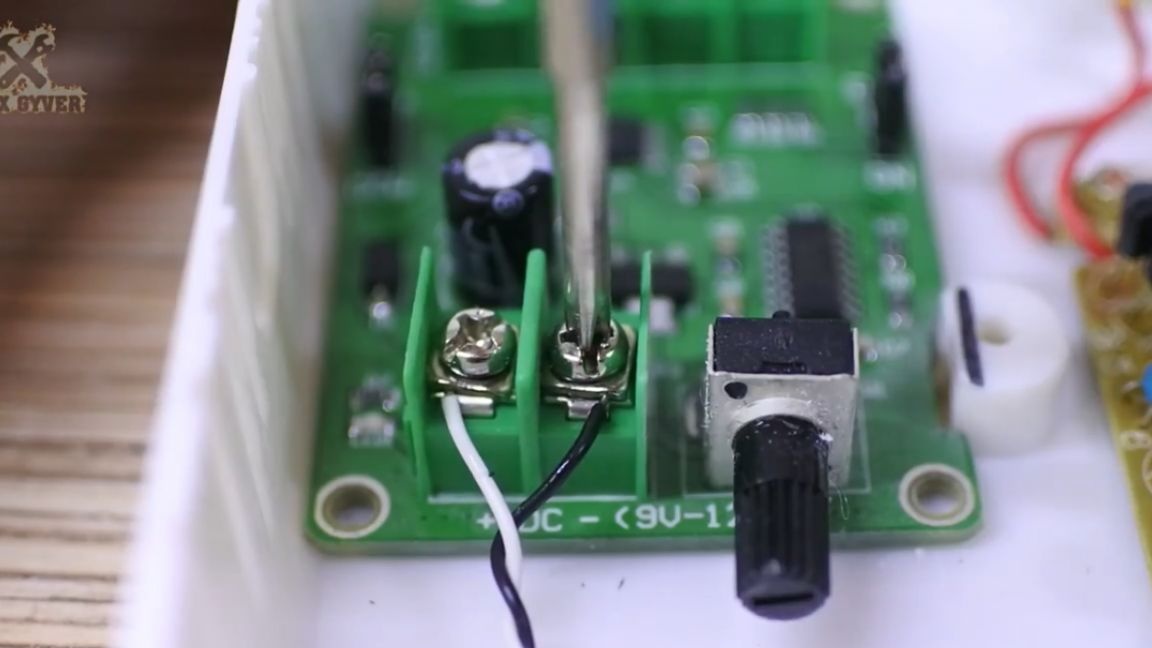
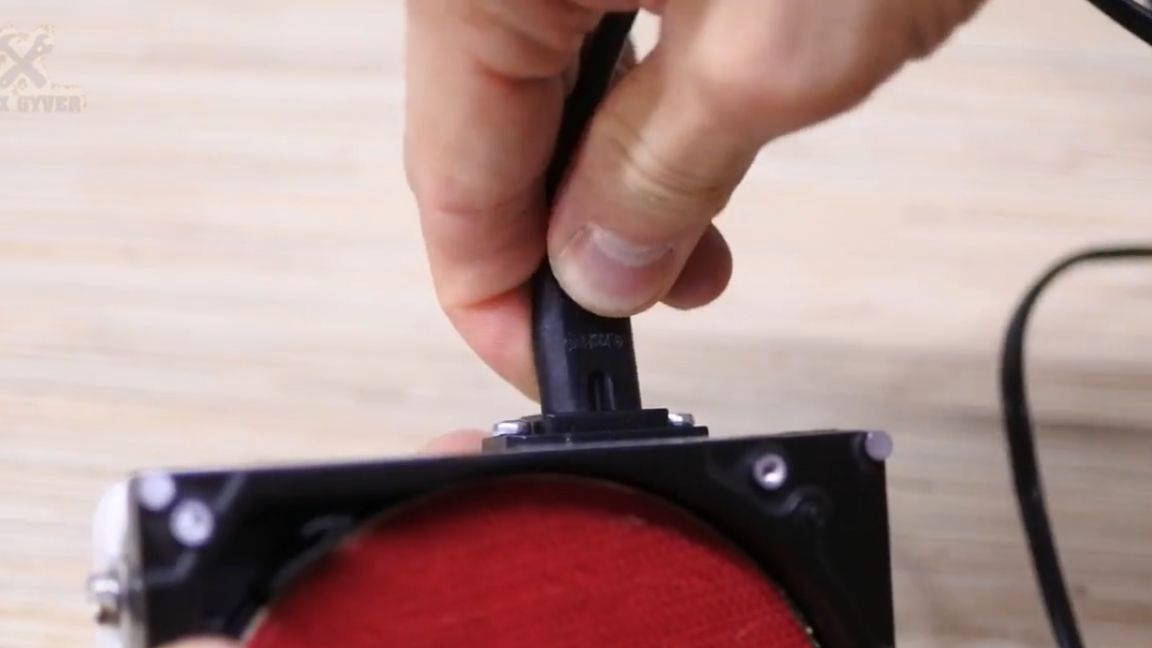
Solder your wires. I thought to take the wire with the plug, cut it off and solder it, but I didn’t want to cut off the plug, especially since I dialed the connectors from the Chinese for this business. We put the connector, let it be in beauty, well, and the button at the same time.
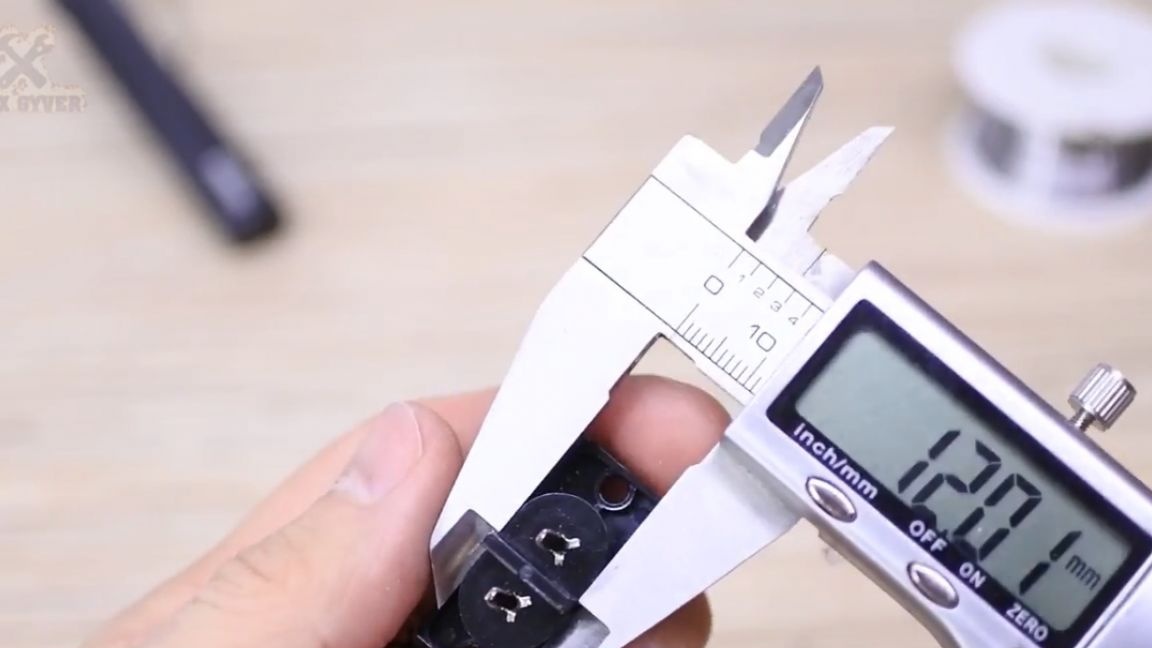
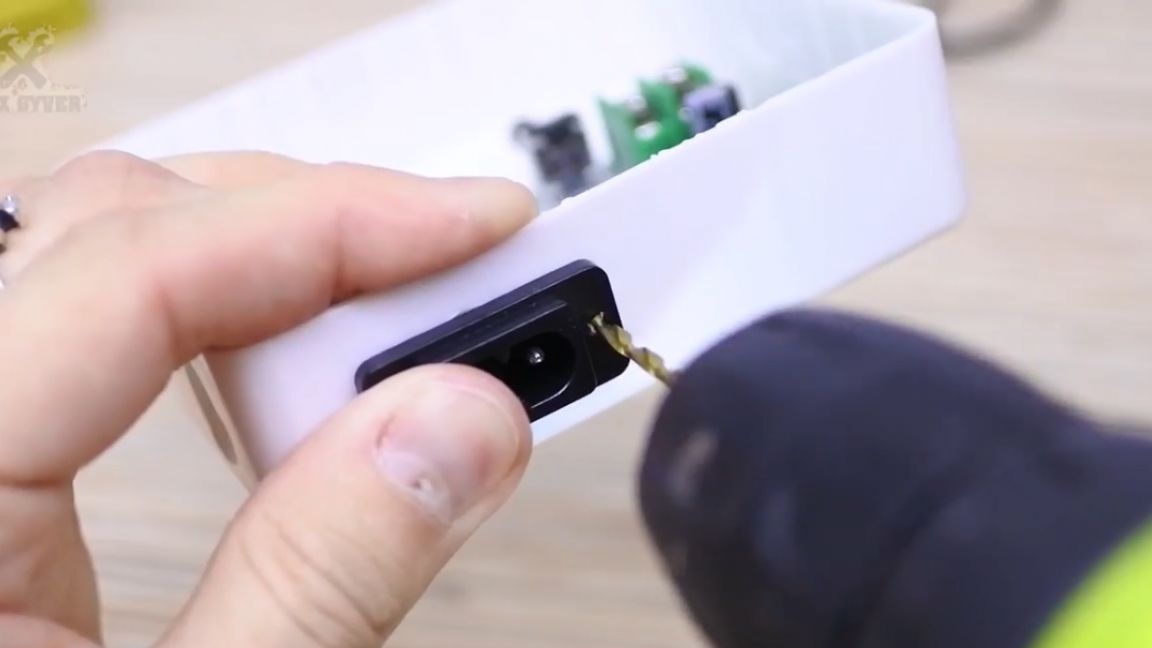
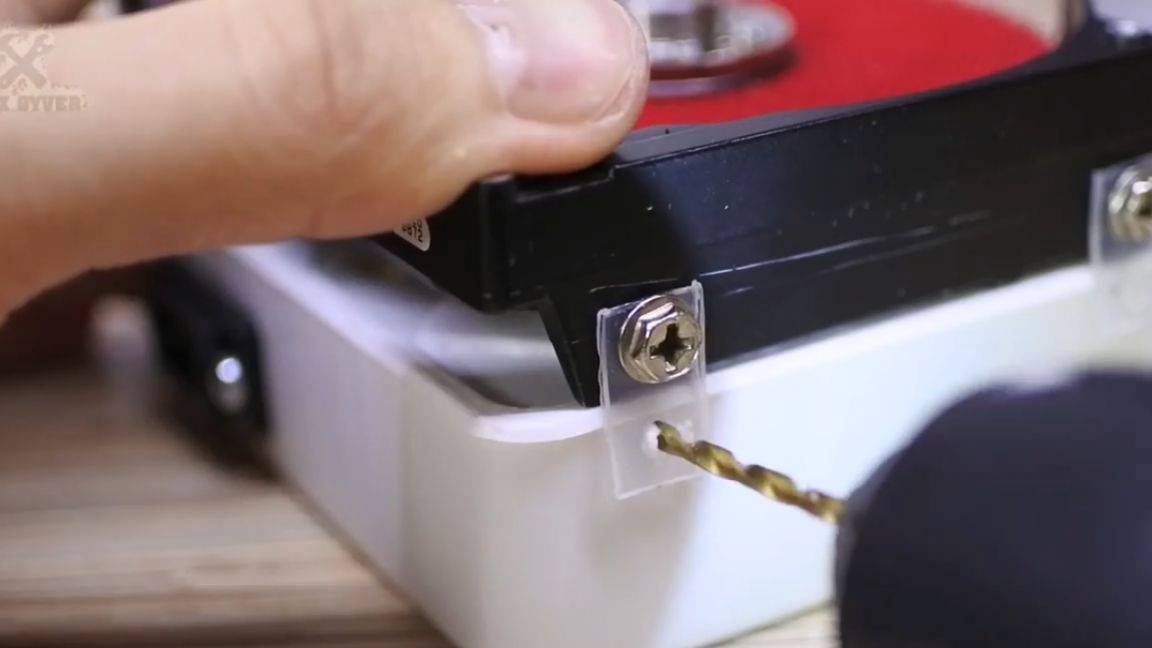
We remove all sizes and drill the body.

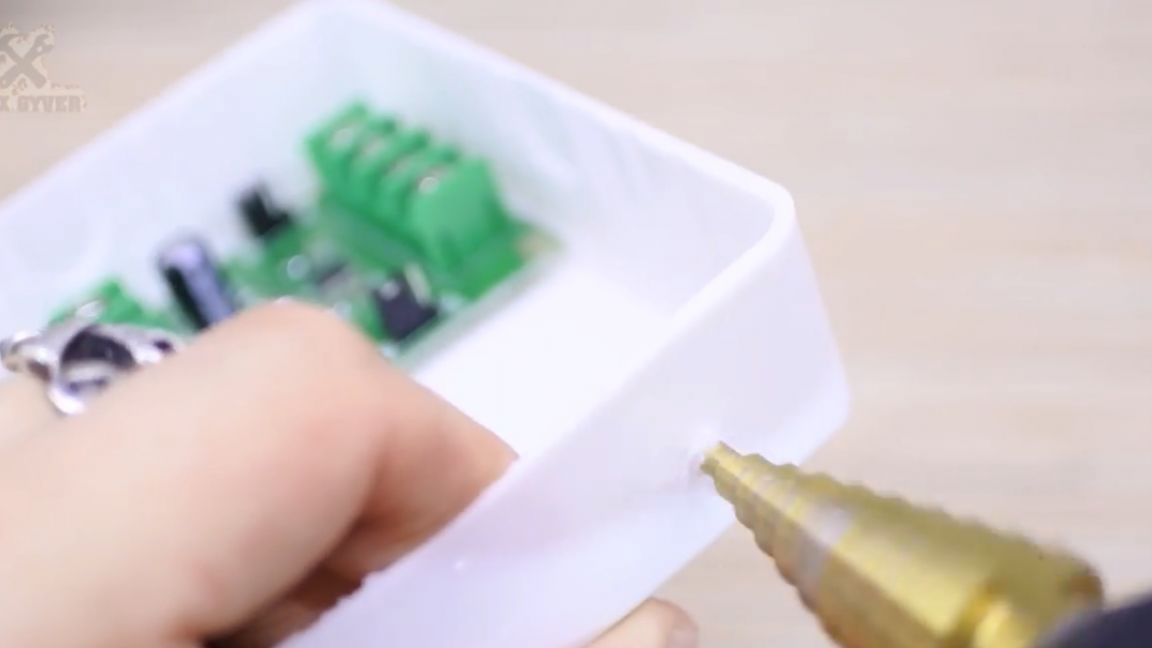
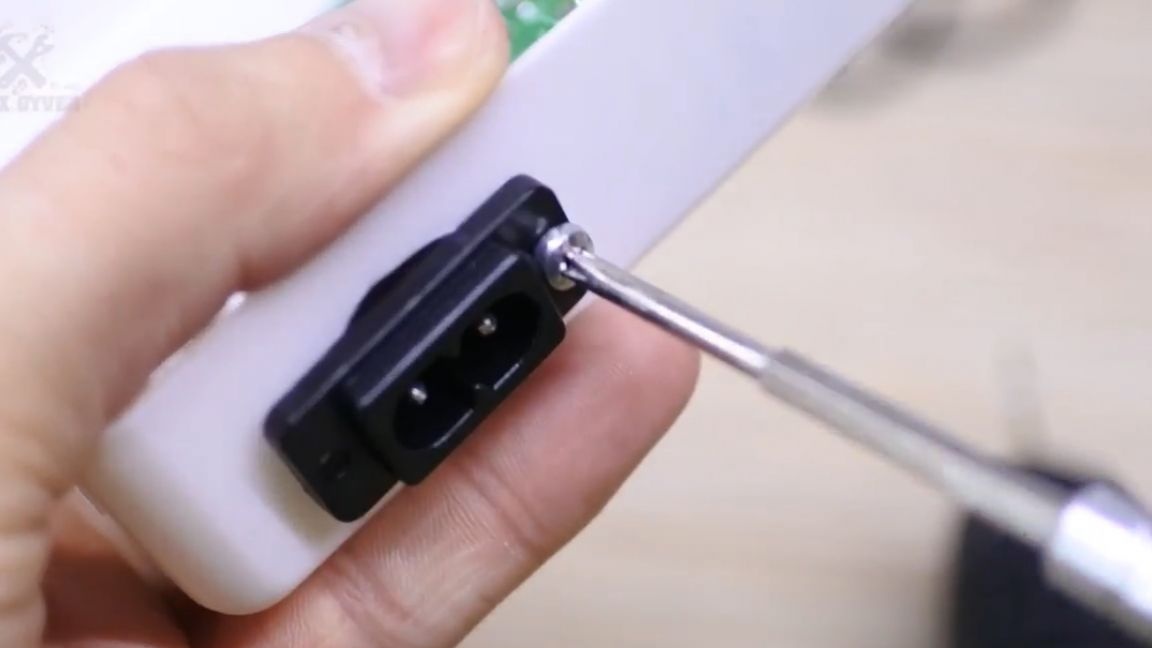
We fix the socket on the m3 screw. To do this, drill holes with a diameter of 2.5 mm and twist, the screw will cut the thread itself.
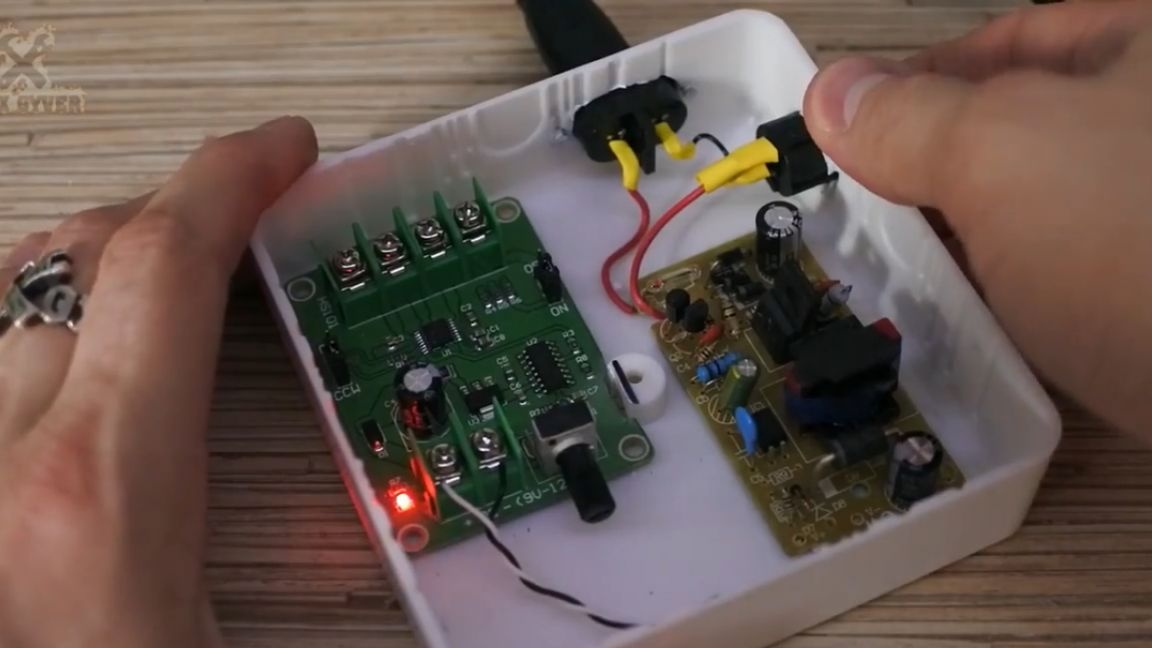
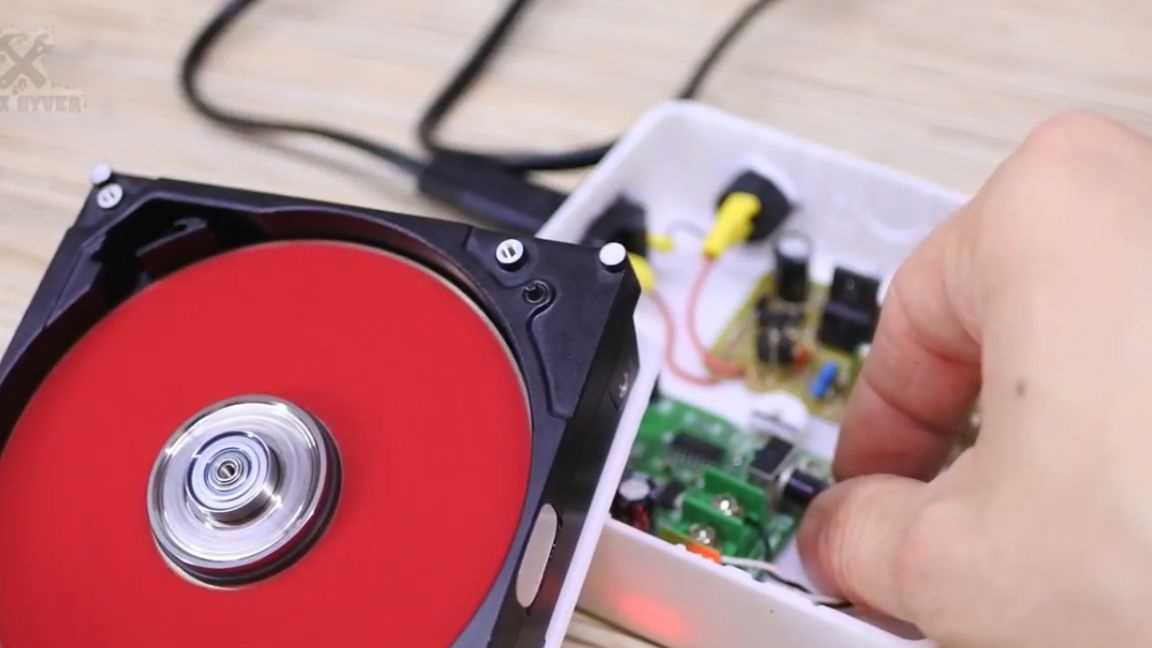
We fix the board on double-sided tape and connect everything.
3, 2, 1 - nothing banged, the LED turned on - and this is good.
We connect the hard drive motor according to this scheme:
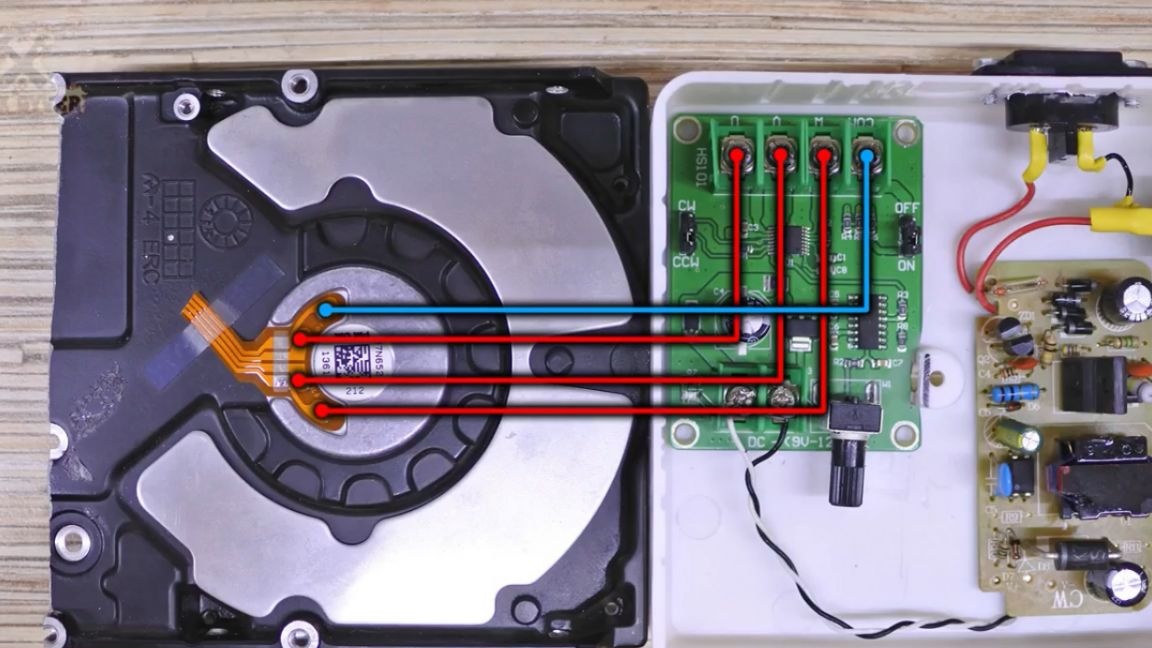
More details about the connection nuances and the motor circuit were described in the video about starting the motor from the hard drive, but I think they are all typical. We bring the wires through the cover and everything works.
In the same video, I showed that for this module at the maximum position of the twist, the operation is unstable and it is necessary to put about 90 - 95 percent.
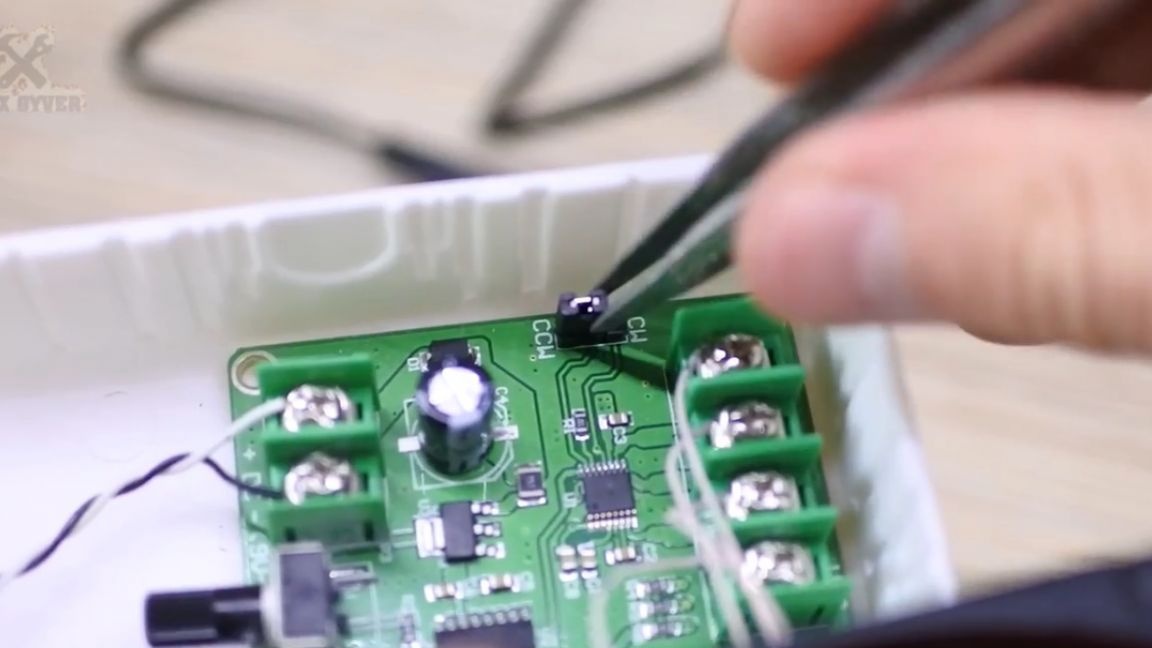
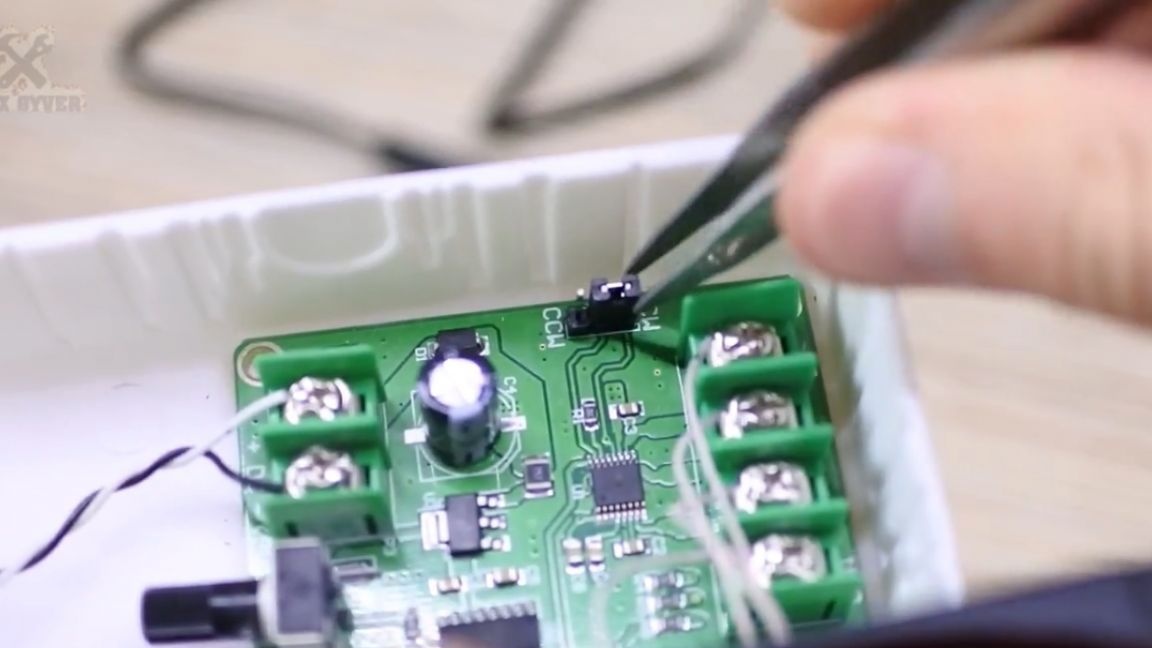
The direction of rotation, by the way, is not where I wanted to. But this can be changed. To do this, you can swap the two control wires to the motor, but the controller on the board has a switch, which you will agree is very convenient.
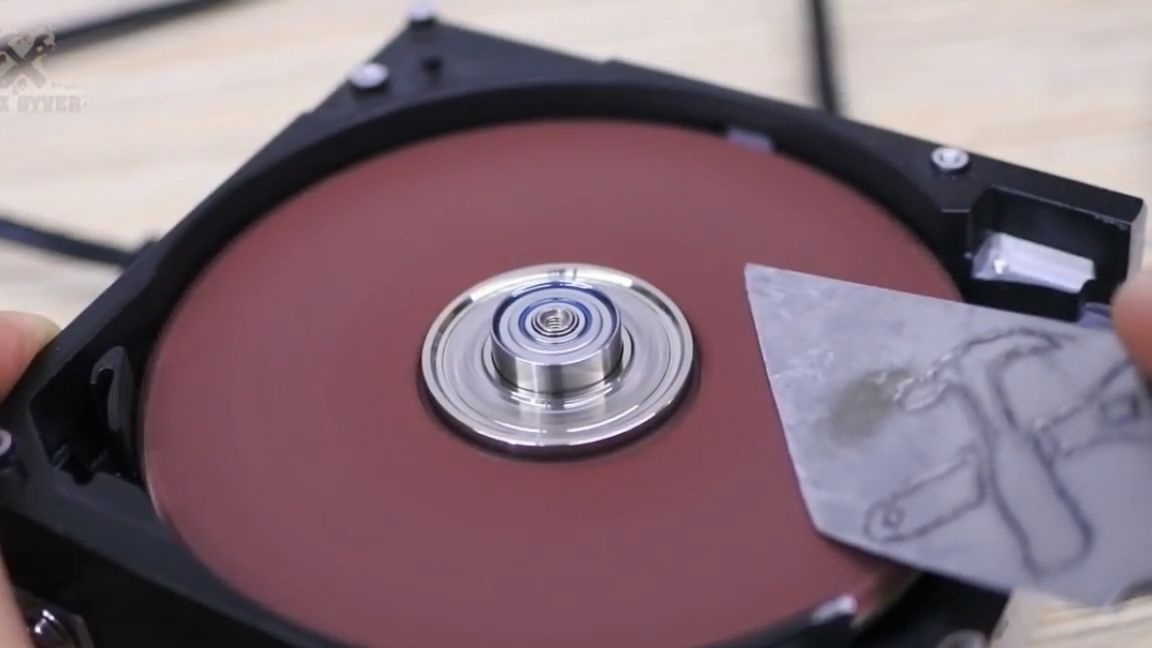
Oh, what you need. By the way, you don’t need to tighten the pancake too much, since if you didn’t know it is ceramic, it can simply burst.

For the same reason, it cannot be heavily loaded in the transverse direction. So for durability, you can fix two pancakes instead of one.
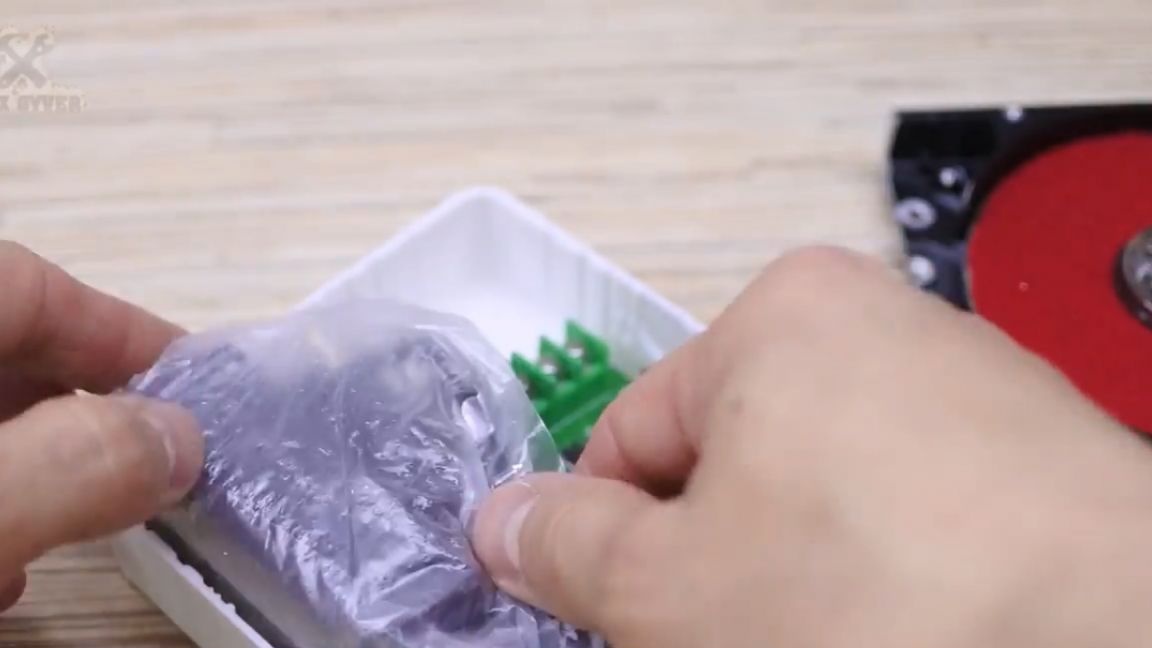
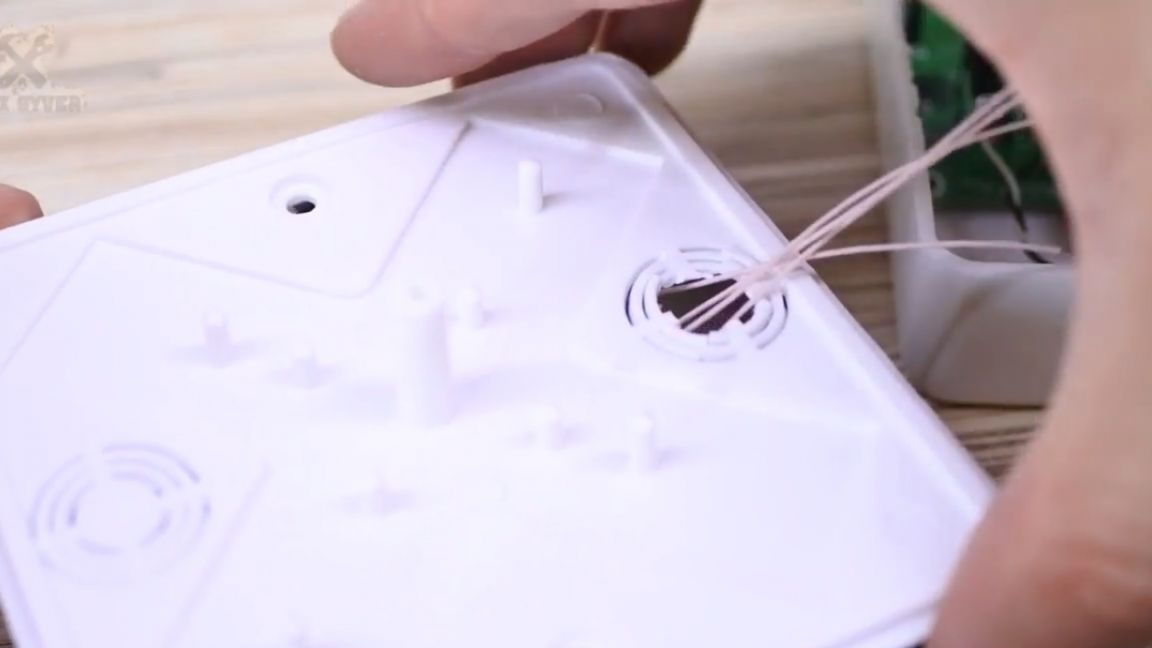
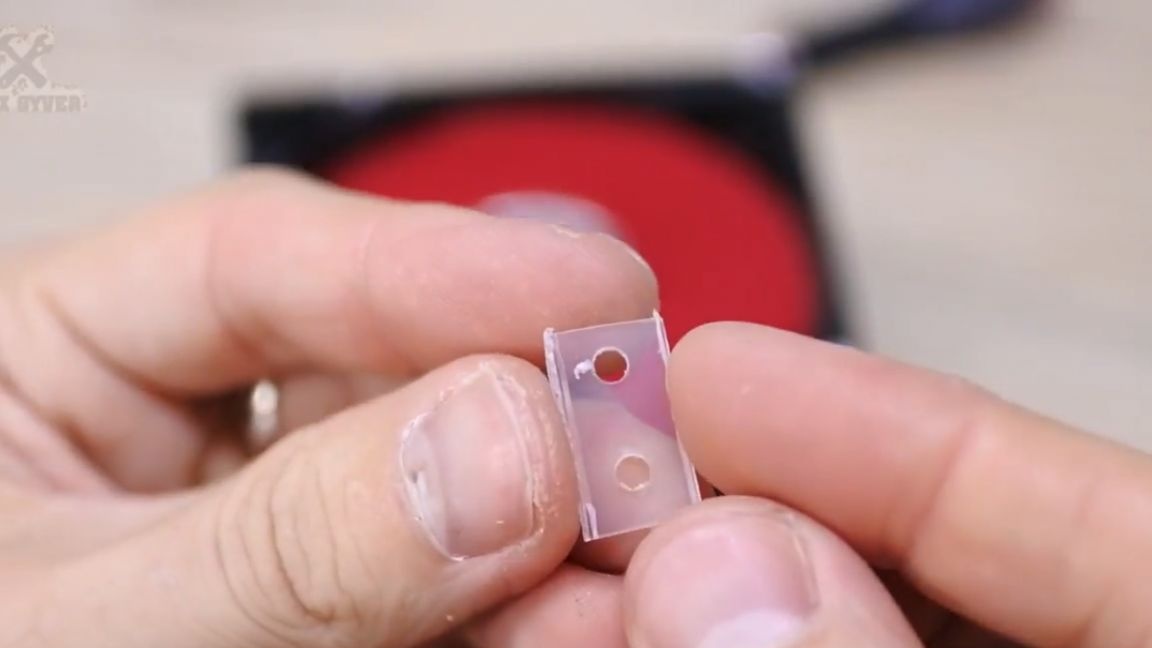
Next, you need to mount. We will need some plastic, for example, from the lid of the food container. From it we make such parts with a hole with a diameter of 3 mm and collect everything.
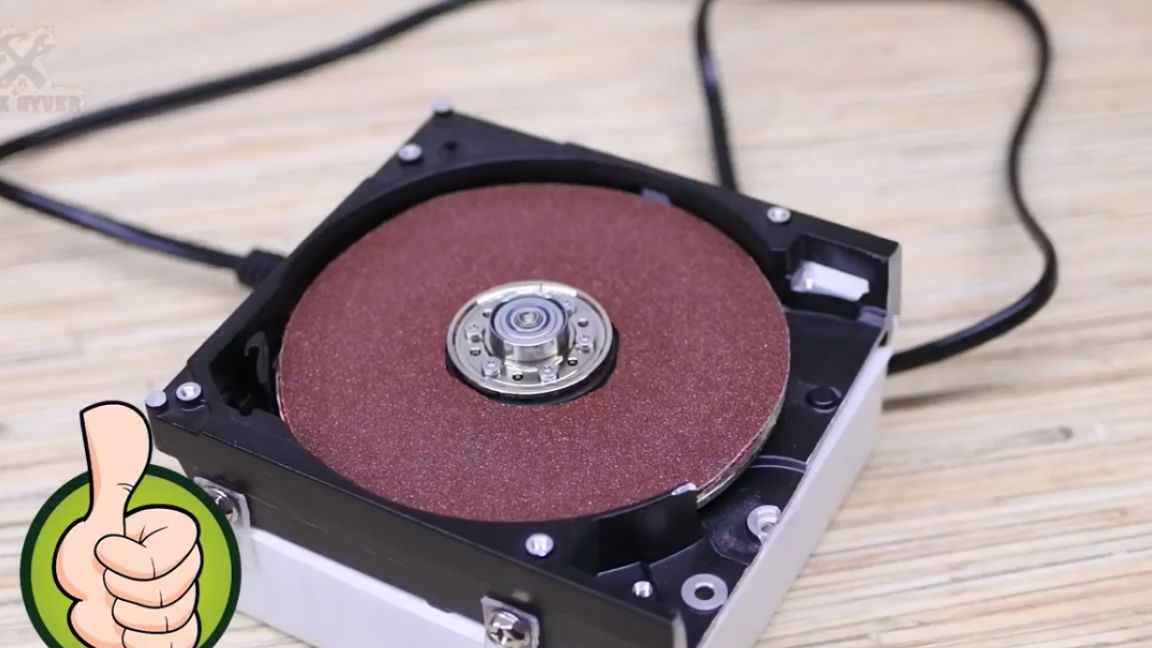
Well, that’s it, our grinder from the hard drive is ready.
It remains only to glue emery and you can begin to grind. In general, if you have several disks, then you can stick sandpaper directly on the disk, and then the surface will be just perfectly smooth, because the Velcro still gives some unevenness.
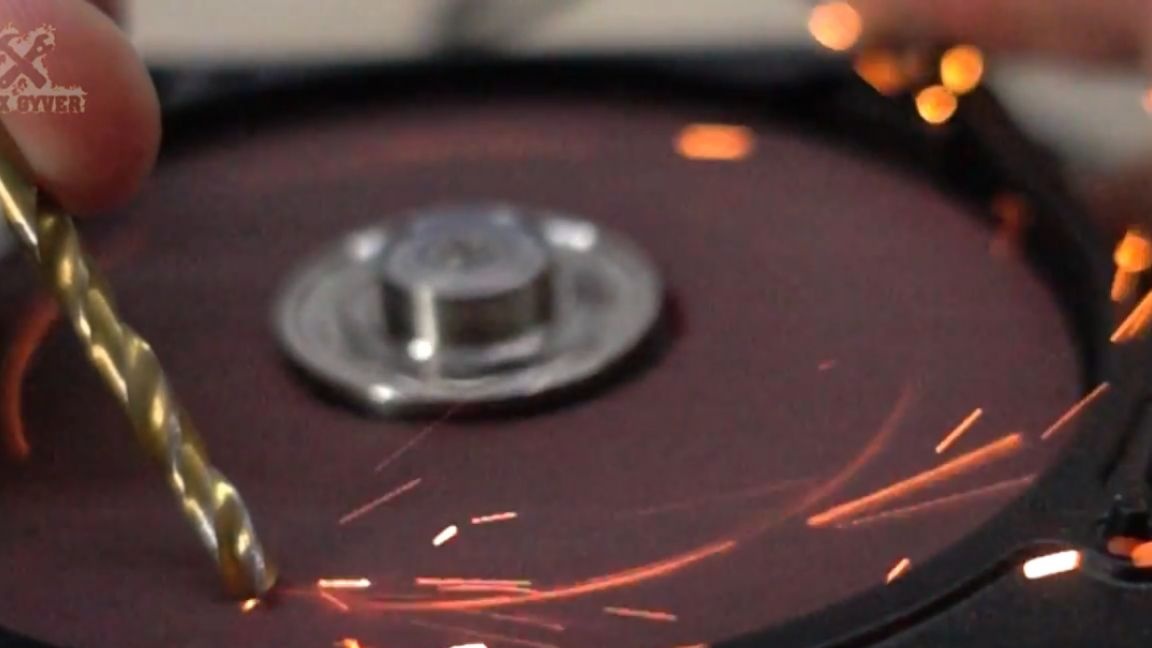
As I said and showed in the video with tests of these motors, their power is very small. The motor can be stopped even by pressing the nail tightly, but observing the pressure, it is very possible to work.

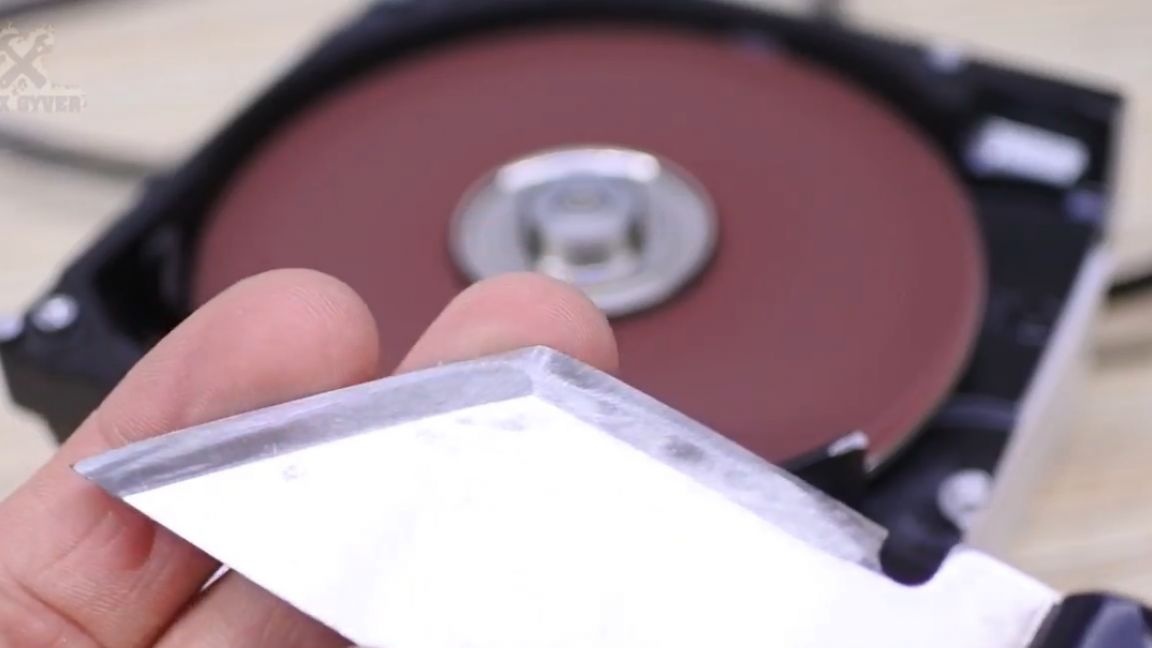
Drills are absolutely wonderful sharpened, the metal is directly consumed.
But sharpening something more massive is already becoming problematic. All that can be done is to bring the cutting edge to the sharpness of the blade, especially if you take a very fine sandpaper.
The problem of power lies in the motor itself. We knock out, press out the shaft, and we see two problems inside. Ferrite magnet (it is very weak, rare earth magnets are used in powerful motors).
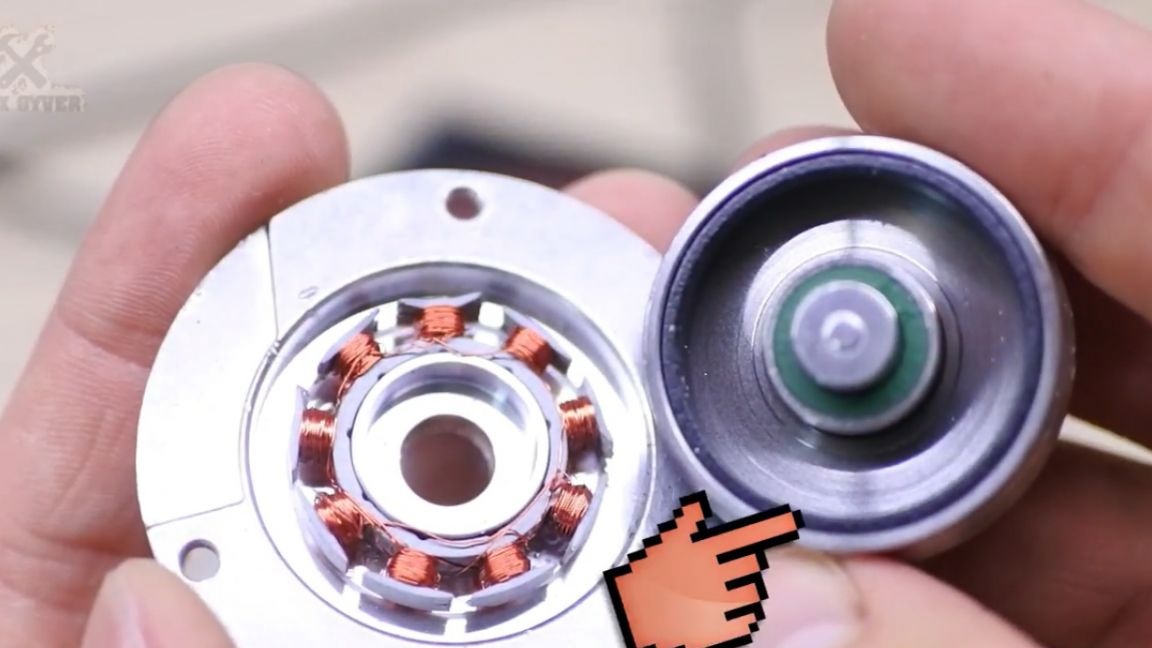
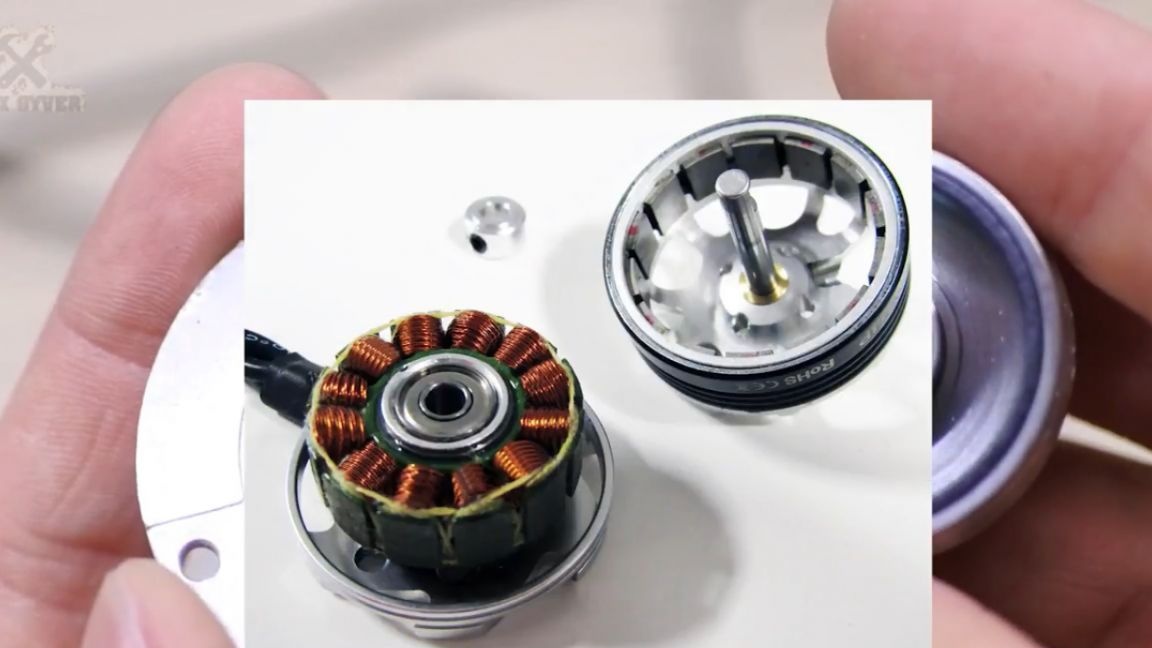
It makes no sense to break, buy magnets and re-stick. It’s cheaper to just take and buy a normal engine for aircraft models. Well, the second, partially solved problem is a winding.
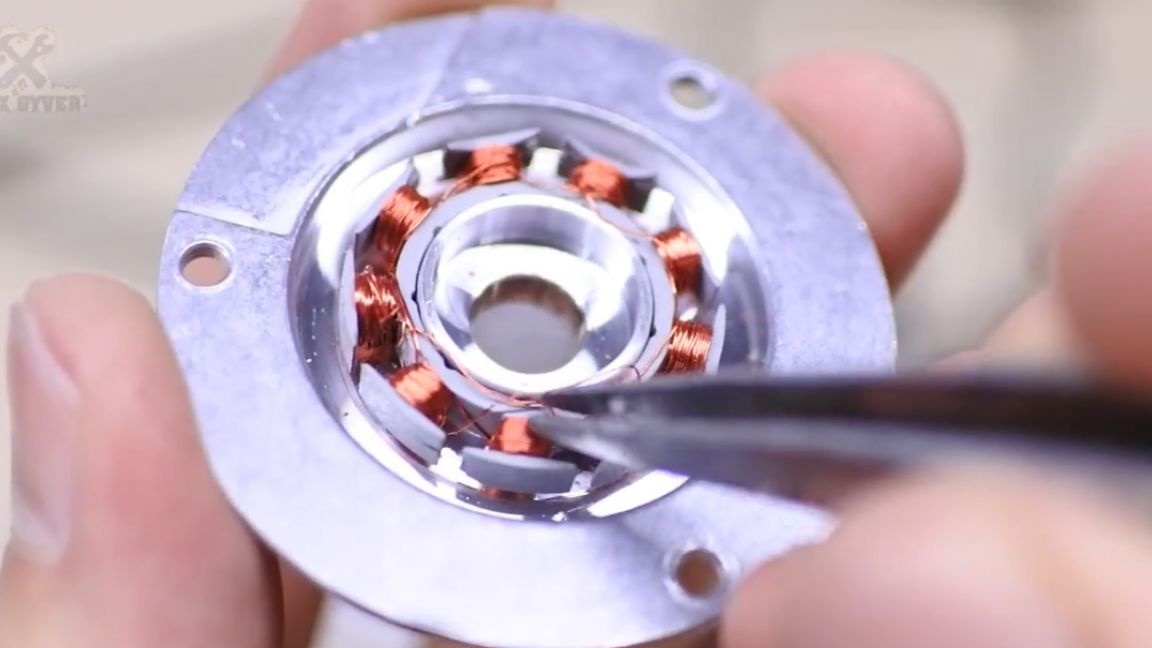
It is thin and can be rewound with a thicker wire if desired. The current will be higher - the motor will be more powerful. But I could not remove the stator with coils, so that I would not try to hook it. It is also quite fragile and begins to exfoliate. In general, in our time, reworking these motors is simply unprofitable, so that's all for today.
Thank you for attention. See you soon!
Video: